D
Deleted member 82943
Guest
go big or go home, come on they would just write it off as a R&D expense
Follow along with the video below to see how to install our site as a web app on your home screen.
Note: This feature may not be available in some browsers.
")


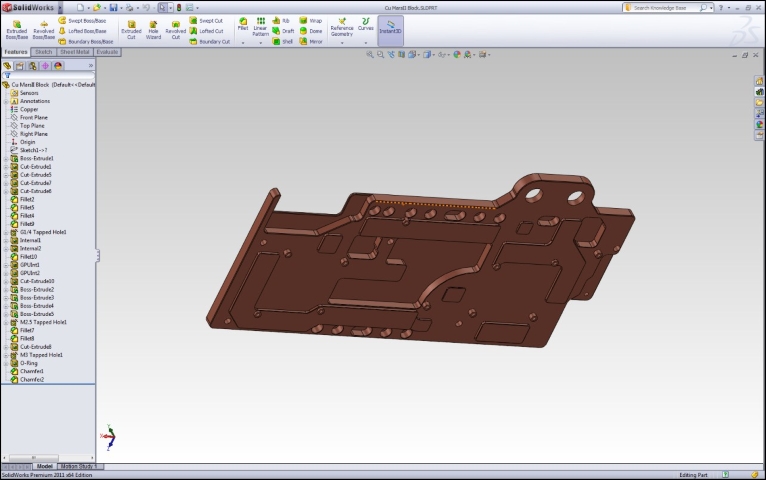
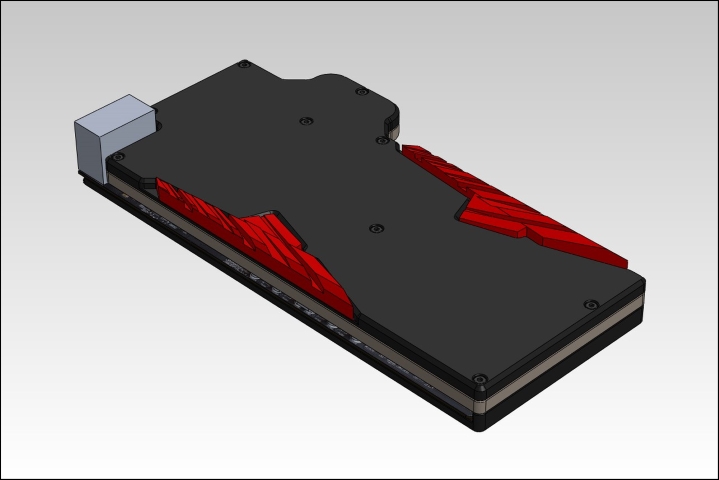
Get EK to custom build a block for you... a "1 off"


 ) they still have fun in doing this
 (Daniel ftw!)


 )
)


 )
)Thanks a lot m8!
Even got muscle pain in my shoulder from yesterday
)