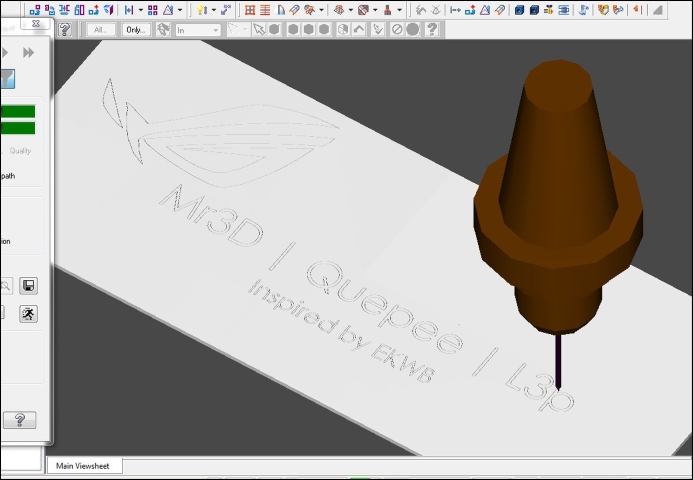
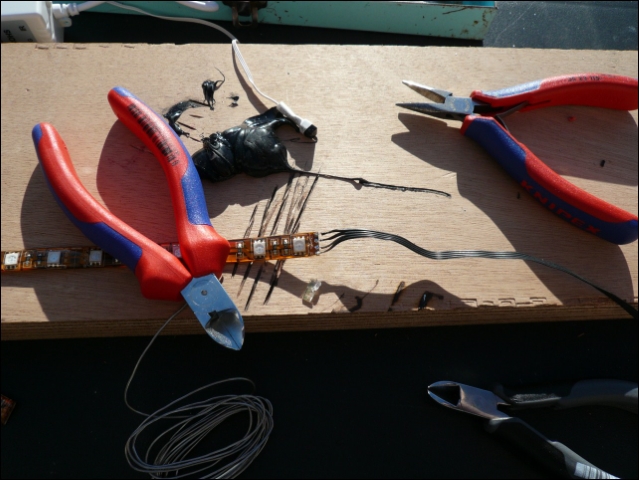
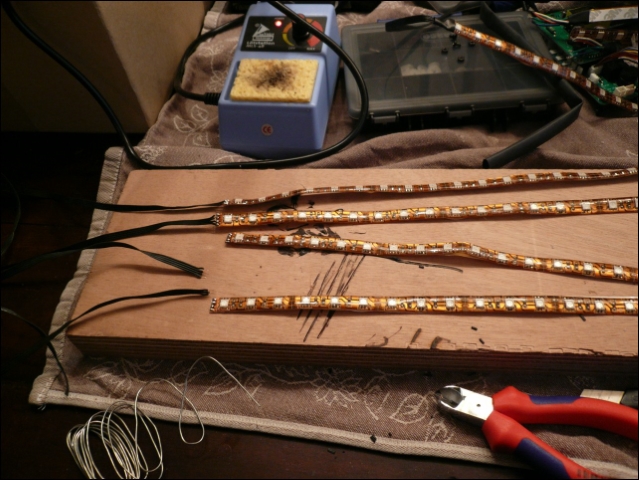
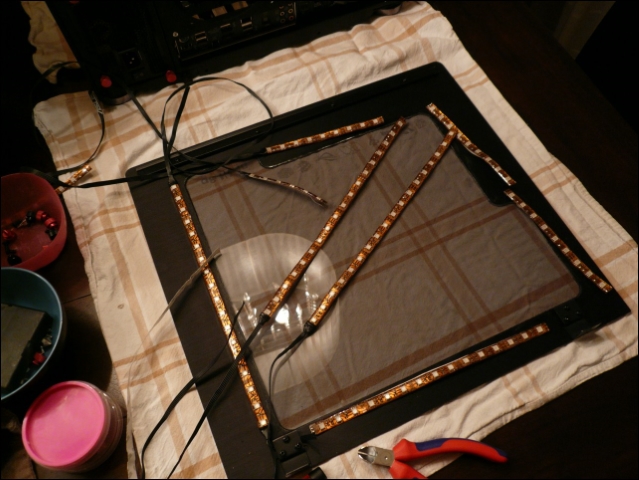
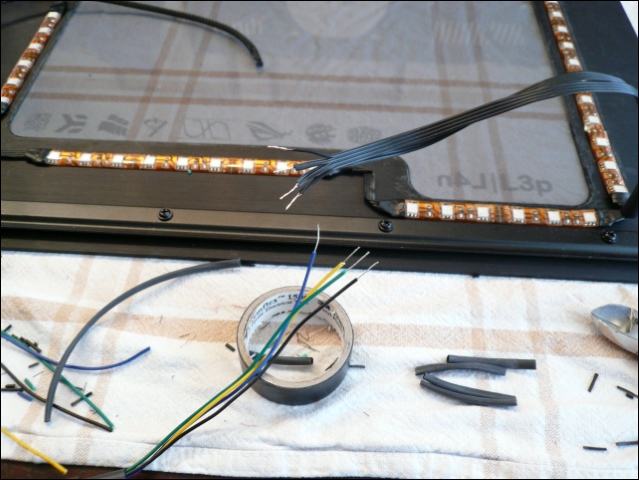
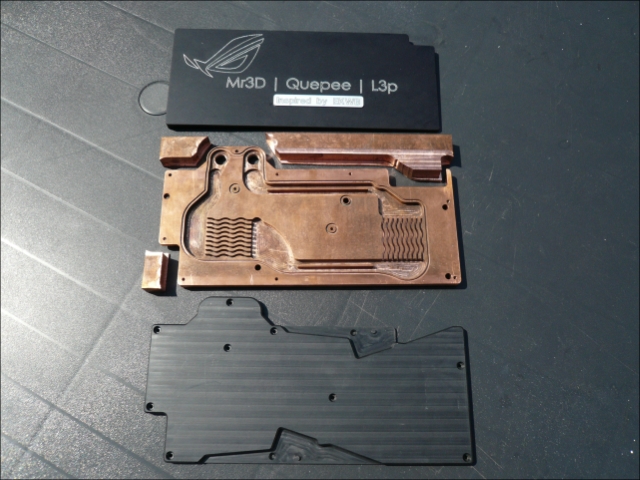
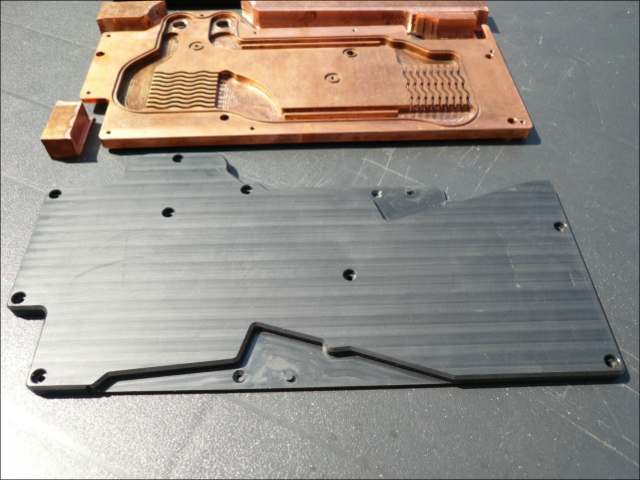
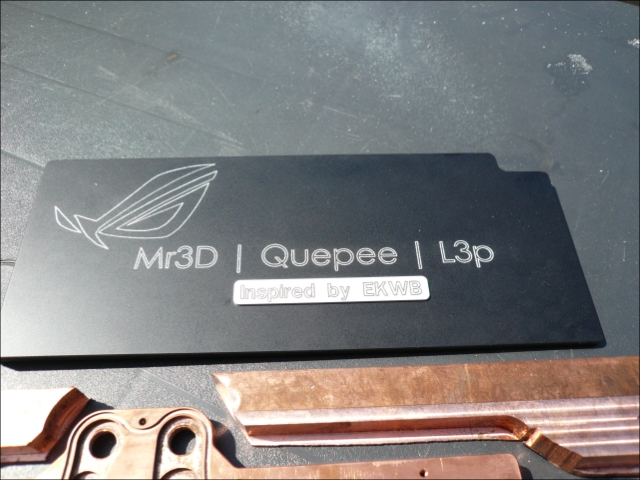
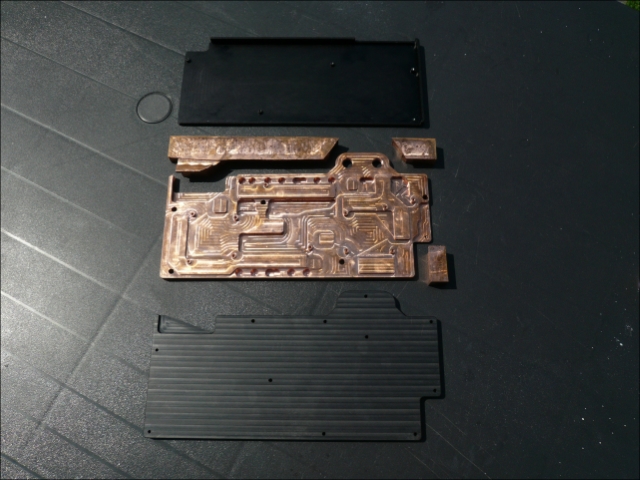
l3p
Limp Gawd
- Joined
- Oct 30, 2010
- Messages
- 386
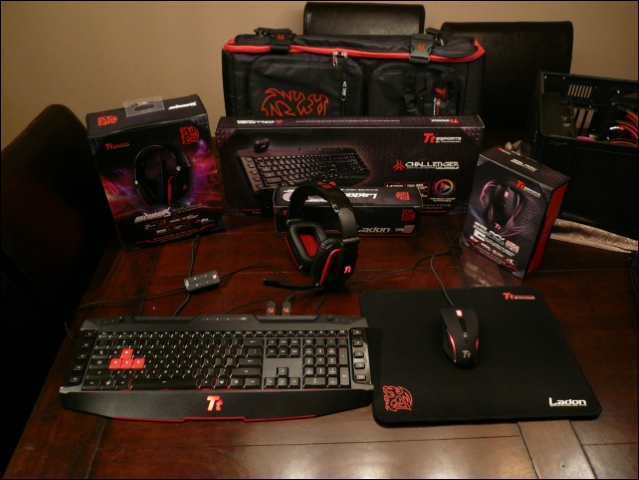
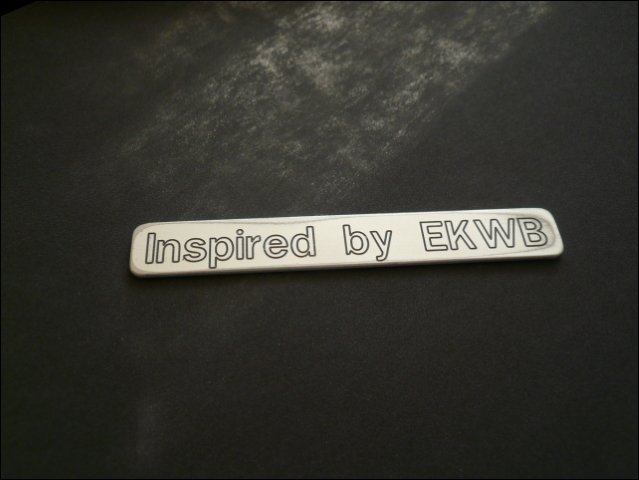
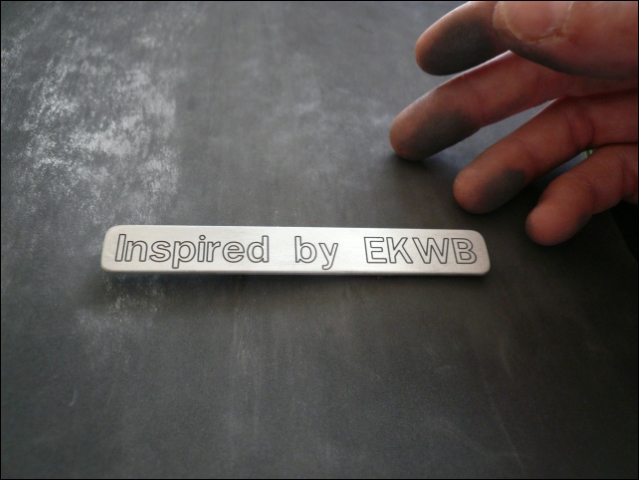
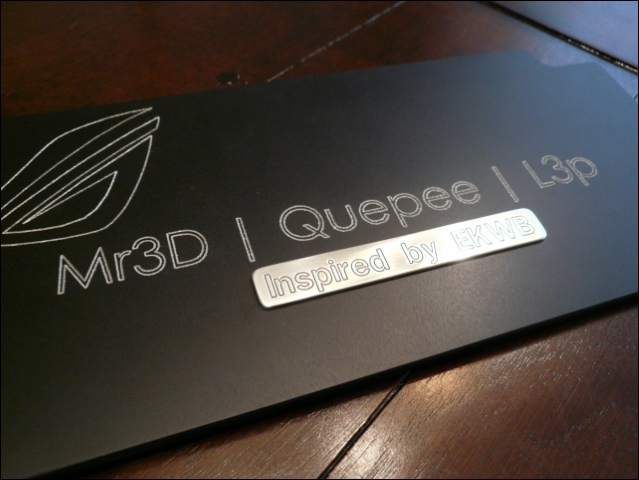
Thanks Nick!
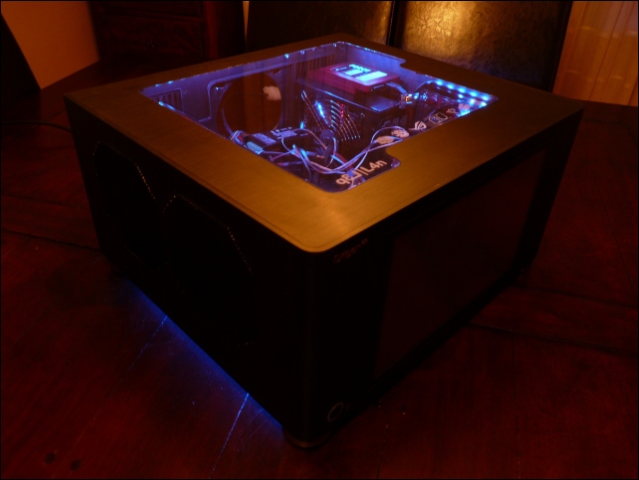
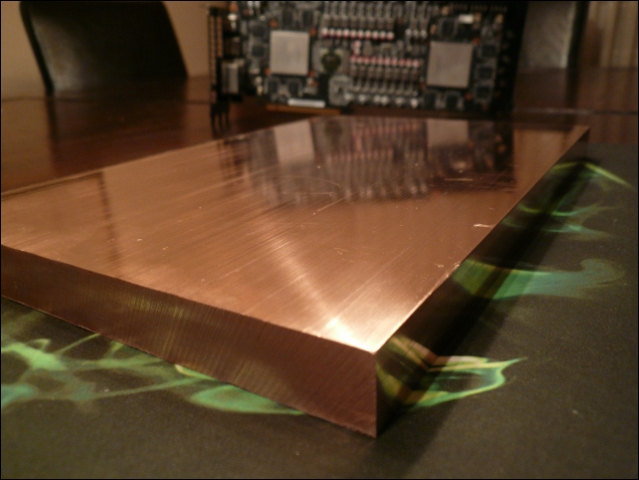
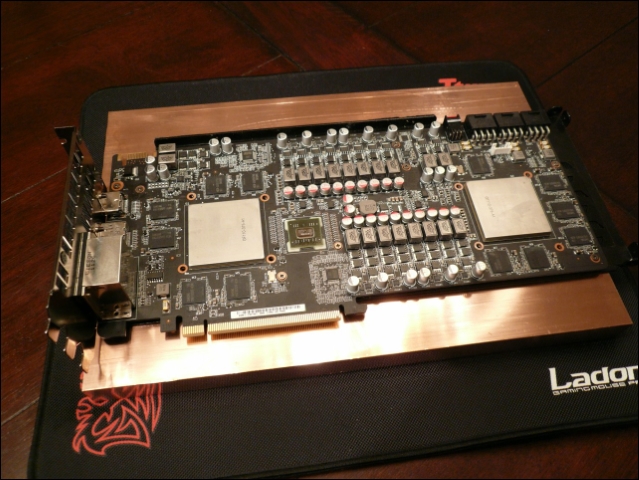
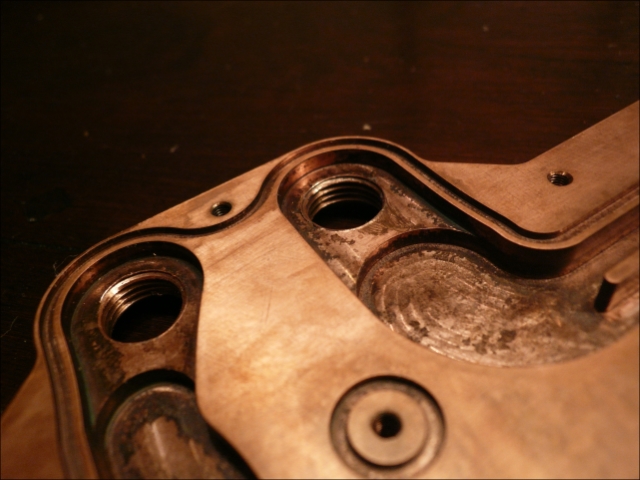
No idea what you mean Is it about the EK RAM block?
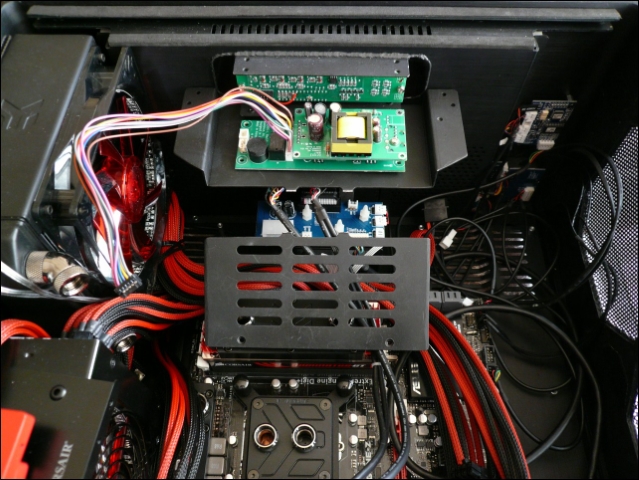
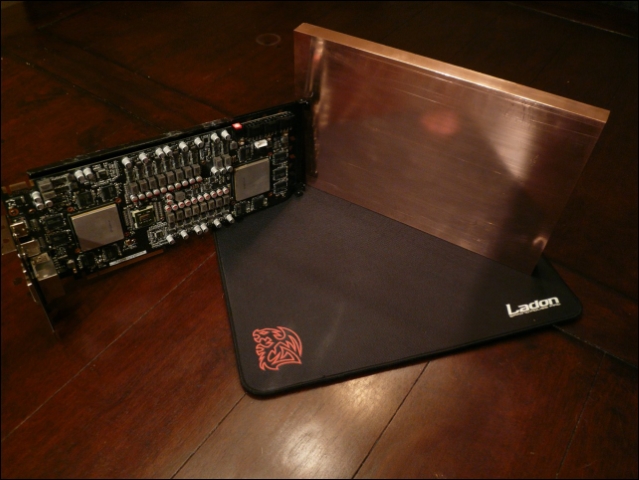
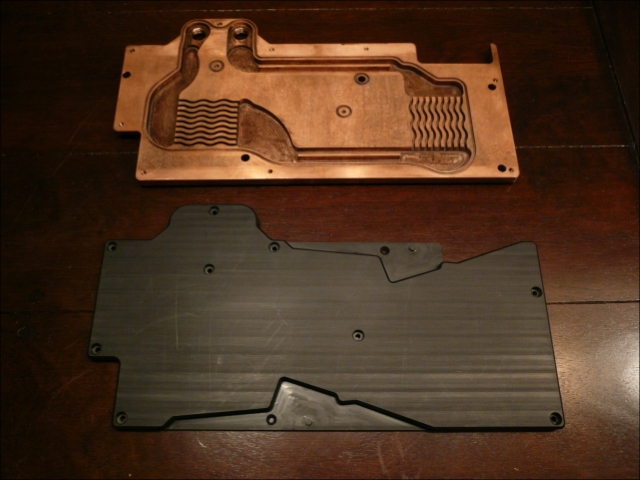
whats the second watercooler for? sorry i missed that
No idea what you mean
Is it about the EK RAM block?