adamantium
Limp Gawd
- Joined
- Jun 8, 2013
- Messages
- 266
Here is a photo of the reservoir prototype. More images should be coming today.

Follow along with the video below to see how to install our site as a web app on your home screen.
Note: This feature may not be available in some browsers.
")
Can we get more photos? Mayhaps you can post it with something next to it for size reference. Something along the line of a ruler or a coin
Here is a photo of the reservoir prototype. More images should be coming today.
That looks ideal Adamantium
Here is a photo of the reservoir prototype. More images should be coming today.
Seriously!!! Looks great ! Few questions, I plan on cooling the cpu/gpu with a H220. Would there be anything wrong with running this reservoir in conjunction with the one on the H220's rad? I guess I could try and fit a pump in there and use a regular cpu block but it just seems like a bad idea considering the space constraints. I like the idea of being able to add liquid easily and monitor fluid levels at a glance (let alone its sexy good looks). What are you guys running as far as a custom loops (what radiator, pump, blocks)?


I received the email regarding data centre loss but cant recover the password for my ncase account. How can I do this?
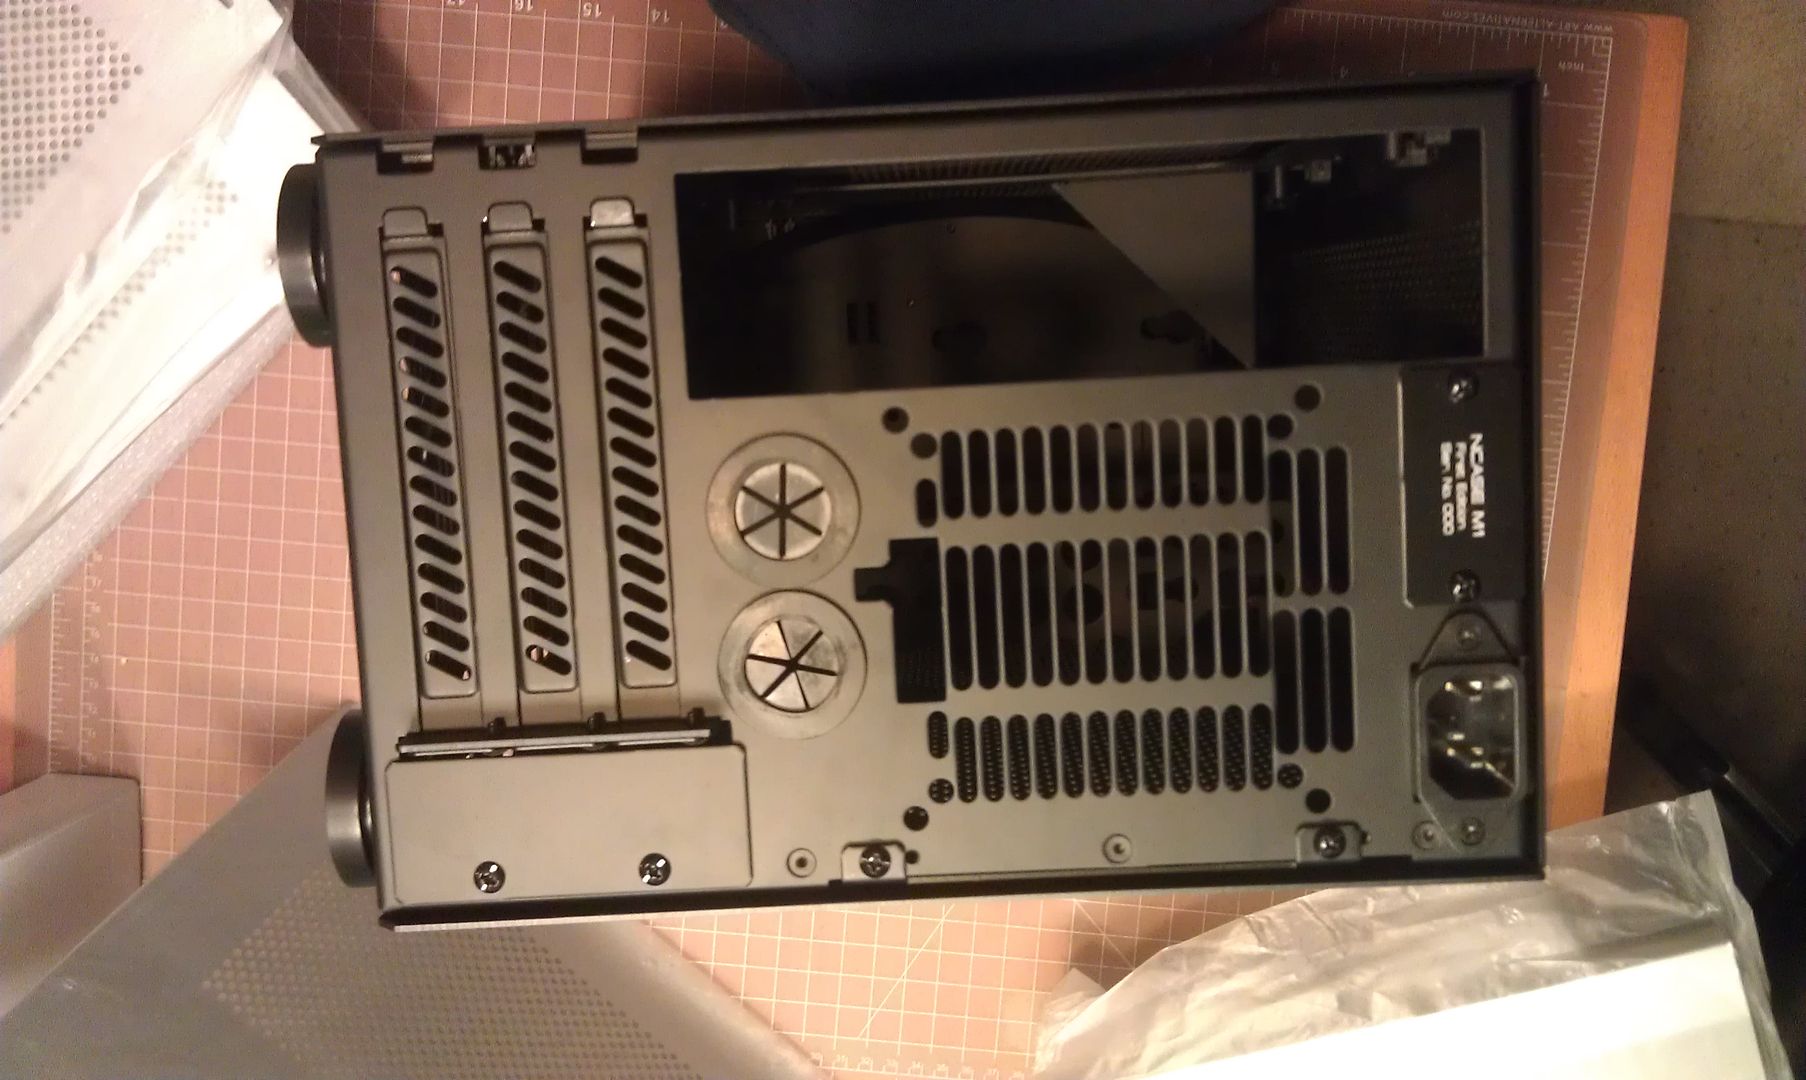
If the res is mounted on the 92mm fan mount, how does the case exhaust air out?
Would the rad exhaust?
I'm a water cooling noob so I don't understand everything yet in terms of setup.
Now is the time to voice any concerns.
The stop plugs on the bottom would be ideal place for some LEDs, but I see that the ports are recessed? Can I ask what is the diameter of the stop plugs? Monsoon do 17mm diameter LED plugs, would it be wide enough for these?
That looks ideal Adamantium
Res fits exactly over the 92mm fan so perhaps this is a good reference.
]


Yes, the diameter of the recess is 7/8in (22.225mm). You should be able to fit most fittings, accessories, extenders, and adapters, even those that are somewhat large in diameter. This is true for all six stop plugs. On the back side, the fittings mount flush without a recess of course and you will be limited by the 1in (25.4mm) pass-through holes on the M1 case.
I'm confused about the inlet and outlet ports on the res: In Anthony Vu's placing it on the M1, it looks as though the 1 inch openings in the m1 are covered by the back of the res- are the in/out ports on the res through the back of it?
I'm confused about the inlet and outlet ports on the res: In Anthony Vu's placing it on the M1, it looks as though the 1 inch openings in the m1 are covered by the back of the res- are the in/out ports on the res through the back of it?
I'm sure the answer is very obvious- I'm just feeling stoopid tonight
Got it! Fills and drains from the bottom back... thanks! But what's the purpose of the front ports just under the frozen q logo? (yeah, I know..... noobies... but we gotta learn sometime
Purpose is to have options. For example, if you stopper the inside left port, then you could make a pass through going to an external crossflow rad.
i've never had something shipped from a different country before, so when changing the address for shipping, where should i include the country of origin? before the zip code? after? on a separate line under all of it? or does it matter if it is there or not? and originally all it said was "us" not usa
Yay! I'm so happy right now!Here are four additional images from Alex. He is still working on testing it in a loop and may provide some additional pictures. What I need from anyone who is interested in purchasing the reservoir, is any feedback for changes you might have on the prototype. Alex has made some minor changes to the design to accommodate his manufacturing process and tools. For example, the screw recesses on the front plate don't look exactly the same as the drawing, the side walls are a little thicker, the bevel is thicker a little shorter and on more of an angle, he has added brass inserts on the back for the mounting screws, and as mentioned before, the new single block design has been used which provides the stop plugs in the bottom. Please let me know if any of these minor changes/improvements create a problem for you. At this point I am happy with the outcome as long as it performs as expected. Now is the time to voice any concerns.
If I'm using the AD2, I'd go from the outlet on it to the inlet on the rad, the outlet on the rad to the inlet on the res, outlet on the res back to the pump- simple closed loop right? Having not done this before I'm wondering things like whether there is a specific 'inlet' and 'outlet' on the radiator (and res)- they appear to be on the side of my radiator (at least on the Alphacool ST30) - should the top port (as installed on its side) of the radiator be the inlet, the bottom port on the radiator the outlet, does it matter in a closed system like this? Also is the res similar, no inlet/outlet, just whatever configuration works with the other components and space available? Does this res have a vent to let any air trapped in the loop out, or is that a port add-on? Upon filling the loop, should there be air space at the top of the reservoir?
So I suggest, if you put the case on its front face, the reservoir will definitely be the highest point in the loop. You can fill the loop almost completely like this. (Using the front ports they will be face up - you asked, what's their purpose? - now we know). Close all ports then turn on the pump very briefly to wet the impeller. Top up reservoir and turn on pump briefly again. Now you can set the case back down and fill the reservoir as normal, making sure to switch off the pump if the reservoir ever isn't full.
@adamantium
I like the res, and will definitely get one.
As for feedback, I have one suggestion, if it does not interfere with fabrication or function
Can the lower portion of the res, just below the lexan/plexi be extruded up to lexan face ?
so that the front of the unit is uniform flush fascia ?
thanks.
One other thing I forgot to mention is that when you are done using the M1 as a computer case, the front plugs can be used as juice dispensers.
Thanks for the suggestion. Alex mentioned to me originally that the maximum thickness he could do was 1.25in which is what we are using. He would have to be able to go to 1.5in to do it. Its about 20% more in material cost from what I can determine. I will ask.
Correction: Make that 1.75in and 52% increase in material cost. I don't think it can be justified at that cost.
You can add Adamantium's res to a H220 loop as long as it (A's res) is directly connected to the H220 pump intake.
On other rigs I use Apogee Drive II because it's an efficient place to put the pump in small form factor cases. On the family rig I use a single XSPC AX120 rad and a universal block on the GPU, and on my folding rig I have EK PE240 and PE120 rads and Heatkiller fullcover block. Probably will go with Apogee Drive II again for the M1 build.
One other thing I forgot to mention is that when you are done using the M1 as a computer case, the front plugs can be used as juice dispensers.
Thanks for the info once again wisk, any ideas for a radiator besides the h220's that will fit? Trying to decide to go with the h220 or a custom loop or would the EK pe240 you mentioned fit?