Navigation
Install the app
How to install the app on iOS
Follow along with the video below to see how to install our site as a web app on your home screen.
Note: This feature may not be available in some browsers.
More options
You are using an out of date browser. It may not display this or other websites correctly.
You should upgrade or use an alternative browser.
You should upgrade or use an alternative browser.
Post your "rate my cables" here
- Thread starter DRJ1014
- Start date
cornelious0_0
[H]F Junkie
- Joined
- Apr 6, 2003
- Messages
- 12,783
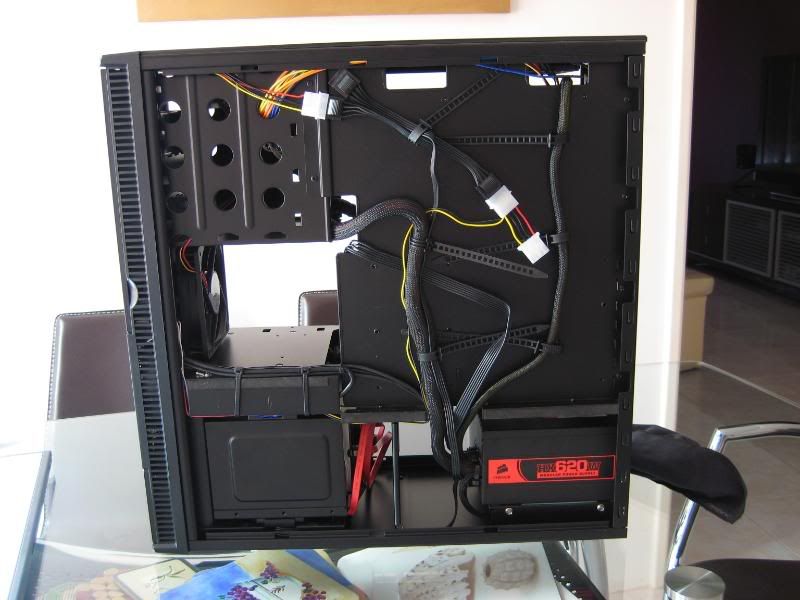
carholmes, definitely in my top 5 best wiring jobs I've seen in the past couple years...very nice!!! 


Dudeyourlame
[H]ard|Gawd
- Joined
- Jul 23, 2004
- Messages
- 1,085
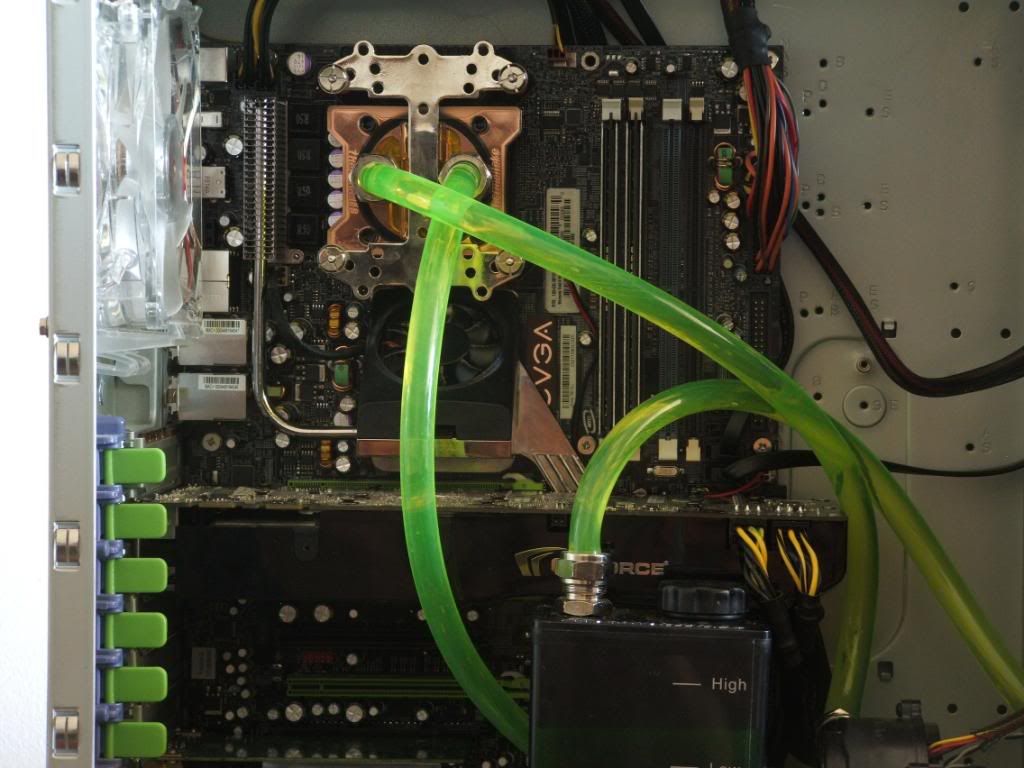
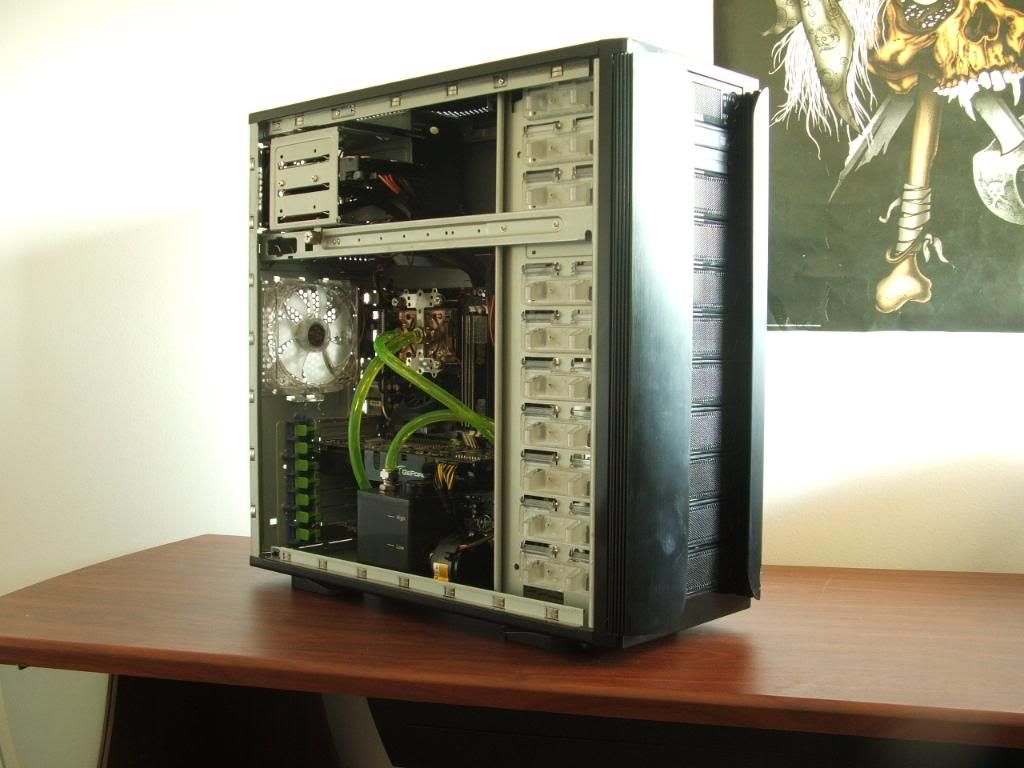
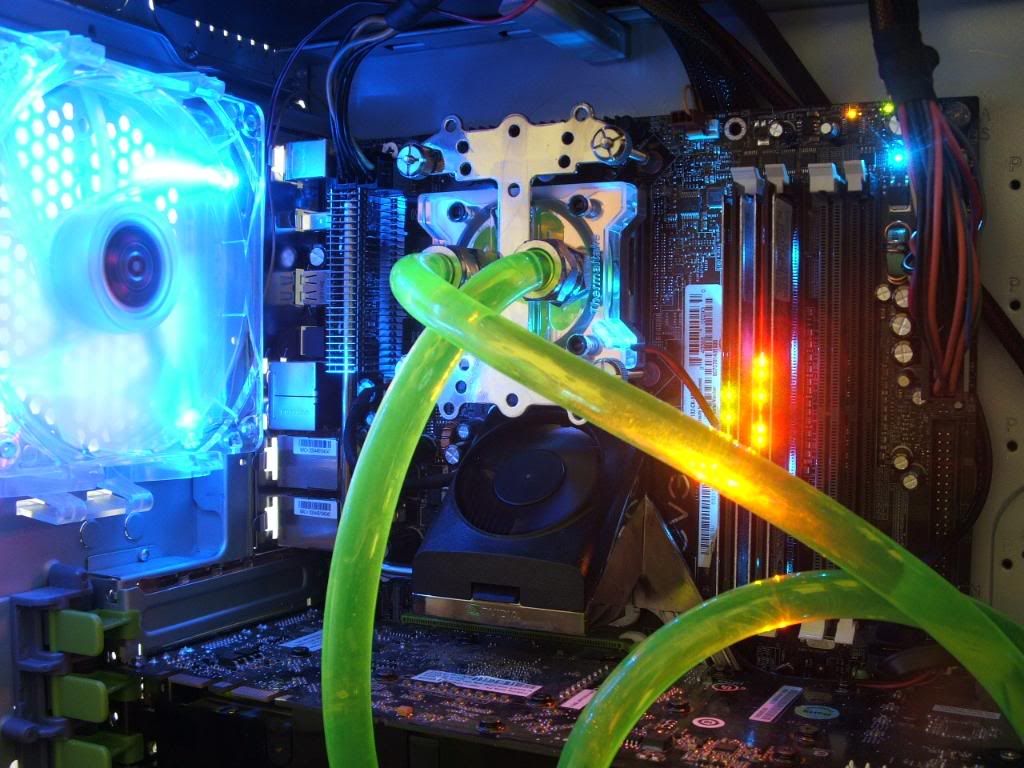
Here's mine.
[IM]http://img171.imageshack.us/img171/3058/img0633ec7.jpg[/IMG]
http://img171.imageshack.us/img171/6703/img0629dx9.jpg[/IMG]
http://img171.imageshack.us/img171/2337/img0631ky7.jpg[/IMG]
that looks amazing. Im not very educated with water cooling, but dont those sharp corner elbows slow ur flow some?
that looks amazing. Im not very educated with water cooling, but dont those sharp corner elbows slow ur flow some?
Yea they do but since I have a good pump and only two blocks with low pressure drop It doesn't make much difference and my temps don't suffer.
illuminate
[H]ard|Gawd
- Joined
- Nov 24, 2007
- Messages
- 1,895
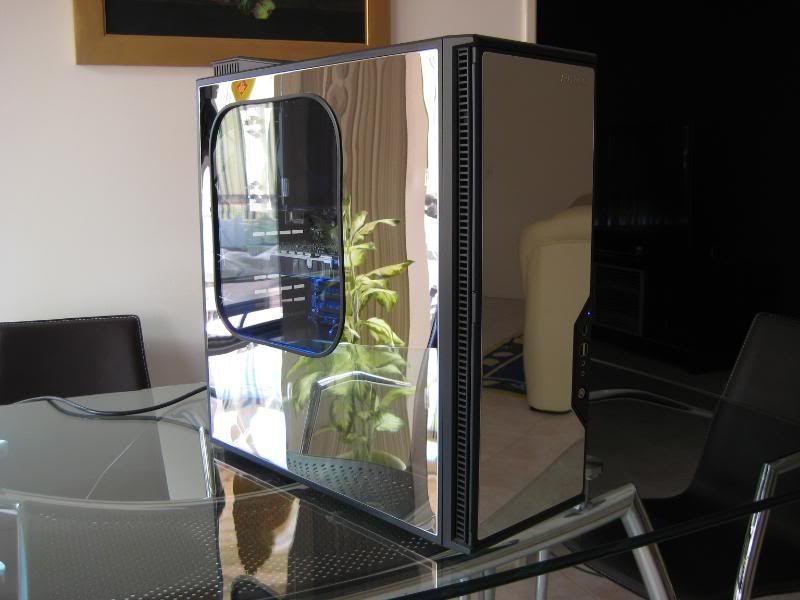
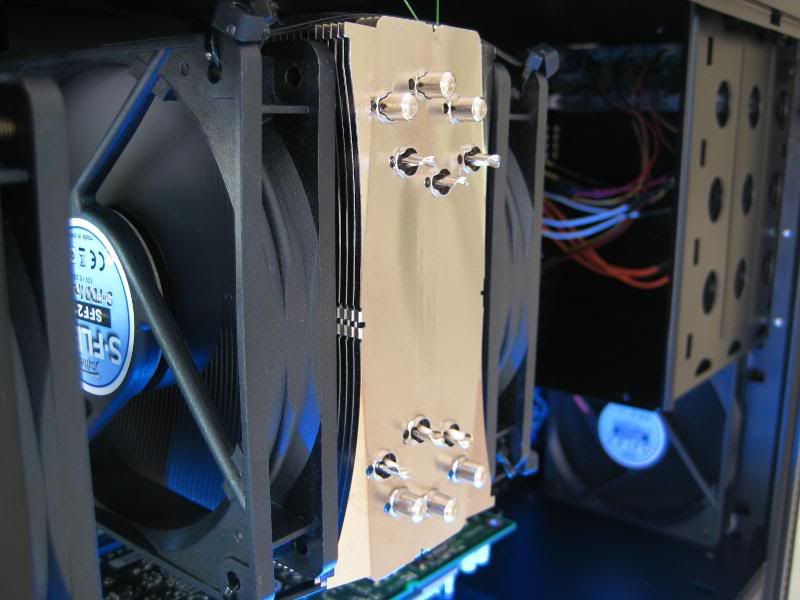
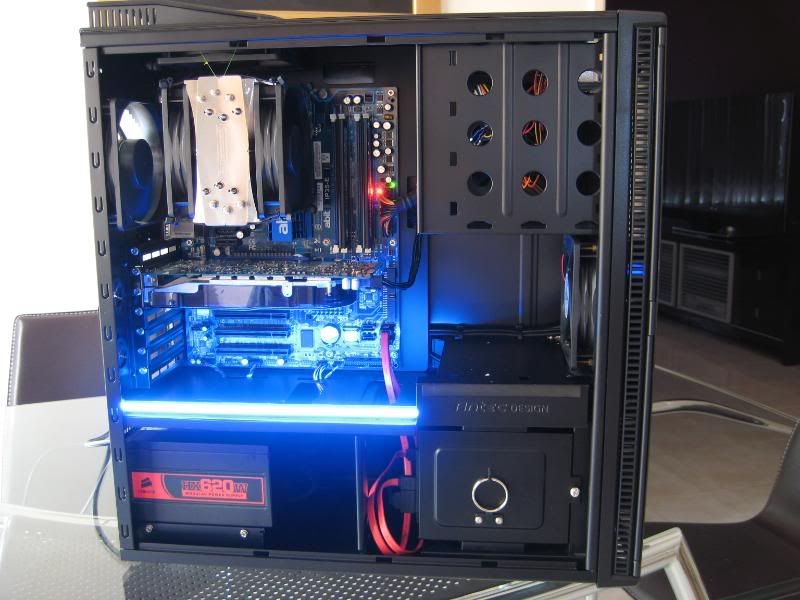
Here are my cables. Picked up some sound dampening foam, put another fan in. my PSU sleeving kit should be here in 2 week (gotta love frozencpu ->to-> South Korea)


/edit/ i just noticed that you can see the fan speed controller extenders taped to the top of the case -> FIXED
also, yeah, the PCI slot covers are different.. its all I have at the moment...
/edit/ i just noticed that you can see the fan speed controller extenders taped to the top of the case -> FIXED
also, yeah, the PCI slot covers are different.. its all I have at the moment...
Modred189
Can't Read the OP
- Joined
- May 24, 2006
- Messages
- 16,388
I don't know if that's the best foam to use. Doesn't it insulate things real nicely, driving up the temps? Probably also ruins airflow...
I'm not sure if this counts, since I haven't finished the build yet. But I've already chopped a hole into my new Antec 900 and pulled all the cables through it:

The few parts installed are listed in my sig. Will post back when it is really finished.
The few parts installed are listed in my sig. Will post back when it is really finished.
OofC_S7v7N
Gawd
- Joined
- Apr 9, 2007
- Messages
- 723
hey drill a hole on the top left of the mobo for that 8pin to come thru and that will clean that one up
andrelmaraujo
Weaksauce
- Joined
- Sep 24, 2008
- Messages
- 101
Here´s mine
Specs:
PSU: Enermax Galaxy VXX 1000
Mobo: Gigabyte GA-X38-DQ6
Proc: Core2Quad Q6600 G0@3GHz (FSB333)
Cooler: Thermatake V1
Ram: 8GB GSKill 800Mhz (4x 2GB)
VGA: 2x 3870x2 (CrossFireX)
Optic: LG DVD RW 4160B e LG Leitor de DVD (both IDE)
HDs: 2x Seagate 320GB 16MB Cache (RAID0 - SO, Games, Applications) + 2x 80GB 8MB cache (RAID0- Swap, Downloads, Records and Editing)
Monitor: LG 226BW e Samsung 632nw
Sound: Edifier E1100 e fones Zalman5.1
External HD: CoolerMaster XCraft Seagate 160GB SATA1
Keyboard and Mouse: MicroSoft MS5000
Nobreak:APC1500
Joypad USB Xbox360
Remote Control Philips for MediaCenter.
So:
Openned

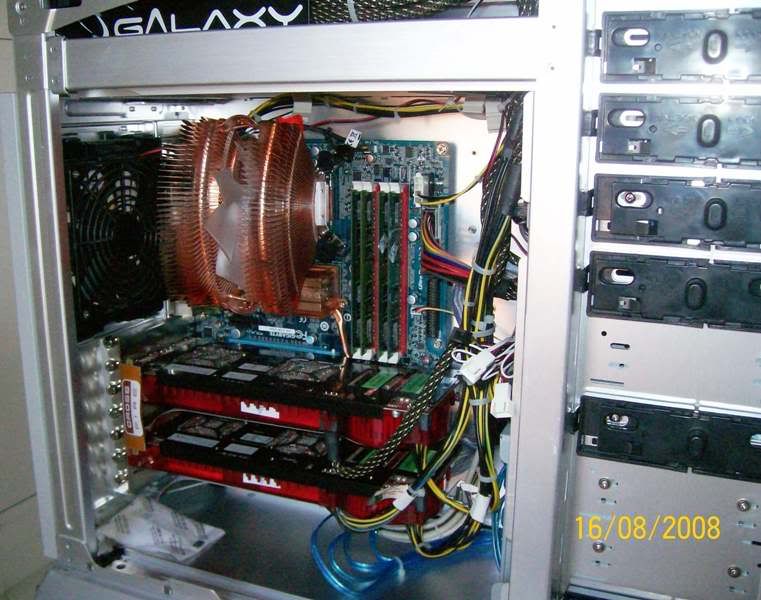
Inside (now with GSKill Memory)
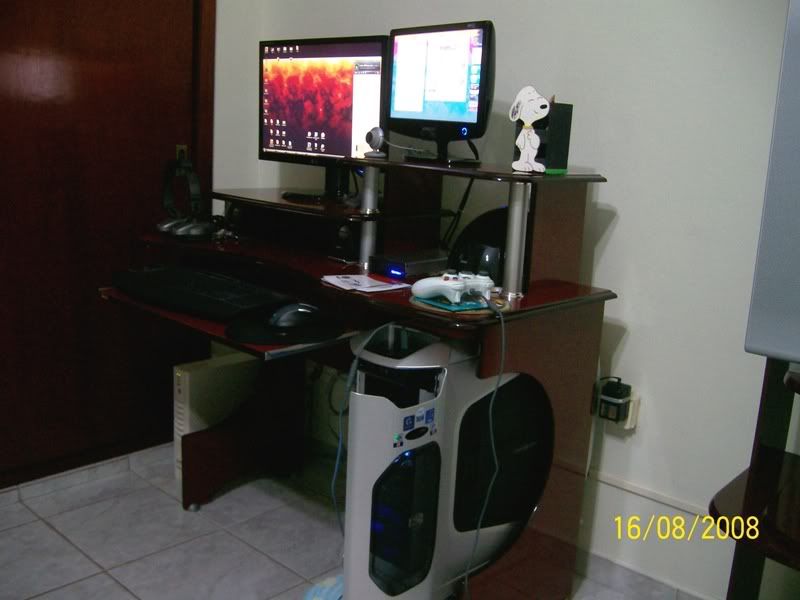
WorkStation (now with "ambilight" behind the lcds)
Thanks and any comments are welcome.
Specs:
PSU: Enermax Galaxy VXX 1000
Mobo: Gigabyte GA-X38-DQ6
Proc: Core2Quad Q6600 G0@3GHz (FSB333)
Cooler: Thermatake V1
Ram: 8GB GSKill 800Mhz (4x 2GB)
VGA: 2x 3870x2 (CrossFireX)
Optic: LG DVD RW 4160B e LG Leitor de DVD (both IDE)
HDs: 2x Seagate 320GB 16MB Cache (RAID0 - SO, Games, Applications) + 2x 80GB 8MB cache (RAID0- Swap, Downloads, Records and Editing)
Monitor: LG 226BW e Samsung 632nw
Sound: Edifier E1100 e fones Zalman5.1
External HD: CoolerMaster XCraft Seagate 160GB SATA1
Keyboard and Mouse: MicroSoft MS5000
Nobreak:APC1500
Joypad USB Xbox360
Remote Control Philips for MediaCenter.
So:
Openned
Inside (now with GSKill Memory)
WorkStation (now with "ambilight" behind the lcds)
Thanks and any comments are welcome.
Slyr7.62
Gawd
- Joined
- Feb 9, 2008
- Messages
- 759
Not a bad "work"-station Andrel. Is that TT V1 using pushpins? My Xigmatek 1283 is, but it's "only" 660G total & I have a ziptie holding it a bit. Looks like you've worked on the cables somewhat, so I just wanted to mention your HSF.
andrelmaraujo
Weaksauce
- Joined
- Sep 24, 2008
- Messages
- 101
Not a bad "work"-station Andrel. Is that TT V1 using pushpins? My Xigmatek 1283 is, but it's "only" 660G total & I have a ziptie holding it a bit. Looks like you've worked on the cables somewhat, so I just wanted to mention your HSF.
Hi Slyr7.62
I don´t understand the "work" not bad... it´s good to games too
Yes, I´m using a Thermaltake V1. I´m with a 9500LED stoped here ´cause I wanted to use the "X38 CrazyCool", so I got one TT, and yes, it uses push pins (that´s why I bought it).
My cables are not good, even a little
But it´s so much cabes that I don´t have patience to do some better. I´ll try Later. I´m looking for the 100% stability before, but 4 RAM sticks is making crazy (new BIOS config this night, lets see).
Other pcs that I have before this one:
Modred189
Can't Read the OP
- Joined
- May 24, 2006
- Messages
- 16,388
Would that stuff they put in car trunks to kill vibrations from subs work? I don't remember what it's called...
crazyjeeper
[H]ard|Gawd
- Joined
- Aug 31, 2008
- Messages
- 1,830
Would that stuff they put in car trunks to kill vibrations from subs work? I don't remember what it's called...
Dynamat
http://www.dynamat.com/
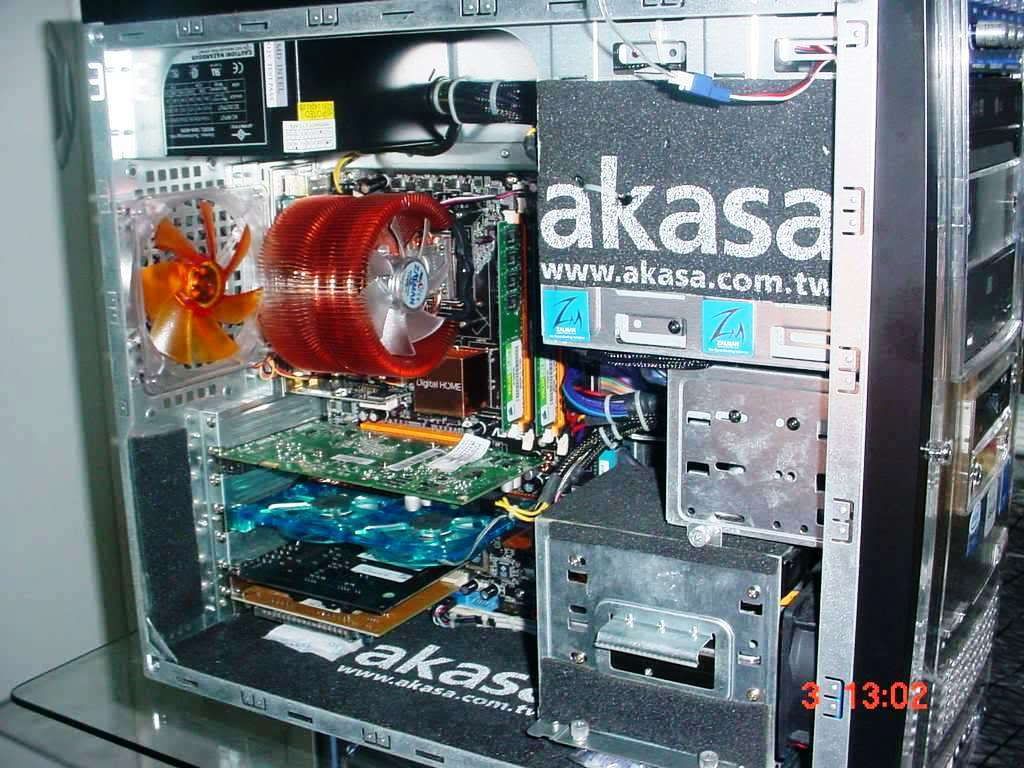
Akasa is complete useless crap. Had them on my lanbox and qmicra and does barely anything if anything at all. Dynamat would work but.. the people at silentpcreview will know a shit load more
http://www.silentpcreview.com/forums/viewforum.php?f=15&sid=5c4d6af070f781ff2a745ceaaa633121
http://www.silentpcreview.com/forums/viewforum.php?f=15&sid=5c4d6af070f781ff2a745ceaaa633121
officermartinez
[H]ard|Gawd
- Joined
- Jan 21, 2006
- Messages
- 2,012
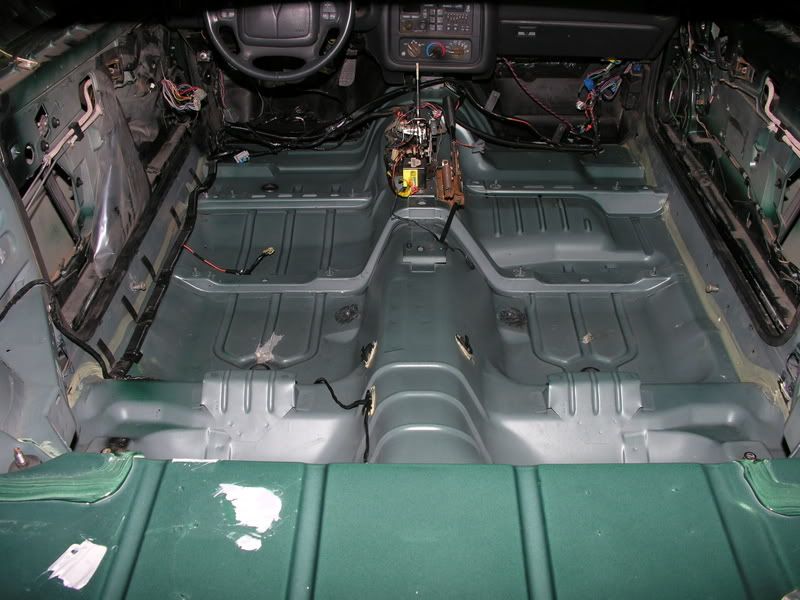
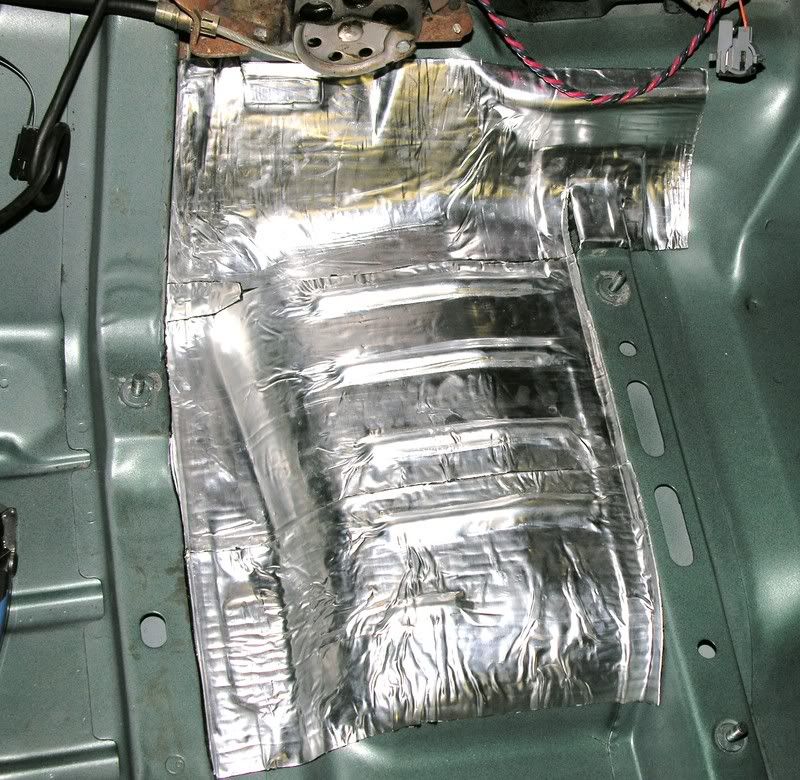
Speaking of which.. I am doing that EXACT thing to my car, as we speak. I'm using a product called FATMAT. I believe I am going to have some left over. If you like, I can send you some for free (if you pay for the shipping), if your dimensions / needs are just the basic inside demensions of your computer case. However, I warn you... Once this stuff goes on, there is NO getting it off. It has a VERY sticky tar-like backing.. Here is my very first "patch" of the stuff that I am laying down in my 1995 Pontiac Trans Am (600+ HP).
illuminate
[H]ard|Gawd
- Joined
- Nov 24, 2007
- Messages
- 1,895
Illuminate-not sure if that's the best foam to use, might be creating some temperature problems inside your case with the thickness of it. Might wanna try the akasa insulation that andrelmaraujo is using.
Its actually not making a difference at all. I'm getting the same temps with my 7600 and my CPU. I did take out the foam between the drives because that was messing up airflow.
illuminate
[H]ard|Gawd
- Joined
- Nov 24, 2007
- Messages
- 1,895
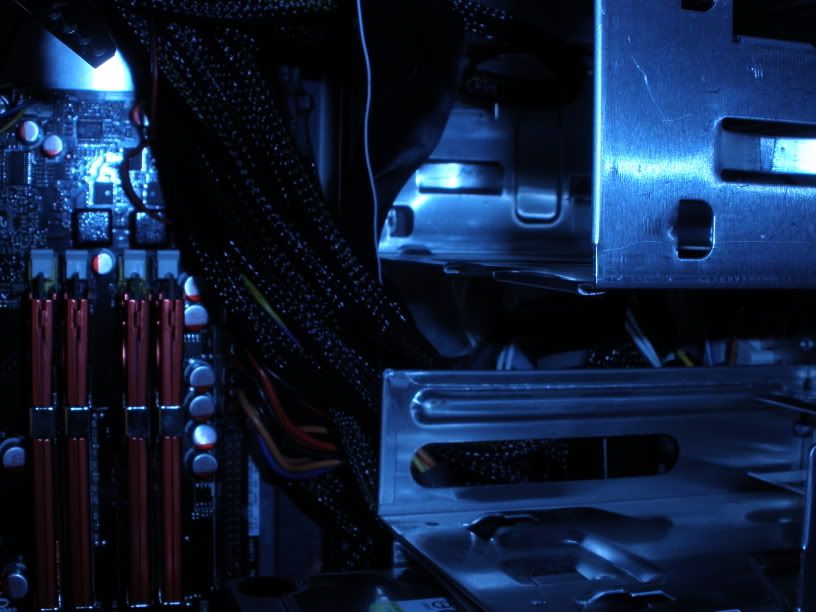
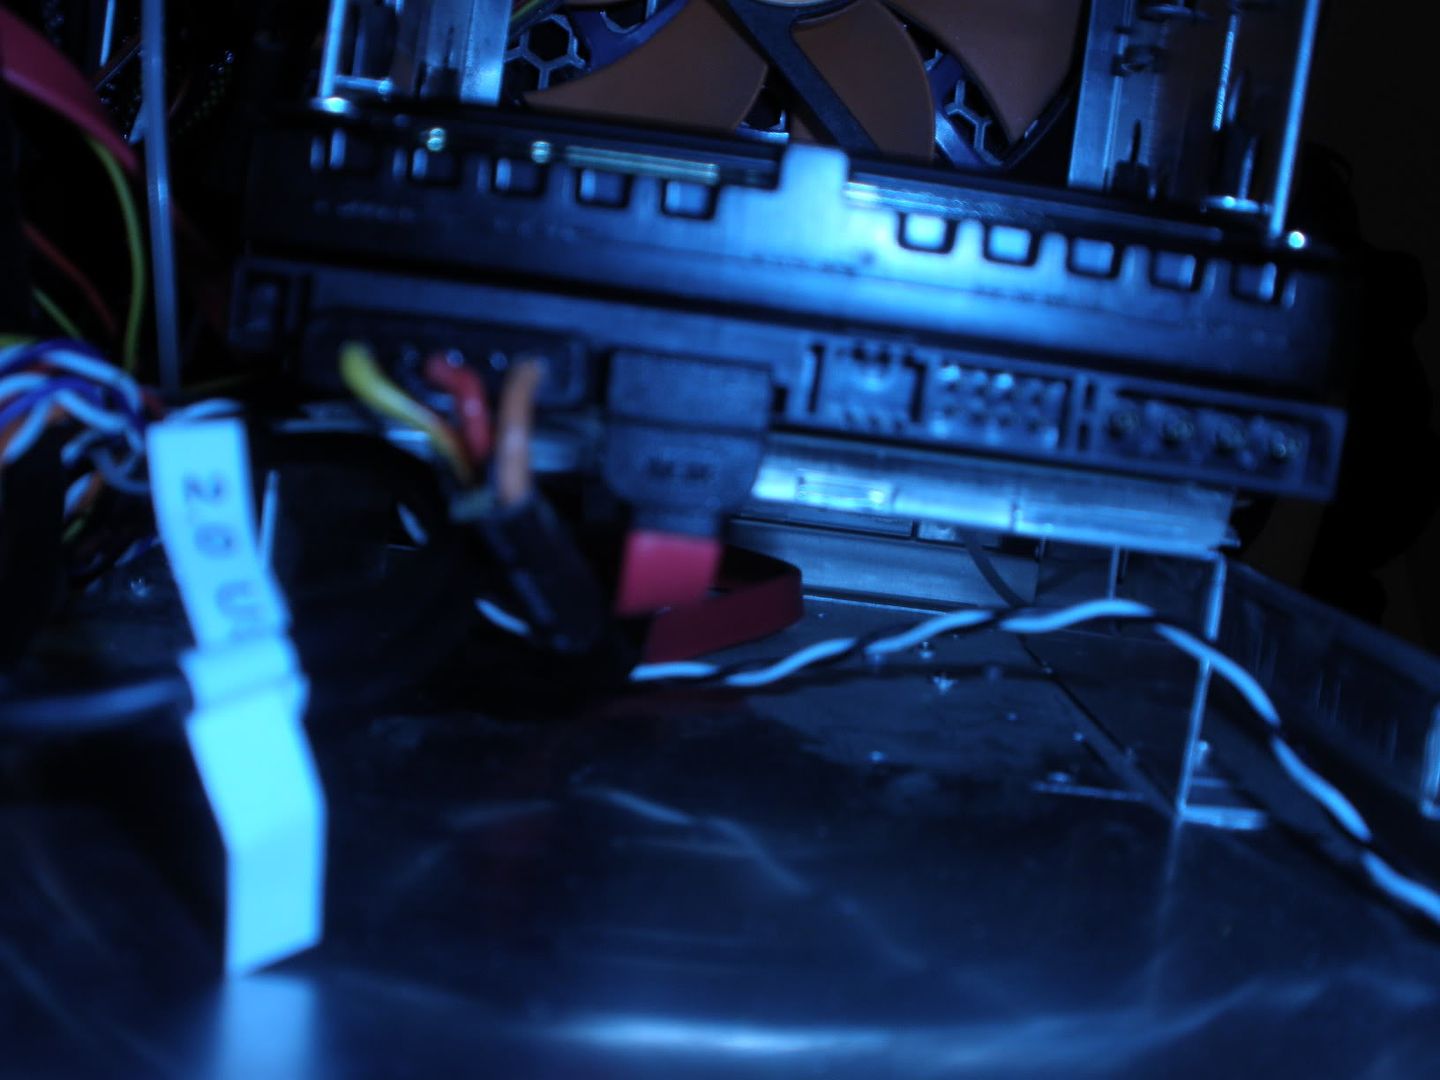
*double post* sorry, but i did a complete rewire today.
It looks like, with 1 HD, how hard can it be? actually. There are 3 in there. (at the placement of 1 of them, i had to cut up my case pretty bad. But, im getting a new one here in about 2 weeks, so, its all good)


here is the hidden hard drive O.O-- I cant put the back panel on though, but, its never on anyways

another hard drive


How do yall think i did?
/edit/ check out the clearance of that front fan with the hard drive cables and such

It looks like, with 1 HD, how hard can it be? actually. There are 3 in there. (at the placement of 1 of them, i had to cut up my case pretty bad. But, im getting a new one here in about 2 weeks, so, its all good)
here is the hidden hard drive O.O-- I cant put the back panel on though, but, its never on anyways
another hard drive
How do yall think i did?
/edit/ check out the clearance of that front fan with the hard drive cables and such
cornelious0_0
[H]F Junkie
- Joined
- Apr 6, 2003
- Messages
- 12,783
illuminate, why not pickup a rubber grommet to line the inside edge of the cut near the PSU instead of using the ghetto looking tape?
Overall a very nice improvement and a lot of work done, but more could still be done to clean things up and polish up the look of the interior.
Overall a very nice improvement and a lot of work done, but more could still be done to clean things up and polish up the look of the interior.
Guitarrasdeamor
2[H]4U
- Joined
- Apr 5, 2008
- Messages
- 3,622
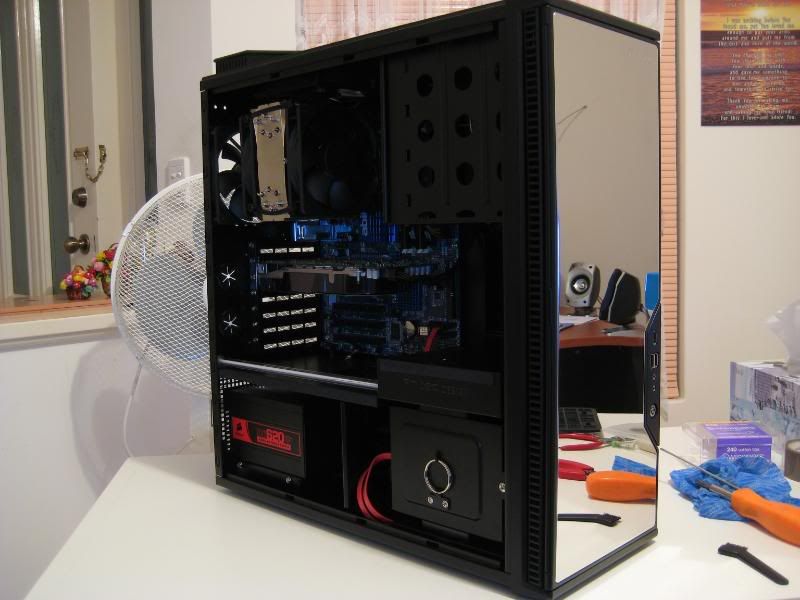
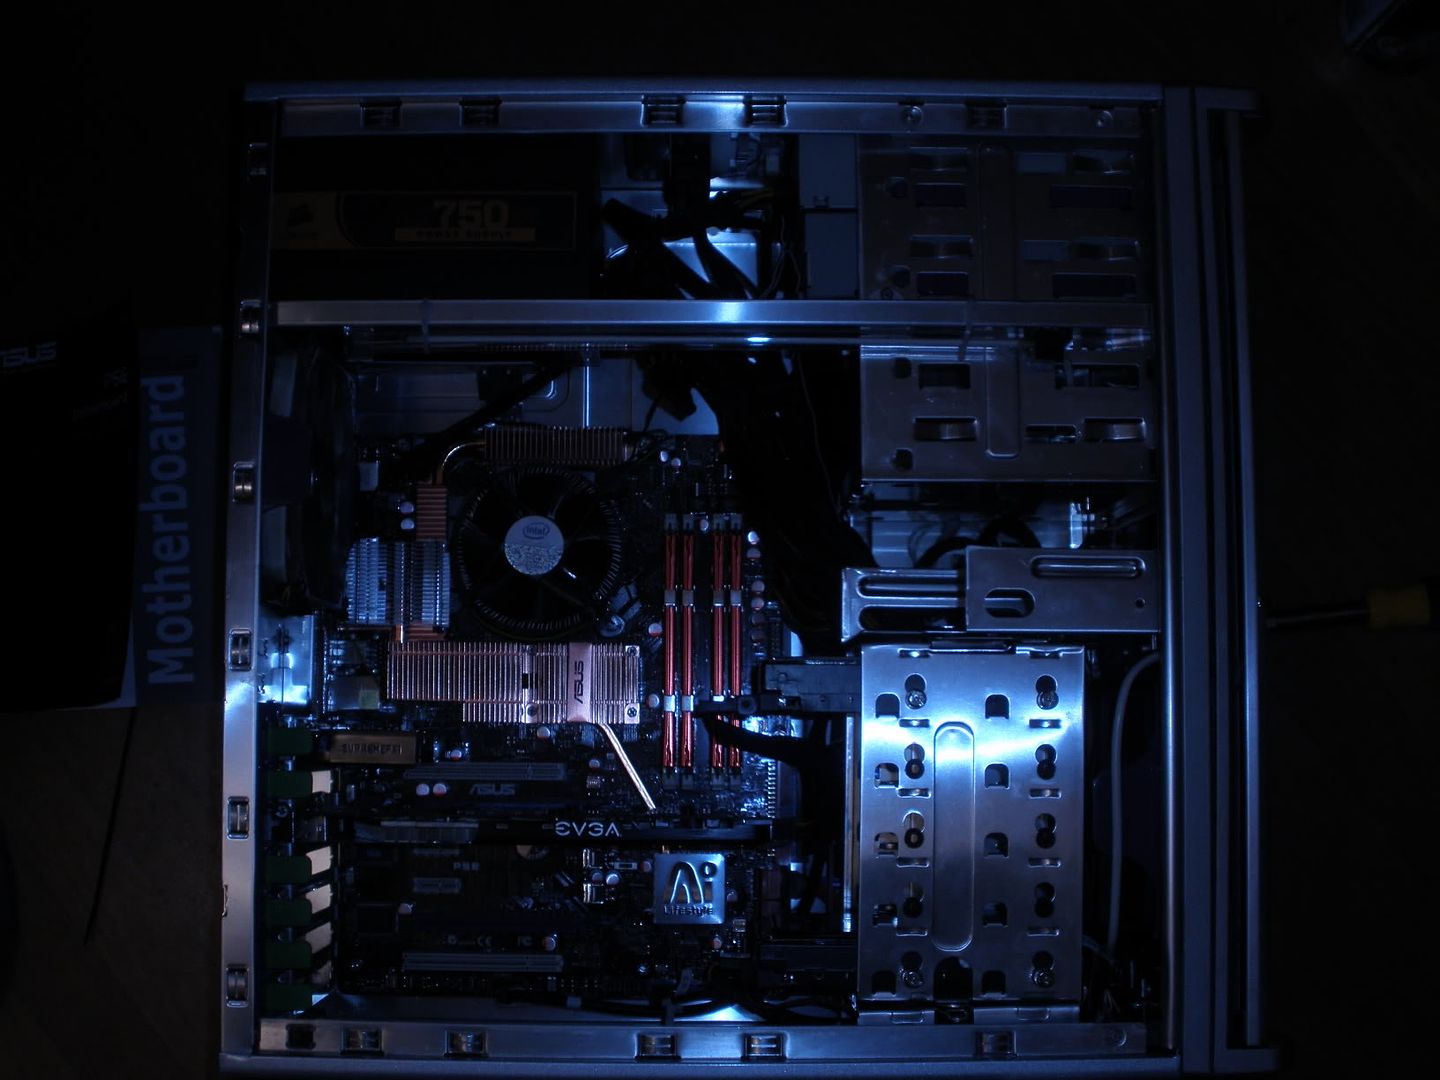
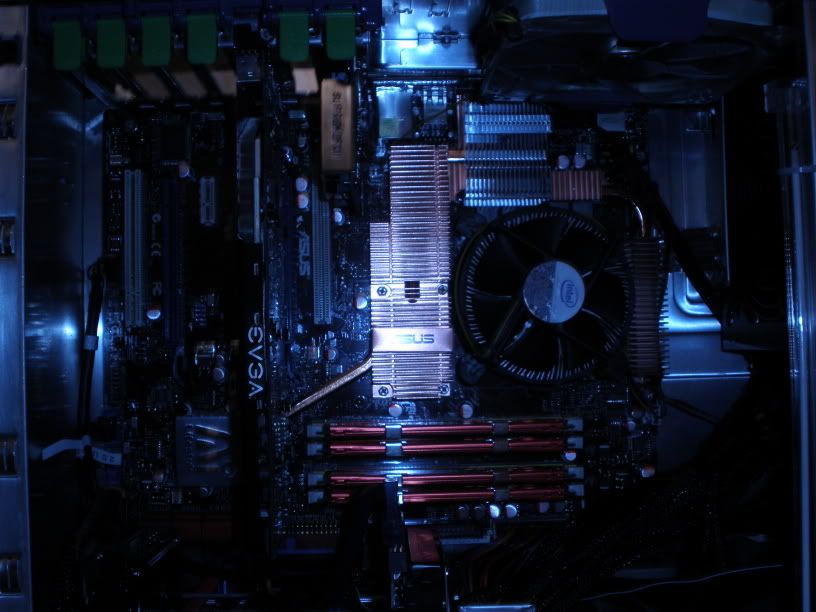
I bring you my "new" rig. Screw cable management!

D
Deleted member 89137
Guest
I just got done redoing some of the cables in my case... I still have no idea what to do with the blob of cables near the cd drives at the top... Theres nowhere to put them!!! Unless I drill a hole ( like some others here have done), which is most likely not happening.
I am going to work a bit more on this tommorow hopefully.
pics turned out a bit... blue?
Yeah it's a lot of pictures, I know.
edit: yeah, the pics look bad... I'll retake them 2morrow. Too late now.
I am going to work a bit more on this tommorow hopefully.
pics turned out a bit... blue?
Yeah it's a lot of pictures, I know.
edit: yeah, the pics look bad... I'll retake them 2morrow. Too late now.
illuminate
[H]ard|Gawd
- Joined
- Nov 24, 2007
- Messages
- 1,895
I like the looks of your pics. That blue is interesting
Because, how it is sitting, you cant see the back. Also, when i have the back panel on, it creates this weird airflow pattern inside.
hehe, thanks. That is basically why i'm doing what i am with this case. Hopfully, in another 2-3 weeks ill have my new one!
Grommets are a little hard to find here in Korea, that is why the tape is there. I might have found a place to get some though.
Thank you! You're right, it does need some touch-up work. Matching PCI slot covers, some dusting, grommets, and maybe even some hot water to get rid of the black dust from over the years. Thanks for pointing that out!
Good job. But why do you never put on the back of your case?
Because, how it is sitting, you cant see the back. Also, when i have the back panel on, it creates this weird airflow pattern inside.
Son, you gonna drive me to drink'in, if you don't stop modd'in that OEM Link'in (case)!
Incremental improvements! Some innovative and unique ideas! By the time you move into a new case, you'll know exactly what you want to do. /cheer
hehe, thanks. That is basically why i'm doing what i am with this case. Hopfully, in another 2-3 weeks ill have my new one!
illuminate, why not pickup a rubber grommet to line the inside edge of the cut near the PSU instead of using the ghetto looking tape?
Overall a very nice improvement and a lot of work done, but more could still be done to clean things up and polish up the look of the interior.
Grommets are a little hard to find here in Korea, that is why the tape is there. I might have found a place to get some though.
Thank you! You're right, it does need some touch-up work. Matching PCI slot covers, some dusting, grommets, and maybe even some hot water to get rid of the black dust from over the years. Thanks for pointing that out!
I bring you my "new" rig. Screw cable management!
Not bad! With the location of the main ATX connection, why the hell bother with cable management?
You upgraded from an Abit QuadGT to an ASRock?
.
Grommets are a little hard to find here in Korea, that is why the tape is there. I might have found a place to get some though.
Thank you! You're right, it does need some touch-up work. Matching PCI slot covers, some dusting, grommets, and maybe even some hot water to get rid of the black dust from over the years. Thanks for pointing that out!
Most of the time the only way to get rid of old dirt and heat marks in a case is to paint it.
Grommets can be found inside other things... like the garbage cans of automtive shops, an old junk PSU or other electronics.
PCI slot covers you can salvage from old PCs that people will give away if you offer to take it to recycling for them.
.
illuminate
[H]ard|Gawd
- Joined
- Nov 24, 2007
- Messages
- 1,895
Most of the time the only way to get rid of old dirt and heat marks in a case is to paint it.
Grommets can be found inside other things... like the garbage cans of automtive shops, an old junk PSU or other electronics.
PCI slot covers you can salvage from old PCs that people will give away if you offer to take it to recycling for them.
.
I'm thinking about painting it... but, if im getting a new one soon... *nods*
hmm, good idea. *goes out of veranda*
Ive got the ones from this case, ive just gotta find them all.
AVAFREAK182
2[H]4U
- Joined
- Jun 10, 2007
- Messages
- 2,645
I just got done redoing some of the cables in my case... I still have no idea what to do with the blob of cables near the cd drives at the top... Theres nowhere to put them!!! Unless I drill a hole ( like some others here have done), which is most likely not happening.
I am going to work a bit more on this tommorow hopefully.
pics turned out a bit... blue?
*cut out pictures*
Yeah it's a lot of pictures, I know.
edit: yeah, the pics look bad... I'll retake them 2morrow. Too late now.
flip that HDD around. then there is no cables right there.
Hey guys, I'd like to post some pics on here to get some advice on cable management, but I'm really retarded and I don't know how to post pics. I know someone mentioned that you just upload an image to a webhosting site like image shack and then cut and paste the URL, but I must be retarded because the one time I tried to do it, it didn't work right. Can someone give me simple step by step (simplified so my pea sized cranium will understand) instructions on forum picture posting? Thank you much in advance.
Kind of astonished that you can build a rig like what you have in your sig but fail at imageshack =.="
1. Upload to imageshack
2. Wait
3. Once you see the thumbnail click on it
4. If using firefox, right click and select View Image
5. Right click image and select Copy Image Location
6. Return to [H]
7. Click on Insert Image button in reply box
8. Paste
9. Post Quick Reply
1. Upload to imageshack
2. Wait
3. Once you see the thumbnail click on it
4. If using firefox, right click and select View Image
5. Right click image and select Copy Image Location
6. Return to [H]
7. Click on Insert Image button in reply box
8. Paste
9. Post Quick Reply
Kind of astonished that you can build a rig like what you have in your sig but fail at imageshack =.="
Believe me, the irony is not lost on me either. I have no problem building a computer. However hitherto, I have never used image shack nor ever needed to post a pic on a forum until now. And of course the first time I attempt to = FAIL. Anyway, thank you for your help. I'm installing a Diamond 4870X2 OC this week and I want some advice on making sure everything is nice and tidy.
OofC_S7v7N
Gawd
- Joined
- Apr 9, 2007
- Messages
- 723
Cables? What cables?
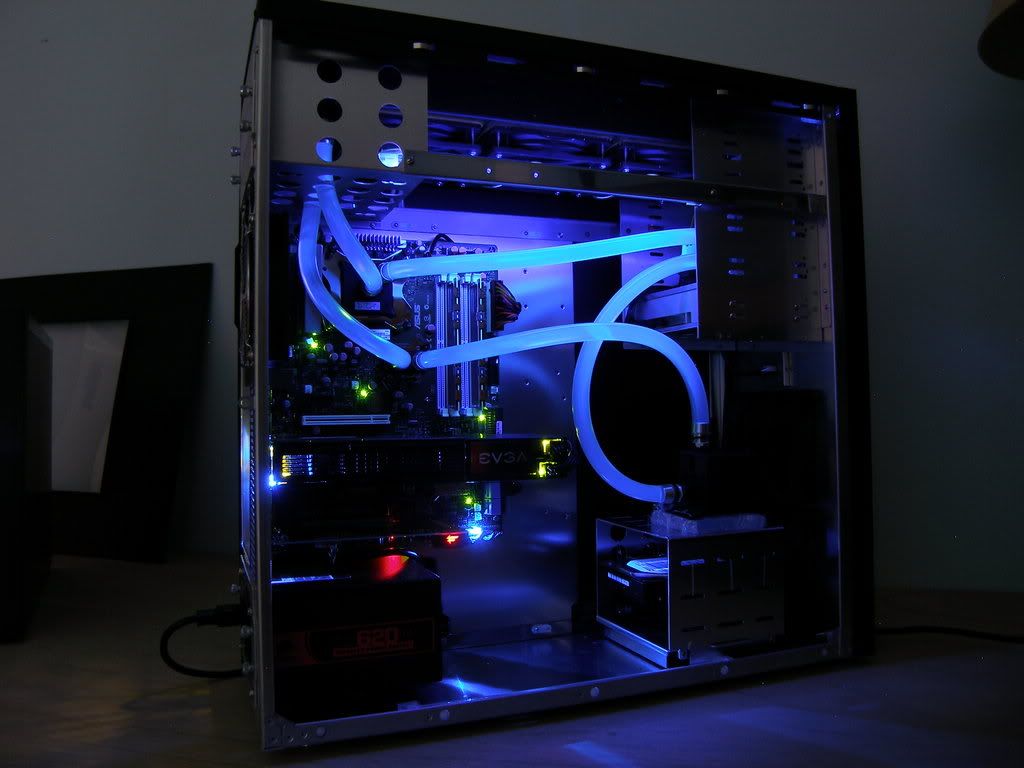
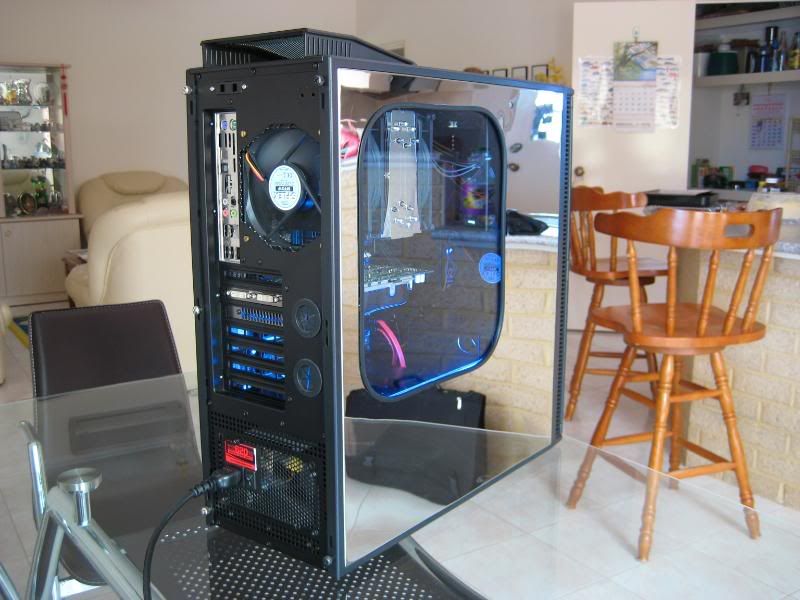
Two questions.
1st. Is your light on the bar at the top connecting the front to the back?
2nd. What color fluid is that blue?
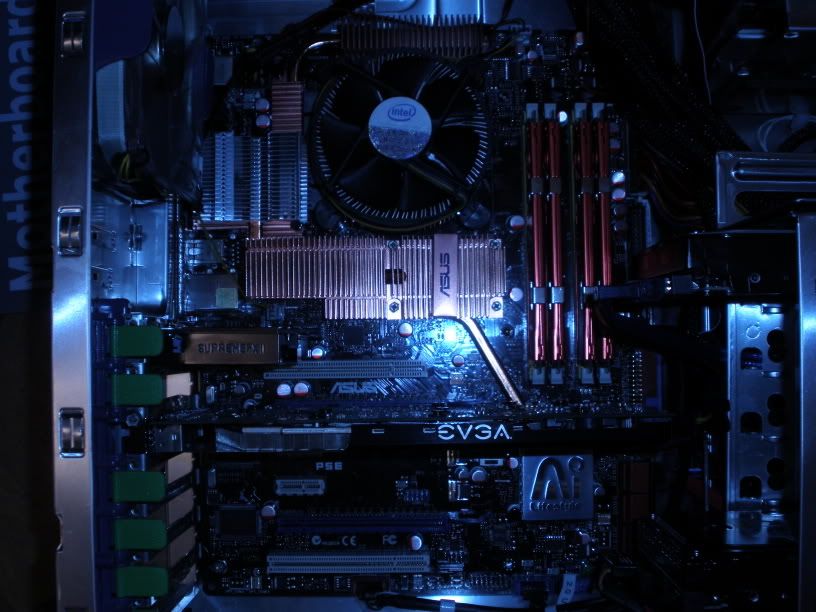
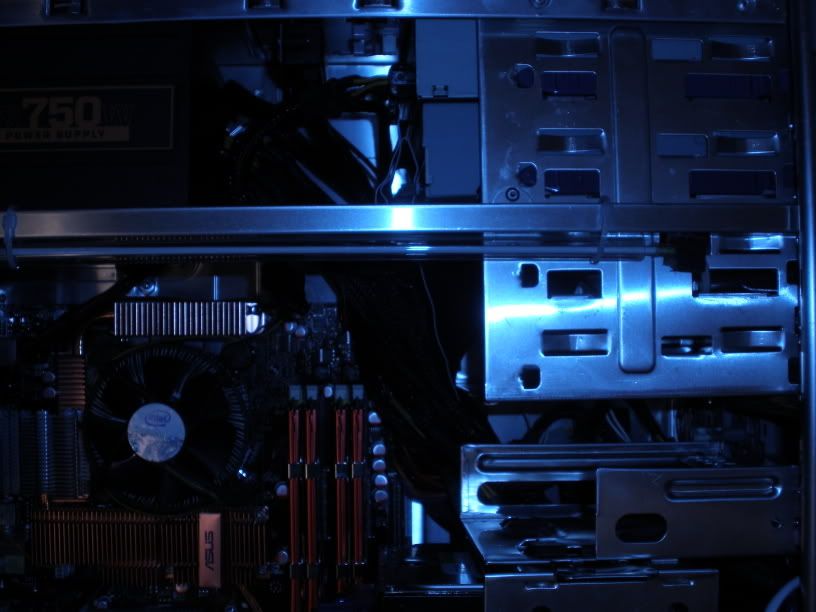
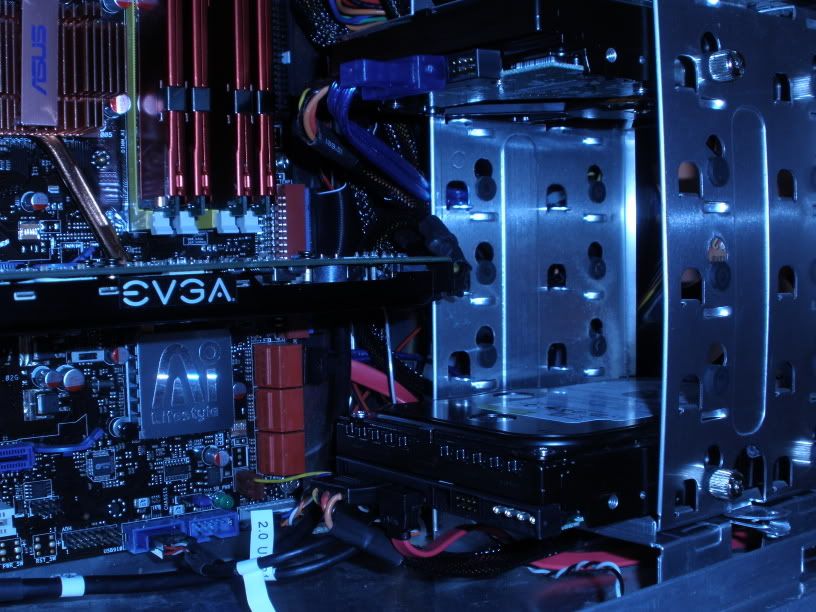
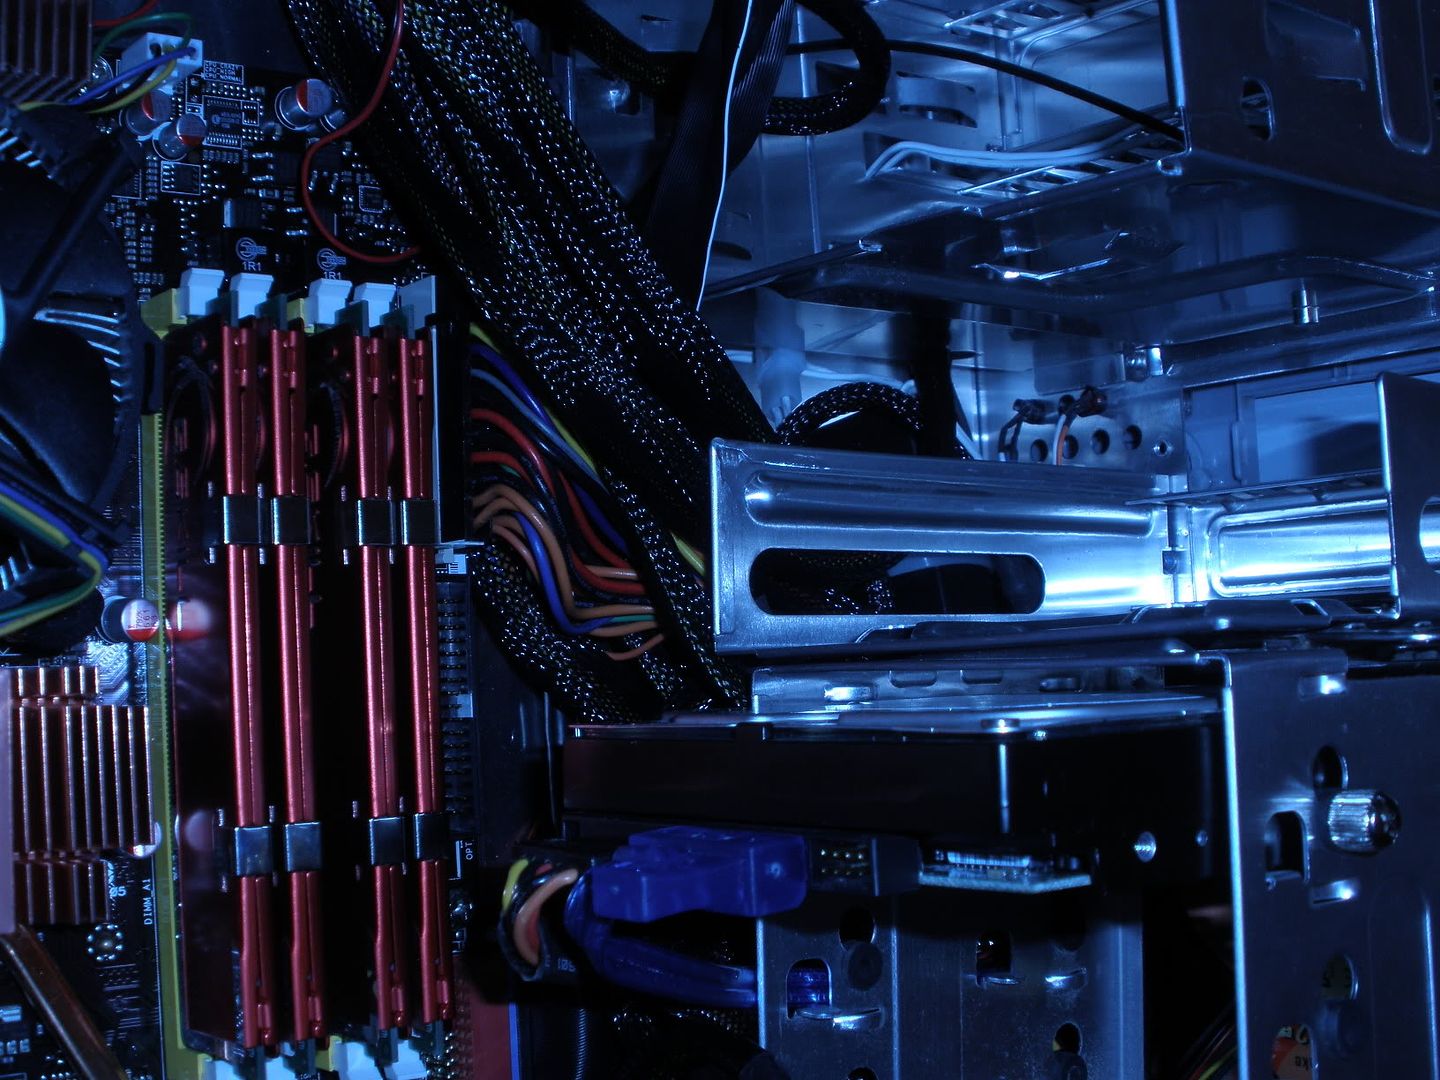
Haven't visited this place in a long time,but just finished building my first complete computer so I thought I would get some opinions on how it looks for a first time builder.
before hiding cables

after


specs
Thermaltake Armor MX+ case
Asus Rampage formula X48
Intel Q9550
EVGA 9800gtx+
A-DATA PC2-6400 4GB 2X2GB DDR2-800 240PIN DIMM Dual Channel Memory Kit W/ Heat Spreader
Seagate Barracuda 7200.11 640GB 3.5IN SATA2 HDD X 2
Thermaltake toughpower 750
Logitech G15 keyboard
Logitech G5 mouse
Notice the RAM isn't installed thats because I don't have it yet the great UPS lost it
so until it shows up I am still using the rig in my signature
before hiding cables
after
specs
Thermaltake Armor MX+ case
Asus Rampage formula X48
Intel Q9550
EVGA 9800gtx+
A-DATA PC2-6400 4GB 2X2GB DDR2-800 240PIN DIMM Dual Channel Memory Kit W/ Heat Spreader
Seagate Barracuda 7200.11 640GB 3.5IN SATA2 HDD X 2
Thermaltake toughpower 750
Logitech G15 keyboard
Logitech G5 mouse
Notice the RAM isn't installed thats because I don't have it yet the great UPS lost it
so until it shows up I am still using the rig in my signature
Excellent job gridracer. I really like that you did a nice job laying out the wires even in the back panel. It puts the wm into a true overall management instead of the "it looks neat in the front and everything else is out of sight, out of mind" situation often seen. Very nice work.