Navigation
Install the app
How to install the app on iOS
Follow along with the video below to see how to install our site as a web app on your home screen.
Note: This feature may not be available in some browsers.
More options
You are using an out of date browser. It may not display this or other websites correctly.
You should upgrade or use an alternative browser.
You should upgrade or use an alternative browser.
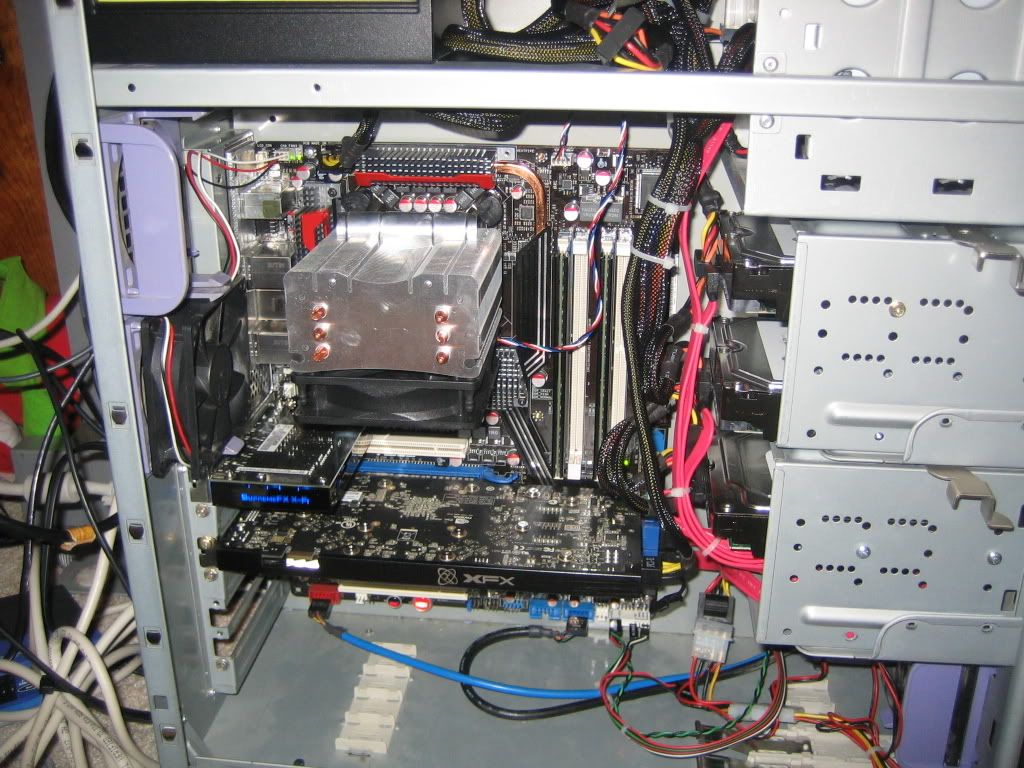
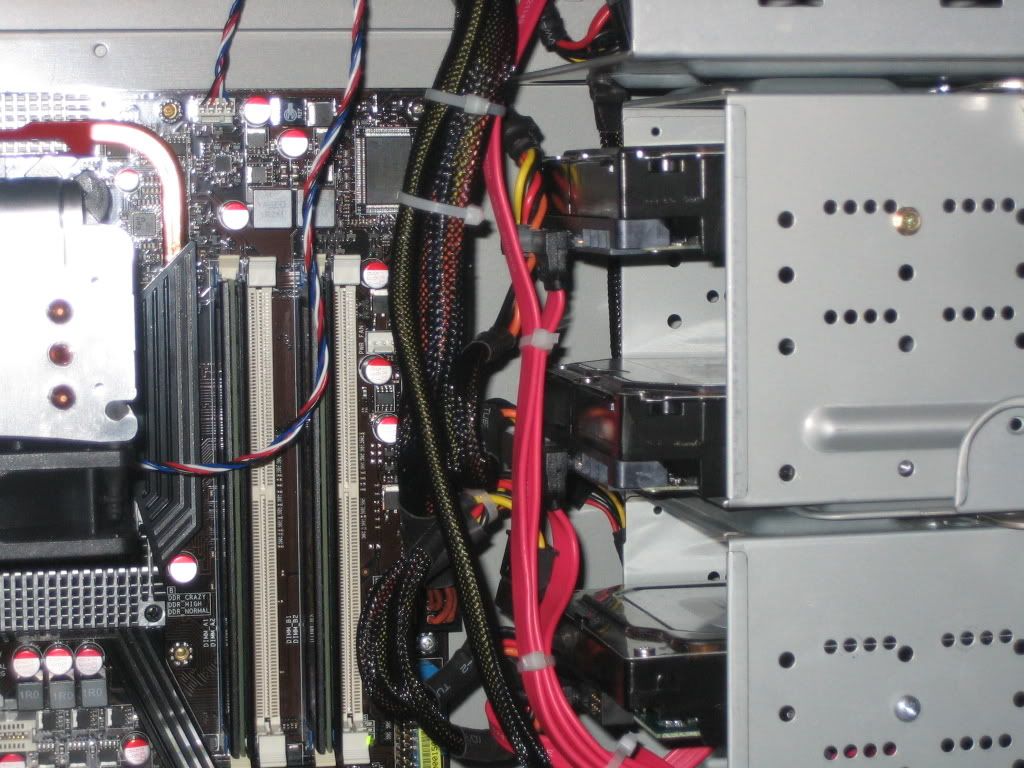
Post your "rate my cables" here
- Thread starter DRJ1014
- Start date


SevenWords
Limp Gawd
- Joined
- Sep 8, 2006
- Messages
- 501
img]http://photos-d.ak.facebook.com/photos-ak-snc1/v273/114/58/503211260/n503211260_1083315_6859.jpg[/img]
img]http://photos-c.ak.facebook.com/photos-ak-snc1/v273/114/58/503211260/n503211260_1083322_9086.jpg[/img]
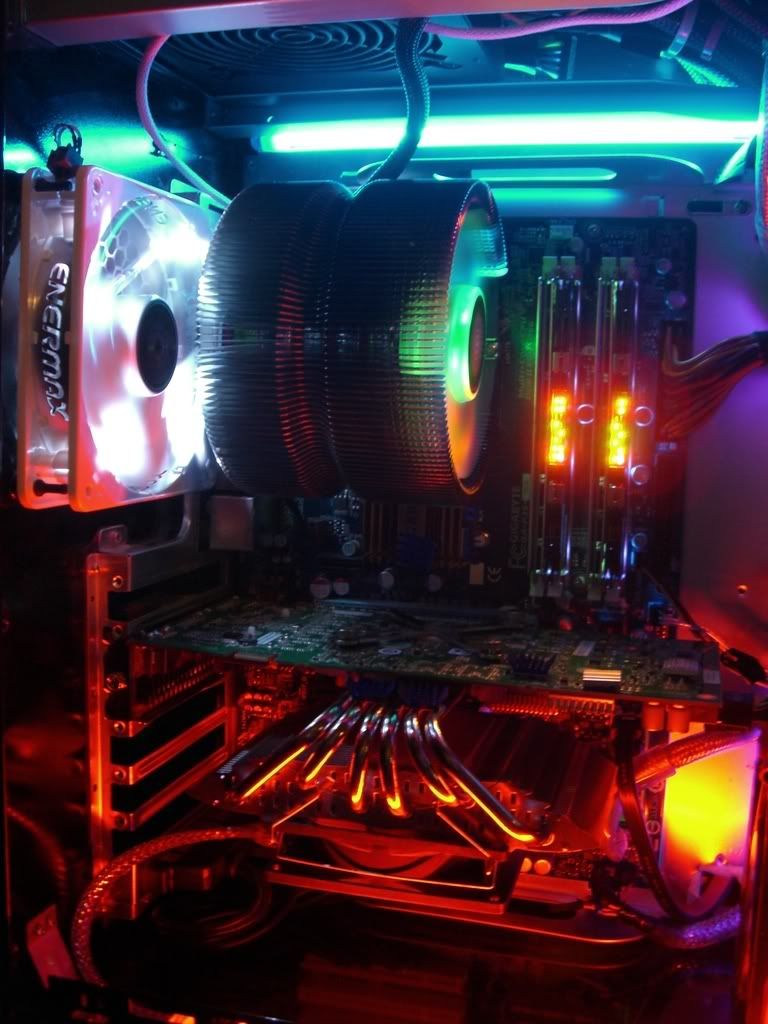
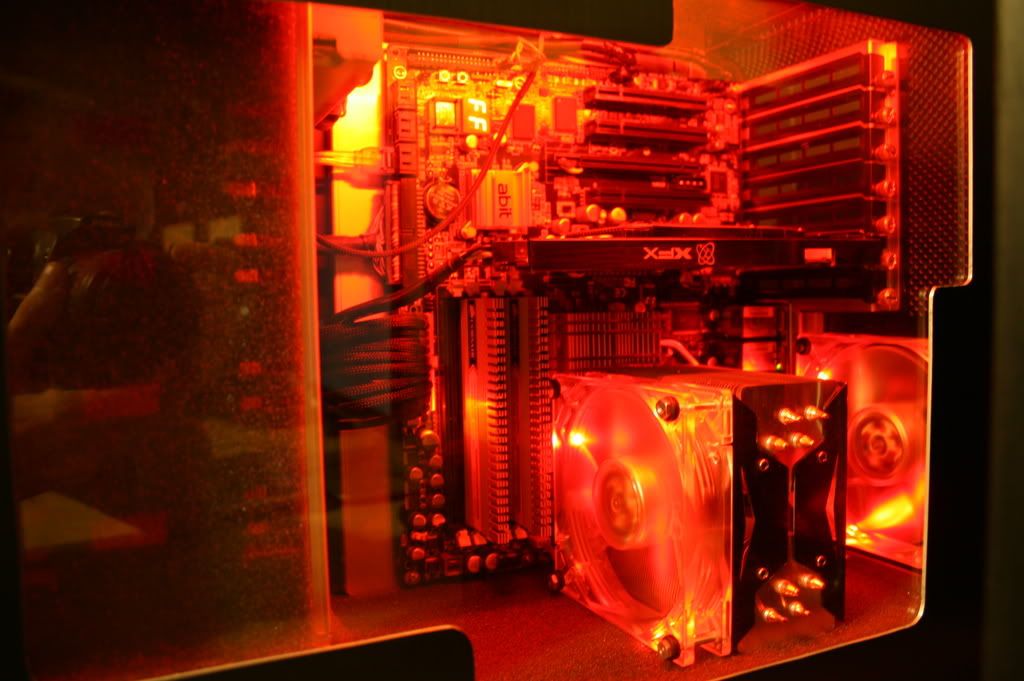
that's one build
img]http://photos-c.ak.facebook.com/photos-ak-snc1/v273/114/58/503211260/n503211260_1083298_9699.jpg[/img]

img]http://photos-c.ak.facebook.com/photos-ak-sf2p/v307/114/58/503211260/n503211260_1083362_2734.jpg[/img]
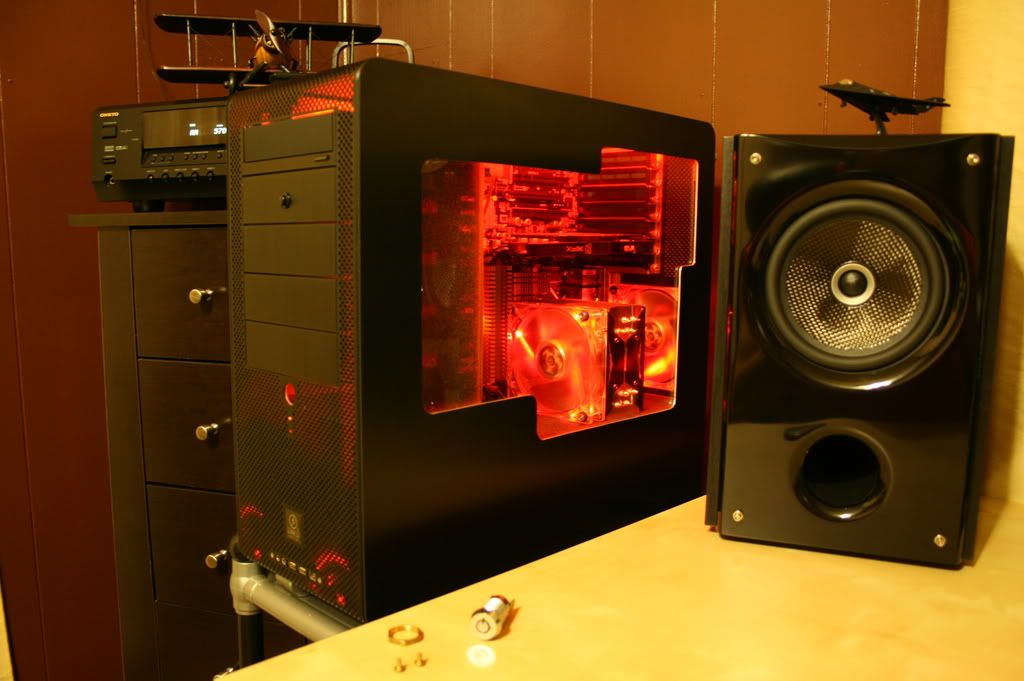
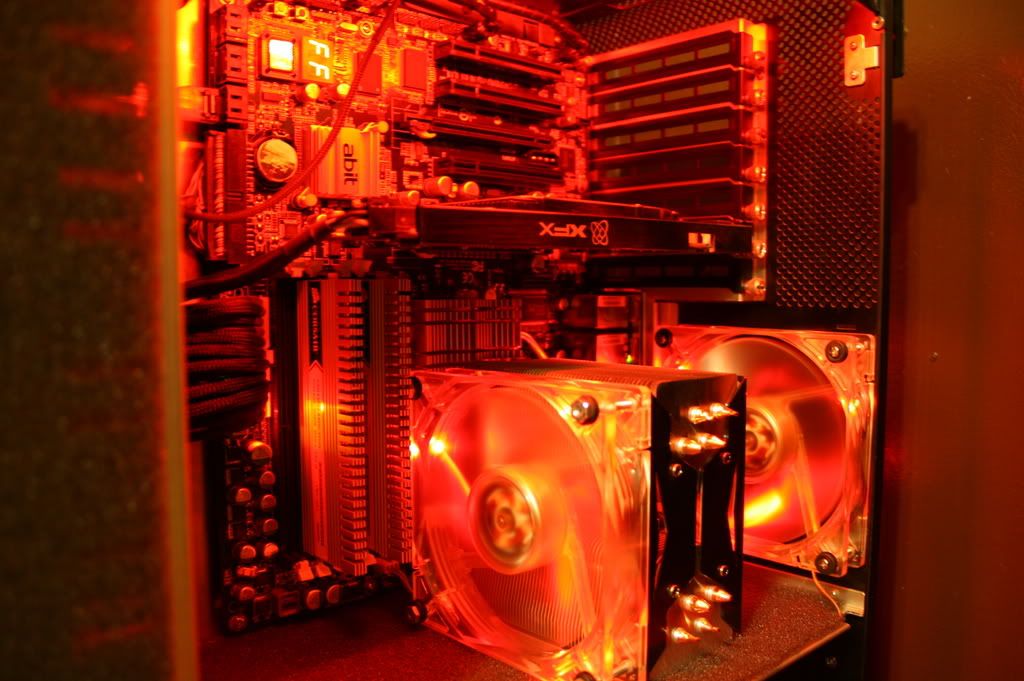
thats the other build
idk. i cant seem to get my cable management on the level as most of the pics shown here...my biggest problem is the fan cables...should i splice them and make them shorter or what? any suggestions?
Did you powdercoat the motherboard tray or is that just spray paint? If it's just paint I'm really impressed how that came out. I've been thinking about doing that for awhile in my TJ09 cause I don't like how the motherboard tray looks against all the other components in my case.
staradderdragoon
Limp Gawd
- Joined
- Jul 31, 2007
- Messages
- 173
Did you powdercoat the motherboard tray or is that just spray paint? If it's just paint I'm really impressed how that came out. I've been thinking about doing that for awhile in my TJ09 cause I don't like how the motherboard tray looks against all the other components in my case.
its just spray paint. primed it first of course but yeah.
Tr0j4nM4x1mus
Limp Gawd
- Joined
- Jul 25, 2007
- Messages
- 244
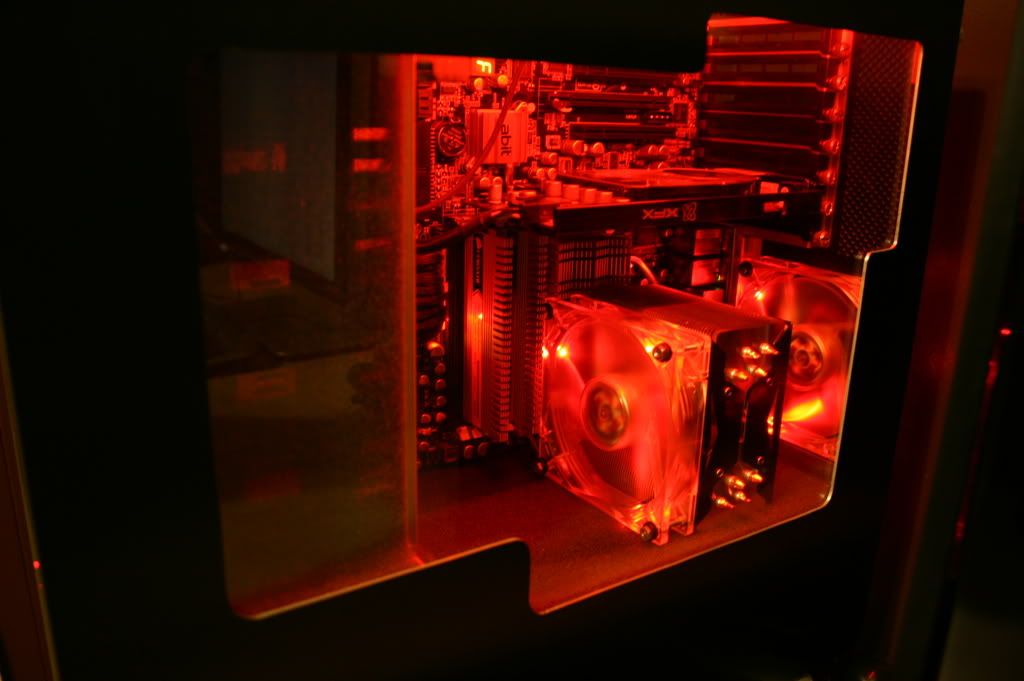
I like the black inside

cornelious0_0
[H]F Junkie
- Joined
- Apr 6, 2003
- Messages
- 12,783
Here's a pic of the 5 minute wiring job I did with a client's PC-A05 a little while ago (sorry for the bad quality). No mods to the case and no extra time spent wiring things, just how it turned out, not to shabby...he was impressed at least. ")

cornelious0_0
[H]F Junkie
- Joined
- Apr 6, 2003
- Messages
- 12,783
A couple more here from me:
A build that I'm working on for a customer of mine, a fairly quick wiring job, still have to setup the watercooling...thing's are still in progress:

And here's the updated wiring of my very own Shuttle system after getting the HD4870 installed...my camera sucks, but that aside I'm fairly pleased with things:


A build that I'm working on for a customer of mine, a fairly quick wiring job, still have to setup the watercooling...thing's are still in progress:
And here's the updated wiring of my very own Shuttle system after getting the HD4870 installed...my camera sucks, but that aside I'm fairly pleased with things:
I finally got the interior lined and I settled on a color. Disregard the hole where the power switch should be, I plan on getting a new one... maybe a Bulgin Vandal. Also disregard the wire that's hanging inside... it belongs to the soon to replaced power switch. I was also thinking of getting some mesh bay covers.
Modred189
Can't Read the OP
- Joined
- May 24, 2006
- Messages
- 16,392
Looks nice. Did you individually sleeve the ATX power cables?
Also, that looks like an Insignia speaker. Like them?
Also, that looks like an Insignia speaker. Like them?
AthlonXP
Fully [H]
- Joined
- Oct 14, 2001
- Messages
- 20,596
Great wiring layout overall, I do you have any more pics in details on how you layed out the wiring. I have the same case so I wanted to see how well you setup the wiring.
Looks nice. Did you individually sleeve the ATX power cables?
Also, that looks like an Insignia speaker. Like them?
Yes I did each of the 24 pins... kind of fun too
and I love the Insignias, can't beat 'em for the $50 I paid for them back when... actually you can't really beat 'em for the money BB is asking now.Great wiring layout overall, I do you have any more pics in details on how you layed out the wiring. I have the same case so I wanted to see how well you setup the wiring.
No, sorry I don't have any pics while I was wiring it... but I can tell you exactly how I did it if you'd like... it did require a few small mods... mainly cutting away metal in two specific areas.
wow that is really sweet toobookoo. I guess i revived this thread with my setup
Thank you... and I noticed a few other threads that might need revived too
cornelious0_0
[H]F Junkie
- Joined
- Apr 6, 2003
- Messages
- 12,783
Very nice work TooBooKoo...the lighting's a little bold for me but overall a very consistent and uniform look.
Probably the first time I've seen someone sleeve the ATX wires separately...cool idea.
Probably the first time I've seen someone sleeve the ATX wires separately...cool idea.
Very nice work TooBooKoo...the lighting's a little bold for me but overall a very consistent and uniform look.
Probably the first time I've seen someone sleeve the ATX wires separately...cool idea.
Thanks... it's actually more blood red that the pics allow... no orange tint at all.
what type of camera do you have i can see it in the reflection in one of the pics?
It's a Digital SLR... Canon XTi 400D
Nice Toobookoo. Sexy speakers too man.
Thanks... I love how the speaker compliment the HP monitor.
Need a case with actual cable management abilites before I even dare to post here >.<
Very nice work everyone they all look nice.
The day has come, I bought my Antec Tweleve hundred!!! Can't wait for it to get here.
cornelious0_0
[H]F Junkie
- Joined
- Apr 6, 2003
- Messages
- 12,783
The day has come, I bought my Antec Tweleve hundred!!! Can't wait for it to get here.
It's such a freaking amazing beast of a case!!!
Check out my pic further up, above the (crappy) pictures of my Shuttle...that wiring took no time at all, the case is so spacious and has some of the best stock cooling I've ever seen in a case that size.
You won't be disappointed.
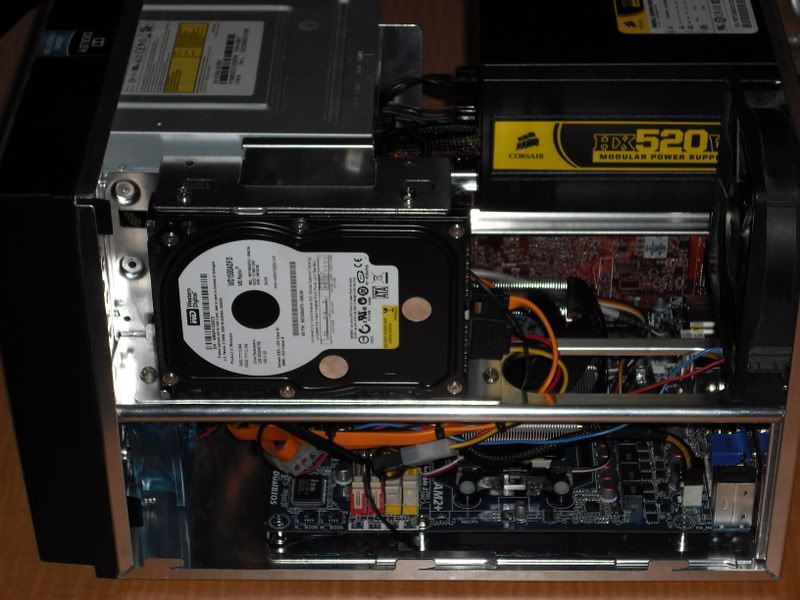
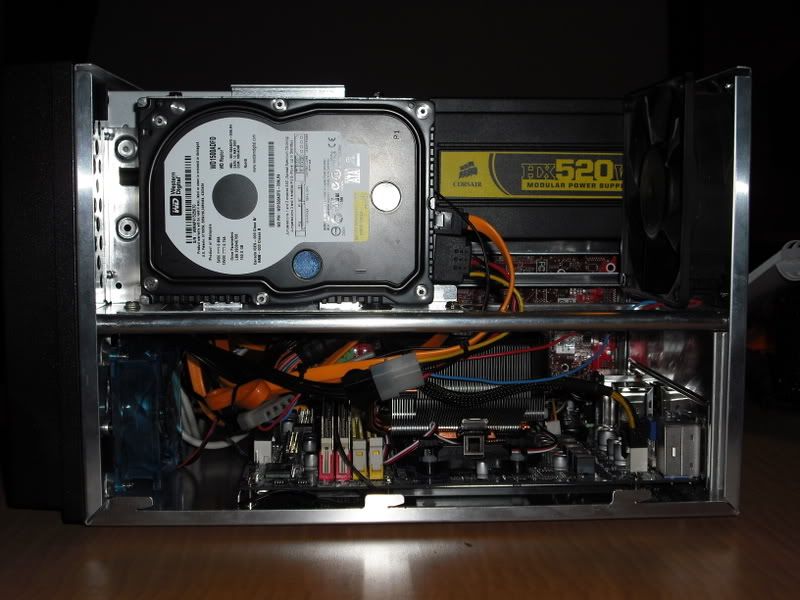
Just spent about 6 hours wiring this thing up, I think it turned out great for all the hardware packed in there. I thought about trying to run the black USB, FireWire, and Audio cables up under the motherboard, but decided it wasn't worth it, especially for a case that doesn't even have a window. I didn't really set out to make it so clean, just got a little carried away. I took some pictures that should help explain the magic.
Full Specs
Antec Solo
Asus P5E-VM HDMI
Intel E7200
2GB of DDR2 (on the way)
Antec 380W EarthWatts (got this for $5 after rebate)
Super Micro CSE-M35T-1B
Western Digital WD6400AAKS
5 x Western Digital WD10EACS
Samsung SH-183 DVD-RW
HighPoint 2320
Thermalright HR-01 Plus
Scythe S Flex SFF21E (120mm on CPU)
Scythe Kama Flex SA0925FDB12L (92mm in Super Micro drive cage)
Scythe Kama Flex SA0825FDB12SL (80mm bottom exhaust)
Yate Loon D12SL-12 (120mm top exhaust)
Pics

Yes, I know there are dirty dishes in the sink, I will get them tomorrow.

80mm exhaust fan to make sure the RAID card stays cool. Held in with zip ties. Put a silicon pad between the fan and case to help with vibrations.

View from the other side.

Here you can see how I snaked the wiring between the RAID card and the motherboard.

Up top by the Super Micro cage.

Ran the fan wires through the mounting hole to keep them neat.

That's where all those long SATA cables sent.

Complete front view, no hard drives yet.

Power connection for the WD6400AAKS.

Close up of the suspended hard drive.

View from inside the case looking out.

And the back. Dirty dishes are still there.

AUX power cable.

These organizer hooks are amazing.

Power and data connection for DVD-RW.

Power and data connection for DVD-RW from the back, looking up.

The SATA cables from the DVD drive and boot HDD.

Another look at the big mess of cables.

Closeup of big cable mess.

Full Specs
Antec Solo
Asus P5E-VM HDMI
Intel E7200
2GB of DDR2 (on the way)
Antec 380W EarthWatts (got this for $5 after rebate)
Super Micro CSE-M35T-1B
Western Digital WD6400AAKS
5 x Western Digital WD10EACS
Samsung SH-183 DVD-RW
HighPoint 2320
Thermalright HR-01 Plus
Scythe S Flex SFF21E (120mm on CPU)
Scythe Kama Flex SA0925FDB12L (92mm in Super Micro drive cage)
Scythe Kama Flex SA0825FDB12SL (80mm bottom exhaust)
Yate Loon D12SL-12 (120mm top exhaust)
Pics
Yes, I know there are dirty dishes in the sink, I will get them tomorrow.
80mm exhaust fan to make sure the RAID card stays cool. Held in with zip ties. Put a silicon pad between the fan and case to help with vibrations.
View from the other side.
Here you can see how I snaked the wiring between the RAID card and the motherboard.
Up top by the Super Micro cage.
Ran the fan wires through the mounting hole to keep them neat.
That's where all those long SATA cables sent.
Complete front view, no hard drives yet.
Power connection for the WD6400AAKS.
Close up of the suspended hard drive.
View from inside the case looking out.
And the back. Dirty dishes are still there.
AUX power cable.
These organizer hooks are amazing.
Power and data connection for DVD-RW.
Power and data connection for DVD-RW from the back, looking up.
The SATA cables from the DVD drive and boot HDD.
Another look at the big mess of cables.
Closeup of big cable mess.
jonneymendoza
Supreme [H]ardness
- Joined
- Sep 11, 2004
- Messages
- 6,398
you should post that on teh ghetto mod thread. laces? strings? LOL
you talking about the hard drive mounting?you should post that on teh ghetto mod thread. laces? strings? LOL
the case came with those
jonneymendoza
Supreme [H]ardness
- Joined
- Sep 11, 2004
- Messages
- 6,398
you talking about the hard drive mounting?
the case came with those
yea. thats even more ghetto lol!
yea. thats even more ghetto lol!
... Antec Solo. It's part of Antec's design, partially influenced by the folks at SilentPCReview. Hardly a ghetto mod; it helps virtually eliminate hard drive vibration. Put your hand to the case and you'll feel no vibrations from the HDD while it seeks.
cornelious0_0
[H]F Junkie
- Joined
- Apr 6, 2003
- Messages
- 12,783
EnderW, nice pics...I need a camera like that. One thing that stands out more then anything else is you could have easily tucked the front panel USB cables under the motherboard and fed them up to the front of the case behind the drive bays.
Overall given the layout of that case the wiring is pretty good, but all that slack on those USB headers could easily be tucked under the board and behind the drive cage.
Overall given the layout of that case the wiring is pretty good, but all that slack on those USB headers could easily be tucked under the board and behind the drive cage.


Hope someone can give me some ideas on how to work these cables better in this case.
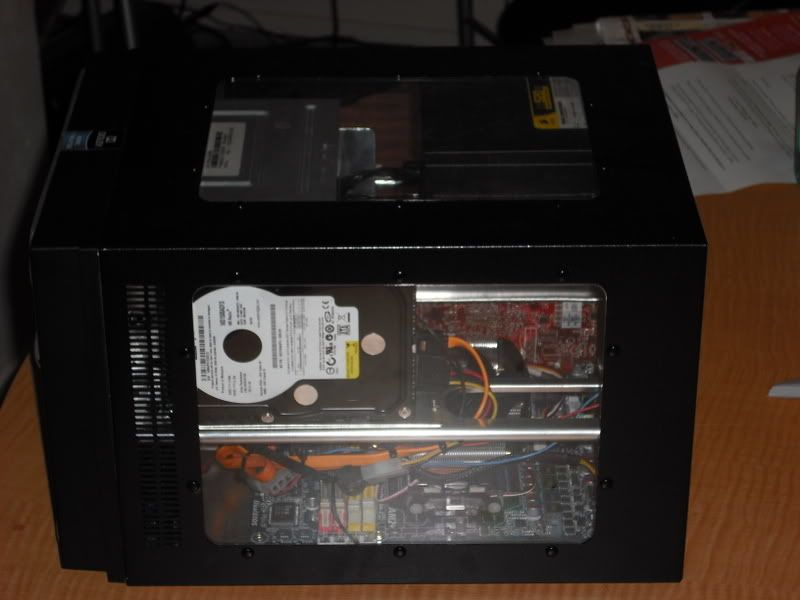
Nice case! I got one too, almost identical, an Ultra Micro Fly.
Not bad for tinkering with, I like the removable mobo tray and 120mm exhaust.
Couple things I did to help cable management:
- I stashed all my extra cable below the optical, which I have in the top bay. I tied one or two wires there, and they hold the rest up out of the way. My PSU is custom sleeved and has less cable, and the sata lines are not sleeved. I carefully packed it all so that spare lines were easy to access, and used lines were routed first.
- Use the cross braces to ziptie and run wire (notice the front panel wires and sata line, it hides a lot of it and keeps things from springing out into view.
- Impossible to properly deal with a pata cable (from my DVD), so I just kept it perpendicular to the flow of air.
- Keep the front fan area as clear as possible, this case already suffers a lot from lack of intake (they added vents on the side panel of yours)
Pics are old, missing the PVR and was using a Scythe Samurai HSF.
Current System Specs:
Abit NF-M2 motherboard
X2-5000 Black Edition
Thermalright XP-90 w/ Scythe PWM 90mm Fan
2 x 1GB OCZ DDR2-6400 HPC
XFX 7600XXX
Hauppauge PVR150
Seagate 250GB Boot Sata2
Seagate 500GB Media Sata2
LG DVD/RW
FSP Fortron Sparkle 400W
Ultra Micro Fly case
X2-5000 Black Edition
Thermalright XP-90 w/ Scythe PWM 90mm Fan
2 x 1GB OCZ DDR2-6400 HPC
XFX 7600XXX
Hauppauge PVR150
Seagate 250GB Boot Sata2
Seagate 500GB Media Sata2
LG DVD/RW
FSP Fortron Sparkle 400W
Ultra Micro Fly case


.
D
Deleted member 89137
Guest
ETC
.
I think you posted a few more pictures than was necessary....
nice case, i had thought about cutting some holes into the front of the case and hiding the cables between the front and the outter face area.
Not much room there, but I know what you mean. I recently ran into a youtube mod of this case by mnpctech.com, and they ended up fabricating a custom front bezel to facilitate 2x 120mm intake fans lol. Used a Simpson's theme, nice piece in the end! There are serveral parts of video, here's the first:
http://www.youtube.com/watch?v=NX3YbhRrOvM
.
I think you posted a few more pictures than was necessary....
Sorry, can't help myself sometimes
I'll trim it down if you really think I should.
.
P
PÿRÓ
Guest
My Lian Li before I cut it up


AthlonXP
Fully [H]
- Joined
- Oct 14, 2001
- Messages
- 20,596
wow that is very very clean man, good job.
cornelious0_0
[H]F Junkie
- Joined
- Apr 6, 2003
- Messages
- 12,783
I must say PÿRÓ...I'm impressed...one of the nicest wiring jobs I've seen in one of my beloved LiLi's without chopping it up.
My hat's off to you sir...quite the accomplishment in itself.
My hat's off to you sir...quite the accomplishment in itself.
Yes, outstanding! I love the custom sata power, rare to see. I also love the routing of the ATX and other lines, perfectly straight and perpendicular.
I have that case, a little noisy but a dream to work in. Only ran 1x HD so I plunked it in a Lian-Li 5.25 drive bay adapter and left the lower drive bay out for better airflow. Currently not in use, I moved the system that was in it to a server case, and can't decide what next to put in it. It's the only all aluminum case I have, very nice for the $, I really want to use it again.
.