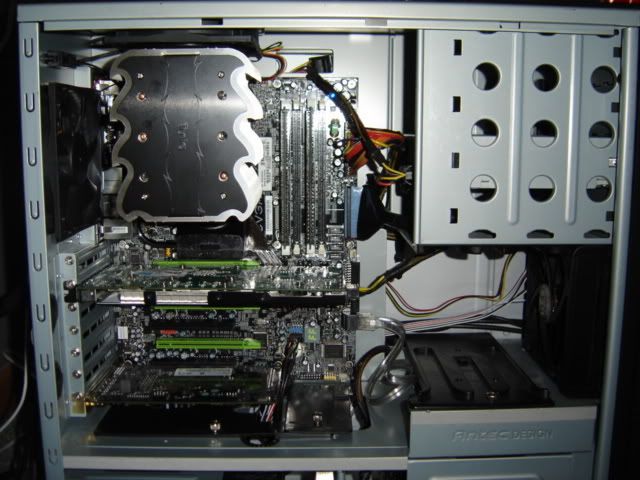
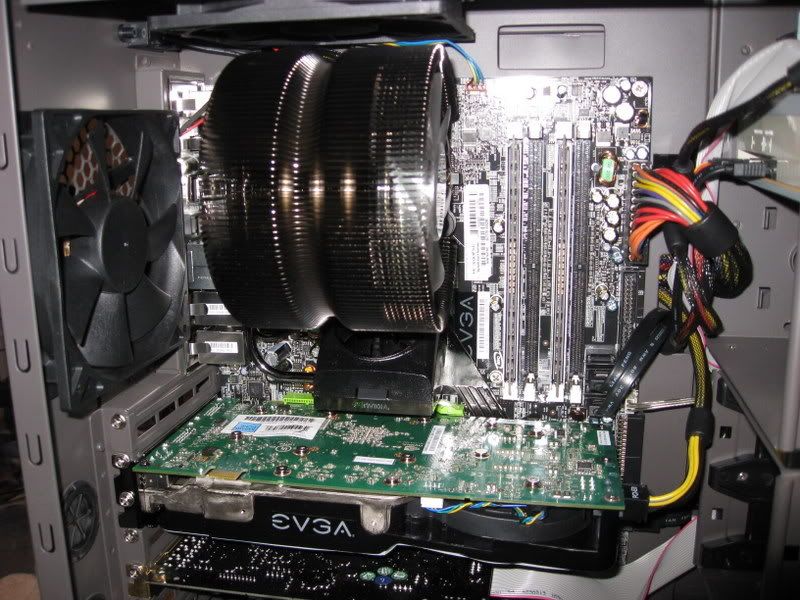
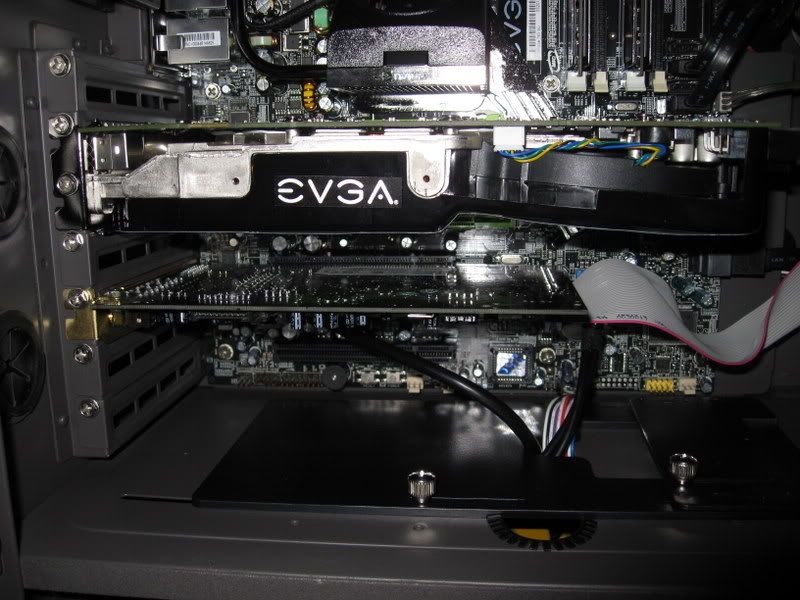
Jeeze, if you want to take a close up pic, scoot back a bit with the camera, and ZOOM in. You'll get a clear pic and not look like you don't know how to take pix.
or, if your camera takes large enough pictures, just crop it instead of resizing it

Follow along with the video below to see how to install our site as a web app on your home screen.
Note: This feature may not be available in some browsers.
Jeeze, if you want to take a close up pic, scoot back a bit with the camera, and ZOOM in. You'll get a clear pic and not look like you don't know how to take pix.
Ahh, that makes sense.Oops, I should really convert my prices into US currency. $20 Aussie
You're flat out insane if you're paying $30 for fans. Any fans. Unless they give blowjobs. Or shoot magic candy when you turn them on. Barf rainbows. Something.
Jeeze, if you want to take a close up pic, scoot back a bit with the camera, and ZOOM in. You'll get a clear pic and not look like you don't know how to take pix.
No, the best way is to turn on MACRO MODE (usually looks like a tiny flower icon somewhere).
Then get up to the thing you're taking a picture of, hold the shutter button at half, to let it find the focus, then snap the pic.
Use the ghetto mod of cutting in between the cables and zip tie em up
@Fritzz
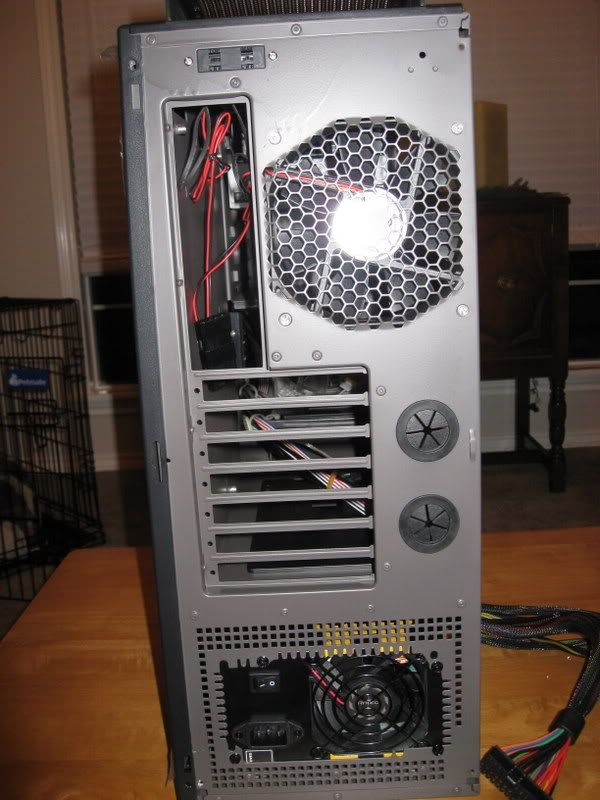
What did you use to tint the case like that? Looks like it came from the factory like that.


I would assume that many of us would rather purchase a case with a side window (preferable without the drive bays showing) as is offered with other brands of cases. It seems a shame to have to order a custom modded side panel that costs more than the original cost of the case (counting recent rebate at NewEgg). OK--I am too lazy to do it myself -- my age is showing...
MikeSp
I'm ok with cases coming with windows but I wouldn't want them to all be like that. I prefer mine window-less.
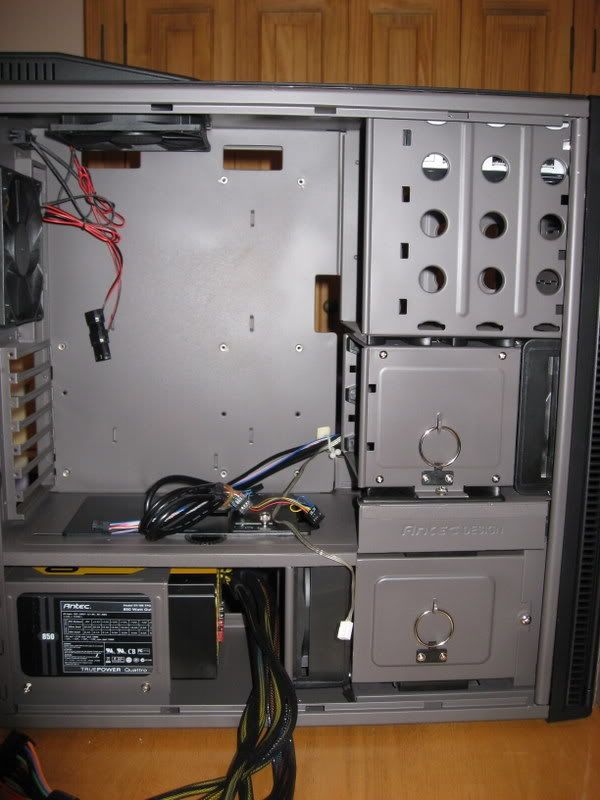
But it's shame that I'm unable to mount a 120mm fan infront of the disk cage at the bottom of the case.