It's really not that difficult. All it takes is a steady hand and the ability to trace. You don't have to be artistic, though it does help sometimes.
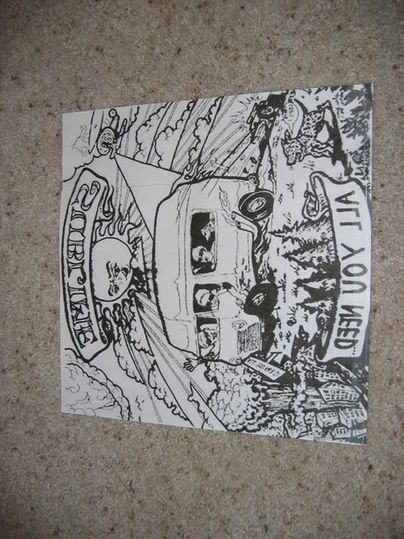
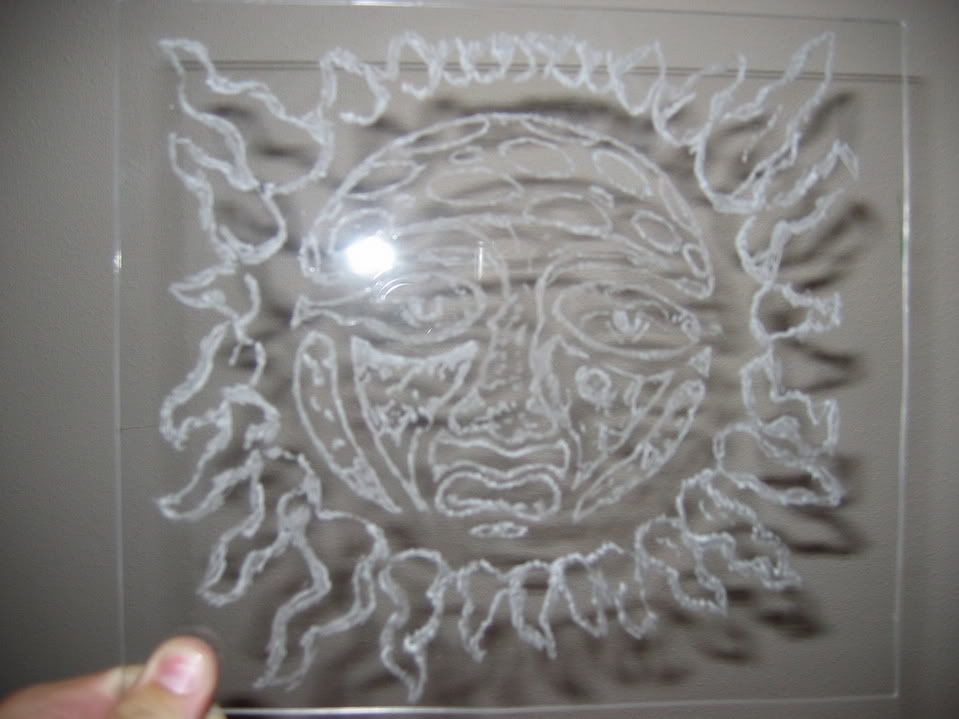
Here's the last etching I did:


Here's a quick walkthrough:
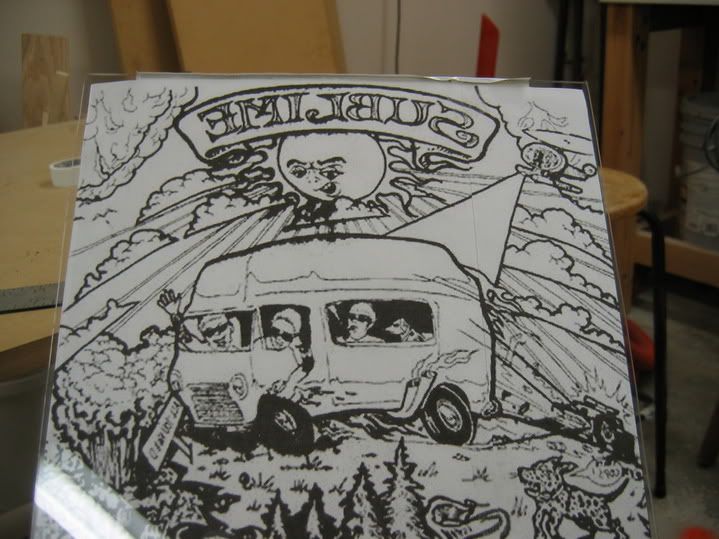
1. I found a nice, high-resolution picture on the net. I printed it out on regular paper.
2. I decided what part of the picture I wanted to use as the etch, then I started tracing over it with a super-fine Sharpie. You can get as crazy as you want with this step. I went the simple route and turned it into a line drawing.
3. Next, I turned the drawing over to check if the Sharpie bled through. On the places it didn't, I re-traced. This is important because I use the "bled through side" for etching.
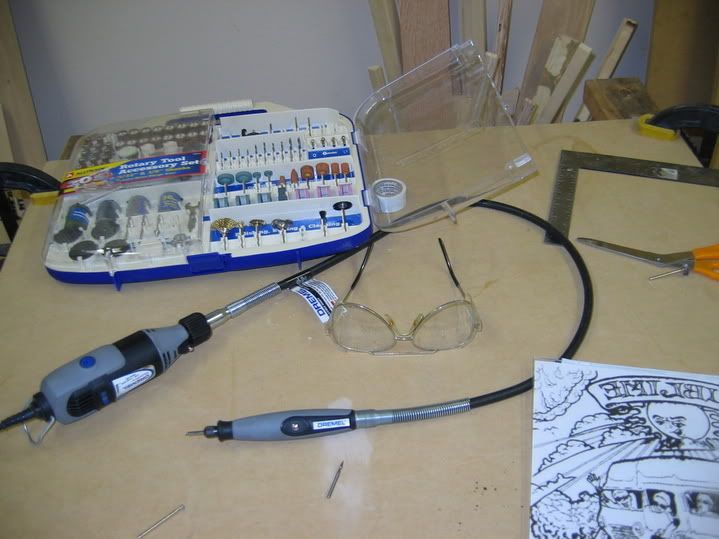
4. Almost to the etching part now. I taped the line drawing down to a table, then taped the plexi down on top of it.
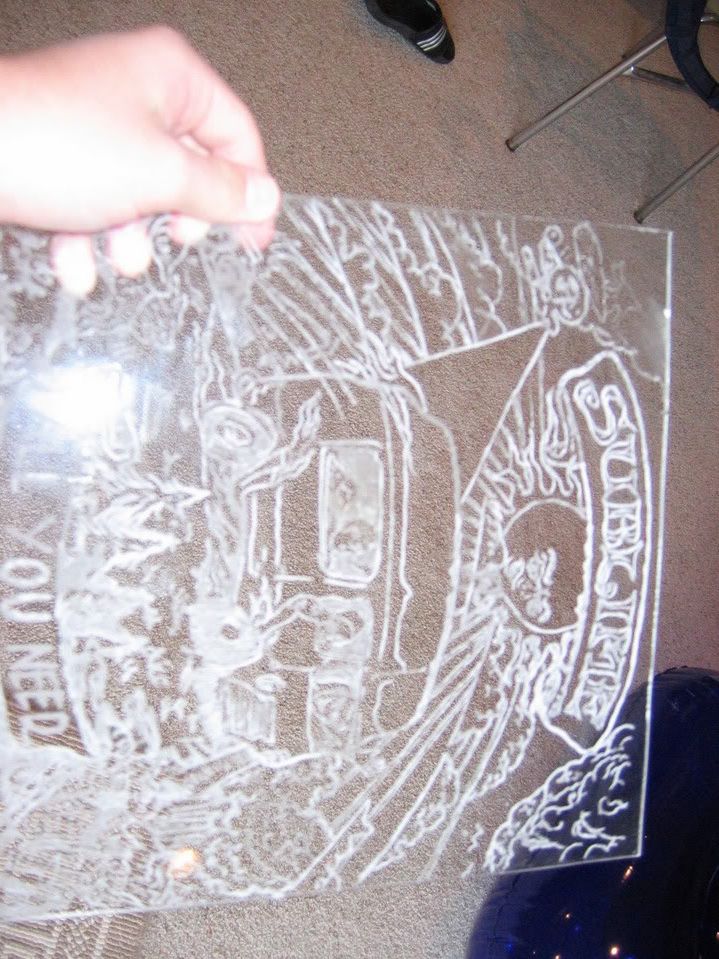
5. Using an engraving bit (~1/32" in size) and a dremel on the LOWEST speed possible, I began tracing the drawing. About 45 minutes later I was done.
6. I mounted the window with the etched-side to the inside. This looks better and makes cleaning easier. Also, I end up with non-reversed etching since I flipped the original picture.
Hopefully that can get some of you started.
Here's the last etching I did:
Here's a quick walkthrough:
1. I found a nice, high-resolution picture on the net. I printed it out on regular paper.
2. I decided what part of the picture I wanted to use as the etch, then I started tracing over it with a super-fine Sharpie. You can get as crazy as you want with this step. I went the simple route and turned it into a line drawing.
3. Next, I turned the drawing over to check if the Sharpie bled through. On the places it didn't, I re-traced. This is important because I use the "bled through side" for etching.
4. Almost to the etching part now. I taped the line drawing down to a table, then taped the plexi down on top of it.
5. Using an engraving bit (~1/32" in size) and a dremel on the LOWEST speed possible, I began tracing the drawing. About 45 minutes later I was done.
6. I mounted the window with the etched-side to the inside. This looks better and makes cleaning easier. Also, I end up with non-reversed etching since I flipped the original picture.
Hopefully that can get some of you started.