Checking in with my Ender3 pro

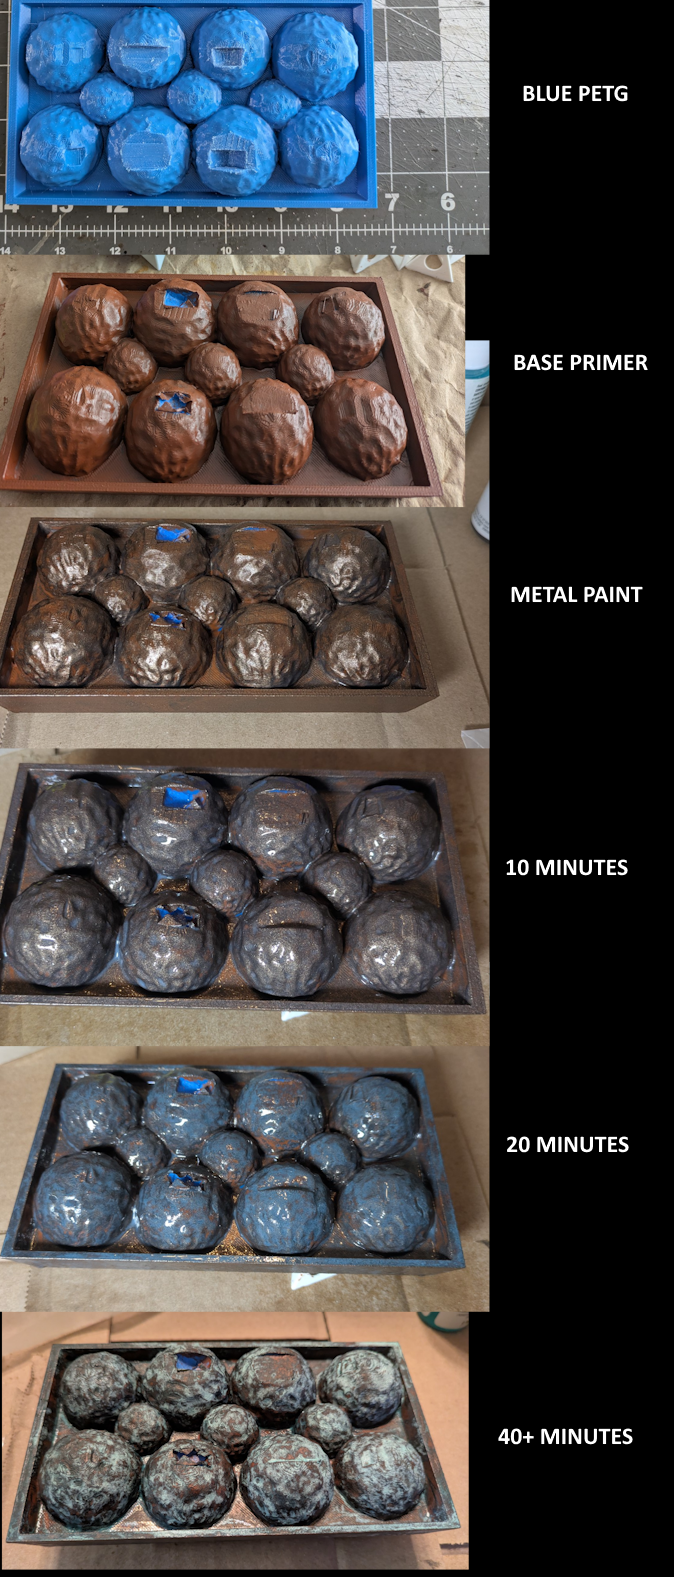
Oh heck yeah! Modern Masters (Rustoleum subsidiary) oxidizing paint (prob past expiration date) is really working the juices!

Look at me patina my blue balls!

1753766987958.png
 
Does that paint even work on PETG? I thought PETG couldn't be painted. It has chemical resistance properties. Unless that print is just for short term temporary use... you might start to see paint peeling off.

For example, I tried to superglue two flat PETG faces together. It worked for 1 day. I was able to pull both parts apart by hand.
The only glue I know that works on PETG is hot melt glue or epoxy. I heard PETG doesn't even dissolve in acetone or MEK.
 
So far is working out well. Lightly sanding it all, applied the included primer, and then paint on top of that primer.

Everything will get a clear coat as I would hate for my artful patina to be disturbed.
 
I guess we'll see. Not super concerned at the moment just that my art is made known to the world. ;)
 
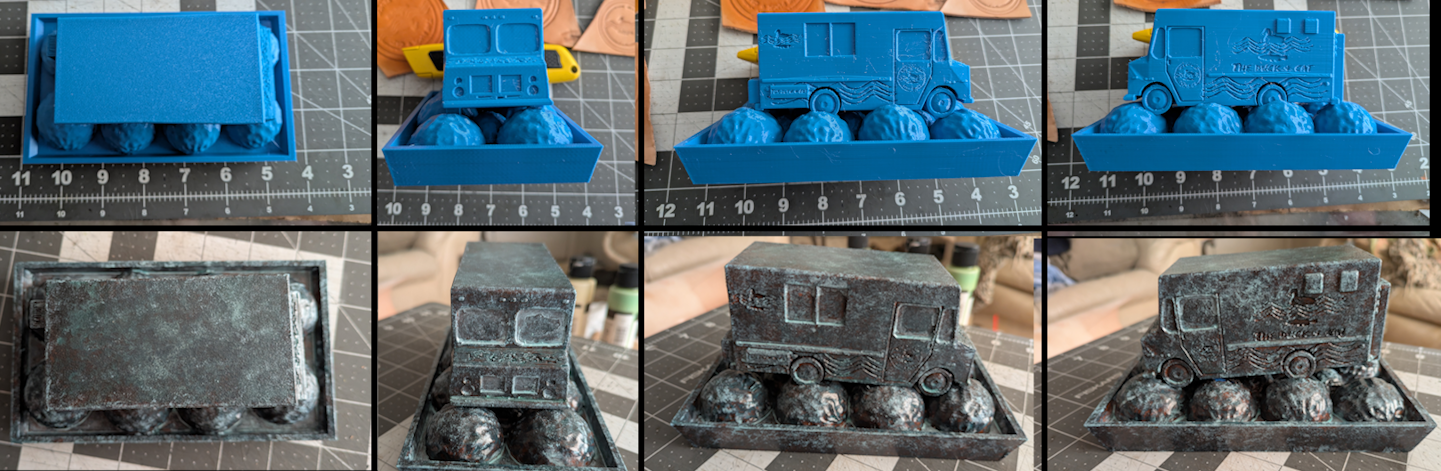
Turned out about what I was expecting.

Made a few critical errors with the patina'ing paint, but what eves.

1754243301810.png


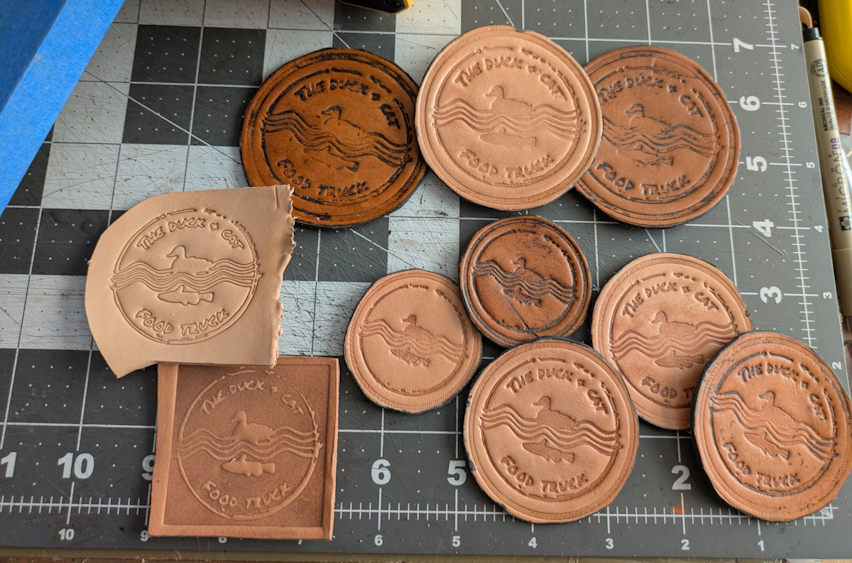
Also been experimenting with 3d printed leather stamps. Some worked well.. some didn't.. I think if I venture down this route I'll need to buy an arbor press. Bleh.

1754243342907.png
 
Well PLA has good "Crush load" properties... but I don't know how much pressure you're applying against that leather.. PETG would be the worst material for leather stamping cause its supposed to be soft and flexible.
You'd have to move up into ABS / ASA or ASA-CF, I dunno. Not sure if plastic is really supposed to be used for that kinda application.

How come you can't use PLA for that painted model? Exposure to heat? If so... then it's time to move onto ABS.
 
Anyone have a Printables.com account? Follow me, and I'll give you a follow! https://www.printables.com/@Jammy_1827378/models

I've been gathering all the models I modified and reuploaded them as remixes and uploaded pictures of my makes. I have 2 original uploads that I made. Nothing too fancy, but I'm working on point farming for a free spool of Prusa Filament.

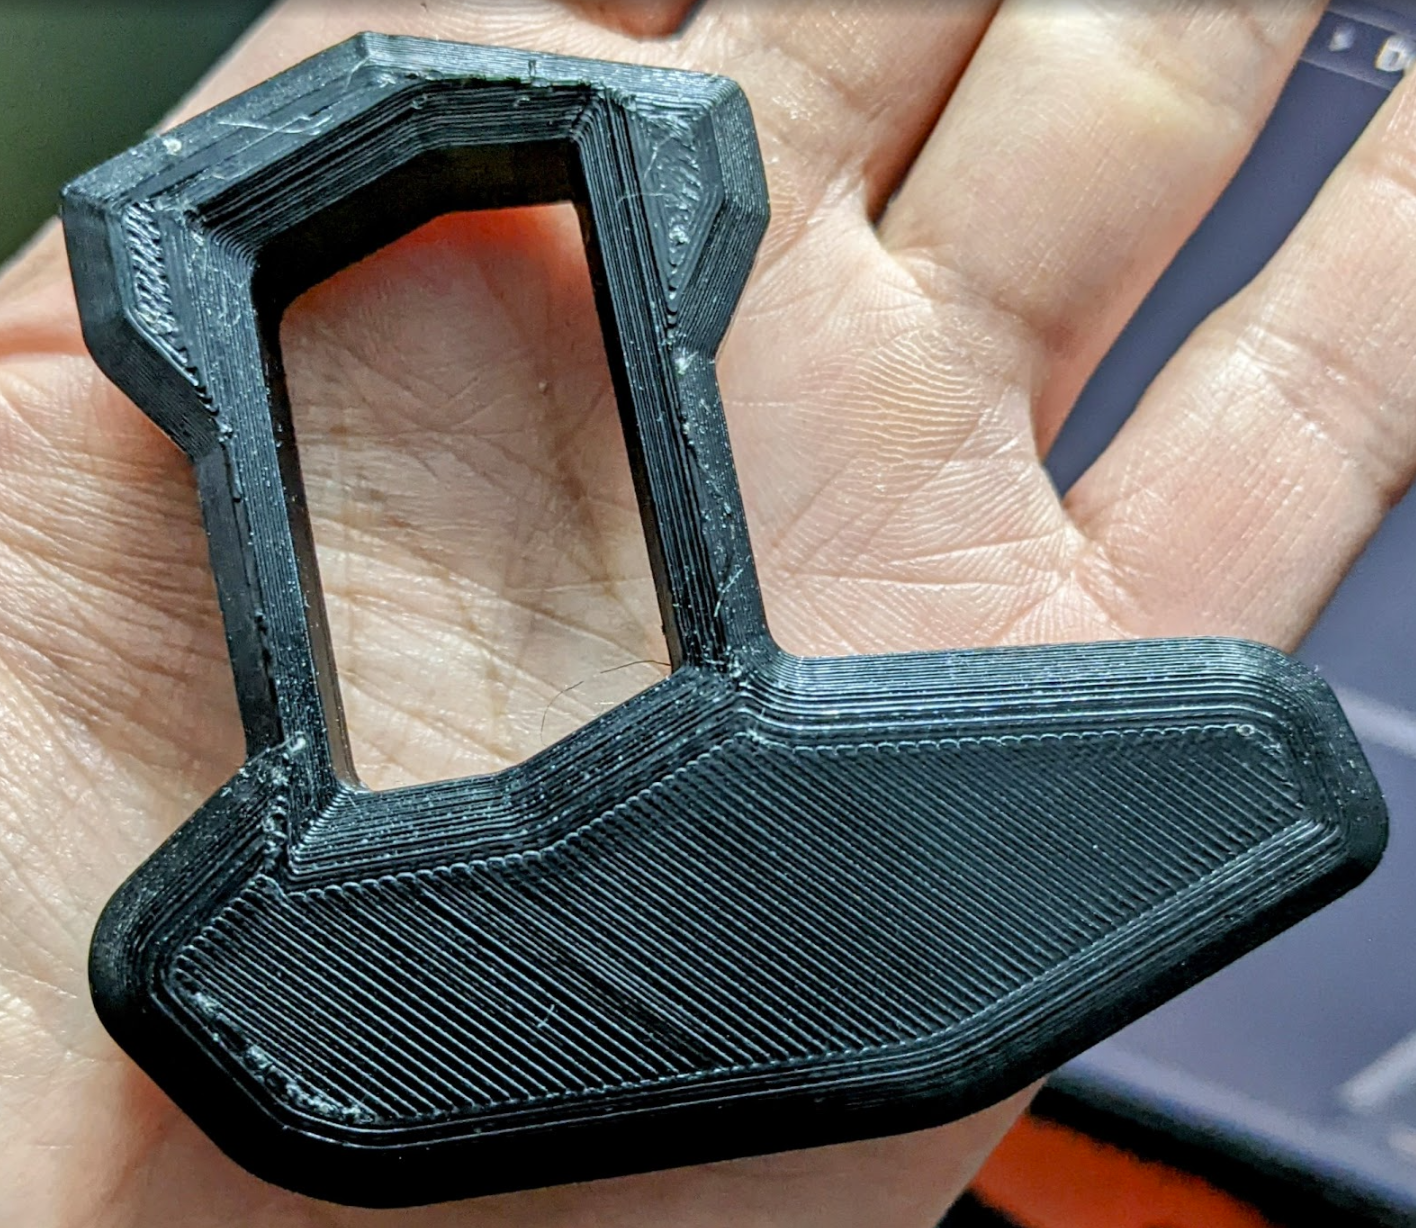
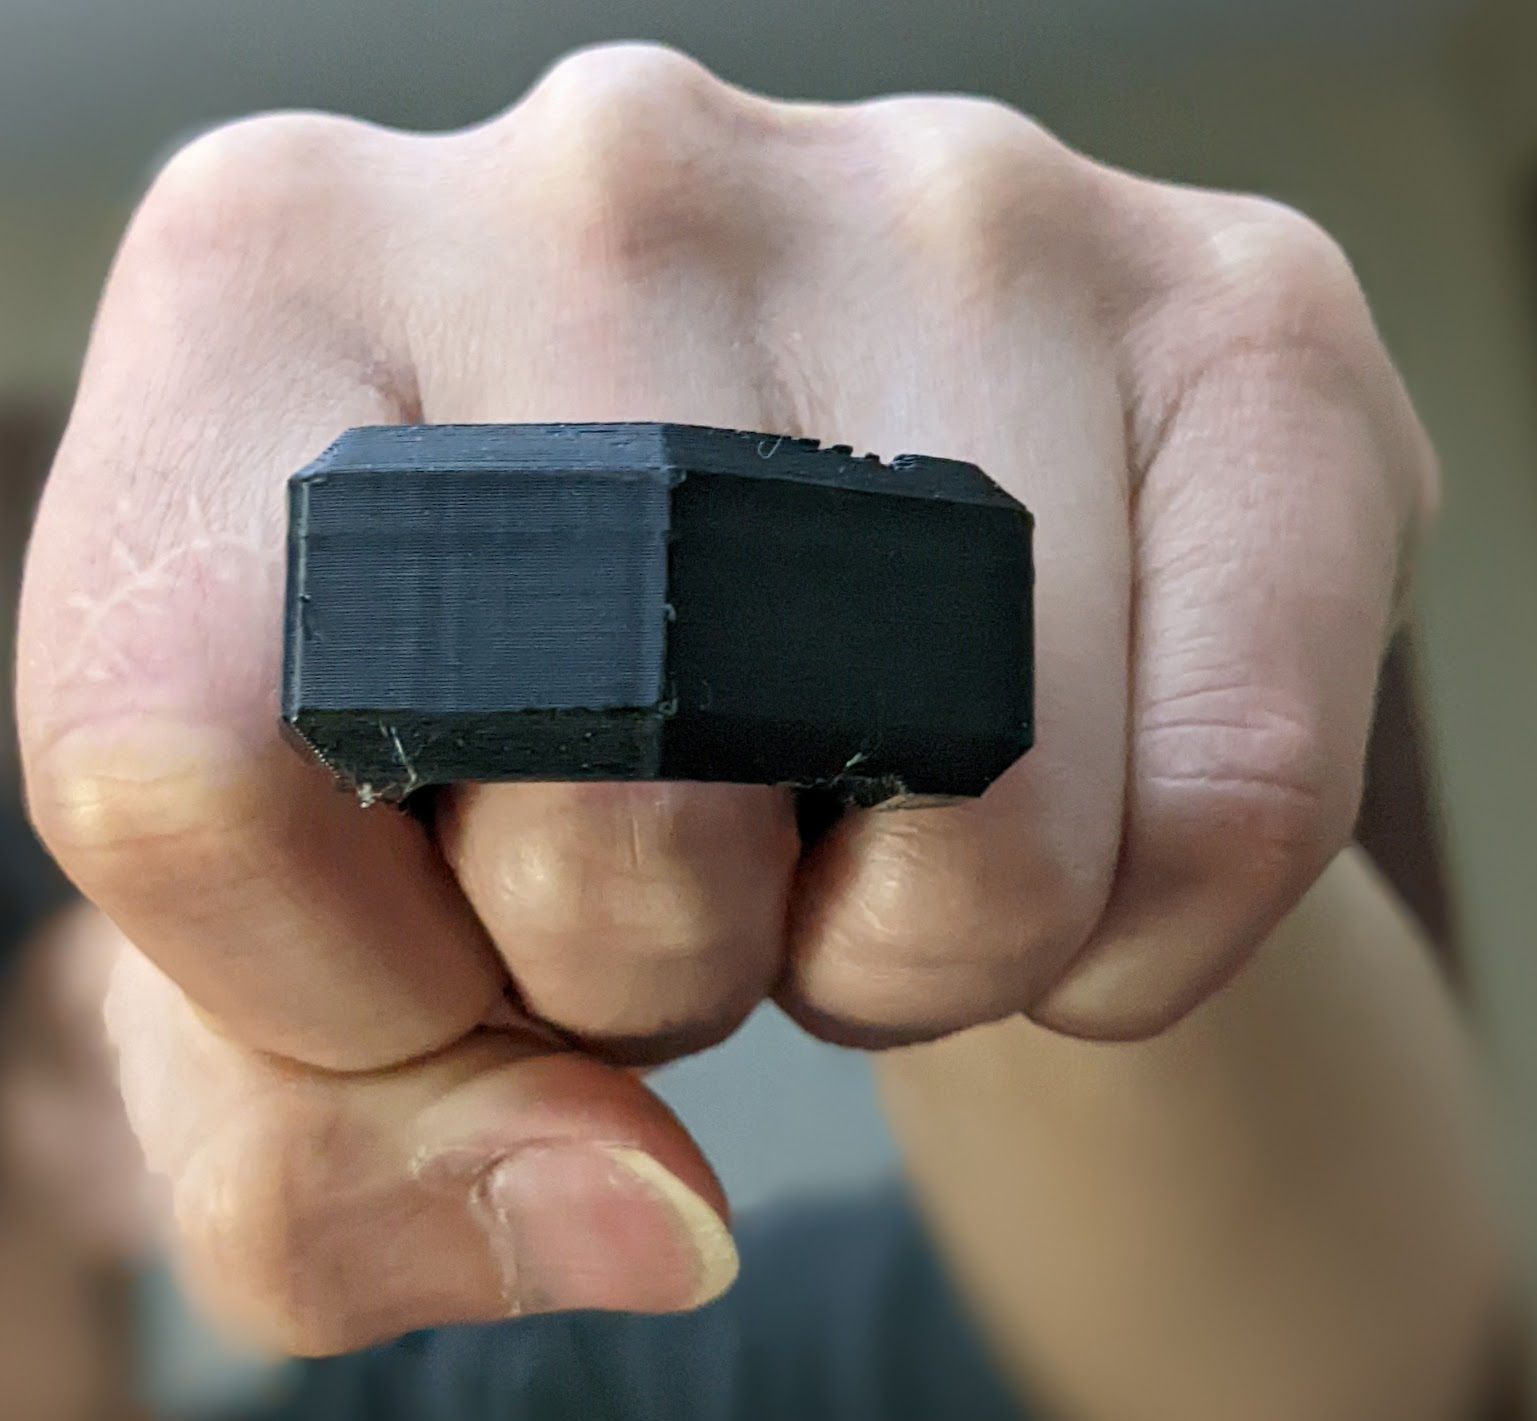
I made this. Can you guess what it is?

1754248746389.png


1754248761104.png

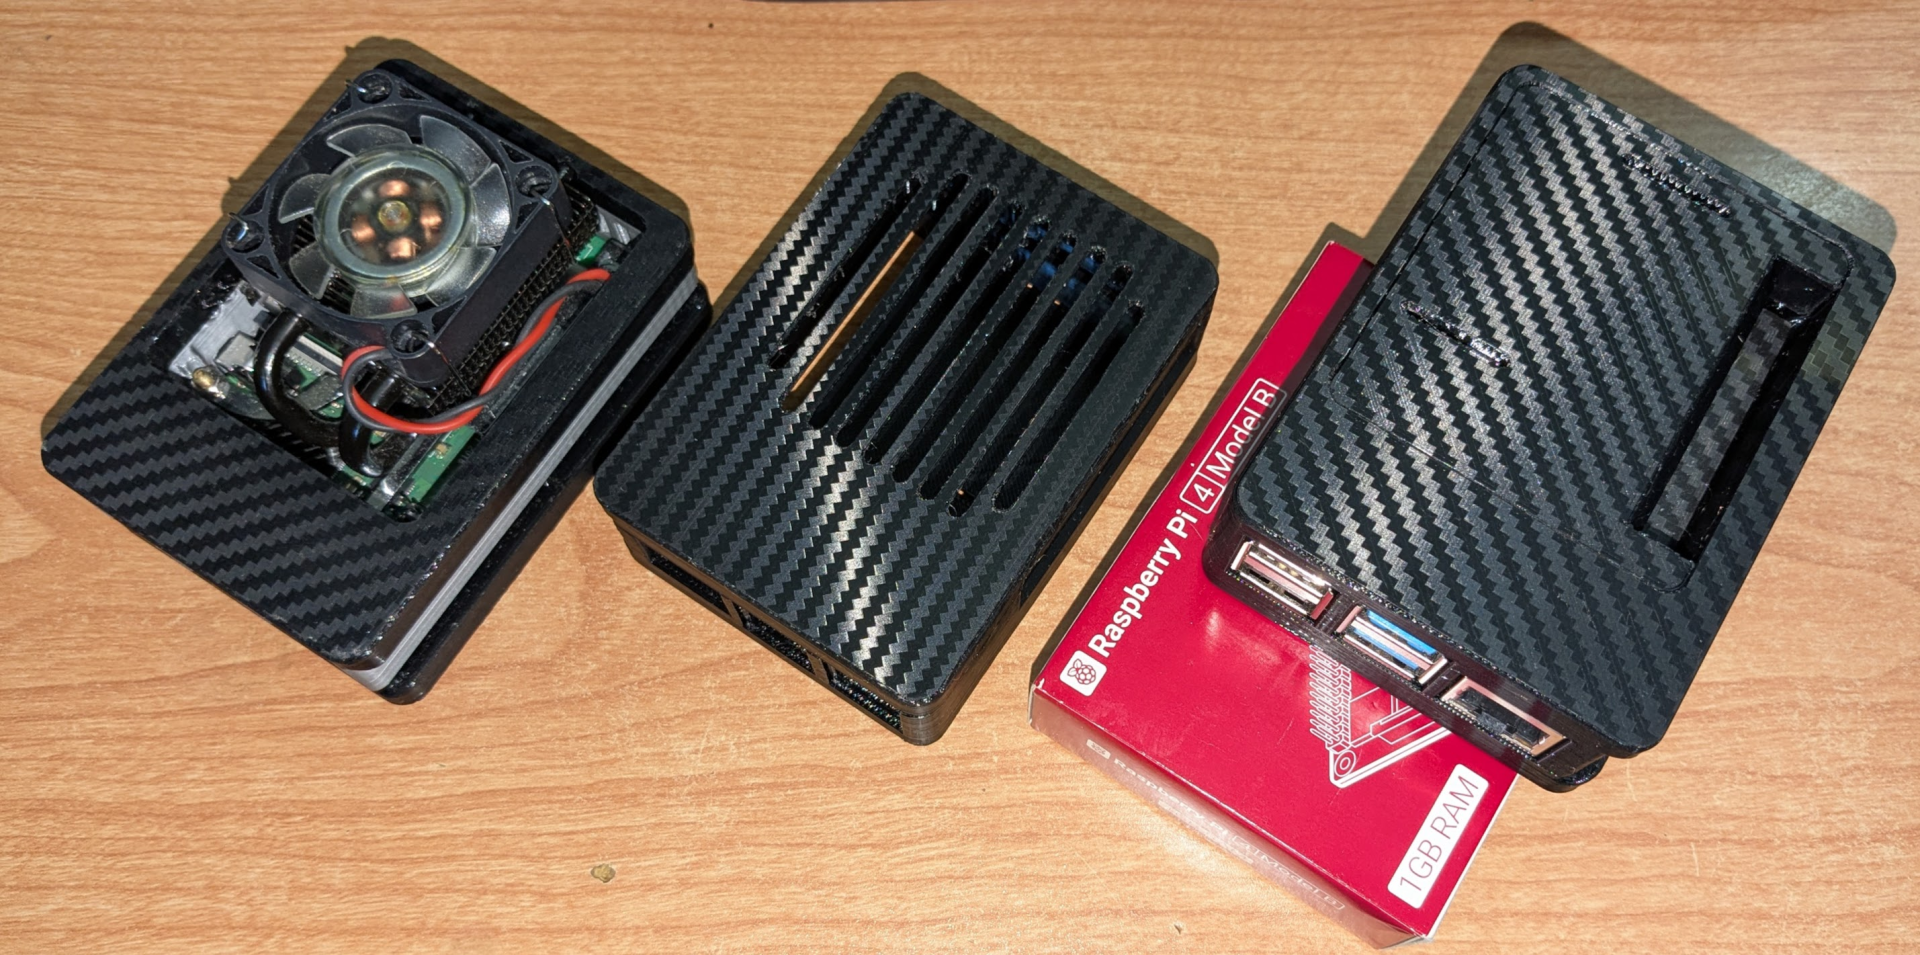
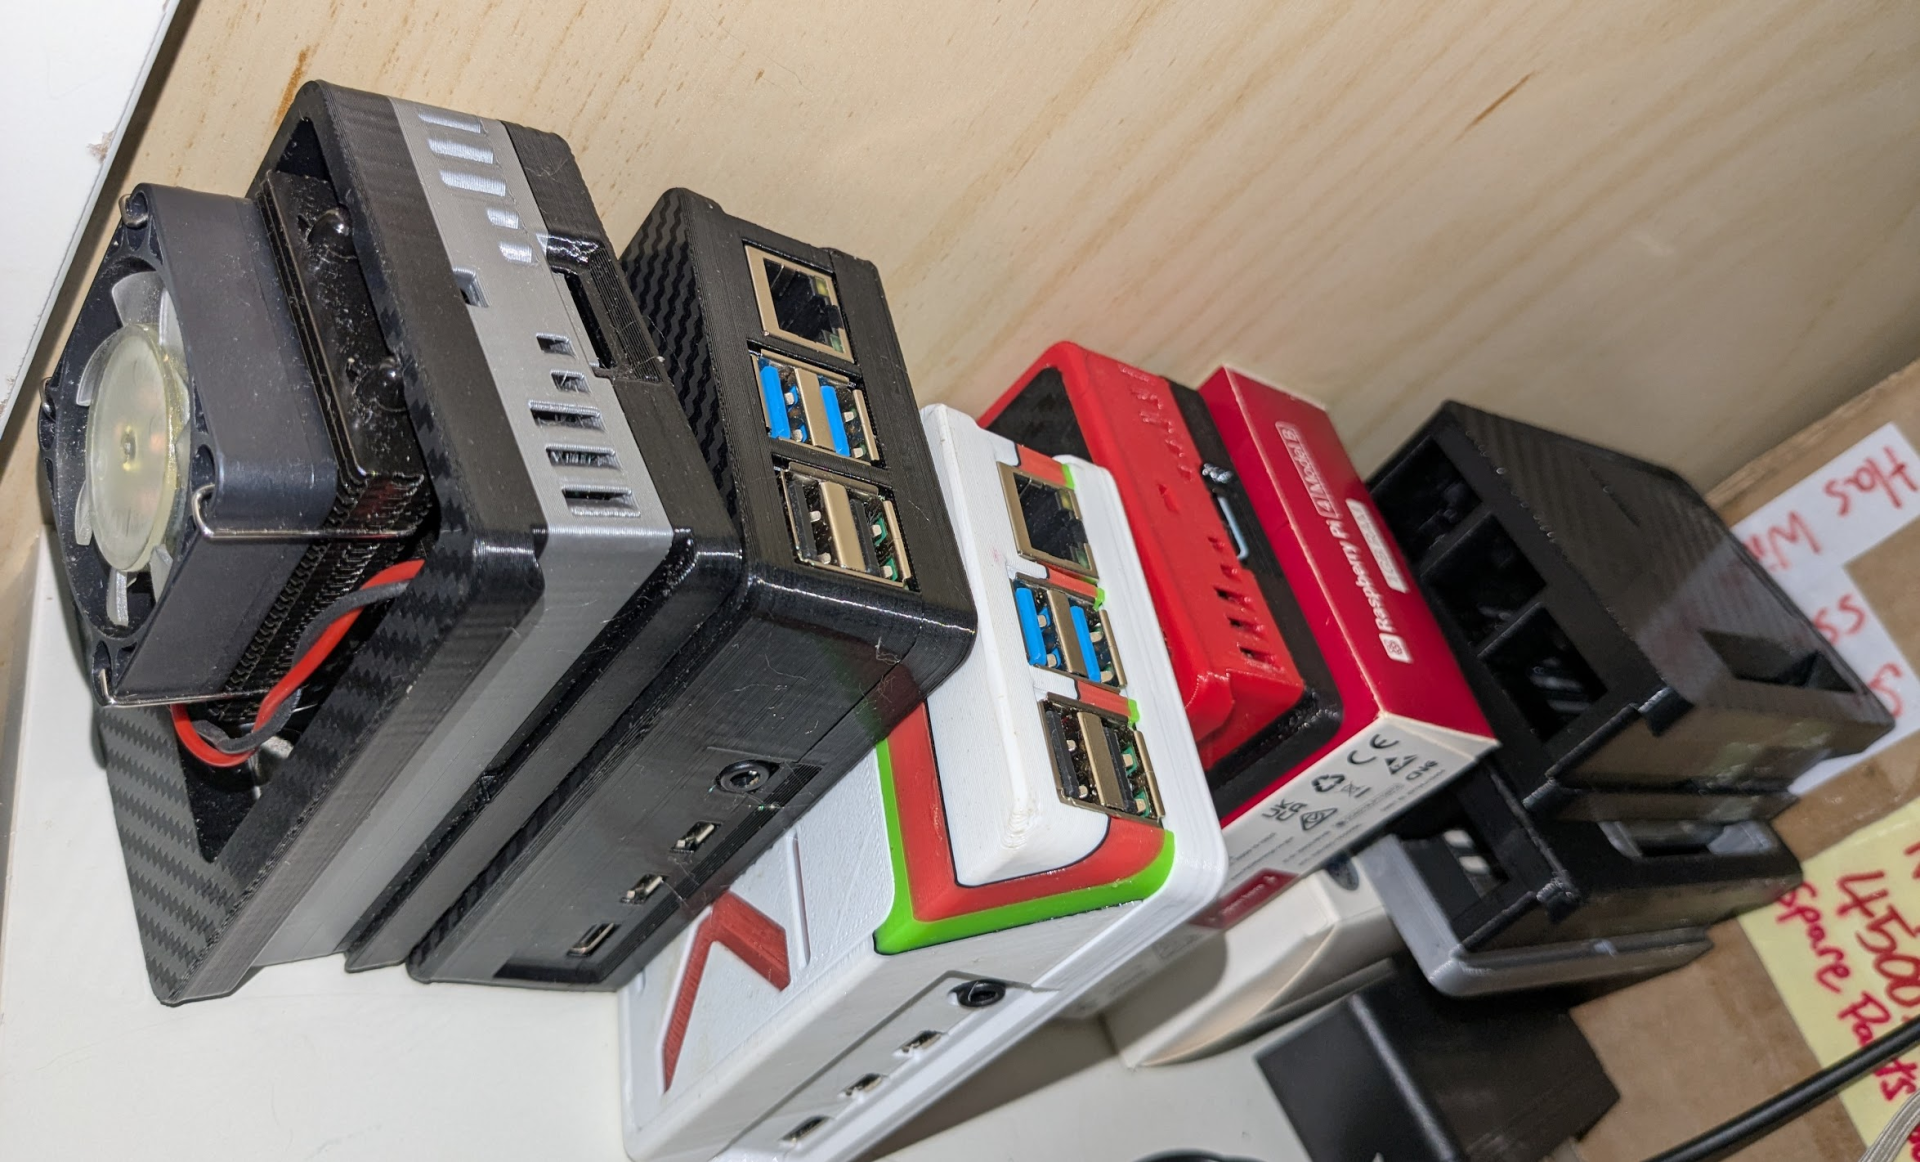
I gotta sell off a few Pi 4b's. Will include a case with each.
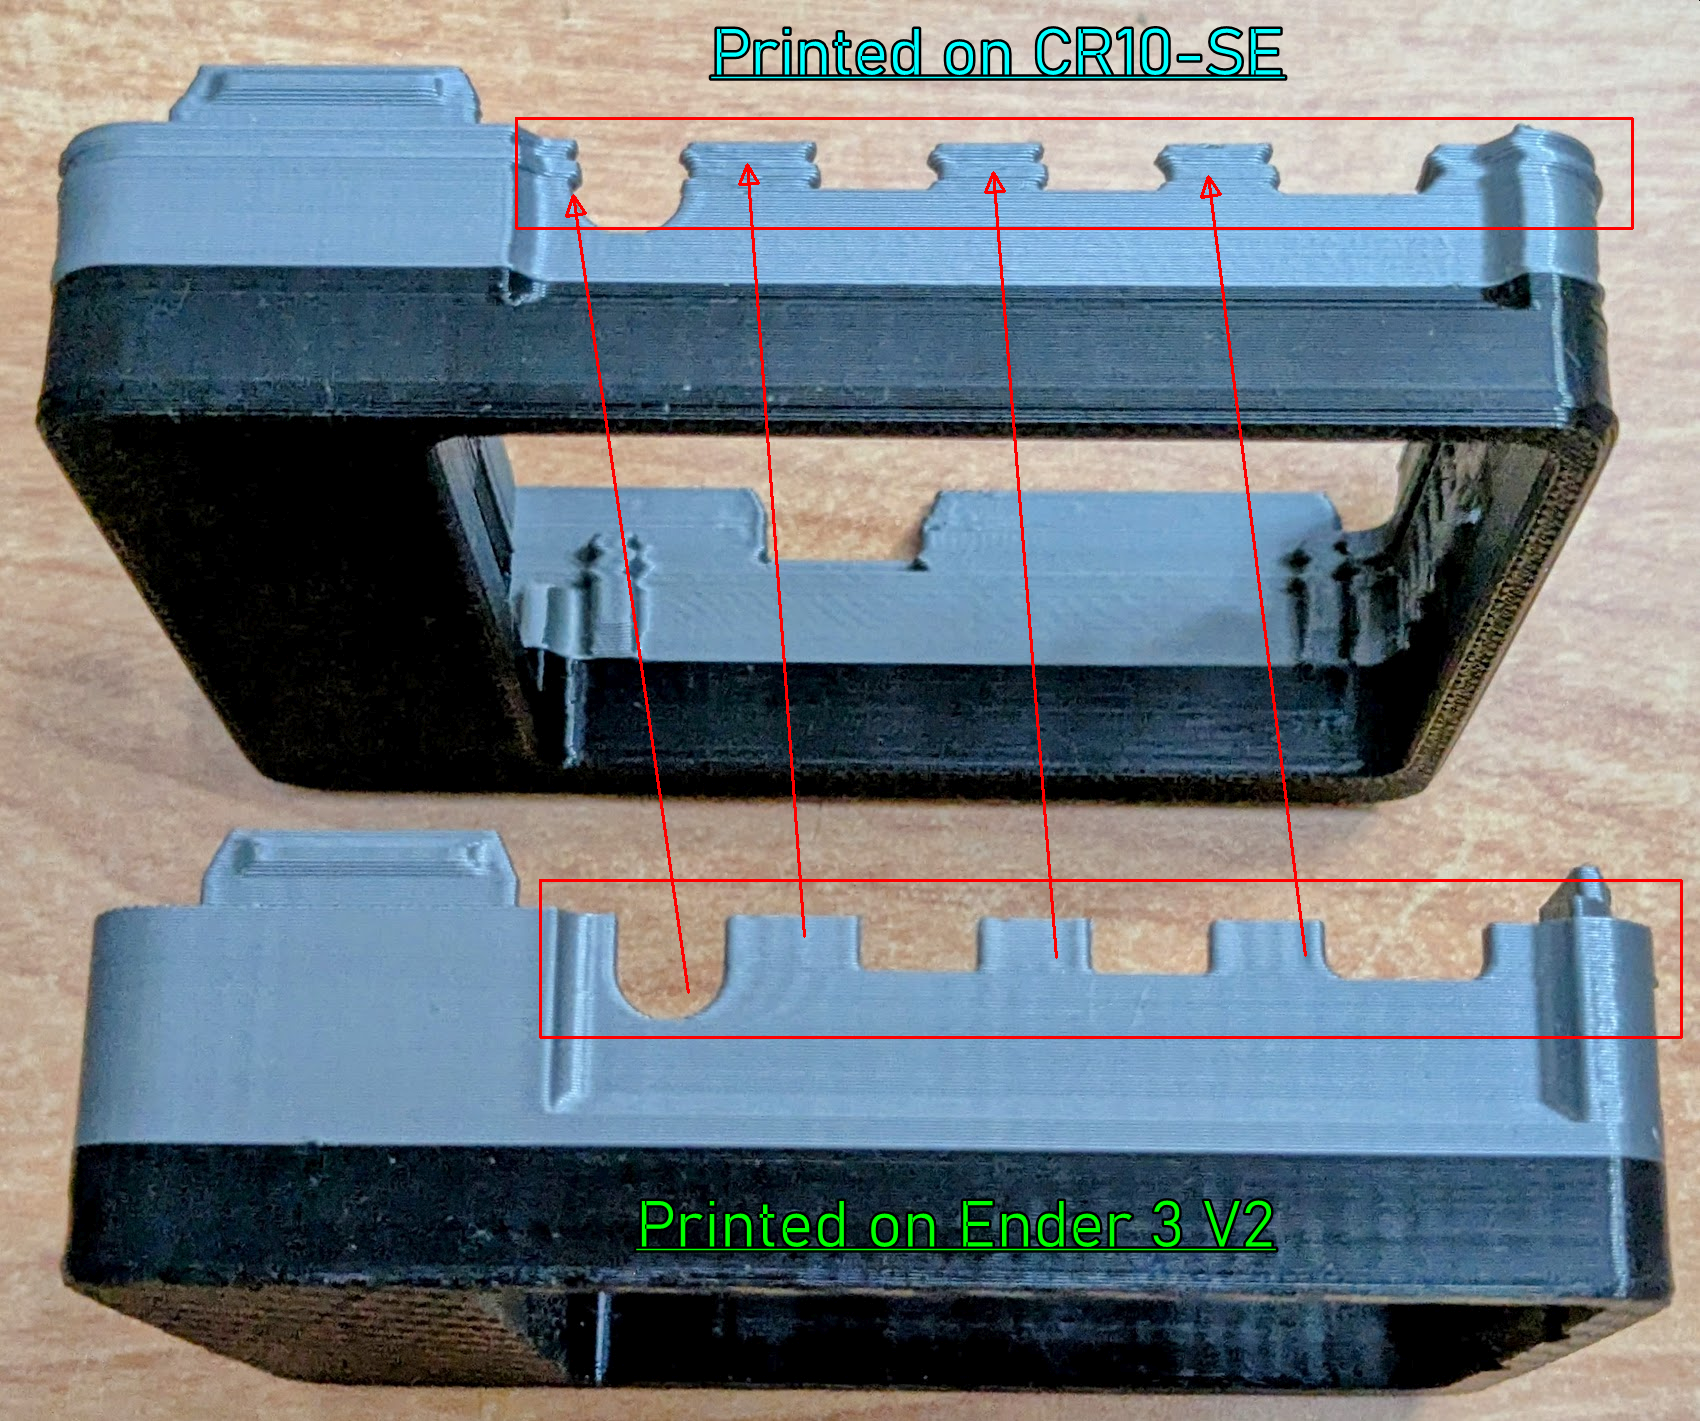
These 3 CF Textured Pi4b cases were printed on my Creality CR10-SE (the strange and only CR10 series printer with a smaller 235mm x 235mm bed.)
1754248960404.png

1754248978373.png


Creality has been getting annoying with their small Heat break cooling fans. 25mm x 25mm fans? Come on, Creality!
Look at my printer performance between my Ender 3 V2 and my CR10-SE!!
I believe this is Heat Creep. My Ender 3 V2 had a 5150 blower fan cooling the Sprite Heat Break. I am currently working on modifying my CR10-SE to fit a 40mm x 40mm fan to replace the 25mm x 25mm heat break cooling fan.

1754251380271.png
 
Last edited:
Anyone have a Printables.com account? Follow me, and I'll give you a follow! https://www.printables.com/@Jammy_1827378/models

I've been gathering all the models I modified and reuploaded them as remixes and uploaded pictures of my makes. I have 2 original uploads that I made. Nothing too fancy, but I'm working on point farming for a free spool of Prusa Filament.

I made this. Can you guess what it is?

View attachment 745714


Attachments

  • Screenshot_20250803_152245_Chrome.jpg
    Screenshot_20250803_152245_Chrome.jpg
    117.5 KB · Views: 0
but I don't know how much pressure you're applying against that leather..
Currently just Dwalt hand trigger c-clamps.
PETG would be the worst material for leather stamping cause its supposed to be soft and flexible.
Yup - used reg PLA.
How come you can't use PLA for that painted model? Exposure to heat? If so... then it's time to move onto ABS.
There's a 50/50 the model may be in my buddy's food truck so I wanted something with a slightly higher glass temp than PLA. Plus it's what I had on hand for higher temp work. I am steering clear of ABS if for nothing more than fumes and preconceived notions of being a PITA to print with.
 
Nieces and nephews had me bend the knee to do some 'flexible X' prints like uncleTemu/UnckiTikerTockshop.

2 hours for the axolotle dragon at 67% and an hour for the snek.


1754770508055.png
 
Only a few hours left in the competition. I entered yesterday. I dunno if I have enough time to implement such changes. I'll Hope for the best, but I won't expect to win :)
 
Trying to burn through a 5+ year old roll of color changing filament and decided to make 250% enlarged Schmegos. Coins for scale.

The printing was pretty straight forward but the 2x4 middle pair of nubs had a problem and tore off initially. The right side was the OG microbuild.

20250822.jpg
 
I've been slowly learning CAD engineering for a project. Took a minor diversion to make a button to press a 6mm clicky switch. I am teh smartz!

1759075825680.png
 
Functional little print. I wanted to replace the amplifier on my TV and found an old Netgear G54 router to act as a casing. I needed a back plate to hold all the connections.

20251009_201038.jpg


What it looks like with the connectors in place:

20251009_201155.jpg


My calipers were spot on and it fits exactly in the groove where the old back plate was.
 
Another topo make and print for a family member.

Lessons learned - more acrylic paint, stir for almost all of the 'work time' to keep it suspended and not sink, and put it somewhere warmer.

20251029_all.jpg
 
Working against the Autocad clock trying to make a Tron identity disc before Fusion360 cuts me off for being on Windows10.

1762107779196.png
 
Messing around with strengthening the disc when I need to slice it up to fit on my print bed. Dove tail and mechanical bonds!

1763827623074.png
 
Bought a bunch 50g protopasta samples to make articulated prints for the kiddos for christmas.

1765617212178.png


Yeah that worked well-ish until it didn't.

First they recommended you print the spool. Ok, no big whoop for PETG.

Then some of the filaments, and I am thinking it may be one of the glitter ones, started causing problems.

I got through the needed dragons, and then this blob showed up. Ugh. How hella annoying. So new nozzles, socks, and for good measure hot end assembly in order.

Tomorrow will be heatgun, long needle nose pliers, and brass wire brushes to see if I can clean this (and the nozzle) up.

1765617171145.png
 
... and this was waiting for me under the fan shroud.
View attachment 772471
The original creality heater block is total trash. I have always used the Triangle Labs CHCB-OT heater block in my Sprite Extruder for my Ender 3 V2, Ender 3 S1, Ender 3 S1 Pro. The one for the Ender 3's will also work for the CR10-SE. But... there are a couple of other different models of the CHCB-OT heater block depending on which printer model you have. But the stock Creality heater blocks are pretty unreliable.
 
But the stock Creality heater blocks are pretty unreliable.
Fair enough. My old Ender3Pro I kept stock on the hot end and didn't have an issue for the 5+ years of use outside of once and a while changing a worn nozzle out. Though I wasn't pushing that to any crazy speeds or filament.

In the picture above that's my newer Ender3v3 Core xz printer, and I think I am still blaming the filament on that one. Either way - I have to be more vigilant than usual going forward.
 
You'll also see some better print quality from an aftermarket heater block. I hope they aren't too expensive on aliexpress... they were around $28 shipped with a hardened steel CHT nozzle. It's not a bad deal AT ALL.
 
https://hardforum.com/threads/no-talking-allowed-here.1984655/page-237#post-1046286863

Made a tool extension for Koolance Quick disconnects.
The old QD3 male G1/4 quick disconnects are 17mm. They made new QD3 models that are 22mm. Of course, Koolance doesn't list the open ended wrench sizes on their specifications.

I could just use a 22mm wrench, but you don't need a lot of torque to tighten these down, and I have a dedicated 17mm wrench in the PC water cooling tool kit so I can just print a small adapter to make the wrench dual-purpose for both sizes.

1772393836131.png

1772393870736.png


Some draft prints before I decided to create a tool attachment rather than printing an entire new wrench. I still keep revision 2 as a backup though, since it's already printed.
1772393903077.png


Made one more final revision:
1772399627765.png


Printed on a Creality CR10-SE using PETG
 
Last edited:
Back
Top