master noran
2[H]4U
- Joined
- Dec 10, 2006
- Messages
- 2,825
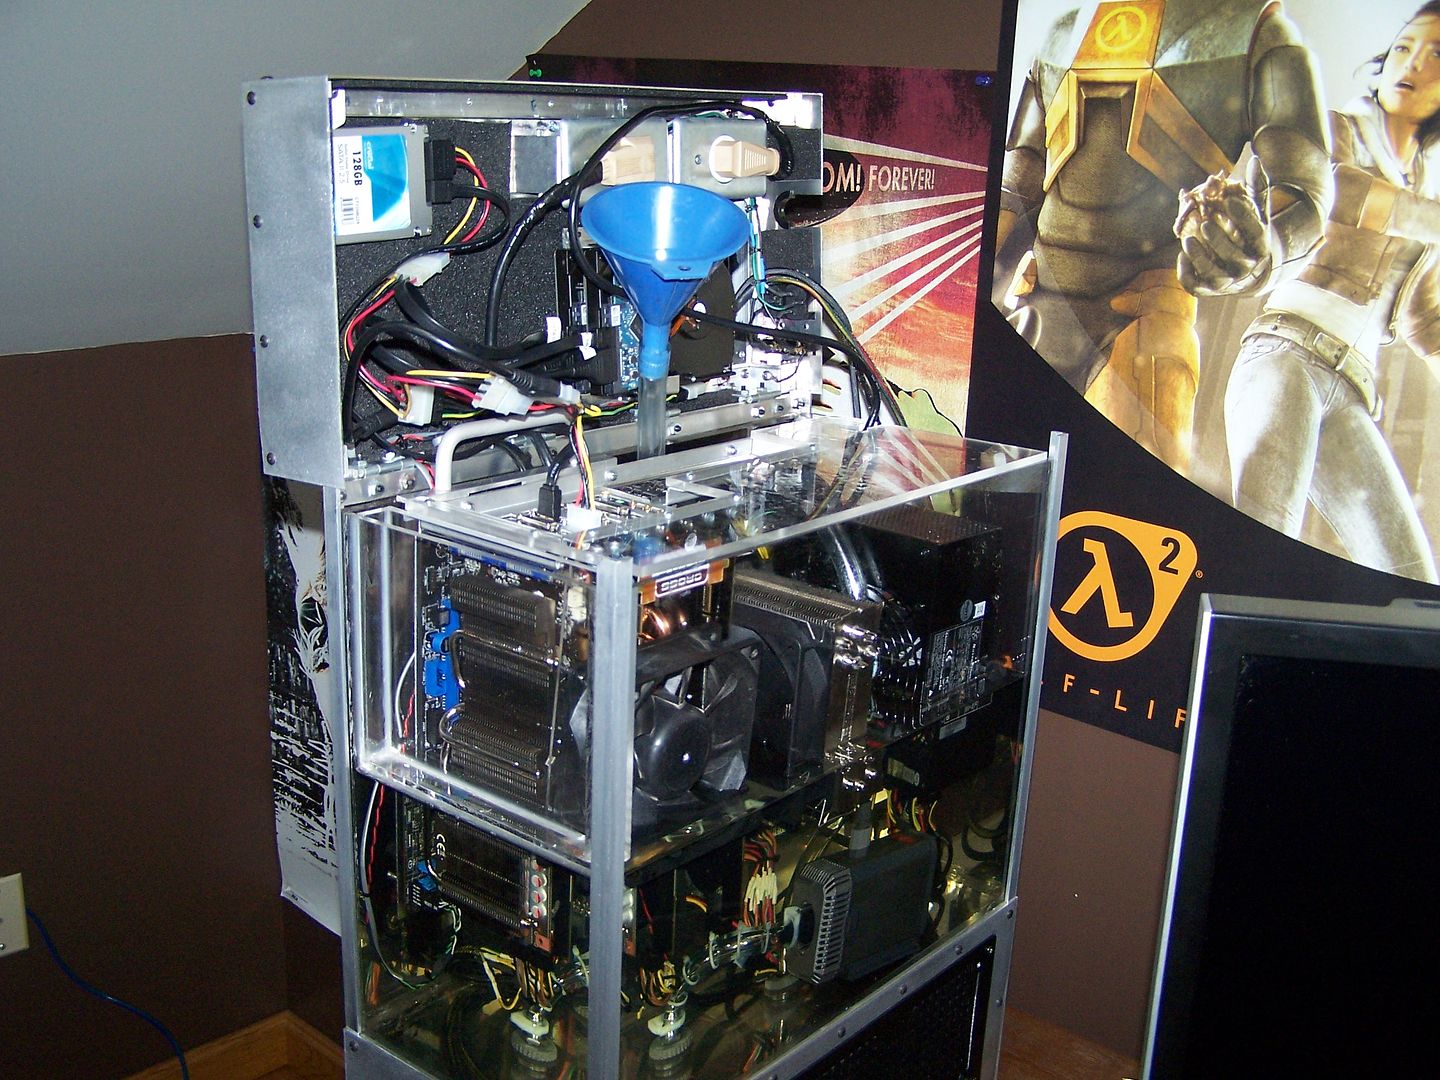
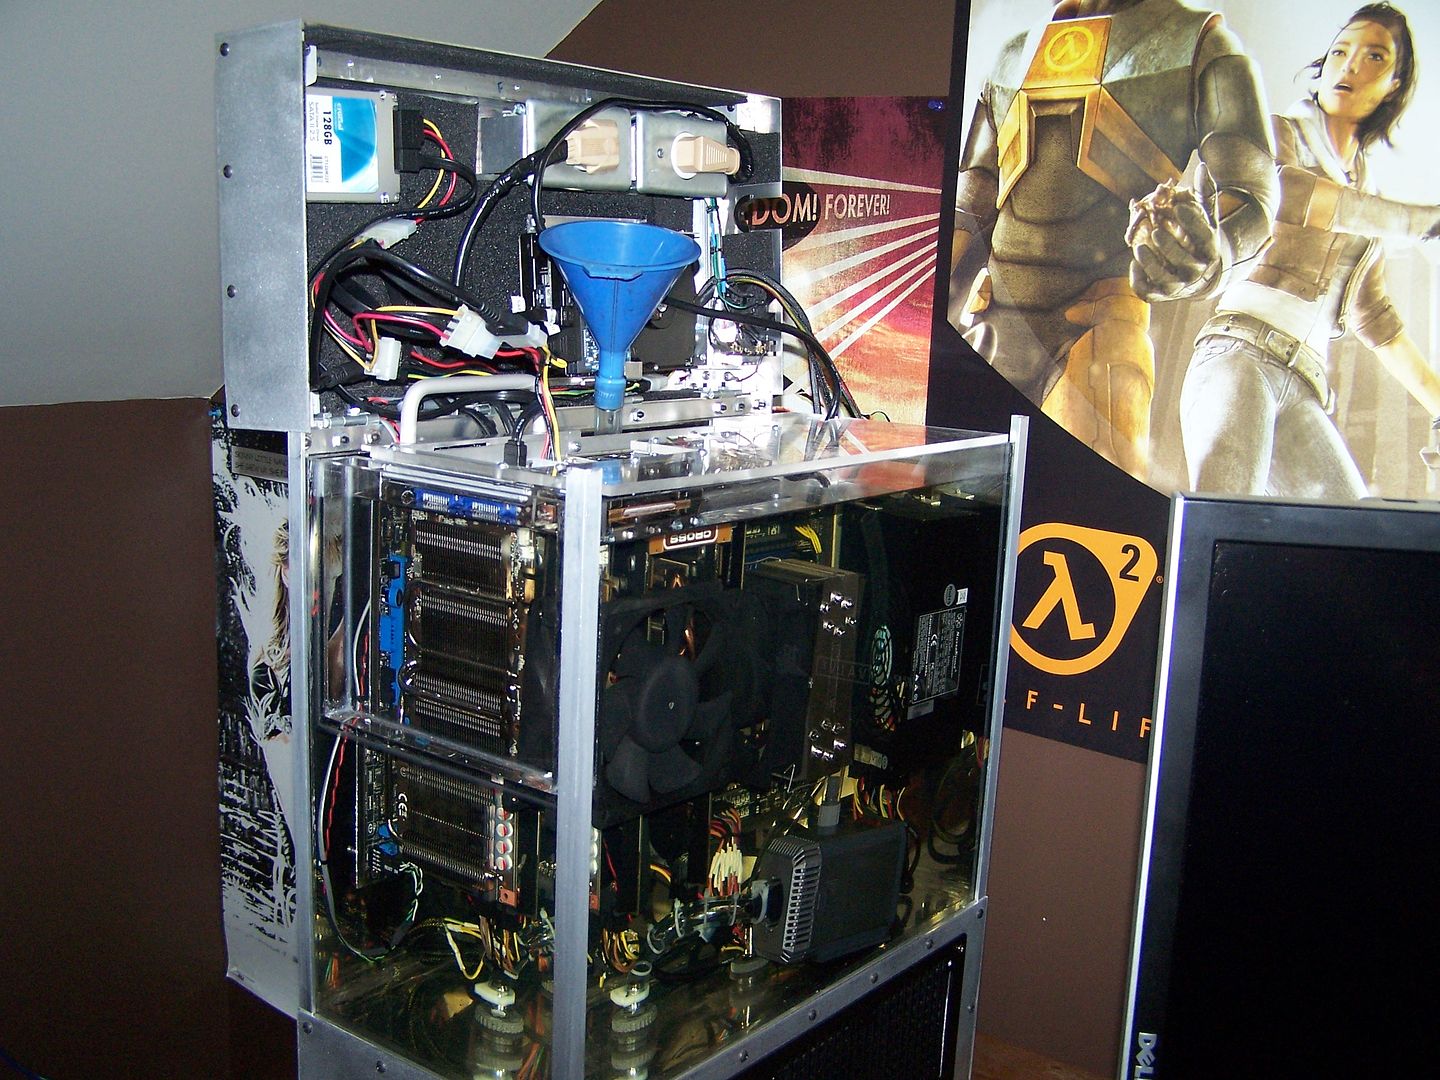
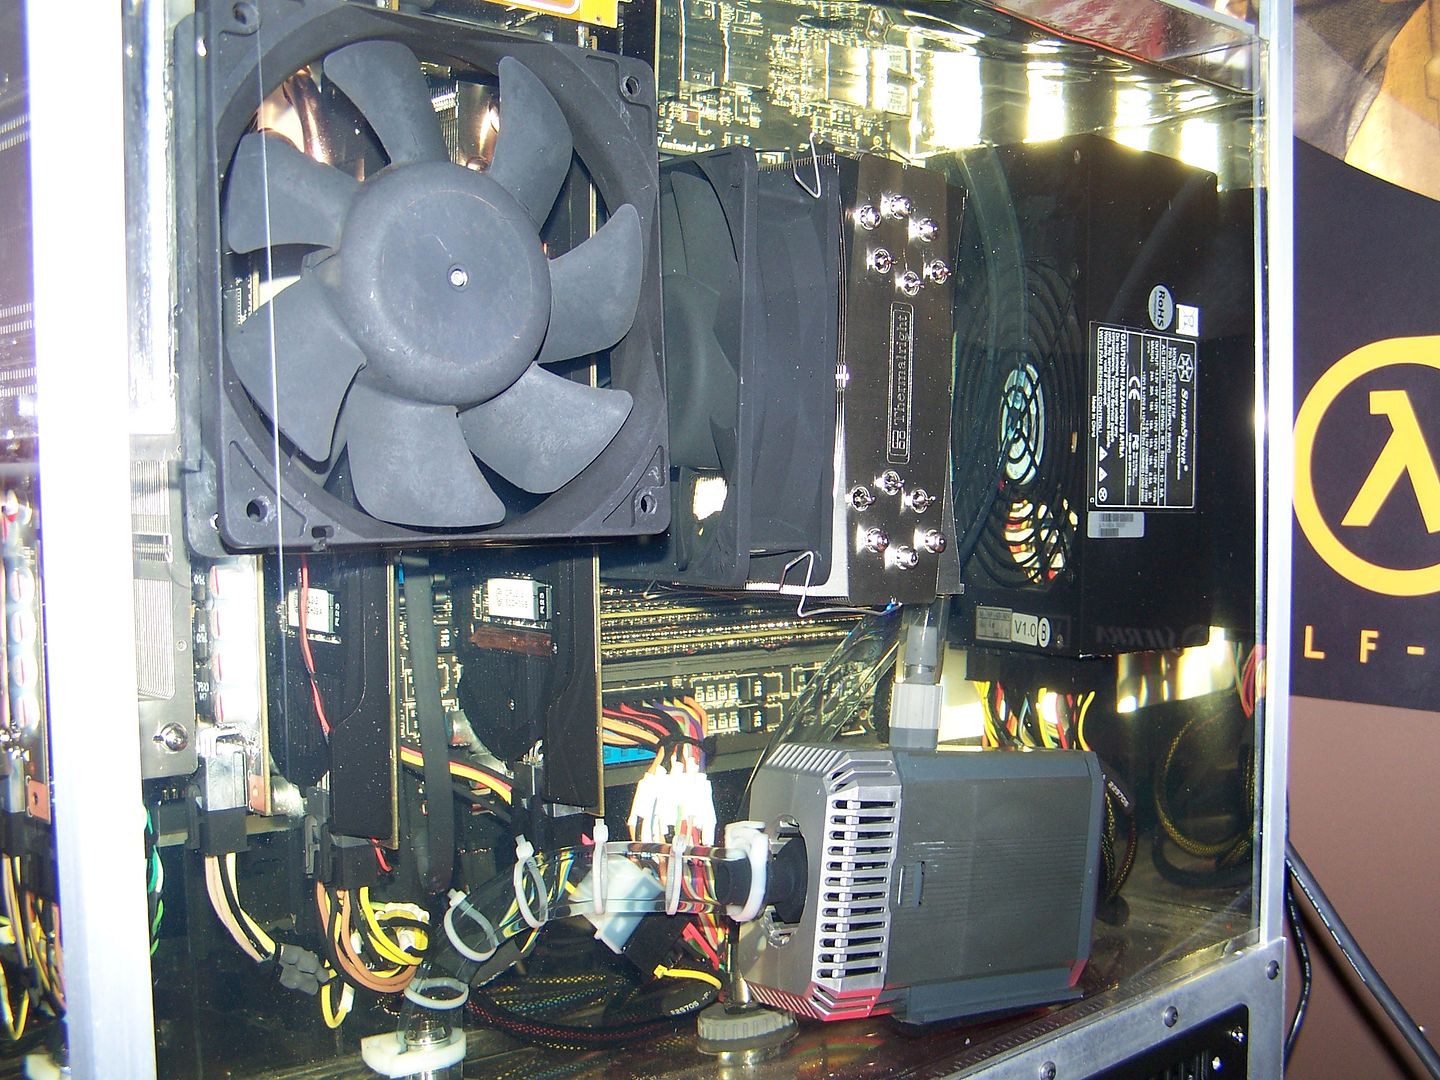
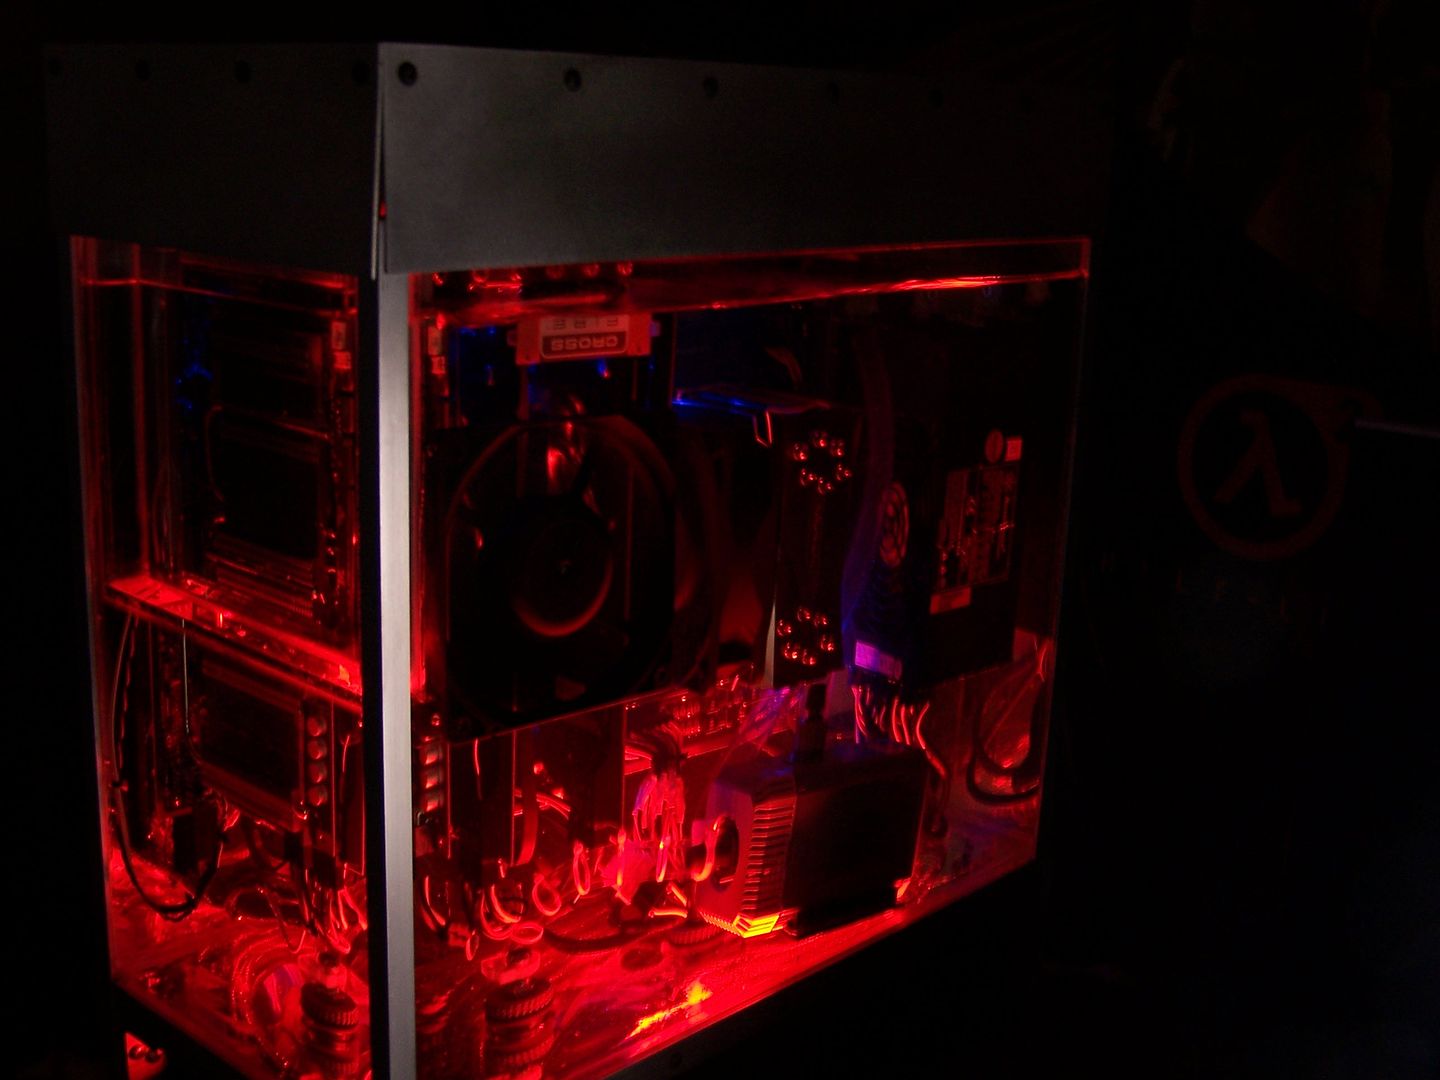
Aaaahhhhh yessssssss. This is easily the best work log on this website, I just love the idea so much. The funny thing is I was checking the bit tech thread earlier this morning to see if there were any updates