The Mineral Oil PC

log_progress289.jpg

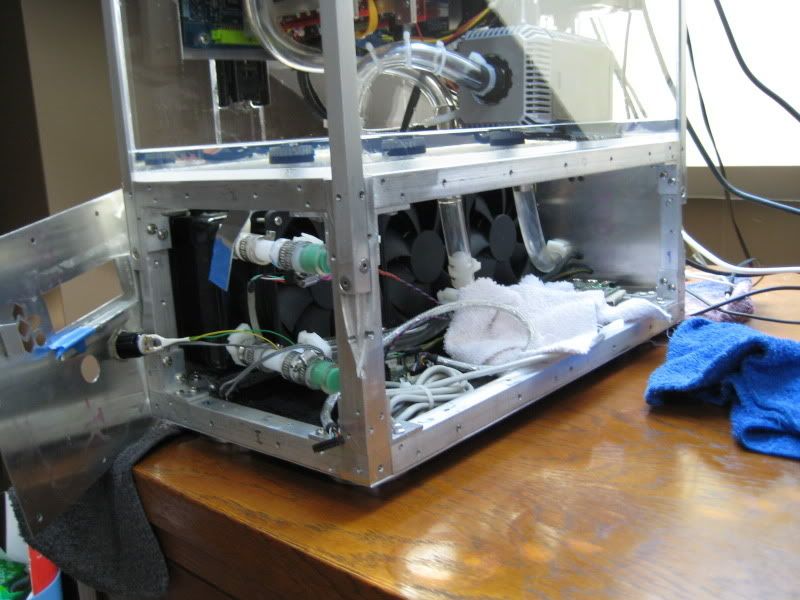
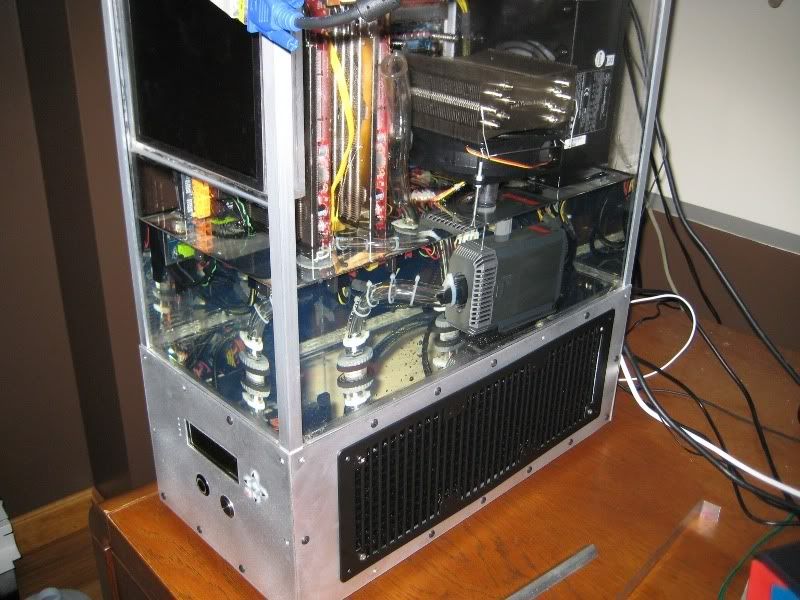
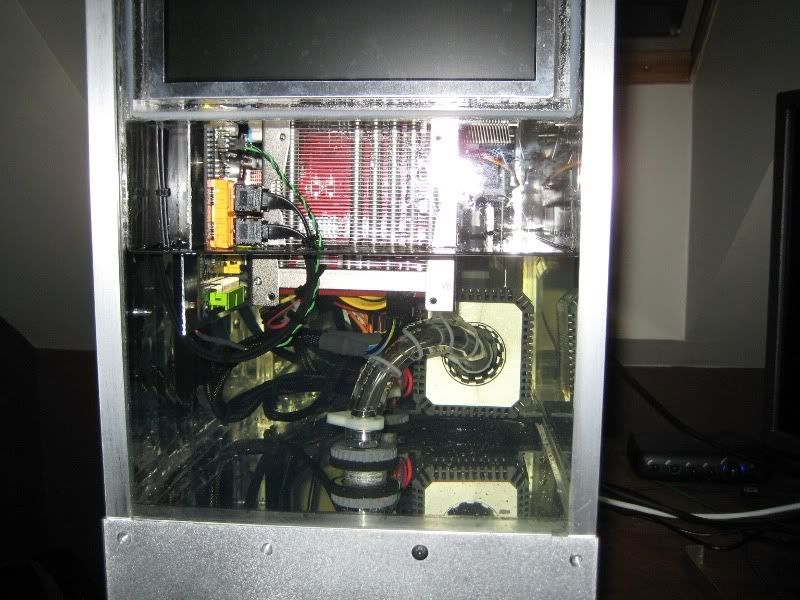
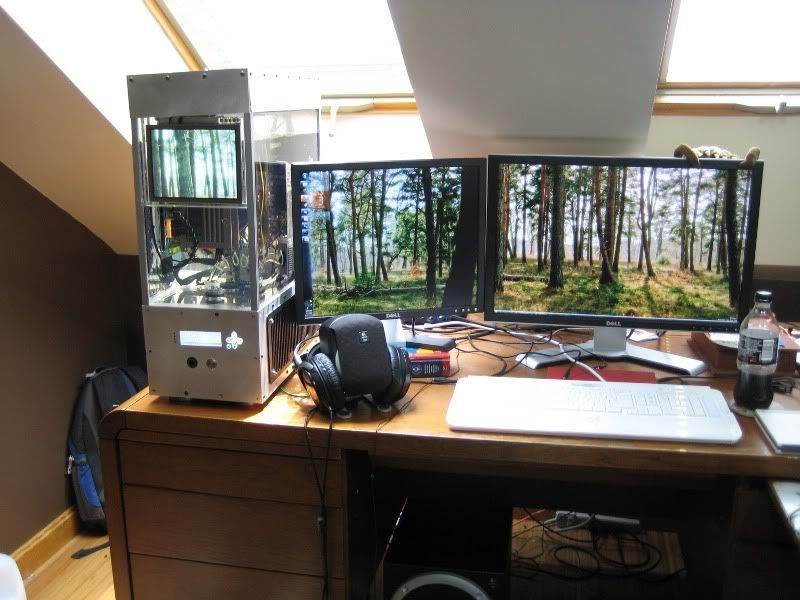
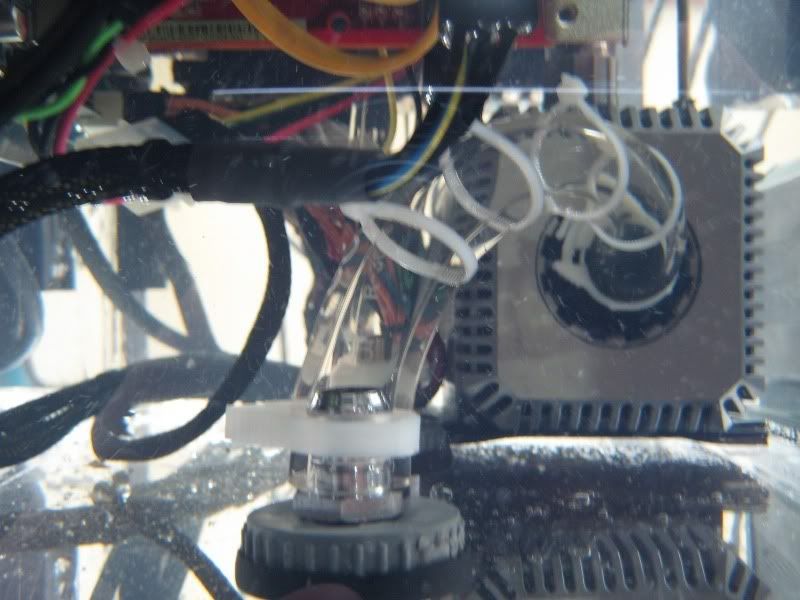
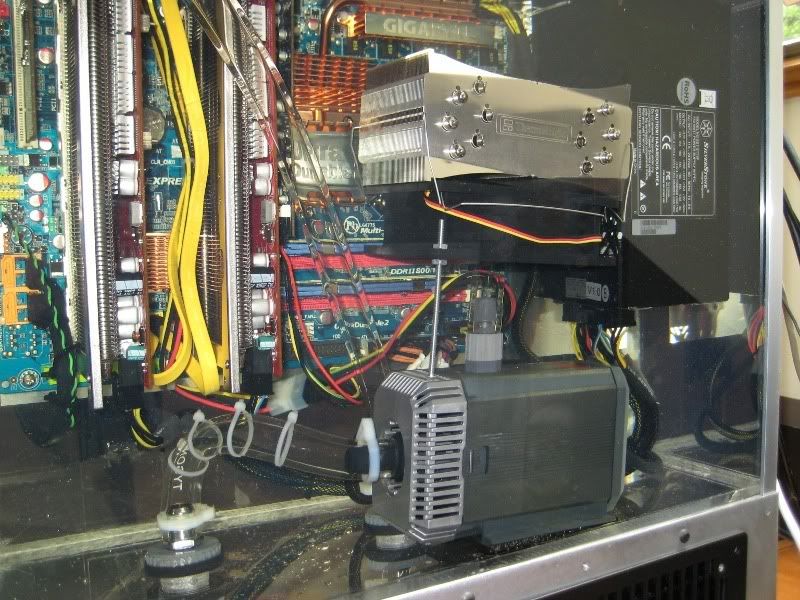
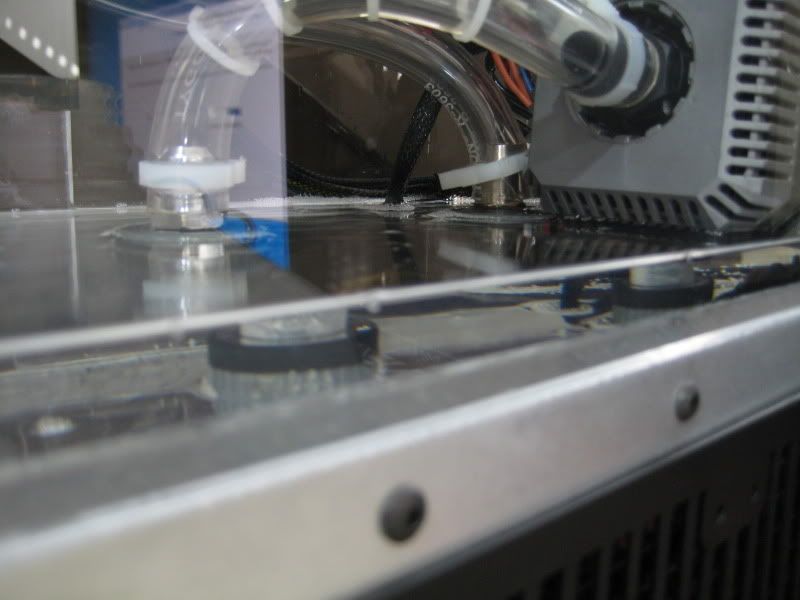
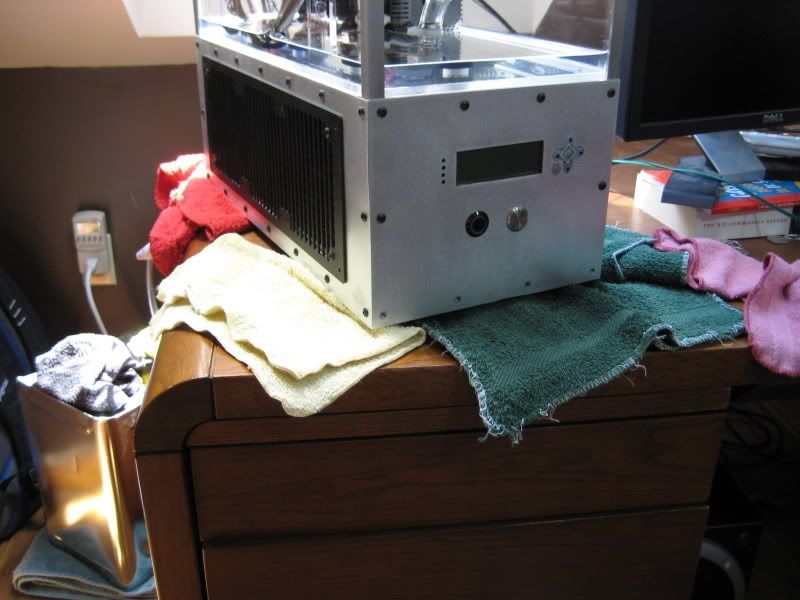
I got everything nice and tidy in preparation for filling the tank.

log_progress290.jpg

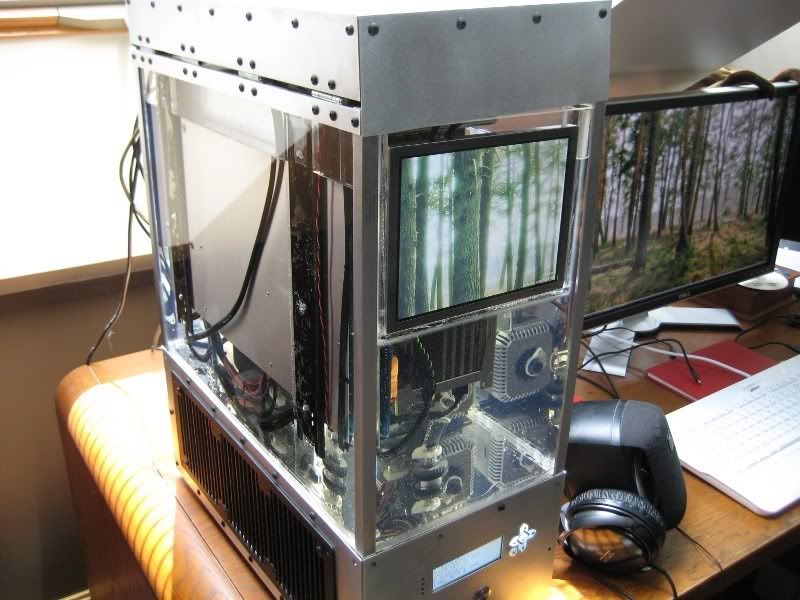
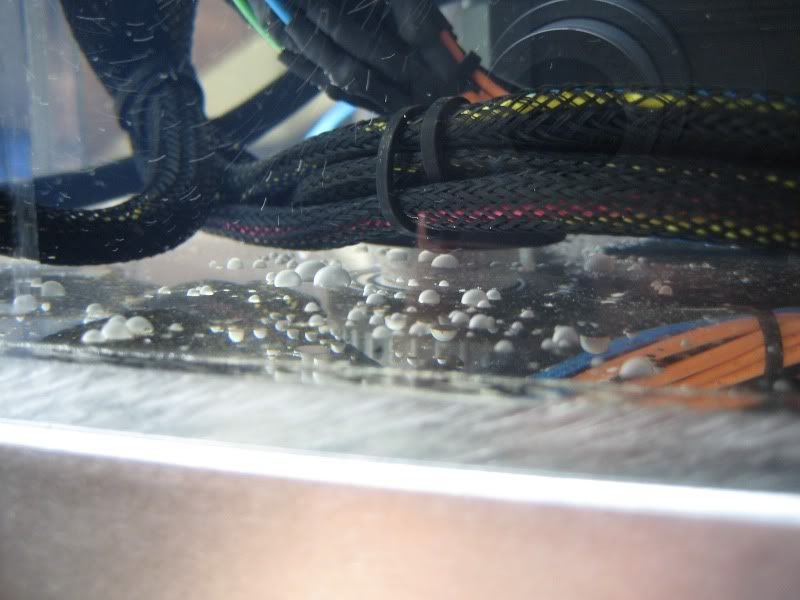
The first of the oil spreading across the bottom of the tank. It sent a shiver down my spine to see a liquid spattered all over my PC but still function.

log_progress291.jpg

A little higher....

log_progress292.jpg


log_progress293.jpg


log_progress294.jpg

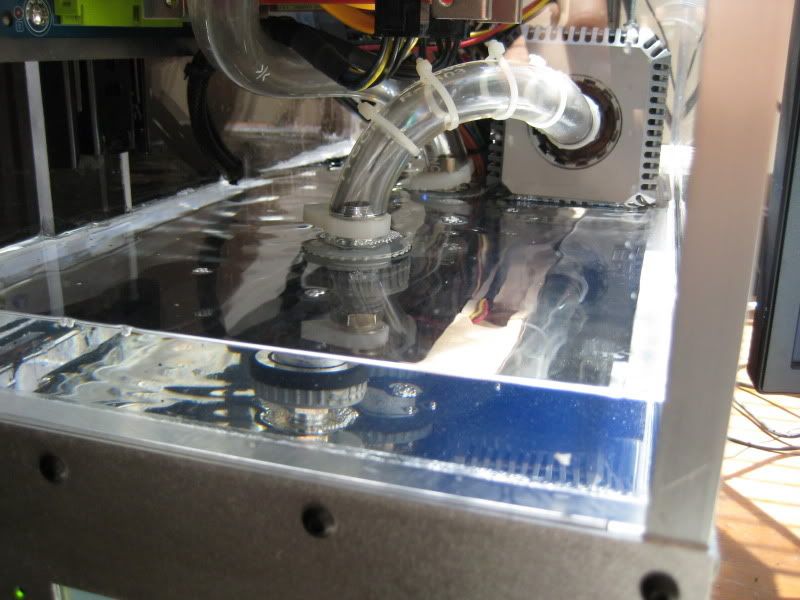
The light hitting the oil was pretty neat.

log_progress295.jpg

This is either 2 or 3 gallons in the tank.

log_progress296.jpg

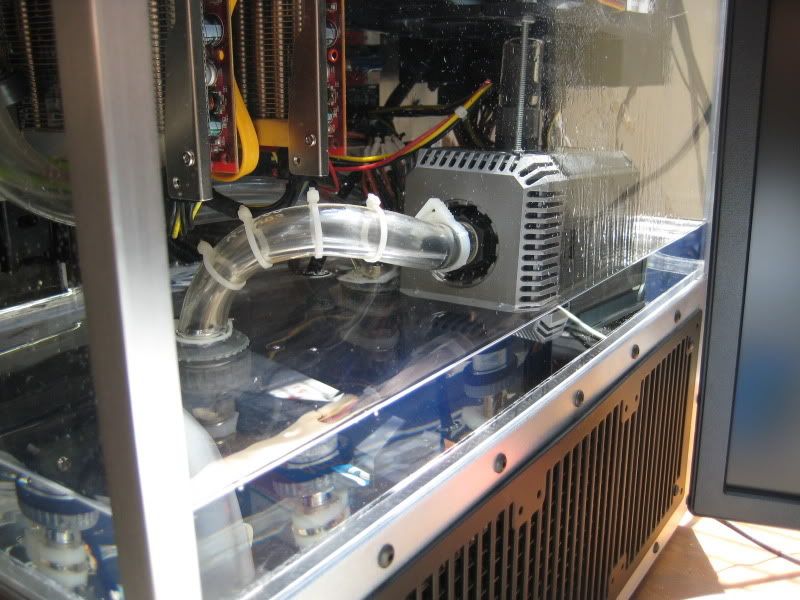
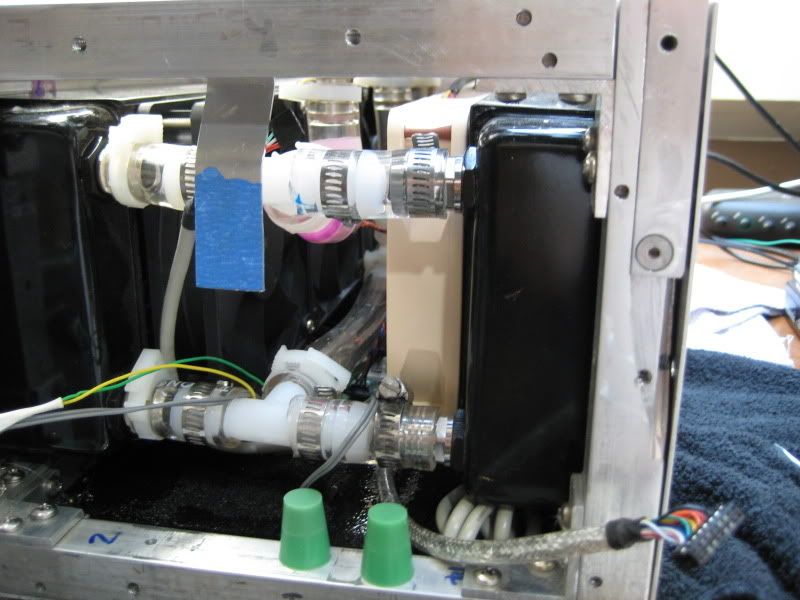
**** **** ****! A leak! I drained it as fast as I could. It didn't start leaking until there was enough oil to start filling the tubing and radiators.

log_progress297.jpg


log_progress298.jpg

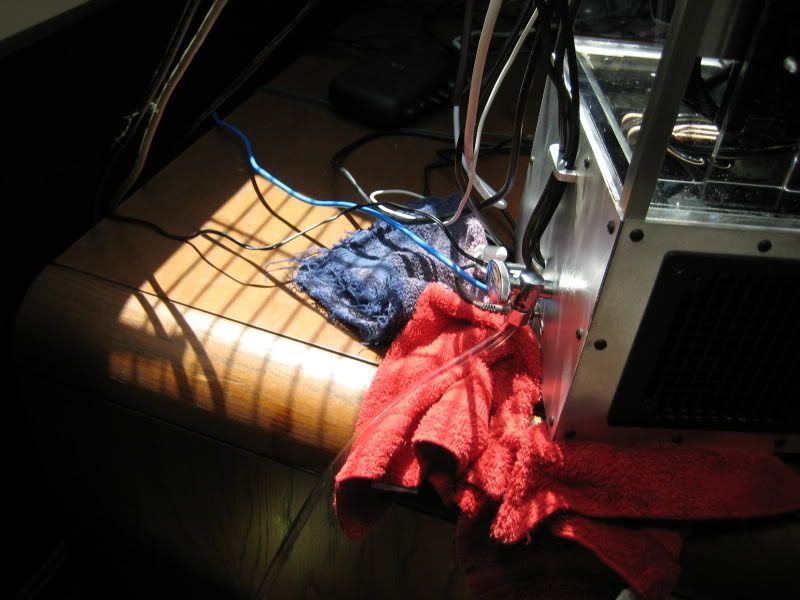
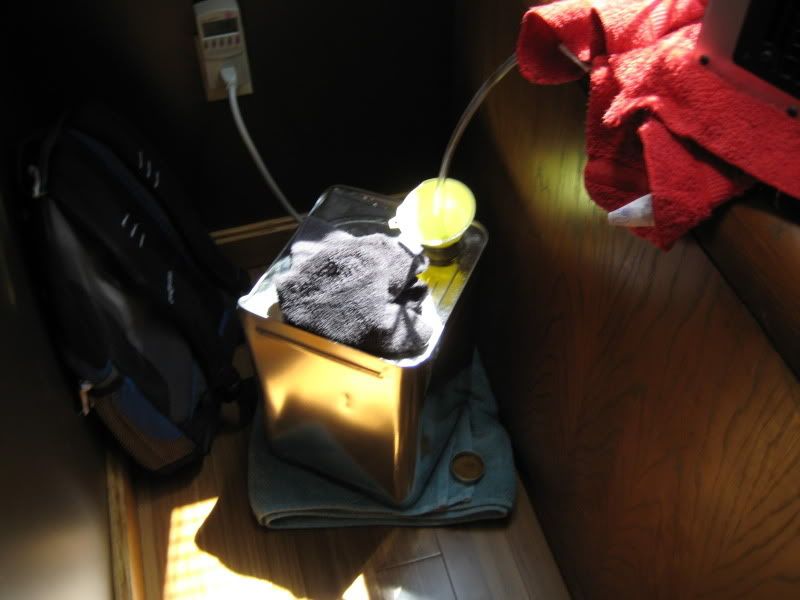
Speaking of draining, the drain itself is a piece of crap, it leaks like crazy when you open the valve. Oil was not only going through the tubing, but it was all over the tubing as well. I had to hold the tubing off the corner of the desk so the oil followed the tube into the 5 gallon can.

log_progress299.jpg

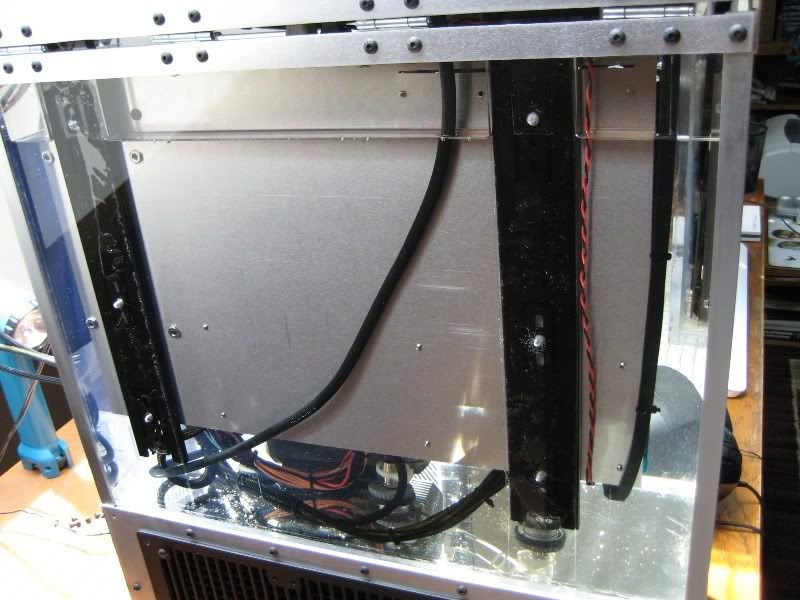
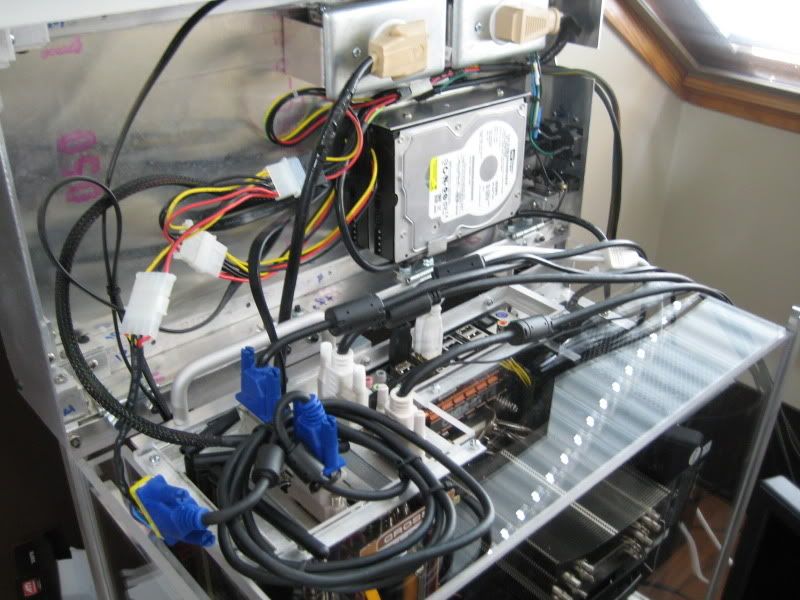
There's a big puddle of oil in the bottom of the case. It must be quite a leak....

log_progress300.jpg

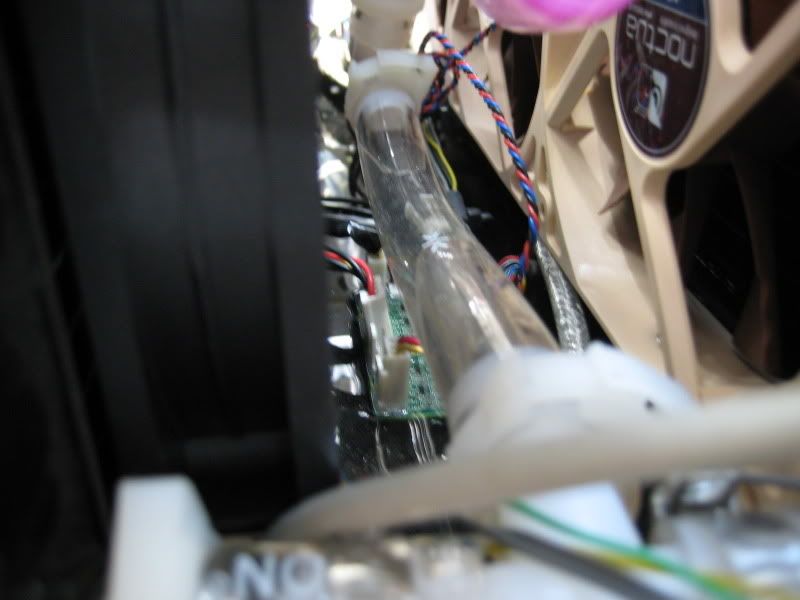
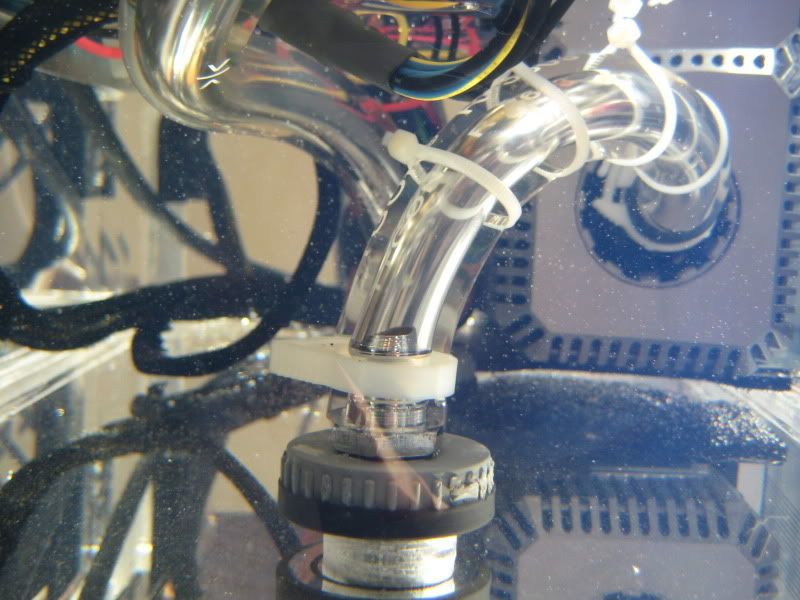
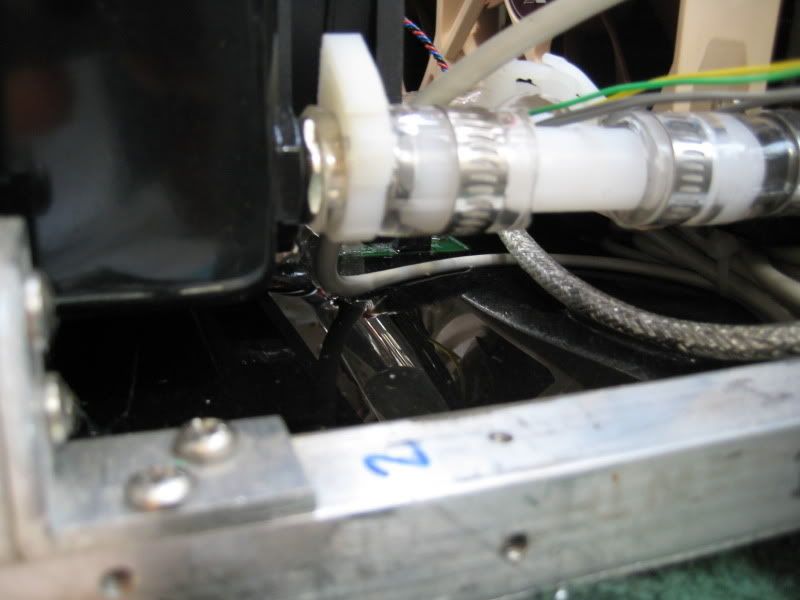
I assumed that one of my temperature sensor elbows was the problem, turns out I was wrong, all of the fittings in the lower compartment are dry. That only leaves the radiators.

log_progress301.jpg

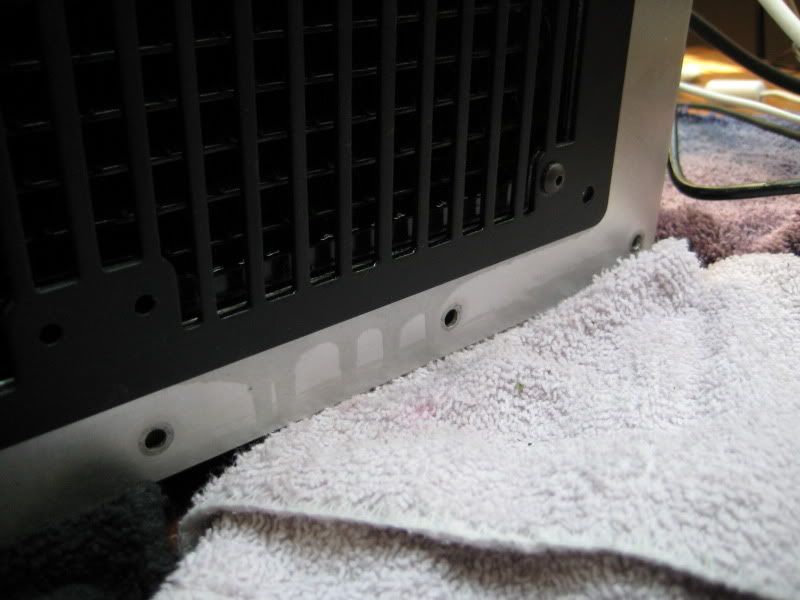
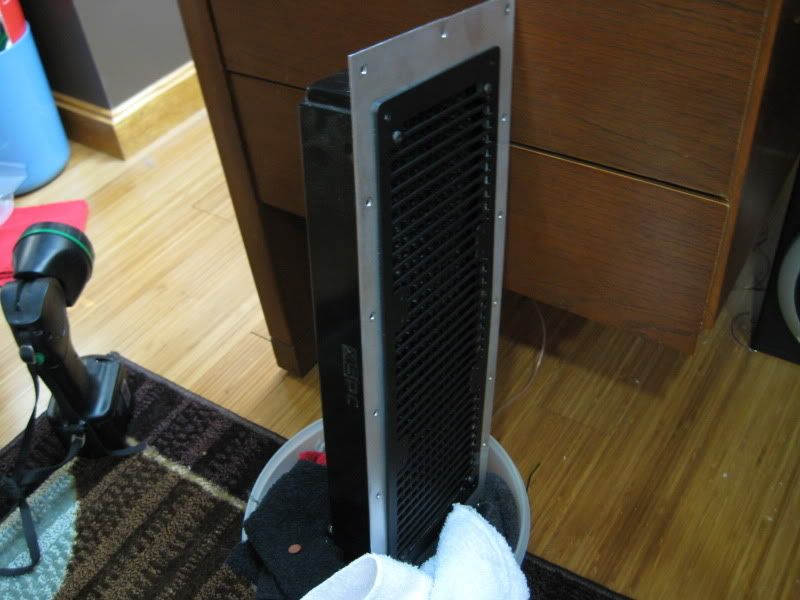
The only way oil could have gotten here is if this radiator itself had been leaking. Crap.

log_progress303.jpg

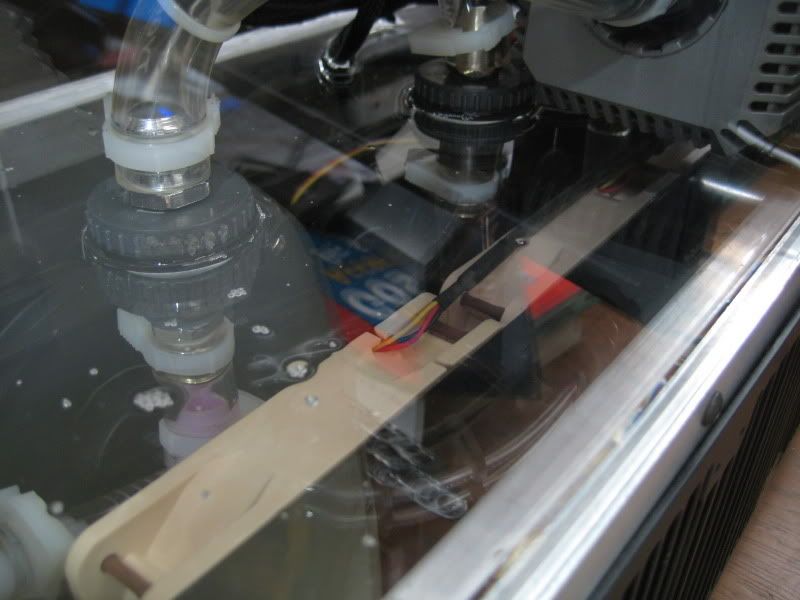
So my next task is to remove this radiator and look for the leak. I got my plugs ready!

If the radiator is in fact the cause of the leak, I'll obviously be needing a new one. I'm not sure if I should buy another XSPC360 or go with a a different brand.... An exact replacement would fit perfectly though.... hm. I'll probably just get a direct replacement and leak test it this time before trying to fill it with oil.:waah:
 
log_progress304.jpg

Taking that off was a pain in the butt.

log_progress305.jpg

When I sat this down in the container with all of my oil sodden rags, oil mysterously poured from a place that oil should not be pouring, Hm.....

log_progress306.jpg

I believe this is the cause of all of my problems. It looks like it might even be my fault from when I was drilling the stock holes on the radiator bigger. :(

Oh well, easy enough to replace. I'm just glad I don't have to take the computer out of the case.
 
The drain valve that you installed is an inexpensive toilet supply valve. That type is used either fully open or fully closed; if it's half open, for instance, it leaks along the stem. Personally, for a few dollars more, you can buy the size valve as brass ball valve. It is fully open with a quarter of a turn. Lowes or Home Depot have them readily available.

Nice work, by the way.

I had it fully open, but it was still leaking along the tubing. Maybe the tubing I was using was too small... I guess I should replace while the tank is empty, eh? It's a quarter turn valve.
 
What about soldering it? It is made of copper right?

I just filled the hole with a copious amount of silicone. I'll leak test it tomorrow. If that doesn't work, I'll try solder, but not sure how I'll get it to fill the gap. It's either brass or copper, so solder should work.
 
This thread is so win. Subscribed. Good luck on fixing that leak.

Thanks! I just leak tested it though, no dice. Still leaked. I caved in and ordered a new one. I figure it's better this way anyway, I don't want my patch job to go bad on me in a few years. I'd have to deal with this crap all over again. Except maybe the next time, I won't be around when it starts to leak and I'll come home to 7 gallons of oil all over my desk and the floor.
 
I am planning to do something similar with mineral oil in a custom acrylic case. My only concern is that if I ever decide to sell the PC parts they will be oily. I would like to see how this turns out. Good luck!
 
Last edited:
I am planning to do something similar with mineral oil in a custom acrylic case. My only concern is that if I ever decide to sell the PC parts they will be oily. I would like to see how this turns out. Good luck!

you should be able to clean them just fine with alcohol, but it can be a huge PITA to do.
 
I did some lab work and dealt with silicon oils of various viscosities, and I assure you that cleaning things is an enormous pain. I don't know if it'd be worth my time to clean up components; I'd likely just write it off.
 
I did some lab work and dealt with silicon oils of various viscosities, and I assure you that cleaning things is an enormous pain. I don't know if it'd be worth my time to clean up components; I'd likely just write it off.

On top of being a pain in the ass to clean, the oil I'm using smells. It's technically transformer oil.

I've been messing around with my LCD control. The temperature controlled fan curves are so awesome.

fancontrol2.jpg

I have two temperature sensors. One is in the oil inlet and the other is in the outlet. The temperature difference right now should be negligible since the oil is not being circulated.

fancontrol1.jpg

You can add as many points on the curve as you want if you want to make it smooth. I left it at the default for now because I don't know what temperature the oil will circulate at.

log_progress307.jpg

The bar across the bottom is actually a histogram of the oil temperature over the last few minutes.

log_progress308.jpg

This thing is so cool.

Now I need to figure out how to use the buttons.
 
Nice work man !!! great to see you get it up and running , congrats !!

Ahhh memories.....:D

--------


I did some lab work and dealt with silicon oils of various viscosities, and I assure you that cleaning things is an enormous pain. I don't know if it'd be worth my time to clean up components; I'd likely just write it off.

Nah it's easy......

Boiling 99% Isopropanol will clean it right up.

The parts I used in the thinktank 1 cleaned up perfectly , and still run to this day (24/7/365) for the last 3 years.

:D
 
Sorry for the poor picture, it's 12AM and my computer doesn't really receive good lighting. I'll take some better pics tomorrow when sunlight is coming through my sky lights.

log_progress310.jpg

Got my new radiator today. Looking sharp. This time I won't poke any holes in it, I promise.

log_progress311.jpg

Filling it up again! Fingers crossed. (And parents hovering over my shoulder).

log_progress312.jpg

Still looking good.

log_progress313.jpg

You can see the fan pushing the oil onto the radiator, but it can't push it through it.

log_progress314.jpg

It's up to the very top of the PSU (whose fan isn't spinning for some reason, oh well, seems to be fine).

Yay! No leaks. Like I said, more and better pics tomorrow.

[YOUTUBE]XELYREEa7w0[/YOUTUBE]

[YOUTUBE]A65GehSqhi4[/YOUTUBE]
Cool convective currents.

log_progress315.jpg

I've had prime95 running for ~45 minutes and here's the temps.

log_progress316.jpg

Fans are running at 60% of their max speed.

That's all the pics for today. More better ones tomorrow. I'm just glad there's no leaks.
 
I wonder how it compares to a regular water-cooled rig :)
 
I wonder how it compares to a regular water-cooled rig :)

The temperatures should be about the same, but a oil submerged PC will have a much greater capacity for heat. I ran P95 at full blast on my Q6600 for about 45 minutes and the oil temp only went up 0.5C. It takes a long time to raise the temperature of 7.5 gallons of oil.

The cooling capacity itself is the same as any water setup with radiators. My last case had a single 3x120mm rad, my new one has 2. So I doubled my cooling capacity. But if someone else went from a single 3x120 rad water cooled setup to a single 3x120mm rad /w oil, the cooling capacity would be exactly the same.
 
Thanks for the info :)

I'm not sure I'm quite ready yet to drop my systems into oil, though ;) I think it's quite brave of you to risk your computer parts, your desk, the carpet in your room and the relation with your parents over this :D
 
Awesome. It has that 'freshly filled aquarium' look, only without the gravel and rocks.

Heh, I like to stare at the swirling currents. Thanks!

wow, looks simply awesome.

How about some temp screenshots?

I was wondering the same..... What temps are u getting on the cpu and vga cards?? a friend of mine and I are thinking of doing a mineral oil based pc also

TBH, they're not very good. The lack of a decent TIM kind of kills the temps on the CPU.

temps.jpg

Both GPUs and CPU Idle. Note the ridiculous voltage on the CPU.

temps_load.jpg

Both GPUs loaded and CPU @ 100%.

GPU1:
Idle/Load: 46/52

GPU2:
Idle/Load: 52/59

CPU:
Idle/Load: 66/80

The GPU temps are great though.

IMG_1496.jpg

Full load power usage. You should feel the heat coming out of the side of this thing.
 
can't you lower the voltage on the cpu and still maintain a 600 mhz overclock on that q6600?

I temporarily have it at a lower multiplier (but not voltage) while I figure out the working temp of my new setup in the oil. With my old water setup, my Q6600 ran happily 24/7 @ 3.5ghz with 1.575V @ 430 /w 8x multiplier. Once I'm happy with the stability at this speed, I'll crank it back up.
 
hey lego man, in the one video on youtube of the mineral oil pc, isnt that the theme from sonic 2 chemical plant zone playing?
 
^ type that into to google and i think youll find you're wrong:D

Well I'll be damned. I guess it makes sense though, a lot of dyes and paint are oil based to begin with. It isn't such a big stretch as I thought at first for there to be oil soluble dyes. All the same, I'd rather leave the oil clear; I kind of want it to look like water.
 
This thread/project is full of win. If I had the money, time and balls, I would do this in a heartbeat.
Our of curiosity, how much did the mineral oil cost you?
 
If I lived closer I would take you up on your offer, I have been screwing around with the idea of immersion cooling. Anyways great work man.
 
I don't post here often but this project certainly deserves a BIG well done!

Very impressive build that had a lot of planning in it.

Again, well done!:dremel:

Thanks! It was a lot of work but I think it was worth it.

Sounds like a successful build.

Send us pics at Lanwar! You're sure to garner a crowd.

I'm sure the case will have wonderful lightning properties if you play around with different lights.

Never worry, I will take pics-a-plenty. I was thinking about trying to stick some lights above the radiators (on top of them) directly below the tank. We shall see.

log_progress322.jpg

I thought this was pretty interesting. These bubbles have been on the bottom of the tank since I filled it 2 days ago. I had thought they were air bubbles but upon a closer look, some of them are simply too big to not have detached from the bottom and risen to the top. I believe they are water droplets. No harm in them being there, I just thought it was pretty neat.
 
hmm...interesting. water? but I thought water would have a lower viscosity making it rise? is it something else?

Viscosity is the wrong property; density is what causes it. Oil is less dense at 900g/L compared to water's 1000g/L. Since the water is heavier, it sinks to the bottom. Same as how oil spills on the ocean float to the top and make a mess.
 
i think you overvolted ur q6600. I can run mine at 3 ghz with stock voltages.
 
yeah, but i think 1.5v is too much for 3ghz. Weird, how did it hot did it run before you submerged your pc in oil?
 
yeah, but i think 1.5v is too much for 3ghz. Weird, how did it hot did it run before you submerged your pc in oil?

I didn't need 1.5v for 3ghz, the 1.5v is for 3.5ghz. I merely had it at 7 x 430 instead of 8 x 430 because I was running it air cooled (while I was waiting for my new radiator).
 
Back
Top