digital_exhaust
[H]ard|DCer of the Month - May 2008
- Joined
- Aug 14, 2006
- Messages
- 6,903
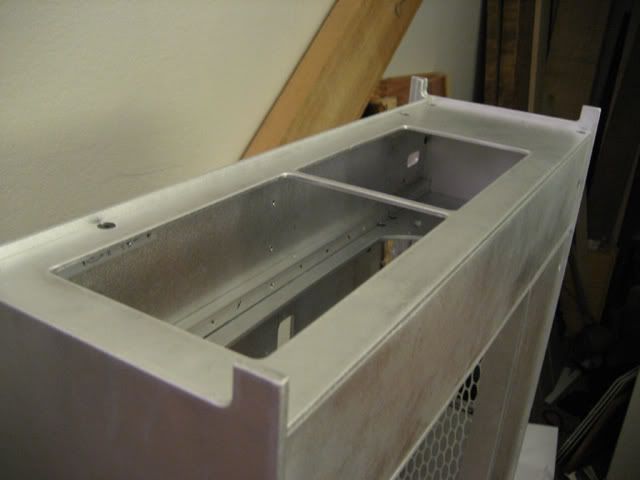
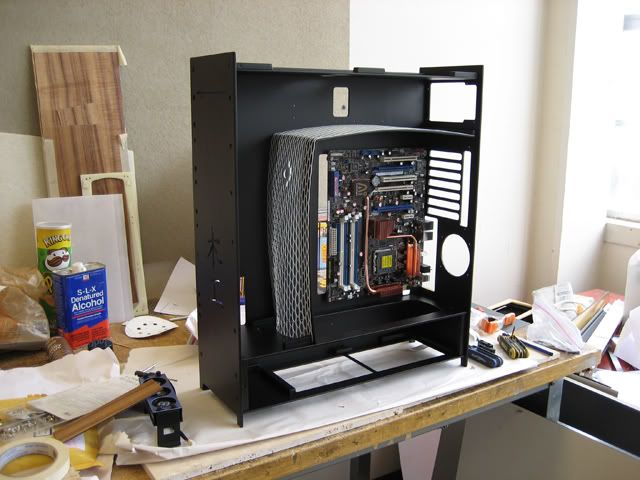
I've already said this, but this case is amazing. I am truely in awe of your skills and imagination... Can't wait to see more.
Follow along with the video below to see how to install our site as a web app on your home screen.
Note: This feature may not be available in some browsers.

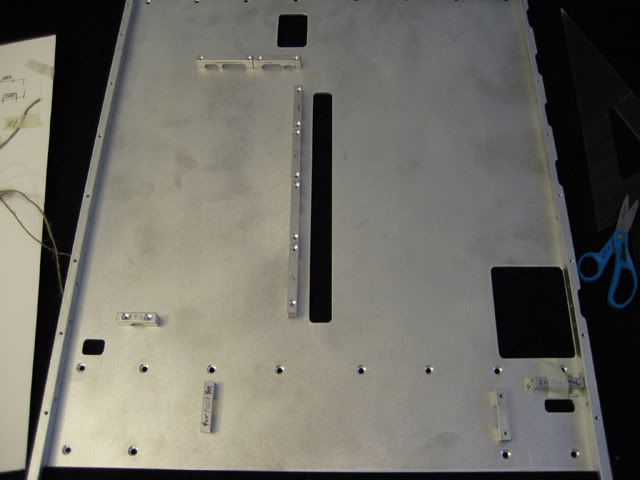
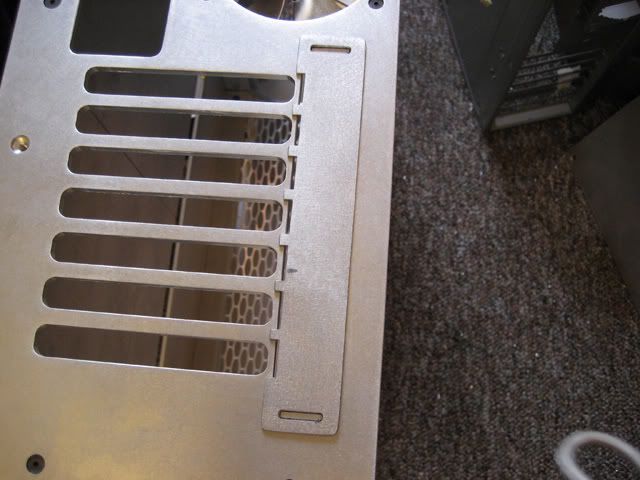
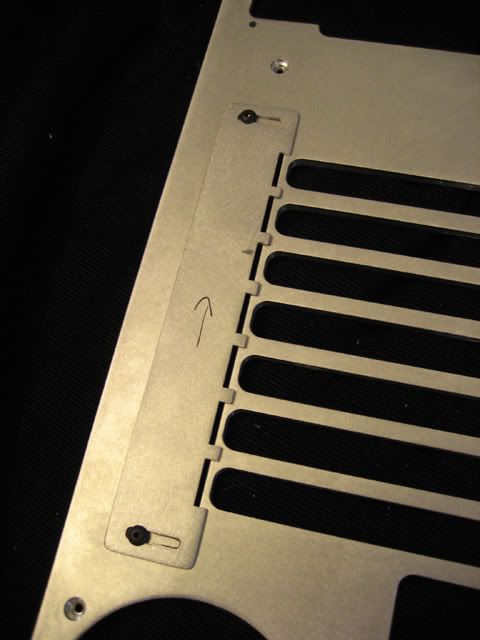
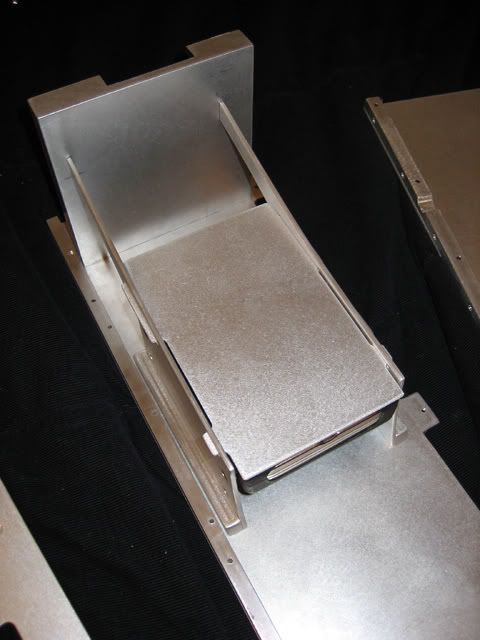
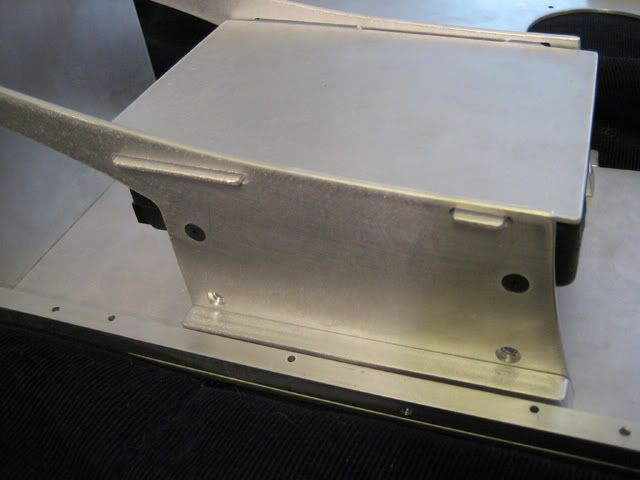
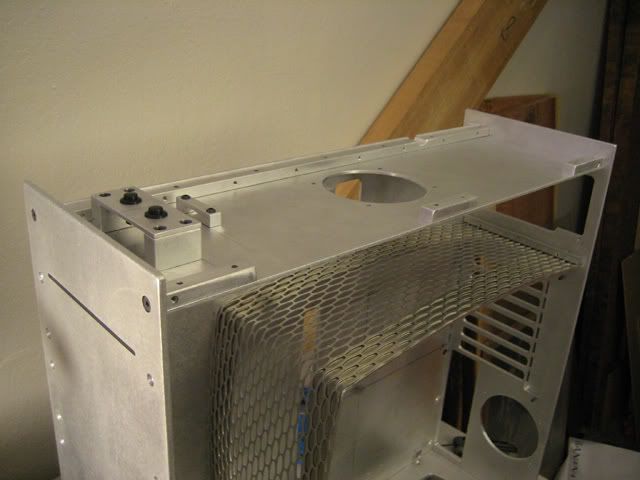
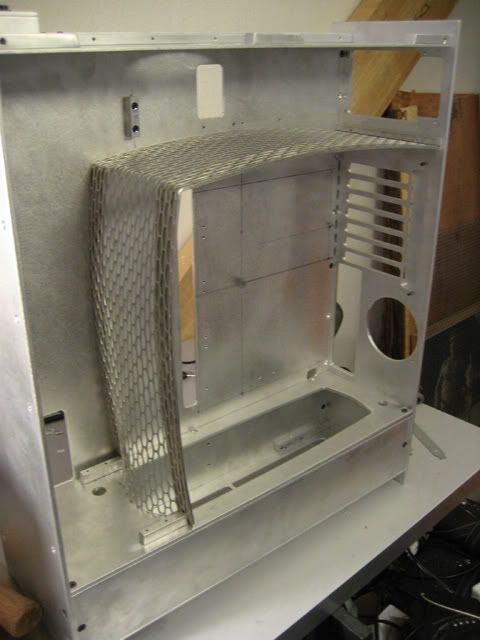


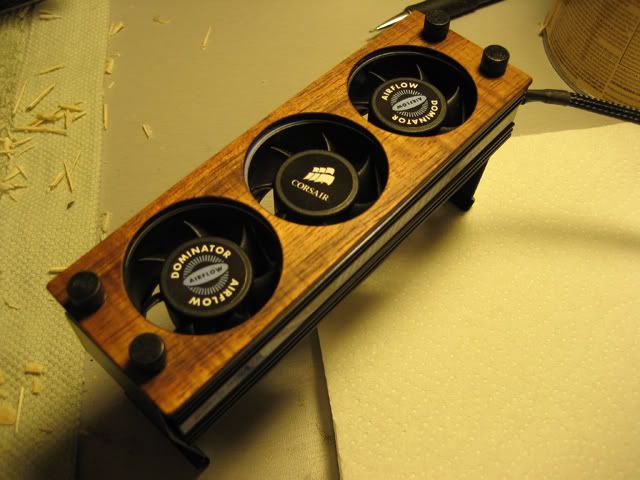
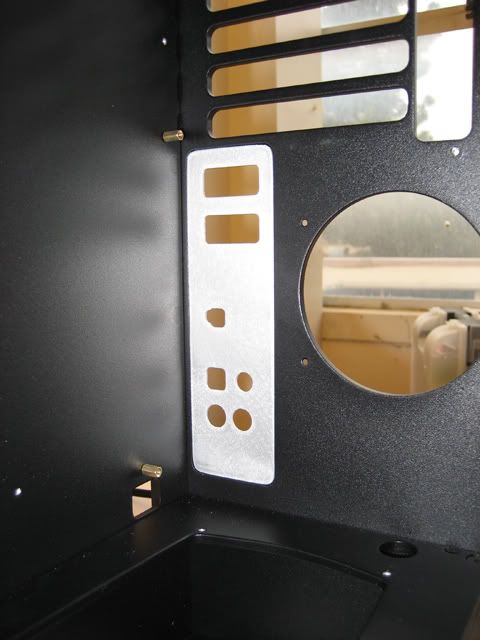
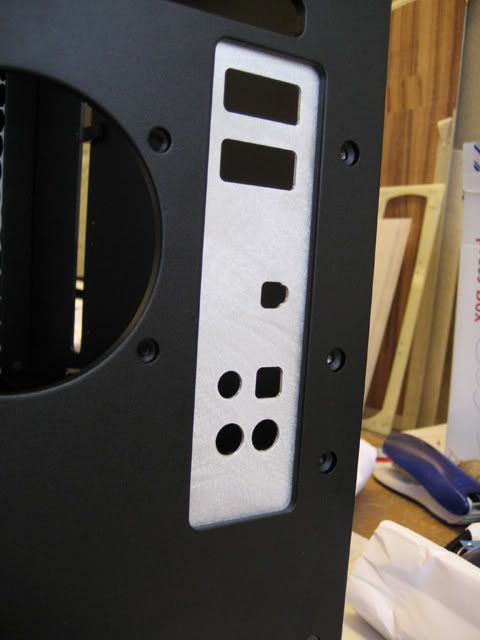
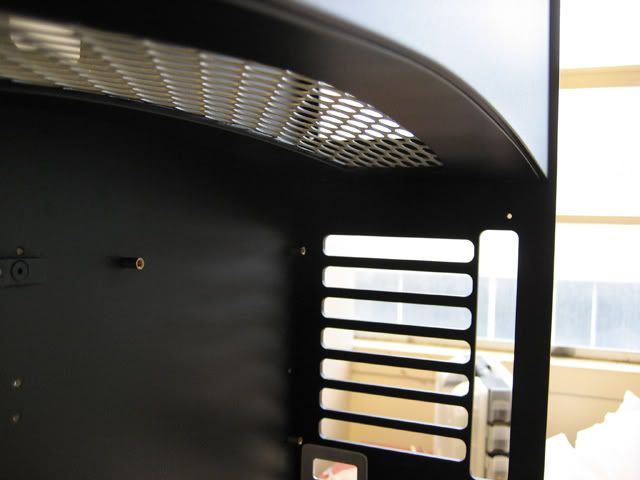
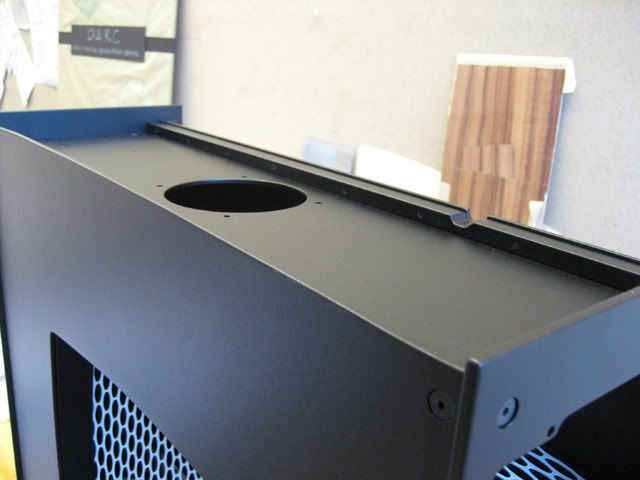
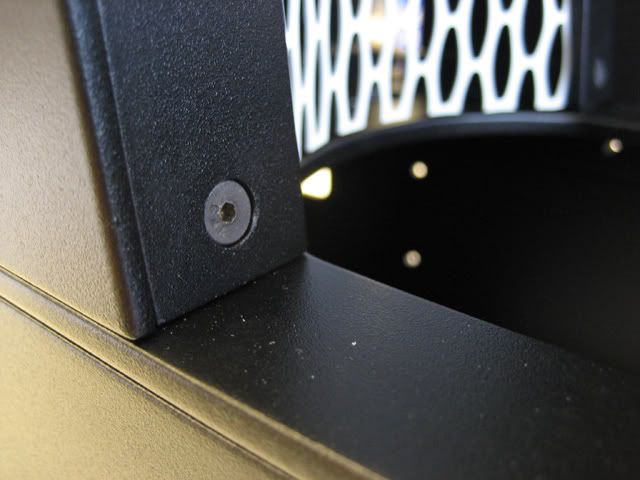
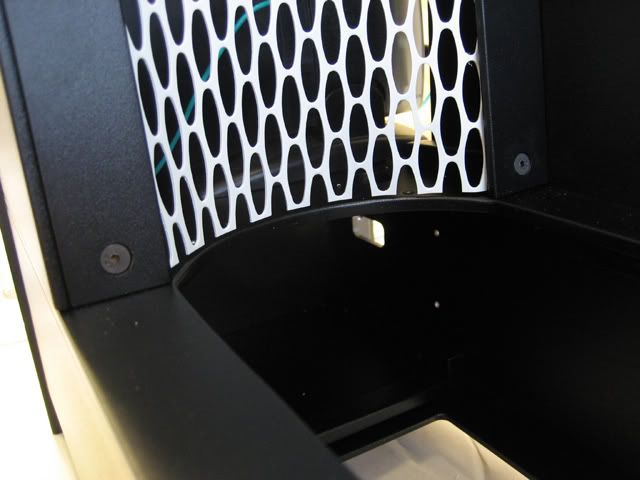
Limited to 1 drive bay, only 2 HDD mounts, NOT TOOLESS? Why did you even bother?
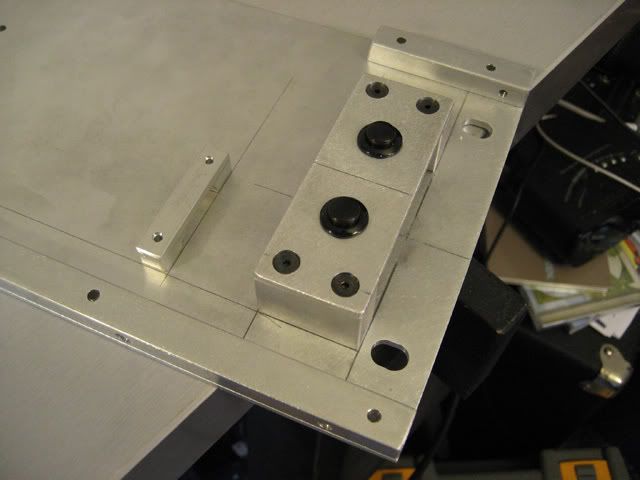
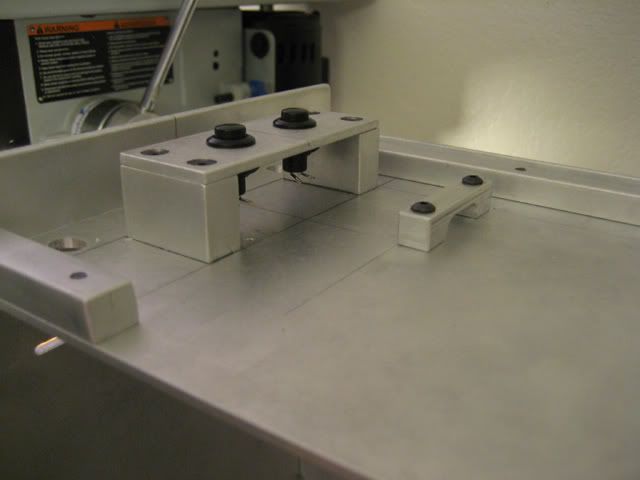
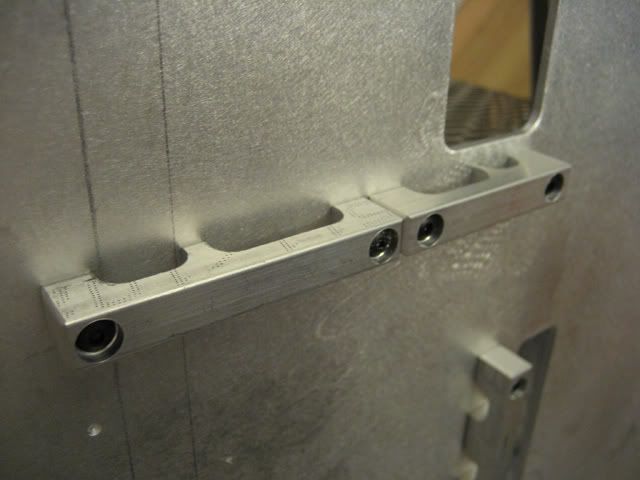
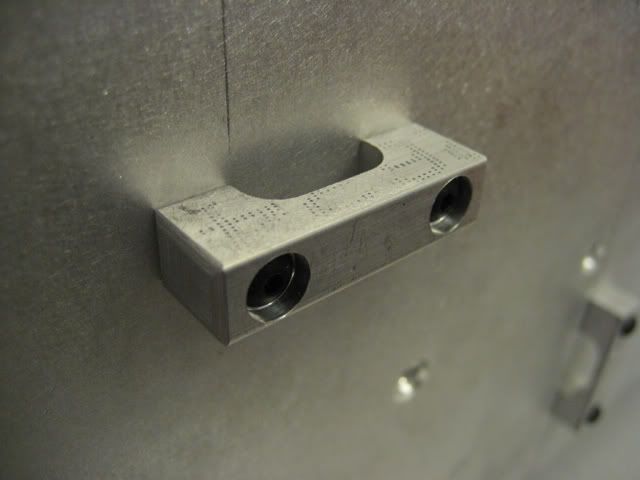
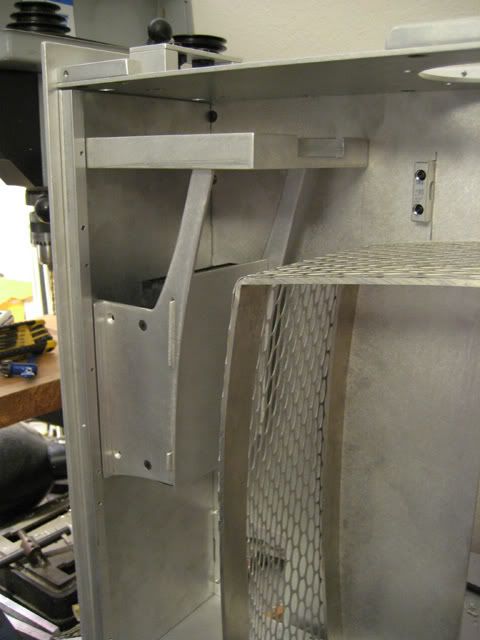
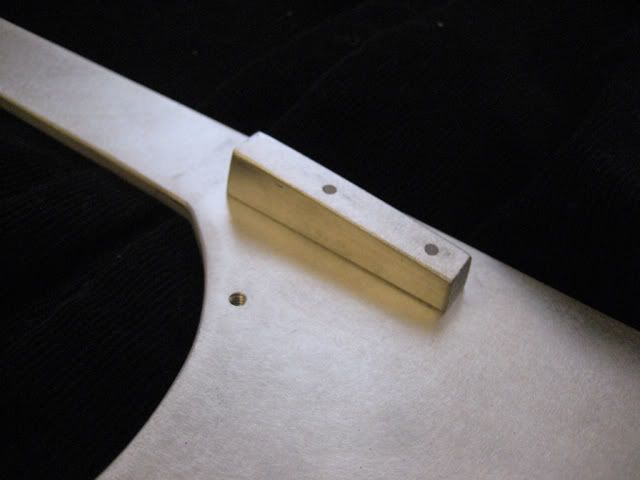
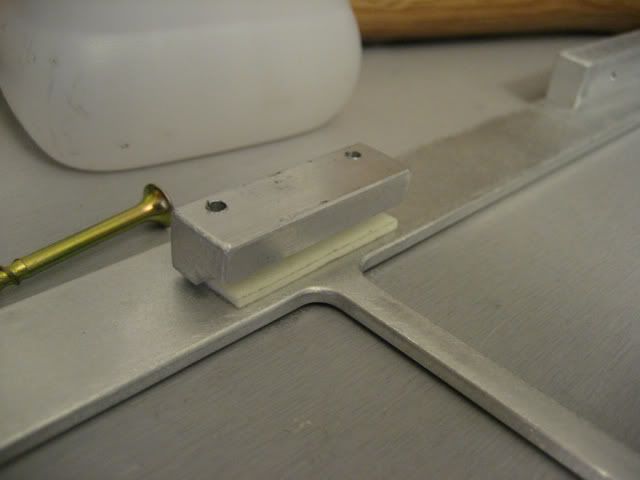
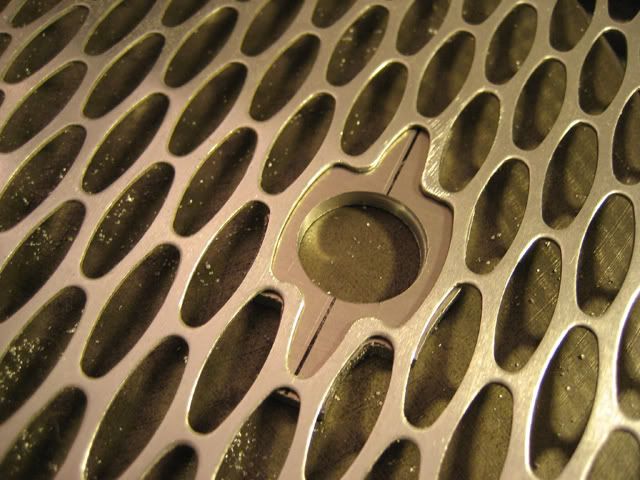
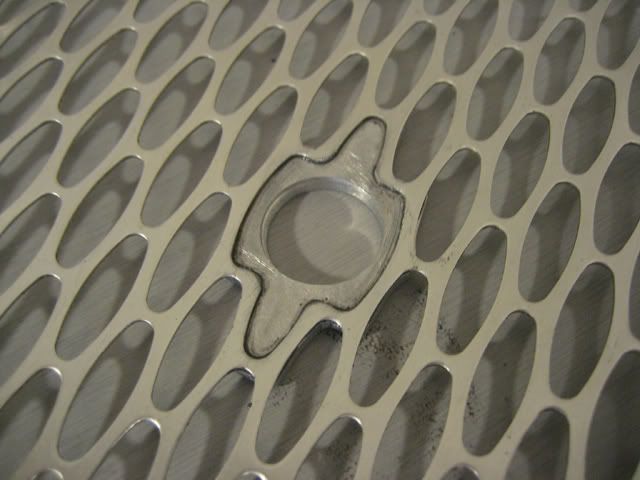
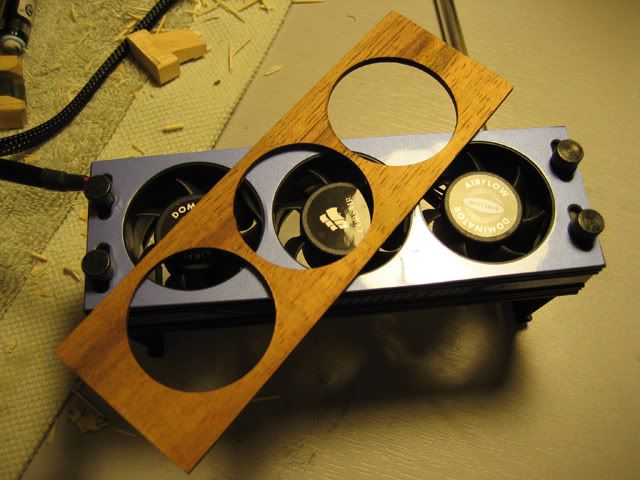
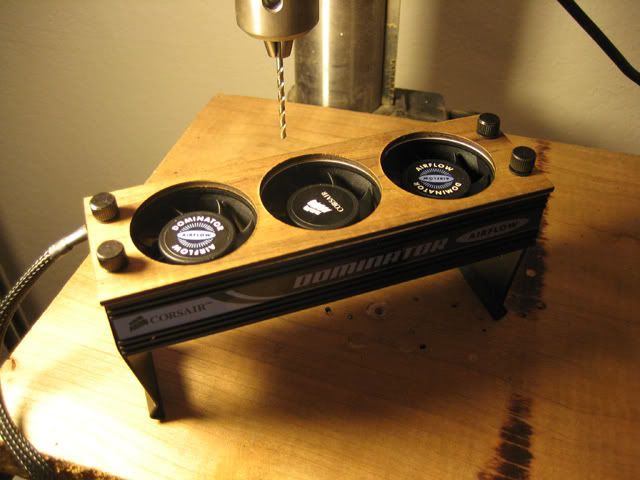
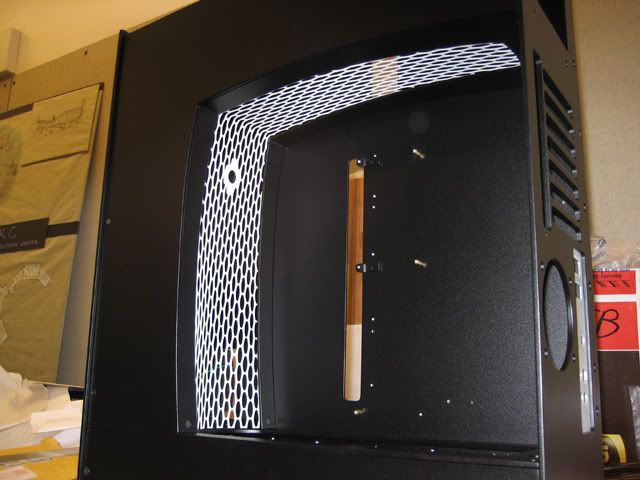
Of course I'm kidding. It's been said many times, but this case is the bee's knees. Seriously, I've been actively waiting updates on this case each day. Your new wiring setup looks like it should be very clean and hidden. I'm curious about the HDD plate though, are you not worried about vibrations or does it fit alot more tightly than I imagine?
Good luck with all the finishing touches!
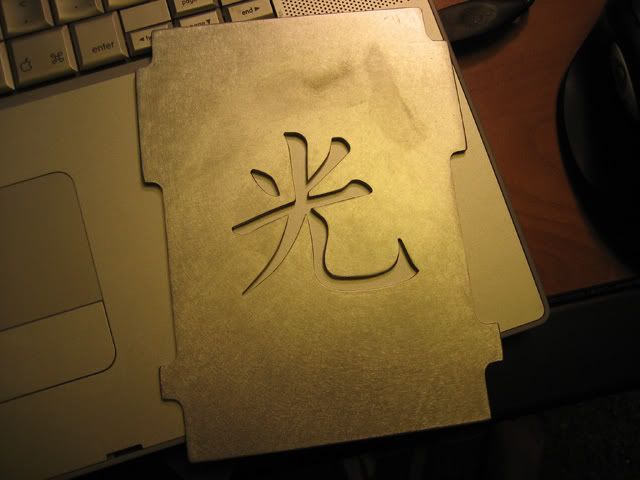
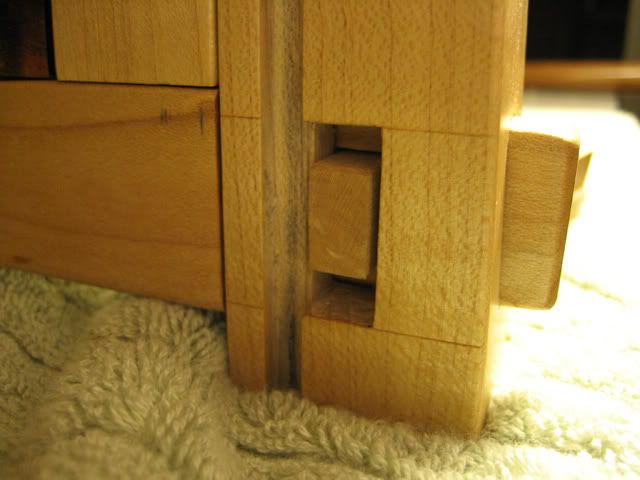
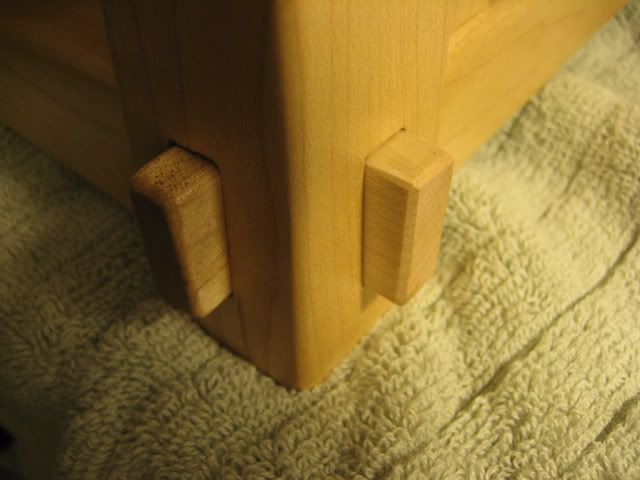
Ha, you scared me for a second there... Thanks though. The hdd cover doesn't fit tighter than you imagine, probably looser in fact. I have rubber washers in between the hdds and their holders so I'm hoping that takes care of the vibrations. If not, I'll figure out something.


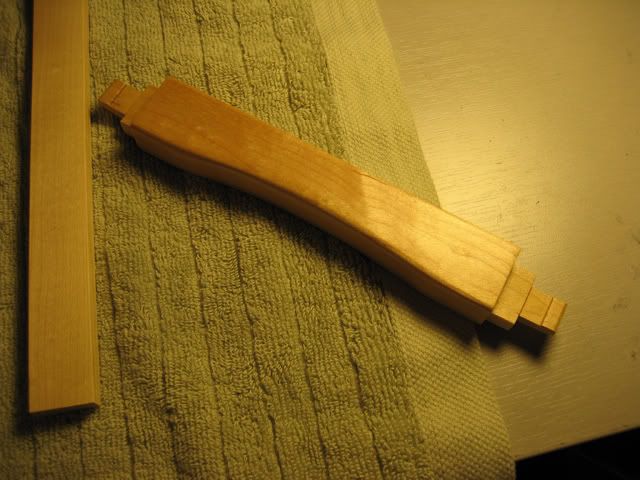
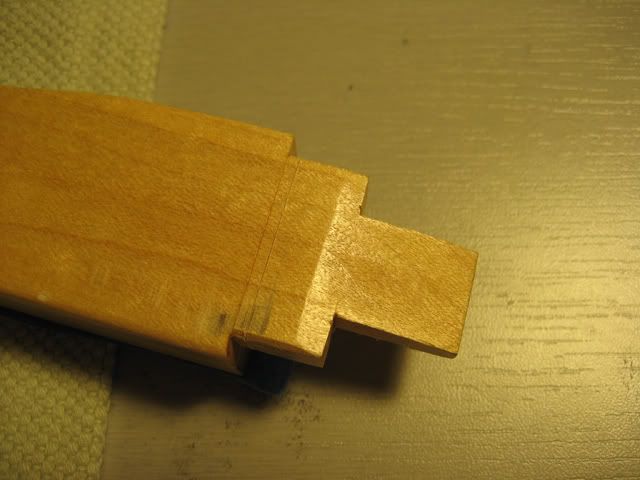
Seeing you work on this case just makes me want to start my own wooden case project more and more. The craftsmanship so far is beautiful, keep it up!
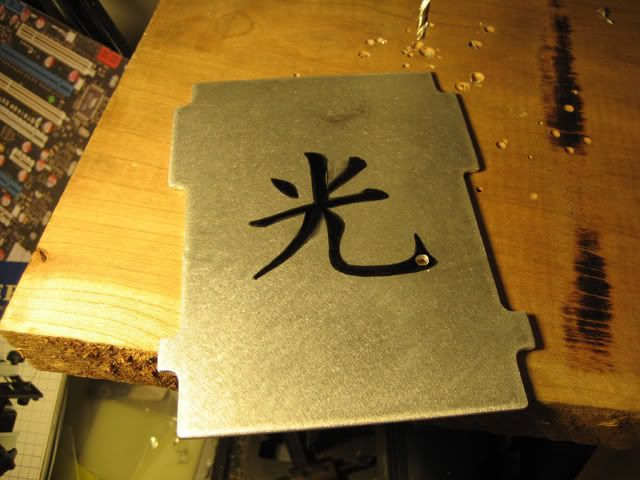
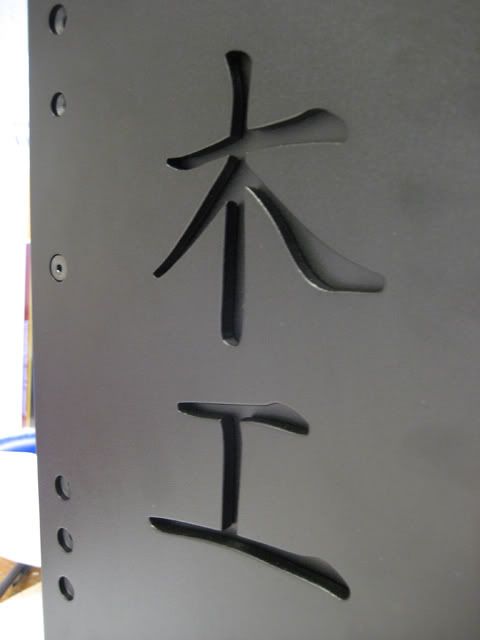
I too am in love with East Asian culture, got any suggestions for a project for me?
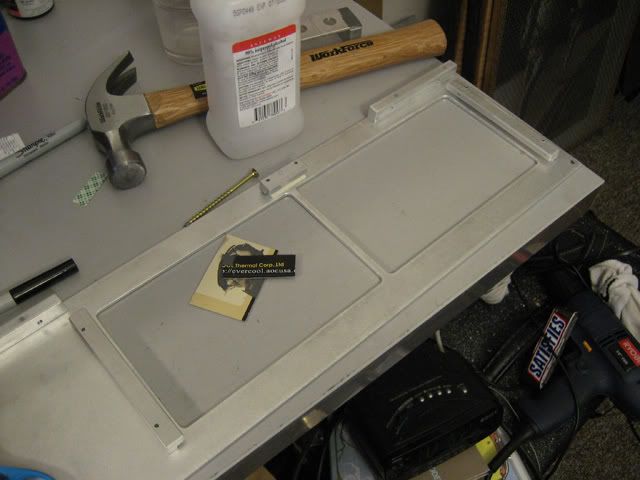
 Stay tuned
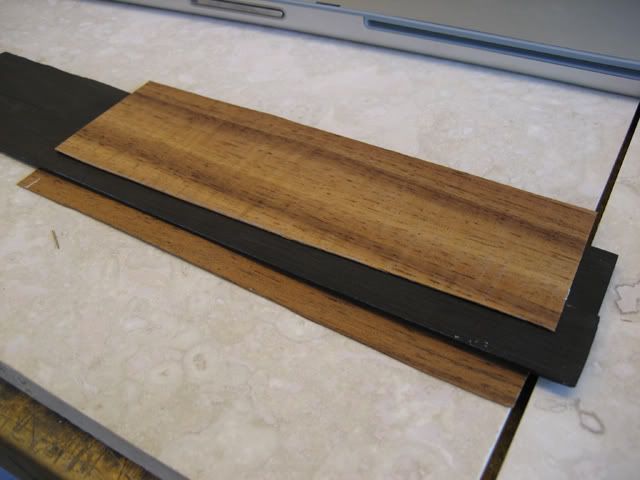
 .
.