greensabbath
n00b
- Joined
- Dec 5, 2005
- Messages
- 54
Hey everyone, I usually post on Bit-tech but decided to post here also to reach a wider audience and get more advice, thanks in advance and I hope you all enjoy this worklog.
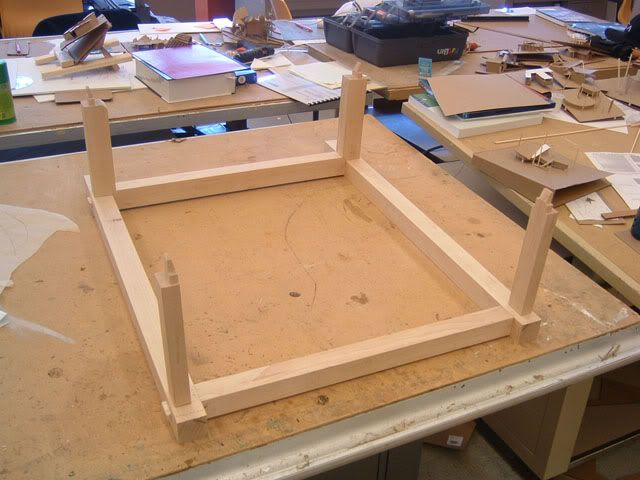
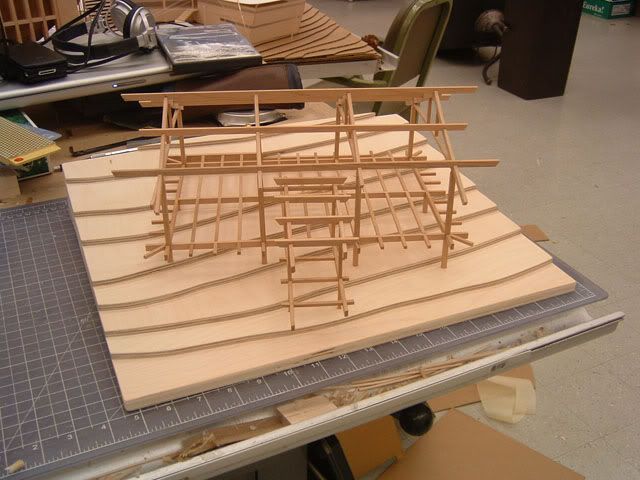
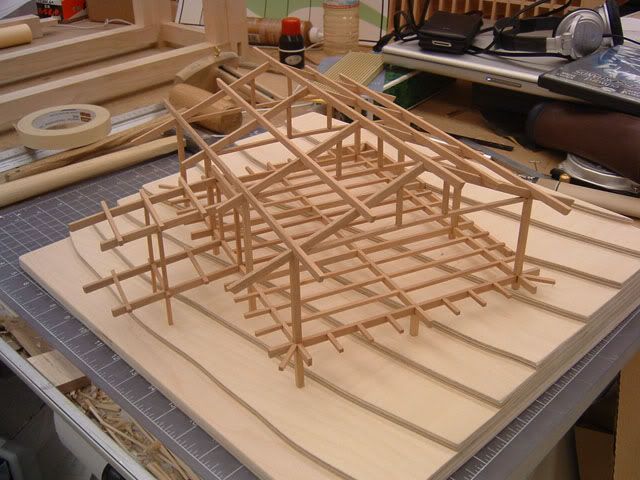
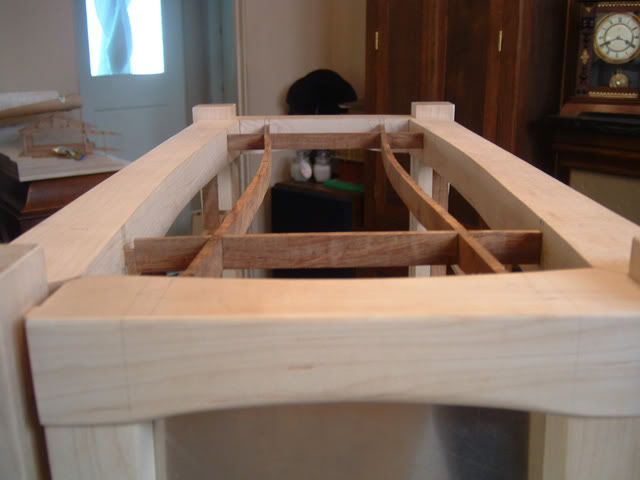
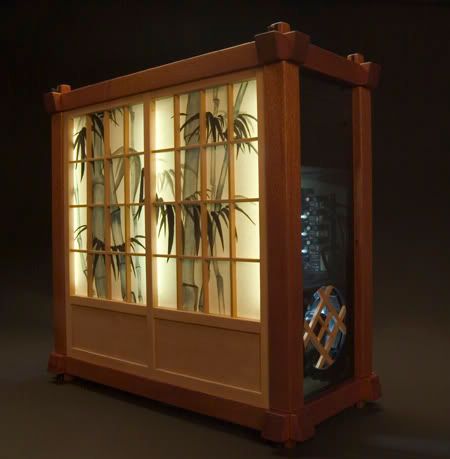
After many months of planning and a little bit of actual work, my second custom case is ready to begin. This case is called Yuugou which roughly translates to "fusion of two things". I want this to be the ultimate combination of tradition and technology
The case is based on a few of my past furniture projects along with what i learned from Sangaku. This time it will be watercooled and the components will be fully stealthed and sound deadened for something that should be amazingly quiet.
The main material for the interior frame will be aluminum which I'm not sure how i'm going to finish. The main woods will be maple and hawaiian curly koa.
I originally wanted no buttons on the case and just touch sensors but that is up for debate now.
As for hardware, i'm waiting until the end of the year for the Conroe stuff to be cheaper.
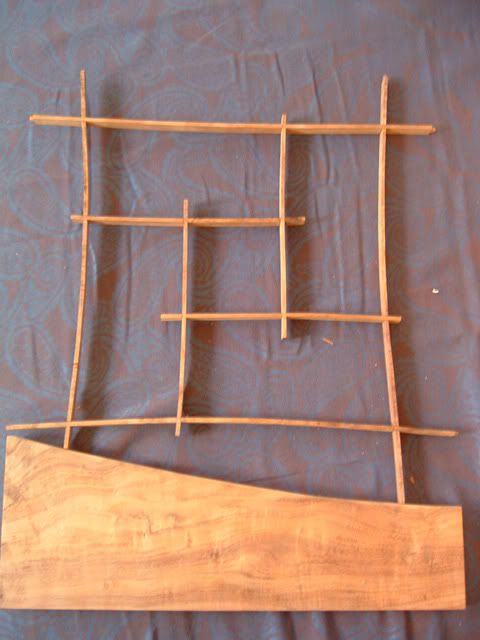
Without further delay, i have some sketches of the case itself which ill need to draft up and make full sized drawings of:
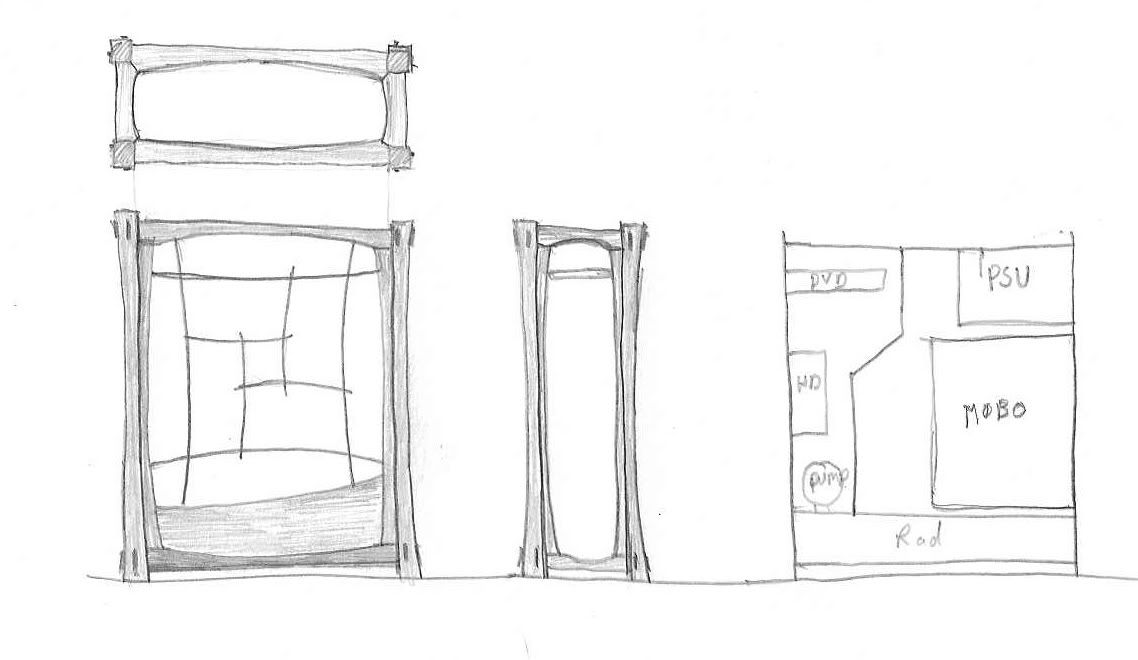
Sorry for the crappy pics, i don't have my usual camera since i'm at home for spring break.
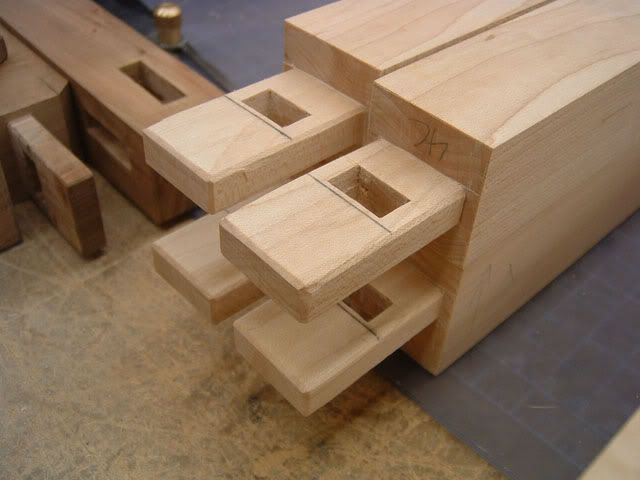
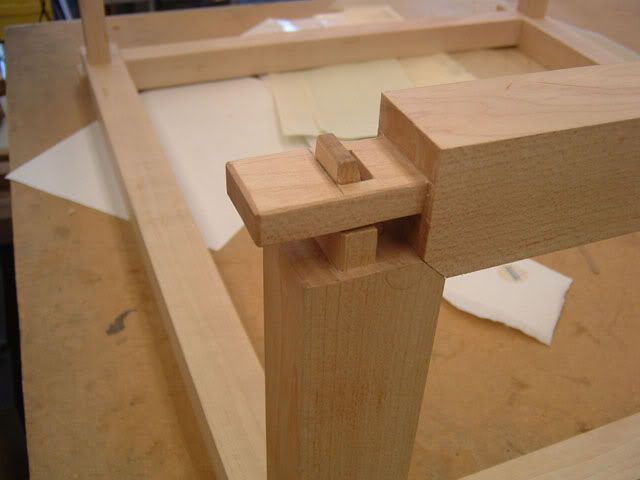
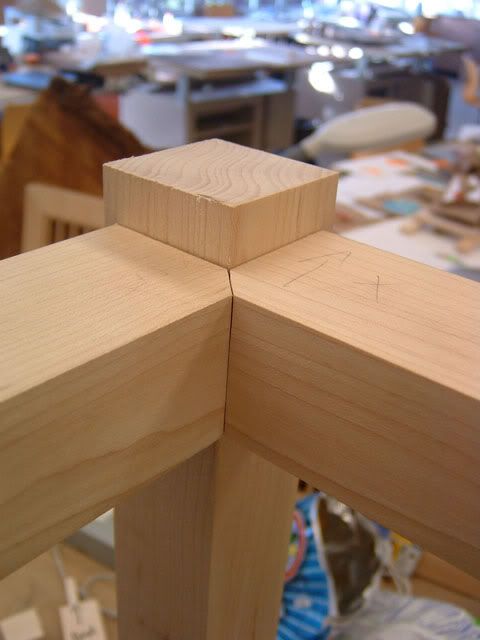
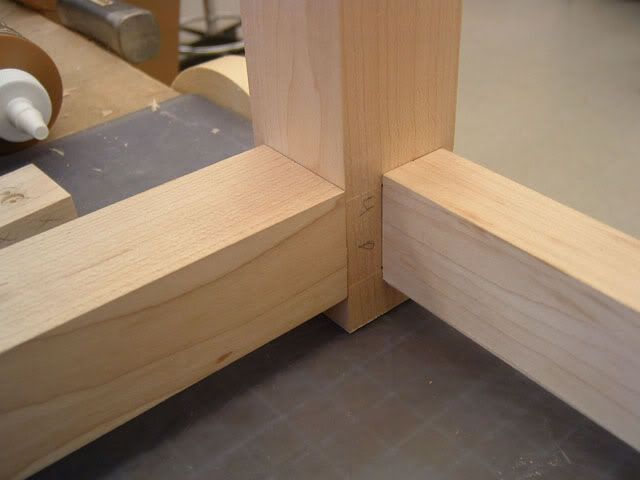
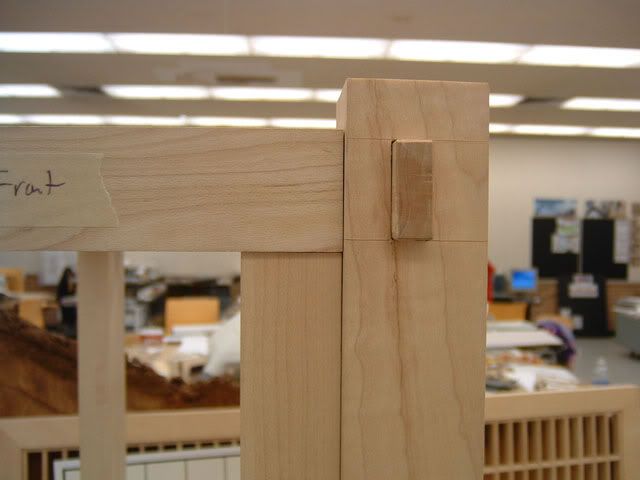
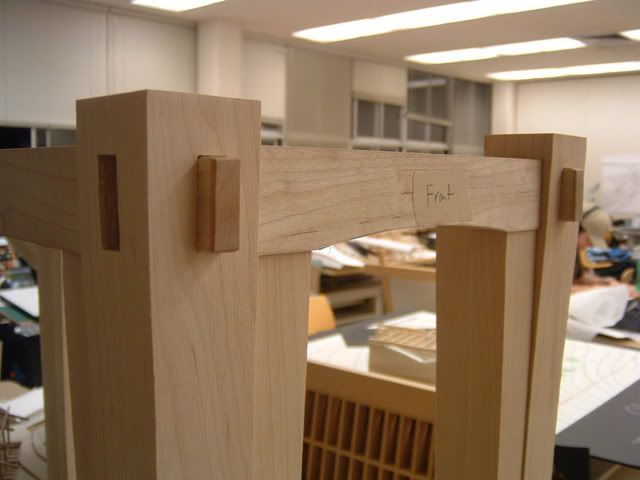
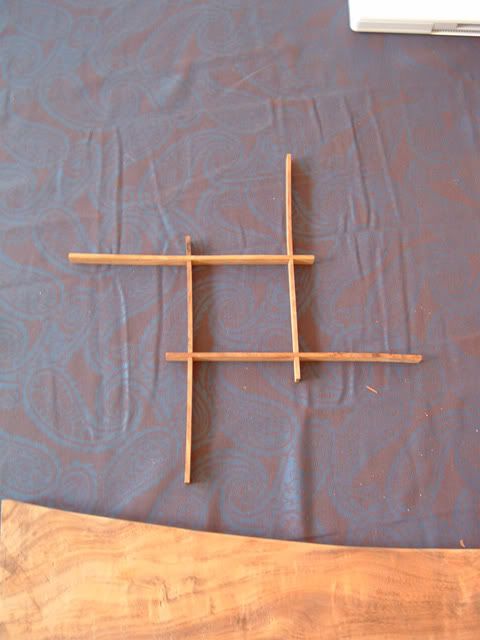
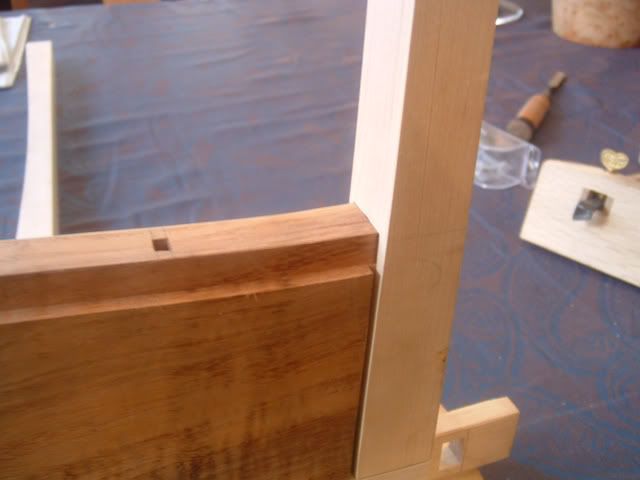
Another part of this case which i am very proud of is the amount of hand work that i will do. Every single joint will be entirely made by hand and i invented a new joint for this project to do what i wanted it to.
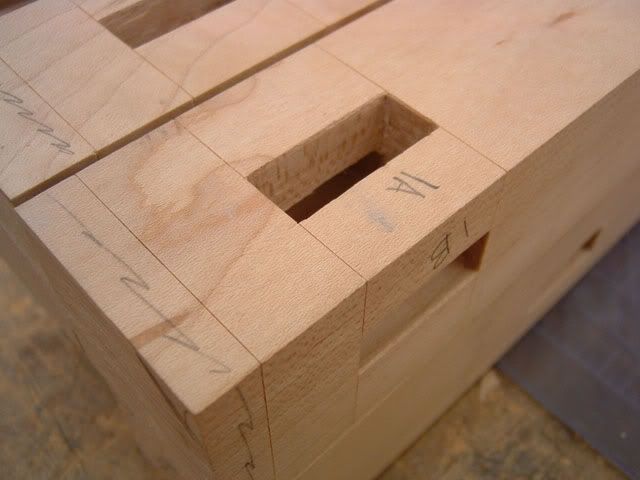
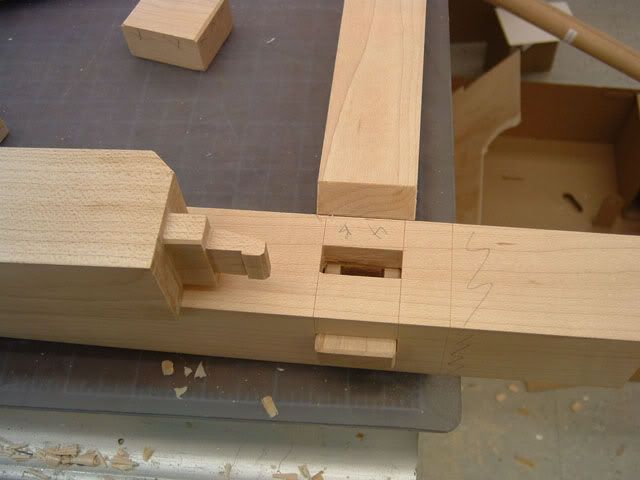
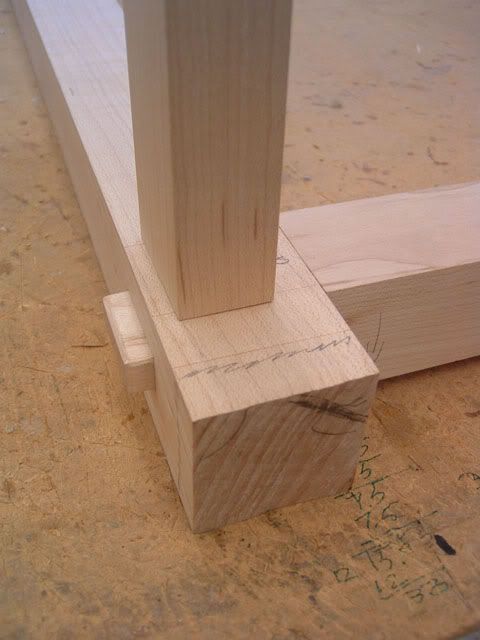
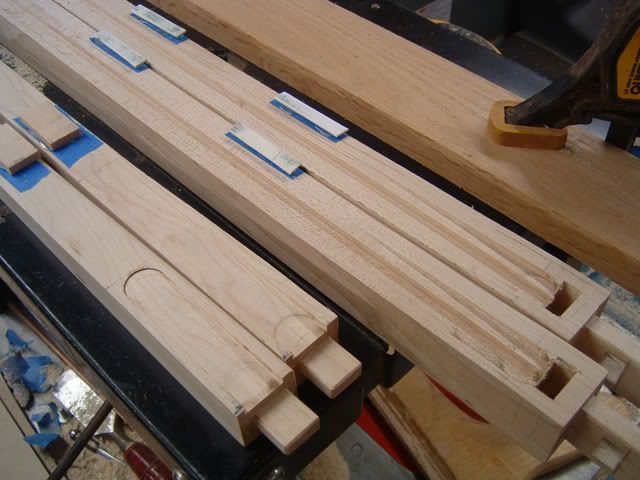
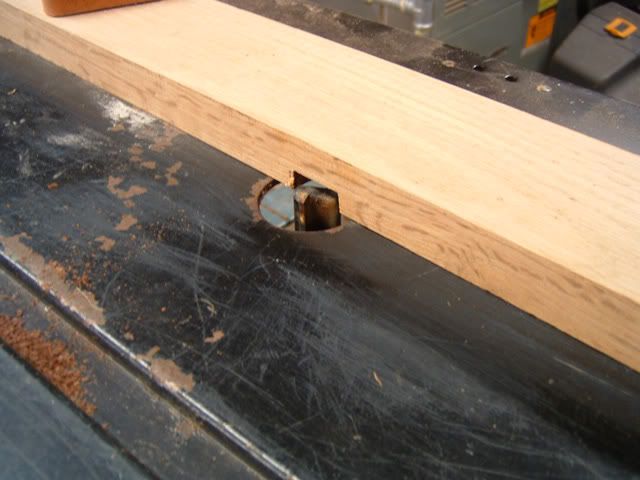
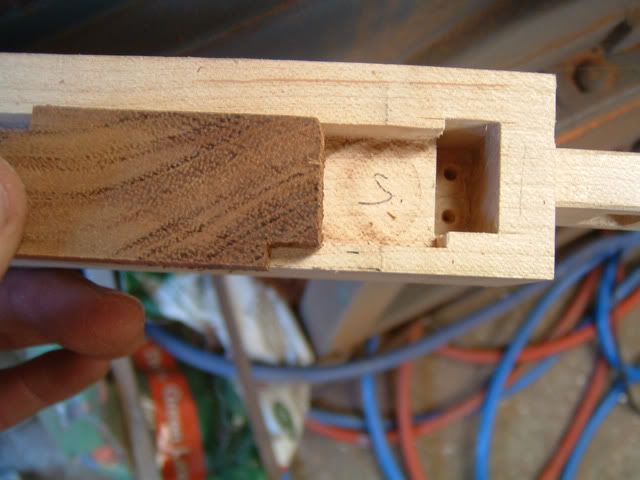
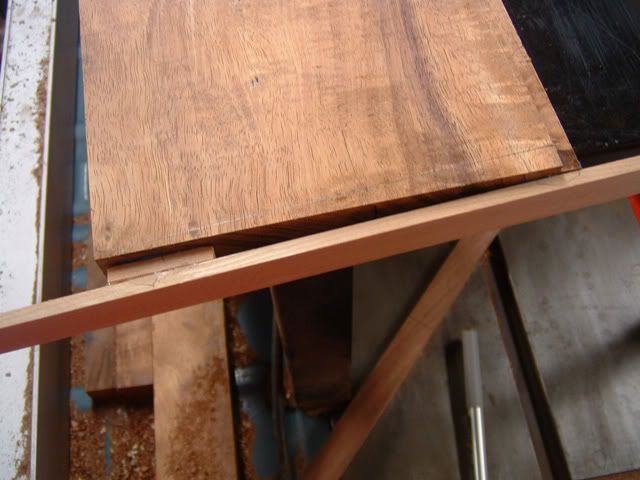
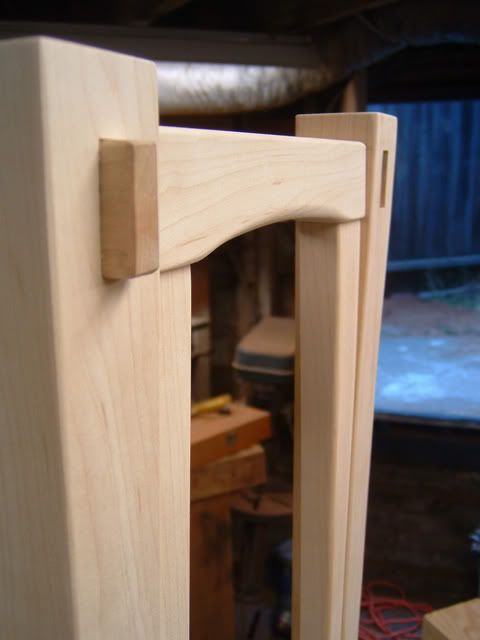
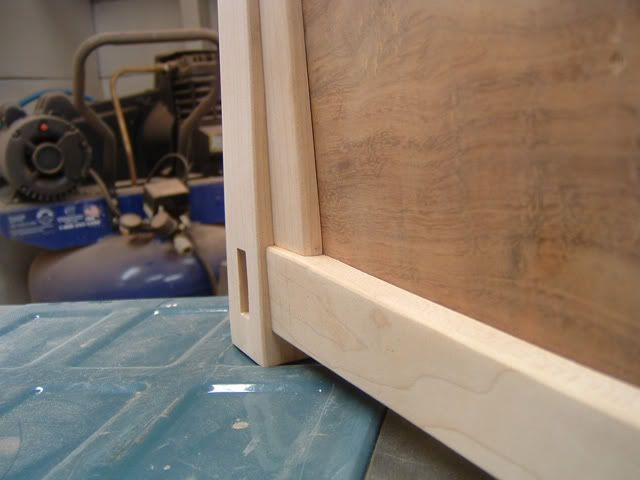
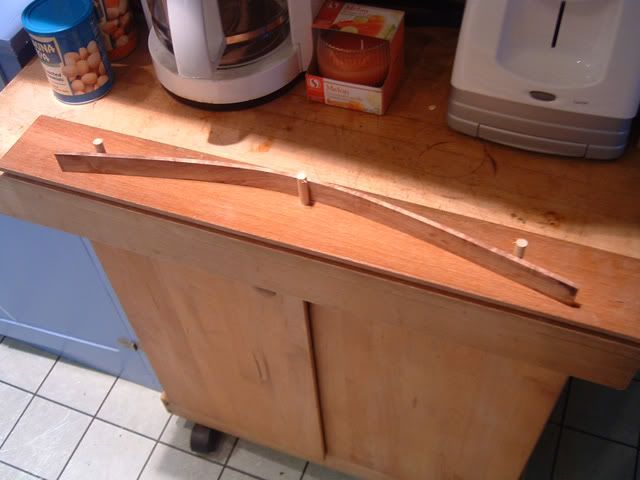
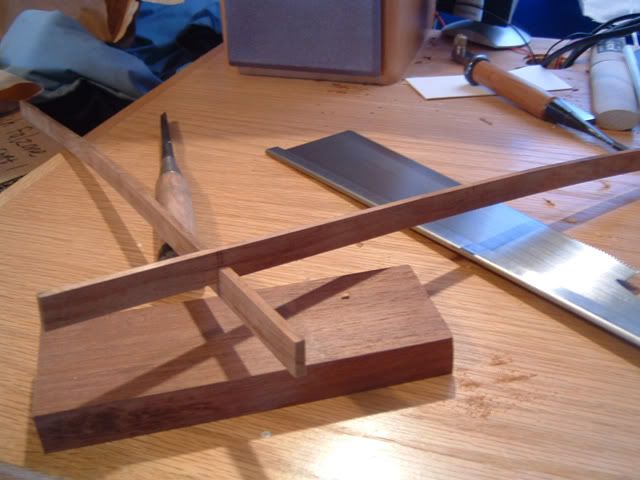
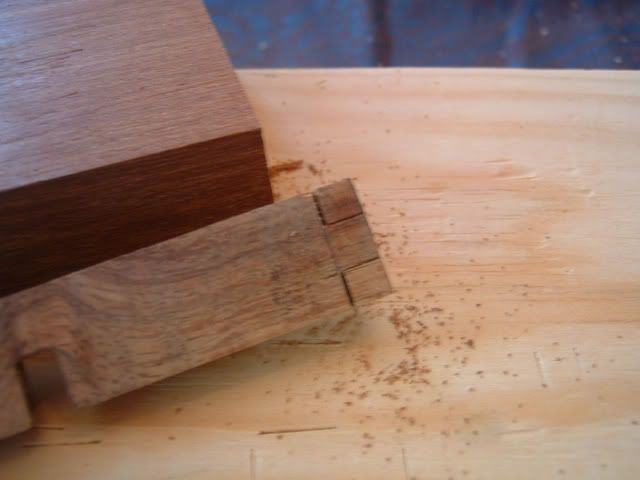
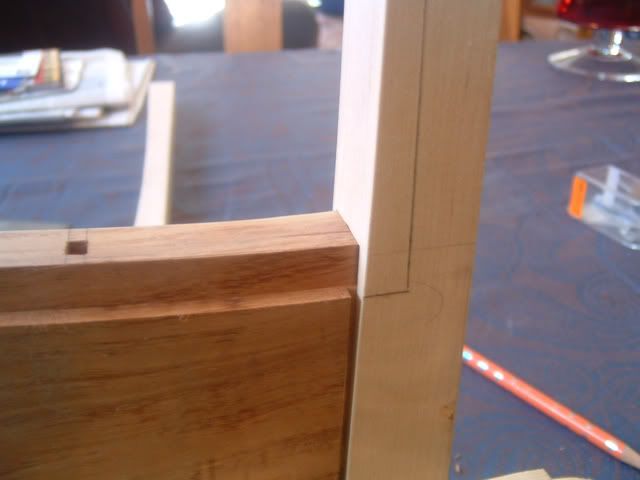
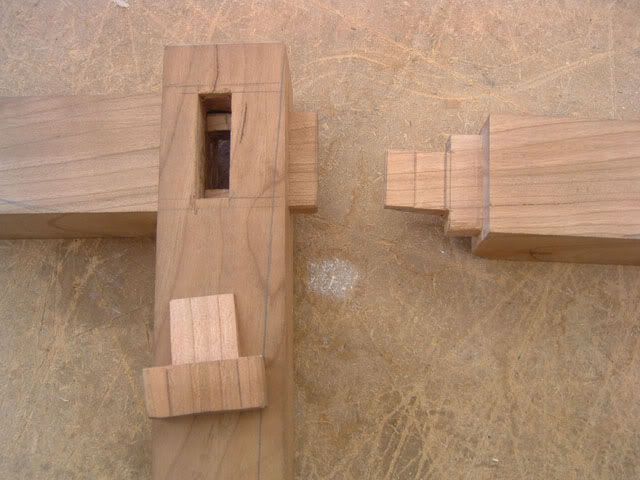
The joint, shown below, requires no glue, is solid as a rock, and can be taken apart easily.
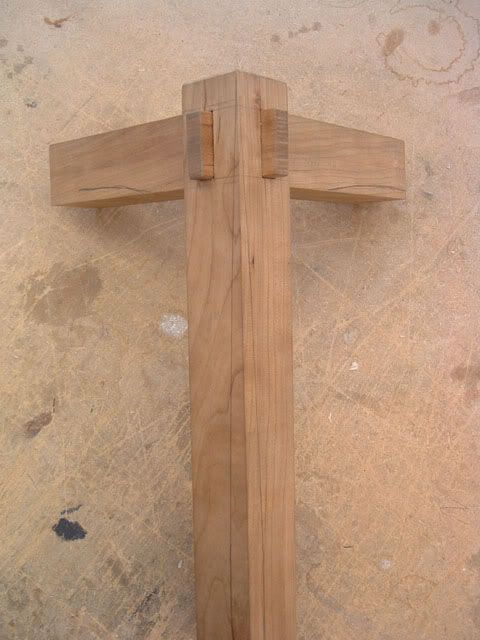
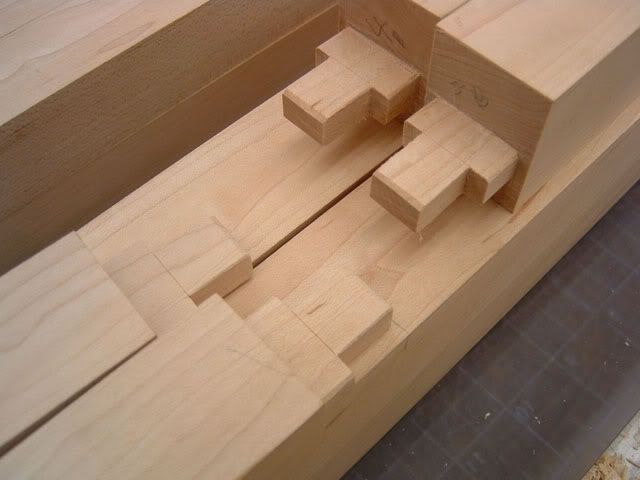
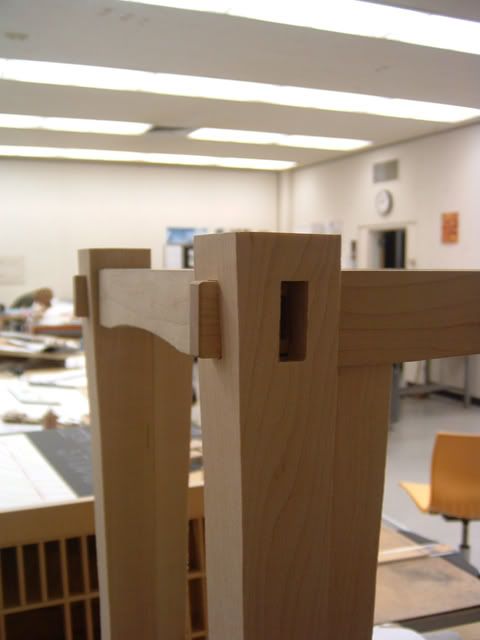
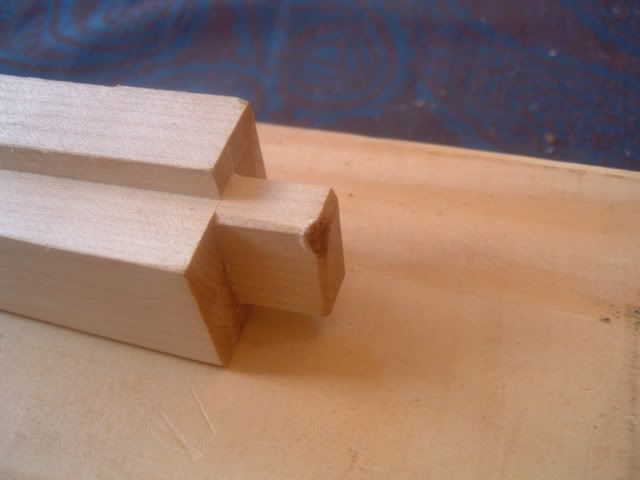
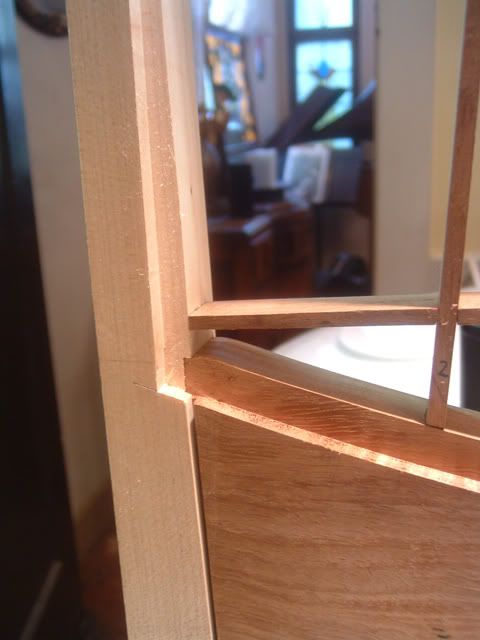
Here it is with the pin taken out:
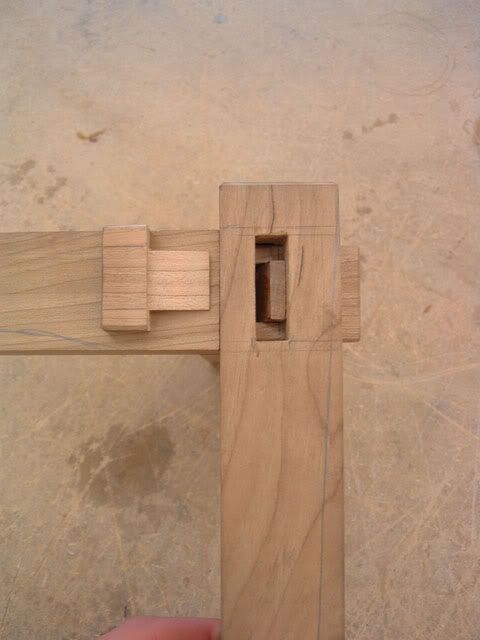
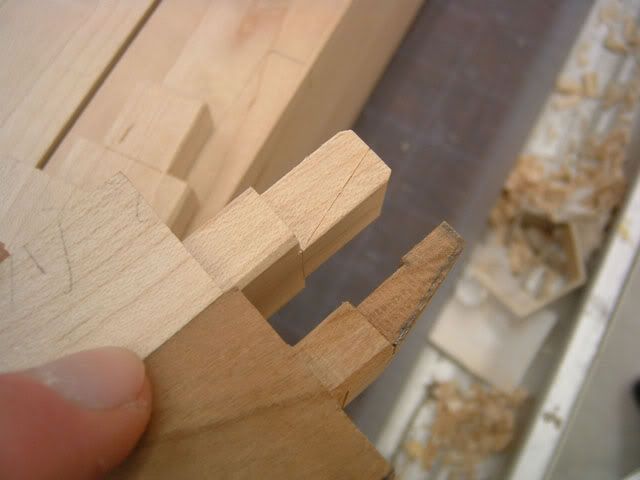
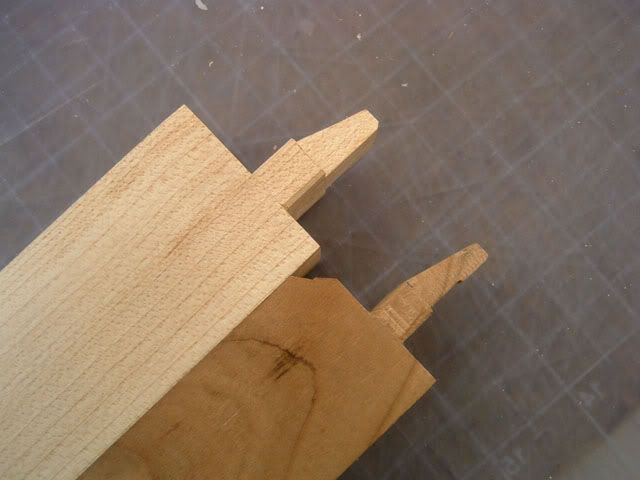
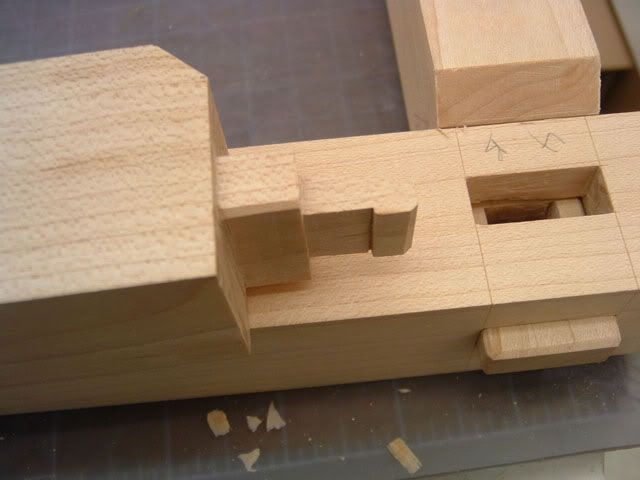
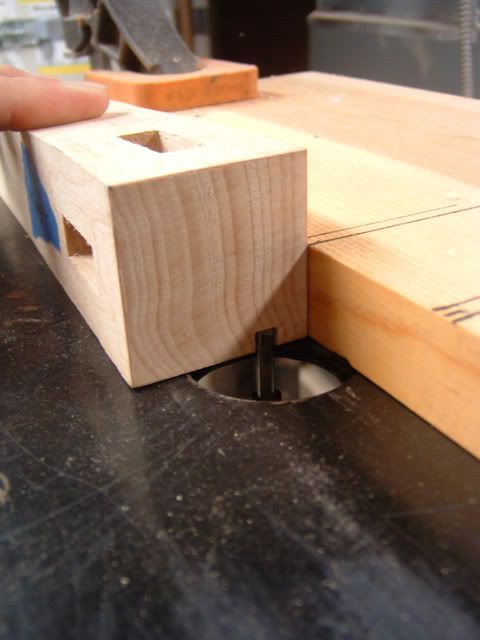
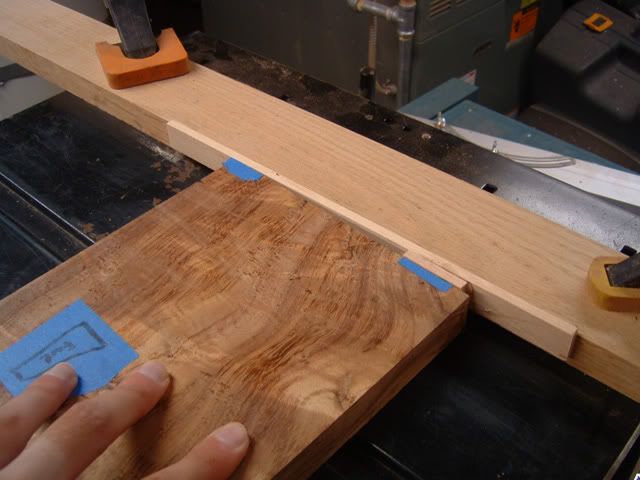
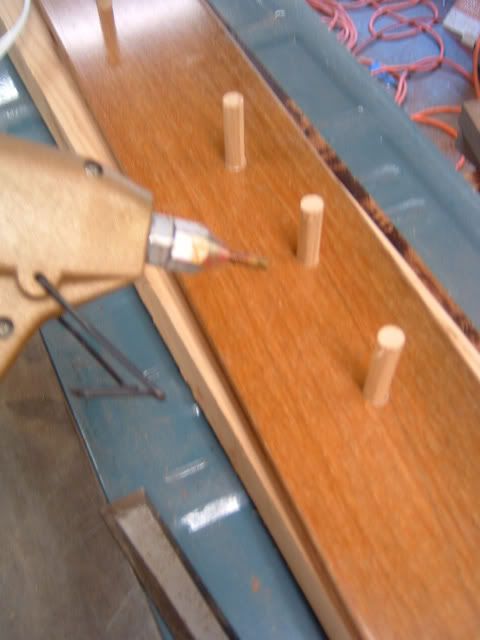
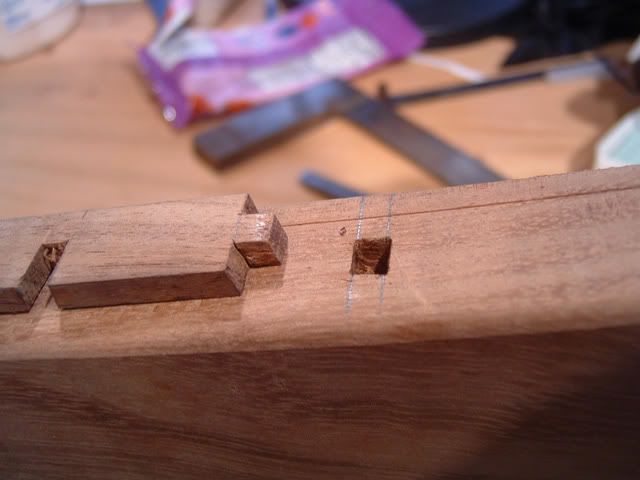
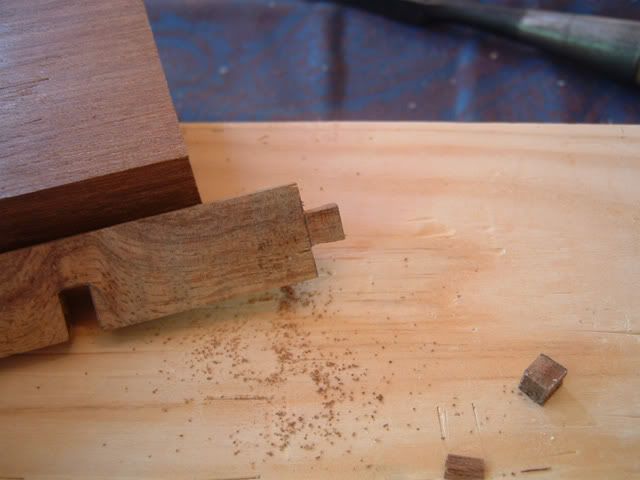
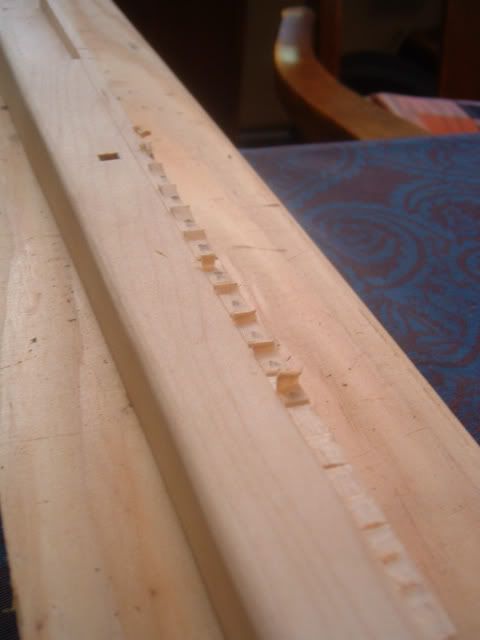
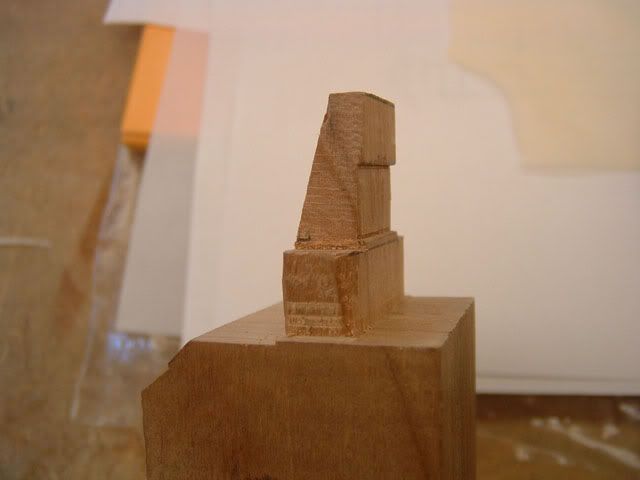
This is the main thing holding this joint together, the little nubbin thats cut out of this piece:
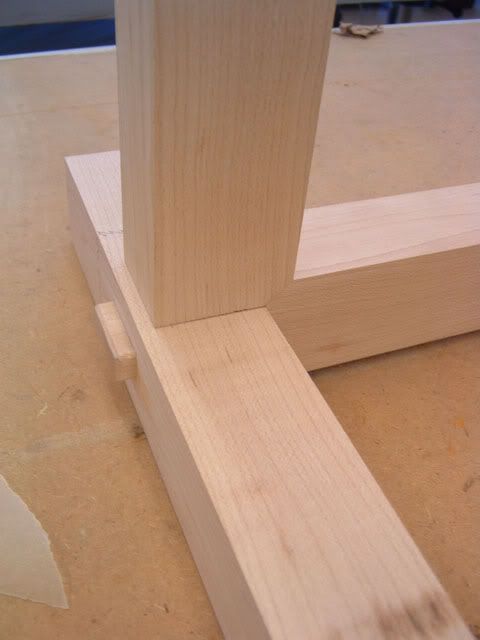
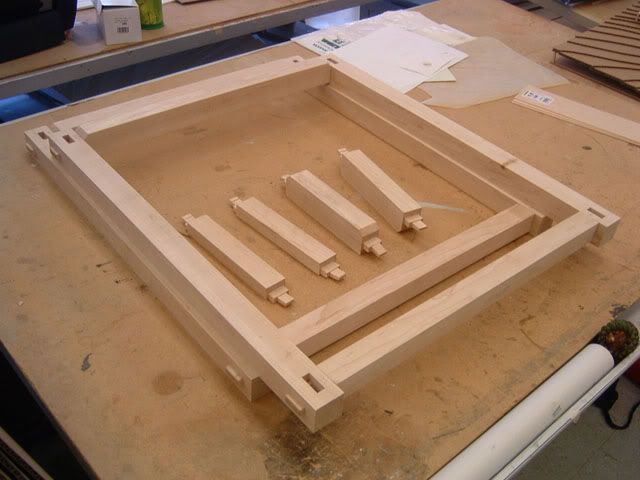
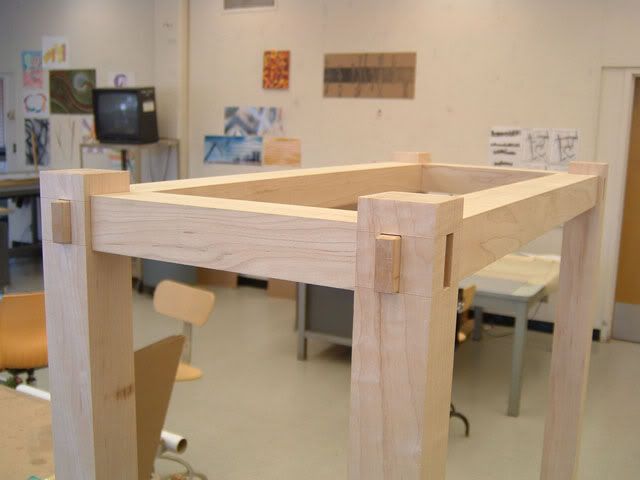
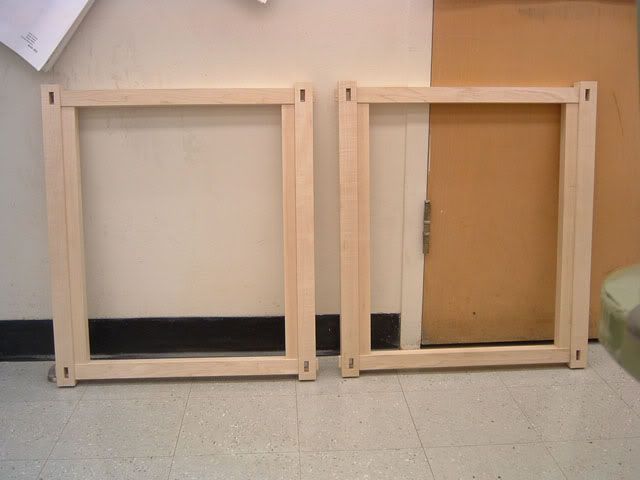
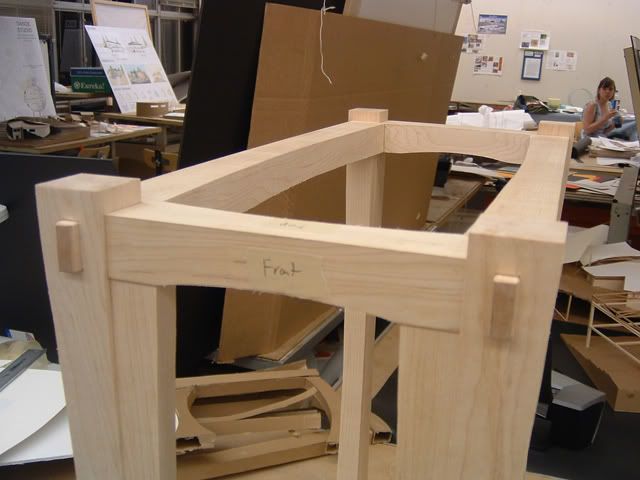
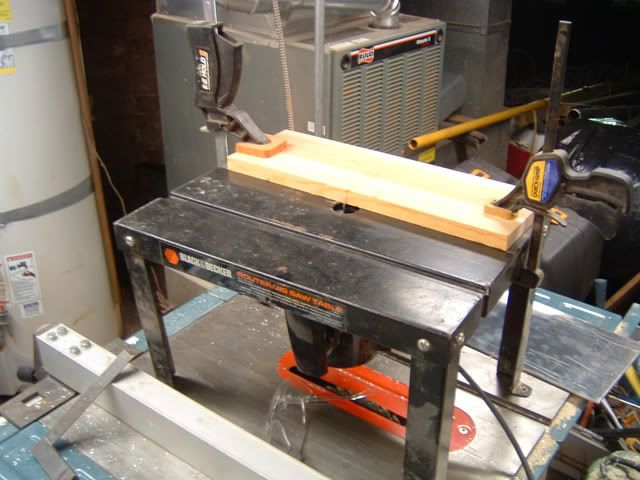
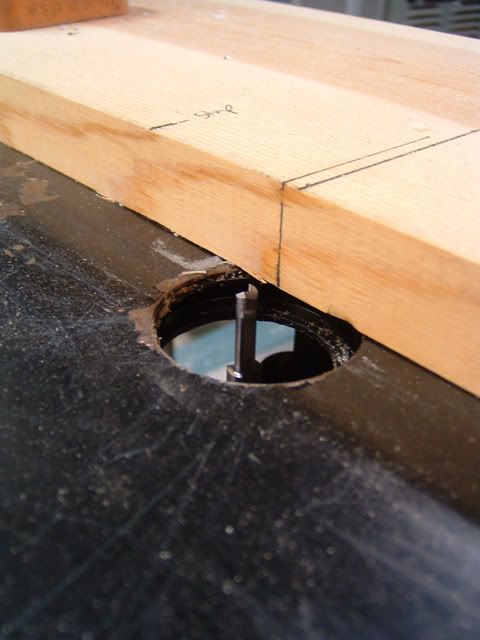
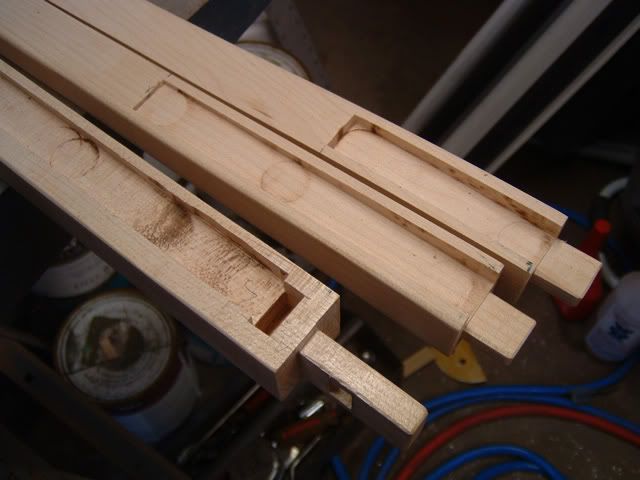
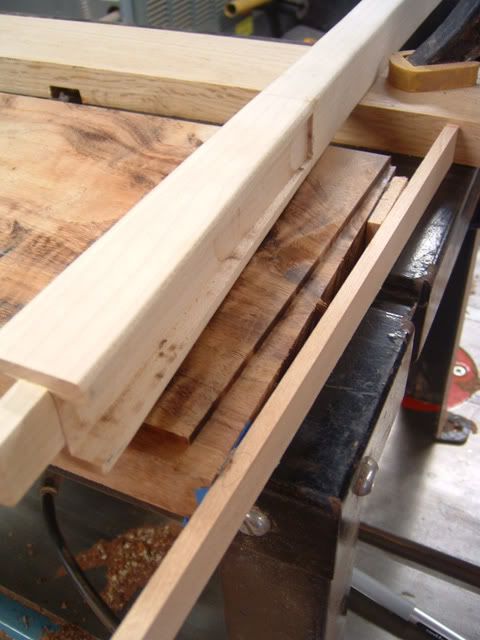
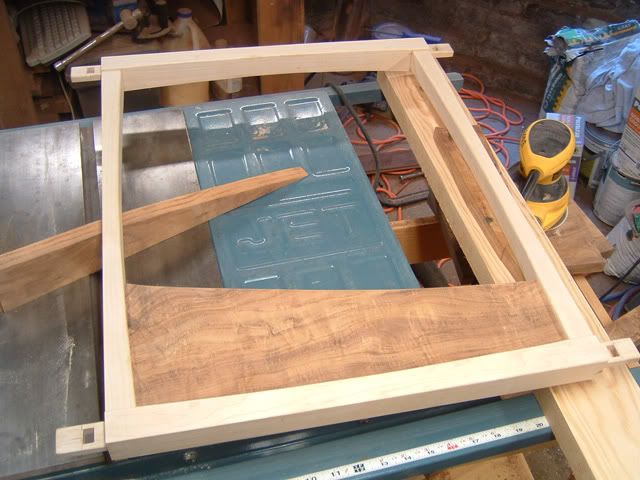
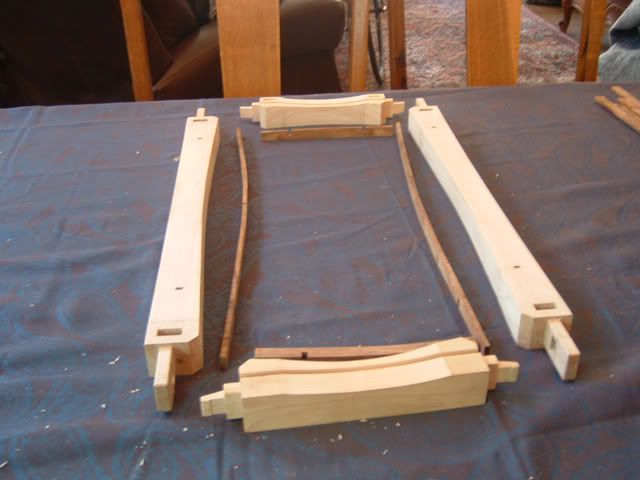
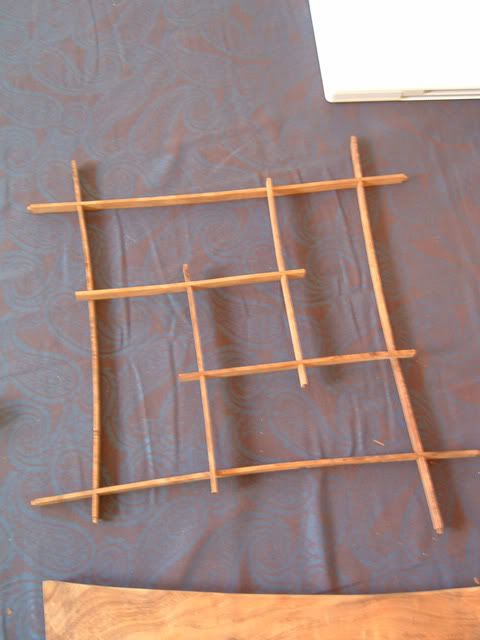
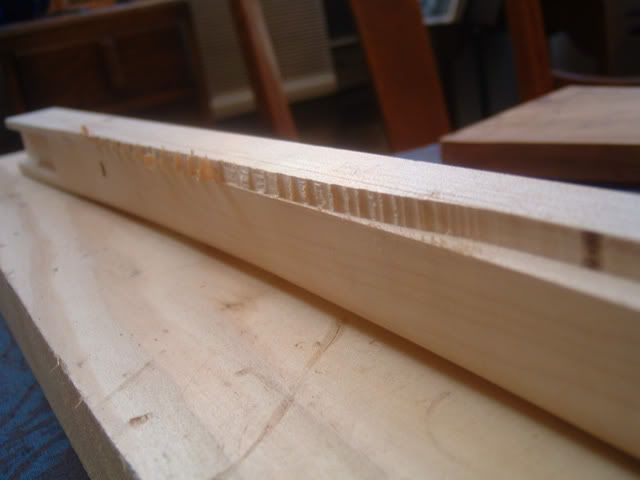
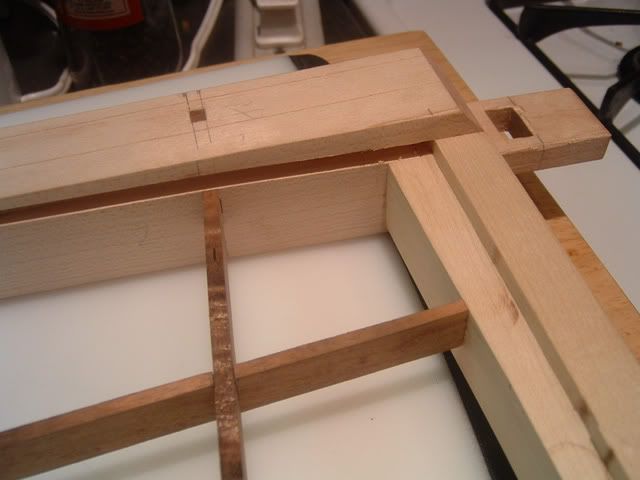
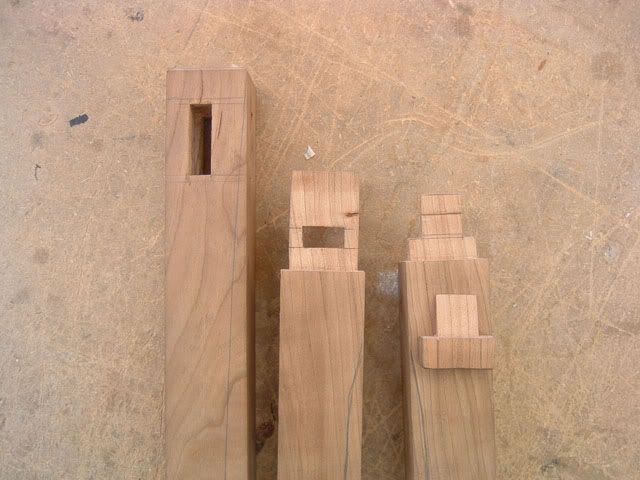
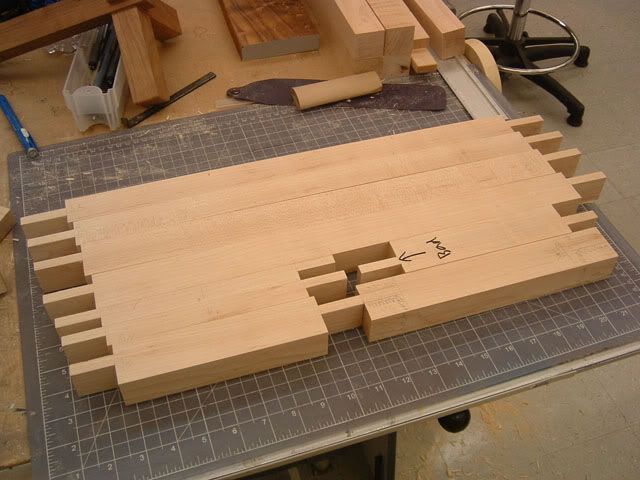
Here are the peices for the joint, there will be 8 of these on the case:
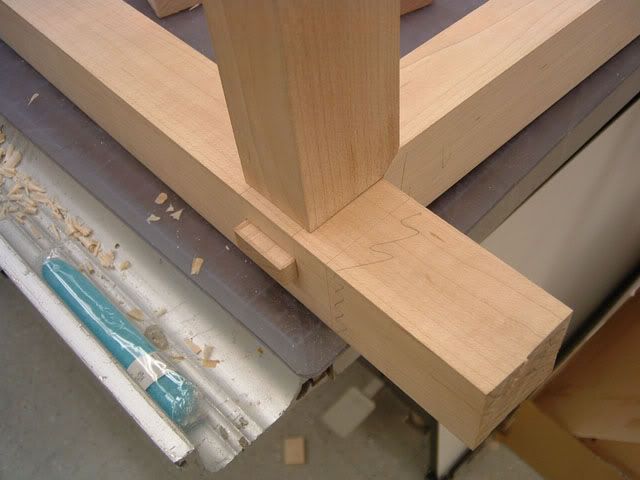
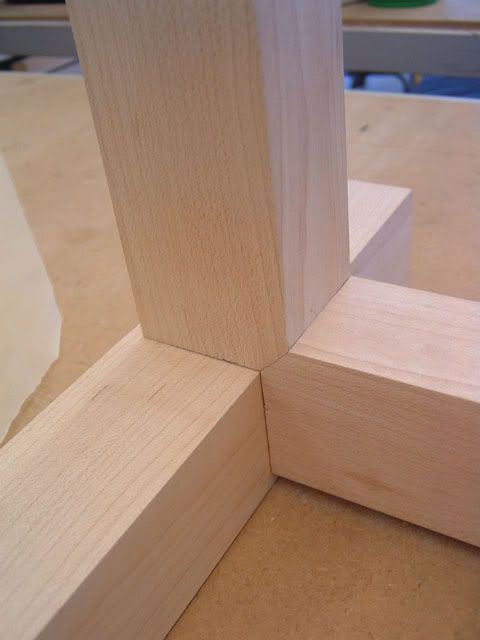
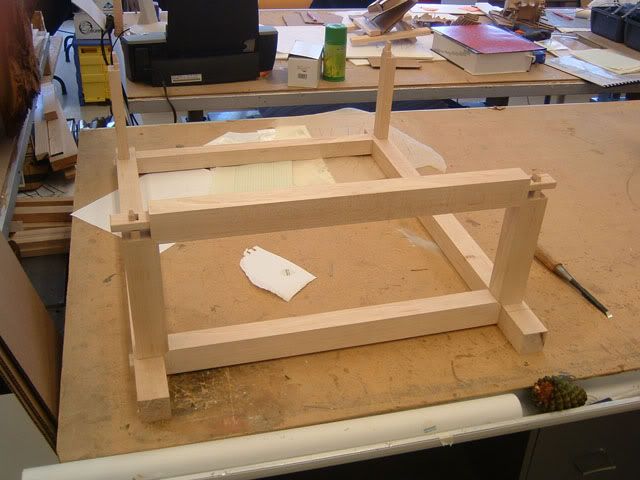
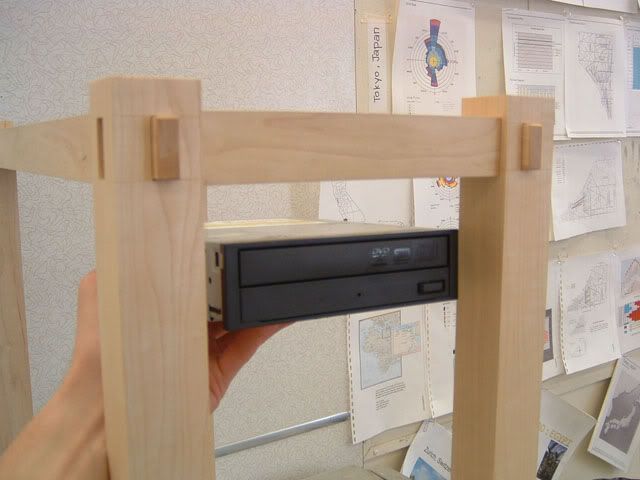
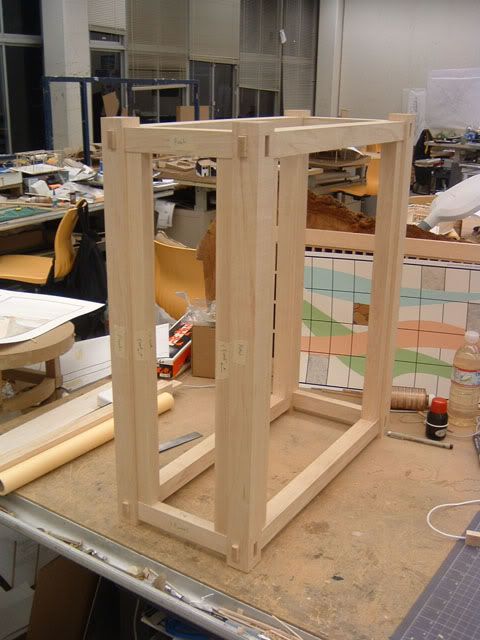
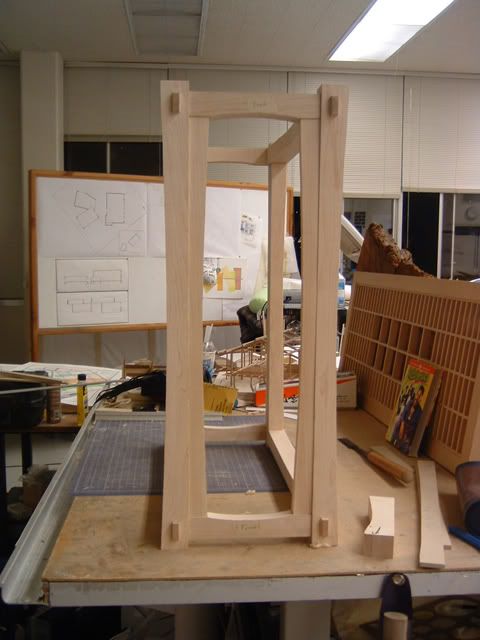
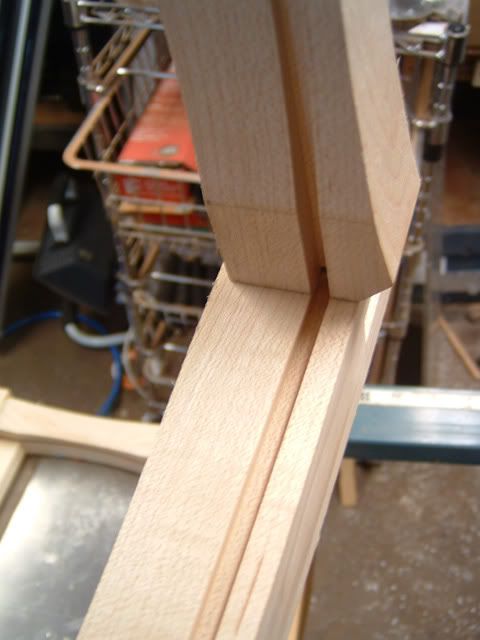
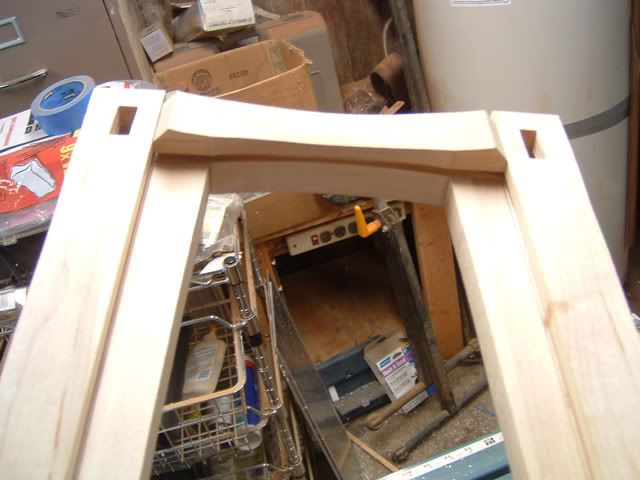
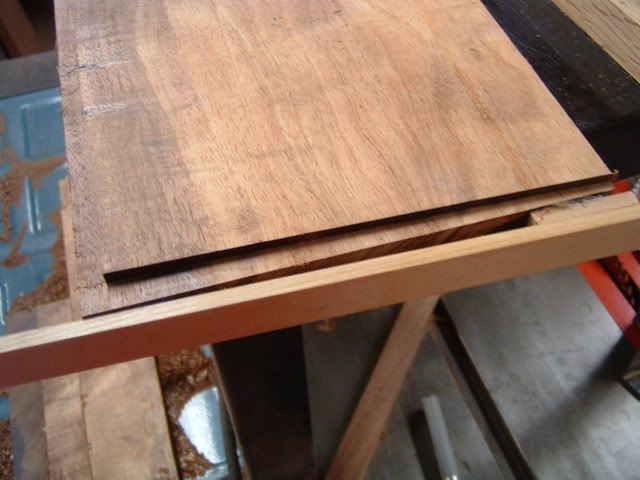
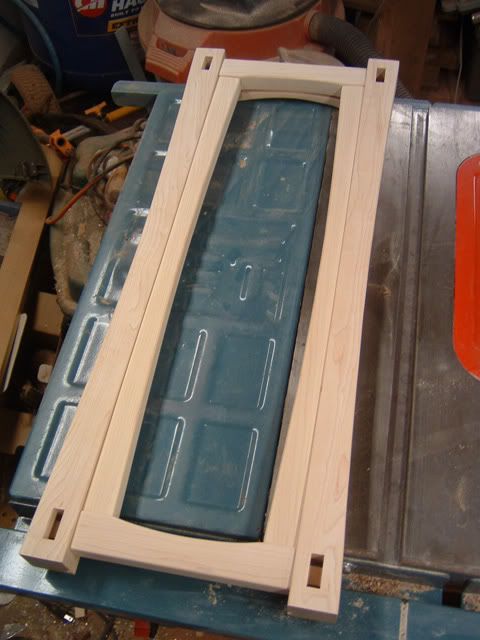
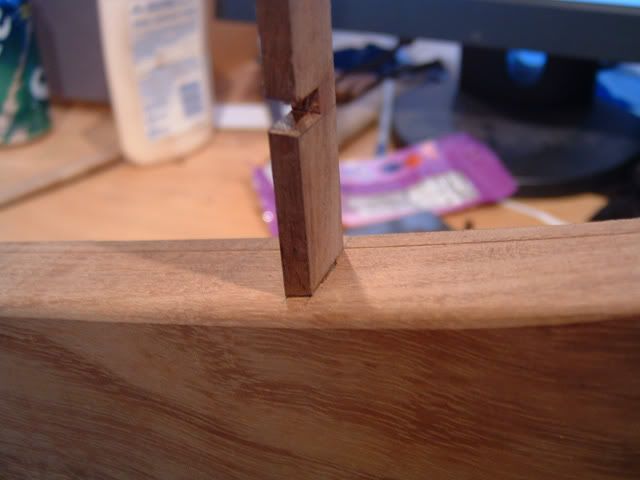
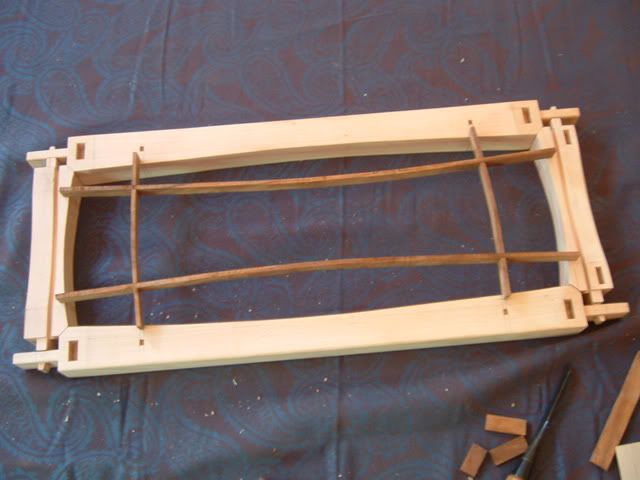
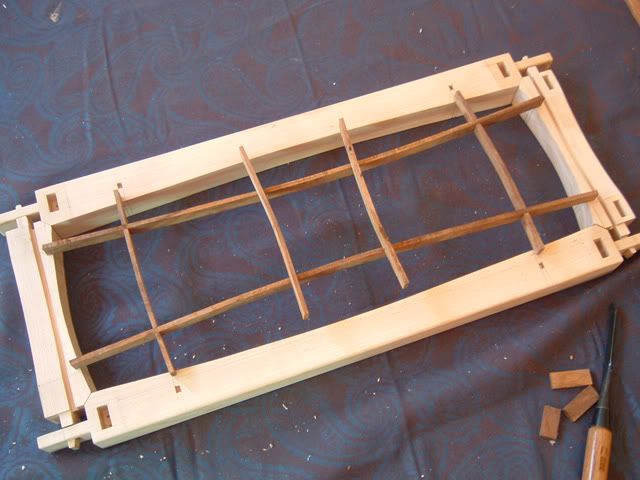
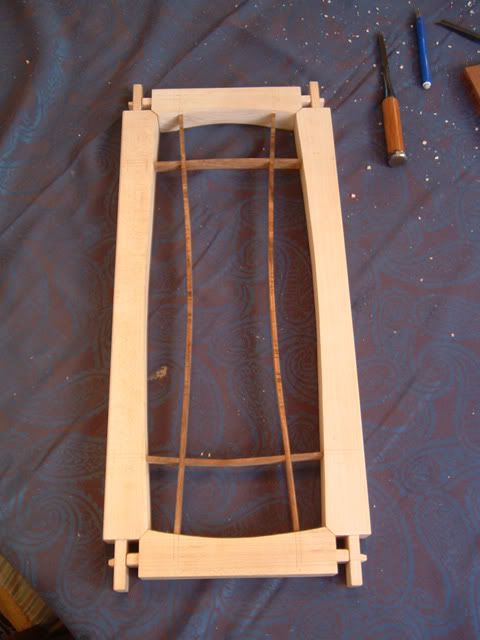
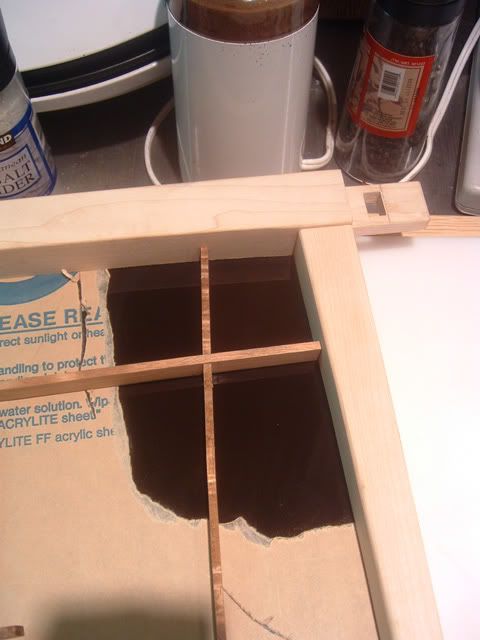
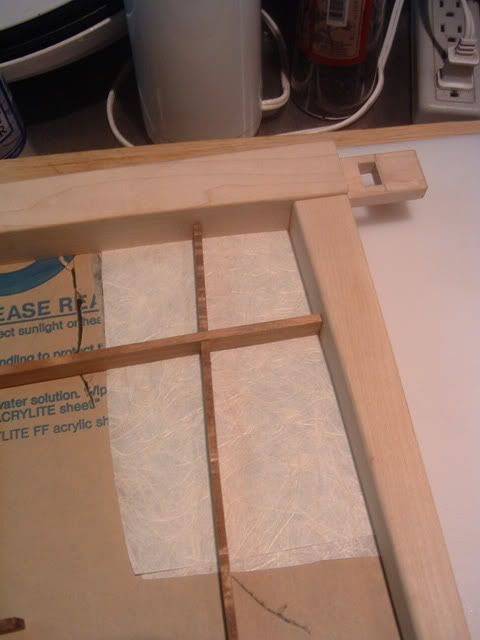
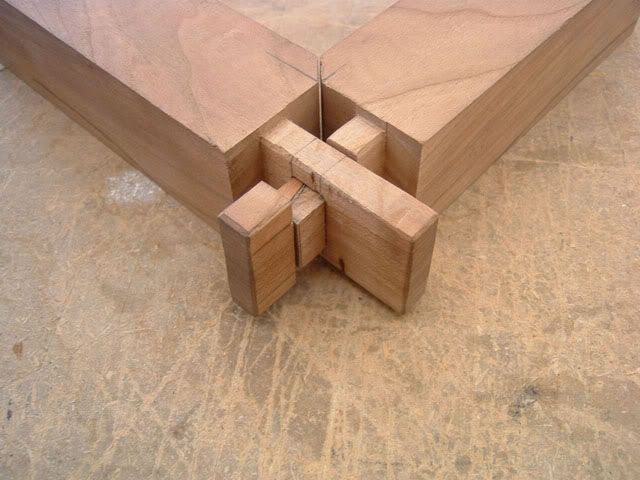
Here is the joint put together outside of the main post:
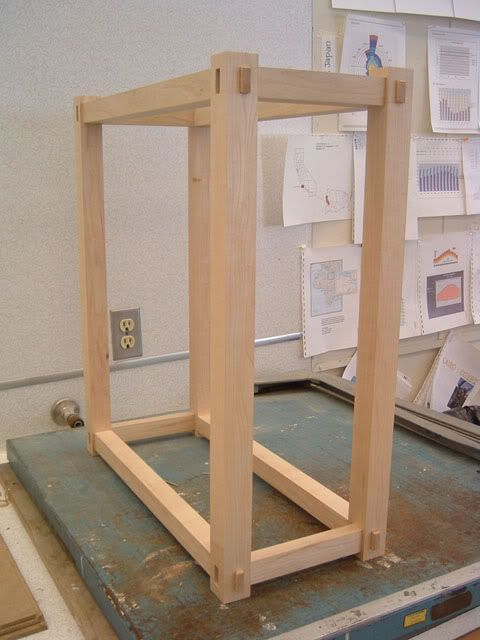
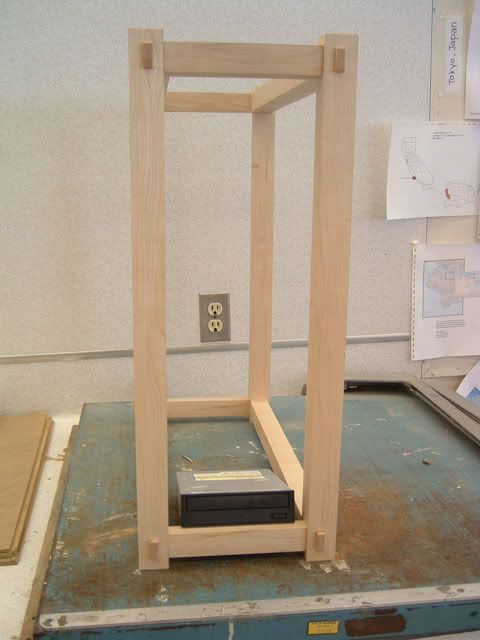
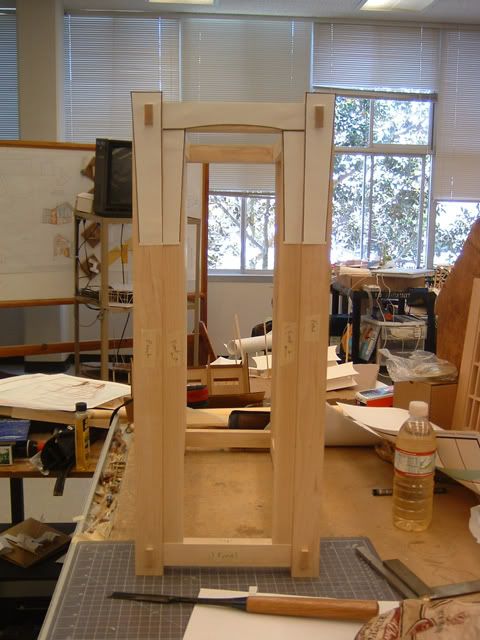
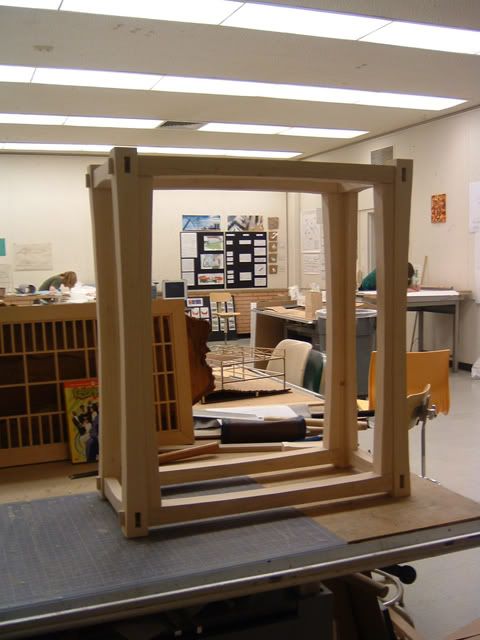
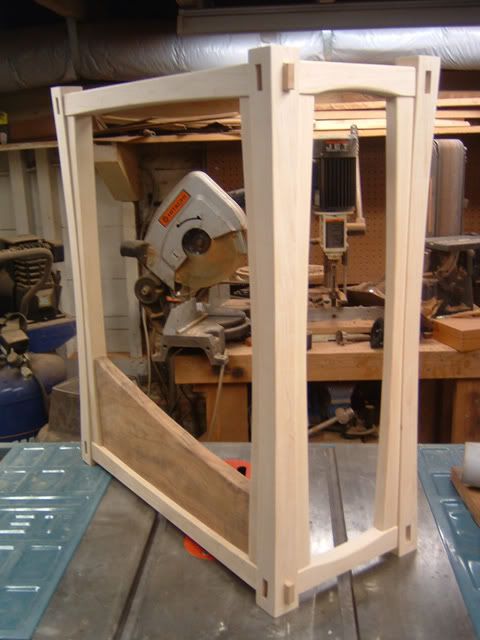
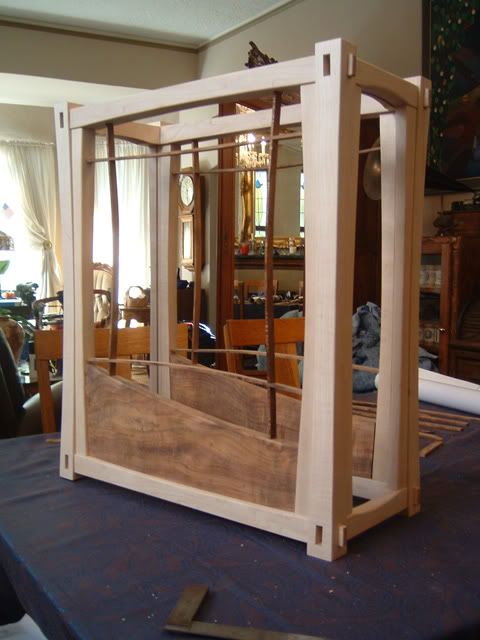
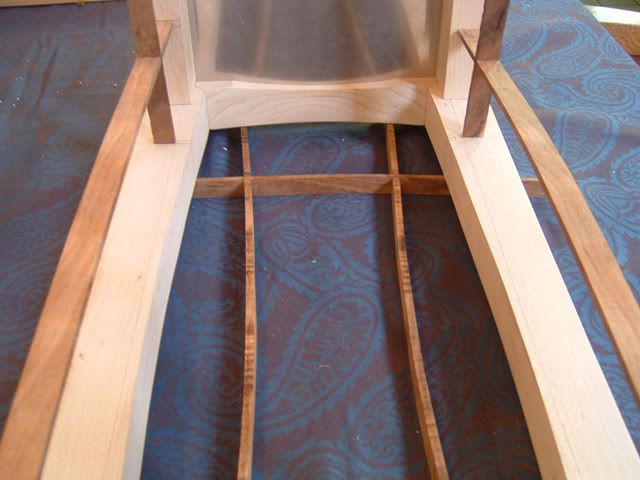
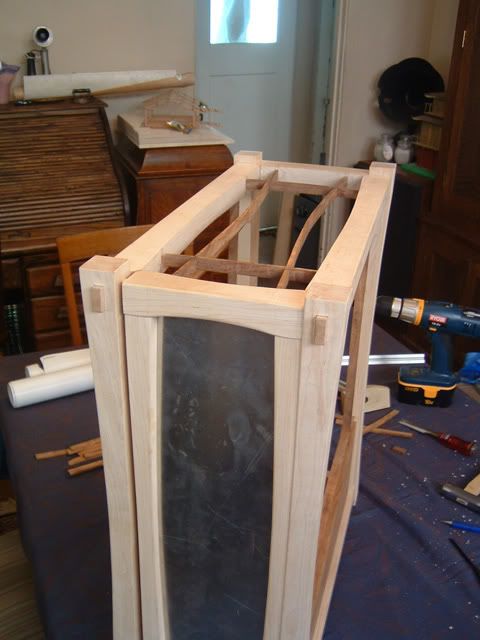
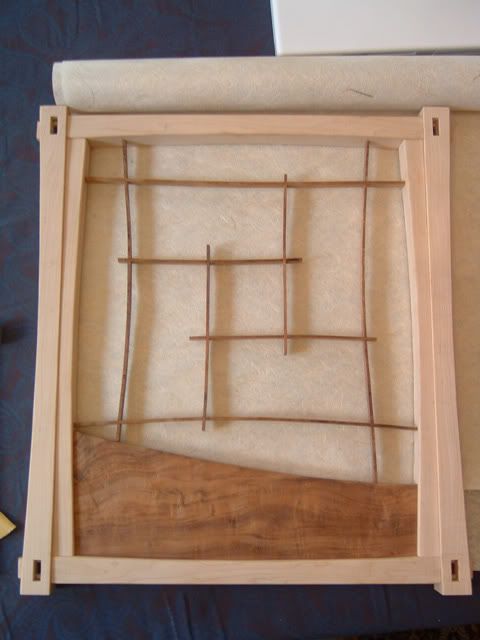
I also hope to not use any glue/nails/screws for any of the wood parts of this case since the joinery will be enough to hold it. The outer case will slide over the inner frame this time. The inner case actually functions as an almost complete computer case on its own but the outer frame should give it a look similar to Sangaku but more modern looking.
More to come once i get back to school and have access to the aluminum milling equiptment.
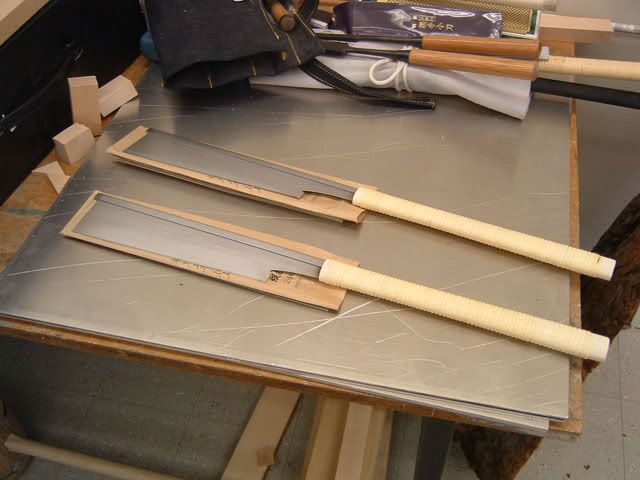
I'm done with the first major project of my architecture studio this quarter so its on with the modding. i recently had my birthday and that means one thing, new tools, so here they are: two Mitsukawa dozuki saws, one for rip and one for cross cut. I've already used these for one project so far and they are amazing..and pretty:
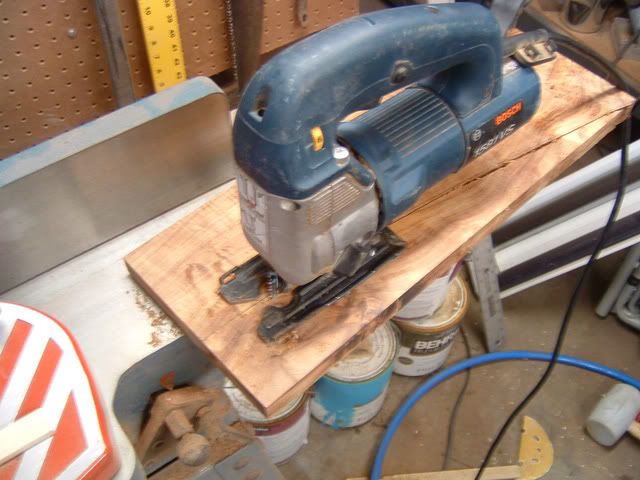
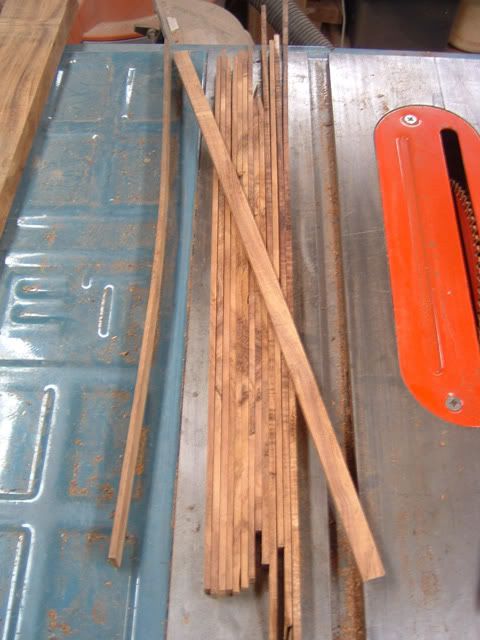
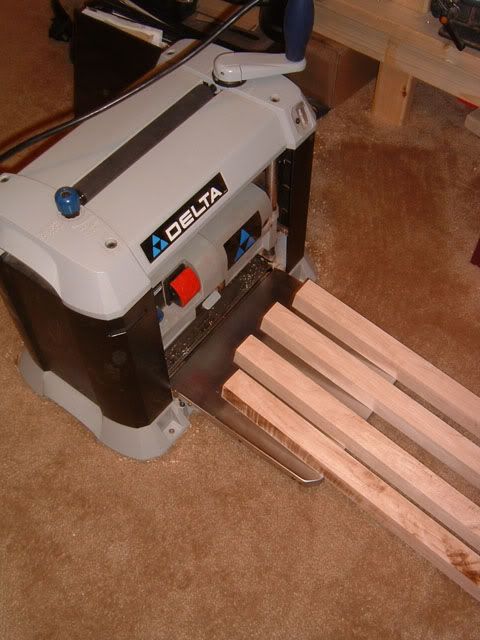
The support shop i work at caught on fire so i thought it would be a while before i could get back in but luckily, it didn't get in anything important so i was able to get some of the wood cut and ready for the planer:
I wanted to use cherry but the gods of proportion frowned on me and i was forced to use my large stockpile of rock maple which will give the case a completely different look but should turn out just as good, except for the fact that its hard as rock and i'm doing everything with handsaws and chisels :blah:
After i planed the peices down for the main frame, my bedroom looked like this:
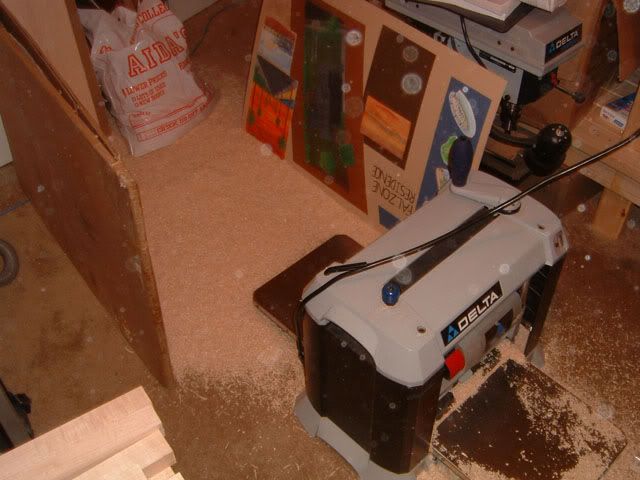
that bag behind the main pile is filled with shavings too.
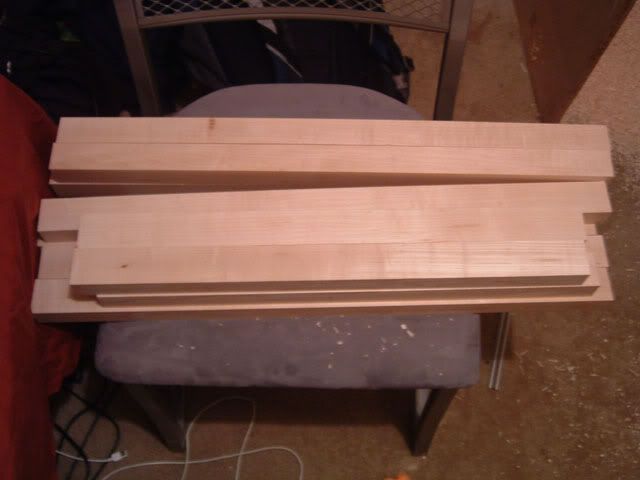
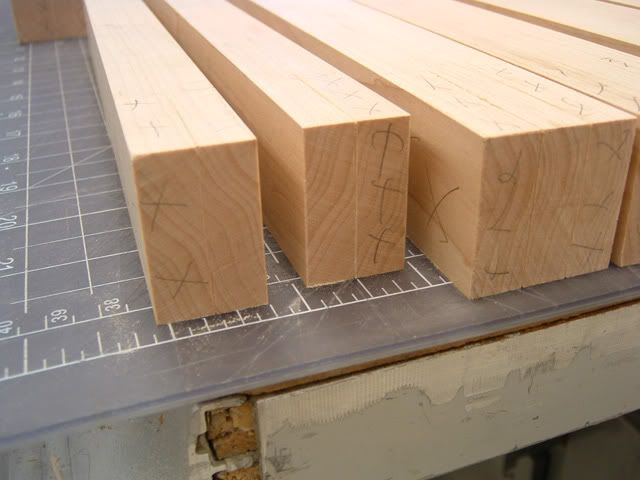
here are the peices all done with planing and ready for the next step:
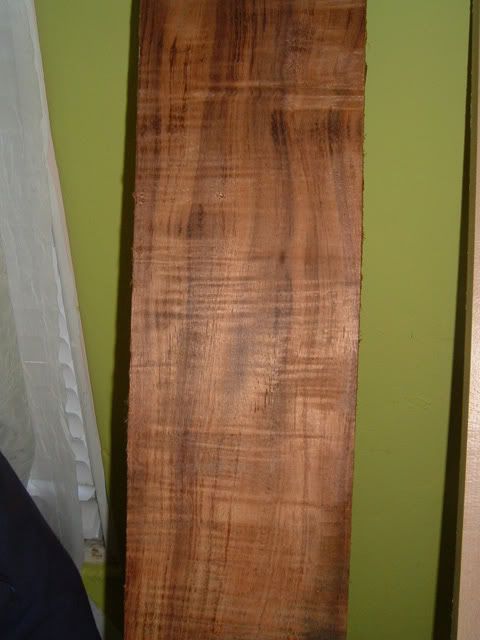
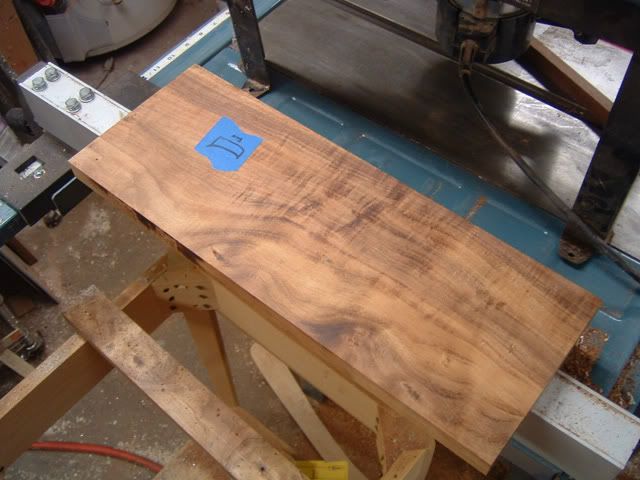
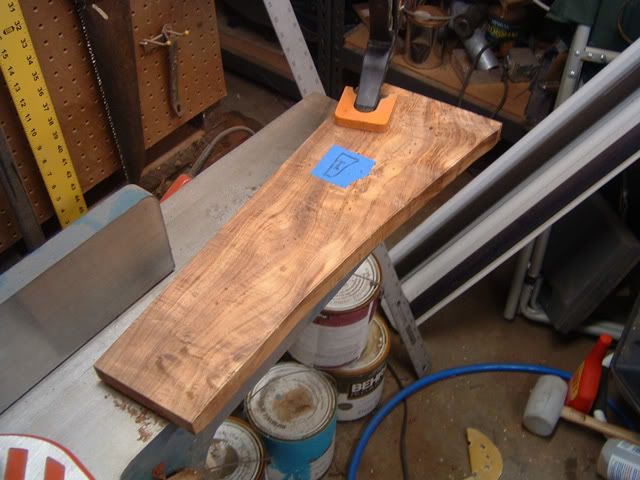
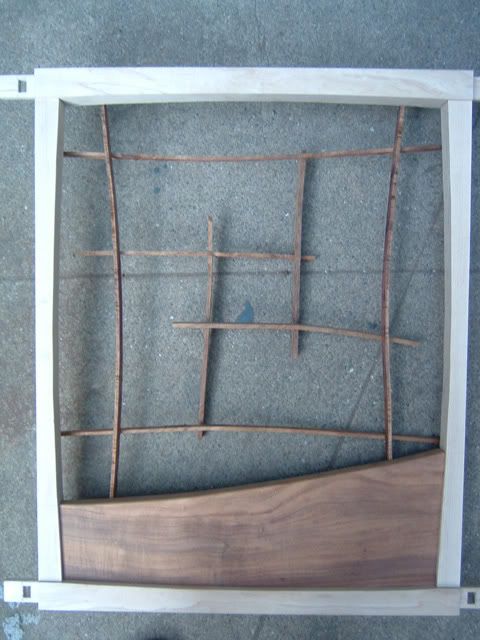
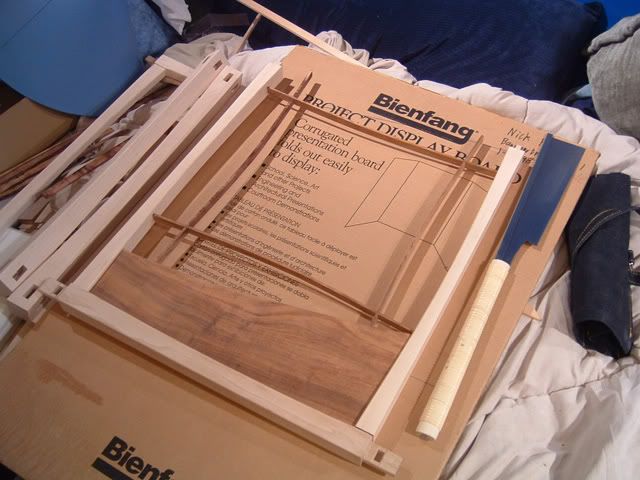
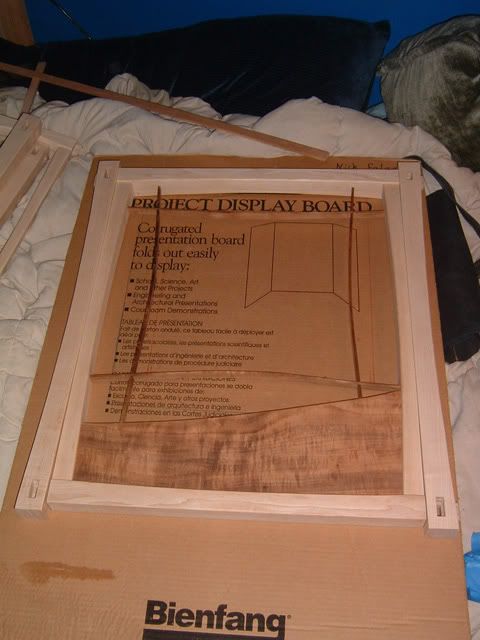
This doesn't look like much yet but i promise it will get more exciting. Since i'm using maple now and i still want to black powdercoat the aluminum frame, i want to bring the darkness of the front to the side panels which i plan to do with some curly koa wood shown here:
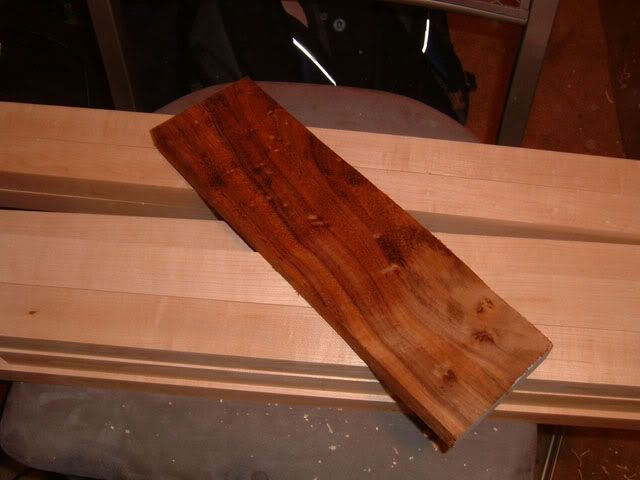
This wood is amazingly beautiful in person with a tremendous amount of curl on the koa. The maple also has a bit of figure to it. Tomorrow i'm going to work a bit more on this and get everything ready for joinery. I'll also have the front and side elevation of the main frame that i drew up (by hand) and eventually i'll start the aluminum frame which i'll be working on simultaneously.
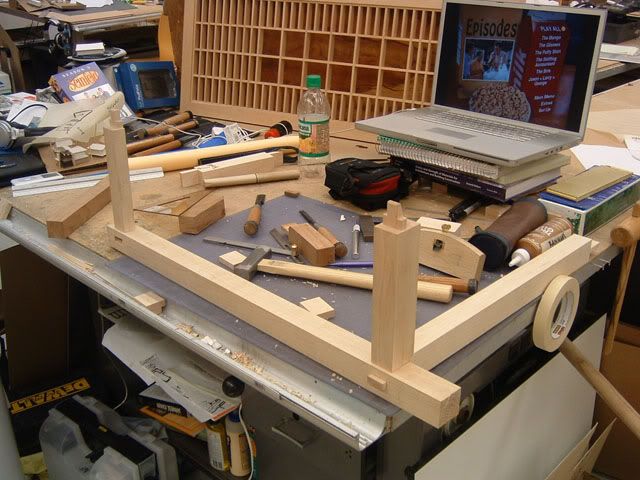
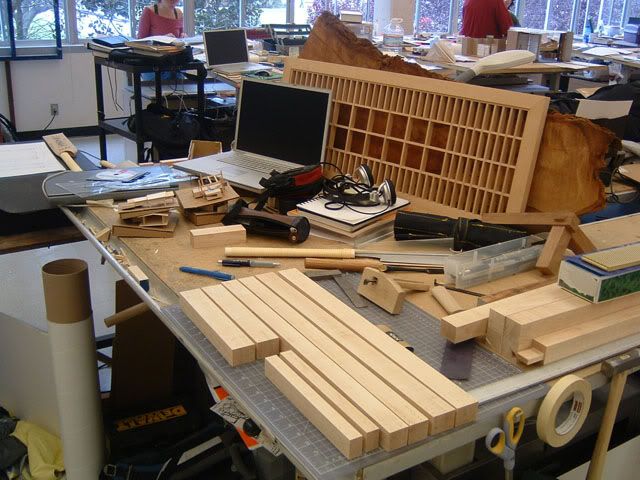
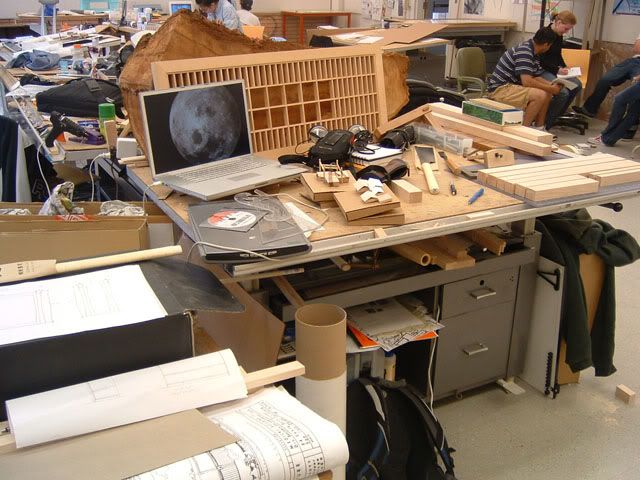
In case you're curious, this is where the hand woodwork is being done:
This is the area of my architecture studio that i've taken over
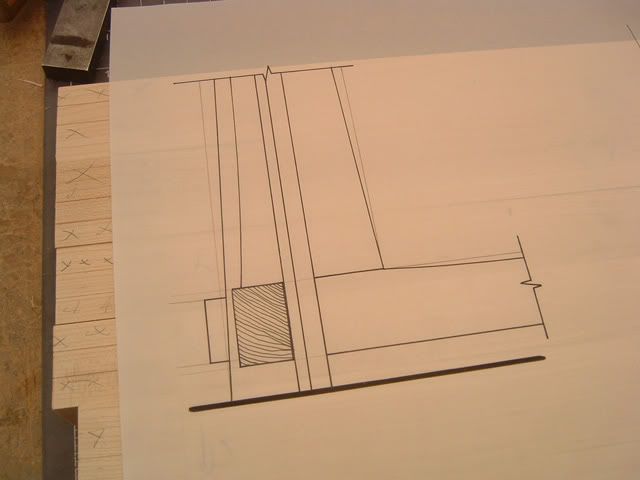
Before i started on the joints, i found it useful to draw them up full size just so my dimensions would stay constant. Here are my two hand drawn drawing of the main joint from two different views:
This is from the top looking down:
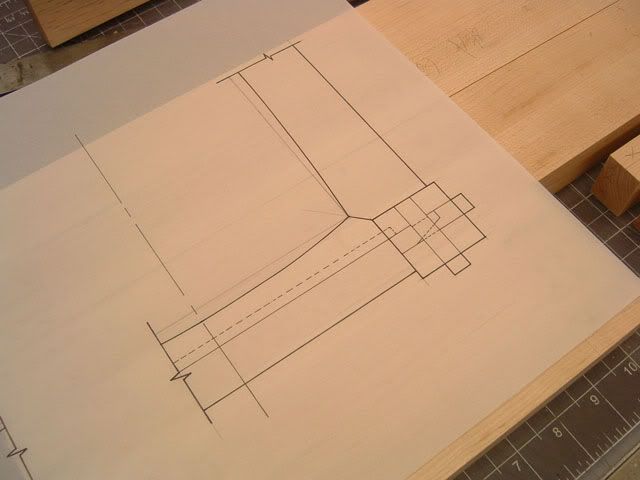
This is from the inside front looking out towards the side:
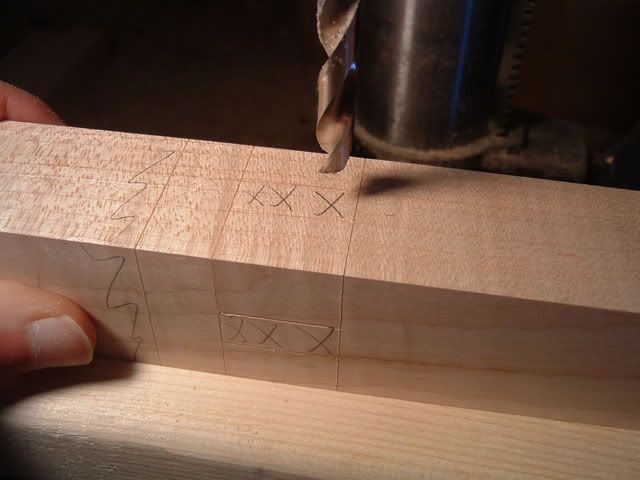
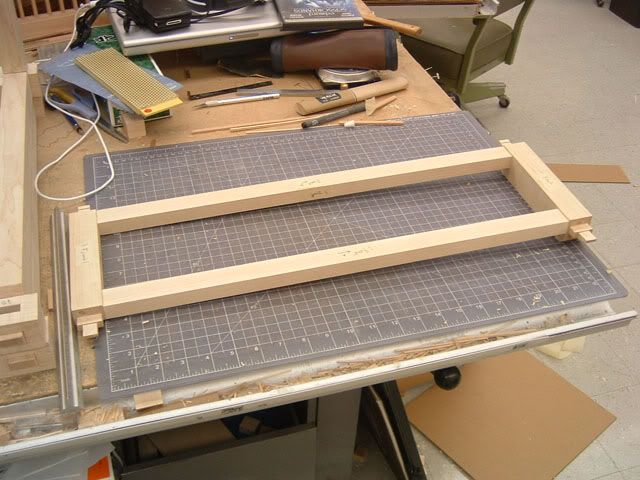
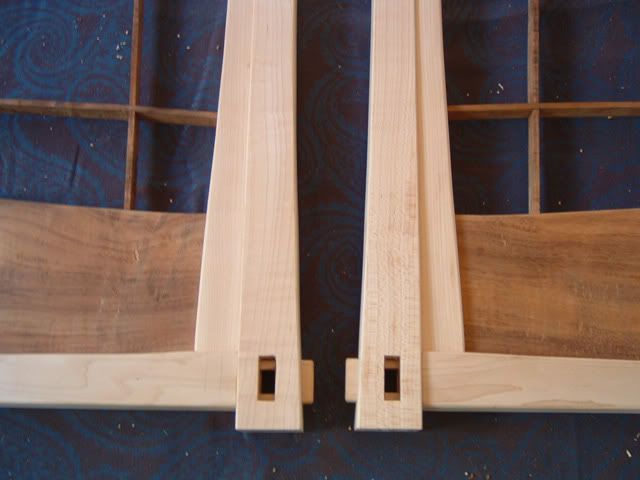
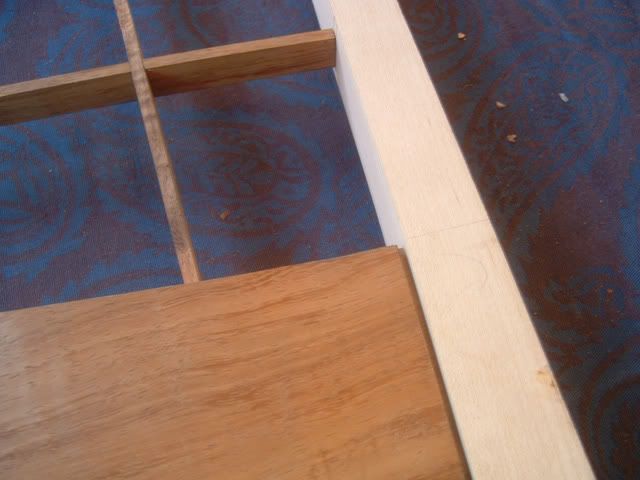
After cutting and planning all the wood to its final dimensions, it was time to cut the wood to length and mark the peices for the tennons. To do this, i used my engineer's square and a marking knife to mark a line all the way around the peice. After that, I used my marking guage to mark the tennons themselves:

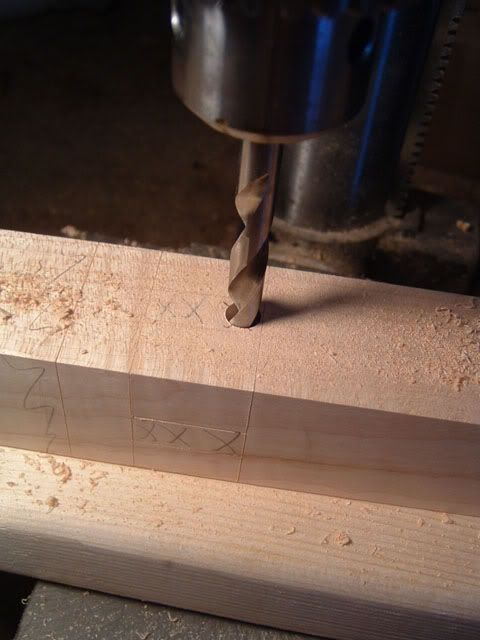
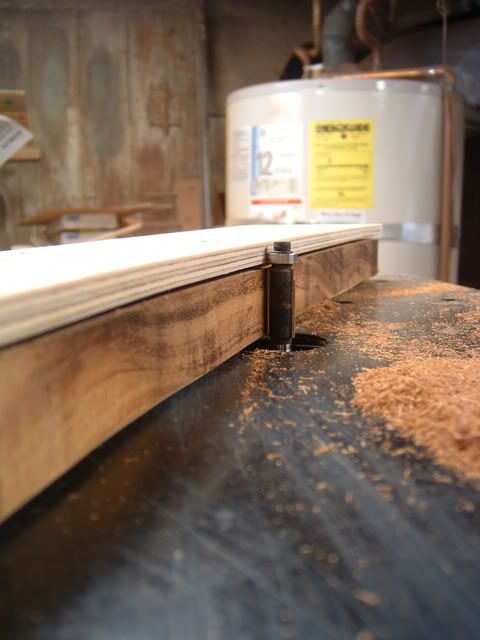
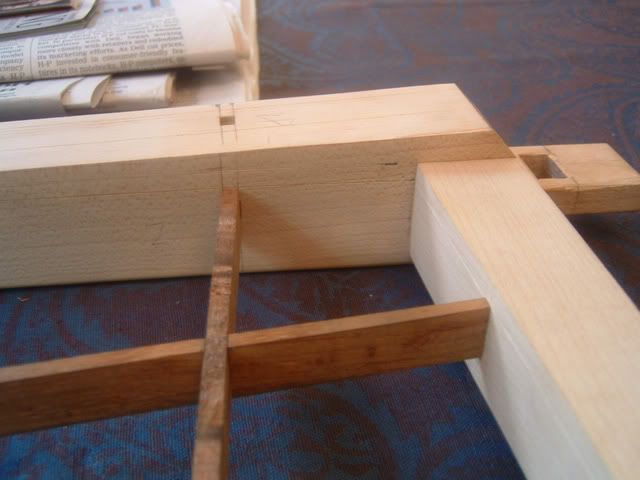
The first cuts to make are the shoulder cuts. These are the cross cut using a cross cut saw up to the line of the tennon:

Once that is done on both sides, i cut the cheek cut using a rip saw which has different teeth especially for ripping and a wider set so its easier to steer but the cut is less smooth:
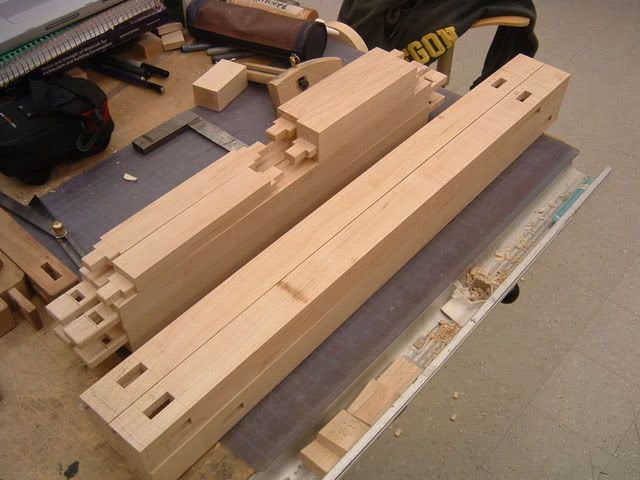
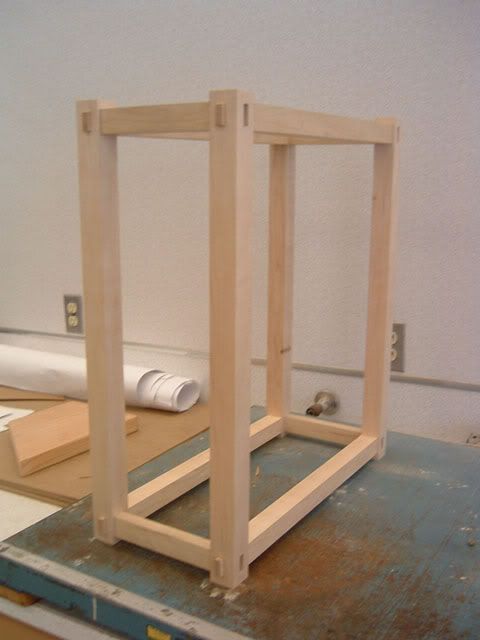
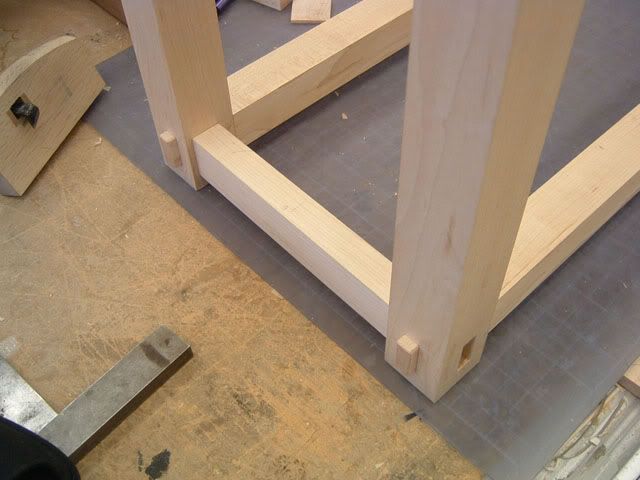
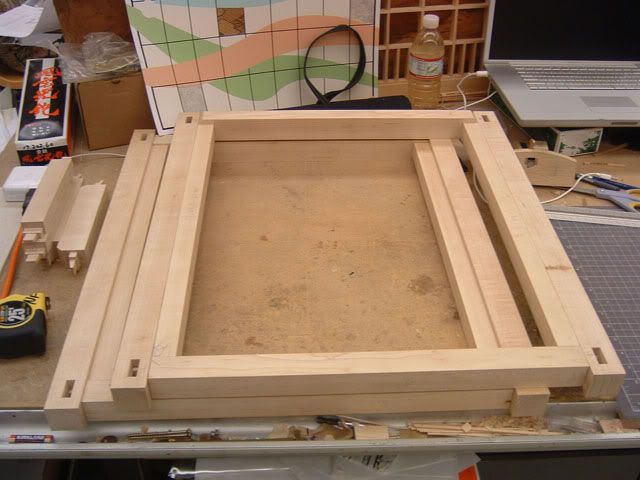
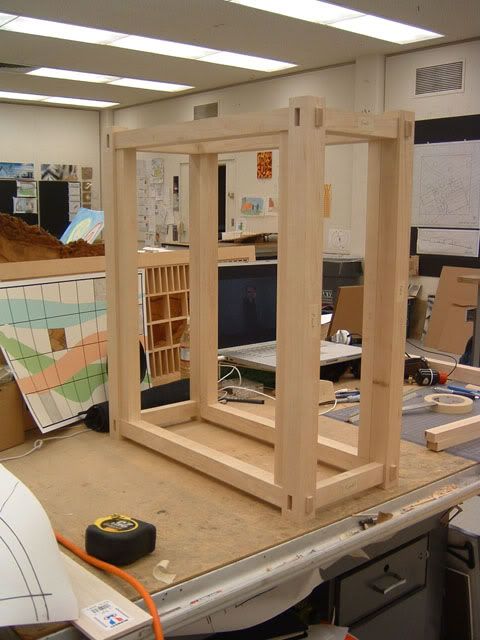
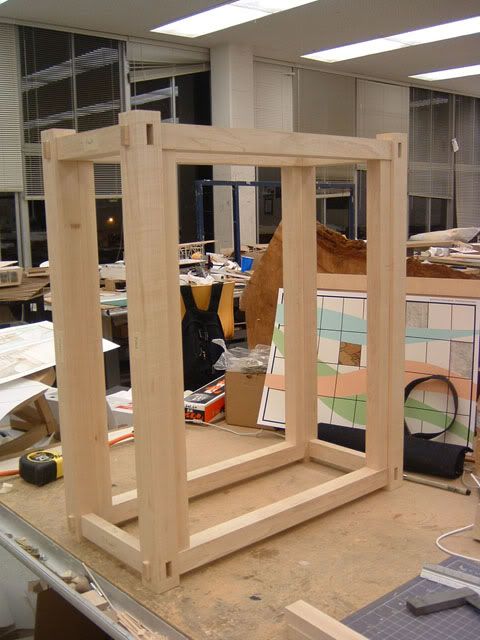
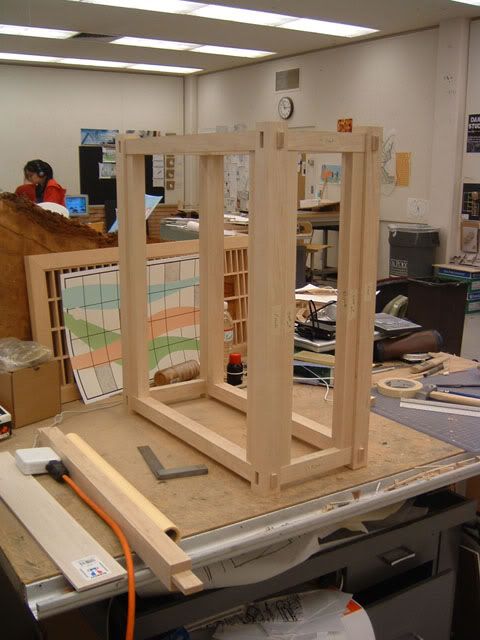
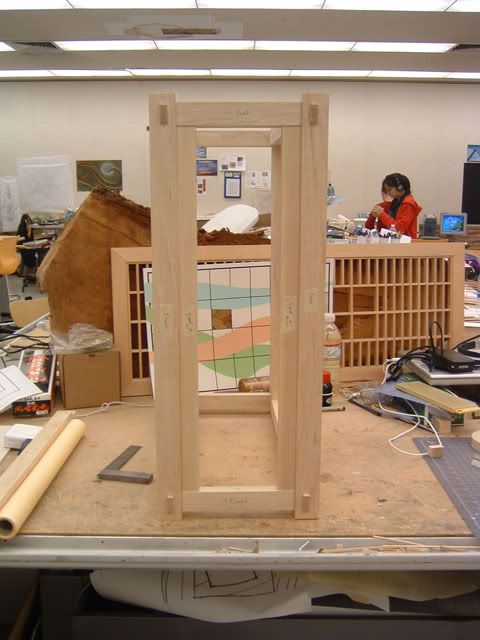
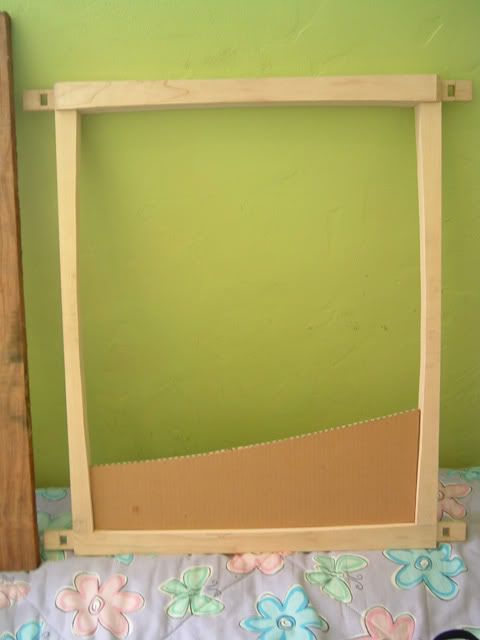
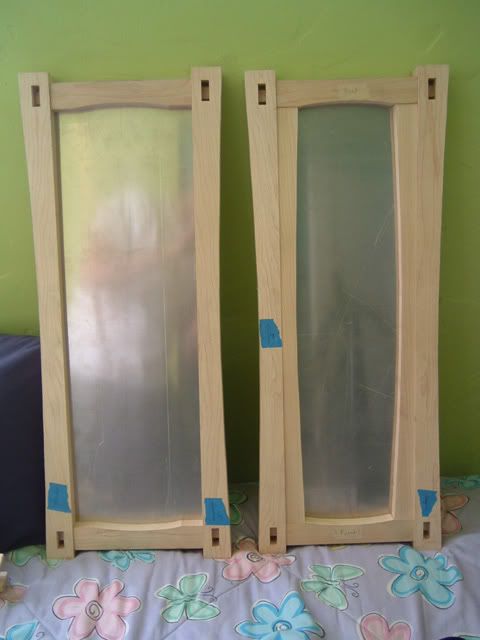
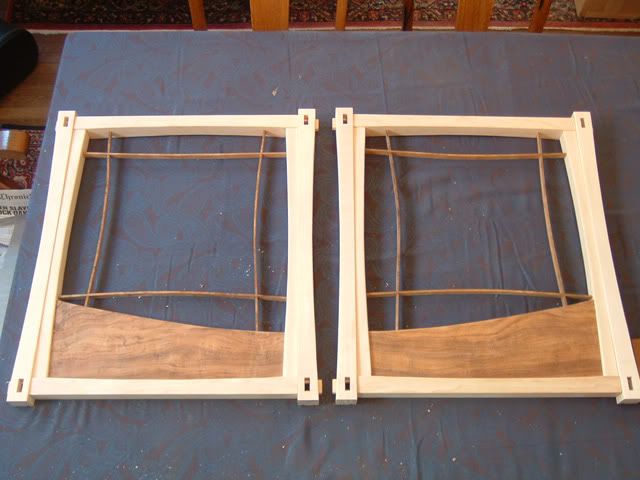
After a few days, i ended up with this:
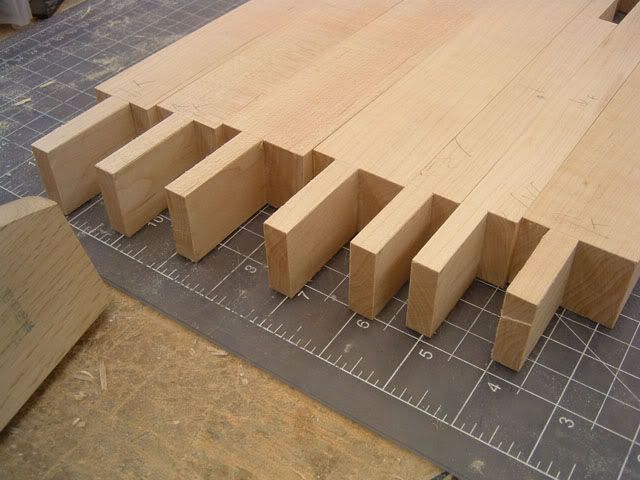
I screwed up on one of them which turned out to be about a 1/16th of an inch too small which might not seem like a lot but in order for this joint to work, the tenons need to fit quite snuggly.
After many months of planning and a little bit of actual work, my second custom case is ready to begin. This case is called Yuugou which roughly translates to "fusion of two things". I want this to be the ultimate combination of tradition and technology
The case is based on a few of my past furniture projects along with what i learned from Sangaku. This time it will be watercooled and the components will be fully stealthed and sound deadened for something that should be amazingly quiet.
The main material for the interior frame will be aluminum which I'm not sure how i'm going to finish. The main woods will be maple and hawaiian curly koa.
I originally wanted no buttons on the case and just touch sensors but that is up for debate now.
As for hardware, i'm waiting until the end of the year for the Conroe stuff to be cheaper.
Without further delay, i have some sketches of the case itself which ill need to draft up and make full sized drawings of:
Sorry for the crappy pics, i don't have my usual camera since i'm at home for spring break.
Another part of this case which i am very proud of is the amount of hand work that i will do. Every single joint will be entirely made by hand and i invented a new joint for this project to do what i wanted it to.
The joint, shown below, requires no glue, is solid as a rock, and can be taken apart easily.
Here it is with the pin taken out:
This is the main thing holding this joint together, the little nubbin thats cut out of this piece:
Here are the peices for the joint, there will be 8 of these on the case:
Here is the joint put together outside of the main post:
I also hope to not use any glue/nails/screws for any of the wood parts of this case since the joinery will be enough to hold it. The outer case will slide over the inner frame this time. The inner case actually functions as an almost complete computer case on its own but the outer frame should give it a look similar to Sangaku but more modern looking.
More to come once i get back to school and have access to the aluminum milling equiptment.
I'm done with the first major project of my architecture studio this quarter so its on with the modding. i recently had my birthday and that means one thing, new tools, so here they are: two Mitsukawa dozuki saws, one for rip and one for cross cut. I've already used these for one project so far and they are amazing..and pretty:
The support shop i work at caught on fire so i thought it would be a while before i could get back in but luckily, it didn't get in anything important so i was able to get some of the wood cut and ready for the planer:
I wanted to use cherry but the gods of proportion frowned on me and i was forced to use my large stockpile of rock maple which will give the case a completely different look but should turn out just as good, except for the fact that its hard as rock and i'm doing everything with handsaws and chisels :blah:
After i planed the peices down for the main frame, my bedroom looked like this:
that bag behind the main pile is filled with shavings too.
here are the peices all done with planing and ready for the next step:
This doesn't look like much yet but i promise it will get more exciting. Since i'm using maple now and i still want to black powdercoat the aluminum frame, i want to bring the darkness of the front to the side panels which i plan to do with some curly koa wood shown here:
This wood is amazingly beautiful in person with a tremendous amount of curl on the koa. The maple also has a bit of figure to it. Tomorrow i'm going to work a bit more on this and get everything ready for joinery. I'll also have the front and side elevation of the main frame that i drew up (by hand) and eventually i'll start the aluminum frame which i'll be working on simultaneously.
In case you're curious, this is where the hand woodwork is being done:
This is the area of my architecture studio that i've taken over
Before i started on the joints, i found it useful to draw them up full size just so my dimensions would stay constant. Here are my two hand drawn drawing of the main joint from two different views:
This is from the top looking down:
This is from the inside front looking out towards the side:
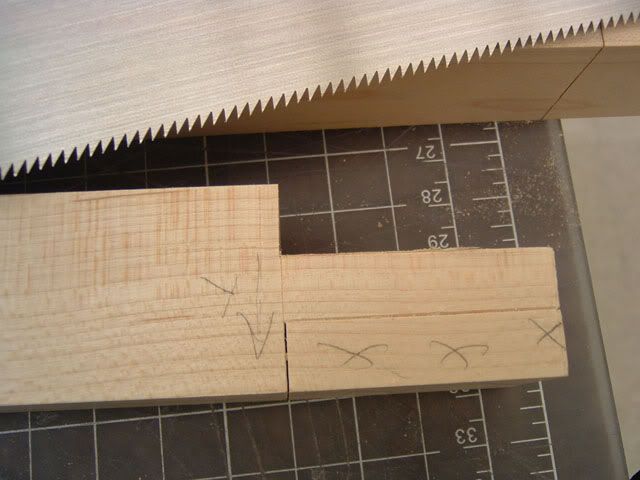
After cutting and planning all the wood to its final dimensions, it was time to cut the wood to length and mark the peices for the tennons. To do this, i used my engineer's square and a marking knife to mark a line all the way around the peice. After that, I used my marking guage to mark the tennons themselves:
The first cuts to make are the shoulder cuts. These are the cross cut using a cross cut saw up to the line of the tennon:
Once that is done on both sides, i cut the cheek cut using a rip saw which has different teeth especially for ripping and a wider set so its easier to steer but the cut is less smooth:
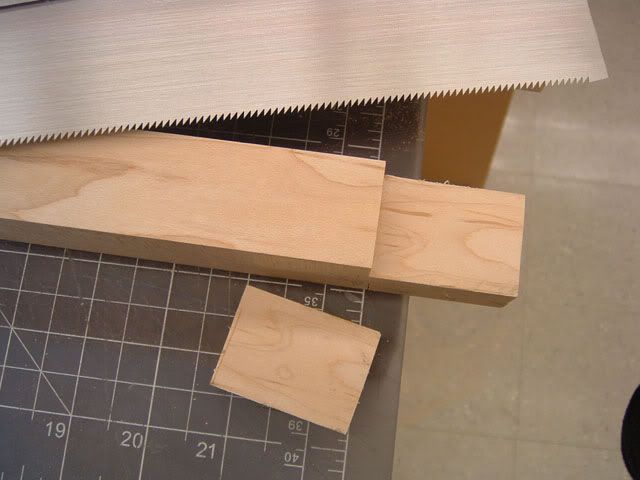
After a few days, i ended up with this:
I screwed up on one of them which turned out to be about a 1/16th of an inch too small which might not seem like a lot but in order for this joint to work, the tenons need to fit quite snuggly.