• Some users have recently had their accounts hijacked. It seems that the now defunct EVGA forums might have compromised your password there and seems many are using the same PW here. We would suggest you UPDATE YOUR PASSWORD and TURN ON 2FA for your account here to further secure it. None of the compromised accounts had 2FA turned on.
    Once you have enabled 2FA, your account will be updated soon to show a badge, letting other members know that you use 2FA to protect your account. This should be beneficial for everyone that uses FSFT.

Project: Savage (my first mod)

Ok, it went from "medium update" to

VERY OMGSUPERBBQLARGE UPDATE!!......with pictures!!!


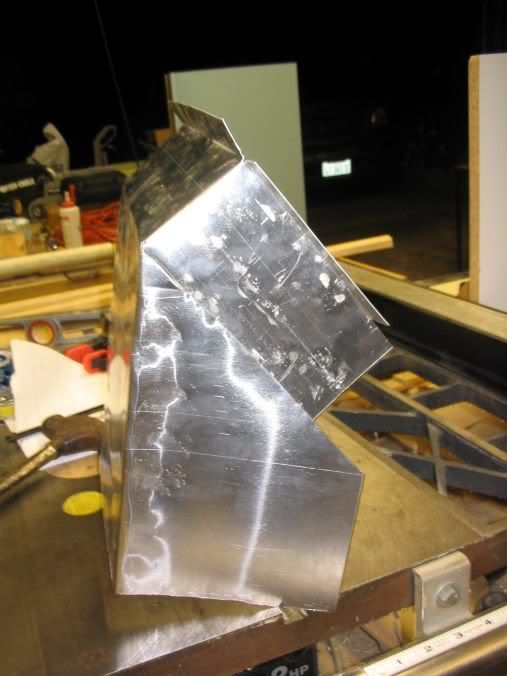
Allright, so the reason things have been slow is because I started working on my custom duct for my radiator. I started with one idea, had to scrap it because it wouldn't work. Then I got a 2nd idea, that didn't work either. So now I'm on idea #3. Also been short on time because of rugby in full swing.

Here we go, failed ideas. Keep in mind this is my first attempt at working with sheetmetal, lol


20060915_048.jpg

20060915_050.jpg

20060915_051.jpg


it got really ugly at times, not bending right, having to hammer things out, I was getting frustrated, and I figured paint could cover it all up anyway. I was pretty suprised when I compared it to my foam-board mockup.

20060915_052.jpg

20060915_054.jpg


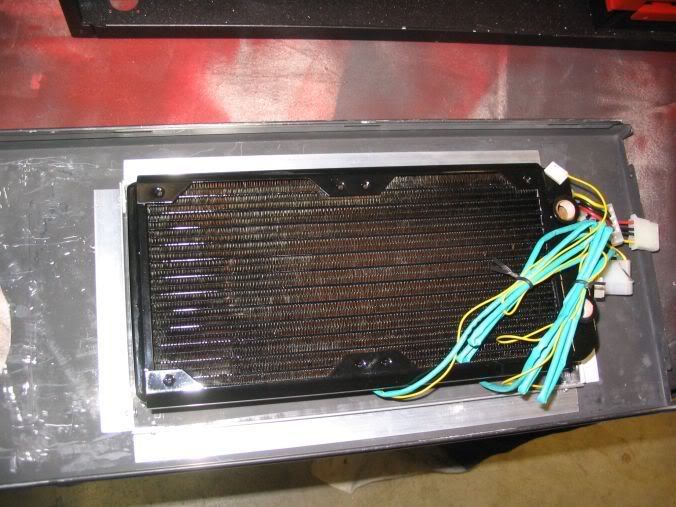
BUT, alas, it was way too big and hard to work with =/. Plus it didn't look SO mega-awesome, so I smashed it. Then I decided to try working with some aluminum round ducting. Figured I could cut it and bend it the right way around the rad, I even made a frame around the rad to attach it to. Which came out beautifully btw.

20060918_068.jpg

20060918_069.jpg

20060918_070.jpg


But that duct work didn't cut and bend so cleanly, wasn't going to work, here's what I did with it.

20060918_072.jpg
 
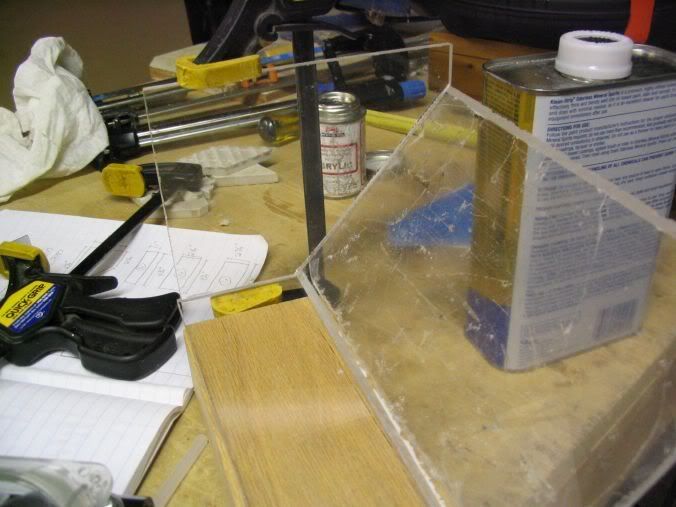
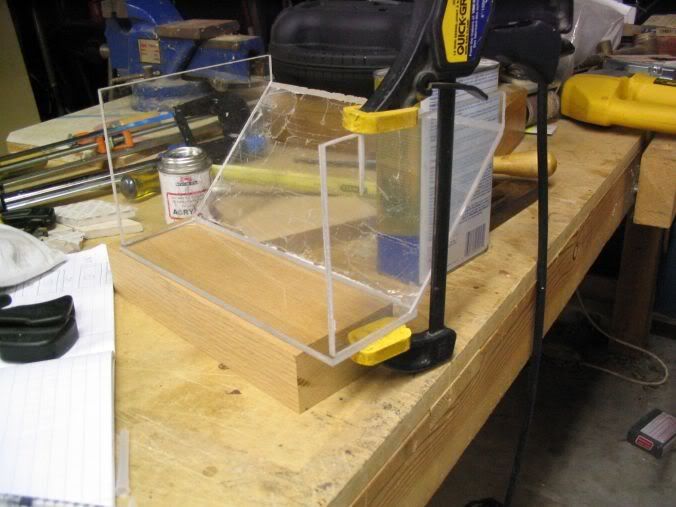
So I decided to make my duct out of acrylic. I had some extra lying around from my window-mod, and it was realitivly easy and I knew how to work with it. So, why the heck not? I just hope I had enough material =/

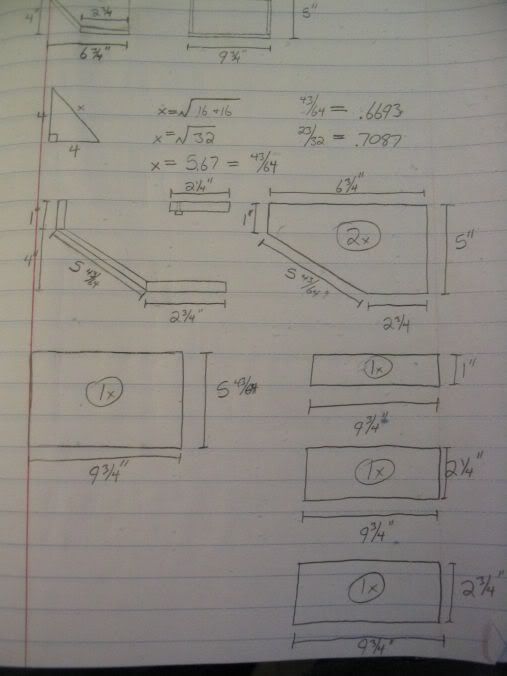
FIRST, I took a LOT of measurements of the case. Just to make sure I wouldn't f-up again! Made sure I planned and drew everything out ahead of time.

20060920_077.jpg


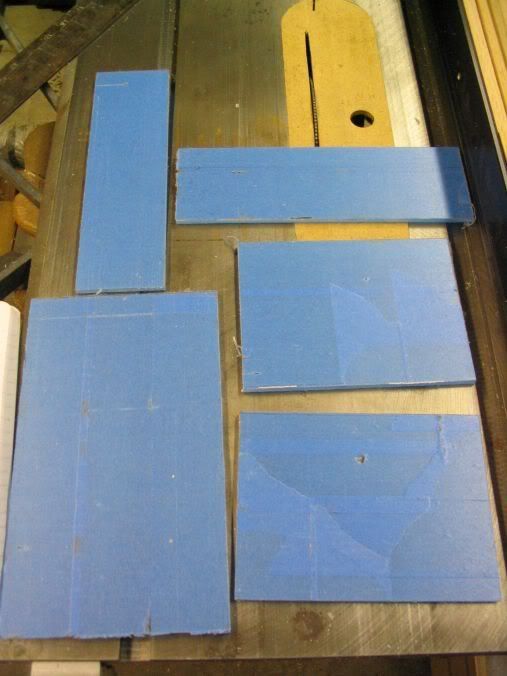
Taped up one side so I could draw on it, and cut it up into the components.

20060920_073.jpg

20060920_074.jpg

20060920_075.jpg


I even made cool 45 degree joint cuts!!!

20060920_078.jpg


this is just part of how I'm going to attach the duct to the radiator. You'll see later, can't really explain it.

20060920_080.jpg

20060920_082.jpg

20060920_084.jpg


Now for the actual duct parts. Assembly was tricky, but that Weld-on #4 stuff is my best friend. And CRAP, I was short ONE 9 3/4"x1" peice!!! Guess I'll have to buy a small peice of acrylic to finish this up.

20060920_083.jpg

20060920_085.jpg


Here's kinda what it's gonna look like.

20060920_089.jpg

20060920_092.jpg

20060920_087.jpg

20060920_086.jpg

20060920_088.jpg


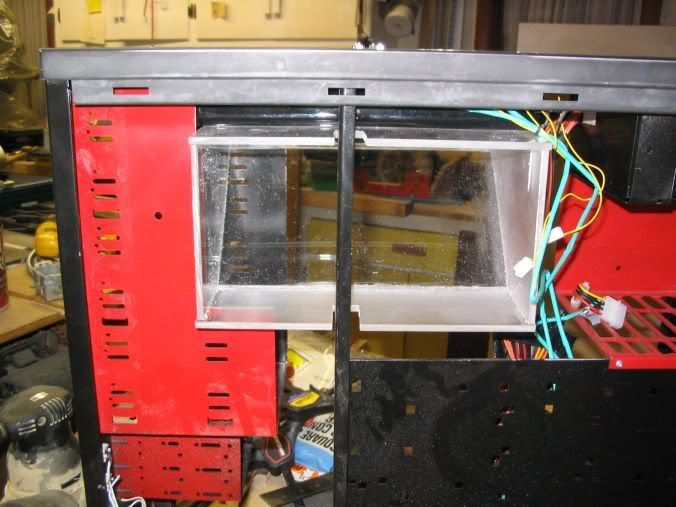
As you can see, I'm going to have to cut some of the 5.5" bay out to accomodate the duct. However that won't be a problem, I only plan on using the bottom 3 of the 5.5" drives, here, I'll show you with a mock build-up.

20060915_066.jpg

20060915_060.jpg

20060915_061.jpg

20060915_062.jpg

20060915_056.jpg


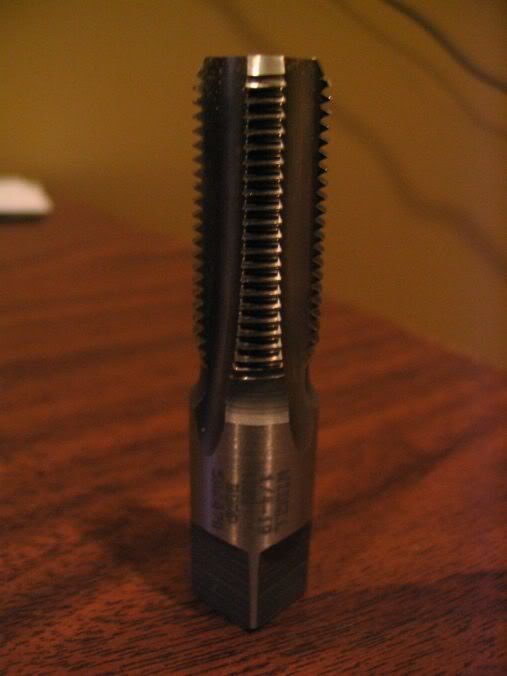
Oh, and I just got some more parts in, and finally got my stupid G1/4 BSPP Tap so I can finish my watercooling window barbs.

20060920_097.jpg

20060920_095.jpg
 
freakin sweet man... I'm glad you're dedicated to get the duct to work right since that is what sets this mod so much apart from other case mods, at least in my opinion :). I know how you feel with bending sheet metal. I once tried to bend aluminum sheets with just 2x4's and what not... not an easy thing to do and make pretty at the same time

The acrylic should look sweet especially since you will have an acrylic front window to match the theme. Are you going to paint the acylic or dye it or just leave it clear?

Keep it up man
 
Geo Fry said:
freakin sweet man... I'm glad you're dedicated to get the duct to work right since that is what sets this mod so much apart from other case mods, at least in my opinion :). I know how you feel with bending sheet metal. I once tried to bend aluminum sheets with just 2x4's and what not... not an easy thing to do and make pretty at the same time

The acrylic should look sweet especially since you will have an acrylic front window to match the theme. Are you going to paint the acylic or dye it or just leave it clear?

Keep it up man
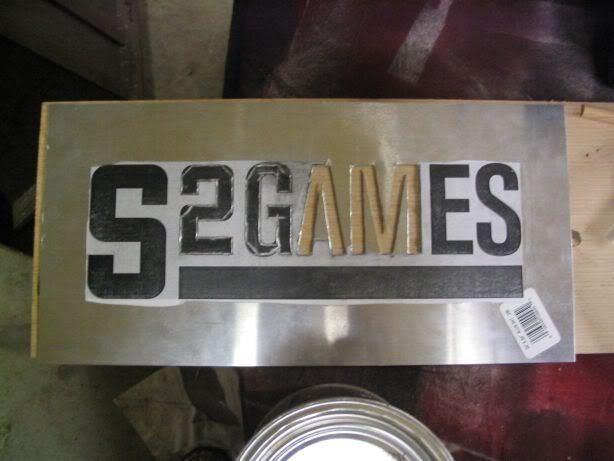
Since I don't reference the company that produces the game, S2Games. I think I'm going to frost the entire duct, but leave an S2GAMES unfrosted on the angled peice, since it is the largest. Not sure yet, but I think that's what I'm going to do. Not sure how I'm going to accomplish a nice even frost as well. Time to bust out the high-grit sandpaperzzzzz.
 
acrylic FTW! It would look great frosted IMHO, especially with some LED's lighting it all up...very cool effect.

Keep it up!
 
Money is quite tight right now, hence no updates. I plan on purchasing my pump next with some tubing and maybe being able to have a run of the water-cooling system for you guys in the next month.

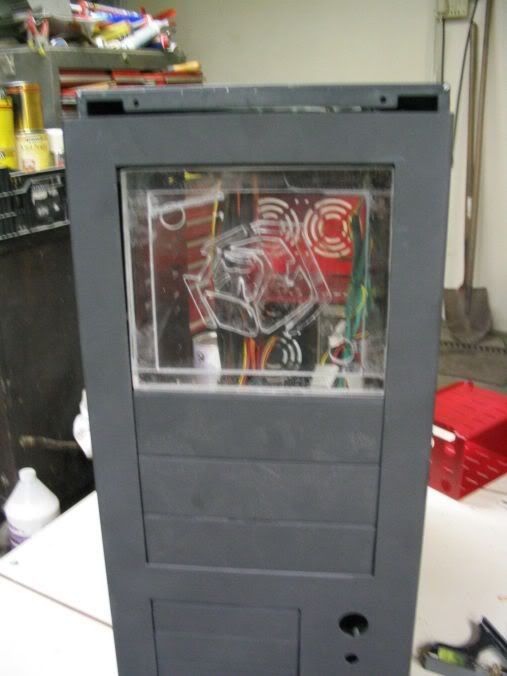
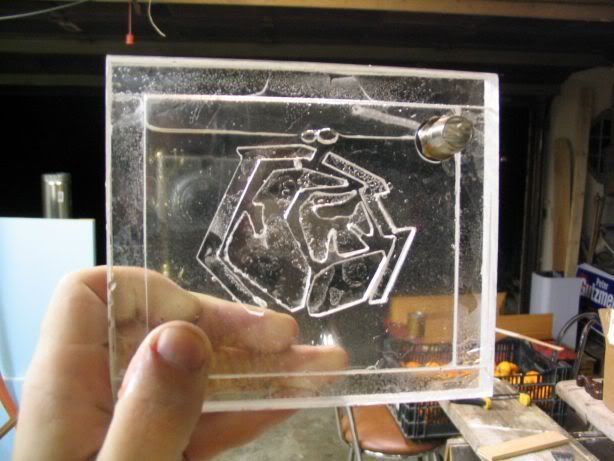
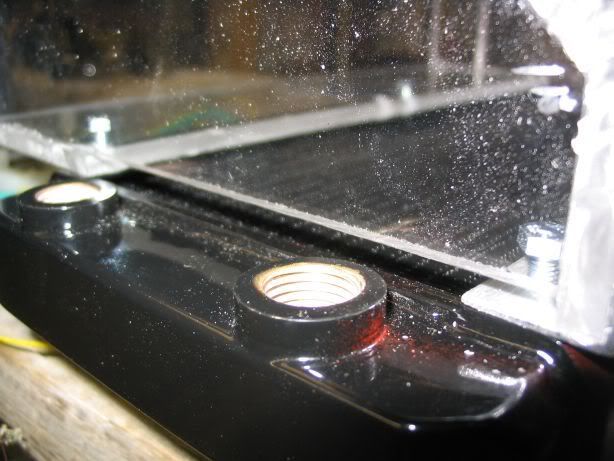
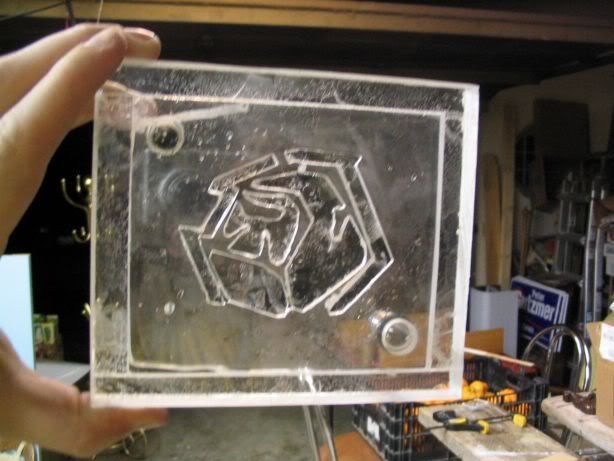
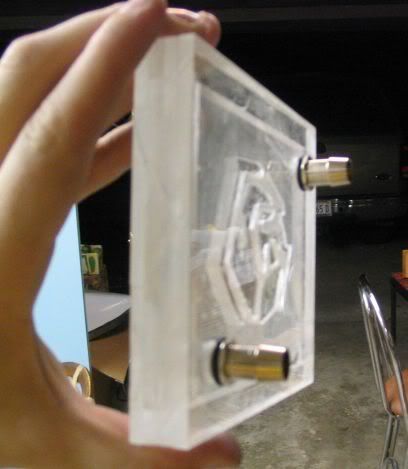
Finally got the right tap, added an extra sheet of acrylic on the water-window (official name now, henceforth known as "WW"). This is to thicken it up, and allow me to screw some square brackets into it from the backside, which is how I'll attach it to the case eventually. Check it out.

20061003_112.jpg

20061003_111.jpg


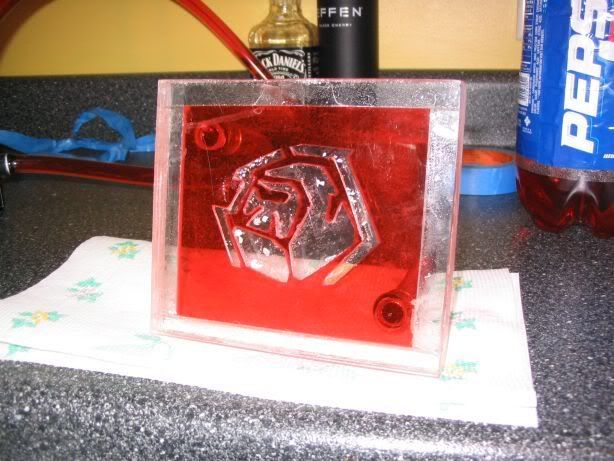
One problem. When I was tapping the holes, some debris fell in the WW. I got most of it out, but you can see here one piece lodged itself in the top of the damn logo. FUCK. I have no clue how to get that out :(.
20061003_113.jpg


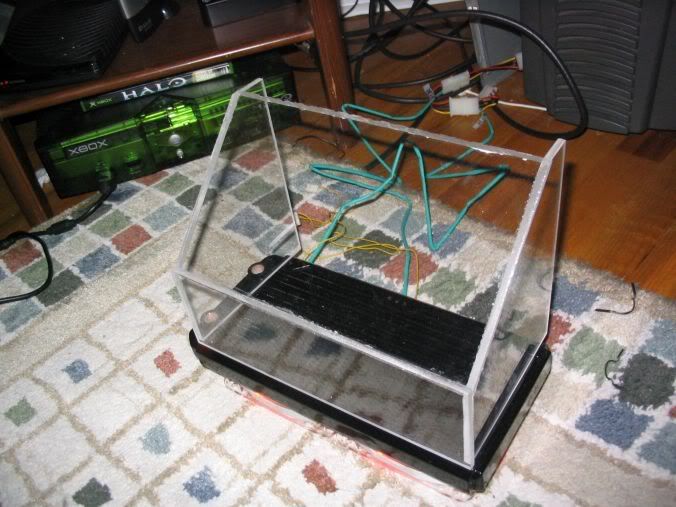
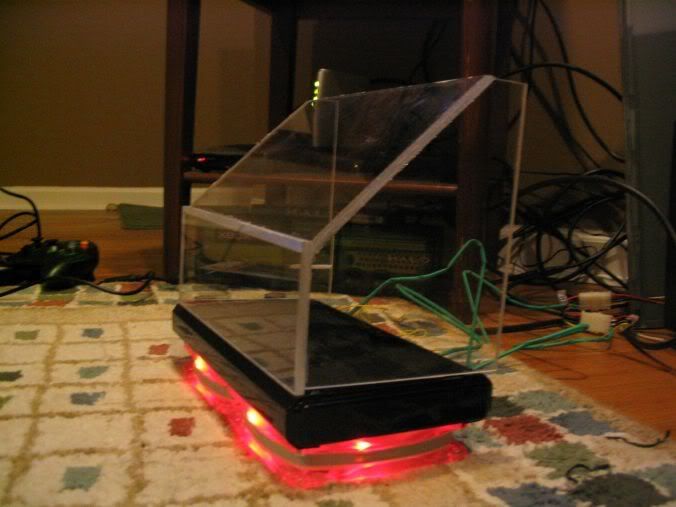
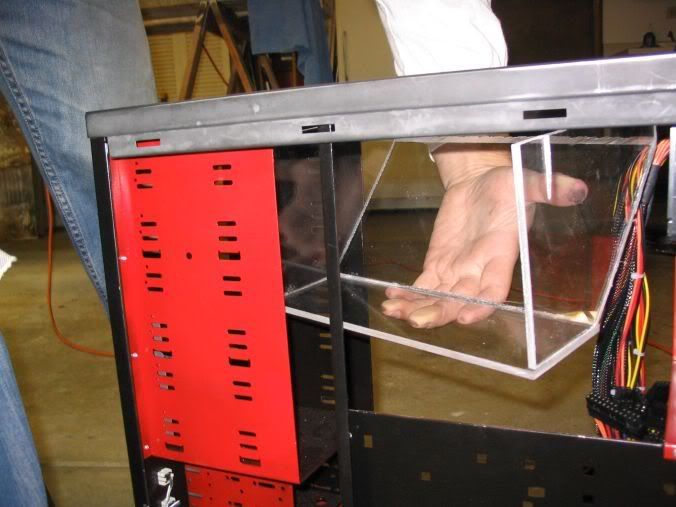
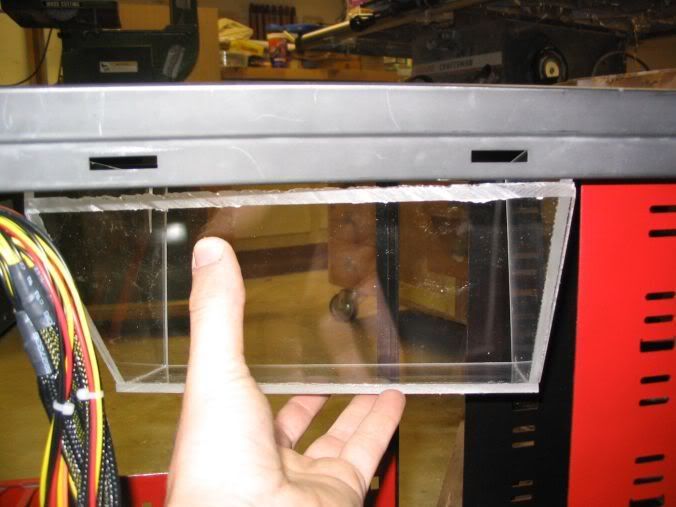
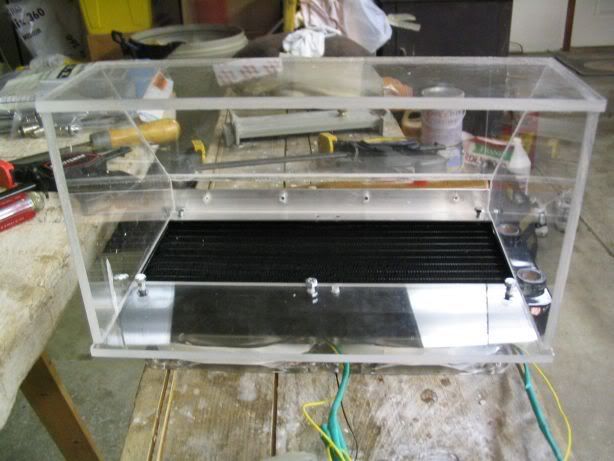
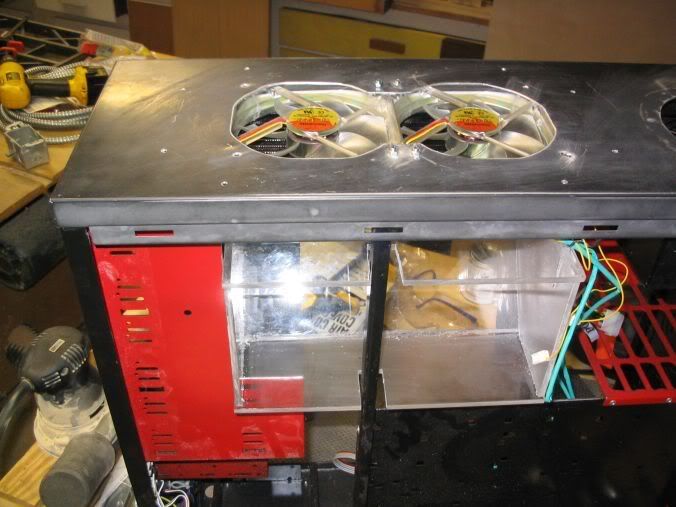
Finished up the acrylic duct as well. I even plugged it into my current computer to see if it would draw a flow, and it does. Now I just have to work on mounting it in the case, some steps still need to be done.

20061003_105.jpg

20061003_100.jpg


There's a small gap along 2 of the sides. Not sure if I want to fill them in somehow or just leave them as is. I think they will be fine, since the air will flow through the main opening because it's the path of least resistence.

20061003_101.jpg


Here is the side of the case where the duct will draw air through. I will cut a hole in the side case, but I need an idea for a grill or a patter to just cut in the side panel, and then put a filter in front of it. Any ideas?

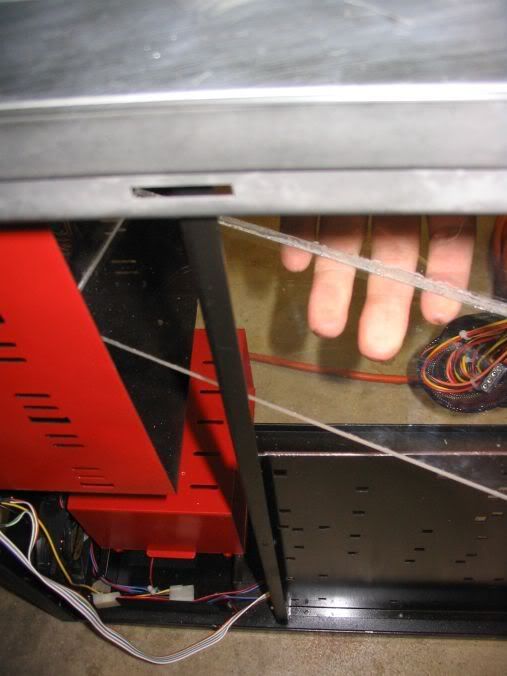
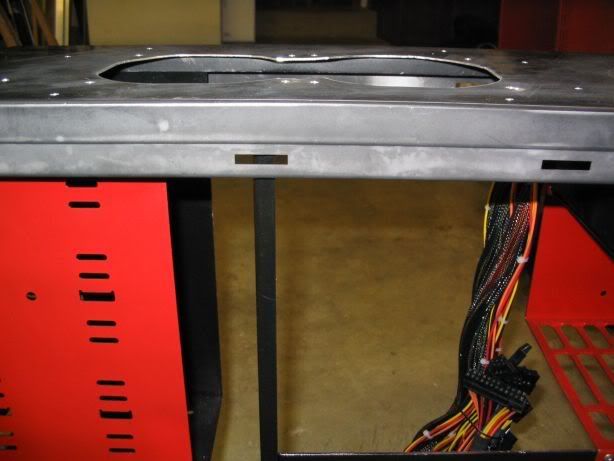
You can also see what I was talking about before, where I'll need to cut out part of the bracket that holds the 5.5" drive bays. Just so I can fit the duct it. It won't be a problem since all my drives will be mounted in the bottom 3 bays.

20061003_102.jpg


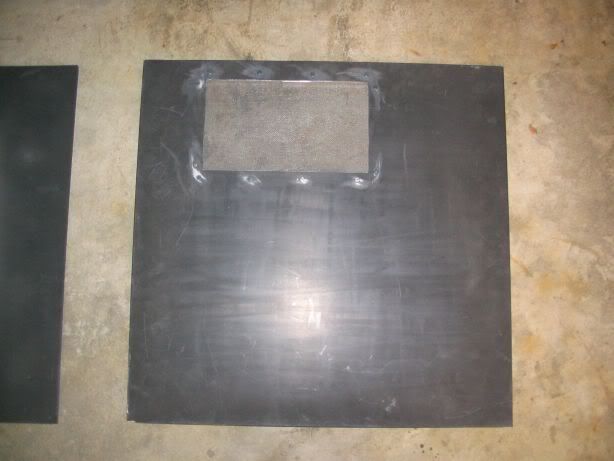
This is what I'm going to use to make a custom grill for the top of the case (radiator fans) and then put that red gutter-guard mesh behind it. Anyone have any ideas for a cool design? Savage-related or not? Preferably something I can cut with a dremel, since I don't have any cool water-jet or laser cutters around :). It's just a very thin sheet of aluminum.
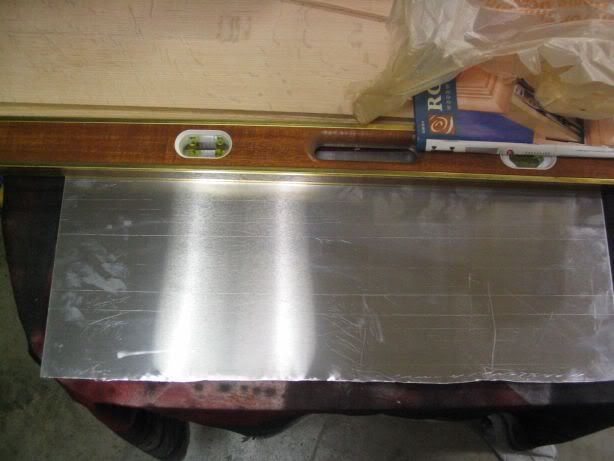
20061003_106.jpg


That's it for now. I need about 100$ to purchase my t-line, tubing, and a pump. That will be it for my watercooling loop. Then I plan on ordering the Mobo, RAM, and Video Card by the end of October so I can finance it with 0% interest through Newegg :).

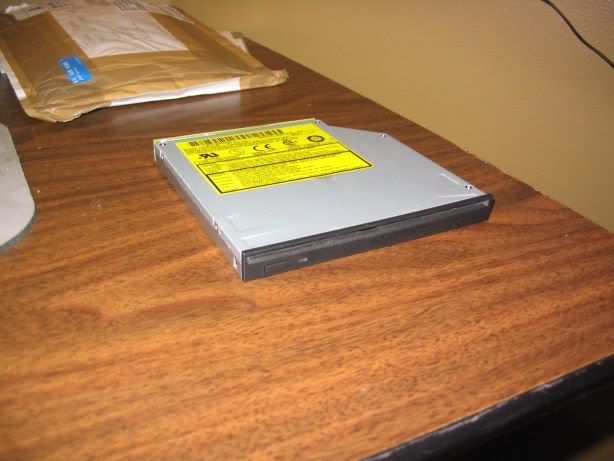
THEN, I'll probabing finish painting and putting it together, but I'll still need about 100$ for lights/accessories, another 100$ for the custom laser-etched window, and then hopefully a little less than 100$ for my slim slot-load DVD+RW drive. Then she'll be all finished. Any donors? I take paypal :)
 
Man that duct is going to be super sexi... especially frosted with some lighting inside ;). And dont worry about filling in the little gap. It would make zero difference in your final idle/load temps and it would look a little tacky.
Keep up the progress :D

Geo
 
.....I am not sure there will be hardware truly worthy of that thing!!

It's looking very nice keep it up!!
 
Looking very very nice, i love the colors, i am currently moding my case and my colors are very close to yours... Keep up the good work...
 
it's been a long while since my last update. Rugby has been taking up a lot of my time, getting close to having a functional PC here, the rest of my parts are on the way, I hope to have her up and running but without lights and my acrylic window in 2 weeks. I can add the lights and window later.

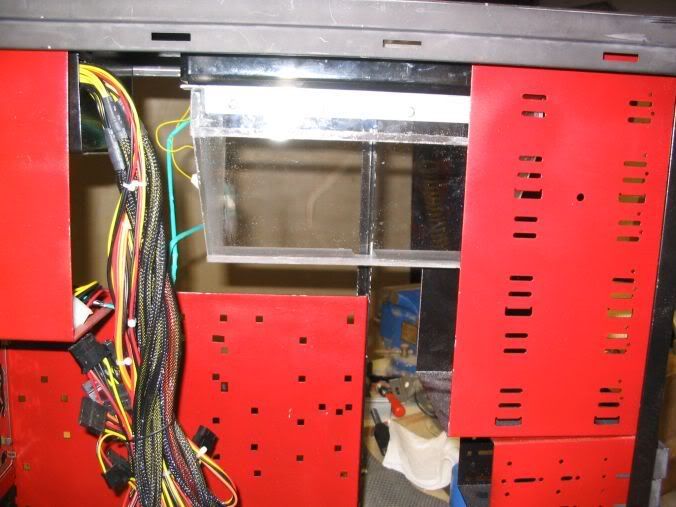
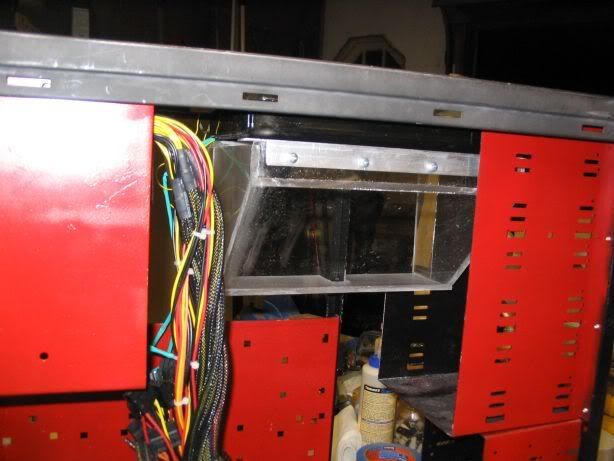
Anyway, just worked on fitting the duct into the PC. Here's the result.

20061016_114.jpg


20061016_115.jpg


some modifications were definitely in order...

20061016_116.jpg

20061016_117.jpg

20061016_118.jpg

20061016_119.jpg

20061016_120.jpg


So that's how it's going to fit inside the case. Worked on a custom grill for the top fans, not sure if I want to use it or not. I think because it has a smaller area it's going to make a lot of noise with the 2 120mm fans pushing air through it.

20061016_125.jpg


After my work tonight, got a few more letters cut out.

20061016_133.jpg

20061016_132.jpg


Probably won't use that mesh, maybe I will, not sure yet. Should look cool with the red led fans.

Here's what it kinda will look like, sans black and red paint jobber. As you can see, I'm going to have to trim up the duct to make sure it fits inside the side-panel. I also will have to cut the hole for the side panel. I want to make sure it's a very tight fit. It's gonna take some tricky measuring to make sure I get it perfect =/,

20061016_127.jpg

20061016_131.jpg

20061016_130.jpg


I wonder if anyone is still reading this, lol.
 
jreffy said:
I wonder if anyone is still reading this, lol.

Hell yeah I'm still checking this everytime you update!! Progress looks awesome man. The S2Games logo looks great and that duct is working out great aswell. I like the mesh behind the logo BTW especially the fact that it's red.

Is the hole in the side panel going to have matching red mesh? I think that would work well ;) Oh and I guess you're not going to be able to use the top drive spaces now... atleast not for drives right?

Keep it up man :D
 
Geo Fry said:
Hell yeah I'm still checking this everytime you update!! Progress looks awesome man. The S2Games logo looks great and that duct is working out great aswell. I like the mesh behind the logo BTW especially the fact that it's red.

Is the hole in the side panel going to have matching red mesh? I think that would work well ;) Oh and I guess you're not going to be able to use the top drive spaces now... atleast not for drives right?

Keep it up man :D

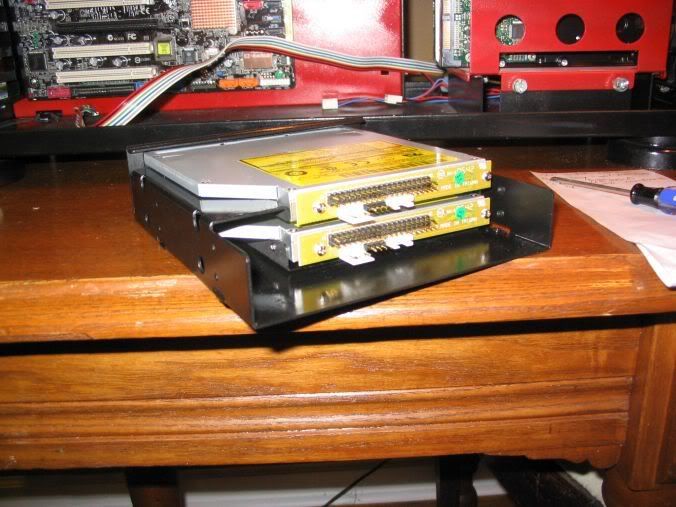
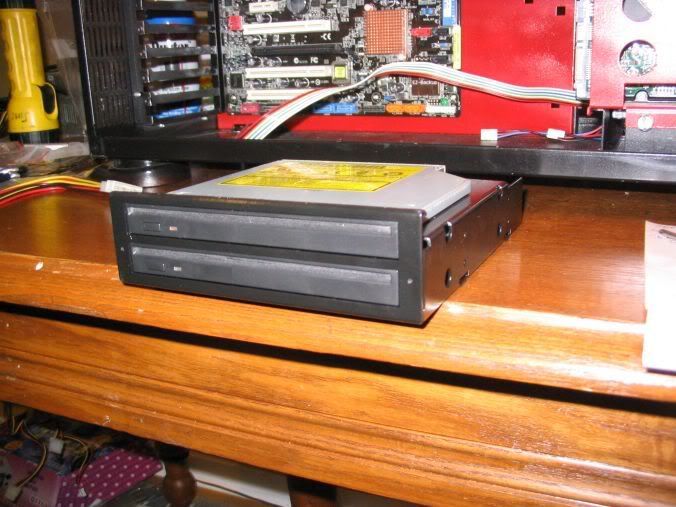
This is where I was really thinking. The drive slot below the Water-window is going to be my fan-controller, so it doesn't have to have room behind it really. The slot below that is going to be for CD-drives. I got a bezel that will hold 2 slim-drives, so basically I'll get 2 drives in one spot.

I've got my pump/tubing/T-line so hopefully my next update will be my water-cooling loop setup without any hardware and a short-wired PSU.

Oh, that reminds me, I do have one question for anyone reading this...

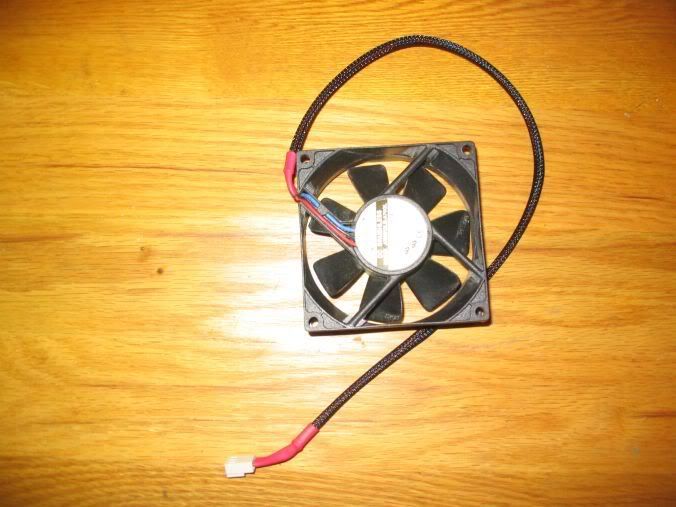
I want to shorten my wires coming from my fans and also my PSU is this possible? How difficult is this to do?
 
more more more more more more more more more more more more more!!!

your giving me ideas....
 
looks super cool. i really like the idea behind the WW have you considered how much it might kill your flow though. you might want to look into getting 2 Y adapters and adding it in that way
 
Shortening wires requires one of three methods:

1. cut them near power supply and resolder them. If you are good, you can solder and heatshrink them for a near perfect job. But they will always be fatter than the regular wires, creating a somewhat large bulge if you keep them loomed in some form, like the acrylic mesh.

2. Unsolder in power supply, shorten appropriate amount, and resolder. Voids your warranty but can be very clean. Hard to do with more than one layer board unless you have agood soldering iron, from what I hear.

3. Cut ends off and recrimp on new ends to length. I know you can do this in various forms for molex, sata, and floppy, but I haven't seen much for main and 4 pin aux power cables. YMMV on this one, but I think performance PC's and a few others have the supplies.

Hope that helps. I always tuck them away because I am too lazy, but those are the most common I think. Anyone else have any ideas or can point out how wrong I am?
 
brasherman said:
3. Cut ends off and recrimp on new ends to length. I know you can do this in various forms for molex, sata, and floppy, but I haven't seen much for main and 4 pin aux power cables. YMMV on this one, but I think performance PC's and a few others have the supplies.

Hope that helps. I always tuck them away because I am too lazy, but those are the most common I think. Anyone else have any ideas or can point out how wrong I am?

I made a post about cable-management shorty after my update and I got a lot of answers. I decided to go with your last suggestion of just cutting off the molex ends, shortening the wires, and reattaching new molex ends. As you can kind of see in some of thepictures the cords come from my fans are really too long, and with that duct taking up a lot of room, I won't have many places to hide my wires, haha!

This is definitely the way I'll be going, now I just need to find some molex housings to use and I'm good to go.
 
Put together my watercooling loop today to run a leak test, but while filling I found a leak in my water-cooling window =/

I was afraid of this, but fortunately the leak appeared very very tiny. I'll just have to be liberal with the weld-on and then try it again. Also finished that top grill, I'll have pics of both that and the watercooling test later this week I hope.
 
Awesome man I can't wait to see the finished project! My wife likes it too she thinks your monkey is sexy!
 
ok supercool update time!

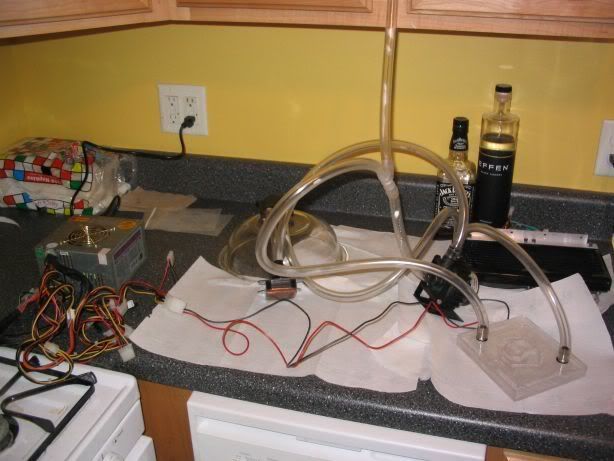
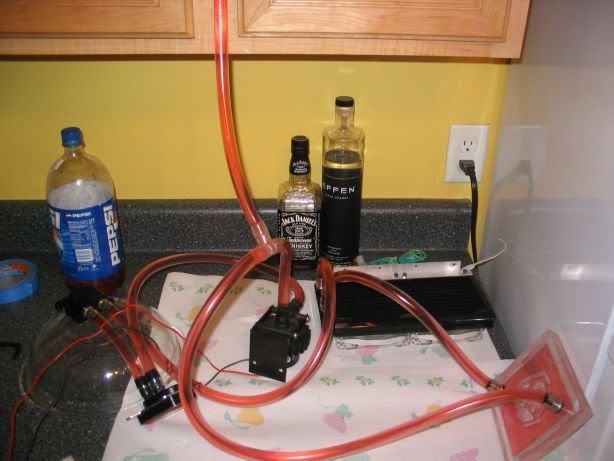
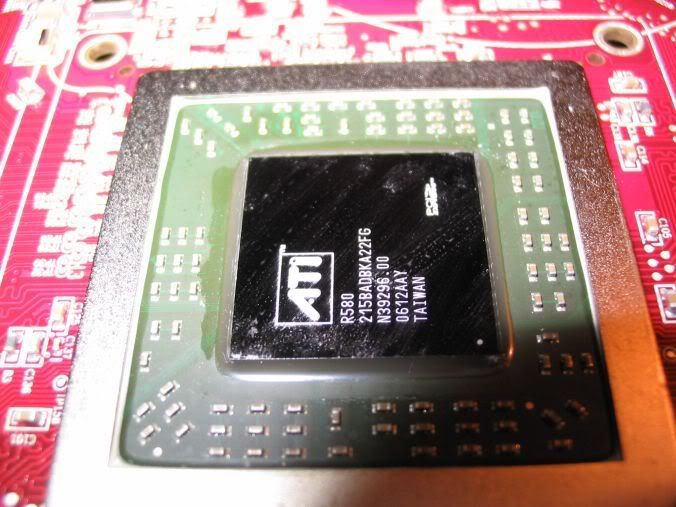
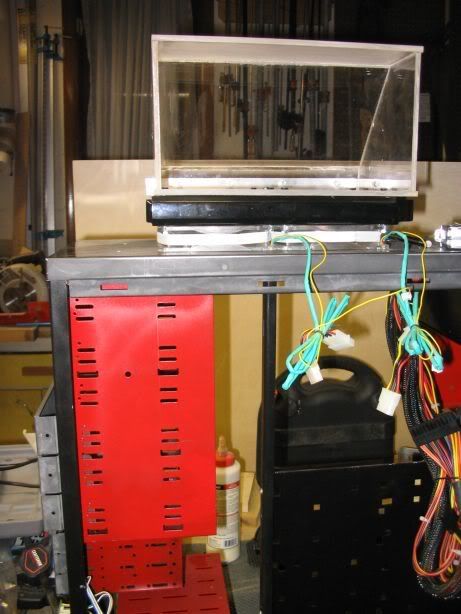
Brought home my WC stuff, hotwired my PSU, filled up the loop and I'm working on getting the bubbles out and letting it run overnight. I don't know if I feel safe enough letting it run tomorrow while I'm at work. A couple of your forum users should recognize the CPU and GPU waterblocks! Originally I wasn't going to use a GPU waterblock, but for 25$ I couldn't resist.

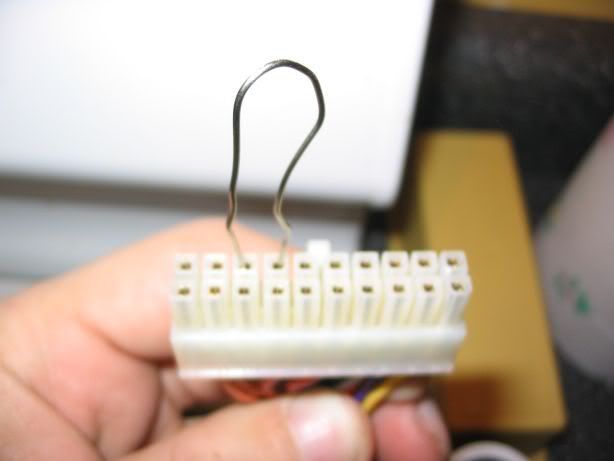
Hotwired PSU...thanks to forums like this, users like you, and the number 5!!

20061024_139.jpg

20061024_140.jpg


The LOOP (with special guest star...hard liquor!!!)
20061024_141.jpg

20061024_142.jpg


Would your wife like to touch my monkey?
20061024_143.jpg


Oh, and as promised, pics of my custom top fan grill, we'll see how it goes when I install it and run it with fans. I even sanded it to give it a nice finish.

20061023_135.jpg

20061023_136.jpg
 
ok first off:
I like the water logo, thats wicked, expect me to plagurize (well the idea anywho, more likly a Counter strike or irrational games logo tho)

and uhh, i cruised through the past pages, why do we need to hotwire the PSU? what exactly does your copper wire so?
 
MrWizard6600 said:
ok first off:
I like the water logo, thats wicked, expect me to plagurize (well the idea anywho, more likly a Counter strike or irrational games logo tho)

and uhh, i cruised through the past pages, why do we need to hotwire the PSU? what exactly does your copper wire so?

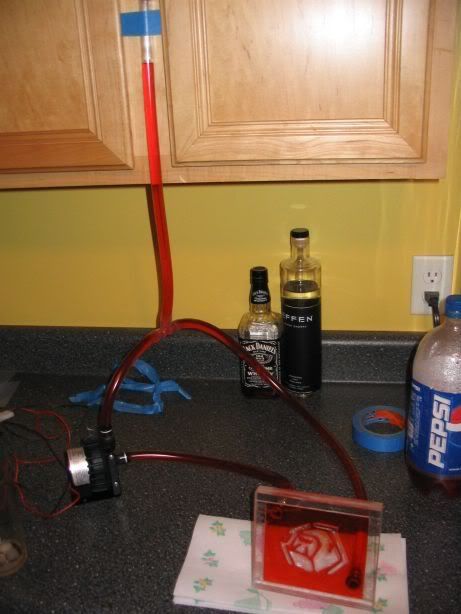
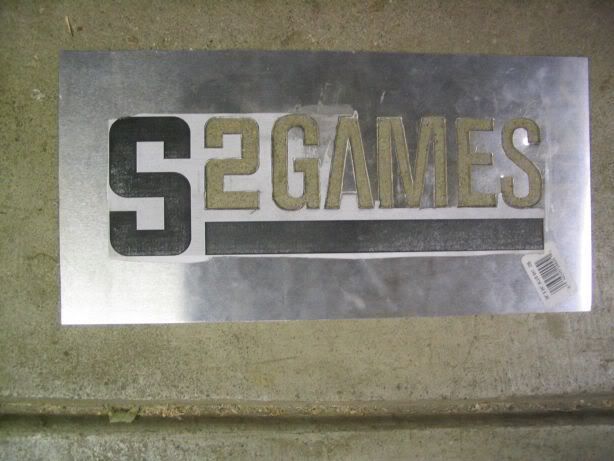
S2Games has always been VERY BIG on getting involved with the community. I told them about my mod, they hooked me up with some great large-sized graphics. One will be used for my etched window and the other for a possible Vinyl logo.

PSU's won't power on unless they are connected to a motherboard. Well since I don't want to power my motherboard anywhere NEAR my watercooling test, I hotwired a crap PSU (that came with my case) so I could run it without damaging a motherboard in case I got leaks.

That paperclip simulates the plug that goes into the motherboard, so the PSU powers on.
 
Very impressive. I've had my share of modding computers and I've realized I don't have a talent for it but it looks like you do. Keep up the good work and I look forward to how it turns out.
 
small update, forgot my camera when i went to work today.

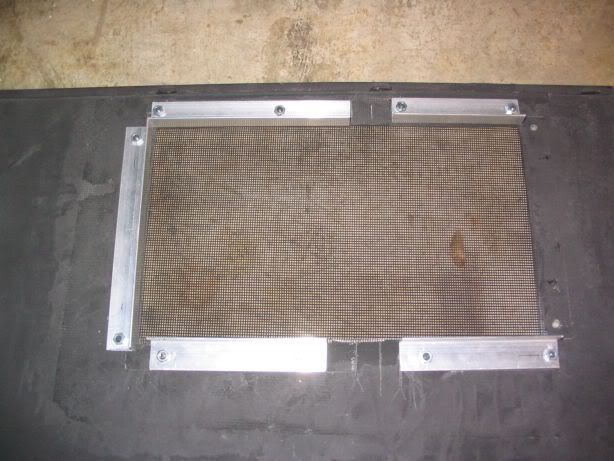
I put a small framing up on the right side panel around the hole i made for the duct. I also used bondo to lay some mesh down across that hole. The framing will hold down an air filter I'll install later.

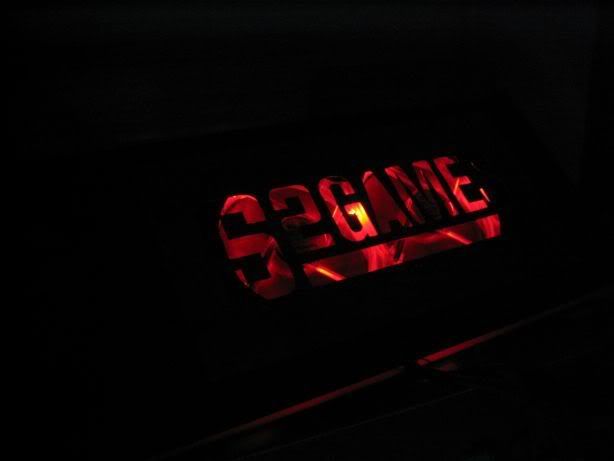
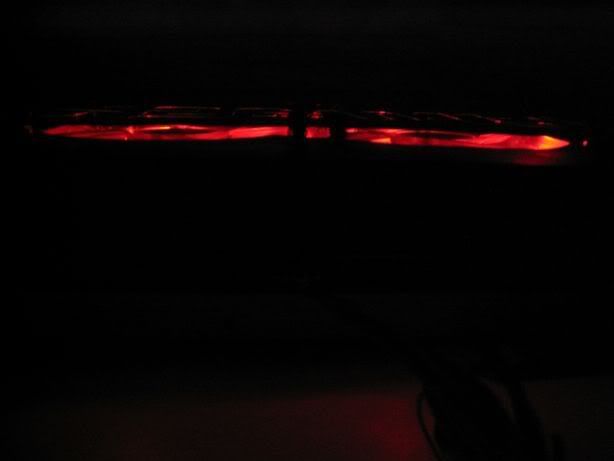
Here's pics from the top fan grill, didn't come out QUITE like I wanted. The full logo isn't lit because the fans are wider than the grill =/ I also threw in some pics when I was testing my custom window for leaks.

20061025_148.jpg

20061025_149.jpg


20061030_154.jpg

20061030_155.jpg

20061030_153.jpg


I'm open to ideas on how to distrubute the light across that grill =/
 
Sand blast some plexi in the same size as the logo, space it an inch above the fans underneath the logo, and it will glow somewhat evenly. The air will force itself out around the outside. Or cut the plexi out so that it just shows around the metal and try that so it will blow through. My $0.02. :D
 
brasherman said:
Sand blast some plexi in the same size as the logo, space it an inch above the fans underneath the logo, and it will glow somewhat evenly. The air will force itself out around the outside. Or cut the plexi out so that it just shows around the metal and try that so it will blow through. My $0.02. :D


Yeah, that's the only solution I could come up with too. My concern is noise/air flow. The more I restrict the flow, the louder it will be, so we'll see. Right now I just have holes cut in the top of the case the size of the fans. I could always try and cut them a little wider to see if the light spreads out a bit more too.
 
Since most LED's point in towards the fans, probably not much. Plus it may just end up looking like a bad cut. How about using some 5mm red led's spaced equally around the top in holders? You would need about six or eight of them around the outside and they could fit under the sheet of metal I think.
 
brasherman said:
Since most LED's point in towards the fans, probably not much. Plus it may just end up looking like a bad cut. How about using some 5mm red led's spaced equally around the top in holders? You would need about six or eight of them around the outside and they could fit under the sheet of metal I think.

Yeah, that idea popped up too. I'd like to learn about LED's and how to mount/install/swap them, maybe this is my opportunity to, I just groan @ how much longer this will delay my case :) haha.

I'm going to wait until all my lighting gets here too. I think I have a 4" cold cathode coming, I was planning on mounting it near the top of the case, that might provide enough extra light to spill out thruogh the top.
 
jreffy said:
Yeah, that idea popped up too. I'd like to learn about LED's and how to mount/install/swap them, maybe this is my opportunity to, I just groan @ how much longer this will delay my case :) haha.

I'm going to wait until all my lighting gets here too. I think I have a 4" cold cathode coming, I was planning on mounting it near the top of the case, that might provide enough extra light to spill out thruogh the top.

I'm SURE someone here knows what to do. Unfortunately it's not me. :(
 
**UPDATE**

Hopefully this will be my last 1.5 weeks of case-construction. Currently the case is at my relative's house because they have a nice garage full of great tools, which is way better than my downtown Chicago apartment.

All I have left to do is to mount the slim-drive bezel, the water-cooling window, and that's about it. Once those are in, it's just a matter of hooking everything together.

Hyperkore.com sent me an email today saying they have sent my laser etched window. That will be here Friday. I'm still unsure whether or not to get a vinyl decale of the "SAVAGE 2" text with the sword behind it. It'd be extra money for them to edit just that text and sword out of the picture. I already have a big enough file I just need to trim that thing out, and I'm lazy and don't have the necessary tools or time.

Here's today's update, which includes some pics of the work I did last week (I forgot to take my camera with).

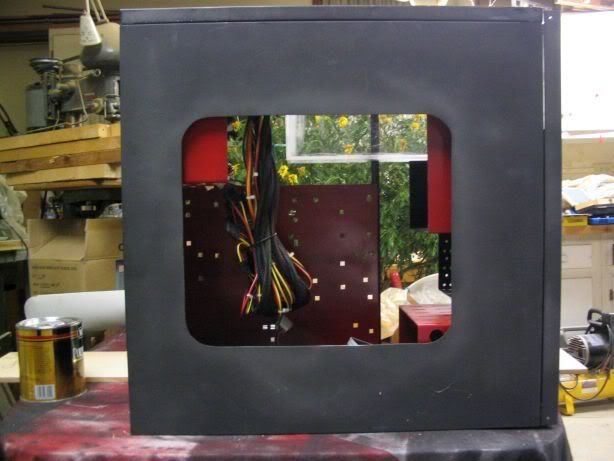
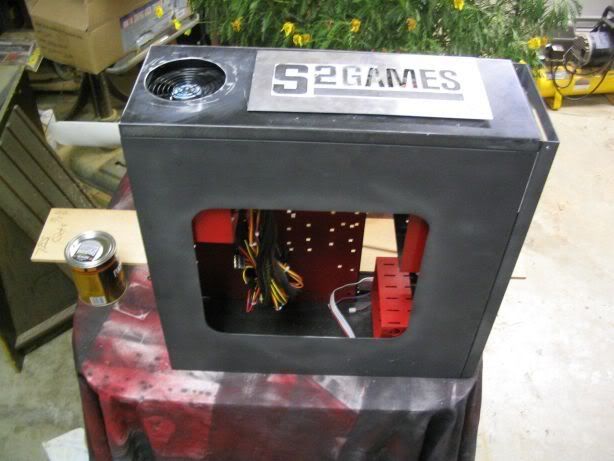
I cut the hole in the side-panel for my custom ducting. It came out pretty good, I didn't have to bother making extra cuts to make it fit right. I decided to go with something relatively plain.

You'll see what the bolts are for in a minute.

20061108_156.jpg

20061108_157.jpg


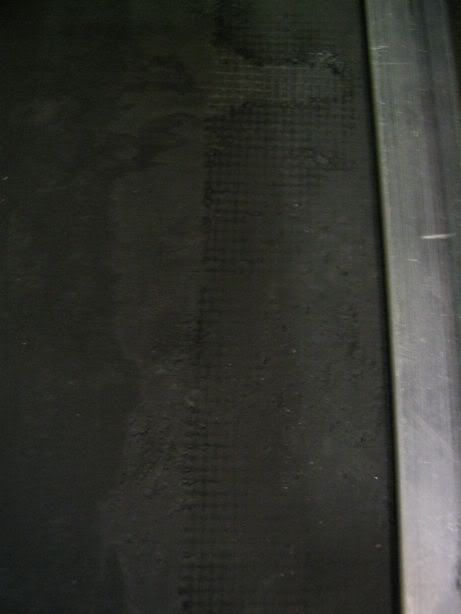
Here's the backside of it. I attached those square brackets to make sure I get a decent seal to the side panel. The gaps are there to make room for the vertical support bar in the case. The mesh I held down by hand and used bondo to attach it to the side panel, man that is AMAZING stuff. I also used it to patch some holes that I ended up not using in the top panel.

Also, the advantage of the little L-brackets is that I plan on pinching some sort of air-filter in there as well so I don't clog the radiator/dirty up my duct. I'm thinking women's pantyhose work the best, so I'll probably go with that.

20061108_158.jpg

20061108_161.jpg


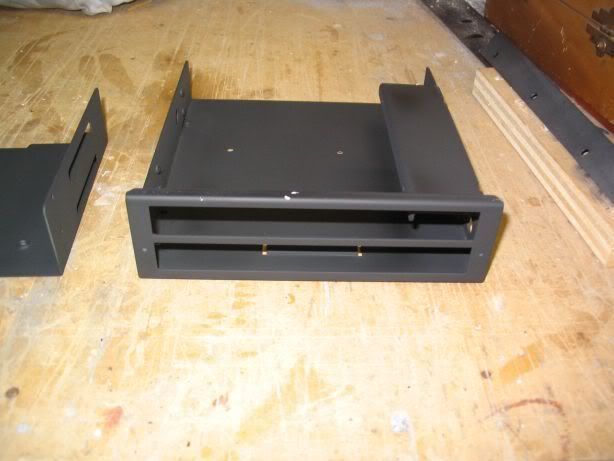
I decide a long time ago to use slot-loaded slim-drives. Just because I knew my water-cooling window would take up a lot of room, and because I liked the look of slot-load. So I had to order a bezel that would fit two slim-drives in one 5.25" bay. I just primed it and I'll paint it on Saturday when I go to do most of my painting work.

20061108_163.jpg

20061108_165.jpg


I'm still a little unsure how to mount my water-cooling window. I drilled these holes in the side to attach L-brackets to. I then planned on using tiny screws into the window. However, I don't think I want to do that anymore for fear of risking some more leaking. I think I will just end up installing the square brackets and using some heavy-duty double-sided tape.

20061108_167.jpg

20061108_168.jpg


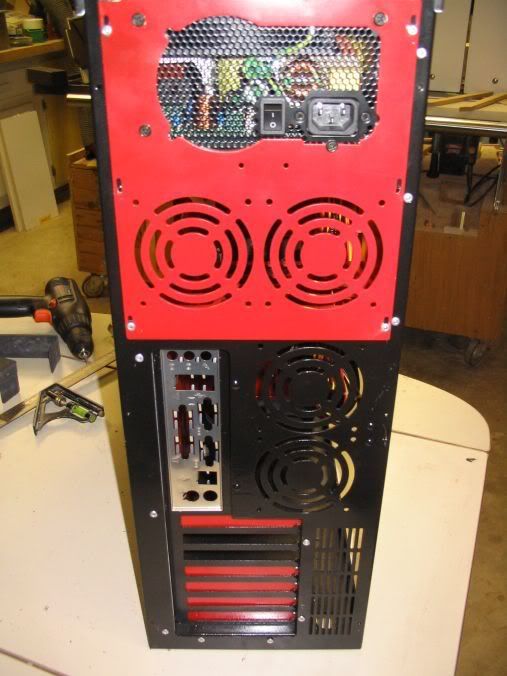
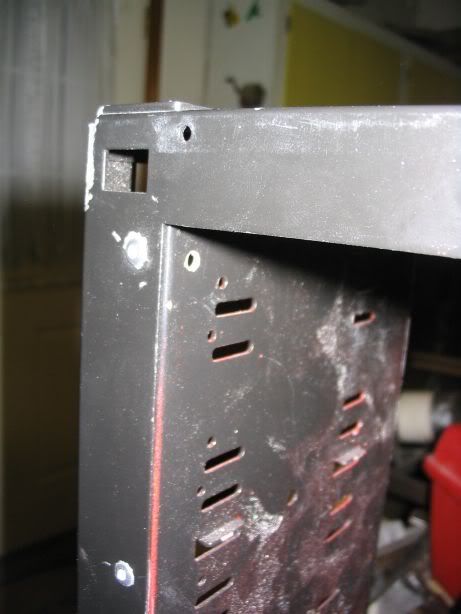
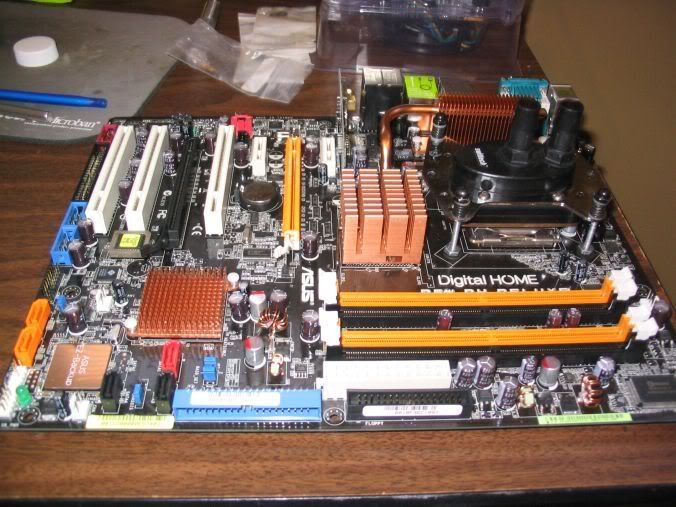
And here are just some random pictures of the case. I know it looks dirty, there's a lot of dust and particles in there from various projects going on in the garage, not just mine. I'll be blowing it all out and cleaning it before it comes time to bring it home to my apt. and start my wiring/hardware install.

I've got this big open area under my PSU now that I moved it. I have no idea what to use it for, probably to hide cables in I think. Anyone have some ideas?
20061108_174.jpg

20061108_175.jpg

20061108_176.jpg


Just painting the side-panels and wet-sanding them. that will take 2 days between each coat of paint because you have to wait for it to completely cure before wet-sanding again. (day 1) So I will wetsand the primer coat, and paint before I leave. (day 2) Wetsand 1st paint coat, apply 2nd coat before I leave. (day 3) Wetsand 2nd paint coat, apply decal (if I have one), apply clear-coats. (day 4) Wet-sand clear-coats, apply rubbing compound, done.

So it looks like 4 days of work, which means a little over a week. Saturday, Monday, Wednesday, then Friday/Saturday/Sunday, whichever day my new ladyfriend let's me have free.

Then another week or so of installing the components, shortening my wires, applying new molex connectors, cleaning off the mobo and heatsinks, etc. etc. 2 more weeks, I hope. Then it's Windows XP and overclock time!!
 
jreffy said:
**UPDATE*
I
've got this big open area under my PSU now that I moved it. I have no idea what to use it for, probably to hide cables in I think. Anyone have some ideas?

20061108_174.jpg
that whould be a perfect place to put your hard drives or mayby a place for the pump.
 
WOW!!!

Your first mod? Thats very impressive. My first mod looked like shit compared to that. Can't wait until I start modding my P180 :D
 
Good job so far. Keep up the good work. Can't wait to see final product.

Hope the WD Raptor I gave you works out good. :)
 
**UPDATE**

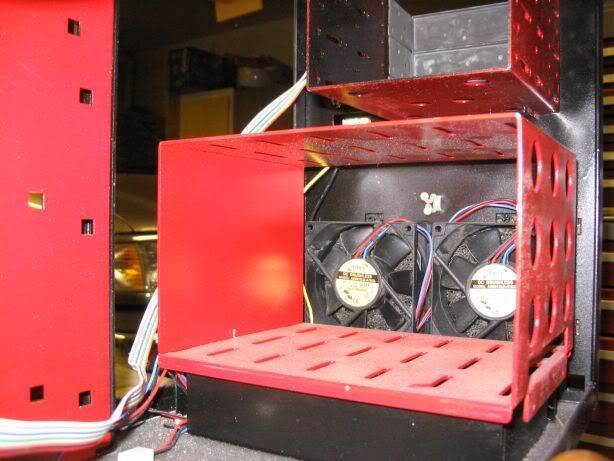
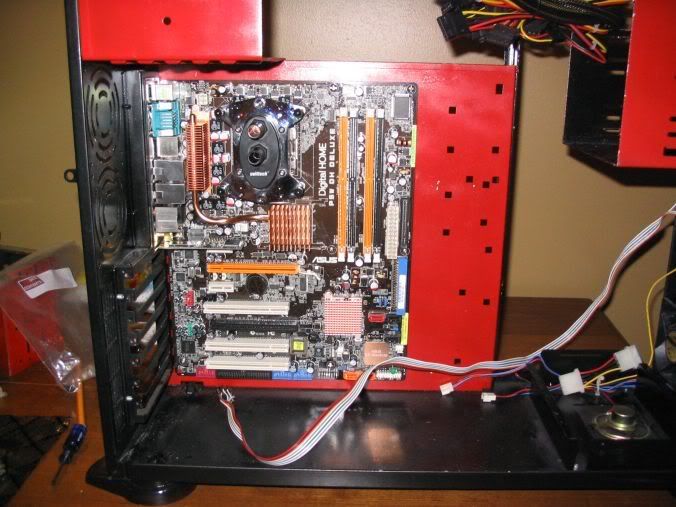
Started assembly. Forgot to bring home my dremel from my workshop (aka relative's garage), so assembly was halted for the day. Here's what I got so far.

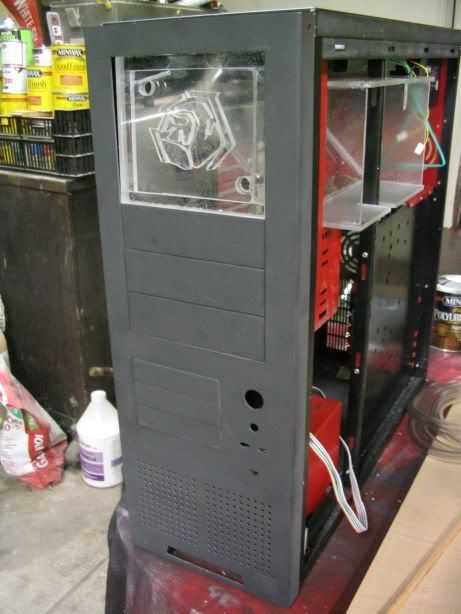
I also started painting the side-panels. The first sanding-paint job looked really really good, only 3 more to go. I'll remember to bring my camera for pictures next time. I won't bother with descriptions/commentary.

20061112_177.jpg

20061112_180.jpg

20061112_182.jpg

20061112_185.jpg

20061112_187.jpg

20061112_188.jpg

20061112_191.jpg

20061112_192.jpg

20061112_194.jpg

20061112_197.jpg

20061112_196.jpg

20061112_201.jpg


The plan is to assemble it without the side-panels. Let it run/leak test/install windows/programs, etc. etc. while the side panels are being finished this week. Then it's done.
 
BTW, I love that double drive mount. I was wondering where you found that as it is definitely good looking and functional.
 
Back
Top