• Some users have recently had their accounts hijacked. It seems that the now defunct EVGA forums might have compromised your password there and seems many are using the same PW here. We would suggest you UPDATE YOUR PASSWORD and TURN ON 2FA for your account here to further secure it. None of the compromised accounts had 2FA turned on.
    Once you have enabled 2FA, your account will be updated soon to show a badge, letting other members know that you use 2FA to protect your account. This should be beneficial for everyone that uses FSFT.

Project: Honeycomb

Fuganater

Gawd
Joined
Jul 6, 2011
Messages
818
honeycomb.png


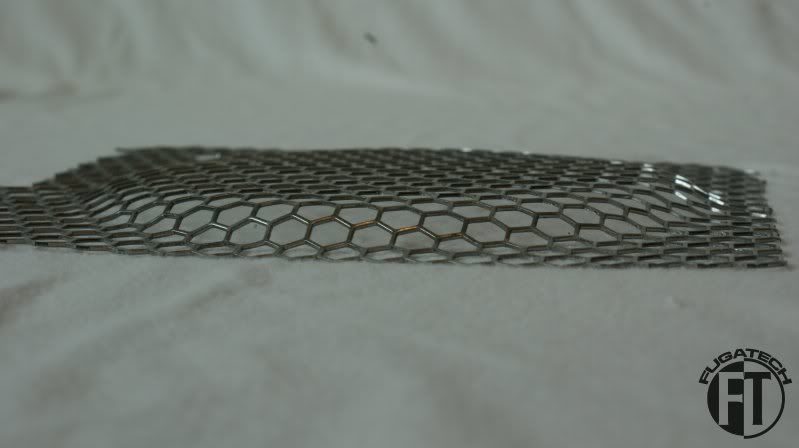
Honeycomb will by a scratch build, double wide server case.

This mod is brought to you by:

Thanks to John and his team at Delvie's for helping with the Plexi!


Thanks to Bill for providing some goodies!

Lamptron.jpg

Thanks to Maurizio at Lamptron for providing a fan controller and some UV Cold Cathodes.


Thanks go Gregor at EK for providing a bunch of the watercooling parts.

Hardware
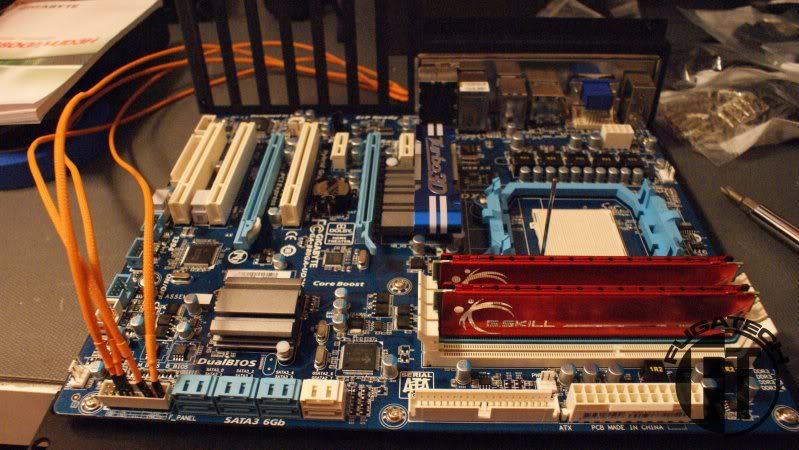
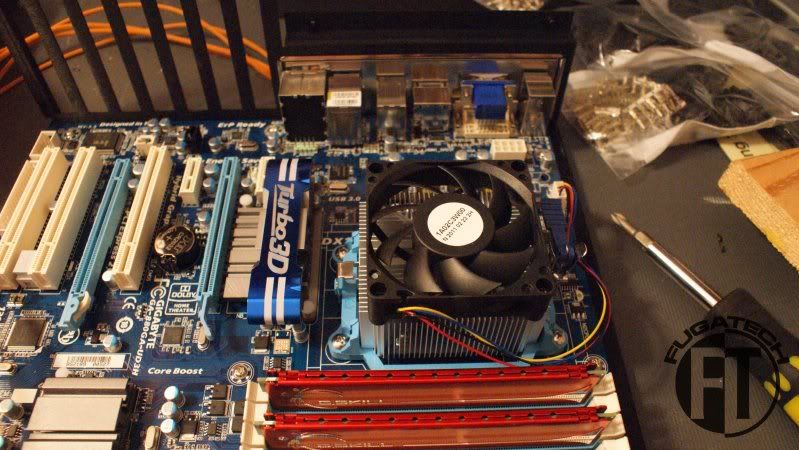
Motherboard: Gigabyte 880GA
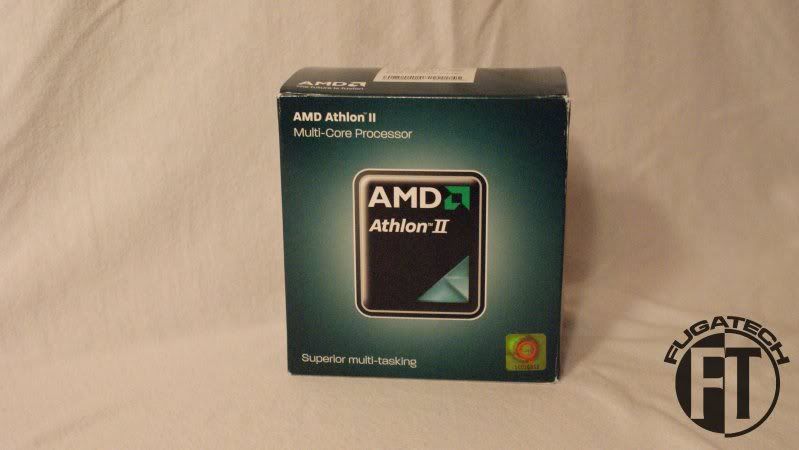
CPU: AMD Athlon II X4 640 @3.0GHz
GPU: 2x something
HDD: 1x 320 HDD (OS), 2x 2TB HDDs (Case can hold roughly HDDs 20 total)
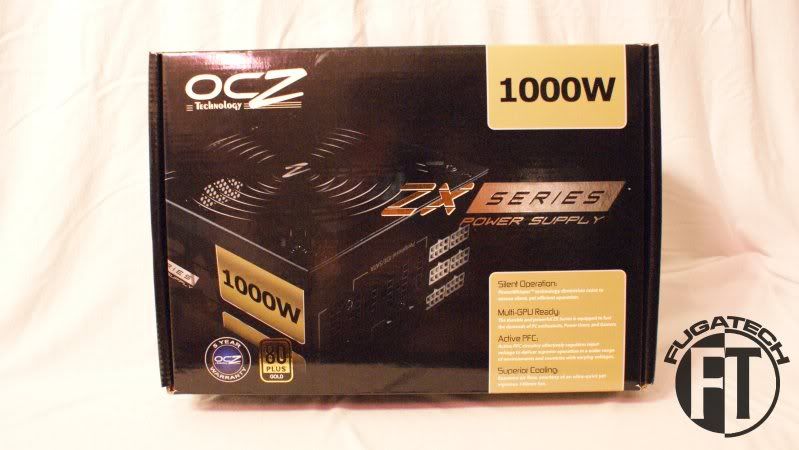
PSU: Corsair 100W
Optical Drive: Blu-ray Player
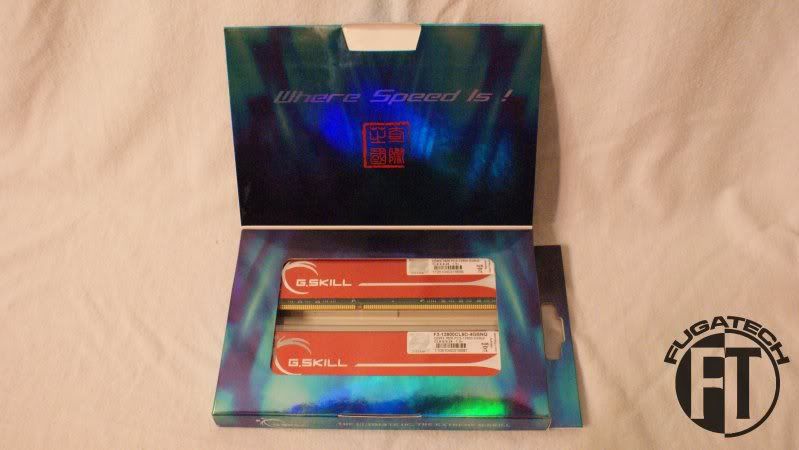
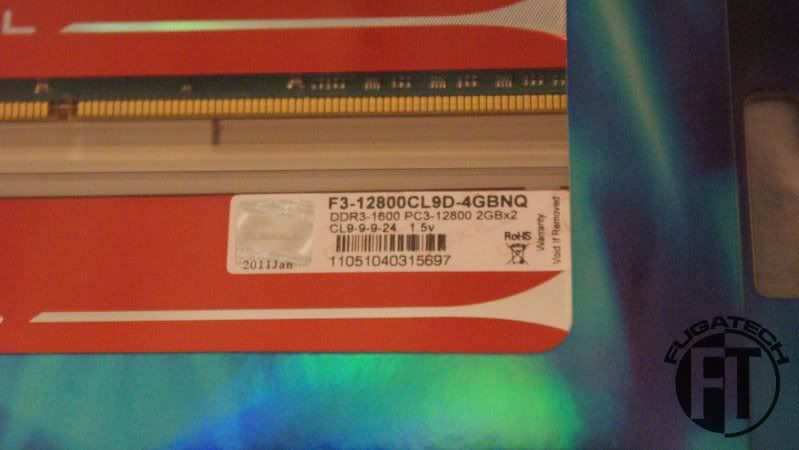
RAM: 4GB G.Skill PC 1600
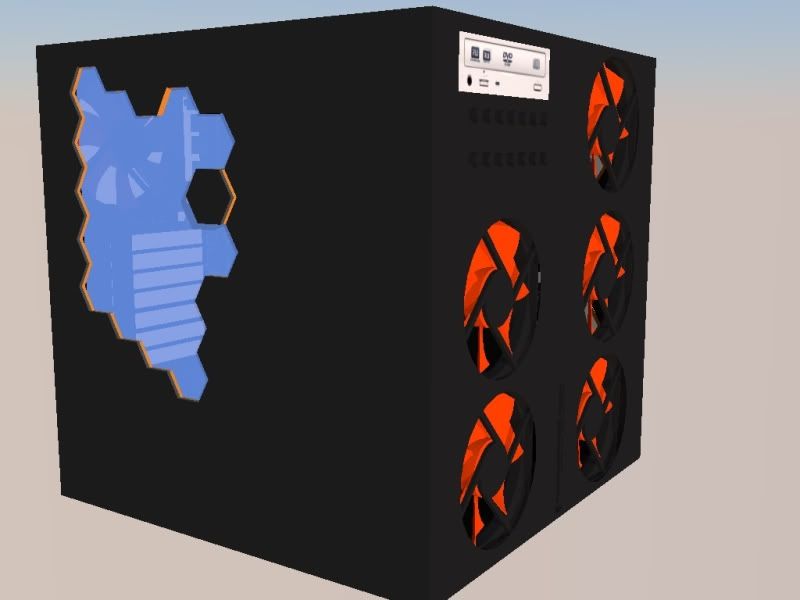
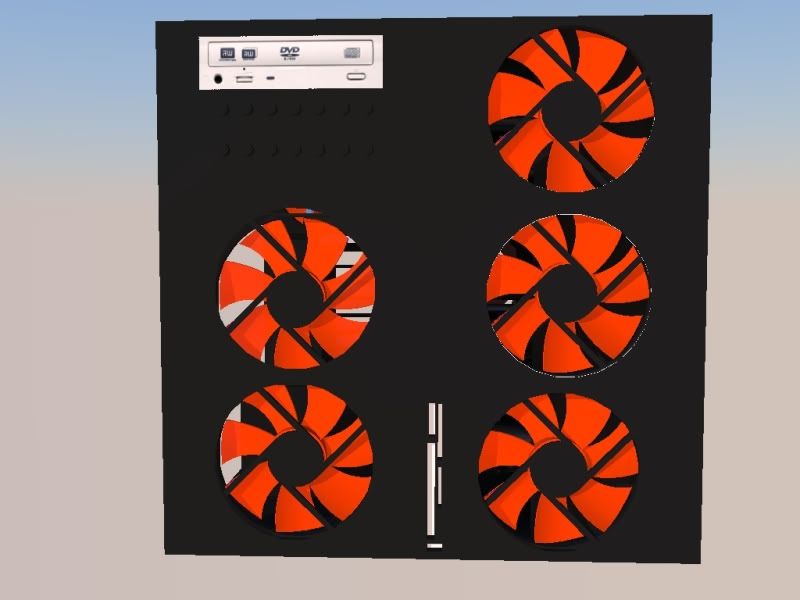
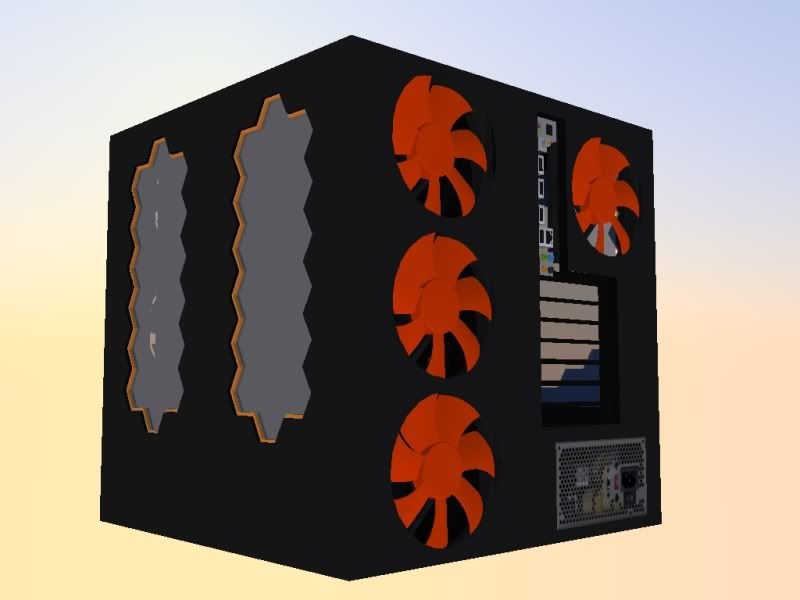
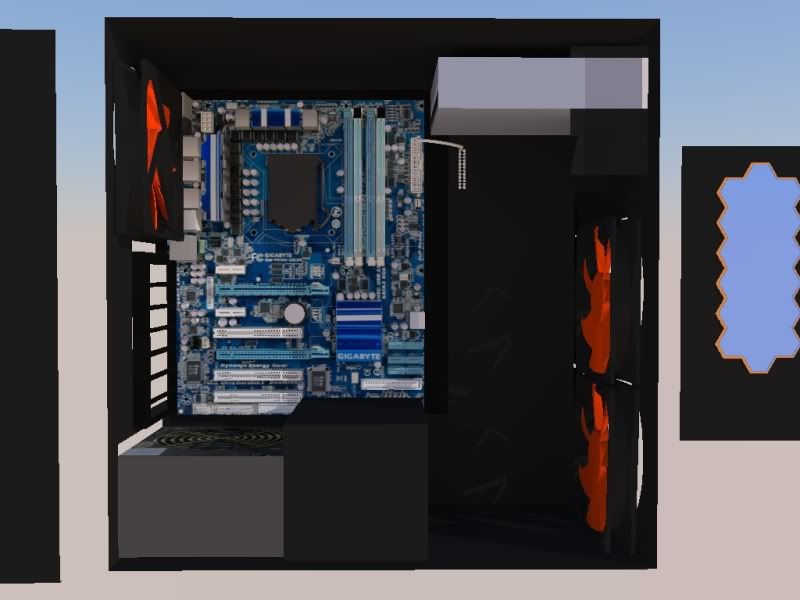
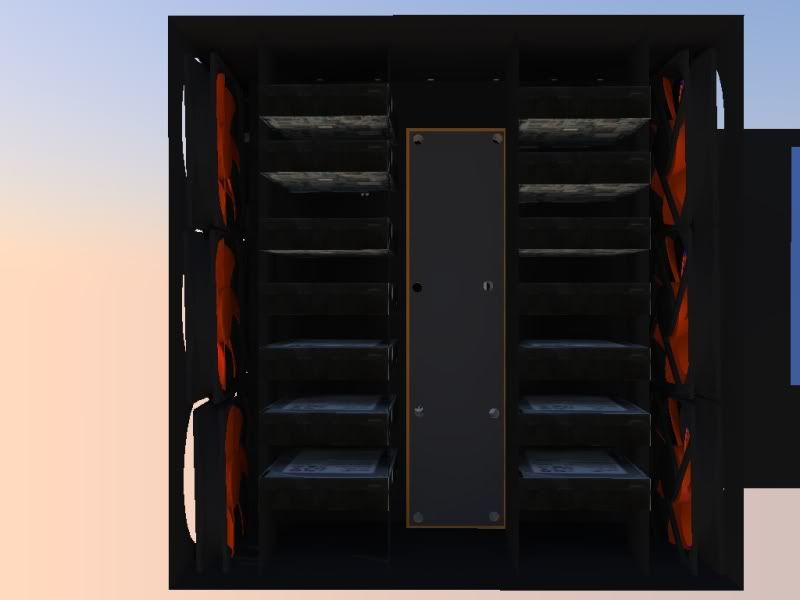
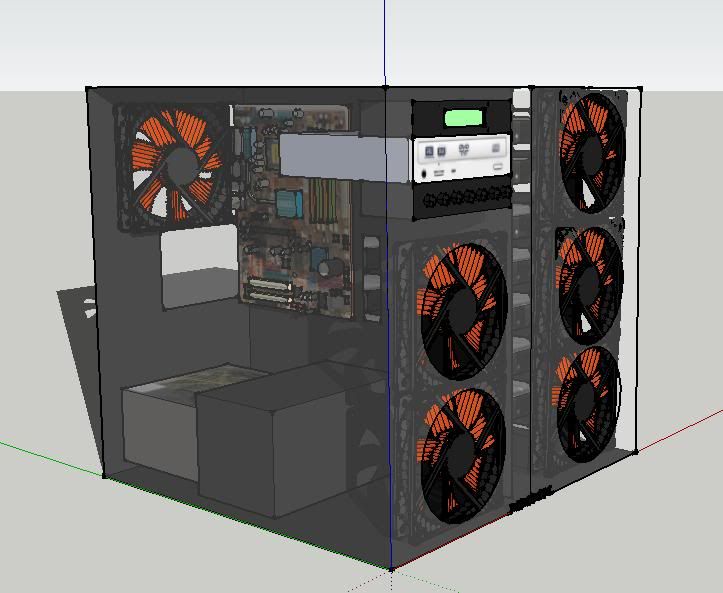
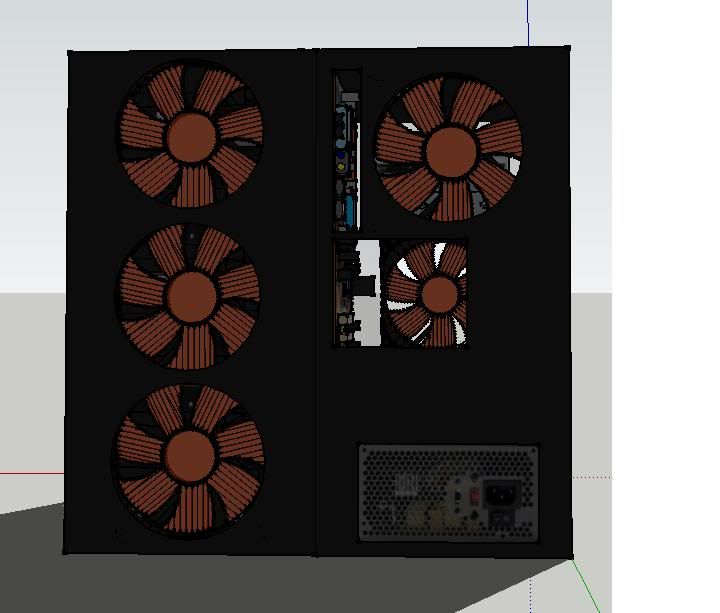
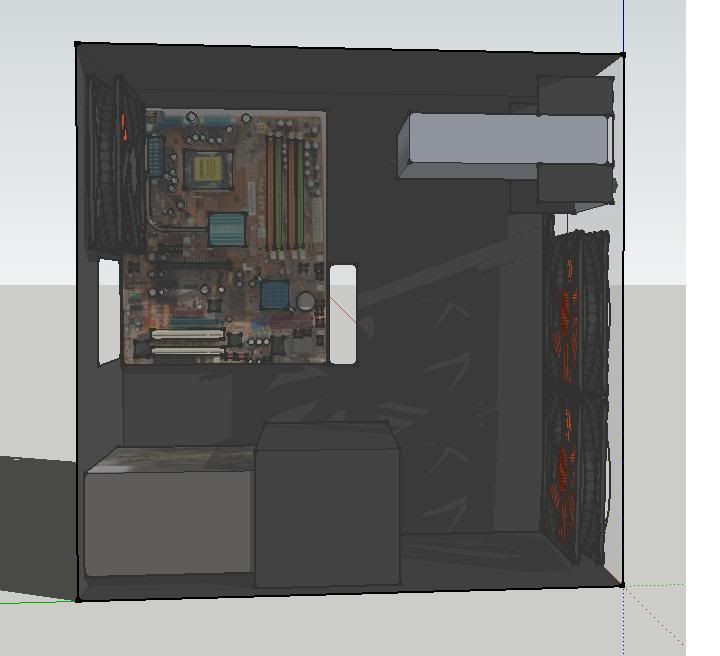
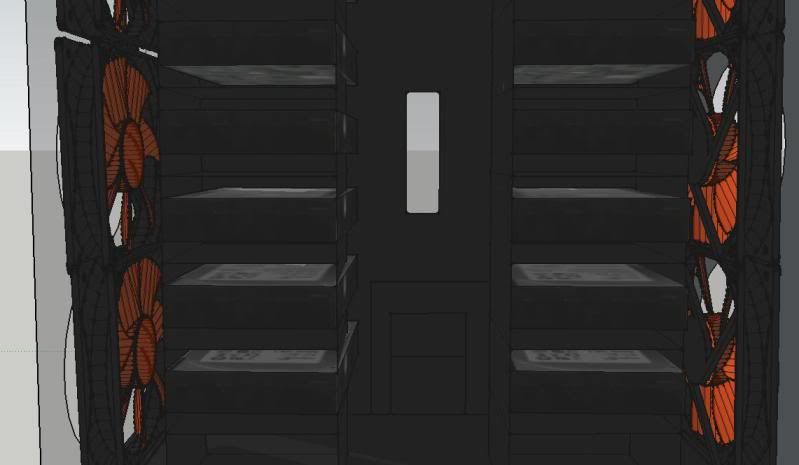

The Case

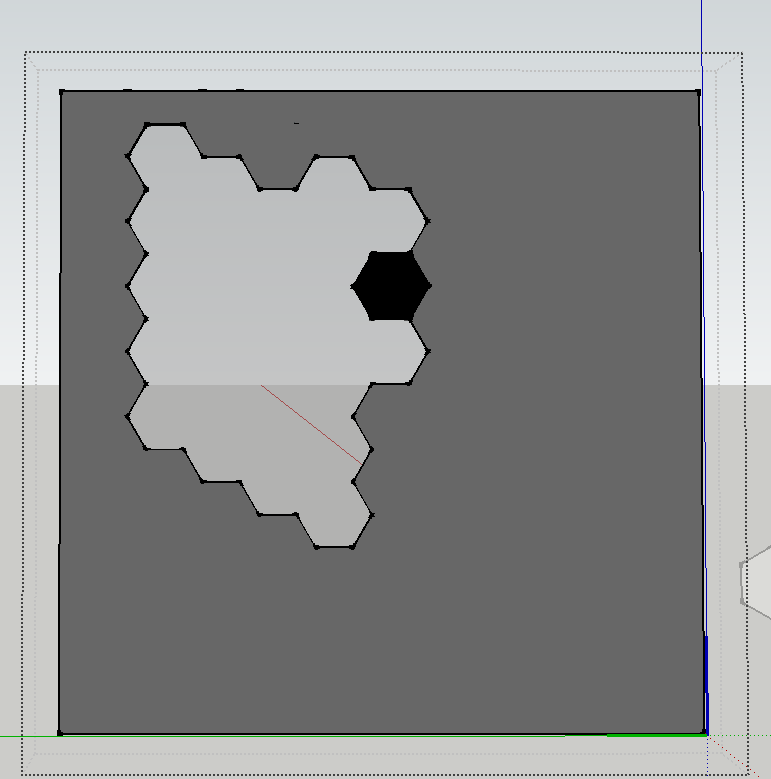
Here are my original Sketchup designs.
Server1-1.jpg

Server2-1.jpg

Server3-1.jpg

Server4-1.jpg

Server5.jpg


Updates:
Update #1: Received Mobo and Plexi Sizes
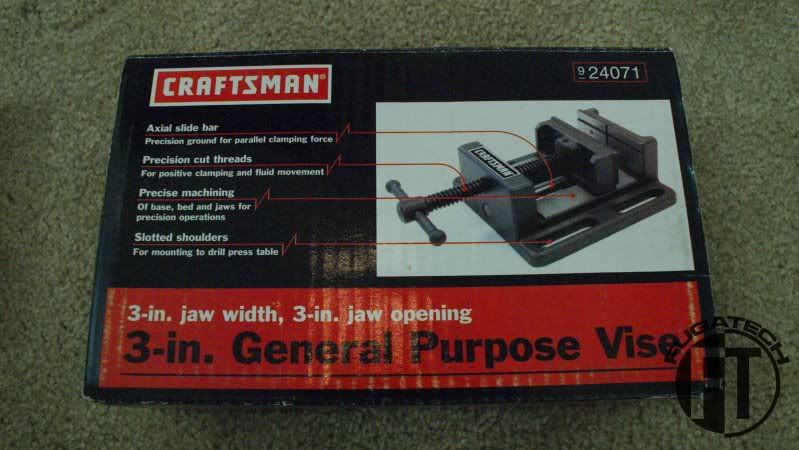
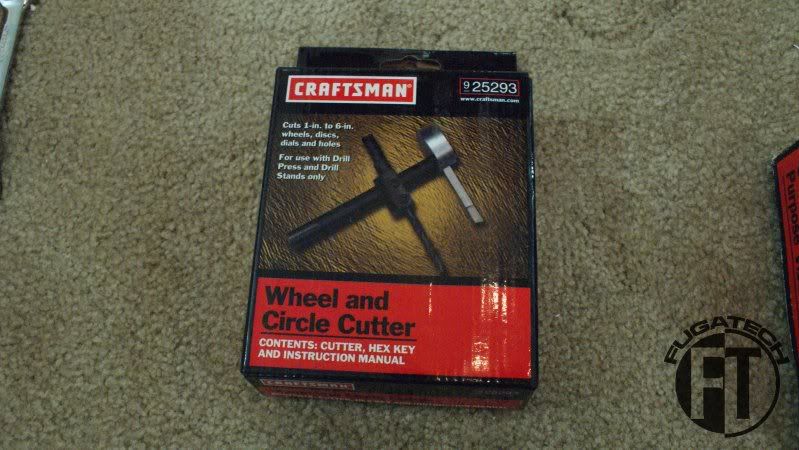
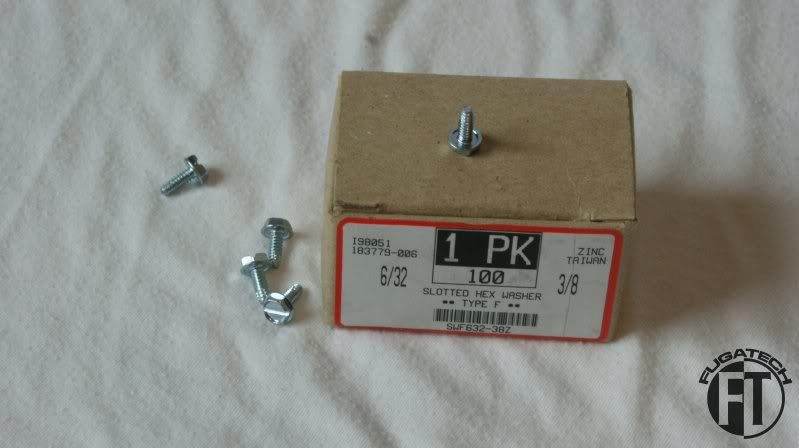
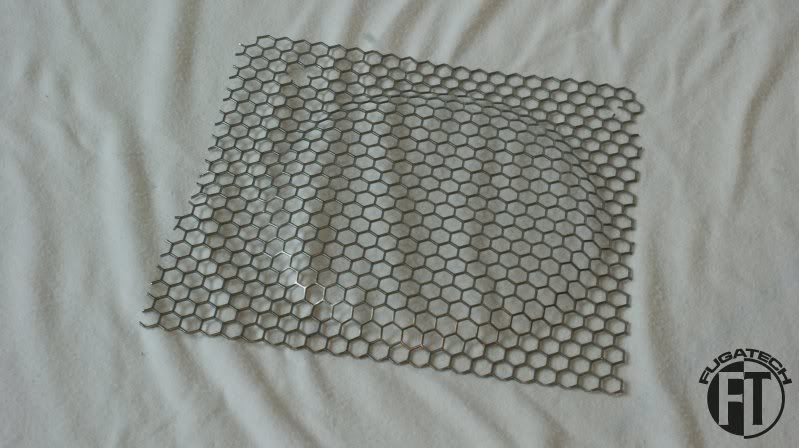
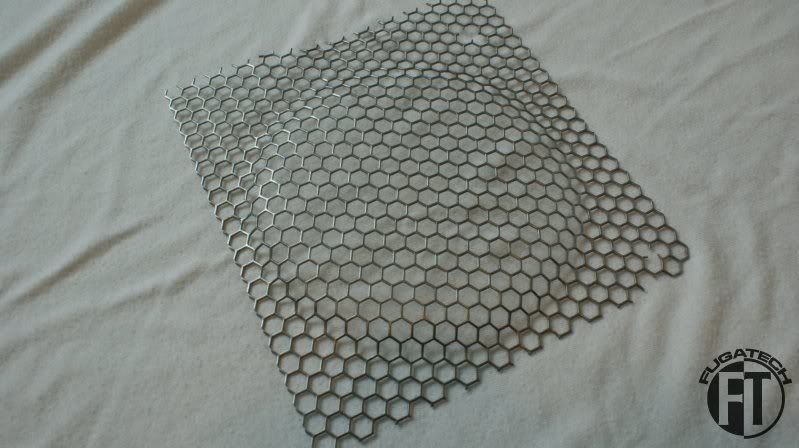
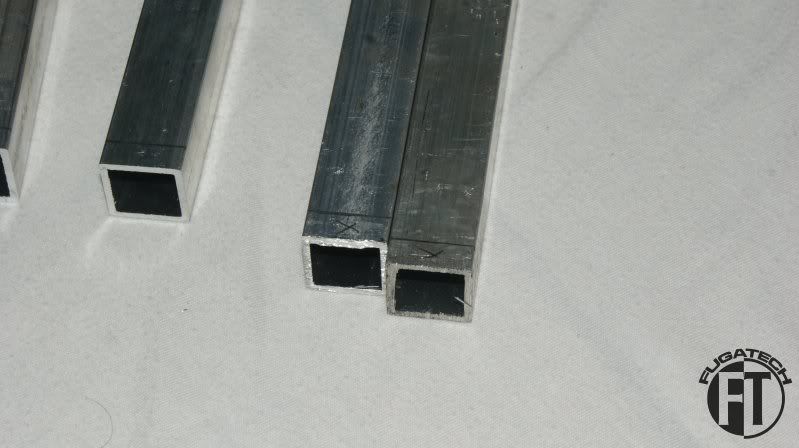
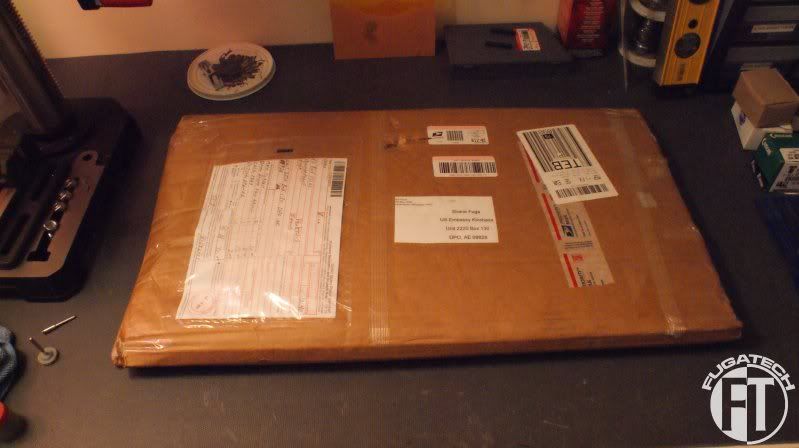
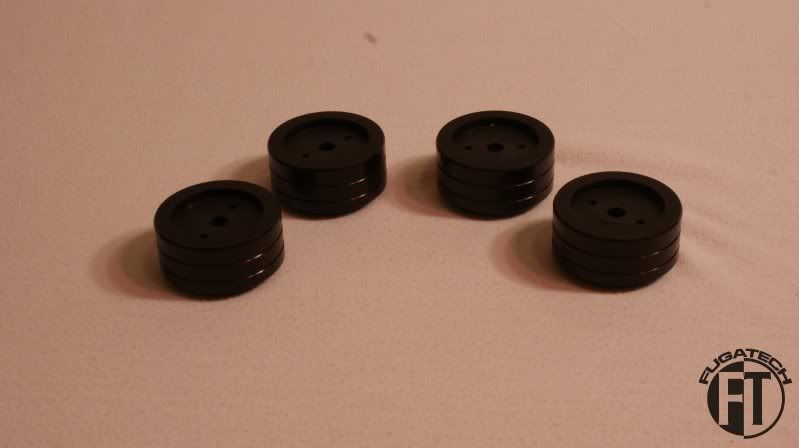
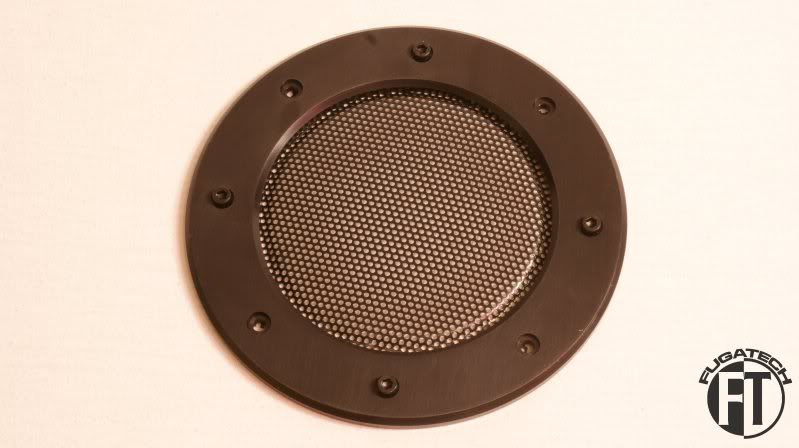
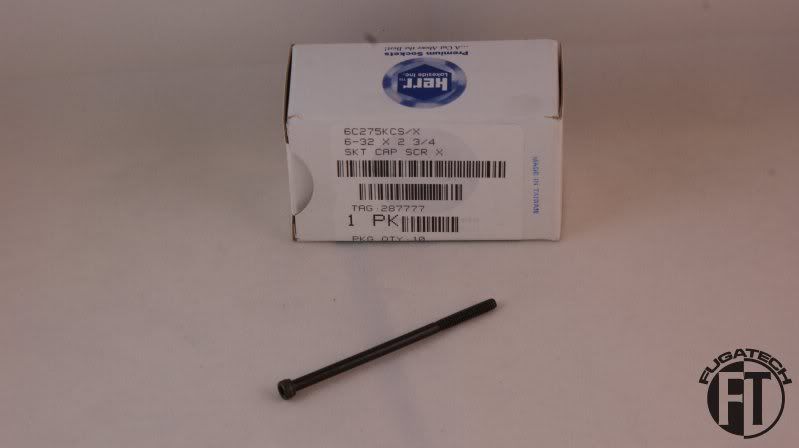
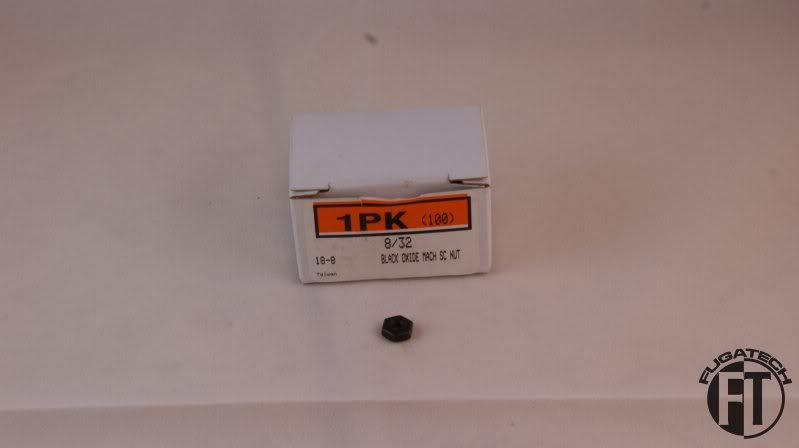
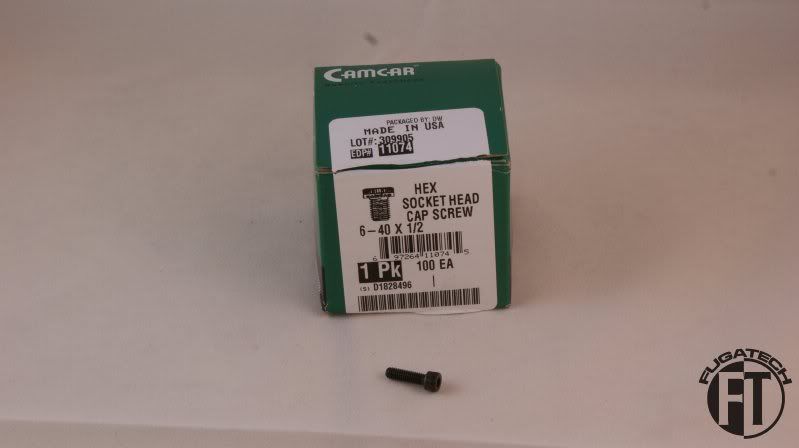
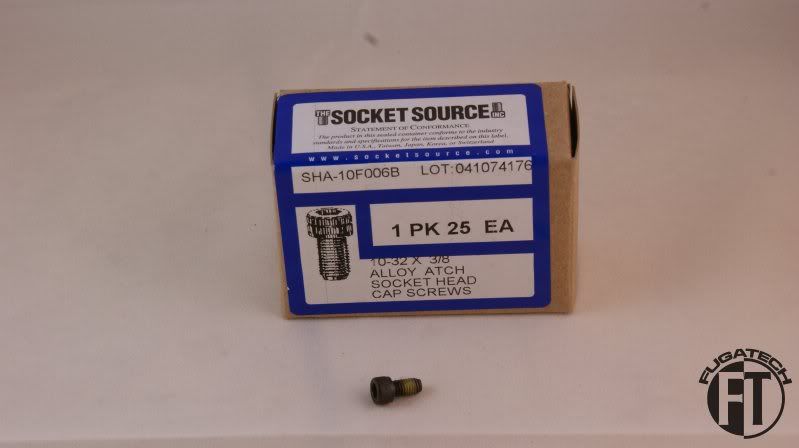
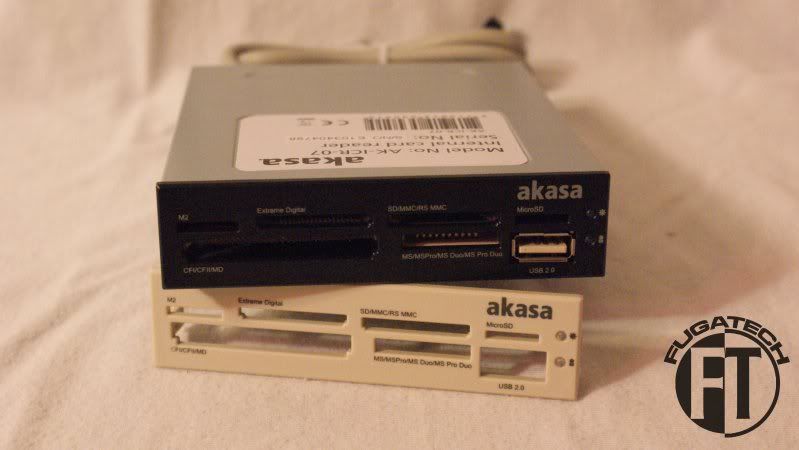
Update #2: Received more parts
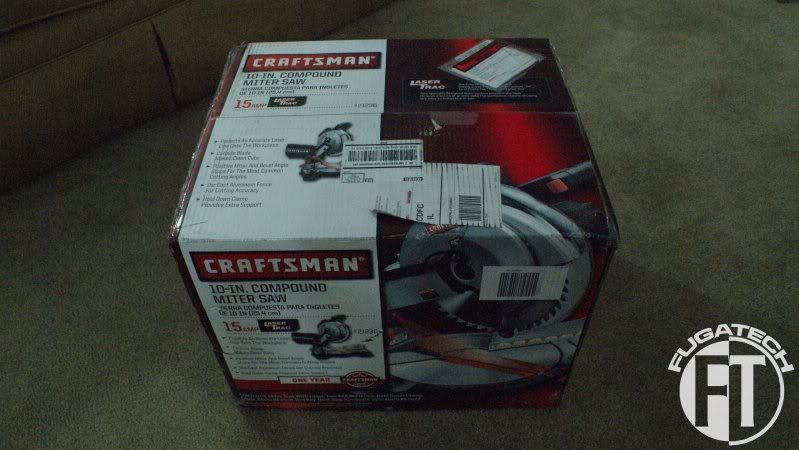
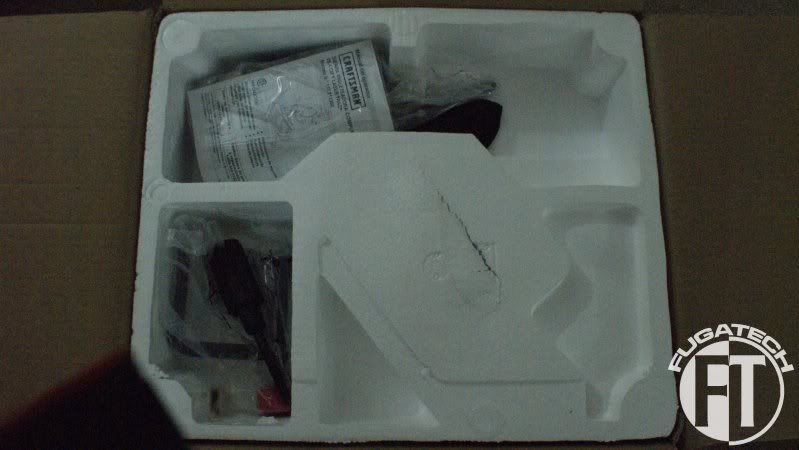
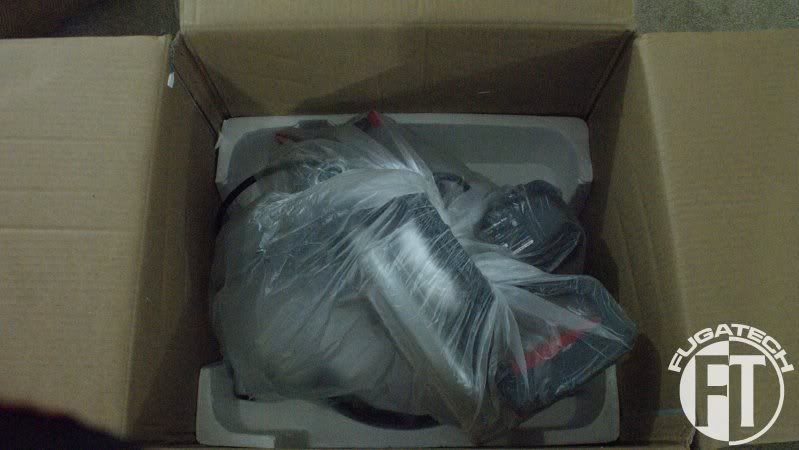
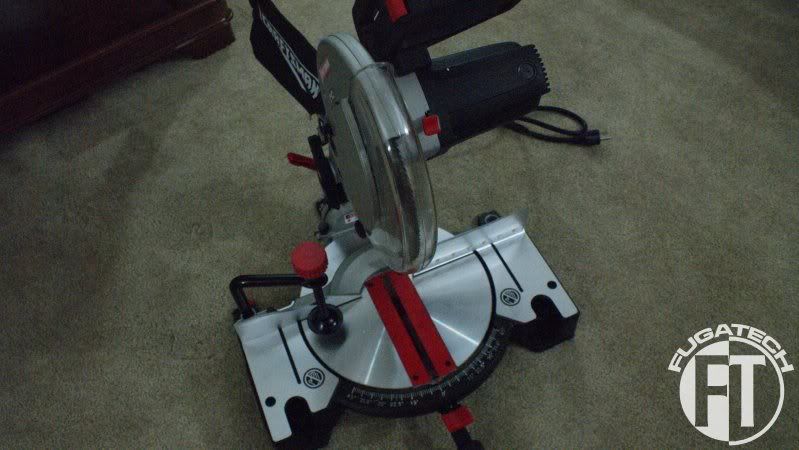
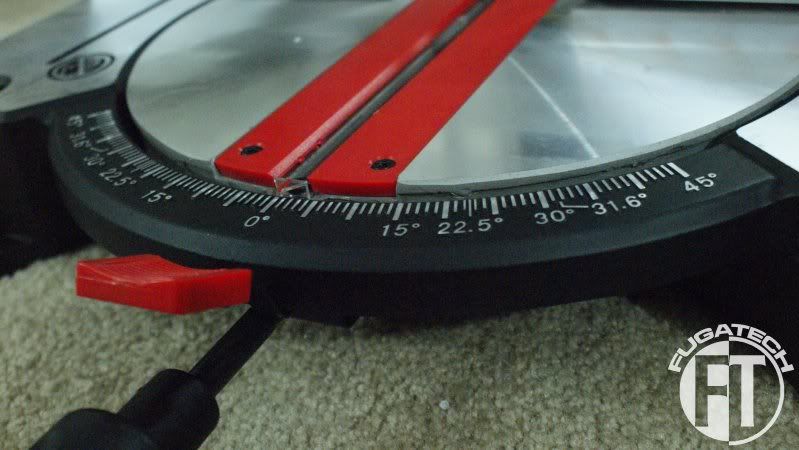
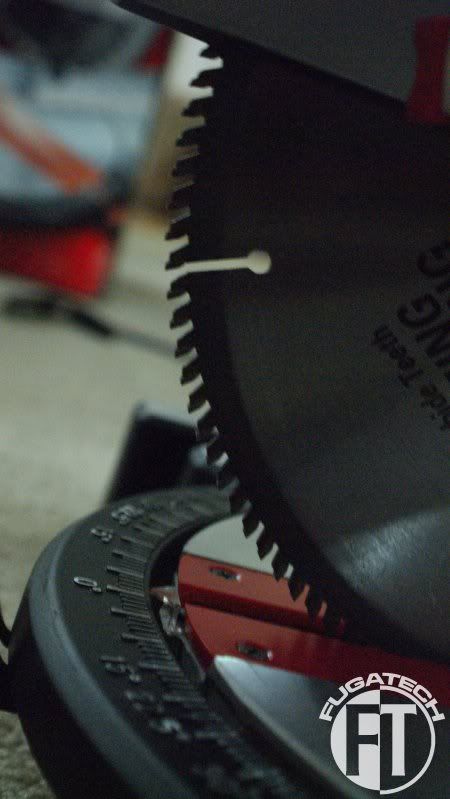
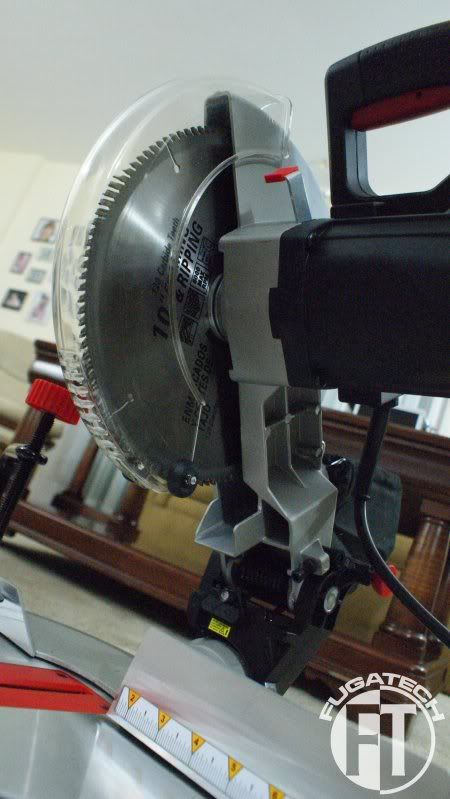
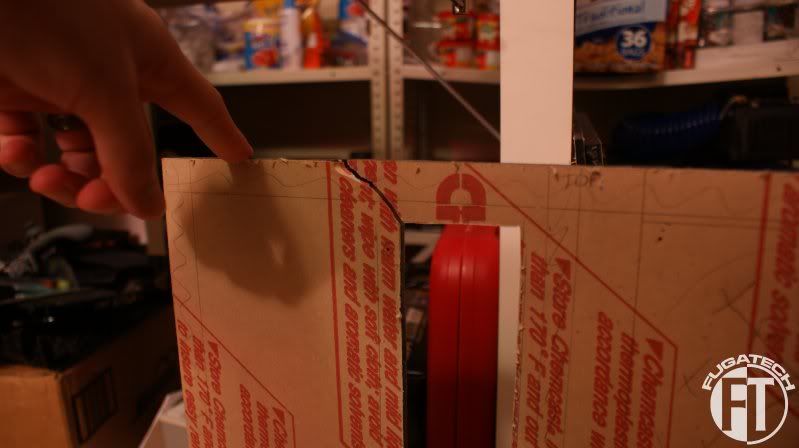
Update #3: The Saw
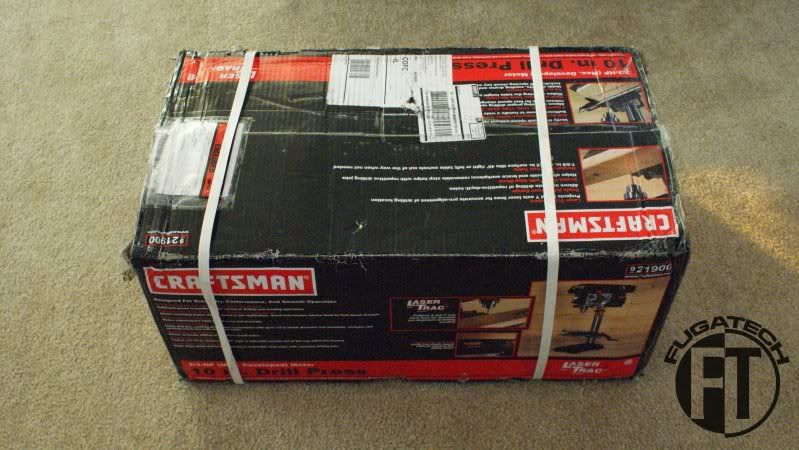
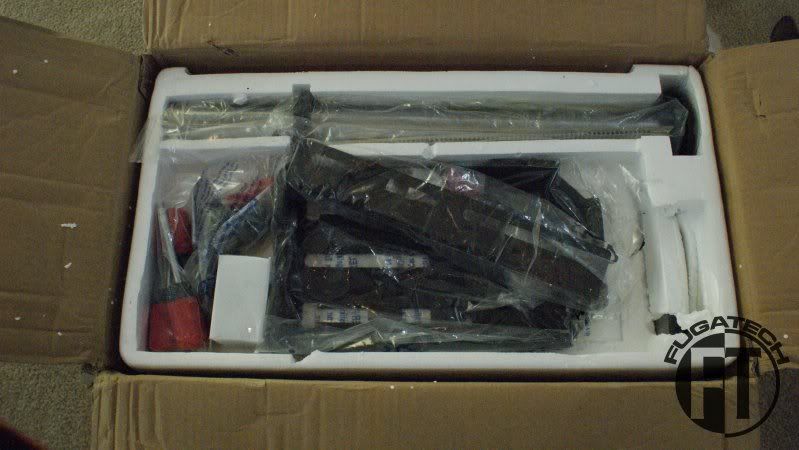
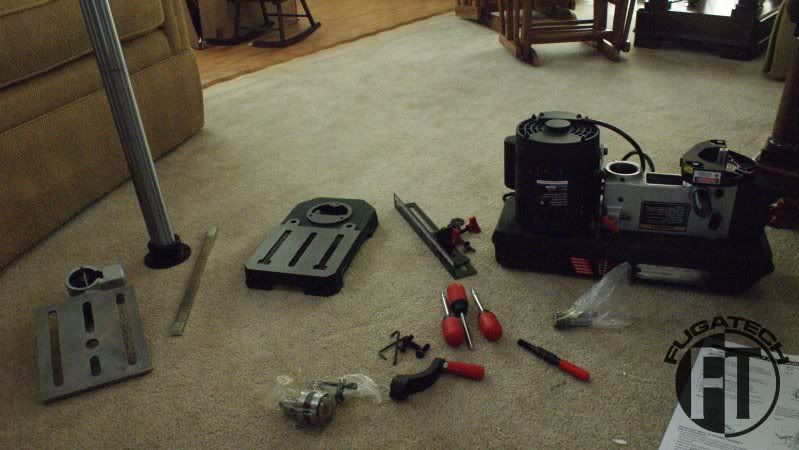
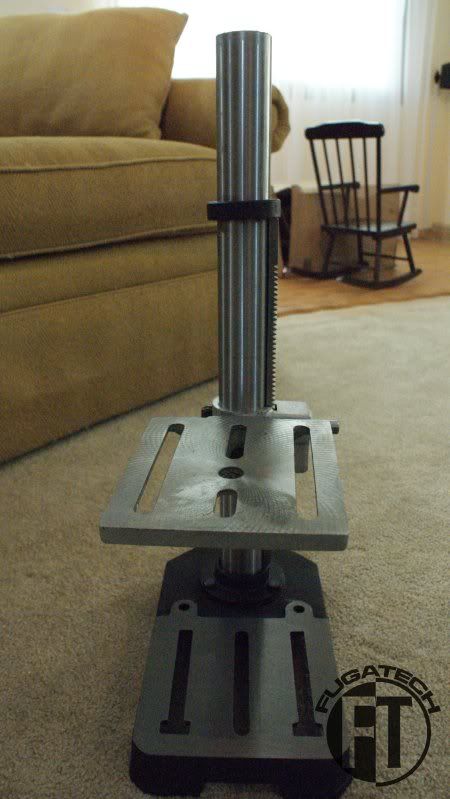
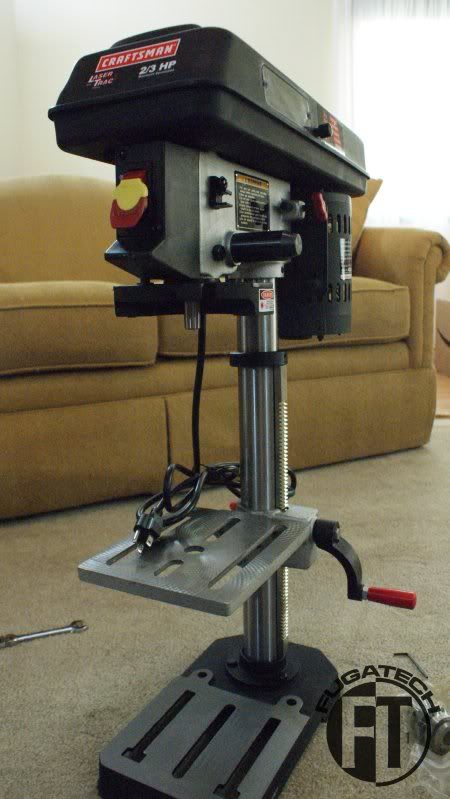
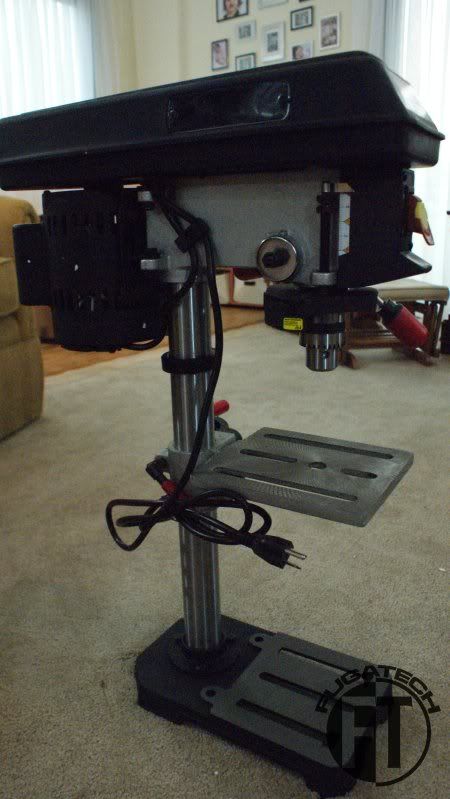
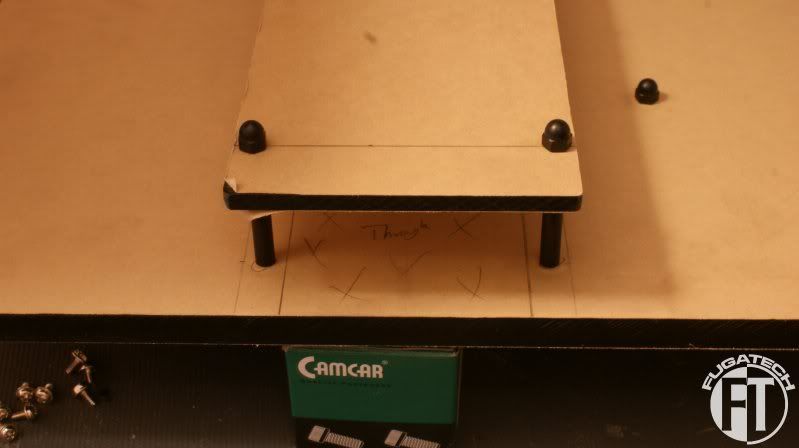
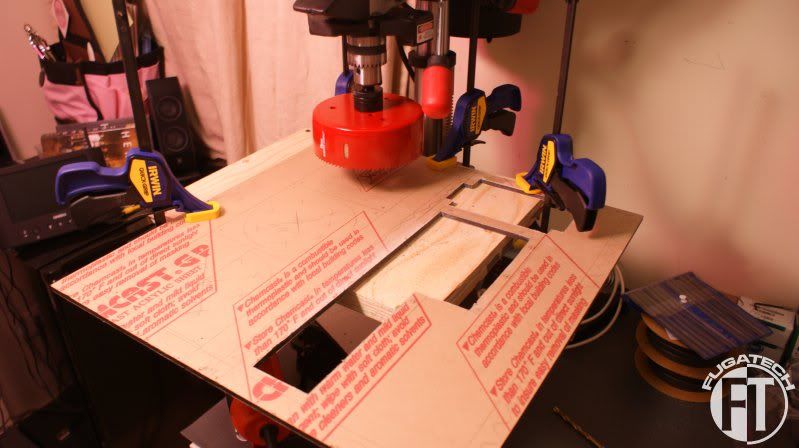
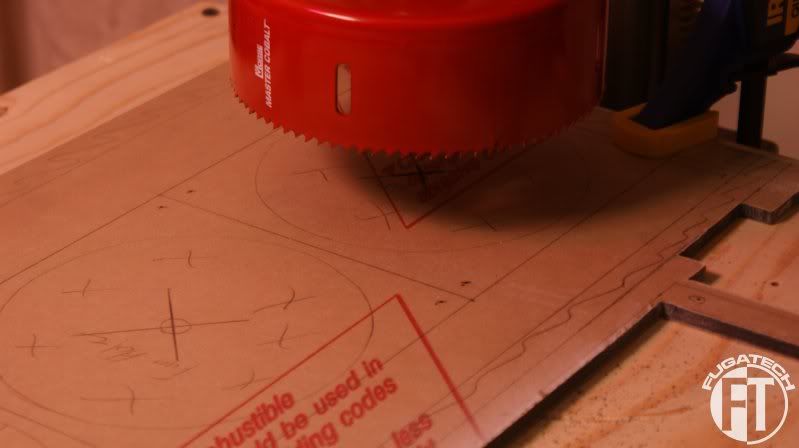
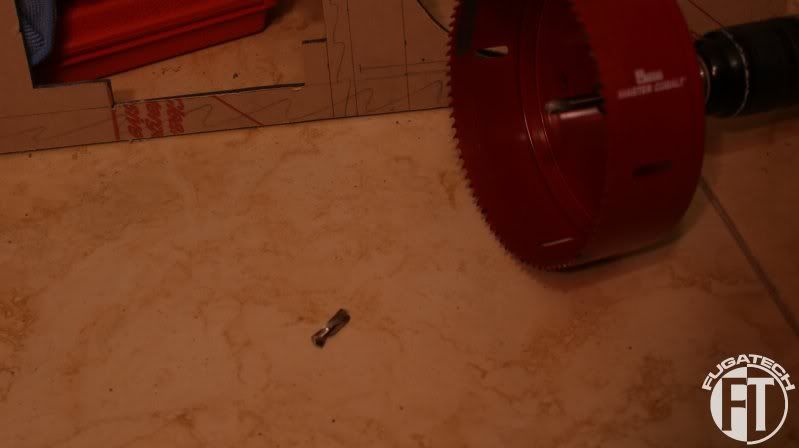
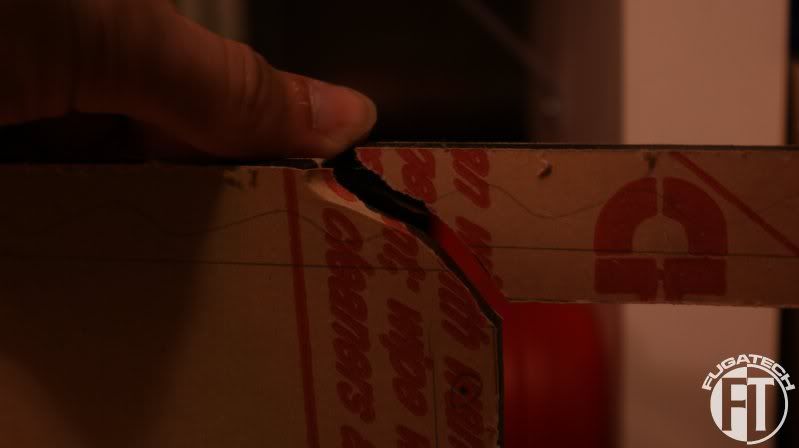
Update #4: Drill Press
UPdate #5: New Mobo Side Panel Design
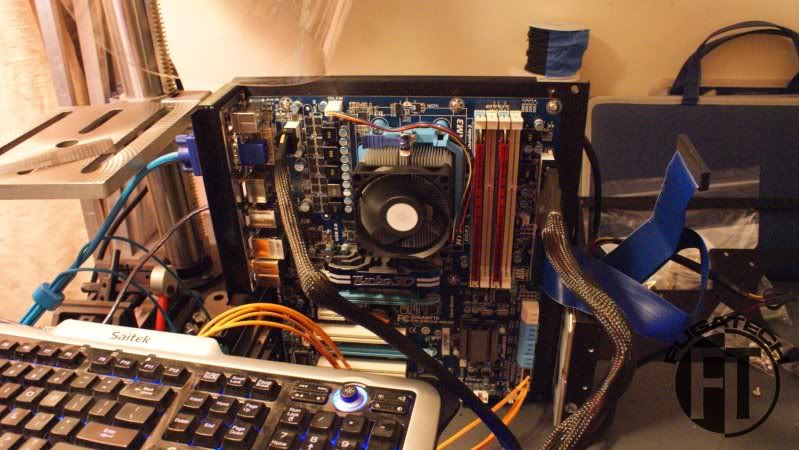
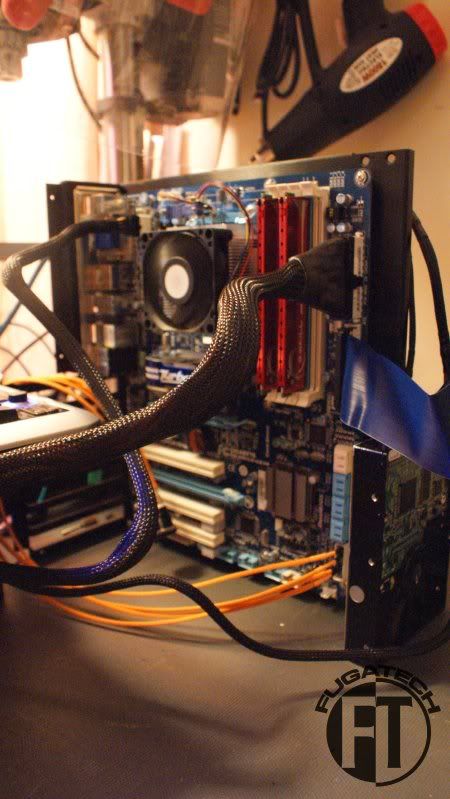
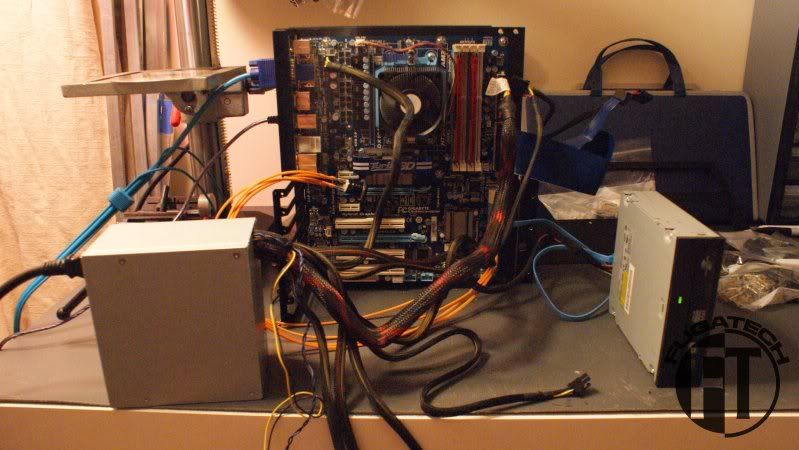
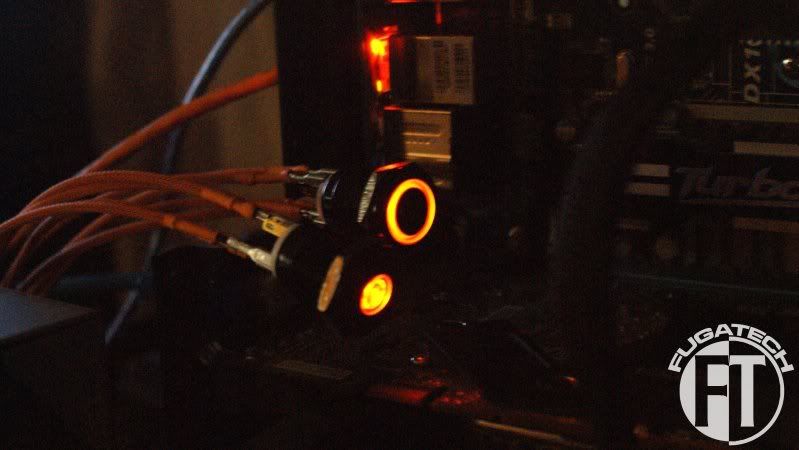
Update #6: Testing
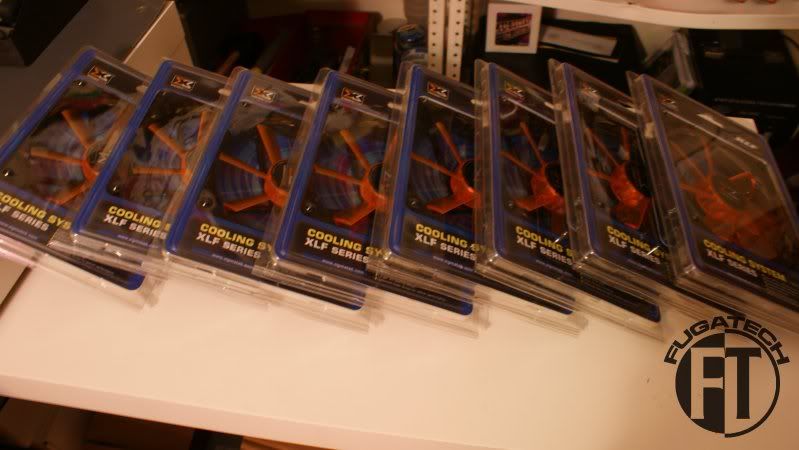
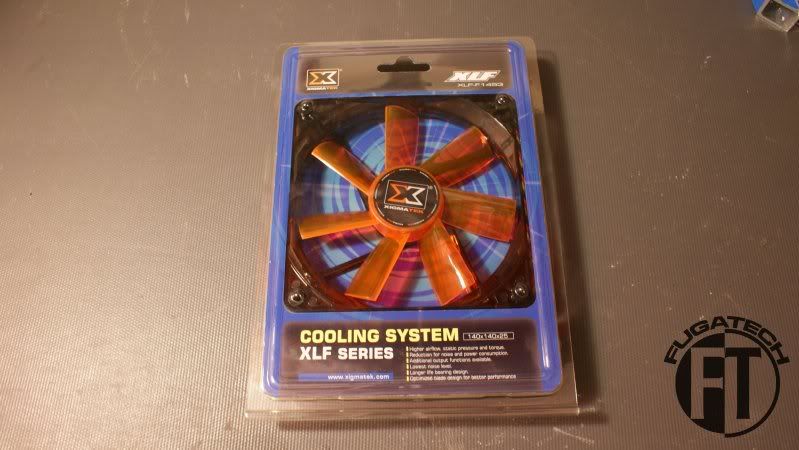
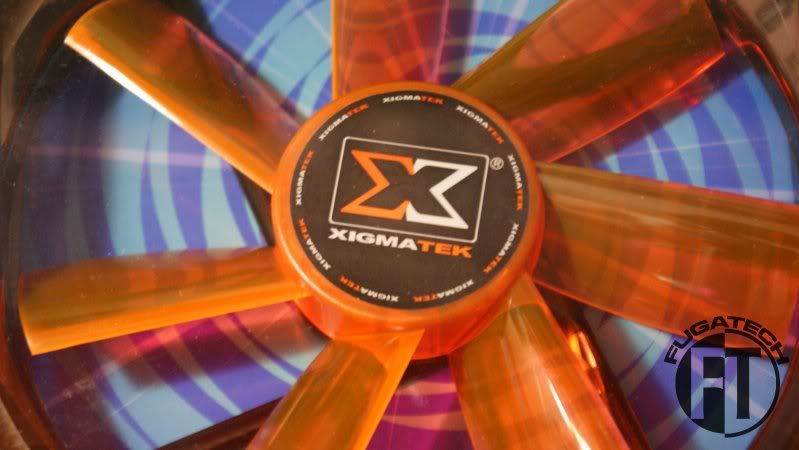
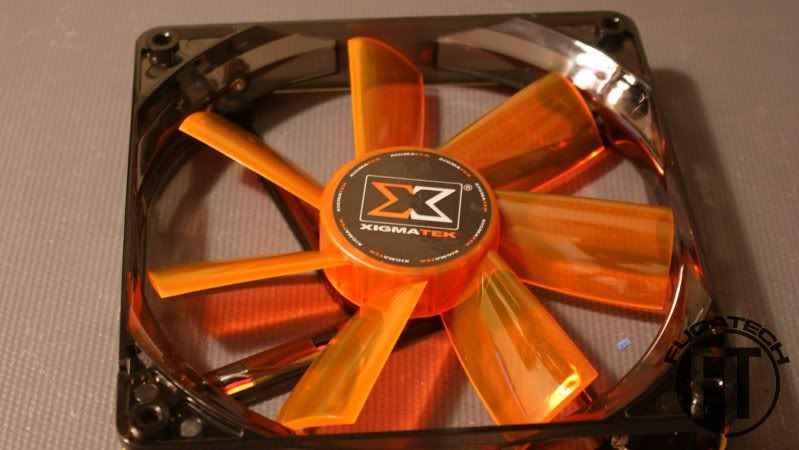
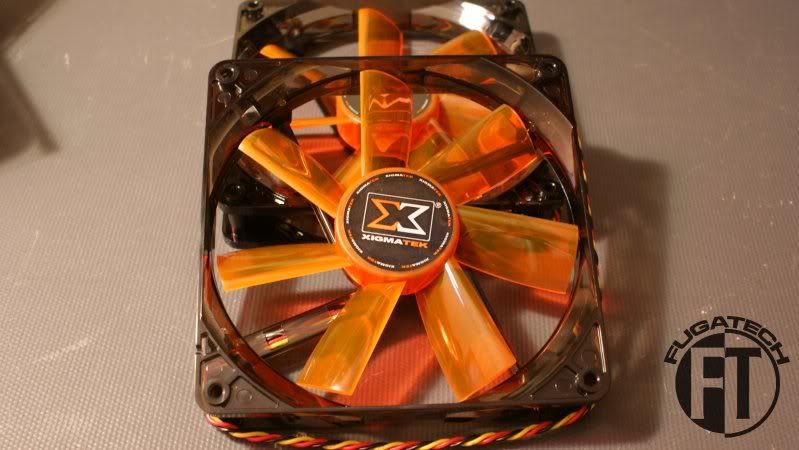
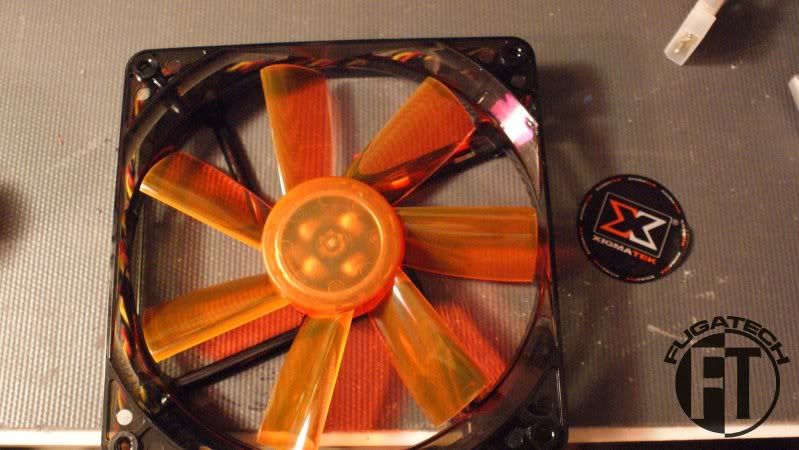
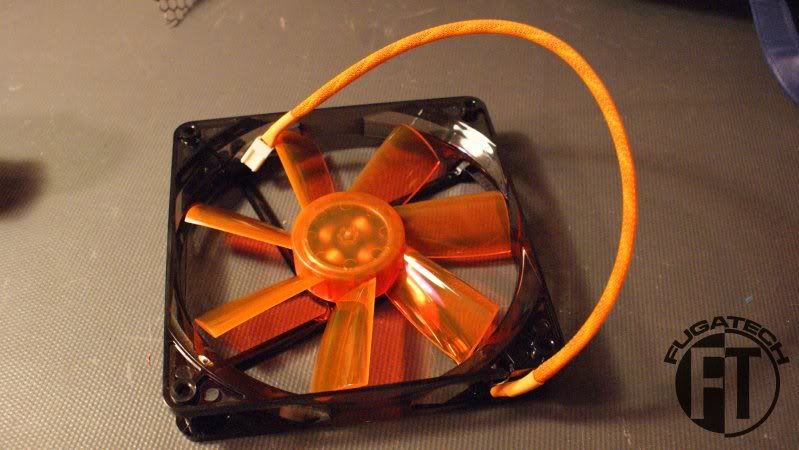
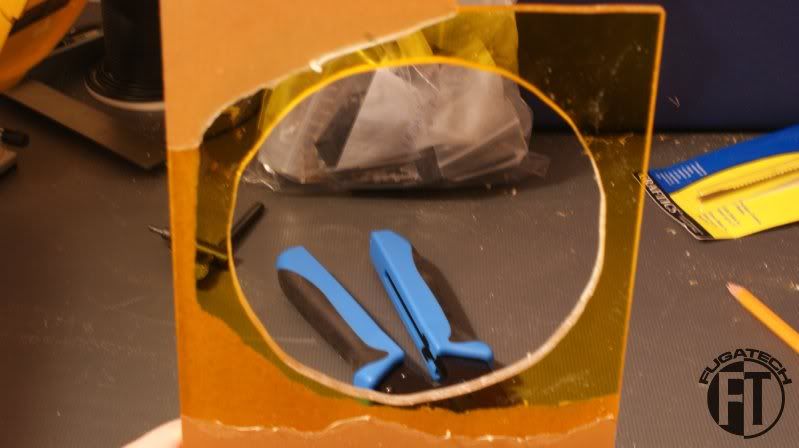
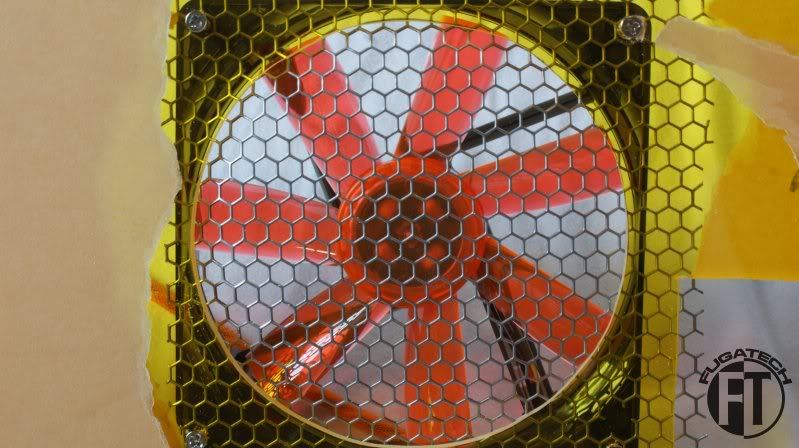
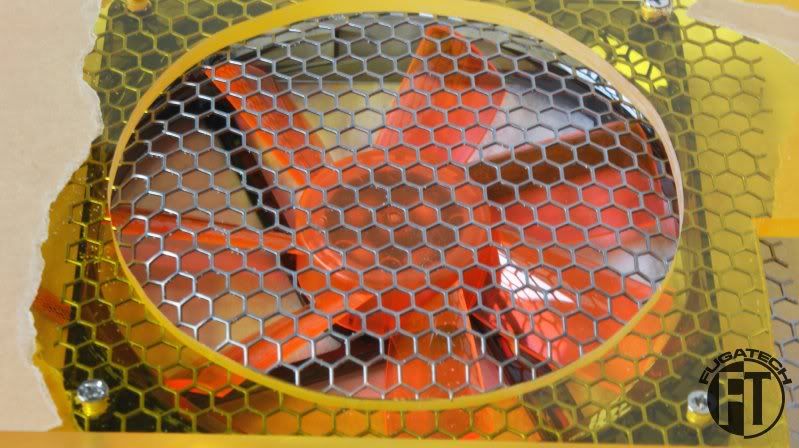
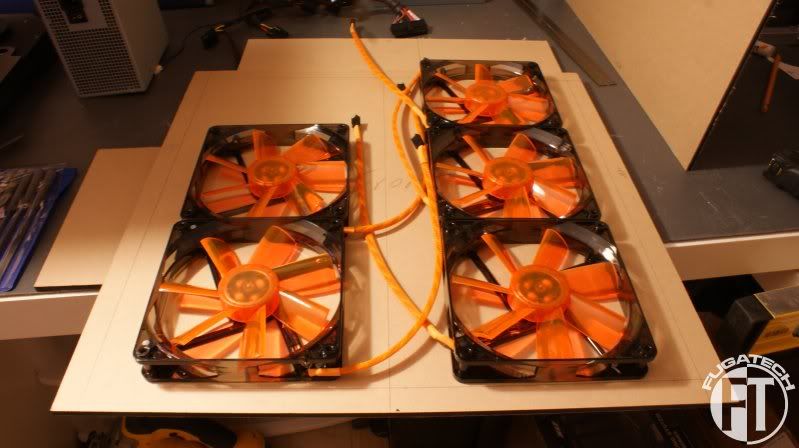
Update #7: Case Fans
Update #8: An Evening Designing
Update #9: MNPCTECH Sponsor
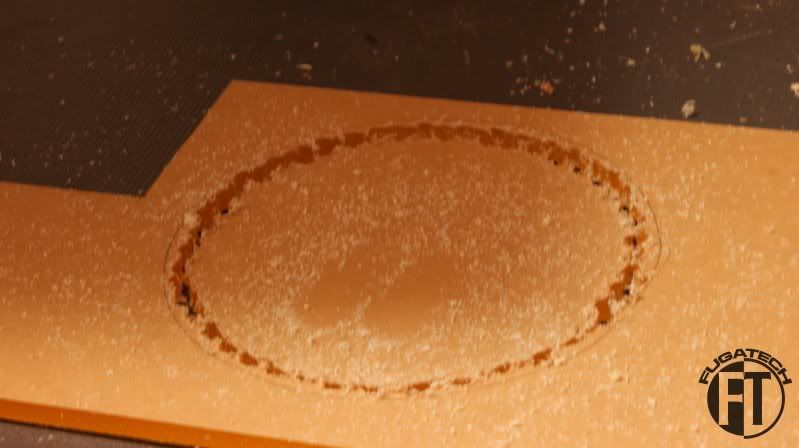
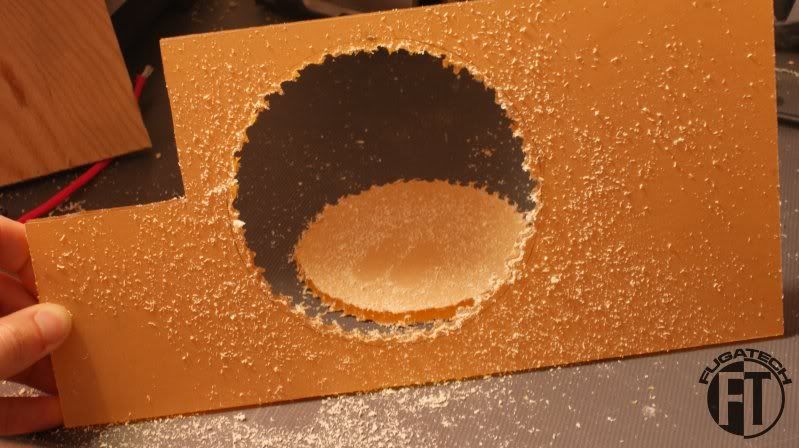
Update #10: Experimenting
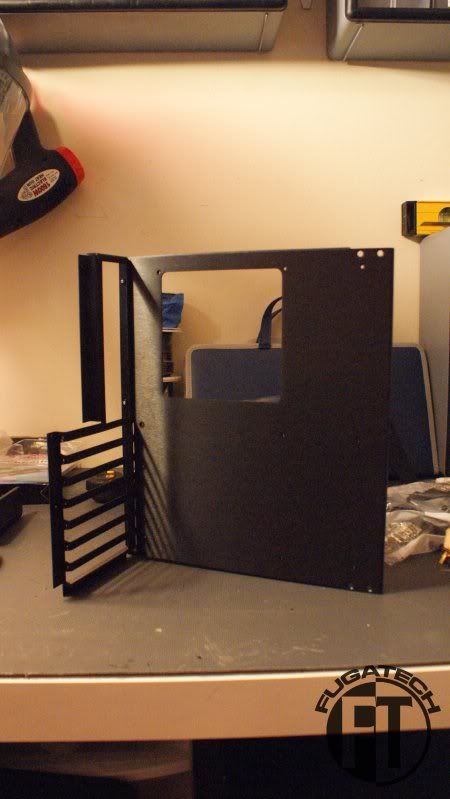
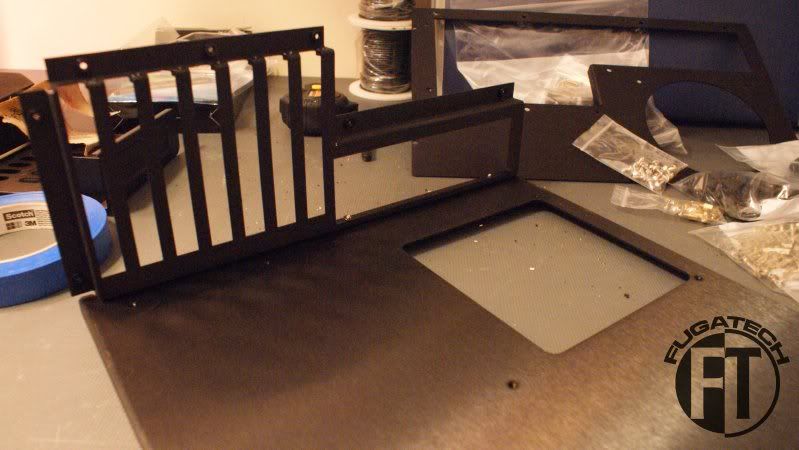
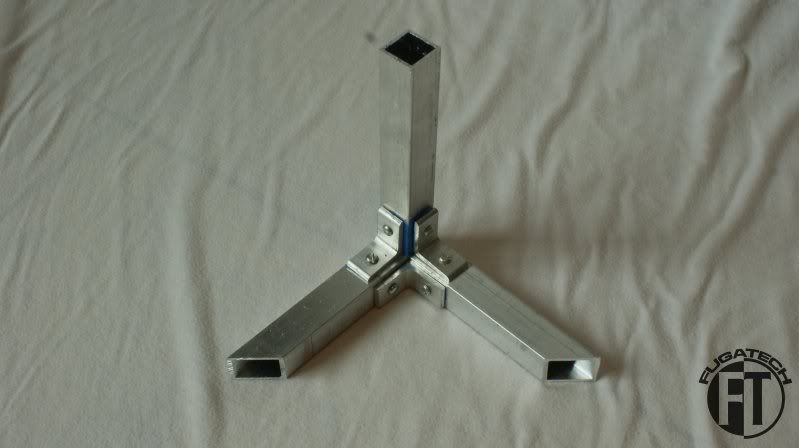
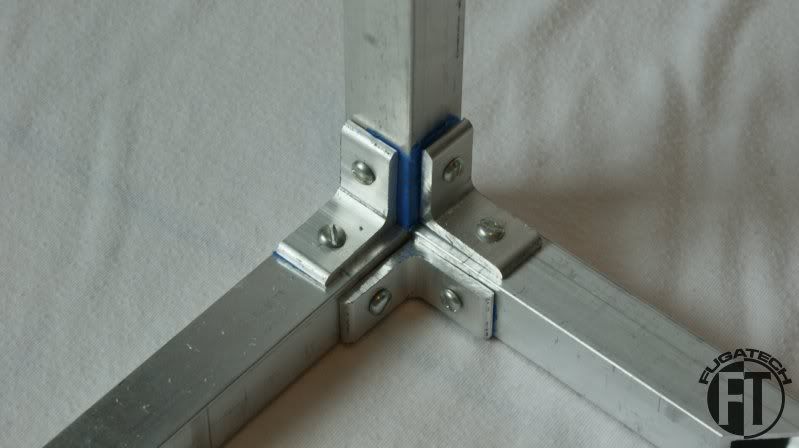
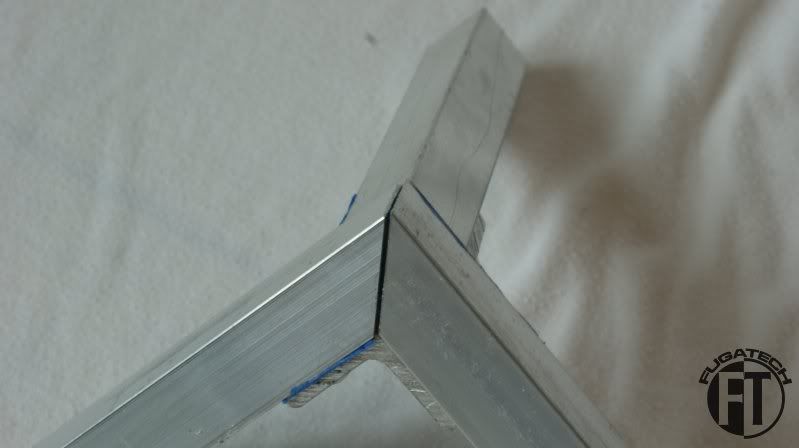
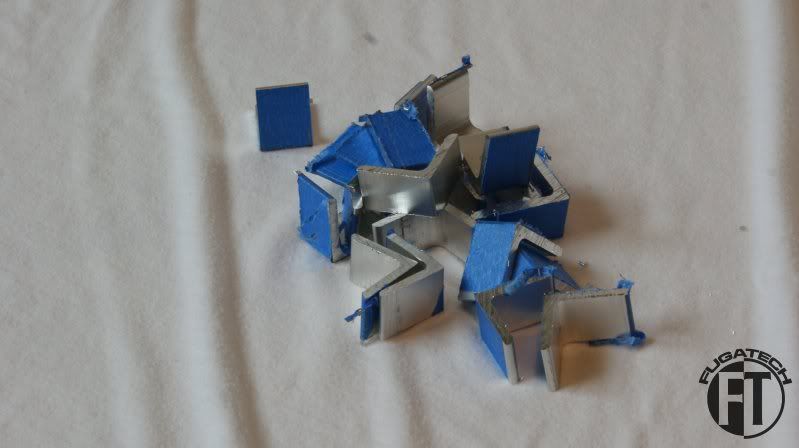
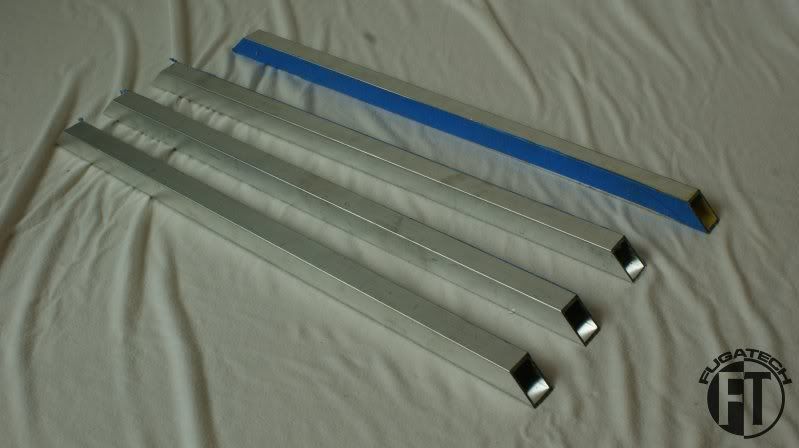
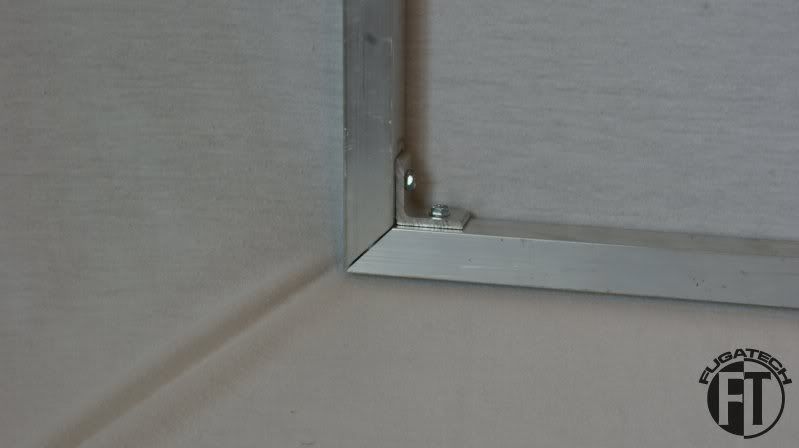
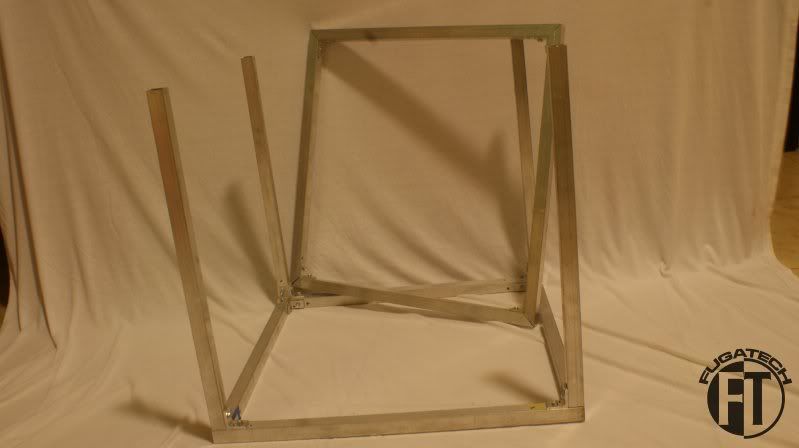
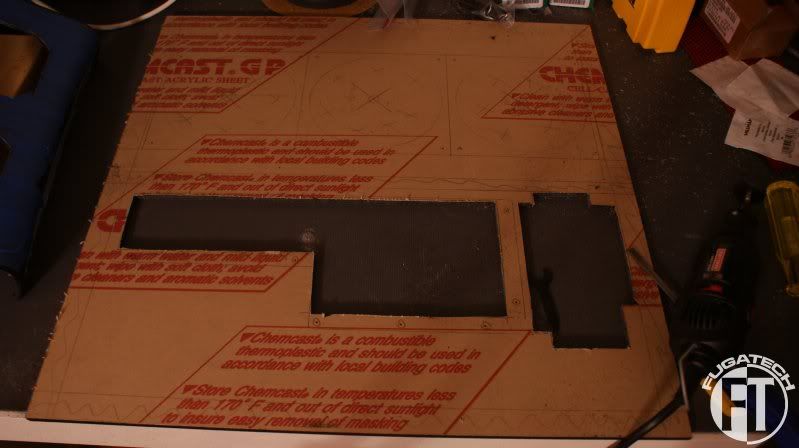
Update #11: Fabricating
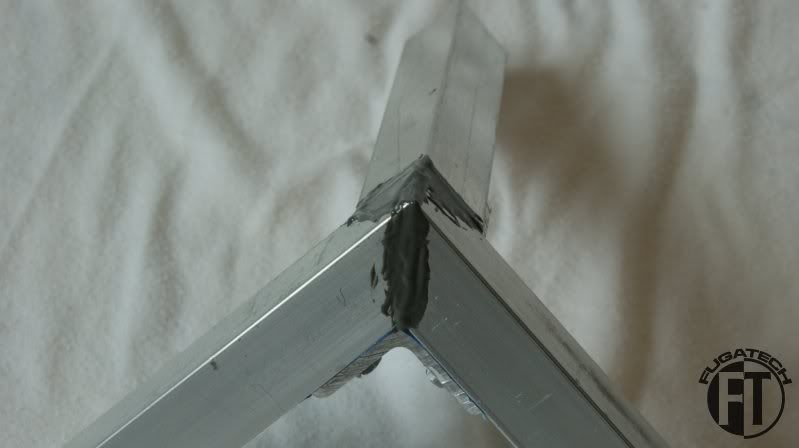
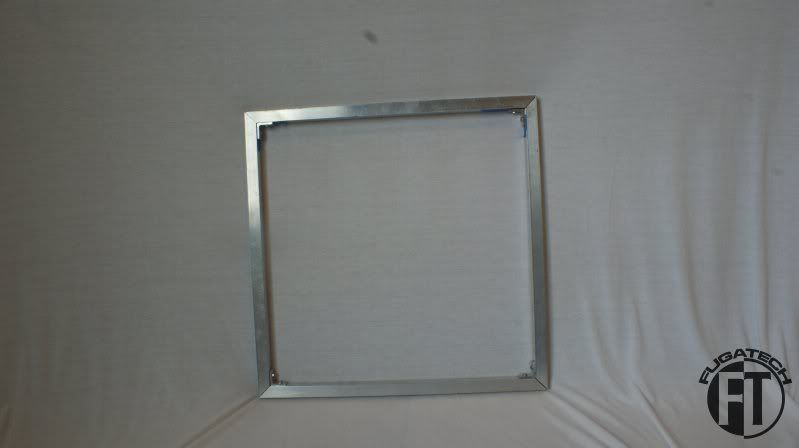
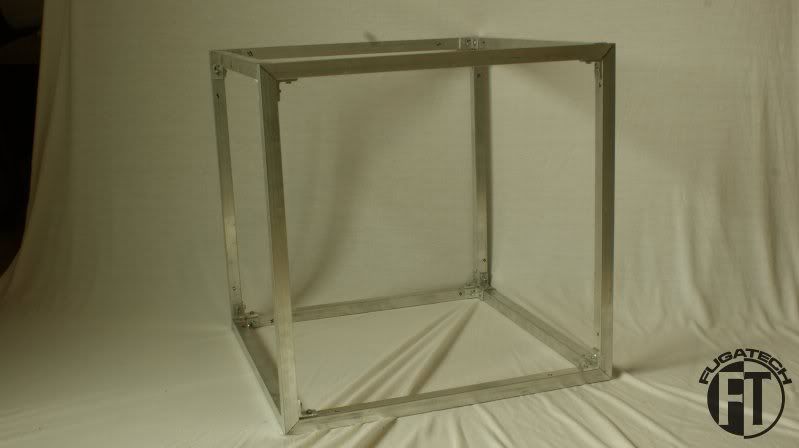
Update #12: Finishing the Frame
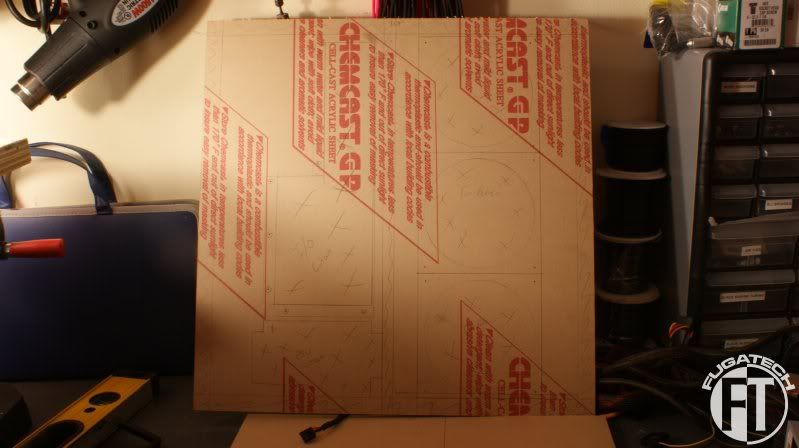
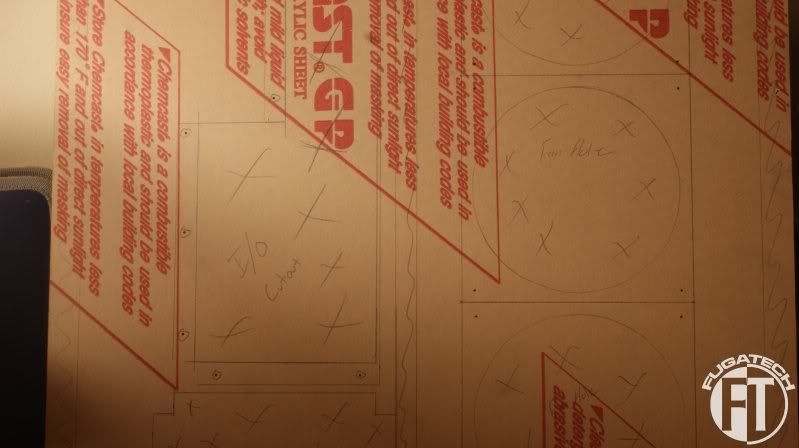
Update #13: Plexi Work
Update #14: Lamptron Sponsor
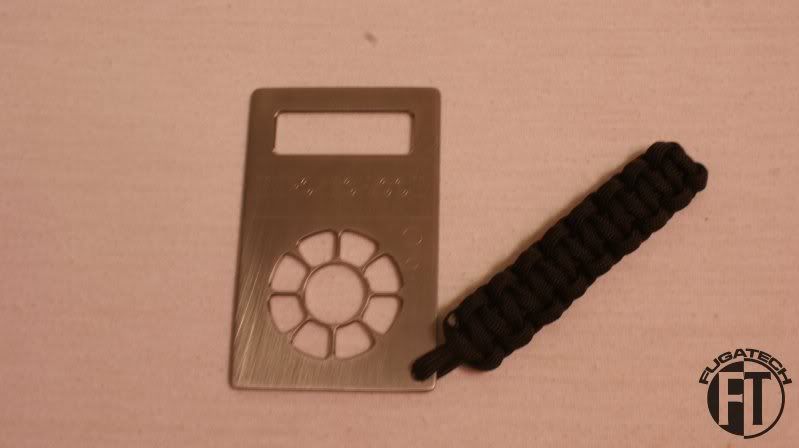
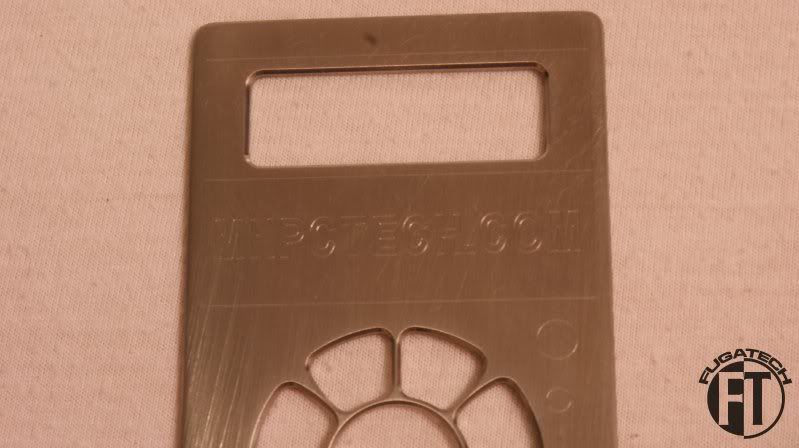
Update #15: MNPCTECH Goodies
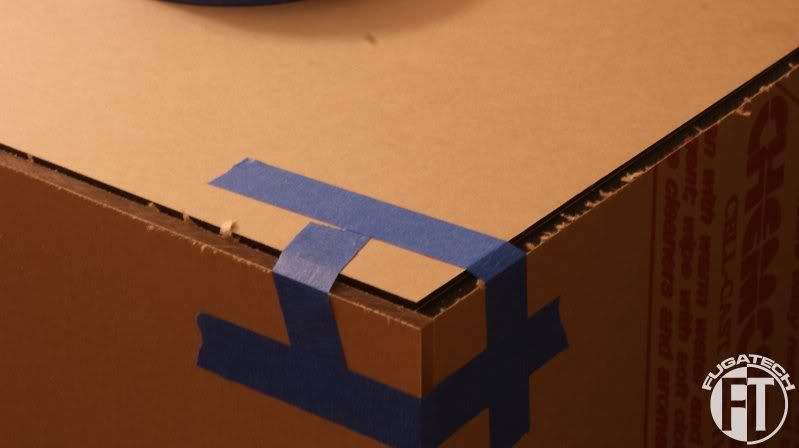
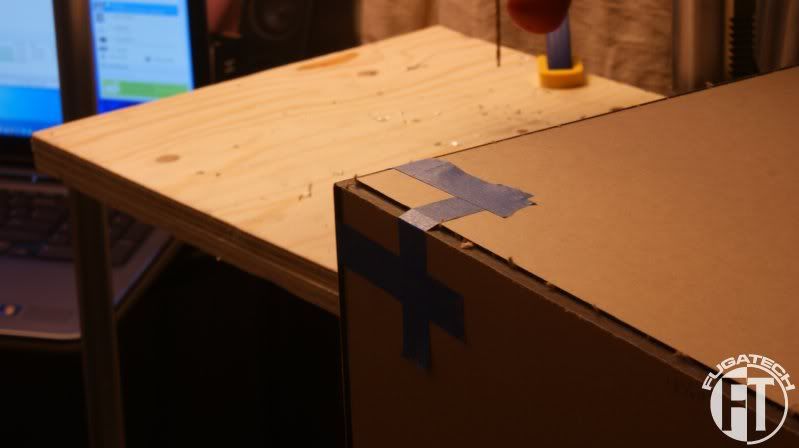
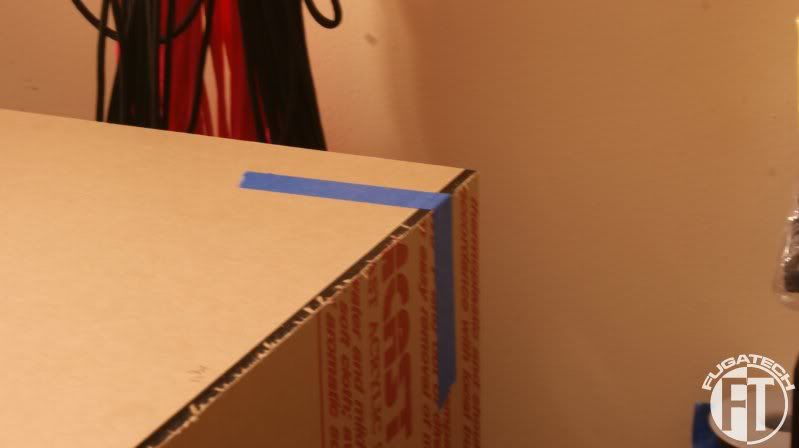
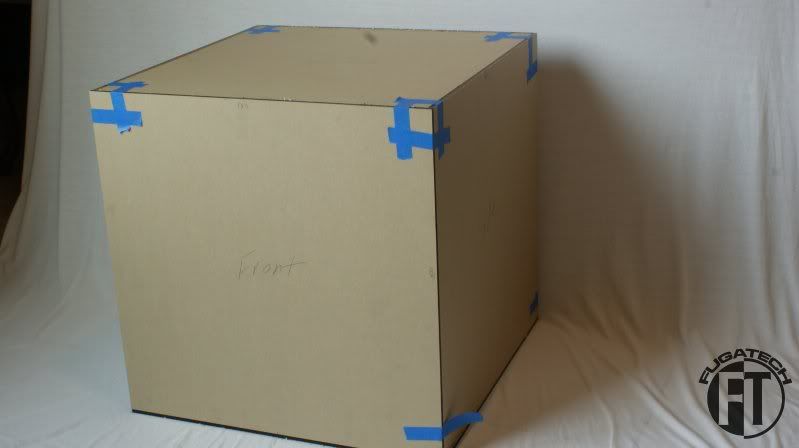
Update #16: How I Keep it Together
Update #17: EK Waterblocks Sponsor
Update #18: Woe Is Me
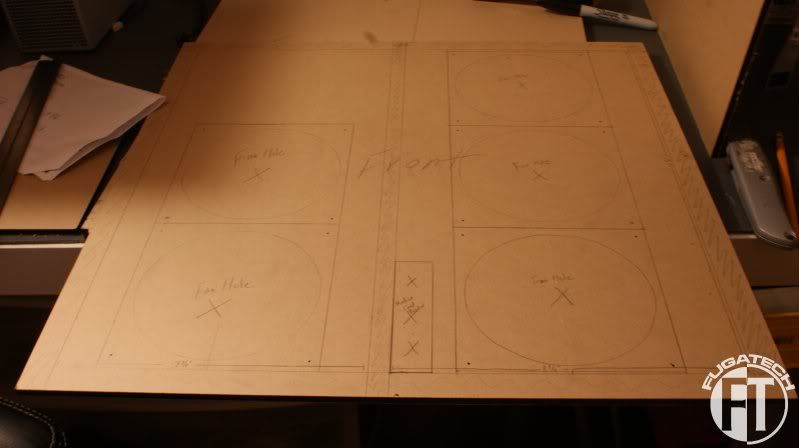
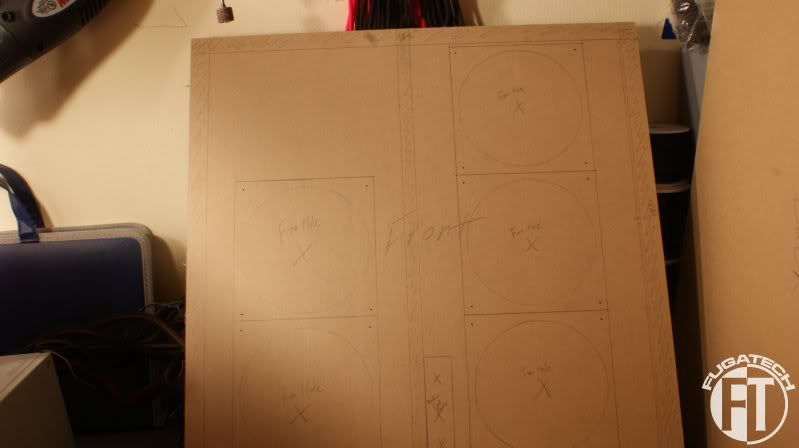
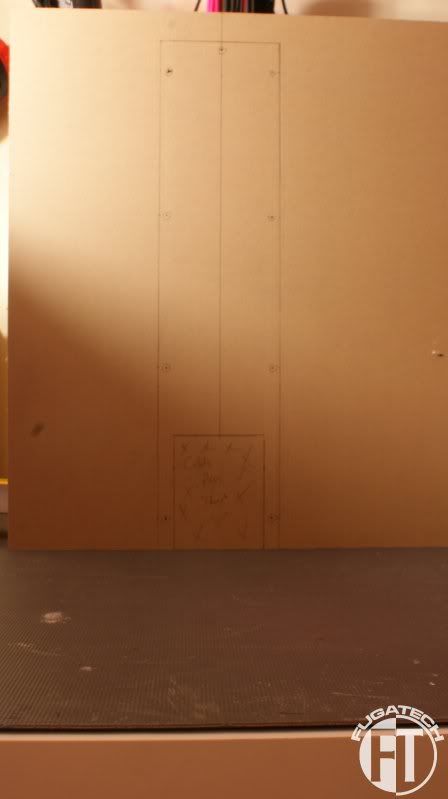
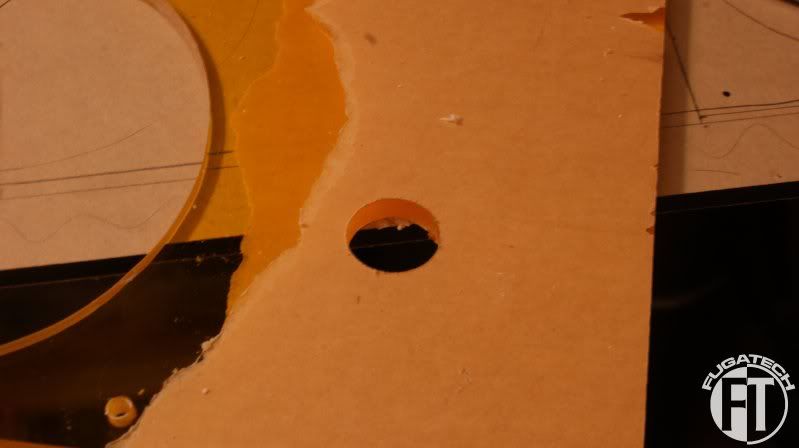
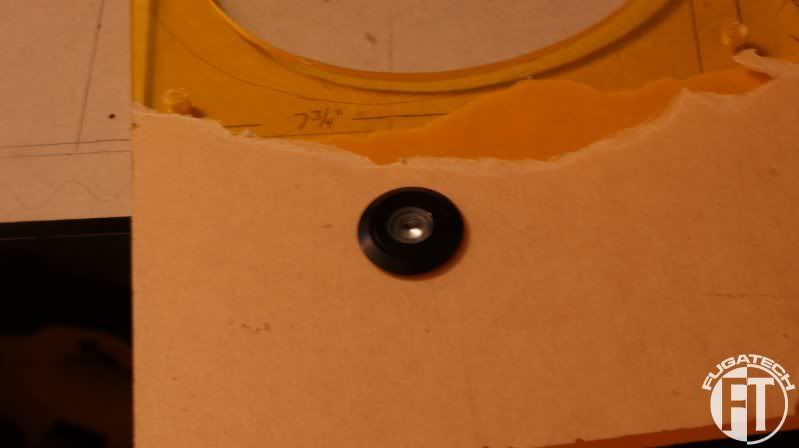
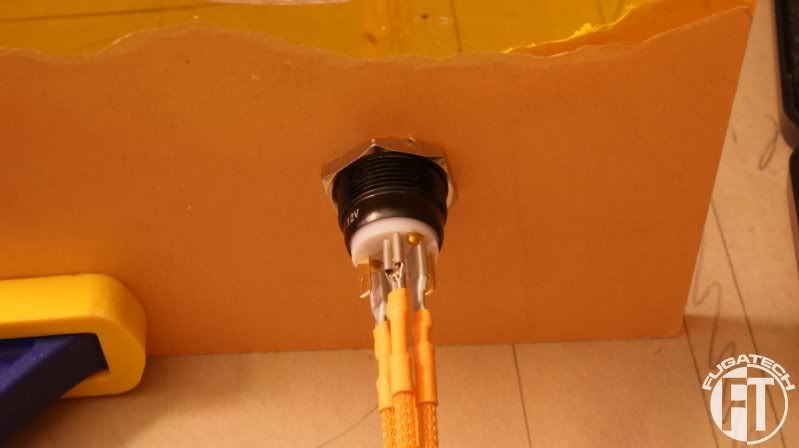
Update #19: Front Panel
Update #20: Lamptron Goodies
Update #21: Media Card Reader Cutout
Update #22: Coming Together and Side Panel Design
Update #23: Cutting the Mobo Side Panel
Update #24: Custom Waterblock and Cables
Update #25: EK Waterblocks Goodies
Update #26: Installing the Rad/Res
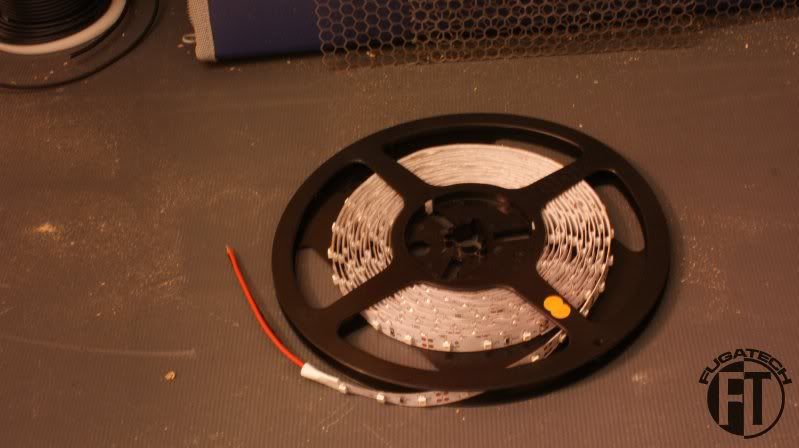
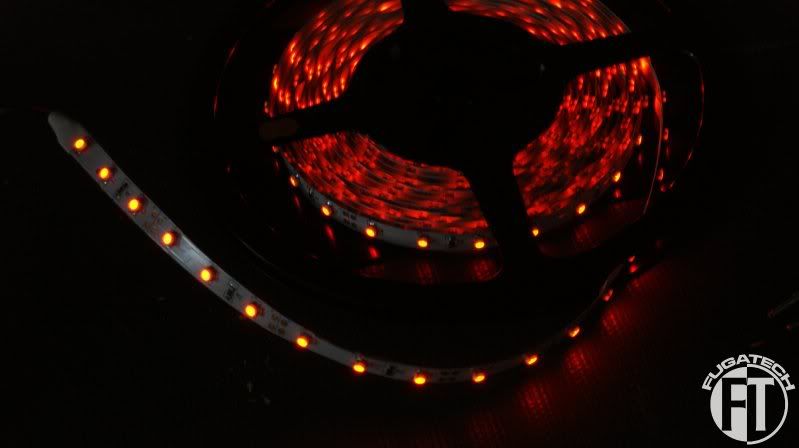
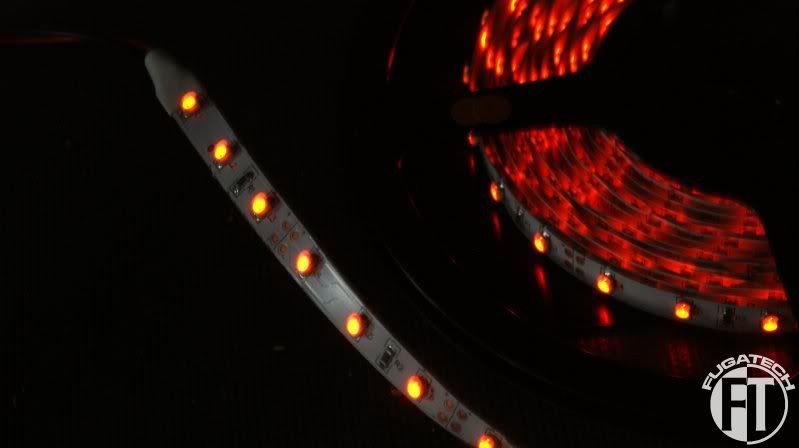
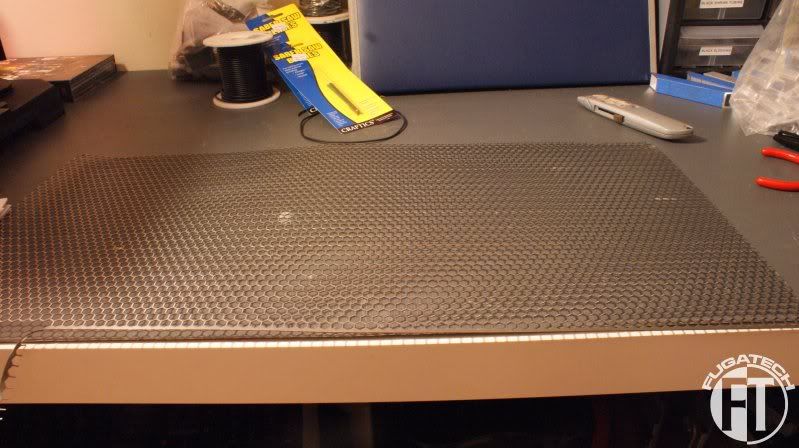
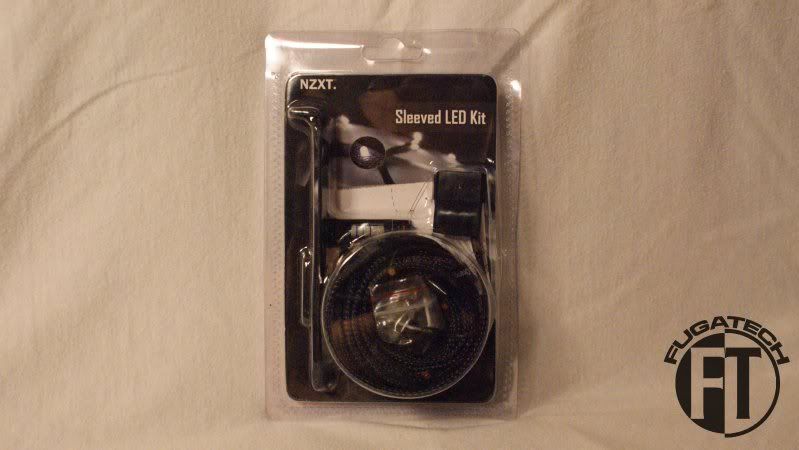
Update #27: Lighting
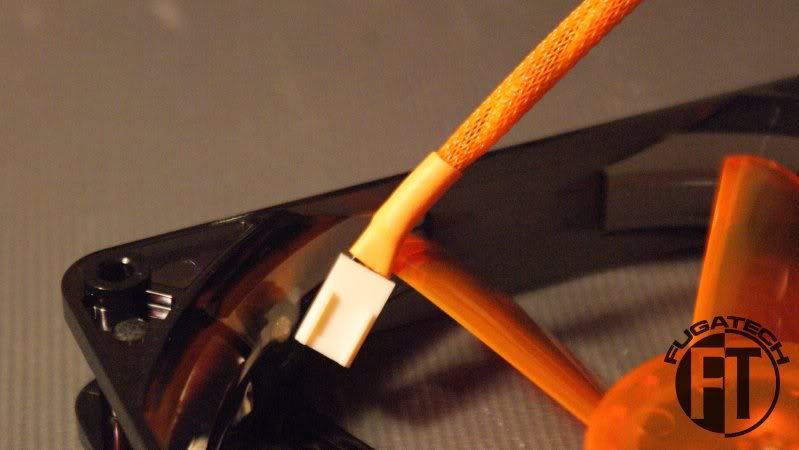
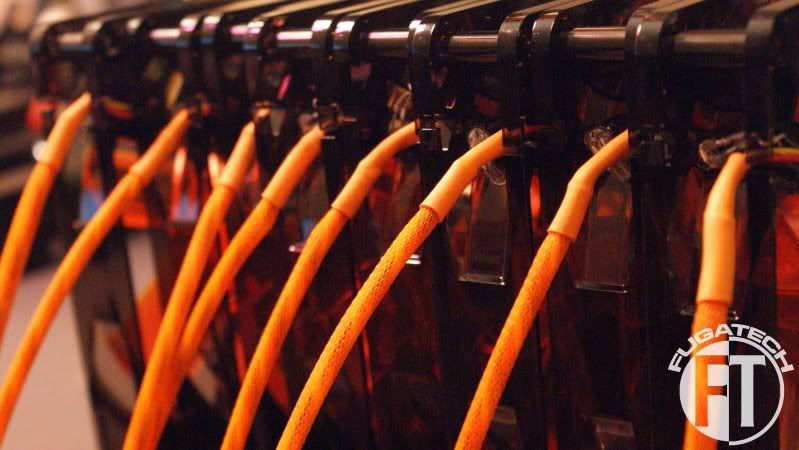
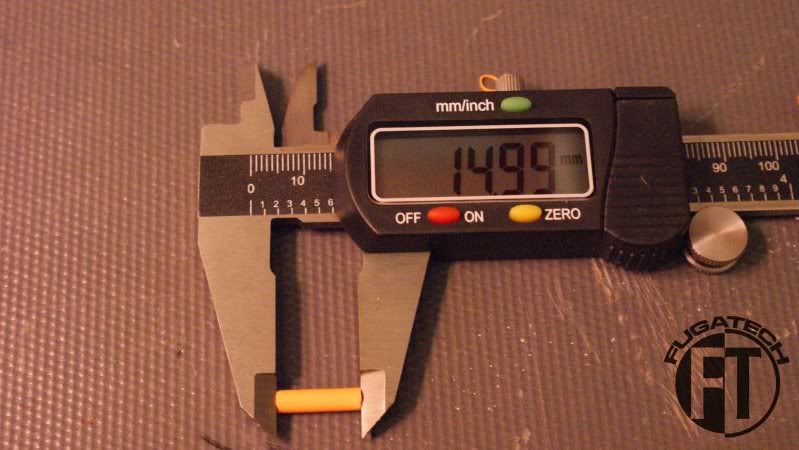
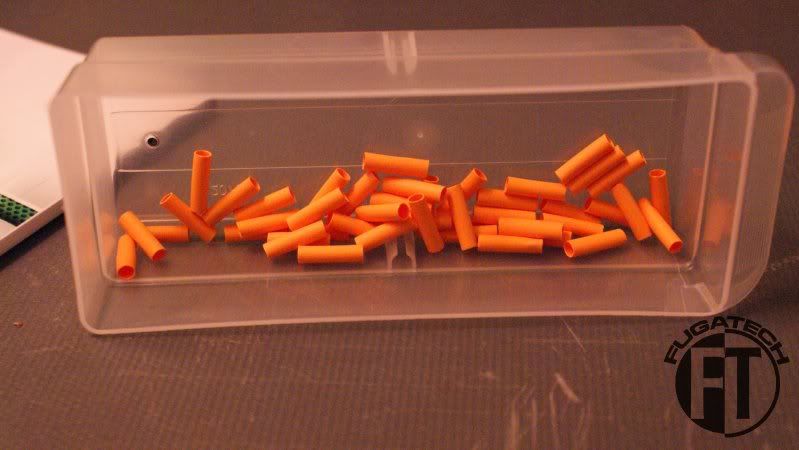
Update #28: Supplies, Rivets and Sleeving
 
Last edited:
Got my mobo in today!

DSC06324.jpg


Here is the final cut of plexi sizes.

1 sheet of:
  • 17 1/2" x 17 1/2" Black Plexiglass 1/4" Thickness - BACK
  • 17 1/2" x 17 1/2" Clear Acrylic Plexiglass 1/4" Thickness - FRONT
  • 18" x 18" Black Plexiglass 1/4" Thickness - BOTTOM
  • 18" x 17 1/2" Black Plexiglass 1/4" Thickness - TOP
  • 16" x 17 1/2" Black Plexiglass 1/2" Thickness - CENTER
  • 12 1/4" x 4 1/4" Black Plexiglass 1/4" Thickness - PSU COVER

2 Sheets of:
  • 17 3/4" x 18" Clear Acrylic Plexiglass 1/4" Thickness - SIDES


4 Sheets of:
  • 4" x 17 1/2" Black Plexiglass 1/4" Thickness - HDD RACKS


12 - 1" x 1" Clear Acrylic Plexiglass cubes- CORNER SUPPORTS

4 -1" Transparent Amber Extruded Transparent Colored Acrylic Plexiglass Rod 1" diameter - CASE FEET


Cheers till later.
 
Finally got parts in.

AMD Athlon II X4 640
DSC06571.jpg


XSPC 2 meter Orange LED kit
DSC06572.jpg


OCZ 1000W PSU
DSC06574.jpg


DSC06575.jpg


DSC06576.jpg


DSC06577.jpg


DSC06578.jpg


Came with these nifty Velcro ties.
DSC06579.jpg


2x2GB G.Skill RAM PC 1600
DSC06580.jpg


DSC06581.jpg


DSC06582.jpg


Media Card reader
DSC06588.jpg


Lots of Orange sleeving and shrink tubing.
DSC06589.jpg


Still waiting for the framing and for my sponsor to reply about the Plexi.

Cheers till later.
 
Got my saw yesterday :D Just waiting on a few more things to arrive then its off to work!

DSC06739.jpg


DSC06738.jpg


DSC06740.jpg


DSC06741.jpg


All put together!
DSC06743.jpg


DSC06745.jpg


New blad installed.
DSC06744.jpg


DSC06746.jpg


I should be finalizing the deal with my sponsor on the plexi today or tomorrow then hes shipping it all to me. Hopefully I get the drill press soon.

Cheers till later.
 
Got my Drill Press today :D

DSC06756.jpg


DSC06757.jpg


Not as many pieces as I was expecting.

DSC06758.jpg


DSC06759.jpg


DSC06760.jpg


All done.
DSC06761.jpg


Vise
DSC06763.jpg


Circle cutter for the fan holes.
DSC06762.jpg


Cheers till next time.
 
Started working on the side panel again. I wasn't happy with the last one so here is the new one so far.

newsidepanel6-18-2011.png


Going to be doing more work tonight on it.
 
Let me know how that circle cutter turns out; I have wanted one for quite a while.
 
Got the motherboard tray from Mountain Mods finally and I decided its time to test out the hardware to make sure its all good. I didn't attach the other back part that had the fan hole in it because it will just get in the way when I go to mount this to the case.

DSC06810.jpg


DSC06811.jpg


Mobo, RAM and Power/Reset switches installed.
DSC06812.jpg


CPU
DSC06813.jpg


PSU
DSC06814.jpg


DSC06815.jpg


Since Everything was hooked up correctly I figured it was time to power it up. I flicked the switch on the PSU and hit the Power button and BOOM. The freaking $200 PSU blew up. I was so mad. Luckily I have my old one that I'm giving my sister.

DSC06816.jpg


That PSU booted just fine. I started the RMA already with Newegg for the PSU so I need to mail that out tomorrow.

Here are the switches in the dark. The "O" one is power and the dot one is the reset button. I put the LED for the reset to the HDD activity LED so it gets lit and I can see the HDD activity! 2 with 1 is good!
DSC06817.jpg


Everything after that went pretty smooth. I found out that my SATA DVD drive was bad so I put on an old IDE one and it installed WHS just fine.

My Plexi sponsor is sending me the plexi tomorrow or Friday so I should have it in about a week and then I can remeasure everything and start cutting the frame. Once that is built I will start to figure out how to mount all the plexi to it.

Cheers till then.
 
Got my order in from Newegg with some nice case fans!
DSC06836.jpg


8x Zigmatek 140mm Orange fans with White LEDs
DSC06837.jpg


DSC06840.jpg


DSC06841.jpg


DSC06842.jpg


They have small blades but they move a ton of air.
DSC06844.jpg


Now lets make them look pretty!

Removed the sticker.
DSC06848.jpg


Sleeve them!!
DSC06849.jpg


At first I kept the stock white connector but I then decided that it would look funny and stand out. So I replaced them with the black ones I ordered for the fan extension cables. Didn't take a pick but they look good.
DSC06850.jpg


All of them done.
DSC06853.jpg


I got bored last night so I figured I would start cutting the shrink tubing to 15mm lengths.

14.99.... close enough
DSC06855.jpg


These are all ready
DSC06856.jpg


Need to trim these ones down later. They are about 1mm off. Maybe less. Just need to trim a hair off of them.
DSC06857.jpg


Cheers till next time.
 
So I spent the past 6 hours roughly working on the design. Leaning some new techniques too.

Here are the shots I took after figuring out how to get Kerkythea and Sketchup v8 to play nice. They are all very low res for now. The final design will be all high res. They will take probably close to 15-30 minutes to render ^^

frontangle.jpg


front.jpg


backangle.jpg


back.jpg


Inside the mobo side
insidehddside2.jpg

You can see I started playing with the cabling up top where the ATX Power cable comes through the pelxi.

HDD side
insidehddside.jpg

Now in the middle I had an ingenious to hide my cabling. I would put a piece of plexi down the center about 1 to 1.5" off the center panel. It would be anchored with nuts and bolts and I'll use aluminum spacers to make it sturdy and exact. there is also a piece of orange pexi that will either be UV reactive or have LEDs in it.

This is not the final layout. Its getting close but isn't there yet. Lets see if I can score a WC sponsor or 2 and then we will have some major changes. I have them in mind but don't want to jinx myself by making the model yet.

I found a few things out and I just might have to put some tutorials together for everyone. But that will take a few days.

Cheers till next time.
 
Let me know how that circle cutter turns out; I have wanted one for quite a while.

If you have a full size drill press or you can mount a mini one it might be great. But it vibrates horribly so I can't even use it. I'm looking into a 5" hole saw.
 
Nice so far, Keep it up.

Thanks!

wow wish i had time and funds to do a server case like this.

Its actually not as expensive as you think. Even less with the sponsor. Roughly $250 for materials which is nothing compared to the cost of double wide cases which is anywhere from $450 - $800.

Should keep things nice and cool with all them fans in there :D

One can only hope. I'm talking with Bitspower now to try and score some HDD blocks.
 
I got my 2nd sponsor!

Big thanks to Bill at MNPCTECH! He will be providing some Billet Machined Aluminum case feet, 2 types of modders mesh and a Beer Bottle Opener!
 
Since this is my first scratch build I am a bit out of my comfort zone. Before I get to what I did here is some stuff I received.

Orange LED strip
DSC06899.jpg

DSC06900.jpg


Its not very bright for being 12v....
DSC06901.jpg


Honeycomb mesh from MNPCTECH
DSC06896.jpg


DSC06895.jpg


It had a thick end to it that had to go.
DSC06897.jpg


Tin snips worked great but this is what I had left.
DSC06898.jpg


So on to some real modding...

I had some scrap pelxi left over from an old mod that I started expermenting on. I traced a 140mm hole on it and started drilling.
DSC06903.jpg


DSC06904.jpg


DSC06905.jpg


And after the first round of sanding.
DSC06906.jpg


2nd round
DSC06907.jpg


3rd round was finally enough. Here it is with a fan.
DSC06921.jpg


DSC06920.jpg

Its not 100% smooth but its damn close. I'll probably use a 140mm hole saw on the actual case plexi. This was me trying it out by hand.

Now to the frame. Here is the little mock up I made so I could figure out the best joint to use.
DSC06913.jpg


DSC06914.jpg

It proved to be pretty sturdy. It's not exact... so I have to make sure my cuts on the real pieces are exactly on.
DSC06915.jpg


So to solve the gap I used some J-B Weld.
DSC06918.jpg

Its curing right now. I'll sand it later tonight or tomorrow and post pics of how it looks.

Here are the screws I will be using. 6/32 self tapping hex head screws.
DSC06917.jpg

They grip like nothing else. Greatly improves the joint over the crappy screws I used at first. I might switch these for some black anodized hex head screws that I'm using everywhere else in the case.

And finally I didn't want the mesh to look all flat and lame. I wanted it to be "domed". So I cut a peice, put it in the mock 140mm hole and pouned it with a rubber mallet. It came out rather well.
DSC06922.jpg


DSC06925.jpg


DSC06924.jpg


Well that's it for today. I have a 3 day weekend so expect another update. Hopefully I can get the frame done this weekend.

Cheers till next time.
 
individually sleeved wires for the power switch....

...this will be an interesting mod to follow. keep up the good work !
 
Thanks guys!

I worked all day today fabricating the frame. Too a lot longer than I was expecting but I guess that's the price to get it right the first time. Well... pretty right. There are some small gaps but I knew that would happen because the L brackets I made are not exactly at 90 degrees.

Here are the brackets. I cut 1"x1" 1/8" thick angled aluminum in 1/2" sections.
DSC06927.jpg

I then measured and drilled the holes for the screws. Very easy but time consuming job when I needed 32 of them. Plus spares.

The first side cut.
DSC06926.jpg


And all put together.
DSC06928.jpg


DSC06929.jpg


I then measured the straight peices that connect both sides together and cut, drilled and installed them on one of the side pieces. (Sorry about the yellowish images. I took these at night so no natural light coming in the window.)
DSC06931.jpg


DSC06933.jpg

No real gaps like my small model I made so that's a good start. I won't have to use too much J-B Weld to fill the gaps.

I then put the other side on top so I could make sure it came to 18" exacly from end to end and it didn't... I was 1/8" off on all legs. So I marked them and will be cutting them down first thing in the morning. Its too late to cut now.
DSC06934.jpg


More work on the frame tomorrow and probably starting to map out the cuts in the acrylic. I probably won't cut any of it until after my vacation.

Cheers till next time.
 
I finished putting the frame together and I have to say, its really nice to finally see something from this mod.

DSC06937.jpg


Now that it is all together lets see how the plexi aligns with it. Hmm... a bit off...
DSC06938.jpg


DSC06939.jpg


DSC06948.jpg


Ok so 3 corners are too high. Well that's better than being too low. Can't add but I can cut. So after about another 4 hours of cutting, re-drilling and recreating 3 of the parts everything aligned nicely.

DSC06950.jpg


Just perfect!
DSC06951.jpg


DSC06952.jpg


Man... this piece is about 2mm off... Its the side so its not a huge deal so I'm going to let it ride for now. If it looks horrible later than I can remake the 2 pieces. They are very easy because they are not angled. Just straight pieces.

Now here is a 2mm gap.
DSC06954.jpg

I took the dremel to that back corner and shaved away some of the aluminum. We will see how it aligns again later.

Since everything was good except for those 2 parts I decided to start the J-B Weld process.
DSC06956.jpg


It has to cure for 6 hours before I can work on it again so maybe tonight before bed I can sand it down.

Cheers till next time.
 
I've been working non stop to get as much done before my vacation next week. Last night I got the dremel out and used a sanding bit to sand off all of the excess J-B Weld. Worked out well.

DSC06961.jpg


Then I started designing the front, back and center panels.

Here I had to cut a notch in the center panel for the aluminum frame to pass through.
DSC06963.jpg


DSC06964.jpg


Next I traced where the PSU would be sitting next to it so I had a frame of reference when I do the mobo tray.
DSC06965.jpg


Then I started on the front panel. Here is how the fans will be mounted.
DSC06966.jpg


All drawn out. Its pencil so it might be hard to see... sorry.
DSC06967.jpg


DSC06968.jpg


Back panel.. deff hard to read it but you get the idea.
DSC06969.jpg


A closer shot.
DSC06970.jpg


And the center panel design. The big rectangle in the middle will be raised 1 1/8" off the center panel. It will be a hiding spot for all the cables.
DSC06971.jpg


Tonight I started drilling. Before I actually drill in the real pelxi I figured I would try out the hole for the power and reset switch.
3/4" hole
DSC06974.jpg


Fits without a problem.
DSC06976.jpg


DSC06979.jpg


Now... this is the first time I have to cut my own pelxi since I ordered all the other pieces to be cut by a laser.
DSC06980.jpg


Well it came out great and you'll see it in a few. Here is the order that I'm mounting the things.

2 1/2" bolt > 1/8" plexi > 1 1/2" tube > 1/2" plexi > acorn nut
DSC06982.jpg


Here it is all broken down.
DSC06984.jpg


Me working hard! I ordered the bolts too long for the next part and had to cut 1/4" off. No jokes about the face shield... if your not using one then the jokes on you when you get hurt.
DSC06986.jpg


Here are the holes I put in the mobo tray to mount it to the center piece of pelxi. 7 mounting points is way more than enough to keep this up.
DSC06987.jpg


And here it is mounted.
DSC06995.jpg


Remember that piece I cut myself? Here it is.
DSC06990.jpg


My measurements were pretty good. Only 2 of the 9 bolts are at a small angle but it doesn't matter because you will never see them once this gets mounted into the case.
DSC06992.jpg


Here you can see where the cables will come through. This will feed one side of the case to the other.
DSC06993.jpg


Hope your enjoying the work!

Cheers till next time.
 
Got my 3rd sponsor today!

Lamptron.jpg


Lamptron will be sending me one of the FC5v2 Fan Controllers and two 2xUV Cold Cathode kits.
 
Interesting did you cut the tubing with your miter saw? because you can cut aluminum with a carbide toothed blade, if you didn't know :D
 
Interesting did you cut the tubing with your miter saw? because you can cut aluminum with a carbide toothed blade, if you didn't know :D


So MNPCTECH saw it fit to sponsor my build with a few things.

A box! Yay for me!
DSC06997.jpg


OH you wanna see whats inside the box?

Beer Bottle Opener
DSC07018.jpg


DSC07017.jpg

And no the keyfob was not included... I made it myself.

A sheet of Honeycomb and Round Hole modders mesh.
DSC07011.jpg


Billet Machined Aluminum Case Feet
DSC07007.jpg


Blow Hole 120mm Fan Kit (Will be used on Project: Green Light)
DSC07009.jpg


A big thanks again to Bill at MNPCTECH for supporting my mod!
 
Subed, if only for the VERY NICE method of passing cables through.
 
I never posted anything about how I plan on keeping the case together except for the threaded screws but that has changed so here it is for all that are curious. I bought everything from mcmaster.com.

DSC07024.jpg

6-32 x 2 3/4" screws are used to secure the acrylic that hides the cables on the HDD side.
DSC06990.jpg


DSC07026.jpg

6-32 x 1 1/4" secure the motherboard to the center 1/2" piece of acrylic.

DSC07030.jpg

6-32 acorn nuts are used to secure both of the above screws. Keeps the look very clean.

I ordered some 8-32 x 1 1/2" screws to be used with these 8-32 nuts to secure the fans to the acrylic.
DSC07029.jpg


DSC07025.jpg

8-40 x 1/2" screws are replacing the below 6-32 x 3/8"threaded screws. I wanted all the screws to be the same type. Black socket head cap screws.
DSC07027.jpg


DSC07028.jpg

These 10-32 x 3/8" screws will be used to secure all of the exterior pieces of acrylic to the aluminum frame. They are much bigger than the rest because I want to make them easier to take out and they need to be noticeable.

DSC07031.jpg

These aluminum unthreaded spaces are 1/4" OD, 1 1/2" length for a #8 screw. They worked great for the 6-32 screws because there was acrylic on each side of the spacer so I didn't need to worry about the head size of the screws.
 
ekwb_logotip_a.jpg


Just got confirmation that EK will be sponsoring my mod. Their new Nickle blocks come out tomorrow and I will have some of the first ones :D

They will be providing:

1x EK-CoolStream RAD XTC (420)
1x EK-Supreme HF
1x EK-RAM Dominator-Nicke
2x EK-DCP 4.0 (12V DC Pump)
2x EK-Multioption RES X2 – 250 Basic
20x EK-PSC Fitting 10mm – G1/4 Black
8x EK-PSC Adapter 45 G1/4 Black

Big thanks out to Gregor at EK!
 
HUGE score. That will make the system look/cool VERY nice. Congrats.

ekwb_logotip_a.jpg


Just got confirmation that EK will be sponsoring my mod. Their new Nickle blocks come out tomorrow and I will have some of the first ones :D

They will be providing:

1x EK-CoolStream RAD XTC (420)
1x EK-Supreme HF
1x EK-RAM Dominator-Nicke
2x EK-DCP 4.0 (12V DC Pump)
2x EK-Multioption RES X2 – 250 Basic
20x EK-PSC Fitting 10mm – G1/4 Black
8x EK-PSC Adapter 45 G1/4 Black

Big thanks out to Gregor at EK!
 
So when are you going to be ordering those 20 3TB hard drives?;)

I'll only be using 2TB Green drives. I can get them on sale for between 70-80 bucks.

Still waiting for the Bitspower and EK gear to arrive.

I've started cutting the back panel.
DSC07084.jpg


I'm now filing it then I'll cut the fan holes. Lots of work but not much to show.

Next Day:

So the hole saw is not working out. Nor is the drill press. It does not have the RPMs to cut the plexi with the hole saw.

Here it is all setup to be cut.
DSC07087.jpg


DSC07088.jpg


Then disaster happened. The arbor bit for the hole saw some how... snapped?
DSC07089.jpg

It wasn't cheap but yet it wasn't an expensive one. $15 Irwin brand which is a well known hardware brand.

So when the drill press stopped mid cut it torqued the whole panel and snapped a piece of it.
DSC07090.jpg


DSC07091.jpg


Its the back of the case so I am going to see if I can repair it. If I can great, if not, I have to order a new piece and spend another 20 hours working on it.

Cheers till next time.
 
Back
Top