• Some users have recently had their accounts hijacked. It seems that the now defunct EVGA forums might have compromised your password there and seems many are using the same PW here. We would suggest you UPDATE YOUR PASSWORD and TURN ON 2FA for your account here to further secure it. None of the compromised accounts had 2FA turned on.
    Once you have enabled 2FA, your account will be updated soon to show a badge, letting other members know that you use 2FA to protect your account. This should be beneficial for everyone that uses FSFT.

Project : Future Schlock by AnG3L

I have 2 words for you. "Mad Pro"

The case is coming along nicely, I can't wait to see finished product!
 
One quick update for you guys, not much due to lack of time again.
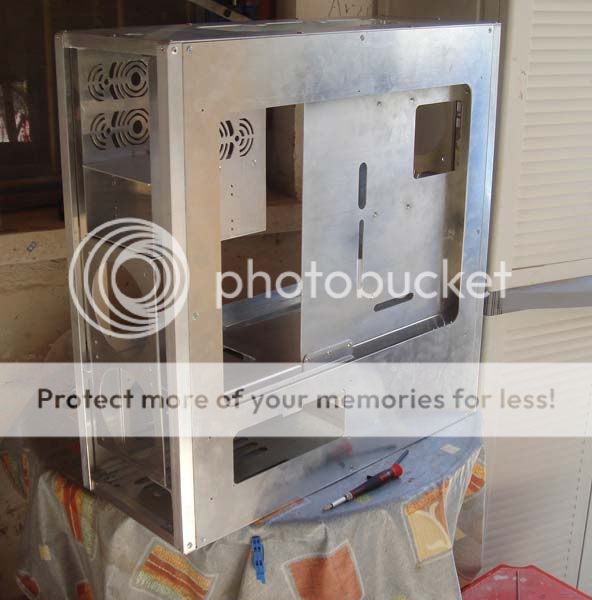
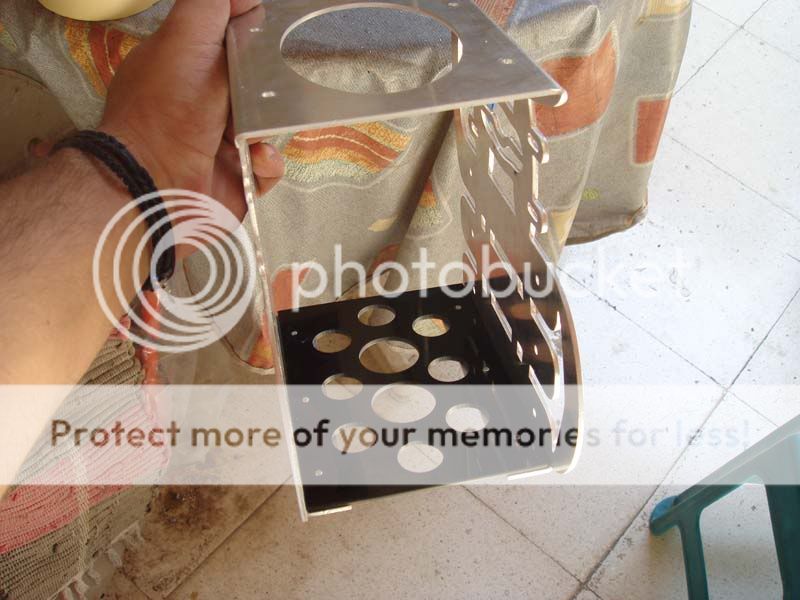
I did some work on the 5.25'' cage, first some cuts so it will fit between the chassis corners and angles.

DSC07146.jpg


Next the divider, one part will host the fan controller and the blu ray writer and the other
will host the custom acrylic reservoir and also the pump.

DSC07147.jpg


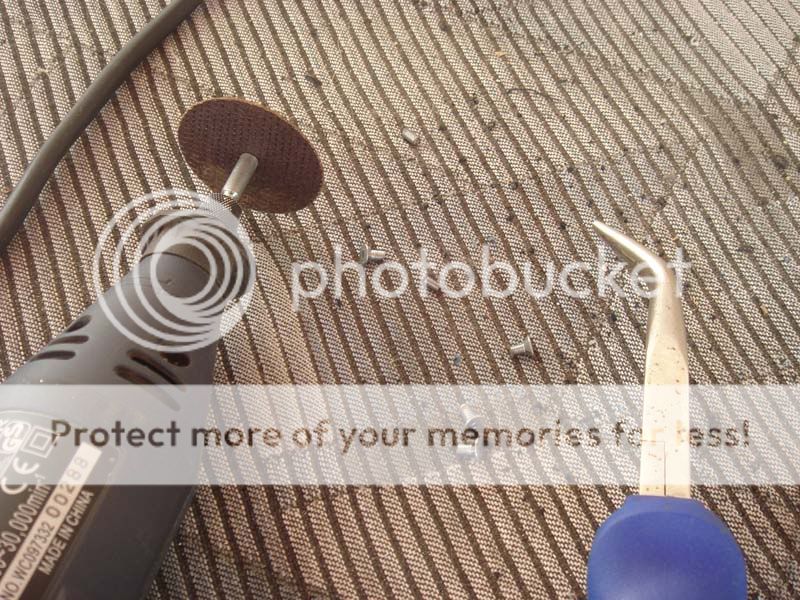
Holes for the rivets

DSC07149.jpg


And installed!

DSC07153.jpg


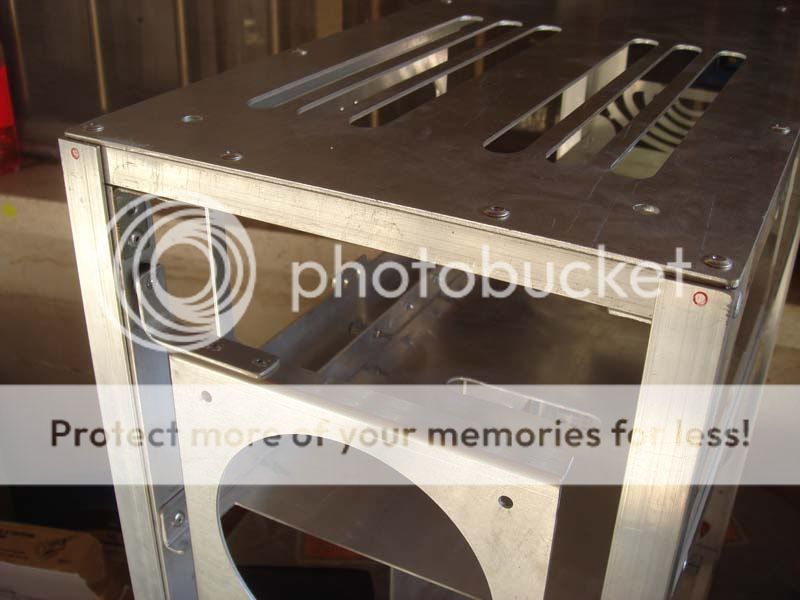
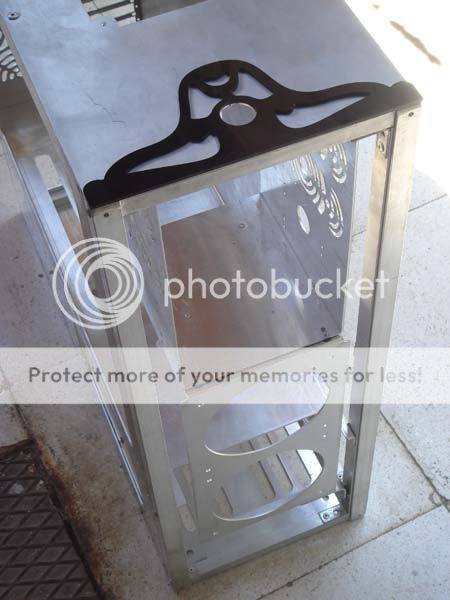
Then I attached the double intake so I could perfectly align both cage and intake with the front panel. This is not going to be the final look of the front panel, one more like this but with acrylic will be between the case and the front and also at the sides I will attach some black acrylic corners.

DSC07157.jpg


And attached using rivets. The cage wont be removable, I couldnt find a reason why it should be!

DSC07158.jpg


DSC07159.jpg


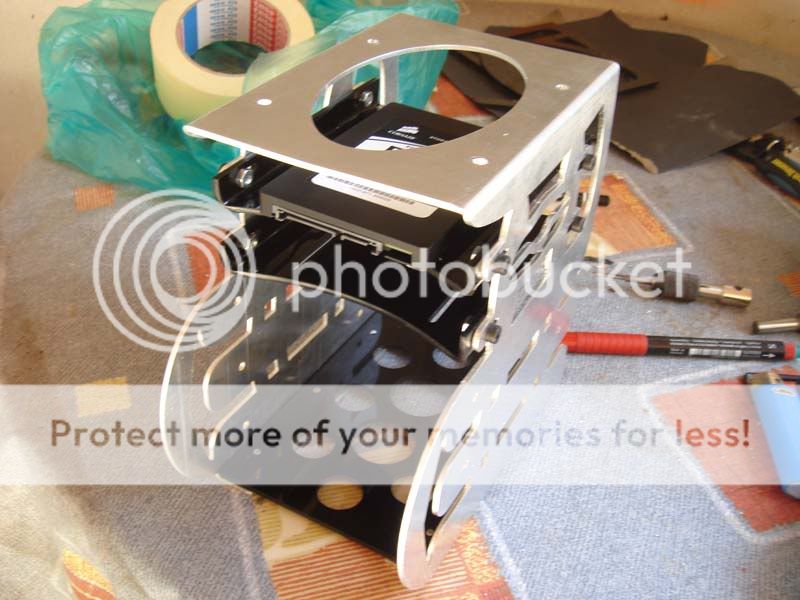
And also the hdd cage installed for testing. This is going to be removed again as you will see
because I will attach some acrylic parts on it and there will be no further testing on the assembly for this part.

DSC07160.jpg


2 days ago I received the books from Mr.Robert Krakoff, till now I had only a text version but now I have the real deal!!! Amazing writing, a new style which it will make you feel like you watching a movie! Thanks again for the inspiration my friend!!

DSC07168.jpg


DSC07169.jpg


DSC07171.jpg


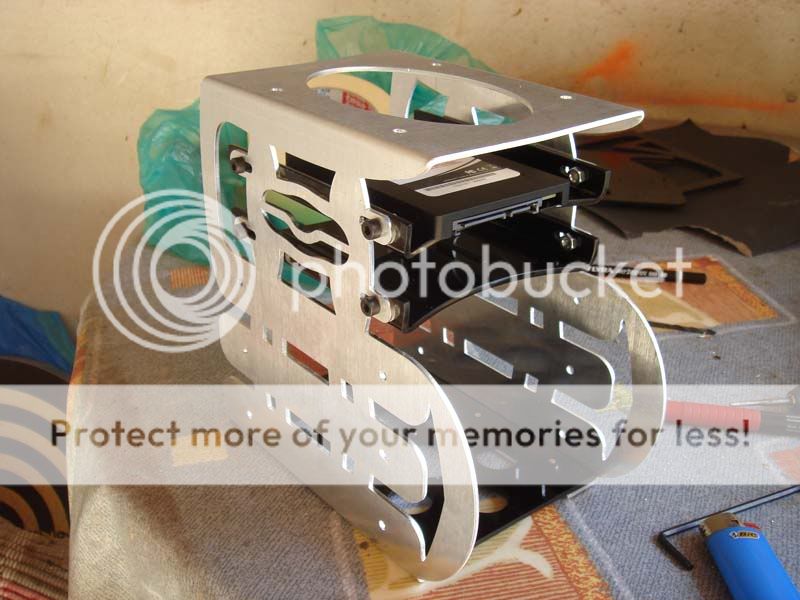
So lets go back to modding! After I installed the hdd cage I also attached a hard drive on it
to see where the wires will be exactly (sata and power).
This little hole if you believe it or not it took me 2 hours! You know why?
I forgot to buy some reinforced disks for my dremel and I only had some thin ones for acrylic!
It was cutting a millimeter - change disk- cutting a millimeter - change disk !!!!
OMG that was a real PITA!!! But anwz after I cut the main part I used the files and some small
sanding drums and more sanding at the end to get it done.

DSC07172.jpg


DSC07173.jpg


DSC07178.jpg


DSC07179.jpg


More to come, a loooooot to do and many more surprises to follow!
The updates will be small but frequent I need to minimize the time of working due
to some negotiations with sponsors, I must get the last parts in order to keep on working.

Till next time, peace my friends! :)


A special thanks to my sponsors:


Lets go for one more update!
I was really busy these days again, I was working on a new build for my friend's company
and also on the designing and also some changes of some acrylic parts I am going to use with
this mod.

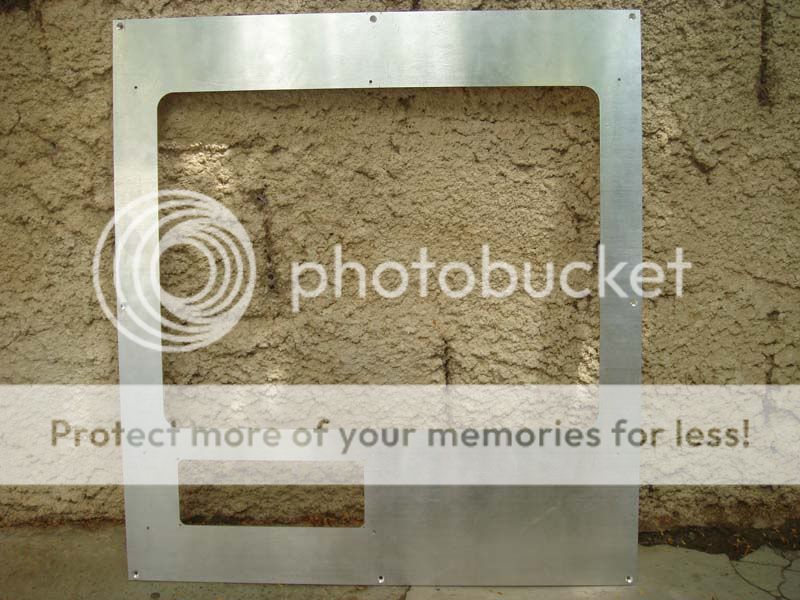
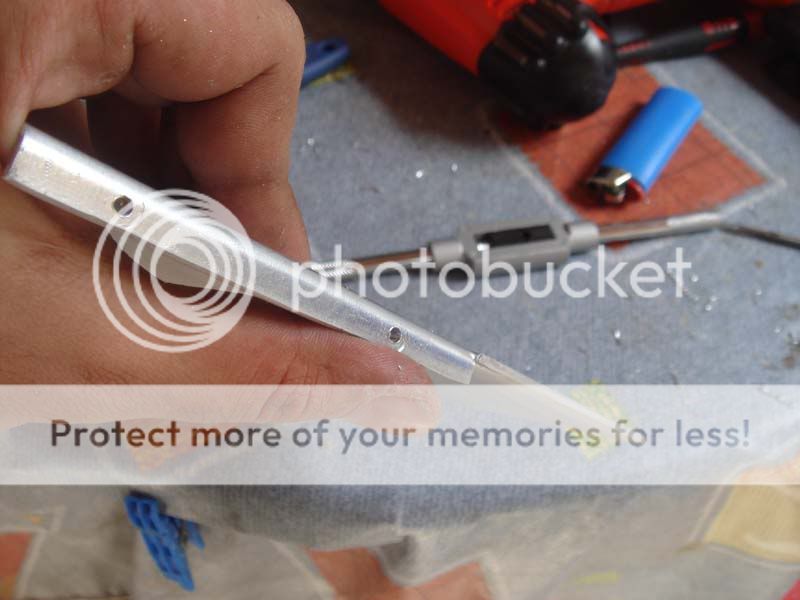
First I am going to show you my work on the panel's stands. For the
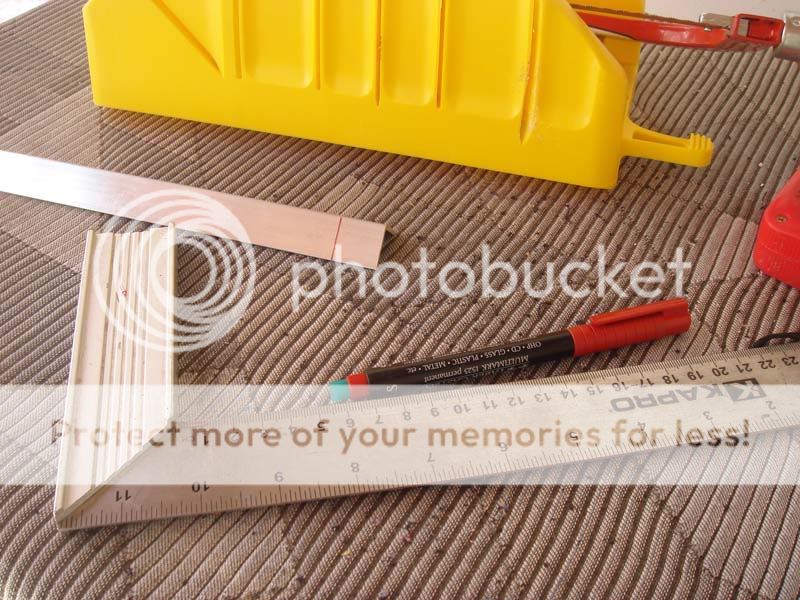
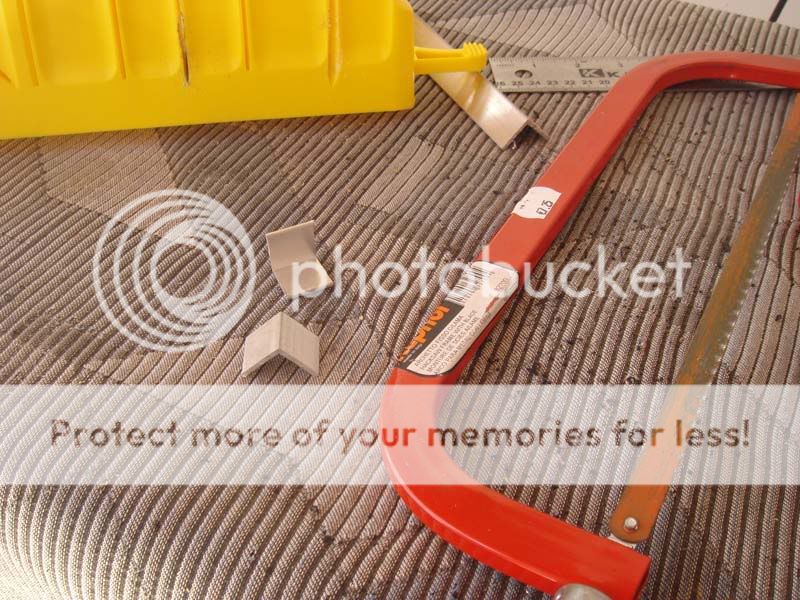
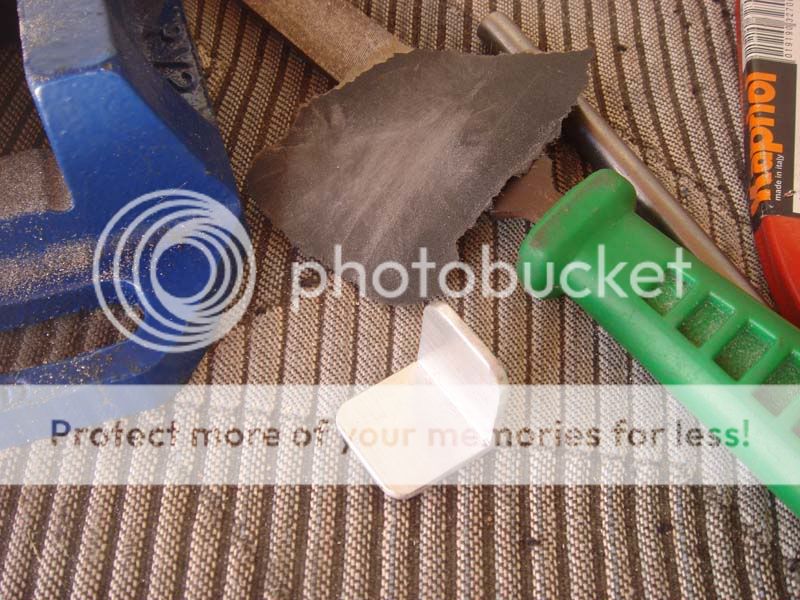
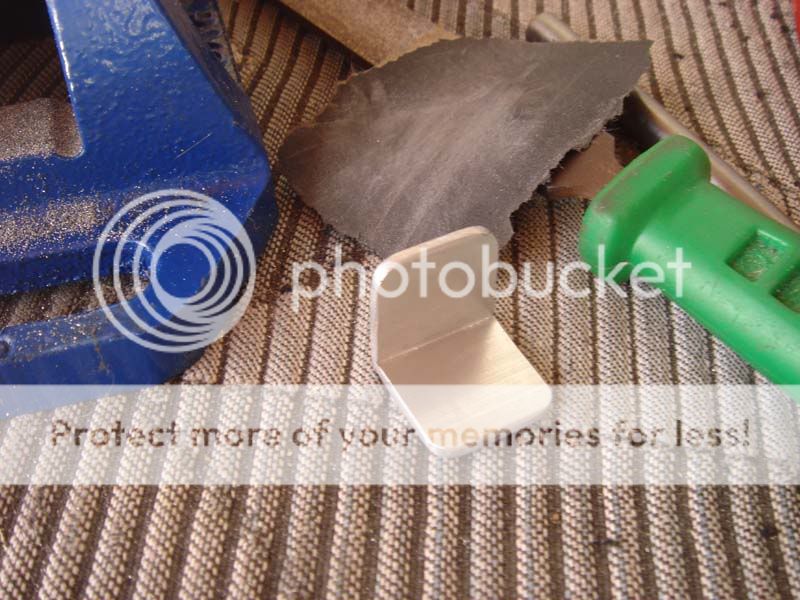
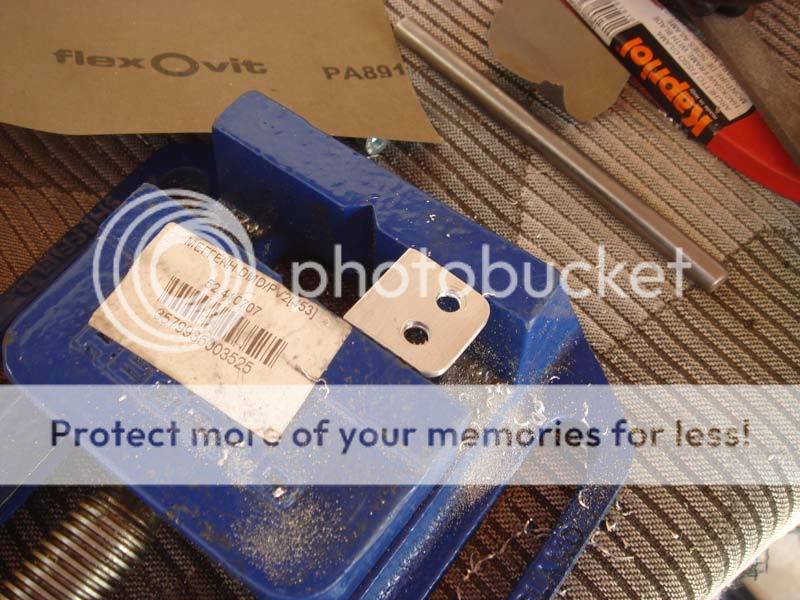
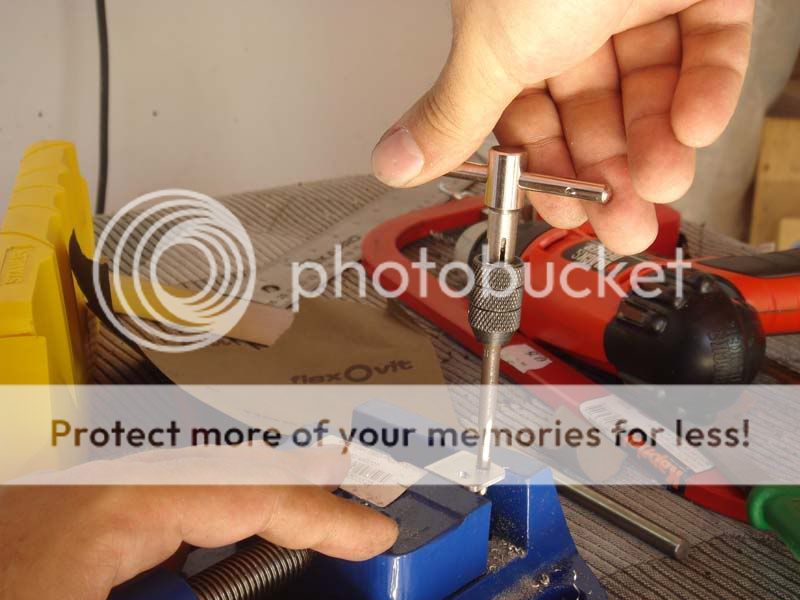
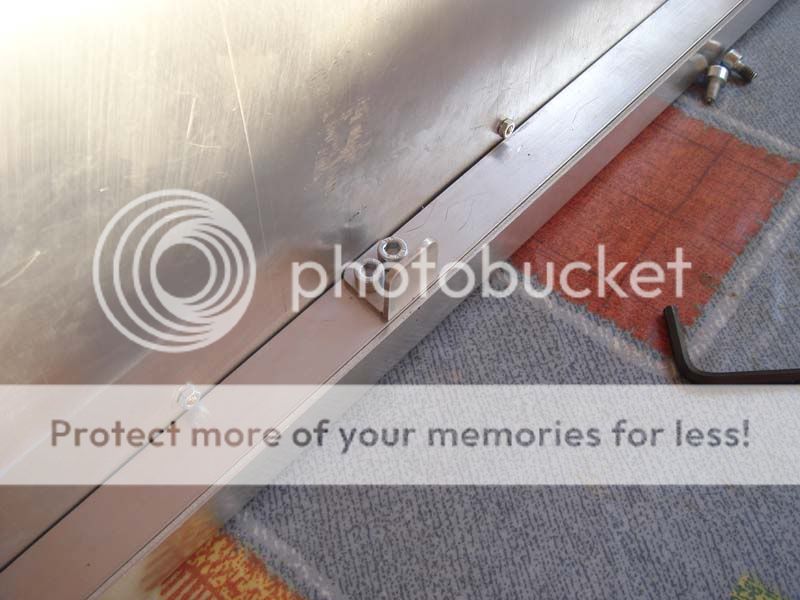
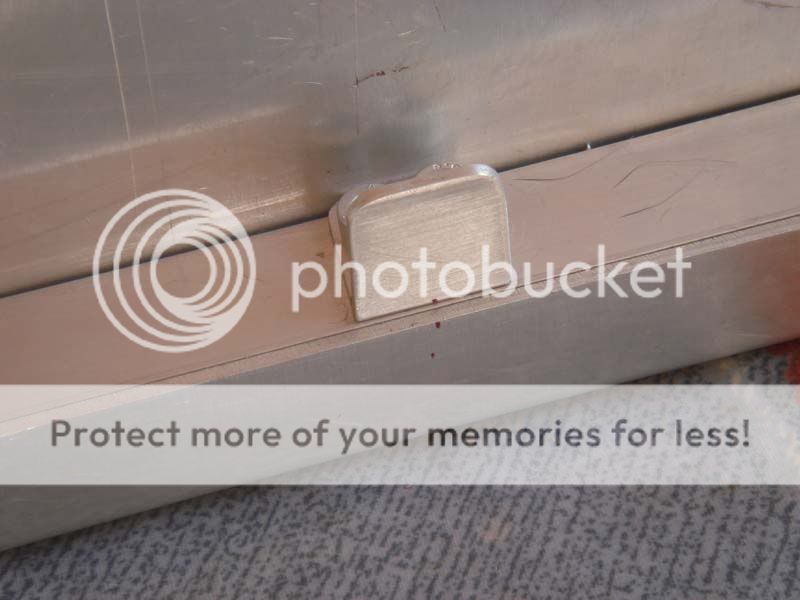
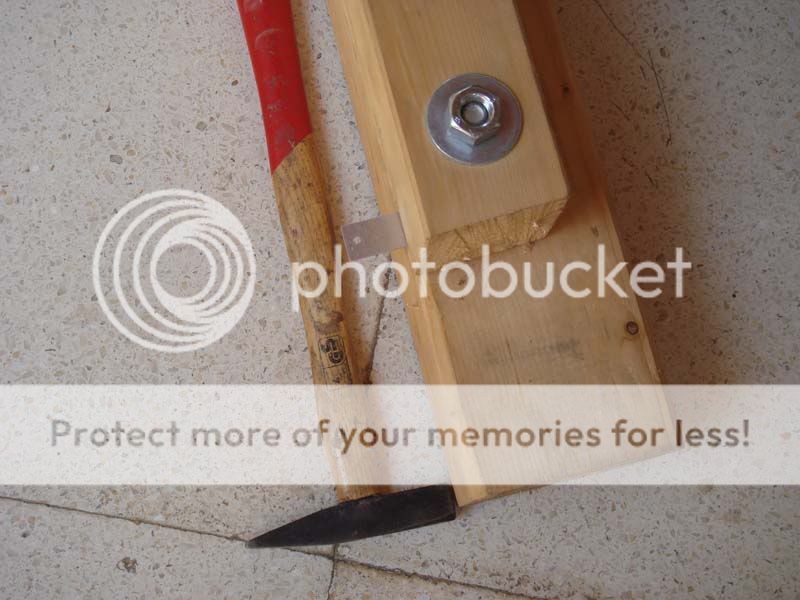
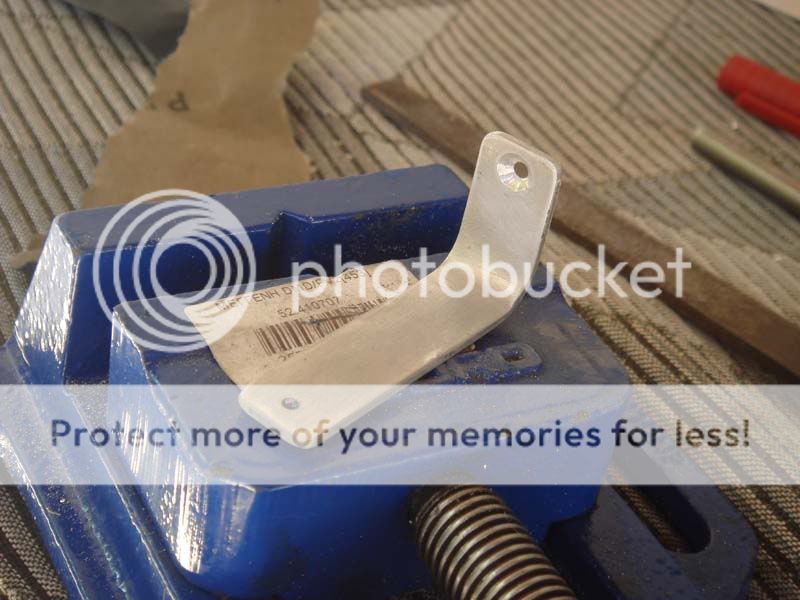
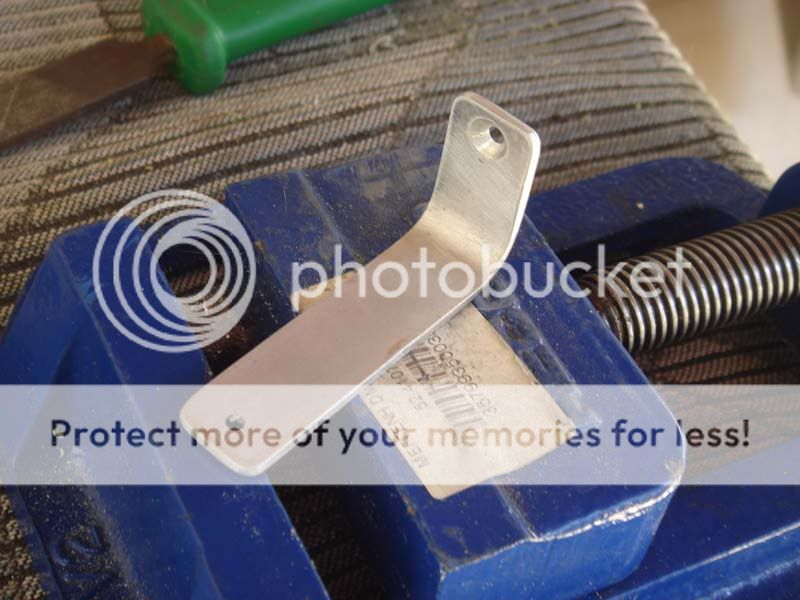
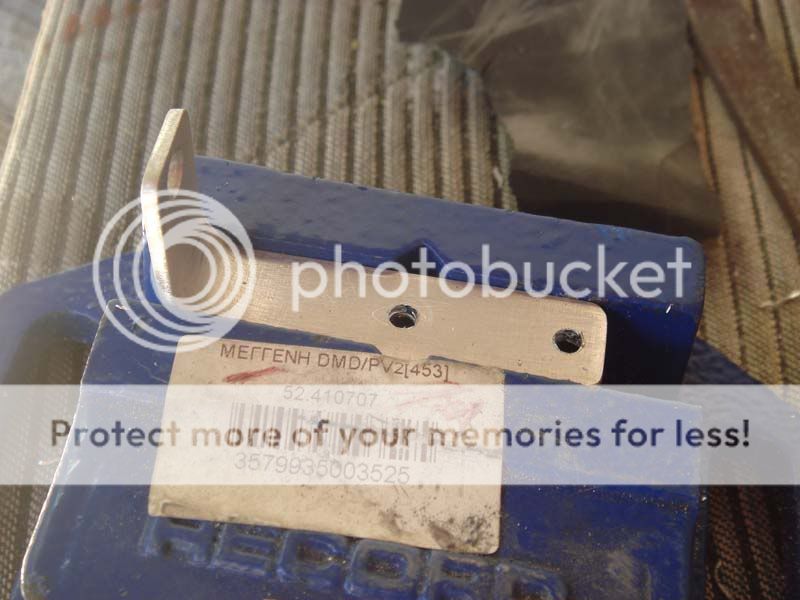
right side panel I had to create 2 stands for the middle screws. I used 2cm aluminum angle.

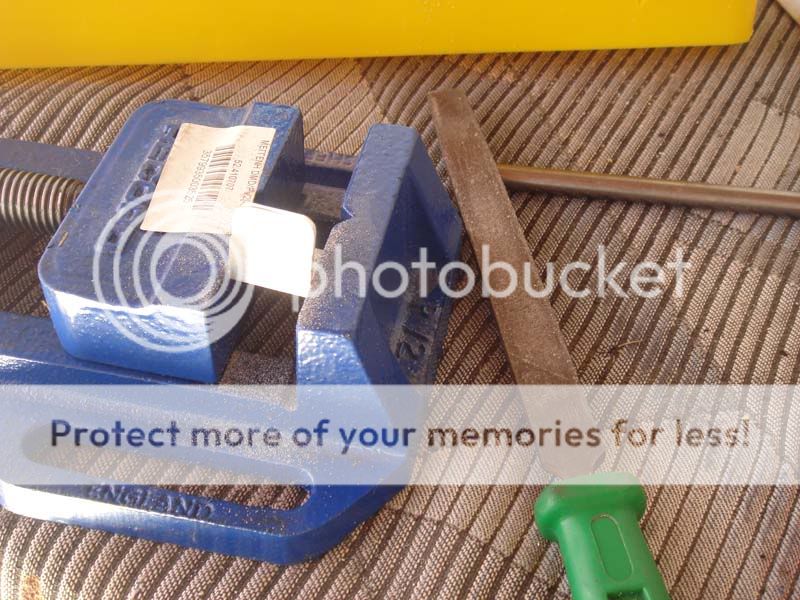
Marking, cutting and filing to remove any sharp edges for aesthetic and practical reasons!
(You dont want to get some nasty scratches while you are working on the cable management!)

DSC07181.jpg


DSC07182.jpg


DSC07184.jpg


DSC07185.jpg


DSC07188.jpg


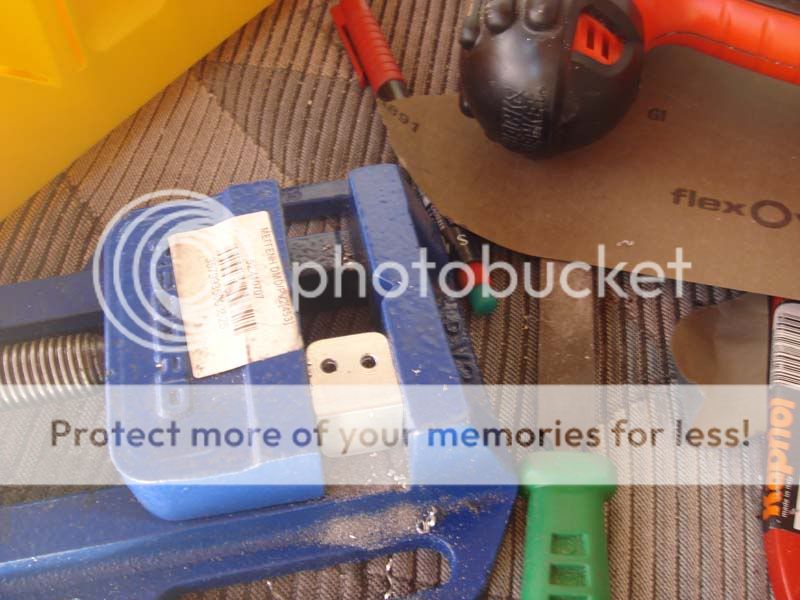
Next step. 2 holes for the screws to be attached on the chassis. I decided to use screws because the rivet gun was impossible to work there due to space and also for aesthetic reasons (it looks more aggressive like that) They are not going to be removable though, I might use titanium on the threads later on to attach them on the chassis.

DSC07190.jpg


DSC07191.jpg


DSC07192.jpg


DSC07194.jpg


DSC07195.jpg


DSC07197.jpg


DSC07198.jpg


The same process needed for the other stand so I dont have to post useless photos.
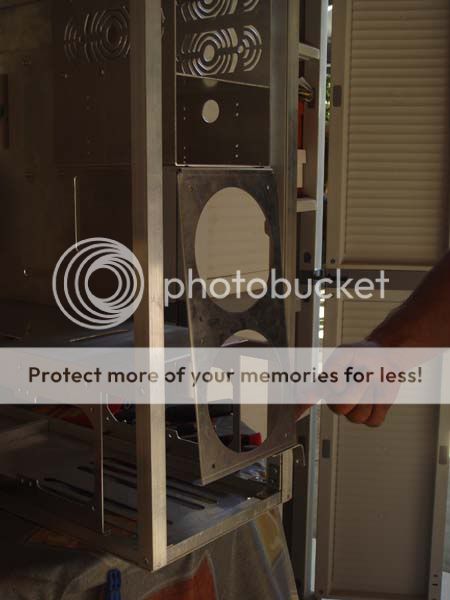
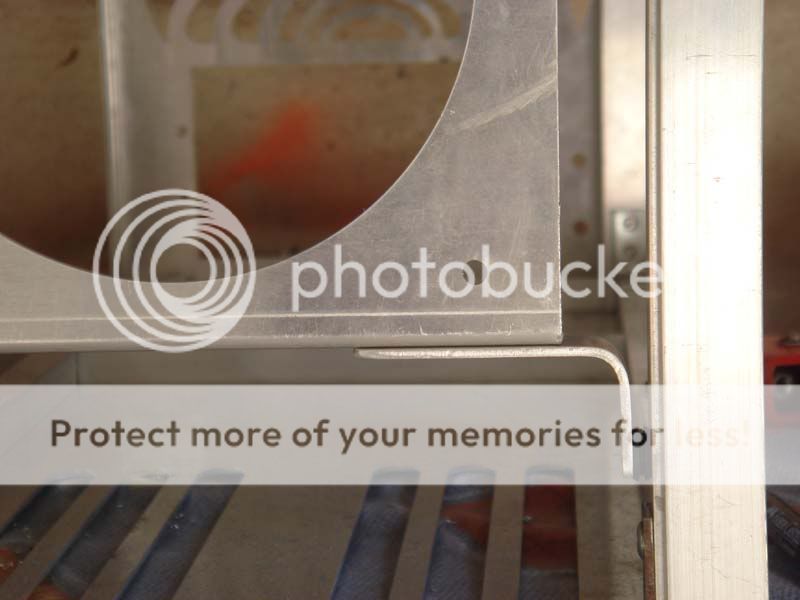
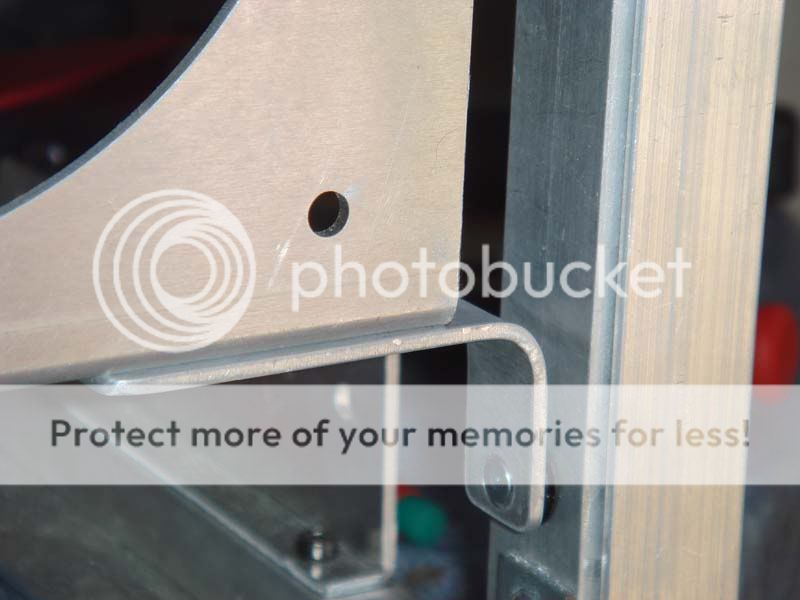
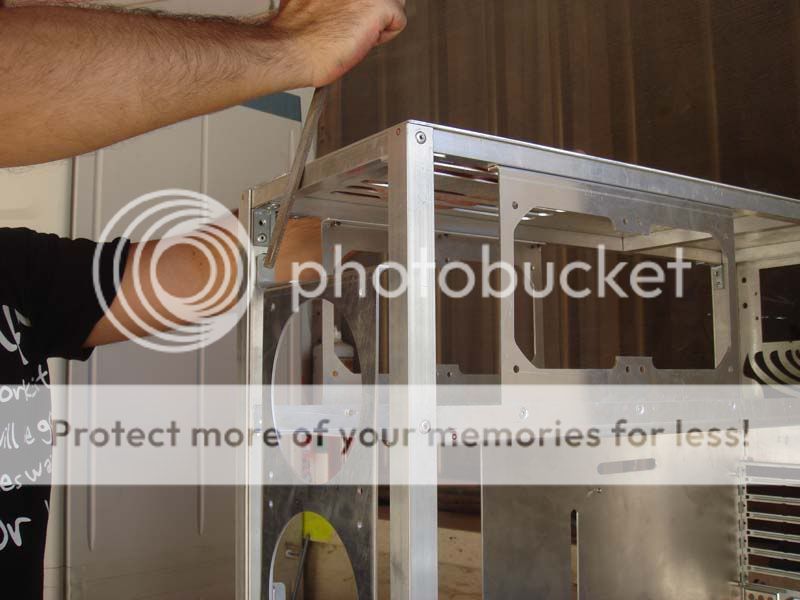
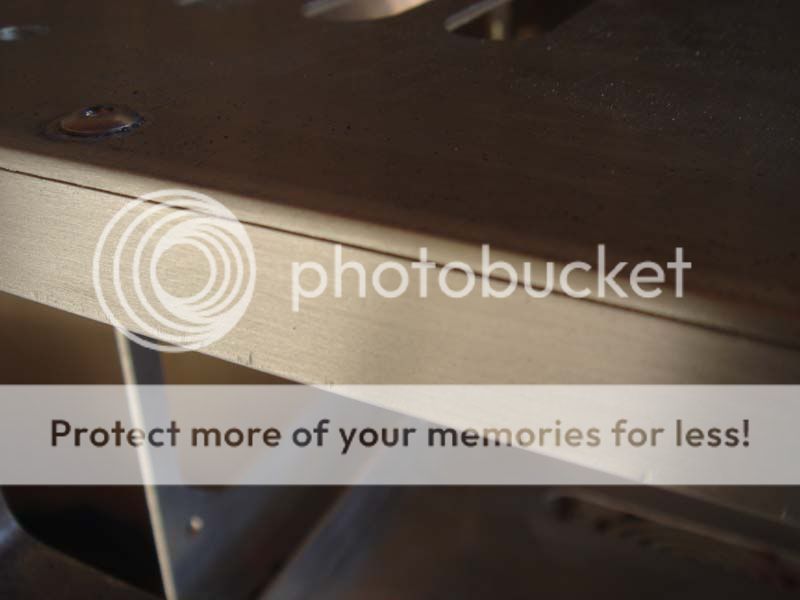
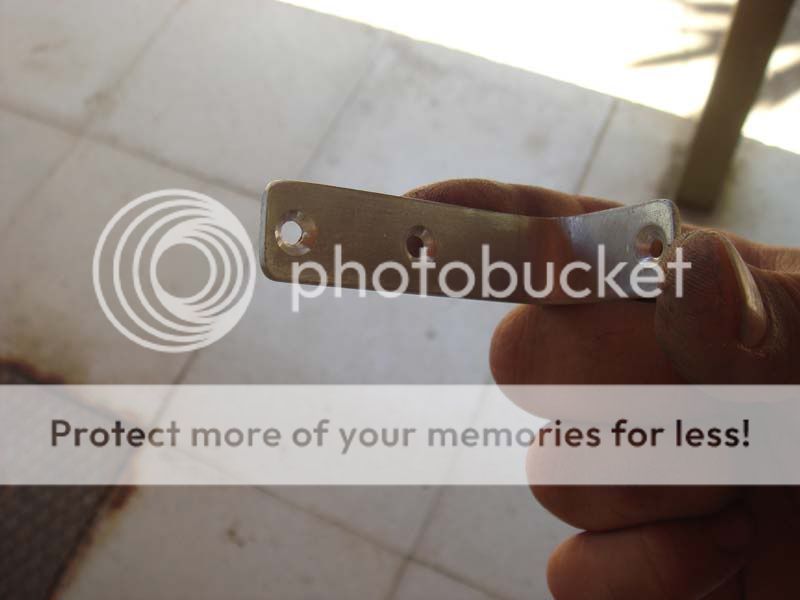
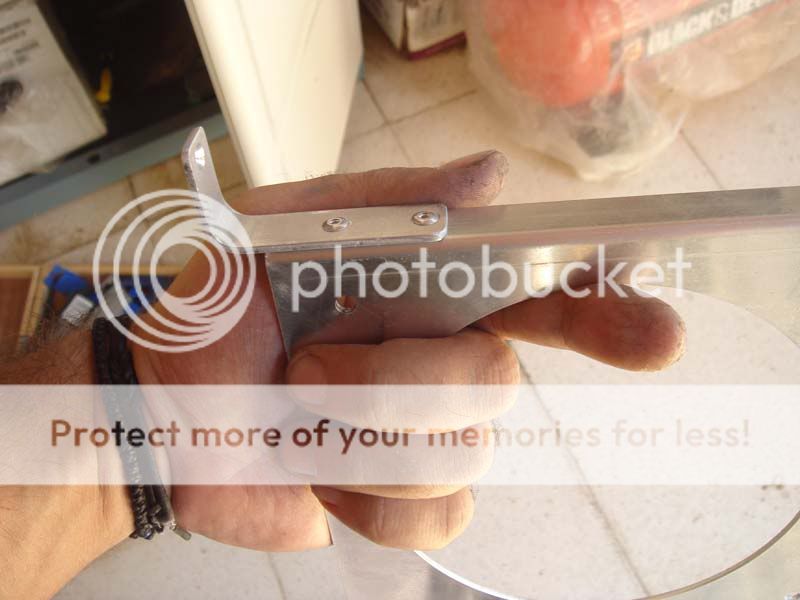
Next step was to create a "mechanism" for the double intake. I say mechanism cause the double intake is designed to bend due to the anti-vibration washers for me to be easier to install and remove fans without to have to remove the top screws which they are attached on the 5.25 bay. I used some 1.5cm aluminum and a lot of imagination.
Here you can partially see my homemade "brake" tool :p

DSC07201.jpg


Bended and also as you can see the first 2 holes.

DSC07202.jpg


DSC07203.jpg


The rest :)

DSC07207.jpg


DSC07209.jpg


Attached this piece with rivets as it wont be removable and also the rivets wont be visible.

DSC07211.jpg


DSC07213.jpg


Here you can see the bending ratio of the intake panel. You can easily remove and install the fans from the sides, top and bottom area.

DSC07217.jpg


As you can see here I also took in count the space required for the extra anti-vibration washer. The "mechanism" is attached on the chassis with a small hexagonal screw. I was
going to use a thumbscrew there but it was too small and also nobody is going to remove and install fans so often, so there isnt such need :)

DSC07221.jpg


DSC07224.jpg


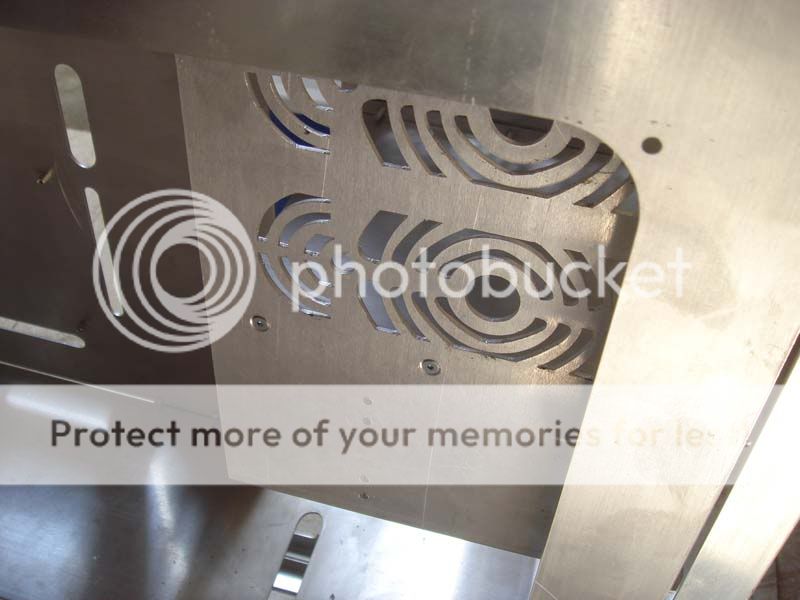
I also did some quick filing of the bottom ventilation part, I will show more about this part
of the case in upcoming updates!

DSC07229.jpg


DSC07230.jpg


DSC07232.jpg


Here is the work I did on the panels (for now!)
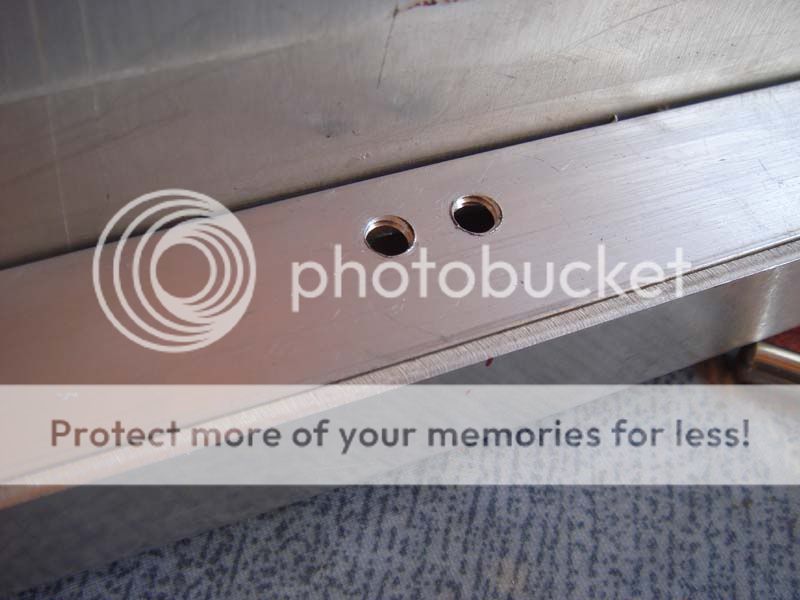
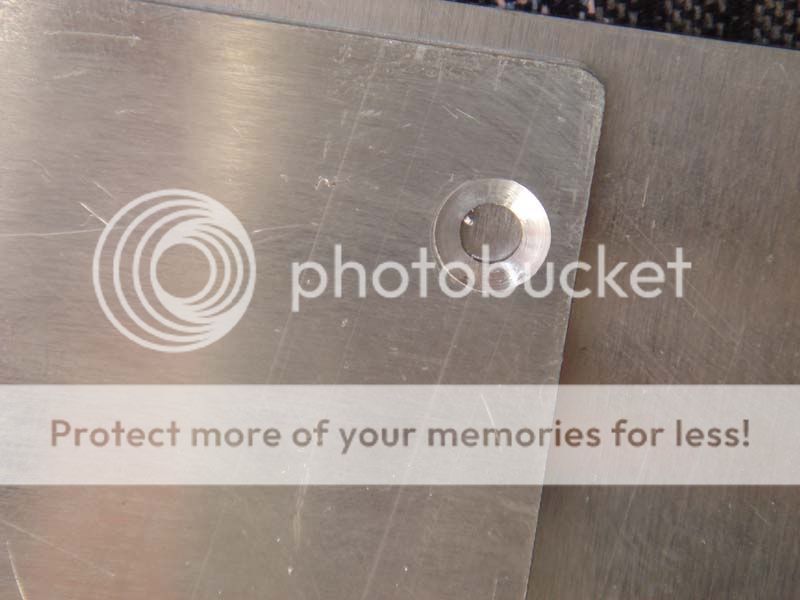
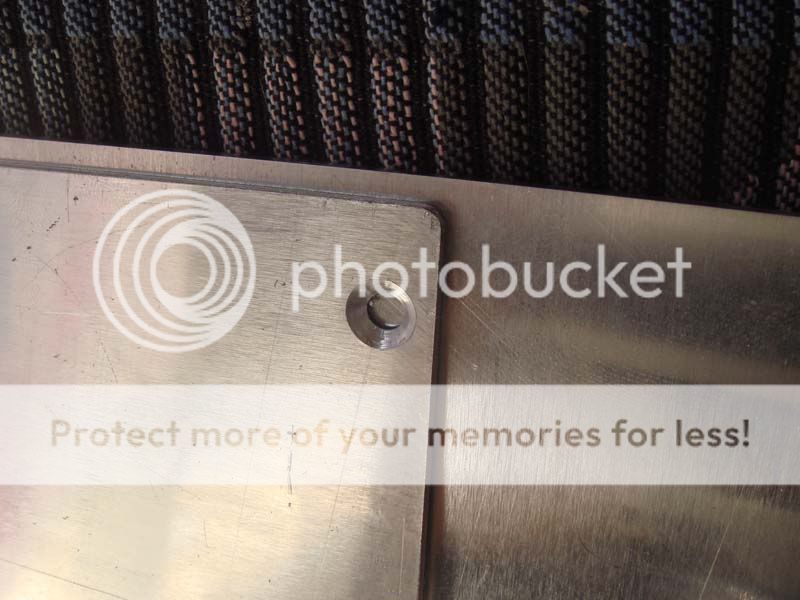
First some countersunk holes.Thanks George for the tips even though my countersunk bit
only needed low rpm and medium pressure, I realized that each bit acts differently even if they are meant to be for the same material and usage.

DSC07240.jpg


DSC07241.jpg


DSC07243.jpg


DSC07245.jpg


DSC07246.jpg


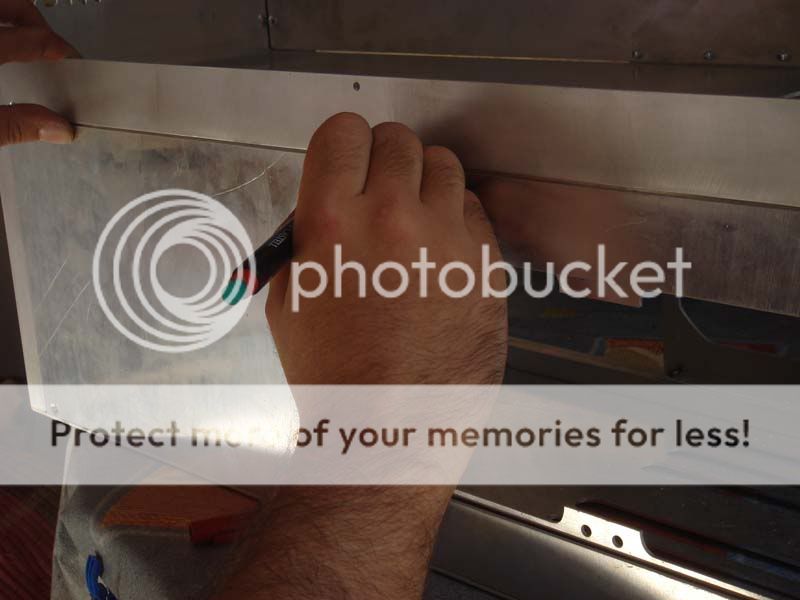
Marking for the holes and threads.

DSC07248.jpg


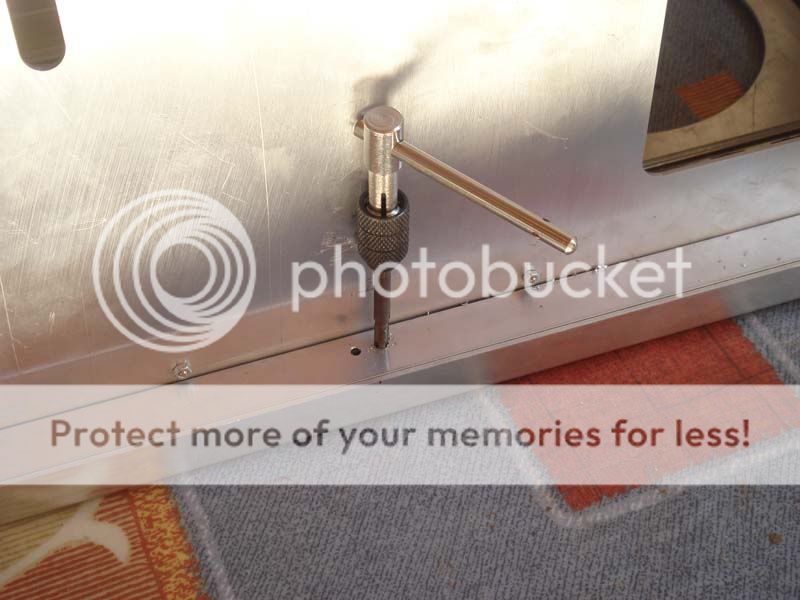
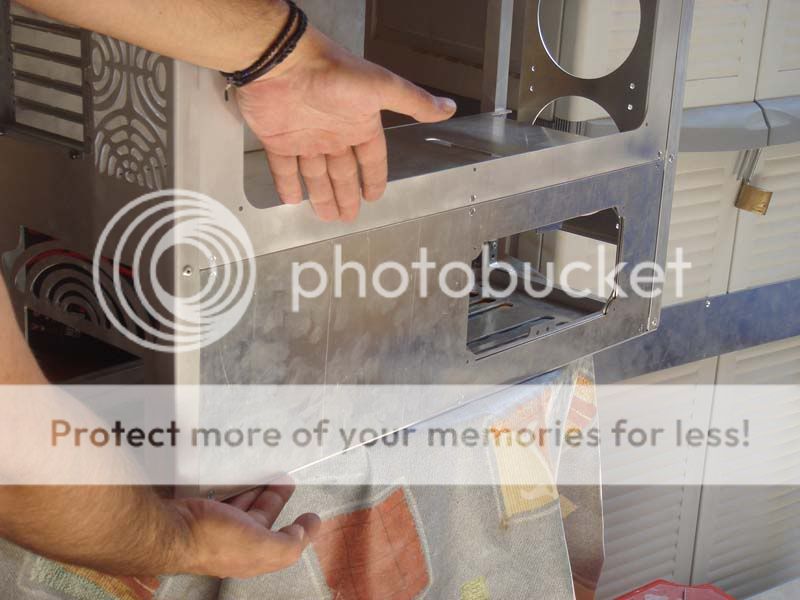
First panel installed. As you might noticed I used philips screws for the top part and hexagonal for the bottom. The design is bottom and top part of the case with philips screws, so because they are two different panels, the top panel will have the philips screws on the top.... :) and the second panel on the lower part.

DSC07253.jpg


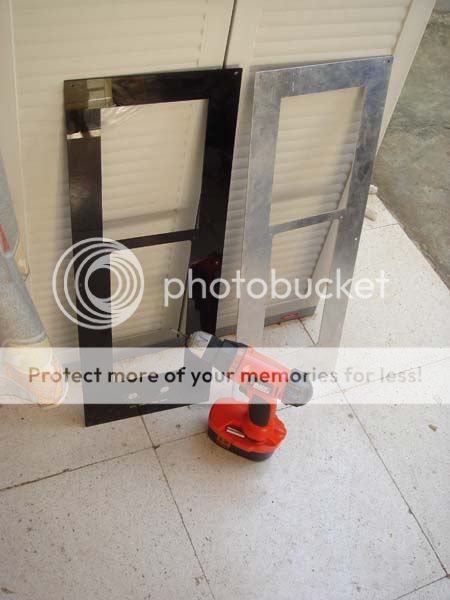
Also made some changes on the divider of the 5.25 bay. First removed the rivets to be replaced with smaller hexagonal screws and also removed 1 cm from the wings.

DSC07256.jpg


DSC07258.jpg


Back on the panels again! Marking for the holes and installation.

DSC07259.jpg


DSC07262.jpg


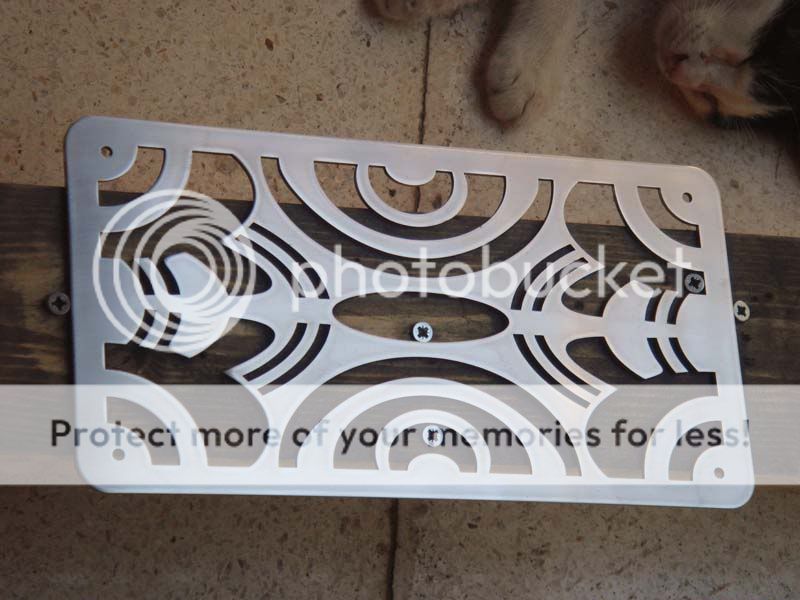
Here I show you a part of the case where I plan to do the engravings. That space will be empty but take in count that next to it there will be placed on stainless steel radgrill.
Let me know what you think please!

DSC07263.jpg


Here you can see also the right side panel installed. The big hole will be covered with an acrylic so I removed the extra aluminum cause it was useless and also that way I remove
unnecessary extra weight, also the smaller one will be a ventilation and also a small stainless
steel will be attached there. Stay tuned for more :)

DSC07268.jpg


Here are some "teaser" pictures of things meant to follow soon! Acrylic work and much more!

DSC07269.jpg


DSC07272.jpg


DSC07276.jpg


DSC07278.jpg


DSC07280.jpg


DSC07282.jpg


Thanks for watching guys, till next time, keep on rollin'!


A special thanks to my sponsors:


Time for one more update guys!
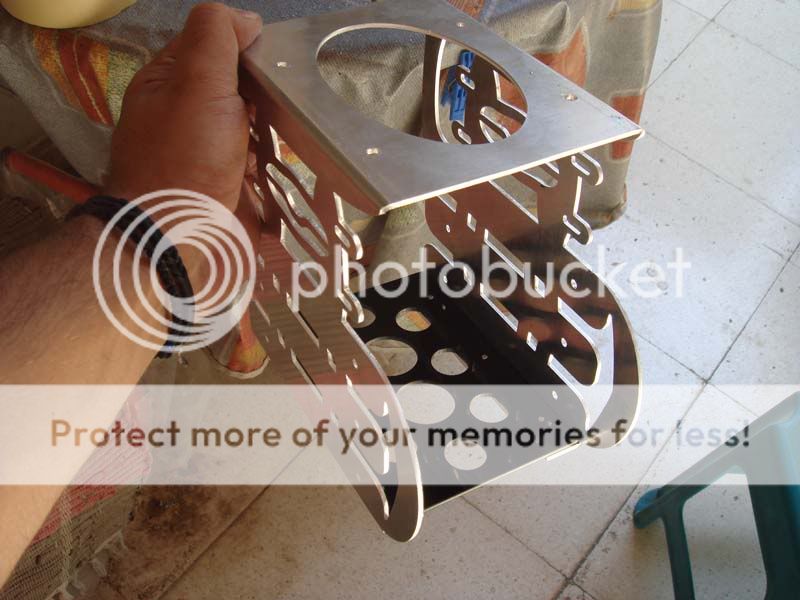
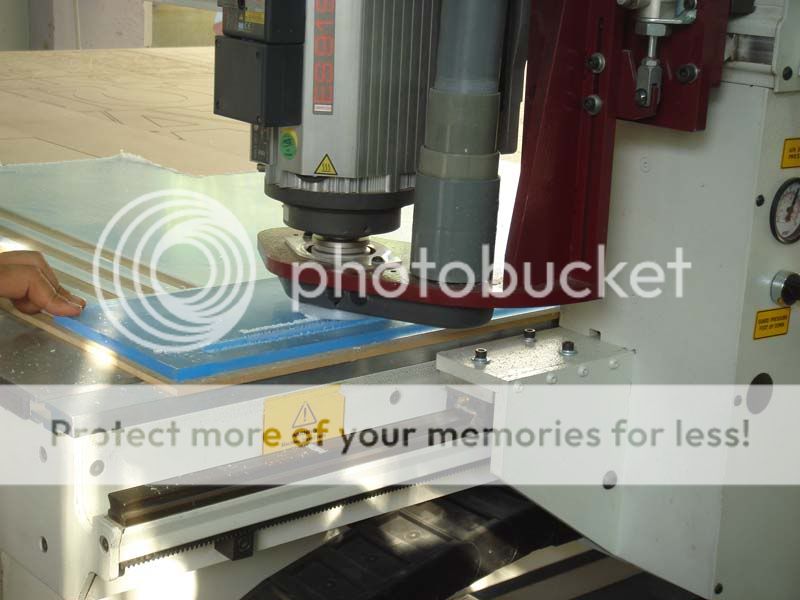
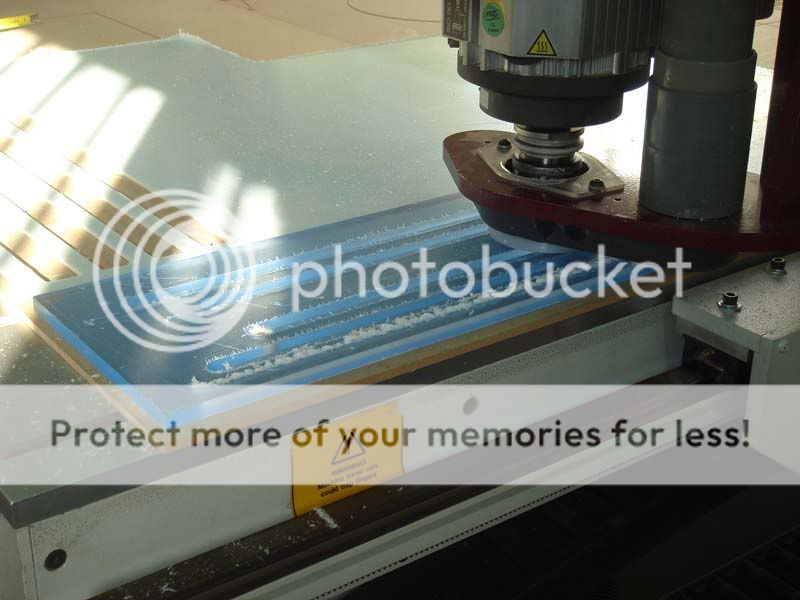
First of all I finished the hdd cage. I went to my friend Chris Kozis for the acrylics and he cut me on the CNC some

parts so I could work and the most complicated parts we let them for later as I was going back to glue the reservoir

and bend some other pieces.

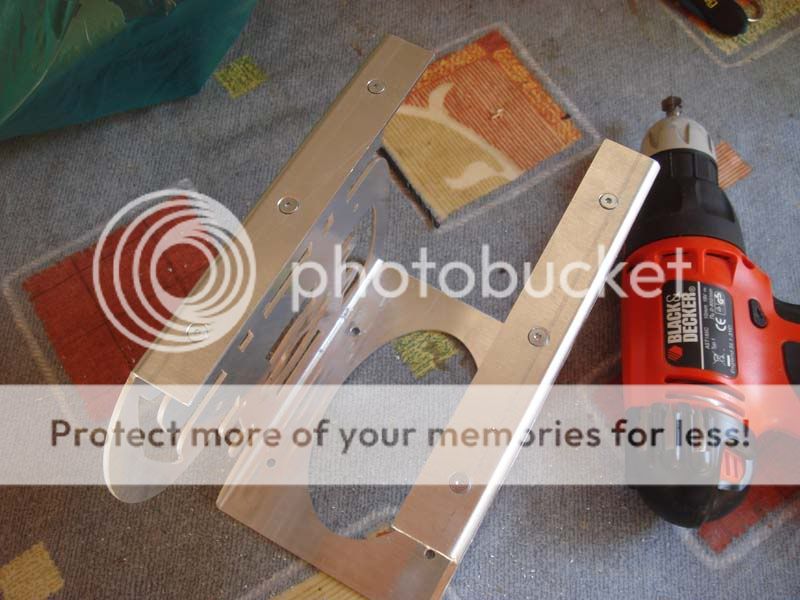
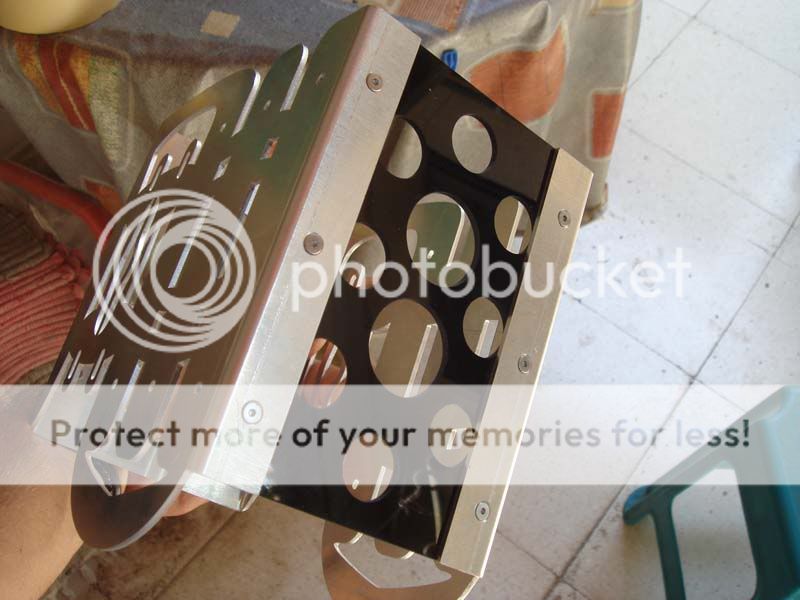
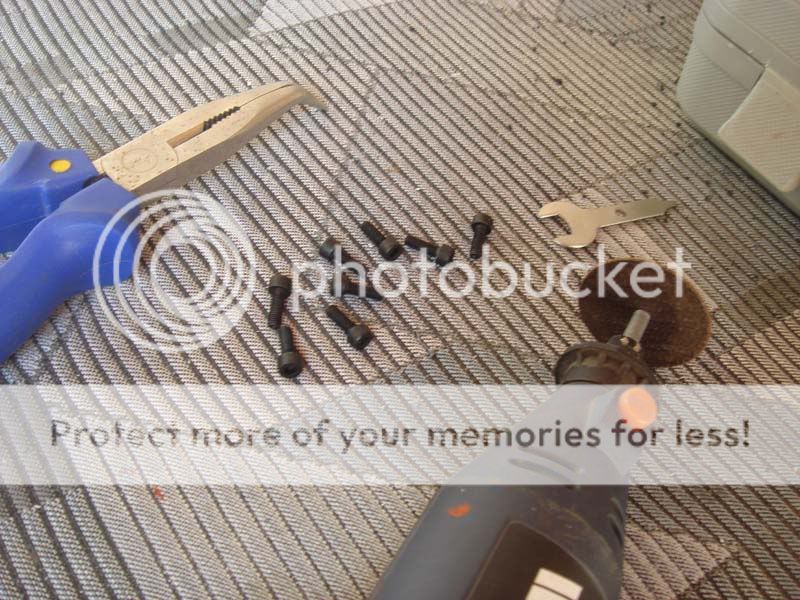
Countersinking and testing the screws if they fit perfectly.

DSC07290.jpg


DSC07291.jpg


Perfect fit!!!!!

DSC07294.jpg


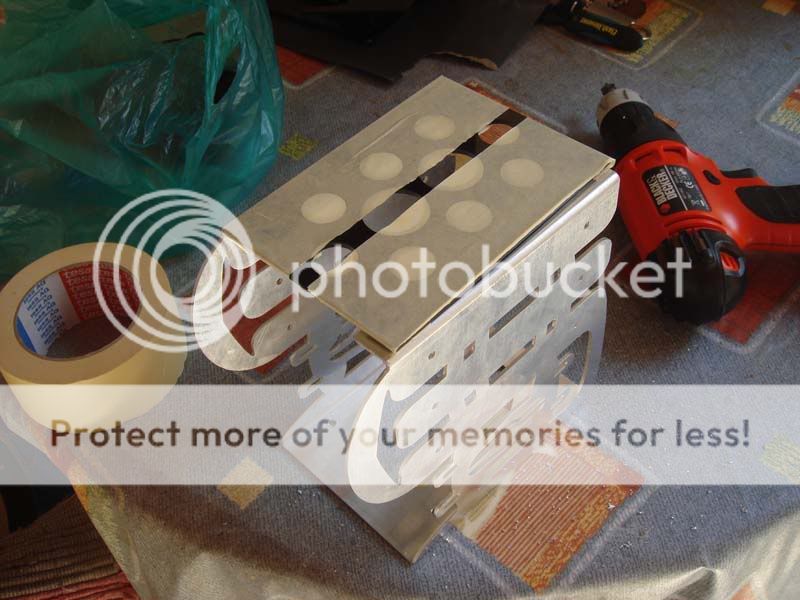
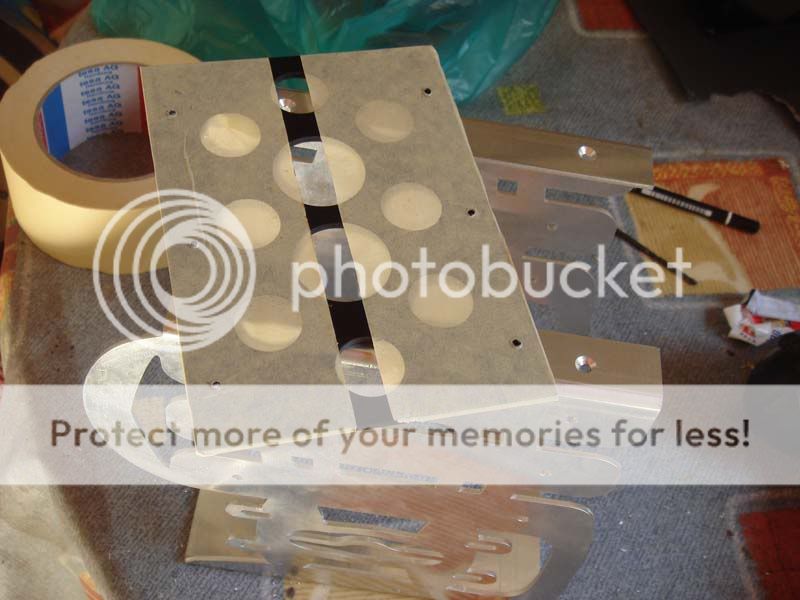
So now its time to attach the bottom part. I used black acrylic and I also draw some circles NOT for aesthetic

reason but to remove unnecessary material and extra weight. I did that in every part of the case I could , like the

right side panel etc in order to decrease the overall weight of this mod!

Some masking tape to mark the holes.

DSC07295.jpg


DSC07296.jpg


And drilled!

DSC07297.jpg


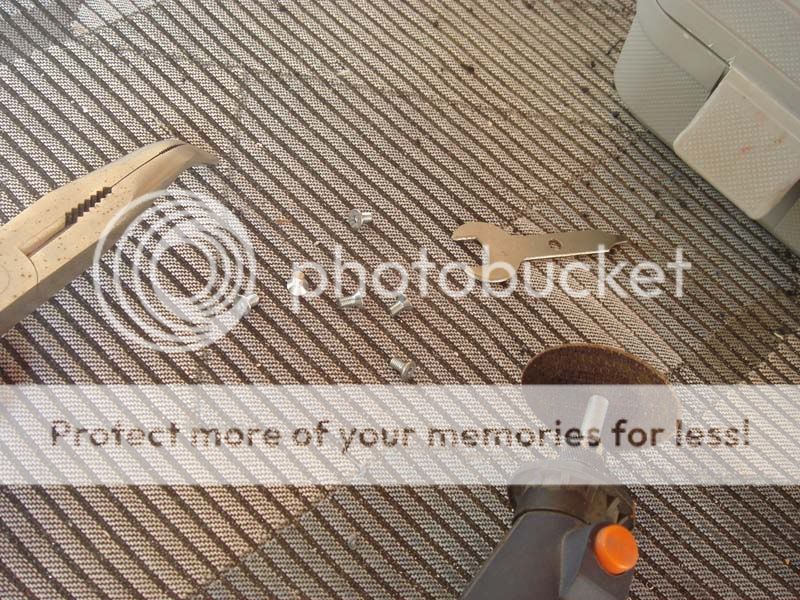
Threads and testing the size of the screw so I will remove the extra part.

DSC07298.jpg


DSC07299.jpg


DSC07300.jpg


DSC07304.jpg


Perfect fit and looks :)

DSC07306.jpg


DSC07307.jpg


DSC07308.jpg


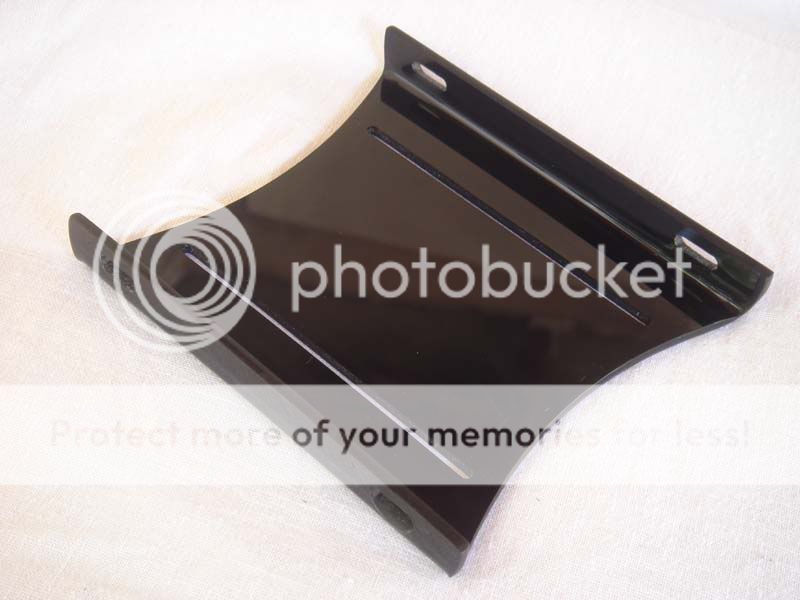
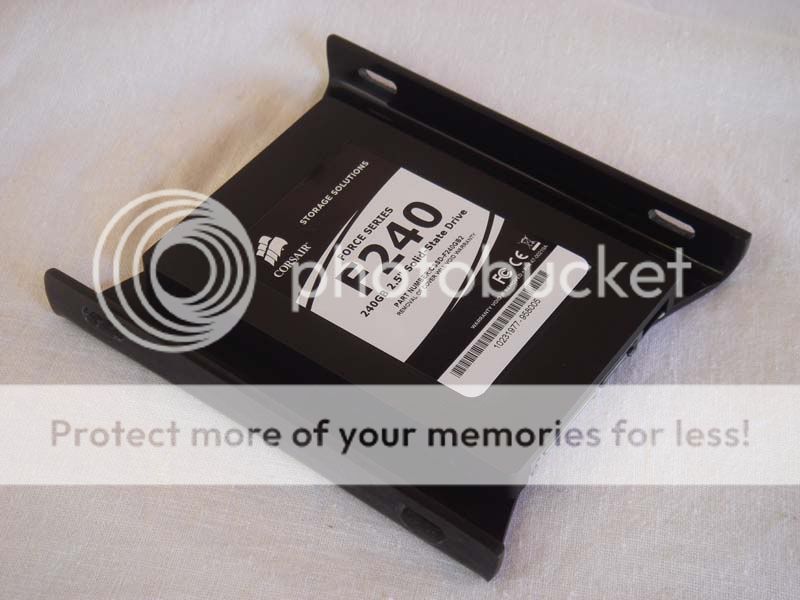
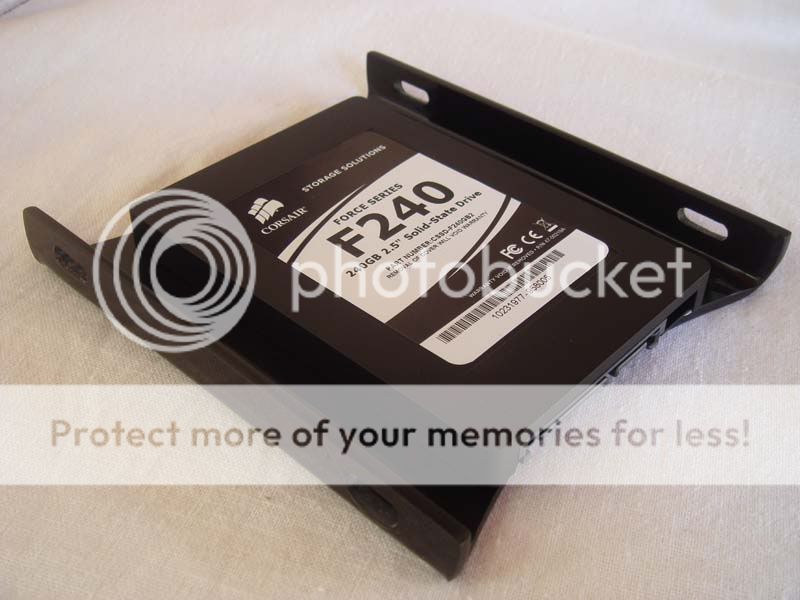
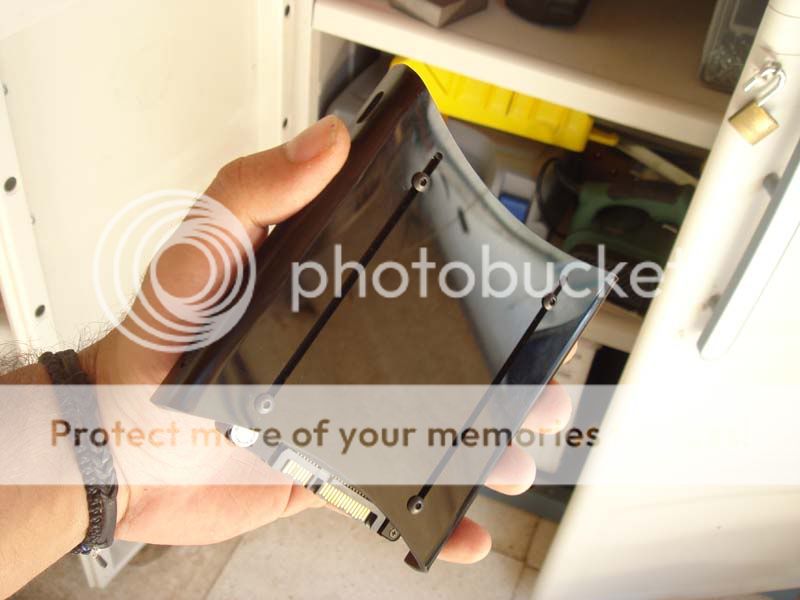
Cut the screws for the ssd holders. The ssd holders as you might notice, they can be moved forward and backwards for

almost 1 cm, that might come in handy while I am going to do the cable management.

DSC07309.jpg


DSC07310.jpg


Ssd attached on the holder.

DSC07311.jpg


Using nuts to hold the screws and holder and also to be able to loose them a little and move the holder and position

it whenever I want.

DSC07314.jpg


DSC07317.jpg


Went back to Mr.Kozis workshop to finish the rest. I wanted to have the reservoir glued and put together by an

expert cause I didnt have the proper glue and also the experience to make it as clean as possible. I also couldnt

afford to do any mistakes and ruin the looks of this mod.

First I did the threads in my place and then go to Kozis to do the rest.

DSC07284.jpg


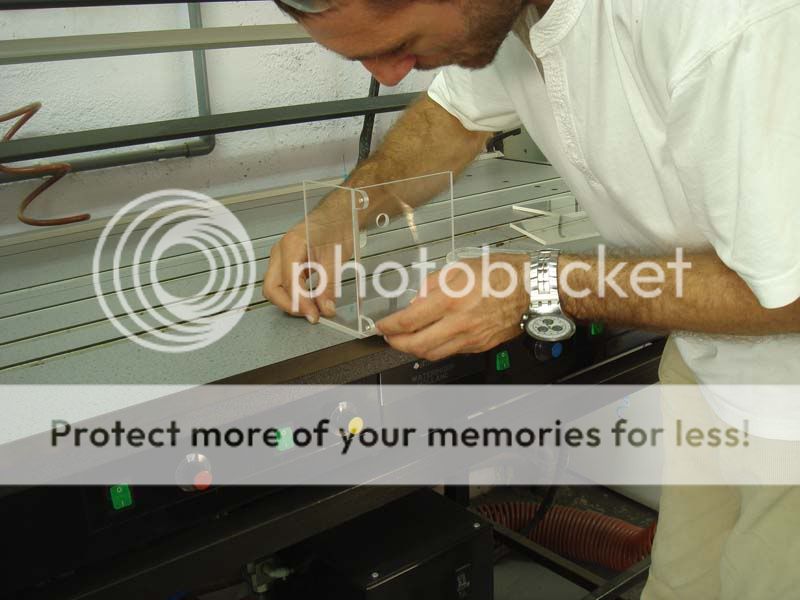
Here is Arman in action! One of the best in my country when it comes to gluing and putting together any acrylic

creation. He was working in a jewelery shop for many years so you can understand!

DSC07320.jpg


DSC07324.jpg


DSC07327.jpg


Here is the creation of the acrylic which it will have 2 channels that the liquid will pass through. Unfortunately

after when I glued that my camera was at a friends house so I couldnt take any pictures.

DSC07330.jpg


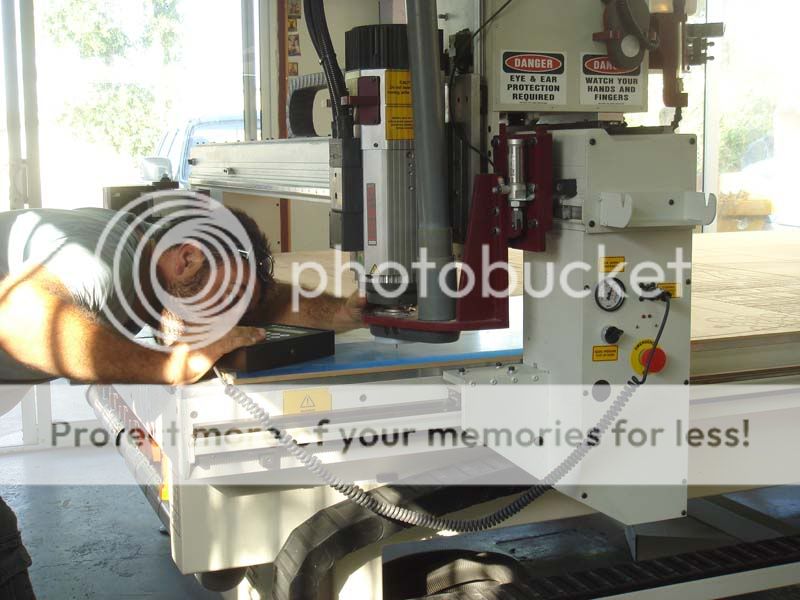
Here is Dimitris the expert on CNC machines and also in the designing department. Just tell him your idea and he

will draw and execute it in no time!

DSC07331.jpg


DSC07334.jpg


DSC07336.jpg


DSC07339.jpg


DSC07342.jpg


Here is the most time consuming part. This is as you might notice the flag used in the front page of the book my mod

is based on. This is not going to be the final look but I will not tell you what I plan to do, it will be a

surprise!

DSC07343.jpg


DSC07346.jpg


Some shots of the cnc.

DSC07351.jpg


DSC07352.jpg


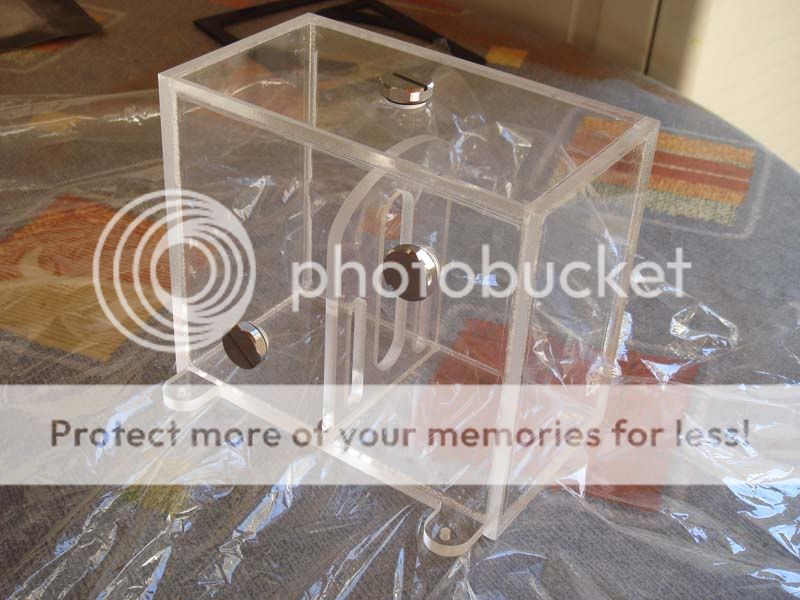
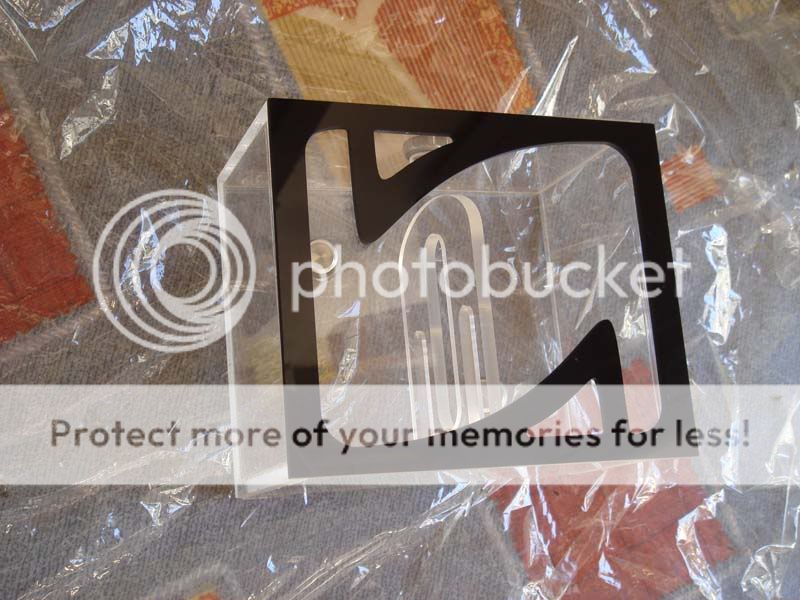
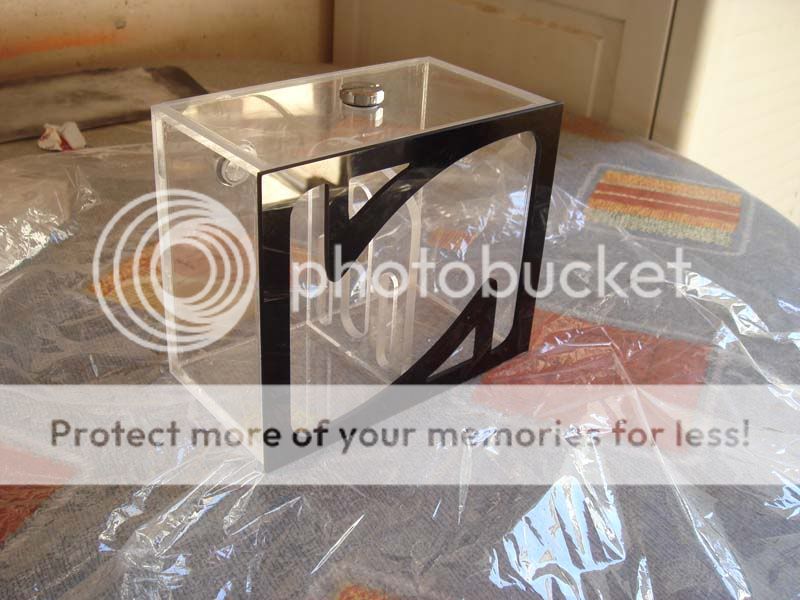
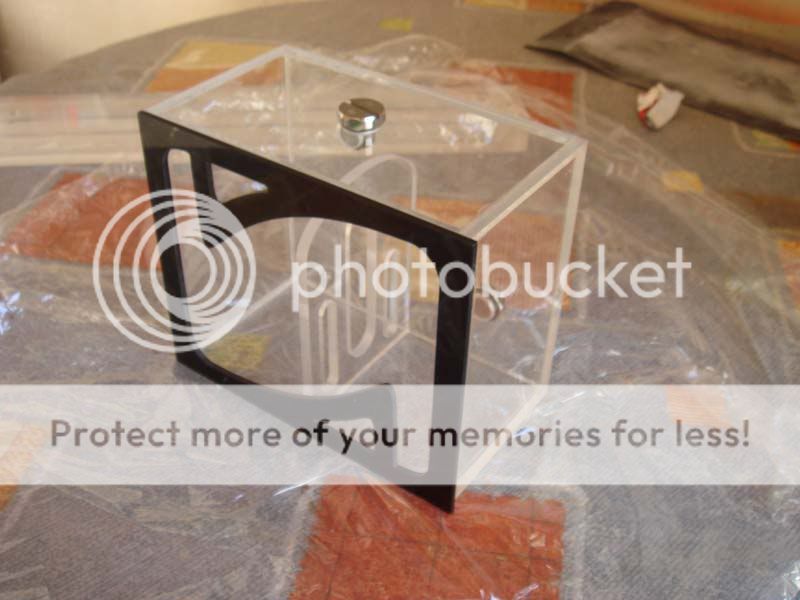
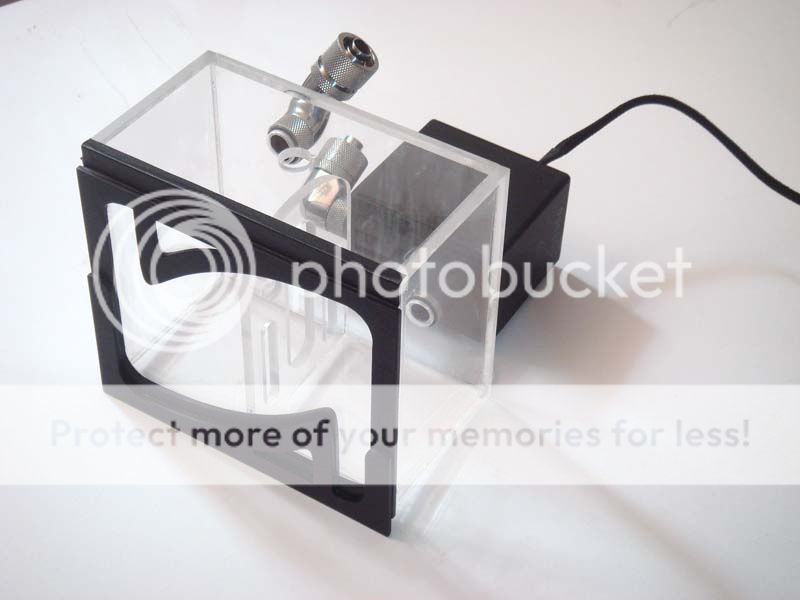
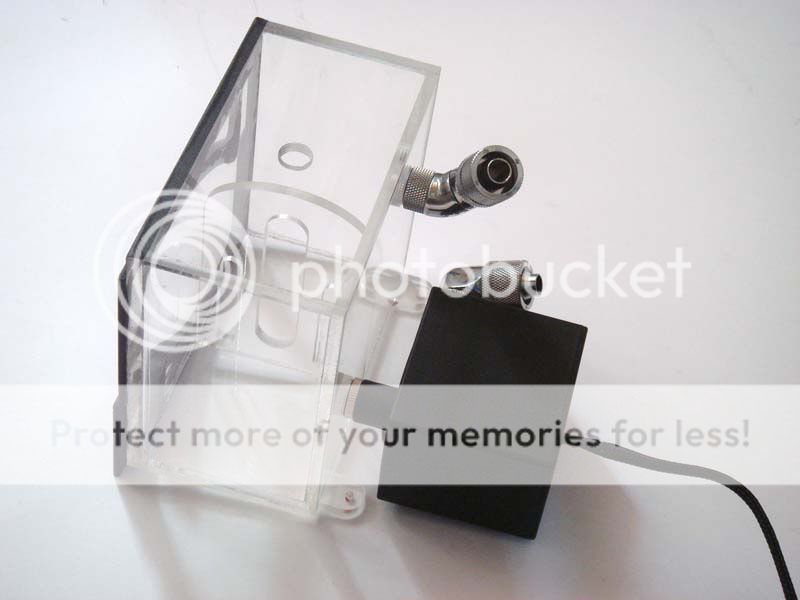
Here is the reservoir finished. At first I planned a complicated design but later on I decided
on something simple and neat just not to overdo it at the end.

DSC07353.jpg


DSC07354.jpg


DSC07355.jpg


DSC07357.jpg


Here is the faceplate I designed that I will attach later on.

DSC07360.jpg


DSC07362.jpg


DSC07364.jpg


And here is the acrylic thing I did, sorry I dunno any name for that so please if anyone knows let me know. It will

transfer the liquid from the rad to cpu and from the north bridge back to res.
I used some slow epoxy to make sure it will be secure and have no leaks.
This will be painted so I didnt care if it will be messy from the glue. Beside I will sand it and paint it later on.

DSC07366.jpg


DSC07367.jpg


1 and a half hour for sanding. Perfect finish and ready for some paint later on though!

DSC07368.jpg


Here is the second front panel which it will be "sandwiched" between the front aluminum part and the case. Some

minor polishing and sanding and also did the threads for the screws.

DSC07369.jpg


DSC07372.jpg


DSC07373.jpg


DSC07374.jpg


DSC07376.jpg


DSC07378.jpg


Thats all for now guys, thanks for reading my thread and appreciating my work. Till next time, peace!!! :)


A special thanks to my sponsors:


awesome work so far on this project man.
 
Here I am for one more update! As I promised there will be surprises and here I am with
"arty" new techniques.
But first of all lets see the creation of the case's feet.
For that creation I used 3mm black acrylic in circles of 5 and 4.5 cm each.

1.jpg


8mm threads ready!

DSC07394.jpg


And the process of polishing. I created something to hold the circles on the drill and by using
300, 500 and 1000 grit I achieved a very nice result. Also for the finish touch I used some polishing compound too.

DSC07395.jpg


DSC07396.jpg


DSC07397.jpg


DSC07401.jpg


Later I measured the distance needed for the steel thread I was going to install.Cut them and filed the edges.

DSC07402.jpg


DSC07403.jpg


DSC07405.jpg


Before.........

DSC07410.jpg


After!!!!!!

DSC07413.jpg


After that, I assembled them by attaching one circle - added slow epoxy - added another circle and so on.

DSC07468.jpg


For the bottom part of the feet I decided to use a matte sticker - no any special purpose, I guess aesthetic (non visible lol) reasons!!

DSC07480.jpg


DSC07481.jpg


DSC07495.jpg


And here they are finished!

DSC07498.jpg


This is Part 1 of this update. Part 2 follows in a while.....
 
Here is Part 2! This is one of the art parts of this mod!
Here you will see the creation of the flag which involves 4 new techniques!
Appliance of silver leaves, aging and 3d effect process and also fake matte anodize effect for acrylic!

First lets begin with the very time wasting process. It took me 6 whole days to finish it!
Here is the creation of a special liquid which in my language is called gomalakka but I couldnt find the word in English. Here is its original form, It looks like fish skin!

DSC07383.jpg


Here you can see the silver leaves I am going to use.

DSC07385.jpg


In order to make gomalakka a liquid we will need pure alcohol and a lot of patience.....
We need to put them together in a glass bottle (colored preferred) and shake them for 1 hour and in the meantime we need to change bottles to remove any small leftovers.

DSC07388.jpg


DSC07390.jpg


The final liquid wouldnt be visible through that bottle in order to take some pictures, it has
a browny color and a very sticky feeling. We use this in order to prepare the surface for the "mixtion" which is the glue for the silver.

DSC07427.jpg


First some sanding to eliminate any scratches. I wont need to do some hard work because gomalakka has the effect to close any imperfections of the surface by a creating a crystal above it.

DSC07453.jpg


DSC07454.jpg


Removed any dust and ready for gomalakka.

DSC07455.jpg


By using a brush I apply that liquid. 1,5 hour....

DSC07456.jpg


DSC07458.jpg


Then I applied the mixtion which is the special glue for the silver. It becomes ready after 3 hours or more (some mixtions require 12 or 24 hours!) because it has to dry and become like a crystal, not sticky.

DSC07459.jpg


And I begin to apply the silver with a special brush called "air" cause its very smooth for us not to scratch the leaves. Process : 1 hour

DSC07462.jpg


DSC07463.jpg


DSC07464.jpg


In order to make the aging and 3d effect technique we need to repeat this process 3 times!!!!
First we remove parts of the silver with a sharp object and also creating some patterns on it.
Then we apply silver again! In the areas where the silver will be doubled, it will shine more and be more smooth. That way it gives a feeling of aging.

DSC07465.jpg


After I applied silver again I come to remove any excess pieces of silver with the "air" brush again.

DSC07473.jpg


Here you can see how it looks.... for now!

DSC07474.jpg


Then I have to sand the surface to see more clearly any extra details I have to add or remove, because many of the silver is stacked on the primary surface of the flag.

DSC07476.jpg


Again removed silver and also did some patterns!

DSC07477.jpg


DSC07478.jpg


DSC07479.jpg


I also added some vitraux liner *third time in my mods* to give that 3d effect!
DSC07503.jpg


Removed again the excess pieces of silver with a finer "air" brush and also polished the silver by using only cotton!

DSC07509.jpg


DSC07511.jpg


DSC07512.jpg


DSC07513.jpg


Now for the final technique which I call the fake matte anodize cause the final look will be matte -not glossy- with small lines that I created with a sanding brick.

First we have to sand the surface with 500-1000-1500 and polish it.

DSC07514.jpg


After that we wet sand with a 300 grit sanding brick with straight and quick moves but we apply almost no pressure. Then its ready for some clear coat mostly for the silver.

DSC07520.jpg


DSC07523.jpg


DSC07526.jpg


And the final step is to repeat the last step! ;) This time though the process is slower and more carefull so the lines will be like - one matte- one semi gloss look like. This will give the feeling of the fake anodize.

DSC07528.jpg


DSC07532.jpg


And here is our final product!!!!

DSC07534.jpg


Thanks for reading my thread guys, I hope you like it! More to come soon! Till then, Peace!!

A special thanks to my sponsors:


Thank you my friend!

Quick update again guys. Some random work I did this couple of days.

First of all I replaced the philips screws of the side panels with 5mm hexagonal ones which are
stainless steel and they will be polished later.
I also didnt countersunk them completely, it gives a more extreme look to the case that way, a more "mechanical" look as I like to say.

DSC07538.jpg


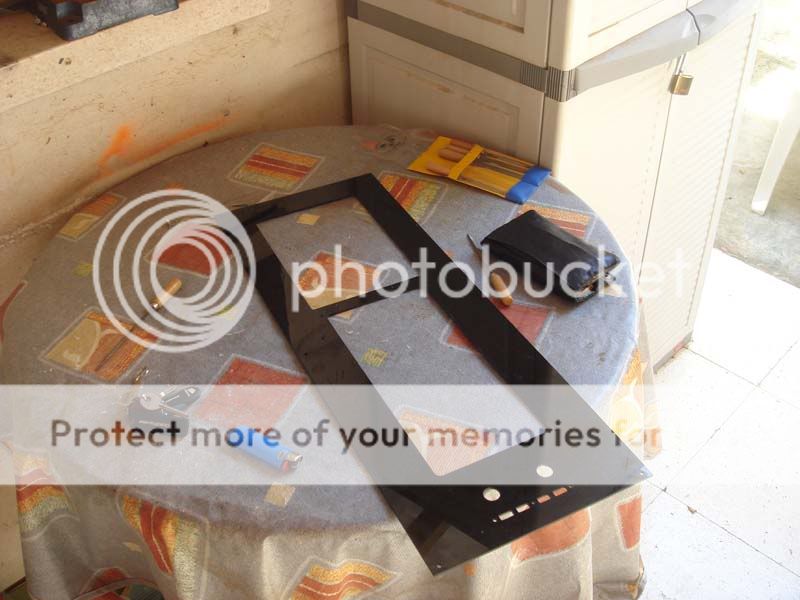
Second I installed the little window for the cathode. Threads on the acrylic first:

DSC07545.jpg


Testing

DSC07547.jpg


Countersunk the holes for the screws

DSC07561.jpg


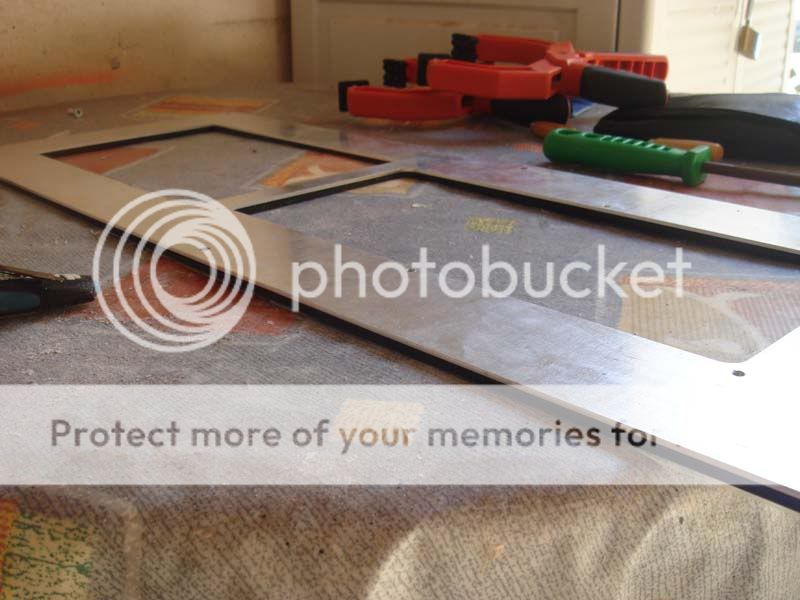
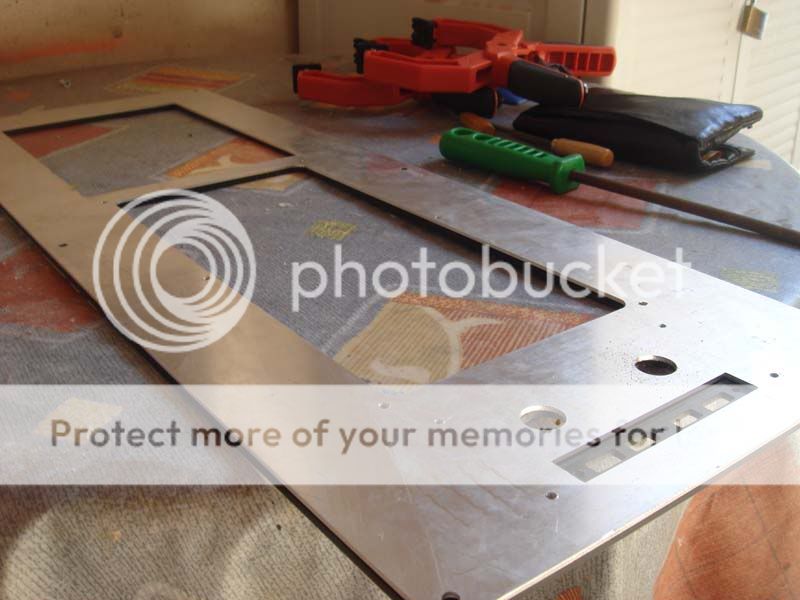
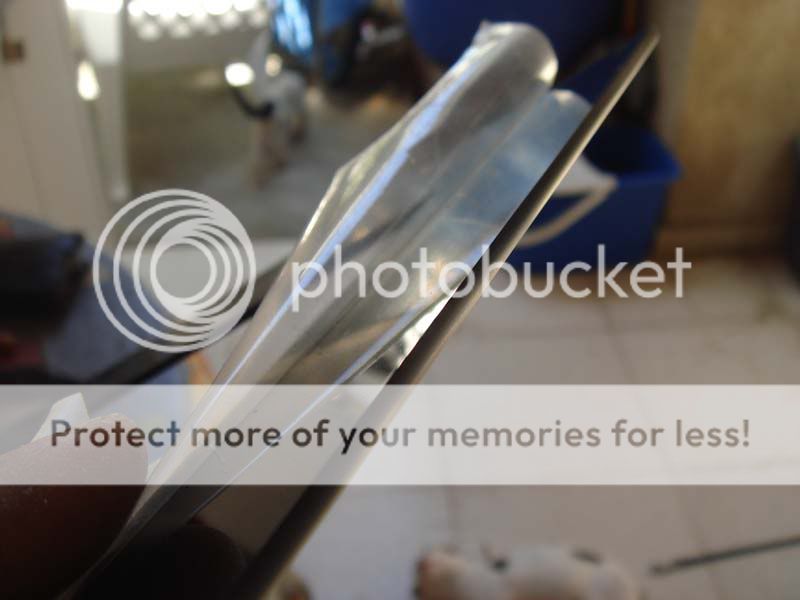
And installed. I didnt remove the protecting tape as I want to protect the surface from scratches.

DSC07565.jpg


Some work that I did on the front panel. First I had to remove 1mm from the bottom and top part of the front face. This mistake occurred to some last minute changes but it something that

it can be "easily" fixed!

DSC07552.jpg


Attached along with the black faceplate.

DSC07554.jpg


DSC07556.jpg


DSC07560.jpg


Off course thats not final as I have a lot to do yet.
I also did the remaining threads of the side panels.

DSC07566.jpg


I also tried to install the acrylic window and after I did the threads I realised that the holes for some reason wasnt aligned! In the Corel Draw designs are perfectly aligned but for

some strange reason they were completely out of alignment! That "unlucky" incident was for a good reason though as you will see the engravings on the window have some white spots which I

didnt like at all so now I am going to laser cut it and etch the letters instead of engraving them. So... some bad situation turned that they 've happened for our own good!

Quick update again guys. Some random work I did this couple of days.

First of all I replaced the philips screws of the side panels with 5mm hexagonal ones which are
stainless steel and they will be polished later.
I also didnt countersunk them completely, it gives a more extreme look to the case that way, a more "mechanical" look as I like to say.

DSC07538.jpg


Second I installed the little window for the cathode. Threads on the acrylic first:

DSC07545.jpg


Testing

DSC07547.jpg


Countersunk the holes for the screws

DSC07561.jpg


And installed. I didnt remove the protecting tape as I want to protect the surface from scratches.

DSC07565.jpg


Some work that I did on the front panel. First I had to remove 1mm from the bottom and top part of the front face. This mistake occurred to some last minute changes but it something that

it can be "easily" fixed!

DSC07552.jpg


Attached along with the black faceplate.

DSC07554.jpg


DSC07556.jpg


DSC07560.jpg


Off course thats not final as I have a lot to do yet.

I also did the remaining threads of the side panels.

DSC07566.jpg


I also tried to install the acrylic window and after I did the threads I realised that the holes for some reason wasnt aligned! In the Corel Draw designs are perfectly aligned but for

some strange reason they were completely out of alignment! That "unlucky" incident was for a good reason though as you will see the engravings on the window have some white spots which I

didnt like at all so now I am going to laser cut it and etch the letters instead of engraving them.

DSC07569.jpg


DSC07573.jpg


DSC07582.jpg


DSC07583.jpg


Next my work on the right side panel (engraving later on!)
First, the mesh for the ventilation.

DSC07570.jpg


DSC07571.jpg


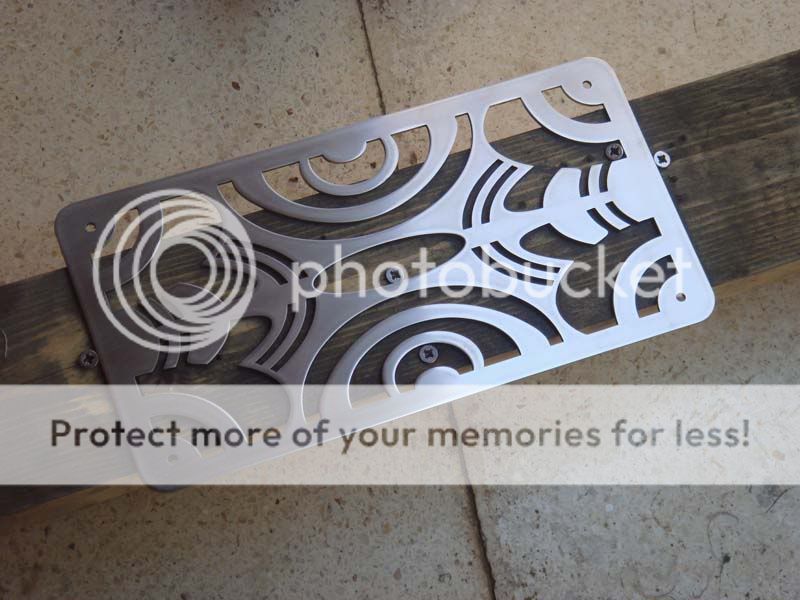
And then everything else attached. I have to polish the stainless steel (2047) and do the engravings ( I am thinking of some crackling effect but we will see)

DSC07576.jpg


My friend checking my work!

DSC07577.jpg


As you can see the way I designed it the mesh is hidden between the aluminum and the stainless steel, that way its more clean and good looking.

DSC07578.jpg


So thats all for now guys, thanks for reading my worklog, till next time Peace and Prosperity!


A special thanks to my sponsors:


Last edited:
Ok time for one more update guys!
These days I did various little things which you will see in the process.
For the next days I will slow my pace cause I need to clear some things with sponsors - companies etc. Also I wait for some packages to arrive in order to keep on working and
also I have to make some more orders.

Lets start with some sleeving. I only did the 24 pin as I run out of sleeving and heatshrink!!

Here is something I did in order to cut the heatshrink in exact size pieces. Simple yet effective!

DSC07584.jpg


DSC07585.jpg


I also decided to change the 20 + 4 pin connector with a 24 solid one.

DSC07589.jpg


And the rest of the process with no comments. More pictures to follow in the upcoming updates.

DSC07591.jpg


DSC07592.jpg


DSC07599.jpg


DSC07601.jpg


DSC07602.jpg


DSC07604.jpg


The reason I split the cables in 2 with cable ties is for management reasons and also
for aesthetic ones when I will come to the final assembly.

DSC07664.jpg


Next I attached the faceplate on the reservoir by using slow epoxy glue.
As you can see theres a space on the top side, thats because it will be hidden by the front panel.
More on that later on.

DSC07607.jpg


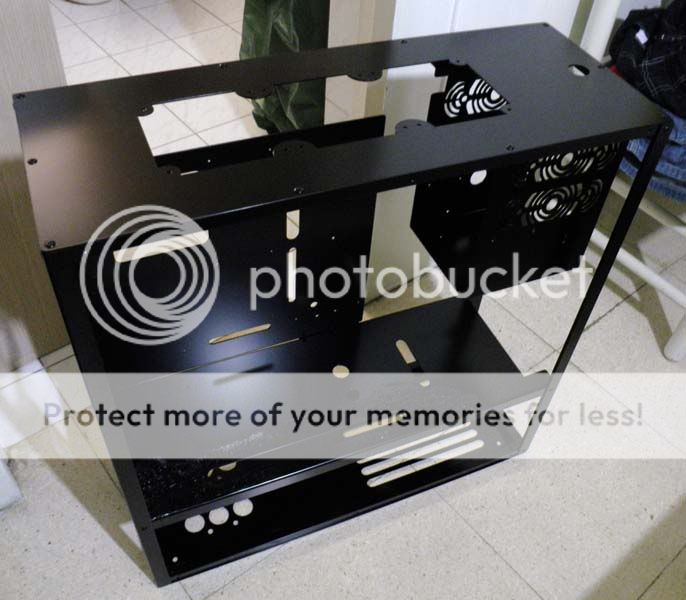
I decided to make a ventilation for the power supply as in my original designs I forgot to make
one lol ! Anywayz check out the process with no comments.

DSC07609.jpg


DSC07612.jpg


DSC07614.jpg


DSC07618.jpg


DSC07619.jpg


Oh that needs a lot of filing and sanding... And in a condition of 40 degrees Celsius its not the best thing but the final result talk for it self.

DSC07620.jpg


DSC07624.jpg


DSC07627.jpg


DSC07629.jpg


DSC07630.jpg


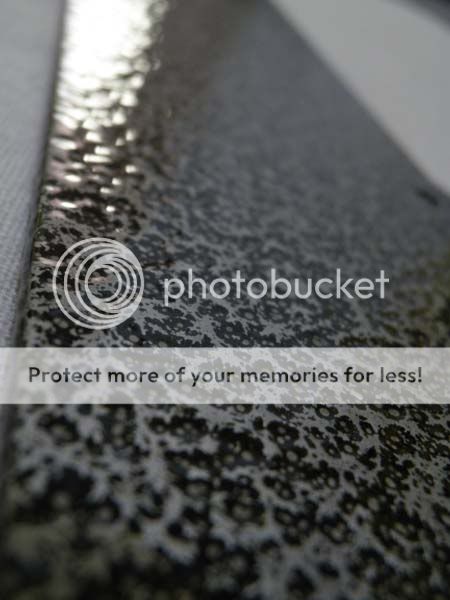
Here you will see one of my new painting techniques. This technique is called the "marble effect". Its a mixture of the crackling, multi-layer, splash and fade out techniques. It took me 5 hours straight due to the intense heat outside, otherwise I would have spent more than 10 hours!
First 2 layers of primer and then 2 layers of matte black.

DSC07633.jpg


Then a thin layer of primer and right away we start scratching the surface creating that way
the crackling effect. One layer matte black, repeat and again primer and repeat.

DSC07634.jpg


DSC07635.jpg


DSC07636.jpg


Then we add our secondary color which in our case will be chrome. I didnt want that
to be shiny as I would like to give emphasis on the other parts like the fittings and blocks inside the case so I used the fade out technique.

DSC07637.jpg


Some sanding in between and now let the pictures talk by themselves. :)

DSC07638.jpg


DSC07639.jpg


DSC07641.jpg


DSC07642.jpg


DSC07643.jpg


This is the final result we are after. Fantastic isnt it? Really worth the extra trouble!

DSC07646.jpg


DSC07647.jpg


DSC07649.jpg


DSC07654.jpg


DSC07655.jpg


DSC07657.jpg


DSC07662.jpg


Thanks for watching guys, your comments and presence in my work gives me the required strength to keep modding. Till next time, Peace!!!!


A special thanks to my sponsors:


I will like to inform my friends that the project will be put in hold for 15 days due to some urgent things I have to do, please understand and hopefully I will be back in action soon again. Thanks
 
I will be back soon with an update but first I would like to introduce my new sponsors!

First off all one major sponsor with an amazing marketing approach and fantastic communication! Welcome MSI on board! MSI will provide me with 2

Graphic cards which I will reveal in an upcoming update. Thanks MSI!!!!


And also welcome EVGA which they made a small discount to me for the EVGA FTW 3 motherboard. I choose this motherboard to fit with my theme which as

you already know is black and silver and I want to be careful with every detail on this mod. Thanks EVGA too!


And also here are some pictures of the motherboard, many more to follow!

DSC07758.jpg


DSC07763.jpg


DSC07768.jpg


DSC07769.jpg


DSC07771.jpg


DSC07774.jpg


DSC07775.jpg


DSC07778.jpg


DSC07780.jpg


DSC07784.jpg


DSC07789.jpg


Thanks for all your support so far my friends, I will be back with a small update due to the delay of my orders and packages I cant keep on modding

without the rest of the hardware as I need them to measure and install! Stay tuned and... cool! :) Peace!


A special thanks to my sponsors:


As I promised I am back for an update.
Due to the weather conditions here (46 Degrees Celsius and up) I did some work inside my room and as you might guessed , sleeving indeed! Also in order to keep on with this mod I have to receive 6 packages with hardware and various other stuff so I got to wait for them to arrive and start working on the case again.

Here you will see some of the sleeving work I did. I measured all the cables to the right length, I cut them, soldered them and.... sleeved them.

I would like to apologize for the poor quality of the pictures, my camera gone crazy and with the same lighting and settings it shoots totally different quality pictures, I have to buy a new one soon.

So lets begin our "sleeving" journey! First of all the work I did on the USB extension cable
and also on the 8pin mobo extension.
I will redo the power supply as long as I get some silver sleeving and some other stuff I wait to arrive.

DSC07684-1.jpg


DSC07688.jpg


DSC07689-1.jpg


DSC07684.jpg


DSC07691.jpg


DSC07692.jpg


DSC07694.jpg


DSC07696.jpg


Reinforcements arrived!!! :)

DSC07700.jpg


Here is the work I did on the Nesteq's amazing new fan controller! I had to measure each fan in order to calculate the right distance. A lot of soldering too!

DSC07702.jpg


DSC07703.jpg


DSC07704.jpg


DSC07705.jpg


DSC07706.jpg


DSC07707.jpg


DSC07708.jpg


DSC07709.jpg


DSC07712.jpg


DSC07713.jpg


DSC07714.jpg


DSC07715.jpg


DSC07716.jpg


DSC07721.jpg


DSC07722.jpg


DSC07723.jpg


Power and restart switches. I had to increase their length so soldering again!!

DSC07725.jpg


DSC07730.jpg


DSC07731.jpg


DSC07733.jpg


Here is one modular cable from the Corsairs PSU. I wanted the molex's to be close to each other and also the floppy connector longer in order to reach the sound card.

DSC07735.jpg


DSC07736.jpg


DSC07738.jpg


DSC07740.jpg


DSC07742.jpg


DSC07743.jpg


And here are the white cold cathodes. One cathode has to be on the upper part of the case so I had to increase its length. Also I made a hole on the box for the one cathode to look upwards. One of the cathodes is soldered on the circuit for "convenience" reasons :)

DSC07746.jpg


DSC07747.jpg


DSC07749.jpg


DSC07750.jpg


Micro soldering here :)

DSC07751.jpg


DSC07753.jpg


DSC07754.jpg


DSC07755.jpg


DSC07756.jpg


Here are the 2 fan controllers which I am going to attach on the back part of the case. These
2 controllers are going to be attached on the second GPU radiator. I had to modify them in order to reach the power source and also the 2 fans.

DSC07791.jpg


DSC07792.jpg


DSC07793.jpg


DSC07794.jpg


DSC07795.jpg


DSC07796.jpg


DSC07797.jpg


DSC07798.jpg


DSC07799.jpg


DSC07800.jpg


DSC07801.jpg


DSC07803.jpg


DSC07804.jpg


DSC07805.jpg


DSC07806.jpg


DSC07808.jpg


And here are all the components I sleeved so far! More to follow!

DSC07815.jpg


DSC07818.jpg


DSC07819.jpg


DSC07822.jpg


DSC07823.jpg


DSC07826.jpg


DSC07828.jpg


DSC07830.jpg


Thats all for now my friends. Thanks for watching and commenting, till next time, peace!


A special thanks to my sponsors:


I am back guys for a new update.
I received some of the packages so I could do some work these days hopefully
I will receive the rest tomorrow as from the next week, everything in my country will be closed
including the post office due to our holiday season. So if I dont I will come back on September.
Lets begin with the first package!

Many many thanks to EK and Mr.Edvard for all these beautiful goodies!
With his support I will be able to get this babe wet :) and also point towards the silver
color which is my main theme (black and silver)


DSC07854.jpg


And here are... the half of the goodies!

DSC07859.jpg


And the other half!!!

DSC07860.jpg


Here you will see some of the products cause I will post later more pictures and info on
the assembly process. Outstanding quality and package. Simply the best...
No more comments lets just view some of the products.

DSC07863.jpg


DSC07864.jpg


DSC07866.jpg


DSC07868.jpg


DSC07870.jpg


DSC07871.jpg


DSC07872.jpg


DSC07873.jpg


DSC07875.jpg


DSC07876.jpg


DSC07879.jpg


DSC07880.jpg


DSC07881.jpg


DSC07888.jpg


DSC07889.jpg


DSC07890.jpg


DSC07892.jpg


At the end of this mod, I will run a lot of benchmarks regarding the performance of each product of this mod including temperatures, overclocking

potentials etc etc.

So lets move on to the second package I received from my sponsors!
Please welcome MSI on board!!!
My friends at MSI were absolutely fantastic on communication and negotiations, something
I really admire and appreciate! Thanks MSI again!


DSC07996.jpg


And voila!!!! 2 fantastic GPU's inside ready to be overclocked to their limits!

DSC07997.jpg


DSC07999.jpg


DSC08000.jpg


DSC08001.jpg


A lot of goodies inside! For more info check their website here :
http://eu.msi.com/index.php?func=proddesc&maincat_no=130&cat2_no=136&prod_no=2039

DSC08003.jpg


DSC08004.jpg


DSC08006.jpg


DSC08009.jpg


So what are we waiting for? Lets get these 2 babies naked and get them wet! ;)
Tools and cards? Ready!

DSC08010.jpg


Proper tool for the right job!

DSC08011.jpg


DSC08012.jpg


First screws removed! The reason I removed these screws is that I will remove the brackets completely in order to install the EK ones after I powder

coat them black!

DSC08014.jpg


Philips screw head on and lets move on!!

DSC08015.jpg


Bracket removed.

DSC08017.jpg


Here is the bracket from EK which I will install after the powder coating's done!

DSC08021.jpg


16 screws to be removed from the PCB in order to remove the heatsink.

DSC08022.jpg


Heatsink removed.

DSC08023.jpg


Clean the GPU and ready for further "treatment" :)

DSC08024.jpg


All we need is in here!! Thermal pads, screws, etc etc. In the package it wasnt included any thermal paste so I used some MX2. MX3 is used for the

mobo etc.

DSC08025.jpg


Installation of the thermal pads.

DSC08026.jpg


GPU reinforce bracket also installed. According to EK it reinforces the PCB for perfect GPU contact with water block without unwanted PCB bending

which is a very good addition.

DSC08027.jpg


Placed the standoffs on the block by using some thermal paste.

DSC08028.jpg


Block installed and ready for its backplate. Pictures taken indoors and outdoors.

DSC08031.jpg


DSC08034.jpg


DSC08037.jpg


This is something I will add on the backplate later on, it will be laser cut black acrylic with fake anodize and silver leaf technique, I might change

my mind though but I will keep you updated for any changes.

msi3.jpg


Thanks for watching guys, your comments and presence in my worklog is much appreciated always and if you are just a guest you can always sign in and

say hi!
Peace to you my friends!


A special thanks to my sponsors:


Back for a quick update.
I changed my plans on the MSI back plate logo, due to insufficient space and visibility.
The graphic cards are very close to each other, I had to modify the Bitspower acrylic sli tube in order to fit too. As you will see I installed EK 's

EVGA X58 kit which is acetal + nickel.
Also my camera gone crazy and I believe is going to die soon as it cant zoom, it stays blur and I
cant shoot etc etc. I will buy a new one soon, forgive me about the quality at the moment.

DSC08046.jpg


DSC08048.jpg


DSC08051.jpg


I decided to attach the logo on the side of the cards using the free sli connector slots.
I used this old sli bridge to take the connectors.

DSC08052.jpg


DSC08053.jpg


DSC08054.jpg


Then I cut a piece of black acrylic for the logo.

DSC08056.jpg


DSC08057.jpg


Printed the logo on a sticker and attached it on the acrylic. That way I will be able to engrave the acrylic more precisely. I will combine a gothic

style pattern engraving with a crackle effect silver leaf technique to give the logo a more artistic style.

DSC08070.jpg


DSC08071.jpg


DSC08073.jpg


DSC08078.jpg


I applied the mixtion and while it was needed to cure for 3 hours I glued the connectors using slow epoxy.

DSC08079.jpg


Applied 2 layers of silver leaf and with a needle I did the crackling effect (total of 9 hours preparation) . Here are some pictures!

DSC08104.jpg


DSC08114.jpg


DSC08122.jpg


DSC08131.jpg


I hope you like my idea. That way the logo will be visible through the case's window. Till next time, peace and stay cool ;) Thanks for watching and

commenting!


A special thanks to my sponsors:


wow, everything you've done so far looks amaaaaazing. I'm diggin the marble effect on the paint job and the logo.
 
Thanks buddy glad you liked the artistic part of this build! You will love my previous mod Totechnika :)
 
Back for one more update, I did a lot of work but I will post my work later on in upcoming updates .
I will begin with some packages I received, old and new.
First some things I ordered.
LG Blu Ray Writer, Intel Core i7 930 and 2X Western Digital 500GB Sata6 hard drives

DSC07965.jpg


DSC07968.jpg


DSC07969.jpg


DSC07972.jpg


DSC07974.jpg


DSC07975.jpg


Reinforcements arrived from Mr.Nills at MurderMod and Aquatuning.
A lot of cable management clips (new series), connectors in black, pins for ATX, some watercooling bits I needed and silver sleeving!!

DSC08164.jpg


DSC08165.jpg


DSC08166.jpg


Now I will show you some work I did in association with my friend Masbuskado from NewModCity! I wanted to do some stickers - logos for Corsair's ram, airflow and psu.
So Masbuskado was the best for that kind of job. He is a fantastic modder and also a web and graphic designer!

If you want custom logos, any graphic job or even a website send me a PM and I will get you in contact with one of the best!

nmcgrafx10_450.jpg


Here you can see his creation, I just told him my idea and immediately he created that awesome logo!

angelstickers_b.jpg


First I tried to make some stickers but later on I decided to use a high glossy paper and glue it my self for the reasons you can see here:

DSC07836.jpg


So I printed and cut the desired logos in the right length and width, got my "tools" ready and with some patience I got the job done!

DSC07841.jpg


DSC07842.jpg


DSC07851.jpg


I also redid the Power Supply. As you can see I canceled the 2 PCI express cables because I am going to use the modular cables for that. I also did the sleeving again with some silver addition and also sleeved the 8pin mobo cable. Here are some pictures:

DSC08167.jpg


DSC08169.jpg


DSC08200.jpg


DSC08202.jpg


DSC08205.jpg


DSC08208.jpg


DSC08209.jpg


Here are the ram

DSC08213.jpg


DSC08216.jpg


Also as you can see I used some paint remover to change the color on the ram heatsinks. I might leave them as they are now after the remover (silver) Will see!

DSC08219.jpg


DSC08220.jpg


More on that in an upcoming update. As I did a lot of work I will update every day or two.
Thanks for reading my work and commenting! Peace!


A special thanks to my sponsors:


This just keeps getting better and better bro!
 
I always love to see builds like this. So much heart, soul, sweat, and blood goes into it to make it nothing short of amazing. I can't wait to see the finished product.
 
Thank you my friend for your nice words, much appreciated! :) Its comments like these that gives me strength to move on and keep on modding.
 
Back again for a largish update! :)
As I am approaching the end of this mod, the things I ve got to do are details and final assembly checks. You will see that process on the upcoming updates so expect details, artistic adds etc!
Lets begin with some "artistic" custom cable management clips (large name huh ) I created
for two large group of cables, because for the rest I am going to use mostly clips from MDPC-X.
I used 2 mm aluminum for that.

First the primary shape.

1.jpg


2.jpg


Then I created a "gothic" style pattern using the dremel bits you see in the picture.
Those clips are going to be powder coated black. Also I filed all the edges and corners for them to be smooth not to rip apart sleeving and cables!

3.jpg


4.jpg


5.jpg


While I was installing the tube reducer I noticed that a fitting was interfering with the 5.25 bay
so I had to cut a piece.
Just a quick marking there :p

DSC07906.jpg


DSC07907.jpg


DSC07908.jpg


And done!

DSC07908b.jpg


Also I had to cut a piece from the middle floor department for the cables to pass though.

DSC07910.jpg


DSC07911.jpg


Ready!!!

DSC07917.jpg


The custom spacers I created needed some sunshine :p I got them ready in order to give them a new shiny look as you will see.

DSC07920.jpg


While I was waiting for the primer to dry I found the chance to polish some of the screws!

First step.....

DSC07925.jpg


Second step........

DSC07927.jpg


Third step.......... You can see the hexagon hole dirty... Me no like!

DSC07932.jpg


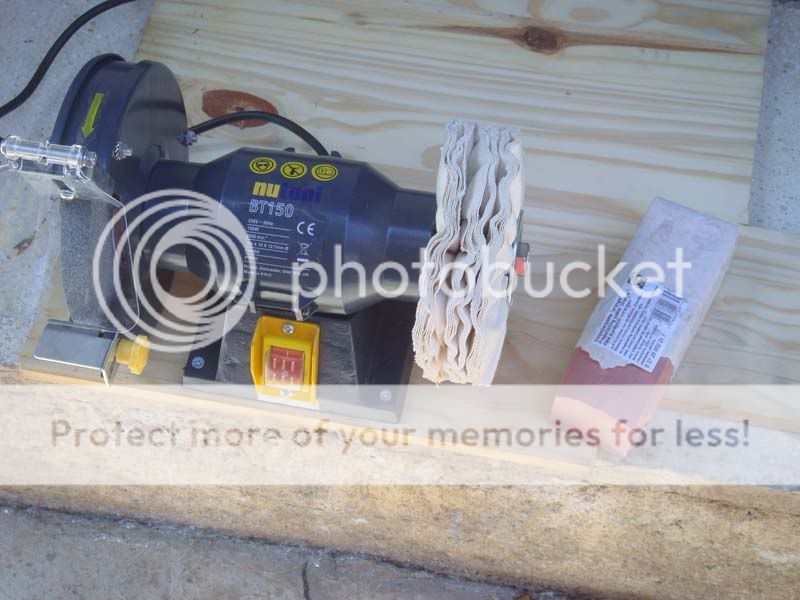
And final step! Here I used for the final touch, a metal polish from Autosol which I have to admit is really good! I also used a special bit to clean the holes for the perfect finish!

DSC07933.jpg


DSC07938.jpg


DSC07940.jpg


DSC07947.jpg


DSC07951.jpg


Here is my technique on chrome. I would like to see if you like it!

DSC07954.jpg


As I mentioned before I am going to use titanium in order to close some holes, fix something on the chassis etc etc. Here you will see some of the work I did. This thing is really strong and it can be powder coated later on!

DSC07955.jpg


DSC07959.jpg


DSC07962.jpg


I also modified the top acrylic in a more aggressive and minimalistic design. I also applied the fake anodize technique which I will show you in an upcoming update more details! I am using a polish afterward so no fingerprints, no dust and a shiny extreme look!

DSC07963.jpg


Here are some shots of the cpu block installation which I forgot to post!?!? :p

DSC07976.jpg


DSC07979.jpg


DSC07984.jpg


DSC07987.jpg


DSC07992.jpg


DSC07994.jpg


DSC07995.jpg


Radiators ready! Noiseblockers, fittings installed and wires cable tied!

DSC08139.jpg


Here you will see my tests after I cut that piece from the bay.

DSC08143.jpg


DSC08144.jpg


Reservoir clips... ok!

DSC08145.jpg


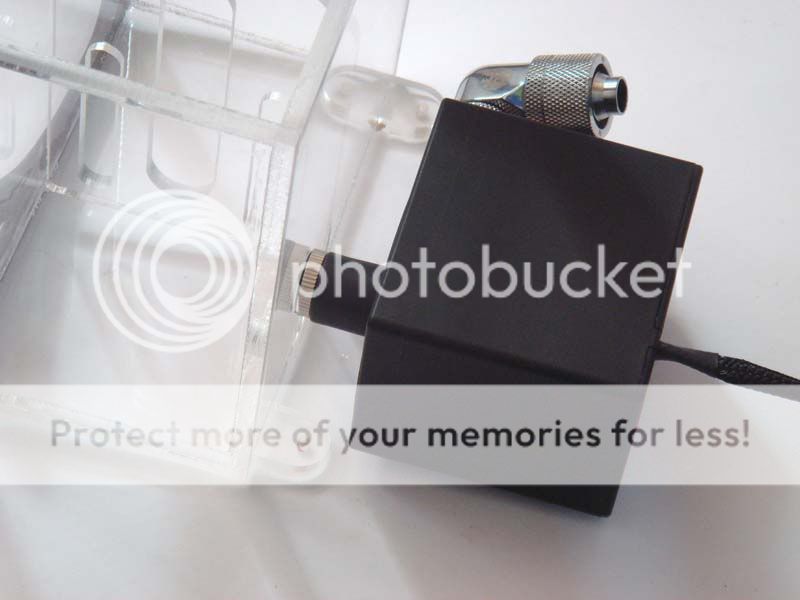
Reservoir and pump attached together and installed them so I could measure the hole for the tubing.

DSC08146.jpg


Start the drills!! And a lot of filing too!

DSC08148.jpg


In the first hole I added a rubber one....

DSC08149.jpg


And a Bitspower on the other! Many people would have gone with 2 the same but I prefer
to give my own touch to my mods and dont just immitate. Also this mod is a combination of art and industrial so as with Totechnika when I mixed the art with technology so here I do something similar.

DSC08151.jpg


DSC08153.jpg


And a random shot!

DSC08154.jpg


Testing the reservoir. I added a piece of acrylic on the front face to give a 3d look and more modern, it looks great but I prefer to take some shots afterward on that.

DSC08155.jpg


Here is the ASUS Xonar I mentioned before. The card when is installed it has some bright orange lights. That wont fit with the theme so I decided to remove them completely. I dunno if that will cause any problems but modding is all about.... modding lol :)

DSC08160.jpg


DSC08161.jpg


Also there was a sticker which it was half removed and I replaced it with one mine as it was
really ugly and also I couldnt remove it without damaging the card!!!!

DSC08162.jpg


Some more titanium work! I decided to cancel some of the holes on the 5.25 bay as I wasnt going to use them.

DSC08170.jpg


DSC08171.jpg


Clean and clear!!!

DSC08172.jpg


Longer screws? Cut them!

DSC08174.jpg


Thats all for now guys, commenting in my work is always appreciating and also very helpful as it gives me power and motivation to move on! Thanks and stay cool!
Thanks to Pope the dope for helping me out with the photos. As my camera worth nothing, we found a way to make the pictures a little better! Hope you like them at least!


A special thanks to my sponsors:


Here I am again guys for one of the last updates!
We are moving towards to completion of this mod and I hope you enjoyed
this little journey!
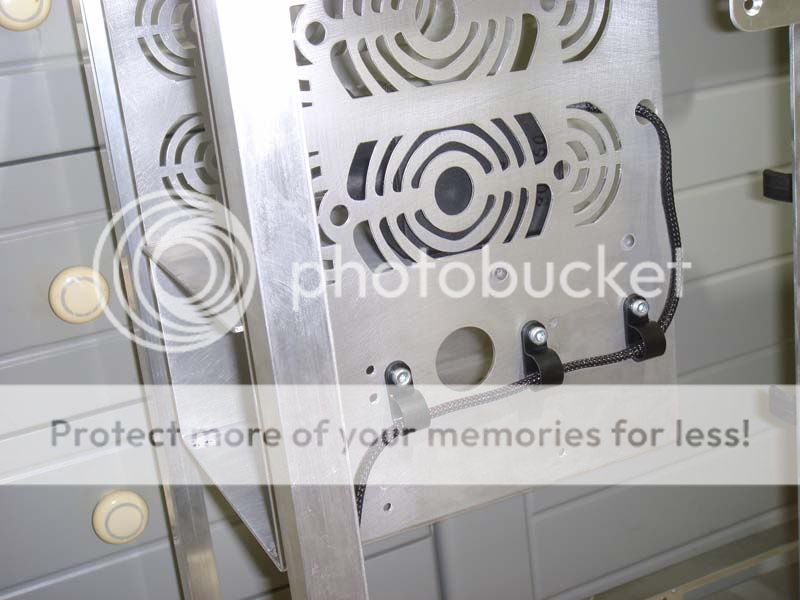
First I designed in my mind the main route of the cables and I attached some MDPC
cable holders:

DSC08222.jpg


DSC08223.jpg


DSC08224.jpg


DSC08226.jpg


DSC08230.jpg


DSC08231.jpg


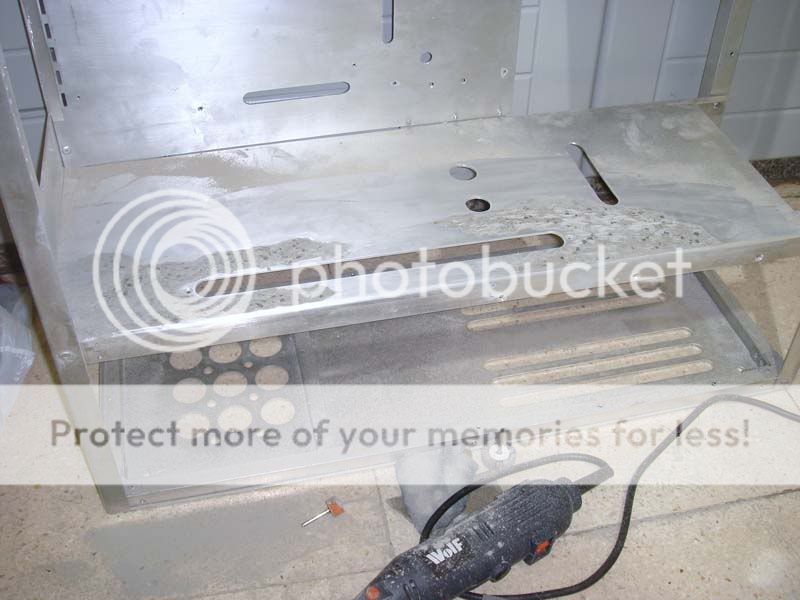
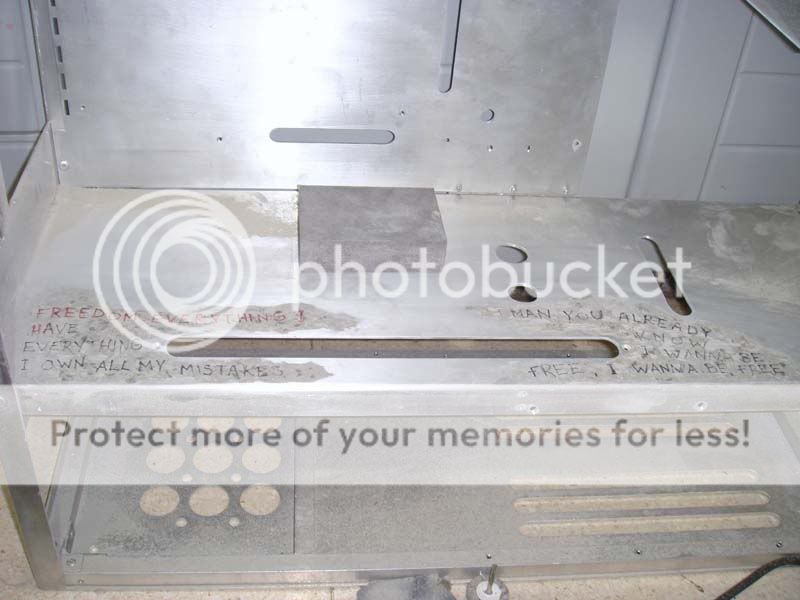
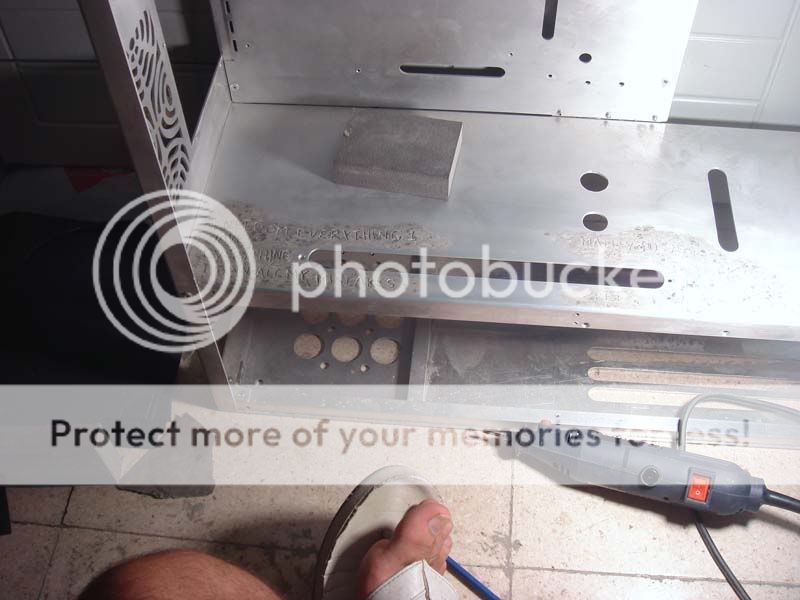
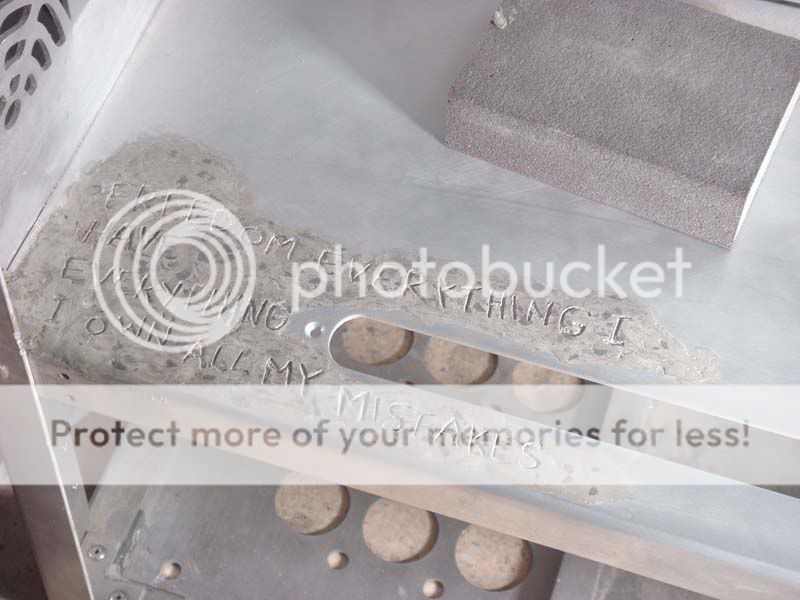
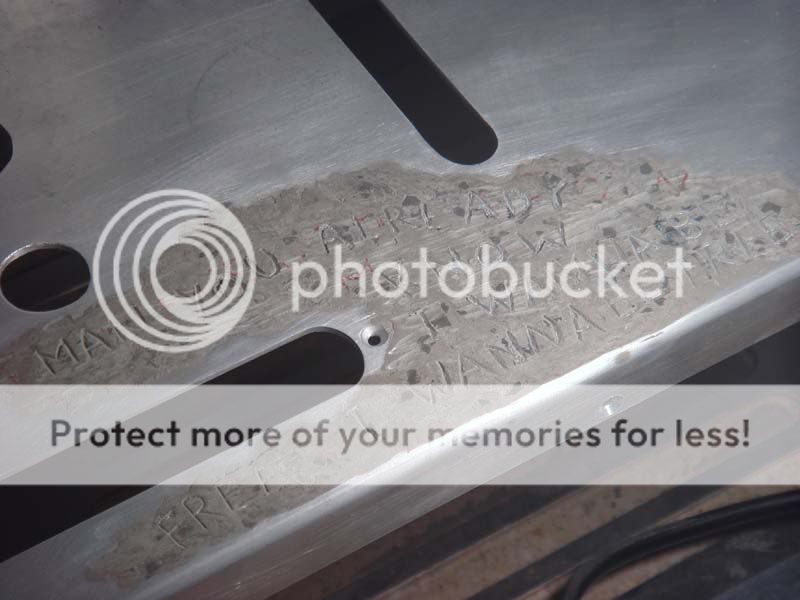
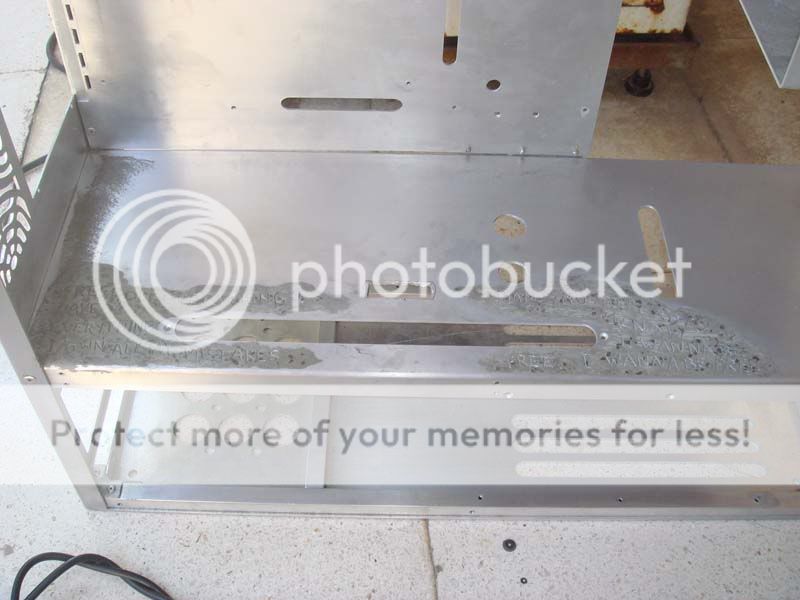
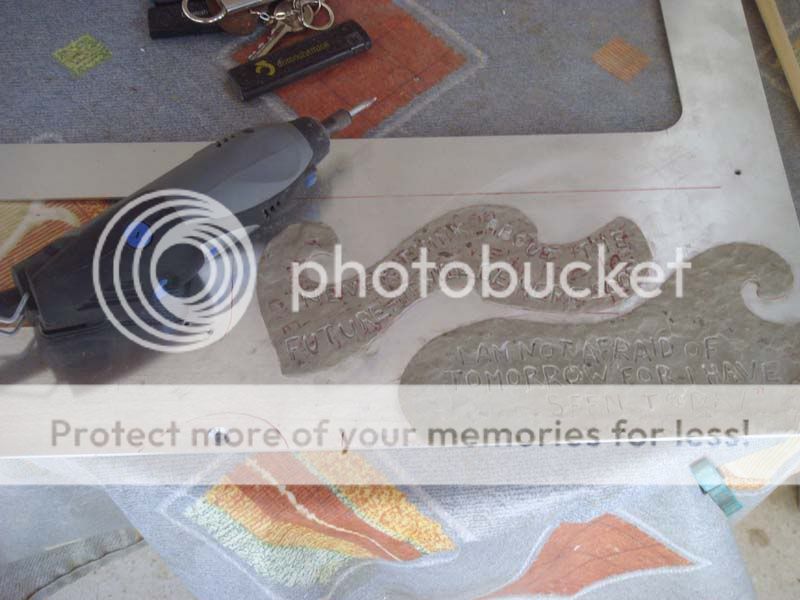
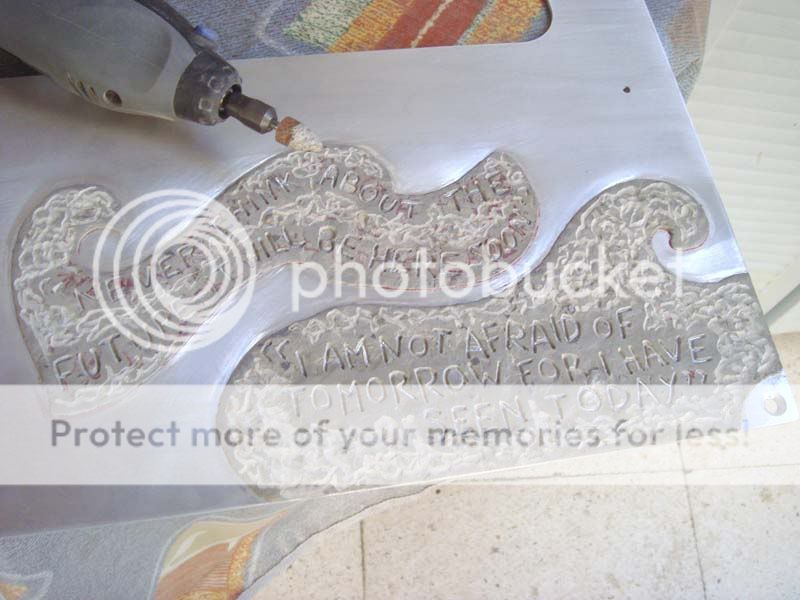
Here you will see a new technique I developed. Its a "marriage" between aluminum and titanium. I order to "marry" these two materials together I had to prepare the aluminum by scratching the surface using a hand grinder. The process was very difficult as you have to use little titanium each time and spread it on the surface so it will be like one with aluminum, then some little more over it etc etc.
I decided to create a rough surface on the aluminum by using this technique so I can give a 3d effect too.
Instead of circle drawings I engraved some quotes from the book as I thought it would have been better and more close to my theme as I already have many different drawings and designs. **

DSC08232.jpg


DSC08234.jpg


DSC08236.jpg


DSC08237.jpg


DSC08239.jpg


DSC08240.jpg


DSC08241.jpg


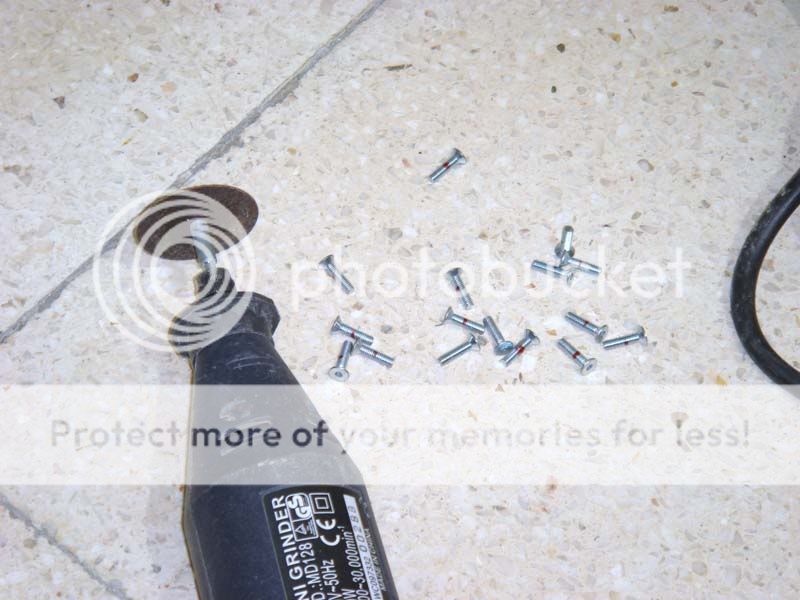
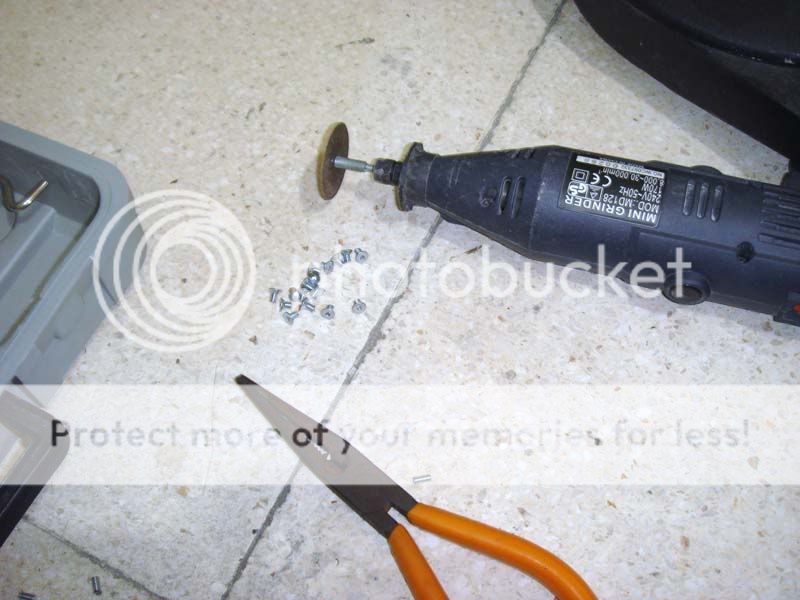
Then I shortened some screws for the radiator holders.

DSC08242.jpg


DSC08243.jpg


DSC08245.jpg


DSC08249.jpg


Here you will see that I sanded the ram heatsinks and polished them after.

DSC08250.jpg


DSC08252.jpg


Also polished the brackets instead of powder coating them.

DSC08262.jpg


In some random pictures you will see my efforts to polish the stainless steel parts of this mod.
As they were deeply scratched the whole process failed so now I went to a professional to have the polished after I ve spent over 14 hours and 140 Euros of new equipment.....

DSC08266.jpg


DSC08268.jpg


DSC08270.jpg


DSC08274.jpg


A looooot of sanding before the powder coating process! Also I added a hole for the PCI-E cables to pass through.

DSC08279.jpg


DSC08280.jpg


DSC08285.jpg


Here is my second addition of quotes on the right side panel this time.
The final results are amazing but you will have to wait till my next update guys :p

DSC08291.jpg


And a more "gothic" touch on the surface :p

DSC08297.jpg


Here is my latest "art" additions on the reservoir and also you can see the pump attached.
Perfect fit on the threads height, result of thorough planning ;P

DSC08298.jpg


DSC08306.jpg


DSC08308.jpg


FAIL.....

DSC08309.jpg


DSC08310.jpg


DSC08311.jpg


DSC08314.jpg


DSC08316.jpg


TEASER WARNING

DSC08516.jpg


DSC08518.jpg


DSC08519.jpg


P9100042.jpg


P9100044.jpg


P9100046.jpg


P9100049.jpg


Thanks for watching guys, more to come soon so stay tuned! Till next time, PEACE!!!!!

** QUOTES: Freedom, everything I have, everything I own, all my mistakes man I already know, I wanna be free, I wanna be free.
Never think about the future - it will be here soon.
I am not afraid of tomorrow, for I have seen today.


A special thanks to my sponsors:


Another contender for a article in CPU magazine! Keep up the great work!
 
Back
Top