Crazylittleman
n00b
- Joined
- Sep 17, 2006
- Messages
- 31
Hey all
This is my first project log so it might be a bit crap.
Well my current generic tower case has got to a point where it can't hold anymore hard drives so I've decided to build a file storage server from scratch.
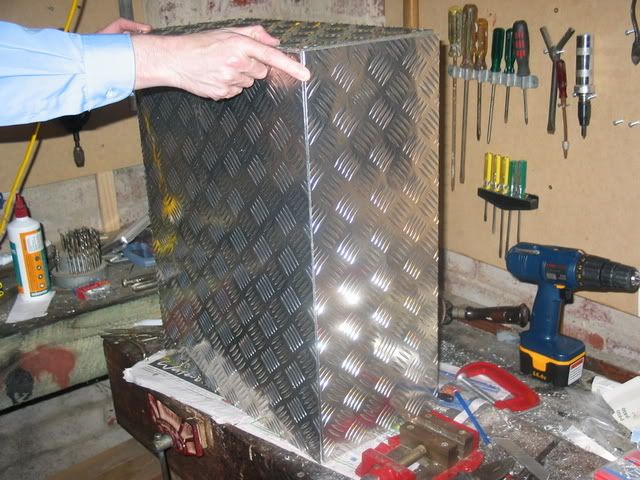
The basic idea is a duel PSU 14 3.5" drive tower case. It will be based around an aluminum frame with aluminum chequerplate panels on all sides.


Should end up something like this.
The basic dimensions are 450x230x580 (L x W x H). The area of the side panel marked in blue will be a MeshX type vent. Cooling will be via 4 120mm intake fans in the front, 1 120mm exhaust fan in the top and 2 92mm fans in the rear. As well as exhaust through the PSUs.
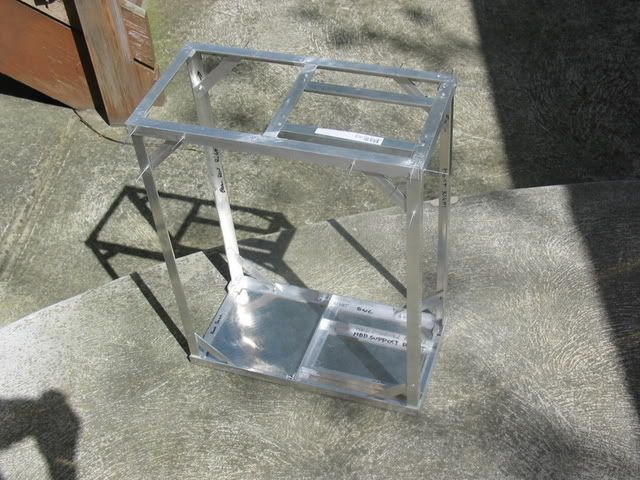
This is the basic frame that will support all the components.

This is basically how the corner joins will work.

This design enables all gluing surfaces to be hidden on the inside of the frame as well as maximizing contact area for the glue to ensure a strong bond.
Anyhoo on we go...
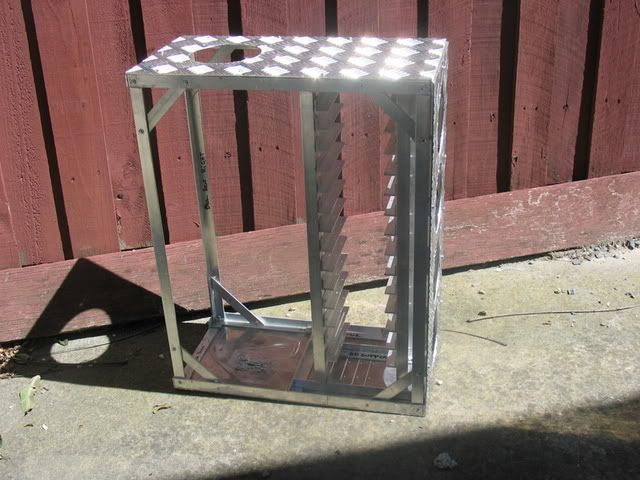
The Frame
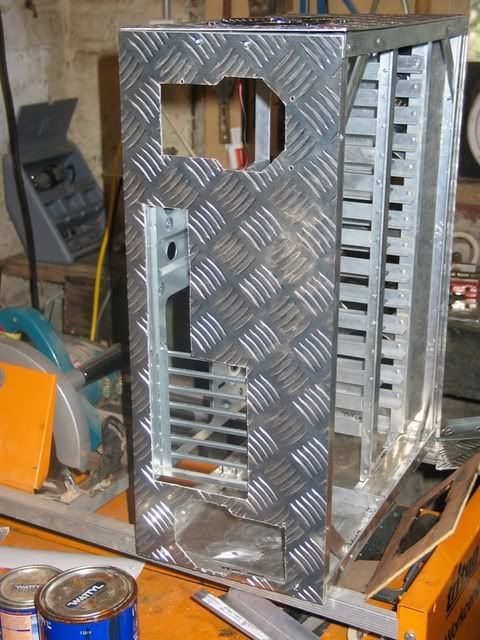
The frame is based around 20mmx20mmx3mm aluminum L rail. It is then bonded using pop rivets and Araldite. This produces joins stronger then the aluminum between them.


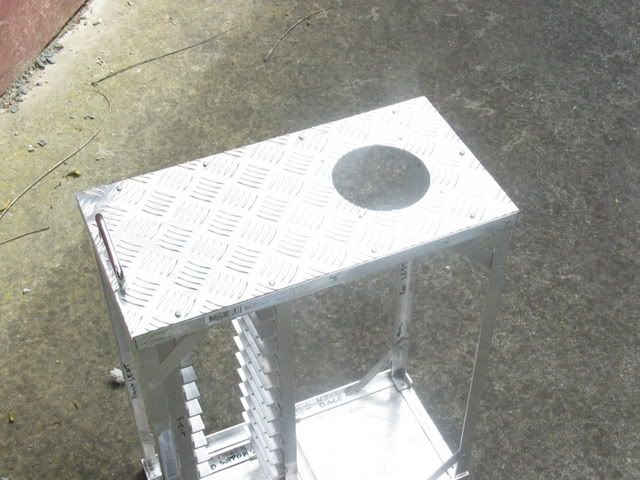
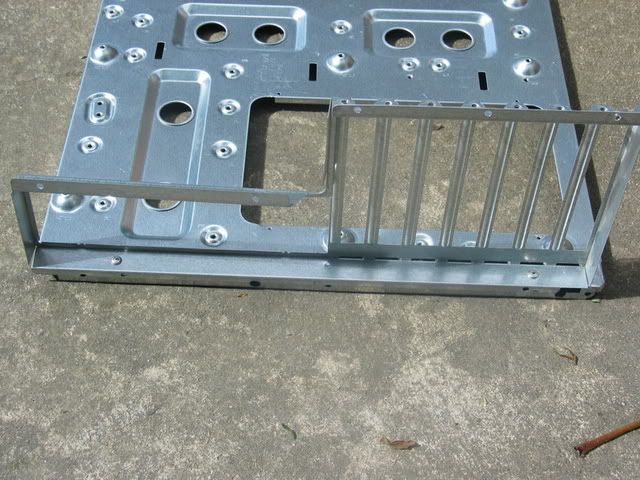
This is basically how the top of the frame turned out first with just the basic frame and then with the Hard drive supports in place.
The original idea was to countersink all the rivets to allow the panels to sit flush but that idea didn't turn out well so I ended up just grinding them down with a dremel.

(The flash kinda over did its self.)
Hard Drive Supports

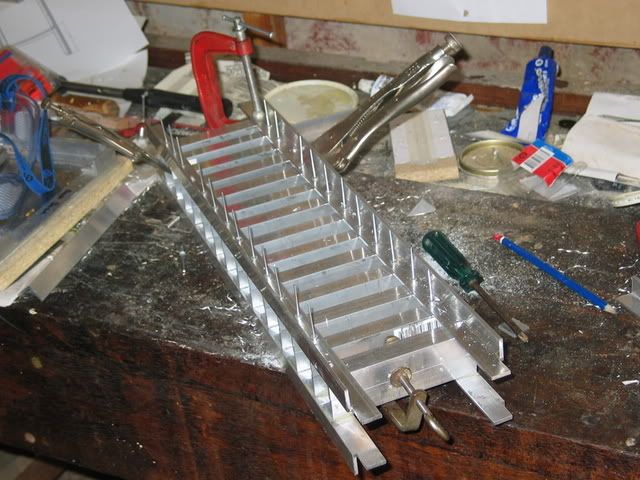
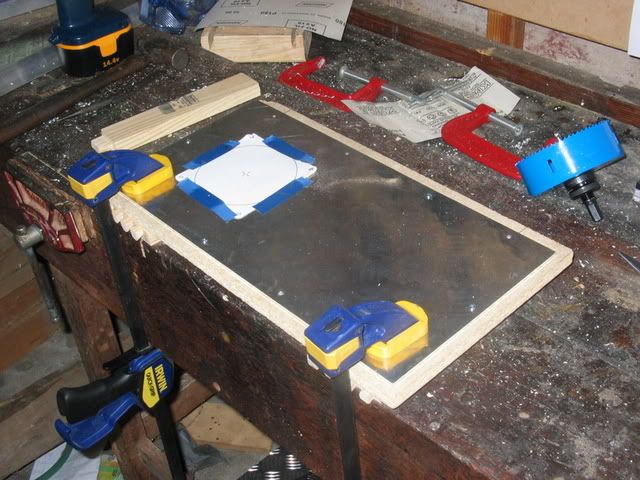
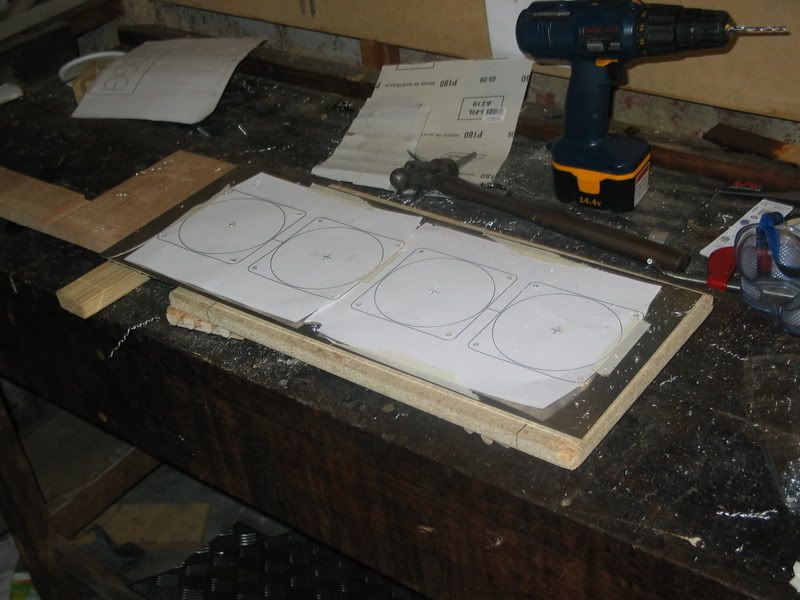
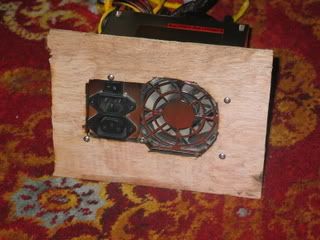
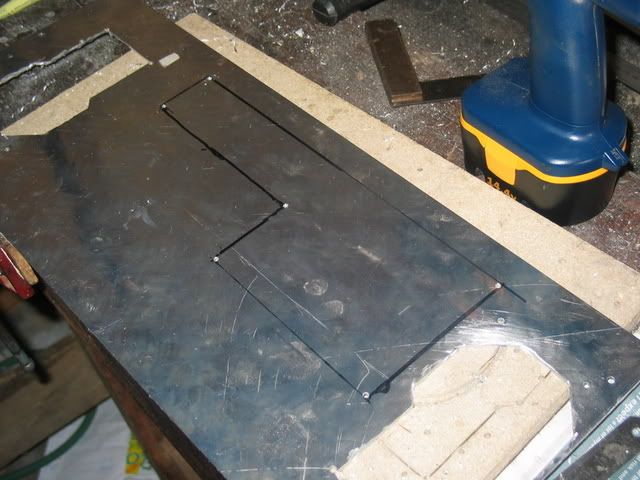
The hard drives will be supported on rails made from the same L rail as the rest of the case. The drives will secure via screws from underneath. The idea is to put together all the supports for the hard drives so they can be place into the frame as one unit. The first step is to cut all 28 support rails then drill the holes to secure the drives. The holes are drilled with the aid of a wooden template.


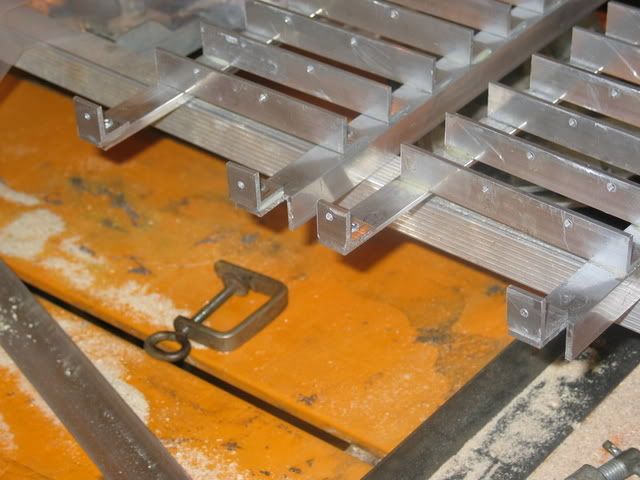
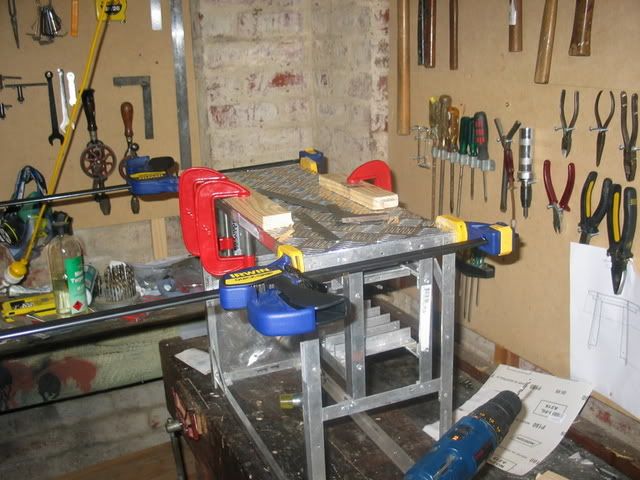
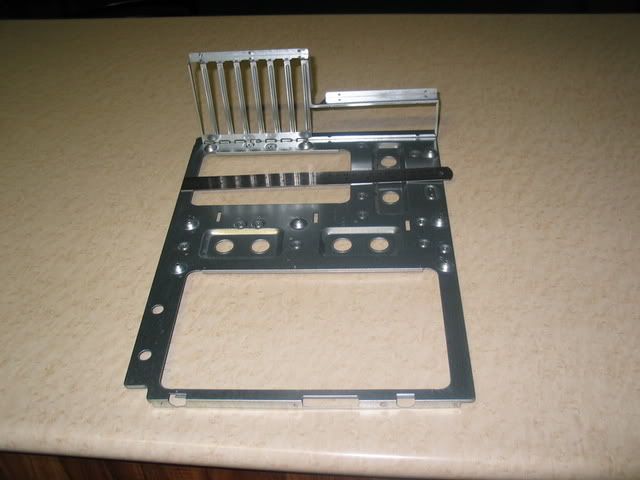
Next the support rails have to be riveted to the upright supports. I did this by cutting correctly spaced grooves into a block of wood the clamping then uprights into the block. This allows me to easily place the support rails to be drilled with a hand drill. I then glued and riveted 3 of the support rails to keep the whole load square before I try and drill the rest of the holes.


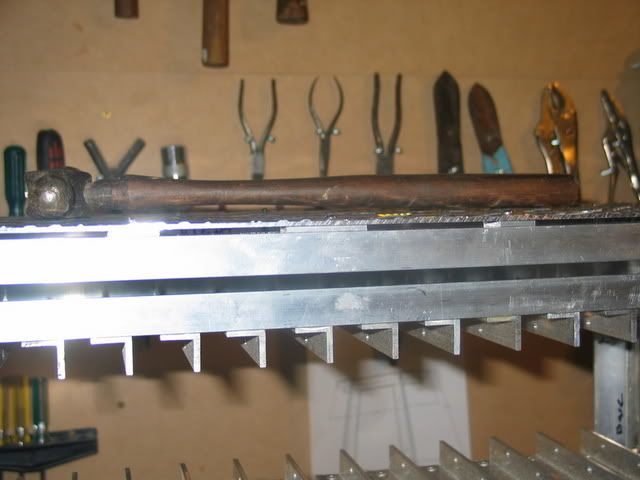
One completed set of supports for hard drives. Took about 90 minutes of drilling and riveting.

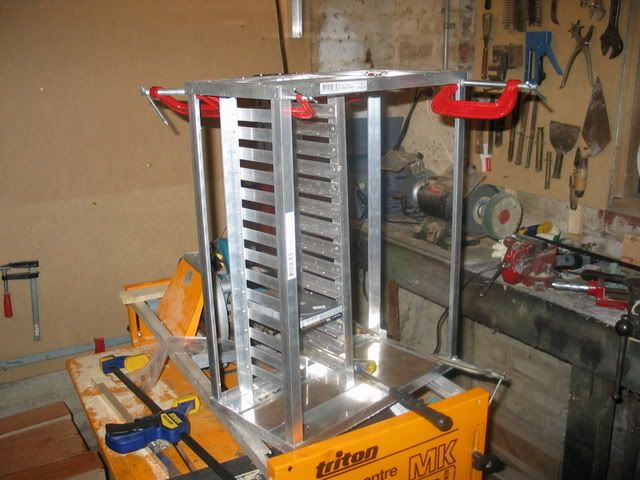
The next step is to put together the second set of supports. The difficulty with this is that each horizontal rail has to be at the exact height of its pair on the 1st set of supports. So the easiest way to do this is to clamp both sets of supports together and just line them up. Like so.....

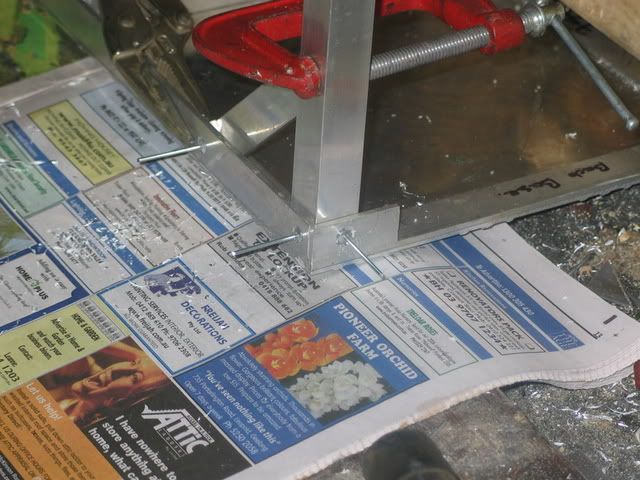
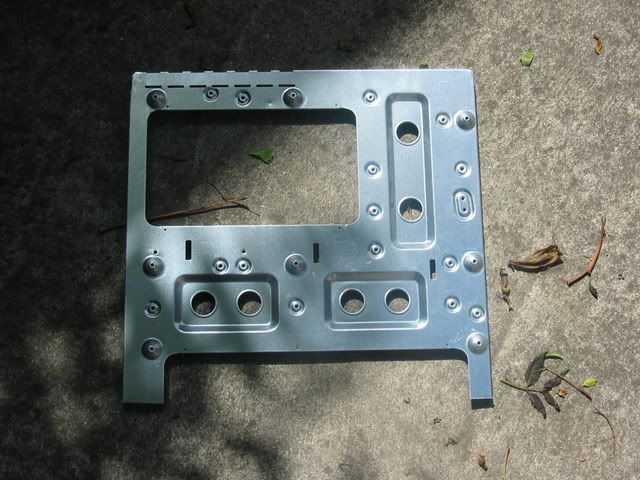
Construction Error
At some point during the construction of the top section of the frame I wasn't paying attention and I made a rather large error.

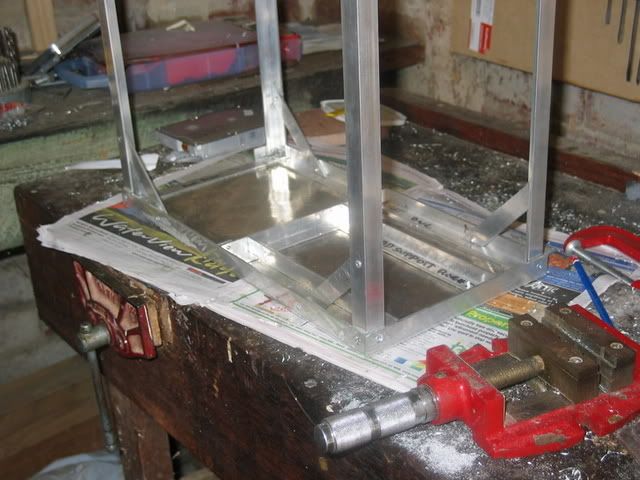
(looking down at the bottom of the top)
The original idea was to have a 63mm gap on the right side of the case to hide all the cabling in. But for the above said reasons I have ended up with the 63mm gap on the left.
So my basic choices are....
1) Just leave it and hope i can fit all the wiring in to the 35mm gap available?
2) Reverse the hard drives and mount the motherboard on the opposite side of the case. This would mean the motherboard would have to be mounted upside down with the expansion cards at the top?
Thats all for now.
Comments? Questions? Popcorn?
This is my first project log so it might be a bit crap.
Well my current generic tower case has got to a point where it can't hold anymore hard drives so I've decided to build a file storage server from scratch.
The basic idea is a duel PSU 14 3.5" drive tower case. It will be based around an aluminum frame with aluminum chequerplate panels on all sides.
Should end up something like this.
The basic dimensions are 450x230x580 (L x W x H). The area of the side panel marked in blue will be a MeshX type vent. Cooling will be via 4 120mm intake fans in the front, 1 120mm exhaust fan in the top and 2 92mm fans in the rear. As well as exhaust through the PSUs.
This is the basic frame that will support all the components.
This is basically how the corner joins will work.
This design enables all gluing surfaces to be hidden on the inside of the frame as well as maximizing contact area for the glue to ensure a strong bond.
Anyhoo on we go...
The Frame
The frame is based around 20mmx20mmx3mm aluminum L rail. It is then bonded using pop rivets and Araldite. This produces joins stronger then the aluminum between them.
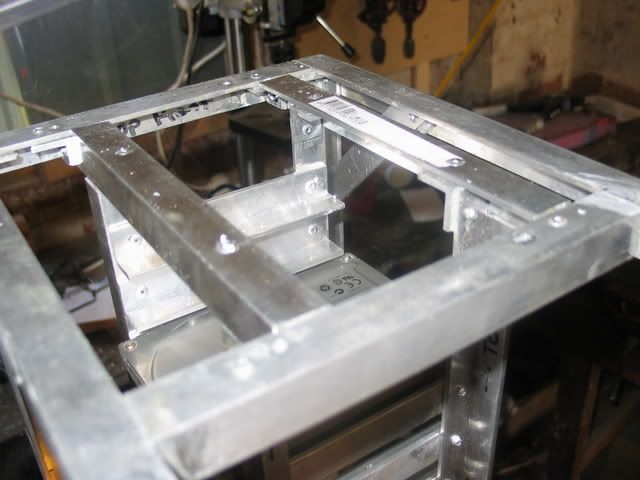
This is basically how the top of the frame turned out first with just the basic frame and then with the Hard drive supports in place.
The original idea was to countersink all the rivets to allow the panels to sit flush but that idea didn't turn out well so I ended up just grinding them down with a dremel.
(The flash kinda over did its self.)
Hard Drive Supports
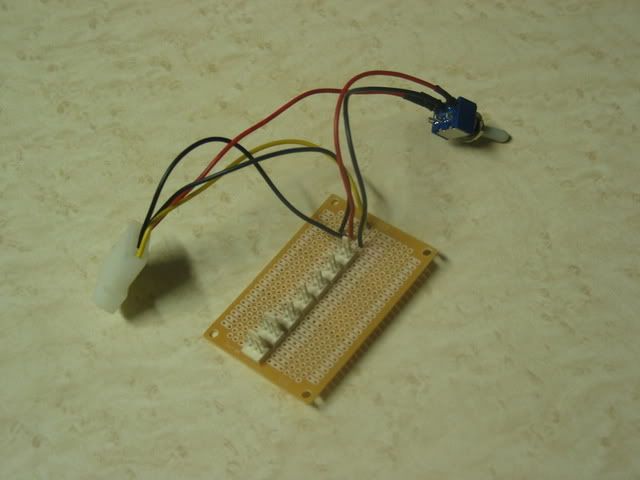
The hard drives will be supported on rails made from the same L rail as the rest of the case. The drives will secure via screws from underneath. The idea is to put together all the supports for the hard drives so they can be place into the frame as one unit. The first step is to cut all 28 support rails then drill the holes to secure the drives. The holes are drilled with the aid of a wooden template.
Next the support rails have to be riveted to the upright supports. I did this by cutting correctly spaced grooves into a block of wood the clamping then uprights into the block. This allows me to easily place the support rails to be drilled with a hand drill. I then glued and riveted 3 of the support rails to keep the whole load square before I try and drill the rest of the holes.
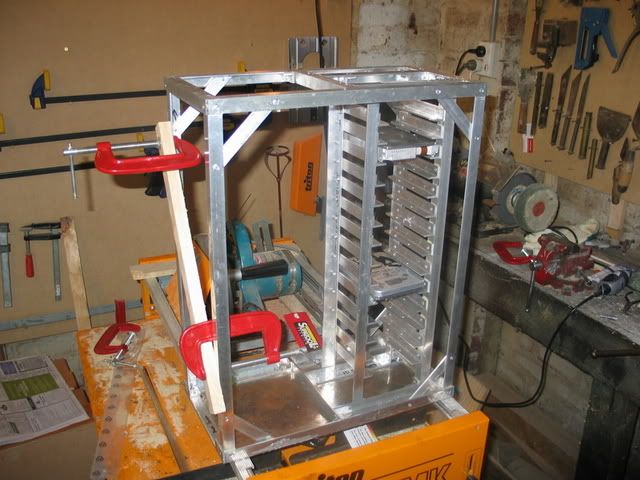
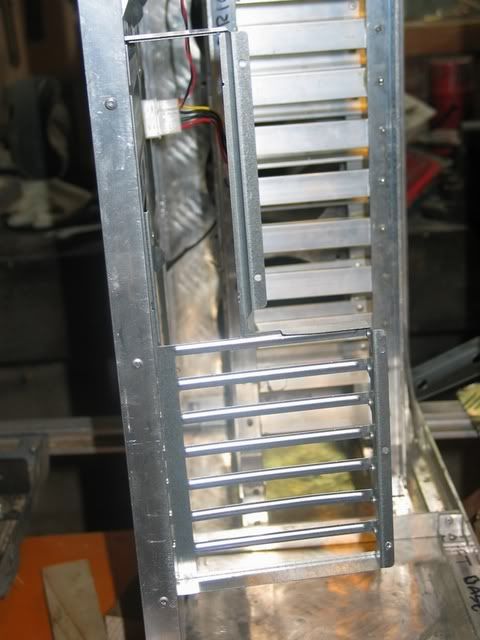
One completed set of supports for hard drives. Took about 90 minutes of drilling and riveting.
The next step is to put together the second set of supports. The difficulty with this is that each horizontal rail has to be at the exact height of its pair on the 1st set of supports. So the easiest way to do this is to clamp both sets of supports together and just line them up. Like so.....
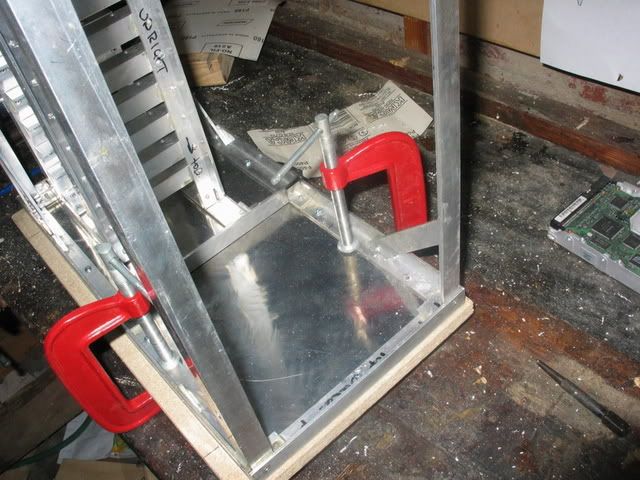
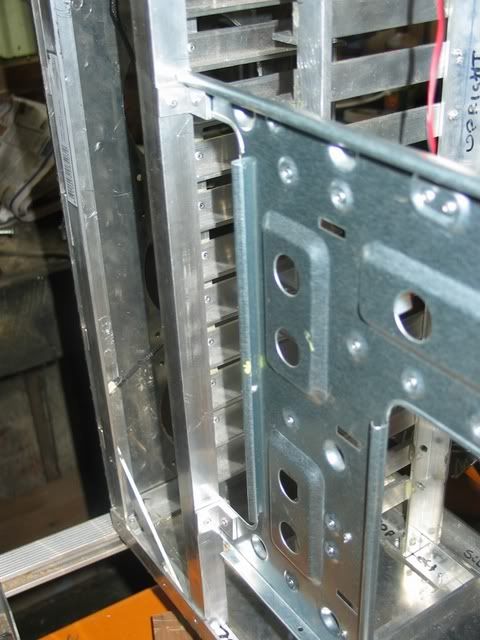
Construction Error
At some point during the construction of the top section of the frame I wasn't paying attention and I made a rather large error.
(looking down at the bottom of the top)
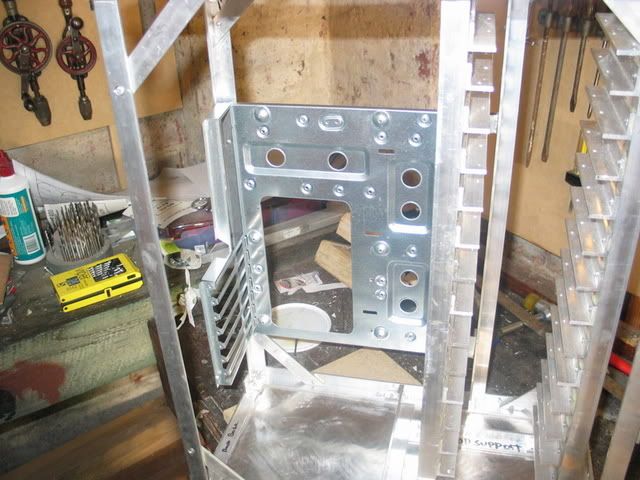
The original idea was to have a 63mm gap on the right side of the case to hide all the cabling in. But for the above said reasons I have ended up with the 63mm gap on the left.
So my basic choices are....
1) Just leave it and hope i can fit all the wiring in to the 35mm gap available?
2) Reverse the hard drives and mount the motherboard on the opposite side of the case. This would mean the motherboard would have to be mounted upside down with the expansion cards at the top?
Thats all for now.
Comments? Questions? Popcorn?