Tangerine XP

Ahh yes updates :)

Well I have not been doing anything super exciteing as of late, all wiring. But let's
show what I have so far.

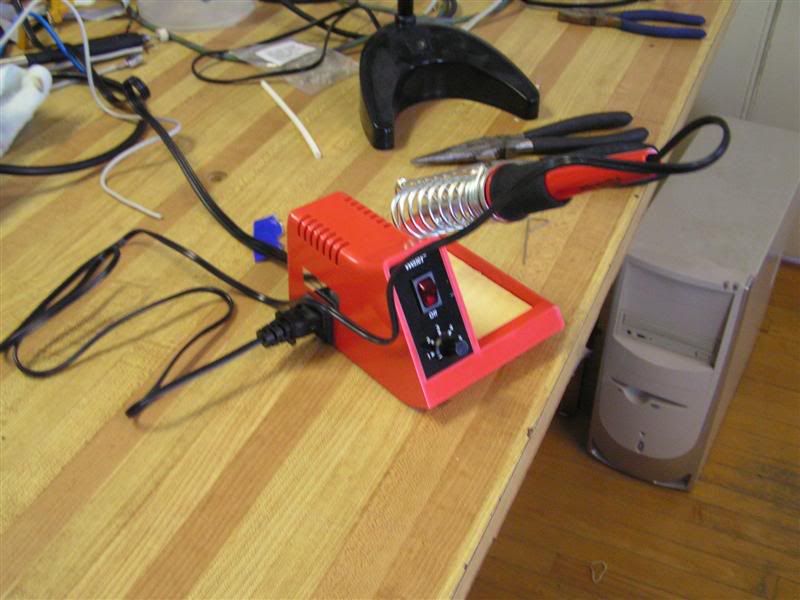
First of all I got a new Weller soldering station, WOOOHOOO for new toys :D
PICT0043Medium.jpg


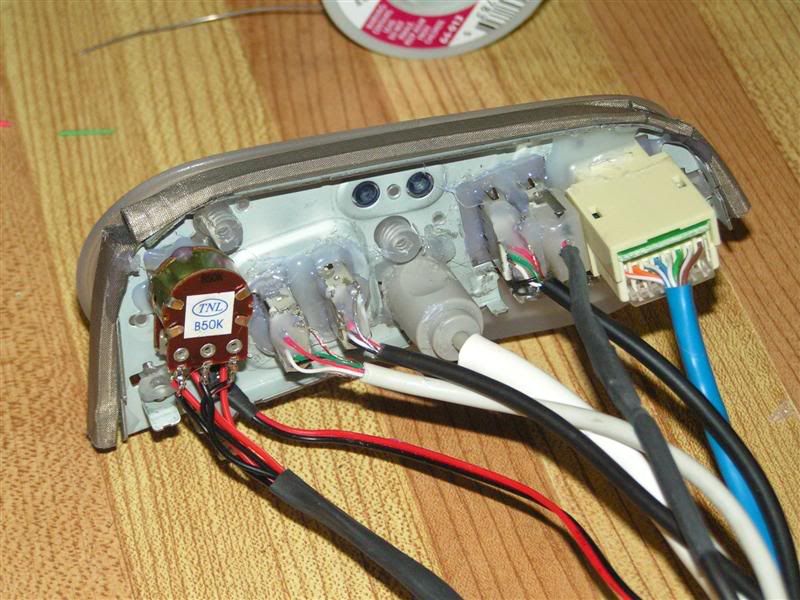
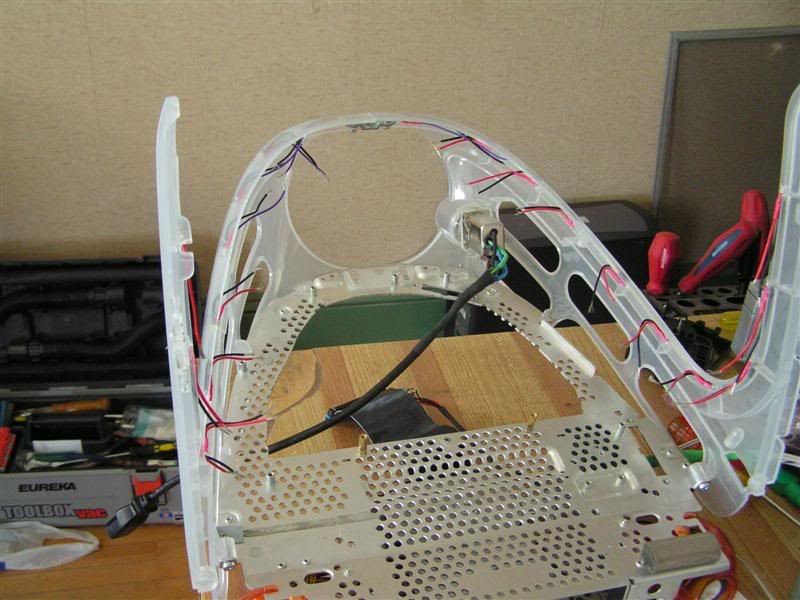
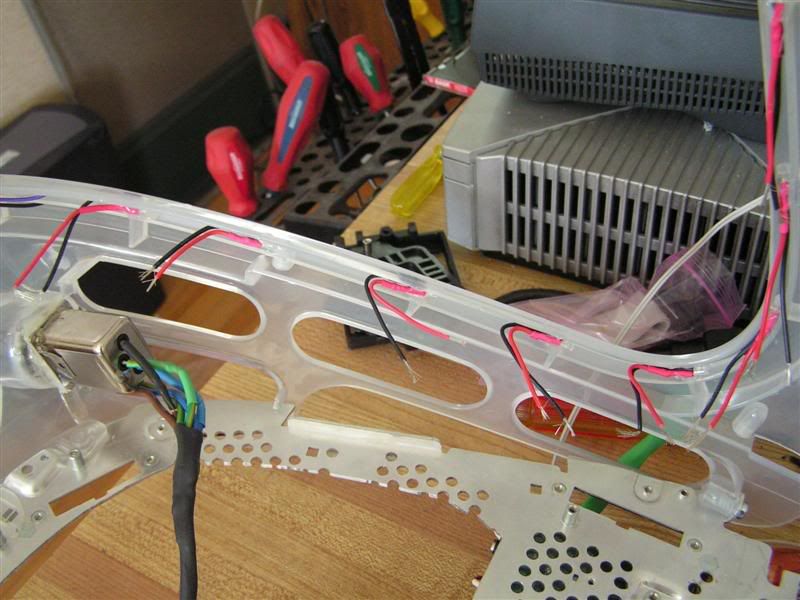
So I had to take my input panel back apart,
PICT0042Medium.jpg


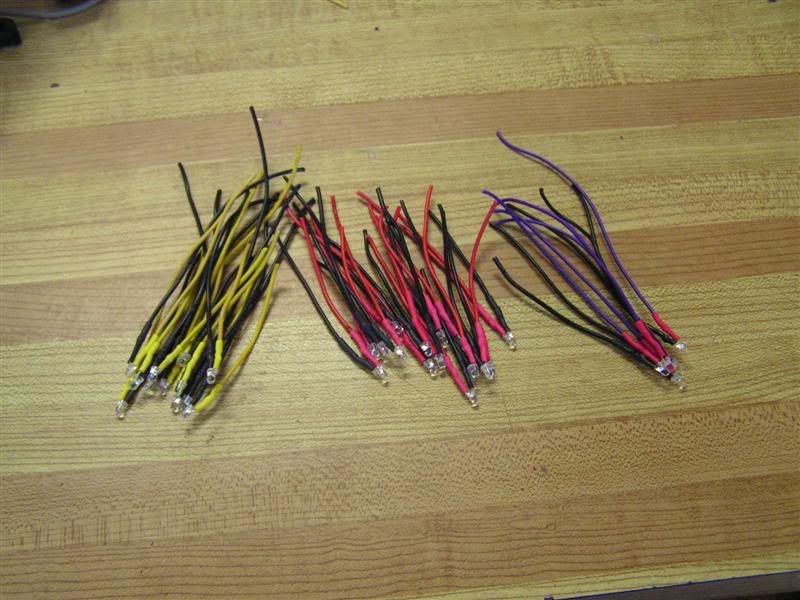
Then I had to make my USB cables. Due to a lack on USB headers but an abundance of USB ports on the motherboard I decided to make some tails for my USB ports.
PICT0041Medium.jpg

PICT0037Medium.jpg

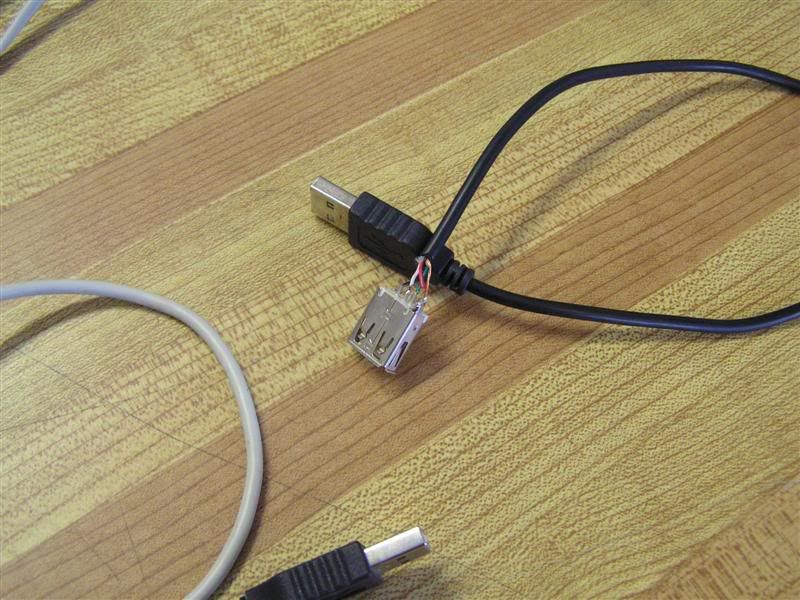
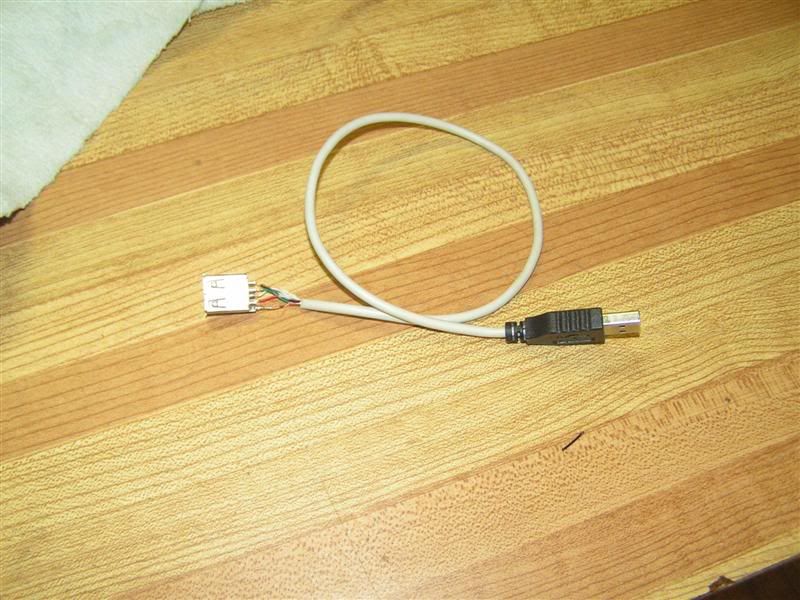
I have made so far 3 of the 4 I need.

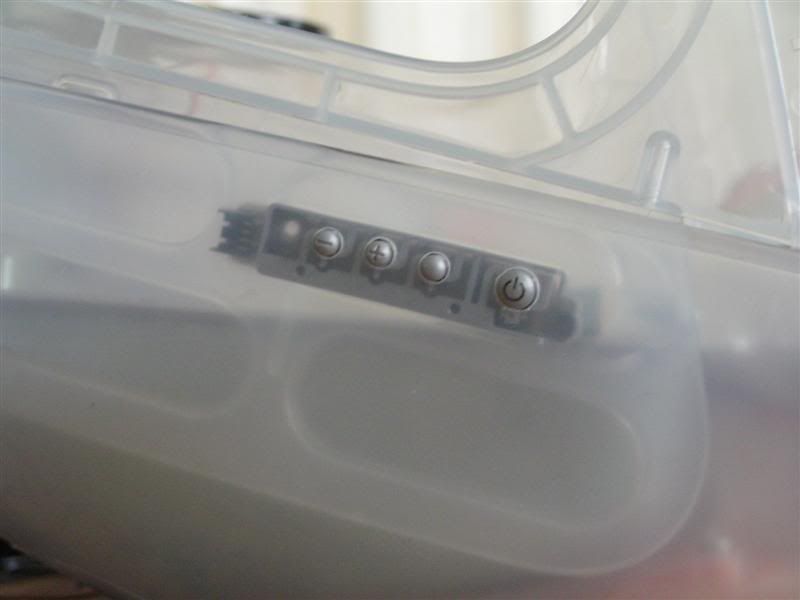
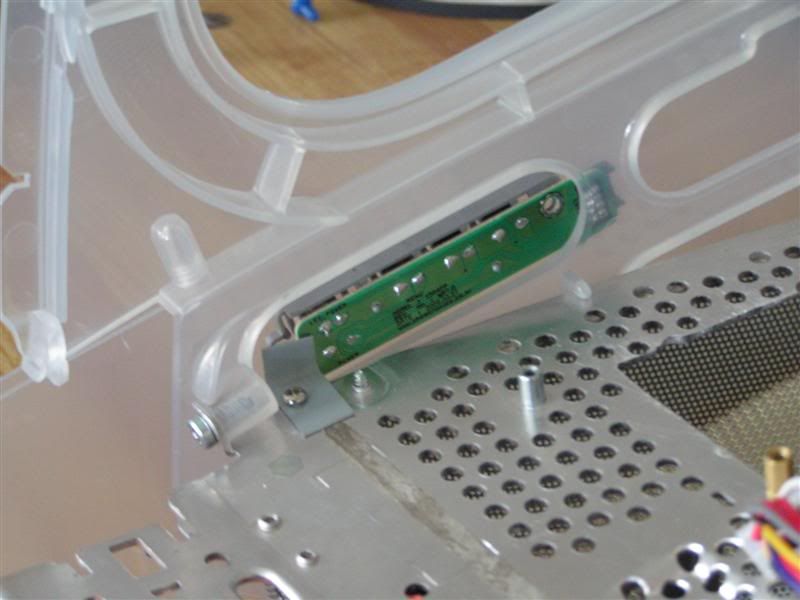
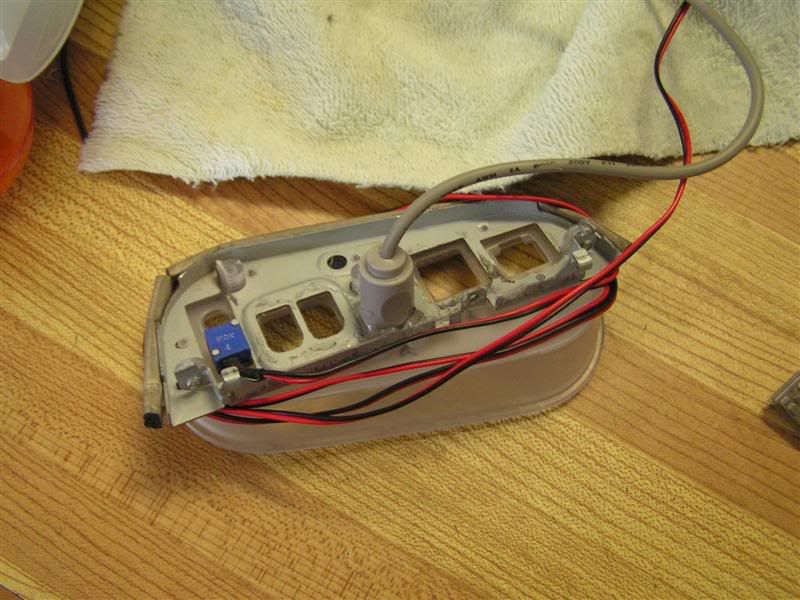
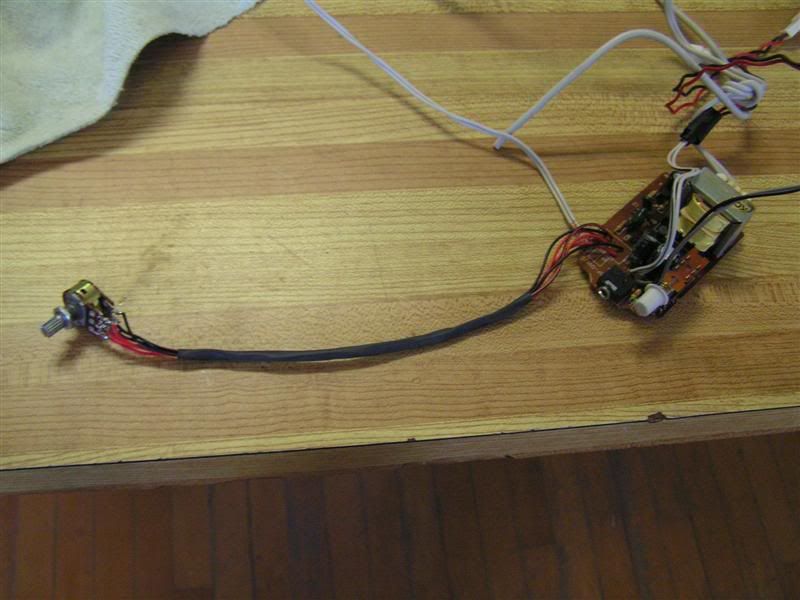
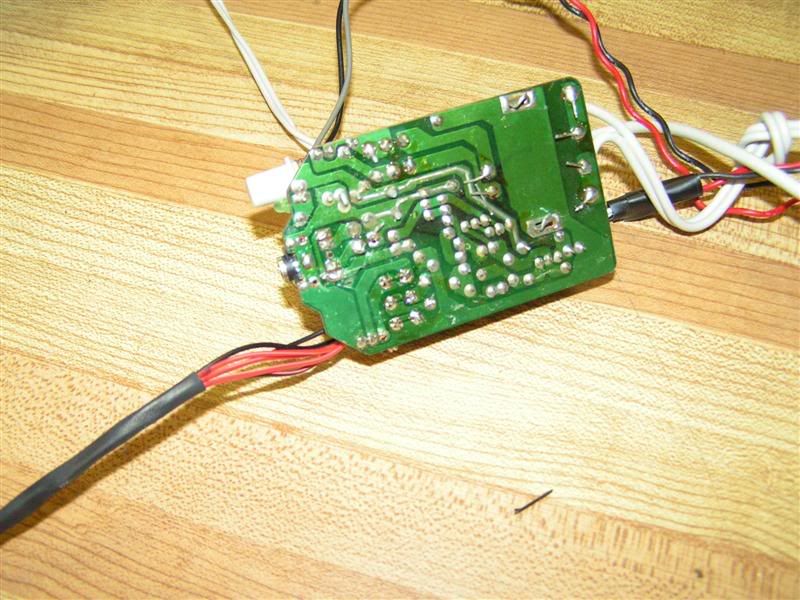
Also I started work on relocating some parts of the Speaker AMP I will be using in this mod. The speakers in the IMAC case are some really nice Harmon Kardon speakers, but they need to be powered. So I took the amp out of an old set of defunct speakers I had at the shop. I was going to relocate both the volume switch and the power switch, but I have since changed my mind. I am only relocating the volume pot. As seen below...
PICT0032Medium.jpg

PICT0036Medium.jpg


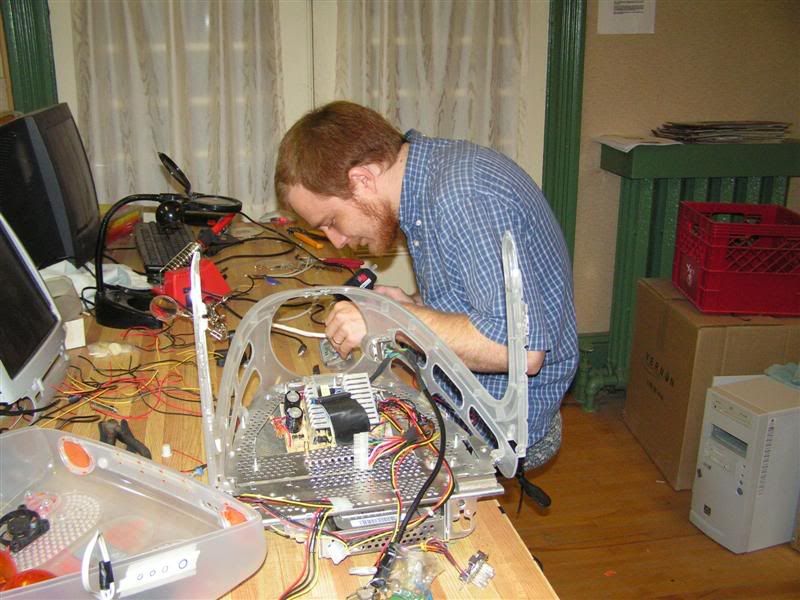
And also, not related to the mod, but this took up some of my free time this week...
Our secretary wanted a new computer case with a door. We had a but ugly metallic green one she could have for free, so she wanted it painted. This is the final result.
PICT0010Medium.jpg

PICT0009Medium.jpg


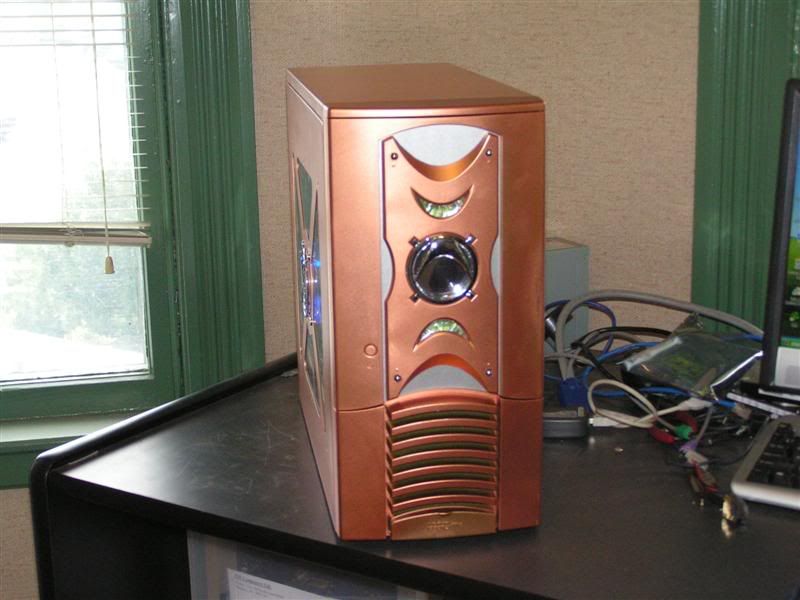
The paintjob is actually alot better than it looks in the picture, and in person it is the same color as a shiney new penny. (Not that it is any better than the green) :D

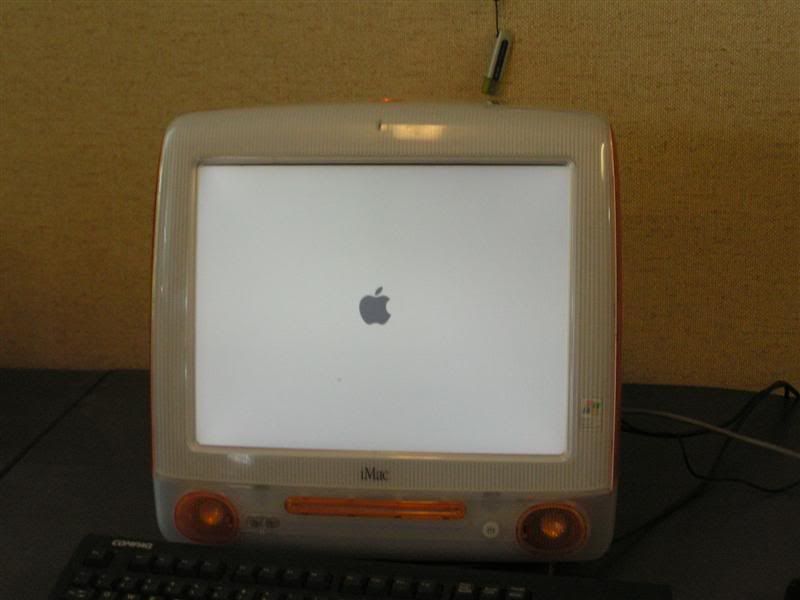
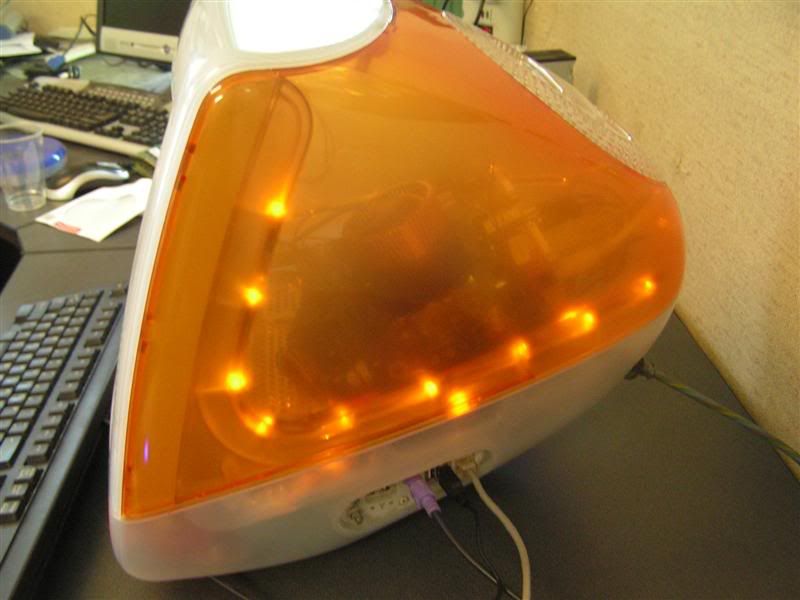
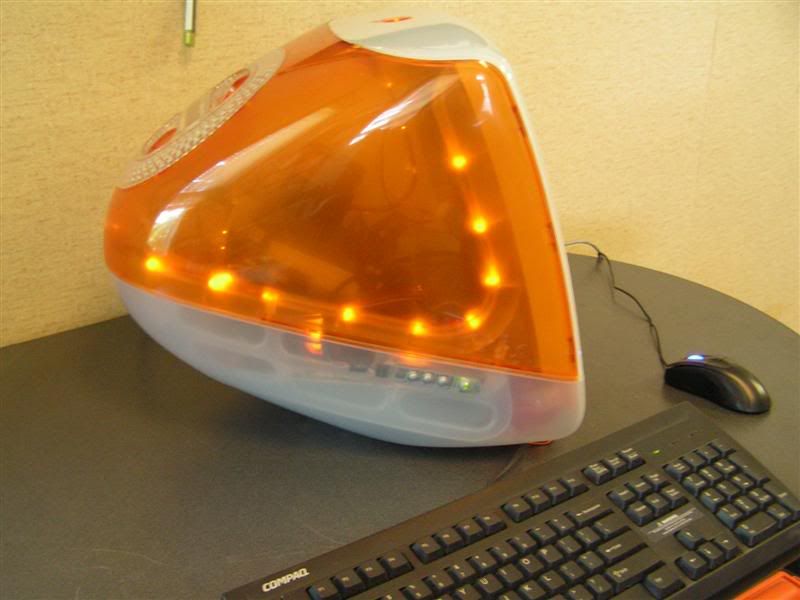
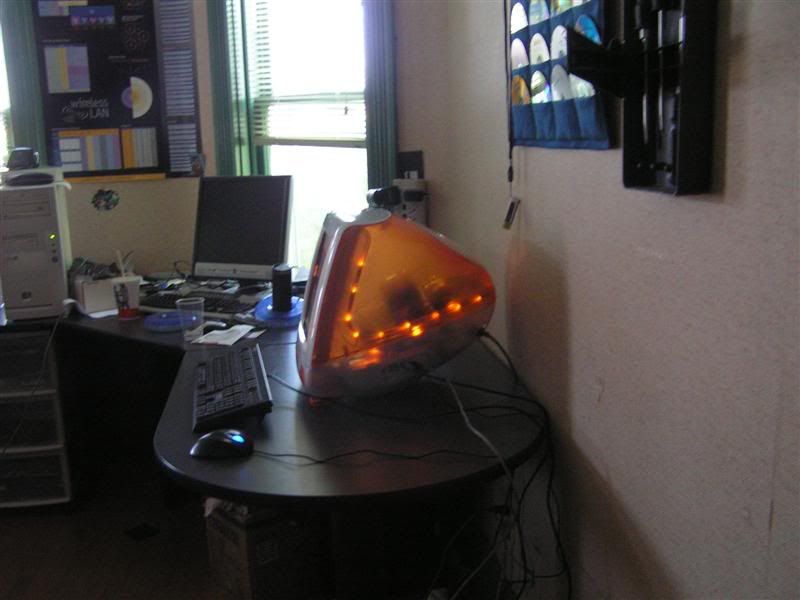
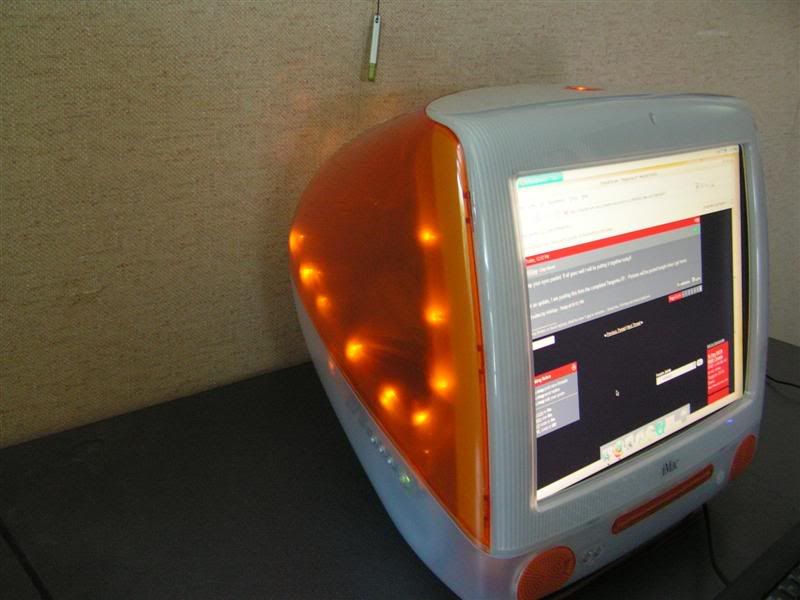
Anyway, I should have some more in a couple days. Troy says he will have my LED's wired up in a day or two, so we will see :)

Thanks for looking,
ViriiGuy
 
Actually, Dollar Tree sells male-to-male and male-to-female USB cords for a buck a piece; you could have gotten some and maybe shortened them(the extentions are 5 feet long). That would have saved some time. Still nice work so far. I am looking forward to how this turns out.
 
This is true about the cables being available. But part of my personal goal is to build this for nothing or next to nothing. So far I am doing pretty good. I have managed to reuse parts from dead hardware laying around the shop for most of it. I had to buy the LED's, the heat shrink, and ... hmmm well that is it I think :)

I have a few new pictures for you all. The input panel is now all wired up and finished.
PICT0094Medium.jpg

As you can see, just to be extra careful, I gave each USB plug a liberal coating of hot glue. This will ensure that no wires ever cross and short out. No matter how much abuse they see.

This next picture (sorry for the quality) just shows how I will be getting my power to everything. I will bring the power in it's regular connection at the back of the case. Then I split it into 2 connections. One goes to the powersupply and the other the LCD.
PICT0101Medium.jpg


Ohhhh I just realized I have to do that over. I forgot to leave a connection for the Speaker amp.

And this is me hard at work, taken by my wife :)
PICT0091Medium.jpg


Well that is all I have for now. There will be more updates in a couple days.
And again, thanks for looking.

ViriiGuy
 
I managed to get a few things accomplished today. The speaker amp has had the backside of it coated with hot glue, this way it does not short out when I attached it to the aluminum chassis. The power button and led got wired up, and I am contemplating also wiring up the headphone jacks on the front of the case. Even though I will never ever use them.

Also i had holes drilled in the side of the case for the LCD panel's control buttons. I don;t have any pictures today, but there was not much picture worthy, other than the new holes :) I will try to post them tomorrow.

See you all tomorrow.
 
Ok as promised I have a couple more pictures for you all.
Today I mounted the control panel for the LCD panel. As you will see in the pictures below I decided to place them inside one of the ribs, as this was the most appealing area for them. I was trying to figure out exactly how I would mount them without glueing them in place, and Troy suggested a bracket. Well with a few minutes of fiddleing around, I found I could securely affix the panel with just one bracket at the back. So here is how it looks thus far.
PICT0106Medium.jpg

PICT0108Medium.jpg


Right now we are working on the math needed for the 10k pot I am using to adjust the brightness of the LED's. See you all next week.
 
Your work is just awesome. This iMac mod is becoming one of the best iMac mods I've seen.
 
Ok well, no pictures to update the thread with today, but I have some news.
Troy figured out exactly what we have to do to use my potentiometer on the LED's without
frying them. So now we can finally progress on the LED's. We will be doing them in groupings of 3 run in series, then each group will be run in parallel.

I wanted to have this done by the end of this week, but due to being busy at the shop, this is not going to happen. So it will be at least 2 more weeks before we finish now, as I go on Vacation for a week starting tomorrow night.

YAY Vacation!!!!
Anyway, have fun and as always, thanks for looking.
 
Aye yes, Well I am chugging along currently putting tails on about 75 LED's for the case. Although the more of these I do, the less I may finish with :D It is so slow going, but worth it in the end. I will try to snap some pics tomorrow, but I am out of the office most the day.

Once the LED's are finished and wired up, it is assembly time :D WooooHoooo!!!!
 
Well as promised I have a very unexciting (for you prolly) picture of some tailed LED's.

PICT0003Medium.jpg


This marks one of the last stages in this project. I have after laying these out and testing brightness, decided that I am only going to use 33 LEDs so there they are all finished.
Tomorrow if I get the chance I will begin mounting them inside the case and under the MB tray. Then next week they will all be wired up hopefully. Again depending on schedules. Then it is just a matter of putting it together, and loading the OS and visual tweaks.

Now a question for you all, Should I put on the case somewhere a Built for Windows XP sticker? Should I leave the IMAC on the front or change that? And should I put an AMD logo sticker on the case?

When the OS is loaded it will be XP, but it will LOOK like Mac OSX Tiger.

Thanks fro watching,
Randy
 
Yea I think I will leave the IMac on. I have for months tossed around ideas as to a cleaver rename, like IPC, or IHack or whatever, but it has all been done before
 
Another small update,
All the LEDs now have tails on them, and are attached to the case. The last step is just wiring them all up. So without futher ado, here are the pictures....

This is the bottom of the motherboard tray, in the pic you can see the 12 LED's that hopefully will provide a nice orange glow, and the Zalman fan to cool the power supply.
PICT0017Medium.jpg


In the next two pictures youc an get an idea of how the LEDs are laid out to give some definition to the shape of the case as well. I have them going all around the inner structure of the case.

PICT0018Medium.jpg

PICT0019Medium.jpg


That is all there is for now. I hope in the next day to two that Troy and I will be able to finish everything up and close this one up.

Randy
 
actually this is funny :)

i promised my sister a while ago that i could make her an apple computer with windows..... never again thought of it...but when i see this.....it might be very "easy" to process......

(she likes the apple because of the shapes and colors.....not the OS....)

well....either way, good job done here ;) i'll use this post as my bookmarl :D
 
Yes this has not been an overly difficult mod. I have had to rethink a few things as I went along, and had to change some plans to accomodate the heat. But it has deffinately been a fun one. I could have finished it inside of a week, if I had all the parts from the start, and if I had dedicated more than 5-10 minutes a day on it. I say go for it.

I am currently working on the Mac-a-fication of Windows XP, When I am done (thans to FlyaKite) XP will look like Tiger.

Thanks for the kind words,
Randy
 
Keep your eyes peeled. If all goes well I will be putting it together today!!


Just an update, I am posting this from the completed Tangerine XP... Pictures will be posted tonight when I get home.
 
Ok well, I call this 1.0 because there are still a few final touches to be done.

But finally at the end of the work day today we managed to have an assembled and fully functional product :D And it is retty cool looking if I do say so myself :D A couple things that are still to come, a plexiglass or lexan curved screen cover, where the original screen was a curved CRT. This will fill in the empty area in front of the LCD. Also some general clean-up shorten a few wires etc etc. Eventually some REAL hardware will go in there :)
With the way I laid this out, you can easily put newwer better hardware in. Plus we will likely tweak the LEDs a little. The ones under the motherboard tray are nearly invisible and offer next to nothing.

Lastly the pictures are not the greatest, but I will take some better ones in a few days when I clean it up and what not. So without further ado..... I give you TangerineXP

PICT0047Medium.jpg

PICT0051Medium.jpg

PICT0052Medium.jpg

PICT0057Medium.jpg

PICT0061Medium.jpg

PICT0048Medium.jpg


I figure I will leave it as is for a couple weeks and start on something for my home.
Then I will add the final touches to it. Thanks for checking it out, and I hope you liked what you saw.

Randy
 
You know, for some reason I haven't really been paying much attention to this mod. I guess I just subconsciously avoided it because it had something to do with Macs. Well thank you for revealing to me my hidden prejudice, now you can say that this mod inspired some random guy on the internet to have an epiphany! :D


But yeah, sweet mod. Reminds me of when we used to have an iMac, except ours was the dark green, I forget what the actual color was called...
 
Thank you for the compliments, I had alot of fun working on this mod. I just got ahold of a piece of lexan to use for the LCD Cover. I am going to work on heating and bending it to shape in a coule weeks, and a little extra cleanup on some internal hidden wires..

Thanks again,
Randy
 
hey got a question what skining program and skin is that i like the way mac os x looks but i hate how it is
 
Unfortunately, curved lexan will distort the image from the LCD slightly.. I had considered this for my Strawberry iHac too, but I never could get it to look right
 
Back
Top