• Some users have recently had their accounts hijacked. It seems that the now defunct EVGA forums might have compromised your password there and seems many are using the same PW here. We would suggest you UPDATE YOUR PASSWORD and TURN ON 2FA for your account here to further secure it. None of the compromised accounts had 2FA turned on.
    Once you have enabled 2FA, your account will be updated soon to show a badge, letting other members know that you use 2FA to protect your account. This should be beneficial for everyone that uses FSFT.

Road RagE II

So, yes, it has been awhile since I've updated this project - and for a good reason. Finally, over the holidays, I have had time to work on the next step.

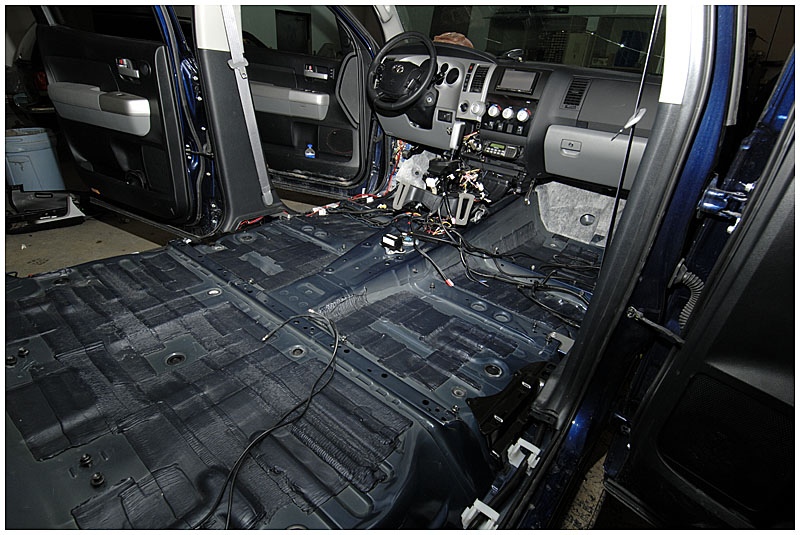
To start, this time I am really tearing it down:
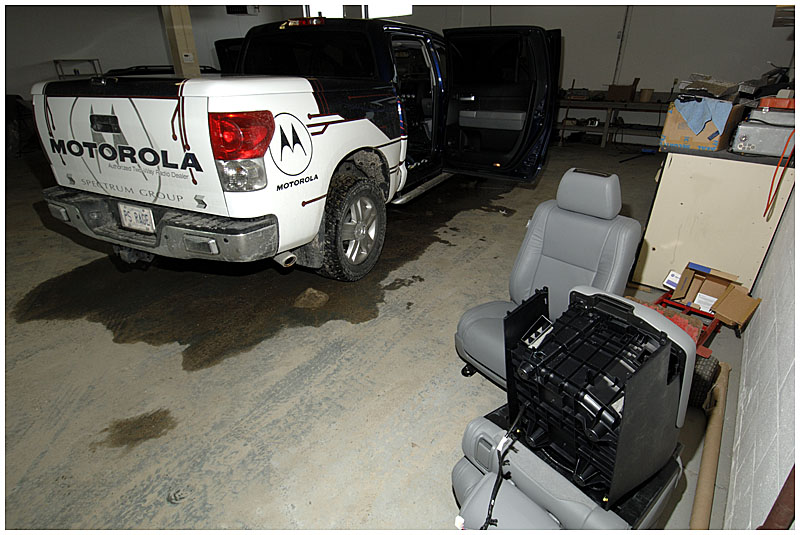
rrtun92.jpg


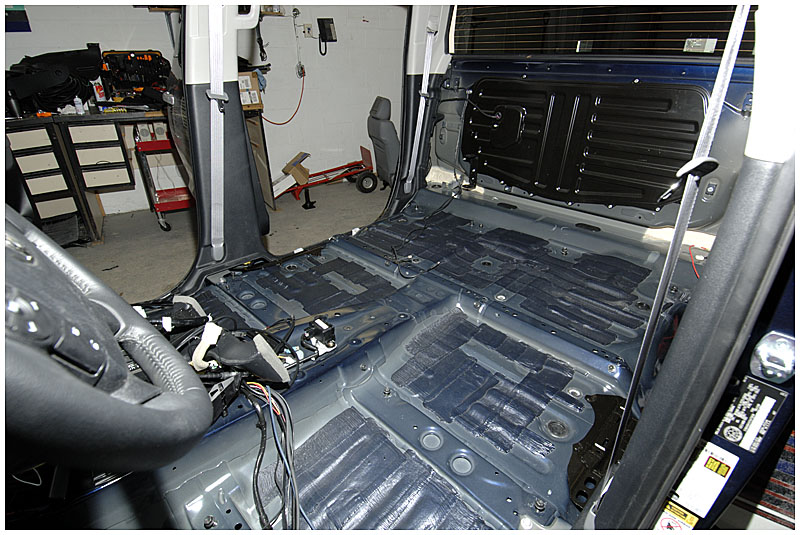
There are a lot of little pieces that make up the interior - whew

rrtun90.jpg


rrtun91.jpg


Now, I've got 140 square feet of this stuff to get in there:

rrtun93.jpg


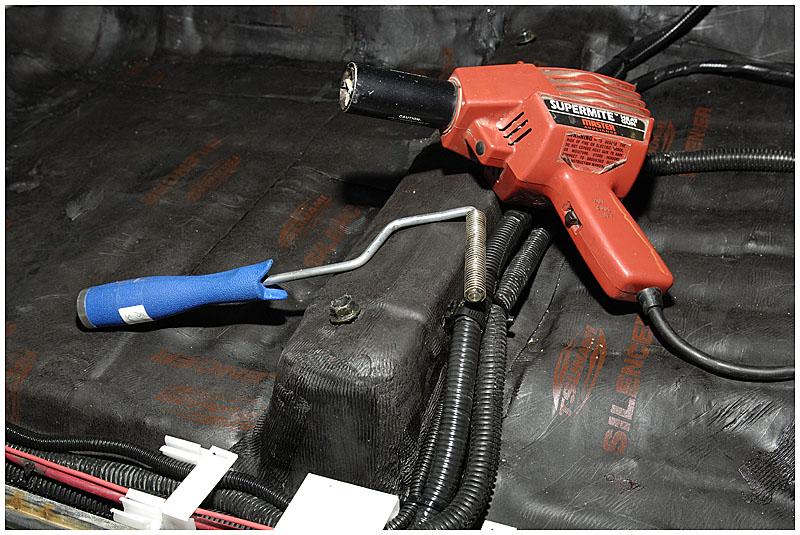
I was surprised at first that it was not silver-backed like the dynamat I used in the last truck. However, once I started working with it, I discovered that with a heatgun and a saturation roller I could get results like this:

rrtun94.jpg


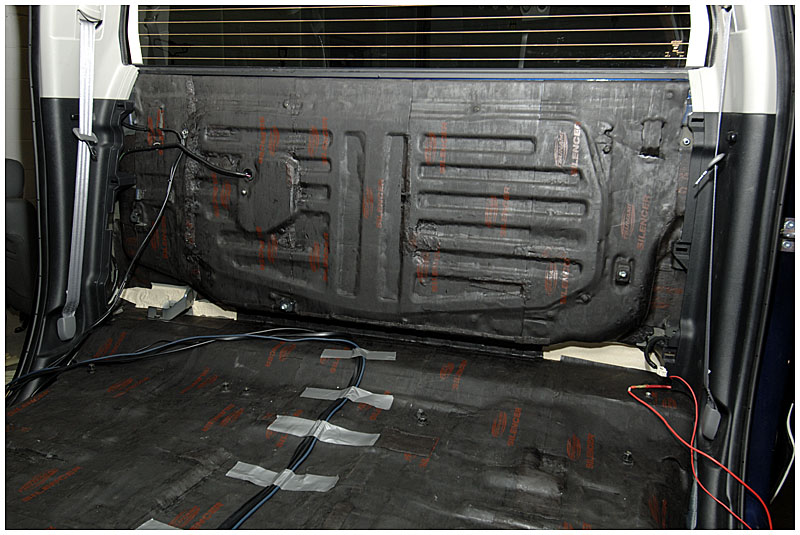
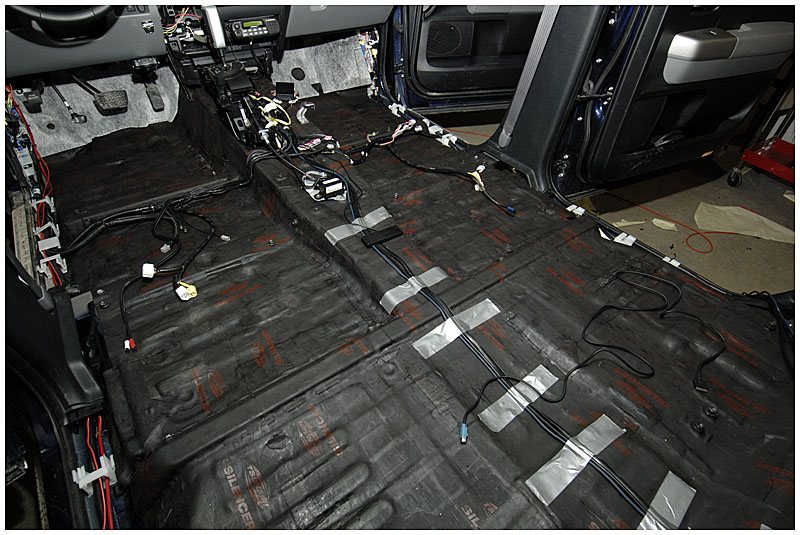
I am way too anal when it comes to this sort of thing :D I completely did the entire floor/backwall and firewall as though it had to be waterproof:

rrtun95.jpg


rrtun96.jpg


That was about 22 hours worth of work. This also allowed me to totally clean up all my aftermarket wiring.

So tomorrow is to figure out how this puzzle goes back together and hopefully get the rear doors done.

.
 
So, yes, it has been awhile since I've updated this project - and for a good reason. Finally, over the holidays, I have had time to work on the next step.

To start, this time I am really tearing it down:


There are a lot of little pieces that make up the interior - whew


Now, I've got 140 square feet of this stuff to get in there:


I was surprised at first that it was not silver-backed like the dynamat I used in the last truck. However, once I started working with it, I discovered that with a heatgun and a saturation roller I could get results like this:


I am way too anal when it comes to this sort of thing :D I completely did the entire floor/backwall and firewall as though it had to be waterproof:


[img[/img]

That was about 22 hours worth of work. This also allowed me to totally clean up all my aftermarket wiring.

So tomorrow is to figure out how this puzzle goes back together and hopefully get the rear doors done.

.

Wow...just...wow :eek:
 
I am watching you;) Seriously though, you are doing a great job, cannot wait to see it finished; you are prolly the best cable manager I have EVER seen, between all your projects, they always look 110%......
 
So as I prepare to begin reassembly, I realized that now is the ideal time to run my heavy power feeds to the back wall.

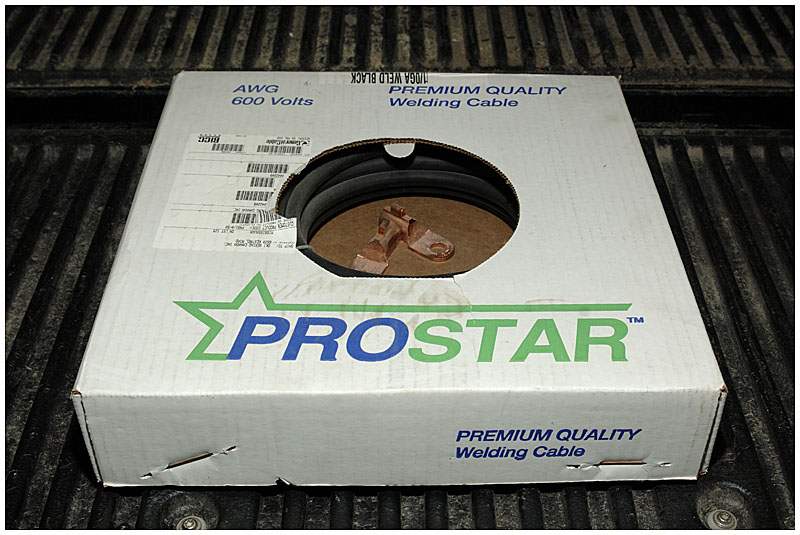
I have a box of 60' of 1/0 welding cable that I bought back in August:

rrtun97.jpg


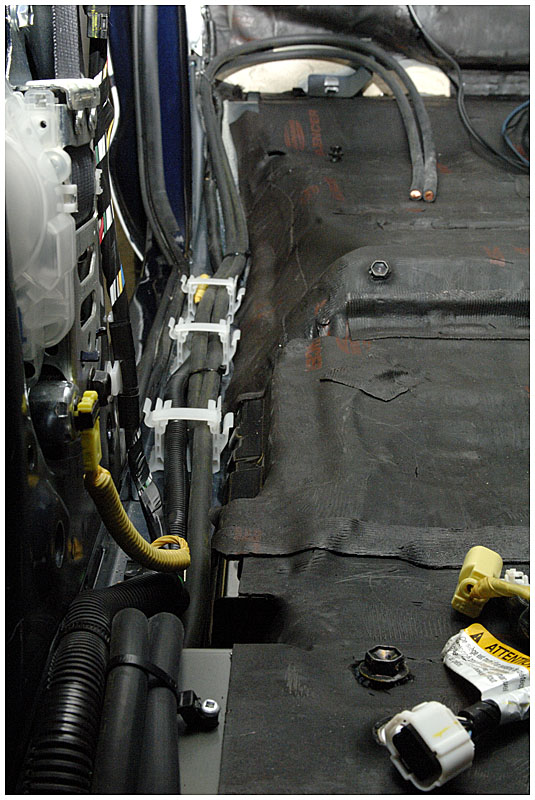
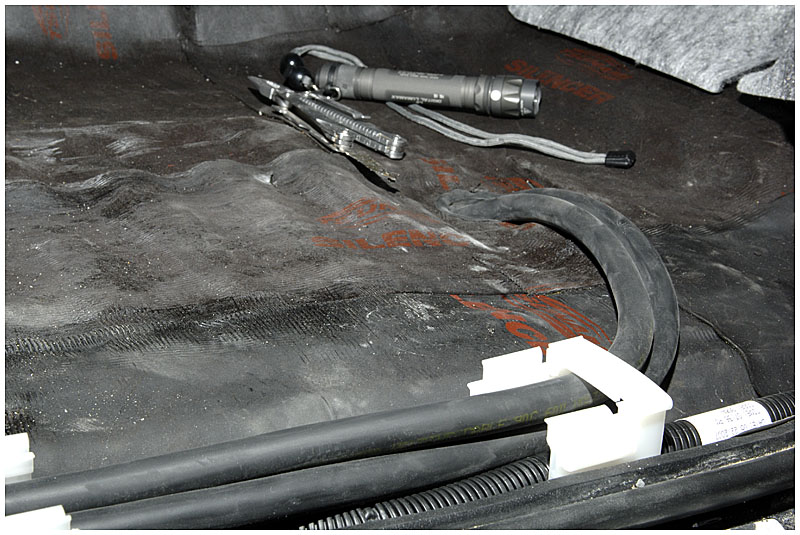
I cut it half and ran the two wires down the passenger side cable trough:

rrtun98.jpg


This is some pretty big wire and I have to get it through the firewall. While creeping under the truck, I found a rubber plug that opened into a convenient spot on the passenger side and fished the big wires through it:

rrtun99.jpg


Once under the truck, the wires are protected with a large loom. I followed another harness along the frame up through the wheel well:

rrtun100.jpg


I hate working in the engine compartment. I don't know what it is but it seems every time I loosen something, it falls off and its fastener disappears into the unknown - never to be seen again. I swear I must have wasted at least 2 hours looking for dropped nuts and bolts.

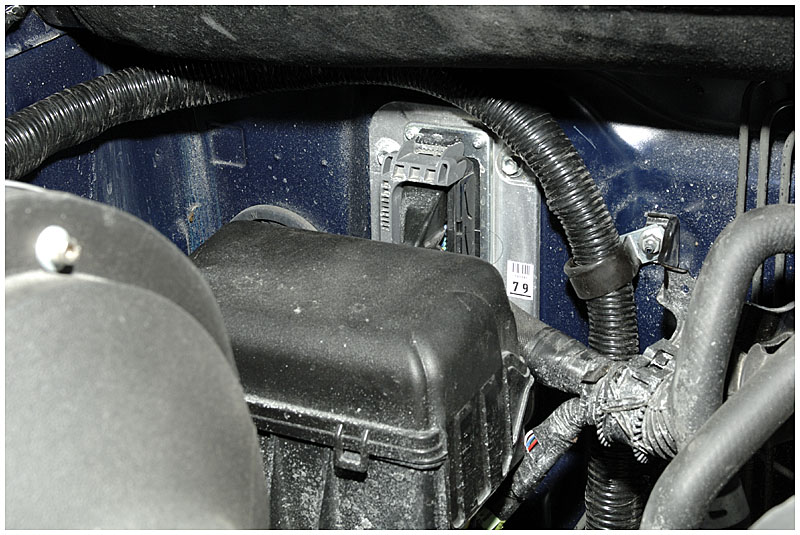
Anyway, the wires come straight up the fire wall:

rrtun101.jpg


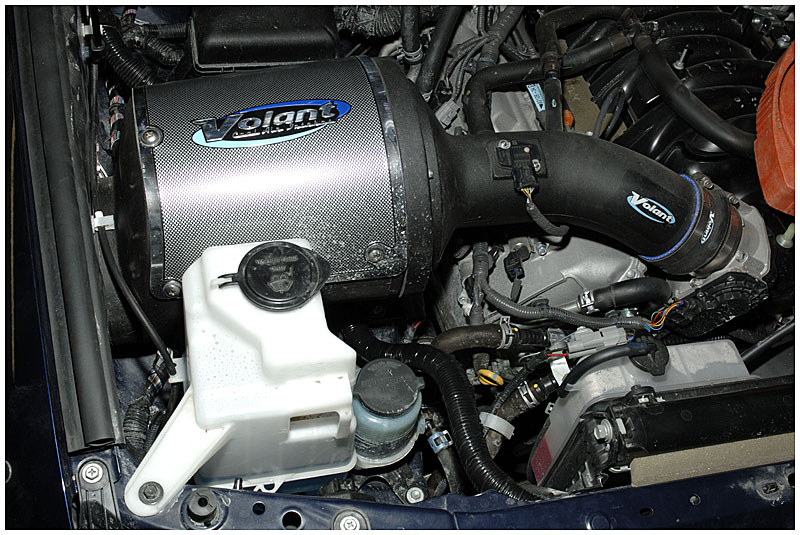
Under the CAI:

rrtun102.jpg


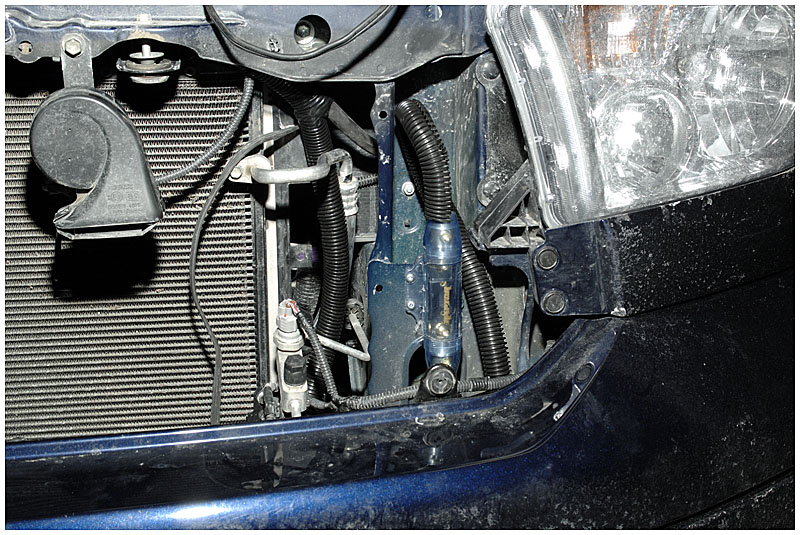
And over the radiator to a location where I could flat mount the 250A fuse. This is behind a plastic air dam I removed. You know, for such a large truck I am always having a hell of a time finding places to mount things.

rrtun103.jpg


OK - break's over. Got to get this thing assembled tonight. Not driving that Astro again!

.
 
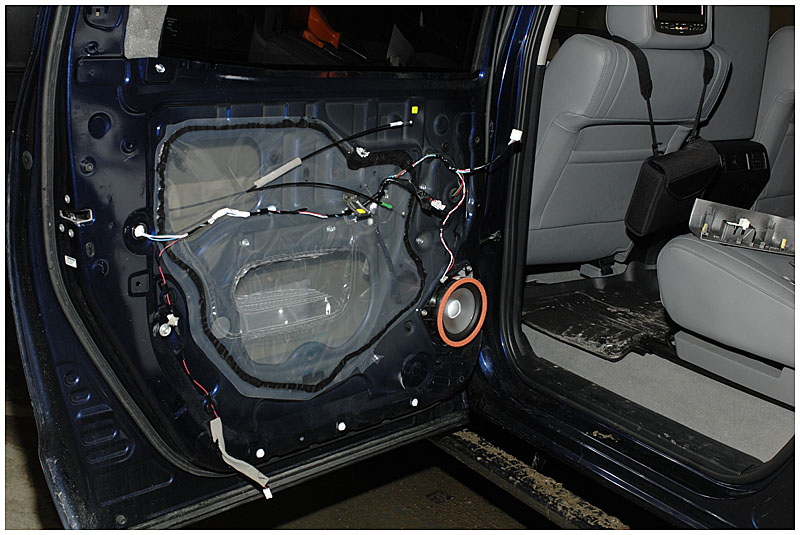
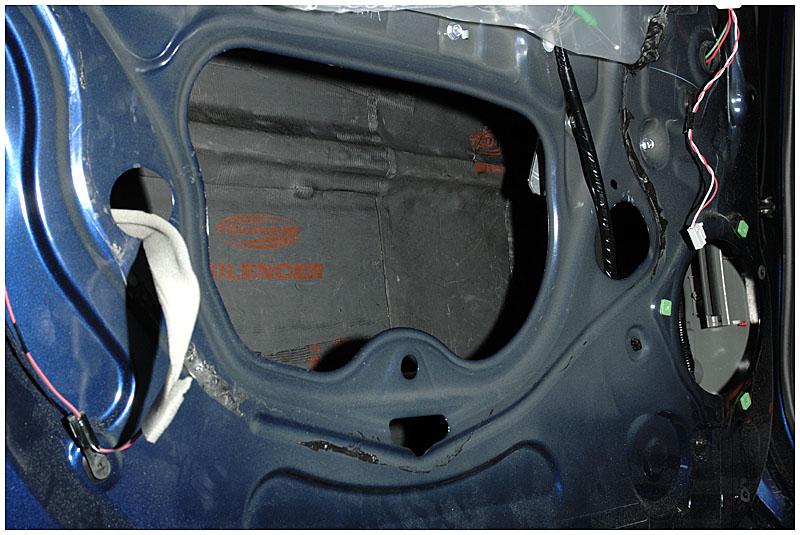
Got a bit more accomplished this weekend. This stuff is rather thick and I was concerned the door might not fit back together tightly afterwards so I put it on the inside:

rrtun105.jpg


rrtun106.jpg


I only did the rear doors for now. I'll do the front ones when I have speakers to put in.

Not terribly exciting, I know, but its all got to be done.......

.
 
Looks good. Your sound deadening pics dont seem to work for me. Is it just me?

BTW, thats a WAI - warm air intake. Its still inside the engine compartment. A CAI - cold air intake draws colder air from outside the engine compartment. Unless that has something I am totally missing its a WAI.

EDIT** I see what looks like a tube from the bottom of it going into the fender. My mistake :)
 
The server doesn't always like hotlinked images. Hit refresh and they should come up
 
to be honost im not to crazy about those motorla decals, do u work for them or something?
 
Reading the entire thread like I did would indicate that he's a manager at a two-way radio store and this is a ([H]ot) tax write off.
 
Reading the entire thread like I did would indicate that he's a manager at a two-way radio store and this is a ([H]ot) tax write off.

well i did read the entire thread just a really long time ago and forgot.
 
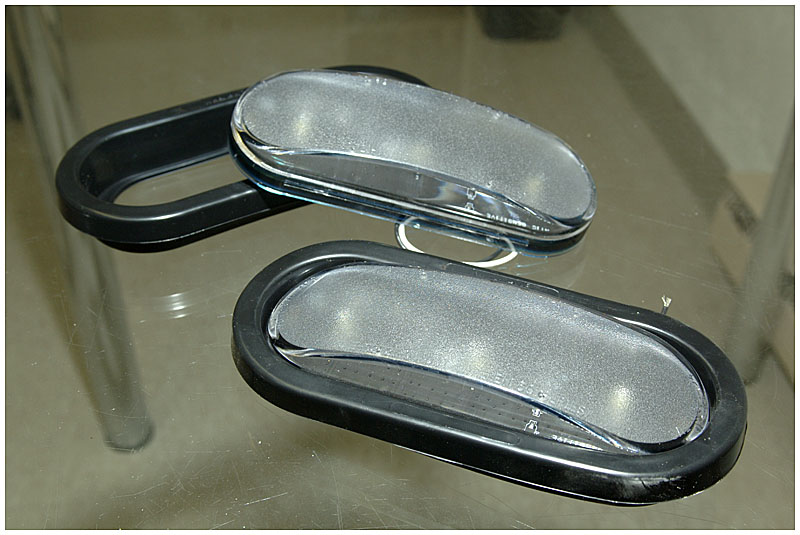
I ordered and received a pair of Whelen 5G LED compartment lights.

rrtun107.jpg


Going to use these to illuminate the bed.

My original concept was to surface mount these with a flange but since they came with mounting grommets, I decided to flush mount them instead.

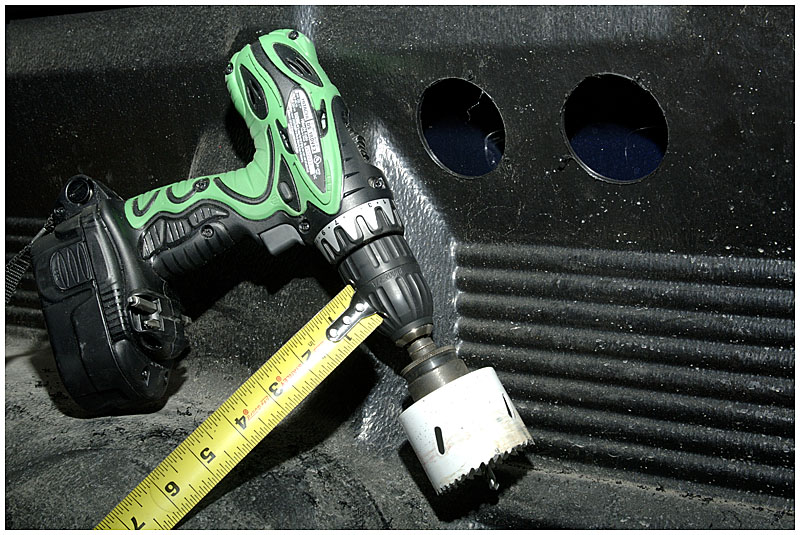
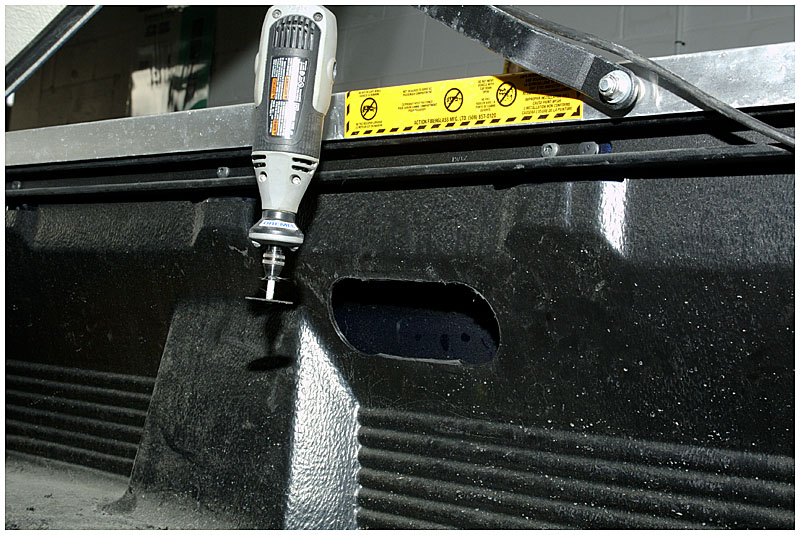
First was to cut a pair of 2.5" holes 4.5" apart into the bed liner:

rrtun108.jpg


The holes are joined together with a Dremel:

rrtun109.jpg


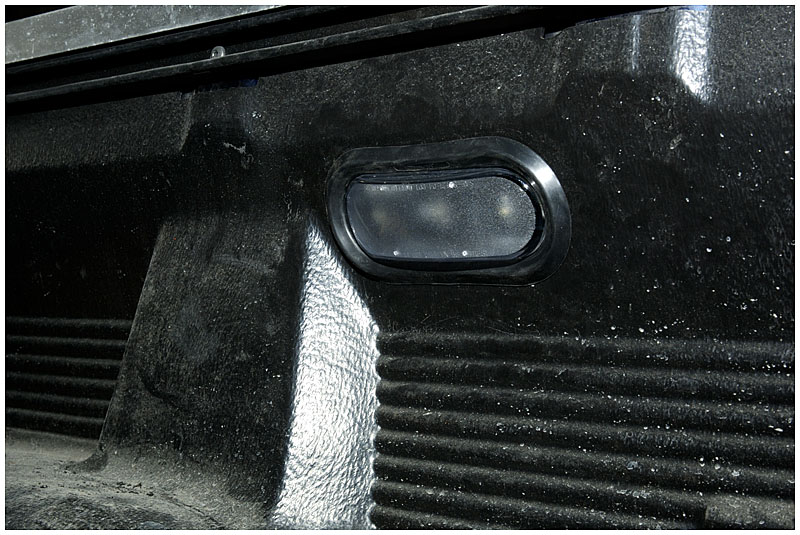
And the lamp is held in place by the grommet:

rrtun110.jpg


rrtun111.jpg


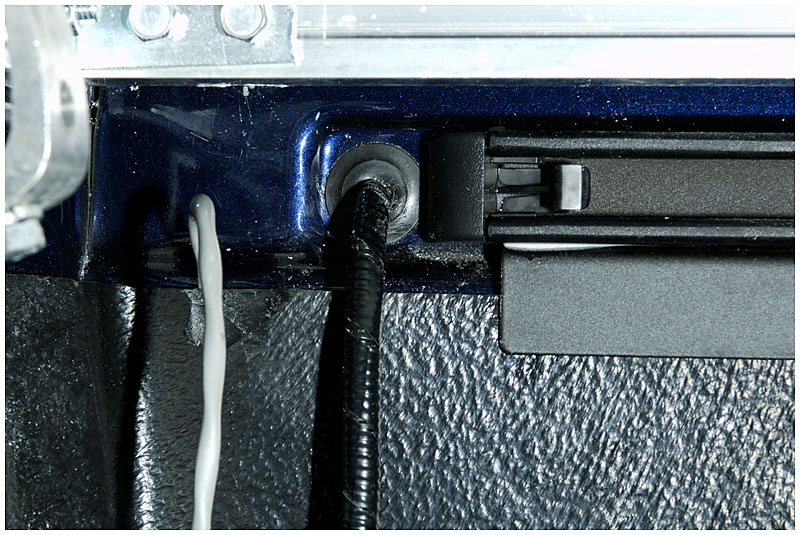
Pulled another cable run from the battery to the bed:
rrtun113.jpg


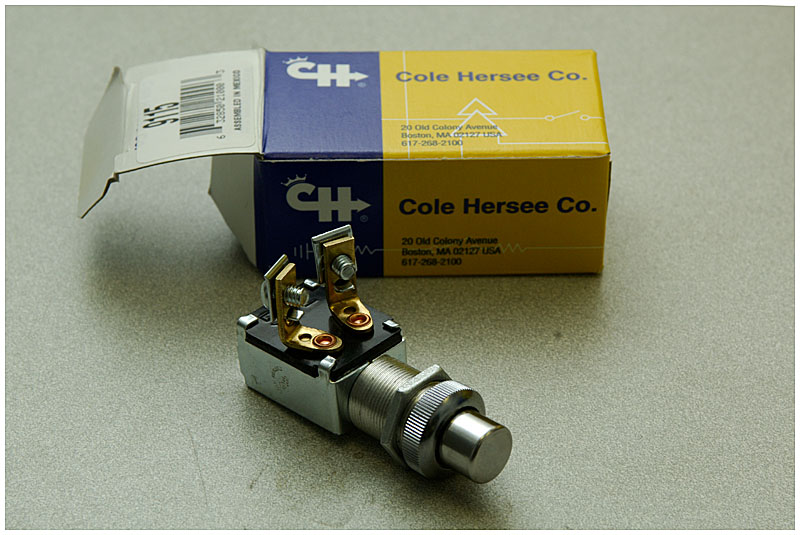
I found a heavy-duty, normally closed, momentary switch:

rrtun112.jpg


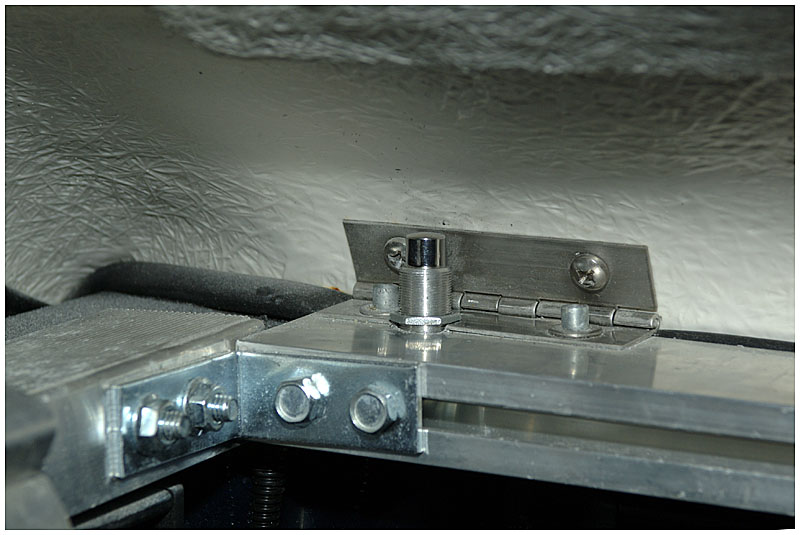
And mounted it at the hinge:

rrtun114.jpg


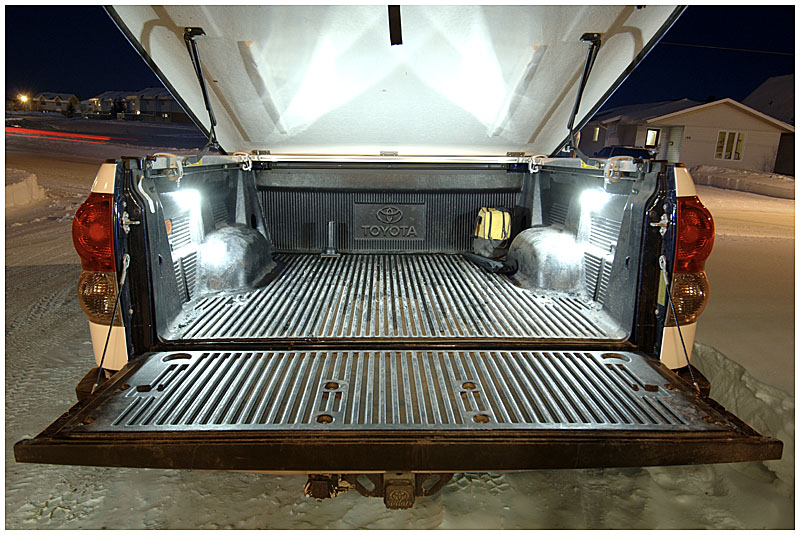
There we have it! Bed lights that turn on when the tonneau cover is raised.

rrtun115.jpg


BTW, I am now 12 gold-plated RCAs and about 50 hours away from having this project complete
 
At last the story continues on the sub enclosure........

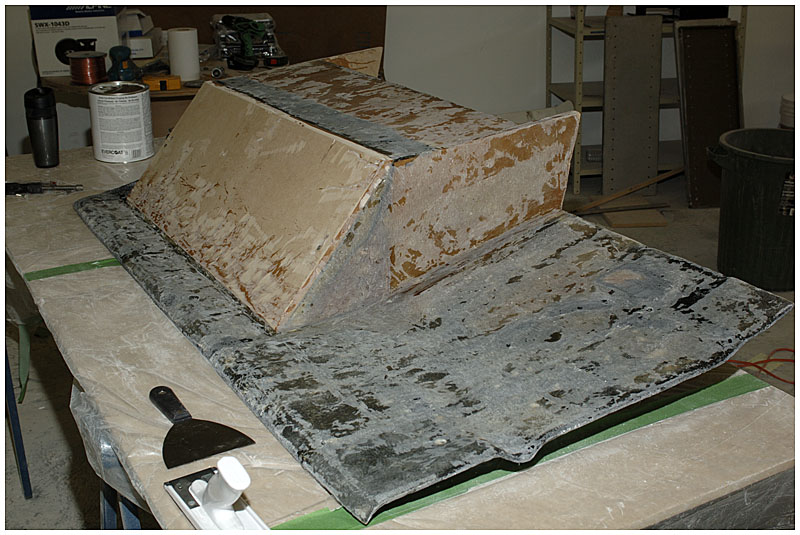
.....so the fabric "bridge" I'd created to join the back wall to the MDF box sagged under the weight of the resin. I saw it as it happened but there was nothing I could do and figured it could be easily corrected afterwards. Well, when "afterwards" came along it turned out to be a pretty bad sag. I tried to just fill it but the glass got ridiculously thick and I came to the decision that I was never going to get it flat like this.

Finally, I just cut the damned thing off:

rrtun116.jpg


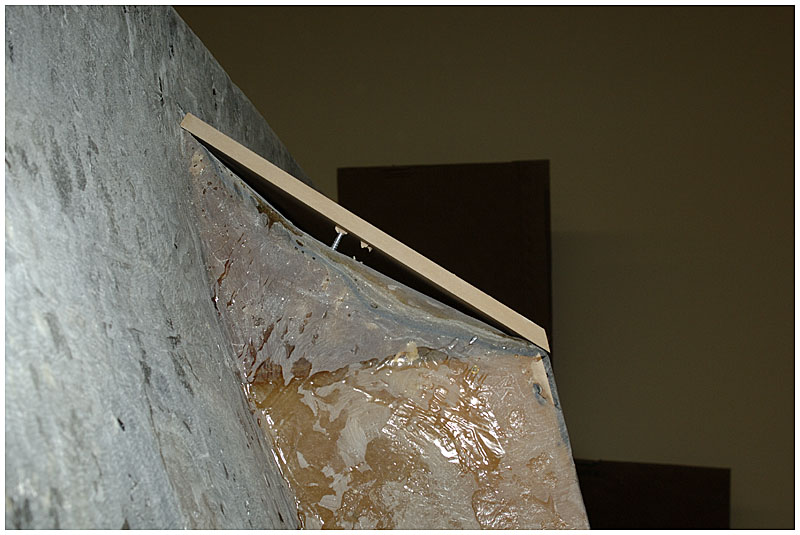
You can see when I laid the MDF on it just how bad that sag was and how thick the glass was getting:

rrtun117.jpg


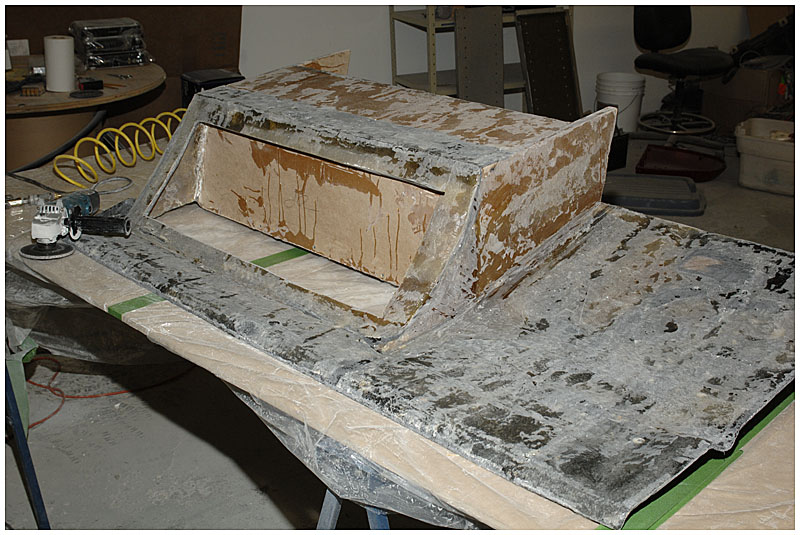
So now with only a bit more glass I finished the roughing:

rrtun118.jpg


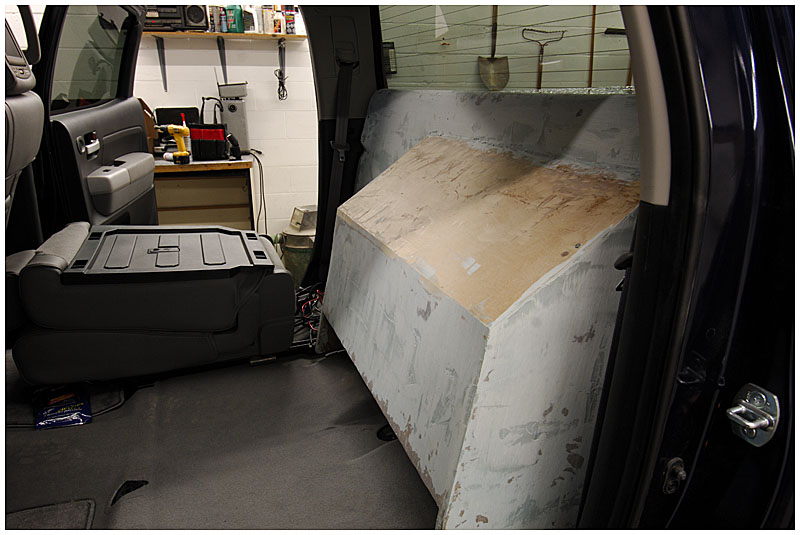
Next, of course comes the filler. Here is the "finished" box being test fit in the truck:


rrtun119.jpg


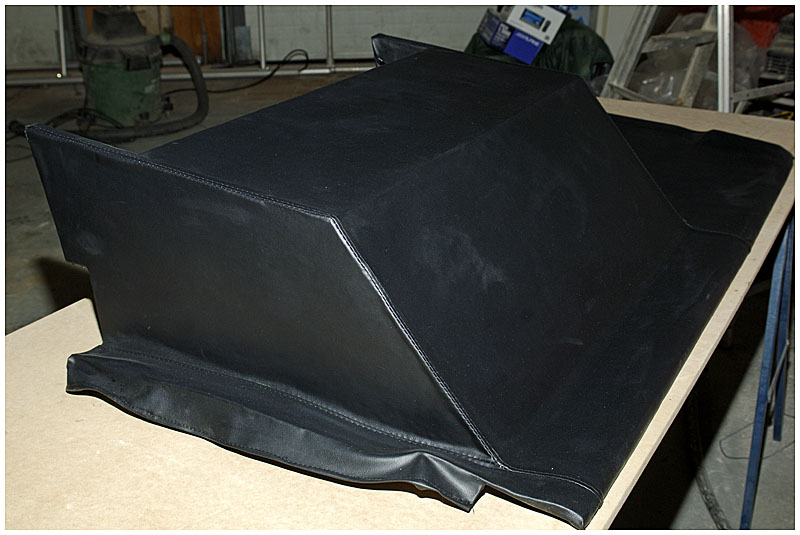
I just had to get it "smooth enough" because from here I brought it to an upholstery shop where they covered it with vinyl:


rrtun120.jpg


The whole idea behind that is so I can have the "pebbly" texture to match the interior. It looks black in the above pic but it is actually a dark bluey-grey

And now tonight I have begun the final assembly.

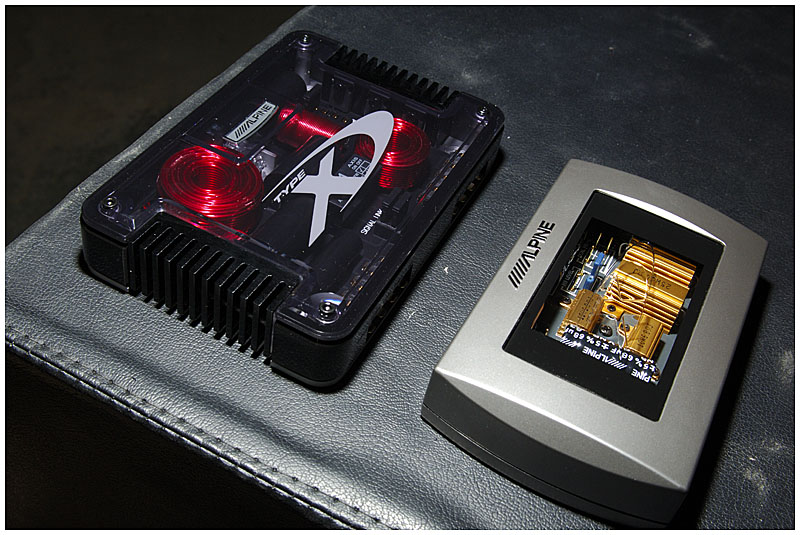
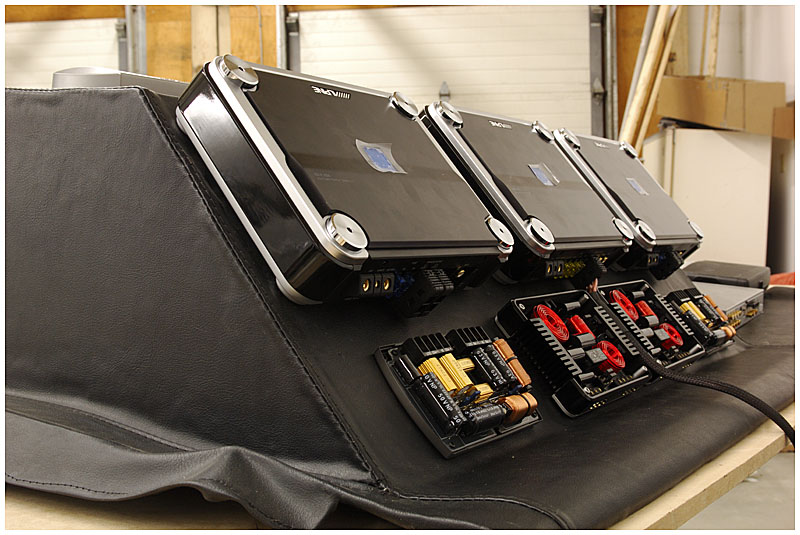
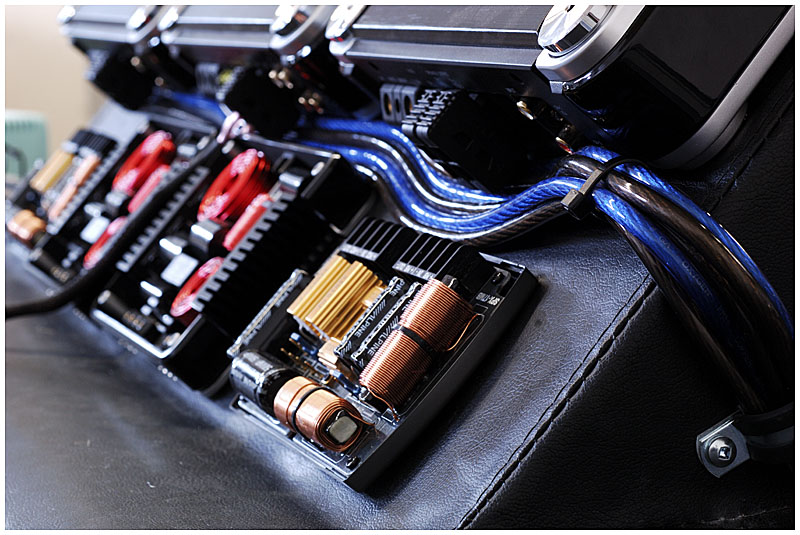
Here is a set of crossovers:

rrtun122.jpg


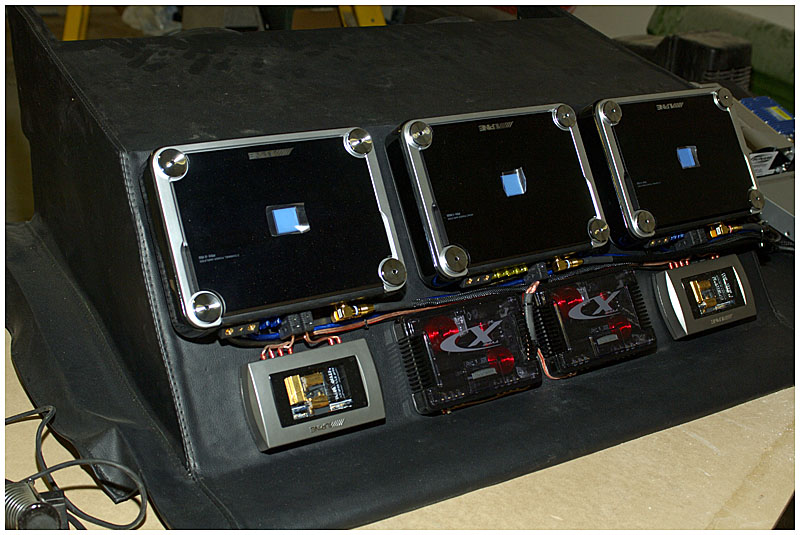
And a teaser pic of where I'm going with this:

rrtun121.jpg


But that is it for tonight. Tomorrow I should be able to get the majority of the assembly complete.

Please stand by............

;)
 
Next is to begin the power wiring.

Even though the Tundra has a 150A alternator, at full volume this system is capable of 1.6kW which works out to 115A at 13.8v. However, if we look at the potential peak power, that is about 2265W/164A. So, I figured a capacitor probably wouldn't hurt and I ordered one.

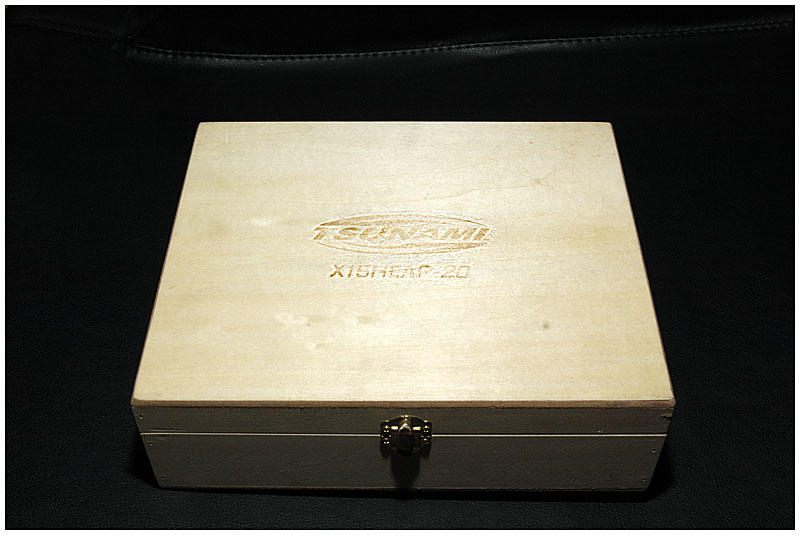
Got a bit of a surprise when it came in and they handed me a wooden box:

rrtun123.jpg


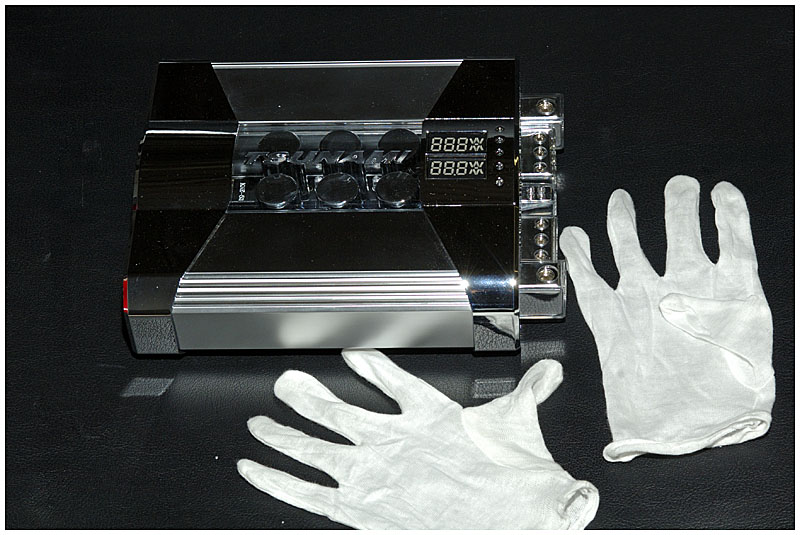
Even more of a surprise when I saw the cap complete with a pair of white gloves so you don't get finger prints on it! :p

rrtun124.jpg


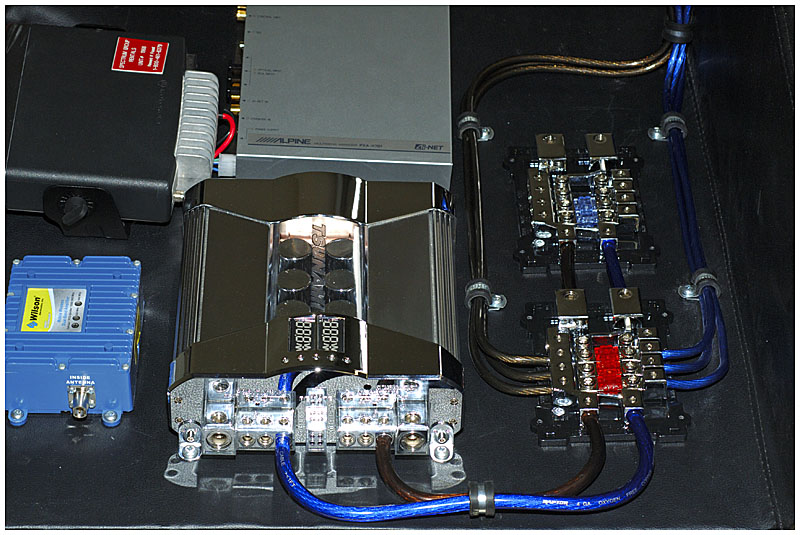
That is a Tsunami X15HCAP-20: a 20 farad, hybrid capacitor.

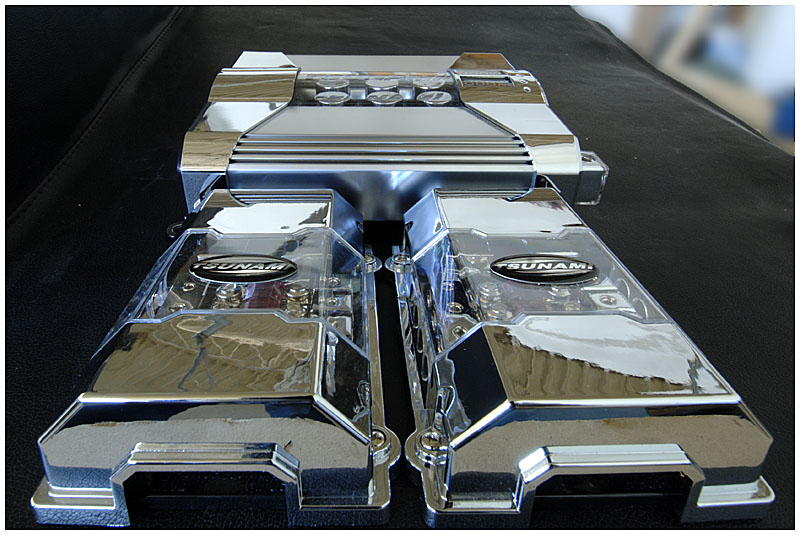
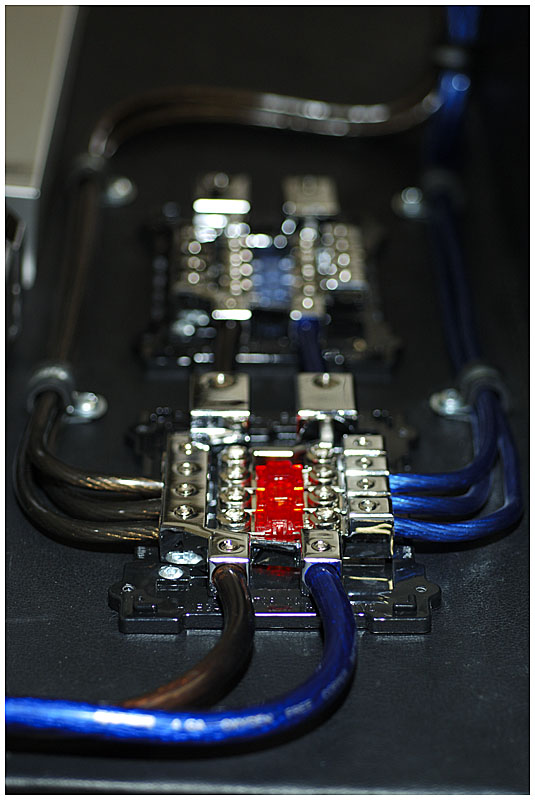
Along with the cap, I got a pair of Tsunami V10PG4-MANL distribution blocks:

rrtun125.jpg


Bit of perspective distortion there, they are actually much smaller than the cap.

So the blocks are connected to the cap with a couple short lengths of 4 gauge cable and the amps are connected to the blocks with short runs of 8 gauge. I'm using 50A fuses for each of the 300W amps and a 150A fuse for the 1000W sub amp (rule of thumb is your fuse should be double the expected current draw):


rrtun127.jpg


rrtun126.jpg


rrtun128.jpg


Next up is the audio interconnects. The head is connected to an audio processor via a length of fiber. The output from the processor goes to the amps via RCA cables.

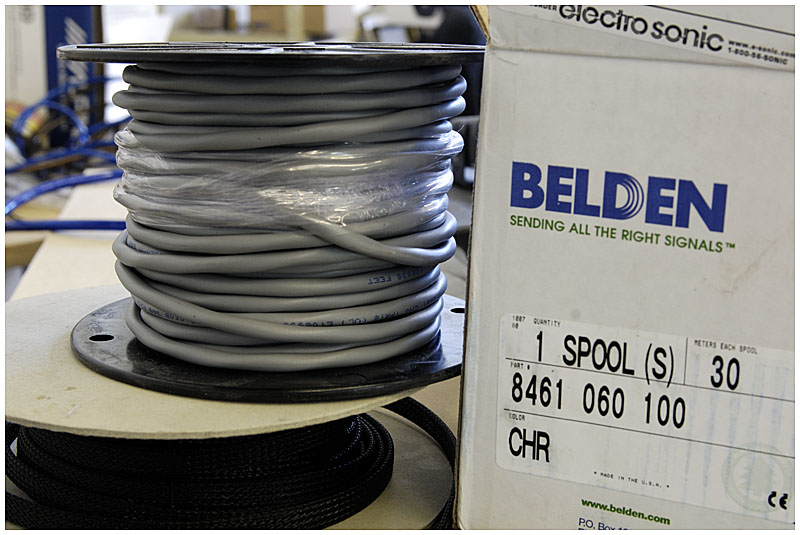
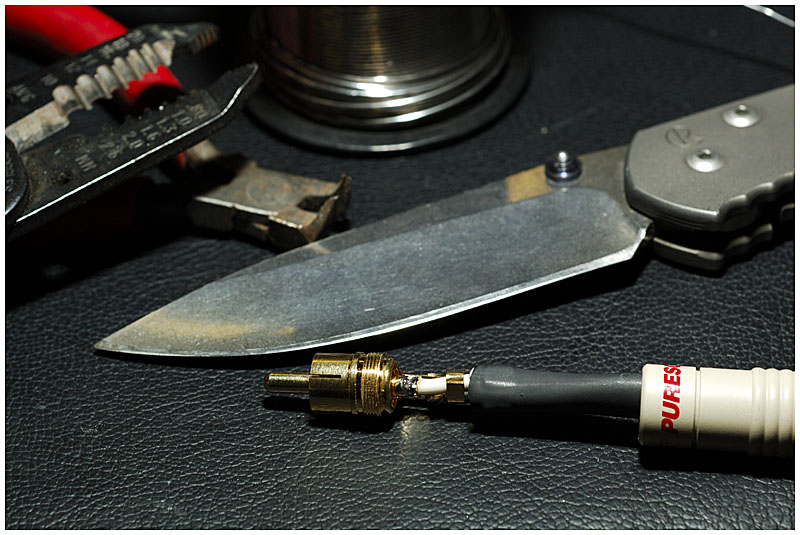
I ordered a 30m spool of Belden 8461 audio cable and some Puresonic gold plated connectors:

rrtun133.jpg


The connector is soldered on and a bit of heatshrink is used for a strain relief:

rrtun129.jpg


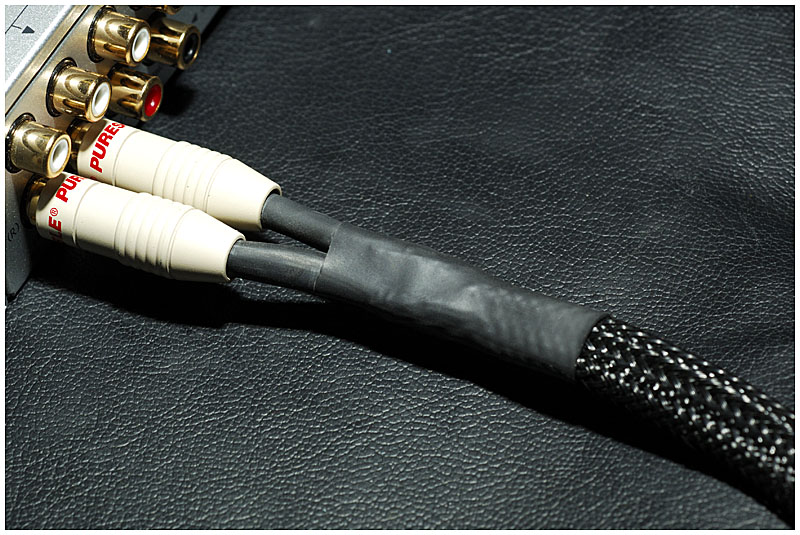
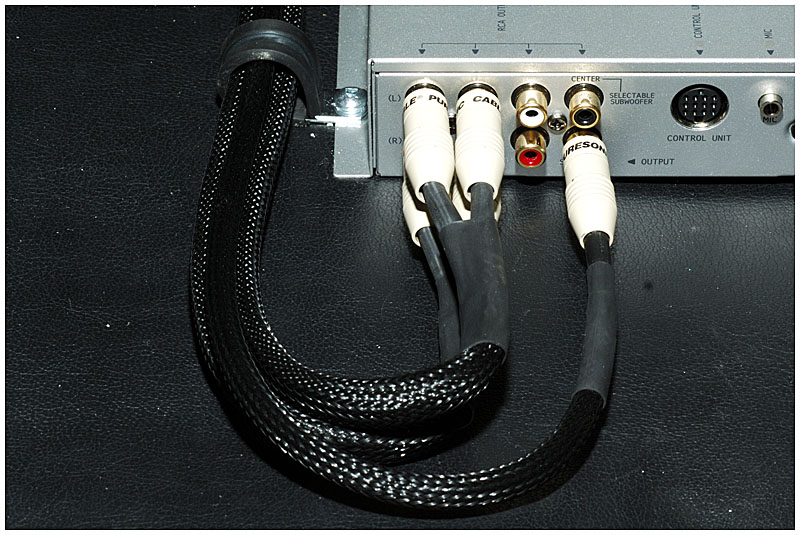
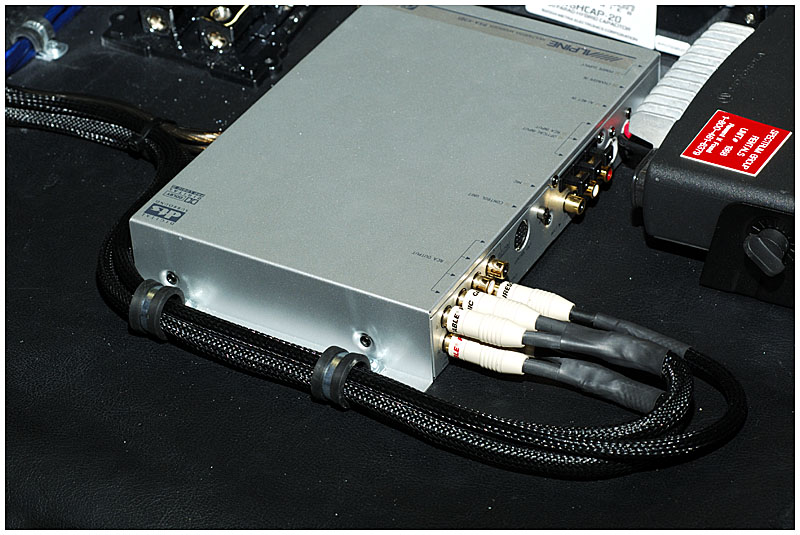
All five cables are made and the cable covered with a nylon braid. The lefts and rights are braided together:

rrtun130.jpg


rrtun131.jpg


rrtun132.jpg


And that's is all I got done this weekend - 13 hours worth. Sure glad I'm not billing me by the hour! :eek:
 
thats some nice wiring man if only i could take the time to do that to the wires in my pc and all the audio video wires ive got laying around, this worklog truly is very good.
 
its great,more pictures please,its a dream car for romanian roads,but not for thiefs of my country.
 
Wow, lots of shiny boxes. I have no idea what any of it does - i'm not much of an audiophile, especially in the car - but it looks good. Keep updating!
 
Very nice indeed. Though personally I wouldn't have gone with any logos on the outside, I prefer the clean, stock look on the outside, heavily modded on the inside. Very good work all around though.

 
Very nice indeed. Though personally I wouldn't have gone with any logos on the outside, I prefer the clean, stock look on the outside, heavily modded on the inside.

Clearly you missed the part where he stated that its his work truck and he gets tax writeoff and whatnot :rolleyes:
 
wow man, your making me sick. The attention to detail and the wire routing is just sick man.
 
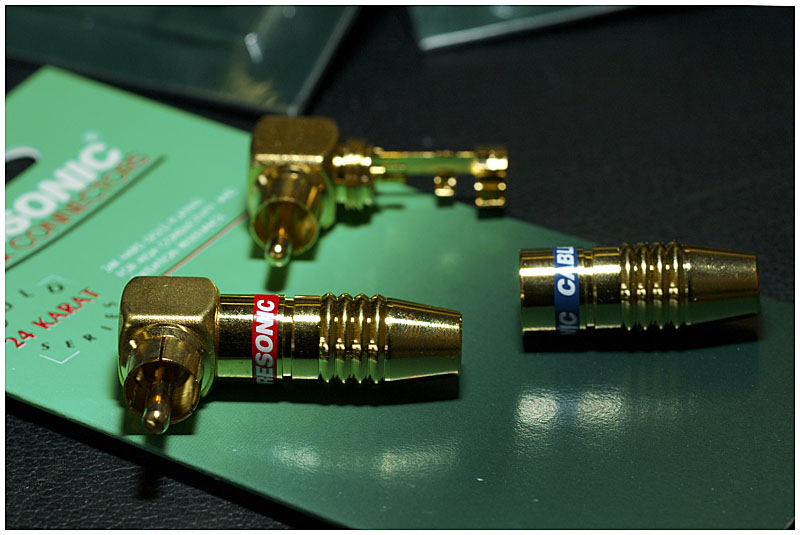
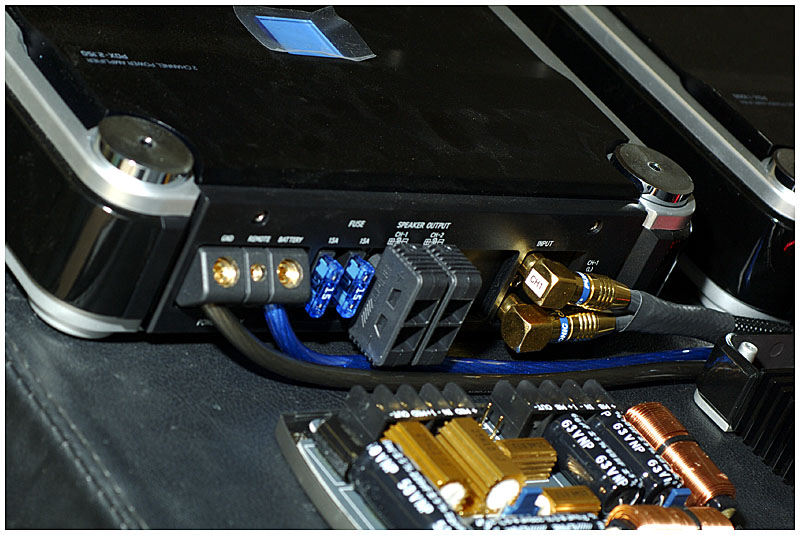
The straight RCA connecters were too long to plug to the amps so I had to order some short stemmed 90° ones:

rrtun134.jpg


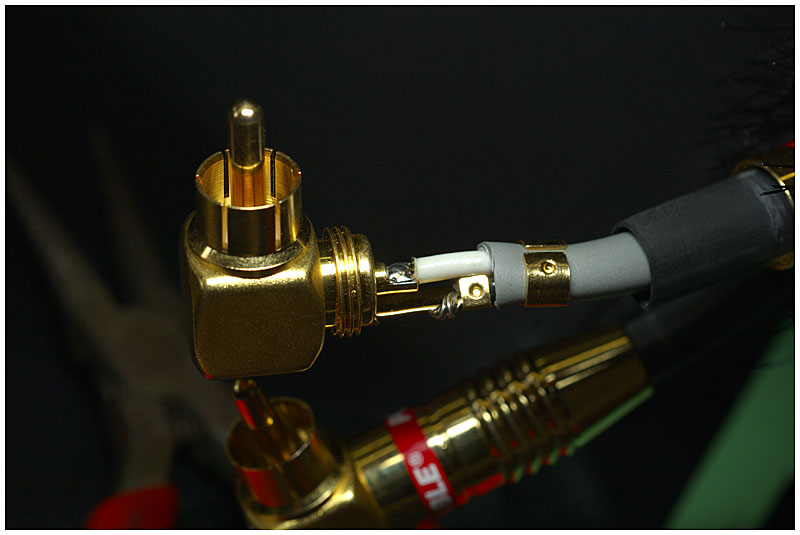
These new connecters are soldered on and the cables routed:

rrtun135.jpg


rrtun136.jpg


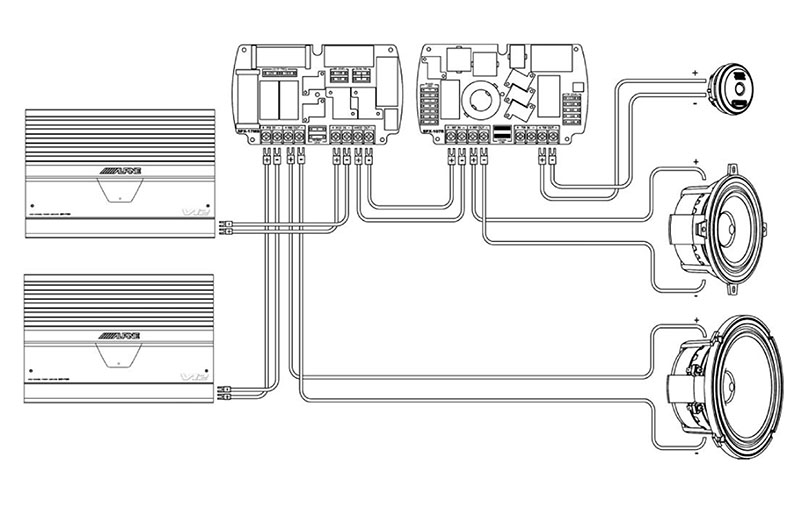
The amplifier outputs are connected to the crossovers:

schspkrs.jpg


rrtun137.jpg


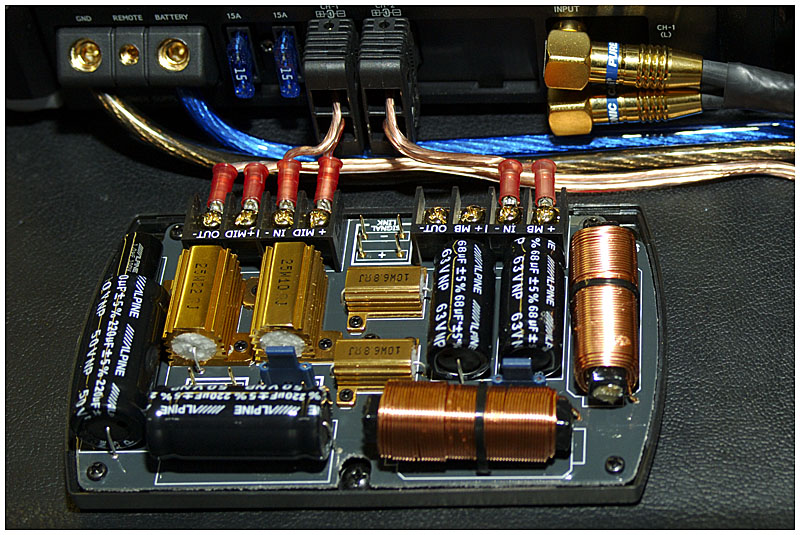
And the covers for the crossovers are replaced:

rrtun138.jpg


The new crossovers use quick connects - gotta question Alpine's choice using those for this tier of product. Since I am not trusting of a simple friction fit I chose to solder the wires in place instead.

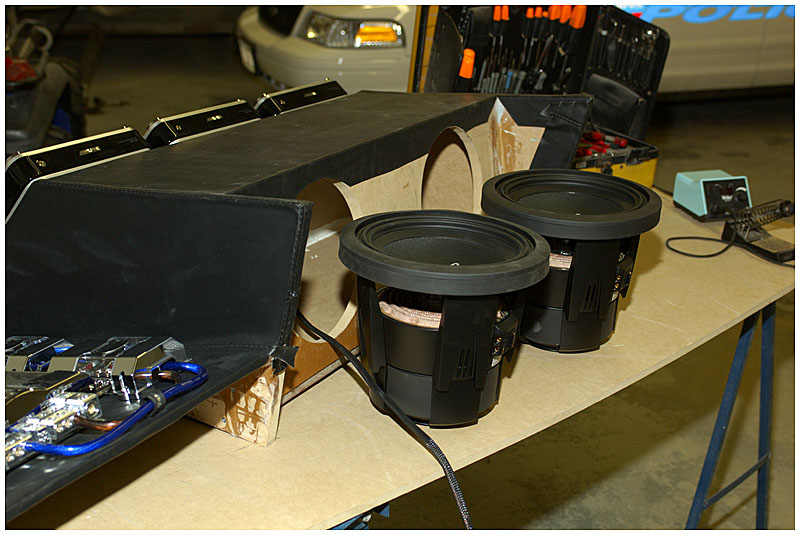
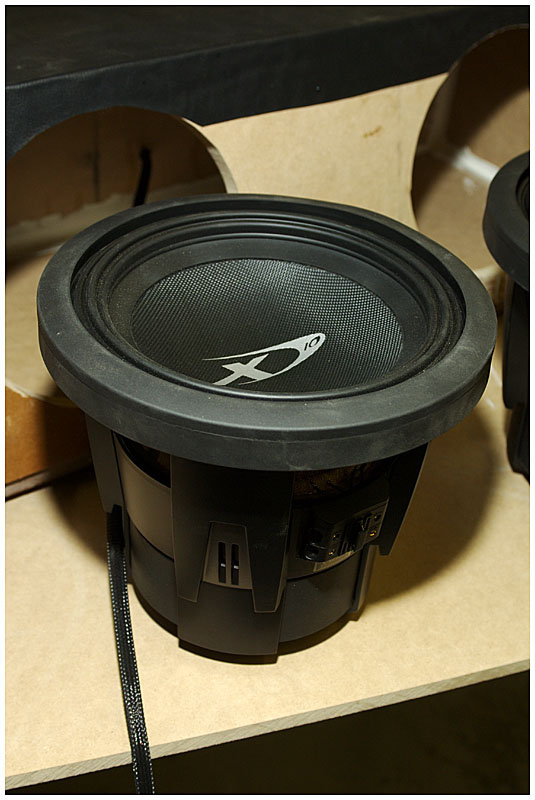
Anyhow, finally I can install the subs! I used some #12 speaker wire left over from my home theater install:

rrtun139.jpg


rrtun140.jpg


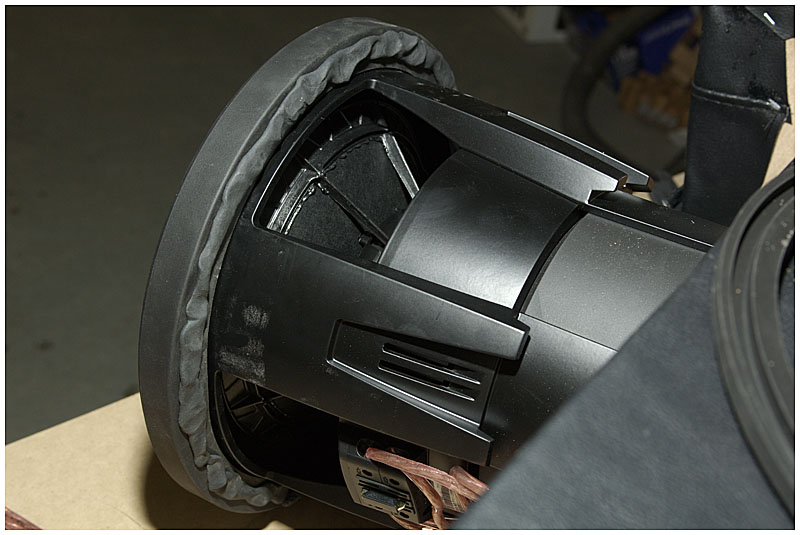
I stuck duct seal along the rims:

rrtun141.jpg


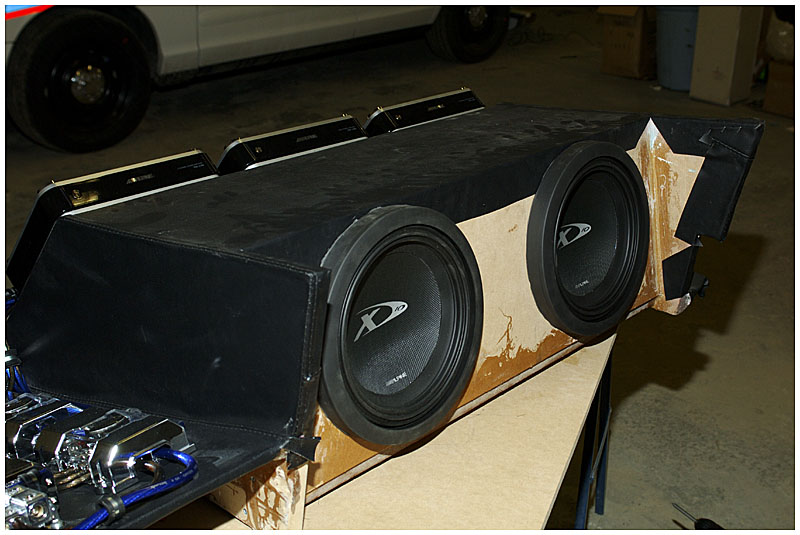
And here we are:

rrtun142.jpg


Remember, that is the underside of the enclosure - the subs will be downfiring. I suppose I could have painted it <shrug>


Wow - let me tell you this assembly is heavy! I knew it was going to be but it is so heavy I can barely move it

Next, I have to hook up the amps' remote inputs and provide power to the radio and wireless amplifier but for the most part this portion is complete. Next week I can get this in the truck and start rerouting my power runs to the heavy lines in the back.

.
 
this build just keeps getting better and better. nice components and quality work. so much eye candy
 
There are always police cars in my bay. That one is new and waiting on a complete install (radio, lights etc)
 
Back
Top