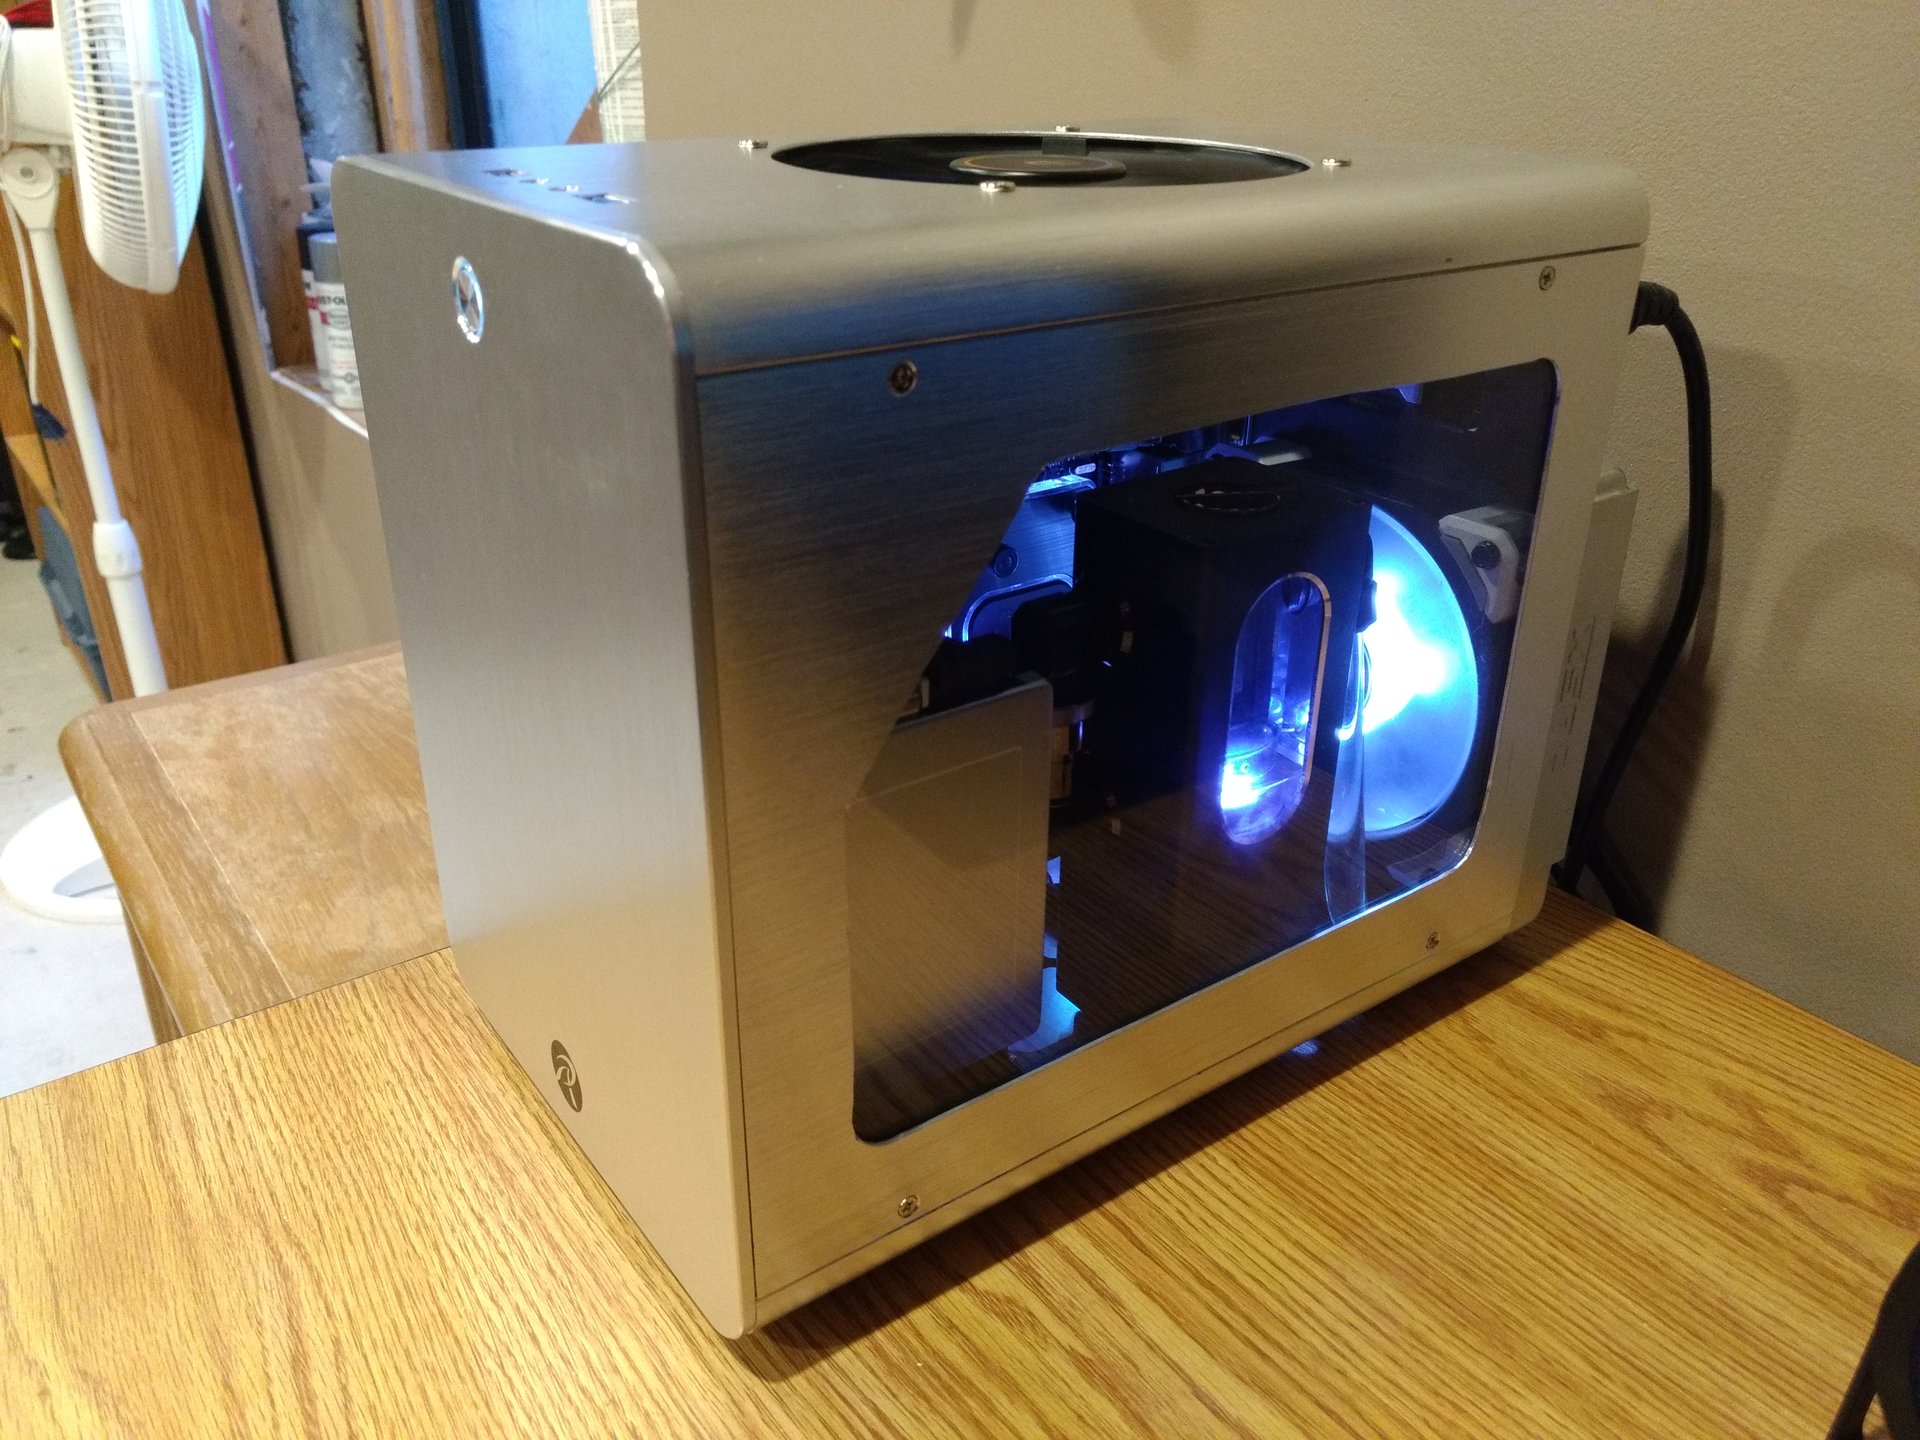
Raijintek Metis: The Rebuild

Joined
Apr 5, 2016
Messages
2,286
So, I blundered through my first SFF build a few months ago. Had a few threads posted about it elsewhere in the forum. However, after spending a couple weeks using it in my temporary upstairs office (had some movement limitations following a minor surgery), I came to find it had several shortcomings. The inside was an ugly mess, the fans were wrong (DC only and the mobo supported PWM only), and worst of all, the GPU would climb to a toasty 75-80c under load. It's only a 75w GTX 1050ti.

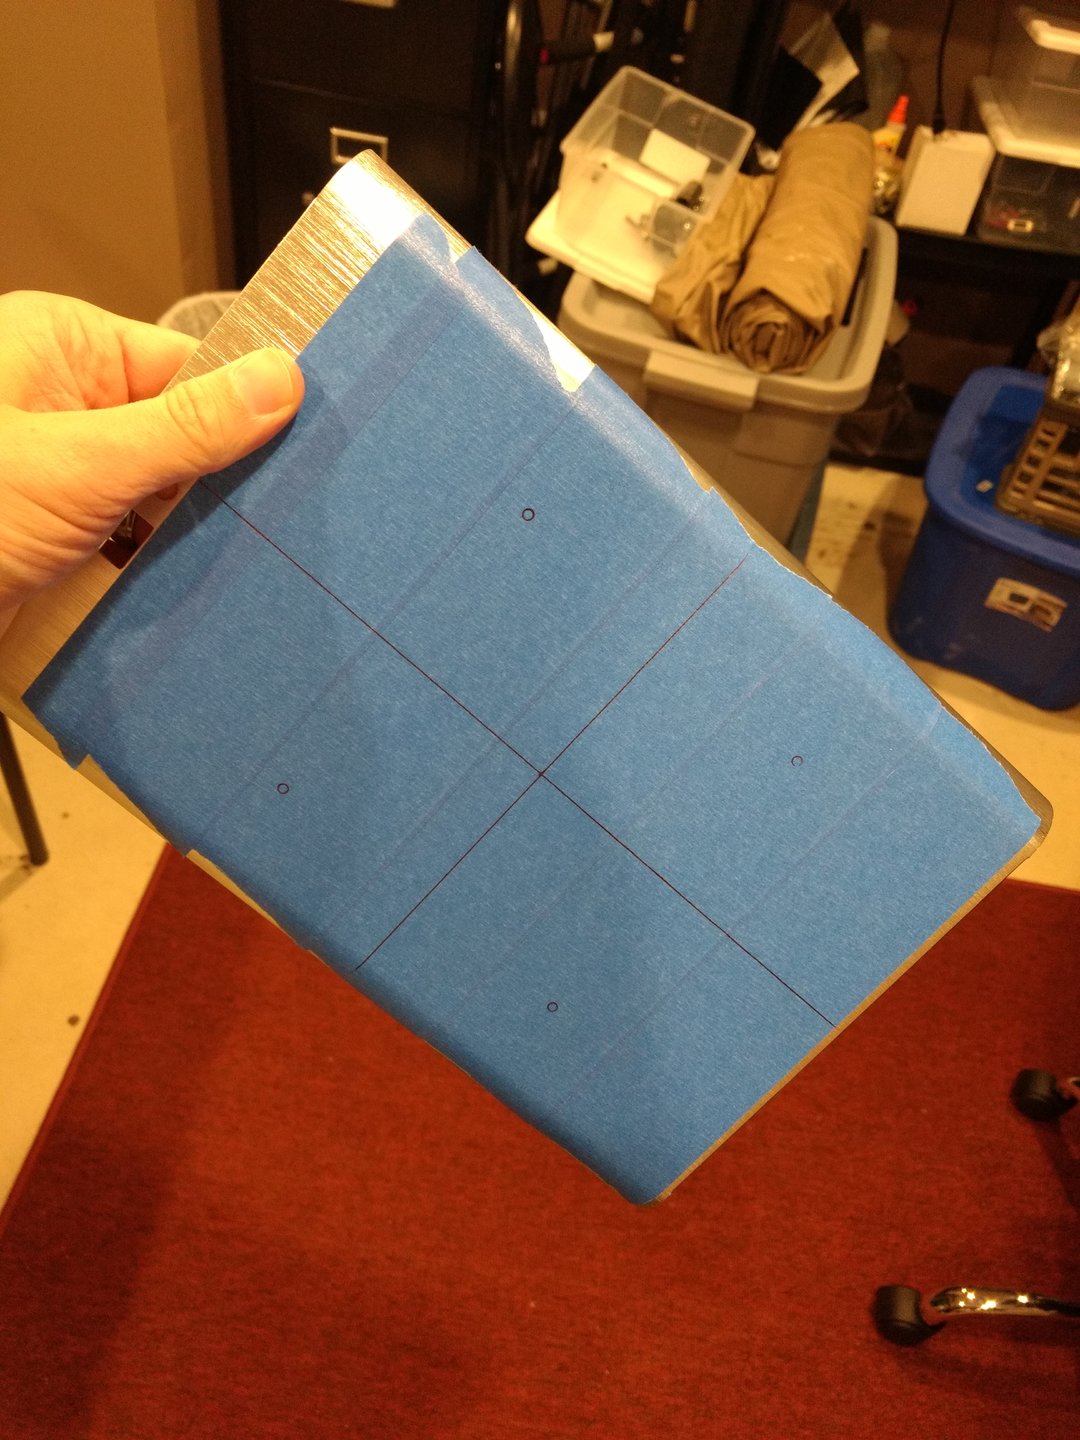
So now begins the process of rebuilding with some component choice changes. I'm modding a 140mm thin fan into the top to address the overheating GPU. The case doesn't leave much room for the GPU to get any fresh air, and the top is currently closed, so it just heats up and... marinates.
IMG_20171108_211912366.jpg


The all too familiar blue tape syndrome... the fly cutter I need to cut the hole is on the way in the mail.
IMG_20171108_211923825.jpg


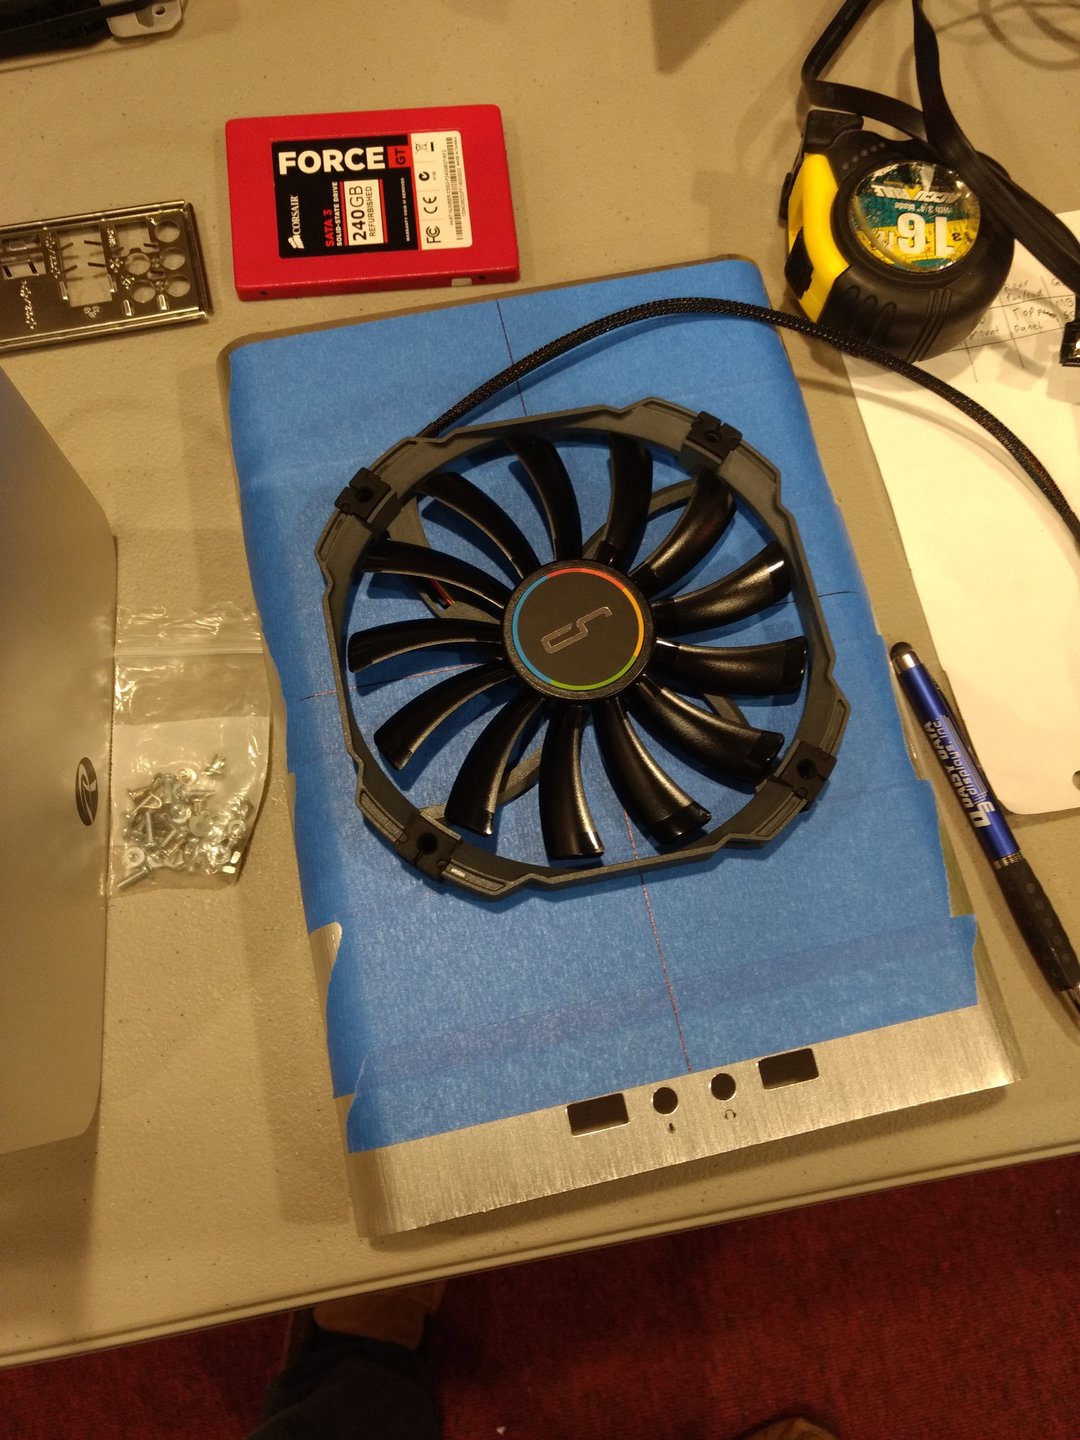
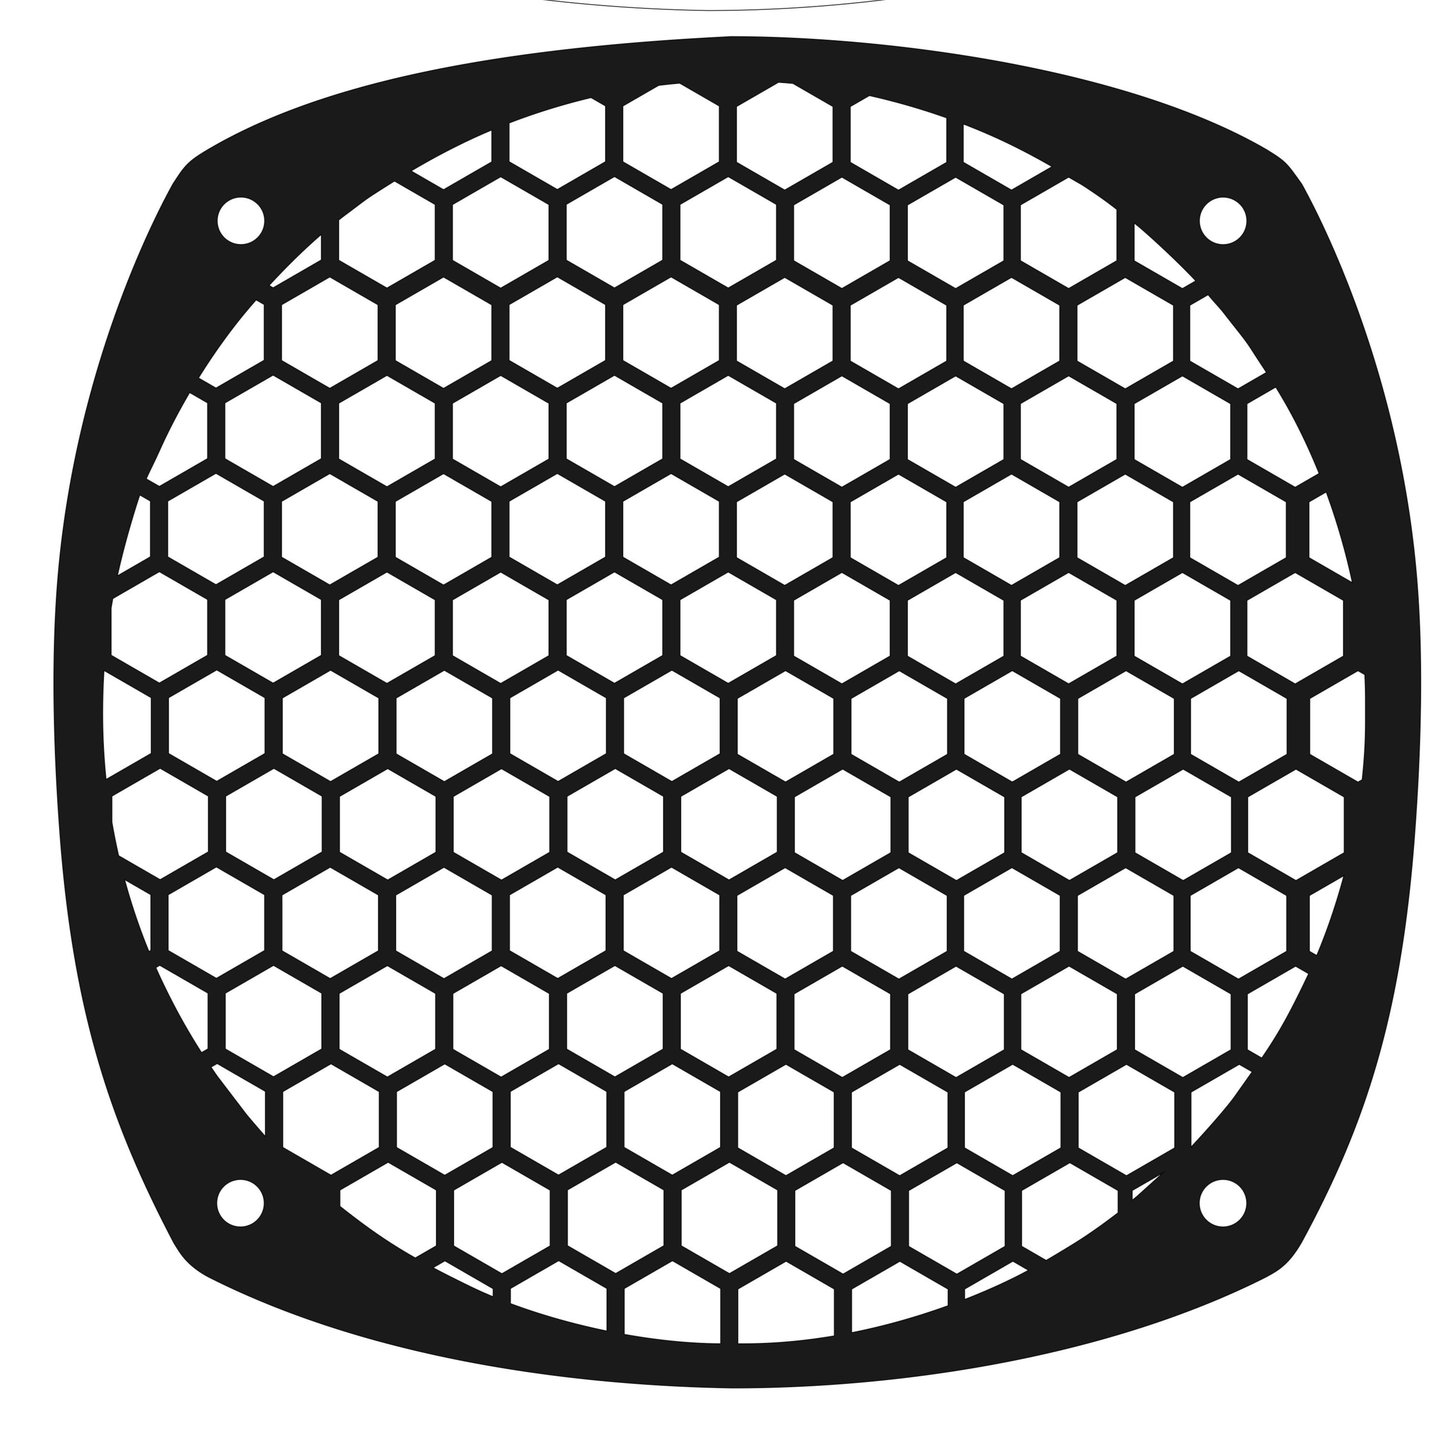
That aughta pull in some air for the hot little GPU. I'm not too keen on just having a great big hole in the top, and finding 140mm fan grilles with 120mm mounting holes is next to impossible. I found this guy on Etsy who'll custom cut acrylic fan grills for really good prices. I had my drawing to him, he shot me a concept, and it shipped within hours of my approval of the design. Obligatory shoutout: https://www.etsy.com/shop/jmmods
icm_fullxfull.137120280_nw12nmjt1o0ok0c08co8~2.jpg


I may or may not put some filter material on the back of it, but I'm definitely spraypainting it "aluminum" to match the case and radiator:
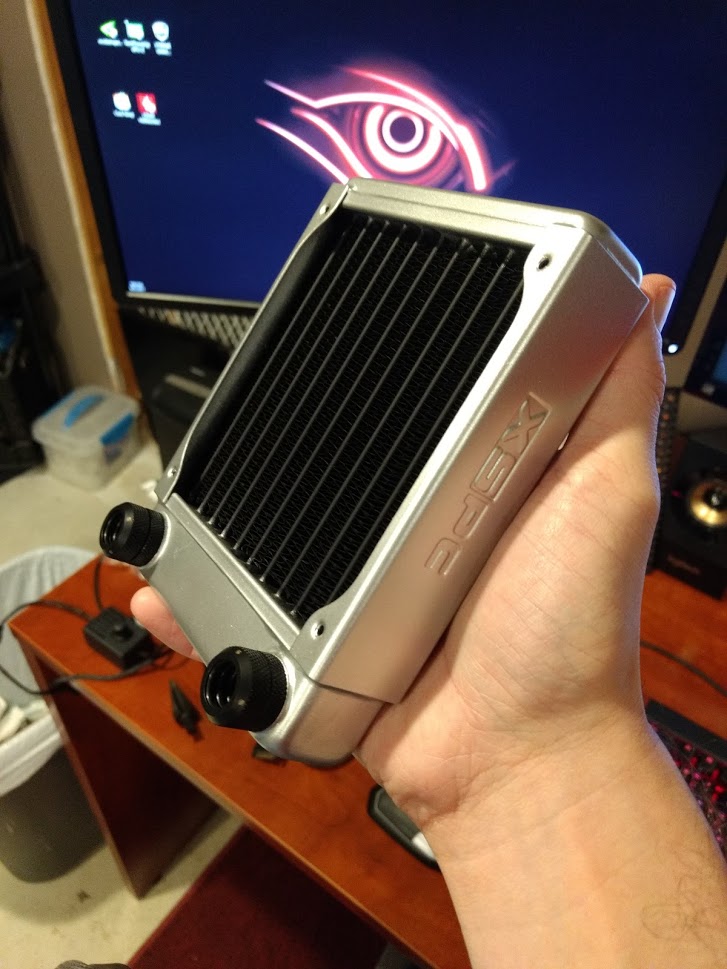
IMG_20170821_210313946.jpg

(This picture is a cheat! It's from the original build log! Hahaha)

One thing I hated about this build's previous state was the awfulness of the cables. In particular, powering the discrete LEDs for the waterblock and reservoir, as well as powering the pump through the obligatory voltage controller, the inside was a mess. I needed a way to clean it all up.

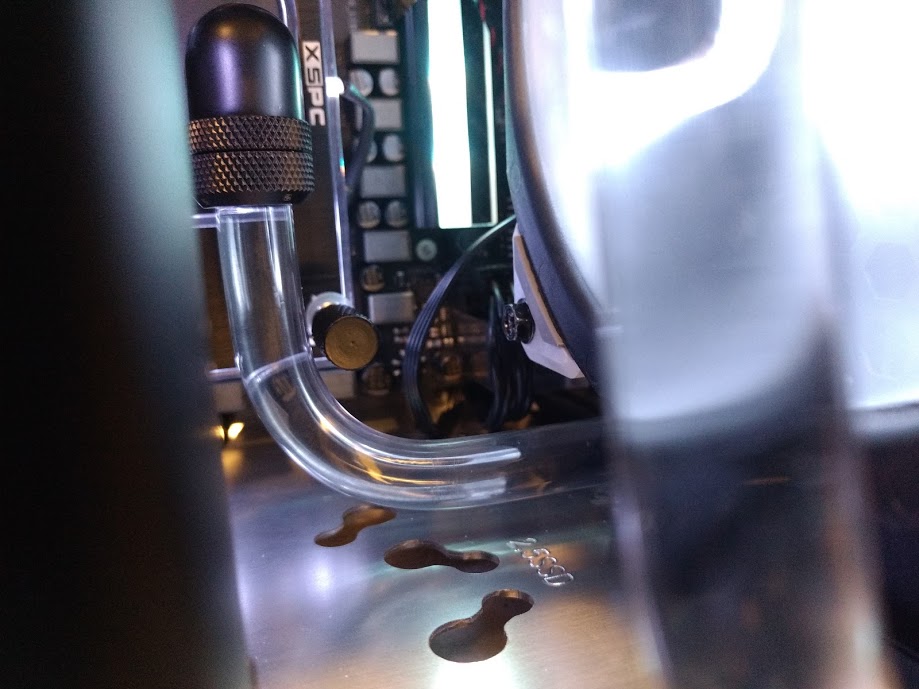
The Raijintek Metis is a neat little case in that it can support a full-size ATX power supply. I bought one initially, having no idea how little space I had to work with (a Corsair SF450 is also on the list for this rebuild). There's a little "divet" in the sheet metal behind where a full ATX supply would sit, I'm assuming it's there for support. However, it's the PERFECT size...
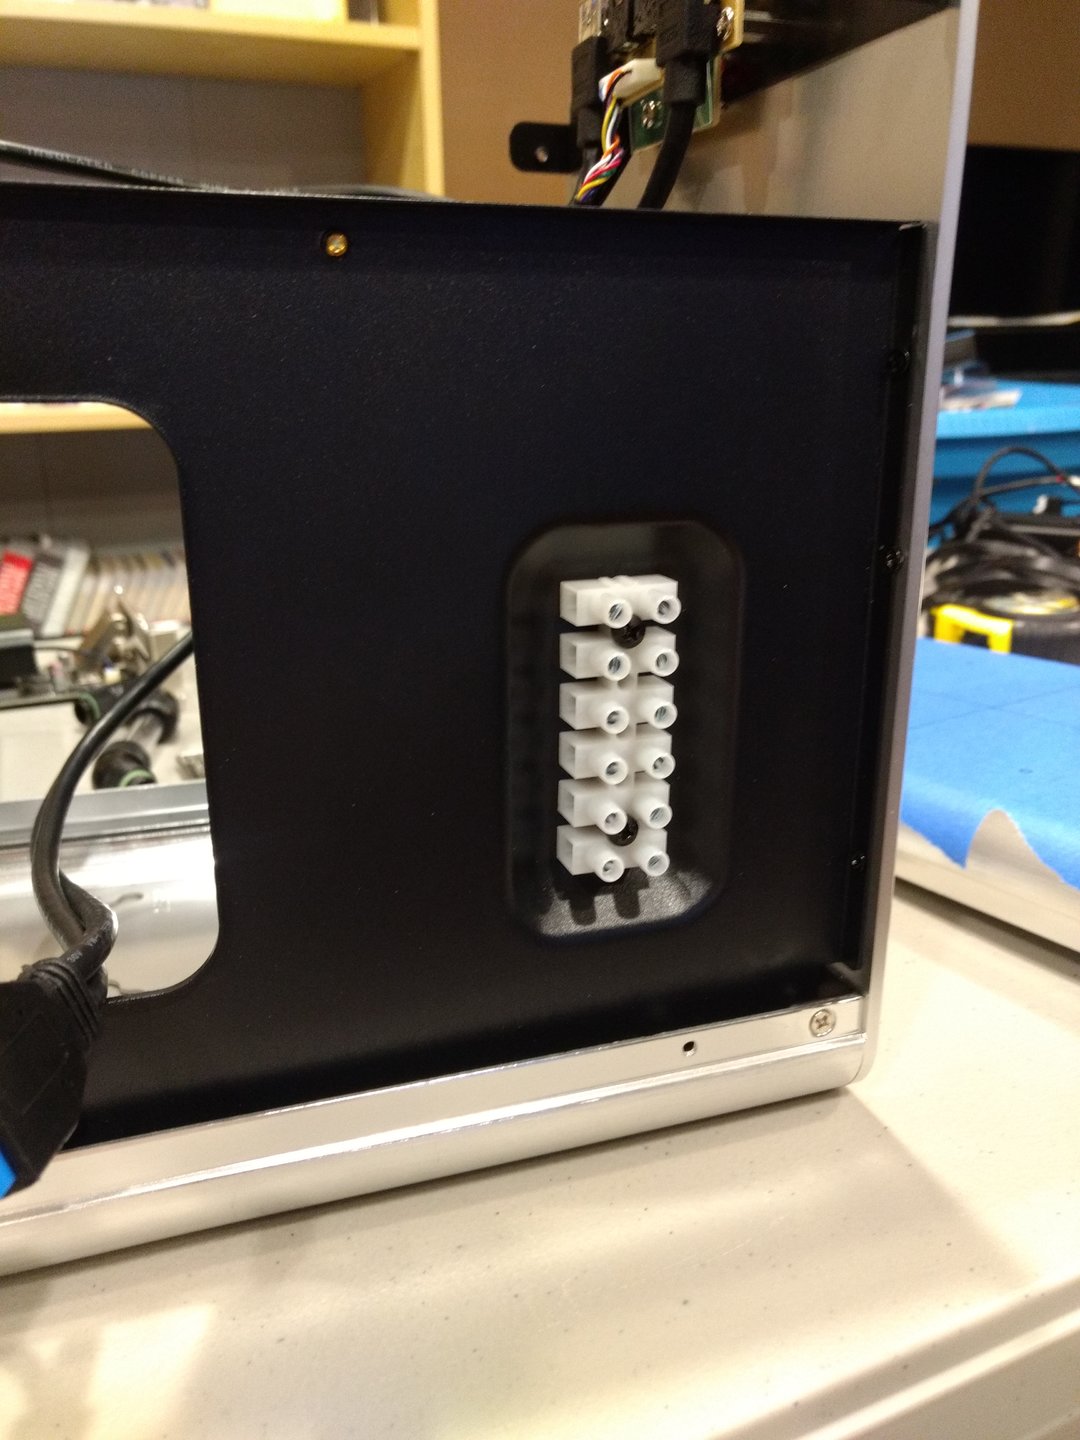
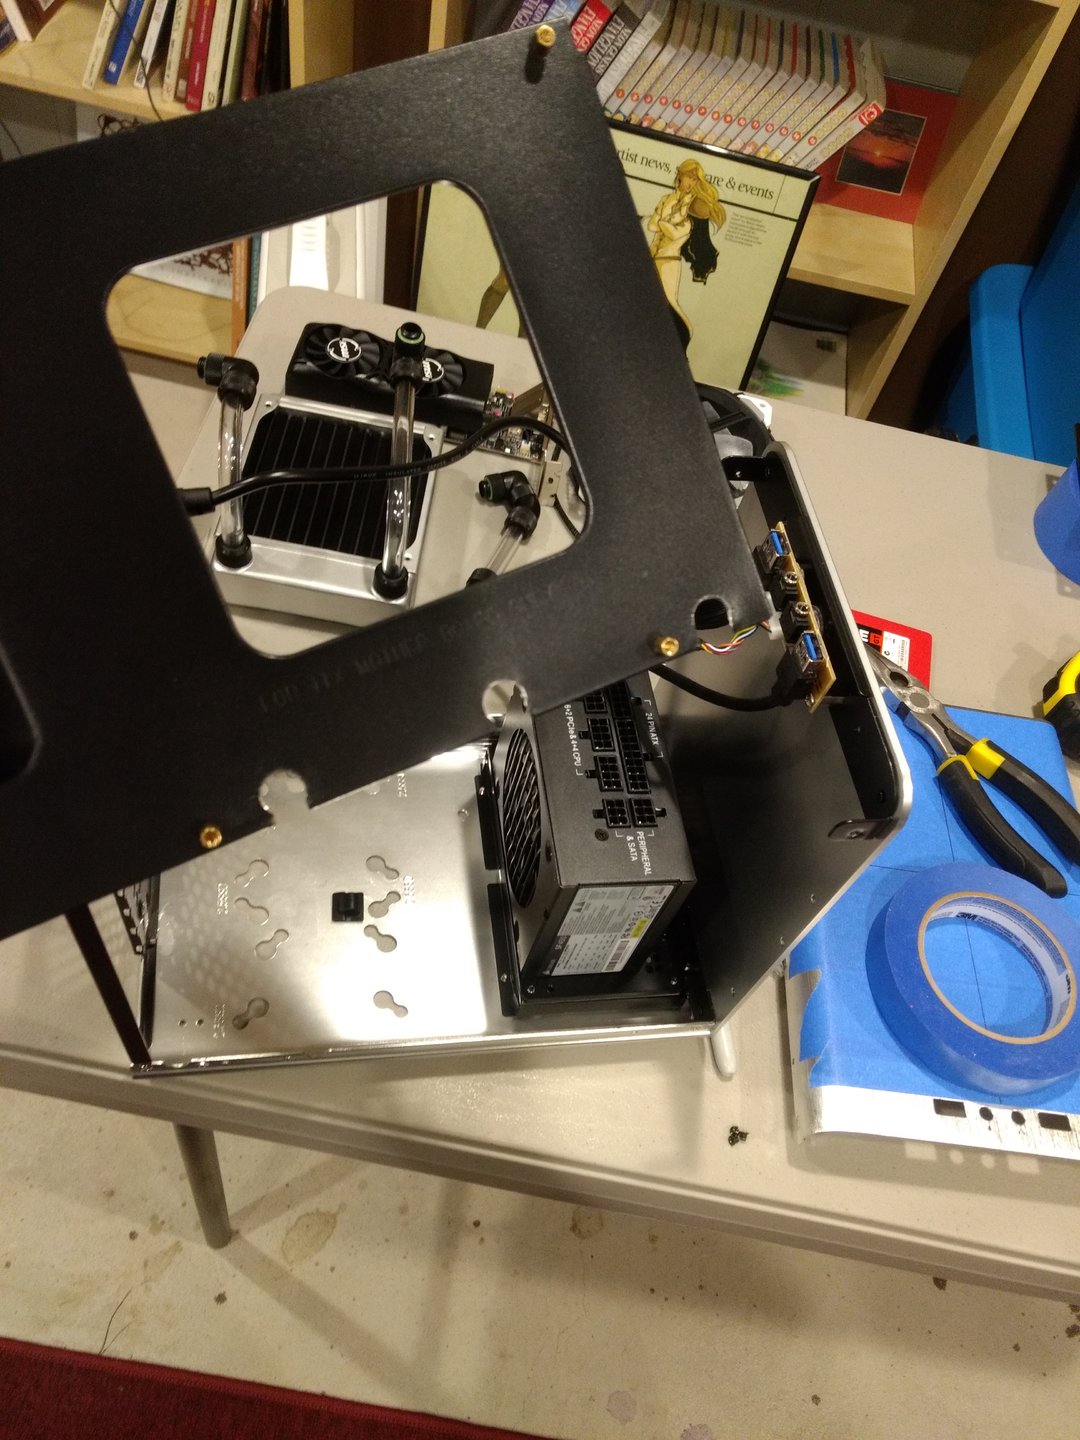
IMG_20171108_211846675.jpg


This little passthrough terminal block from a big-box home improvement store should be just right. I'll land the four wires of the "molex" modular cable on my SF450 on the top four terminals, wiring my LEDs straight to those, and use the bottom two terminals as places to land the line and load sides of my pump and pump controller.

There's very little room behind the motherboard tray in this case, which makes the dimensions of that little divet all the more perfect:
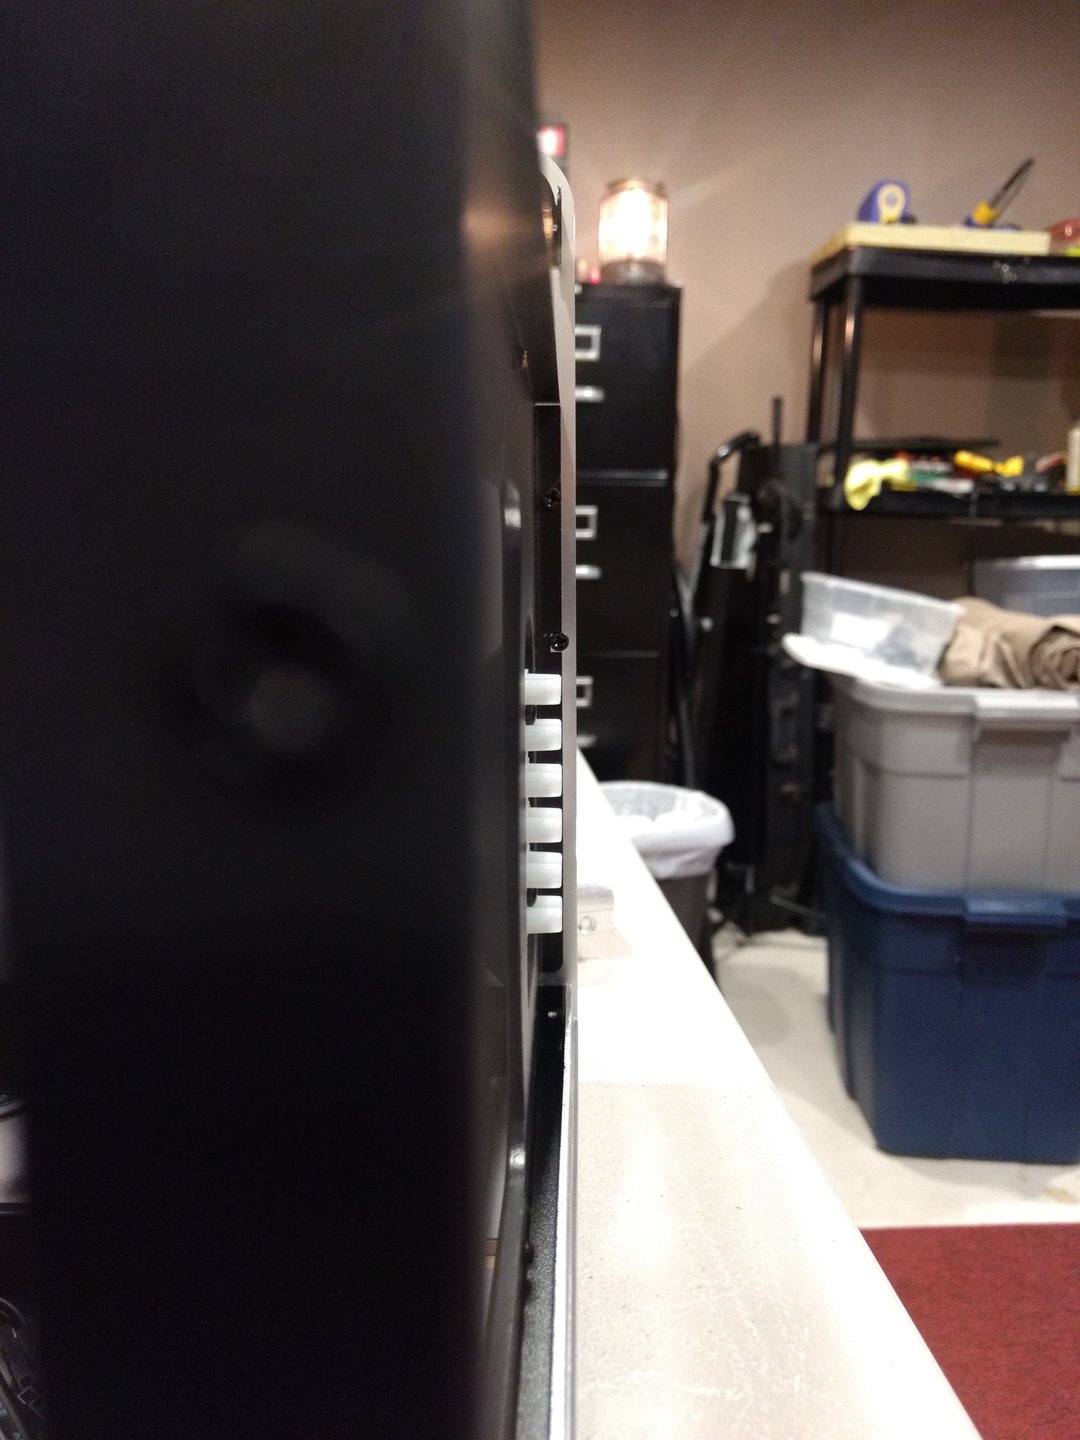
IMG_20171108_211900146.jpg


It's JUST deep enough so that that terminal strip has a few spare mm of clearance against the back panel when installed.

I feel like this rebuild is off to a good start!
 
Last edited:
Okay, I don't have a lot from last night. The clock got away from me and when I looked up it was midnight.

IMG_20171109_210247931.jpg


The mobo tray lacked any method at all of routing wires behind it. Not that there's much space back there to begin with, but I'm only pulling a few 2-wire LED and pump leads and a couple of fan cables. One hole is for the rad fan and CPU power, one is for the pump and all LEDs, and one is for the two fan cables plugging into the motherboard.

Pictured in the background is a Corsair SF450... I can't believe how tiny the thing is. It'll definitely do this job though. More pictures to come. I actually got a lot more work done last night, just didn't snap it.
 
Okay guys, round two! I didn't take a whole lot of photos while I worked tonight, but a lot of it was already "in place," with me just needing to put things in and finish a little soldering. That said, let's get into it!

IMG_20171110_173256199.jpg


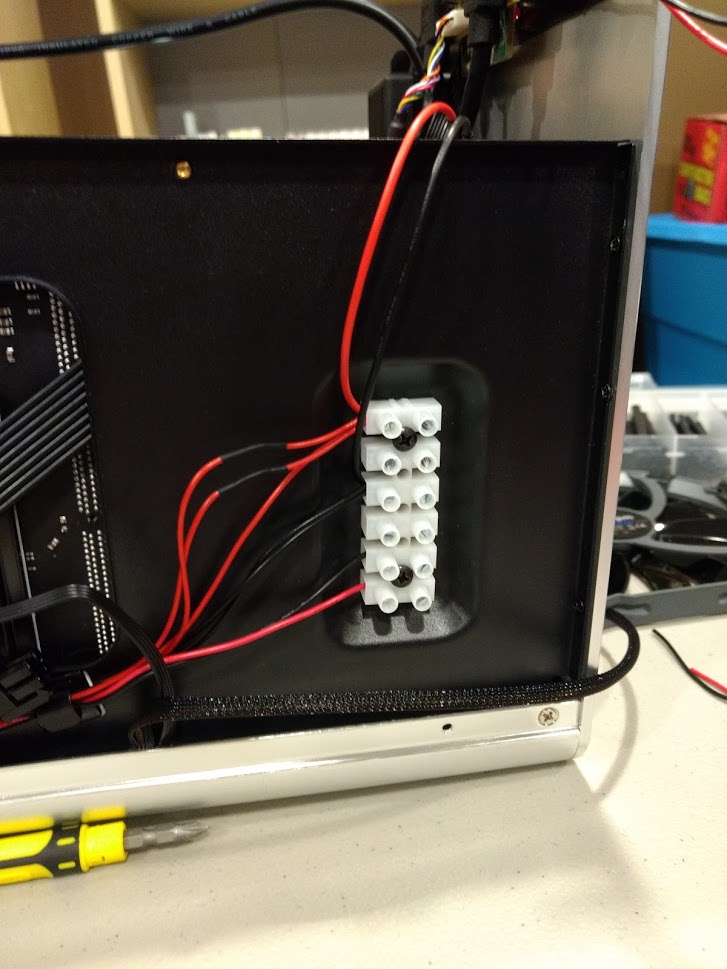
This terminal strip idea is working out pretty well, so far. I've got enough terminals for standard molex distribution (+12, +7, +5) with a couple extras... and I've got plans for those. =D


IMG_20171110_234601414.jpg


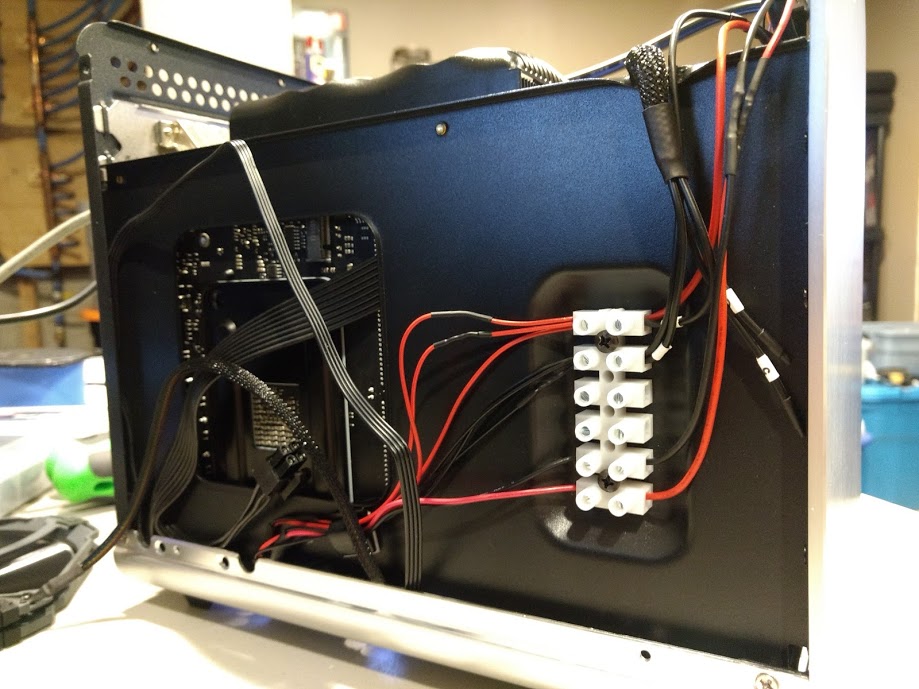
This isn't chronological, but more feature-tour sort of arranged. So the top terminal is the +12v rail from the molex daisychain off the mobo. Obviously, I trashed that cable and did a little custom sleeving on it. The little books of wire labels are excellent if you're gonna cannibalize one of those dang Corsair all-black cables, by the way. When I look at this later, I'll still know what's going on; the wires are labeled 12, G, G, and 5.

The second terminal is obviously ground. The three wires headed off to the left are all LEDs (one of which didn't survive being removed and reinserted into the waterblock ;_;). The right hand red and black wire are going to the pump speed controller, which is really just a cheap voltage thingy I bought from FrozenCPU for like four bucks. The bottom two terminals give me a spot to connect the output of the speed controller to the input of the pump.

IMG_20171110_234530249.jpg


This feels silly to be happy about, but those are the fan cables. Plugged into controllable headers, and tucked behind the mobo like God intended.

IMG_20171110_234548138.jpg


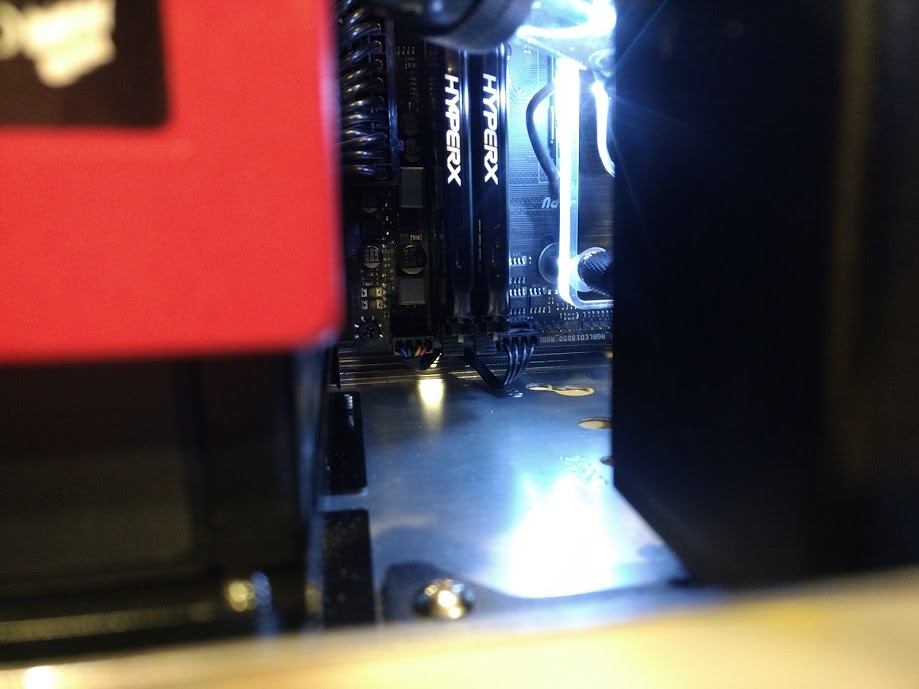
Pardon the focus here. I couldn't get my phone to do the thing. What you're looking at is the CPU power cable and rear fan cable, both also tucked nearly behind the mobo.

IMG_20171110_234508254.jpg


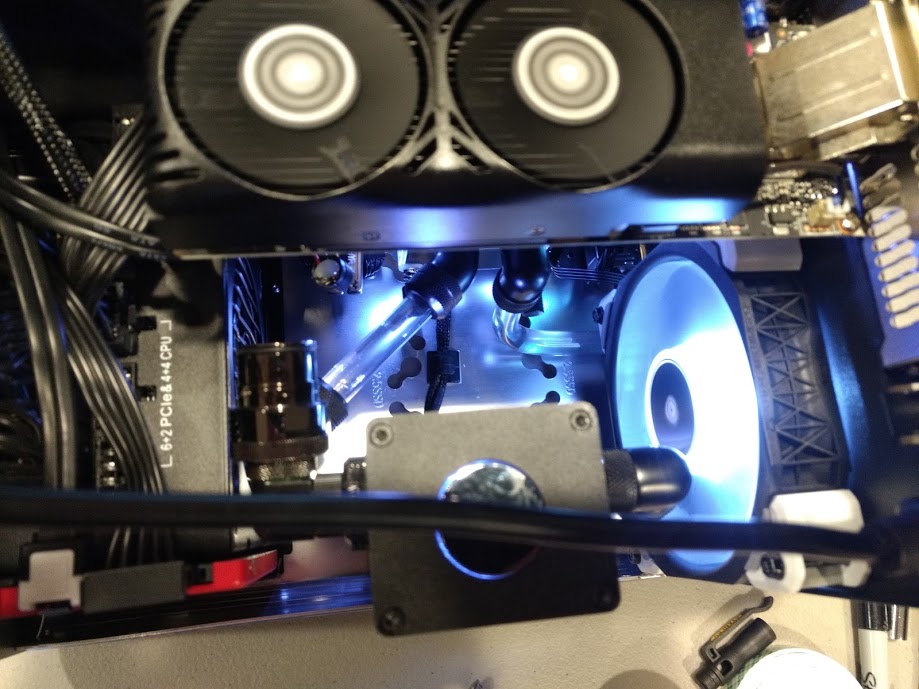
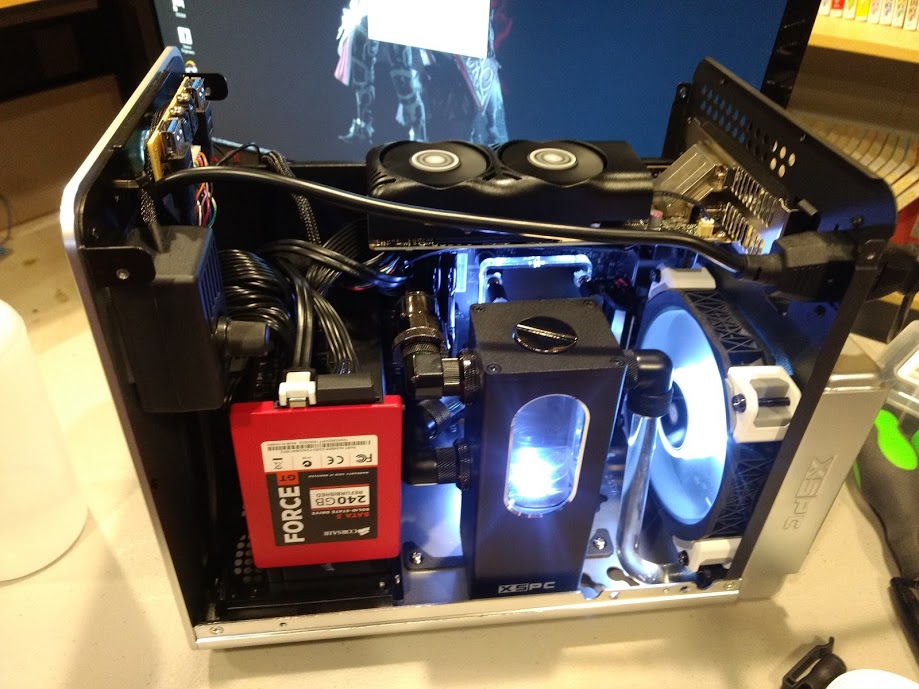
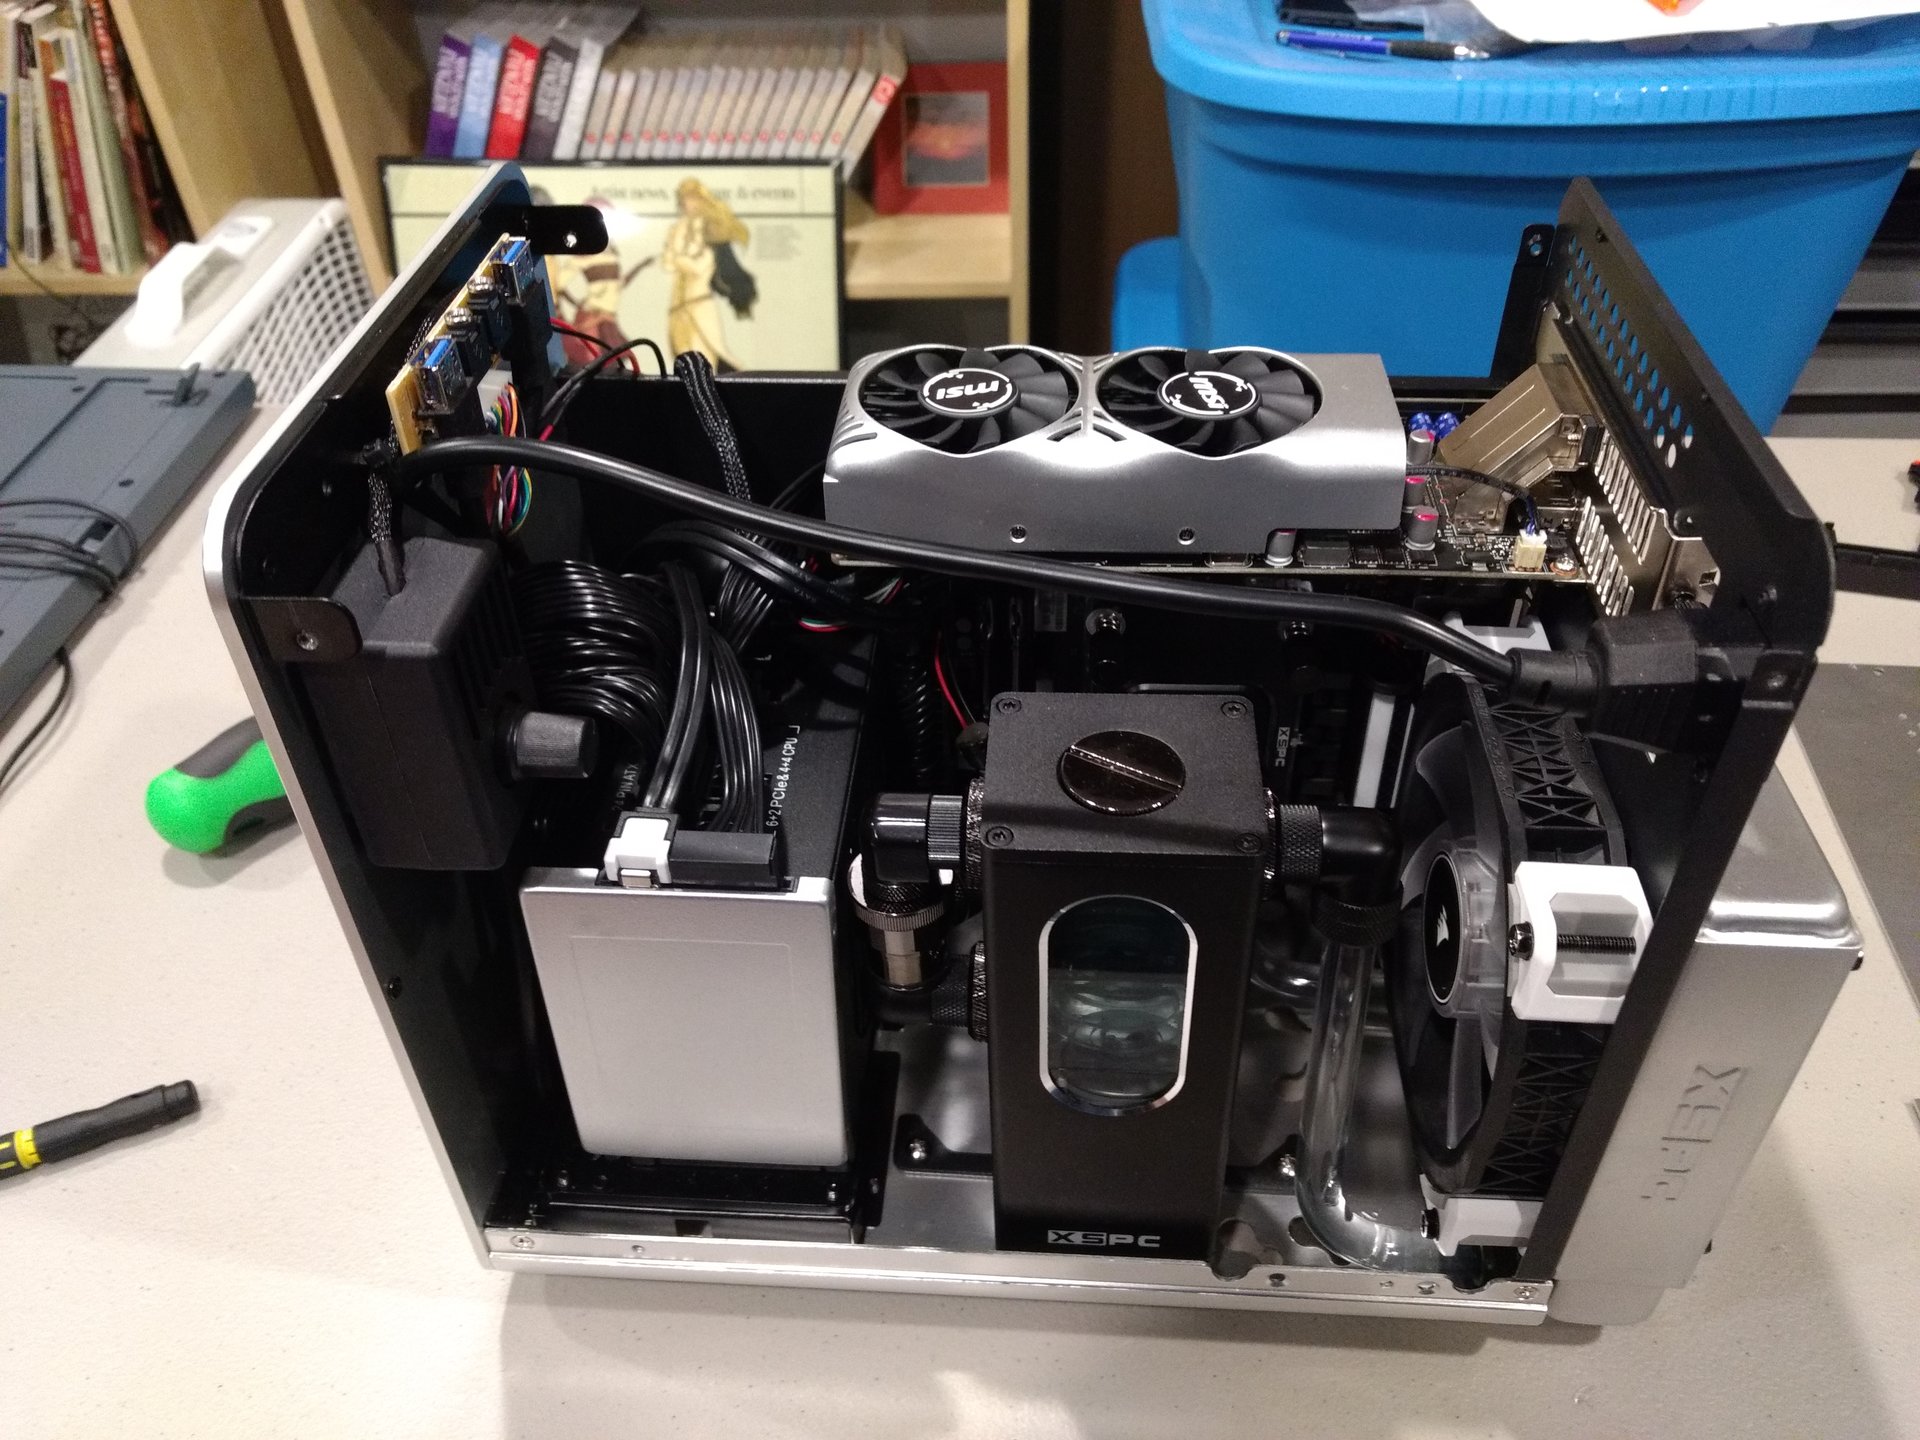
This is the end result of all that cable management work: a nice clean floor in the case. This thing used to be STUFFED with cables, and it was awful to look at and work in. I'm sure it wasn't helping the airflow situation either, which was really sparse to begin with.

IMG_20171110_234608623.jpg


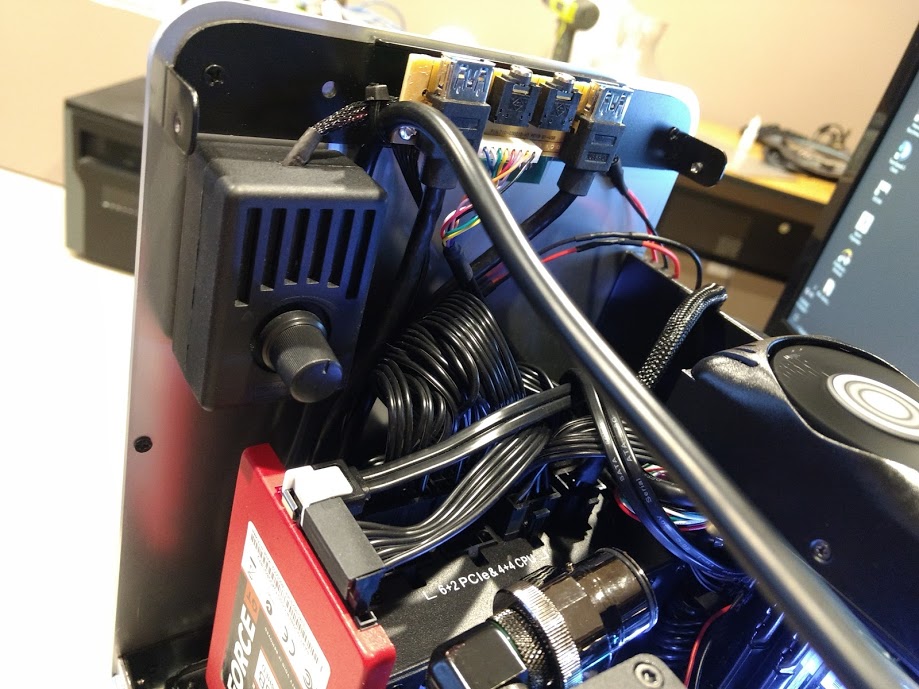
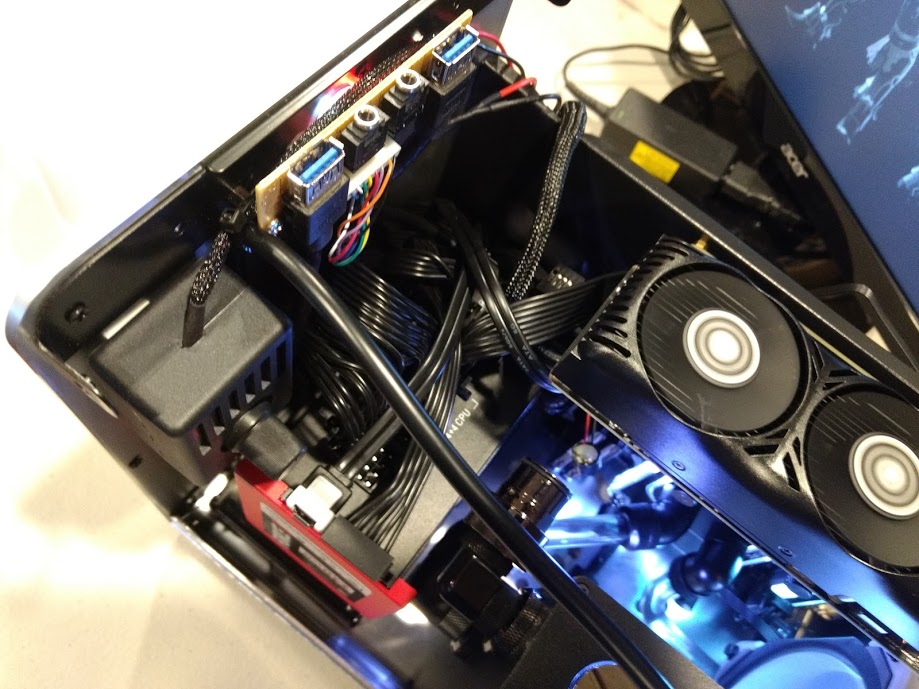
This shot shows the "wad," as I've decided it's called. The change to an SFX power supply allows some room between the front panel and the back of the PSU to shove unneeded lengths of cable. The previous power supply left no such room, so I cut and re-pinned the 24-pin ATX cable down to a little 6" pigtail, and "modularized" the rest of the cables, removing anything I didn't absolutely need and leaving a couple inches of wire in case I decided to solder anything else in later. That power supply is now probably going to be a test supply... it won't work in any other case anymore. Also visible here is the cheap little controller I'm using for the pump.

IMG_20171110_234512872.jpg


Here's another shot of the wad. It's not the prettiest, but short of mangling the perfectly good modular cable set on the SF450, I'm not sure what else I can do about it. At least all the wires are tucked out of the way, and not in the main airflow path for the system.

IMG_20171110_234719876.jpg


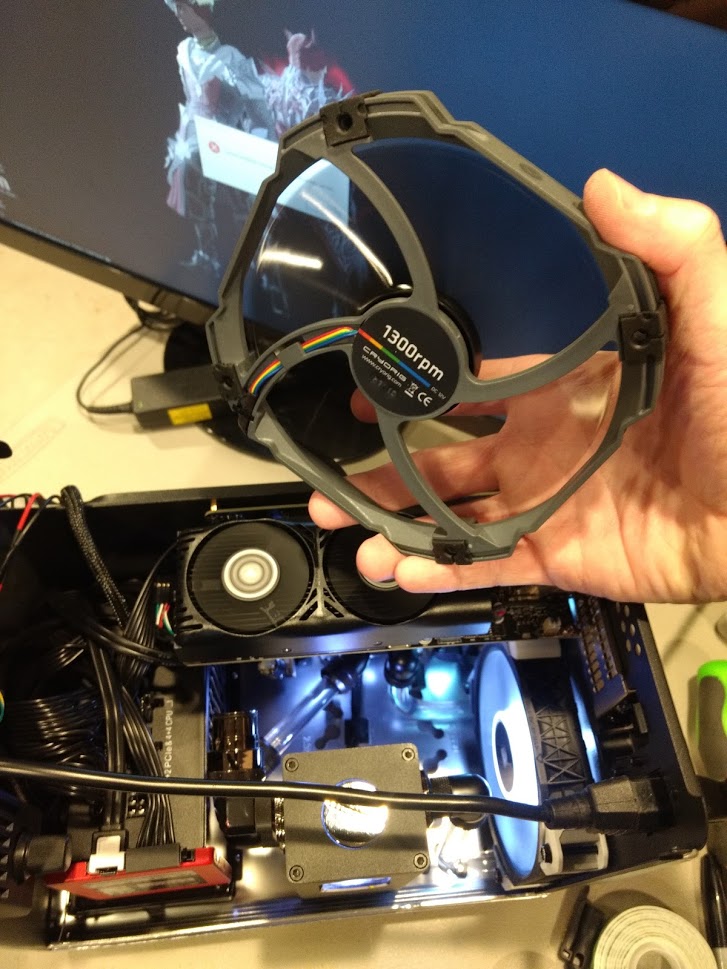
This fan is going in the ceiling, to pull in air. It's situated such that it'll supply that little GTX1050ti almost directly, and the other half will blow on by to provide cool air for the exhaust fan to push through the rad. It's connected because with that tray in there, there's no fitting the plug through. It's gonna stay there until I mount it in the ceiling and put it back on.

IMG_20171110_234500971.jpg


There she is! Funny story: the computer didn't boot at first. It powered on, the pump and LEDs ran, the fans spun (including the ones on the GPU), but it didn't post. Not even a beep. Turned out that the CPU power plug, which I had pointed out earlier, was "started" in the receptacle, but not pushed down. I couldn't reach it, either! I wound up grabbing a spare stick of PETG tubing and giving it a measured stab. After hearing the satisfying click of the locking tab, I hit the power and it booted right up.

Not long to go now. I plan to cut the hole for the top fan tomorrow, and then the custom fan grill should be arriving on Monday. Cheers! It's bedtime! =D
 
Last edited:
Nice job! Glad to see another WC m-itx build. Just need to add that gpu to the loop :)
 
Okay all, we're almost there. I say almost, but we might actually be there. Haven't decided yet.

IMG_20171111_072038314.jpg


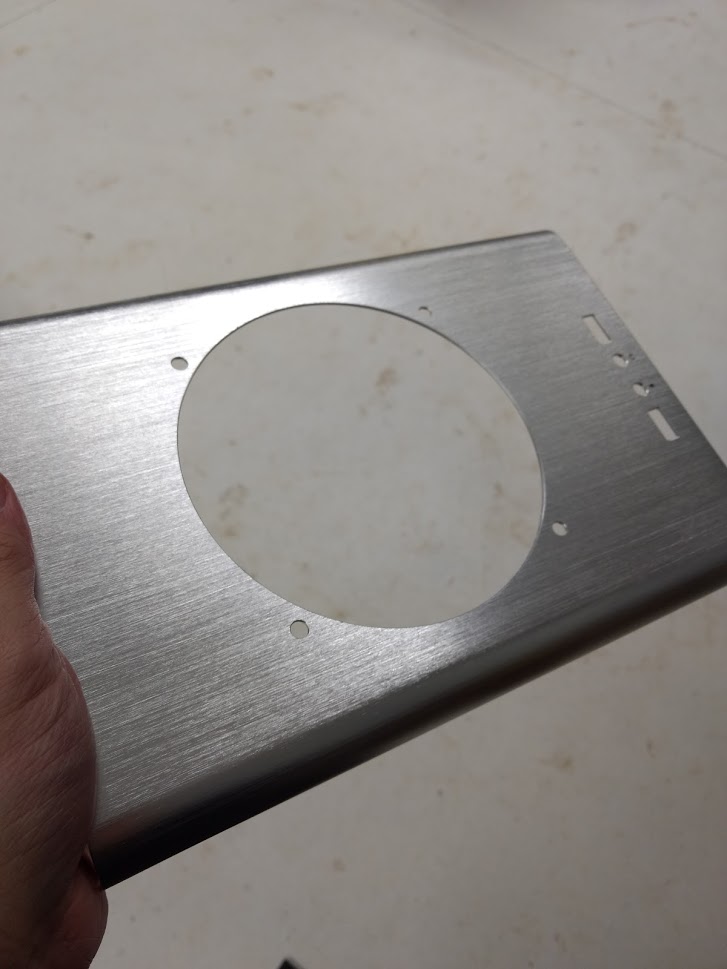
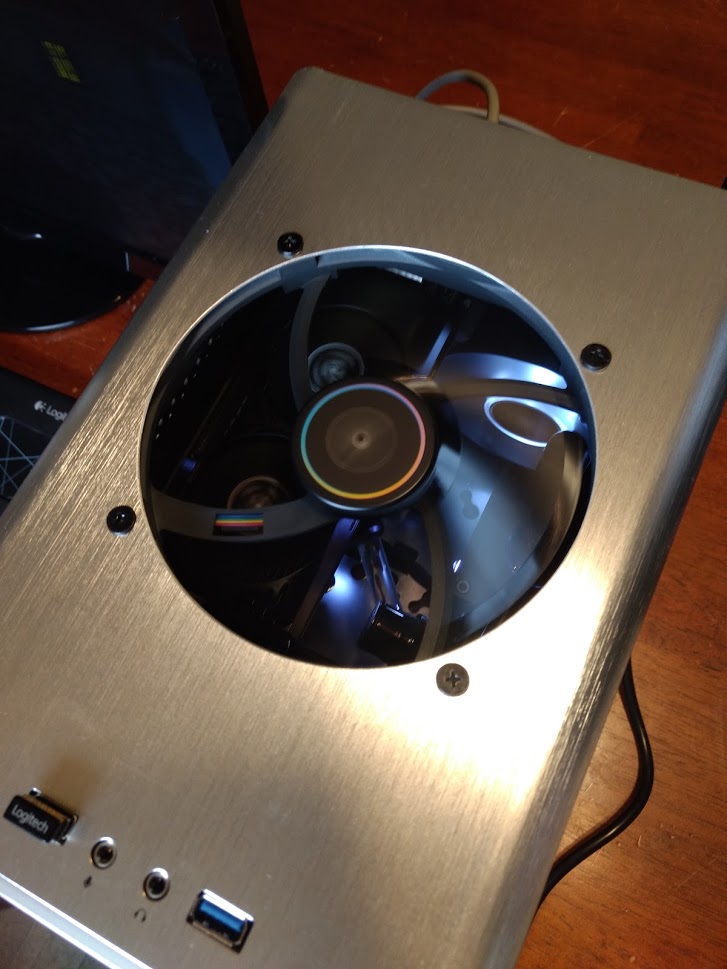
I don't think I've ever done work of this caliber before. The flycutter, though difficult to use, made this perfect circle. A little cleanup with a file and some sandpaper, and it's beautiful.

IMG_20171111_080803525.jpg


I'm honestly so thrilled with how it turned out, I'm considering leaving the fan grille off. We'll see how it looks with it on though. I ordered two: one I intend to keep black, the other is getting the aforementioned coat of krylon's "aluminum" spraypaint. If I can find some bright aluminum mesh material that's sufficiently thin, I might adhere that to the grille too.

IMG_20171111_092205505.jpg


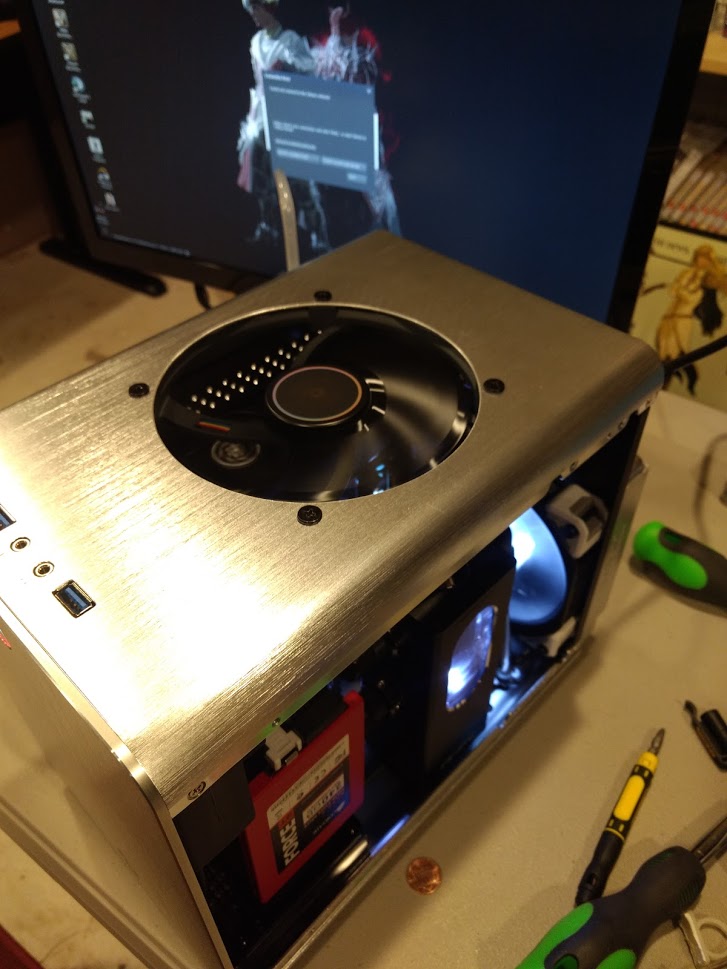
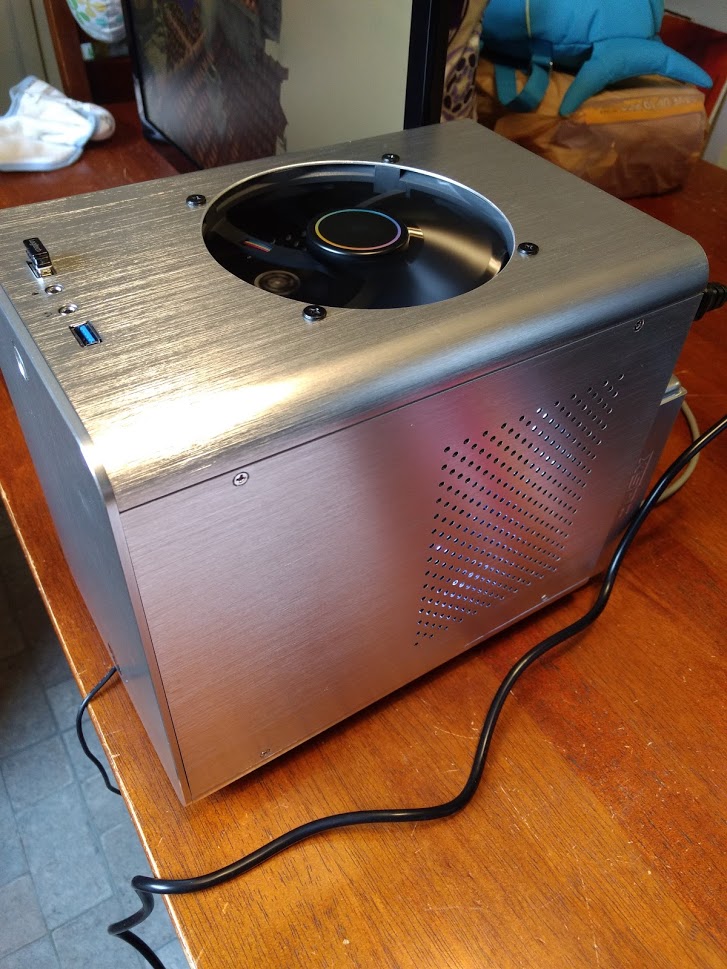
I say might because honestly it just looks so good. I didn't dare hope that the finished product would looks this good bare; I figured I'd wind up with a janky hole that looked hand-hacked. It moves air like gangbusters too. Temperature report will be at the bottom of this post.

IMG_20171111_092220629.jpg


Here's a shot with the side panel on.

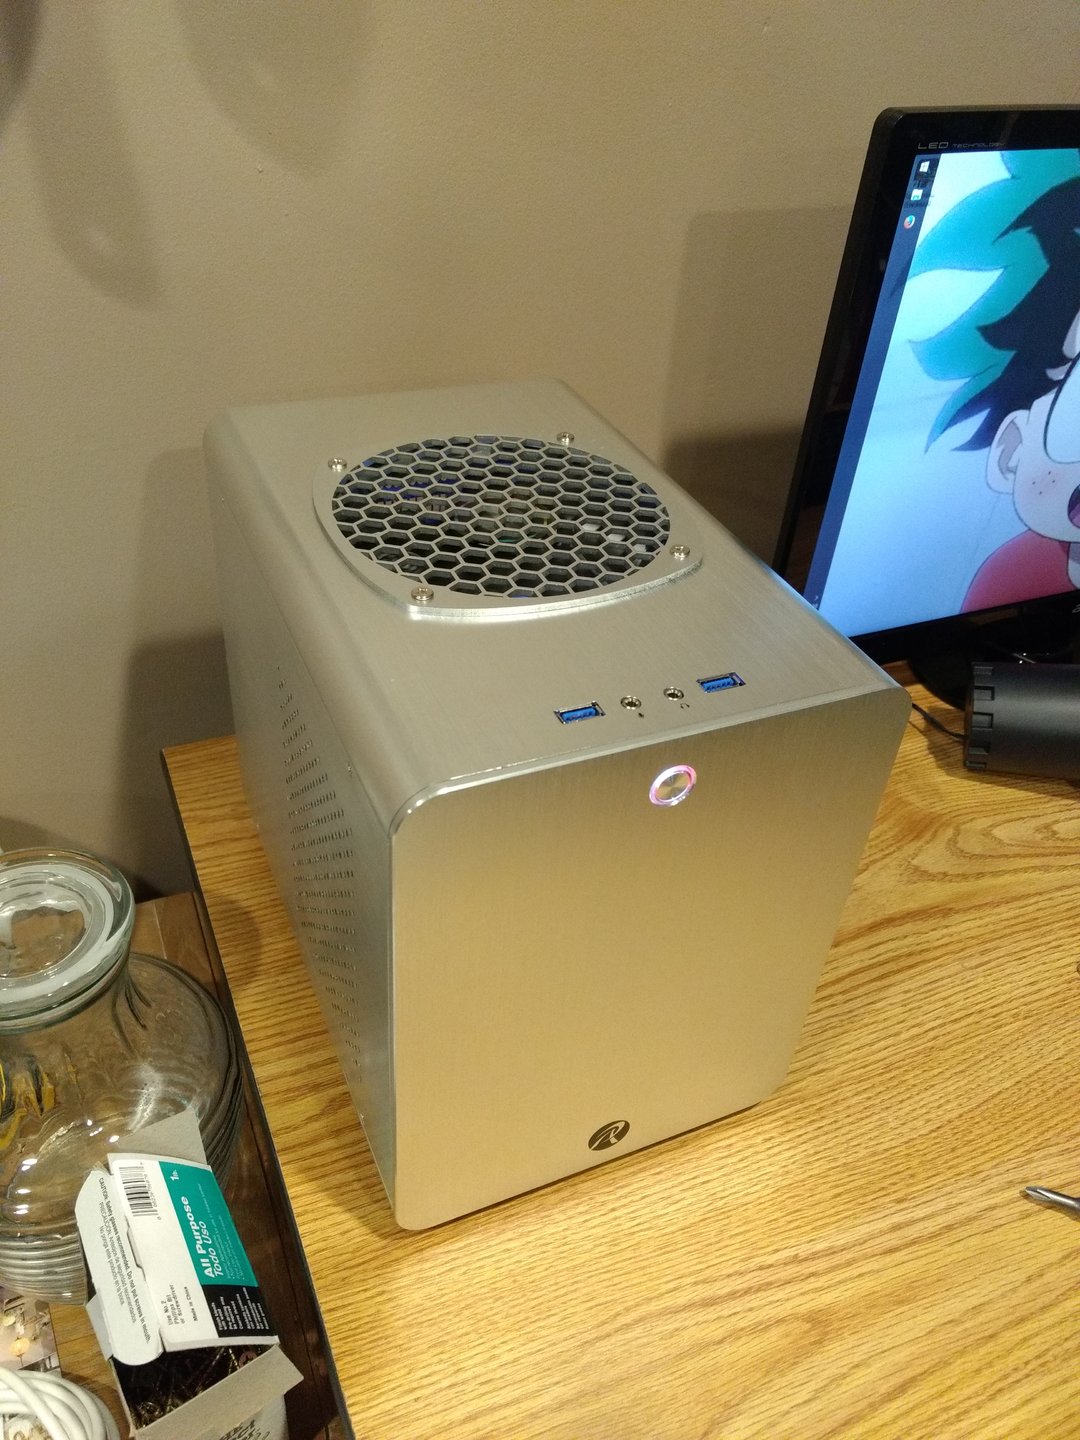
IMG_20171111_125145387.jpg


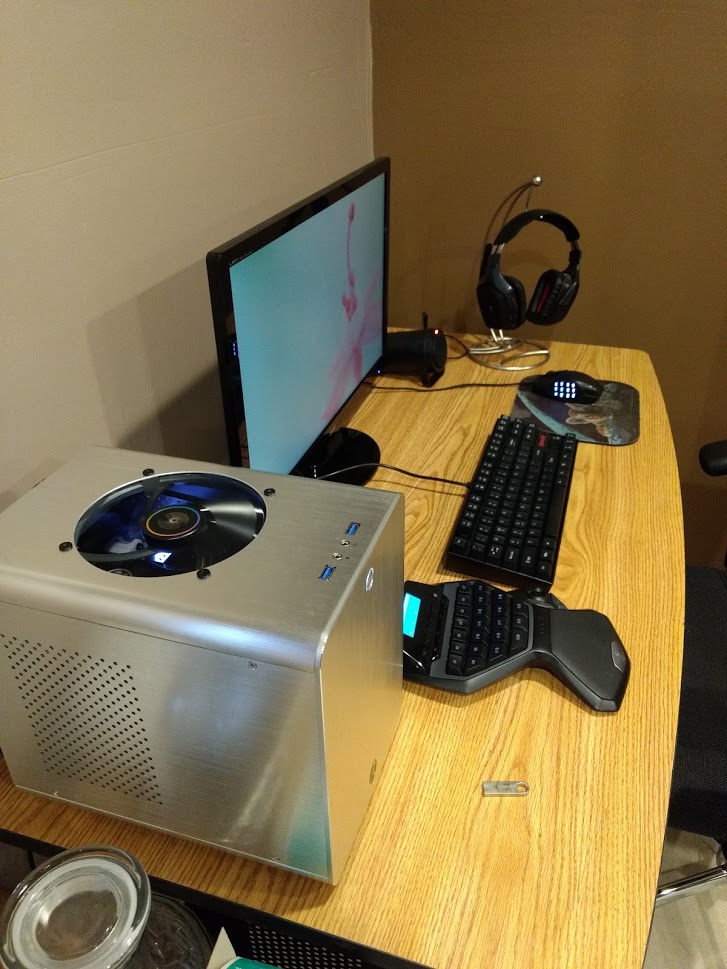
...and here it sits where it'll be living for the forseeable future. My wife does close-caption work on videos online. Her little Mac Mini that she usually works on is in our bedroom, where the baby naps when she wants to work. This will be her little office space for a while.


So! The goal of this endeavor was to reduce temperatures and quiet the operation. As the machine now has two PWM fans that it can control, it's much quieter. Plus, the SF450 PSU has a semi-passive mode. I didn't see it kick on in either of my benchmarks. Not surprising; it's a 65w CPU and a 75w GPU on a 450w power supply: I'm sure the thing wasn't even sweating. Maybe a combined test will get the PSU fan to kick on. If it does, it'll act as a second exhaust, pulling cool air from the voluminous supply provided by that top intake.

Before this work was all done, I ran benchmark software (RealBench for CPU and Heaven @ 1440 Ultra for GPU) and settled-in max temps were:

GPU: 75c to 80c.
CPU: 50c to 55c.

After the work, they dropped to:

GPU: 50c to 55c.
CPU: 40c to 45c.

25c drop on the GPU and 10c on the CPU. I'm very happy with the results. Gotta say that Cryorig slim 140 fan is a little monster too. Of course, it's dealing with no obstruction to speak of, so we'll see if those numbers change appreciably after the grill goes on.

Thanks for reading, all! I hope it was inspiring for one of your projects! =D

-Van
 
Last edited:
Missing the fourth image in your OP, and then all of the images in your second and third image posts.

As mentioned above, maybe try editing, and dragging-and-dropping each image again, and waiting to make sure the preview loads before sending.

And I'm posting because your work looks awesome, and I'd like to see the rest of it!
Hmm. When I uploaded these, I found that dragging and dropping an image directly from my Google photos library worked. I bet they're actually image links and I can see them due to permissions.

I won't be able to get on my computer to update them until a little later today, but I'll post here again when I do. Thanks guys!
 
Okay everyone, I think all the images should be fixed. Thanks for letting me know! Is everything visible now?

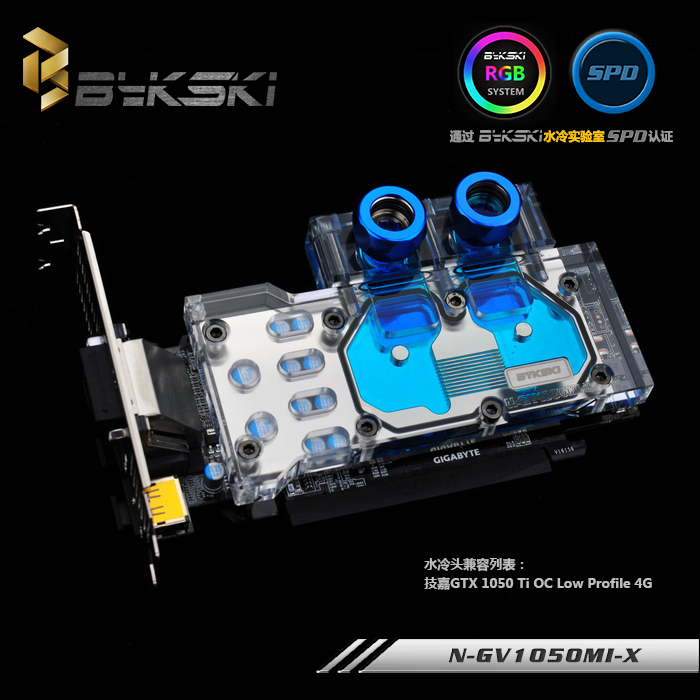
Edit: And, of course, after I finish this, I discover that there IS a manufacturer who makes a full-cover waterblock for a low-profile 1050ti. Now, I will be slightly abusive of Amazon's lenient return policy and exchange my MSI 1050to for a Gigabyte 1050ti, in order to make use of said block by Bykski.

Bykski-N-GV1050MI-X-GPU-Water-Cooling-Block-for-Gigabyte-GTX1050Ti-Low-Profile-4G.jpg
 
Last edited:
The cut-out in the top of the case turned out really nice! I'll be interested to see what it looks like once you get the grill for it. I actually think the black one would look really good here.
 
The cut-out in the top of the case turned out really nice! I'll be interested to see what it looks like once you get the grill for it. I actually think the black one would look really good here.
Right!? I still have this feeling of disbelief whenever I look at it, I can't believe it turned out so good.

I'm excited to see the grilles on it too, but I'm not ruling out that I may just leave it open.
 
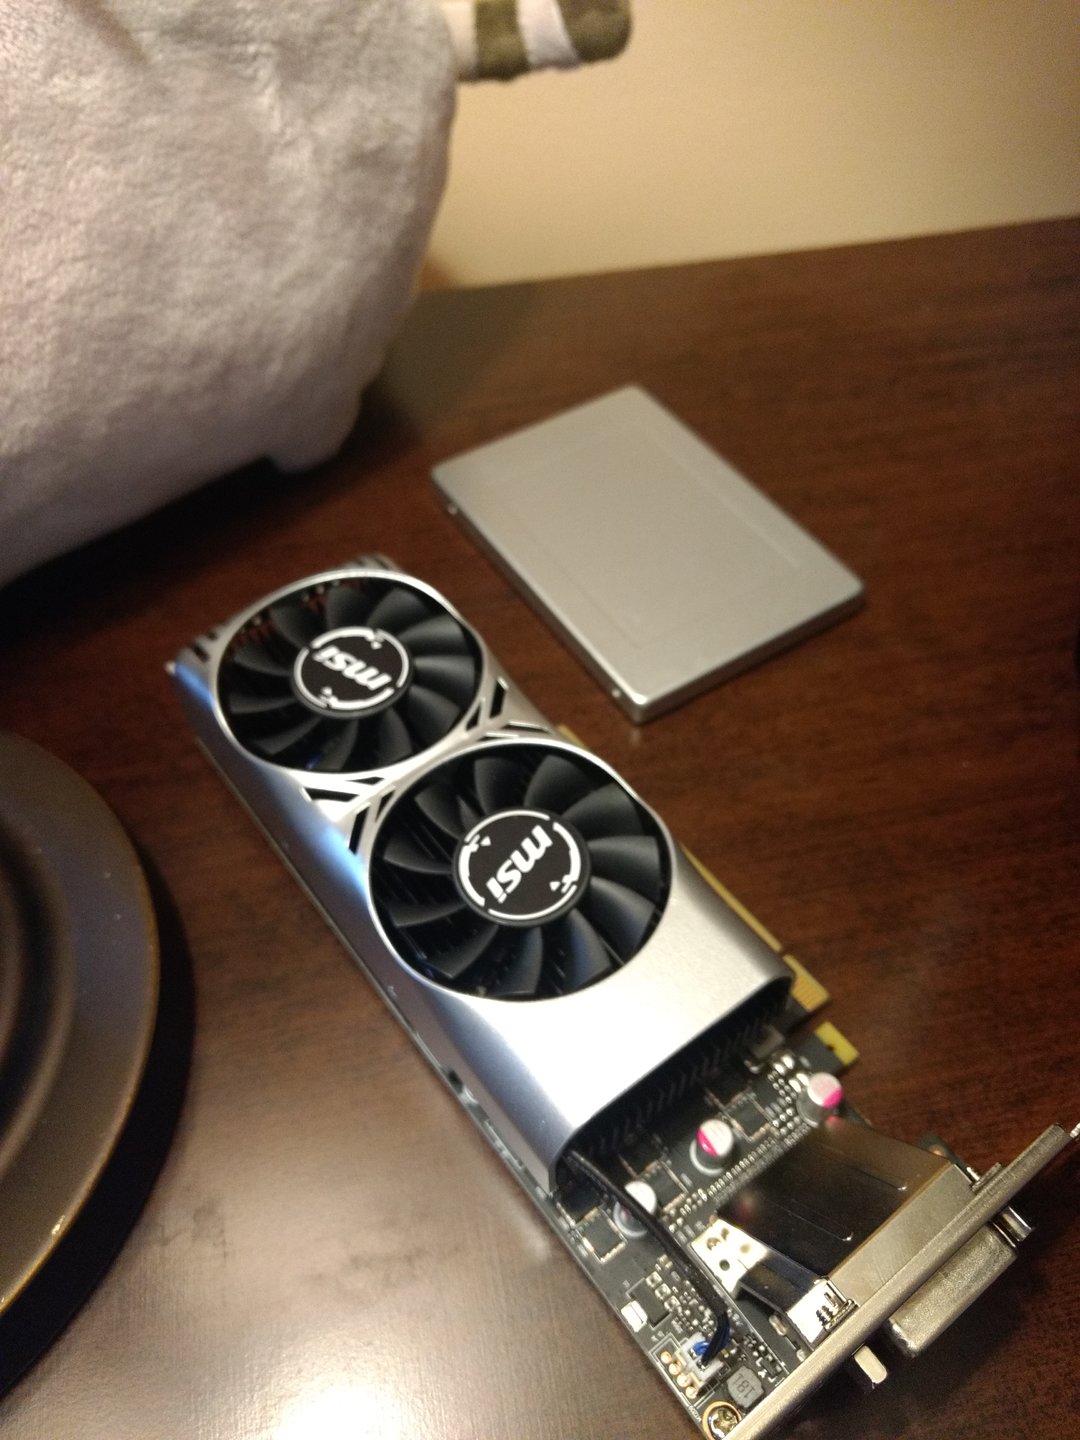
Well, my temporary madness has passed. The MSI card I've already got is, when supplied with fresh air by that top fan, a solid performer with good thermals and quiet fans. No need for a waterblock there.

However, I feel the "black monolith" look leaves a little to be desired, especially since the GPU features so prominently when viewed from the top. Likewise, the red on that Corsair Force SSD is entirely wrong for this build. Thus:

IMG_20171113_120820719.jpg


Not too bad, if I say so myself!

The fan grilles should be delivered today. I'll try on the black one first, and see if I can get the other one painted overnight.
 
Small update.

Painted components in case:

IMG_20171113_173902063.jpg


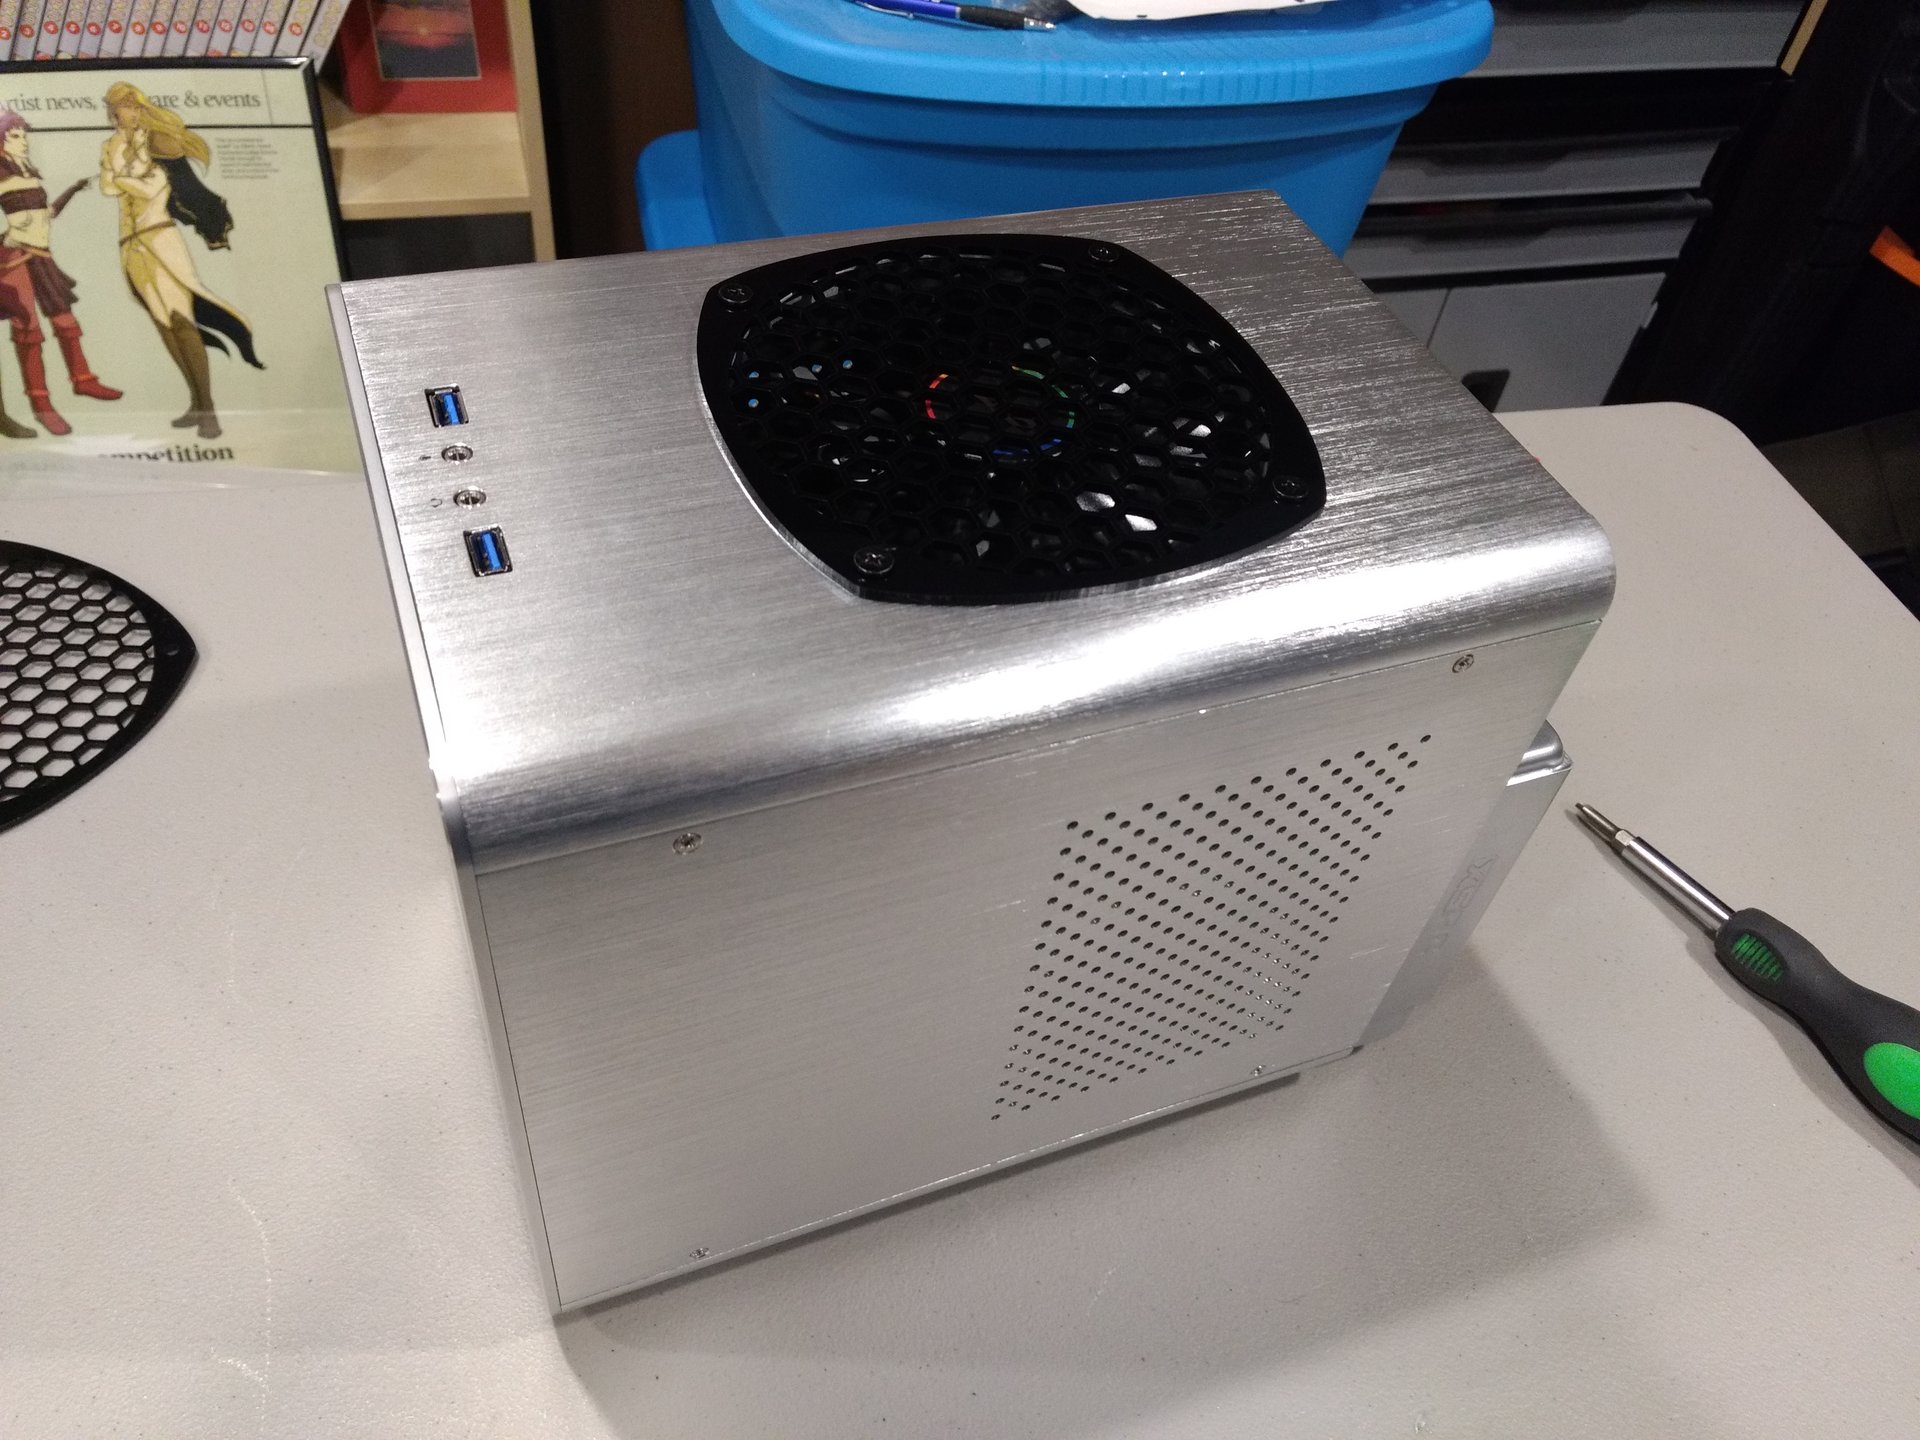
Black fan grille on top:

IMG_20171113_174742816.jpg


The grille looks good in black. It coordinates with the rear panel, at least. I'm still not convinced aluminum wouldn't look better. Good thing I bought two!

Crappy weather prevents me from spraypainting the second one tonight though. I'll upload a pic when I do.
 
Small update.

Painted components in case:

View attachment 43038

Black fan grille on top:

View attachment 43039

The grille looks good in black. It coordinates with the rear panel, at least. I'm still not convinced aluminum wouldn't look better. Good thing I bought two!

Crappy weather prevents me from spraypainting the second one tonight though. I'll upload a pic when I do.

I really like the black grille. The only thing I don't like about the Cryorig fans is the rainbow logo on them (I have the C7 in my HTPC, but luckily mine doesn't show because it's in a CM Elite 110). If this were totally black, I think it would be perfect. I'm looking forward to see what the aluminum painted on looks like when it's done.

Excellent job on the setup!
 
Despite how much I liked the look of the black grille, I must admit... the silver painted one looks better. Really nice job on the mod.
 
Back
Top