jacuzz1
Supreme [H]ardness
- Joined
- Feb 14, 2004
- Messages
- 7,315
Well many of you have requested configuration pics of a Thermalright install and so I thought I would oblige.
I recieved my cooler yesterday and when I got home from work I started in on what I thougth would be a fairly easy endeavor.
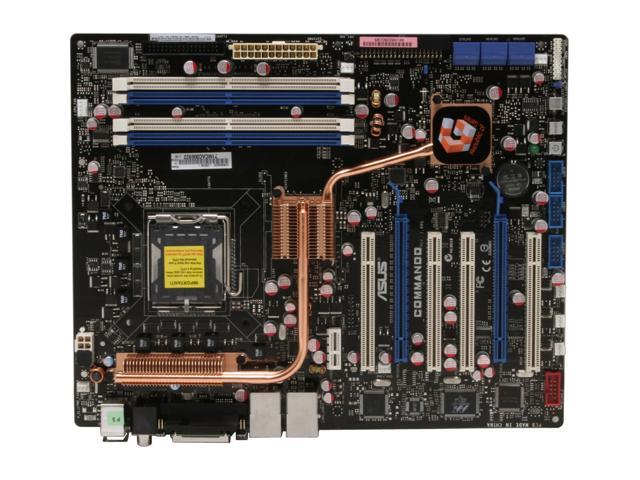
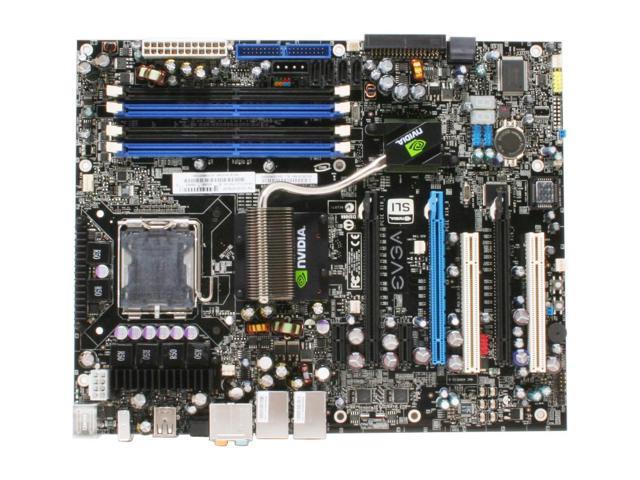
Not!! If you have a Lian Li PCv2000 and a 680i you are going to be interested what I encountered.
First the beast(this thing is huge and much larger than I originally anticipated )

Here are the components needed to install her on the Intel chip ( the kit comes with AMD compatible hardware as well)
You will note the scissors action of the mounting brace. This facilitates threading the bracket through the heatpipes and
then expands to line up with your mounting holes on the motherboard.

The back plate has an adhesive under the plastic that is removed just prior to installation. Installation of the backplate
is as easy as removing the protective plastic and lining her up with the mounting holes on the motherboard

The contact surface of the cooler could be improved via lapping but I do not have the time or the patience , at least for now

Now for the mounting side. Note the spring loaded screws. Final mount is as simple as alternately tightening
these four screws until contact is made between the screw flange bulkhead and the the top of the holes protruding through the motherboard.
This was not my final mounting since I ran into a clearence issue with my case. More on that later.

I have read a few posts that people were confused about fan mounting so here are some shots of the retention springs:
Make sure you do not toss out the antivibration strips, you will need them to place under the fan and they look like scrap


So now I have the babymounted on my mobo

Unfortunately I had to rethink the orientation of the cooler. Idealy I would have wanted it pointed to the rear where my high output case fan
would pull the heated air out after my 63cfm Flex fan( very quet fan by the way) pushed cool air accross the fins.
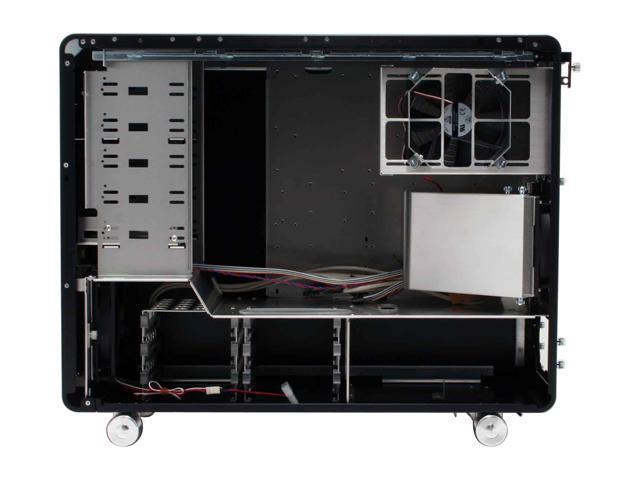
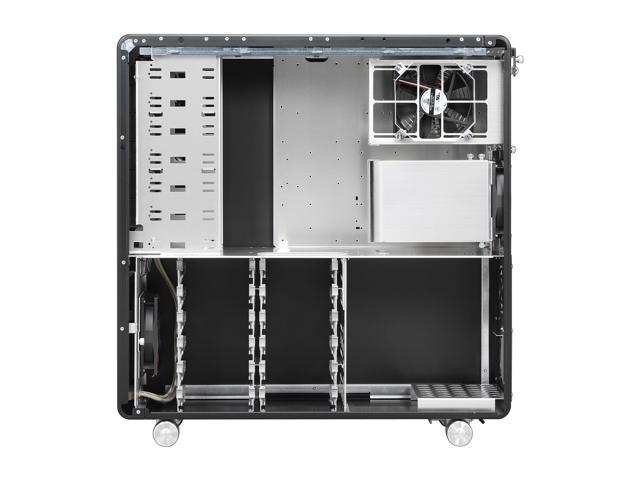
The problem I encountered was that there was not enougth clearence between the fan , clips and the case bulkhead seprating the motherboard
area from the power supply area. I had no choice but to mount the fan parellel to the bulk head.Not ideal but it works.

Note the exhaust fan perpendicular to the cooler. I was concerned about this config but it was the only way to fit her in my case


At first, I thought this config would roast my video card but my side panel fan is directly over the card and the exhuast fan pulls most of the heat out since its high output.

Well she is all in and now its time for burn in and to start the oc. I will post more pics later of base line temps and my first oc to 3ghz (I am currently at 3ghz for burn in) .
I have to go to work but i will update tonight. For now its prime95 all day to gain a baseline stable oc I need to fire it up before i leave for work .


I recieved my cooler yesterday and when I got home from work I started in on what I thougth would be a fairly easy endeavor.
Not!! If you have a Lian Li PCv2000 and a 680i you are going to be interested what I encountered.
First the beast(this thing is huge and much larger than I originally anticipated )
Here are the components needed to install her on the Intel chip ( the kit comes with AMD compatible hardware as well)
You will note the scissors action of the mounting brace. This facilitates threading the bracket through the heatpipes and
then expands to line up with your mounting holes on the motherboard.
The back plate has an adhesive under the plastic that is removed just prior to installation. Installation of the backplate
is as easy as removing the protective plastic and lining her up with the mounting holes on the motherboard
The contact surface of the cooler could be improved via lapping but I do not have the time or the patience , at least for now
Now for the mounting side. Note the spring loaded screws. Final mount is as simple as alternately tightening
these four screws until contact is made between the screw flange bulkhead and the the top of the holes protruding through the motherboard.
This was not my final mounting since I ran into a clearence issue with my case. More on that later.
I have read a few posts that people were confused about fan mounting so here are some shots of the retention springs:
Make sure you do not toss out the antivibration strips, you will need them to place under the fan and they look like scrap
So now I have the babymounted on my mobo
Unfortunately I had to rethink the orientation of the cooler. Idealy I would have wanted it pointed to the rear where my high output case fan
would pull the heated air out after my 63cfm Flex fan( very quet fan by the way) pushed cool air accross the fins.
The problem I encountered was that there was not enougth clearence between the fan , clips and the case bulkhead seprating the motherboard
area from the power supply area. I had no choice but to mount the fan parellel to the bulk head.Not ideal but it works.
Note the exhaust fan perpendicular to the cooler. I was concerned about this config but it was the only way to fit her in my case
At first, I thought this config would roast my video card but my side panel fan is directly over the card and the exhuast fan pulls most of the heat out since its high output.
Well she is all in and now its time for burn in and to start the oc. I will post more pics later of base line temps and my first oc to 3ghz (I am currently at 3ghz for burn in) .
I have to go to work but i will update tonight. For now its prime95 all day to gain a baseline stable oc I need to fire it up before i leave for work .
 .
.