This design is directly spawned off the Sapphire cube. I really didn't get enough time with that case, and I really wanted to do a lot more to it than I did. So when it came time to upgrade my LAN PC the desire was too strong to deny...I had to make another cube.
I liked the Sapphire case. It looked good and it was well organized. Things were easy to get into and it was a great design to show off the hardware. This time I wanted to make the cube reflect more of my personality. I also wanted a more dynamic design.
Zapwizard, Mr. Red and I were all brainstorming one night and we came out with the great internal layout that I am going to use on this case. So credit must be given for thier part in this creation.
Zap is a master with TrueSpace but when it comes to designing things
I stick with what I know. That would be corel11. Here is my design.

This is the basic layout of the case. You see the front, sides and top in this pic: Drafting style of sorts. The grey is the aluminum and the pinkish stuff is supposed to be Red Plex. The Translucent feature of Corel lightens it too much.
The artwork on the sides is an Oliva piece called "Hot Sauce". It is Betty Page dressed as a devil. I think it is hot and saucy so it is well titled. I am not sure if am am going to use this image or not. But I have it on here just to see how it will look.
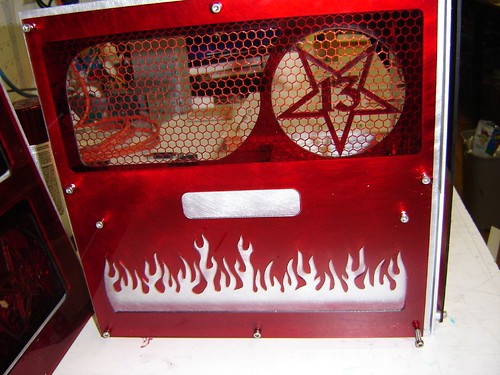
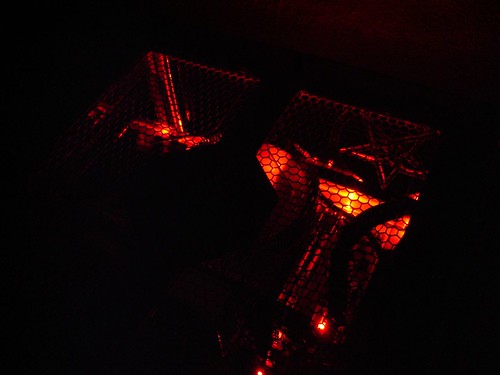
The Theme for this case came from its size. 13" square. We Tried for 12" but we couldn't get everything to fit inside. So 13 it became, and then Project13. Everytime I see thirteen I think of the Thrill Kill Kults "13 above the Night". I also knew I wanted to use Red Plex ever since I became a huge fan of ModSquads "Black Narcisuss"case. The blood red plex, the devil number 13 all pointed me to a Devilish theme.
So there you go, I let the shrinks take it from there.
The Cube itself is going to be made from aluminum. The front and top will be 1/8" and the sides and back will be .063. I then plan to mount the plex to the face of the Aluminum. I will get more detailed on the process as I go.
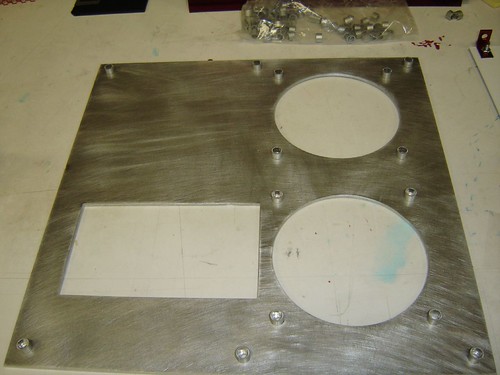
First thing first. I need to cut the aluminum and route out the windows and holes. For the thicker pieces I used the Table Saw, the thinner ones got cut on the stomp shear.
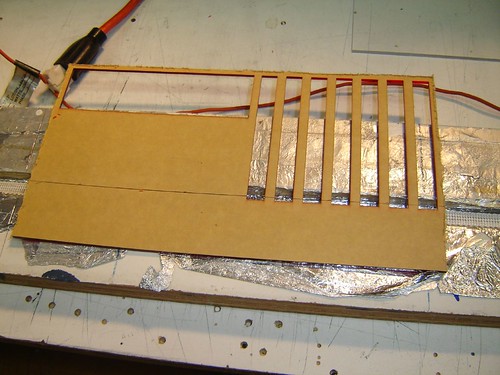
To do the holes I exported the above patterns from corel to my Engraving program. I then cut a template into 1/16" poly and used that as a pattern for the pin router.
.JPG)
.JPG)
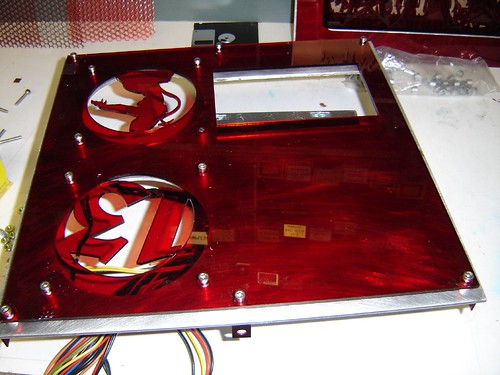
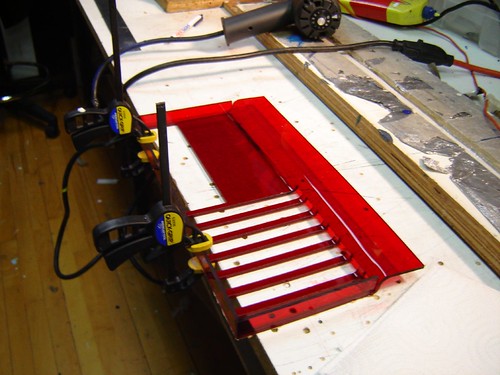
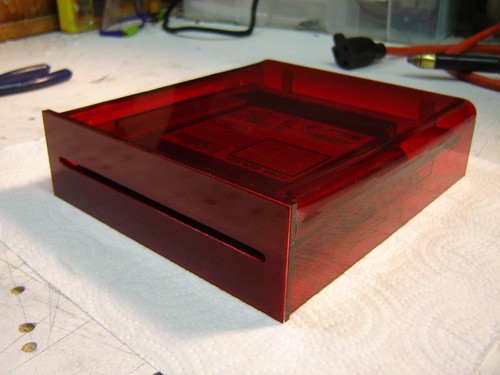
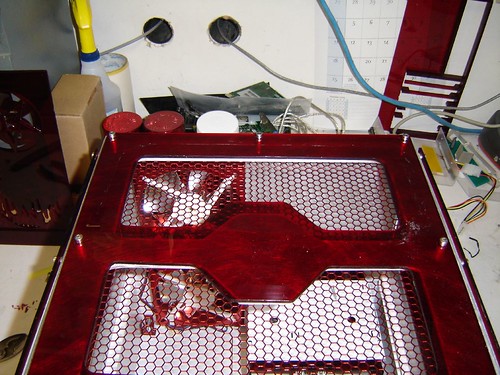
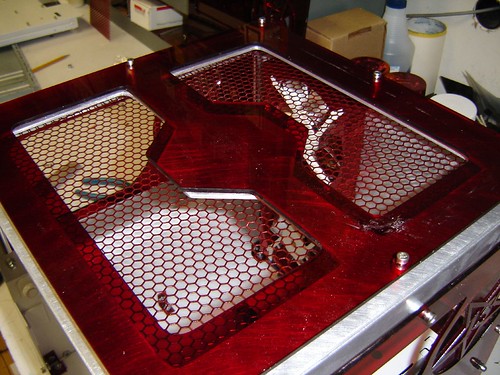
While I was at the routing I went ahead and did the top acrylic piece.
The front and side acrylic pieces will have the more complicated designs lazered.
.JPG)
.JPG)
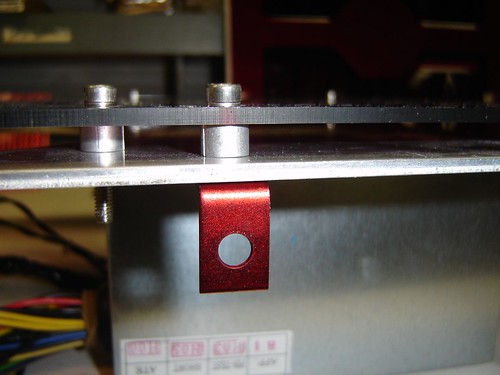
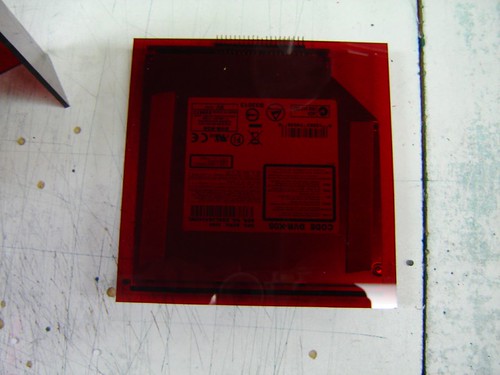
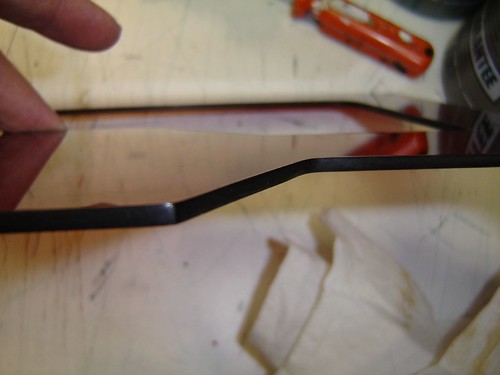
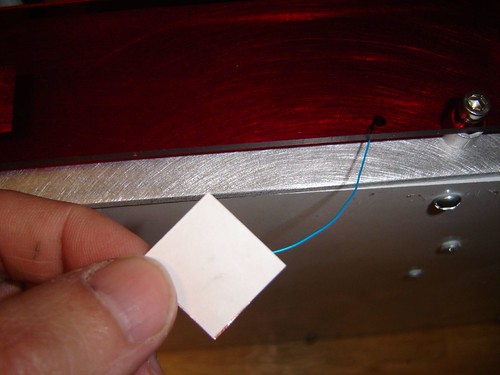
Basically the way a pin router works is you have a bit and a blade. The bit traces your pattern and the blade cuts the inderneath piece. The two pieces are separated with 1/16" foam tape so there is a slight gap to keep
you from cutting into your pattern.
.JPG)
.JPG)
.JPG)
.JPG)
.JPG)
.JPG)
.JPG)
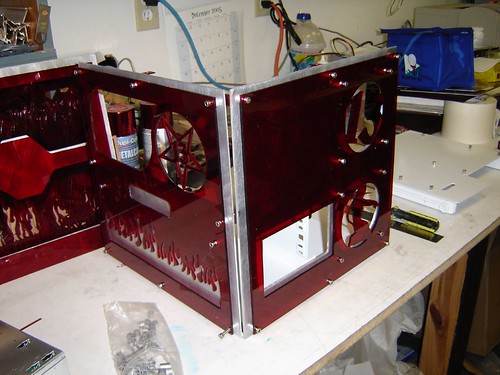
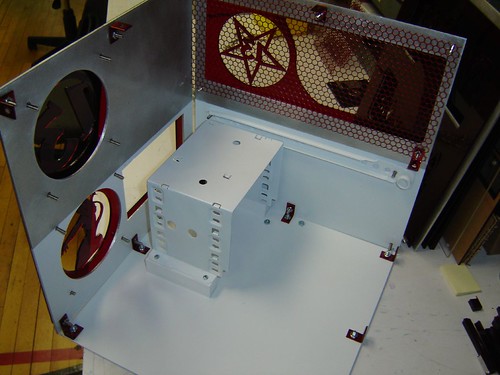
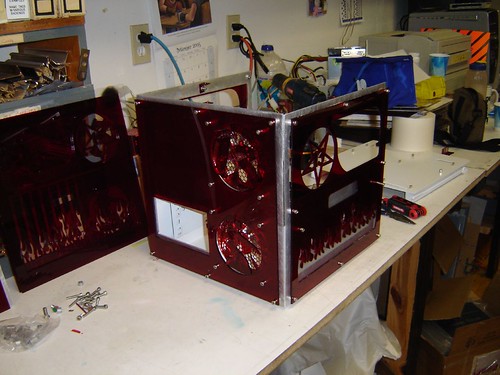
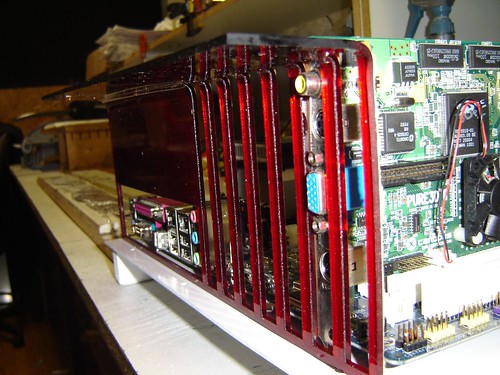
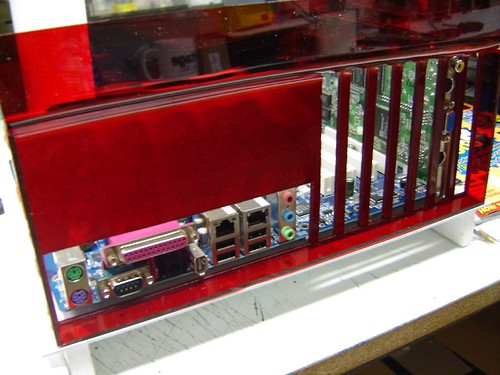
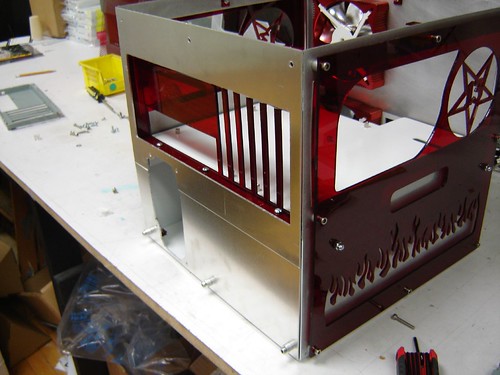
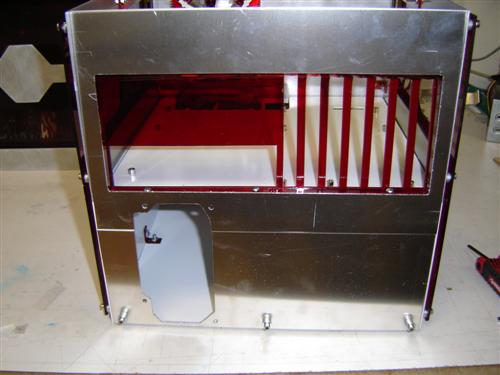
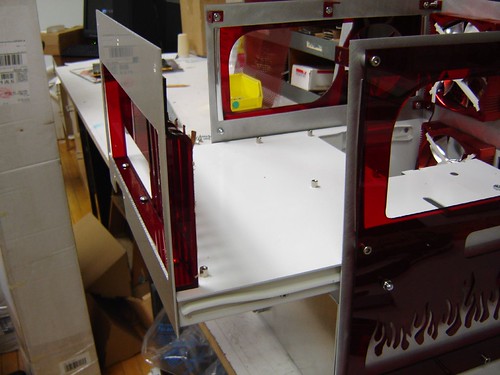
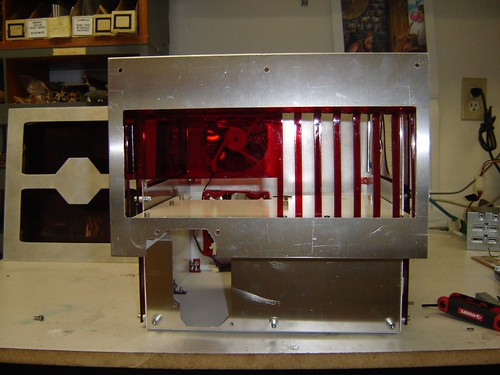
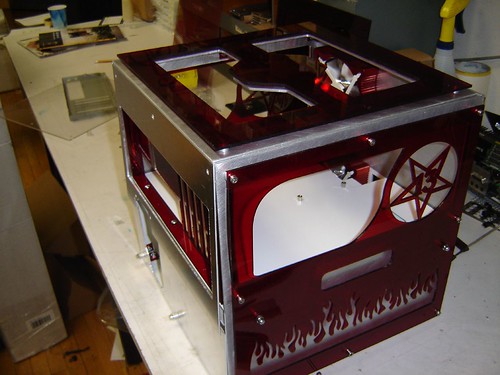
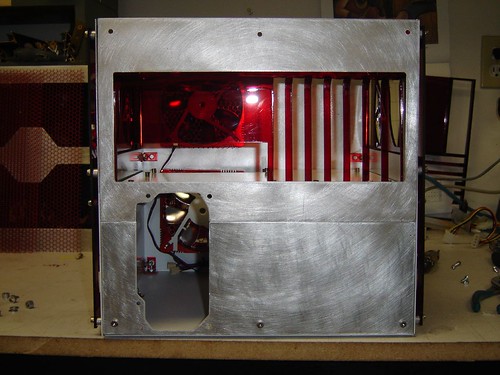
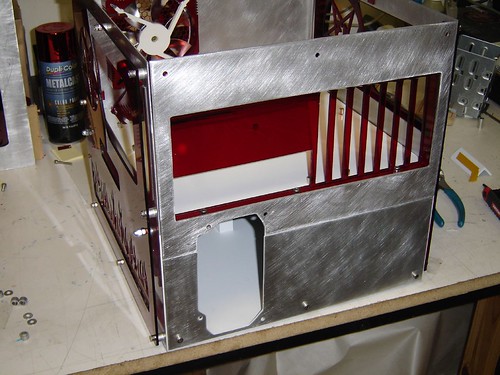
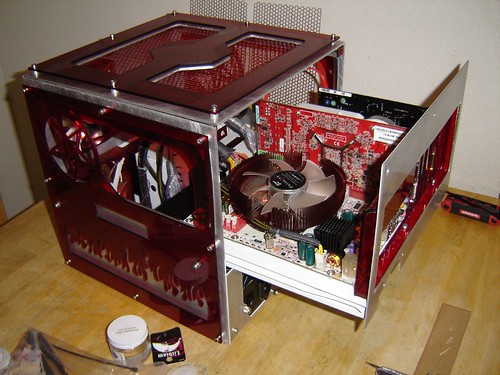
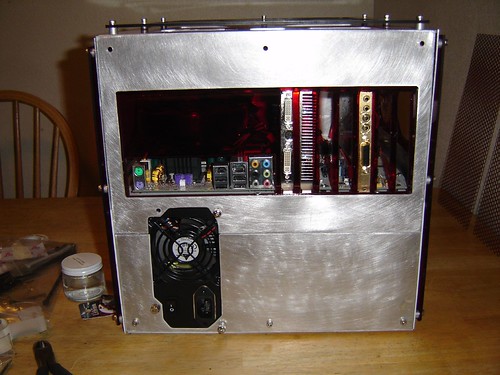
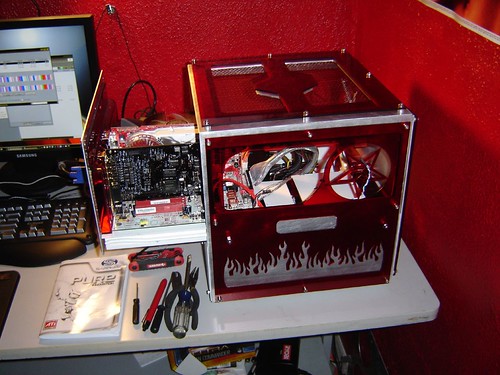
Fast forward into the future and you have the front and sides.
.JPG)
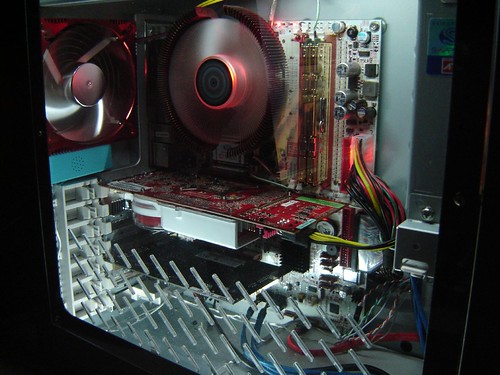
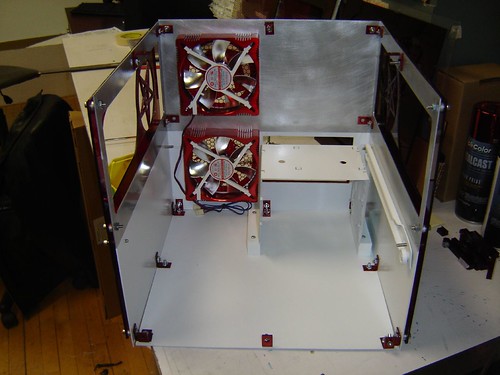
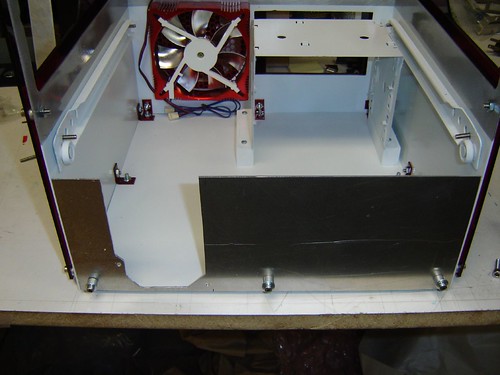
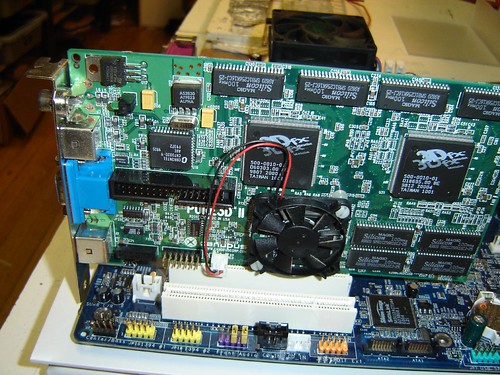
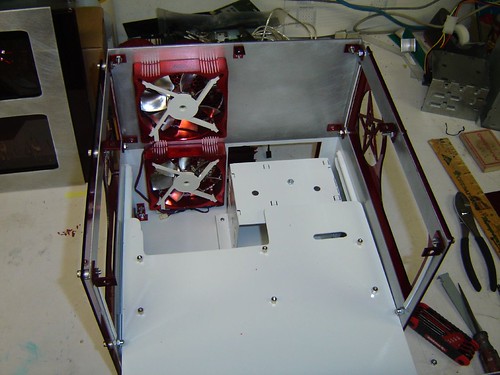
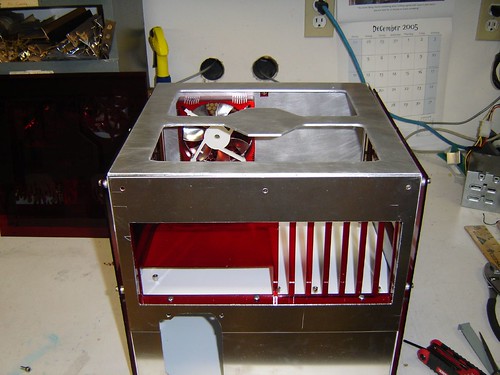
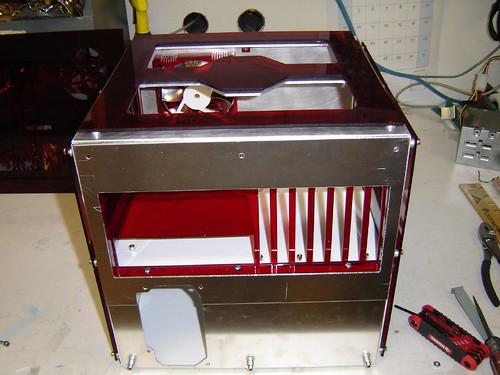
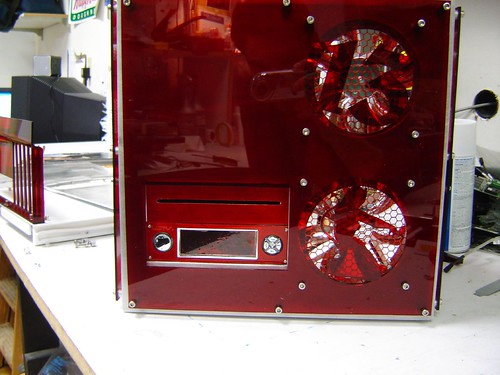
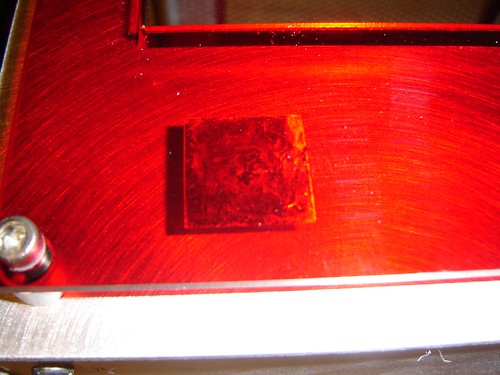
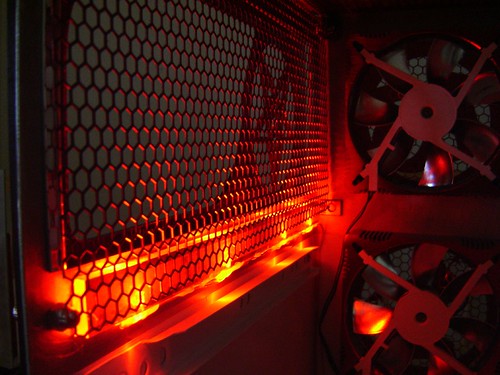
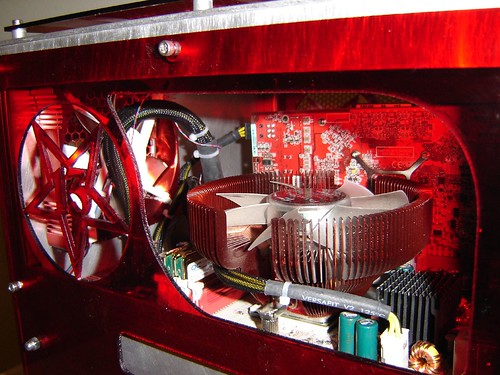
I got ahead of myself in this pic and installed some alum fans I annodized with some duplicolor red annodizing paint. I also was messing around with some finishes. The left one is straight brushed and the middle one is circular. I think I am going to go with the circular. I think I prefer the look of it over the brushed.
.JPG)
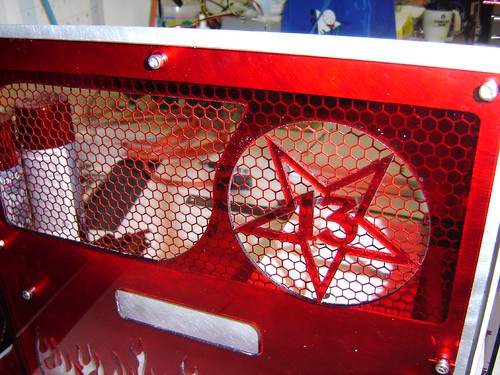
The Fans I was refering too. These are just plain Jane Evercool Alum. Fans painted with Duplicolor Red Annodizing paint.
Don't they just look Sweet.
stay tuned...
I liked the Sapphire case. It looked good and it was well organized. Things were easy to get into and it was a great design to show off the hardware. This time I wanted to make the cube reflect more of my personality. I also wanted a more dynamic design.
Zapwizard, Mr. Red and I were all brainstorming one night and we came out with the great internal layout that I am going to use on this case. So credit must be given for thier part in this creation.
Zap is a master with TrueSpace but when it comes to designing things
I stick with what I know. That would be corel11. Here is my design.
This is the basic layout of the case. You see the front, sides and top in this pic: Drafting style of sorts. The grey is the aluminum and the pinkish stuff is supposed to be Red Plex. The Translucent feature of Corel lightens it too much.
The artwork on the sides is an Oliva piece called "Hot Sauce". It is Betty Page dressed as a devil. I think it is hot and saucy so it is well titled. I am not sure if am am going to use this image or not. But I have it on here just to see how it will look.
The Theme for this case came from its size. 13" square. We Tried for 12" but we couldn't get everything to fit inside. So 13 it became, and then Project13. Everytime I see thirteen I think of the Thrill Kill Kults "13 above the Night". I also knew I wanted to use Red Plex ever since I became a huge fan of ModSquads "Black Narcisuss"case. The blood red plex, the devil number 13 all pointed me to a Devilish theme.
So there you go, I let the shrinks take it from there.
The Cube itself is going to be made from aluminum. The front and top will be 1/8" and the sides and back will be .063. I then plan to mount the plex to the face of the Aluminum. I will get more detailed on the process as I go.
First thing first. I need to cut the aluminum and route out the windows and holes. For the thicker pieces I used the Table Saw, the thinner ones got cut on the stomp shear.
To do the holes I exported the above patterns from corel to my Engraving program. I then cut a template into 1/16" poly and used that as a pattern for the pin router.
While I was at the routing I went ahead and did the top acrylic piece.
The front and side acrylic pieces will have the more complicated designs lazered.
Basically the way a pin router works is you have a bit and a blade. The bit traces your pattern and the blade cuts the inderneath piece. The two pieces are separated with 1/16" foam tape so there is a slight gap to keep
you from cutting into your pattern.
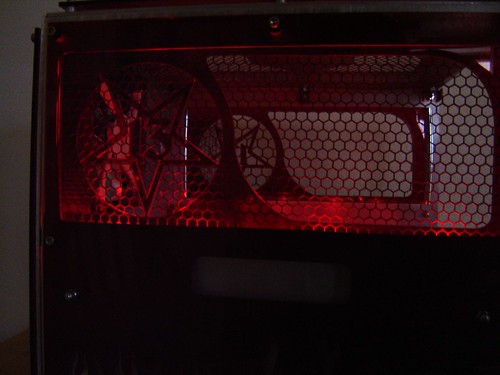
Fast forward into the future and you have the front and sides.
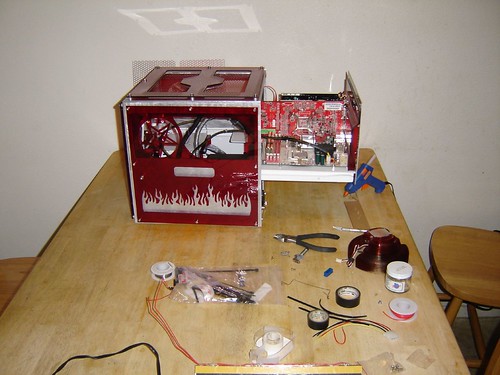
I got ahead of myself in this pic and installed some alum fans I annodized with some duplicolor red annodizing paint. I also was messing around with some finishes. The left one is straight brushed and the middle one is circular. I think I am going to go with the circular. I think I prefer the look of it over the brushed.
The Fans I was refering too. These are just plain Jane Evercool Alum. Fans painted with Duplicolor Red Annodizing paint.
Don't they just look Sweet.
stay tuned...
")
.JPG)

.JPG)
.JPG)
.JPG)
.JPG)
.JPG)
.JPG)
.JPG)