Project: X2 (or as I like to call it, Project: Better the 2nd Time)

Joined
Jan 6, 2001
Messages
863
Welcome Ladies and Gentlemen! It's been a LONGGGGG time since I attempted to do one of these worklogs, but the motivation is at an all-time high, so I decided to go forward with it.

My Story:

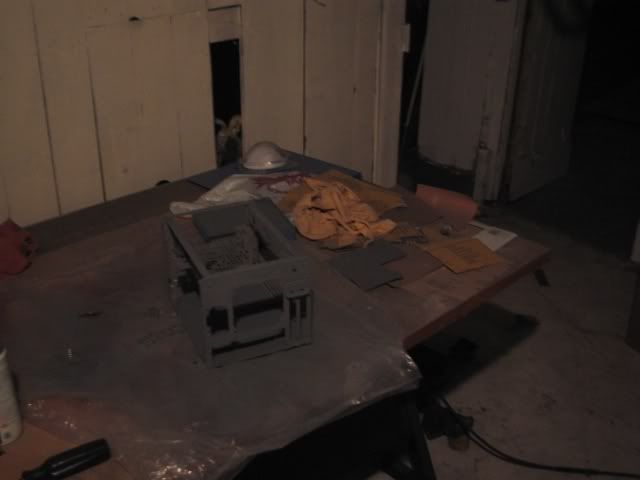
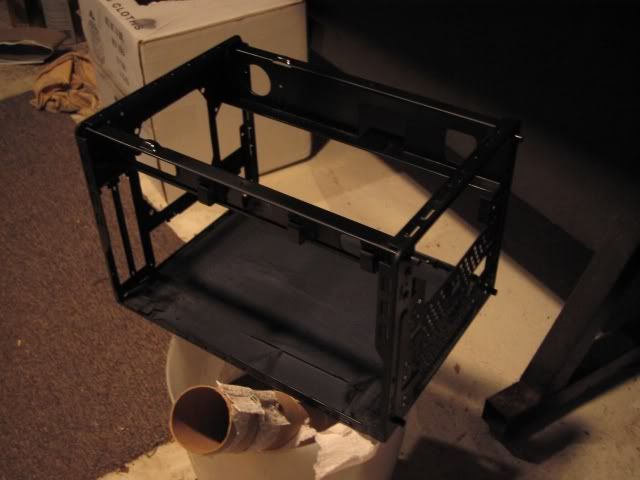
So, it's been 2 years since I've upgraded my system. Some would choose to wait longer, some would have already upgraded -- 2 years always seemed like a nice round number. My last case, as you will see by the pics, was what I considered my best case mod I had done.
skawttiecase3.JPG

skawttiecase4.JPG

skawttiecase5.JPG

But now, looking back on it, I look at it and see so many things that could have been done better. (yes yes, the windows were a BAD idea, but seemed right at the time)
The paint job was nice, but I thought it could be better on the sides. The plastic gave me a little trouble as well, etc, etc, etc....

2 Years Later:

We're ready to start all over, but this time, try to do it Better the 2nd Time ;)

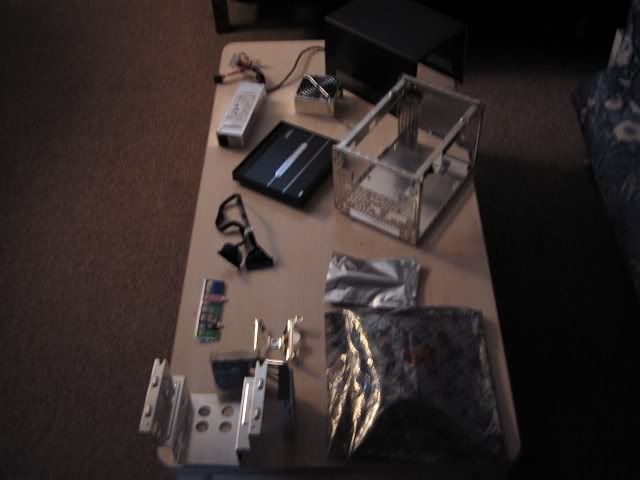
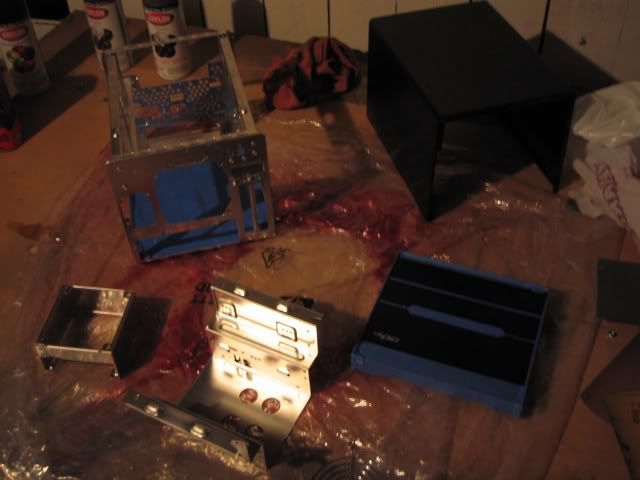
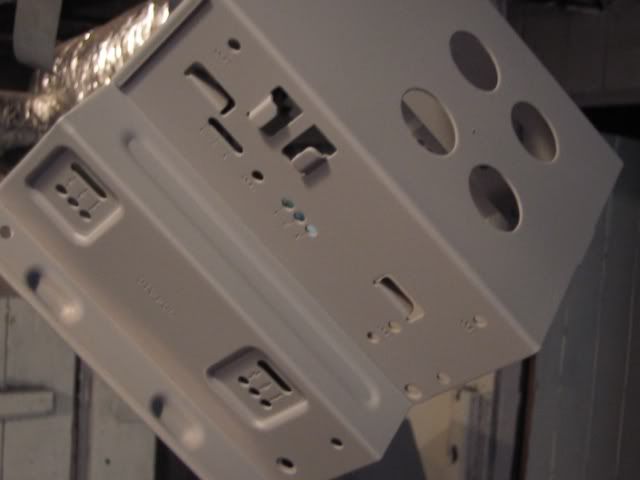
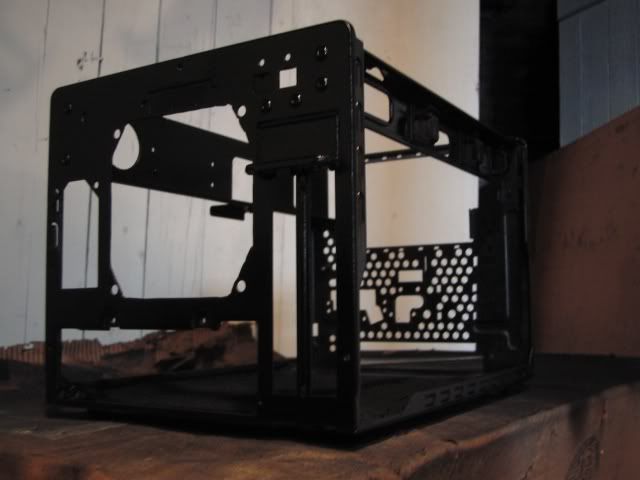
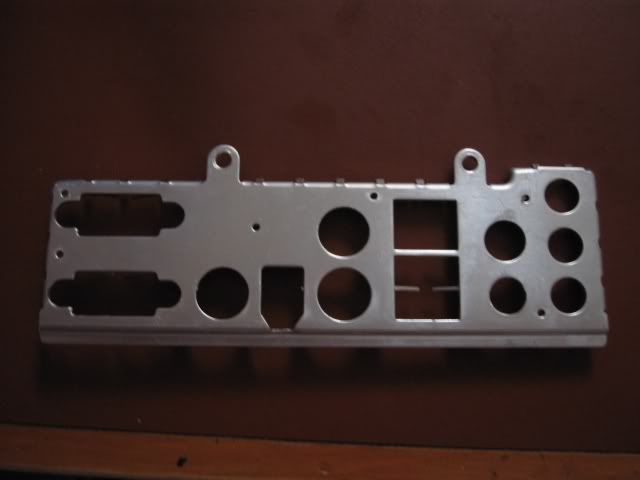
I'm pretty much doing the same project I did last time, only with little tweaks here and there. First, the patient:
testsubject.jpg


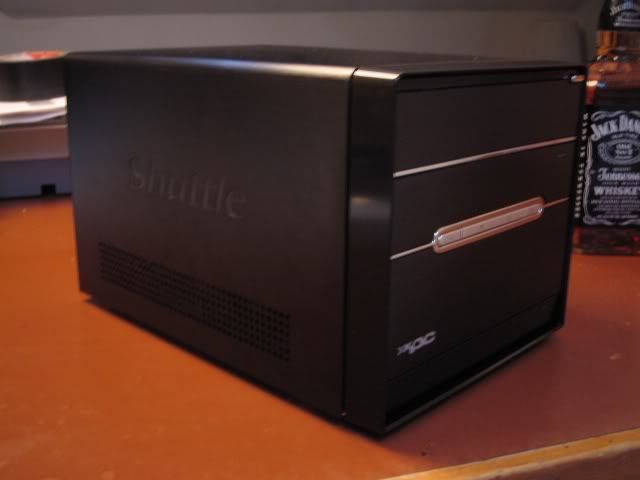
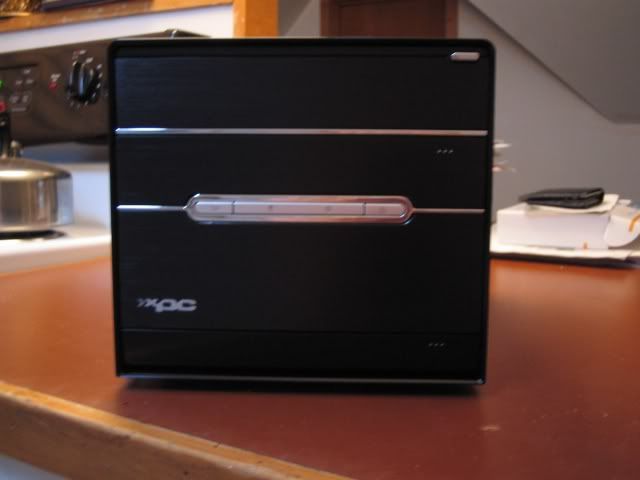
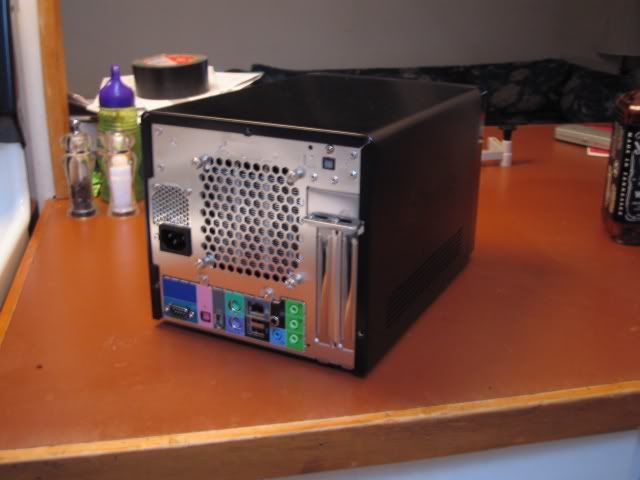
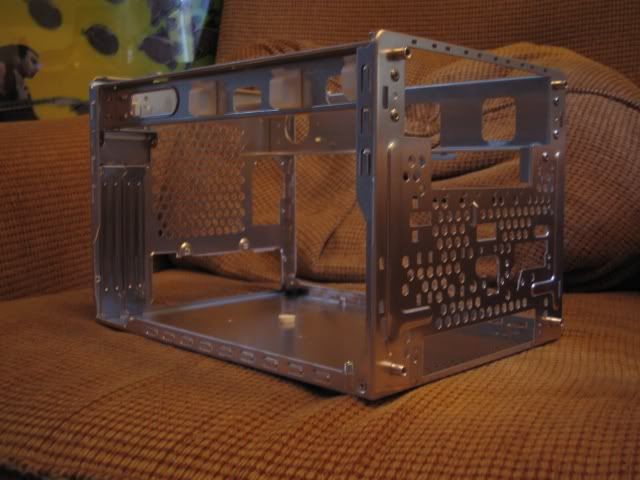
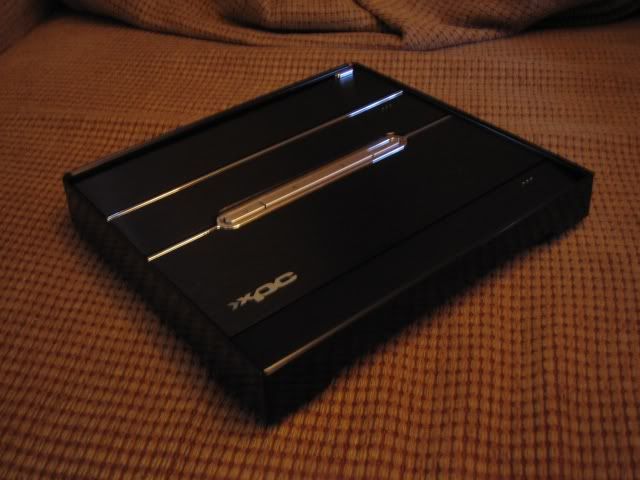
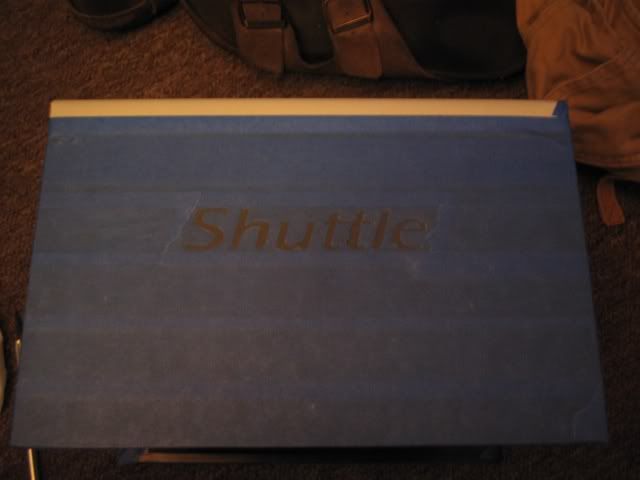
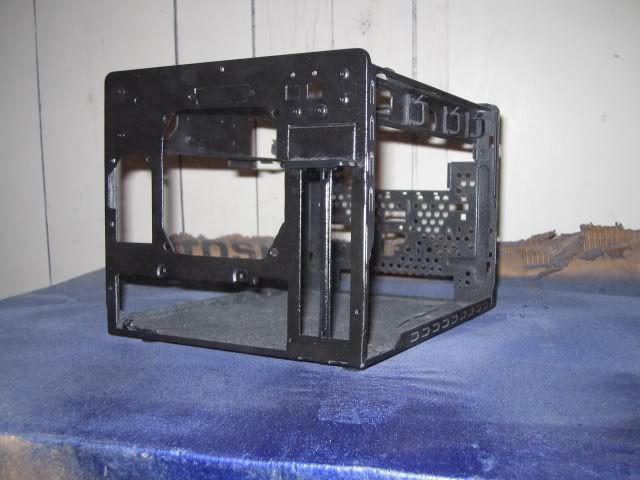
The Shuttle SN95G5V3....it just seemed to work the best for an upgrade, seeing as my last system was a SN45G.

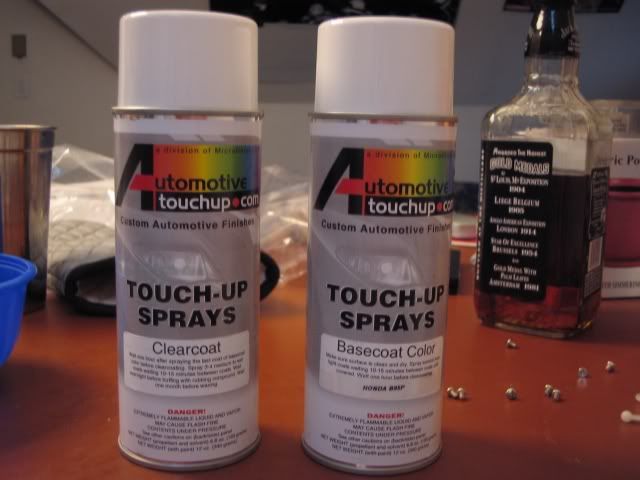
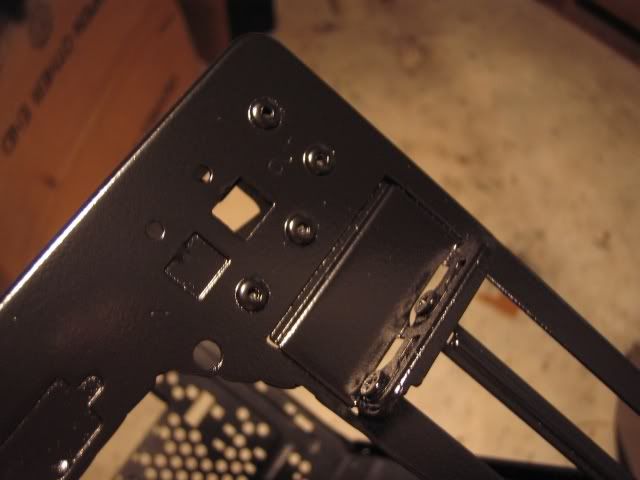
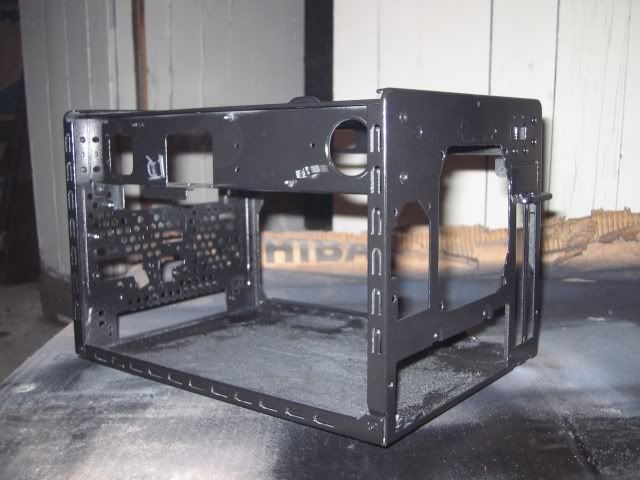
I'd tell you all the goodies I have in store for this project, but then it wouldn't be fun enough to follow this log. I can give away a few little hints:

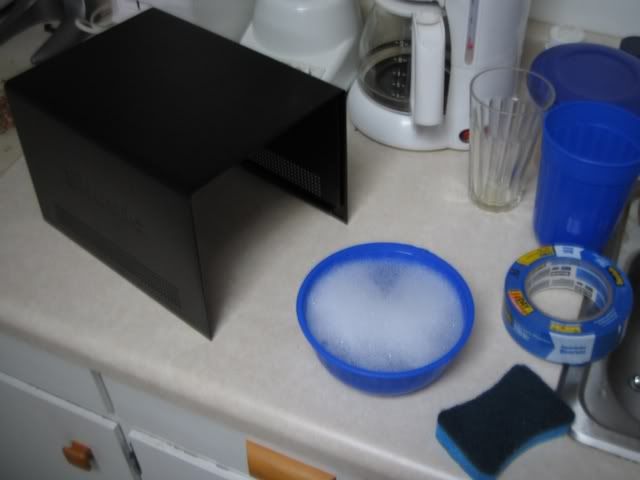
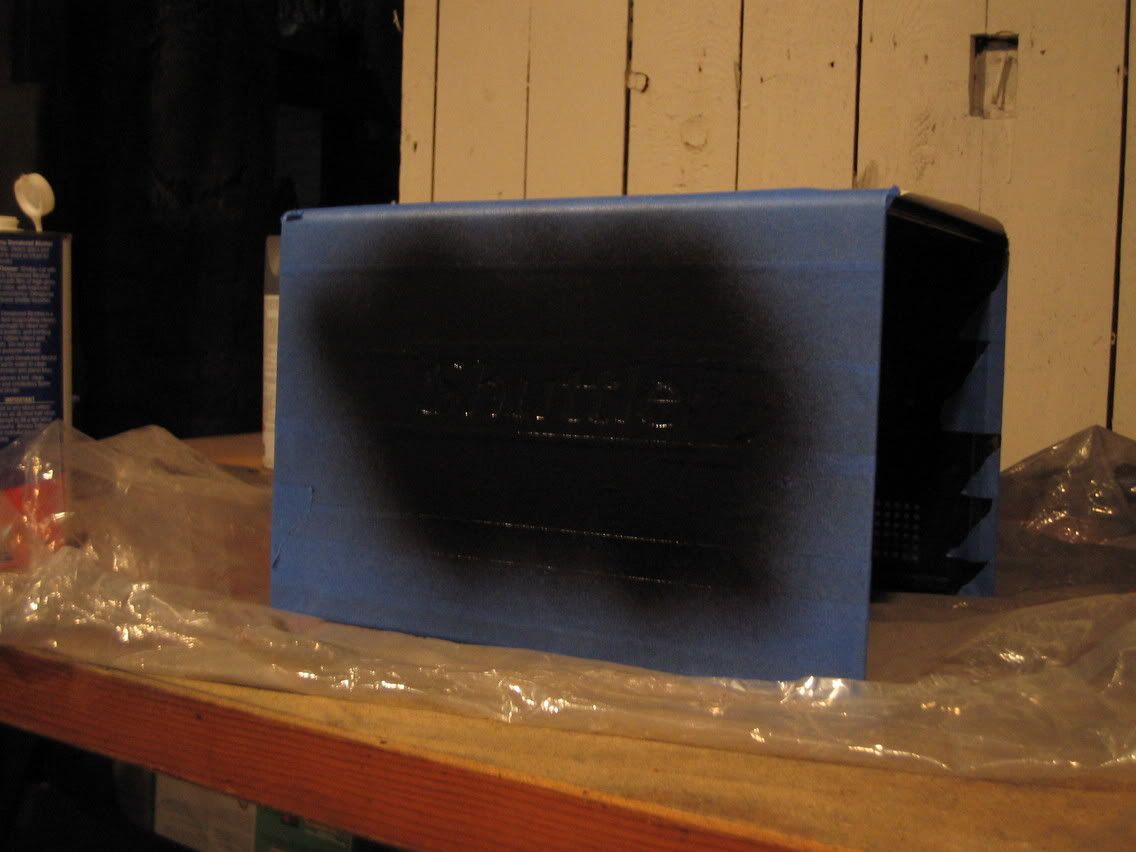
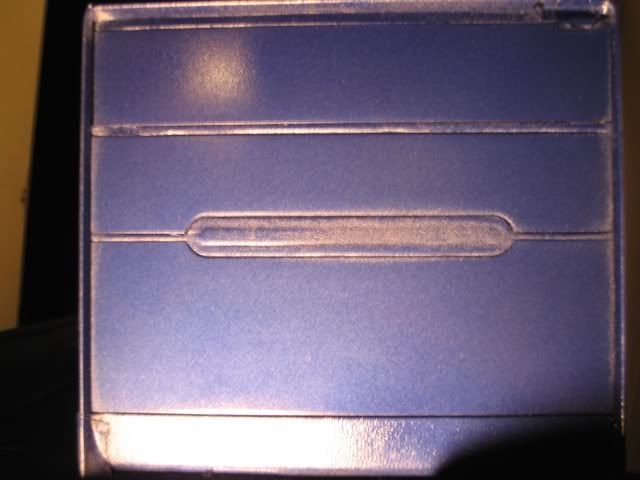
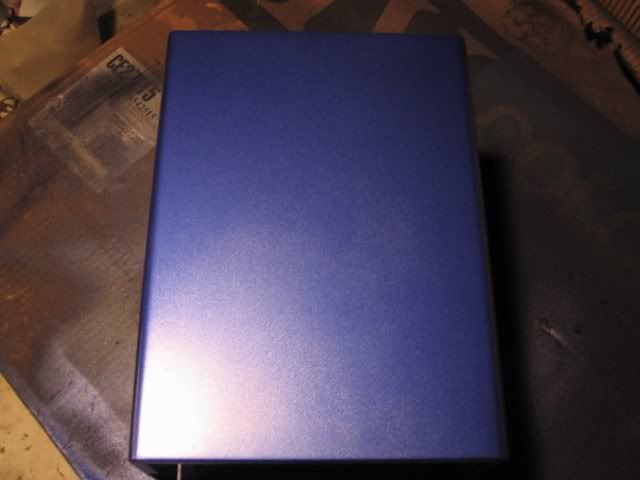
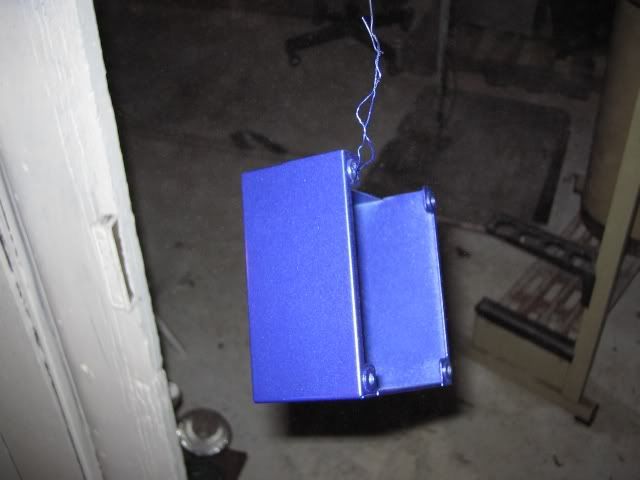
-For color, look back to the old case...I'm not saying it's going to be the same, but just get a feel for the black and blue
-NO WINDOWS :D
-For the front panel, look back to the old case and how I went about doing it...once again, it's not going to be the exact same, but the concept is there...

That's all I'm giving away at this point, you'll just have to watch over the next few weeks and see what happens. So sit back, relax, and let's have some fun with this project. :D
 
Day 1:

So we wasted no time when she got her via the Fedex Guy/Girl. The patient was examined closely, making sure all the correct parts were present and in order. (That included making sure it was the v3 and not the v2 or v1).

Needless to say, I was very pleased...
Picture001.jpg

Picture002.jpg

Picture004.jpg


So I took her apart, and laid her out, seeing exactly what pieces I was going to be working with...
Picture007.jpg

(maybe I should have written this down :eek:)

Once, that was done, it was time to clean the pieces, since I had already gunked them up enough with my oily fingers... :p
Picture013.jpg


...and went through, and did piece by piece...

Picture008.jpg

Picture010.jpg

Picture011.jpg

Picture012.jpg
 
Next, after a little dremeling of the fan grill in back (sorry, I somehow missed that picture -- I know, I'm going to hell :(), as well as a little masking of the front piece, it was time to head down to the workshop (a.k.a the old, nasty, 110-year old basement -- this will work :D)

the workspace...
Picture018.jpg

Picture019.jpg


You can see the masking I was talking about...
Picture020.jpg


After grinding it out with the sandblock, it was time to just get a nice coat of Primer on her, before calling it a night...
Picture021.jpg


Here, you can see the cut out fan grill...
Picture022.jpg


...and that's where we are today. So we're still in the early stages, lots of sanding left to be done. Hell, I haven't even gotten all the paint for the case yet, so I'm in no rush with this...at least not yet (thank god!).

As I post this, it's time to put some DAMN clothes on, and get back to the workshop! :)
 
Day 2:

So it was a pretty simple day for me: Sand, get another primer coat on, sand again, paint any pieces that won't be using the blue (the paint that has yet to arrive).

The workshop in full swing today...
Picture023.jpg

Picture024.jpg


and why not show a close-up...
Picture026.jpg


After spending the afternoon shooting 9 holes of golf, it was time to get to painting. Since the blue probably won't get here until tomorrow, I figured I'd get a first coat of black on all the pieces I will want black by the end.

For some pieces, that was easy...like the inside...
Picture029.jpg


But for others (that require a little blue on, AND a little black), it was time to get out the painter's tape...(now you should start to see where I'm going on this project instead of the window route ;))
Picture027.jpg

Picture028.jpg


...and that's....really it for today. Nothing to exciting -- I'm kinda just prepping for when the blue comes tomorrow. I know you're probably saying, "So why don't you just go buy a can of blue at Wal-Mart and get crazy?"

Well, I'm going for a specialty blue for this project...I won't reveal details right now, but here's a hint:
SIblue.jpg


NOTE: Just for the record, I'm not really a fan of Honda Civic's, but my god do I LOVEEEEE that blue....:D

On that note, time to enjoy the rest of my weekend.... :cool:
 
Looking good so far, seeing what you've done with your 1st one makes me eager to see what you do with this one.
 
Can't wait to see where this goes! I like the Si as inspiration.
 
electron blue pearl :) thats the exact color of the Si ... its the 2nd nicest blue car color

Audi's Nagaro blue is the best.... (comes on the s4's)
 
Thanks to everyone for the comments. I really wanted to make this case different, hence, the SI blue paint. Unfortunately, FedEx has yet to pay me a visit. So alas, no update today, but tomorrow for sure, as the black will be ready for sanding tomorrow evening.

SMPWorksForME said:
Civic SI blue? Thats like a pepsi blue right? How are you going to paint it? Autobody shop?

Oh just you wait and see, my friend....you will be amazed (if all goes well, that is :p)

atherton213 said:
electron blue pearl :) thats the exact color of the Si ... its the 2nd nicest blue car color

Audi's Nagaro blue is the best.... (comes on the s4's)

Weird...I had never heard of that until now. But now that I googled a pic of it, I do recall seeing a couple of those. Definitely a nice choice in blue...perhaps for my next case...:D
 
Day 3:

Once again, no blue paint yet...I'm getting a little irrated about that, but at the same time, I'm not, just because I'm keeping busy with the black paint and other sanding, but, :knock on wood: tomorrow would be a nice day to get it....:D

Anyways, so it was time to sand down the first coat of black...
Picture033.jpg


Intersting to note: Notice the texture of the paint (aside from my shaky hand -- in all fairness, I had just spent an hour lifting weights so my arm wasn't exactly stiff). Considering how diffficult it is to get sandpaper in the Shuttle emblem in itself, I didn't concentrate a whole lot on sanding, just because I'm interested to see the type of look that texture gives it. I'm all about deciding stuff on the spot. :)

Keeping in mind where we are on the sandpaper scale....
Picture032.jpg


...and here's her insides after a 2nd black coat
Picture040.jpg

The picture really doesn't do justice, but I can assure you this: paint is much easier to work with sanding-wise when you actually do give it 2 days to dry. With that being said, it's important to note that my last case (see first post) I only waited about 24 hours in between sanding and was very happy with the turnout. I'll be interested to see how this paint job will differ from that one.

With only 2 pieces to paint today, I didn't want to cut my work day so short, so I sanded the other pieces that were still in primer down, so they're ready for paint when it DOES get here. :p

This is the right smoothness I'm looking for before getting paint on...
Picture035.jpg


...but more importantly, if you're EVER gonna paint your case, don't forget the S-L-X Denatured Alcohol. Notice the shine it gives it -- the way it smoothes the surface even more makes it almost like sandpaper in itself!
Picture036.jpg

Picture037.jpg


A little hard on the primer, but it's not really a concern at this point...
Picture039.jpg


So that's where we stand now -- if the paint comes in tomorrow, I'll get right on that. Otherwise, I'll be back on Thursday! :cool:
 
ohhh, looking very nice so far!
I agree with you 100% that Civic SI Blue is a great colour.
Hopefully the FED-ASS guy will show up tomorrow and you can continue.
 
Majin said:
ohhh, looking very nice so far!
I agree with you 100% that Civic SI Blue is a great colour.
Hopefully the FED-ASS guy will show up tomorrow and you can continue.

Thanks for the comment (to you, and to everyone that posts here -- I enjoy seeing what others have to say) :)

Well, I according to the tracking number I FINALLY got, the Fedex guy will be here tomorrow with the package. So tomorrow's gonna be one hell of a workday! :D
 
Day 4: (or as I like to call it, "OHHHHH SHIT LOOK WHAT CAME IN THE MAIL" DAY)

That's right, I saw a package at the back door, ran upstairs, and tore it apart....
Picture042.jpg

Picture043.jpg

...I think this is the right color :D

Yesterday, I was also looking around and found a piece I decided to add to the "Paint Pile"
Picture041.jpg

(I think I've set up enough computers in my day to know where everything goes ;))

So, without a moment to lose, I was downstairs again and sanding away. First, I decided to inspect the 2nd coat of black...
Picture044.jpg

Slowly, but surely, we're starting to flatten everything out :)

So, before the real fireworks began, I put one last coat of black on her insides. I must say I'm very pleased with where this looks to be going...
Picture047.jpg
 
From there, it was SI Blue time....I'll let the pictures speak for themselves...
Picture045.jpg

Picture046.jpg

my favorite pic...sooooo smooooooth...
Picture048.jpg

Overall, I'm especially happy with how this paint grabs onto the surface and just literally "sticks" with very little orange peel to deal with. I only have one can of this stuff, so once it's empty, I can apply no more (without opening up the wallet :p).

Not a whole lot of work today, but a whole lotta :D :D outta me!
I would post more, but I've got a busy night ahead of me. Won't get back to sanding until either Saturday night or Sunday. Until then, any thoughts on the blue?
 
i cant wait to see the outcome of this, i actually also bought the schuttle xpc, i wonder how yours will come out. Good Luck!
 
Was going to post right when you started this topic but i was feeling lazy. :p Anyway that first shuttle is HOOT can't wait to see this one. :D
 
uzor said:
I'm a fan of Nissan's Daytona Blue, myself. Looking good.


Touche, my friend. I have had the pleasure of seeing this in person, and it was hard for me not to go with this blue. In the end, it came down to the Daytona blue was too close to my last case color, so I went with the SI blue...
 
Day 5:

Sorry I have no new pics to report today. Today was basically reapplying all the pieces one more time. Hopefully, by Monday, the inside will be done,so I can start to re-assemble the case.

In addition, this week I will start ordering all the parts for the computer. So far, I have the following ordered:

-Shuttle SN95G5V3 (DUHHHHHHHHHH :p)
-Western Digital WD740GD (yes yes...the Raptor drive ;))
-Dell 2405FPW

and just for fun, here's a picture of the Dell...
Picture001.jpg

Picture002.jpg


That's pretty much it for today -- sorry it wasn't a little more picture-friendly, but hopefully I'll be able to add more pictures on Monday. :)
 
skawttieboy said:
Touche, my friend. I have had the pleasure of seeing this in person, and it was hard for me not to go with this blue. In the end, it came down to the Daytona blue was too close to my last case color, so I went with the SI blue...
Understandable, then. I don't have a previous blue case to influence my decision. ;)

 
Hey guys, sorry my images aren't working right now. I'll try to fix this up sometime this week -- just got a lot going on, with summer in full swing. Be patient -- they'll be back :)
 
UPDATE:

Now that the pics are back up, it's back to work!

Everything being painted has reached at least its 1st color coat. Some piece I'm giving more coats than others. The core (the black piece) has gotten 3-4 coats, which has now irritated me more than anything -- it's just a little too thick in some parts. Only reason I'm not labeling this "Project: BUST" is because you're not going to even really see it once the case is fully assembled. Same thing goes for all the parts on the inside. There are really only 2 pieces I'm 100% concerned with: The front panel and the cover -- both of these paint jobs I'm VERY happy with at this point.

Here are some pics (not many) of the progress made:

After the 1st primer:
Picture050.jpg


A little tease shot of the cover SO FAR...
Picture051.jpg


Can't have a dirty silver fan grille, now can we? :)
Picture052.jpg


That's all for now -- more fun stuff to come hopefully tomorrow! :)
 
that color is really nice looking.

can't wait to see how this turns out... looks like a well thought out project. (and well executed thus far)
 
Looking very slick my good man - looking foward to seeing how this goes.
 
Day "I Lost Count":

So we're finally getting to the clear coat stages, which means DUST BUNNIES AHOY!!!!

OHNWARD WITH THE PICS!

First, the black....
Picture053.jpg


Much sanding going on with this piece (with more to come)

Then, the blue...
Picture055.jpg


First, a preview for all you "640 x 480" viewers....
Picture059.jpg


Now, to answer sabrewolf's question, does the auto spray paint work? We need to go 1600 x 1200 to answer that:
http://img.photobucket.com/albums/0803/skawttieboy/Project X2/Picture057.jpg
http://img.photobucket.com/albums/0803/skawttieboy/Project X2/Picture058.jpg

Now we're starting to see some results! :)

See ya tomorrow, I think....can't remember if I have something going on tomorrow or not right now...
:p
 
Back
Top