Some of you might remember from a few years ago my "Midget Rig" project that kicked off not long after the Silverstone Sugo SG05 was released in the US. I took a Q6600 and what was the most powerful 9" graphics card at the time, the Geforce GTS 250, and crammed them into a Sugo SG05. Along with the two I replaced the stock 300w power supply with a Seasonic 350w unit that required me to do all kinds of modifying to get the thing to fit because if was 2" deeper than the stock unit. This was before the Silverstone 450w SFX was ever thought of, so I had to improvise. The build turned out really well and served me well until I sold it to a friend.
You can check out the build log of that project right here.
Ever since then I've gotten requests from friends all around to build "Midget Rigs" for them. So it goes without saying that I've built quite a few of them (with varying parts) and they've all become great systems.
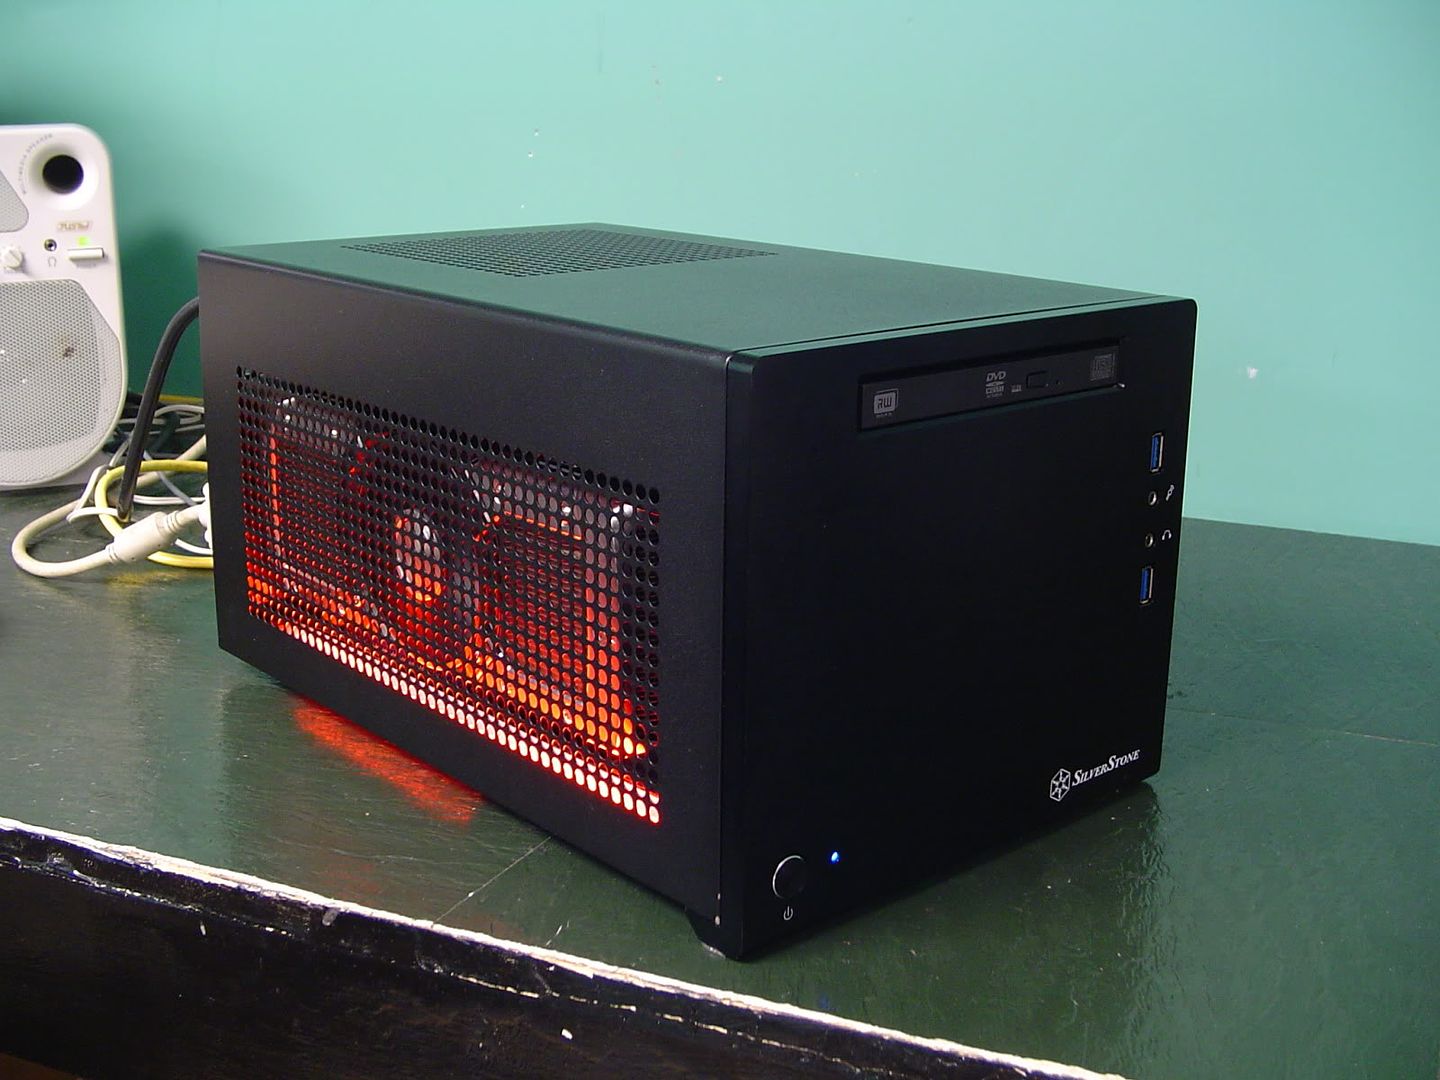
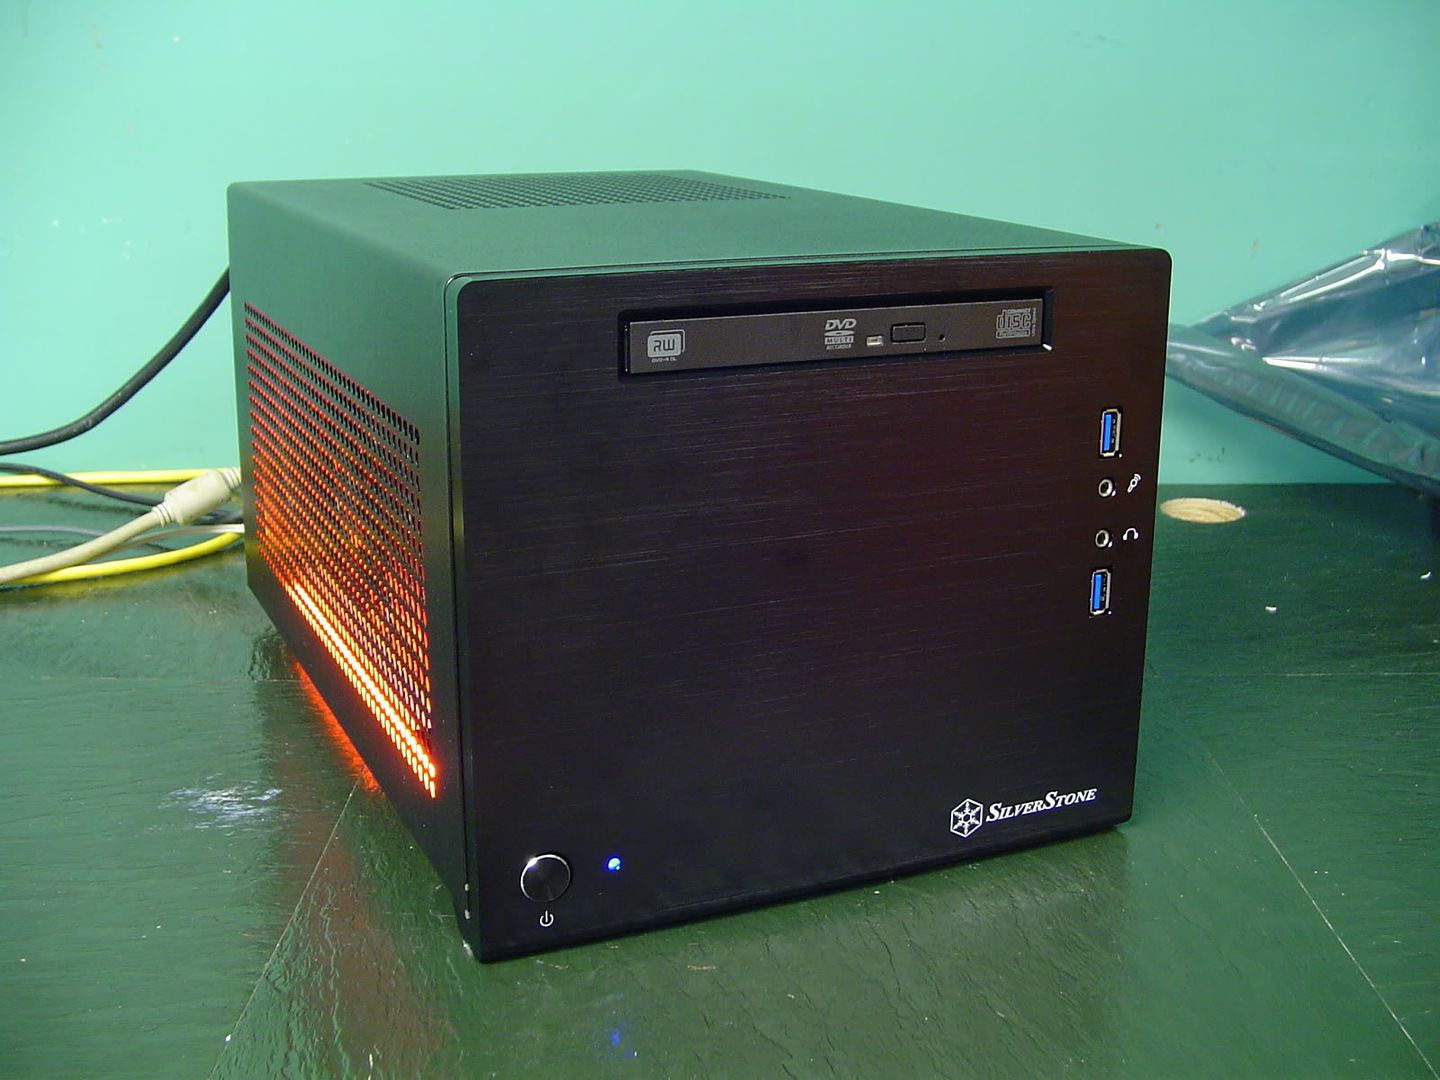
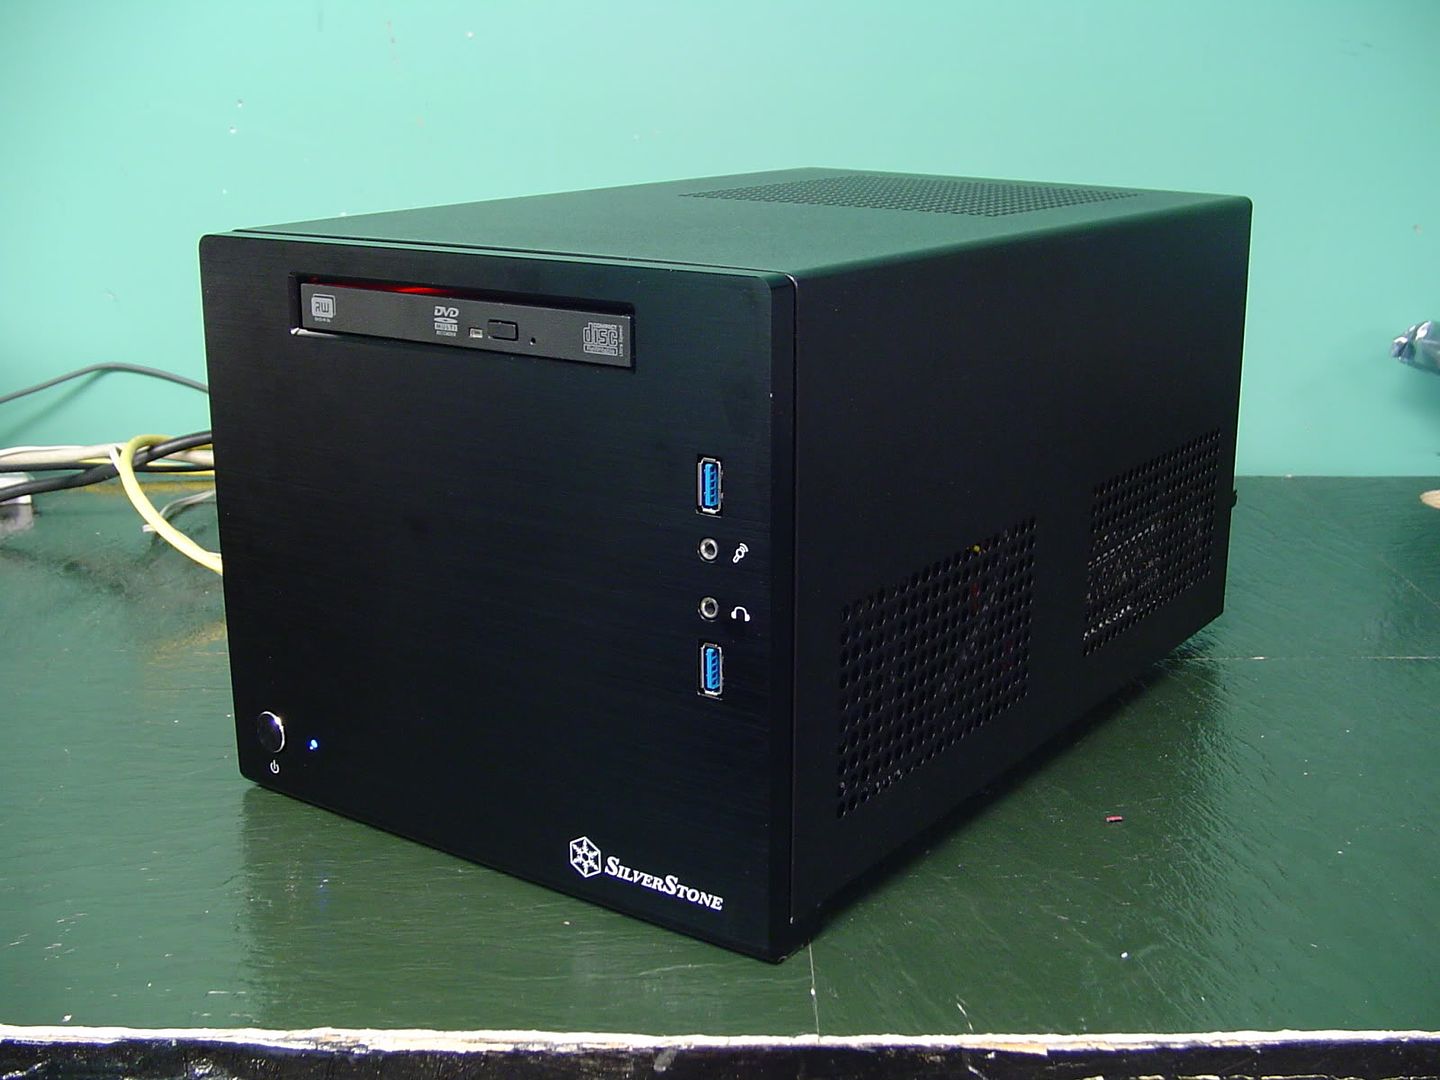
Now it's time to build my first "Super Midget Rig" using the Sugo SG08. With the SG08 I hope to cram in what I couldn't cram in the SG05. I'm going all out with this system and cramming in the most powerful components I can get to fit in it.
Those specs include:
I realize this isn't a "Case Mod" per say, but I DO plan on doing a certain degree of DIY stuff to this build to reduce cable clutter and optimize it to my liking. Like the original Midget Rig build, I'm not content to just throw the system together and be done with it. For one thing, the case is far too small to be having a 600w octopus inside of it. These cables are definitely going to have to be shortened and I might as well sleeve them while I'm at it, too.
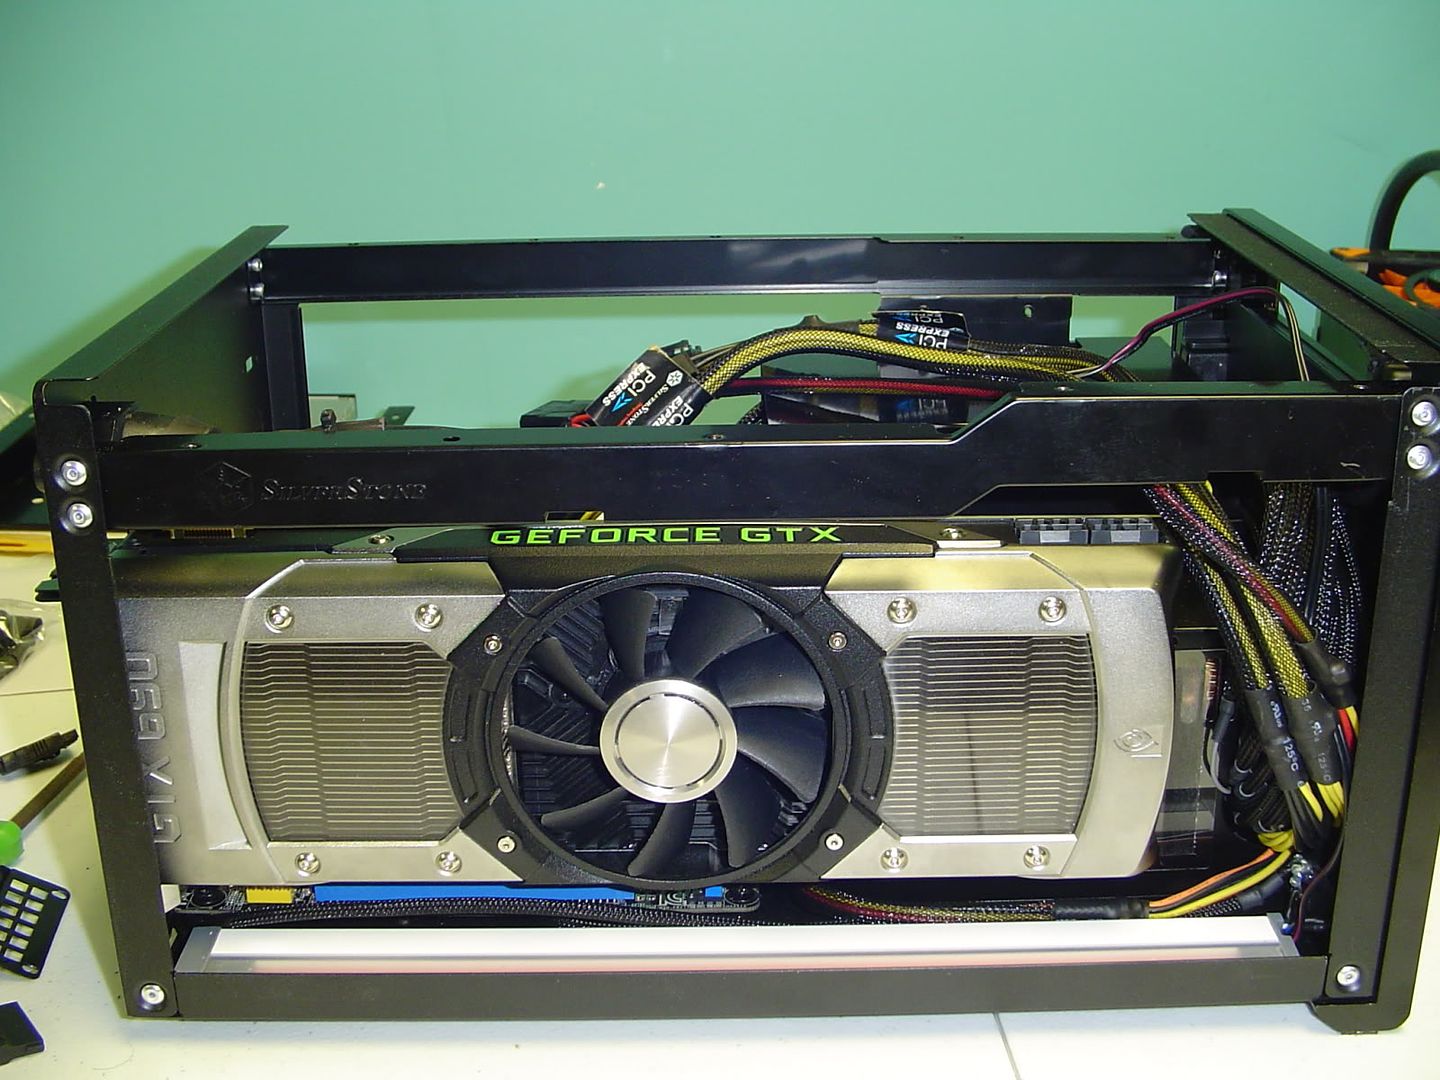
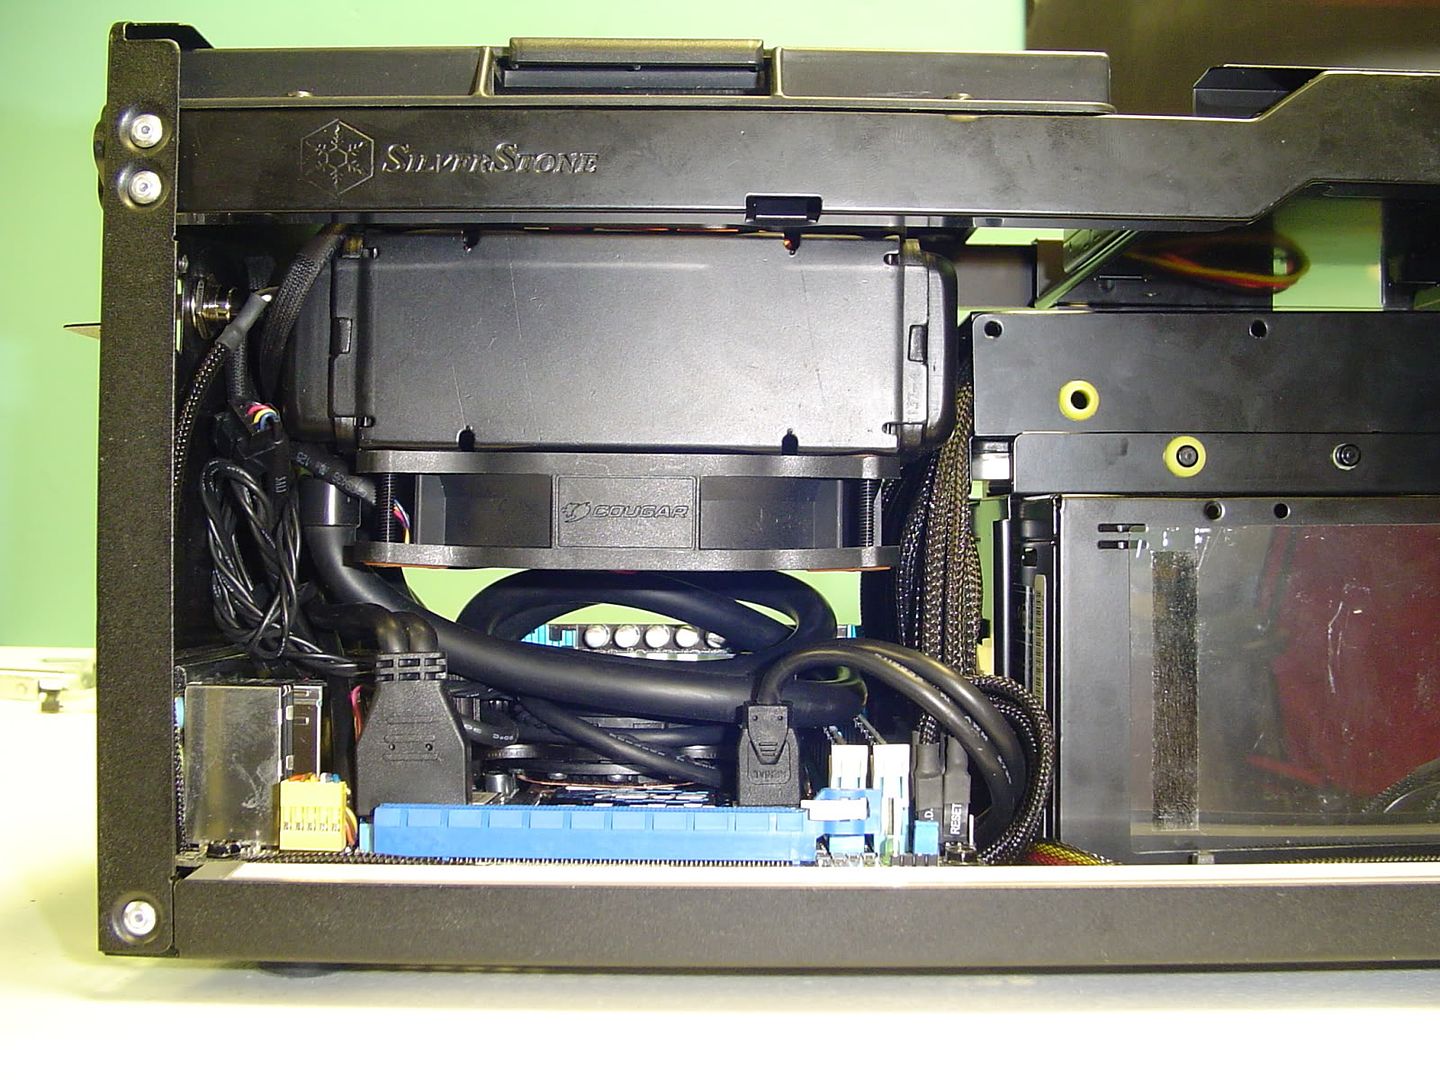
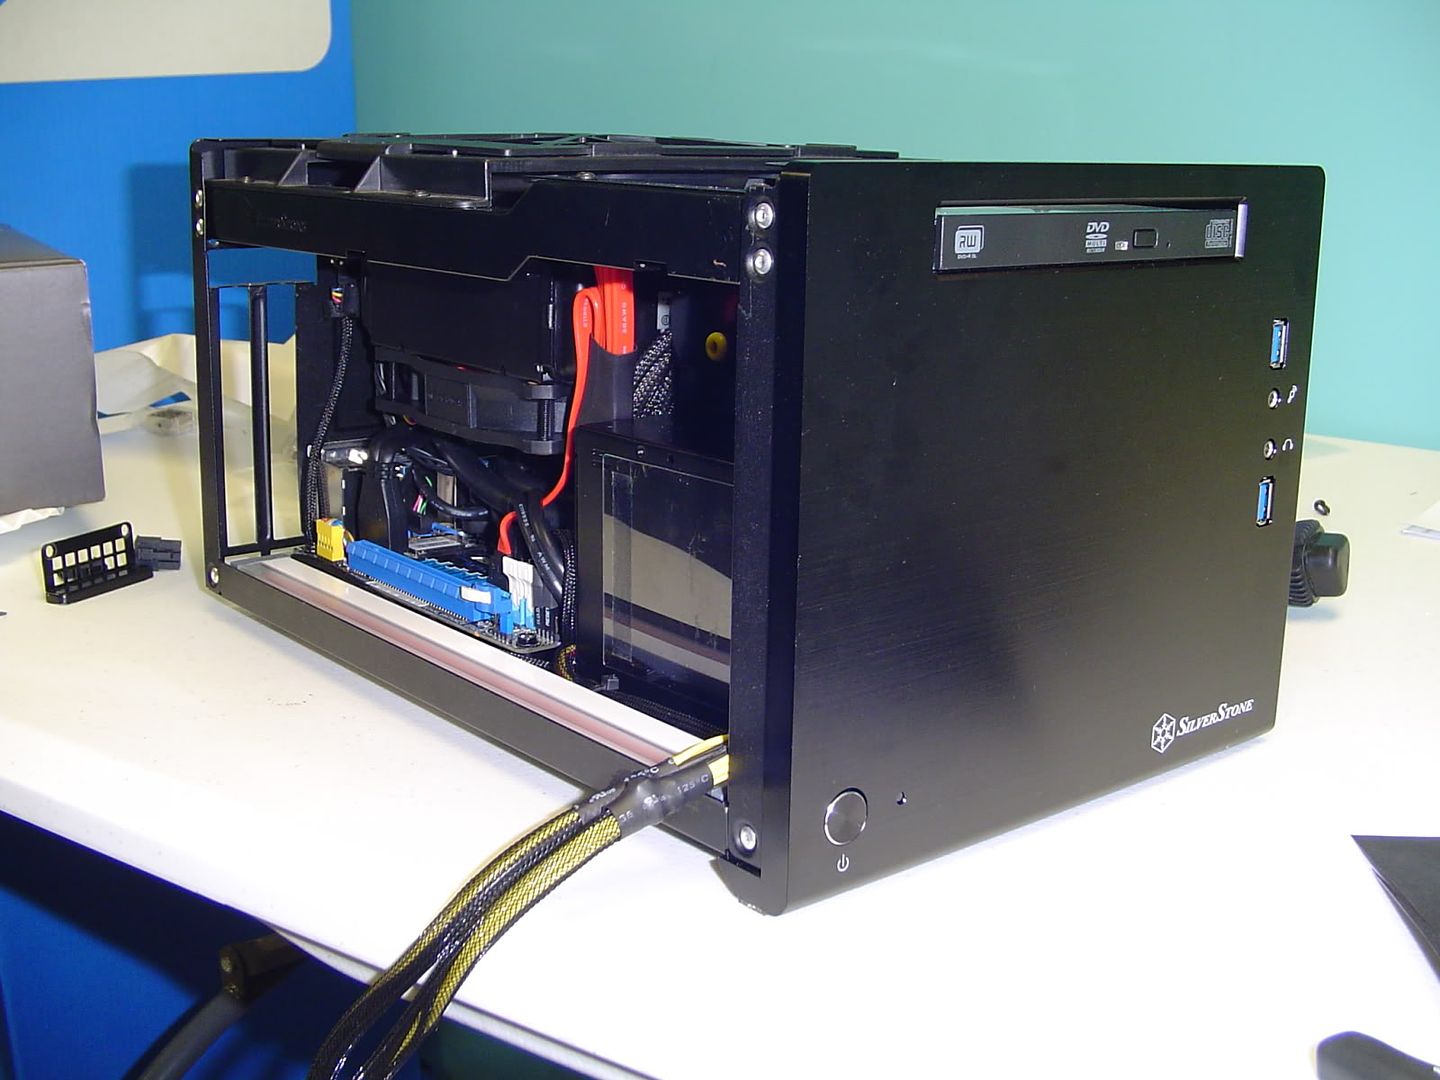
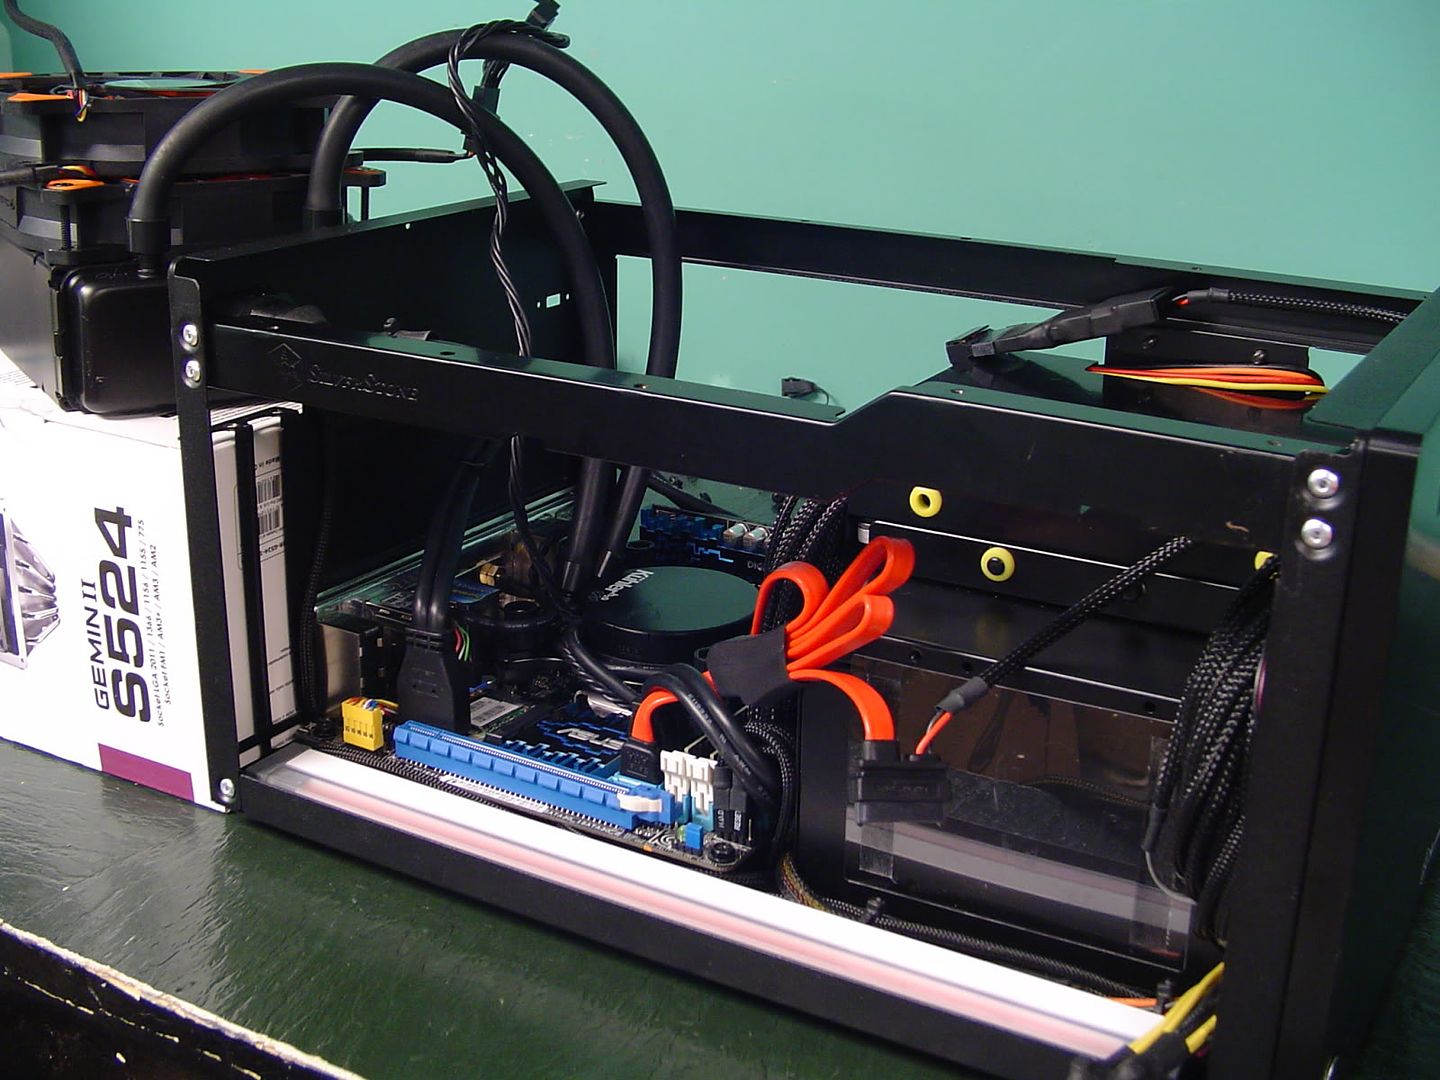
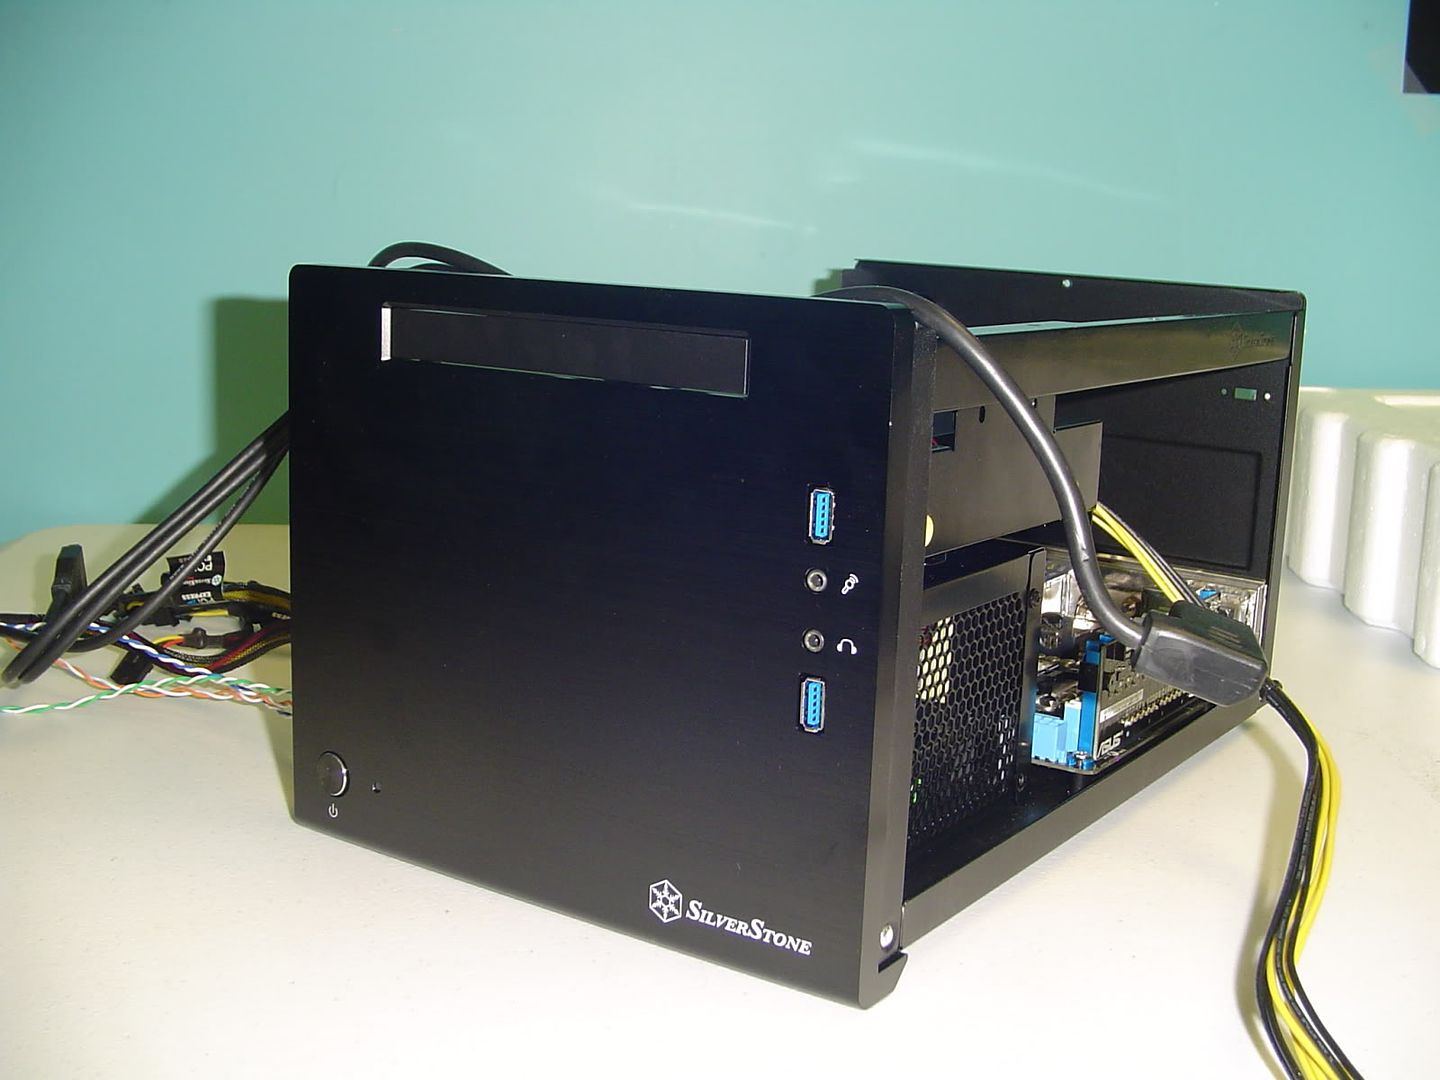
The first pictures I have for you are from little way into the build. It didn't take me long to tear right into the case and make some progress. I apologize for the poor quality photos, but I'm working off of an ancient Sony Cybershot 3.2mp camera. I really need to upgrade sometime soon...
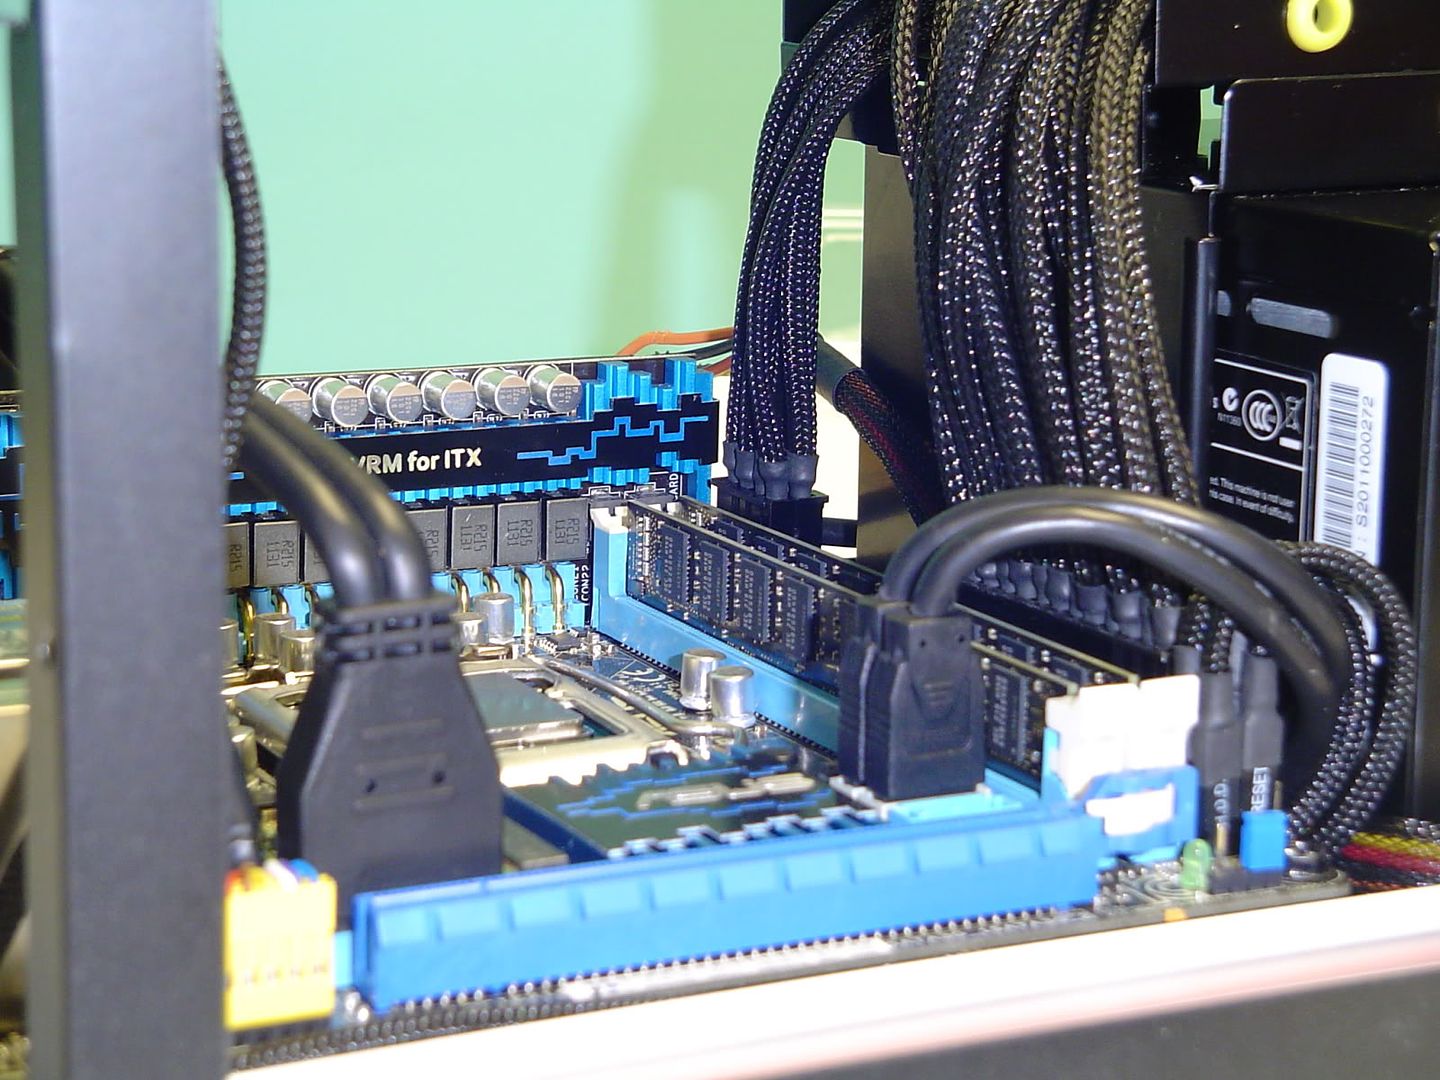
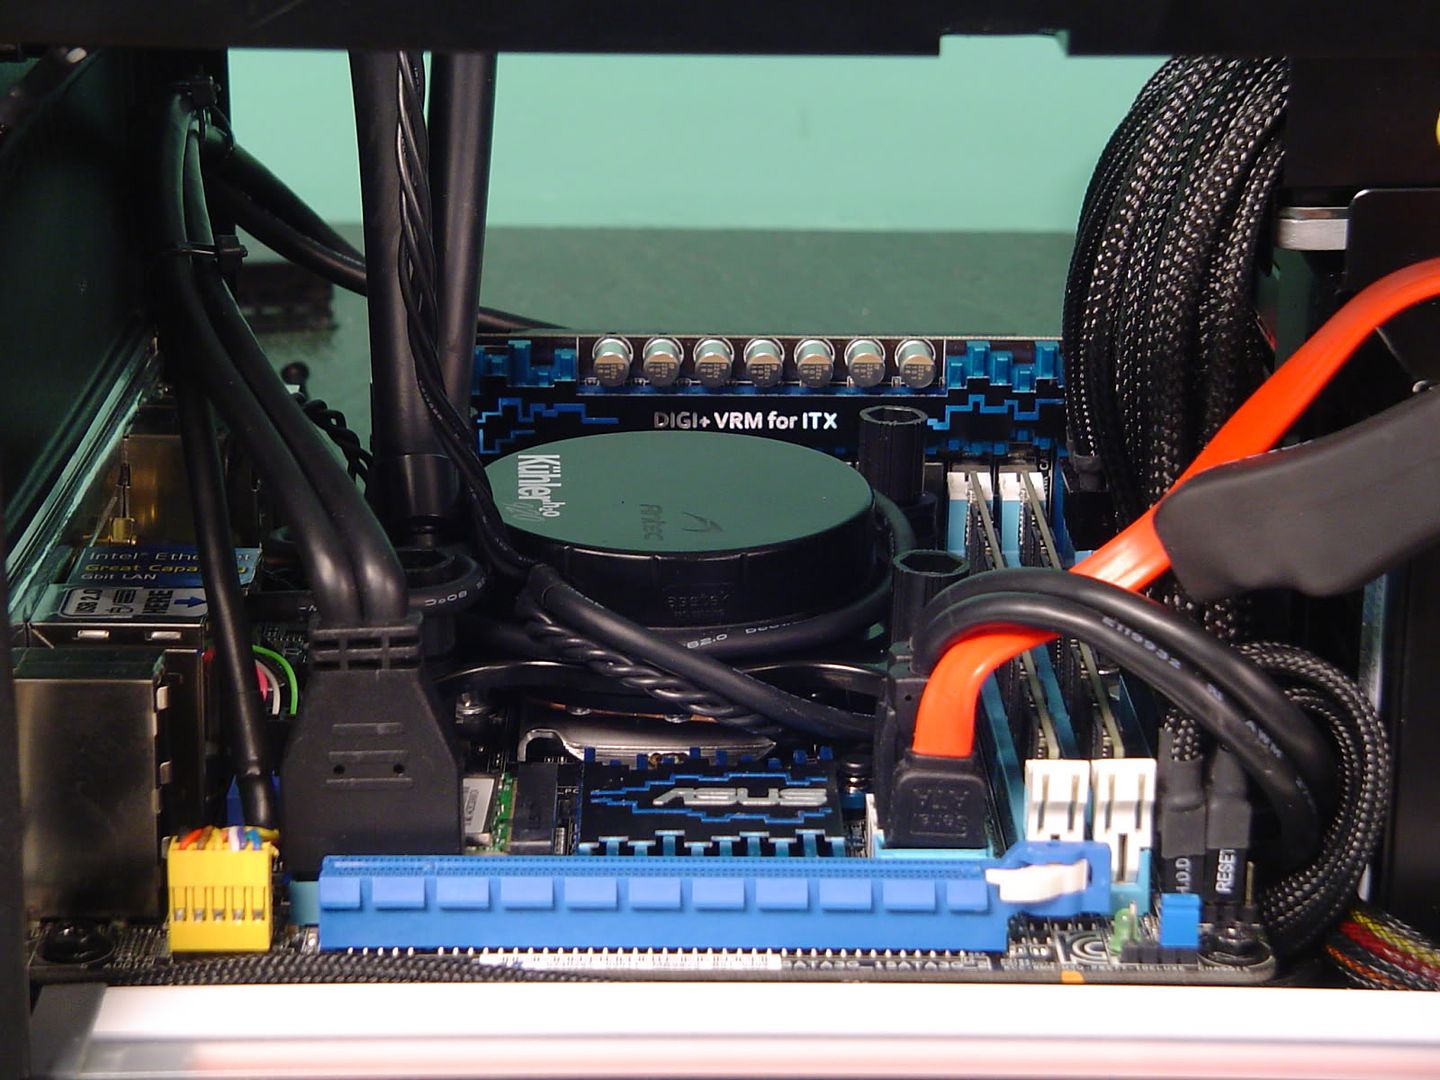
As you can see, I've already mounted the motherboard and have also mounted the retention bracket for the Kuhler 920. Just a heads up for anyone that plans to use a 920 or 620 with the P8Z77-I, you WILL have to modify the retention bracket. By modify I mean grind chunks out of it so it will clear the bits of board circuitry on the back. Trusty Dremel to the rescue!
I've already removed the original sleeving from the ATX and EPS cables and have marked the lengths to cut them to with a zip tie. I gave myself a little extra length just in case I screw up something while crimping or whatever. I plan on individually sleeving each wire and inserting them into new connectors that are one solid piece and not a 24+4pin and 4+4pin style. The individual sleeving probably won't look the best since it's coming straight out of the power supply in a spaghetti tangle of wires, but we'll see what happens. This will be a first attempt at individual cable sleeving for me, so it should be interesting.
Below is the initial sleeving kit that I had planned to use. I picked up some stuff from FrozenCPU to do the sleeving and while some of it is some pretty good stuff, I have to say the crimper is no good at all. I wasted nearly all of my pins on test crimps (on a junker power supply) and every one of them turned out bad. I initially blamed it on technique, but I quickly ruled that out after the 30th try. The tool simply does not crimp the tabs into an "m" form and without that, the pins simply pull right off when you tug on them.
With that said, I've gone back and done what I should have done in the first place. I just ordered an MDPC-X crimper, a crapload of their pins (to add to the ones that come with the crimper), and I went ahead and got some of their sleeving and heatshrink while I was at it. The FrozenCPU sleeving and heatshrink look pretty good, but we'll see how they compare (or don't) to the MDPC-X stuff when it arrives sometime next week I'm guessing.
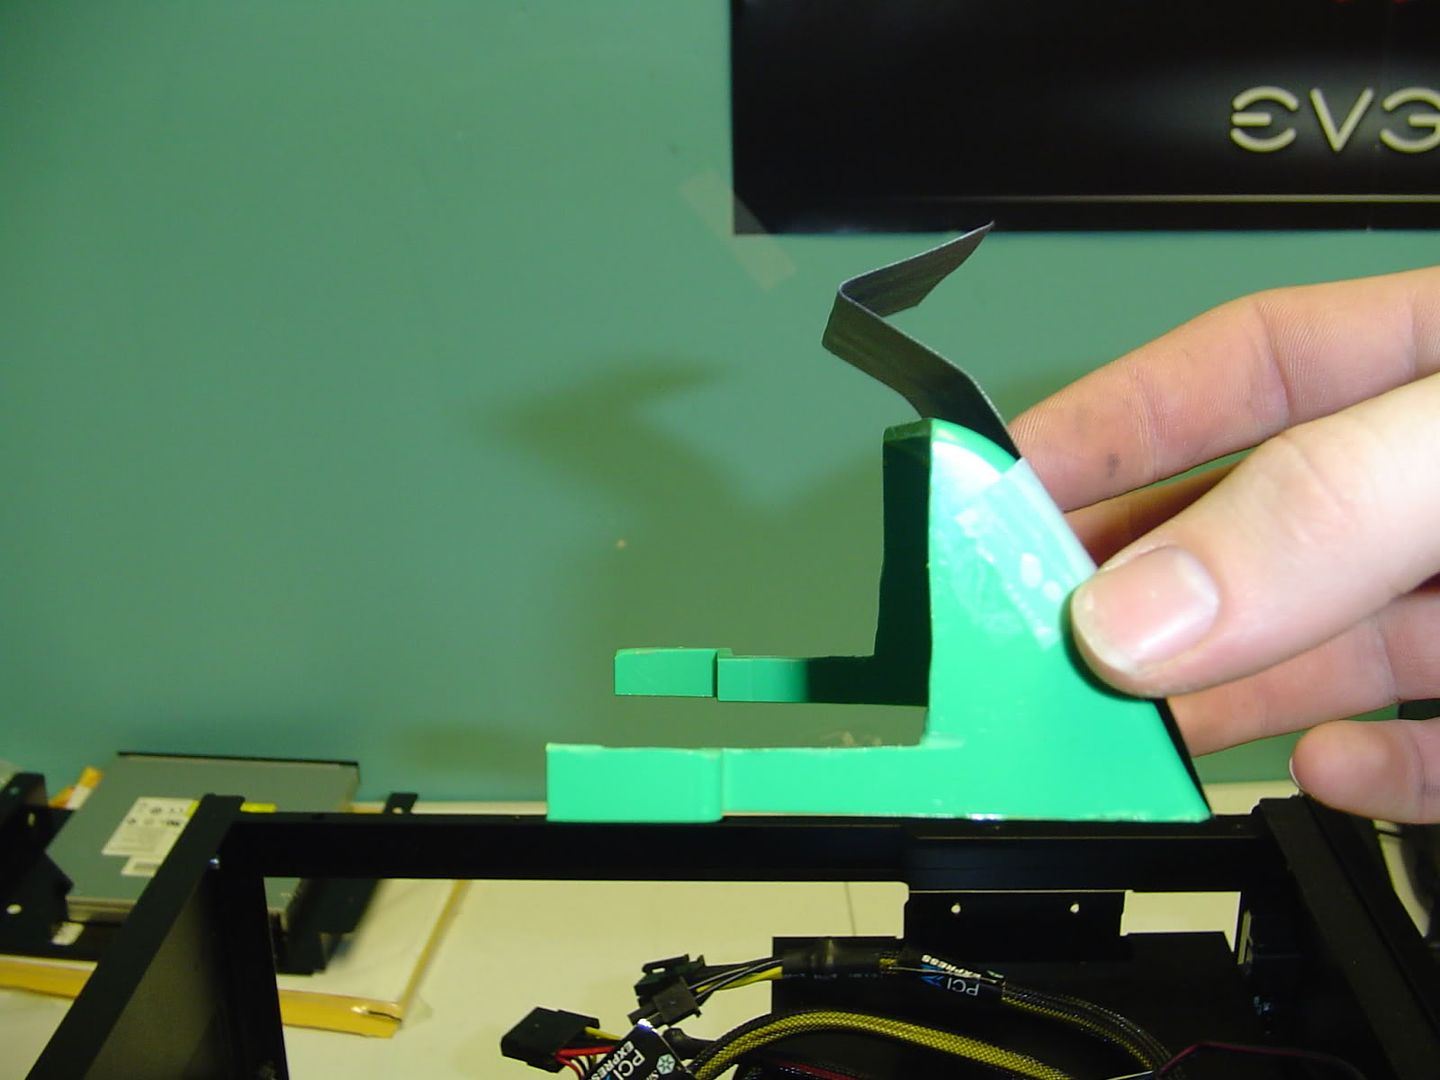
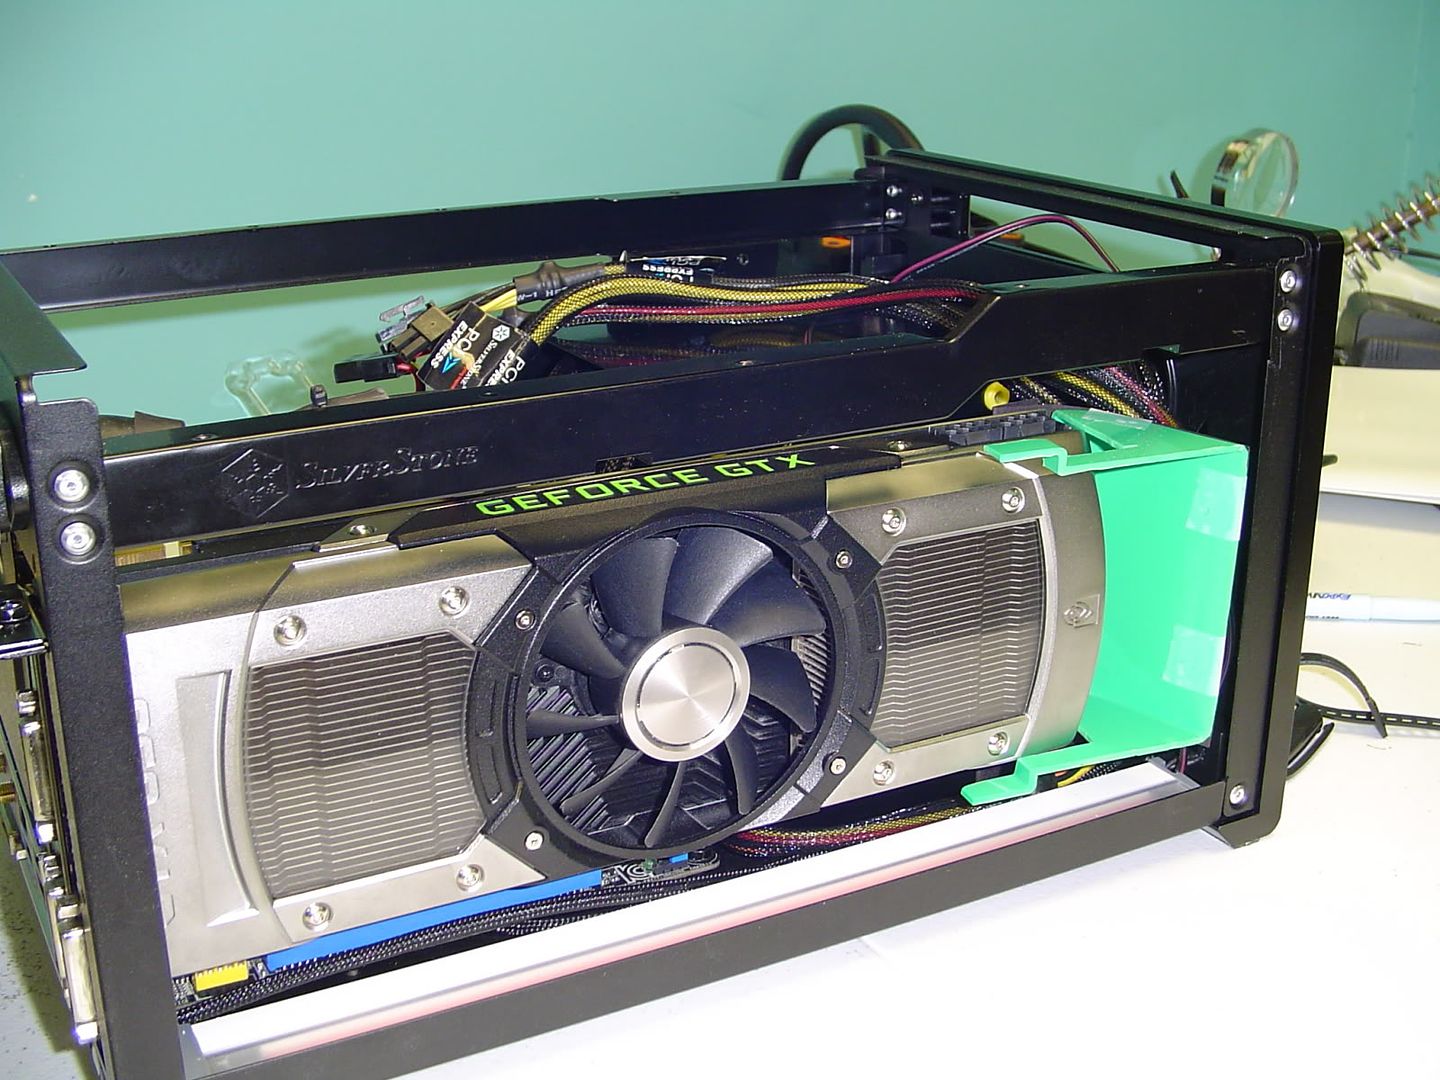
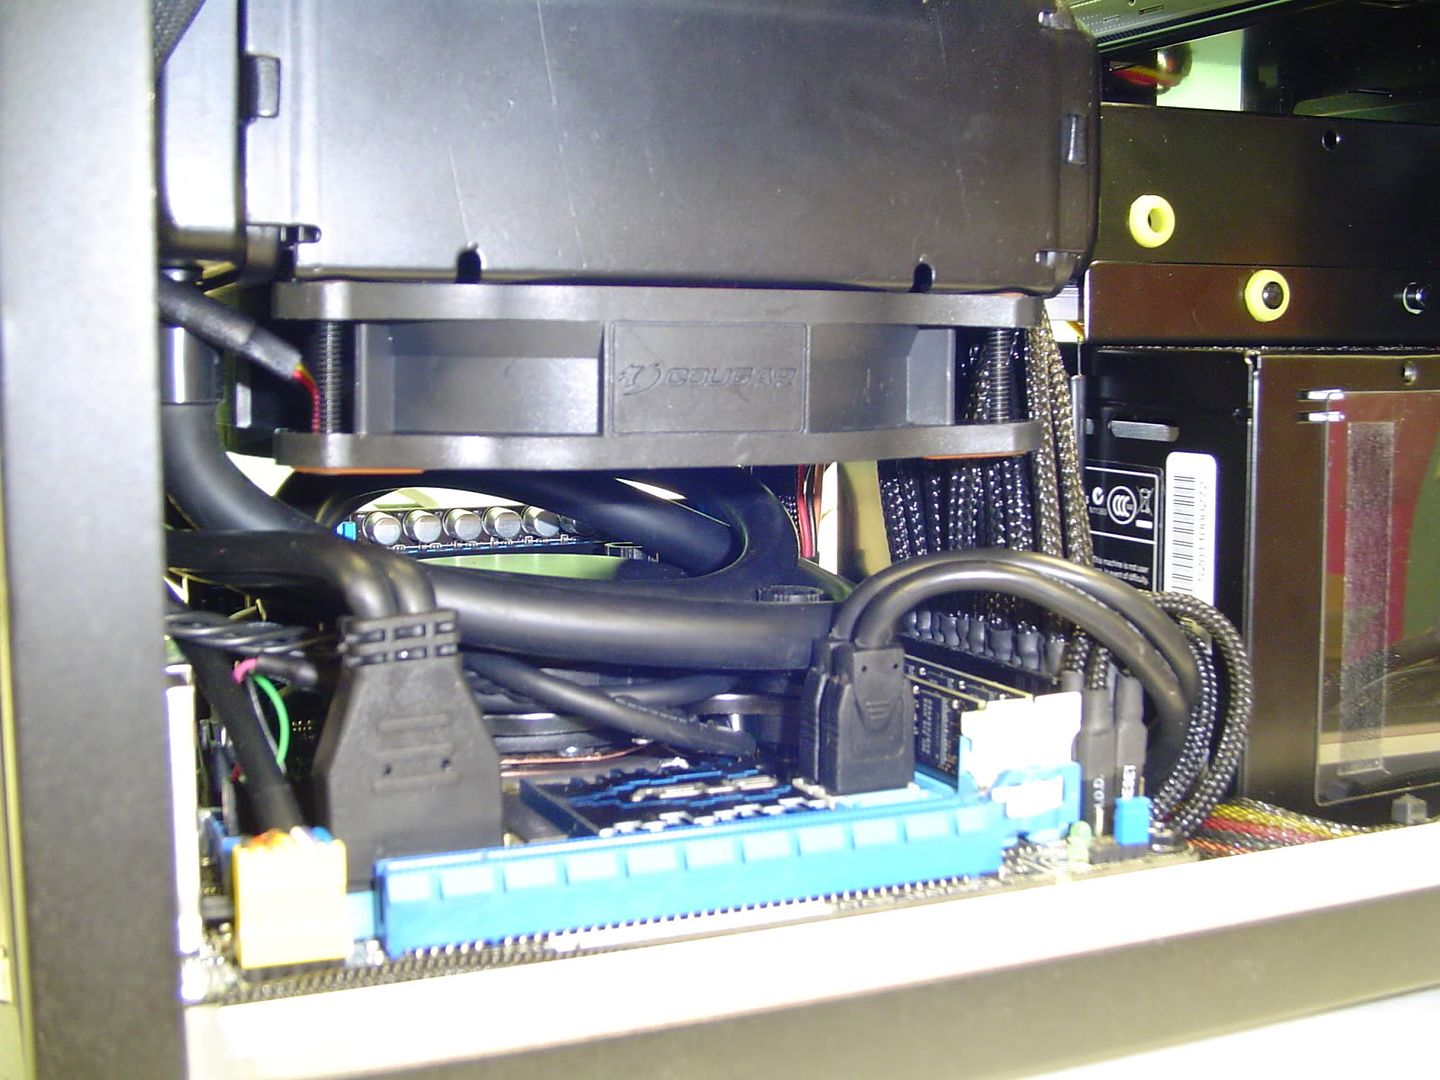
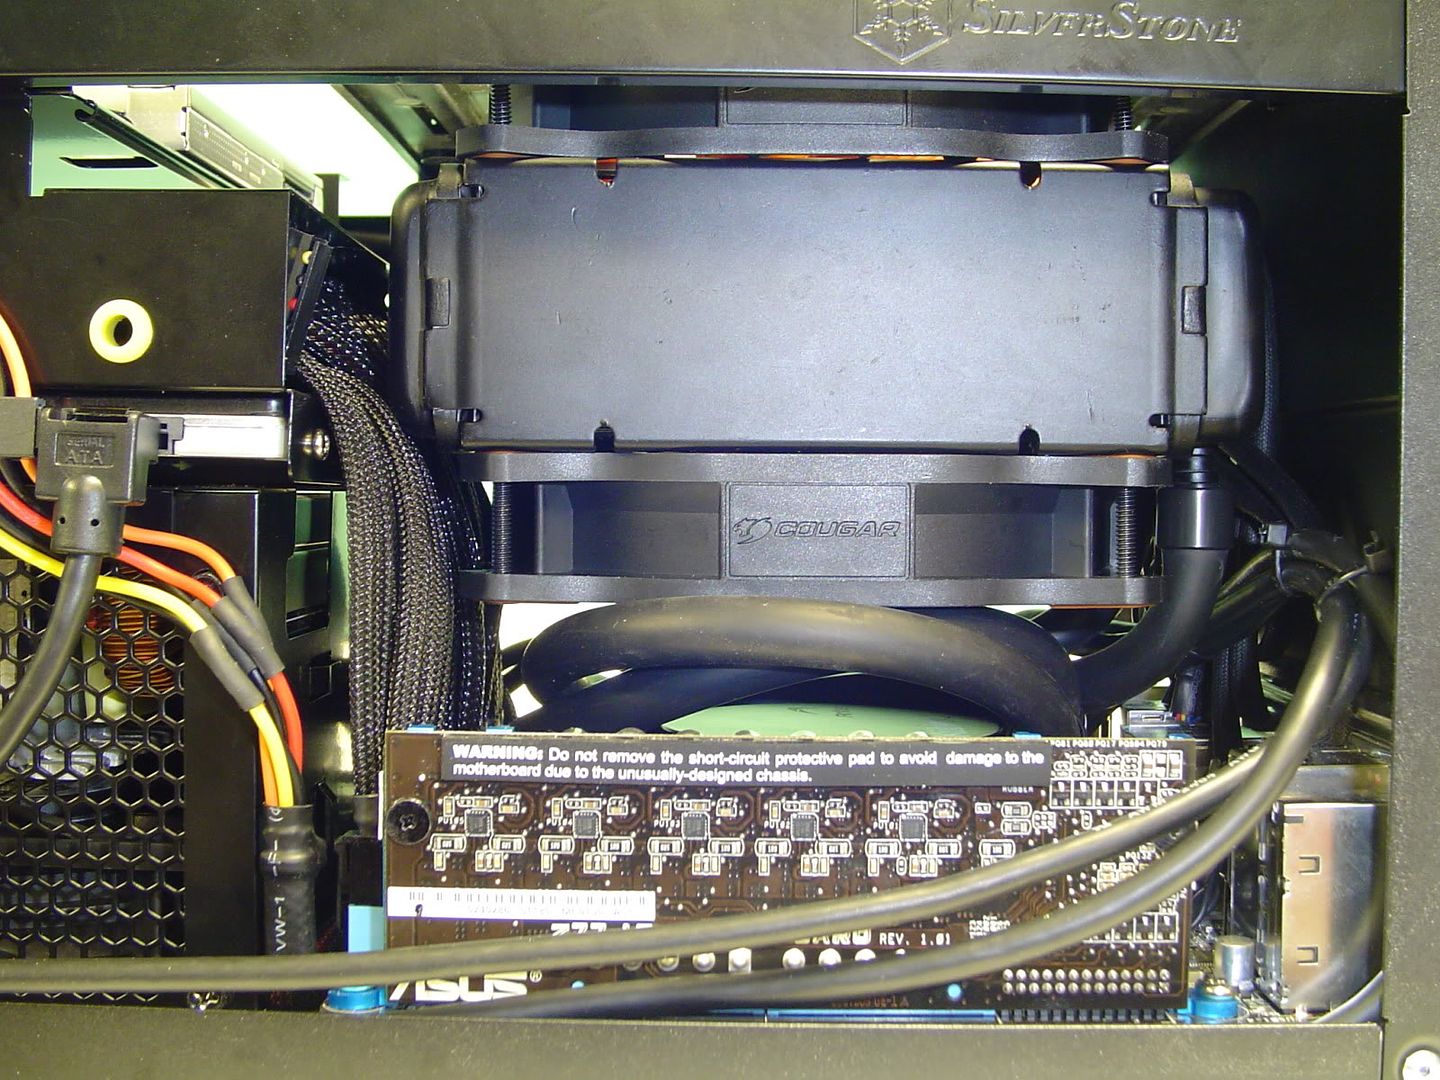
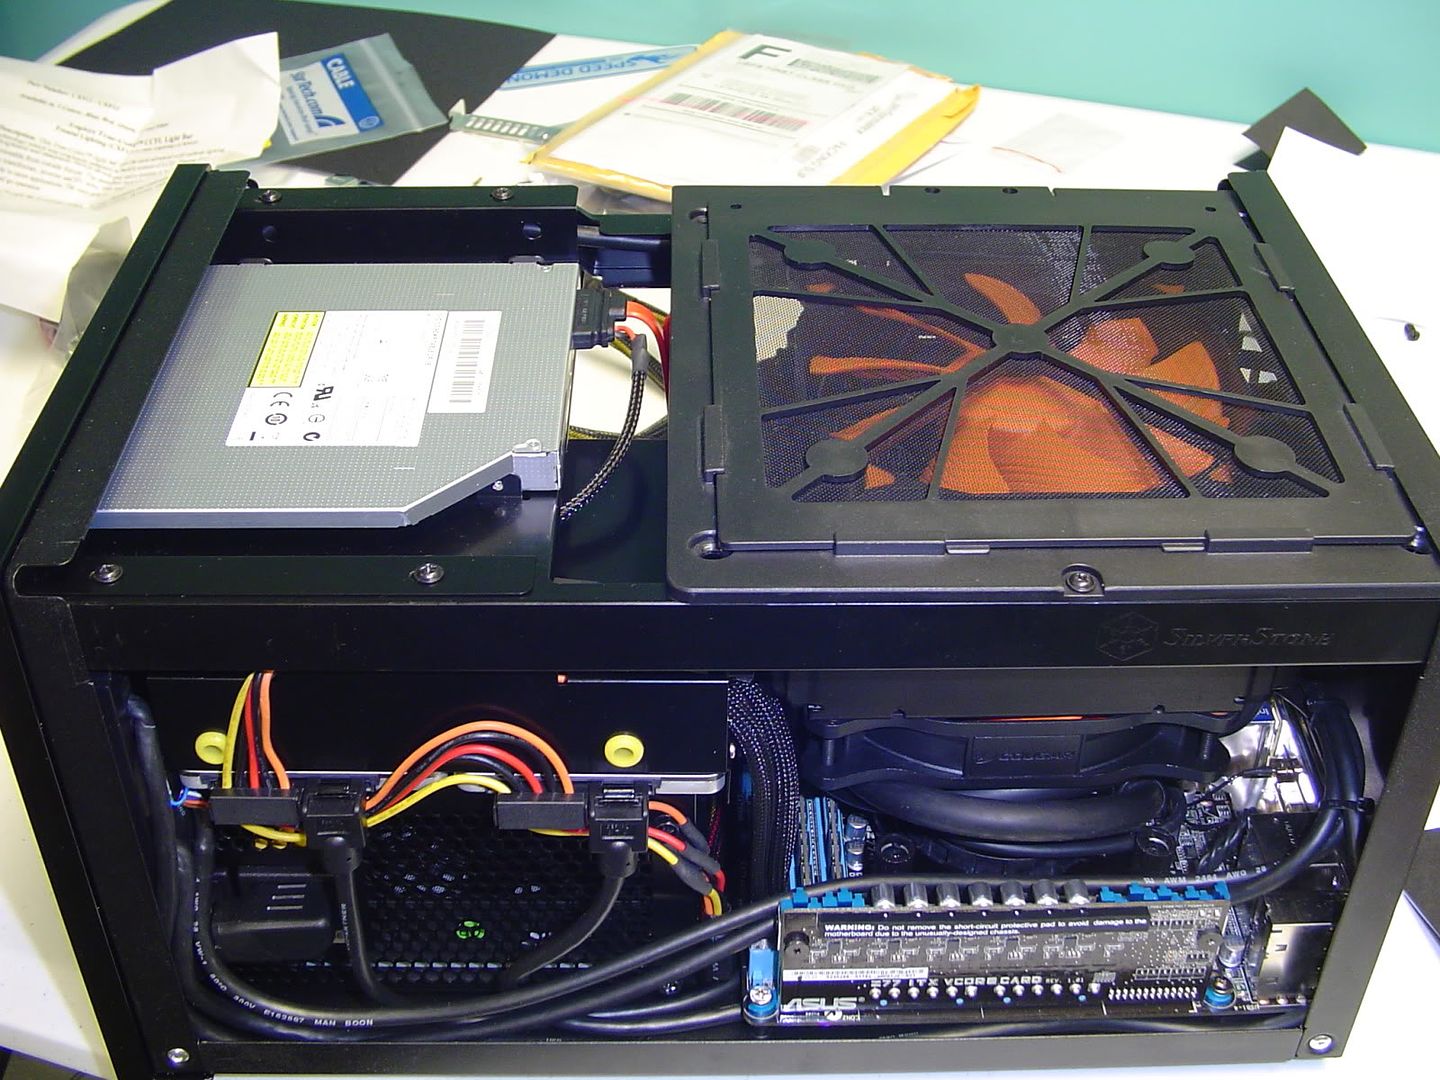
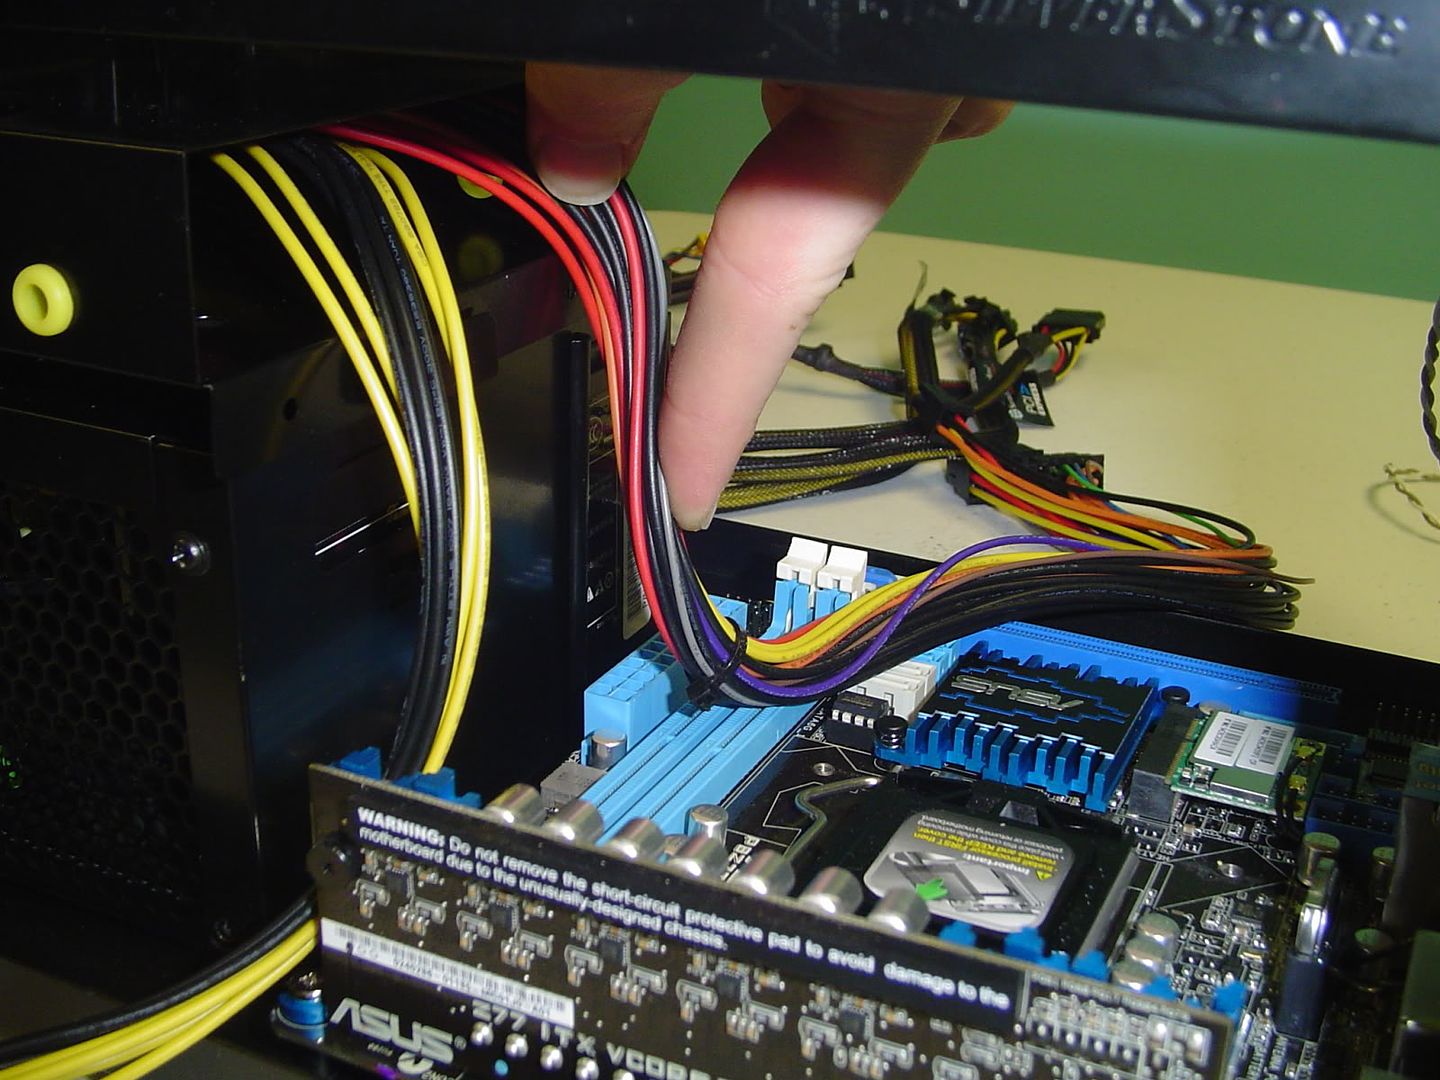
Anyway, here's a few shots of the planned cable route for the ATX and EPS cables.
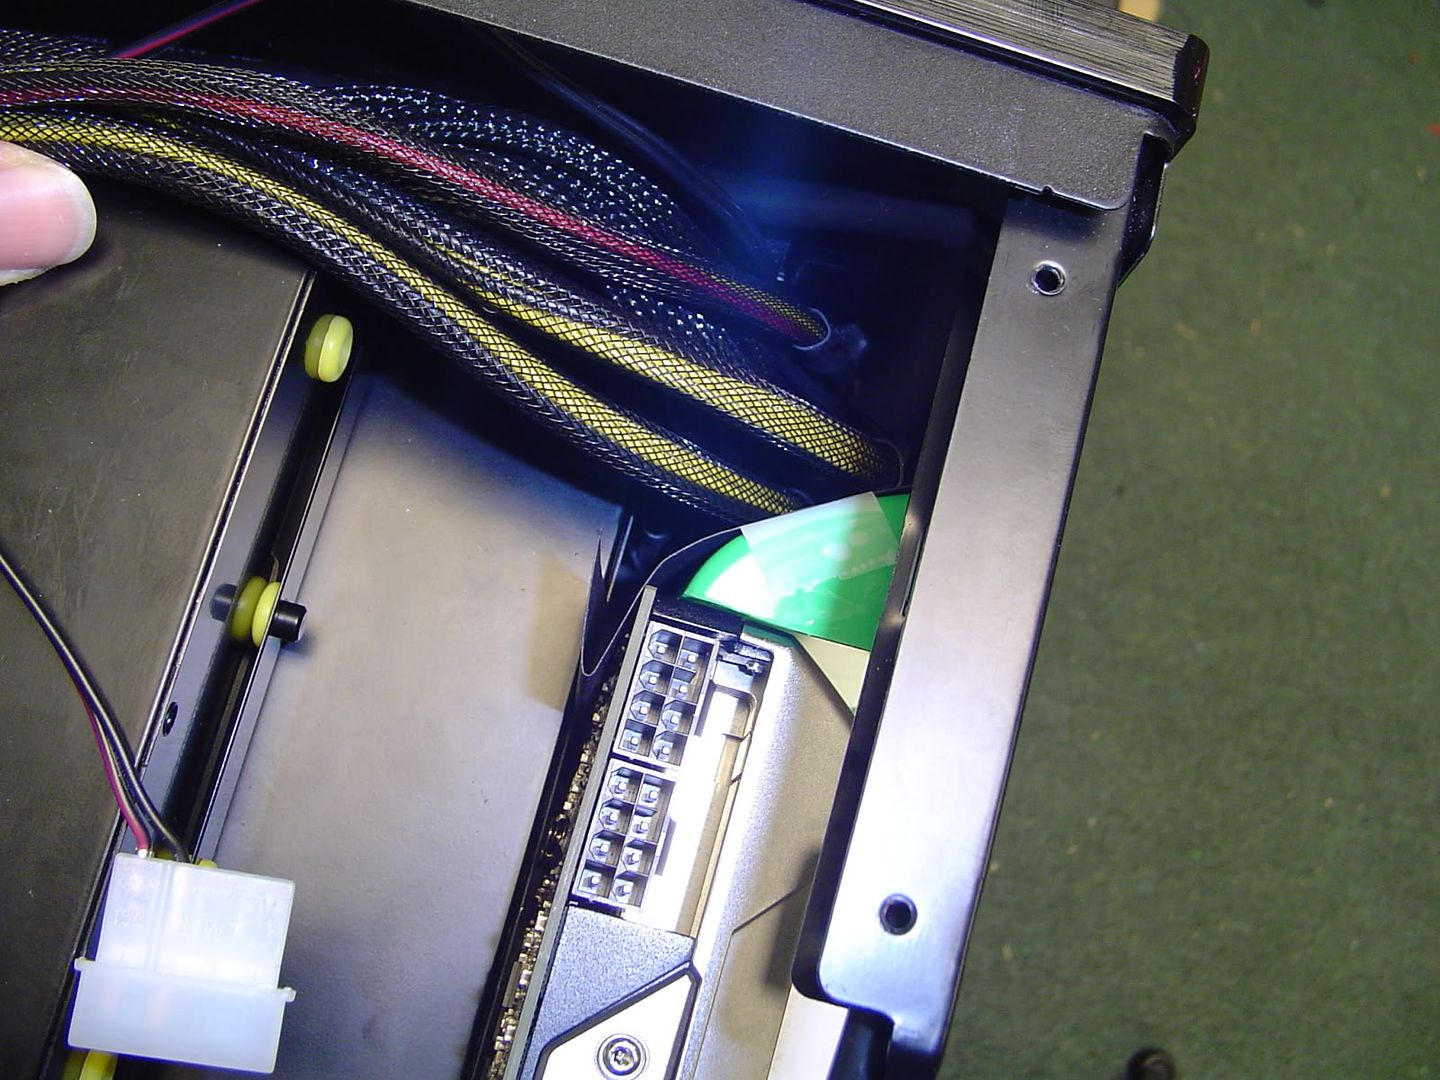
As you can see, I have absolutely no plans to use a 3.5" hdd in this machine. Instead, the 3.5" bay serves as a perfect slot to route my cables through.
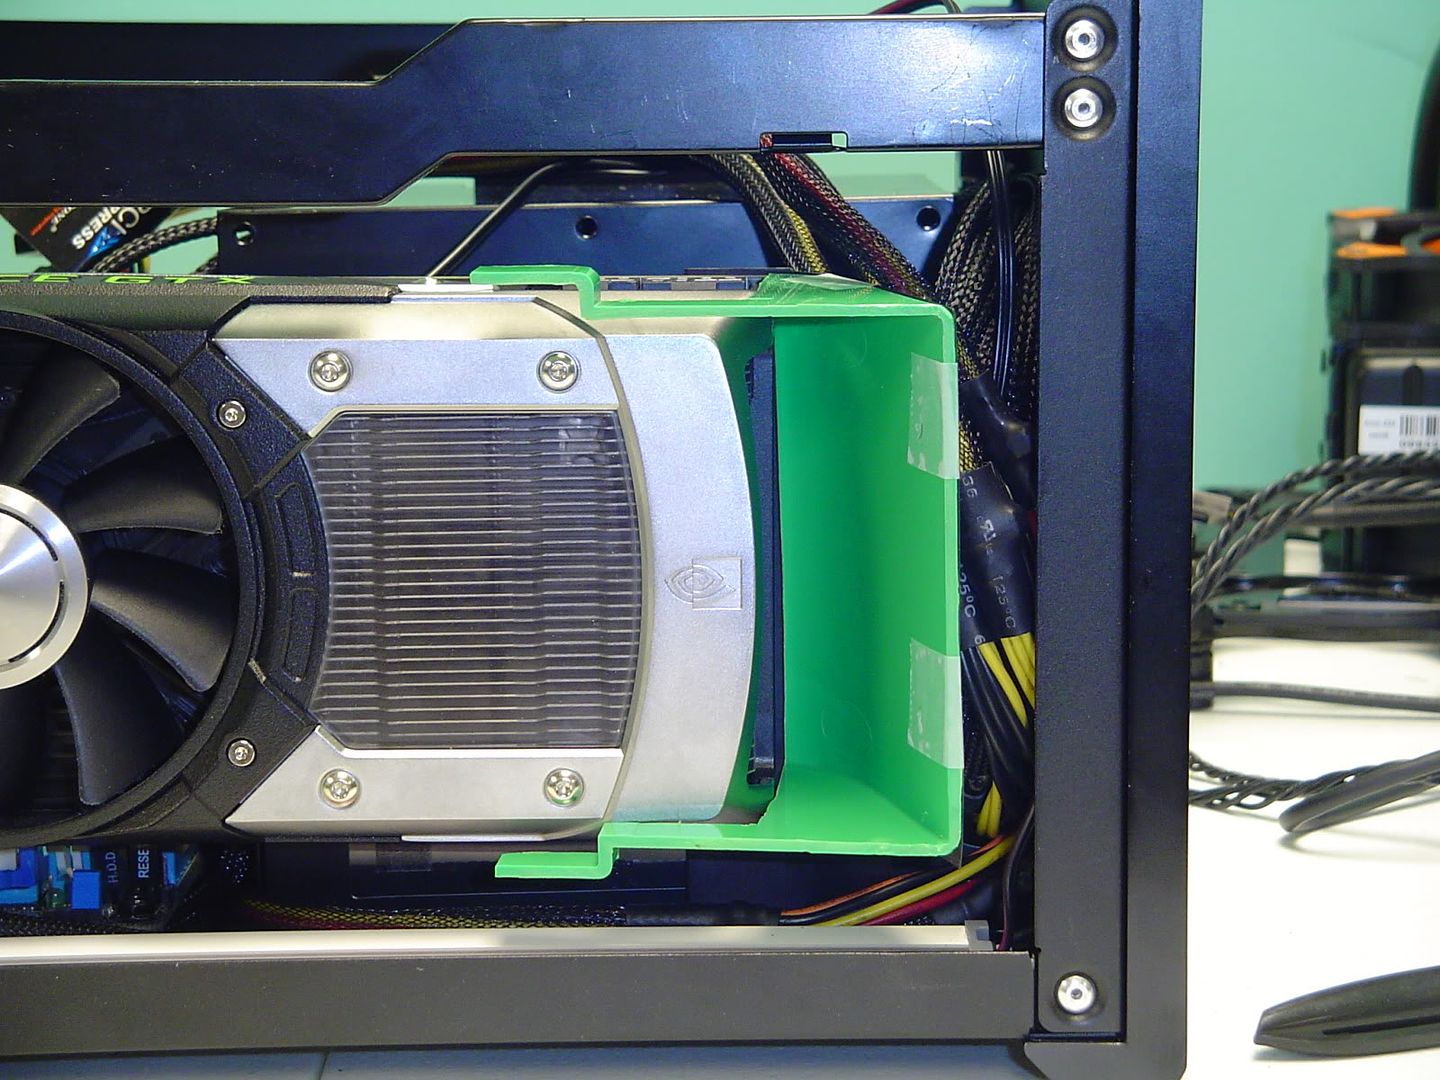
When cut to length, the cables will end up right were they need to be and there will be no slack to stuff and hide!
I'm mainly concentrating on shortening the ATX and EPS cables right now, but eventually I'll get around to shortening the PCI-E cables as well. With an 11" card in there, they won't have to stretch very far at all and the more cable clutter I can reduce, the better.
I also plan on sleeving the front panel connectors eventually. I'm going to try to get this build as tidy as possible.
Now, this project will end up taking quite a while. I'm not exactly rich and I'm sorta buying the parts as I am able to. It's going to take a good while for me to save up enough to get a GTX 690, nevermind the 3770k and the two SSDs and Blu-Ray drive that I still lack. When my MDPC-X stuff arrives I'll finally get to work on this some more. Until then, leave me any comments/concerns/suggestions that you may have.
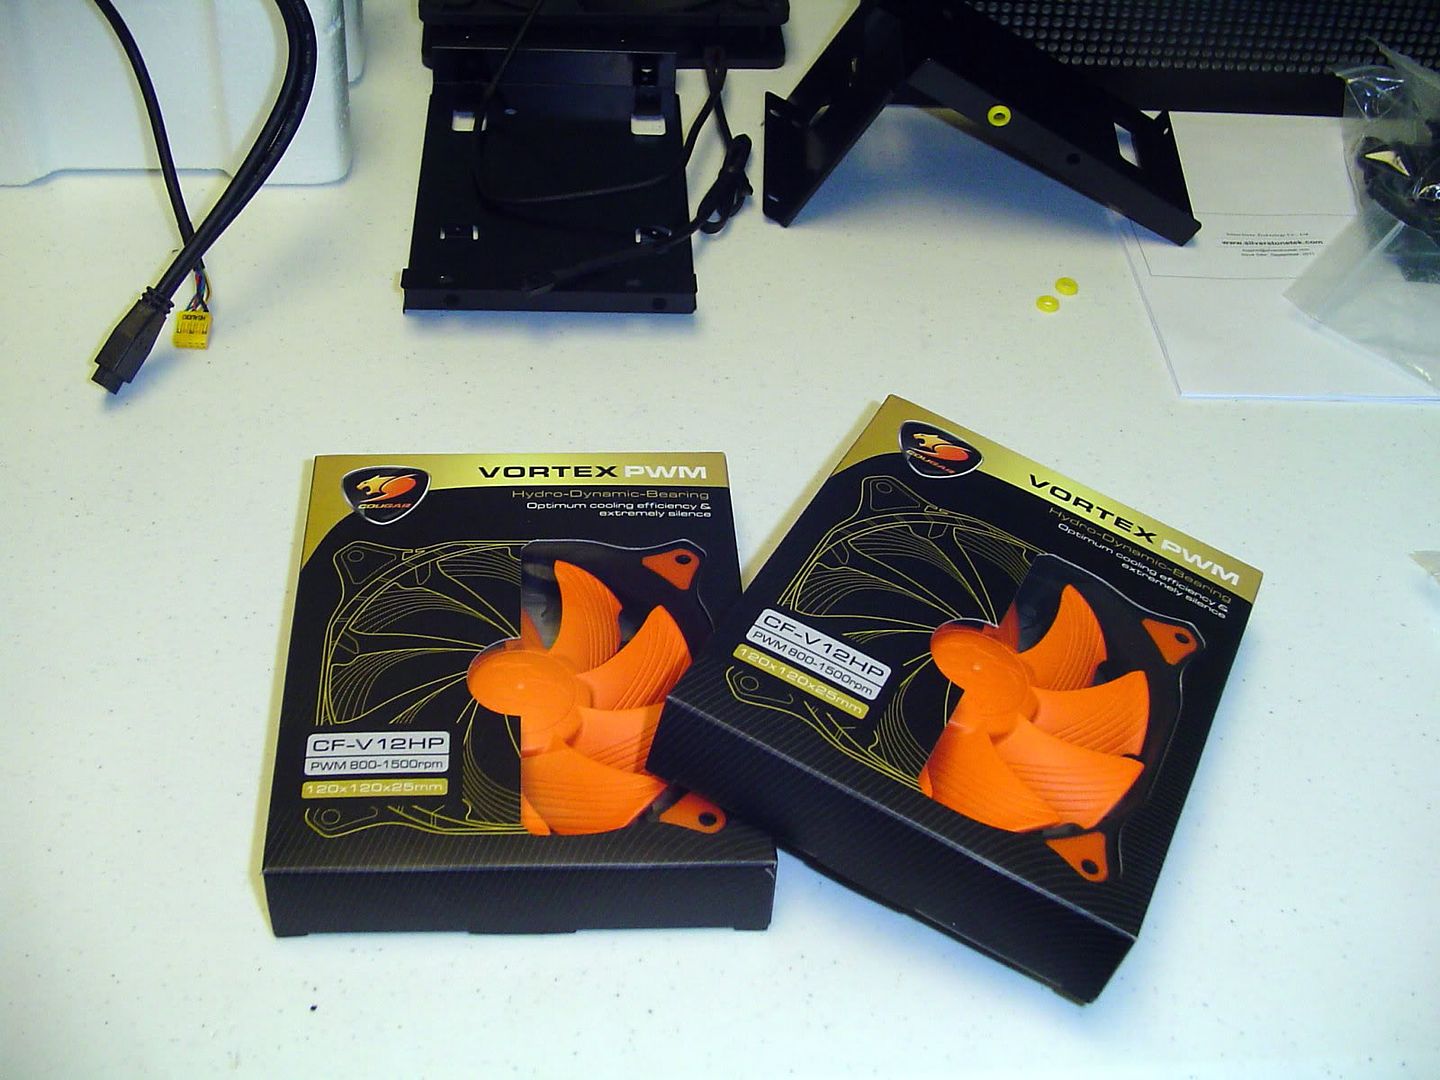
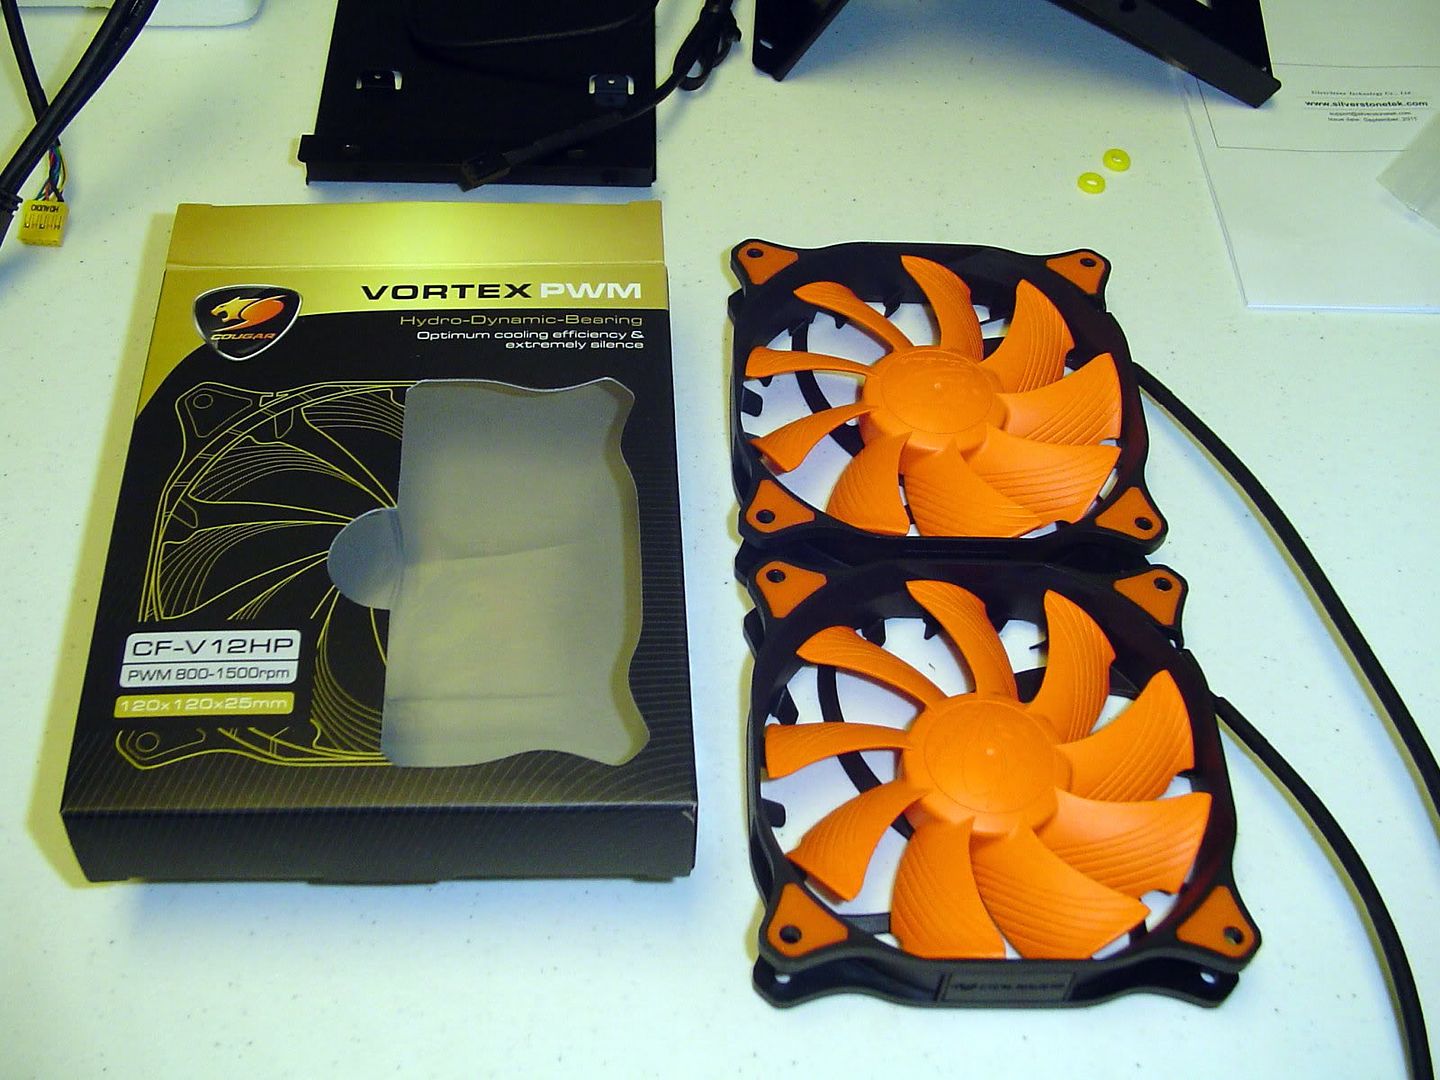
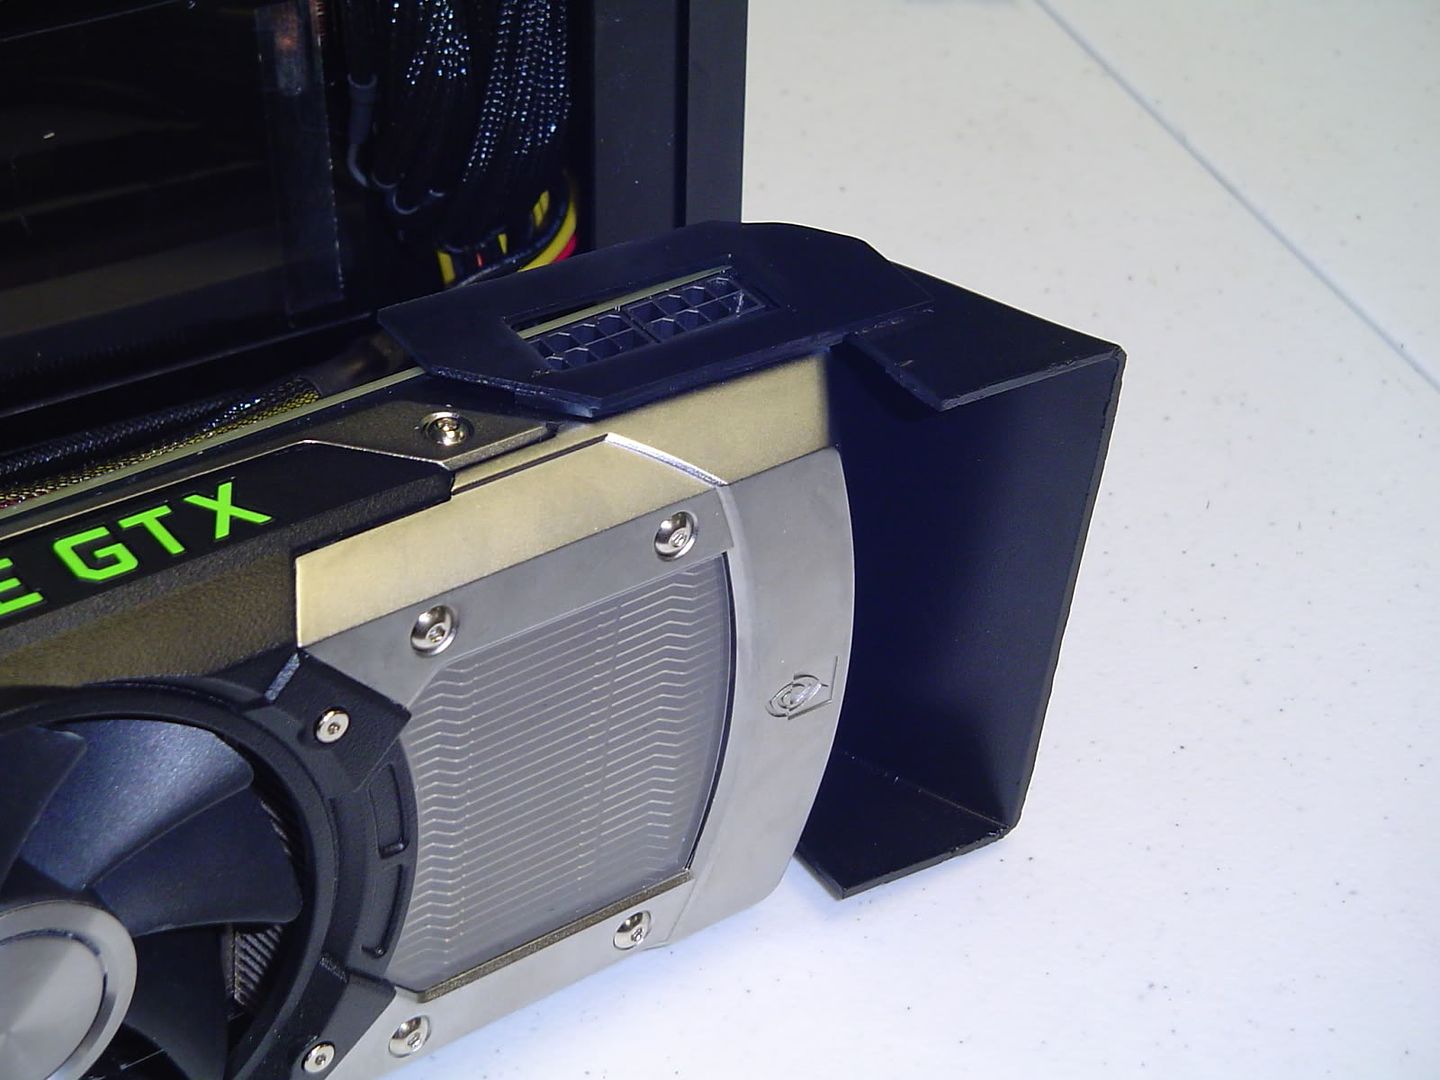
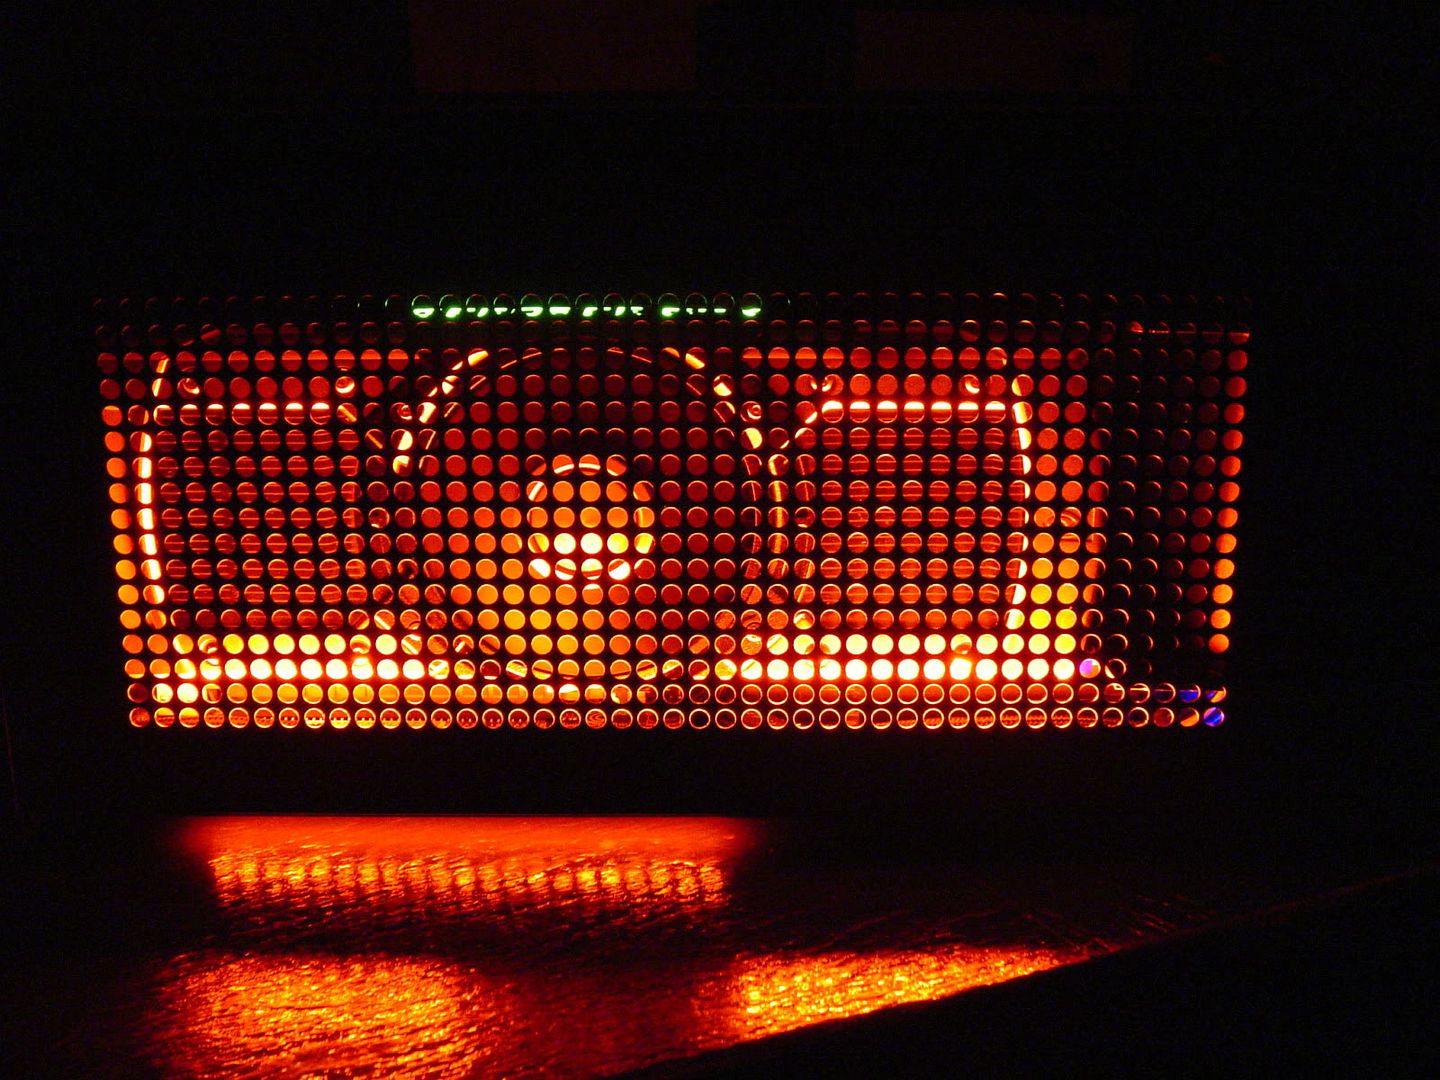
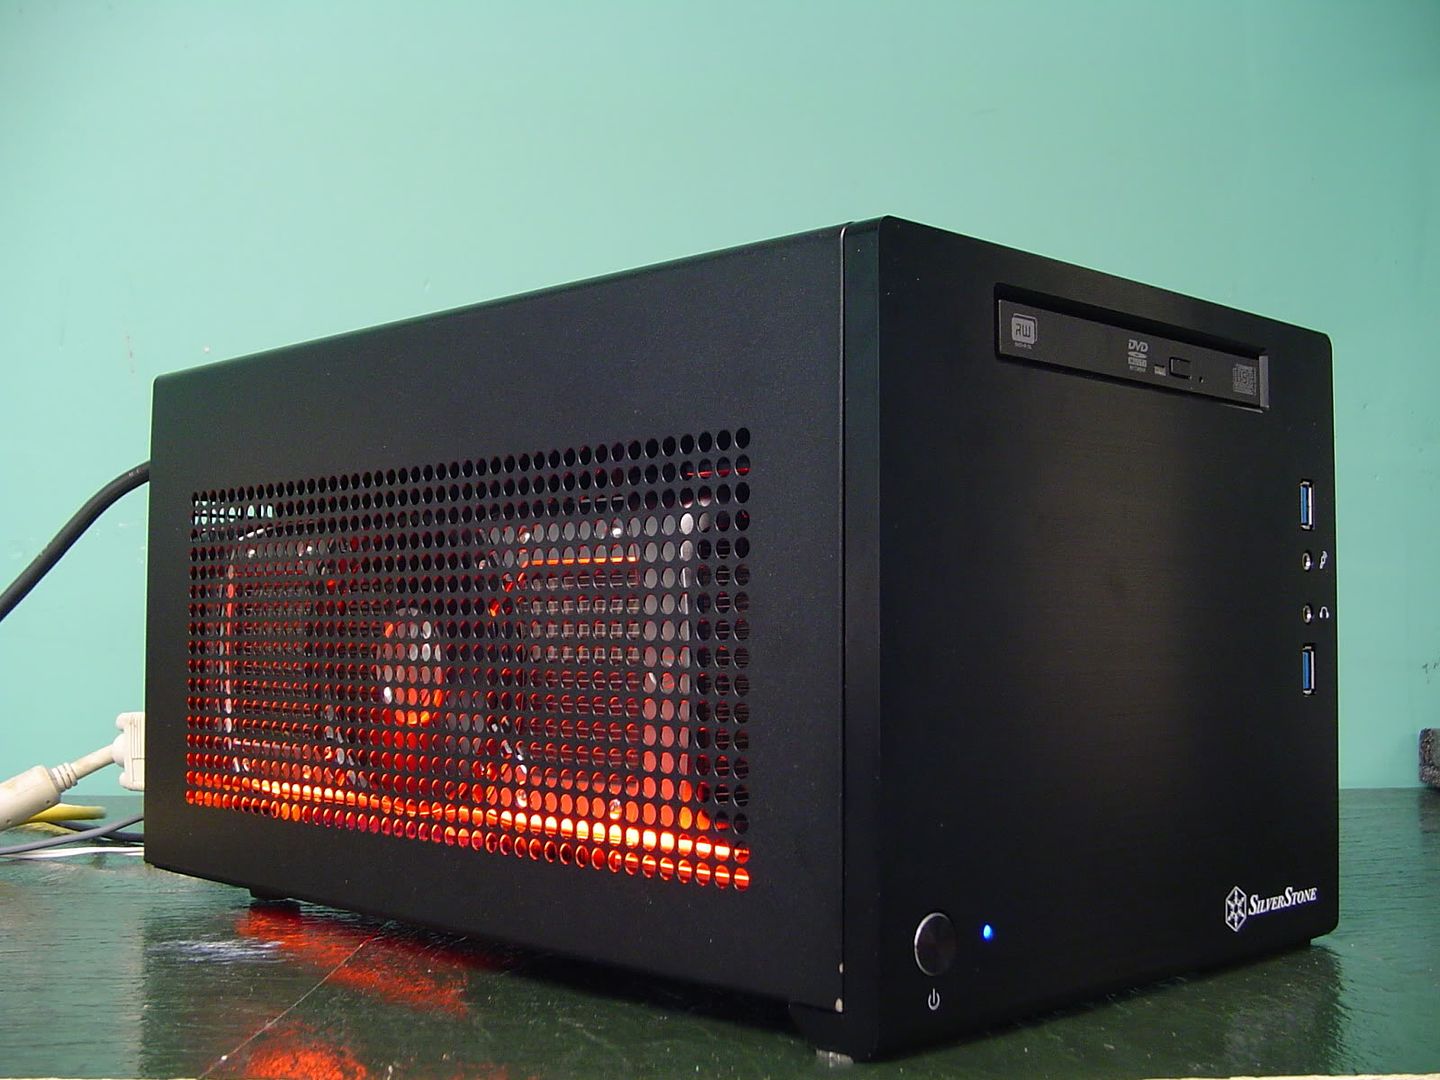
Until then, have a few extra random shots.
Stay tuned!
You can check out the build log of that project right here.
Ever since then I've gotten requests from friends all around to build "Midget Rigs" for them. So it goes without saying that I've built quite a few of them (with varying parts) and they've all become great systems.
Now it's time to build my first "Super Midget Rig" using the Sugo SG08. With the SG08 I hope to cram in what I couldn't cram in the SG05. I'm going all out with this system and cramming in the most powerful components I can get to fit in it.
Those specs include:
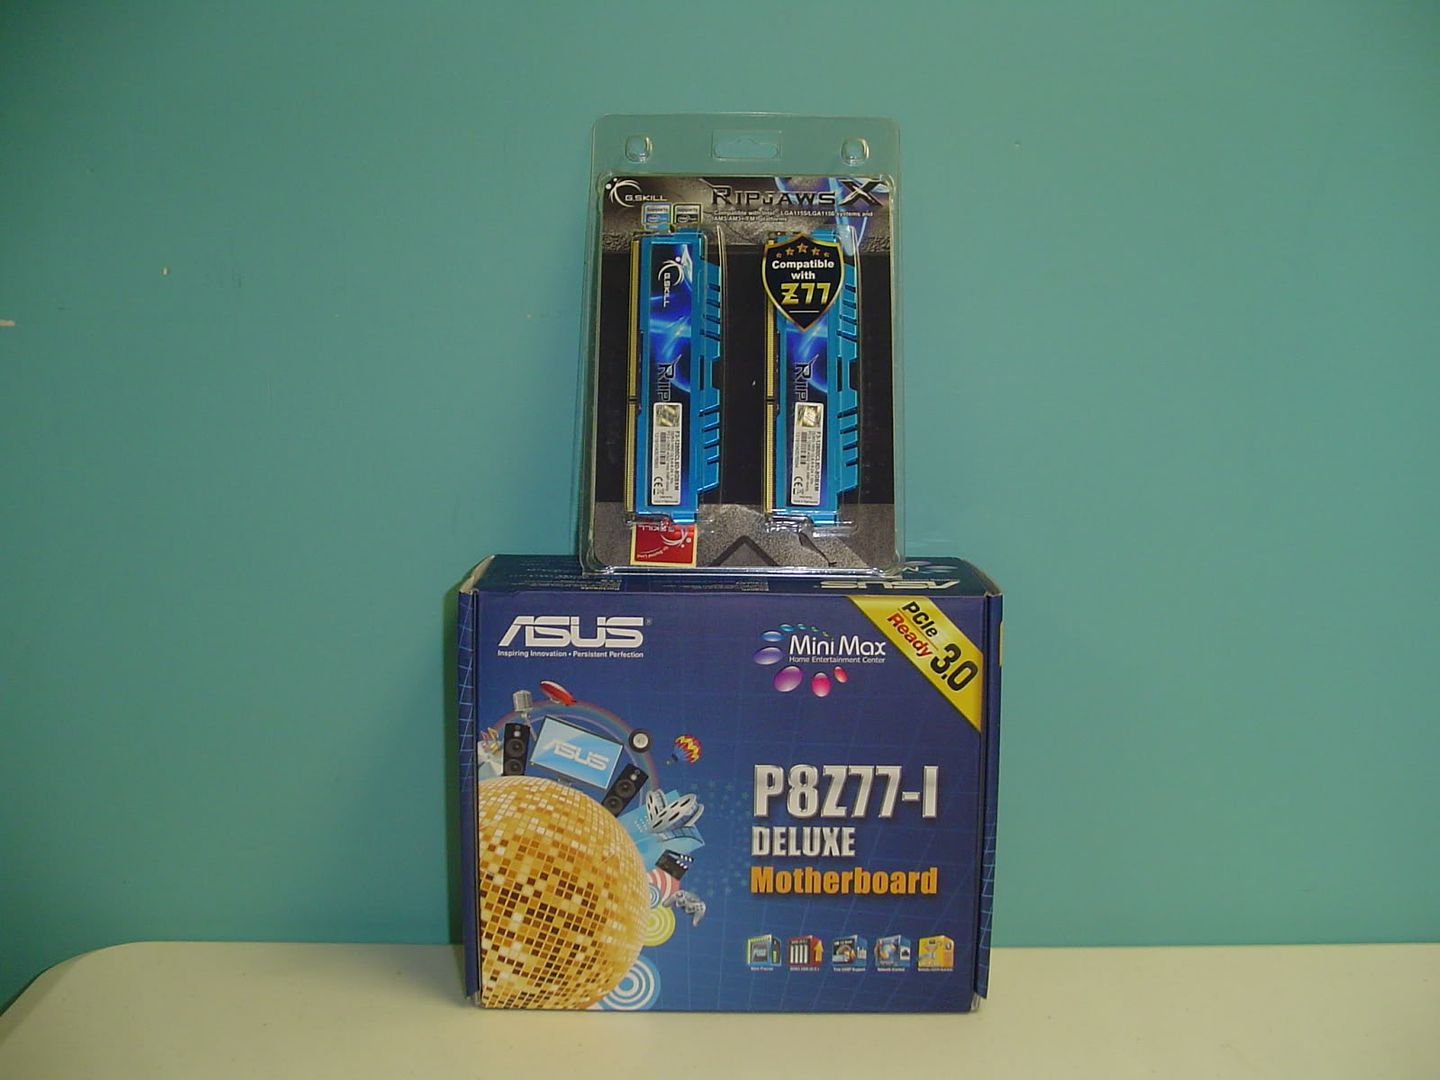
- Asus P8Z77-I Deluxe
- Core i7 3770k
- 8gb G.Skill DDR3 1600
- EVGA Geforce GTX 690
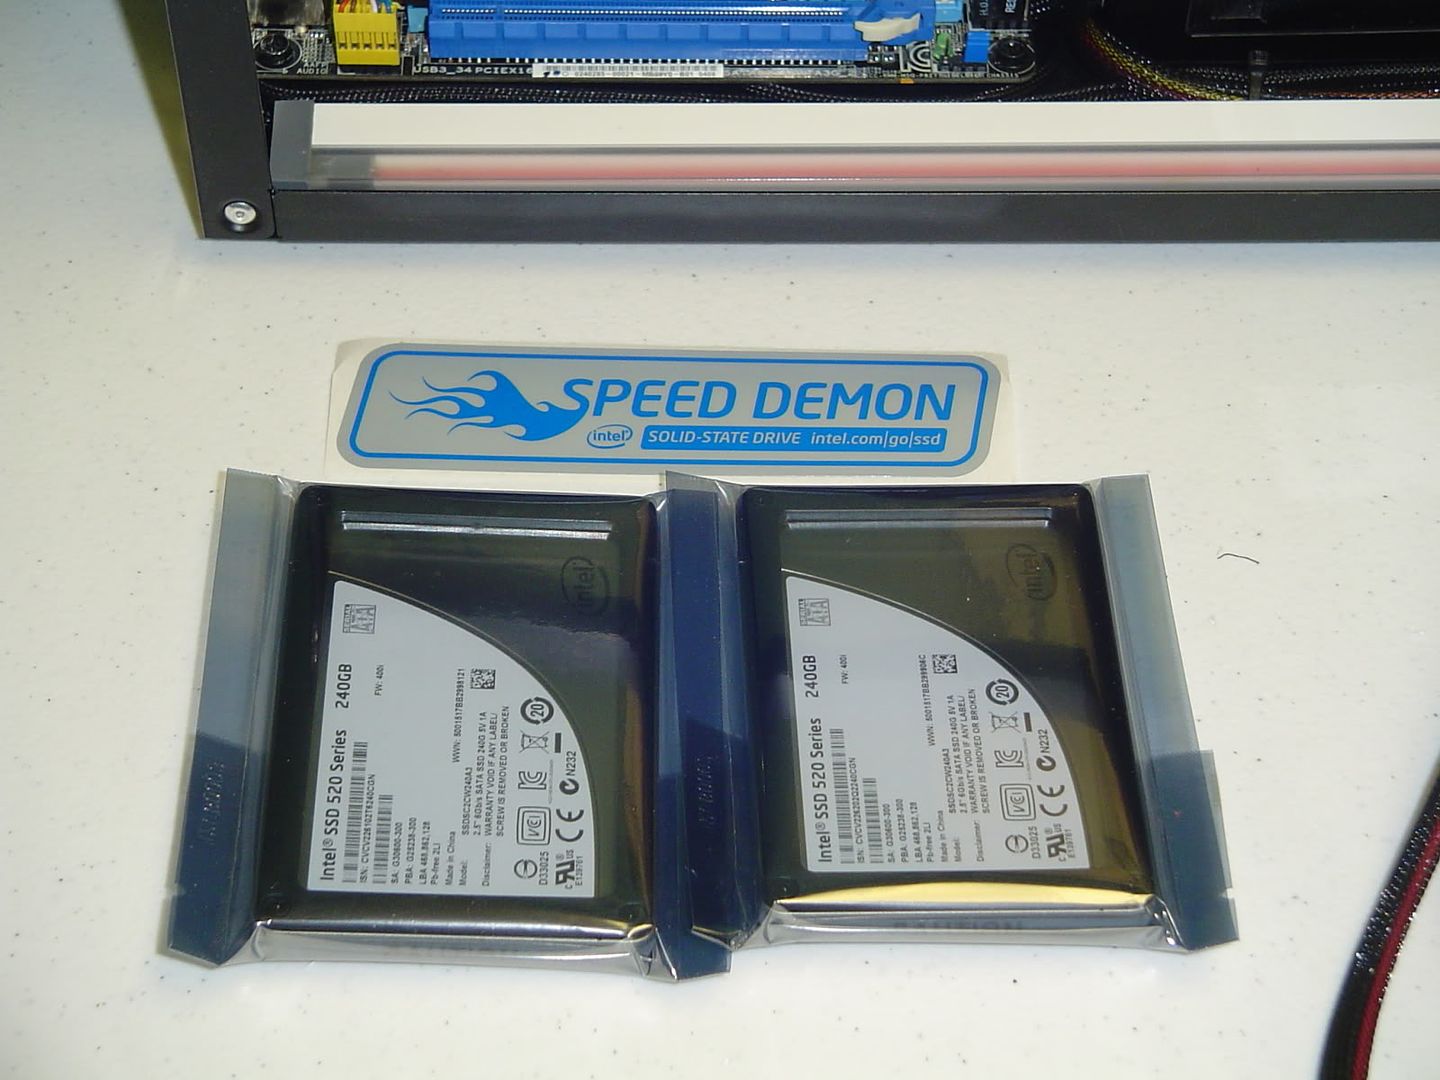
- 2x Intel 520 240gb SSD
- Sony Optiarc Slimline Blu-Ray drive
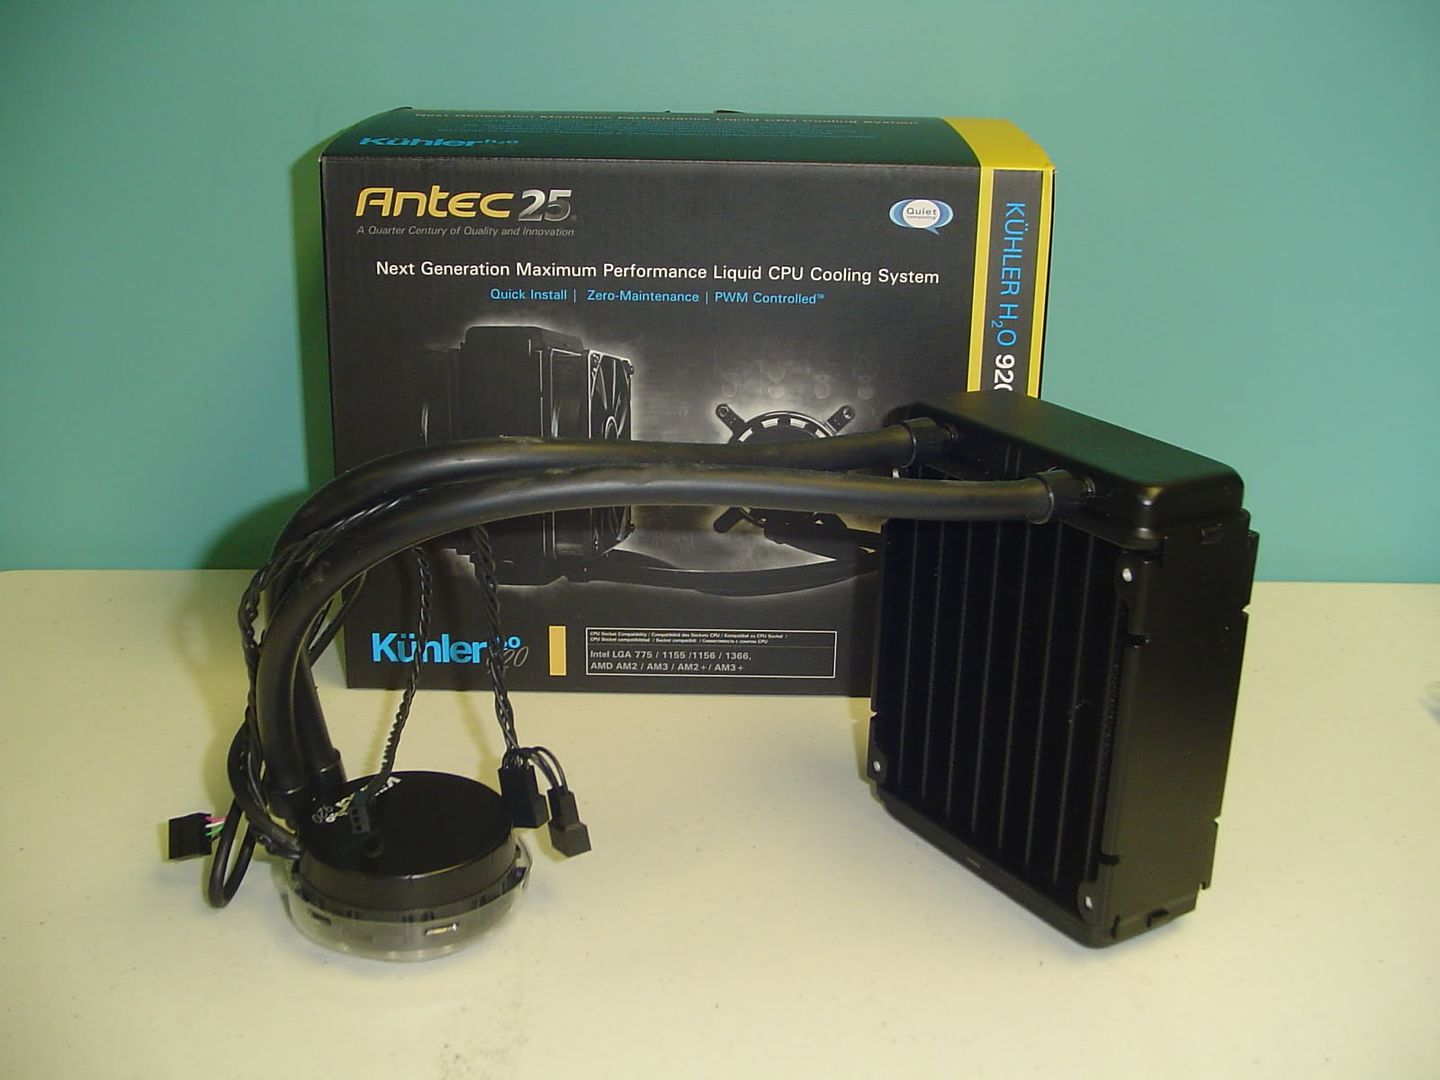
- Antec Kuhler H2O 920
I realize this isn't a "Case Mod" per say, but I DO plan on doing a certain degree of DIY stuff to this build to reduce cable clutter and optimize it to my liking. Like the original Midget Rig build, I'm not content to just throw the system together and be done with it. For one thing, the case is far too small to be having a 600w octopus inside of it. These cables are definitely going to have to be shortened and I might as well sleeve them while I'm at it, too.
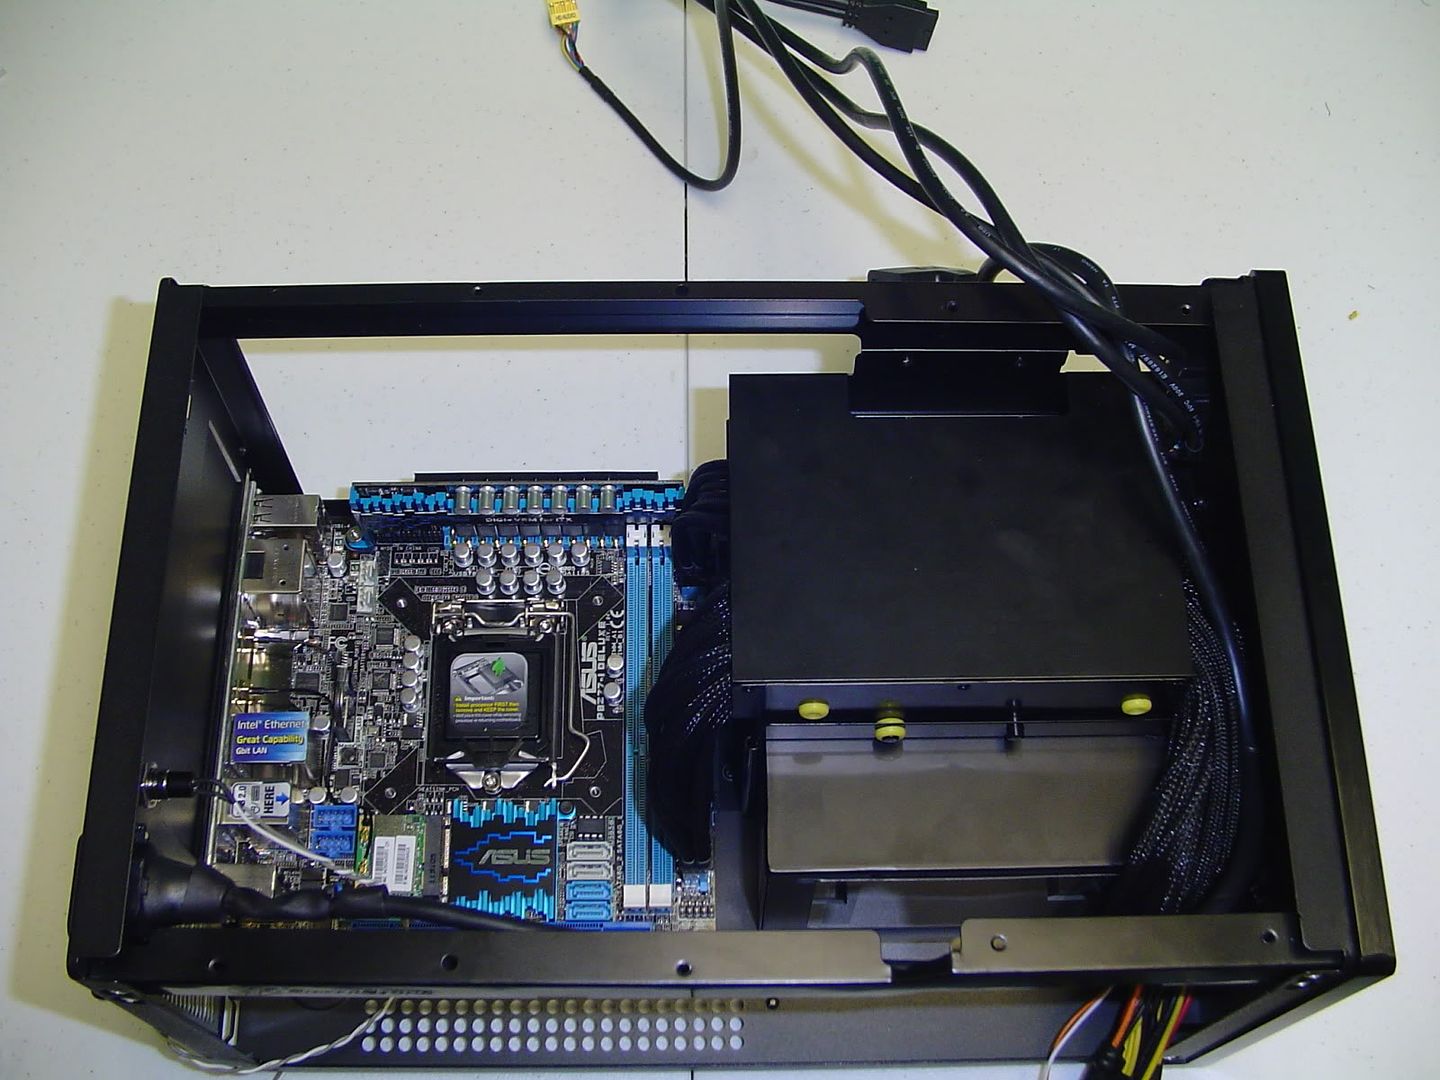
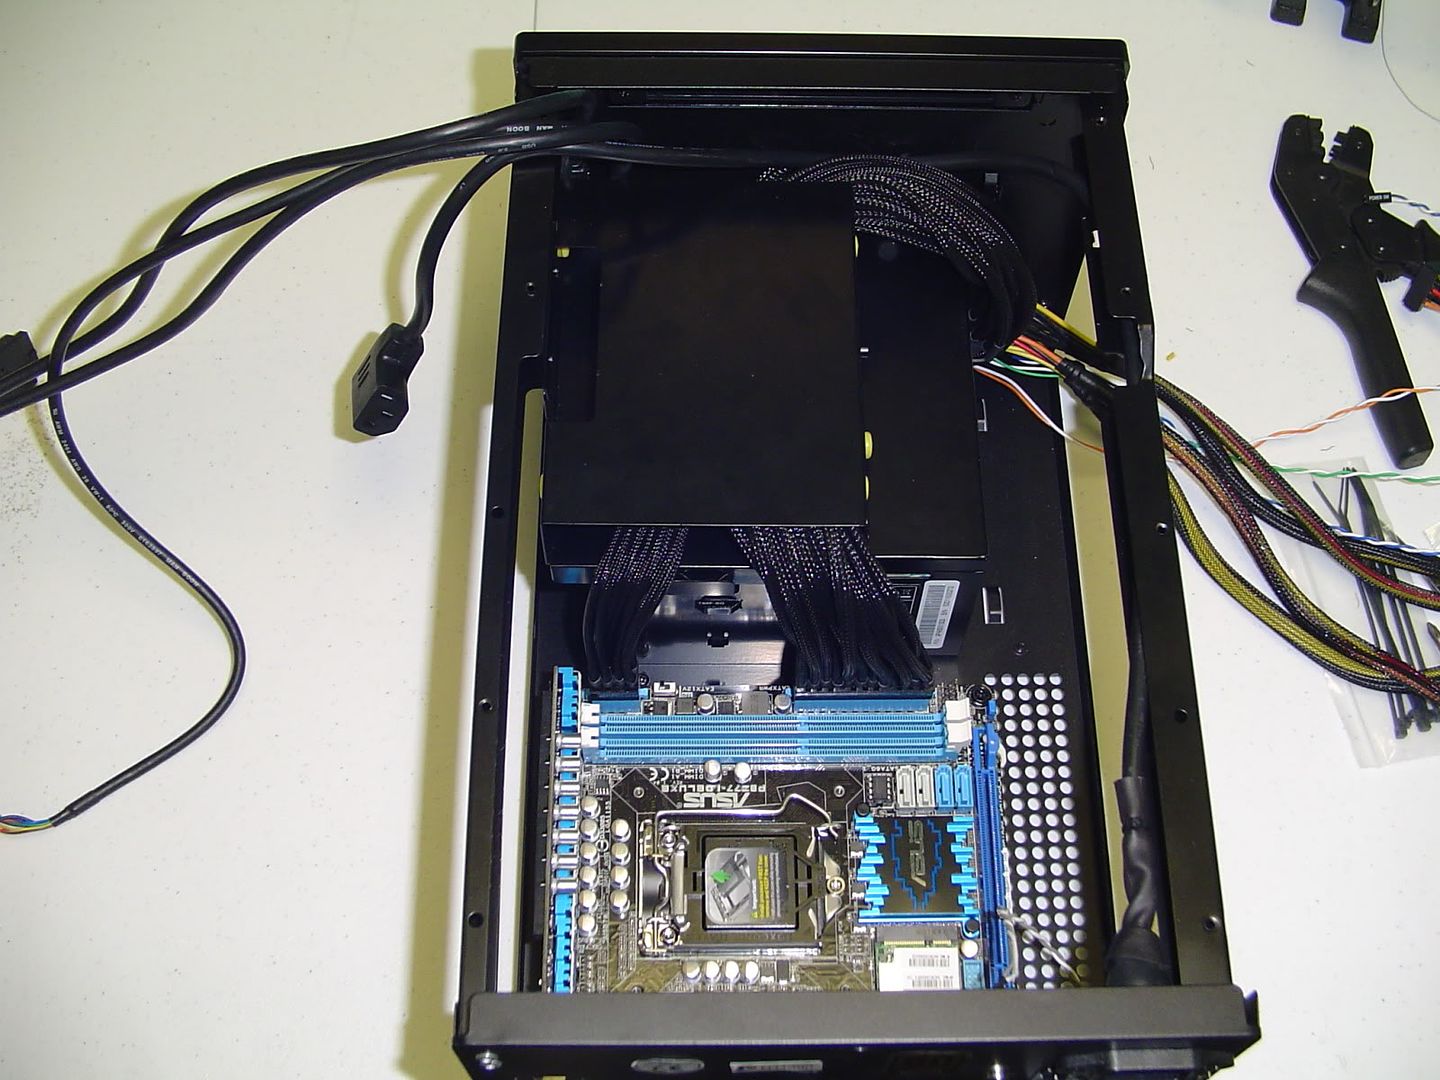
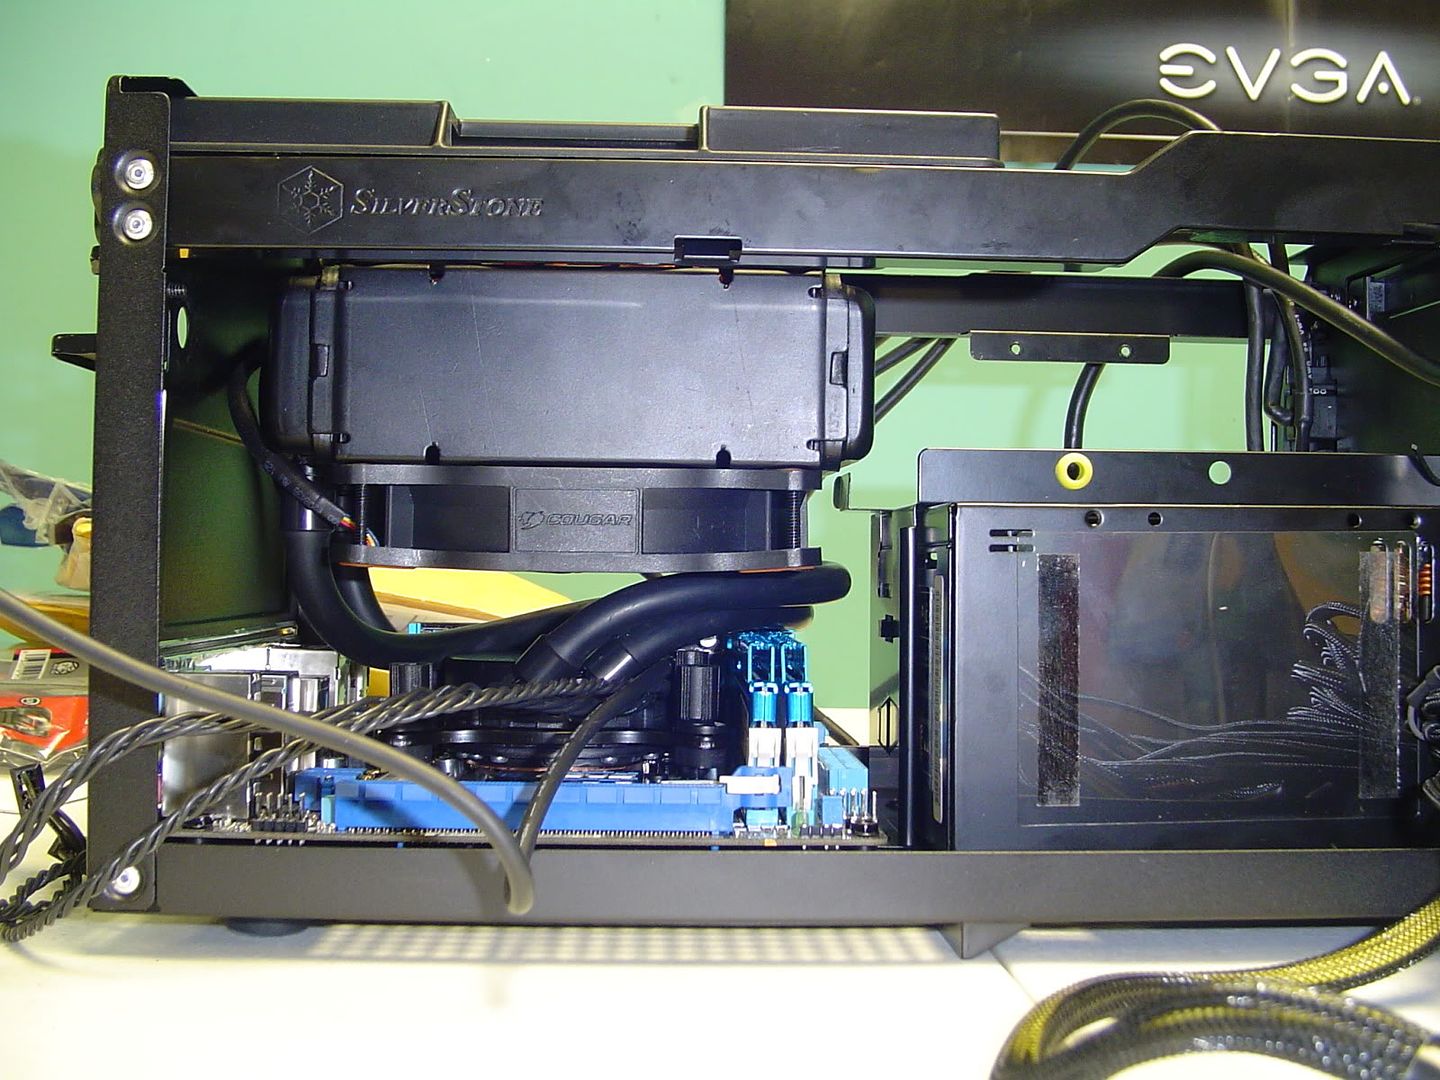
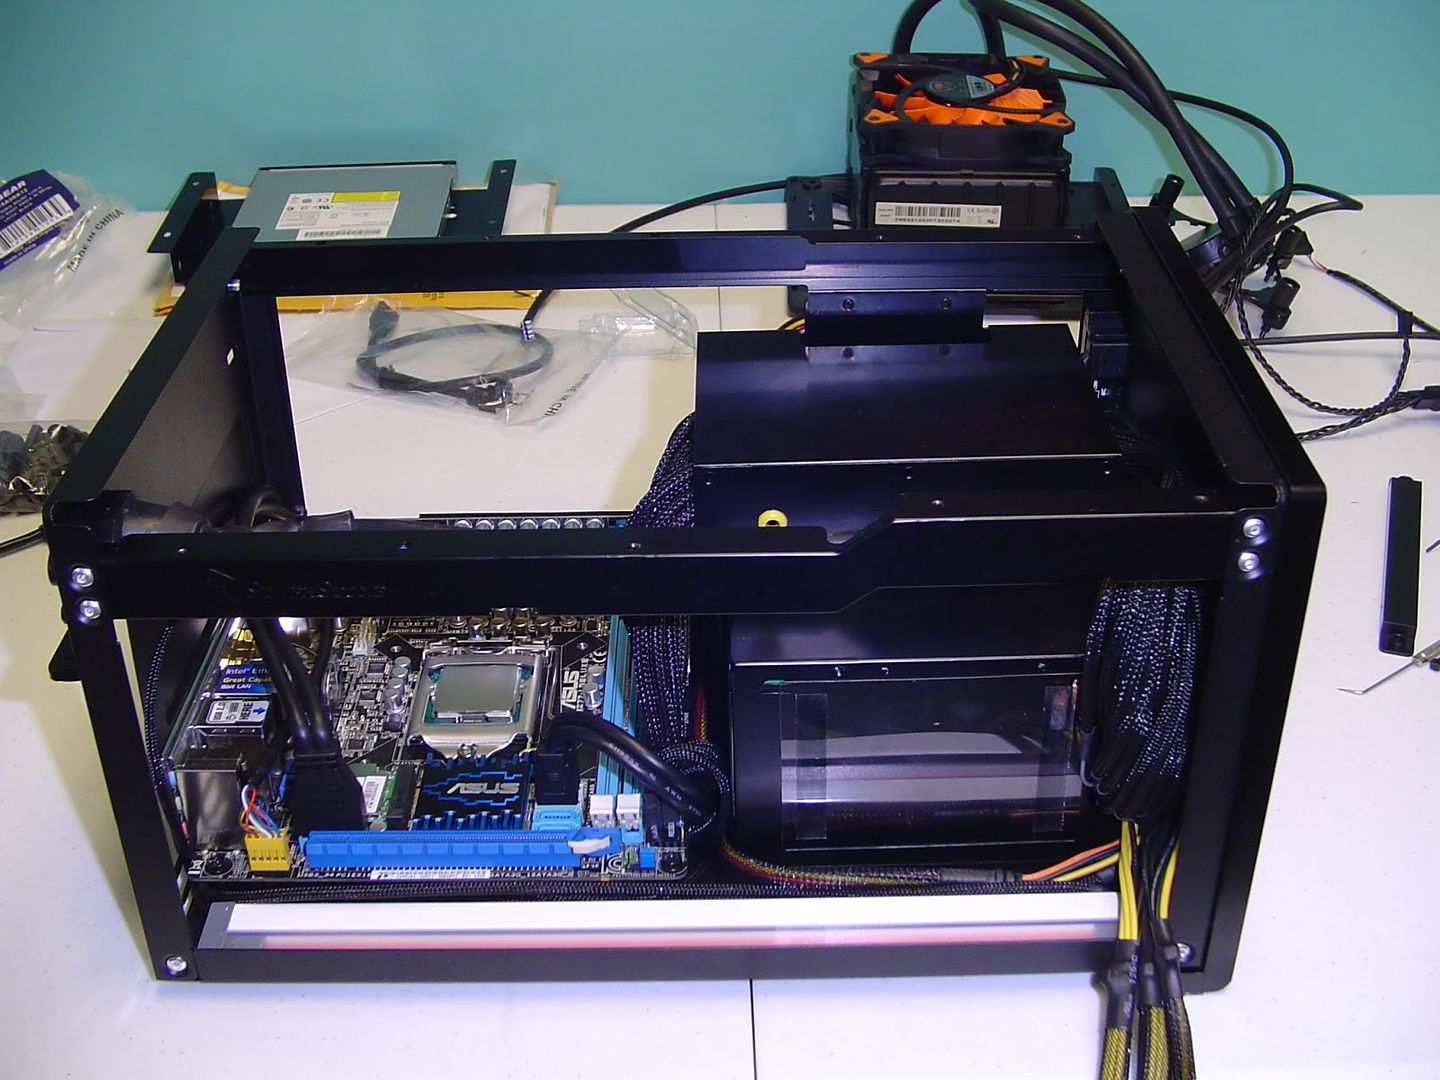
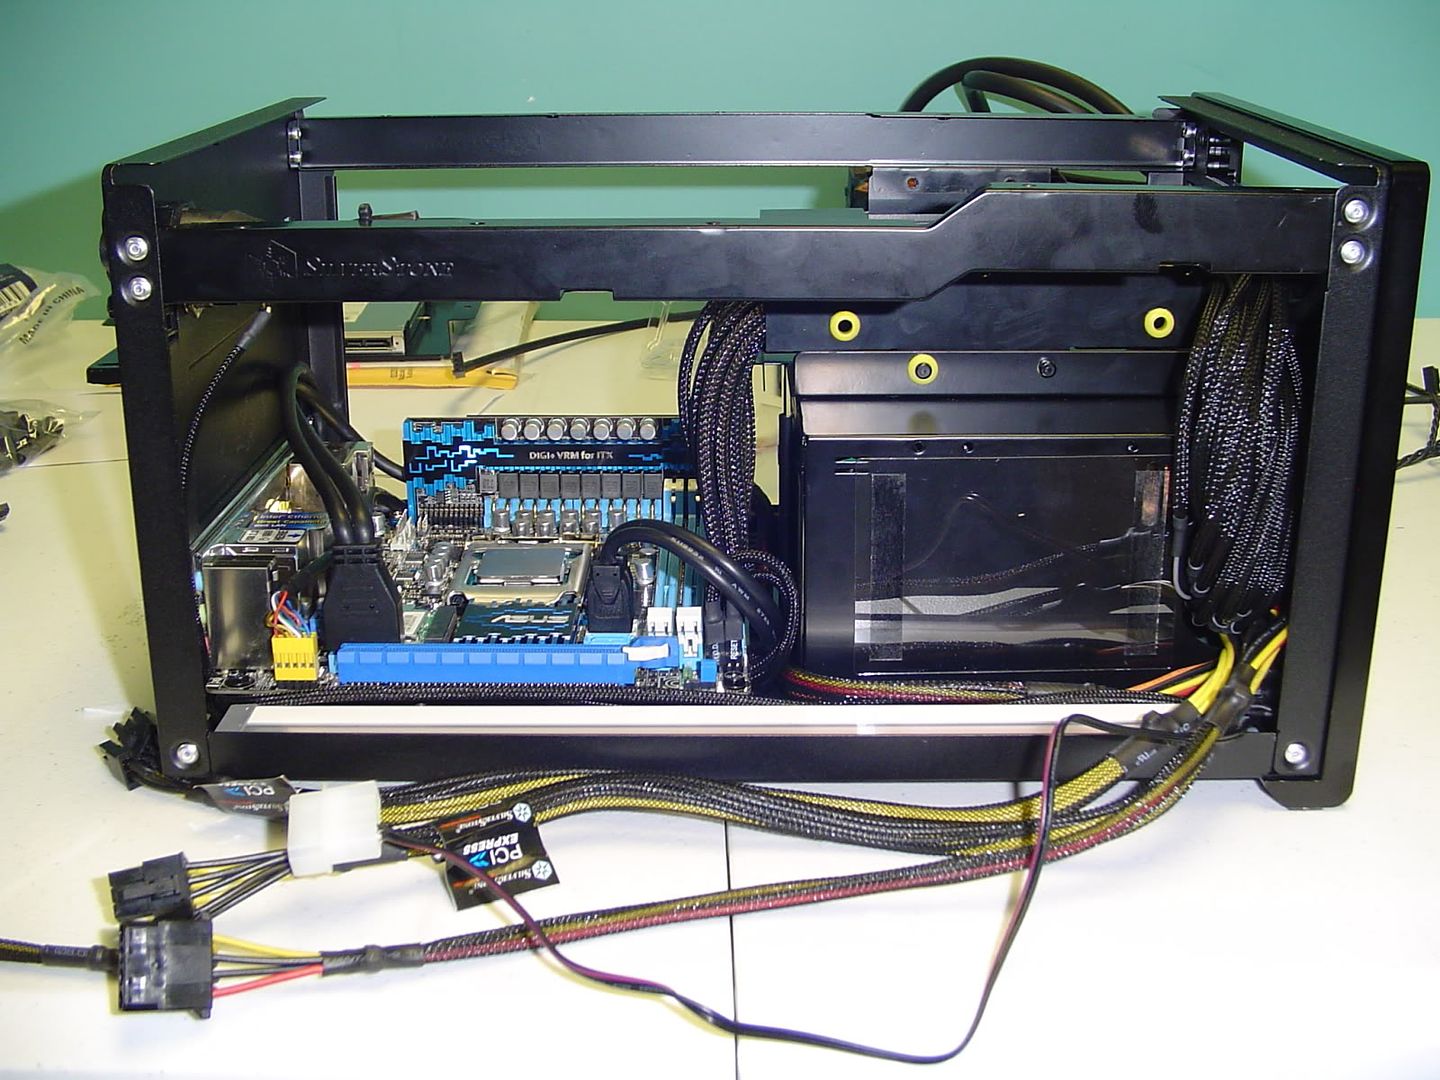
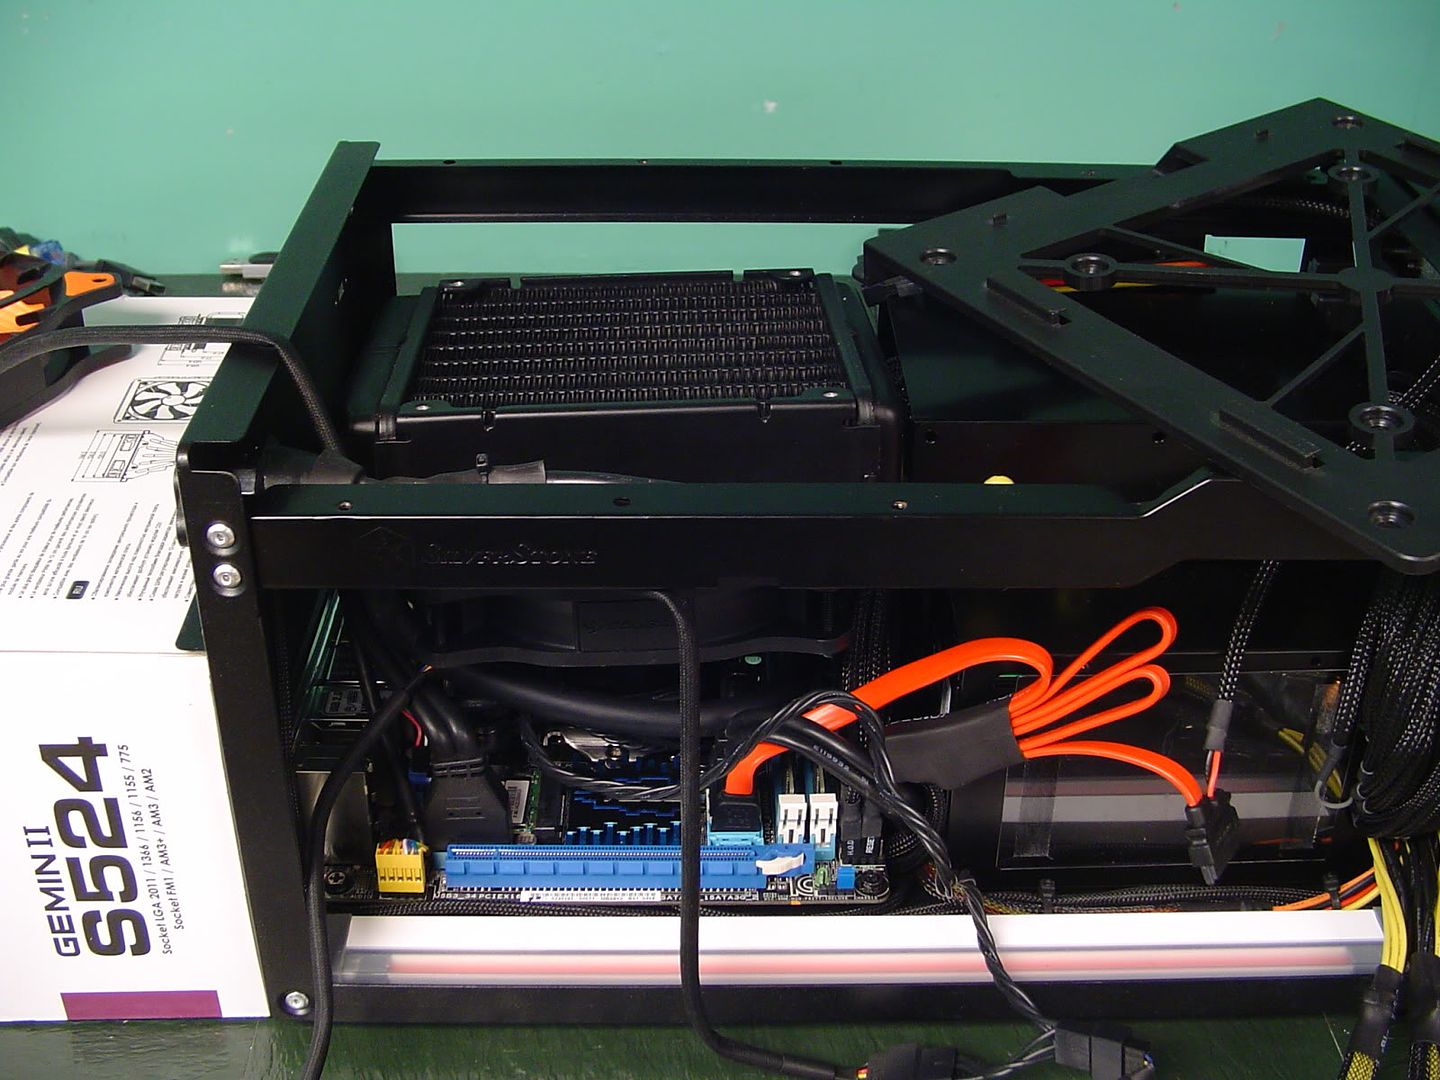
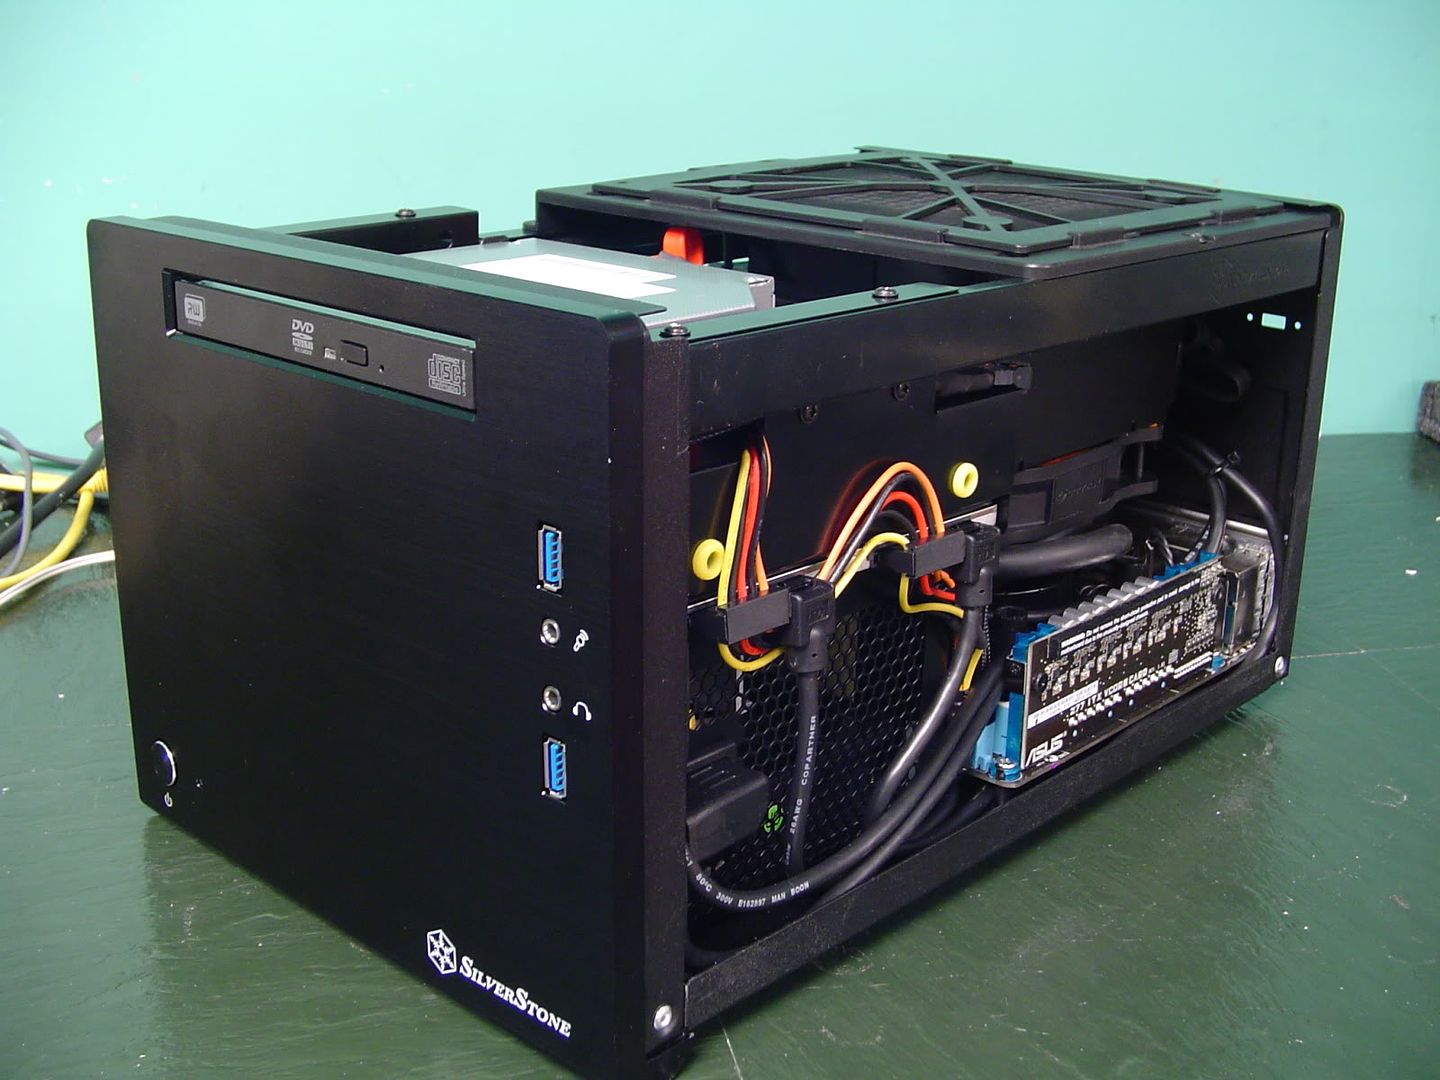
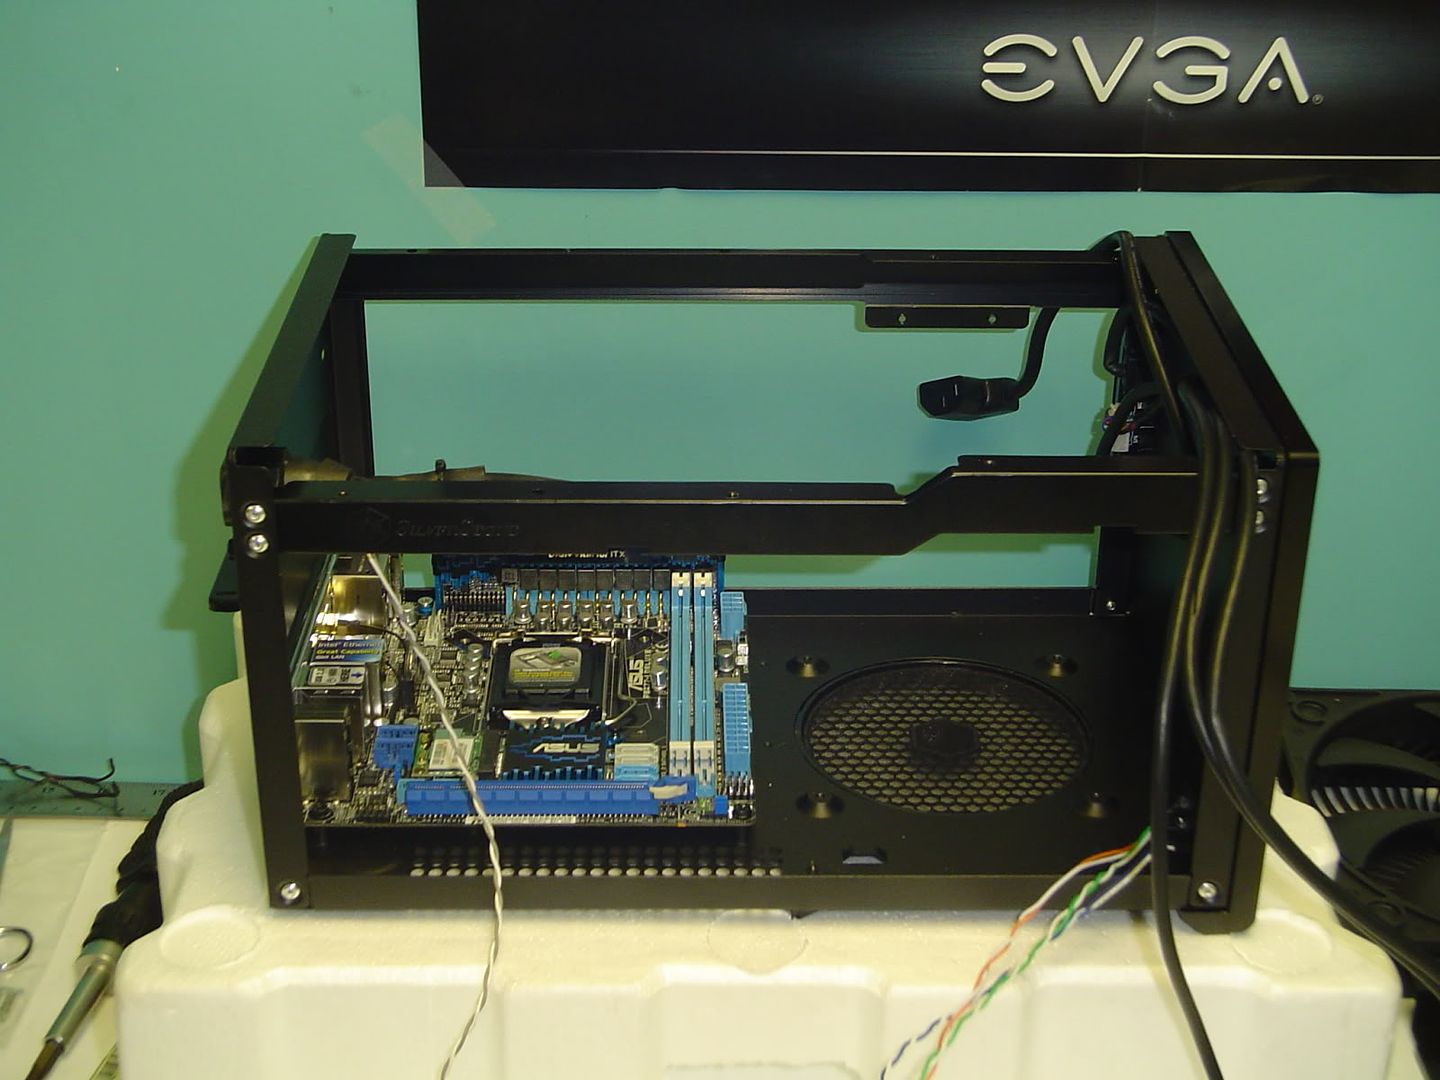
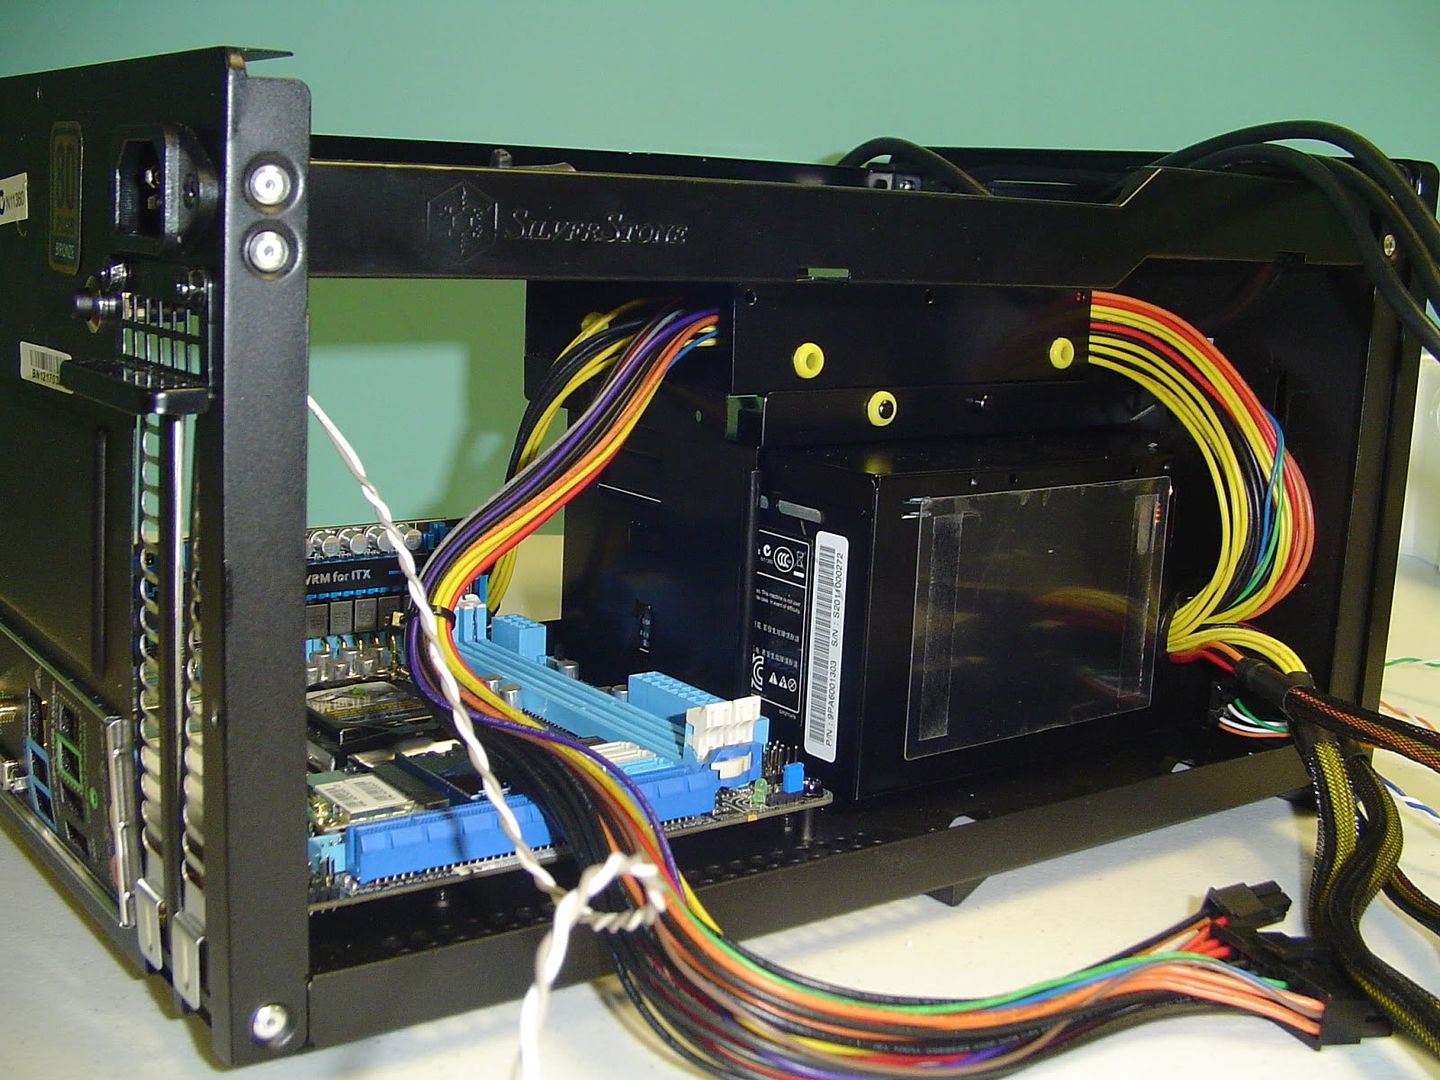
The first pictures I have for you are from little way into the build. It didn't take me long to tear right into the case and make some progress. I apologize for the poor quality photos, but I'm working off of an ancient Sony Cybershot 3.2mp camera. I really need to upgrade sometime soon...
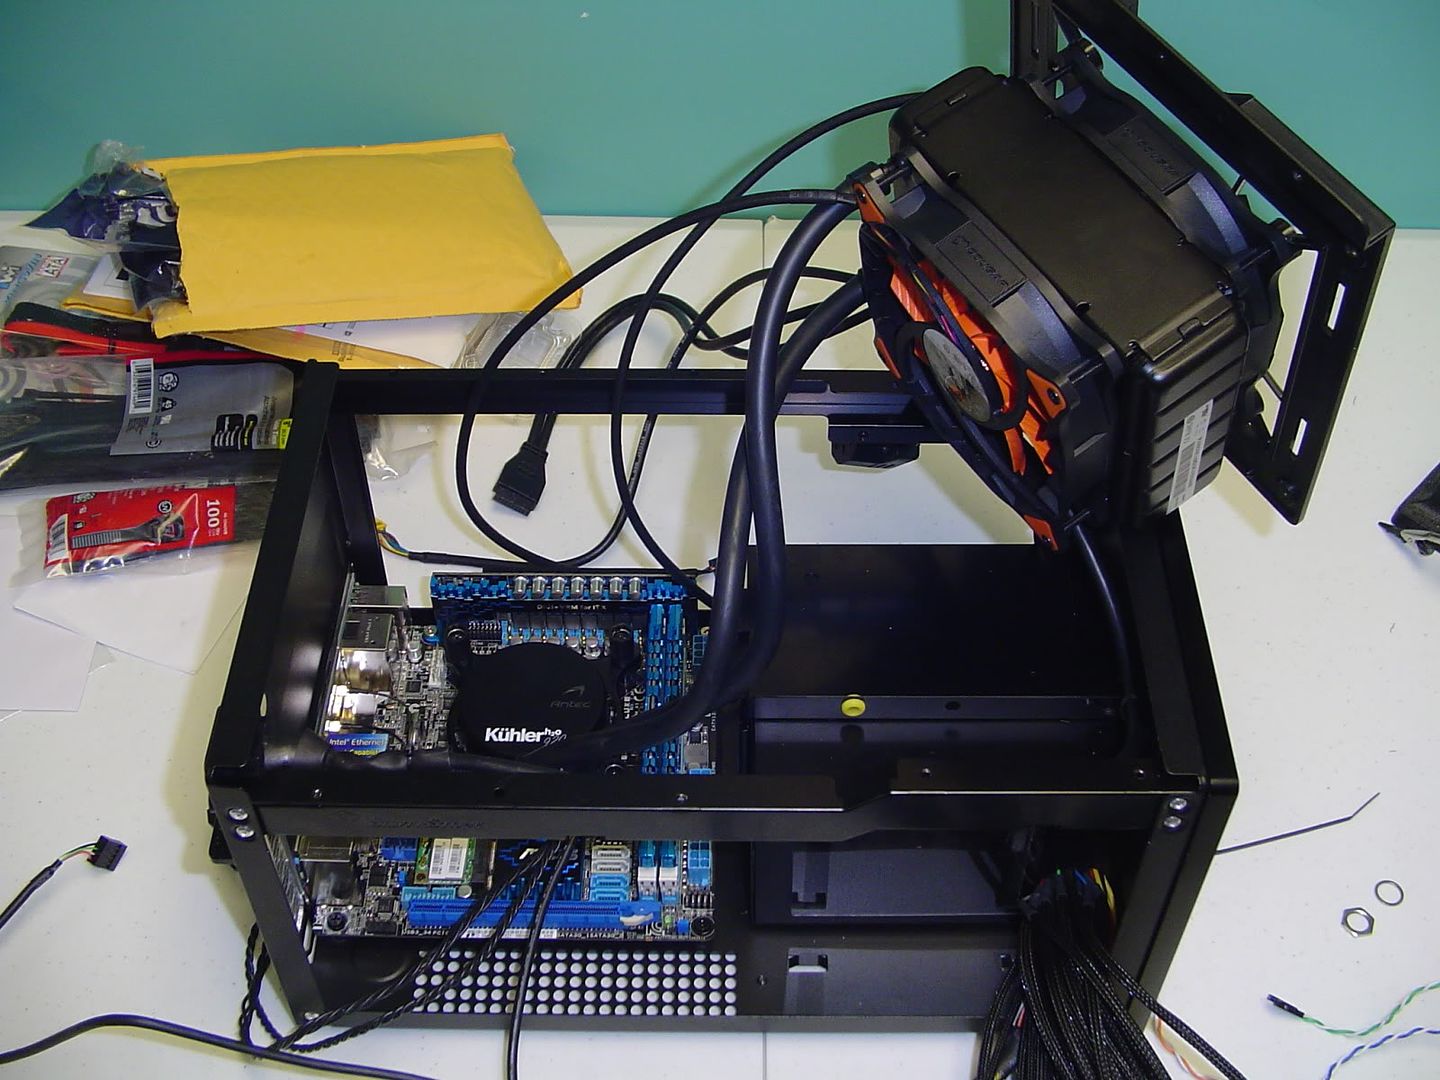
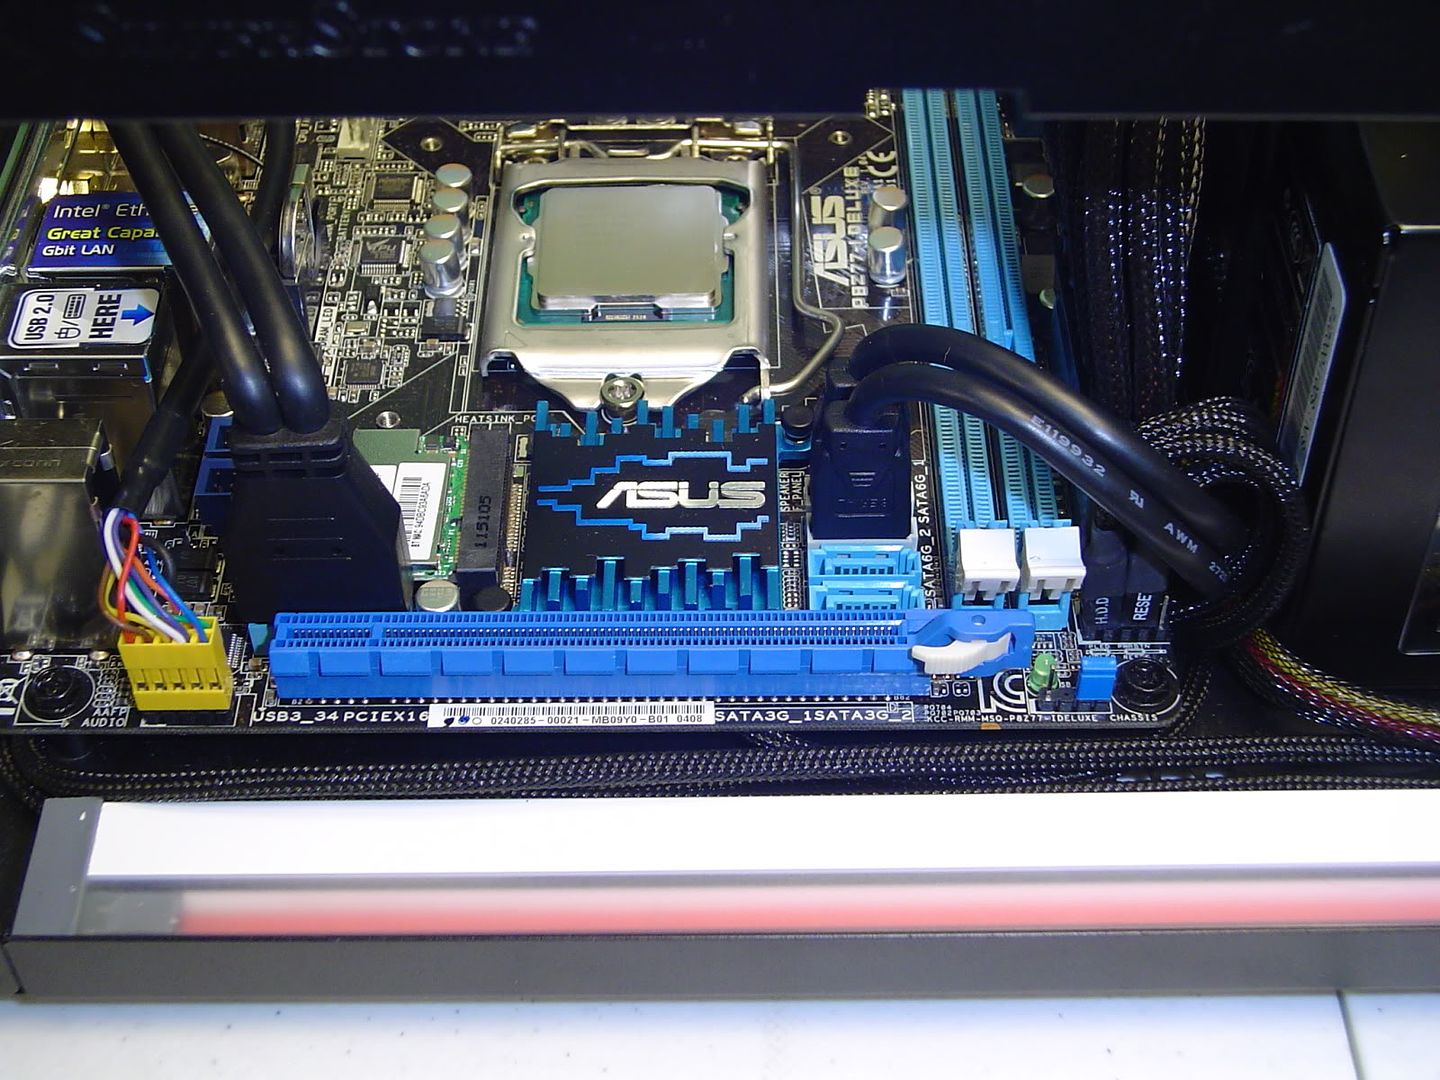
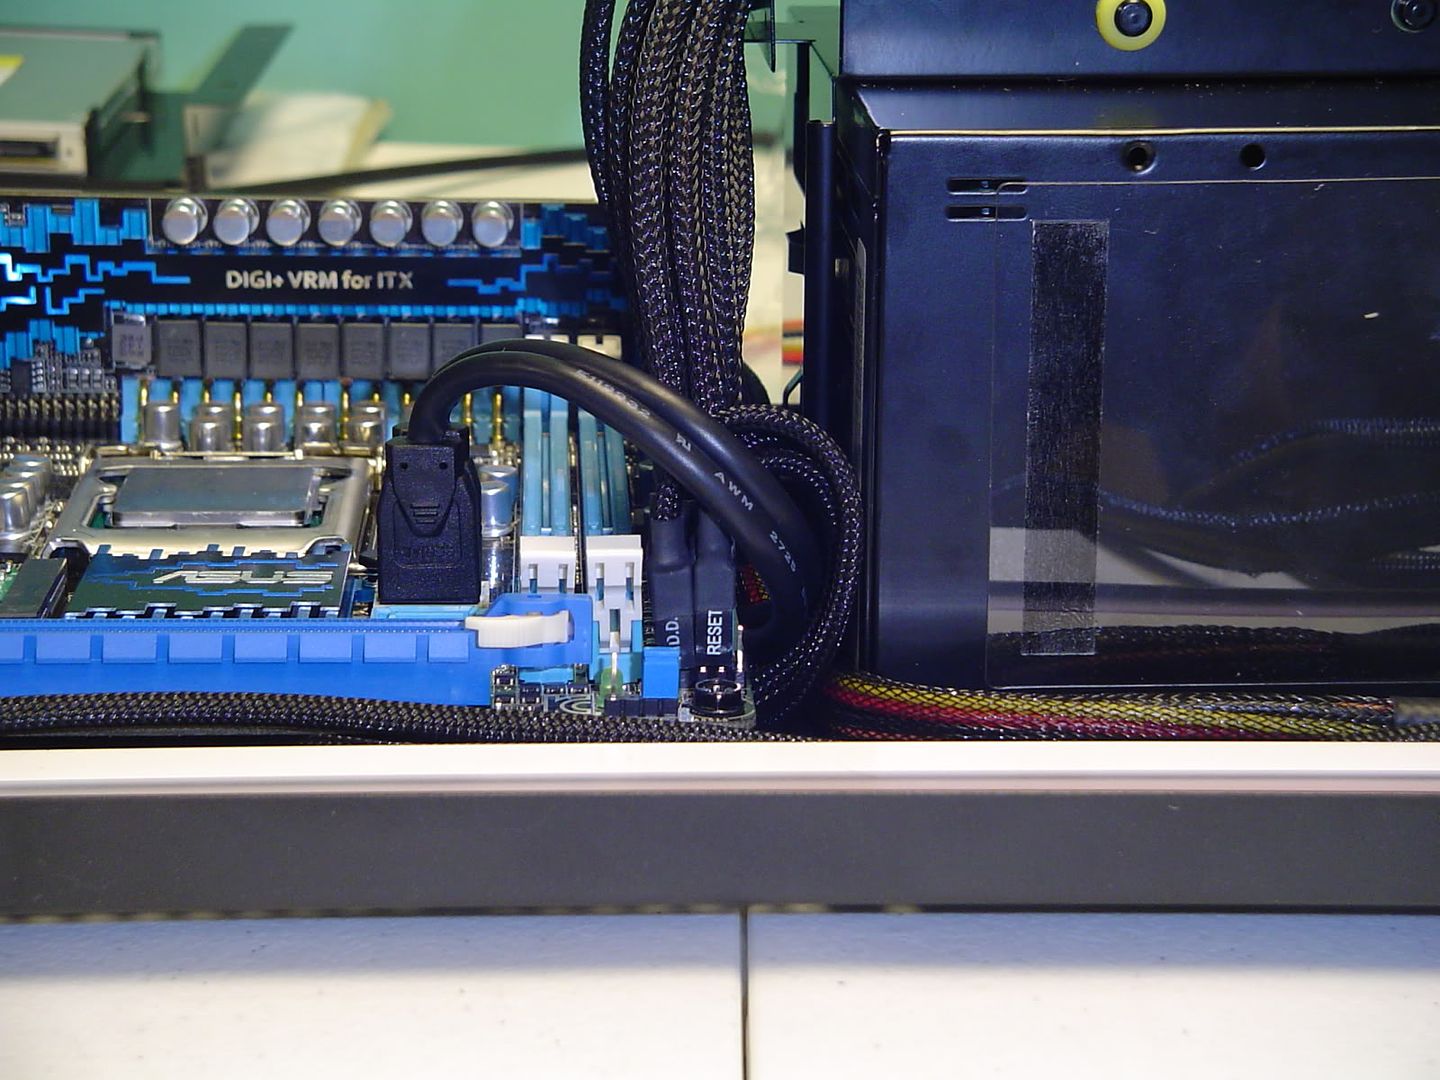
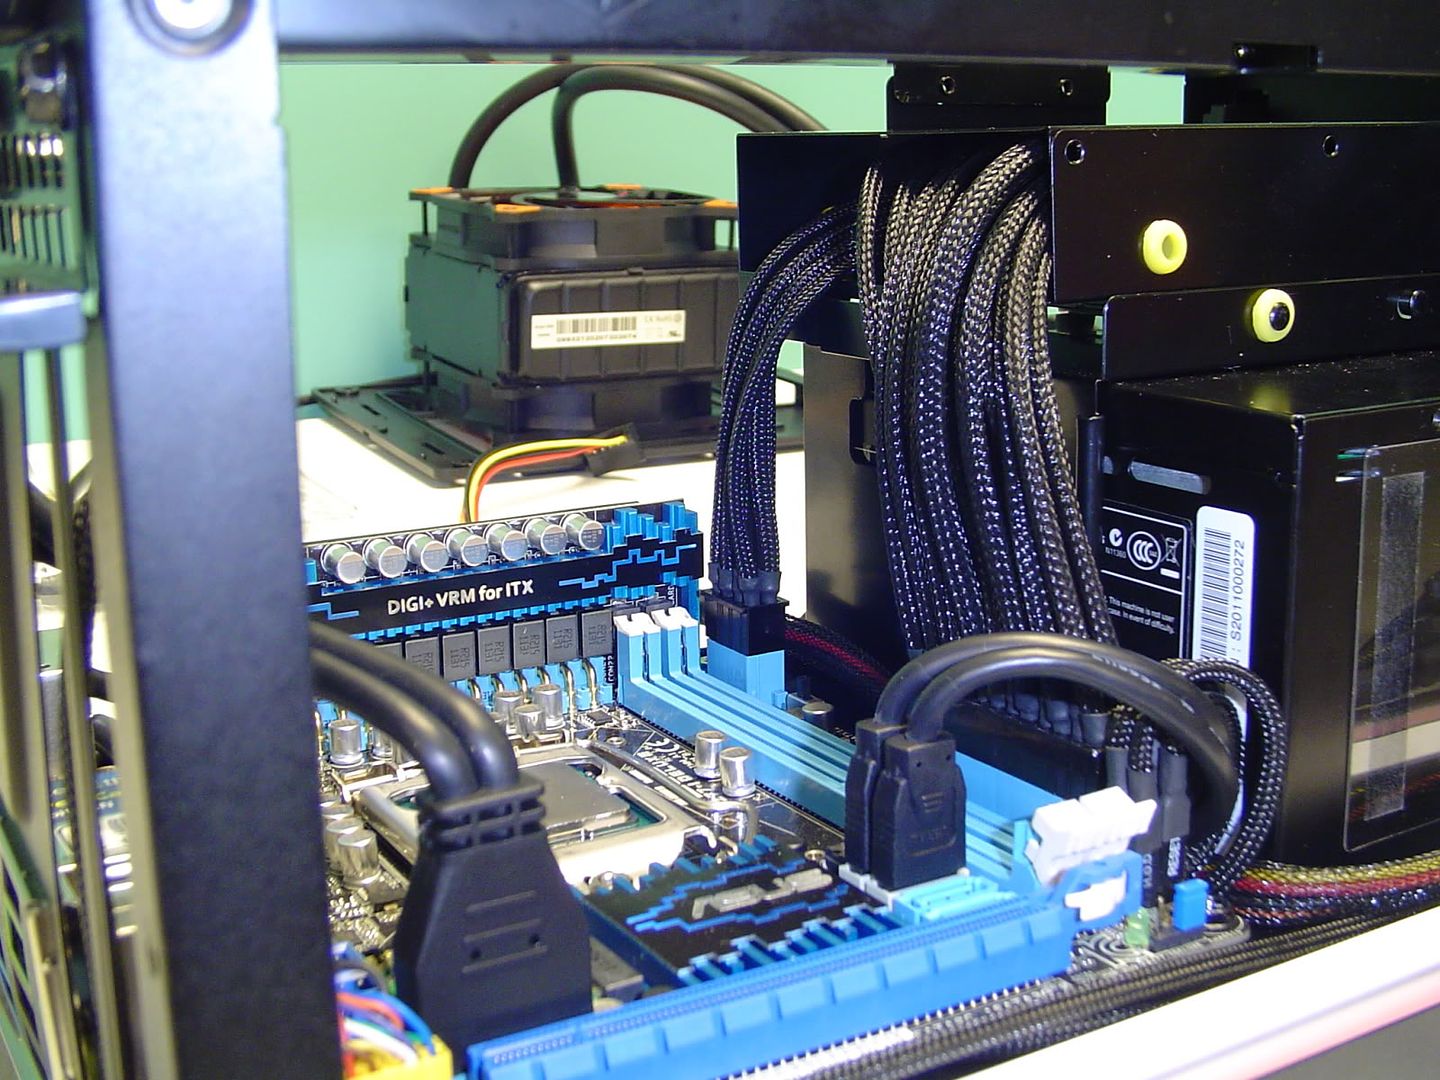
As you can see, I've already mounted the motherboard and have also mounted the retention bracket for the Kuhler 920. Just a heads up for anyone that plans to use a 920 or 620 with the P8Z77-I, you WILL have to modify the retention bracket. By modify I mean grind chunks out of it so it will clear the bits of board circuitry on the back. Trusty Dremel to the rescue!
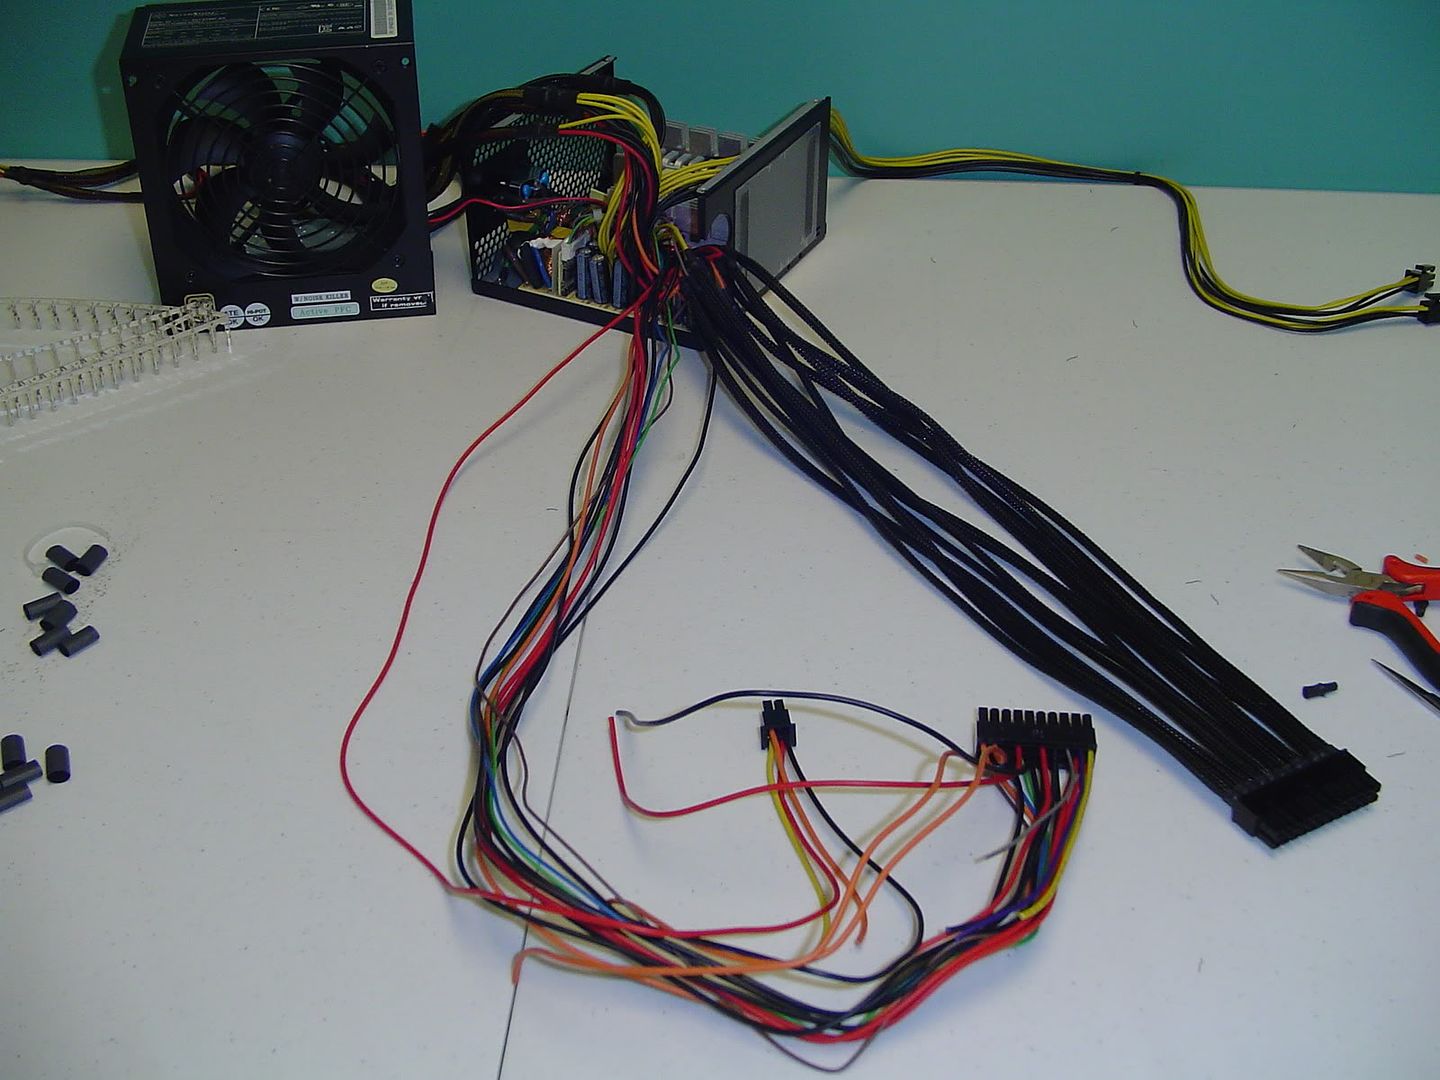
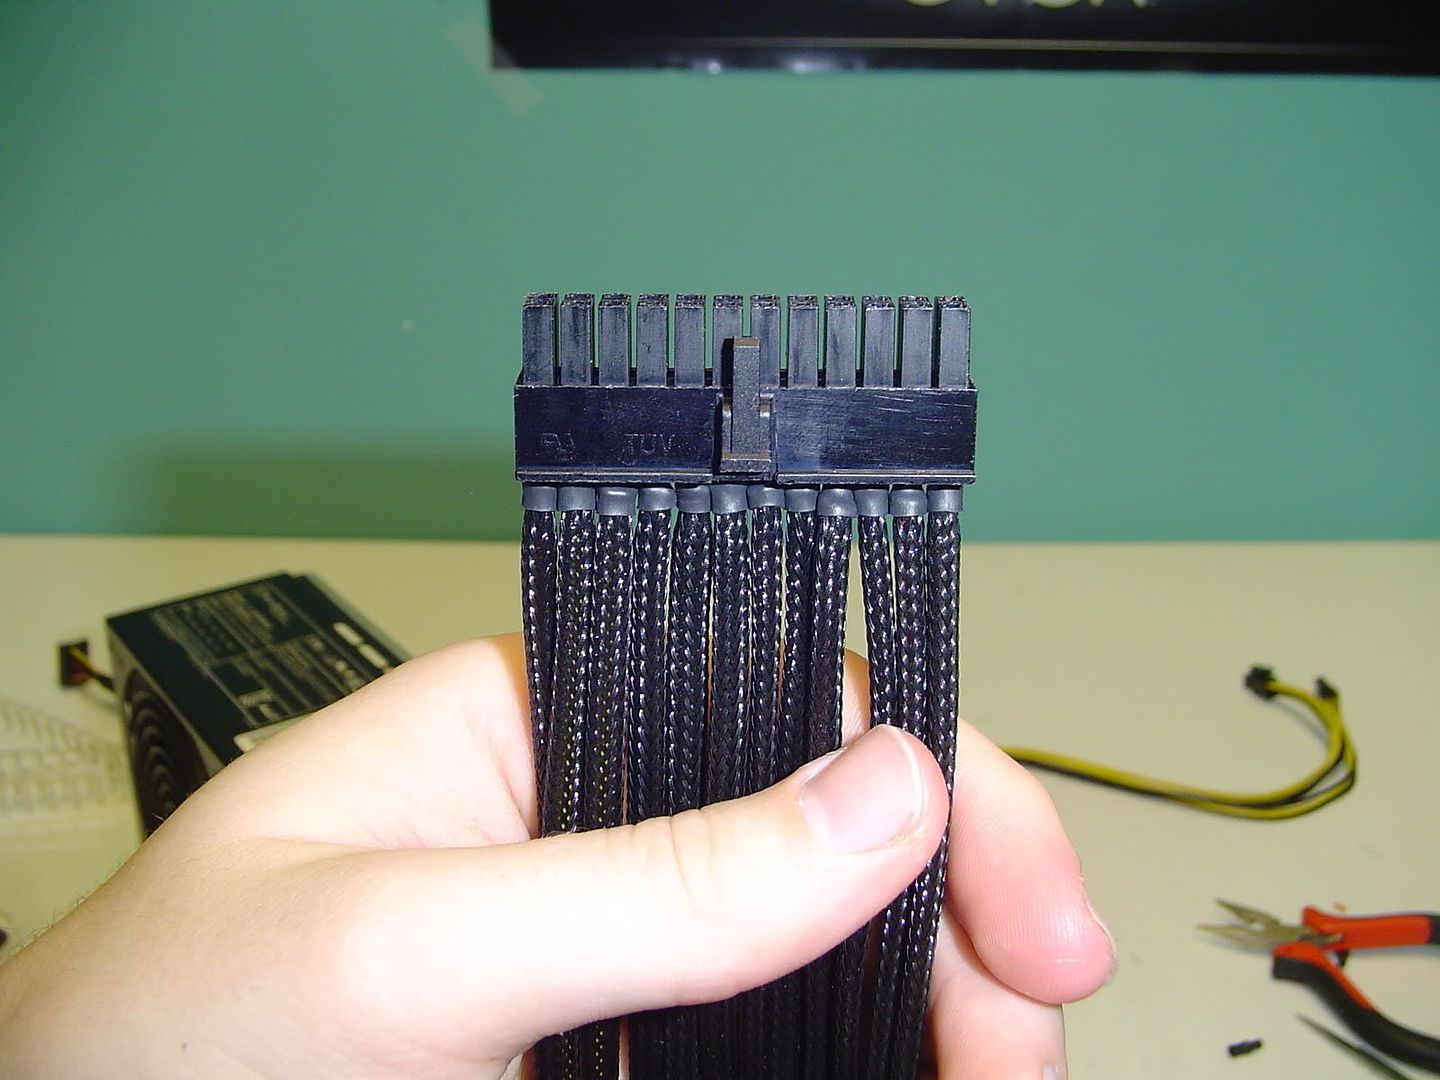
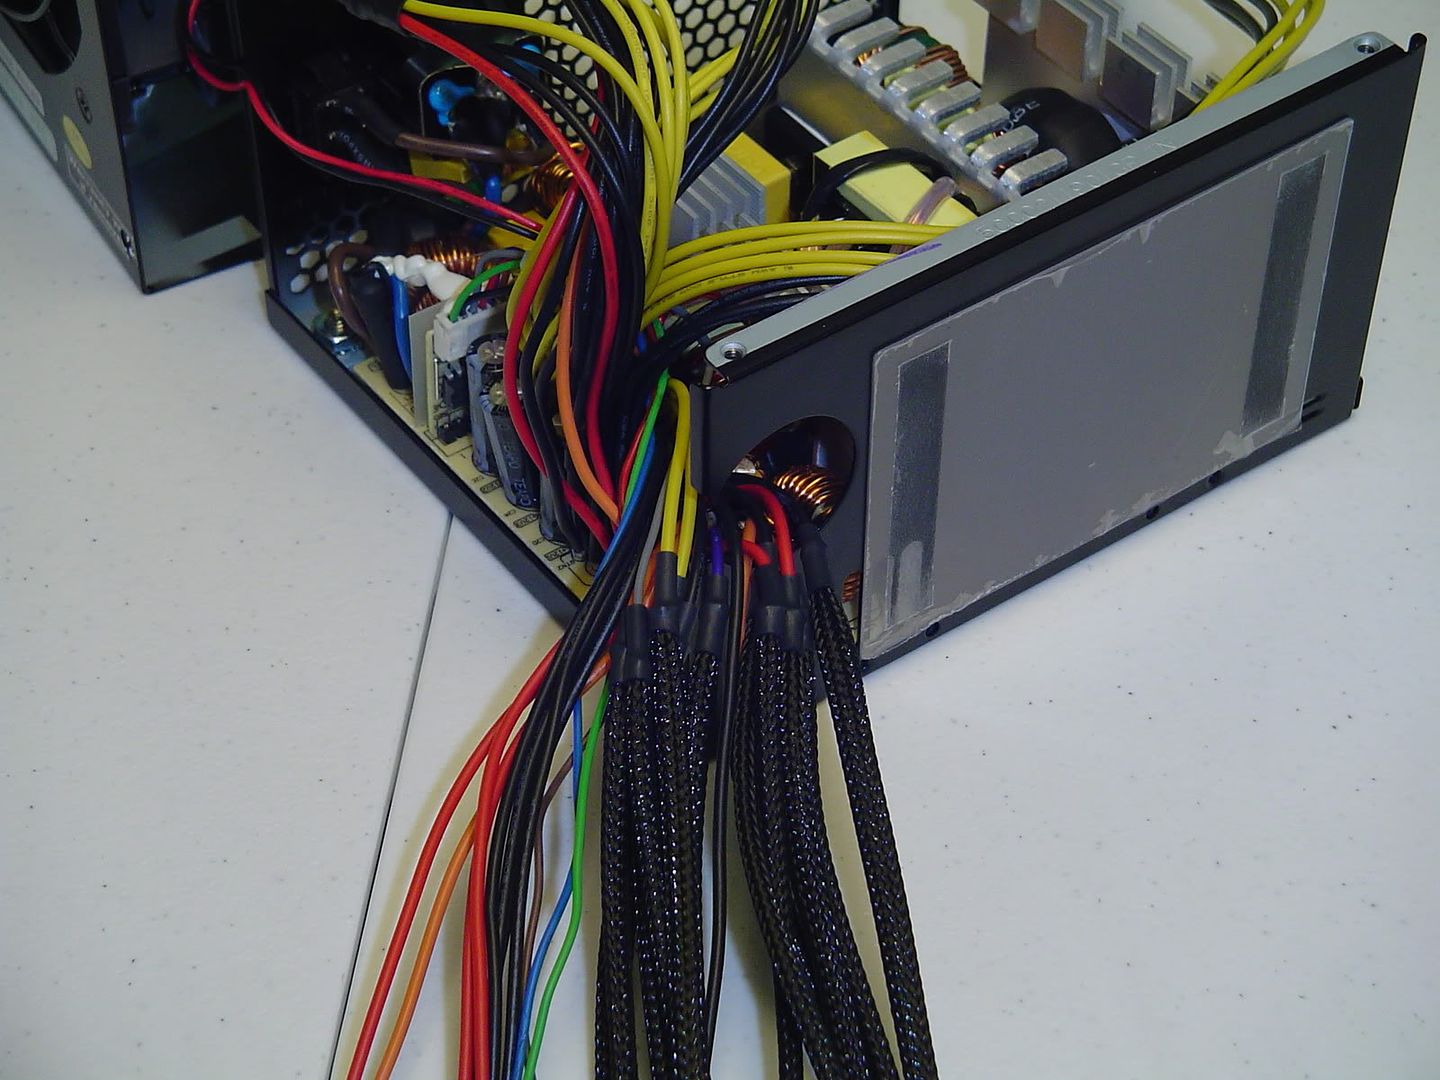
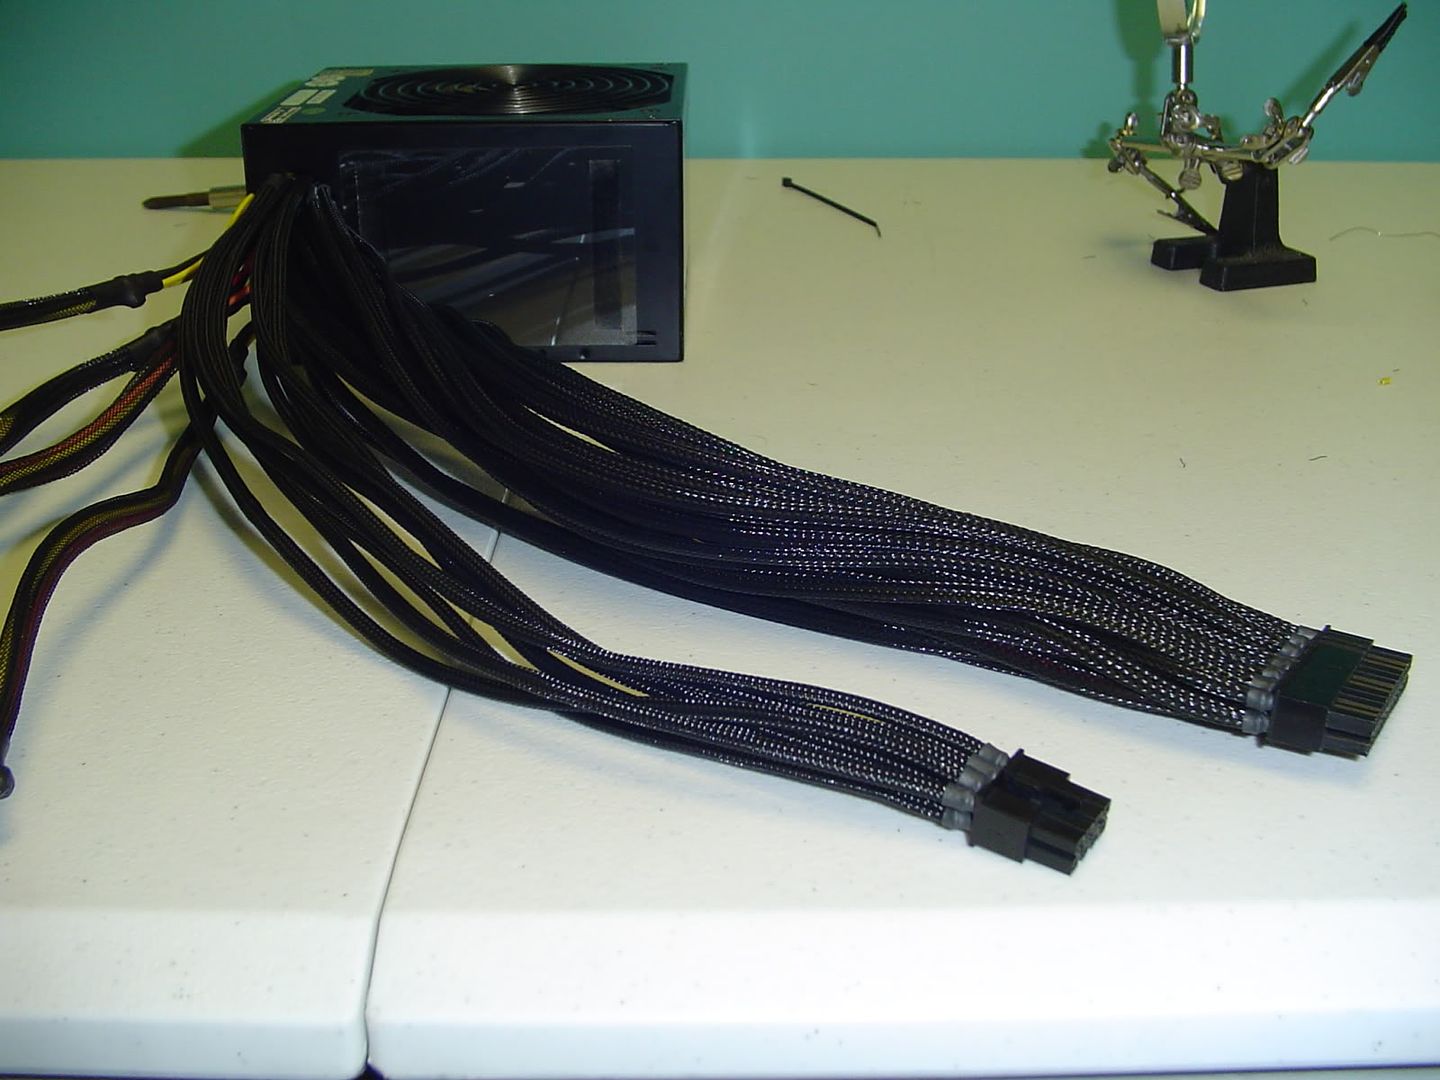
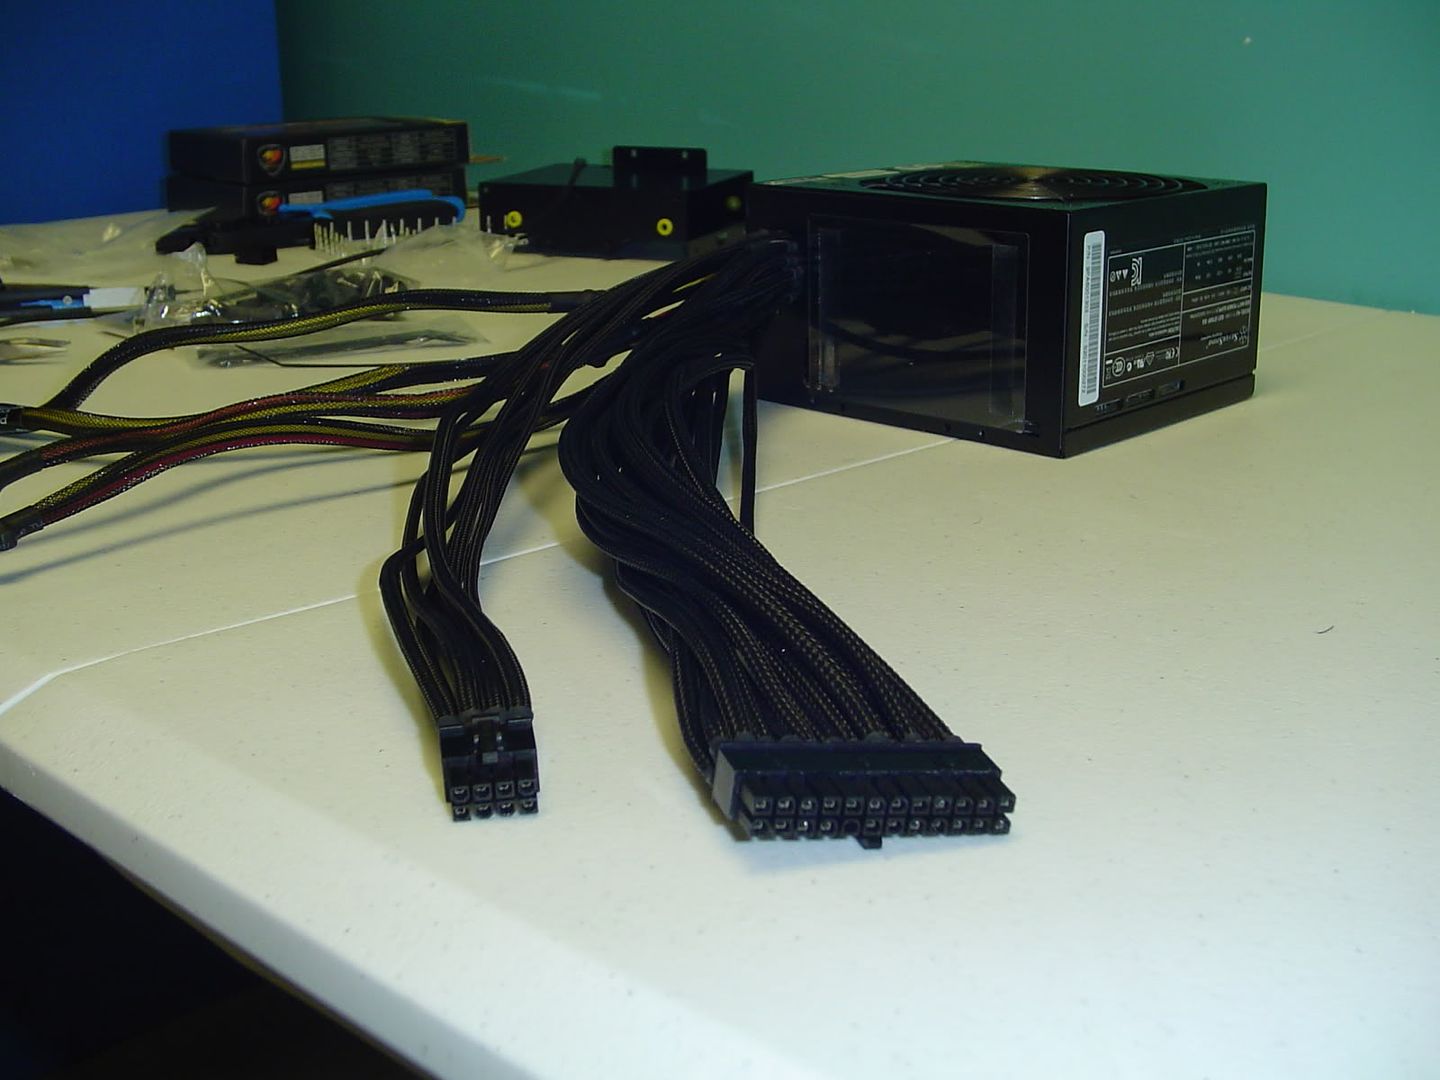
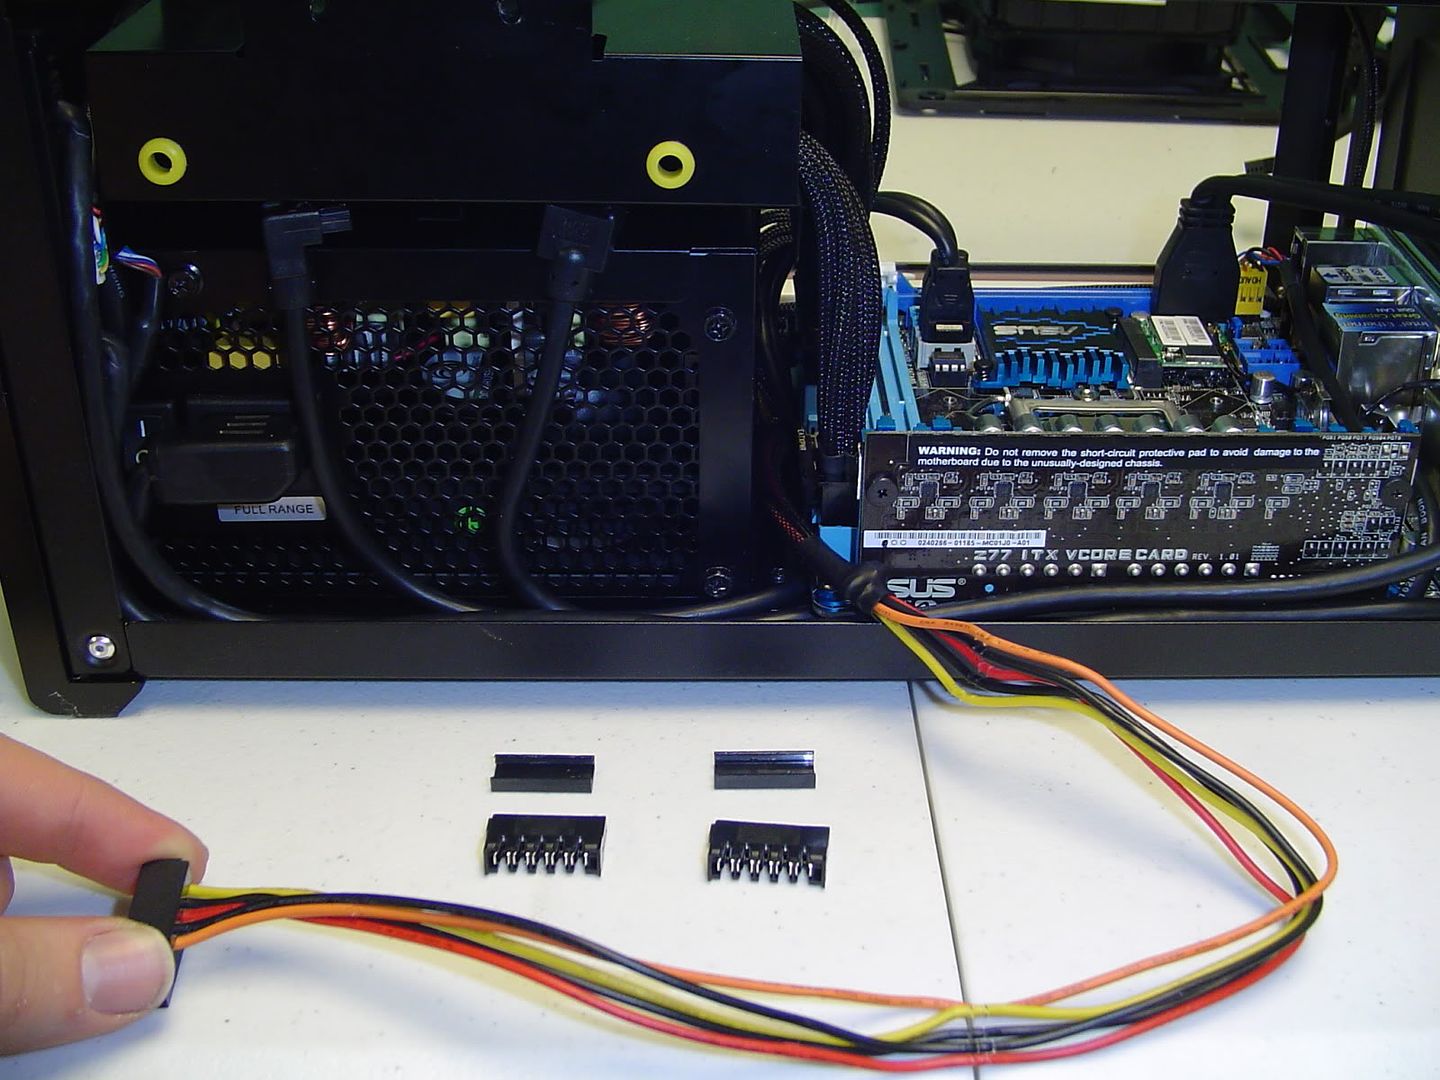
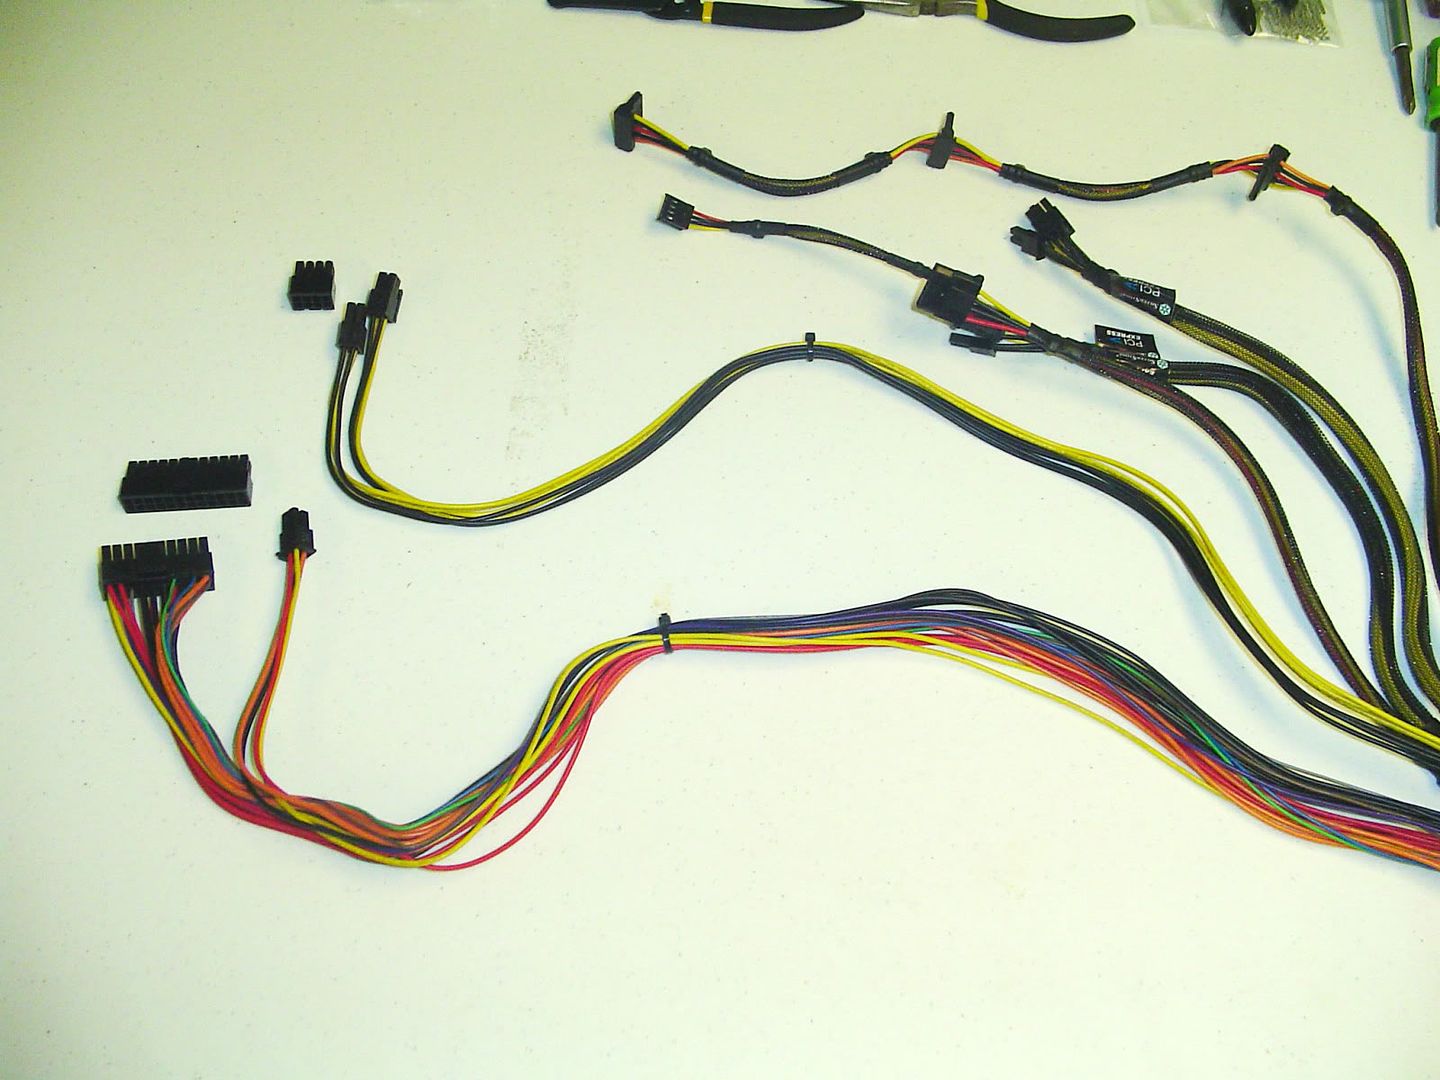
I've already removed the original sleeving from the ATX and EPS cables and have marked the lengths to cut them to with a zip tie. I gave myself a little extra length just in case I screw up something while crimping or whatever. I plan on individually sleeving each wire and inserting them into new connectors that are one solid piece and not a 24+4pin and 4+4pin style. The individual sleeving probably won't look the best since it's coming straight out of the power supply in a spaghetti tangle of wires, but we'll see what happens. This will be a first attempt at individual cable sleeving for me, so it should be interesting.
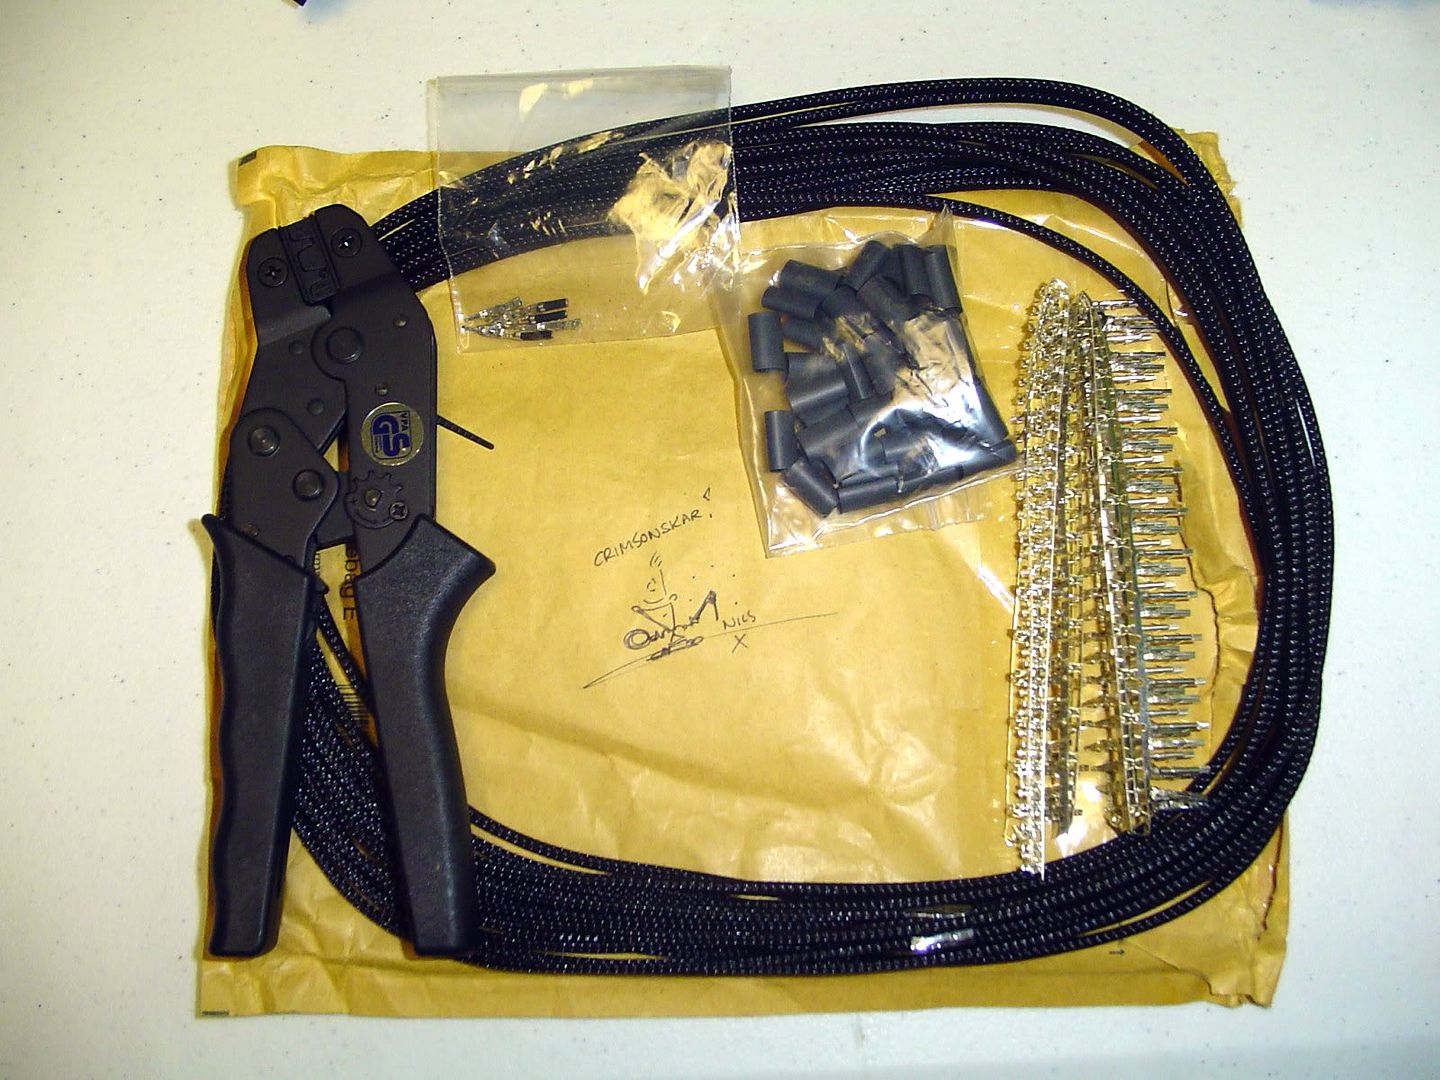
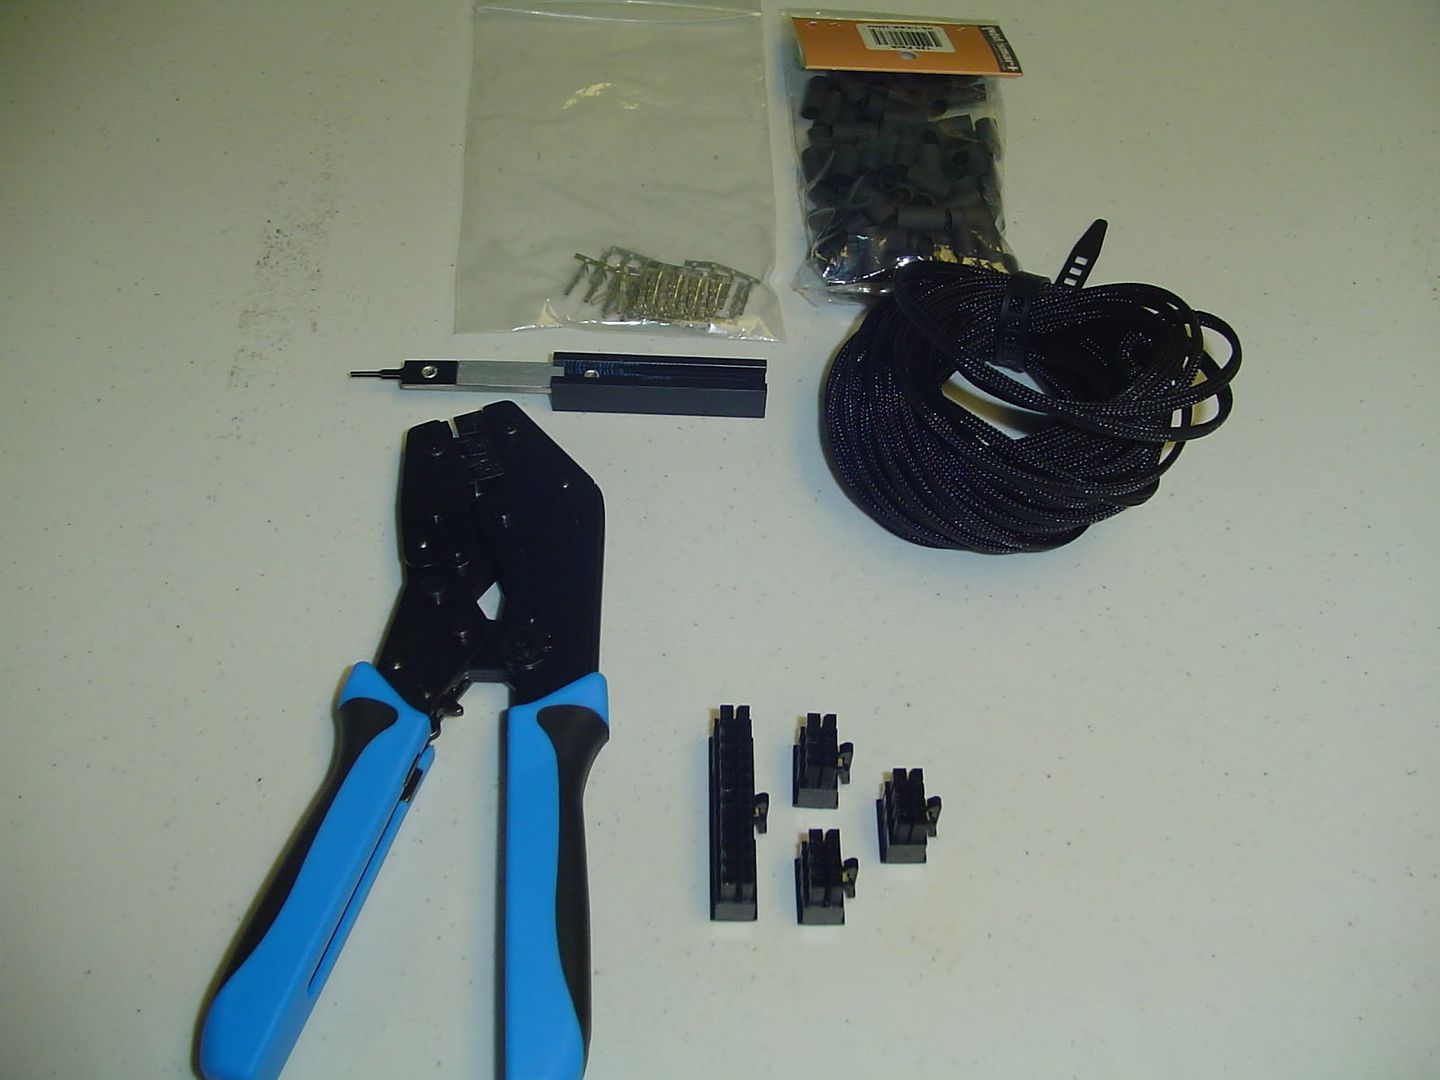
Below is the initial sleeving kit that I had planned to use. I picked up some stuff from FrozenCPU to do the sleeving and while some of it is some pretty good stuff, I have to say the crimper is no good at all. I wasted nearly all of my pins on test crimps (on a junker power supply) and every one of them turned out bad. I initially blamed it on technique, but I quickly ruled that out after the 30th try. The tool simply does not crimp the tabs into an "m" form and without that, the pins simply pull right off when you tug on them.
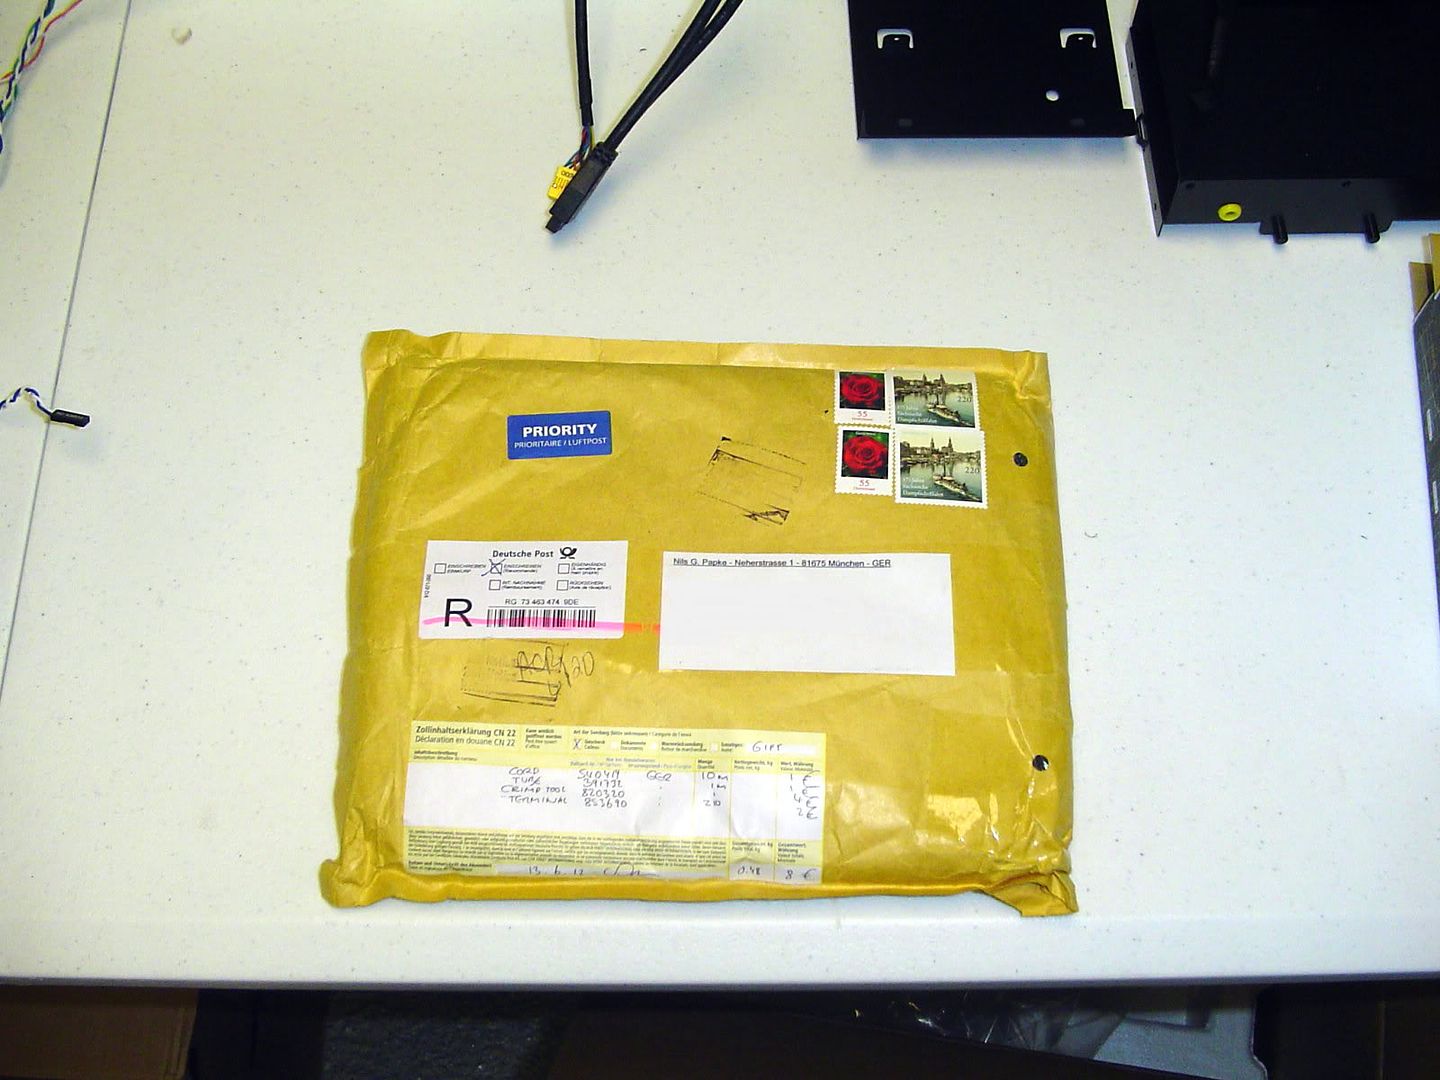
With that said, I've gone back and done what I should have done in the first place. I just ordered an MDPC-X crimper, a crapload of their pins (to add to the ones that come with the crimper), and I went ahead and got some of their sleeving and heatshrink while I was at it. The FrozenCPU sleeving and heatshrink look pretty good, but we'll see how they compare (or don't) to the MDPC-X stuff when it arrives sometime next week I'm guessing.
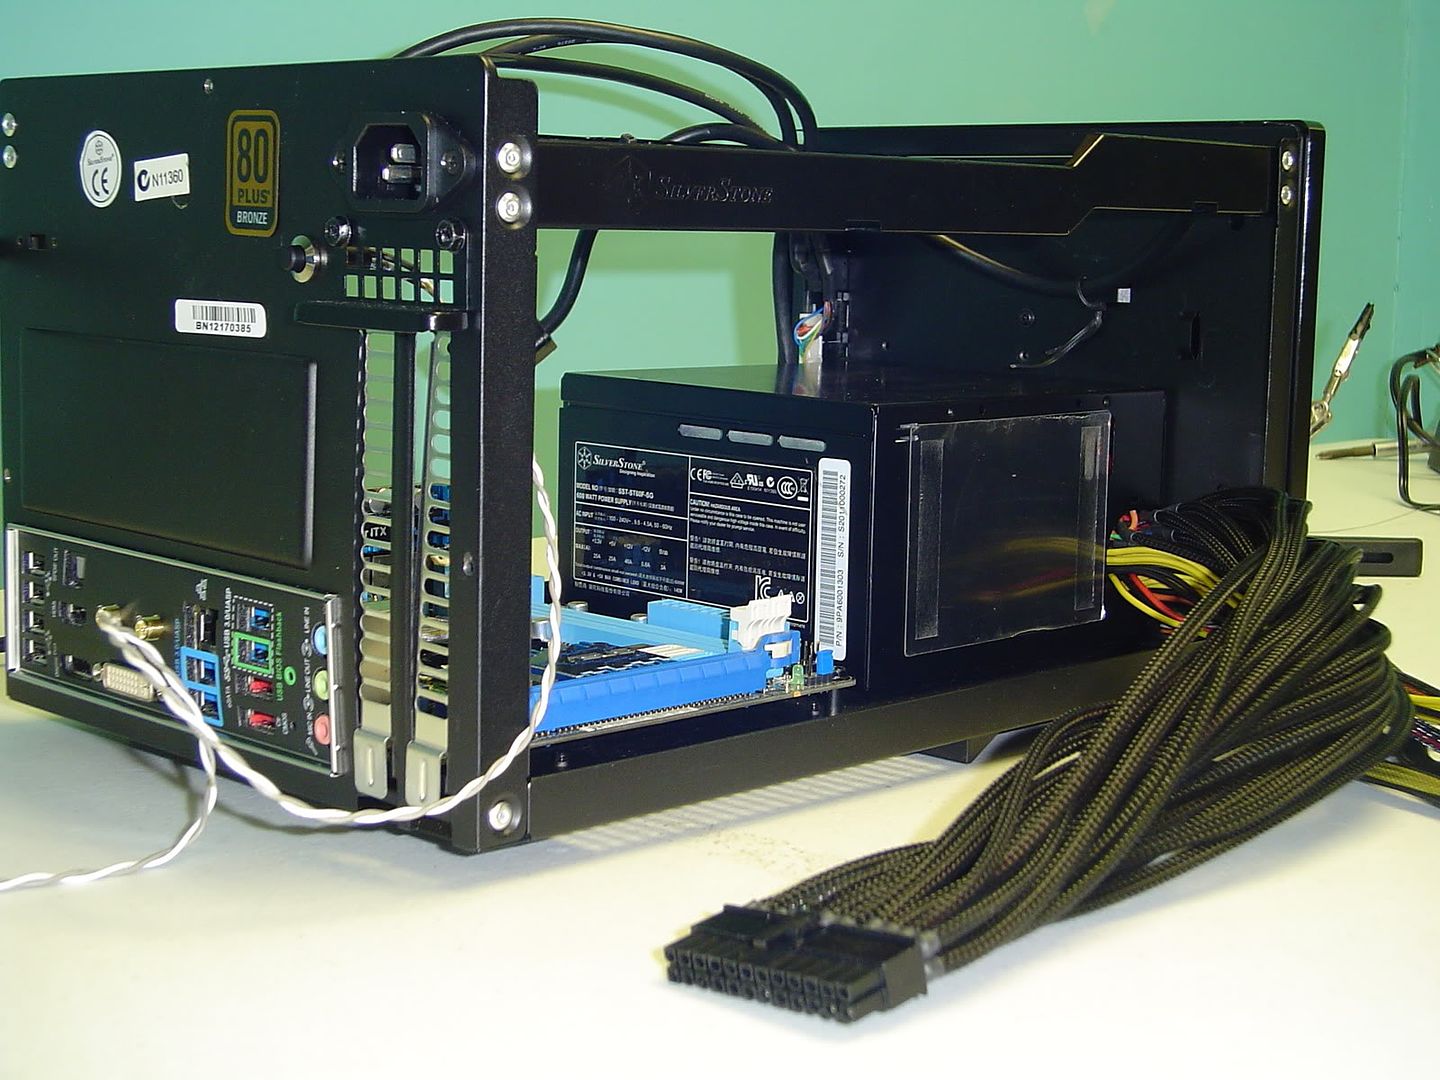
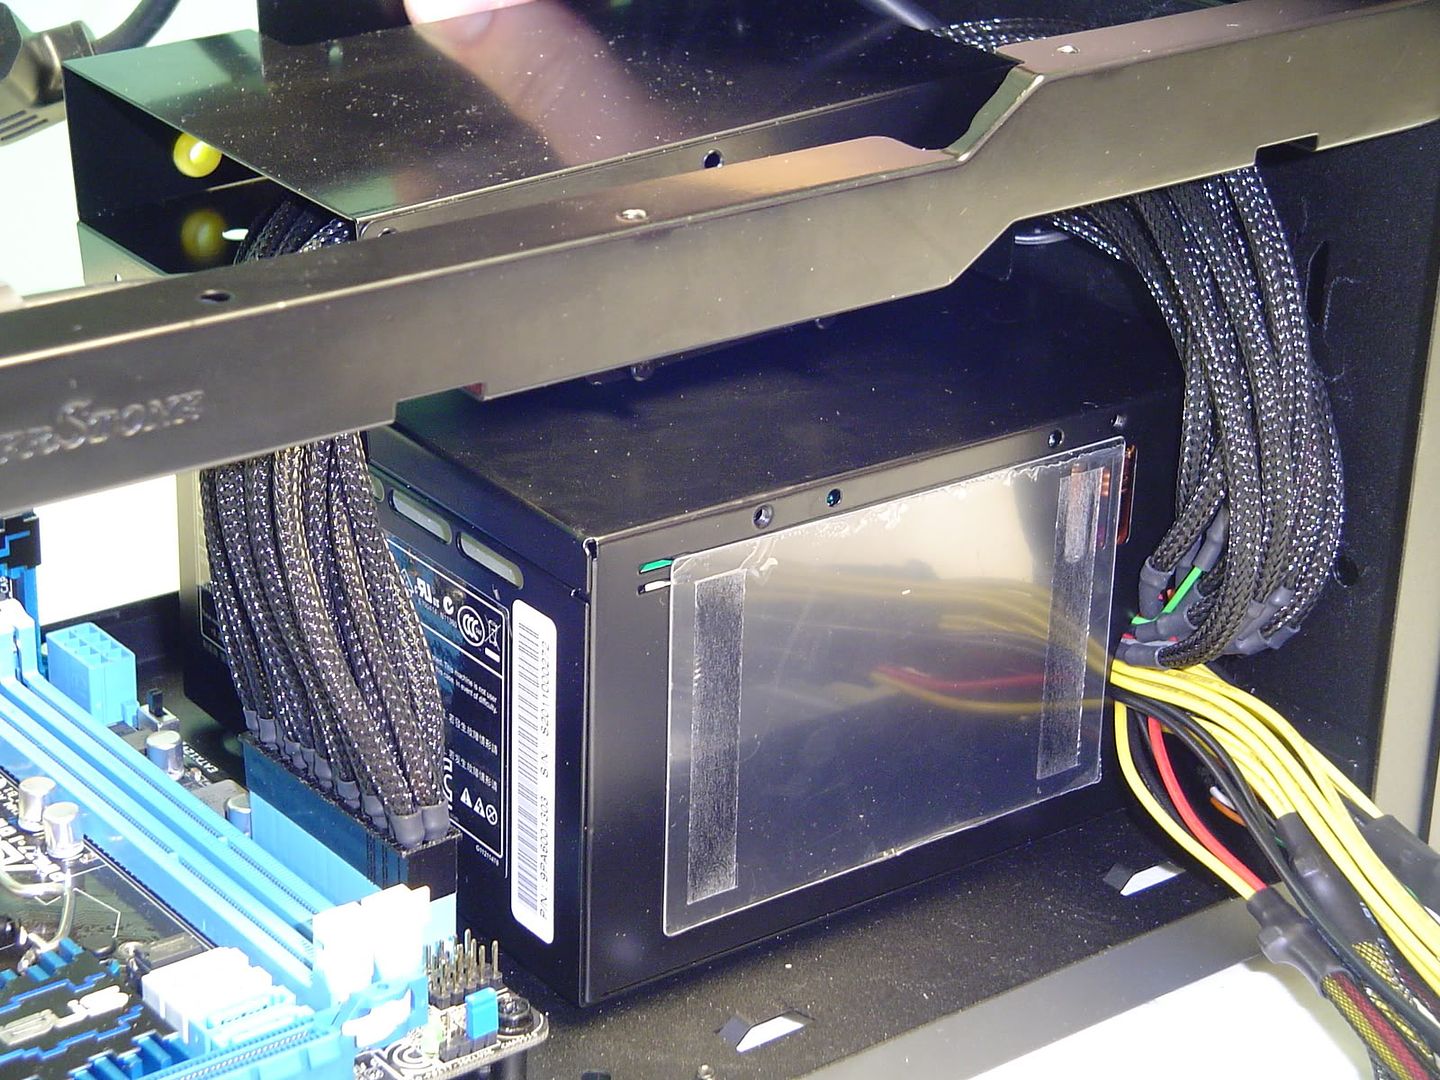
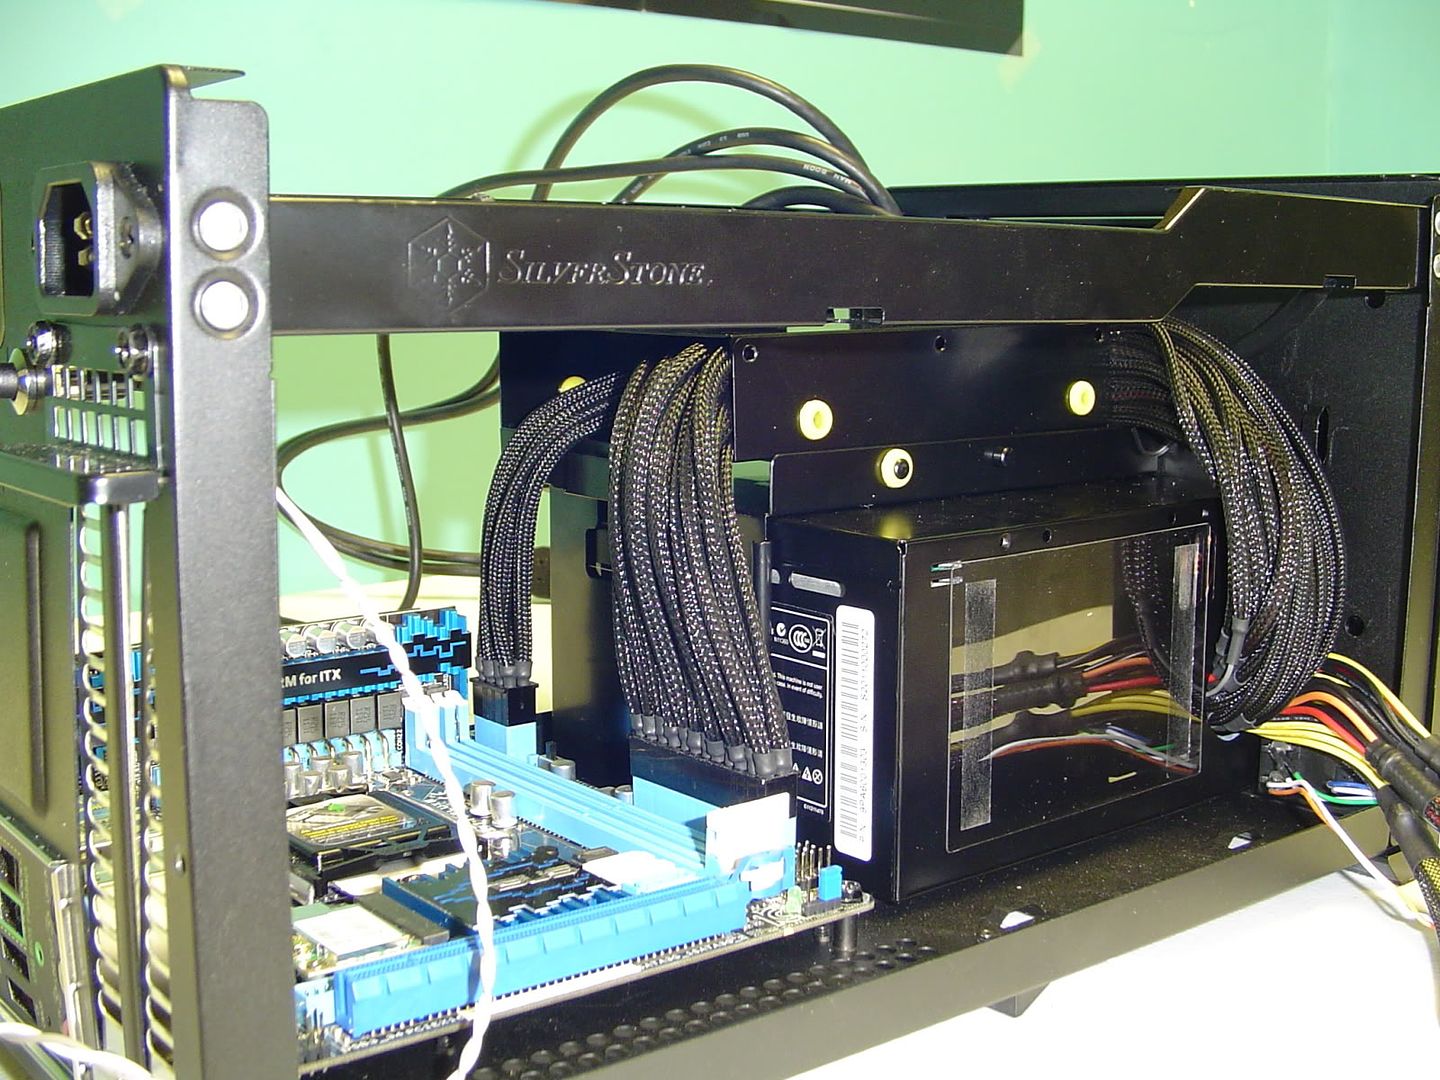
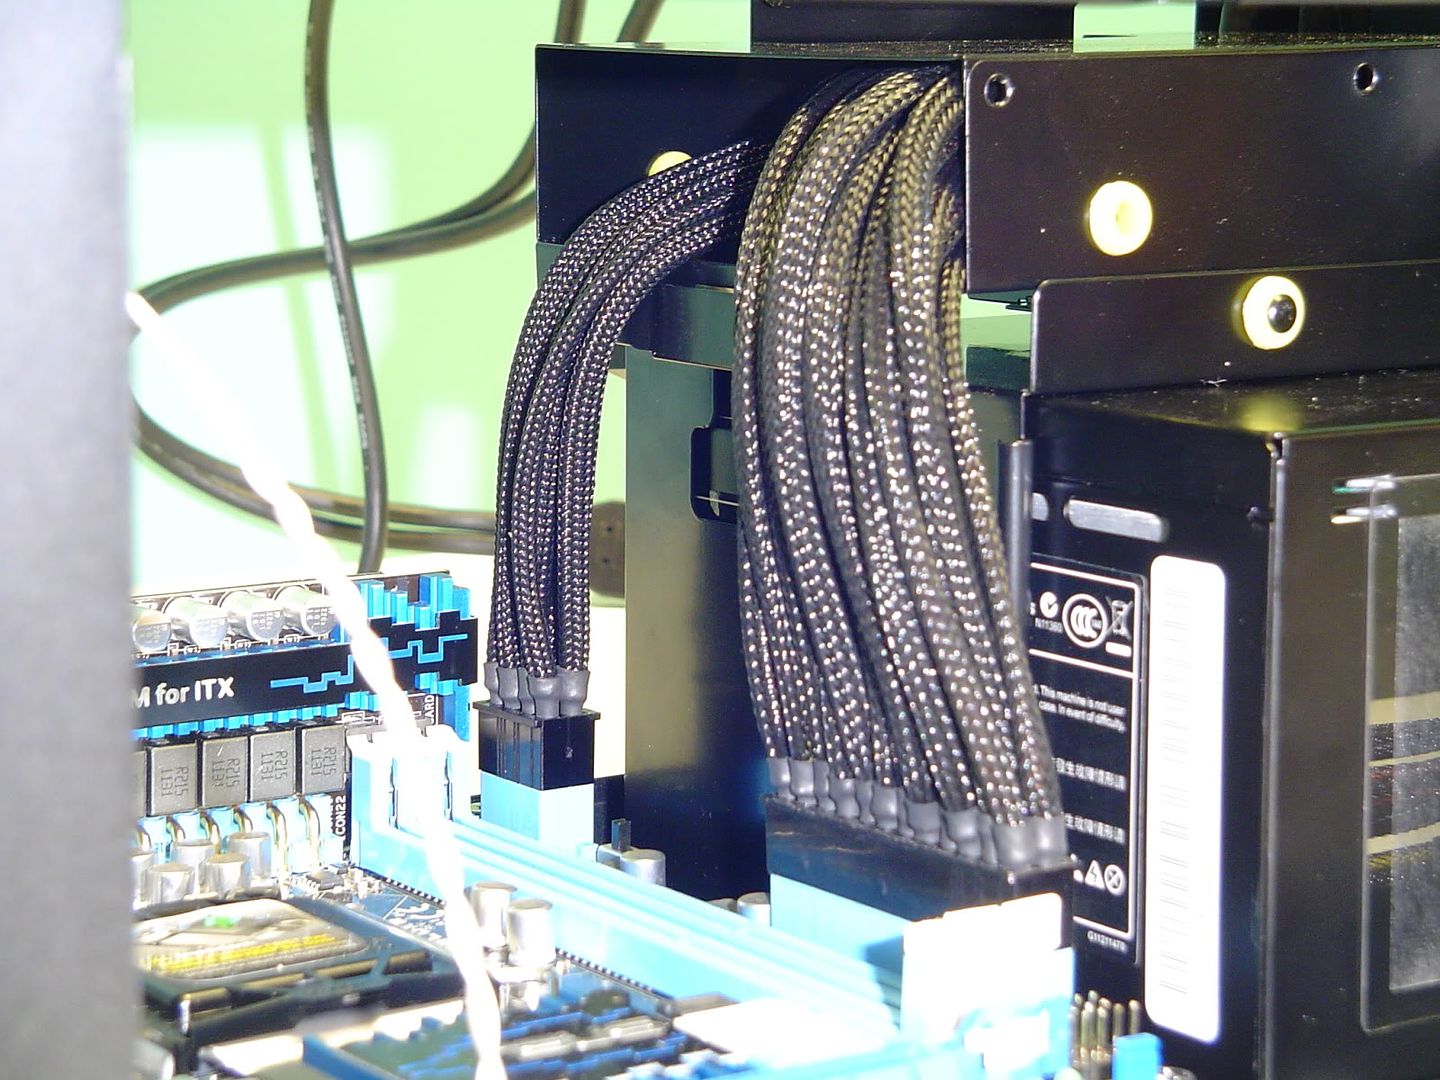
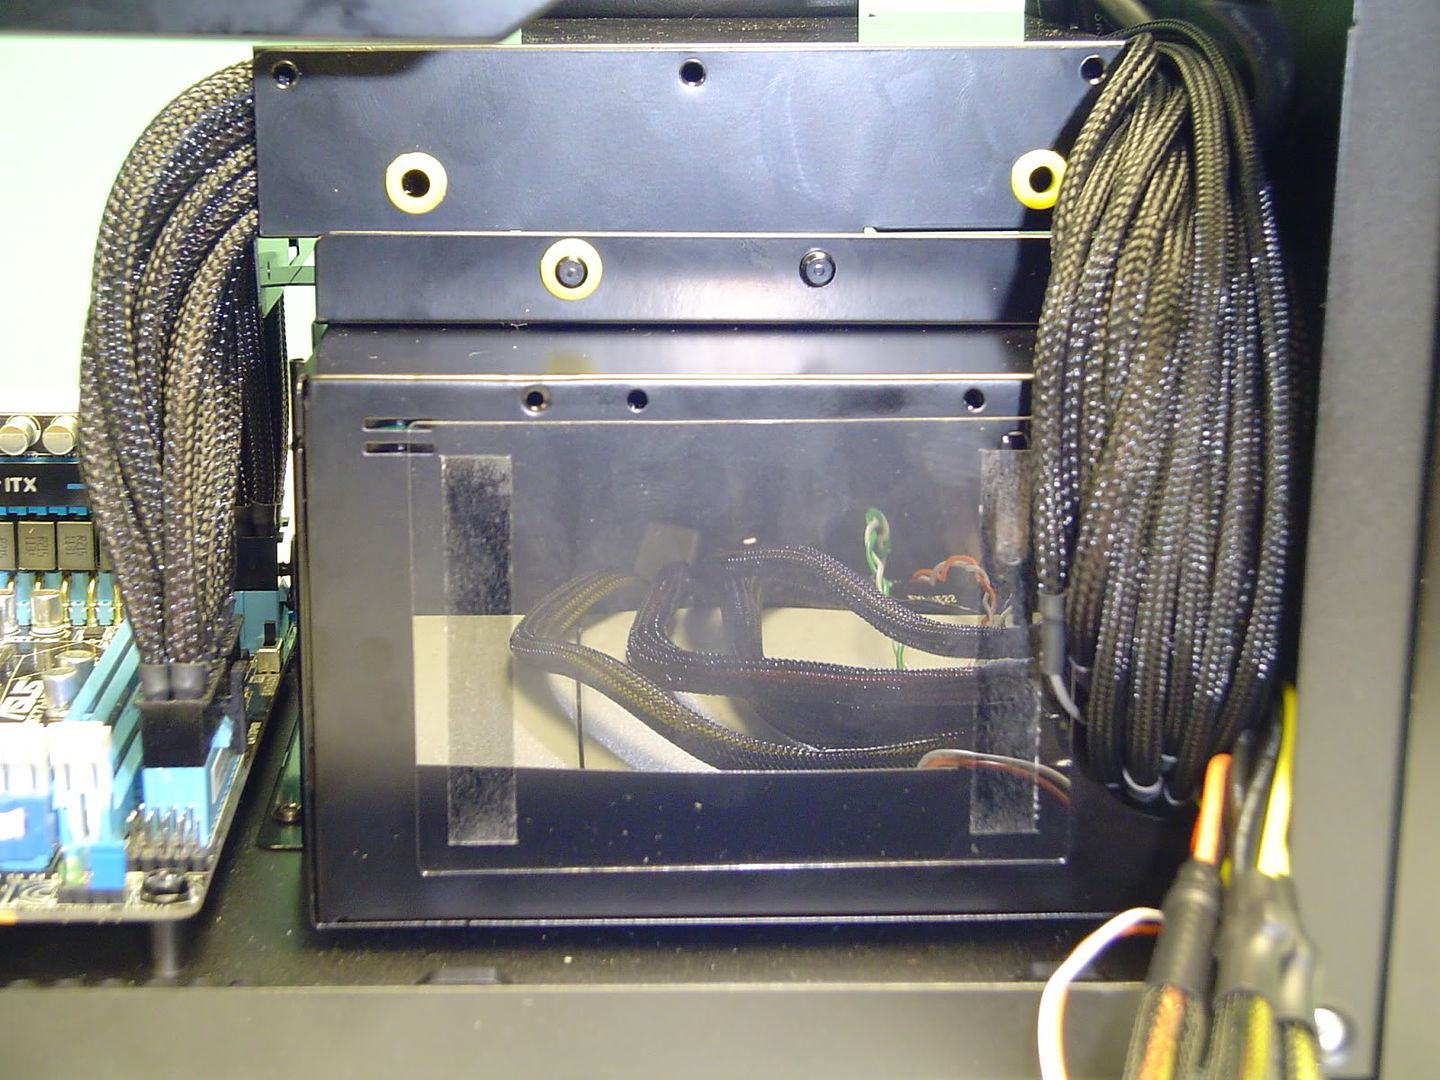
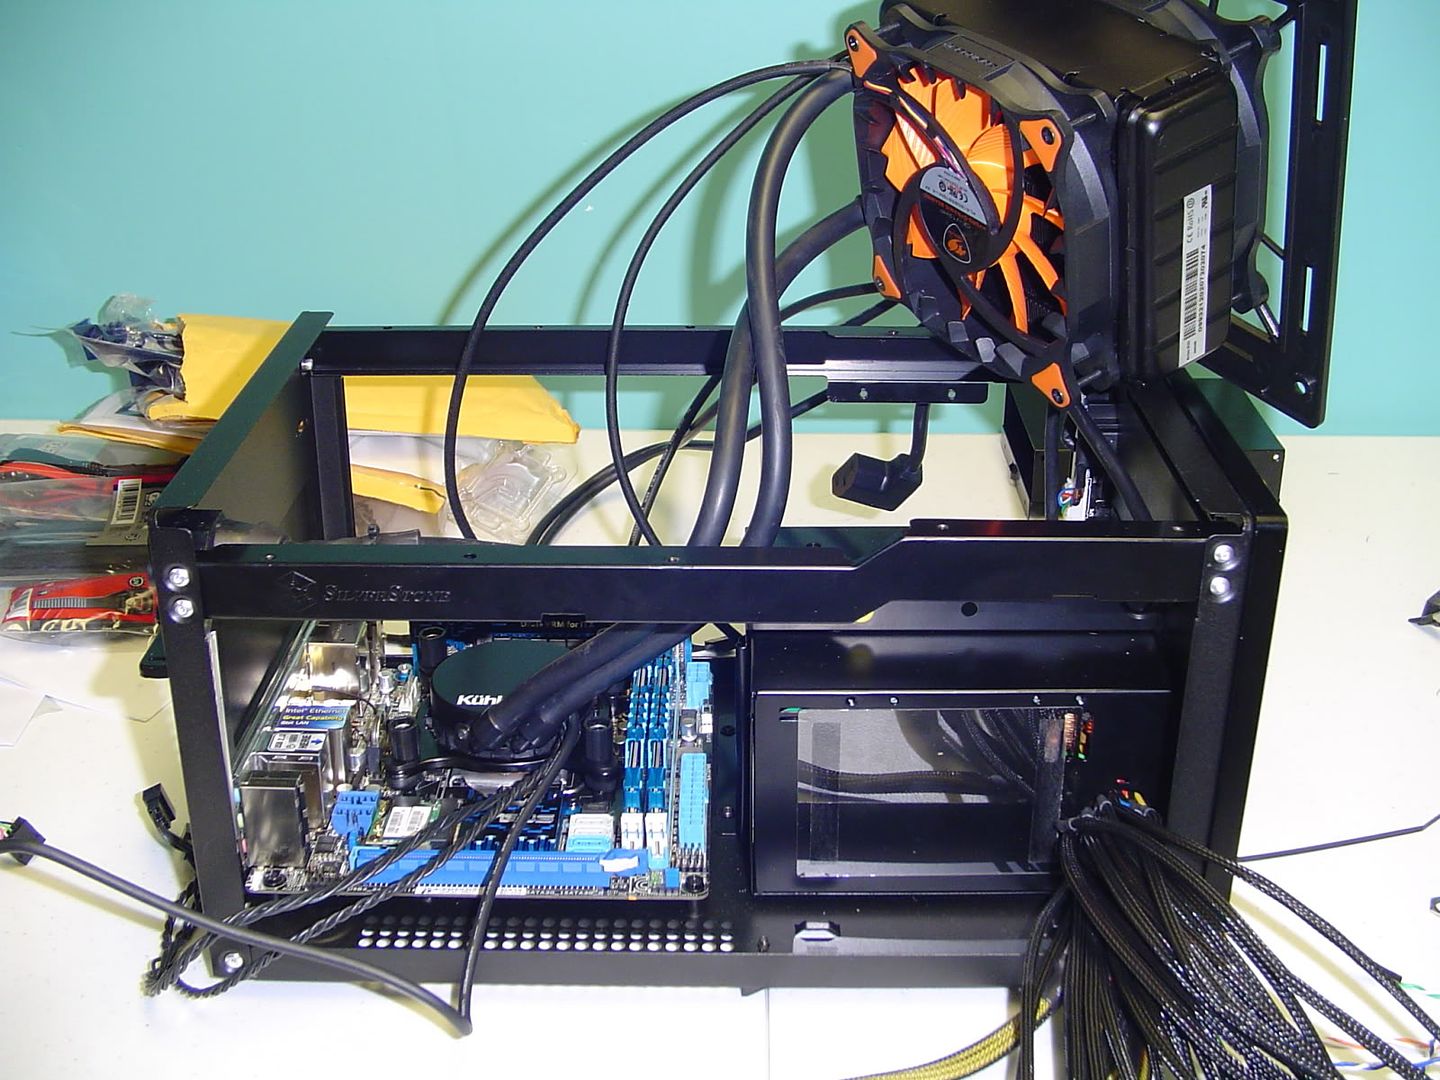
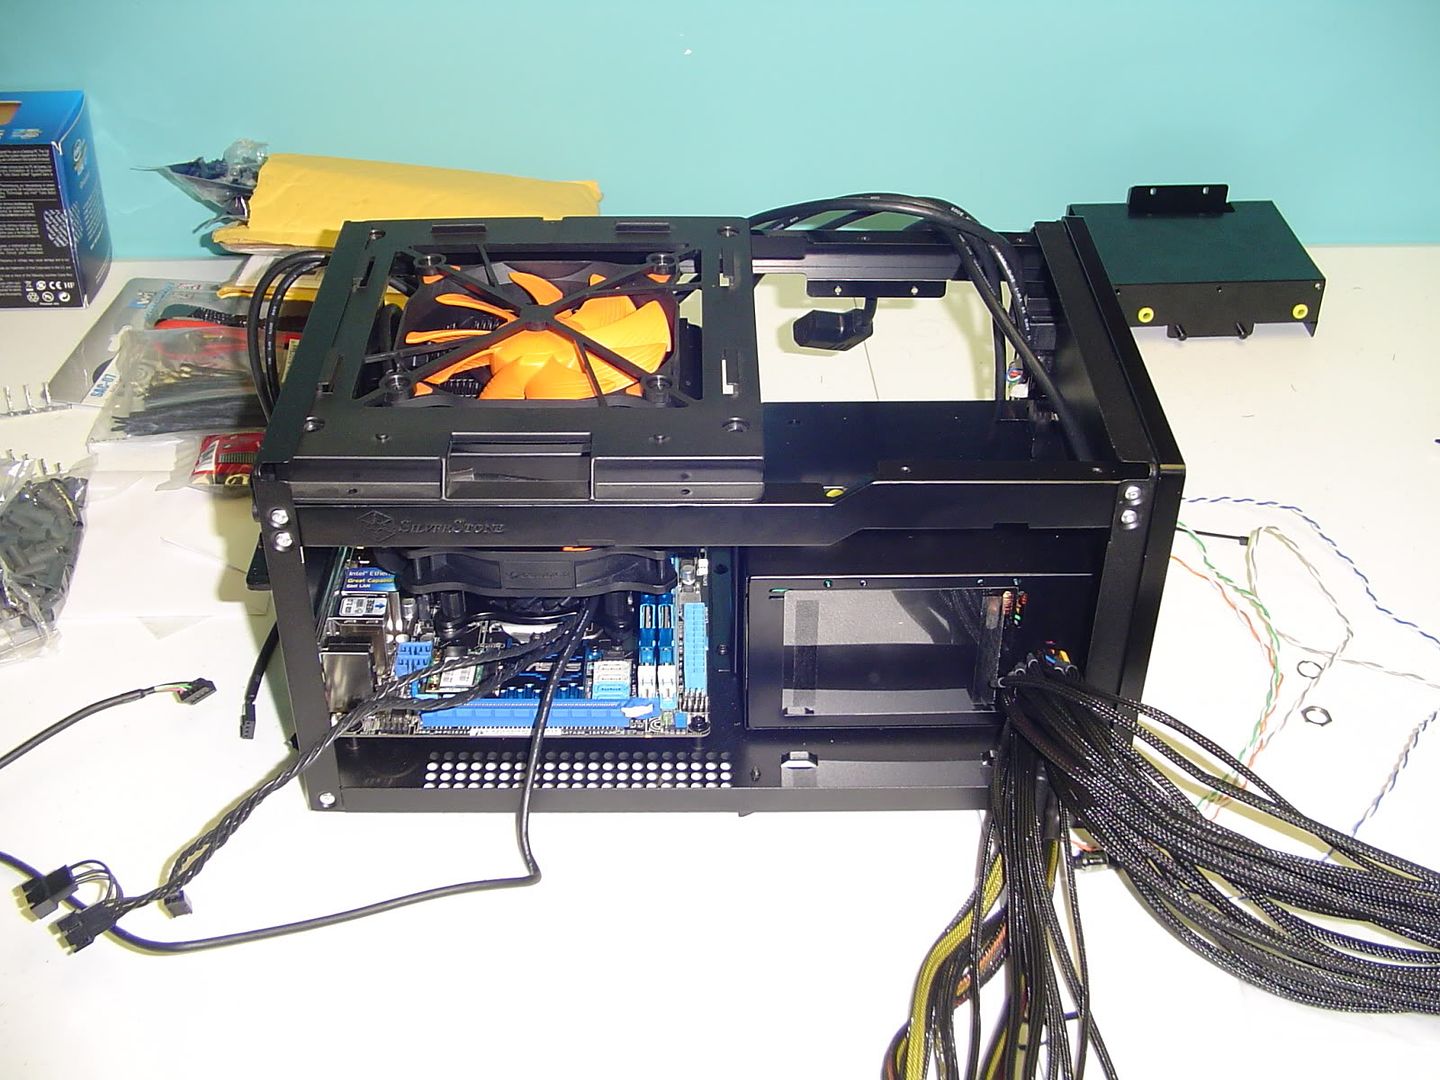
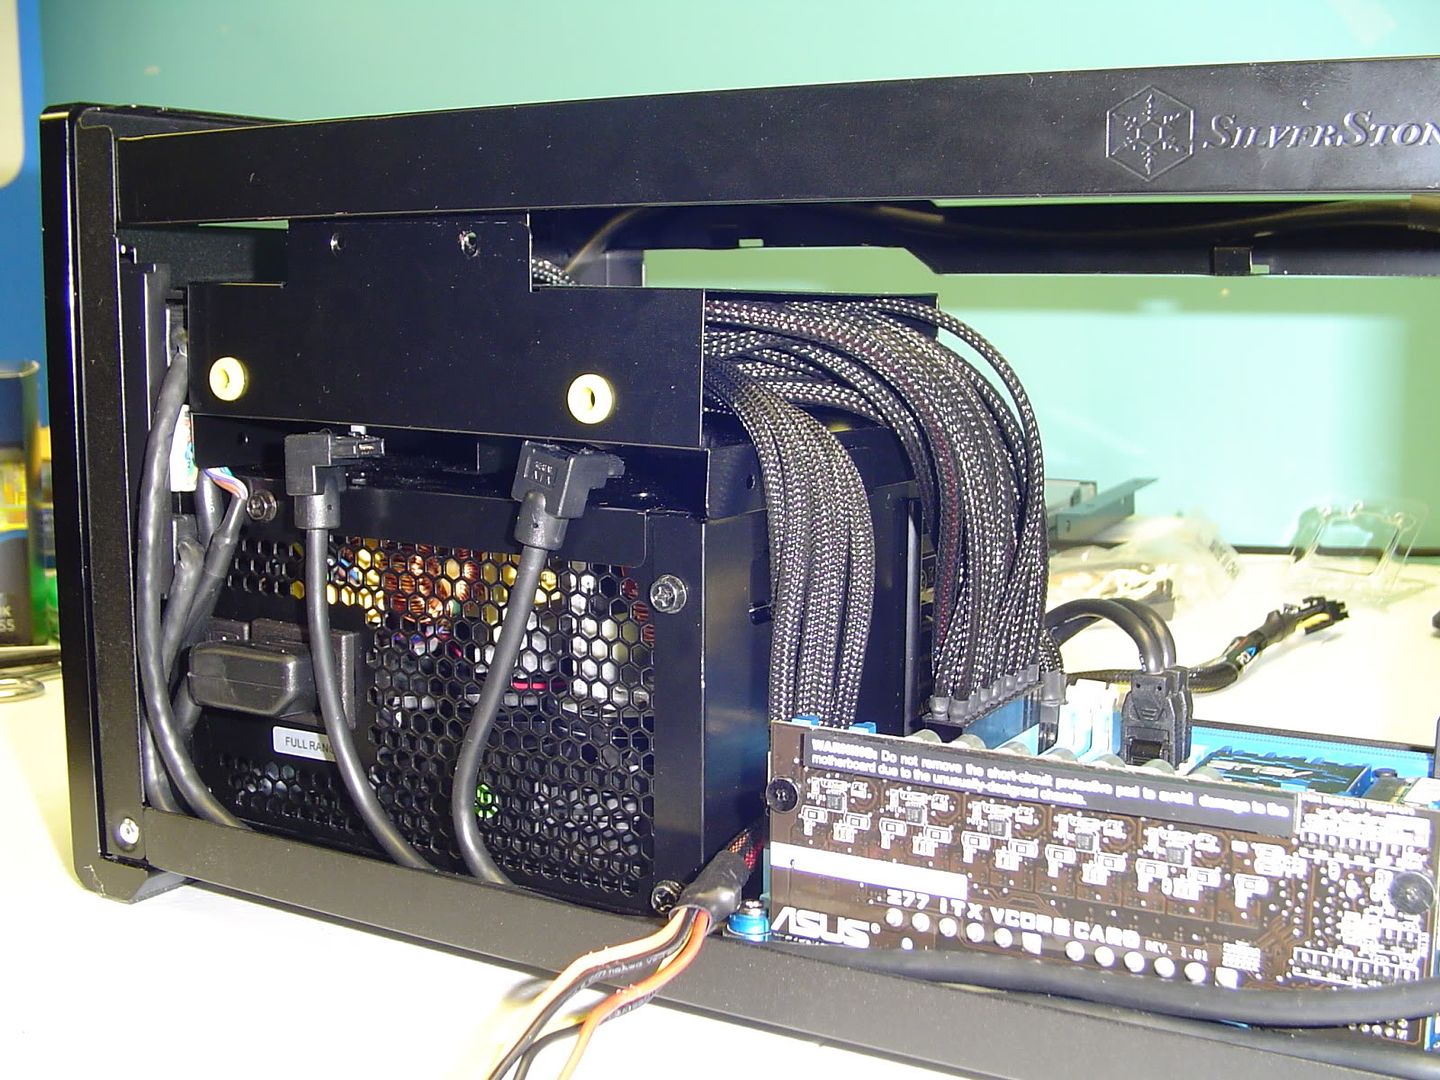
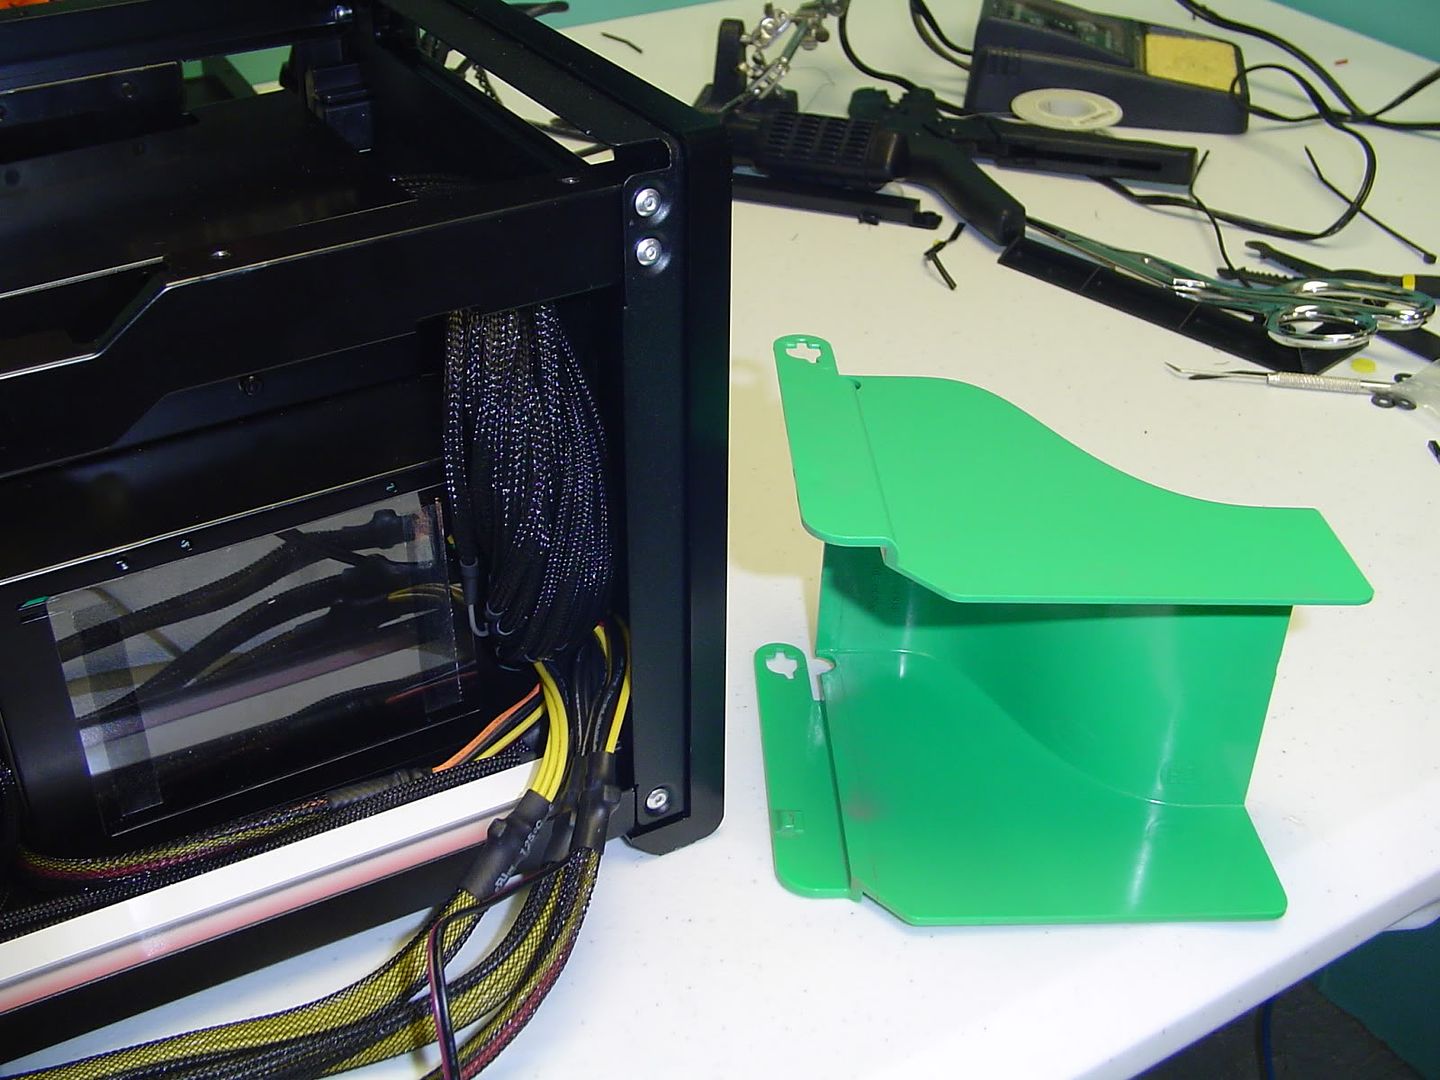
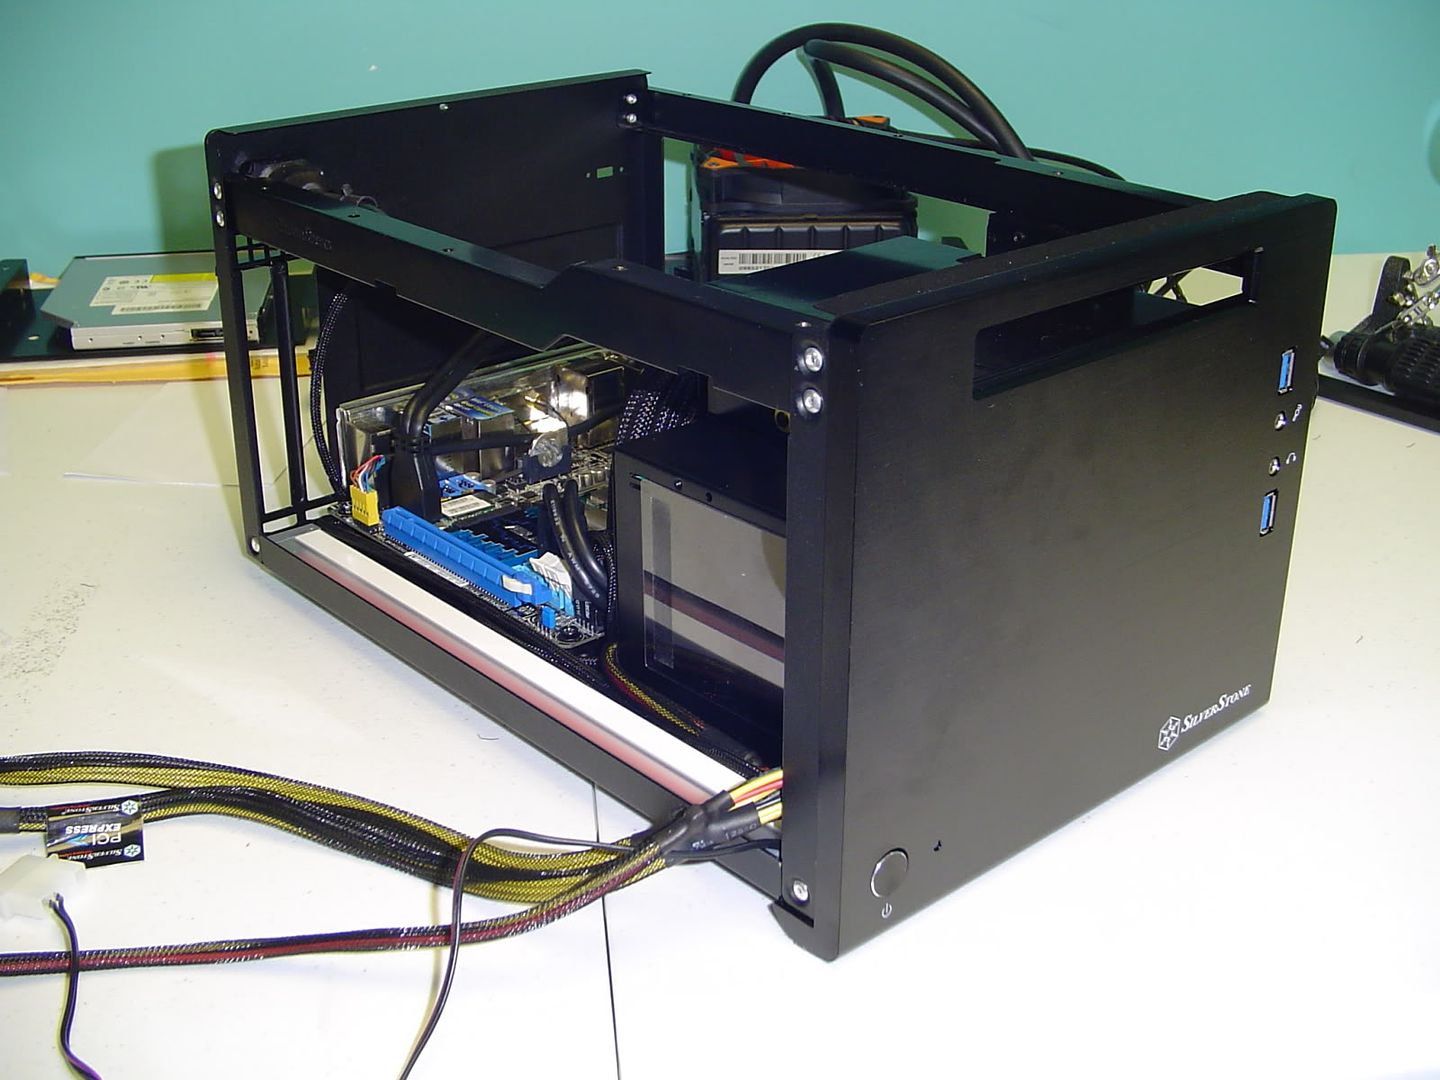
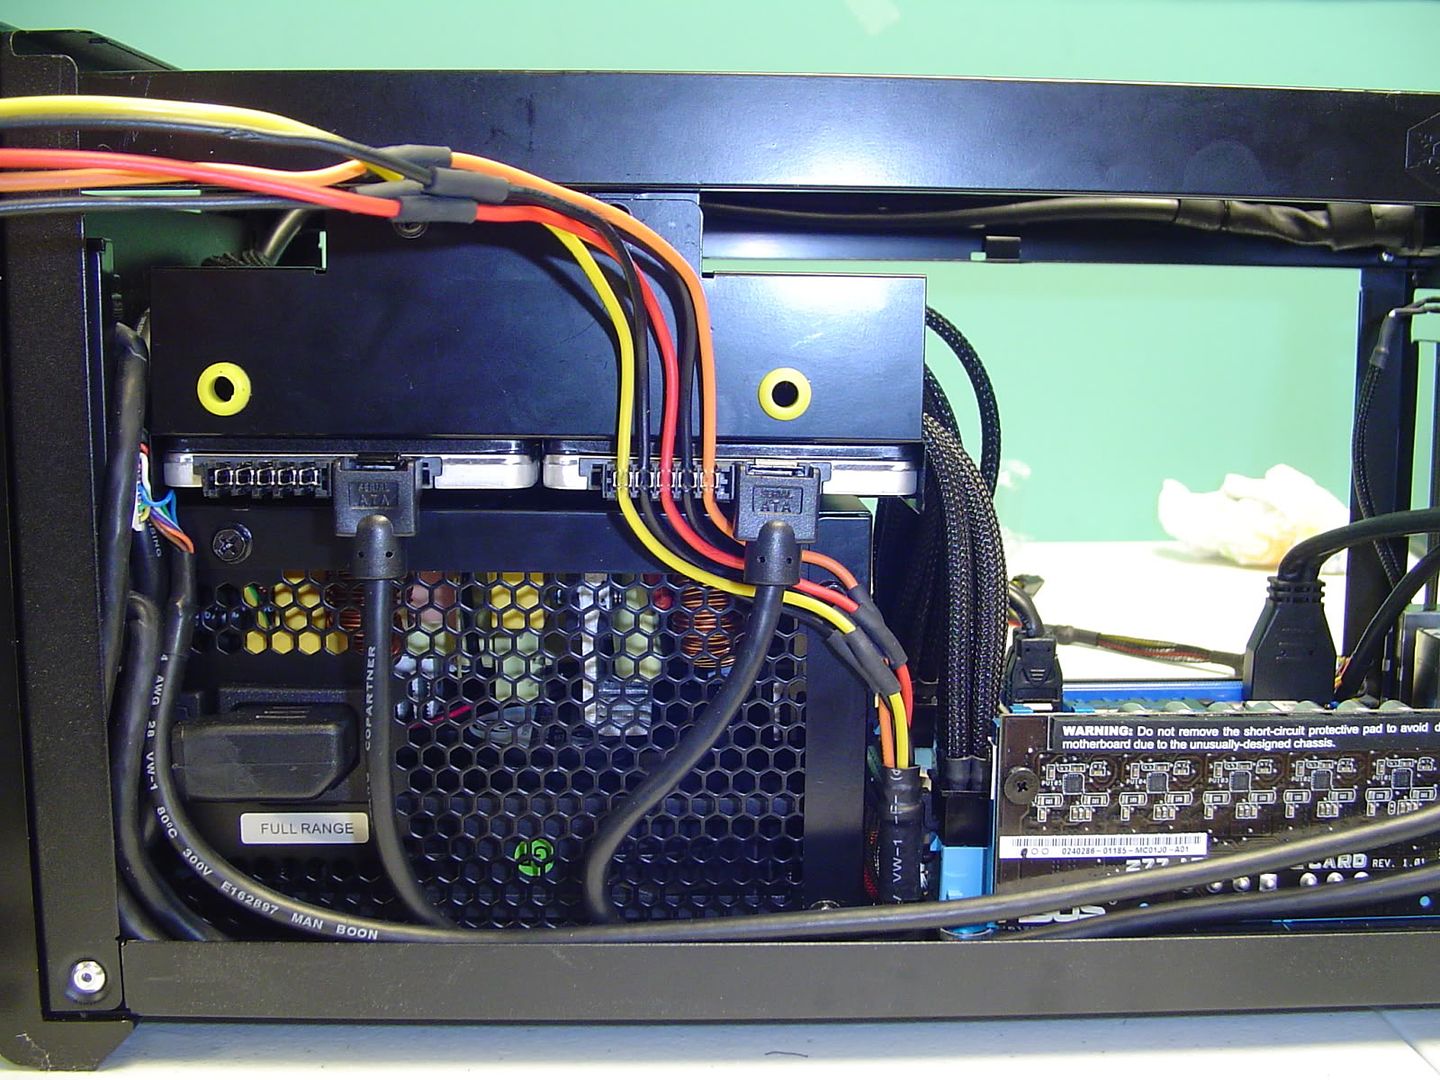
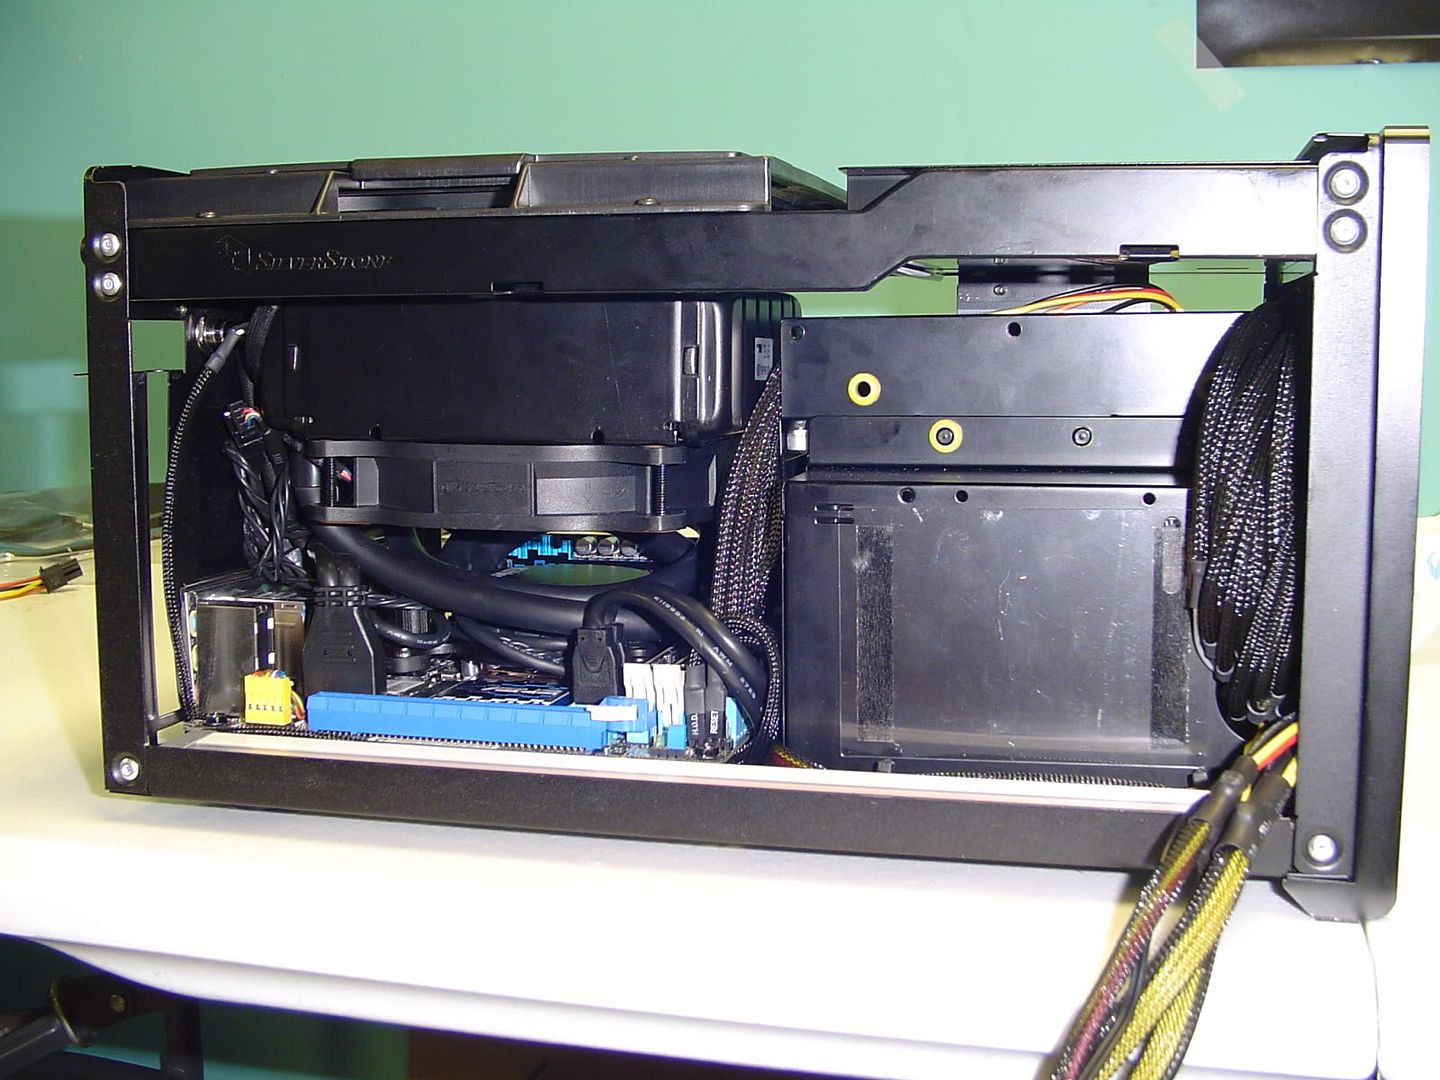
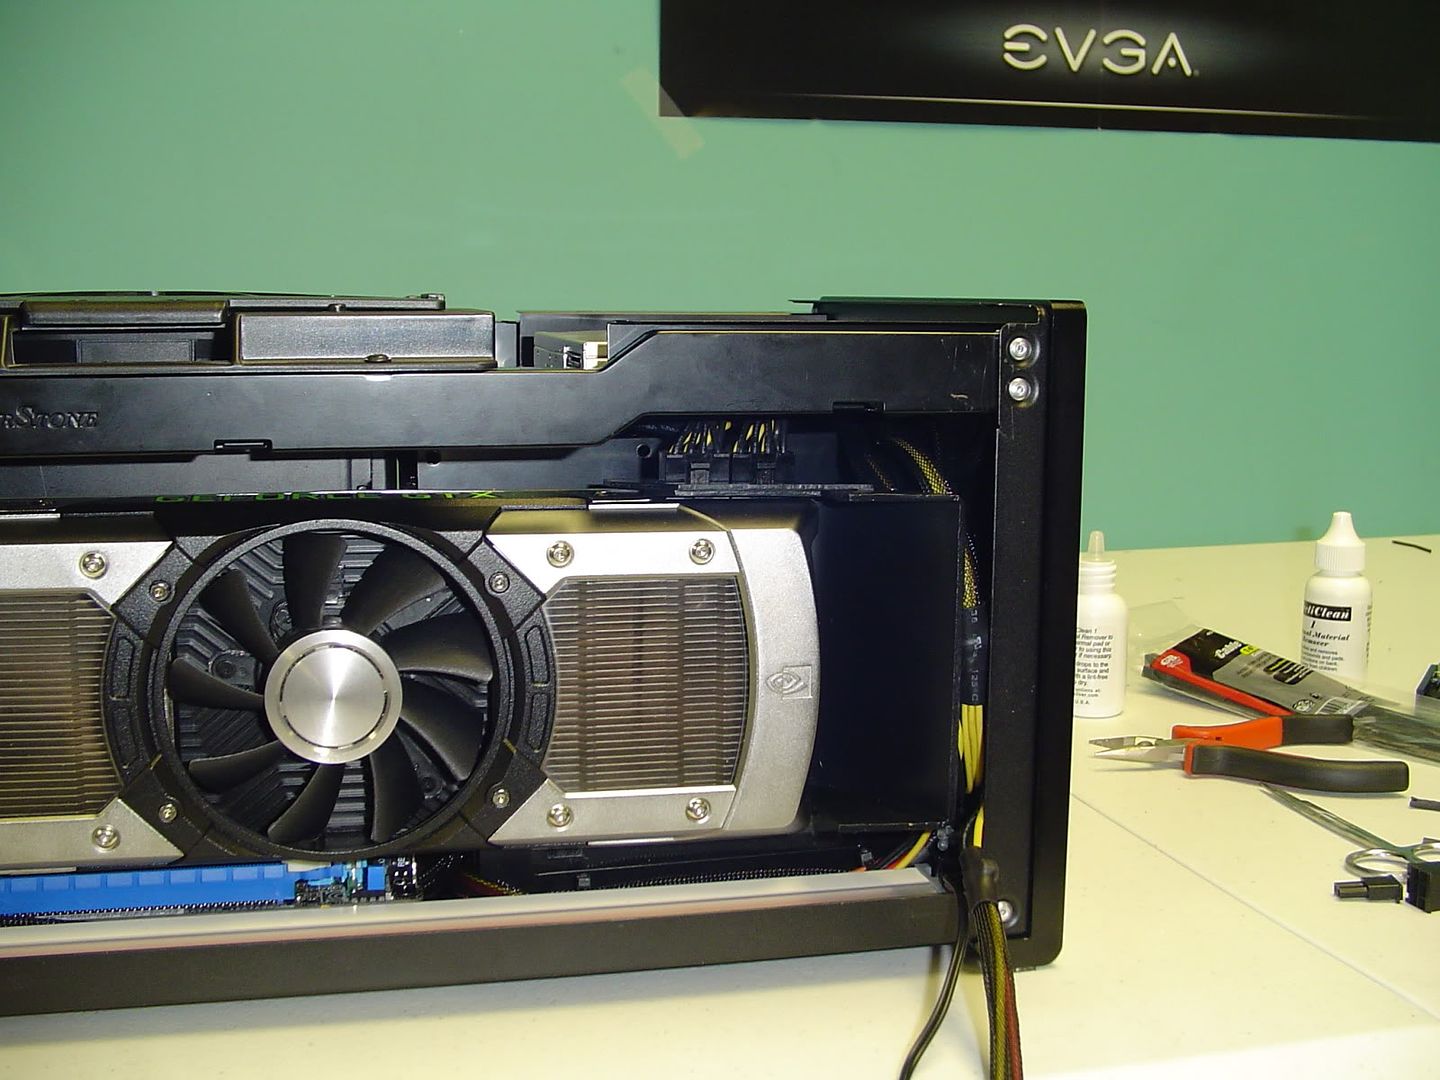
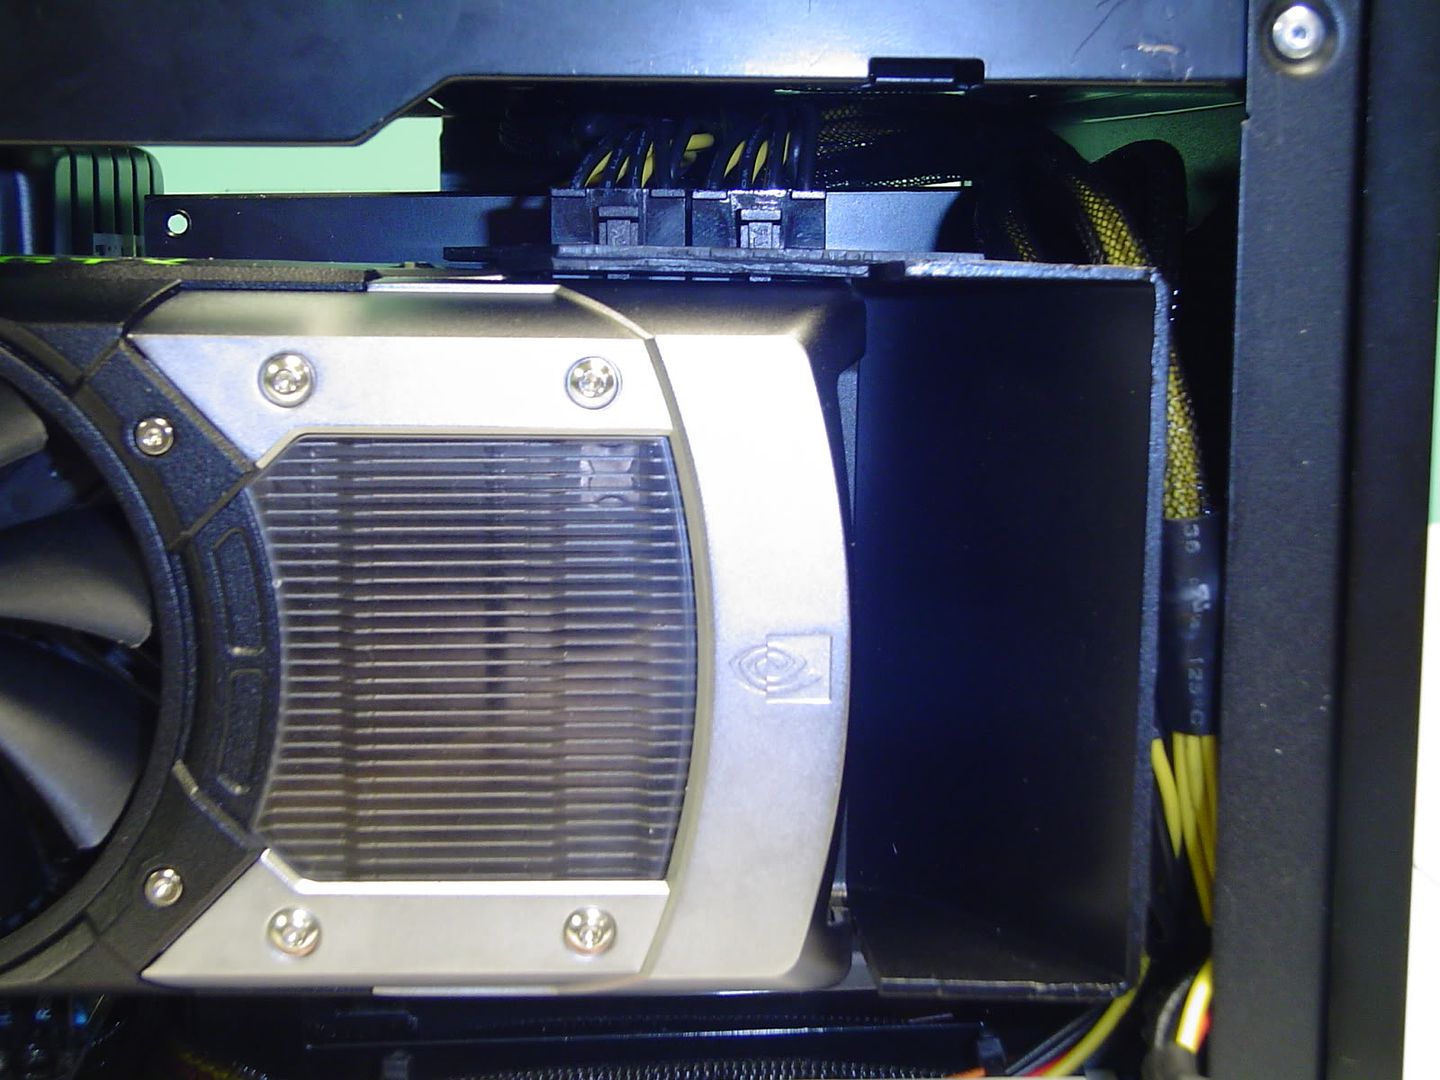
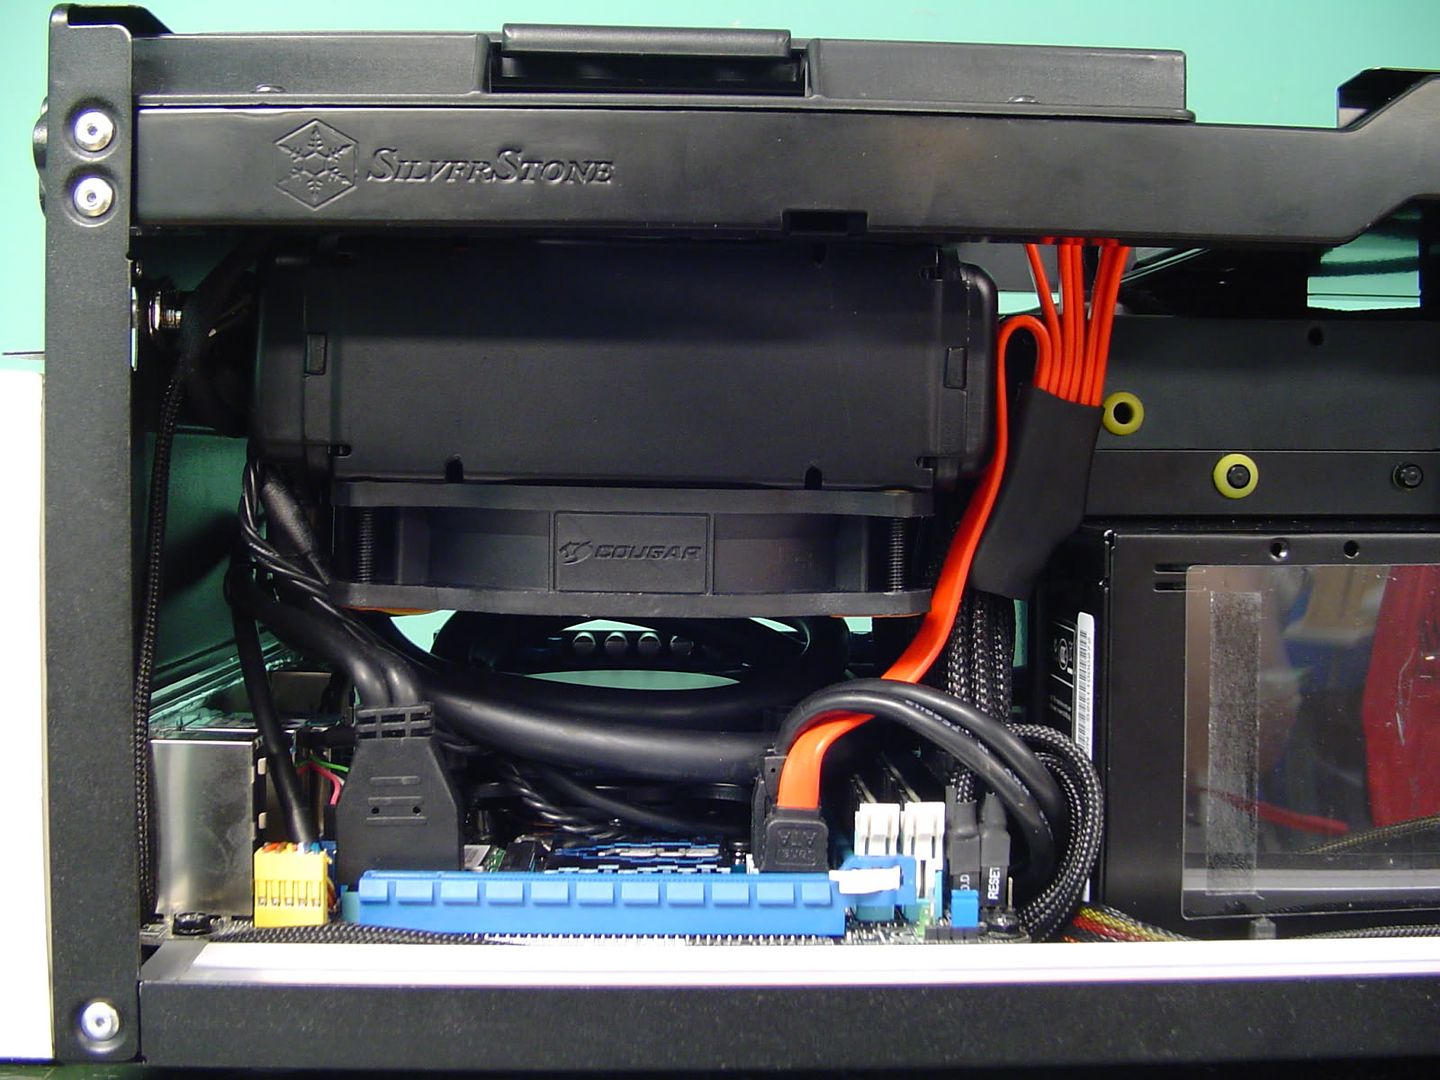
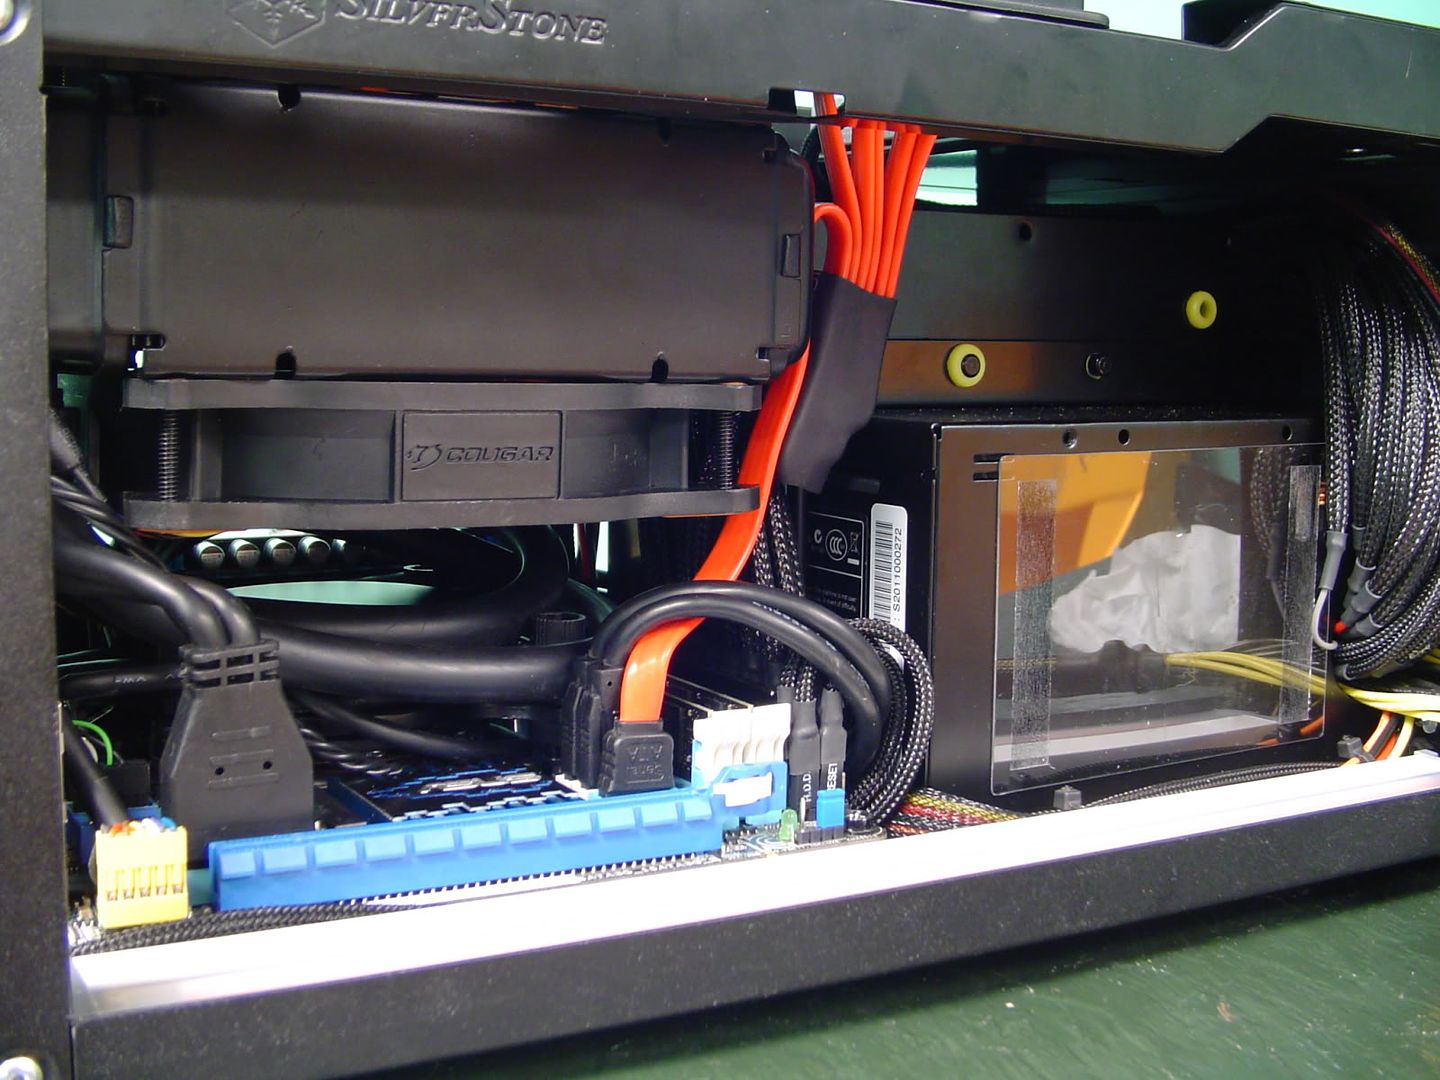
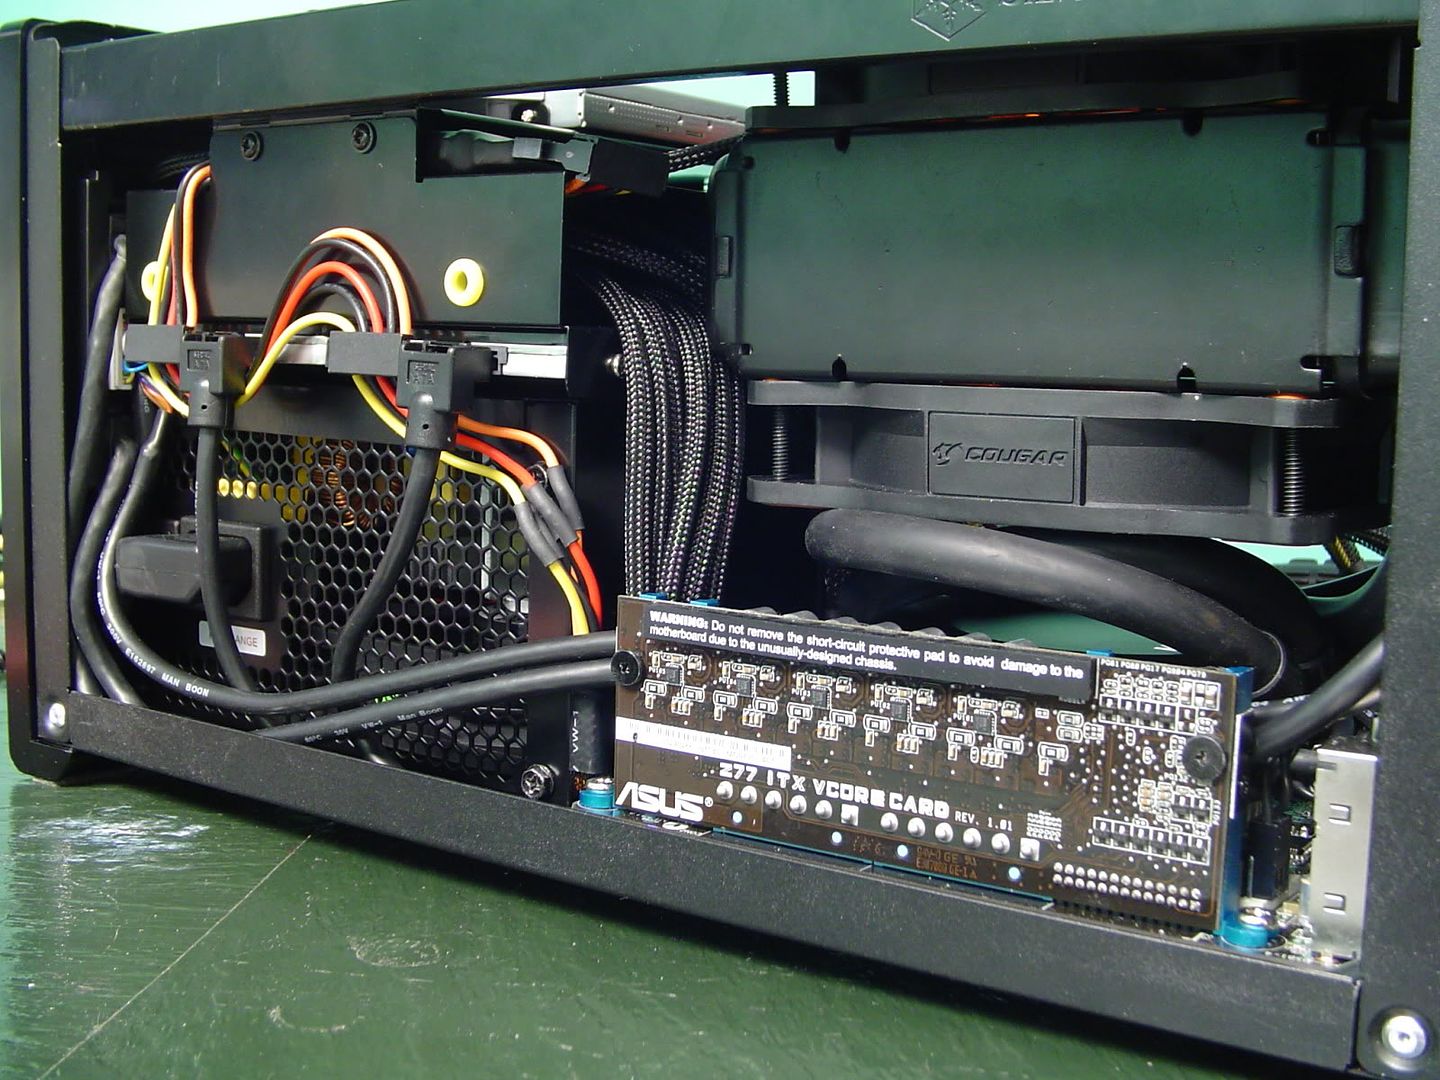
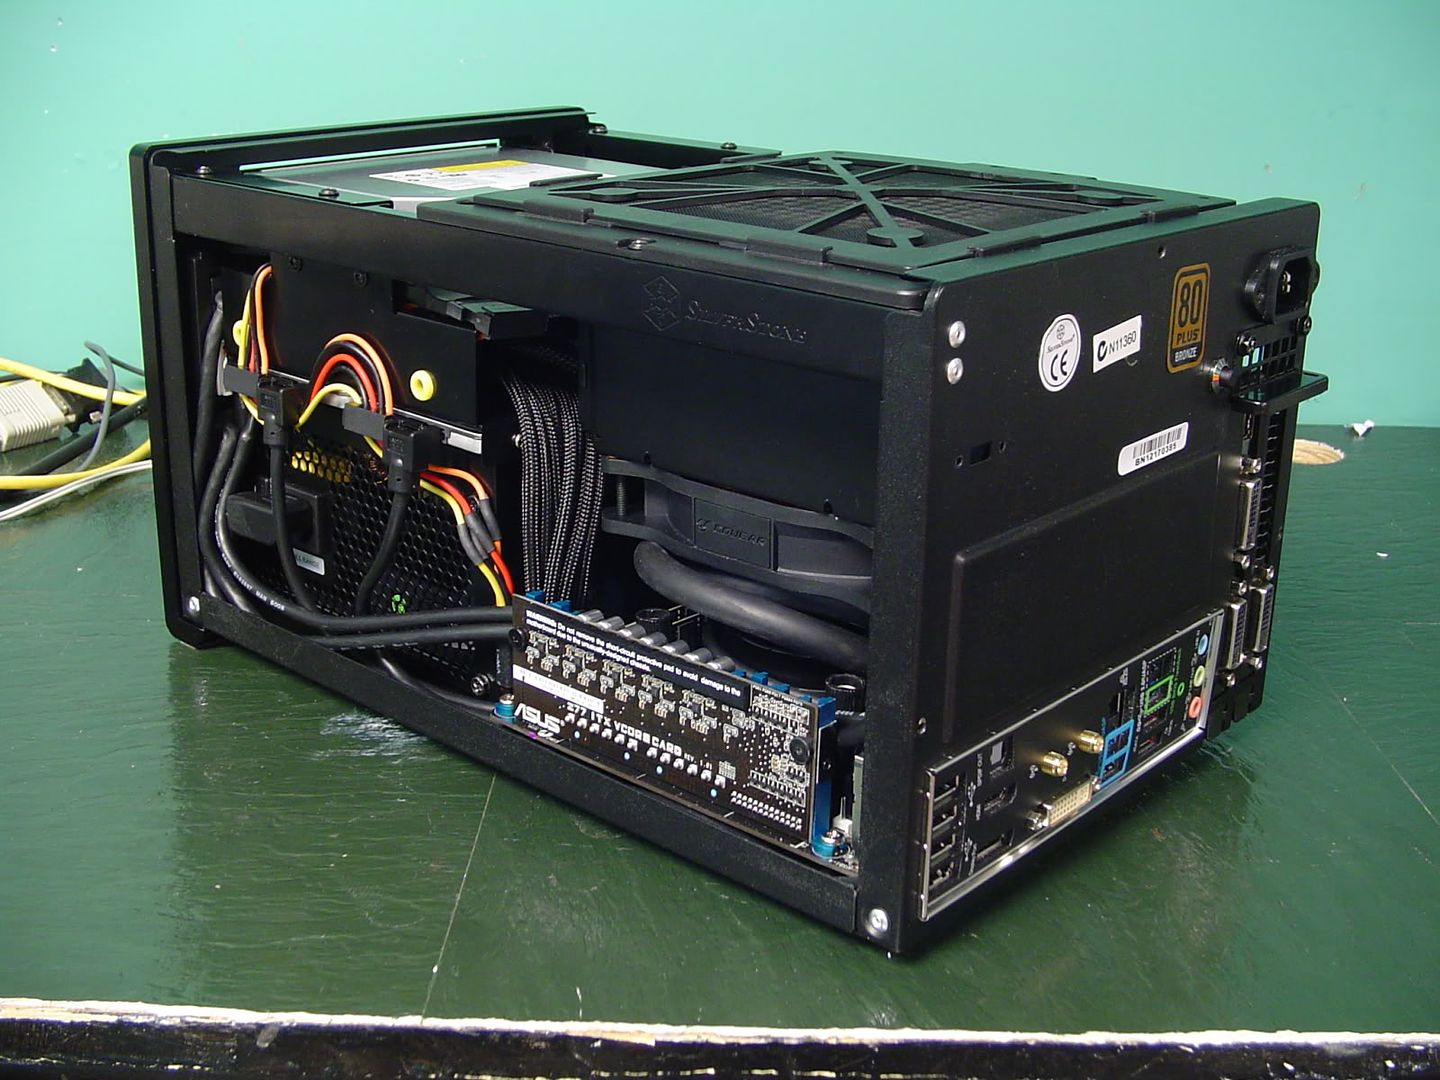
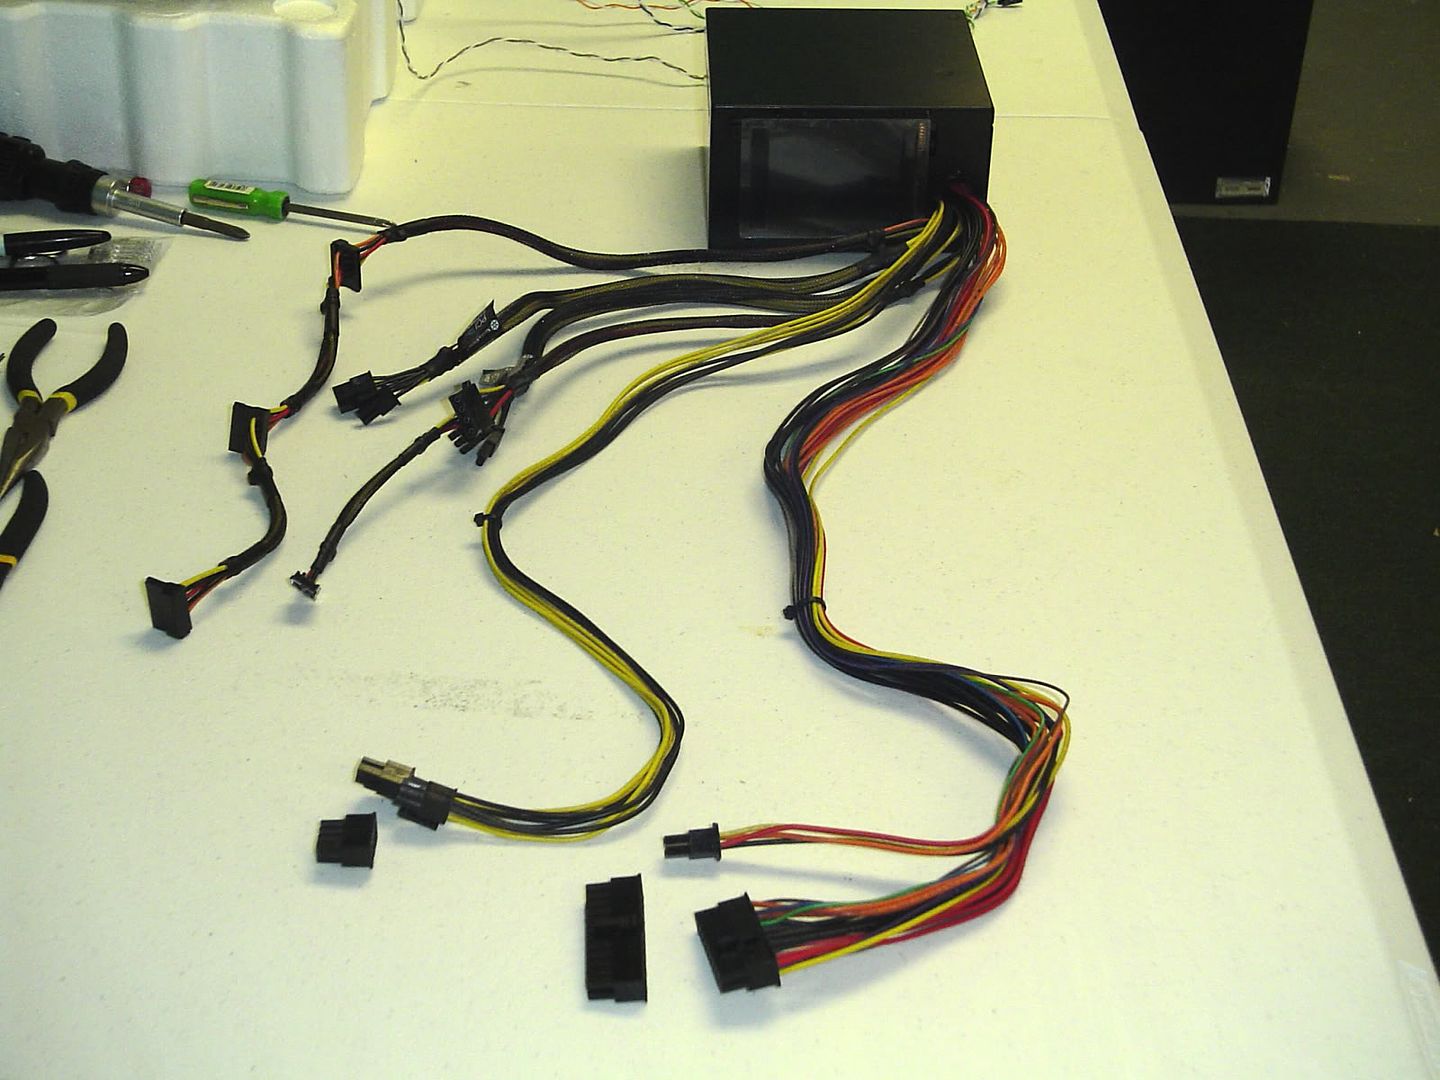
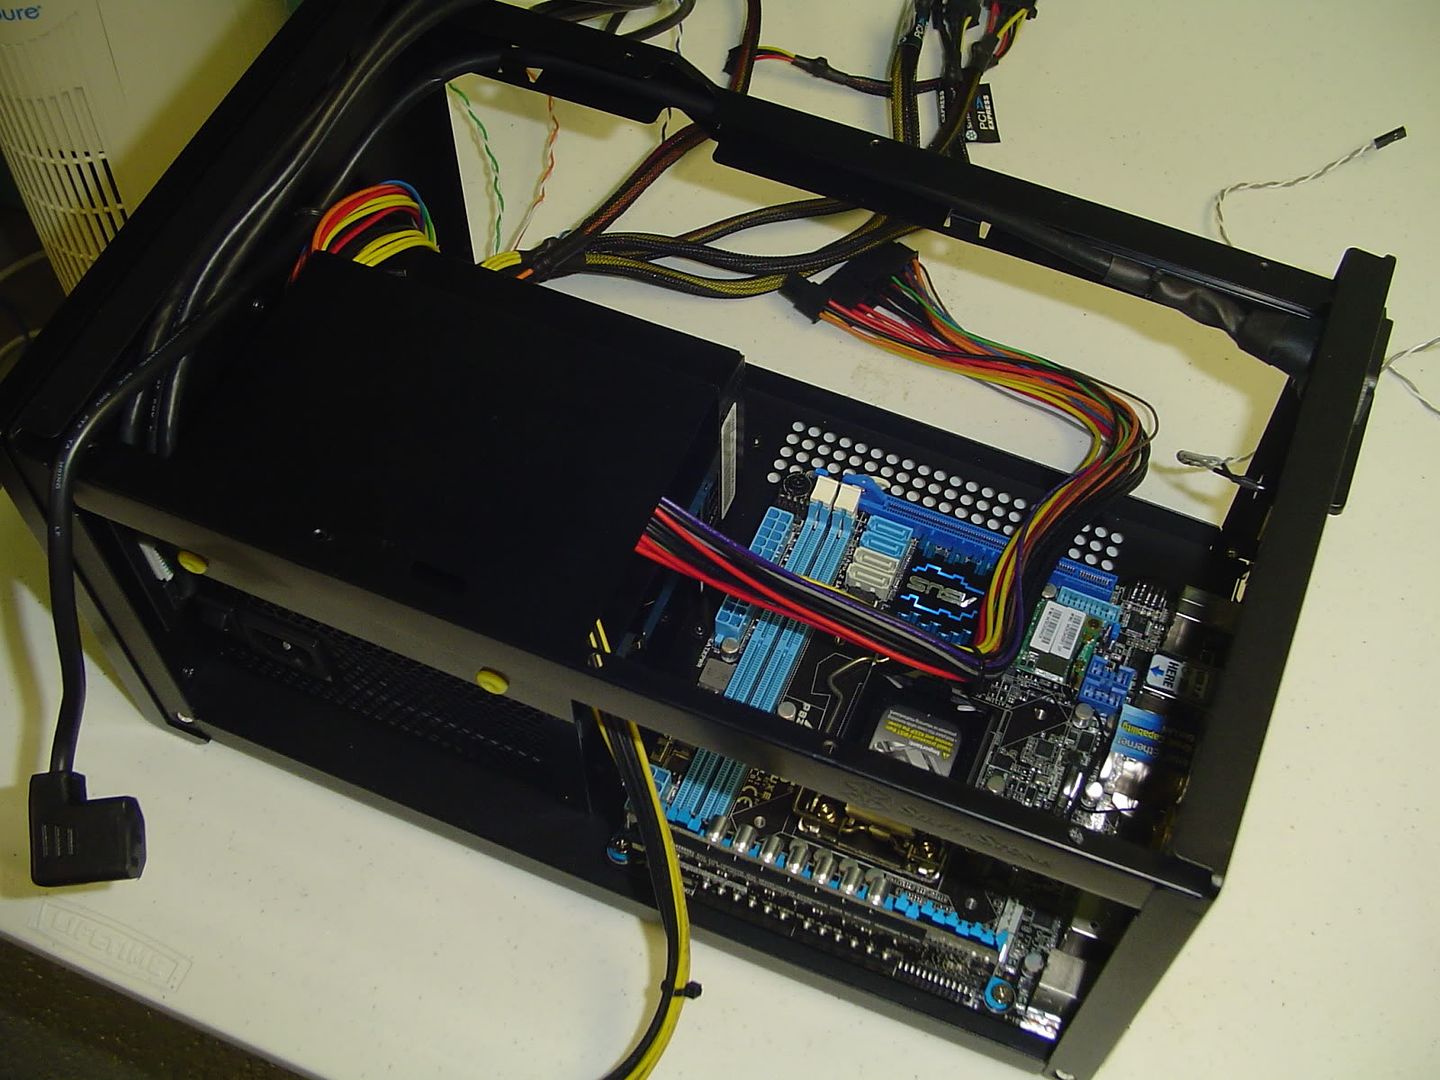
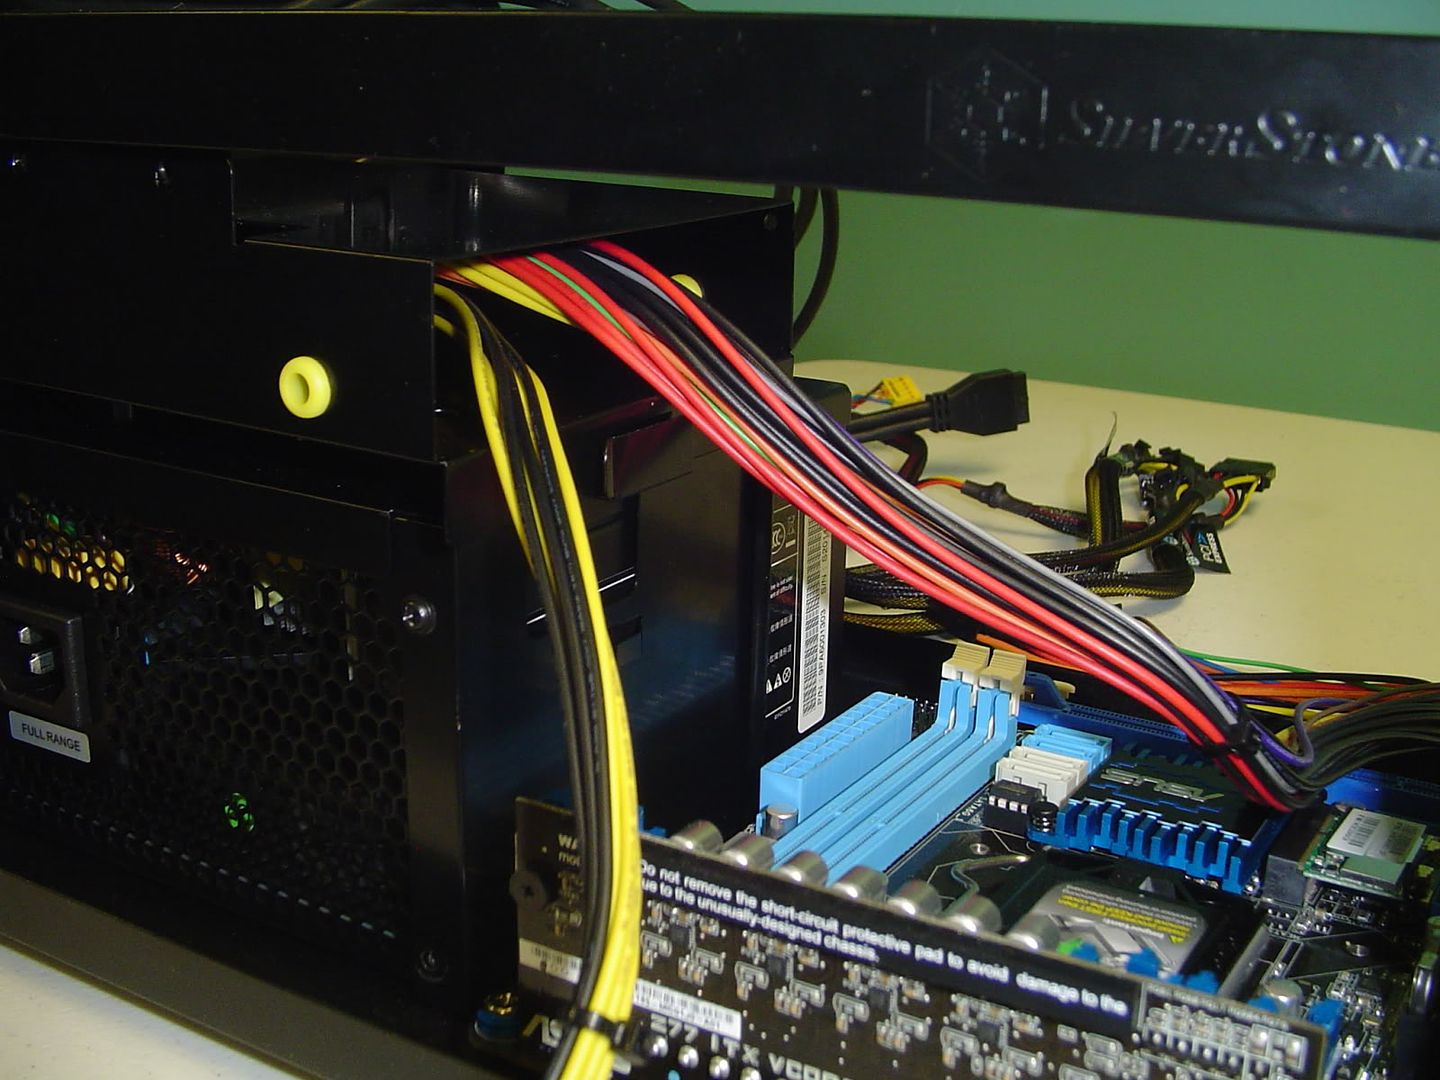
Anyway, here's a few shots of the planned cable route for the ATX and EPS cables.
As you can see, I have absolutely no plans to use a 3.5" hdd in this machine. Instead, the 3.5" bay serves as a perfect slot to route my cables through.
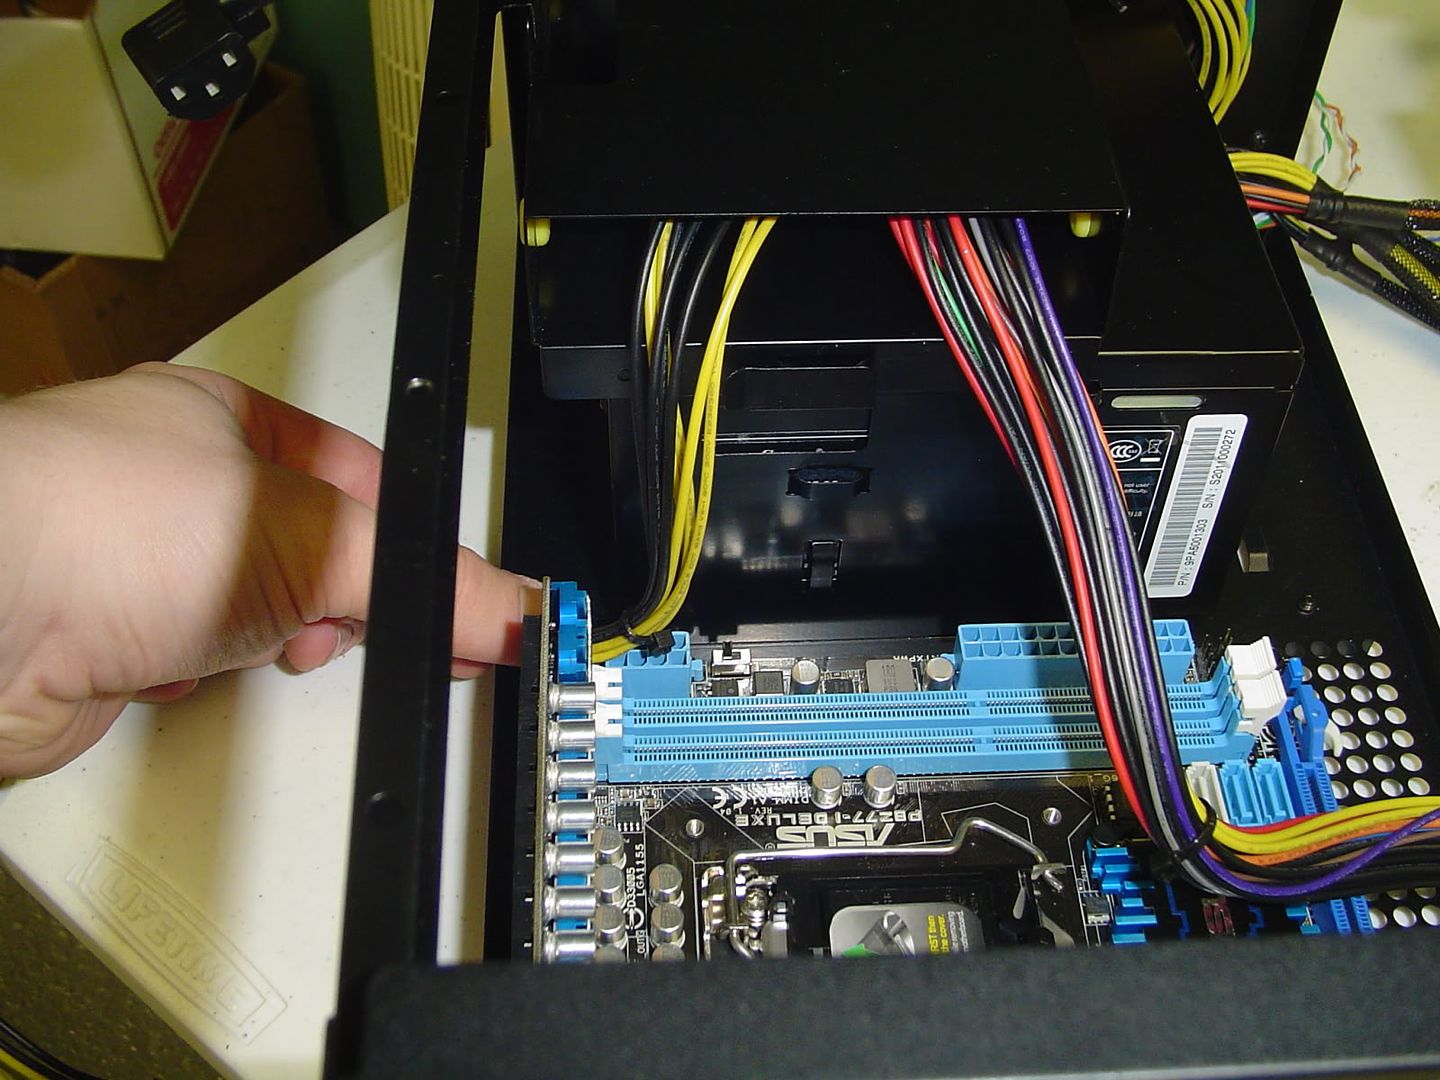
When cut to length, the cables will end up right were they need to be and there will be no slack to stuff and hide!
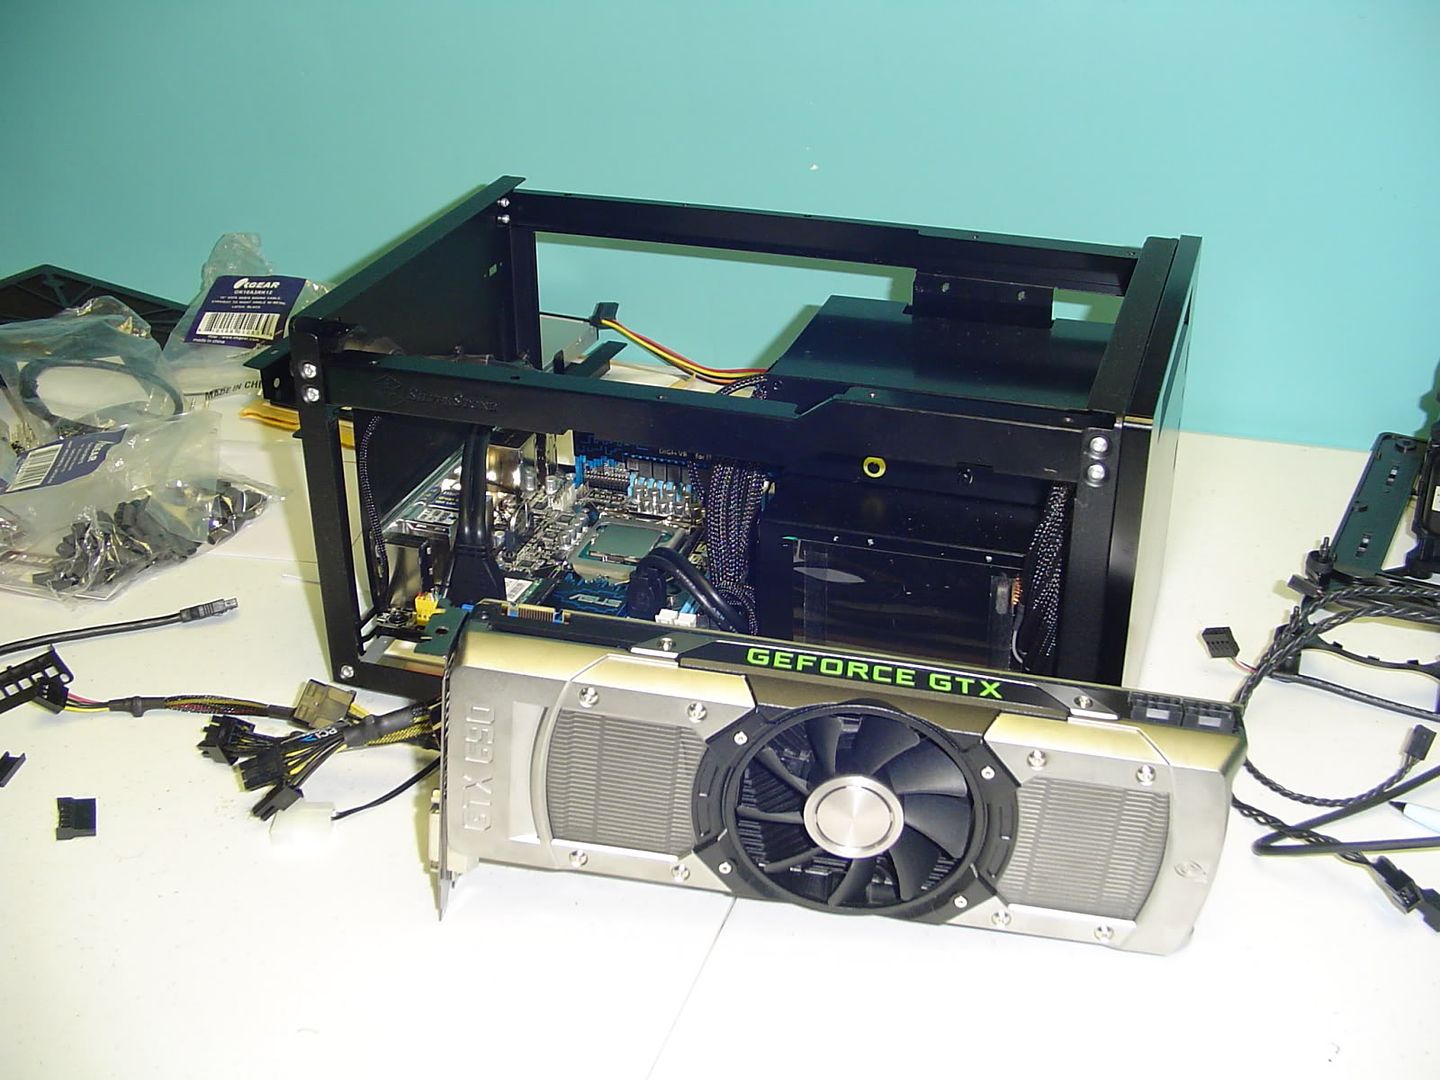
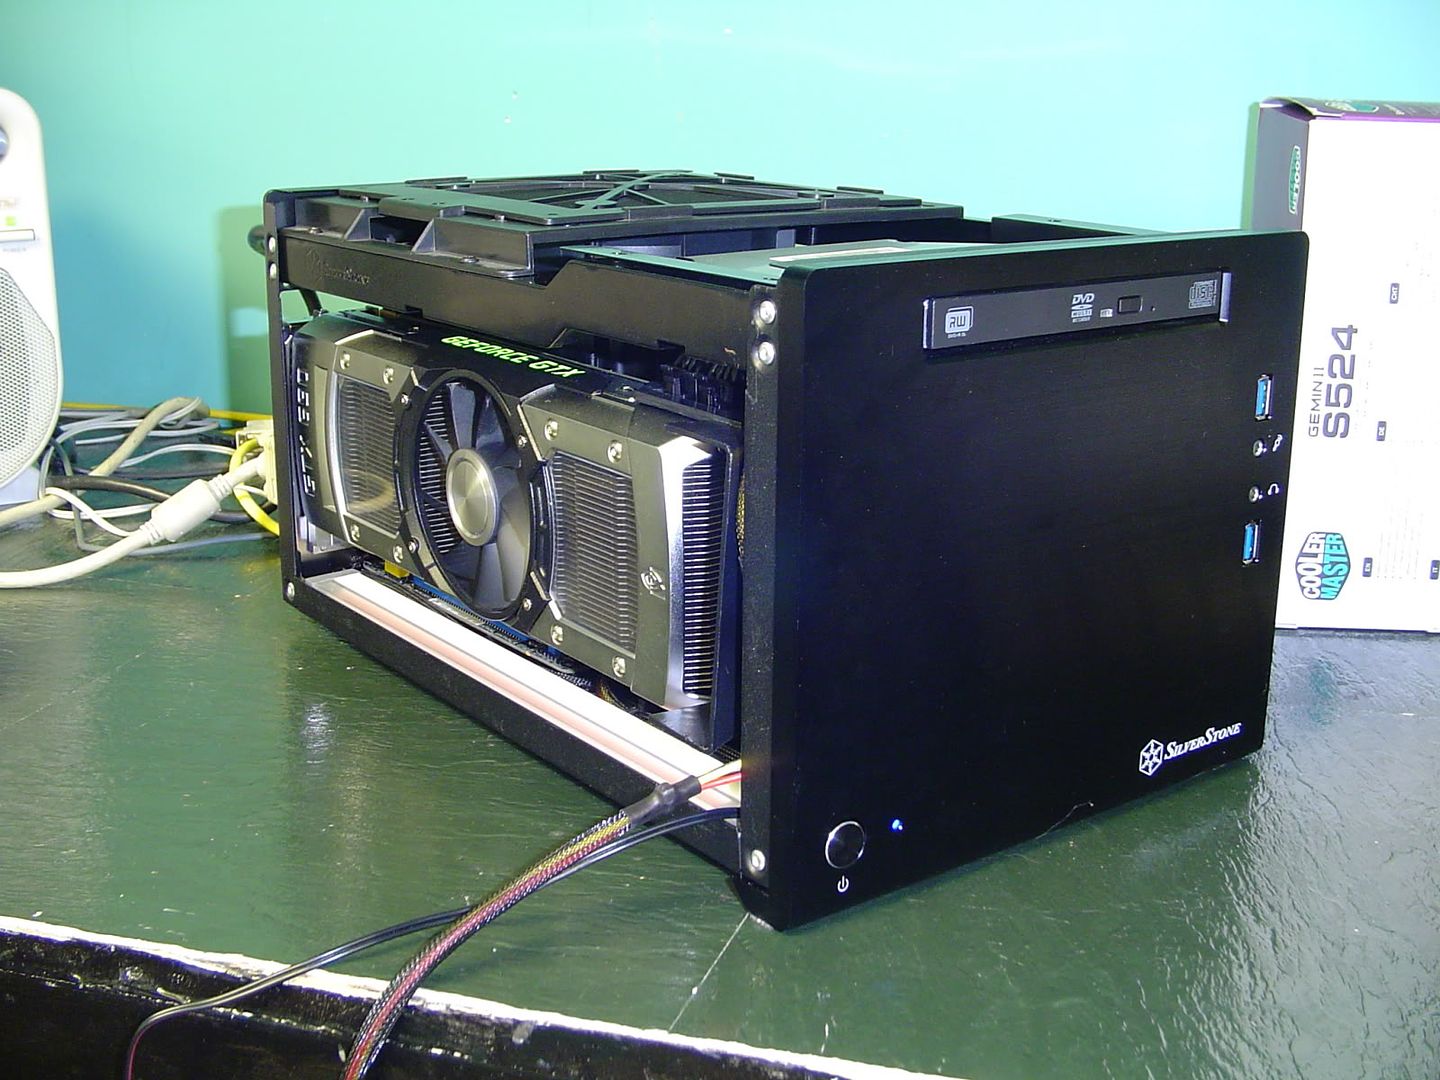
I'm mainly concentrating on shortening the ATX and EPS cables right now, but eventually I'll get around to shortening the PCI-E cables as well. With an 11" card in there, they won't have to stretch very far at all and the more cable clutter I can reduce, the better.
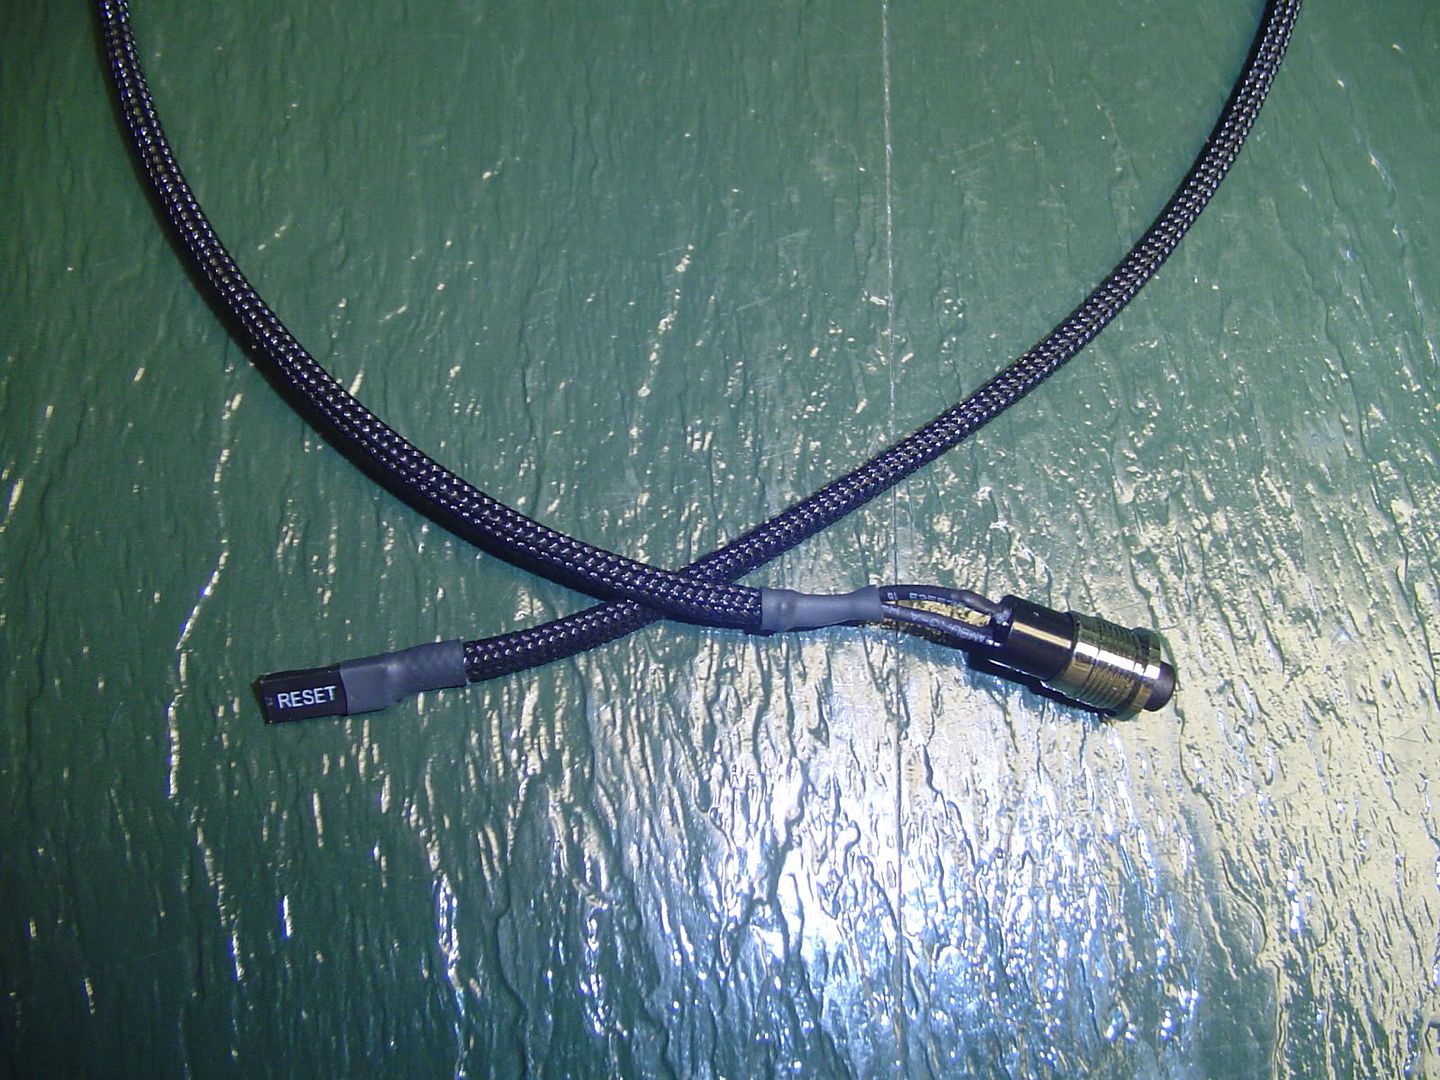
I also plan on sleeving the front panel connectors eventually. I'm going to try to get this build as tidy as possible.
Now, this project will end up taking quite a while. I'm not exactly rich and I'm sorta buying the parts as I am able to. It's going to take a good while for me to save up enough to get a GTX 690, nevermind the 3770k and the two SSDs and Blu-Ray drive that I still lack. When my MDPC-X stuff arrives I'll finally get to work on this some more. Until then, leave me any comments/concerns/suggestions that you may have.
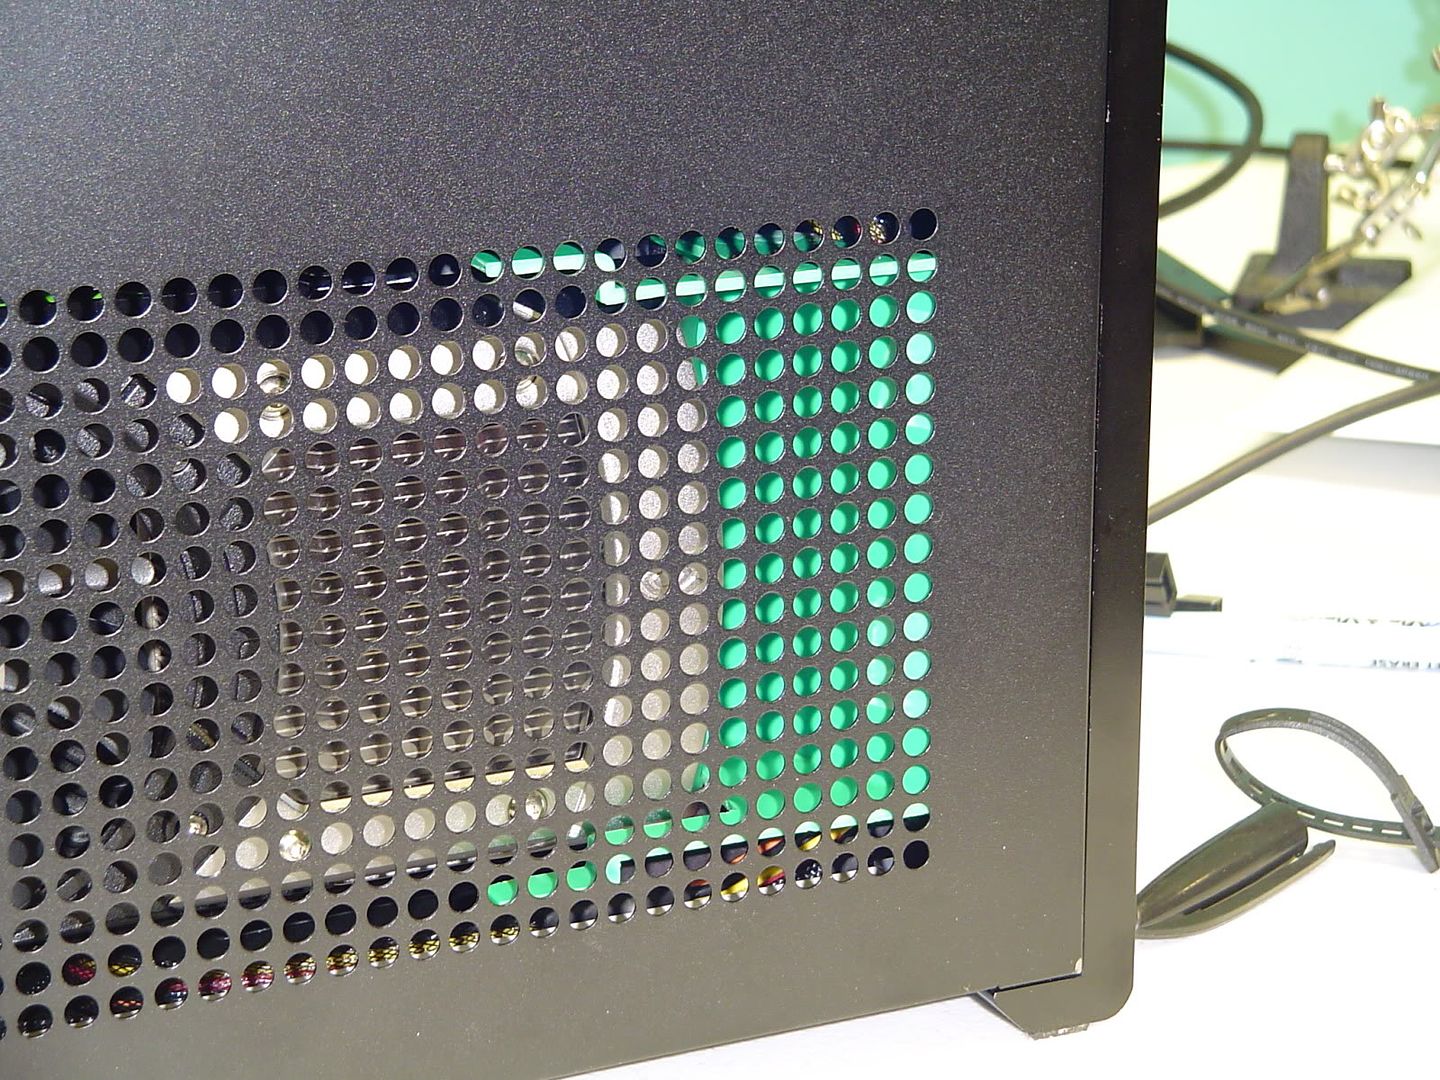
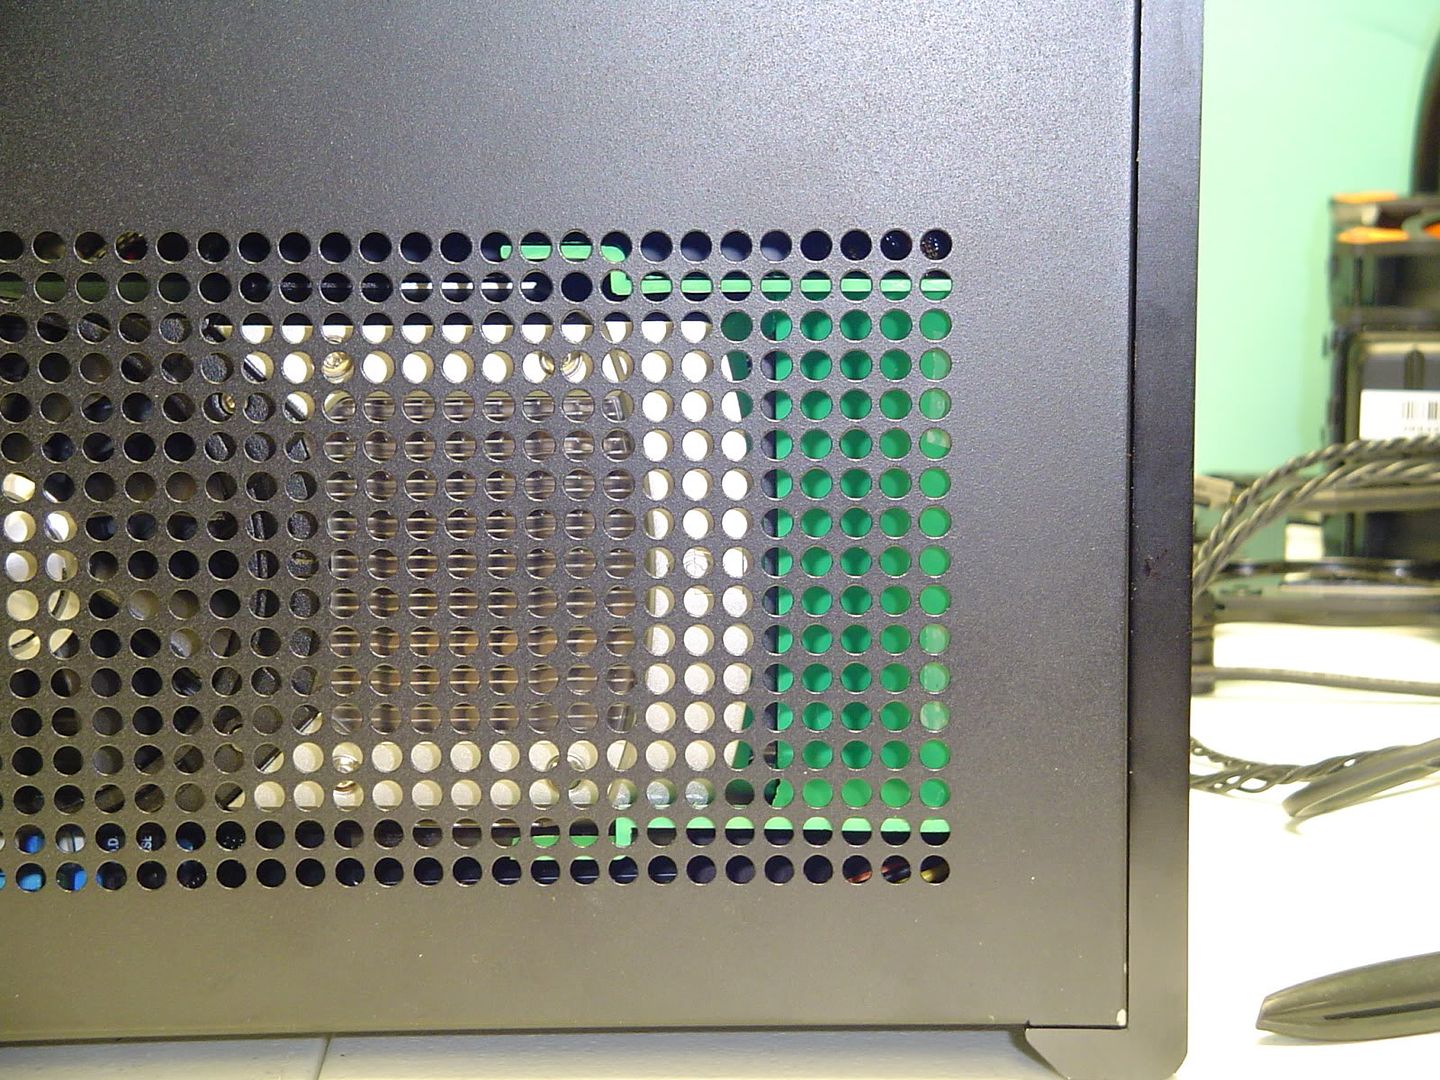
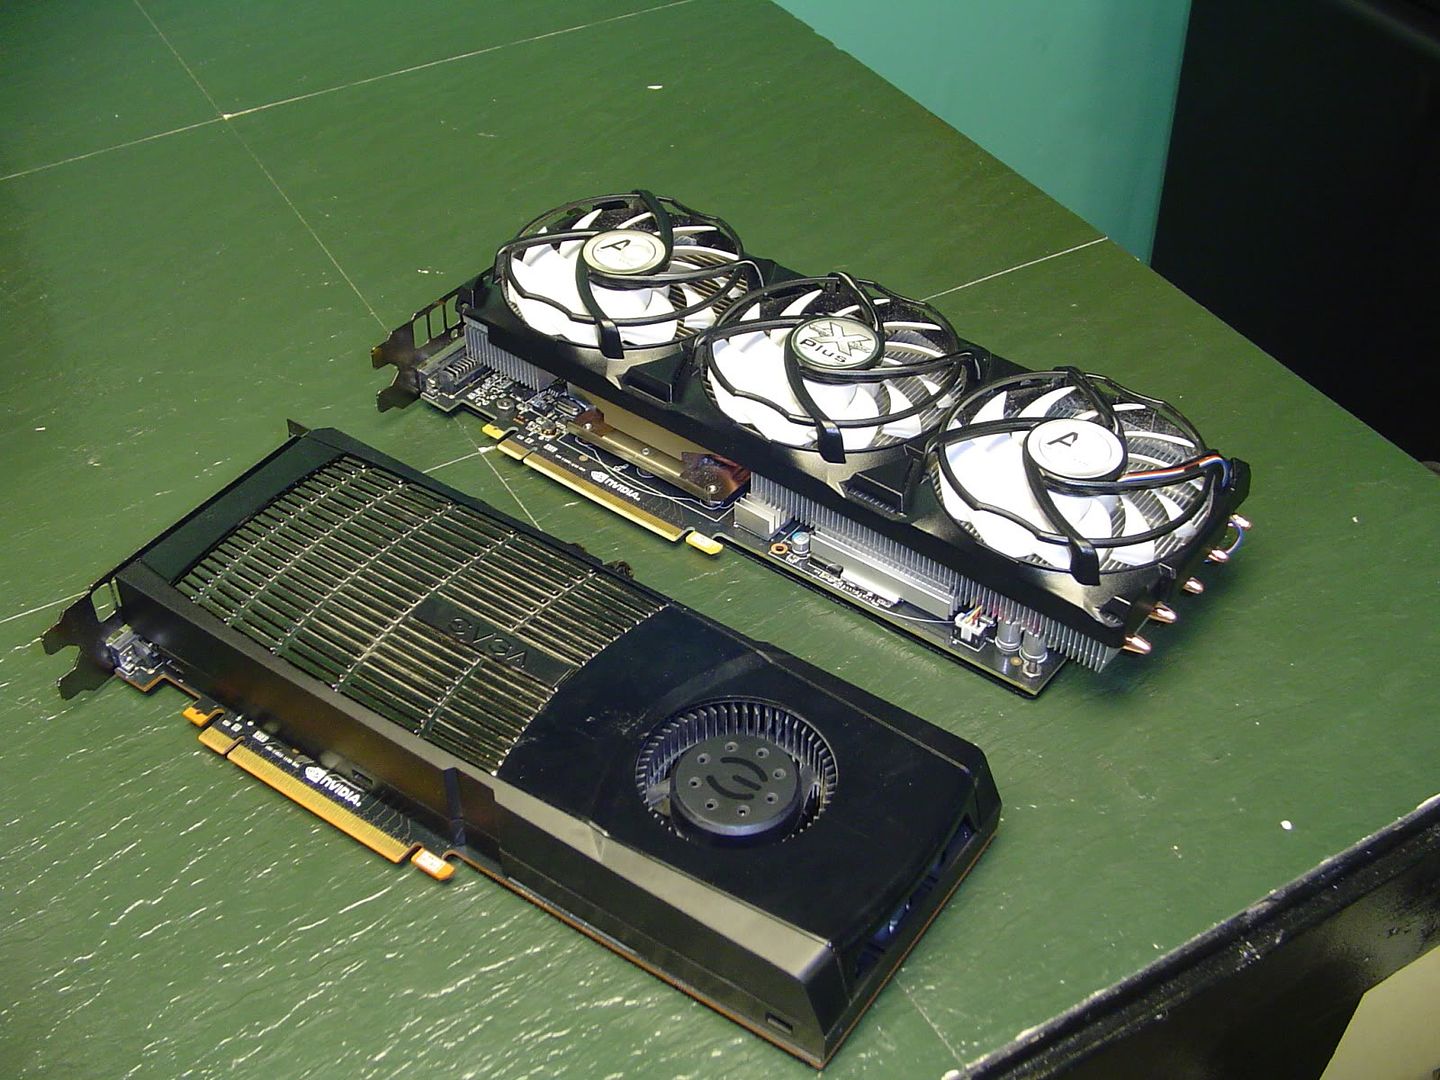
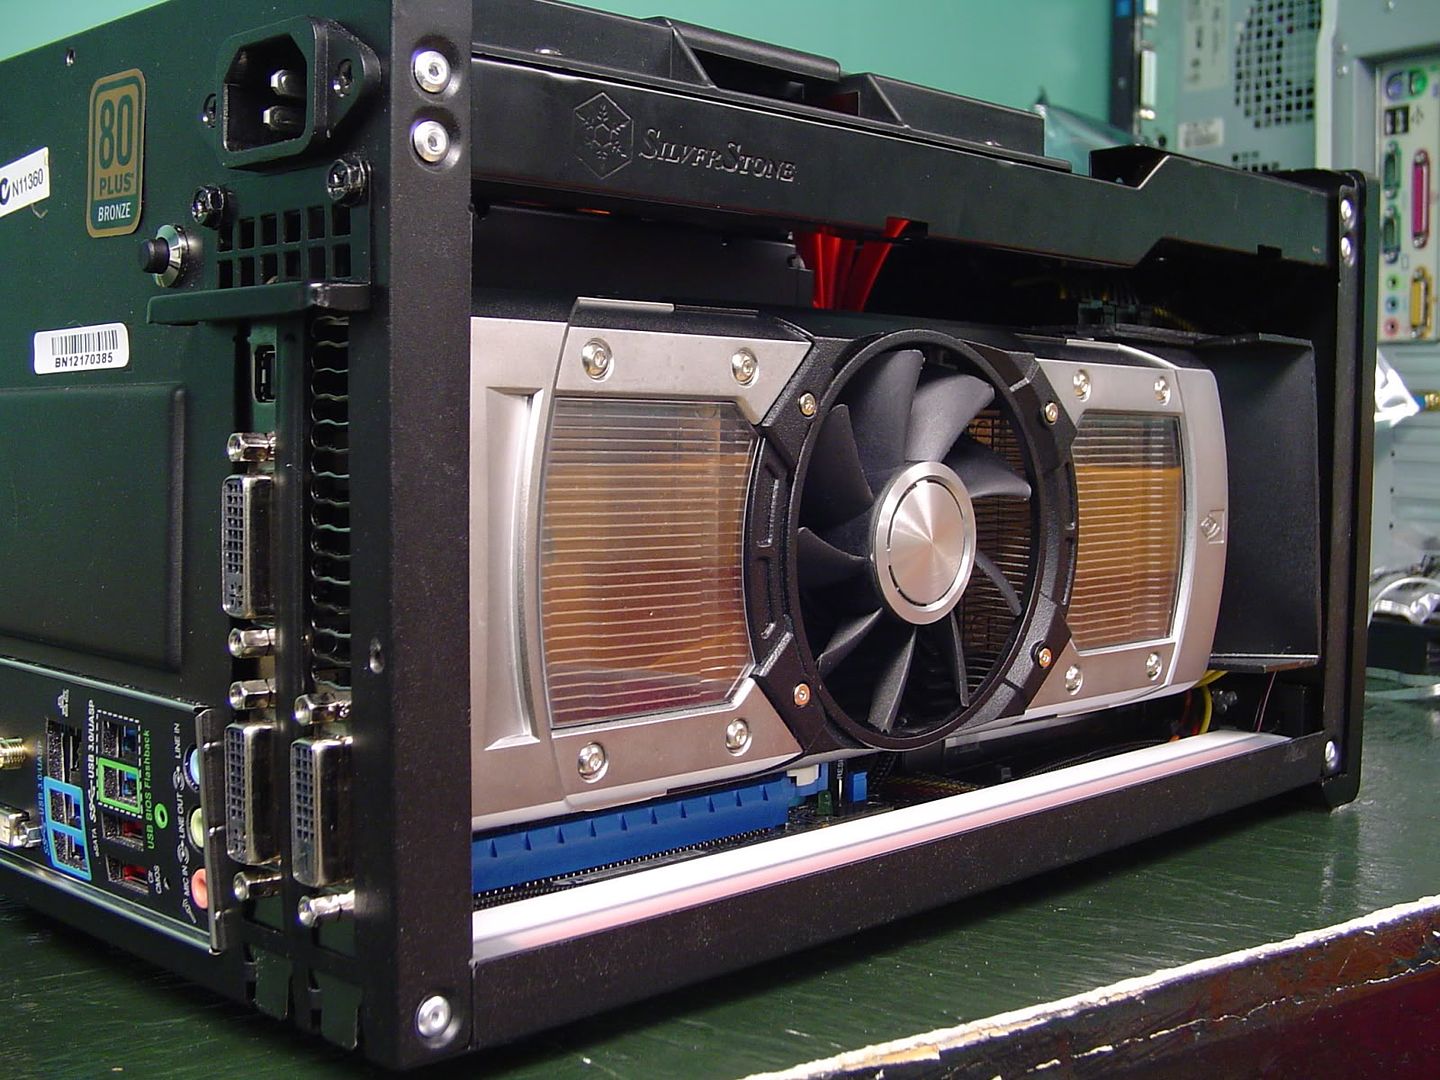
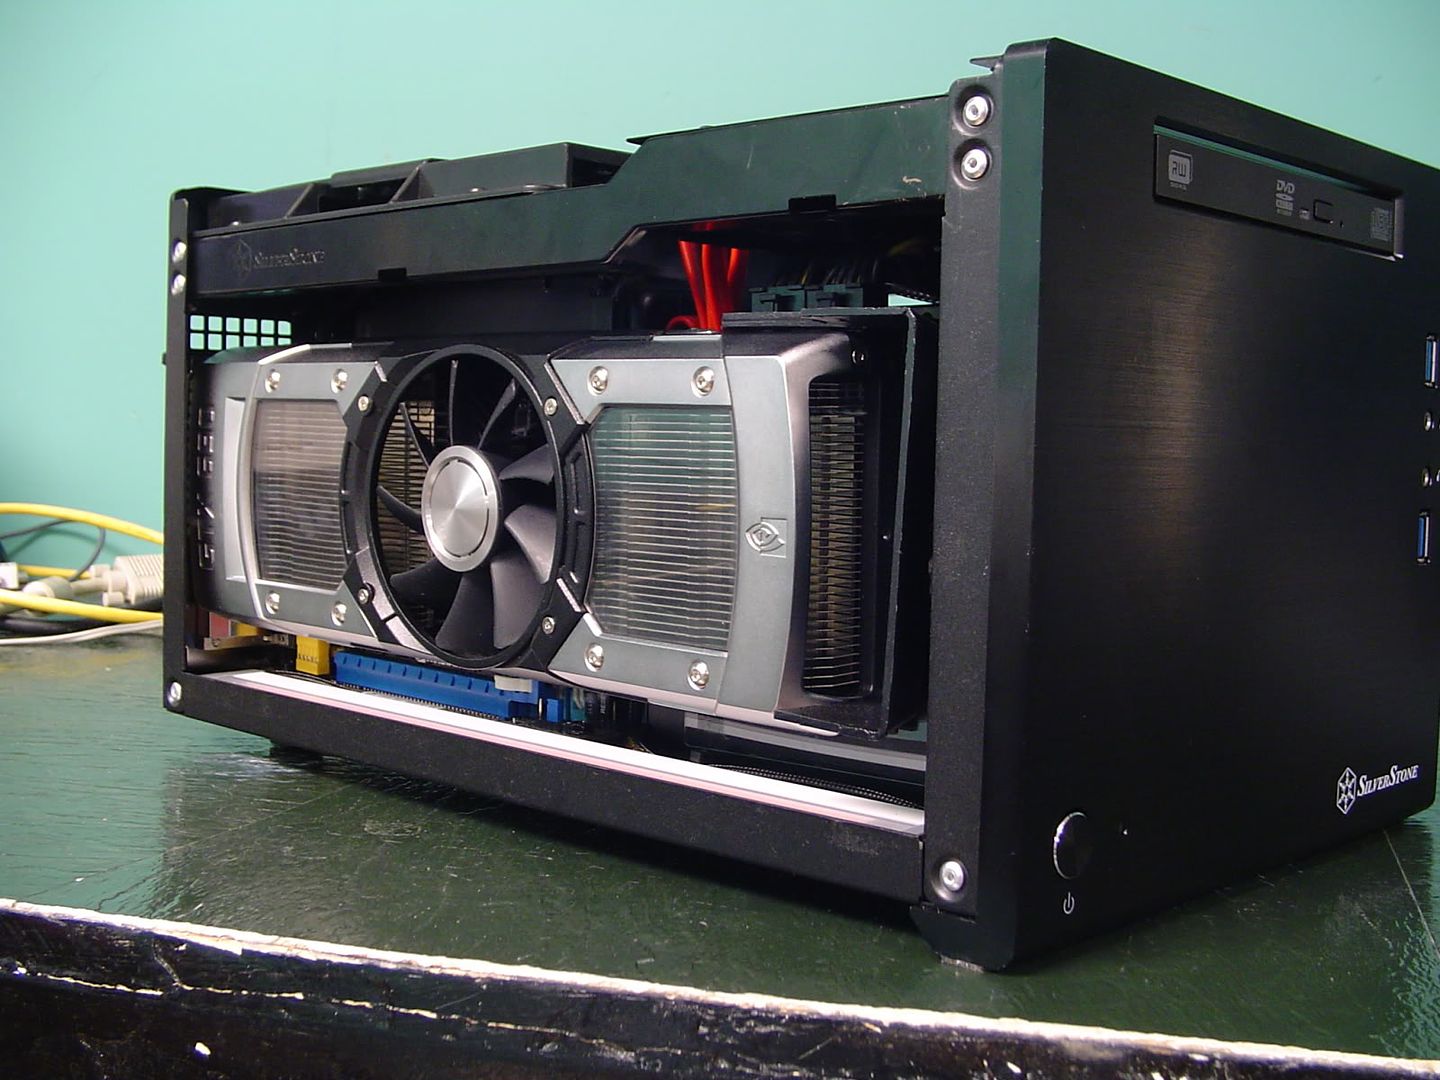
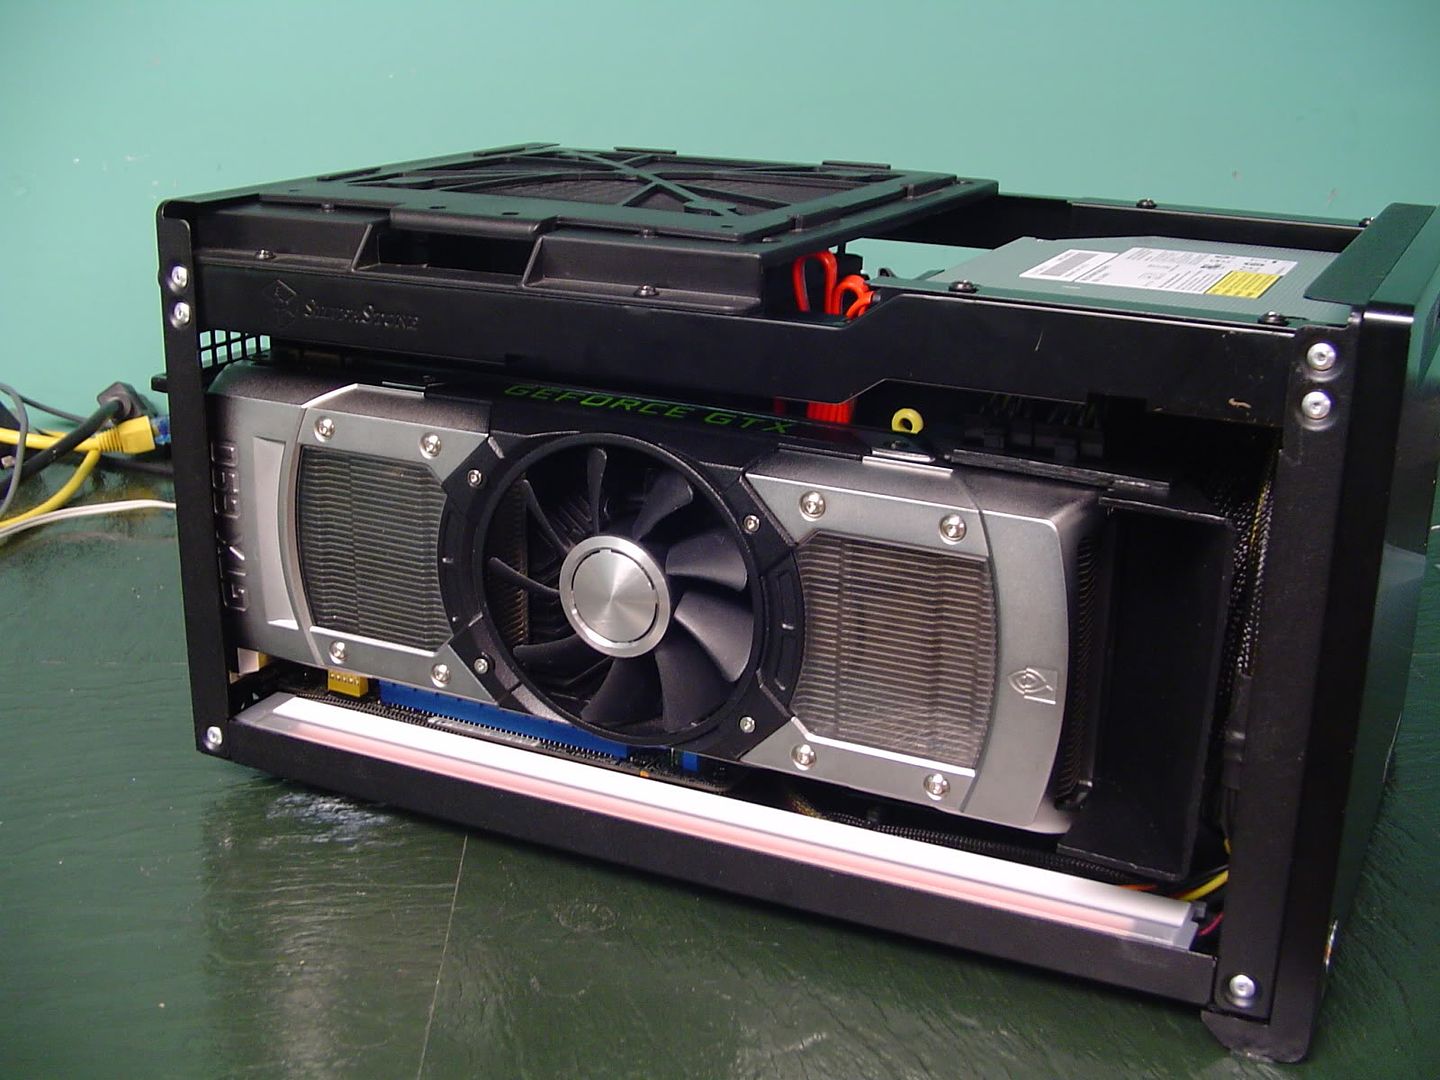
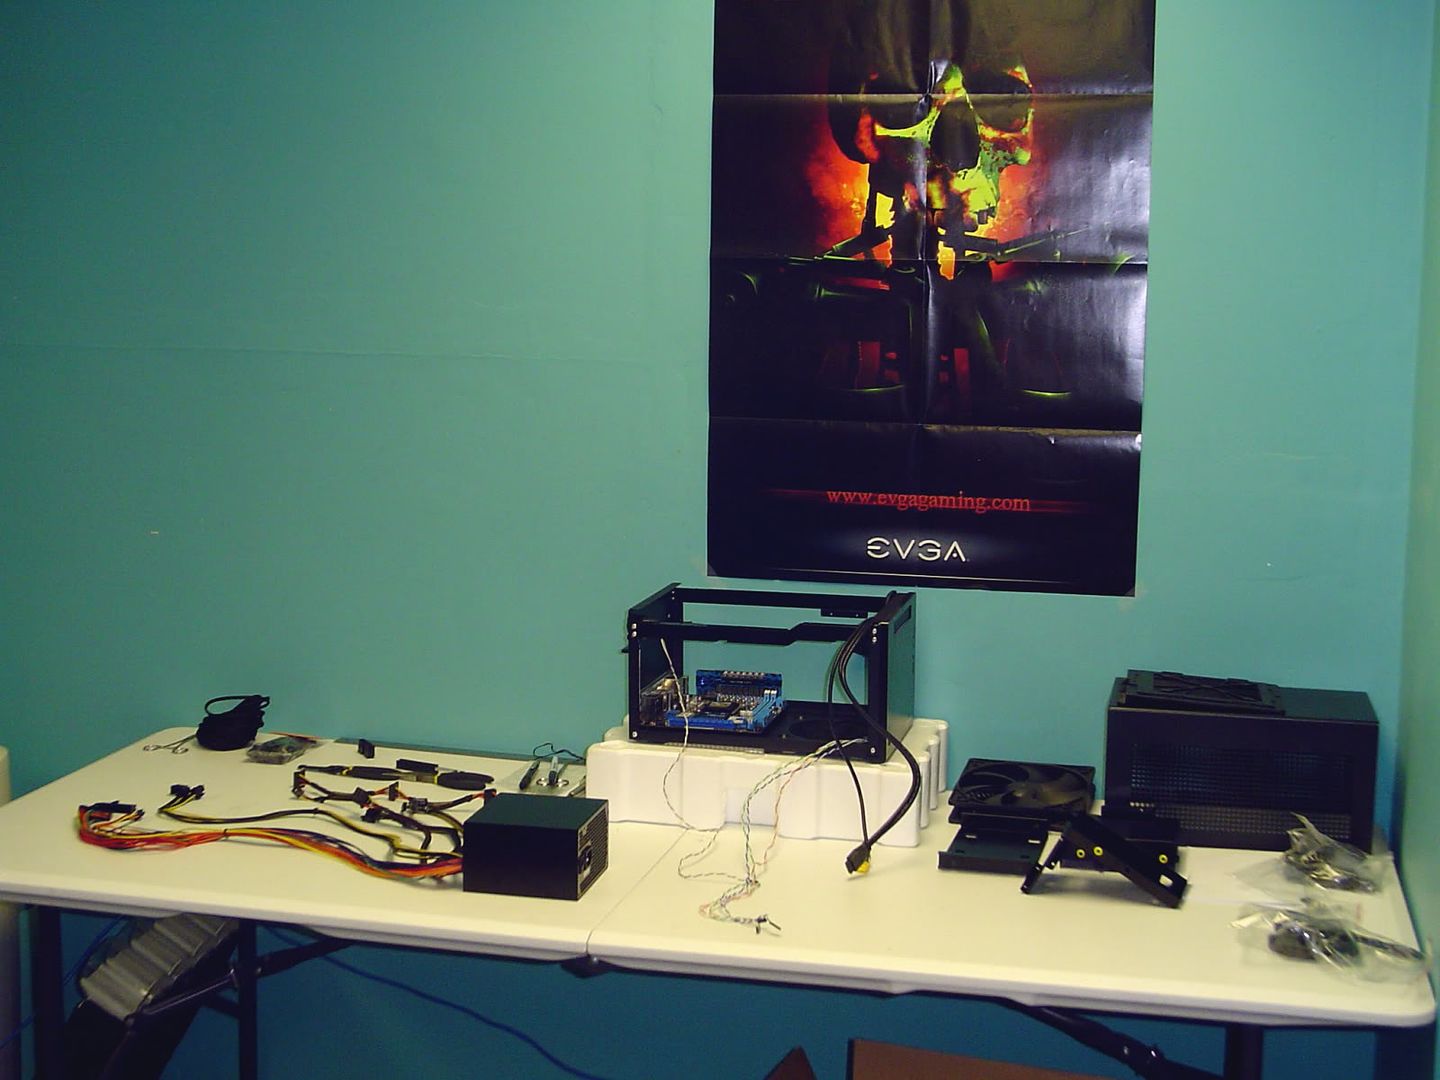
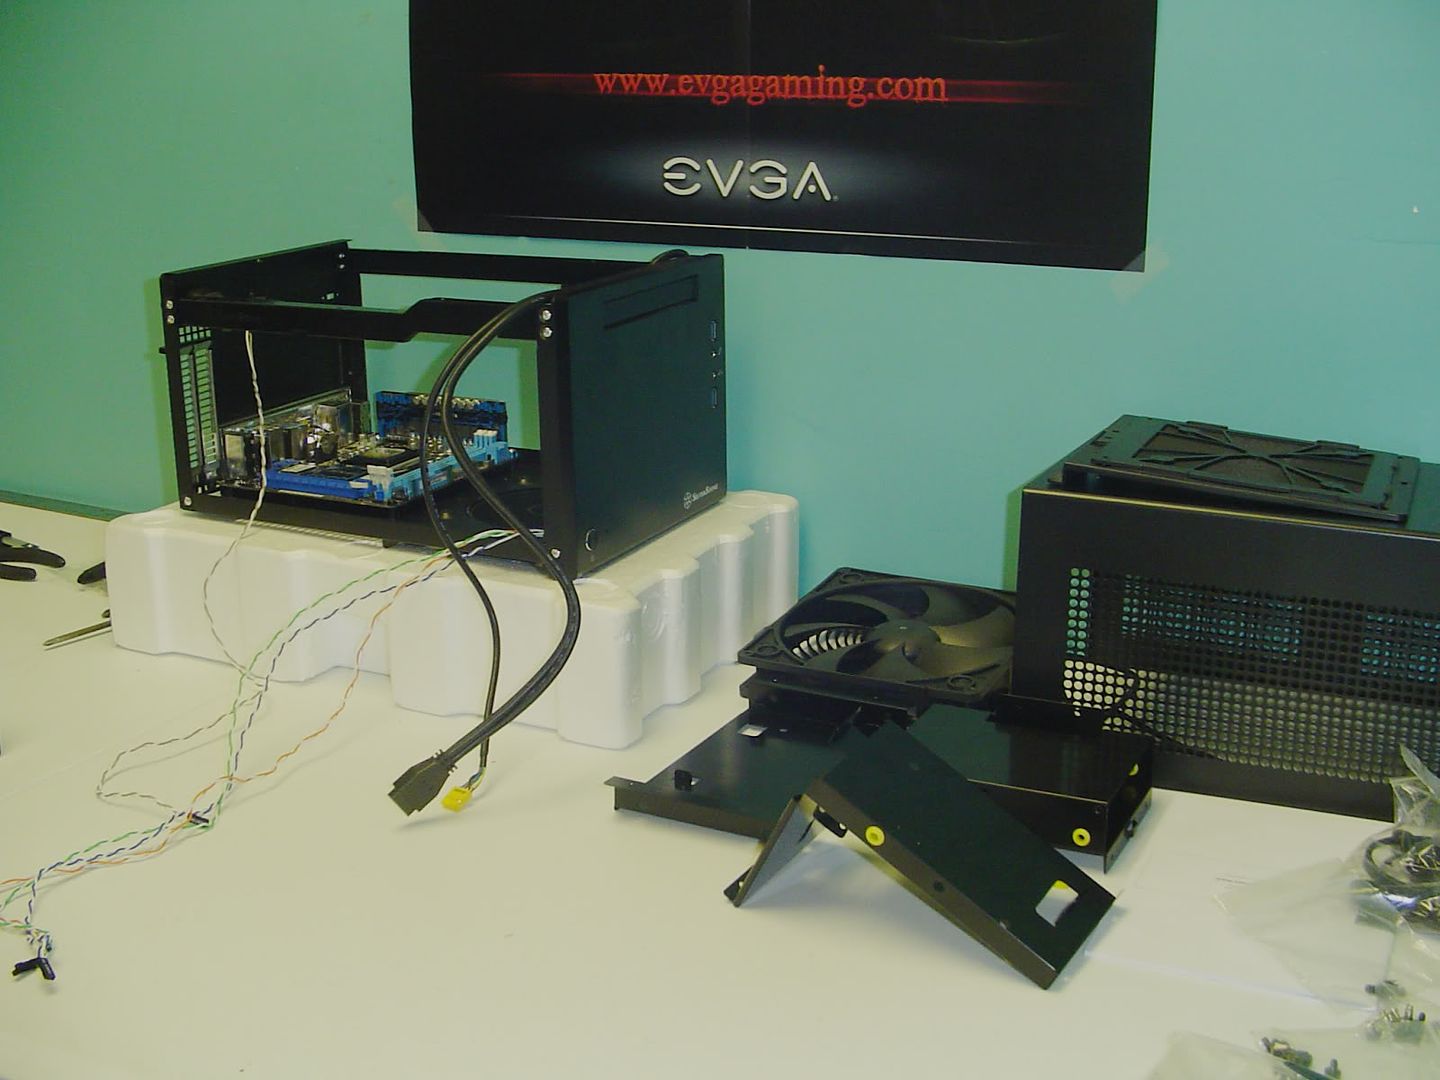
Until then, have a few extra random shots.
Stay tuned!
Last edited: