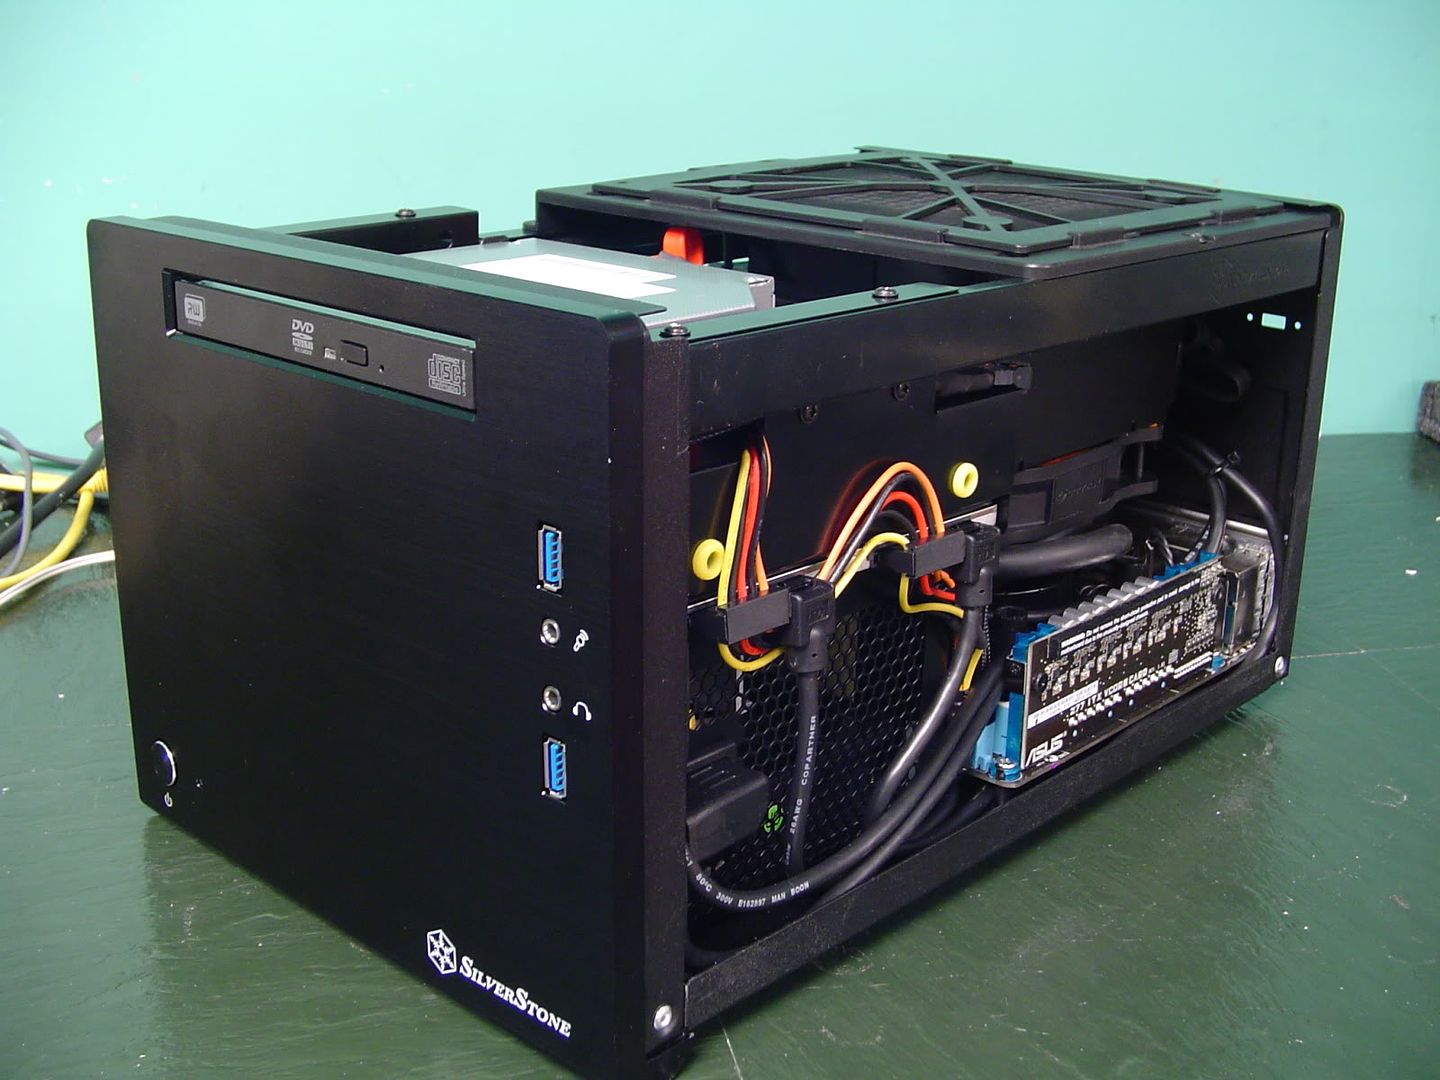
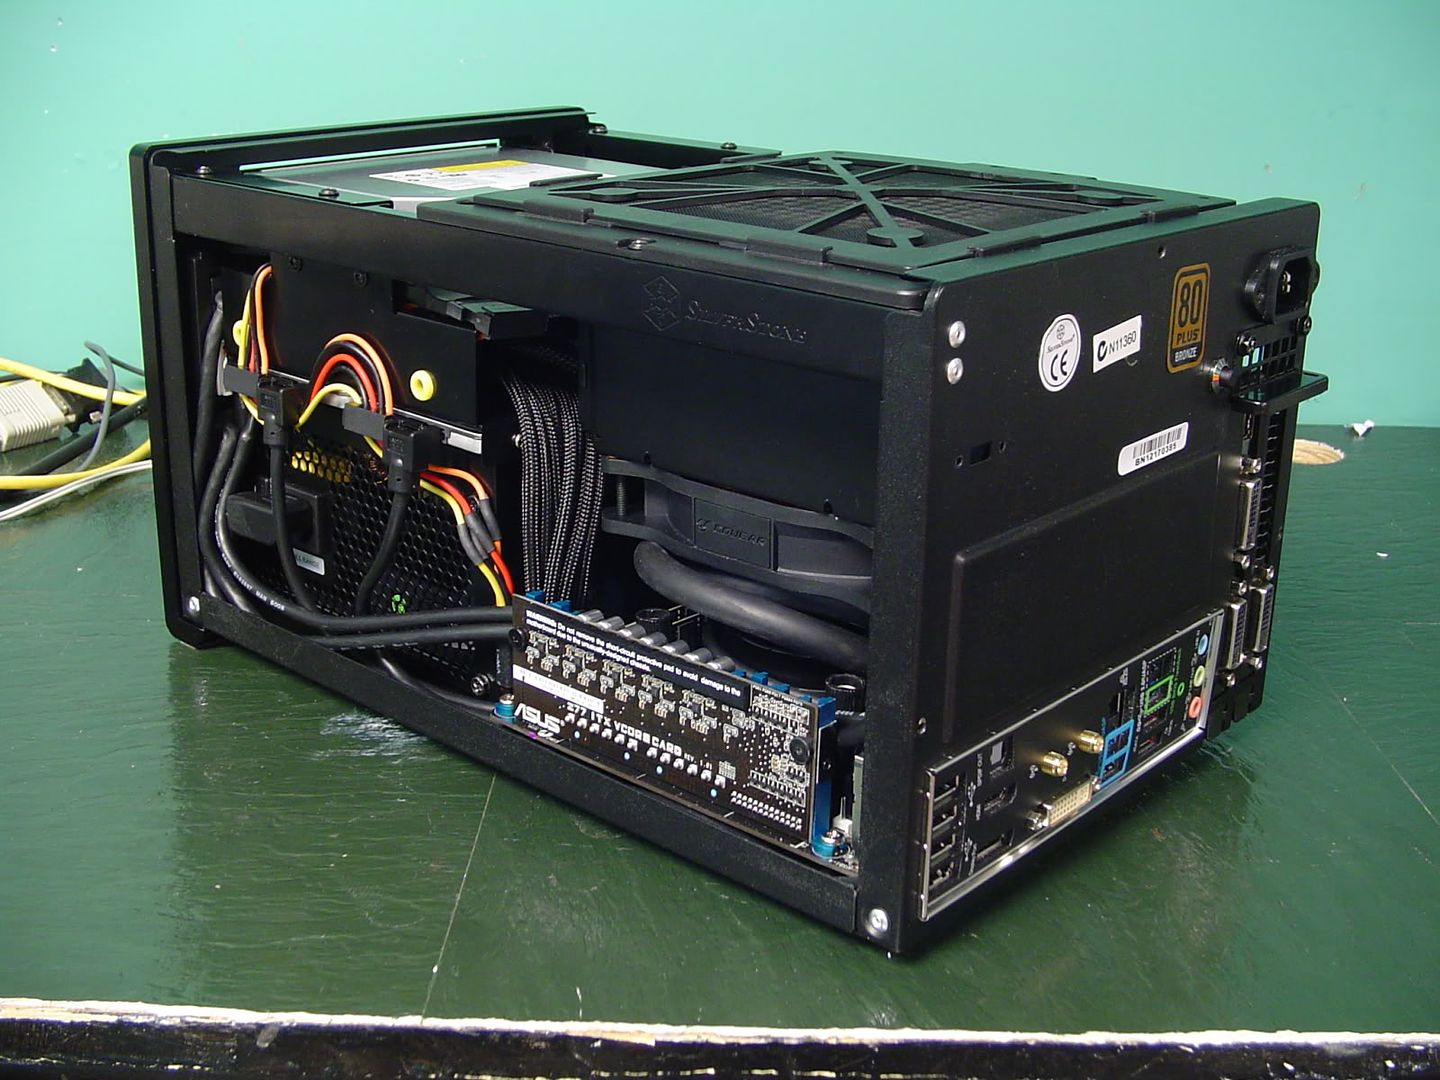
Project Super Midget Rig: SG08 Powerhouse

CompuG##K

Gawd
Joined
Jul 9, 2008
Messages
593
Some of you might remember from a few years ago my "Midget Rig" project that kicked off not long after the Silverstone Sugo SG05 was released in the US. I took a Q6600 and what was the most powerful 9" graphics card at the time, the Geforce GTS 250, and crammed them into a Sugo SG05. Along with the two I replaced the stock 300w power supply with a Seasonic 350w unit that required me to do all kinds of modifying to get the thing to fit because if was 2" deeper than the stock unit. This was before the Silverstone 450w SFX was ever thought of, so I had to improvise. The build turned out really well and served me well until I sold it to a friend.

You can check out the build log of that project right here.

Ever since then I've gotten requests from friends all around to build "Midget Rigs" for them. So it goes without saying that I've built quite a few of them (with varying parts) and they've all become great systems.

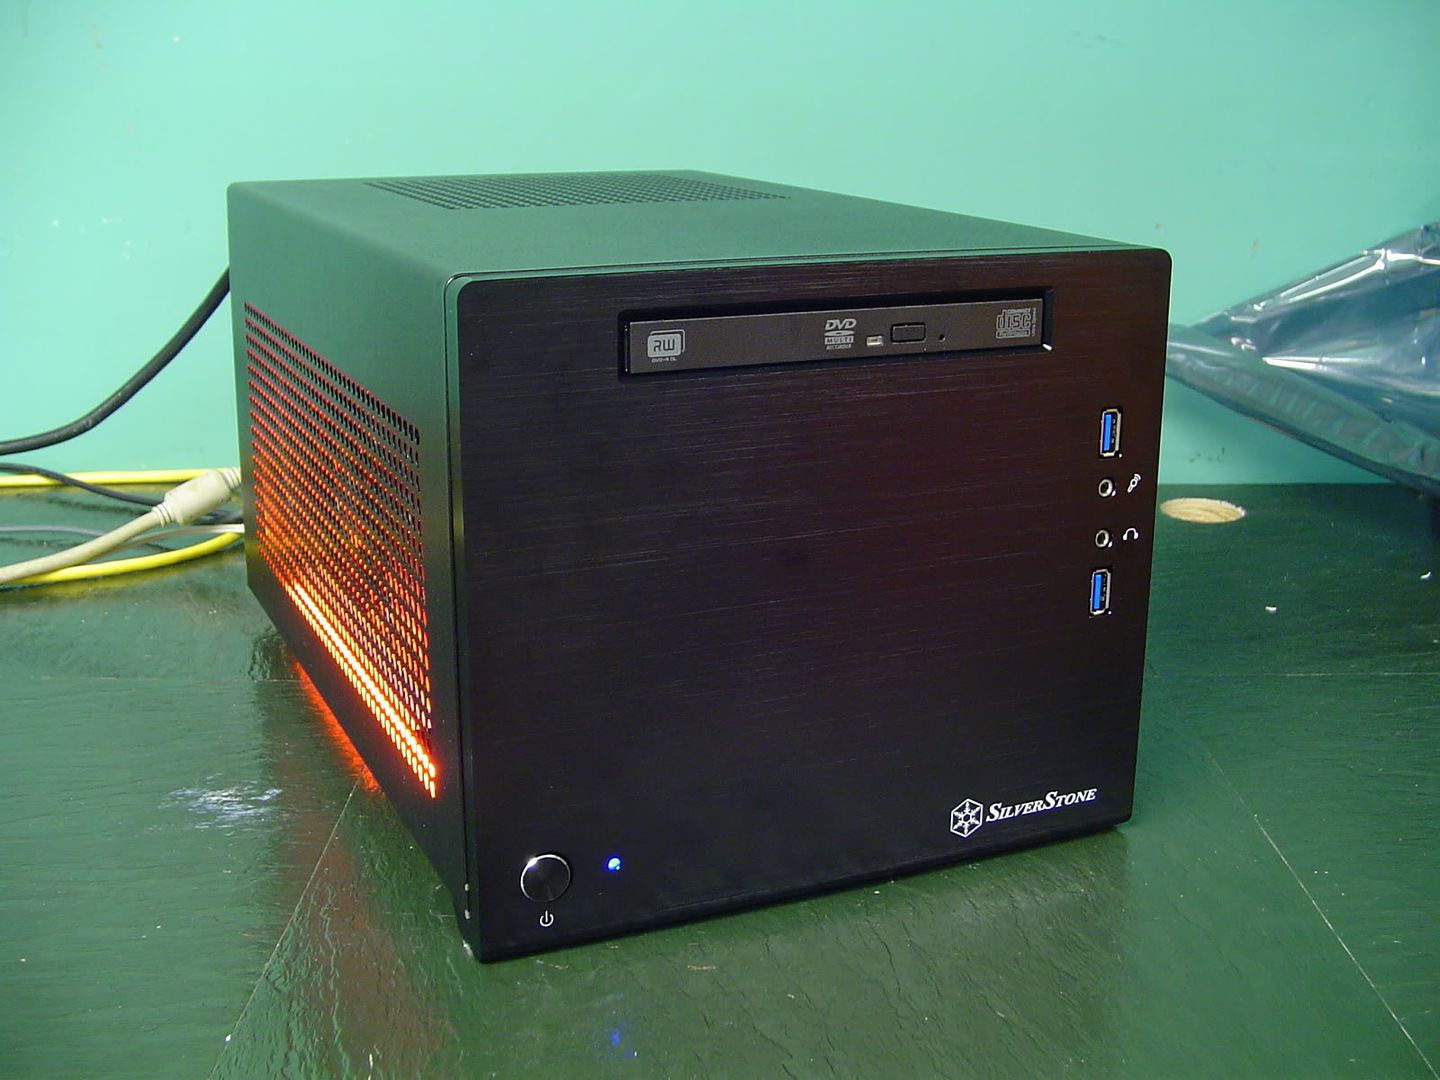
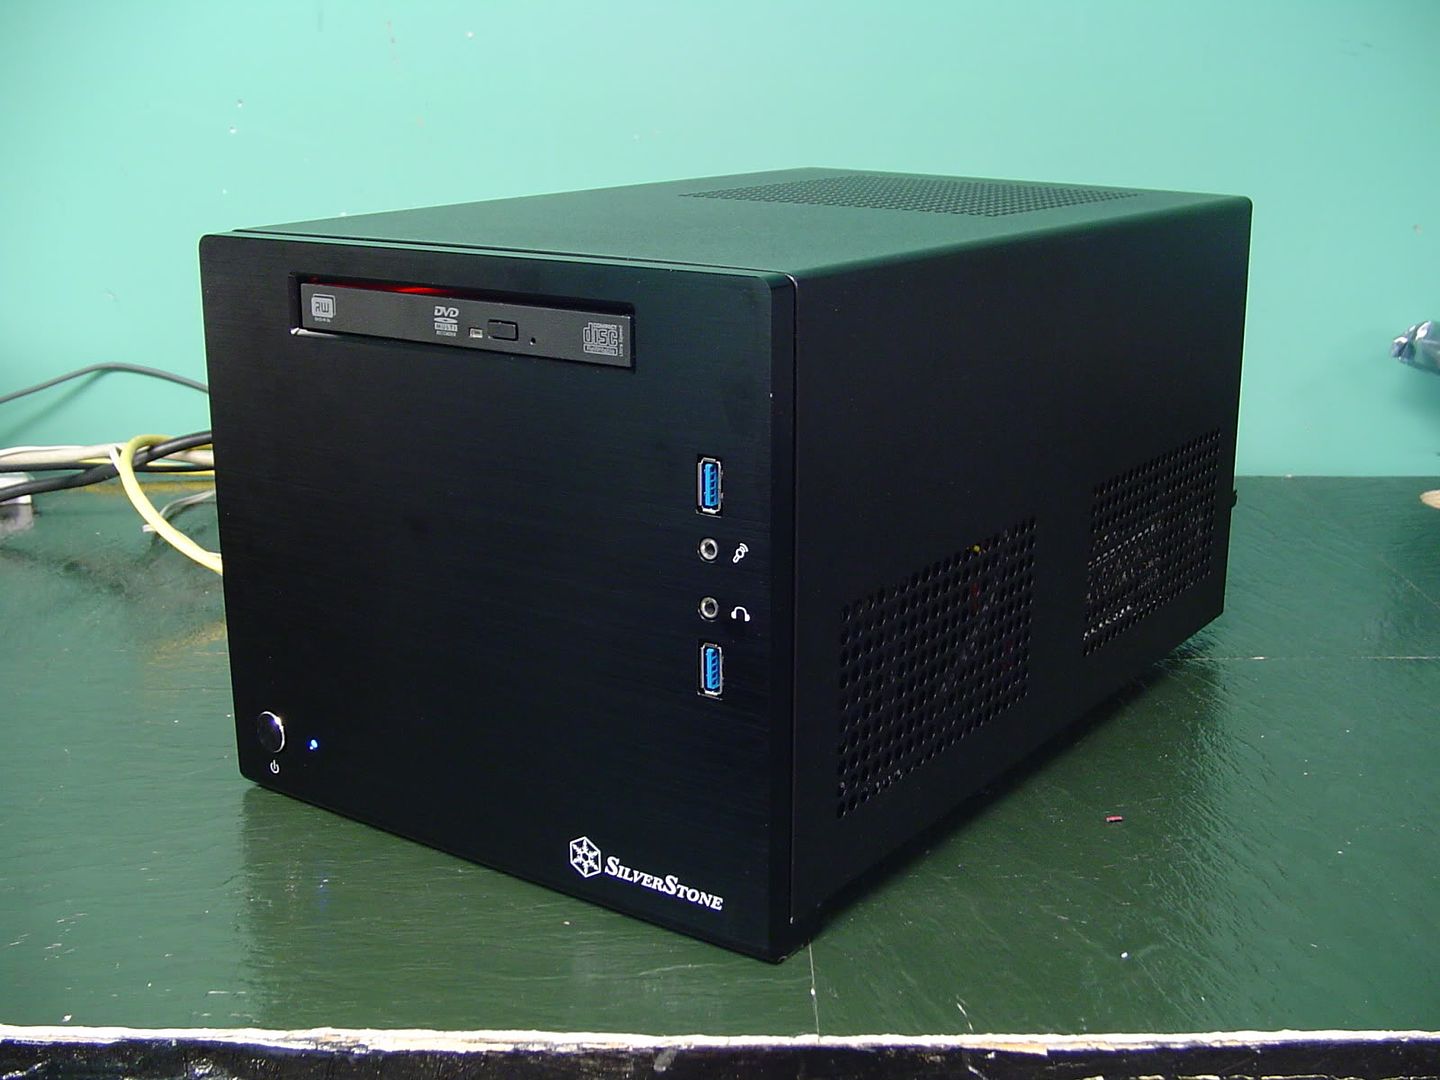
Now it's time to build my first "Super Midget Rig" using the Sugo SG08. With the SG08 I hope to cram in what I couldn't cram in the SG05. I'm going all out with this system and cramming in the most powerful components I can get to fit in it.

Those specs include:

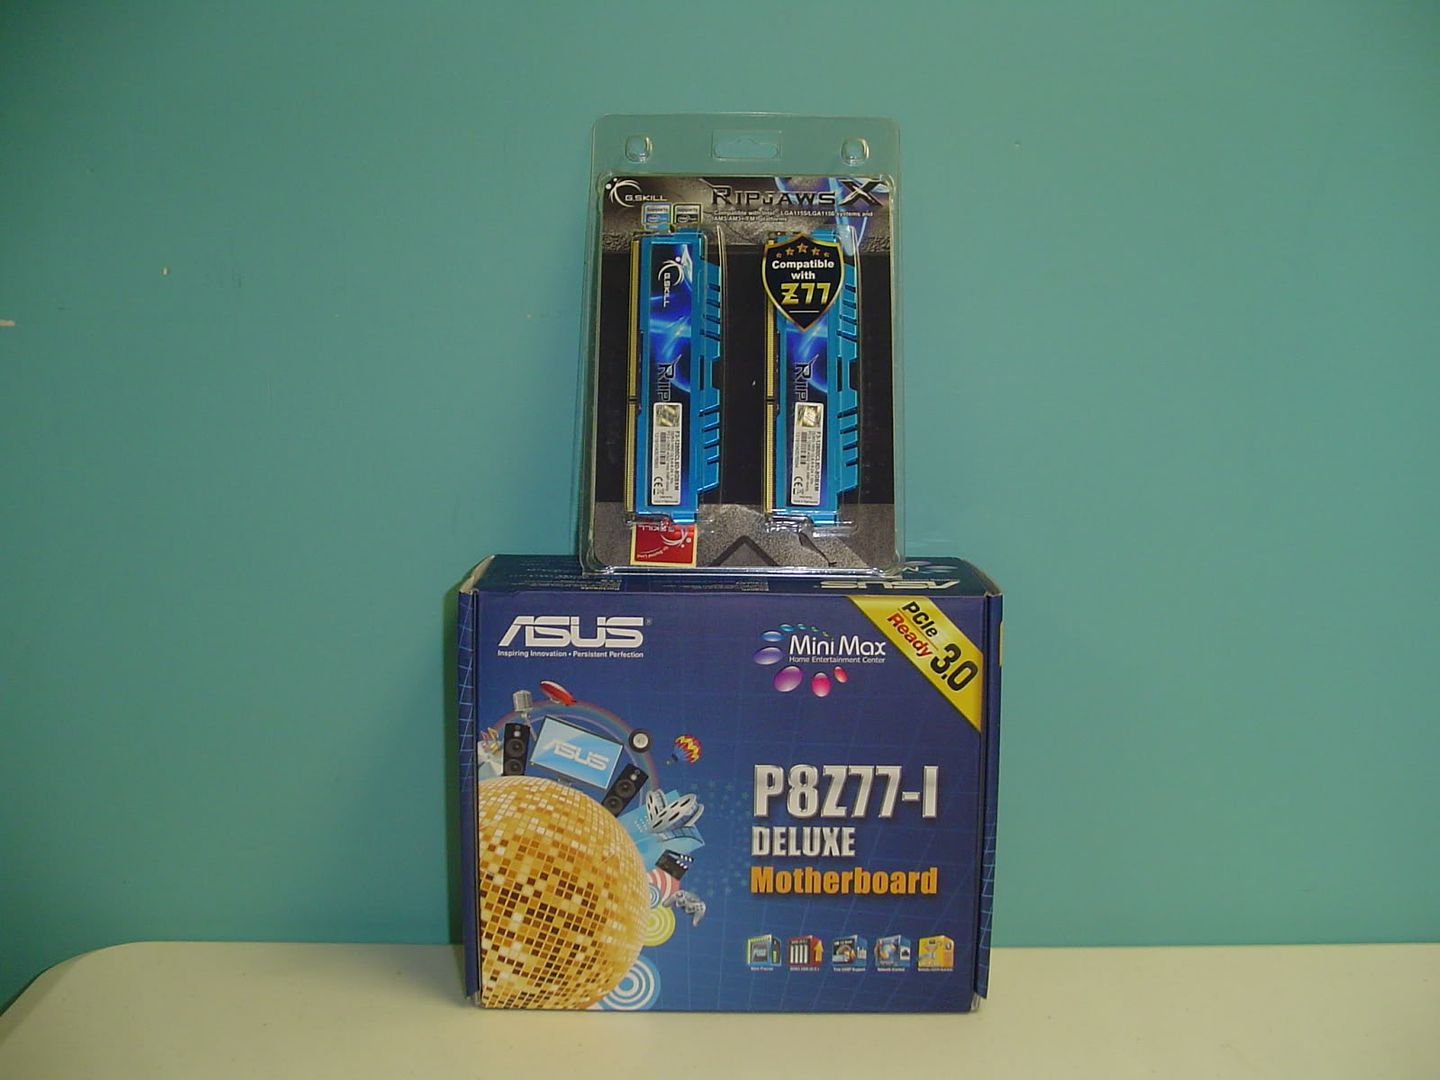
  • Asus P8Z77-I Deluxe
  • Core i7 3770k
  • 8gb G.Skill DDR3 1600
  • EVGA Geforce GTX 690
  • 2x Intel 520 240gb SSD
  • Sony Optiarc Slimline Blu-Ray drive
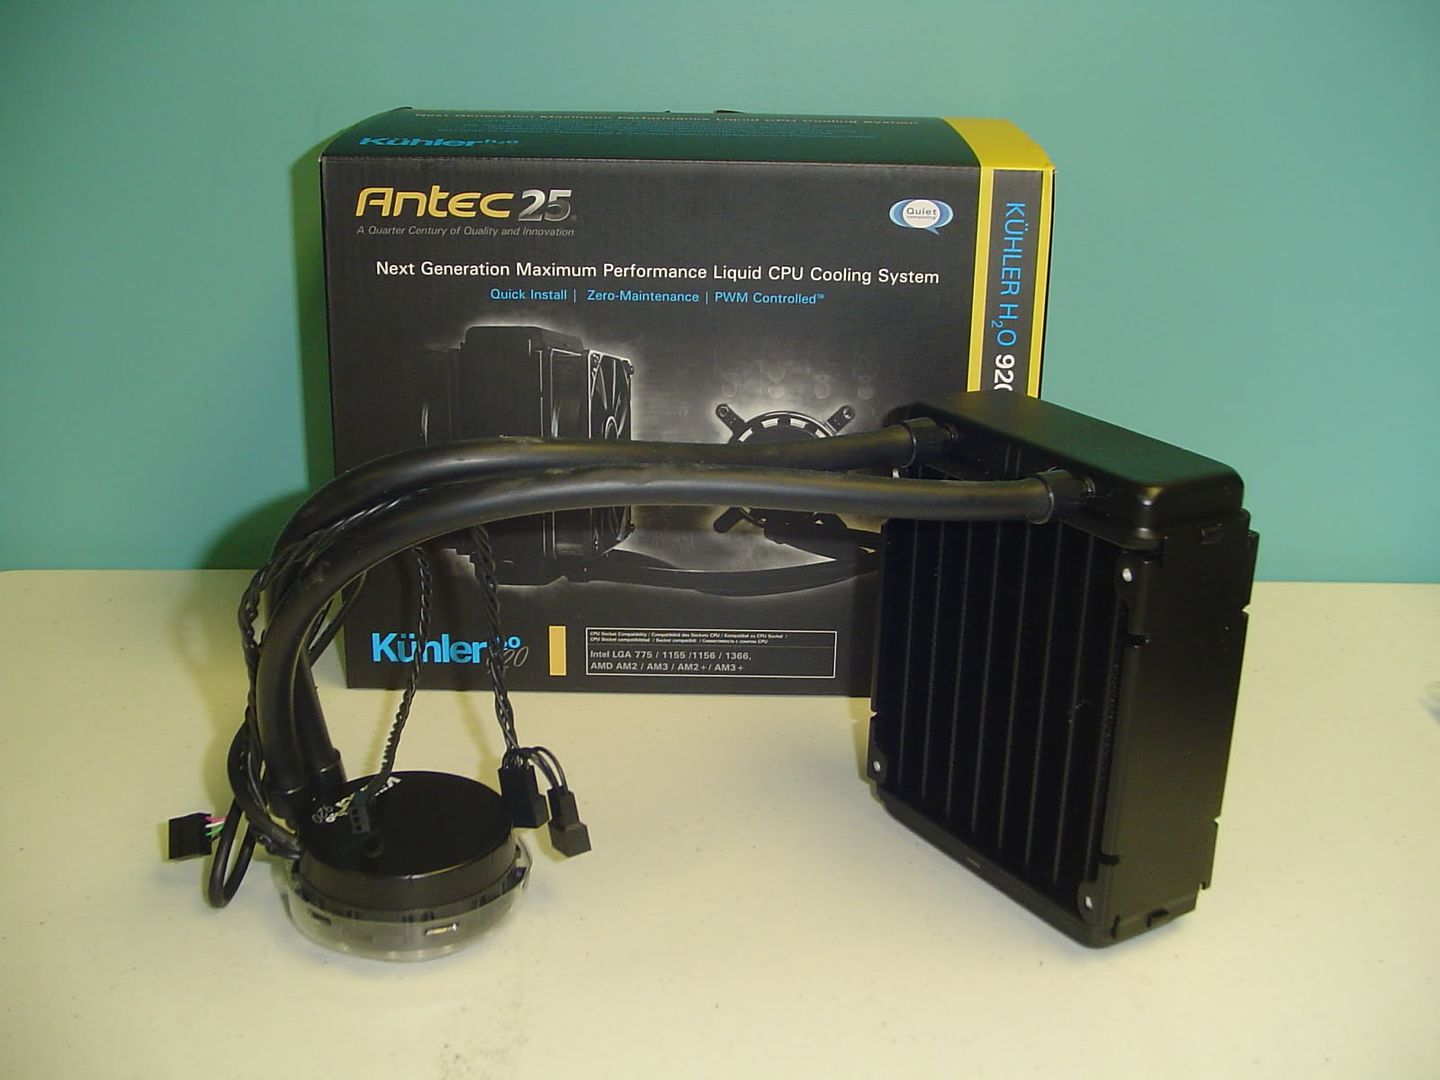
  • Antec Kuhler H2O 920


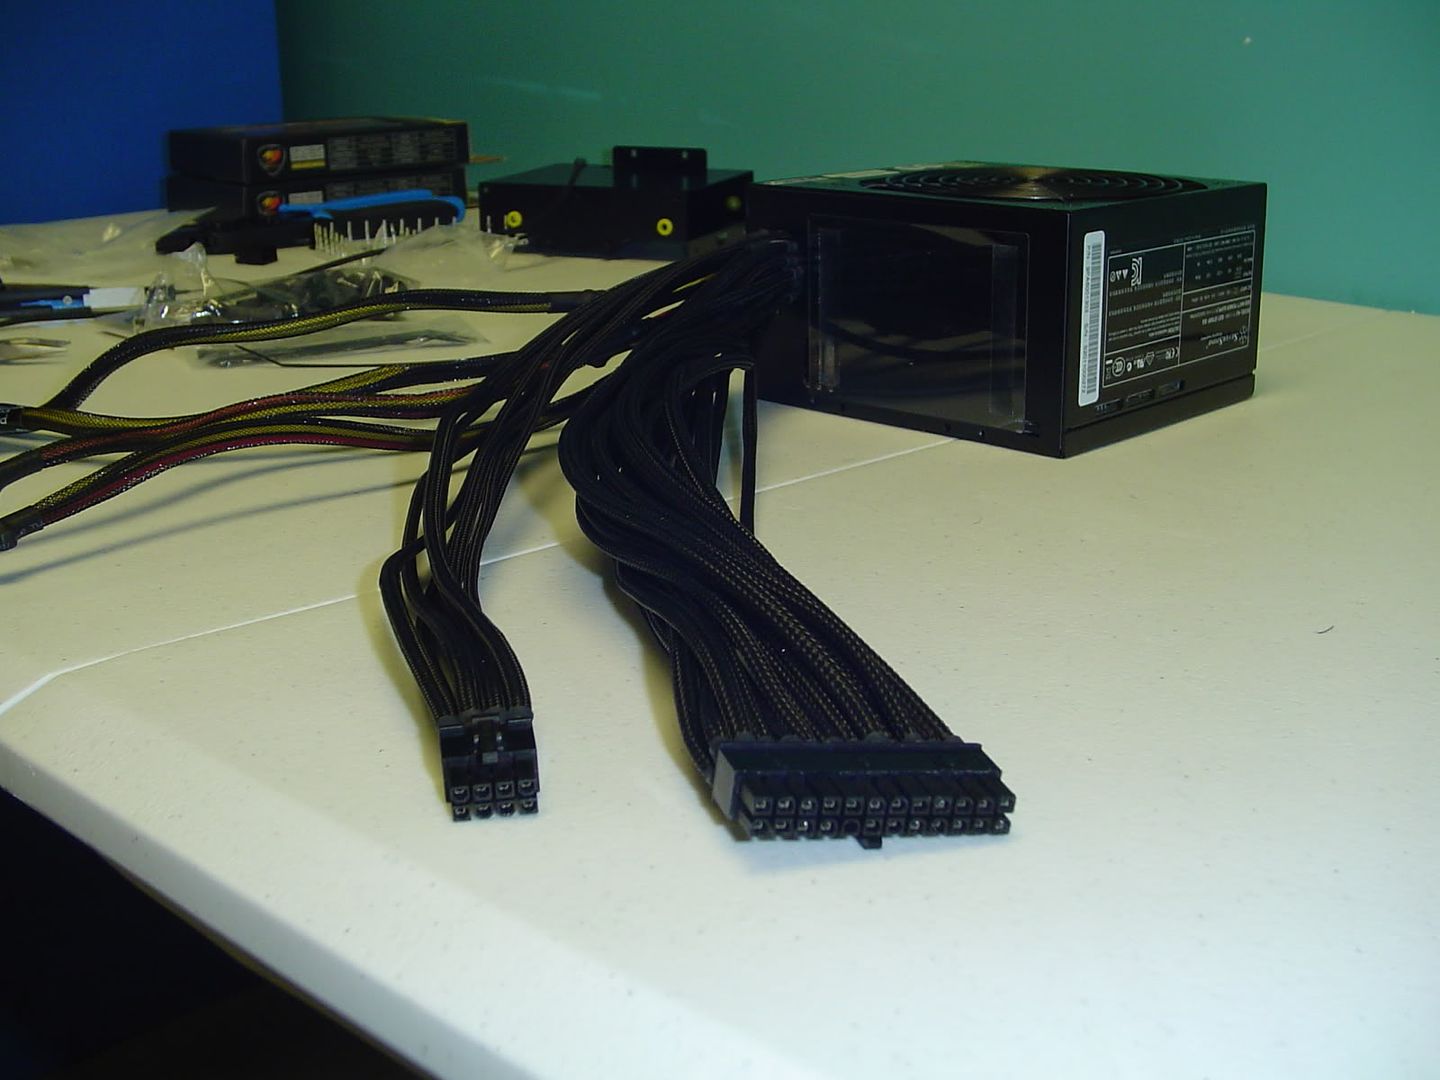
I realize this isn't a "Case Mod" per say, but I DO plan on doing a certain degree of DIY stuff to this build to reduce cable clutter and optimize it to my liking. Like the original Midget Rig build, I'm not content to just throw the system together and be done with it. For one thing, the case is far too small to be having a 600w octopus inside of it. These cables are definitely going to have to be shortened and I might as well sleeve them while I'm at it, too. :D

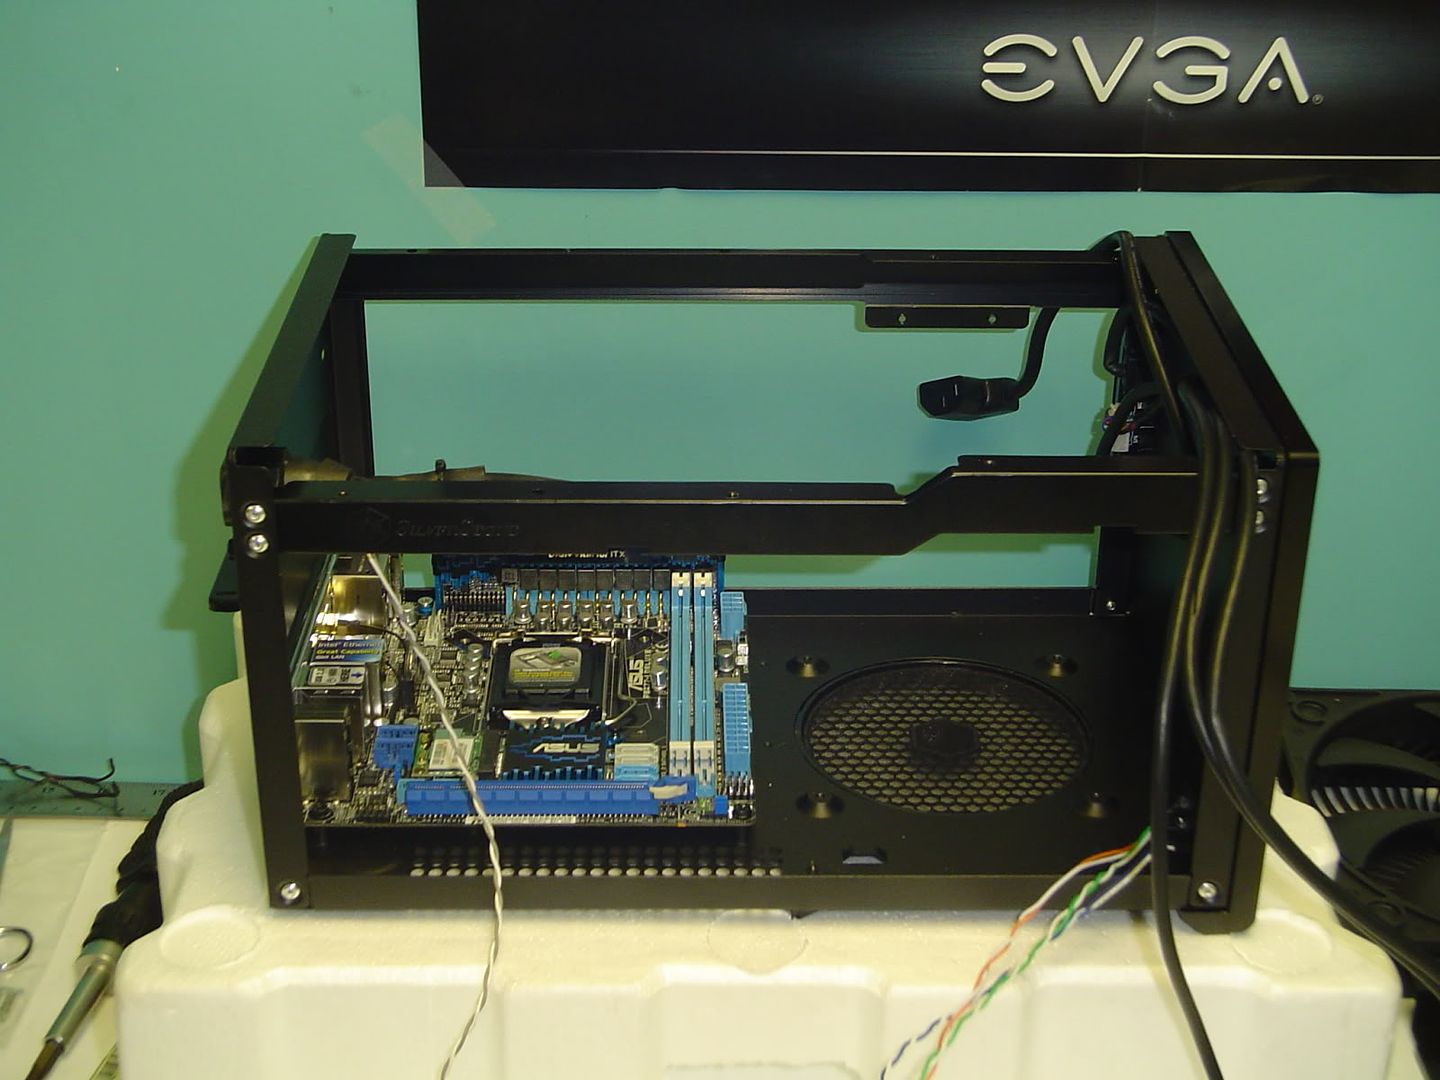
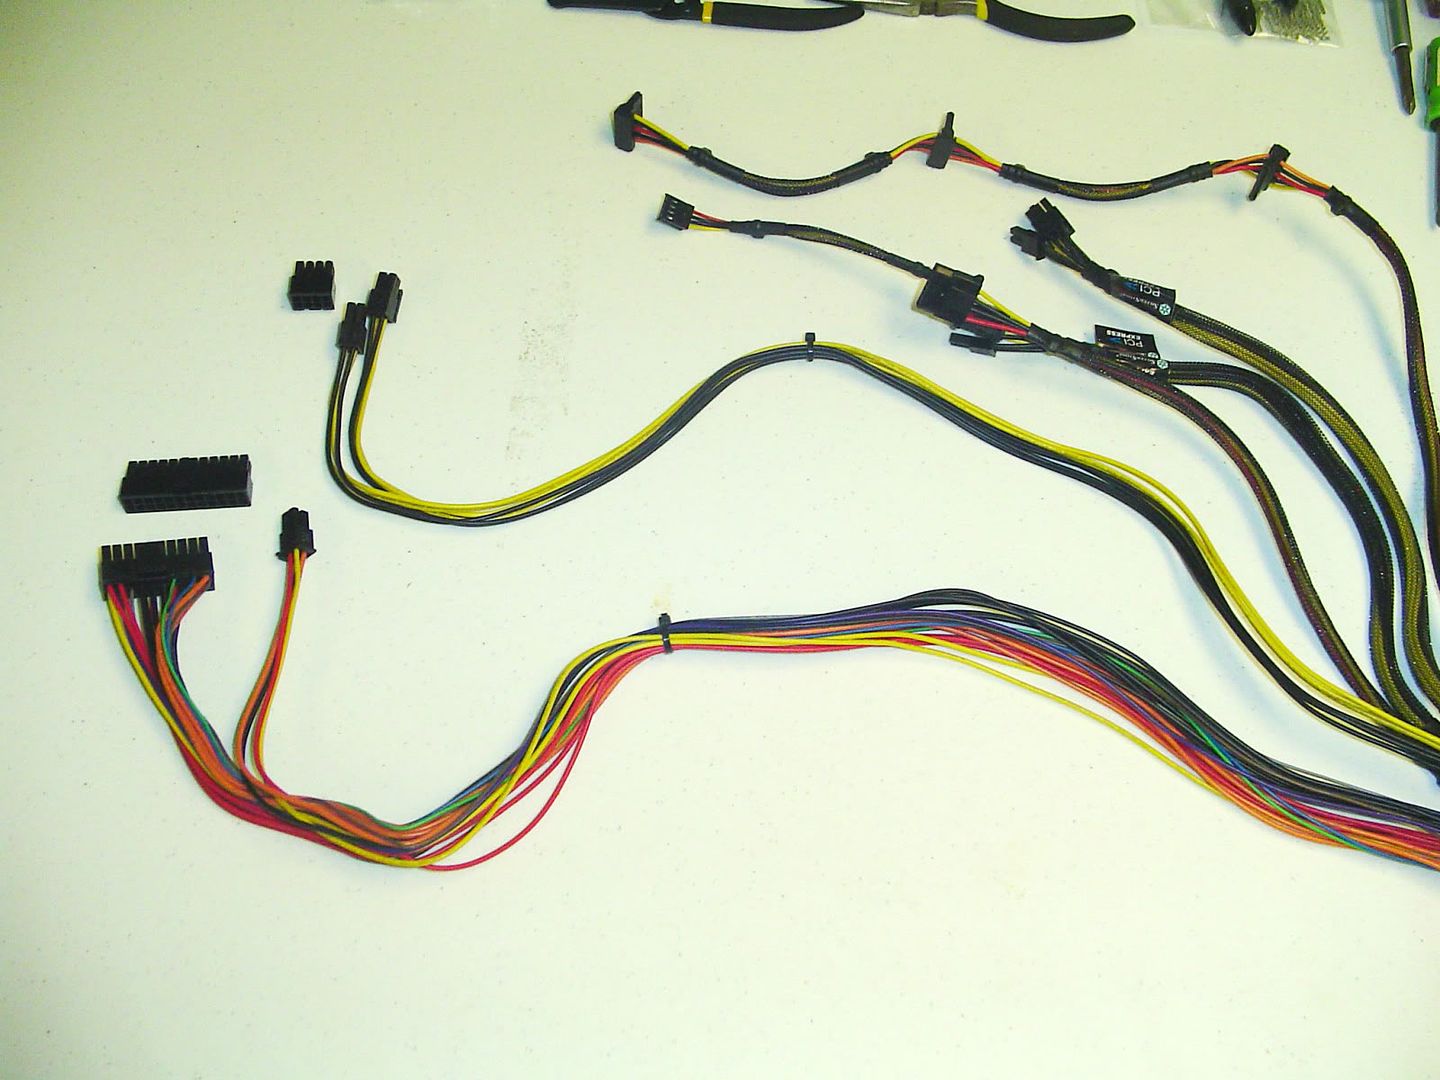
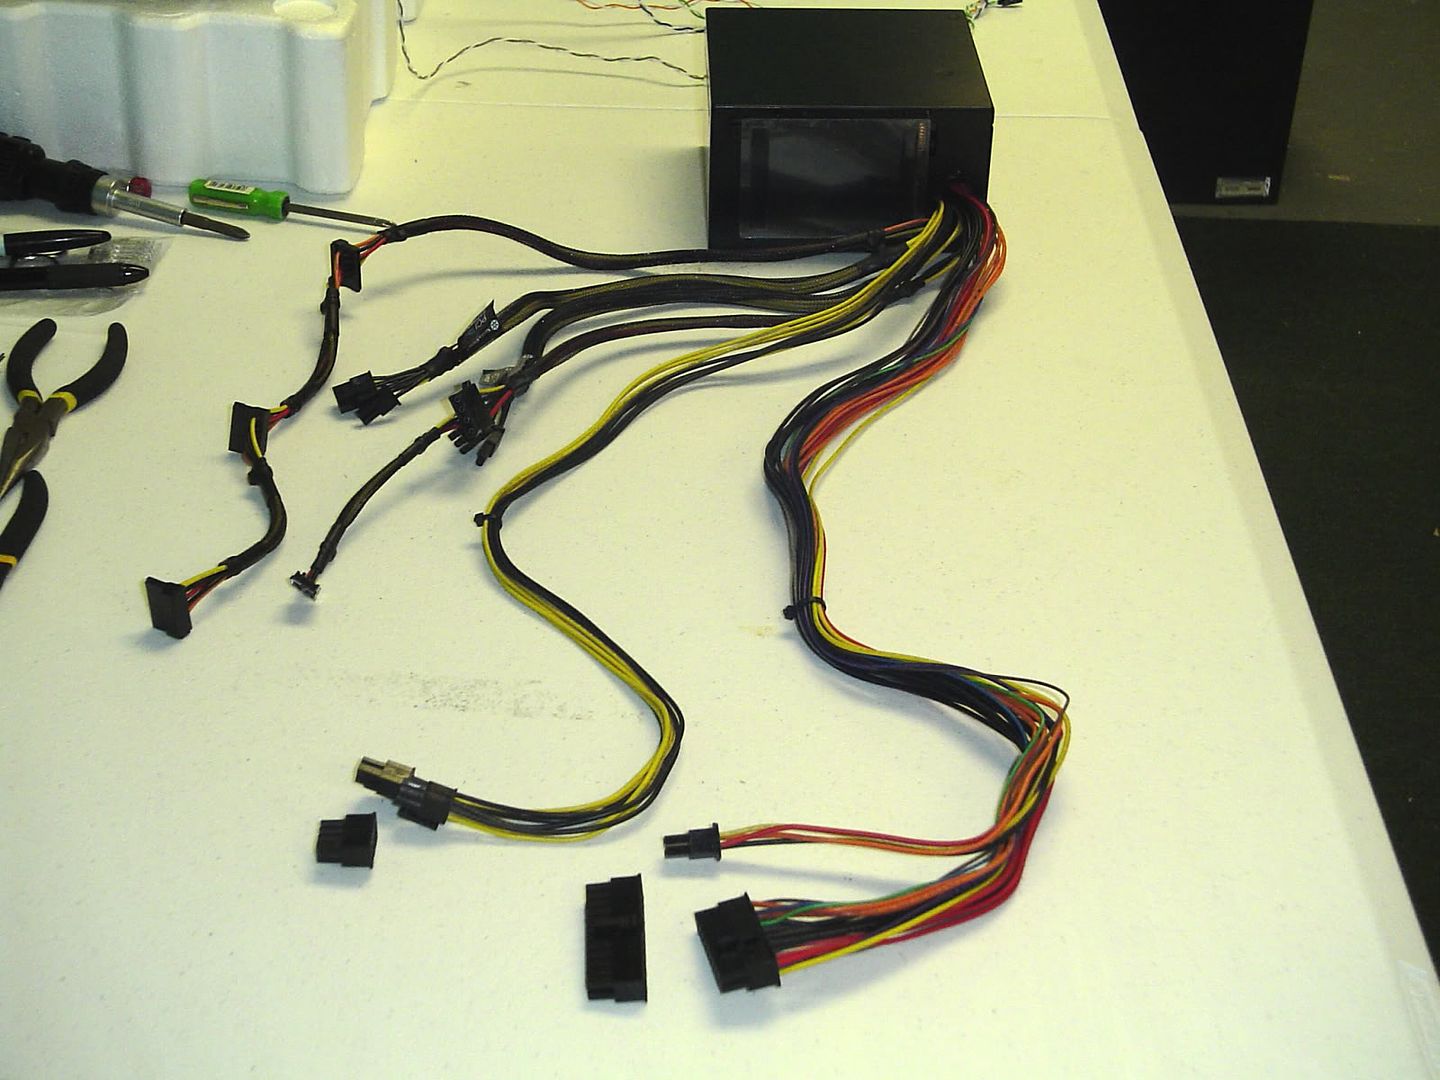
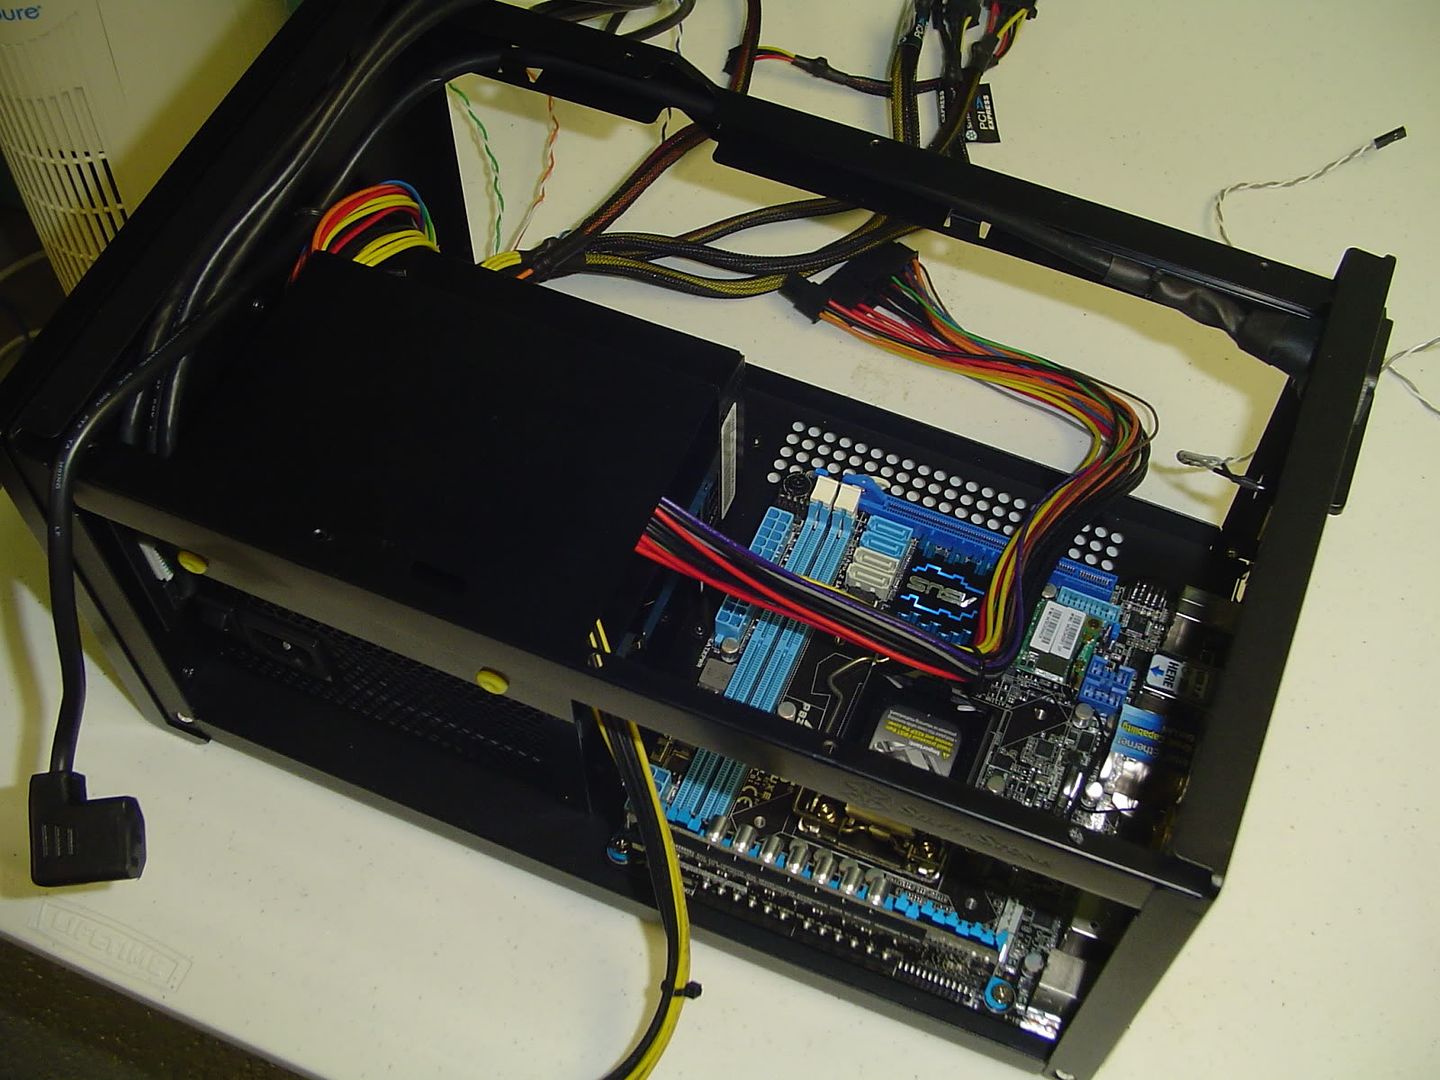
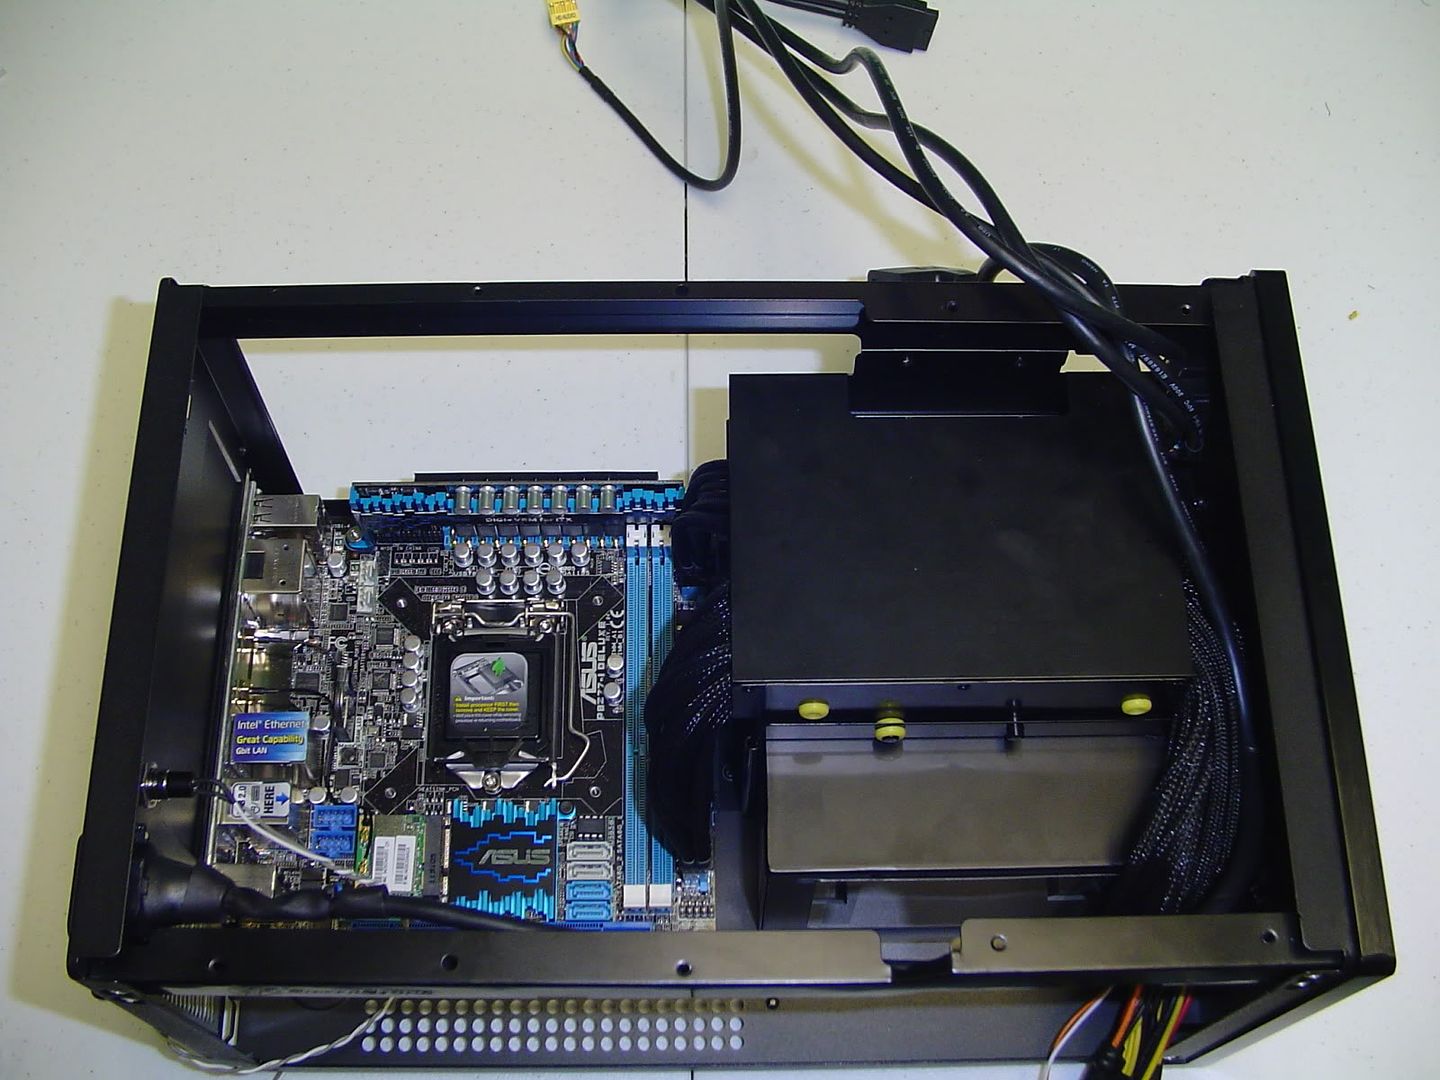
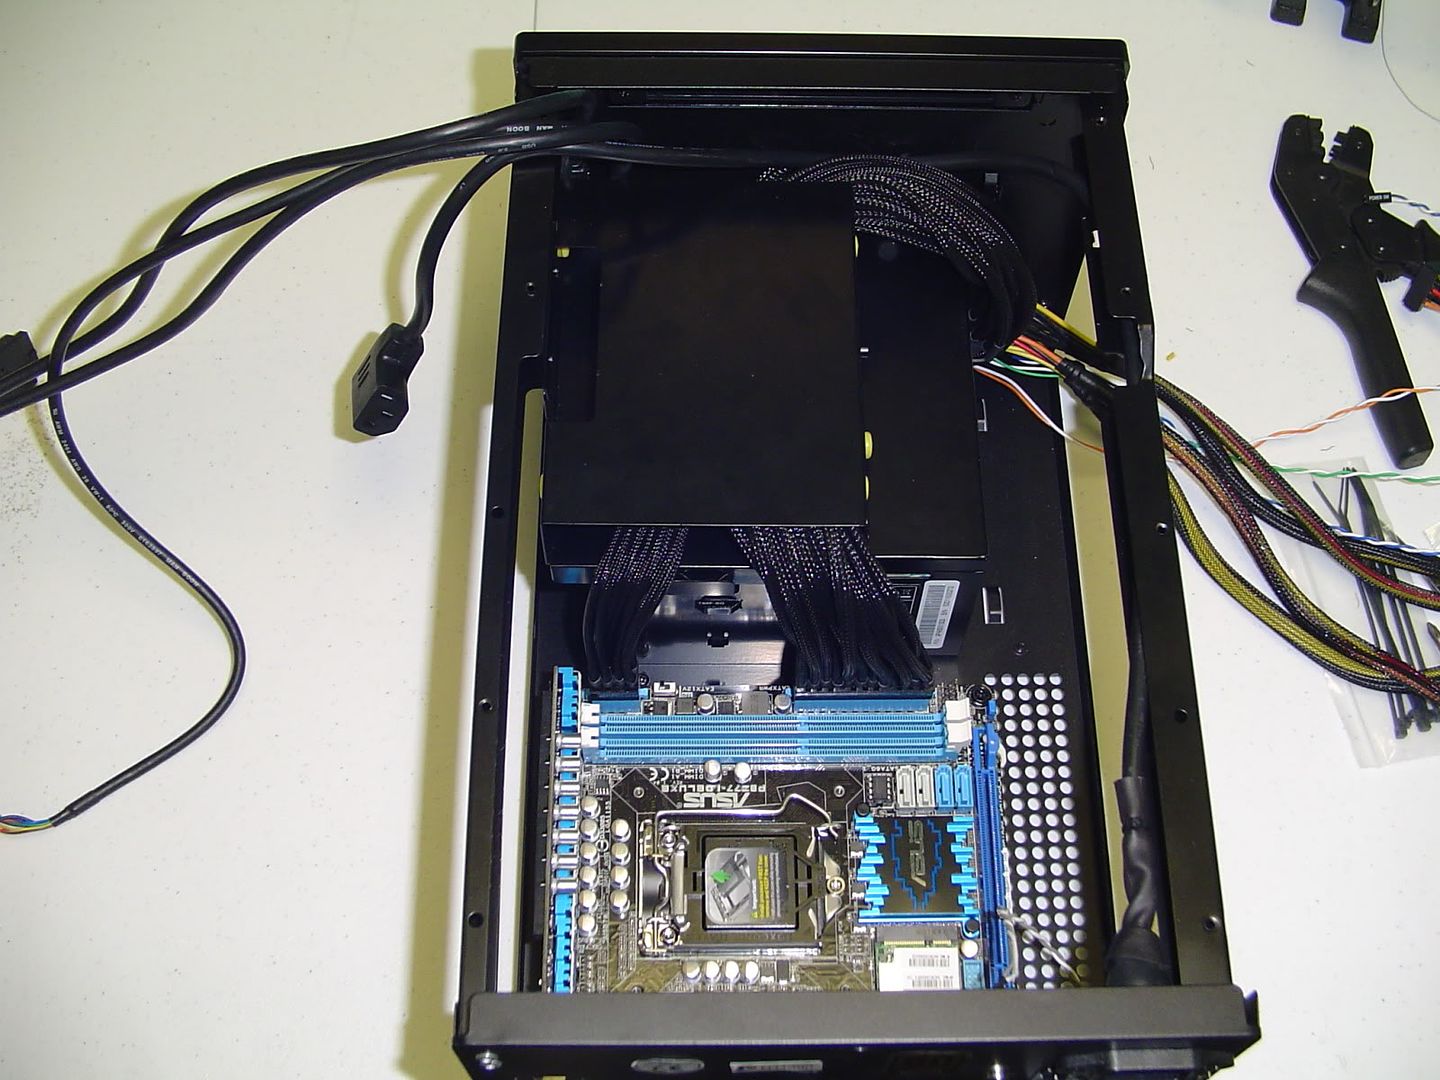
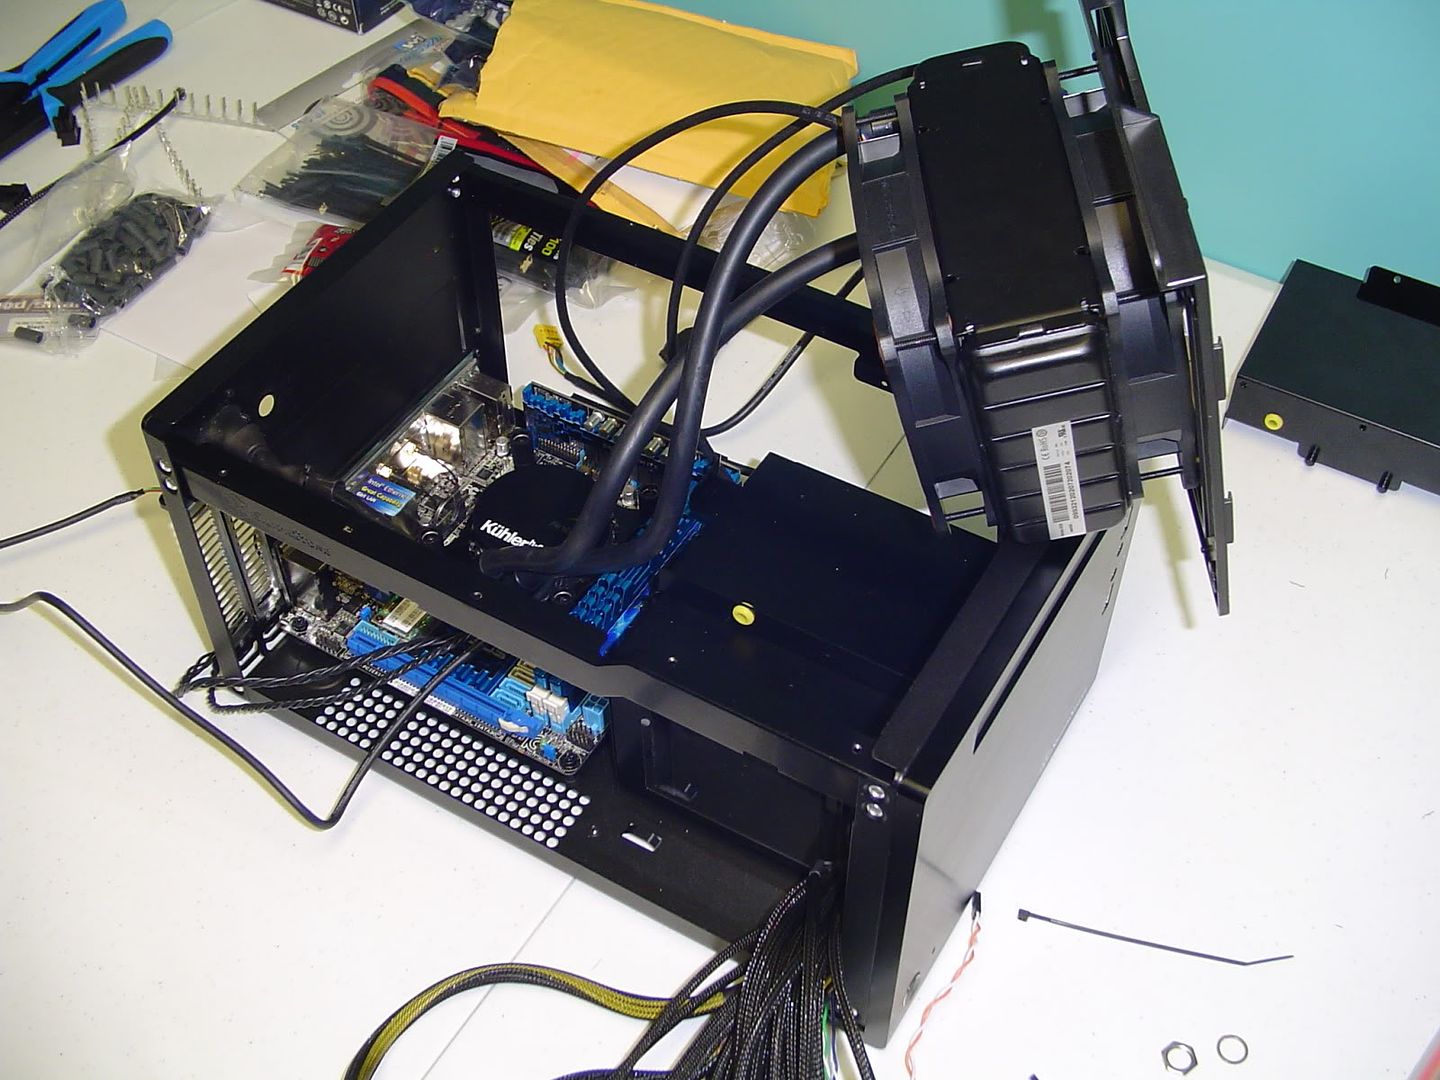
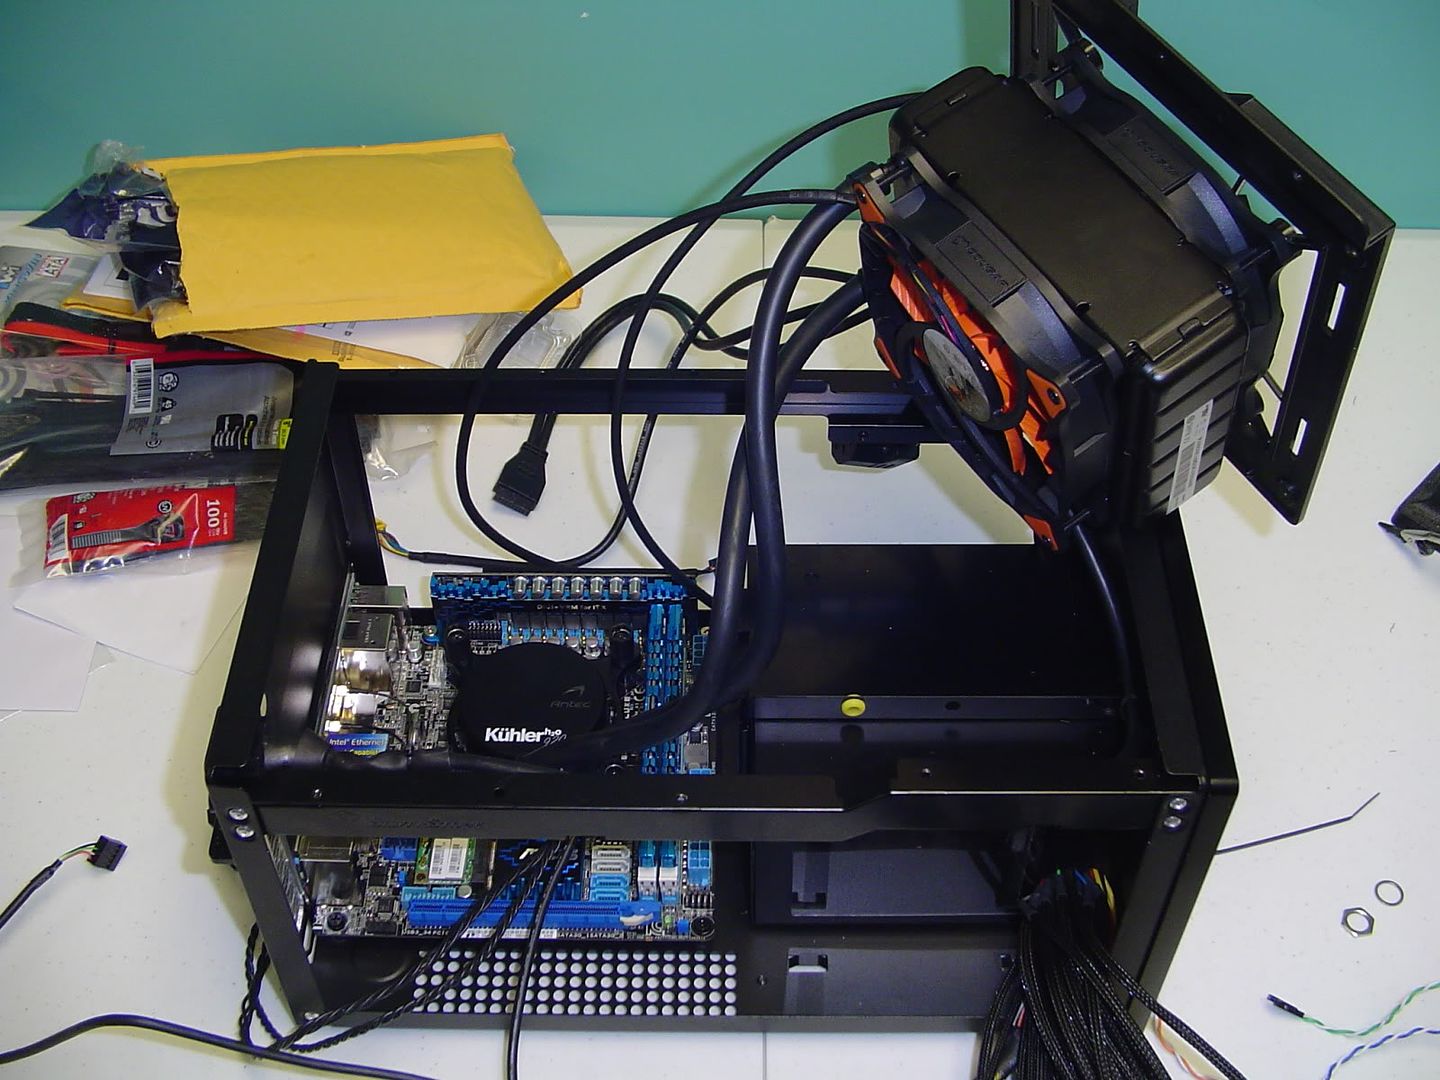
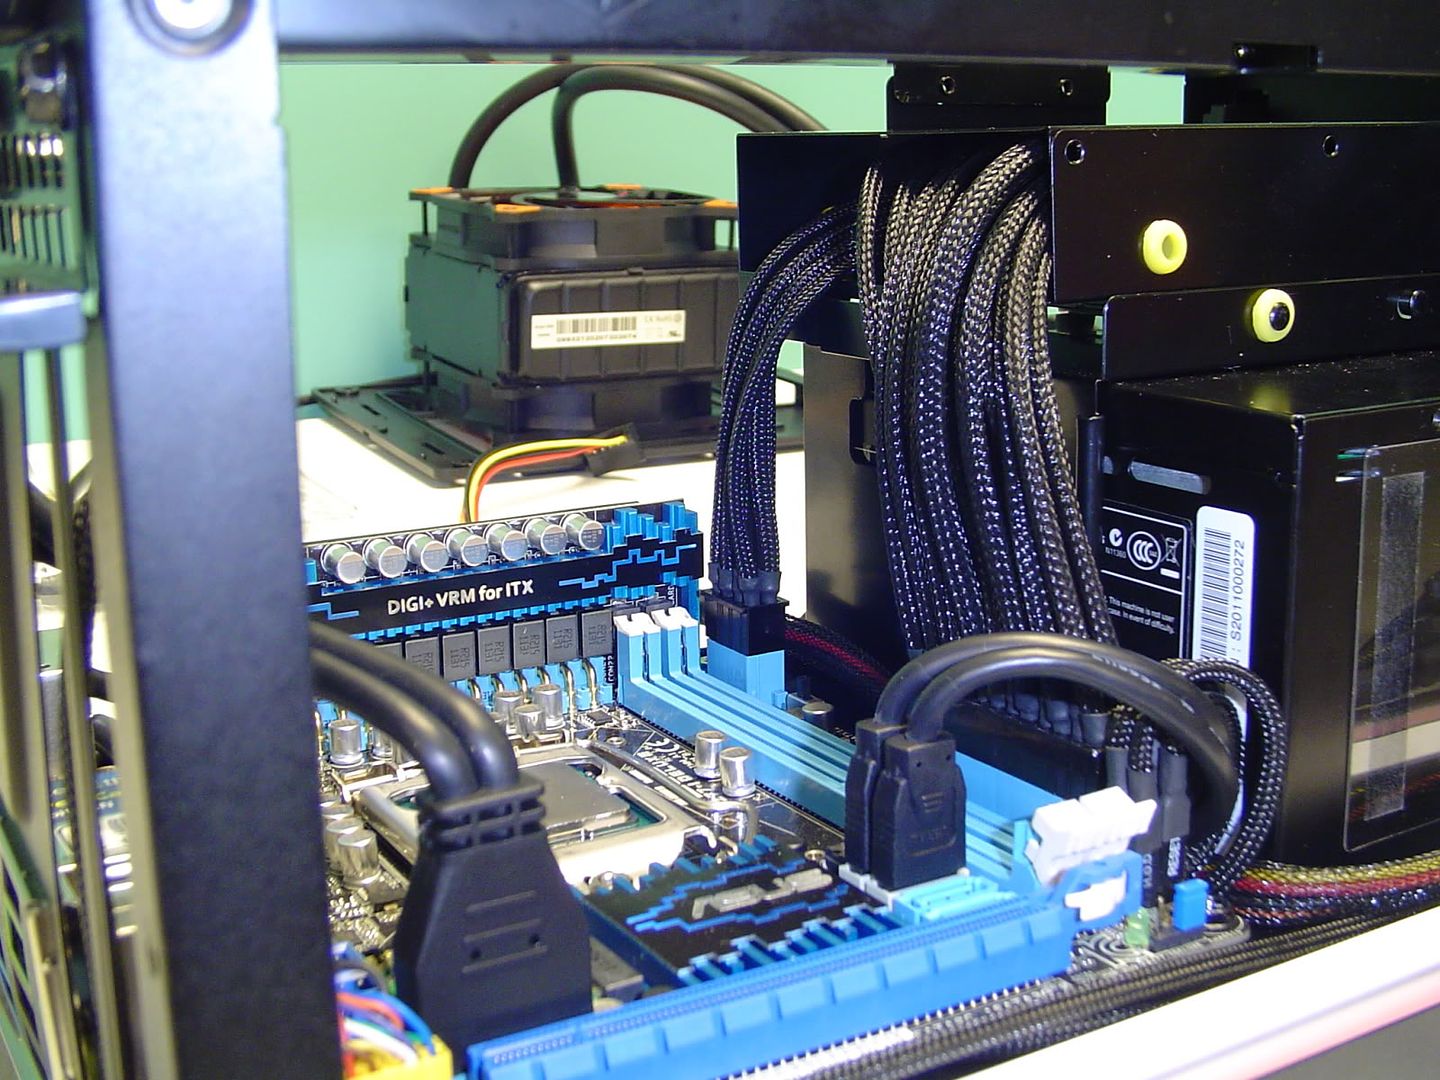
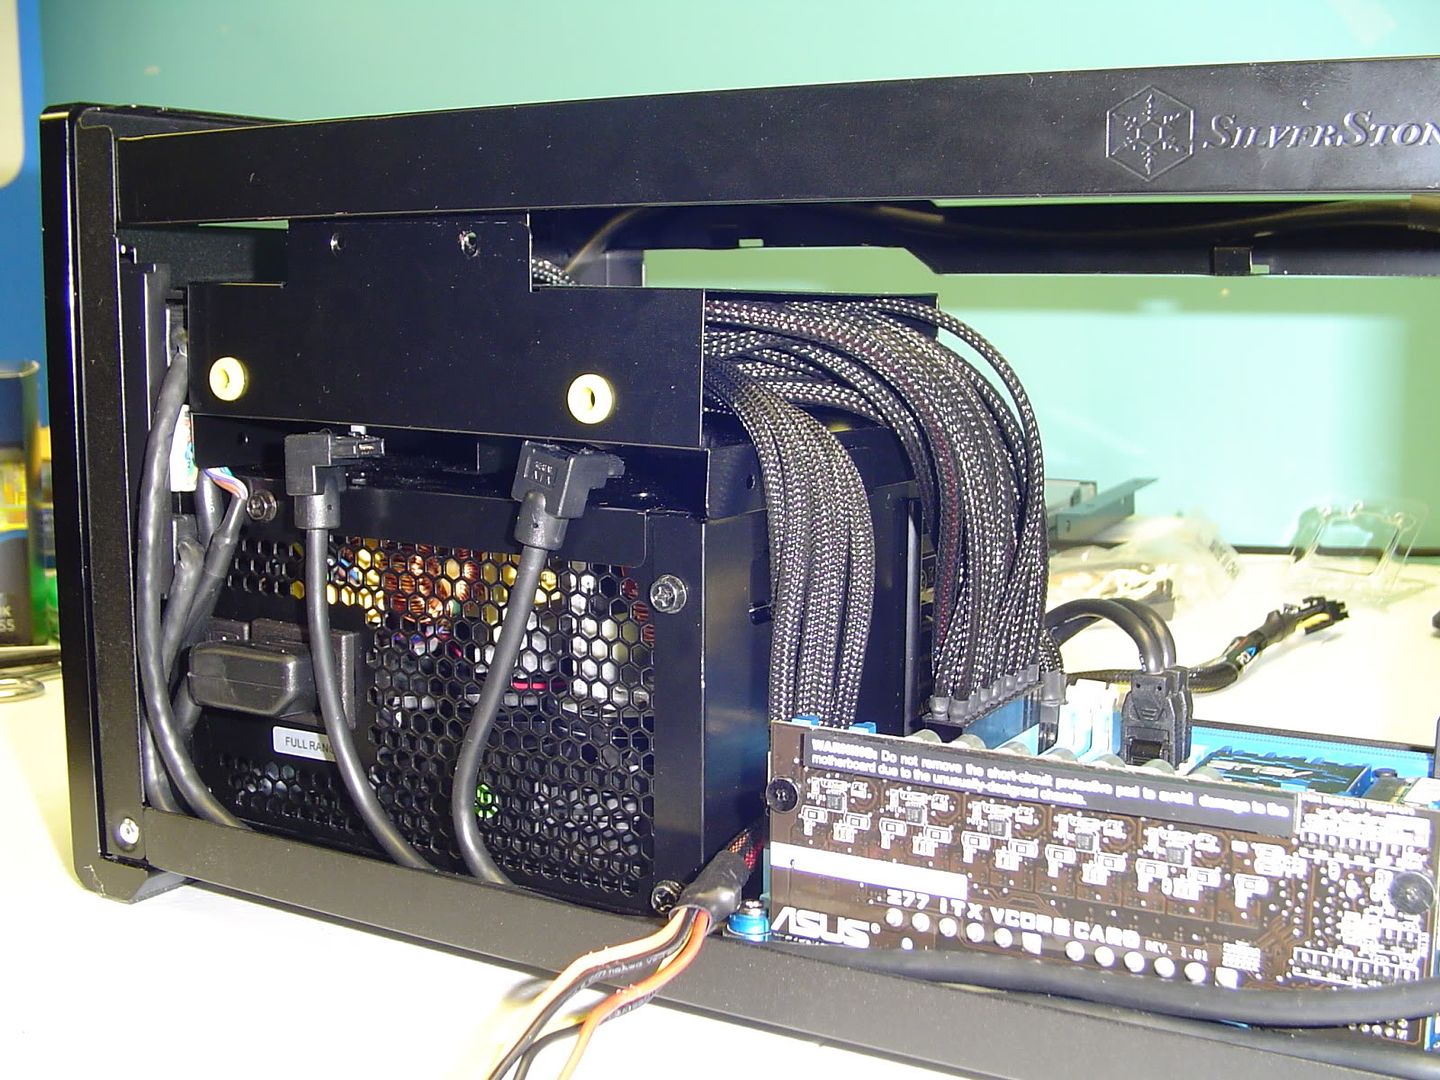
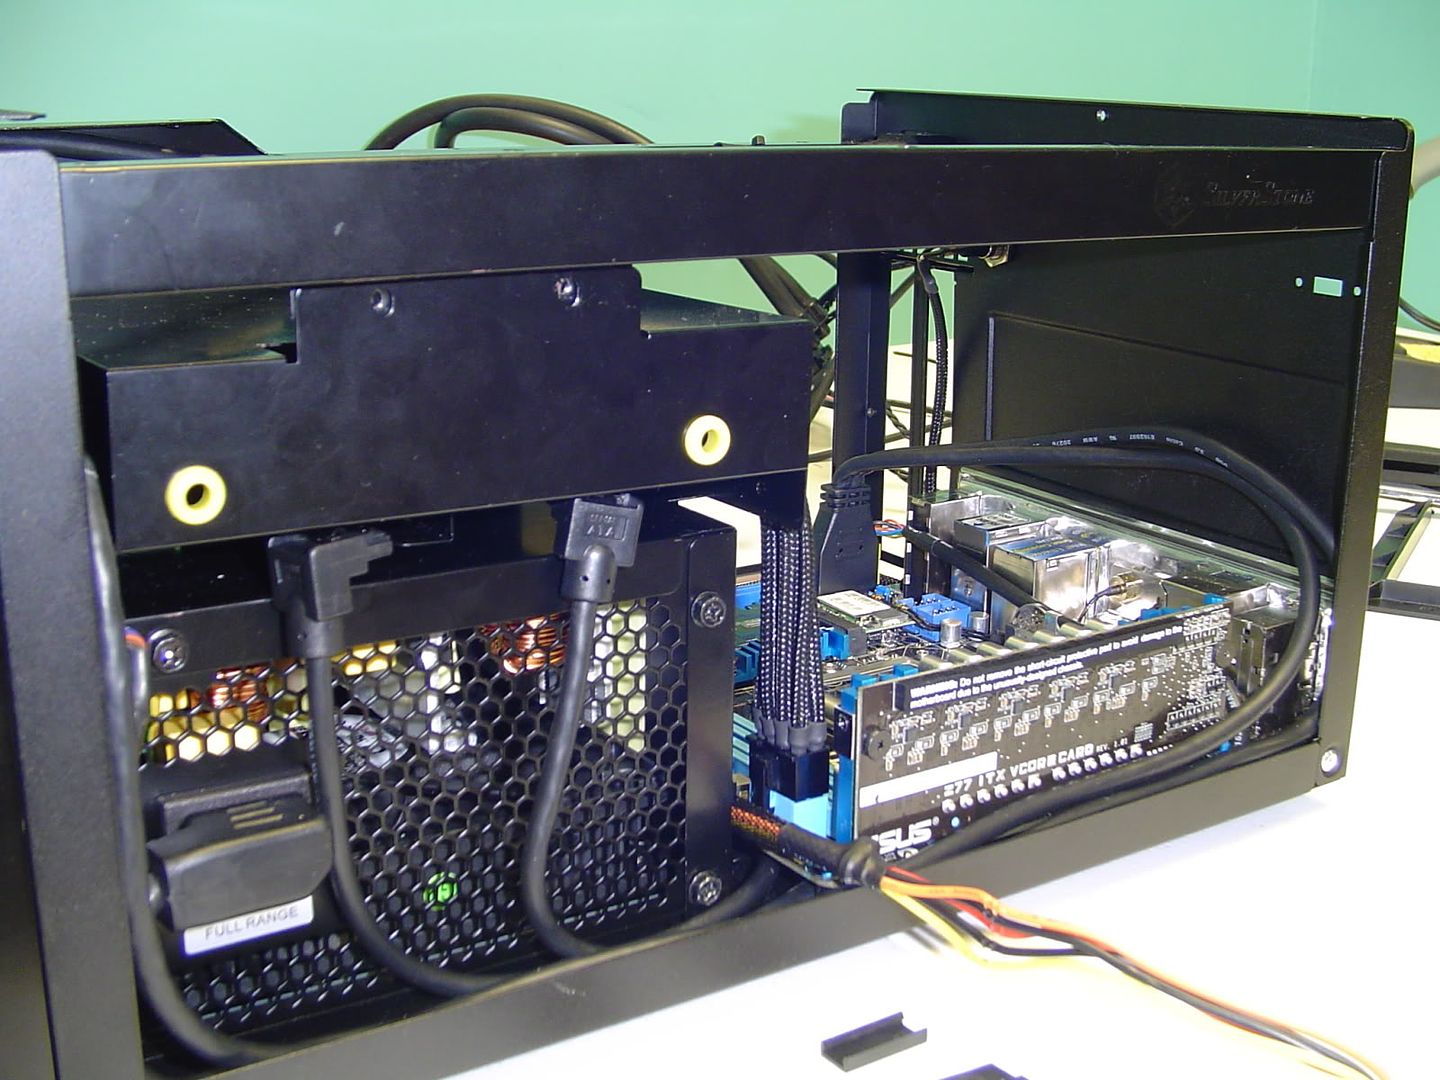
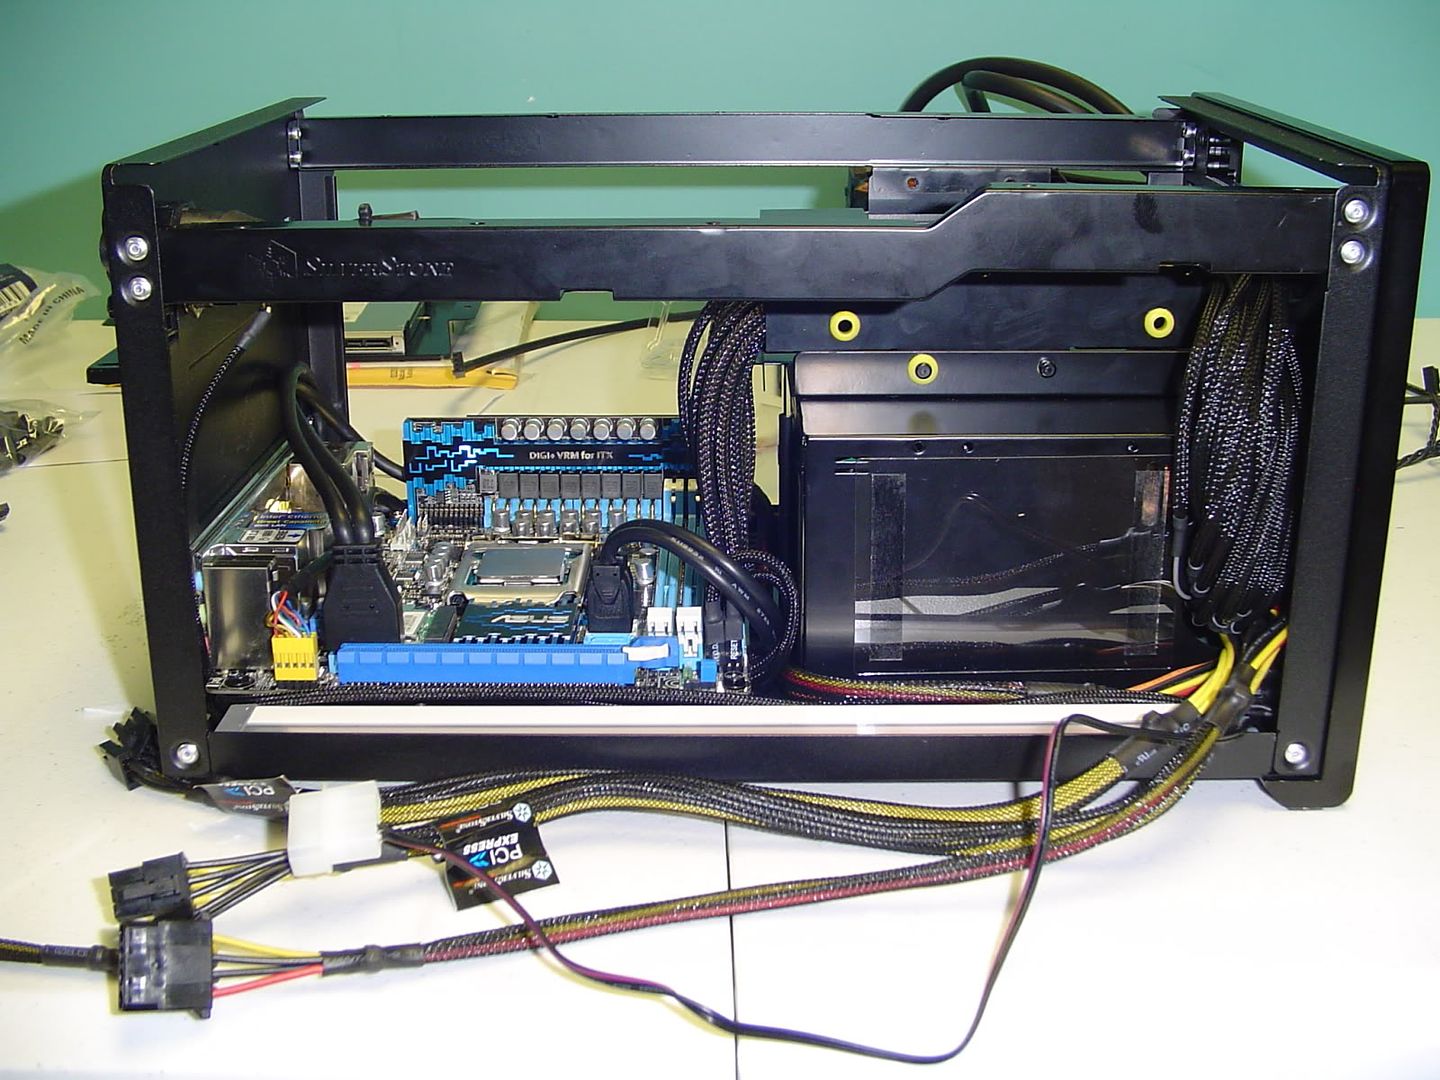
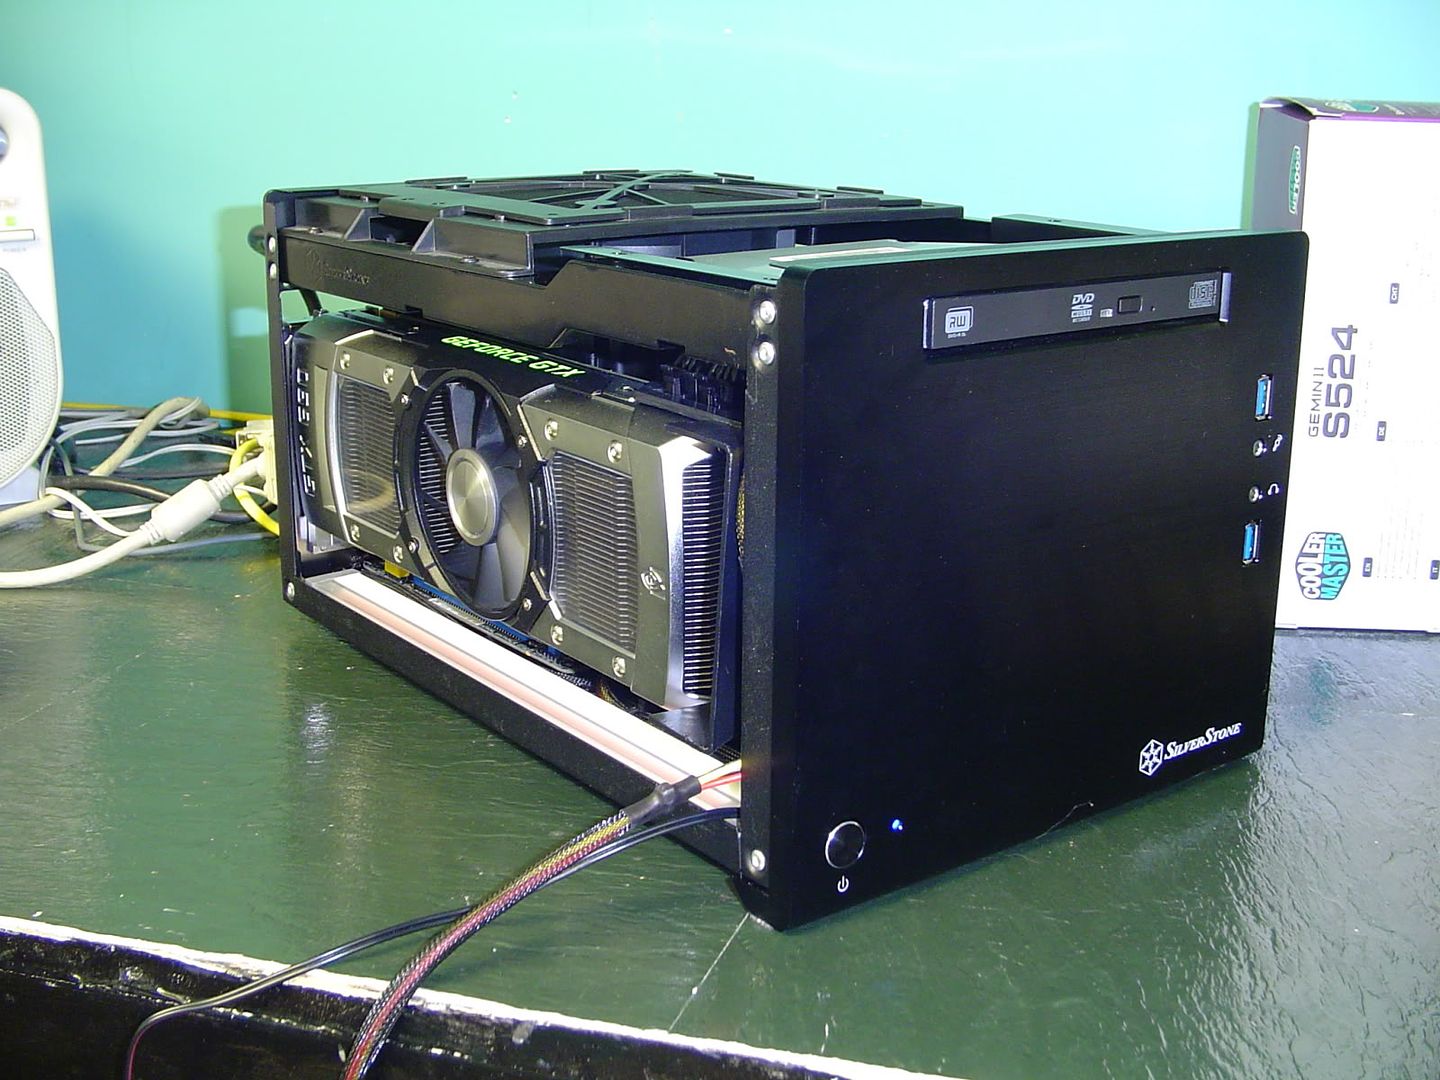
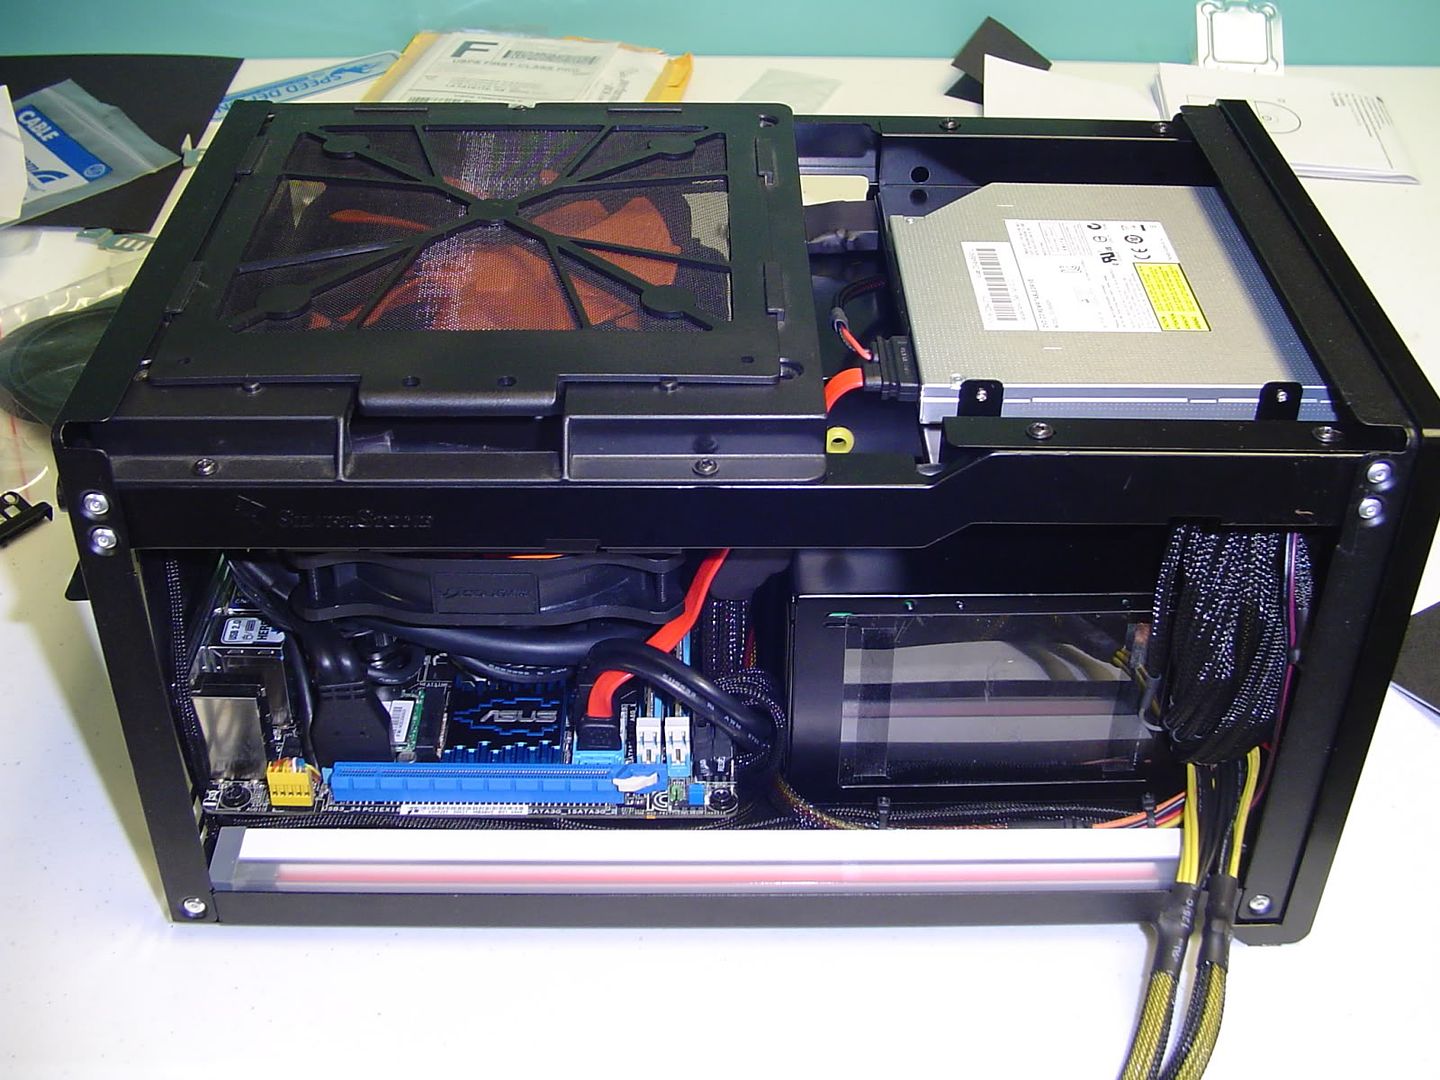
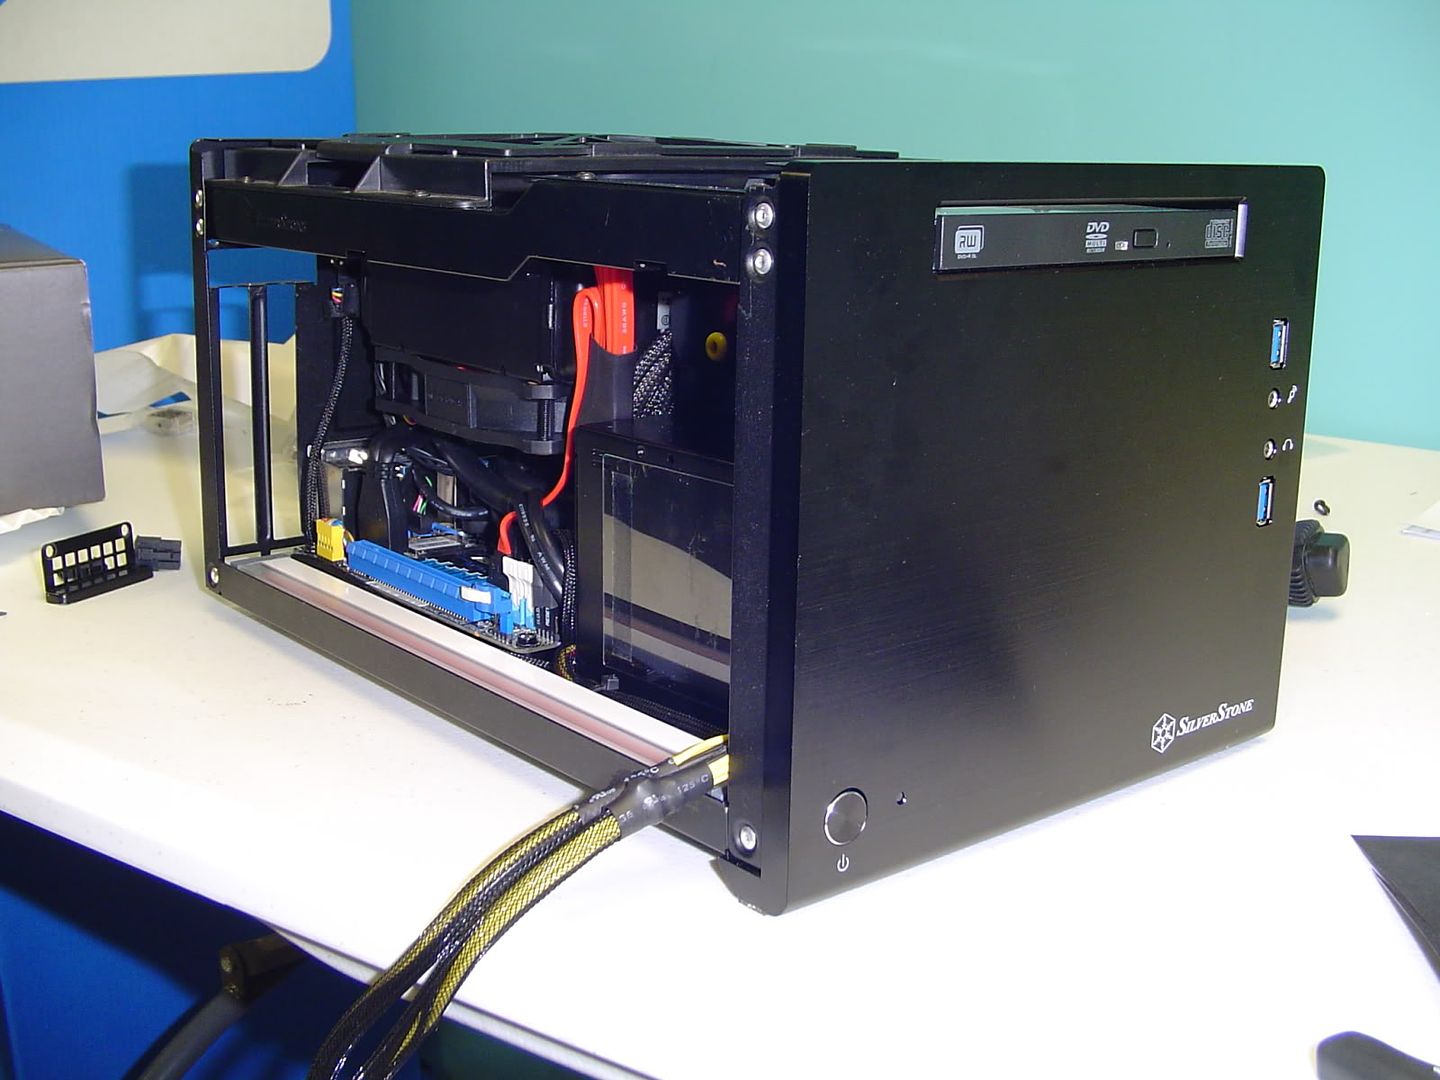
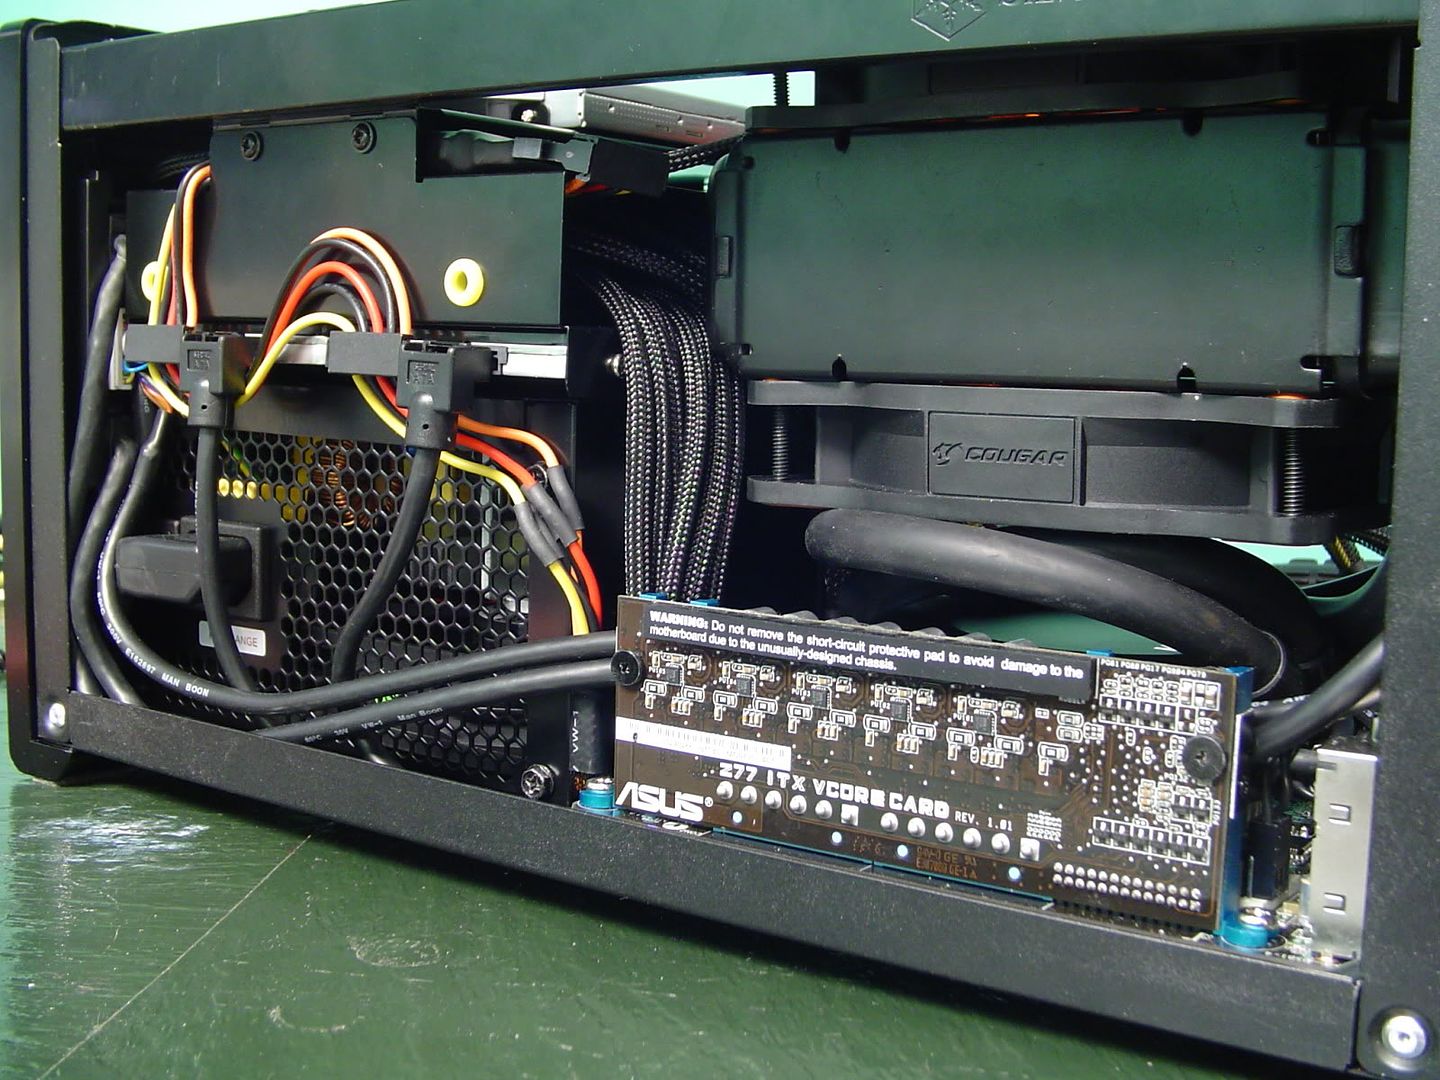
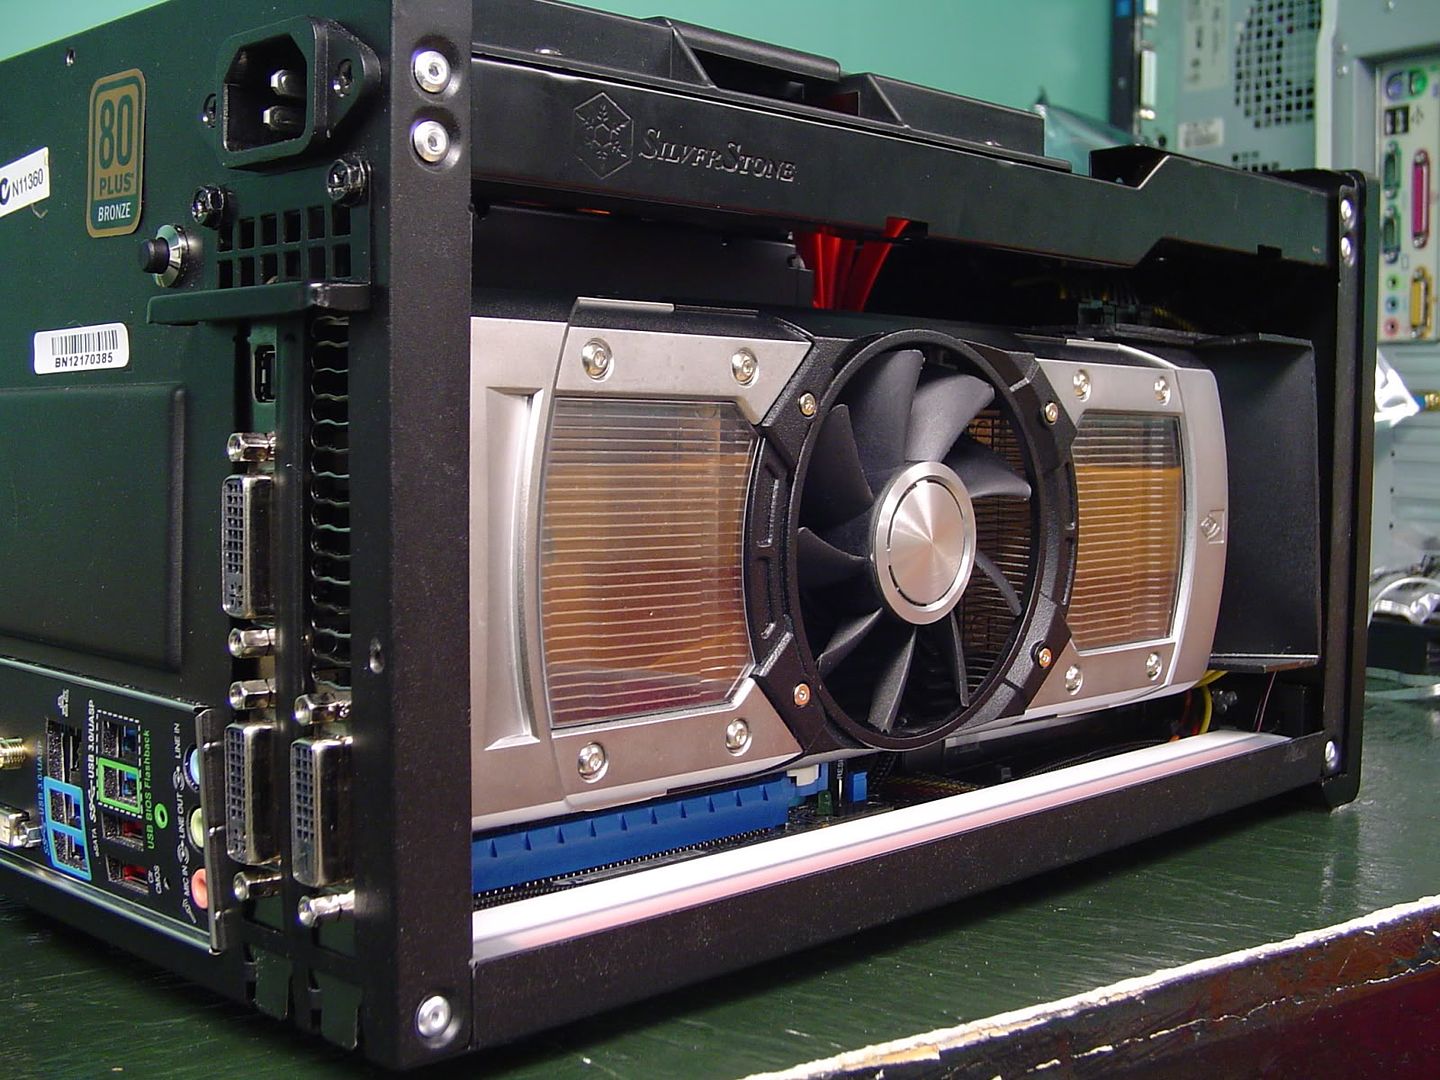
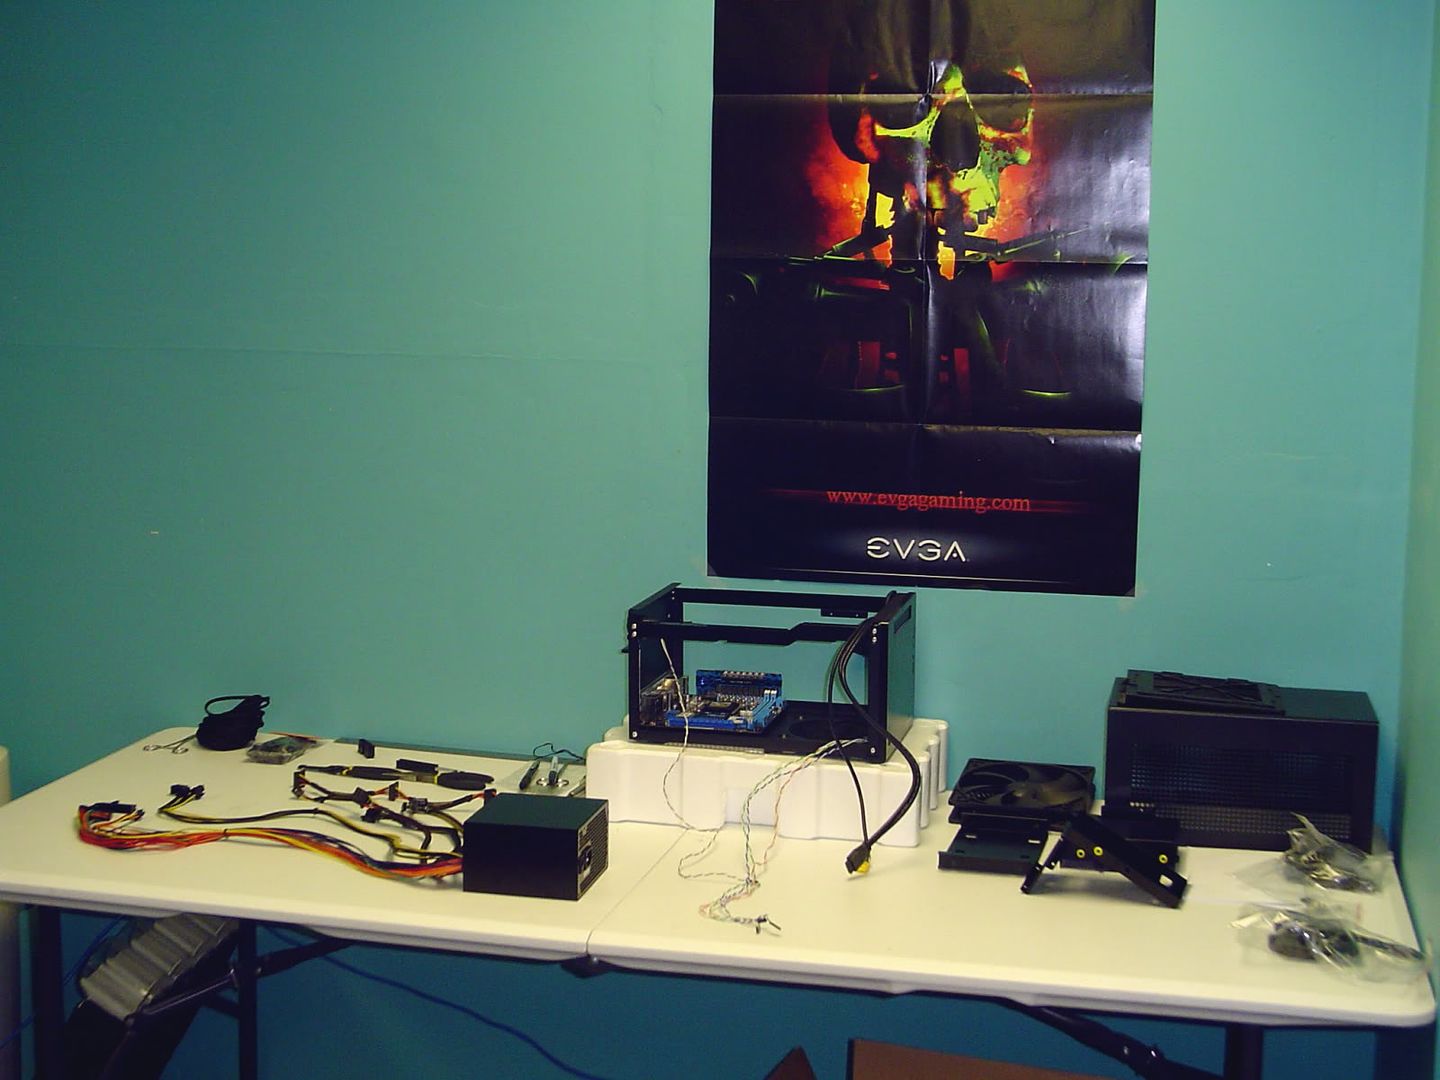
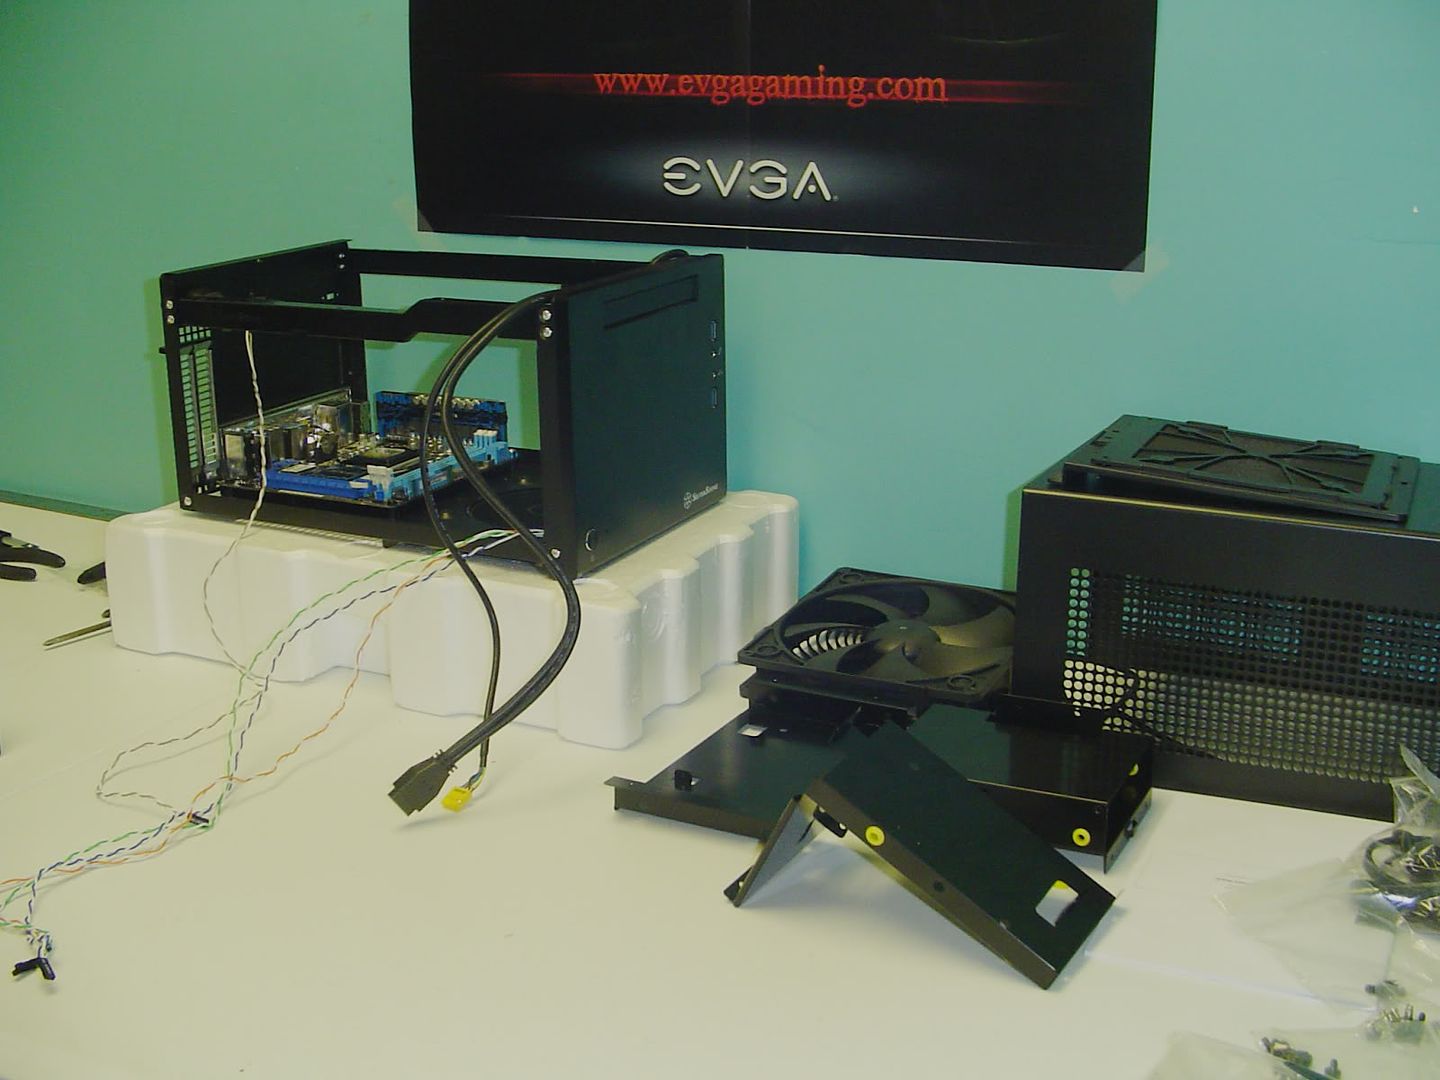
The first pictures I have for you are from little way into the build. It didn't take me long to tear right into the case and make some progress. I apologize for the poor quality photos, but I'm working off of an ancient Sony Cybershot 3.2mp camera. I really need to upgrade sometime soon...
Untitled-3.jpg


Untitled-2.jpg


DSC02955.jpg


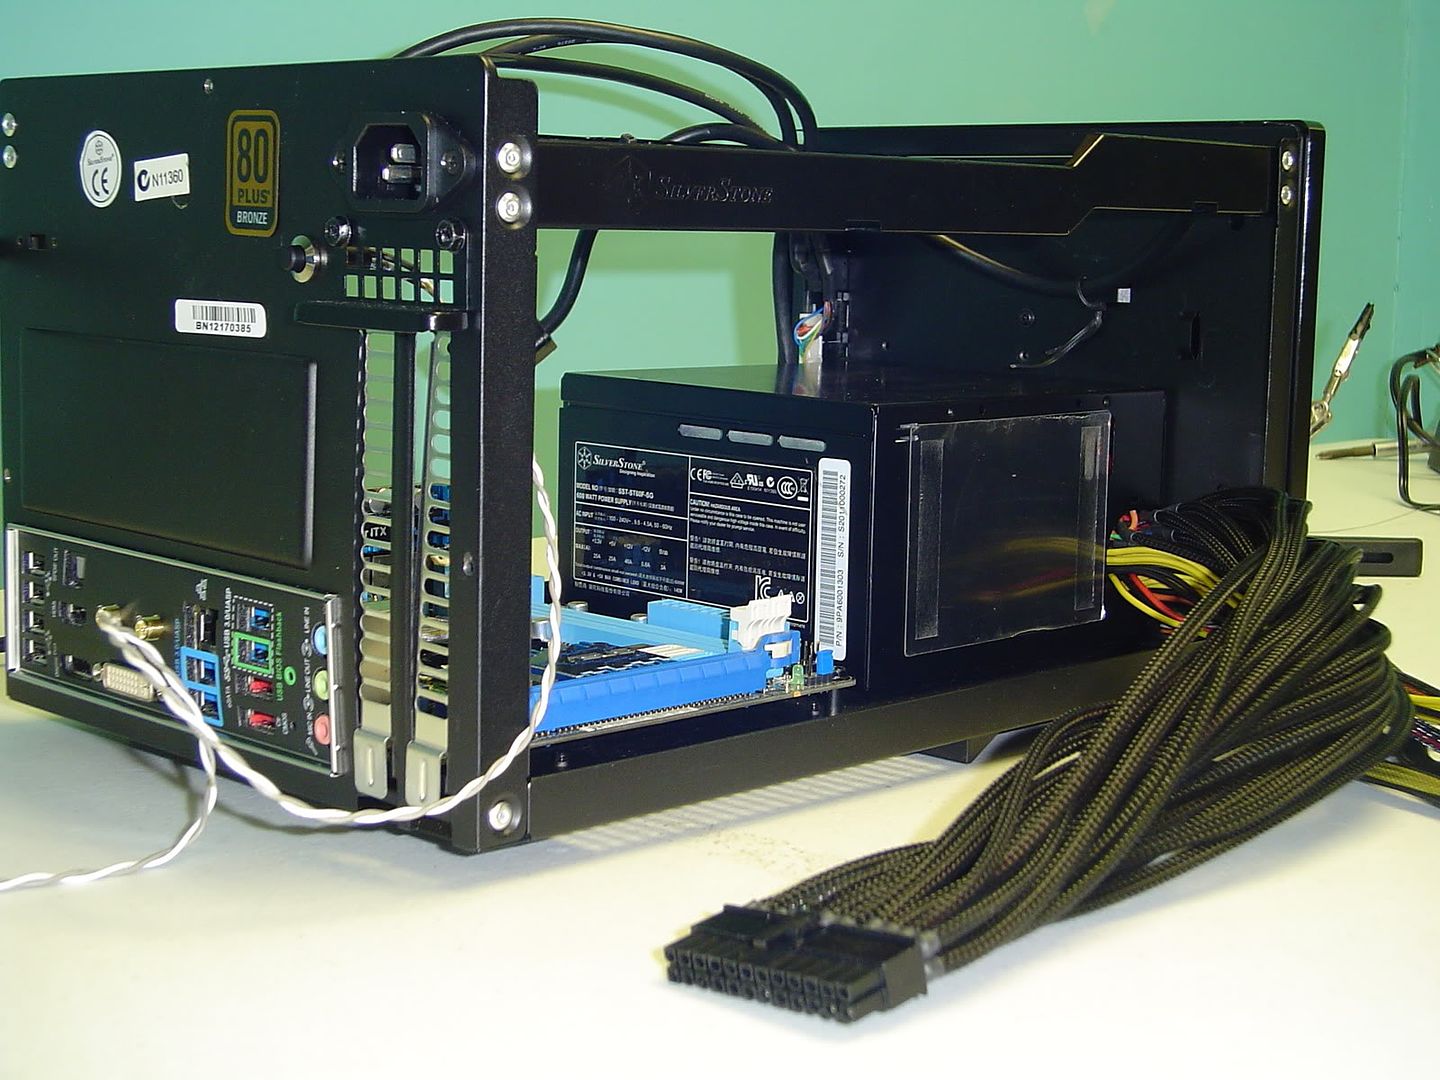
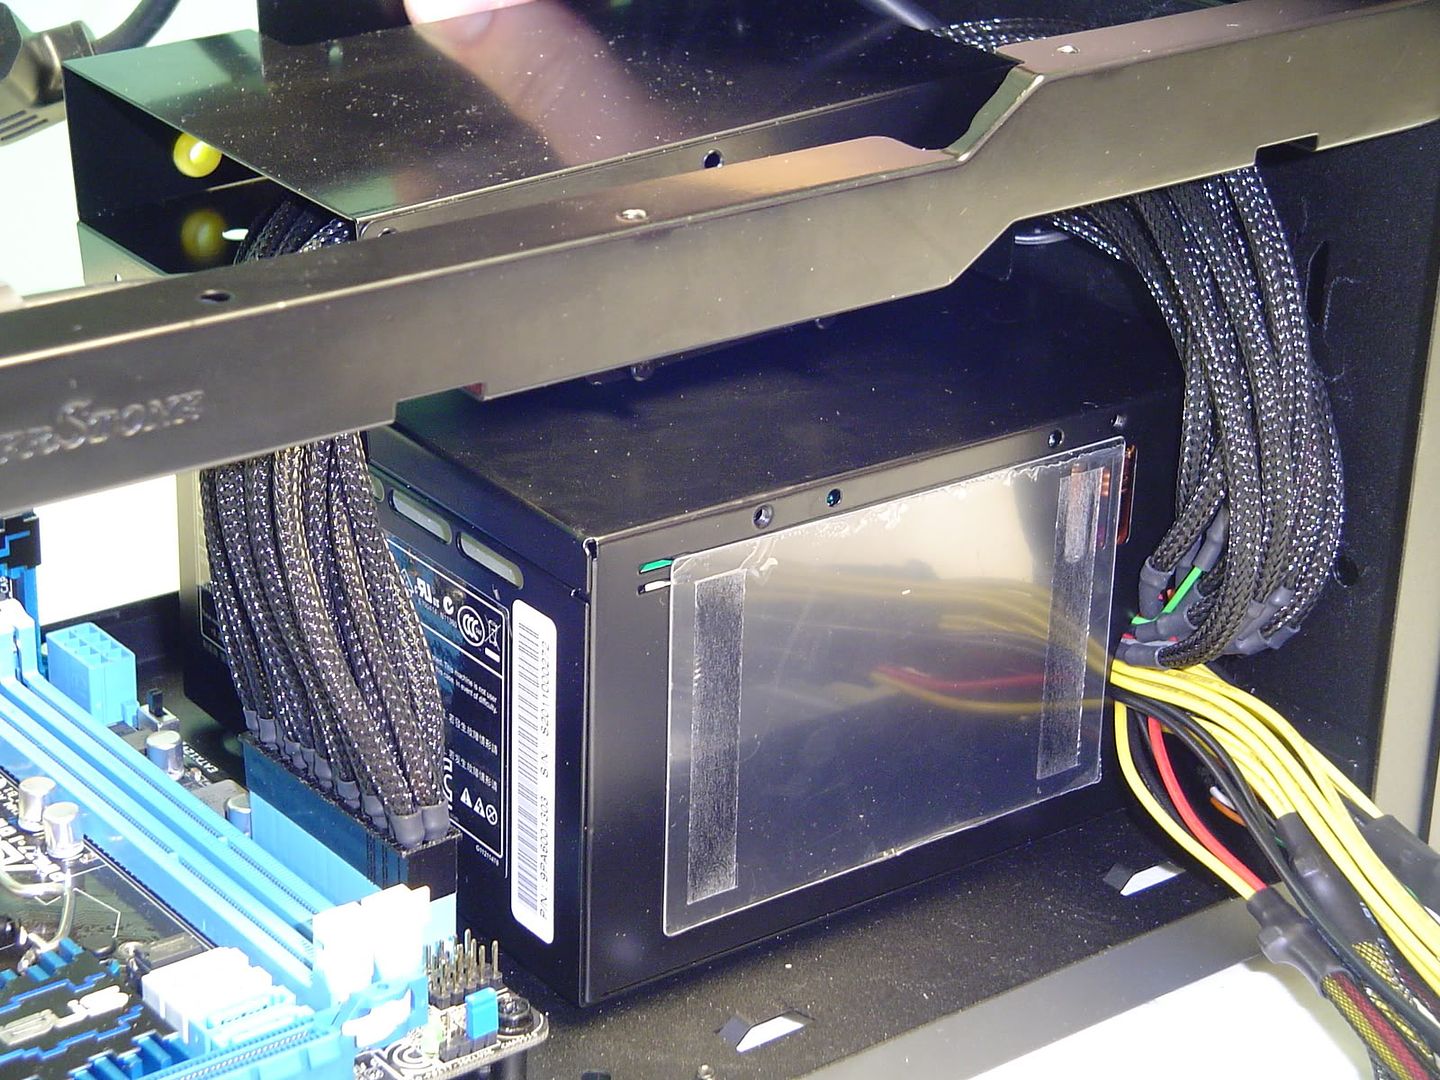
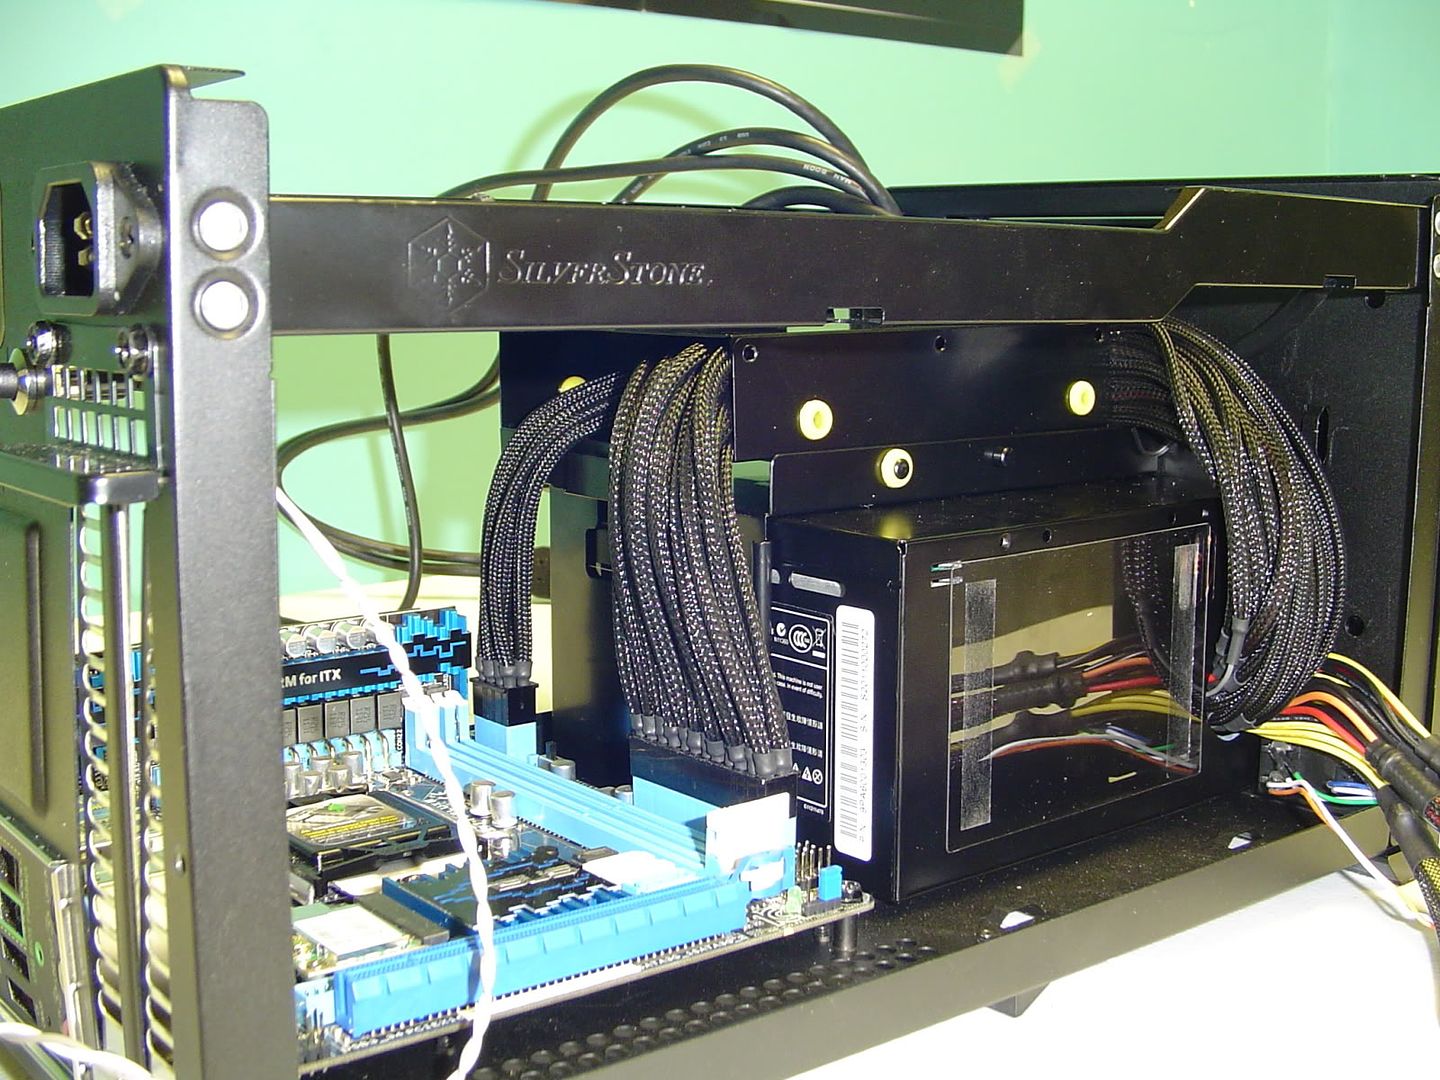
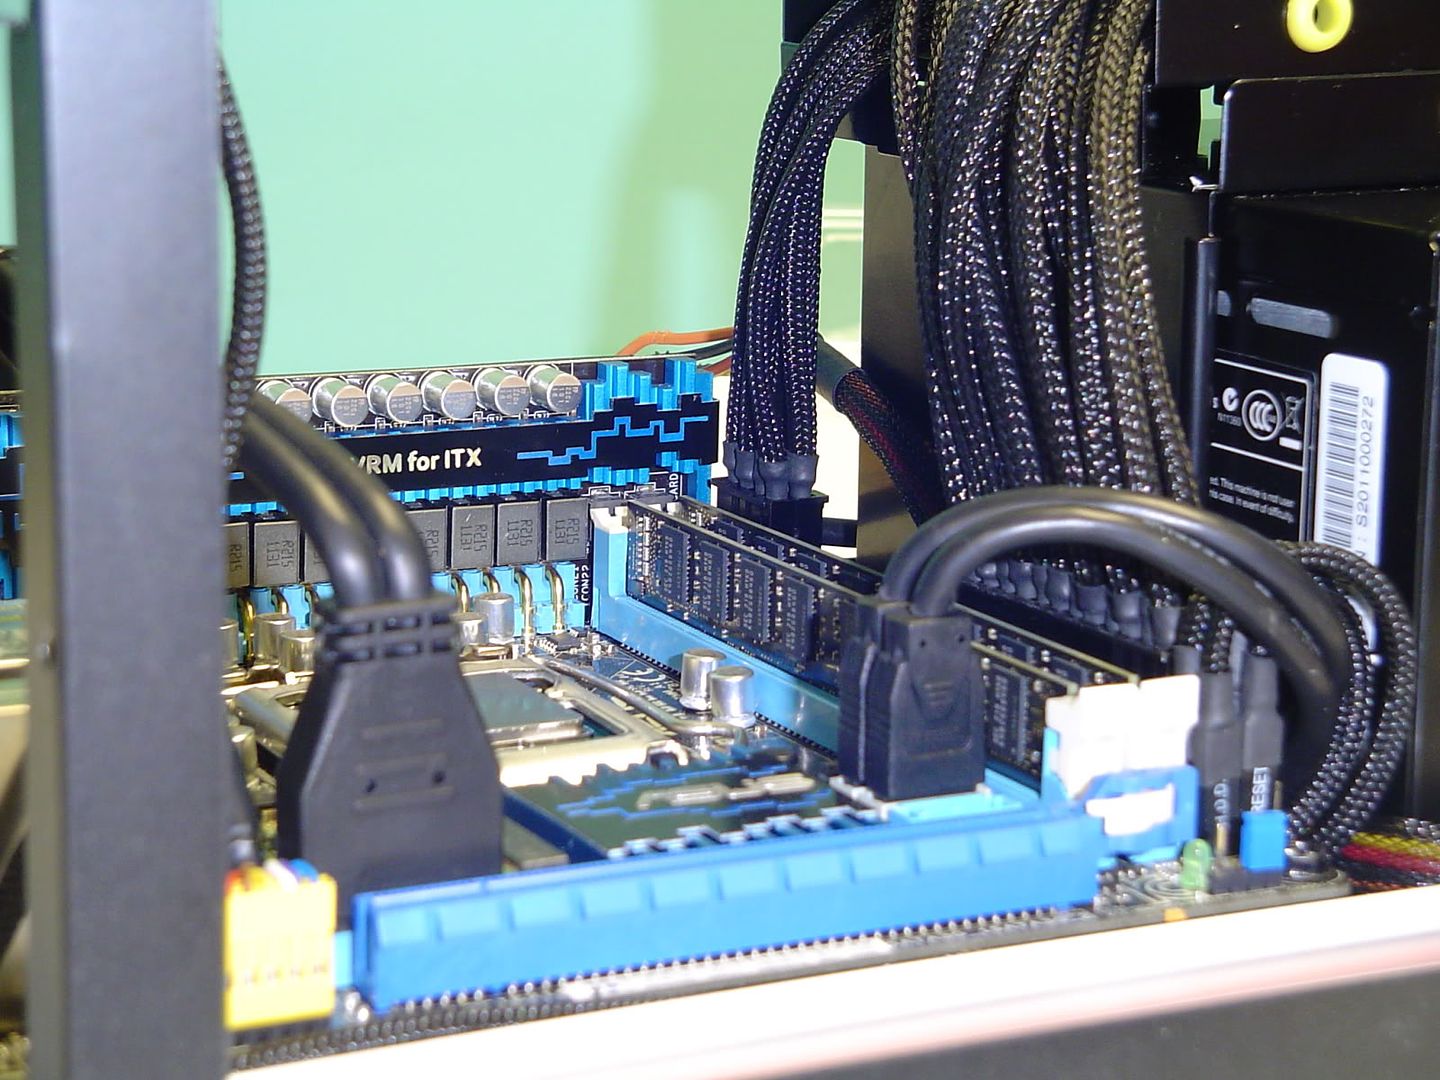
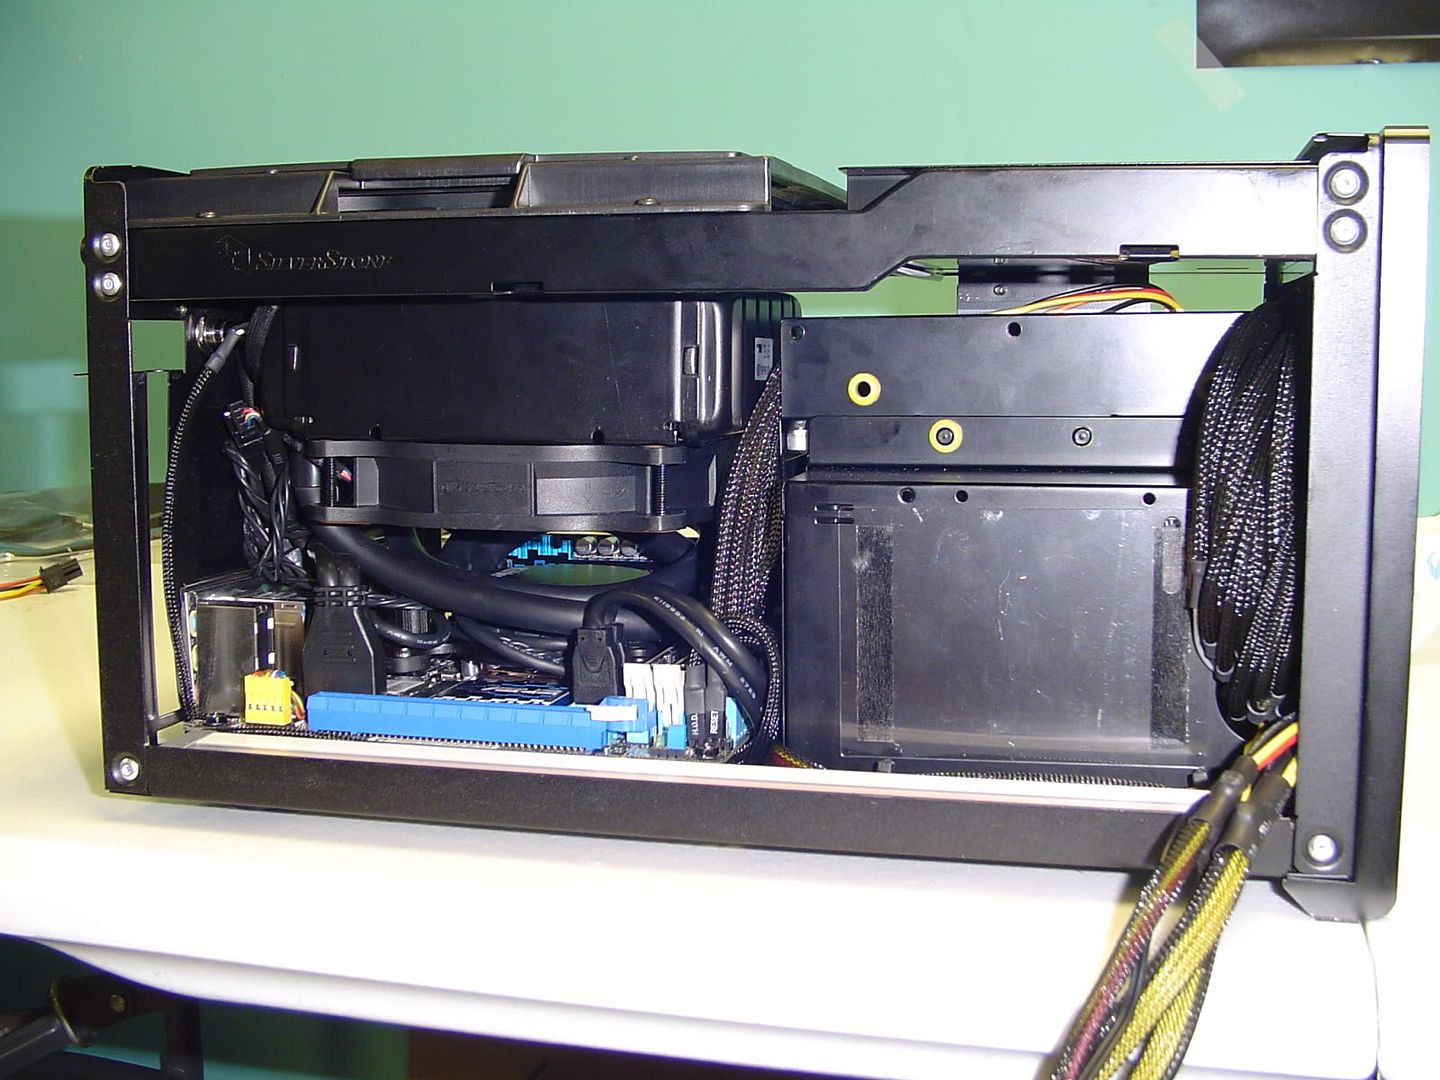
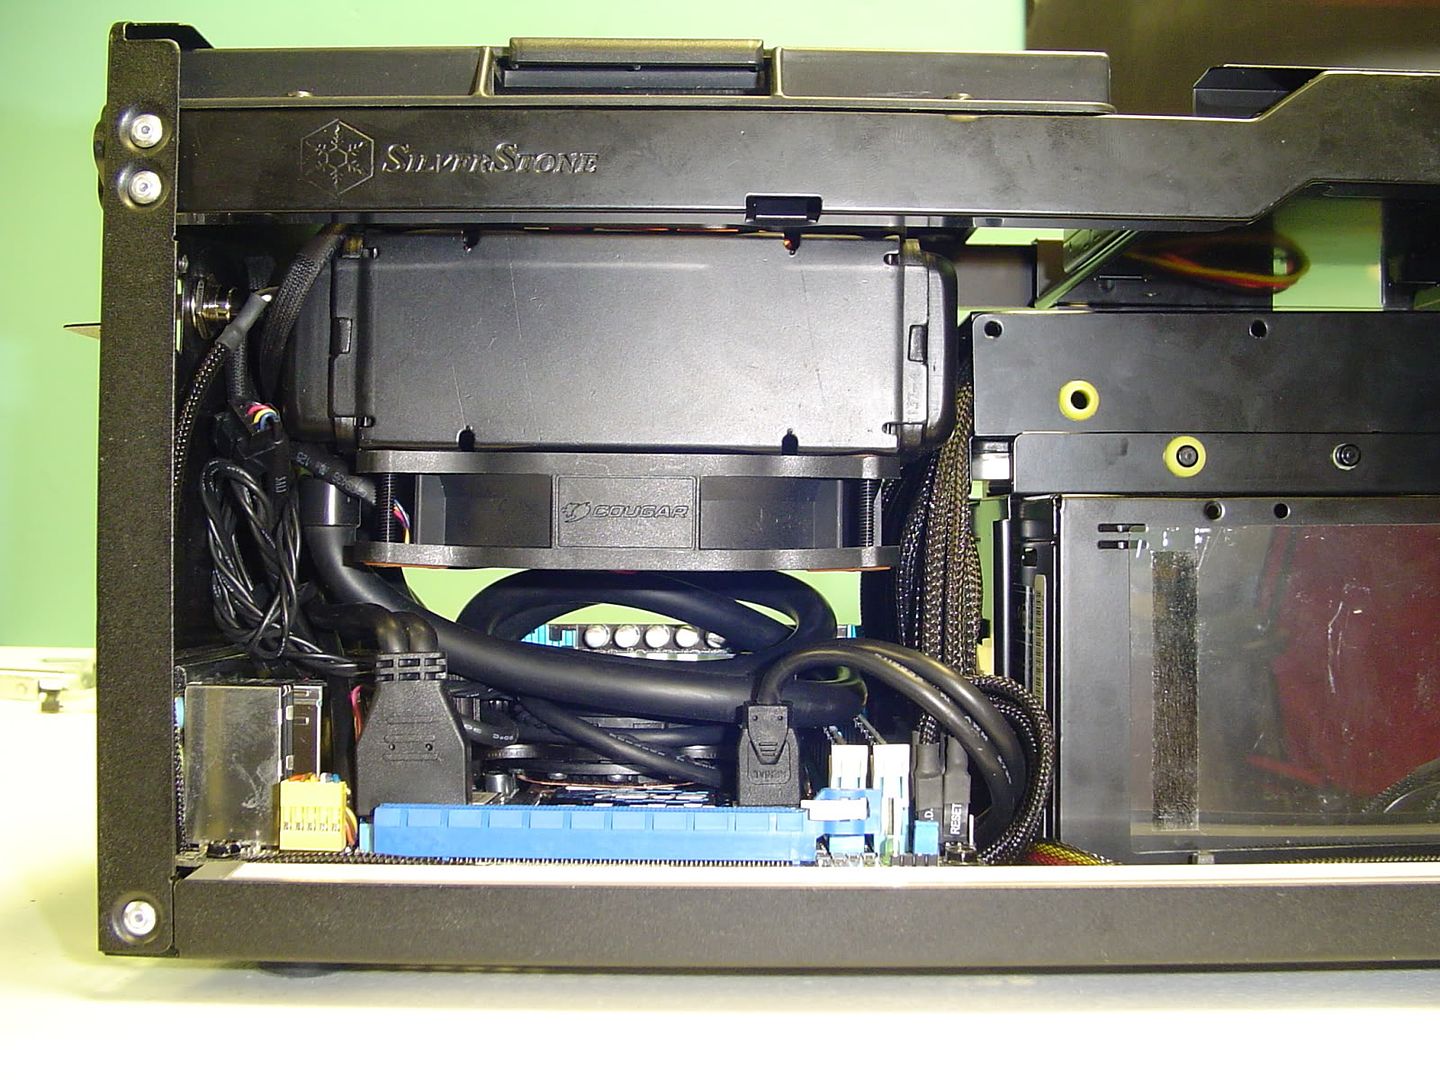
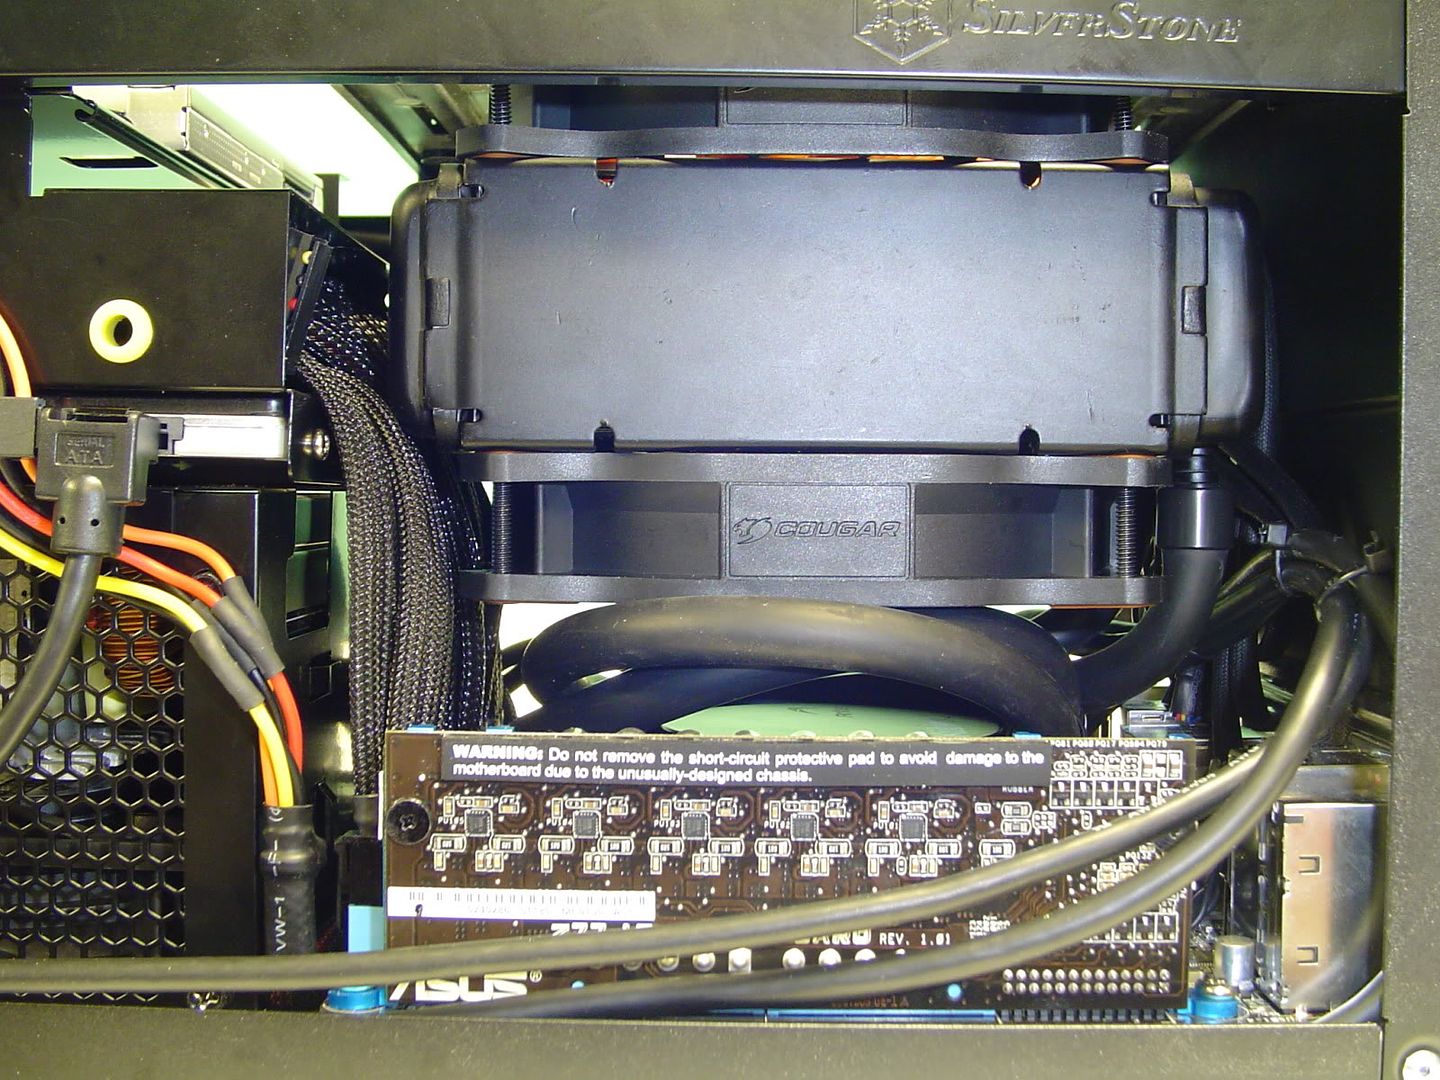
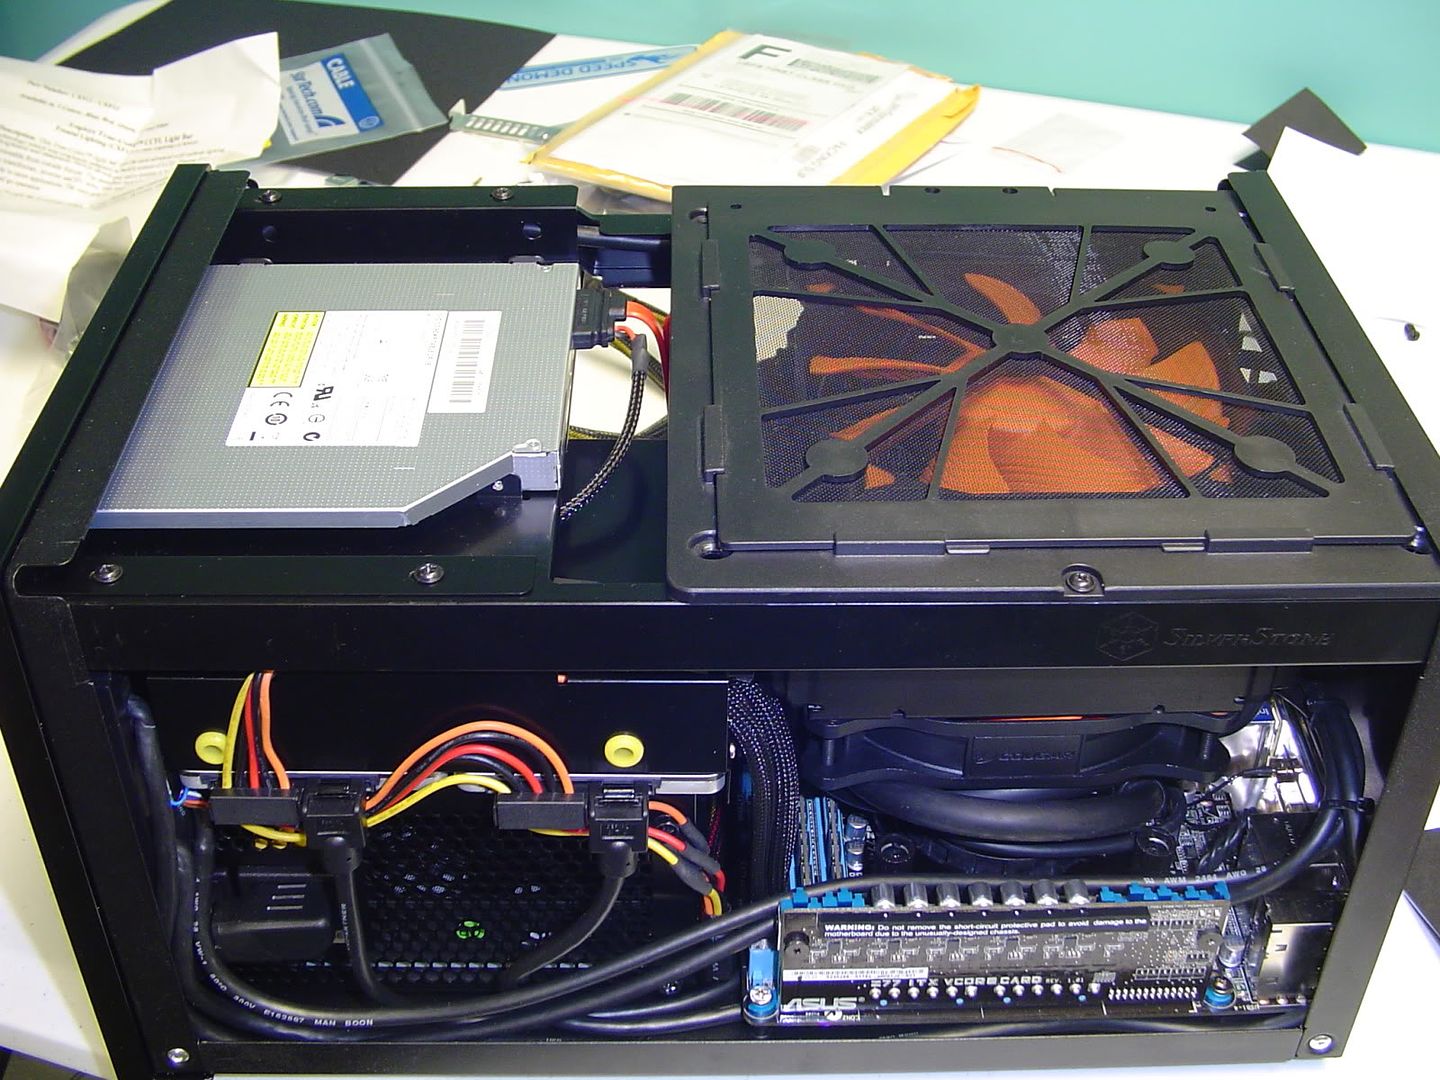
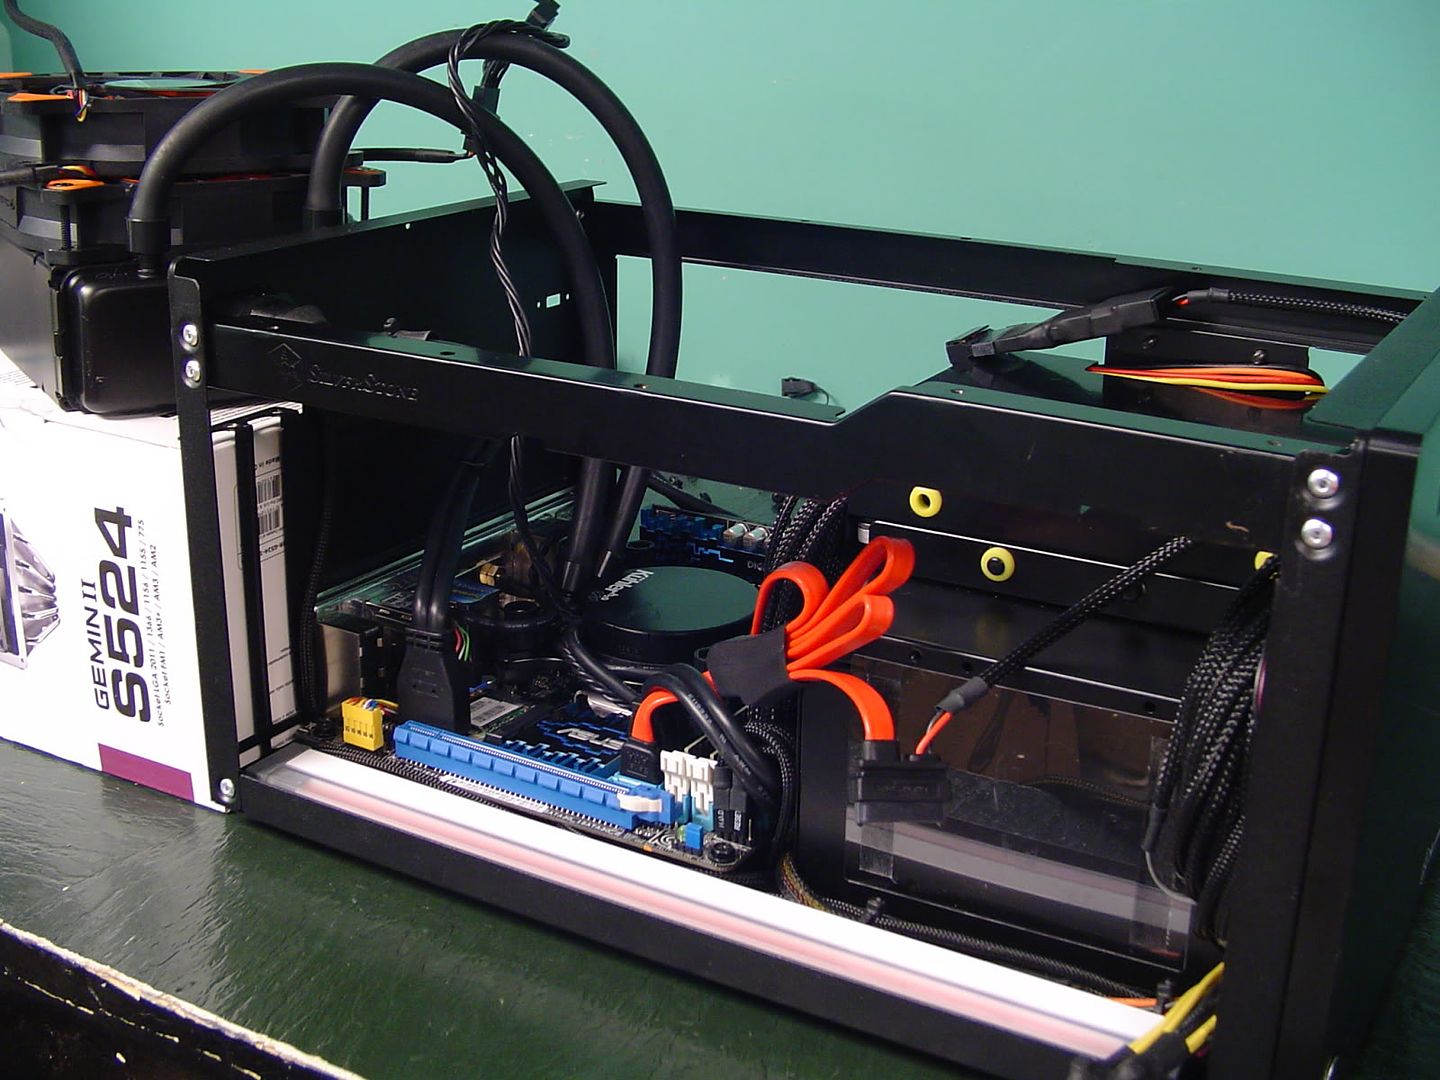
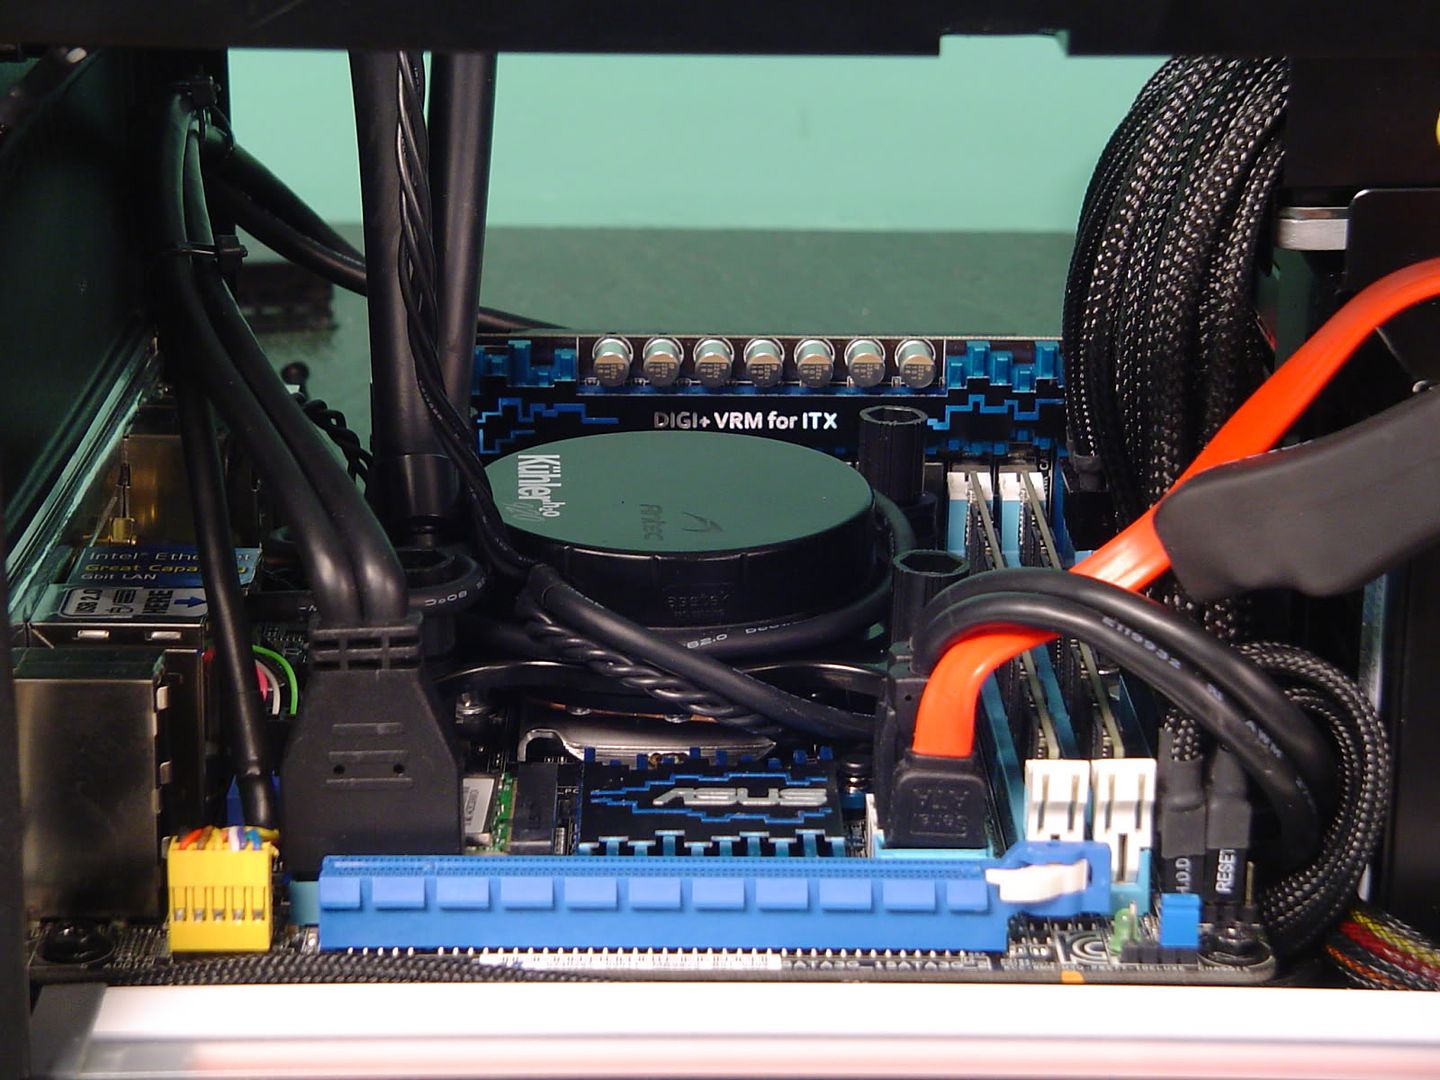
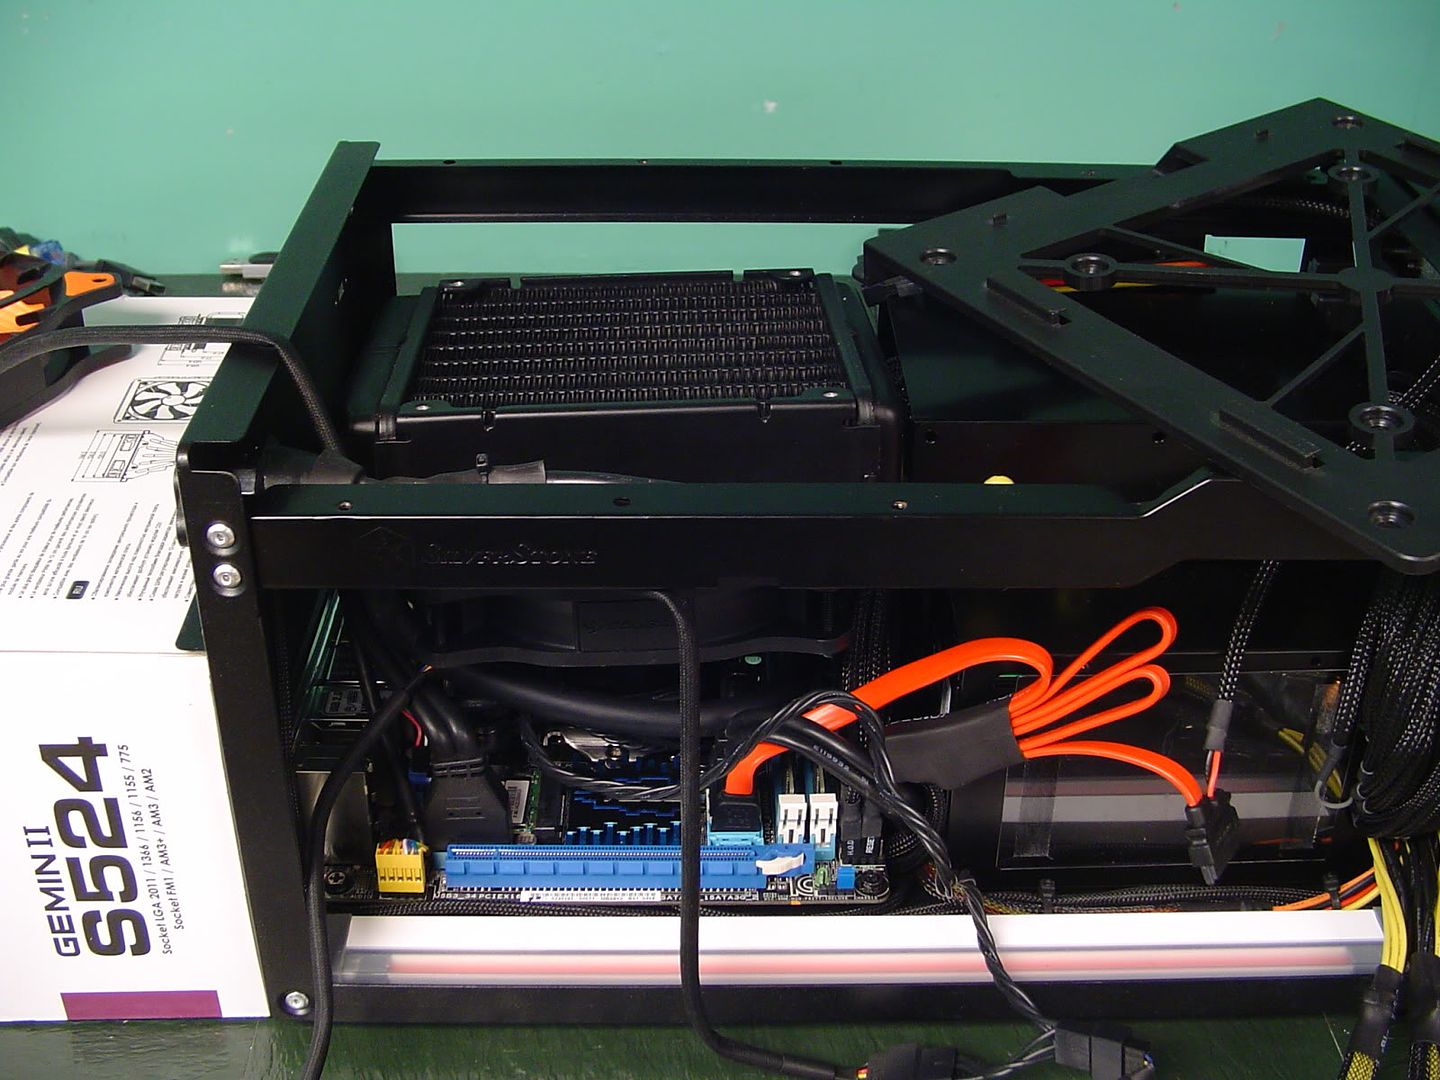
As you can see, I've already mounted the motherboard and have also mounted the retention bracket for the Kuhler 920. Just a heads up for anyone that plans to use a 920 or 620 with the P8Z77-I, you WILL have to modify the retention bracket. By modify I mean grind chunks out of it so it will clear the bits of board circuitry on the back. Trusty Dremel to the rescue!

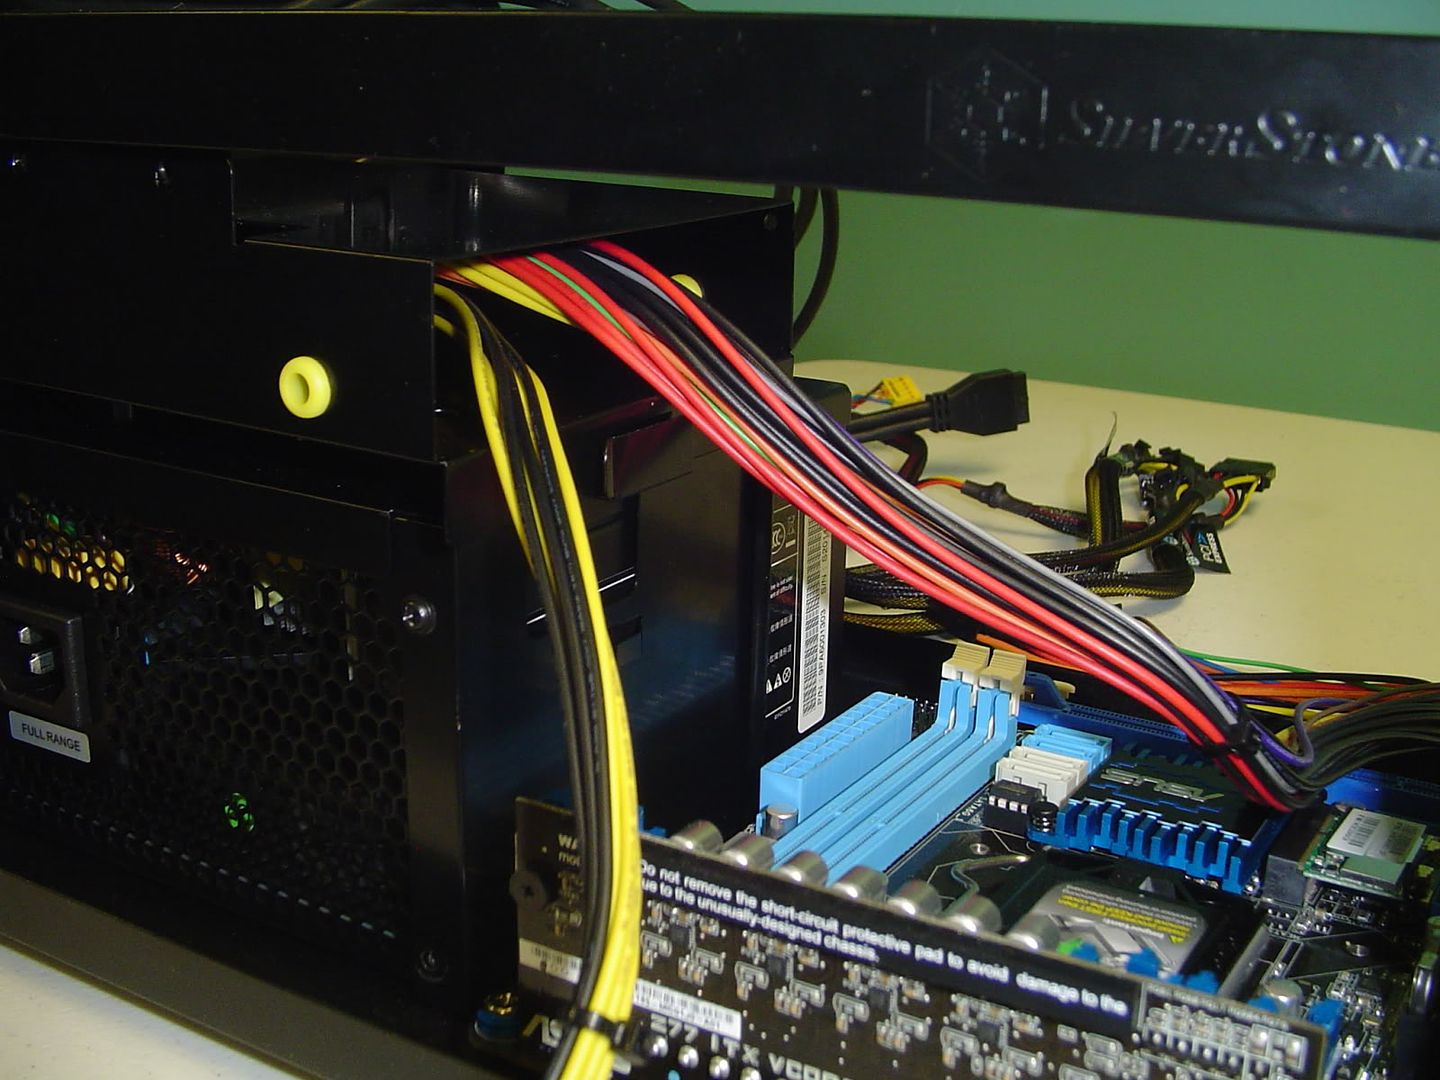
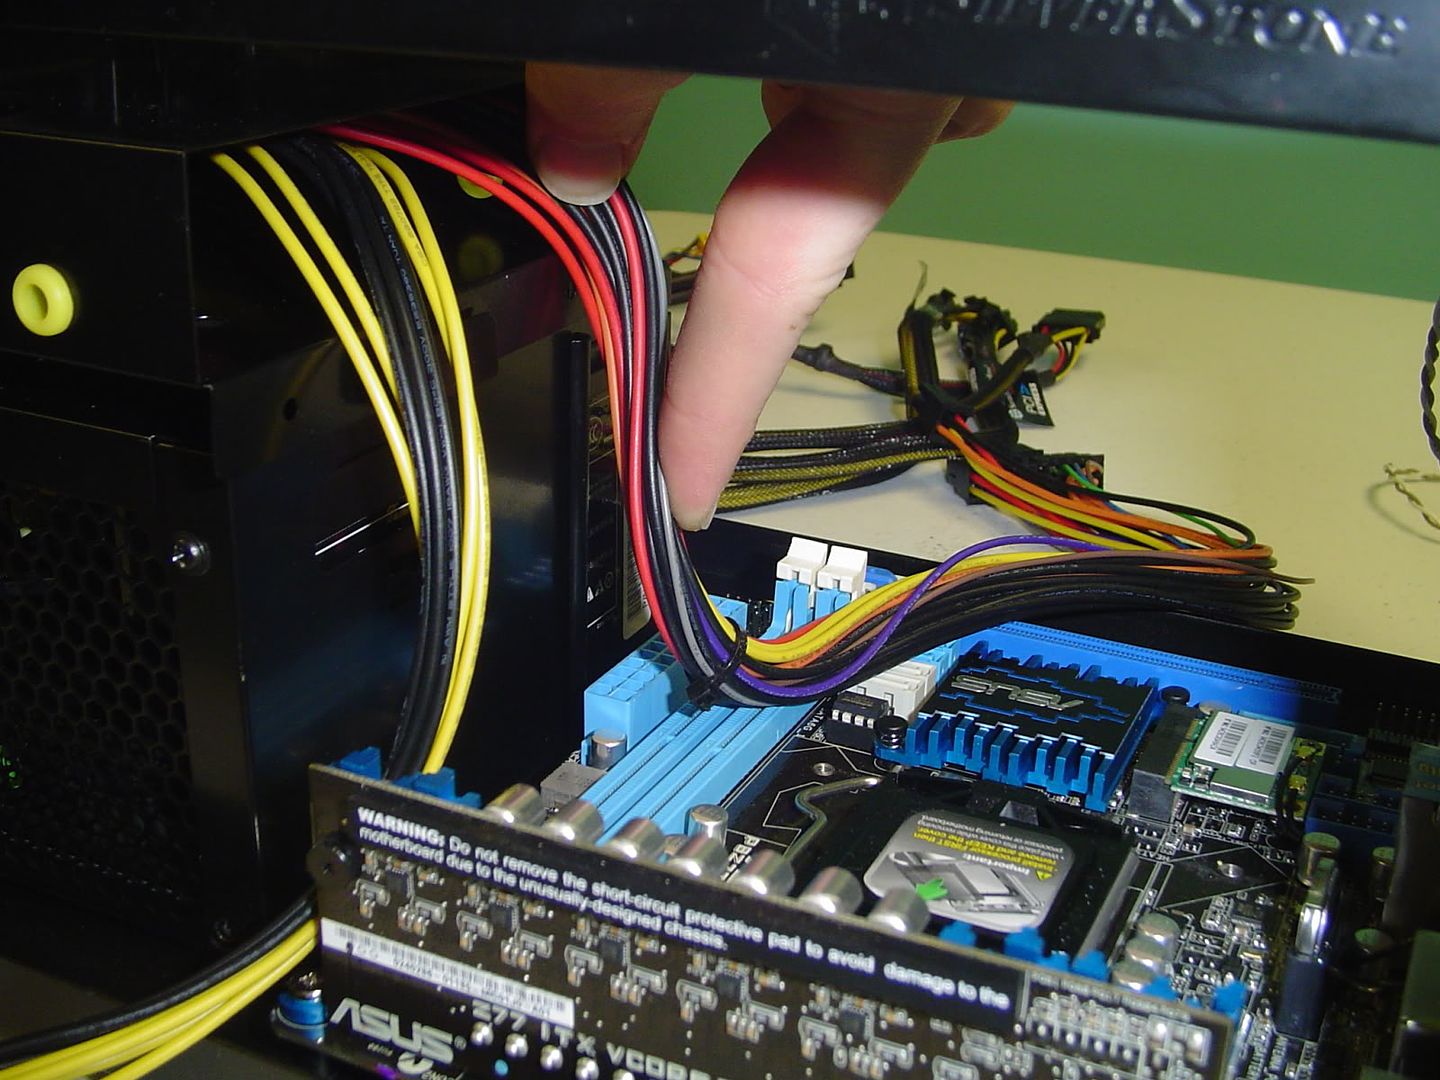
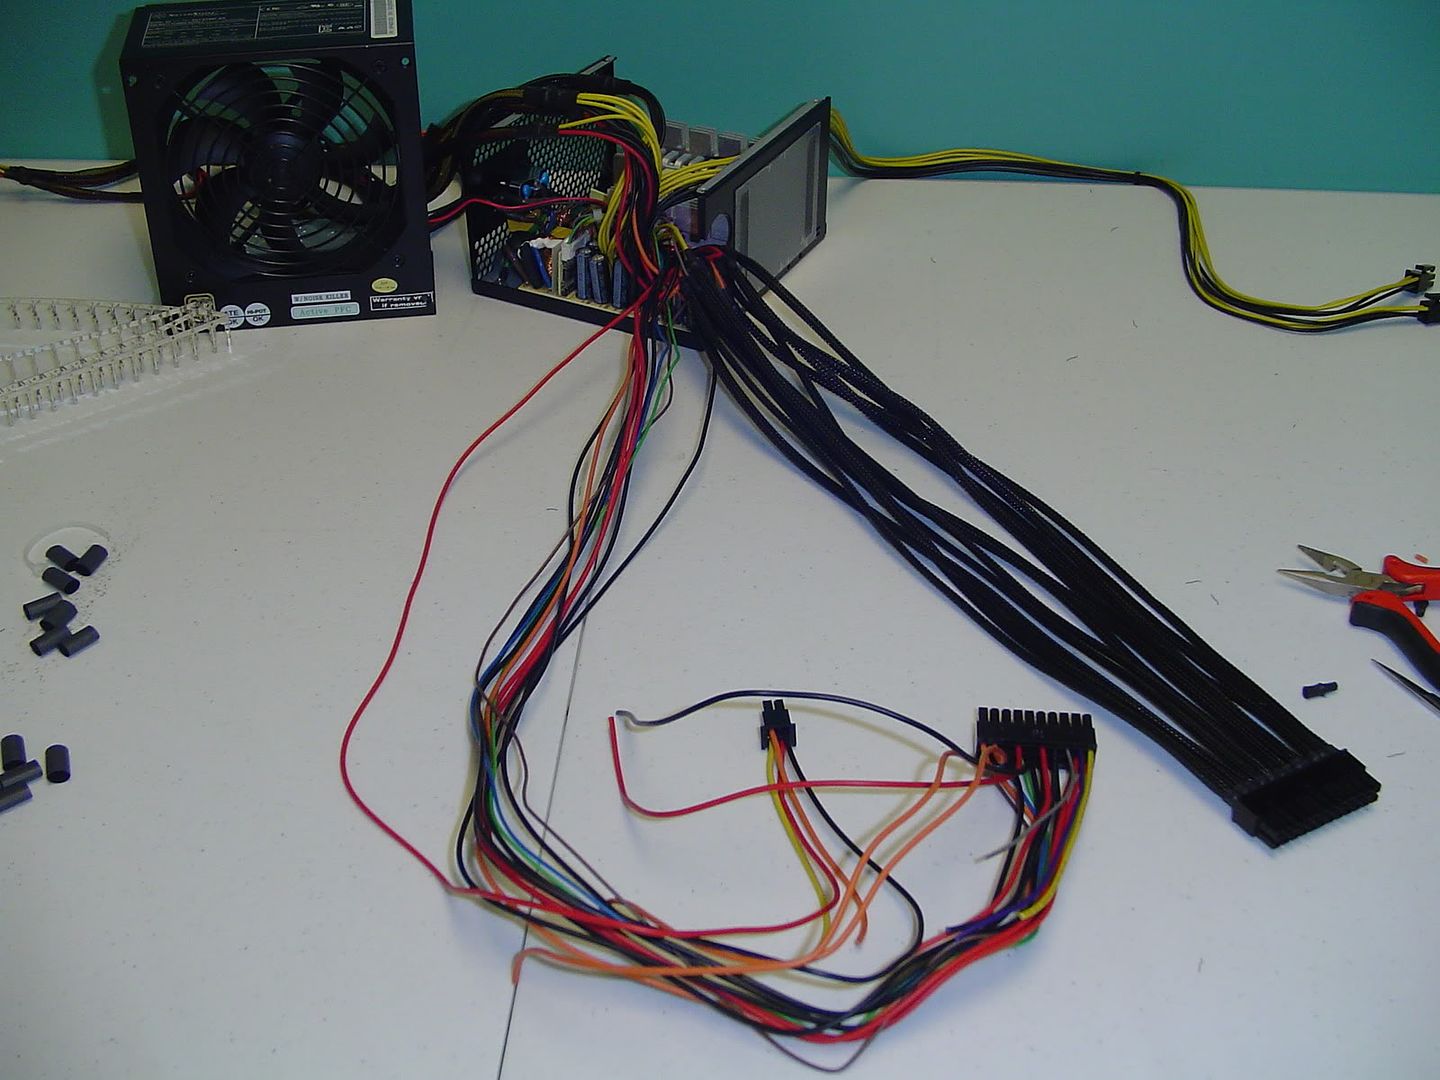
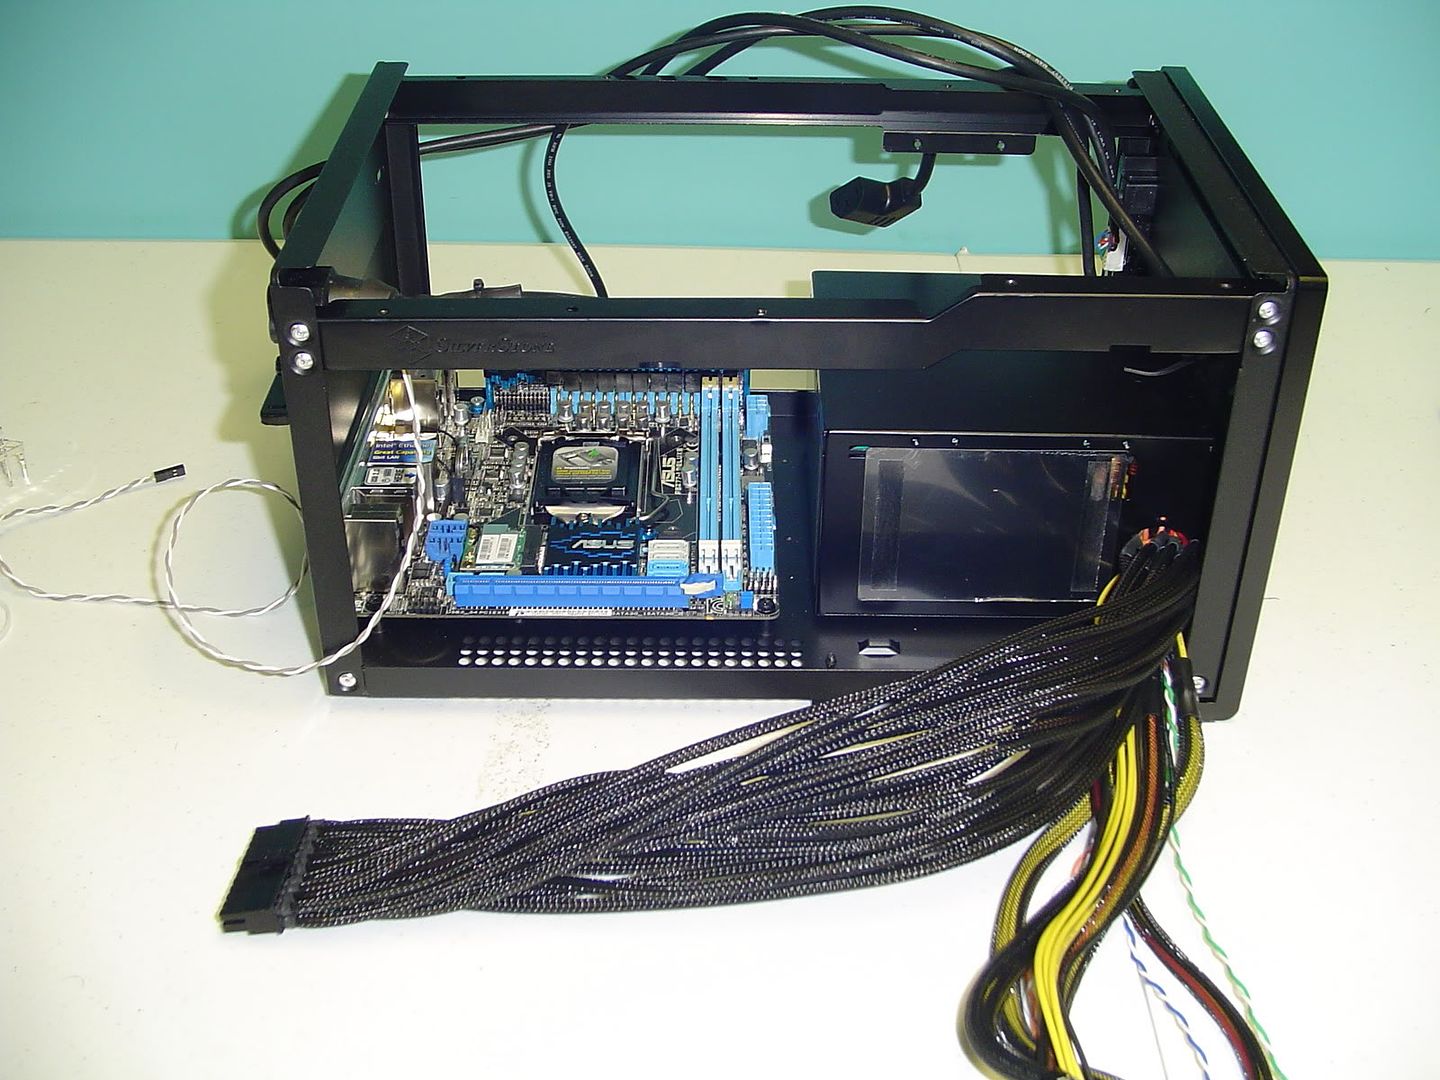
I've already removed the original sleeving from the ATX and EPS cables and have marked the lengths to cut them to with a zip tie. I gave myself a little extra length just in case I screw up something while crimping or whatever. I plan on individually sleeving each wire and inserting them into new connectors that are one solid piece and not a 24+4pin and 4+4pin style. The individual sleeving probably won't look the best since it's coming straight out of the power supply in a spaghetti tangle of wires, but we'll see what happens. This will be a first attempt at individual cable sleeving for me, so it should be interesting.:D

Untitled.jpg


Untitled-1.jpg


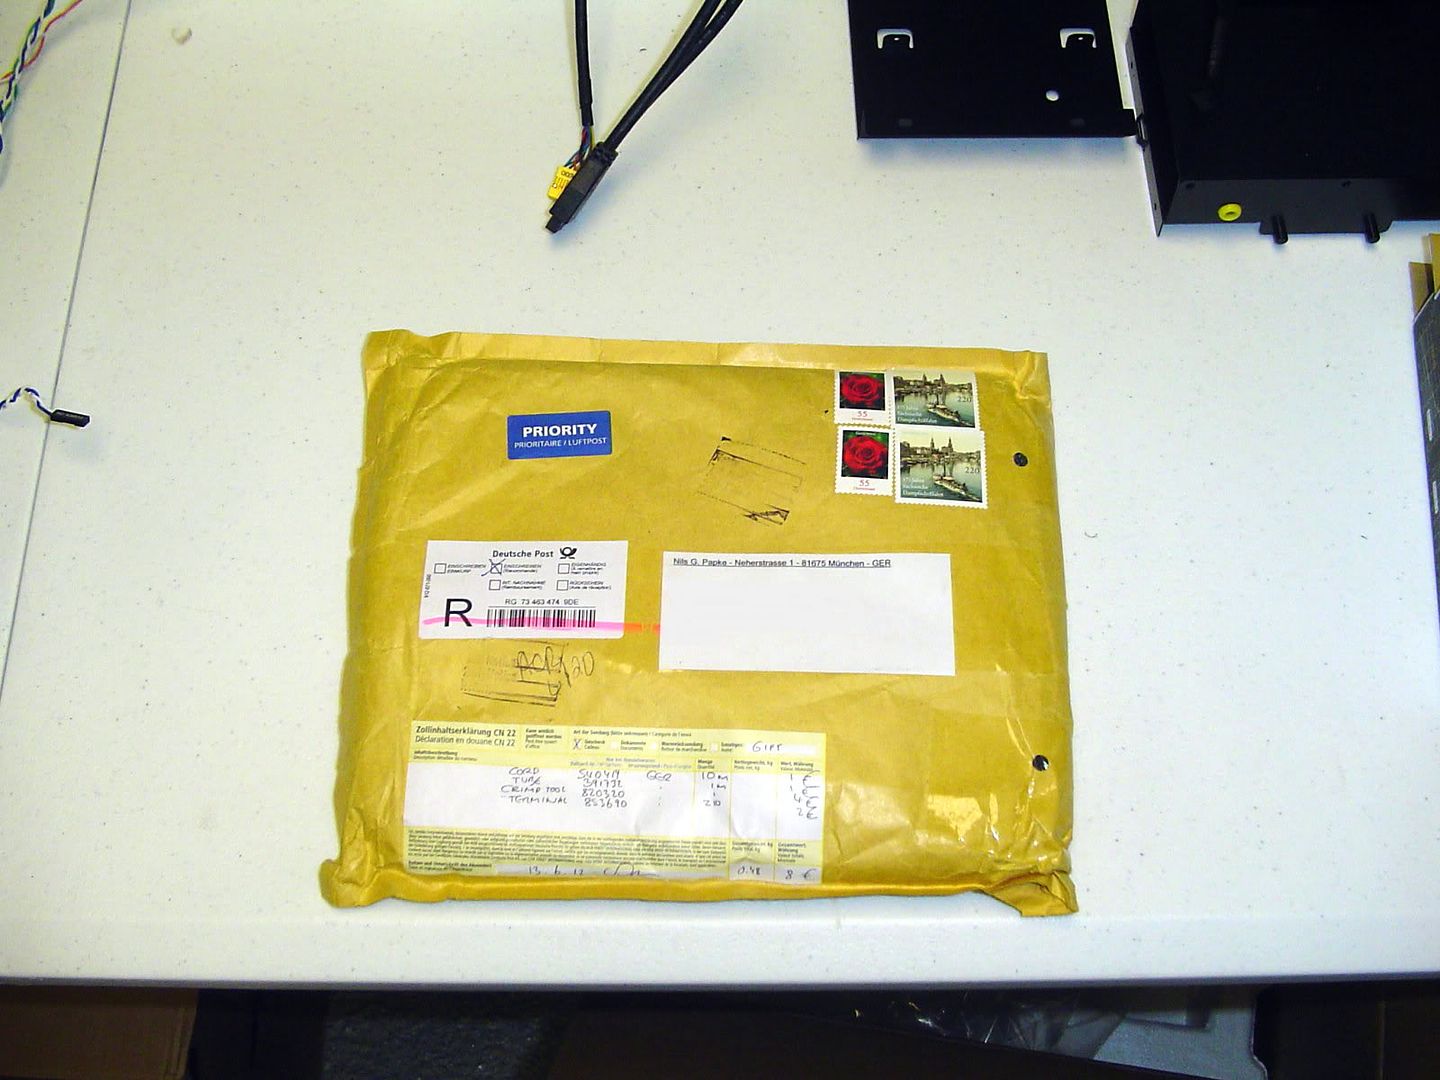
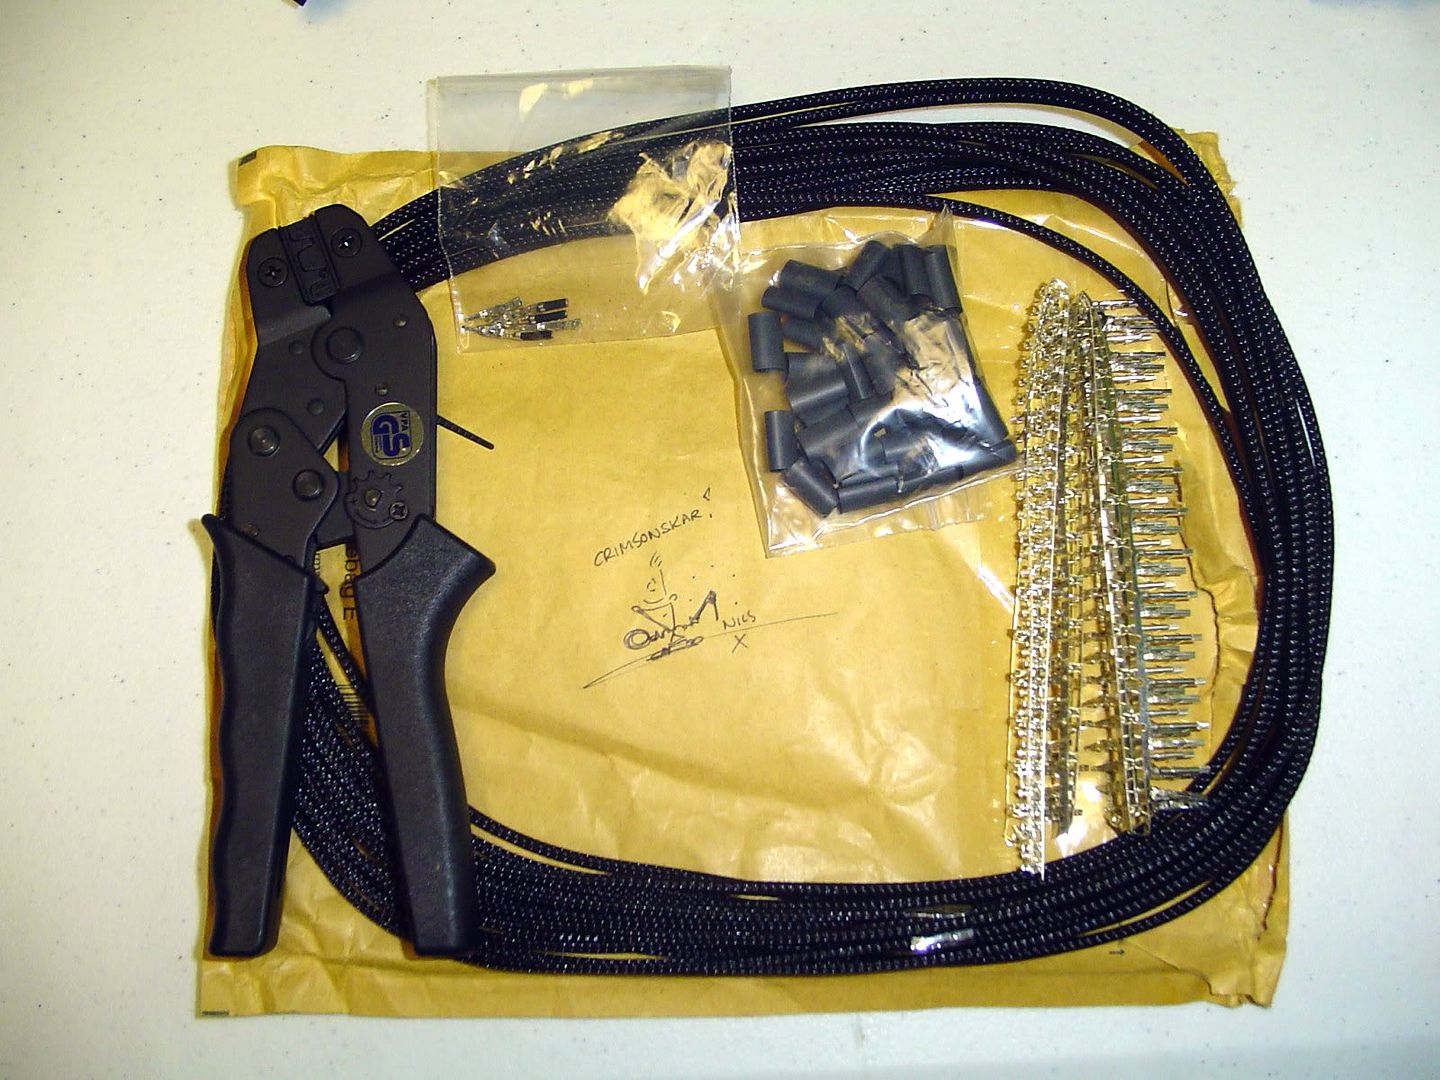
Below is the initial sleeving kit that I had planned to use. I picked up some stuff from FrozenCPU to do the sleeving and while some of it is some pretty good stuff, I have to say the crimper is no good at all. I wasted nearly all of my pins on test crimps (on a junker power supply) and every one of them turned out bad. I initially blamed it on technique, but I quickly ruled that out after the 30th try. The tool simply does not crimp the tabs into an "m" form and without that, the pins simply pull right off when you tug on them.
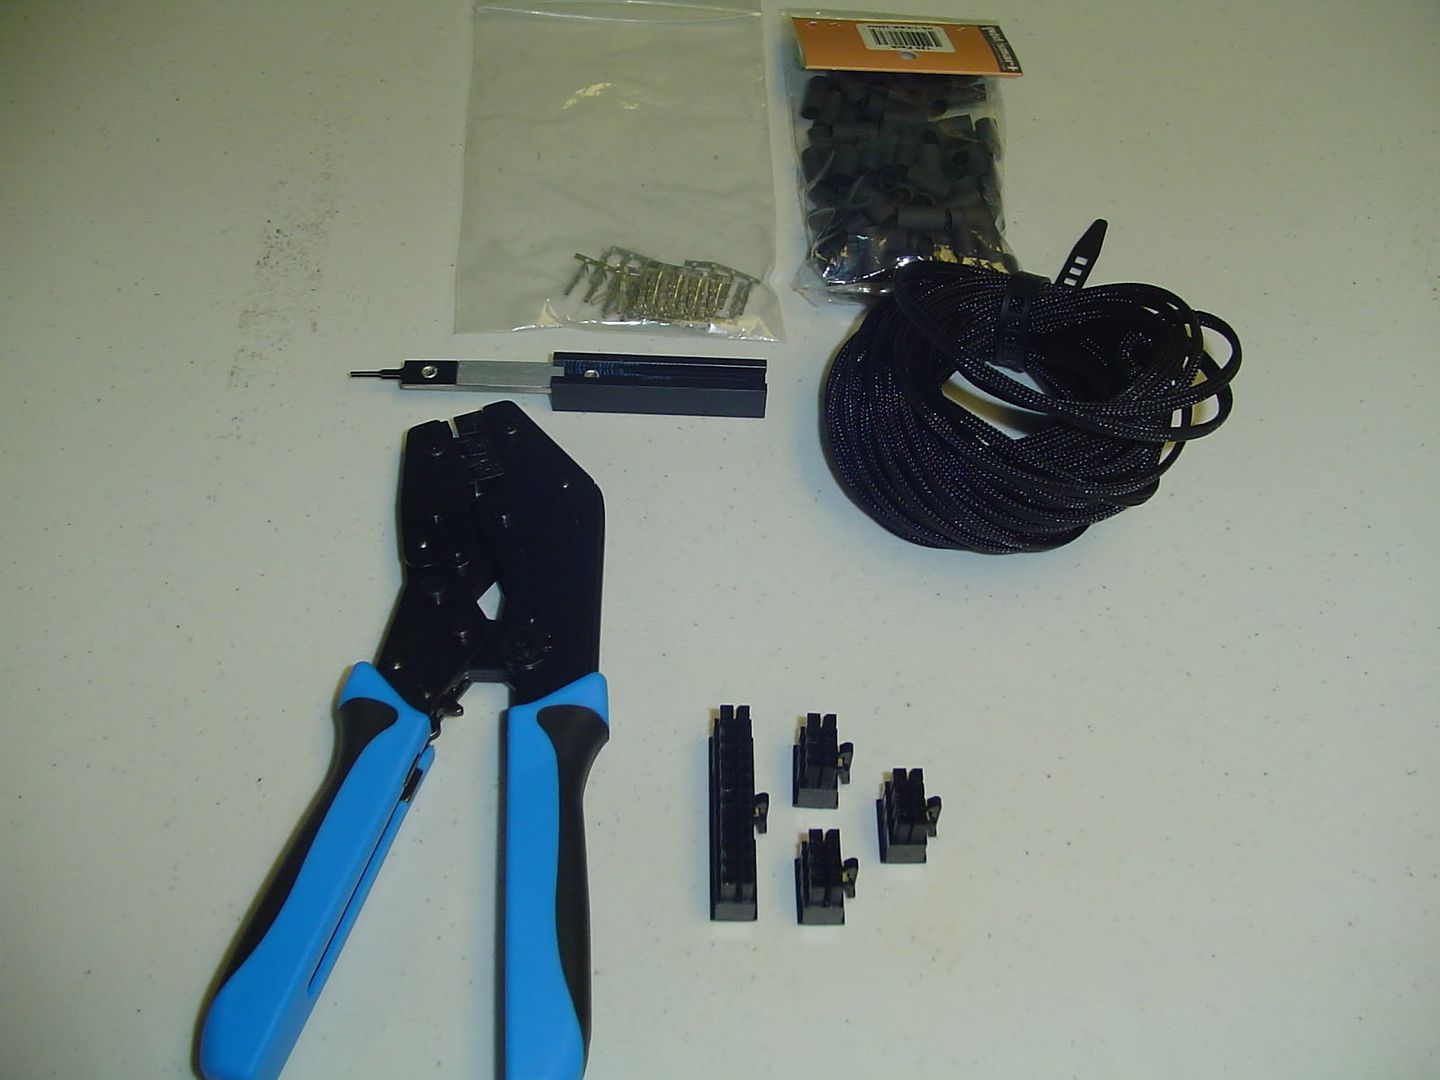
DSC02944.jpg


With that said, I've gone back and done what I should have done in the first place. I just ordered an MDPC-X crimper, a crapload of their pins (to add to the ones that come with the crimper), and I went ahead and got some of their sleeving and heatshrink while I was at it. The FrozenCPU sleeving and heatshrink look pretty good, but we'll see how they compare (or don't) to the MDPC-X stuff when it arrives sometime next week I'm guessing.

Anyway, here's a few shots of the planned cable route for the ATX and EPS cables.
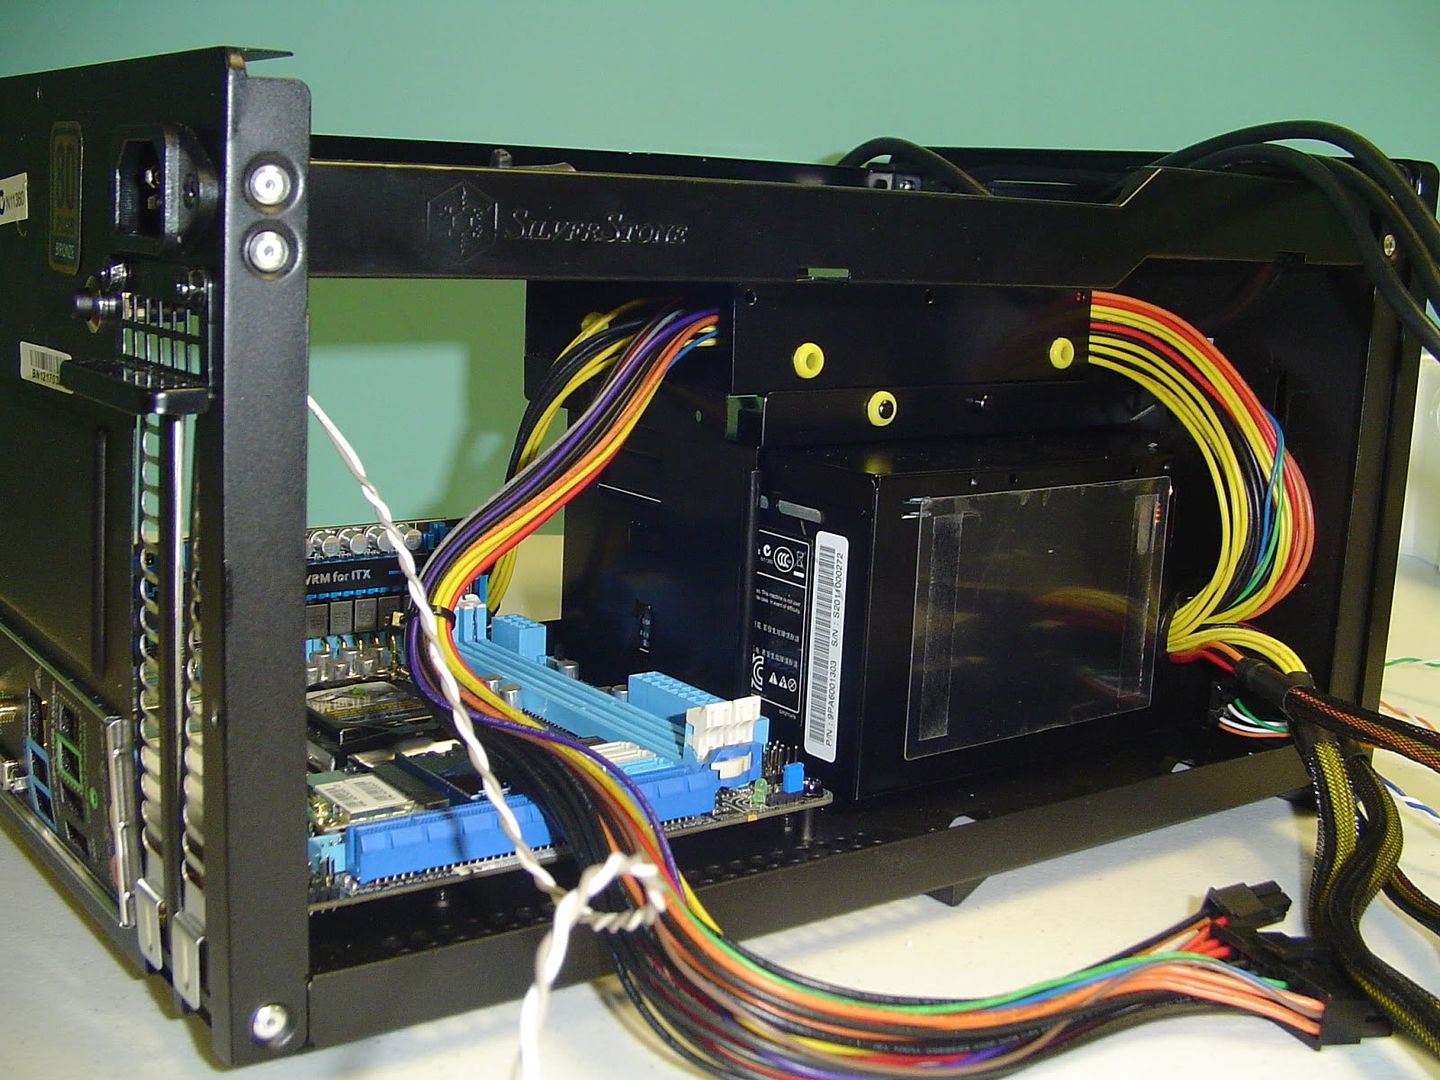
DSC02942.jpg


DSC02938.jpg


DSC02939.jpg


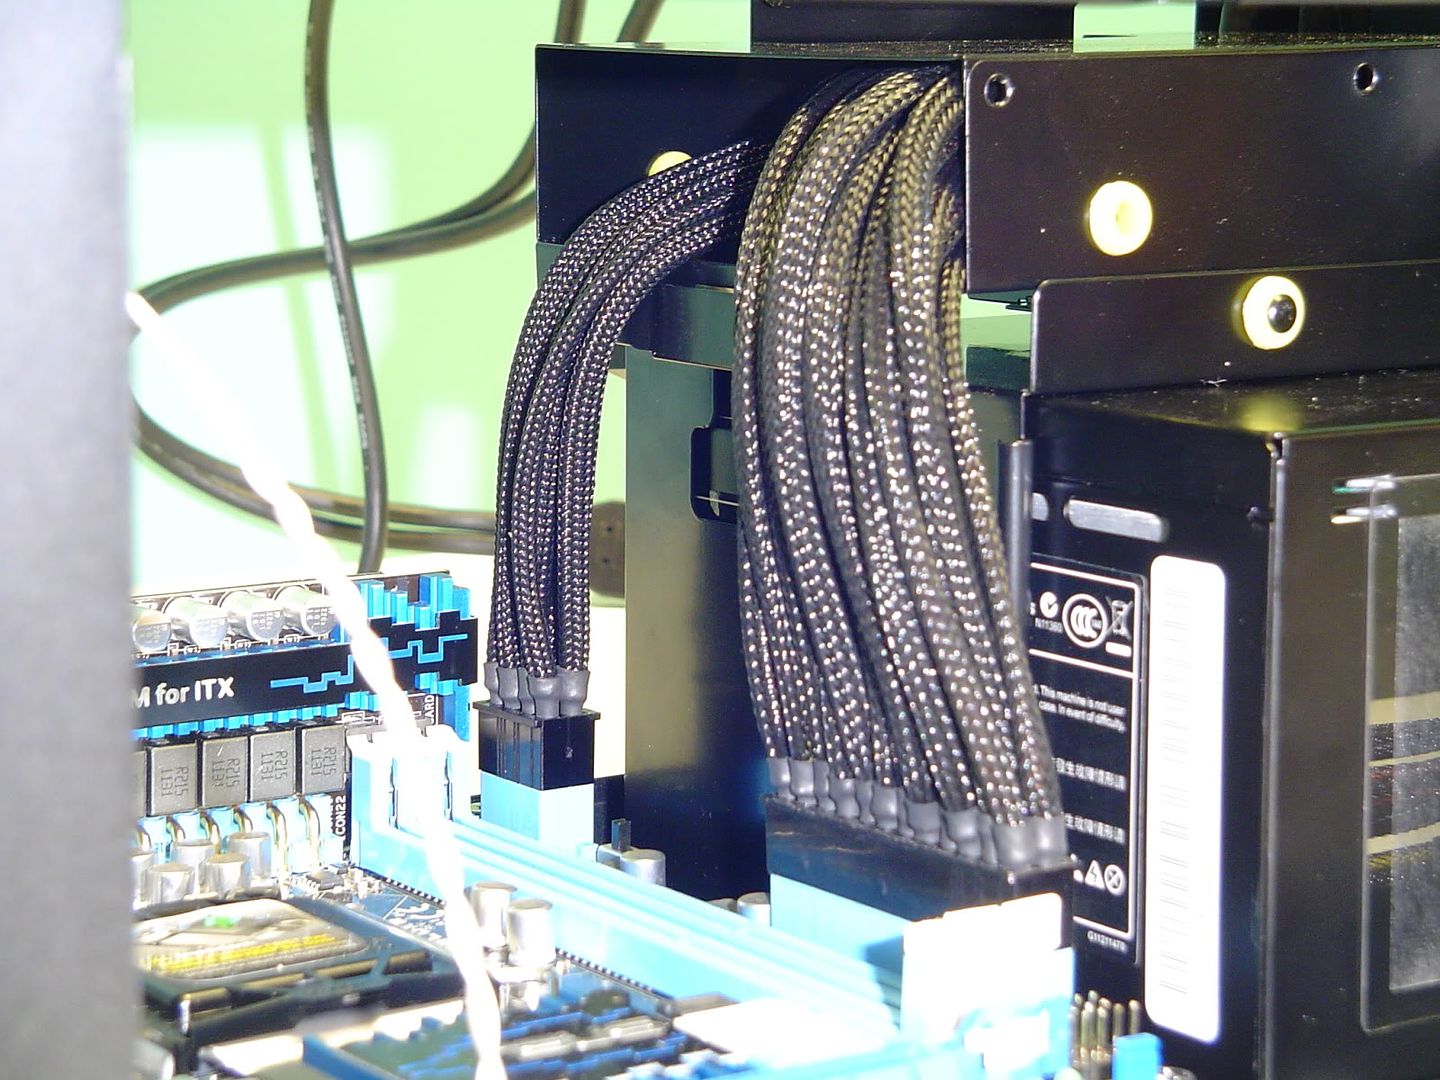
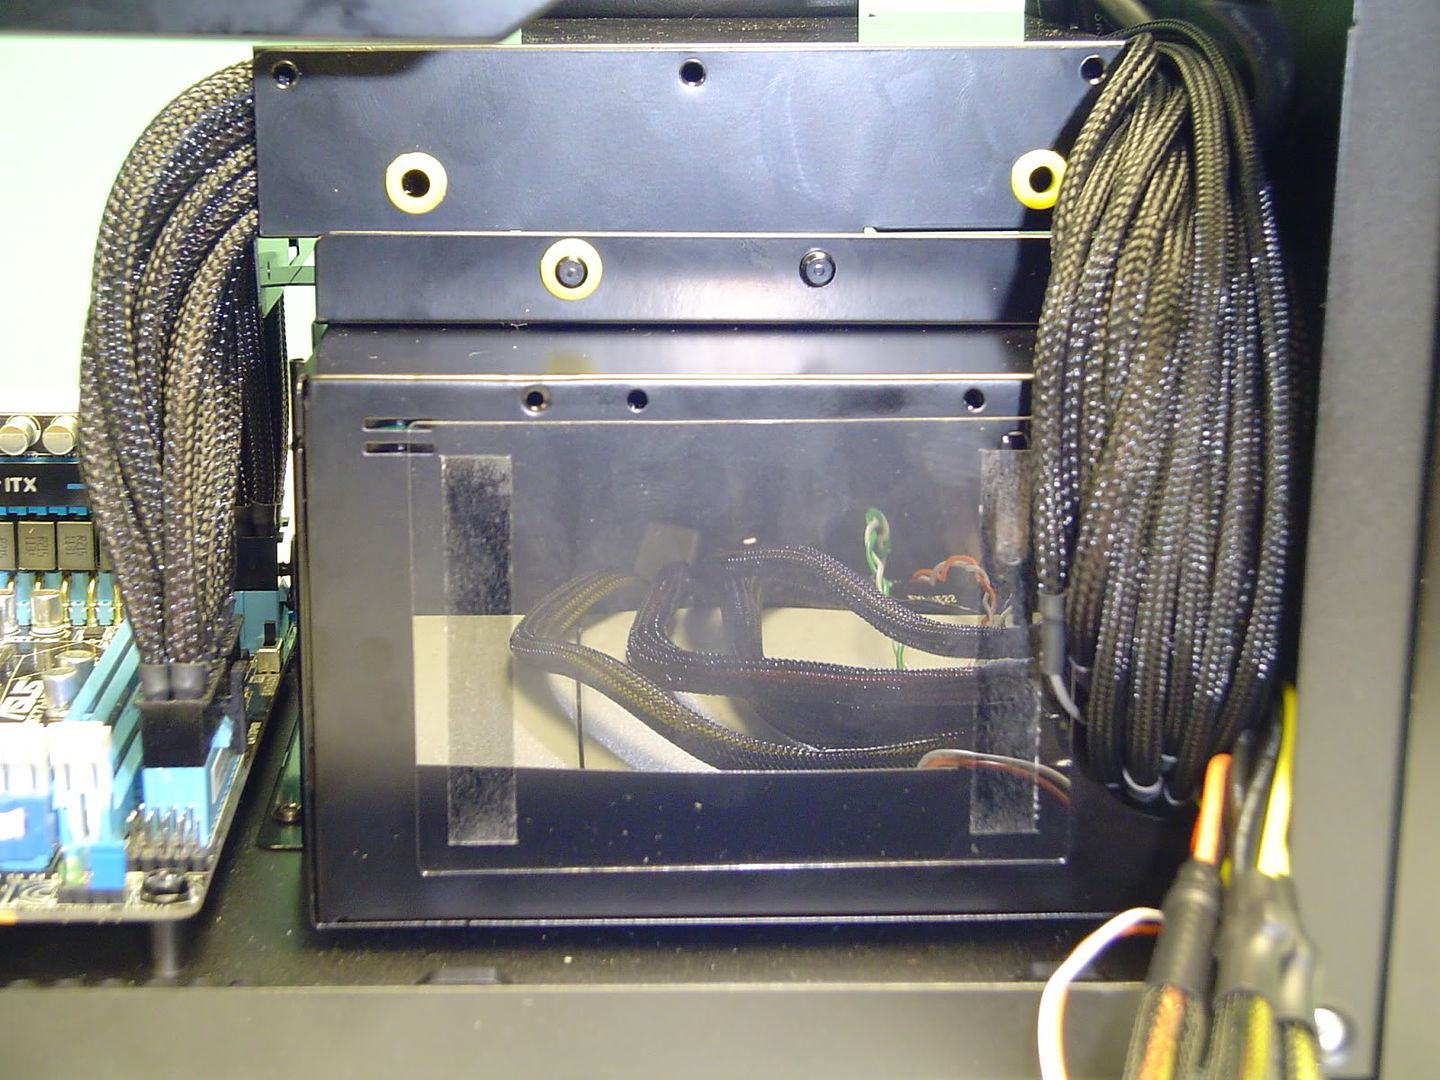
As you can see, I have absolutely no plans to use a 3.5" hdd in this machine. Instead, the 3.5" bay serves as a perfect slot to route my cables through.

When cut to length, the cables will end up right were they need to be and there will be no slack to stuff and hide! :D
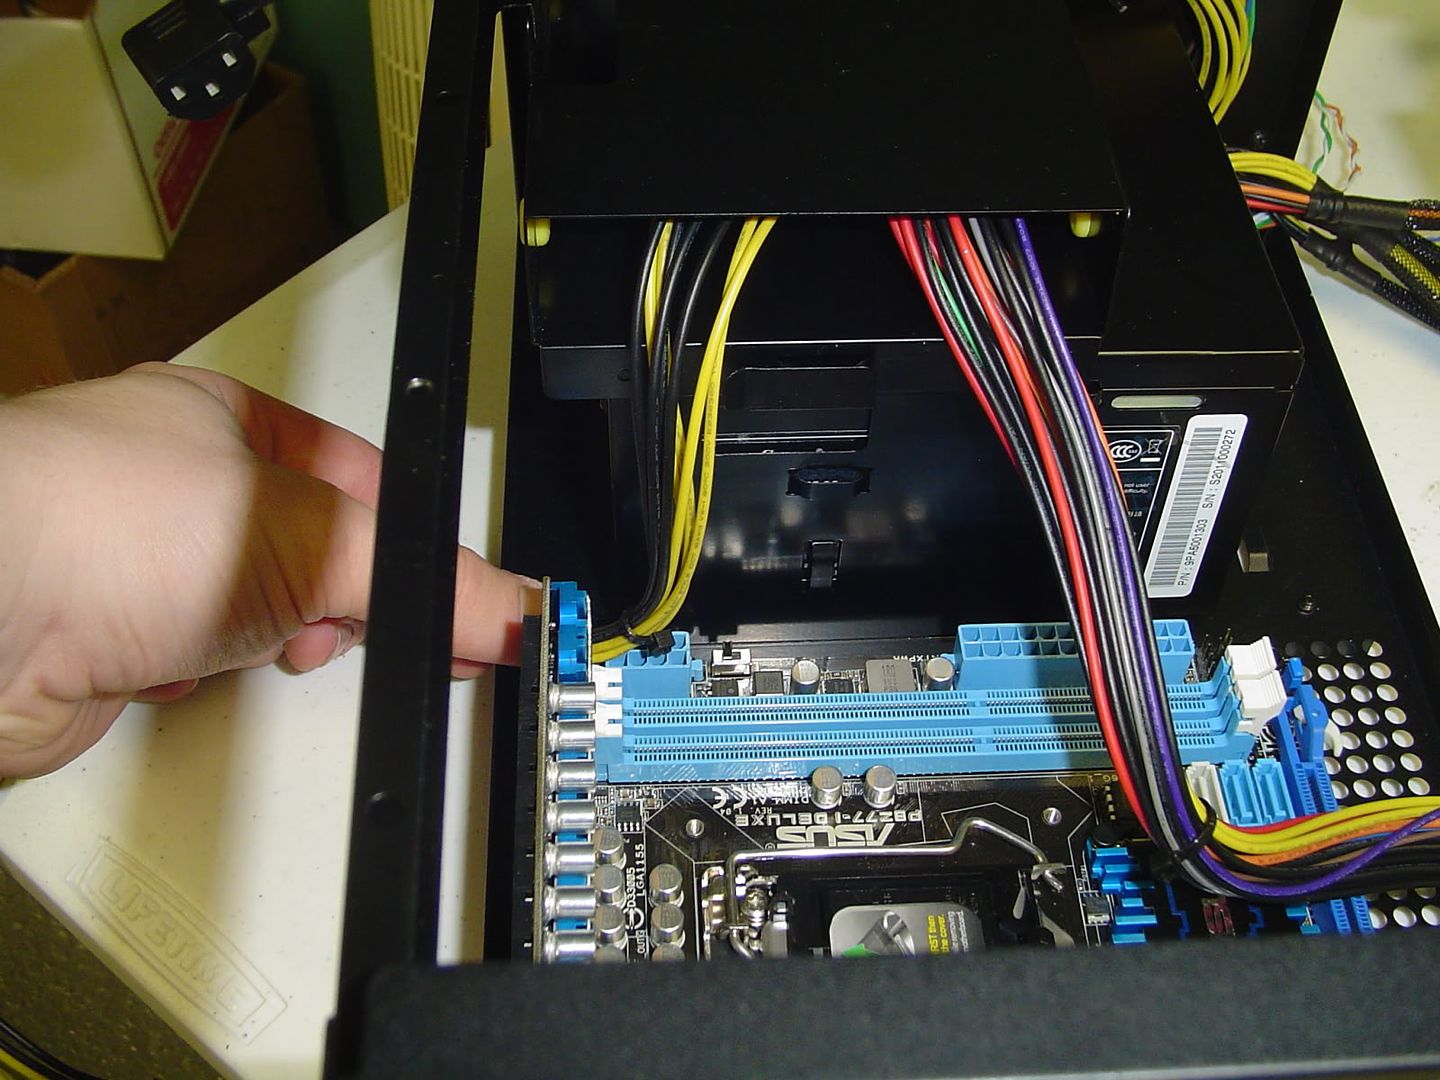
DSC02941.jpg


DSC02940.jpg


I'm mainly concentrating on shortening the ATX and EPS cables right now, but eventually I'll get around to shortening the PCI-E cables as well. With an 11" card in there, they won't have to stretch very far at all and the more cable clutter I can reduce, the better.

I also plan on sleeving the front panel connectors eventually. I'm going to try to get this build as tidy as possible.

Now, this project will end up taking quite a while. I'm not exactly rich and I'm sorta buying the parts as I am able to. It's going to take a good while for me to save up enough to get a GTX 690, nevermind the 3770k and the two SSDs and Blu-Ray drive that I still lack. When my MDPC-X stuff arrives I'll finally get to work on this some more. Until then, leave me any comments/concerns/suggestions that you may have.

Until then, have a few extra random shots.
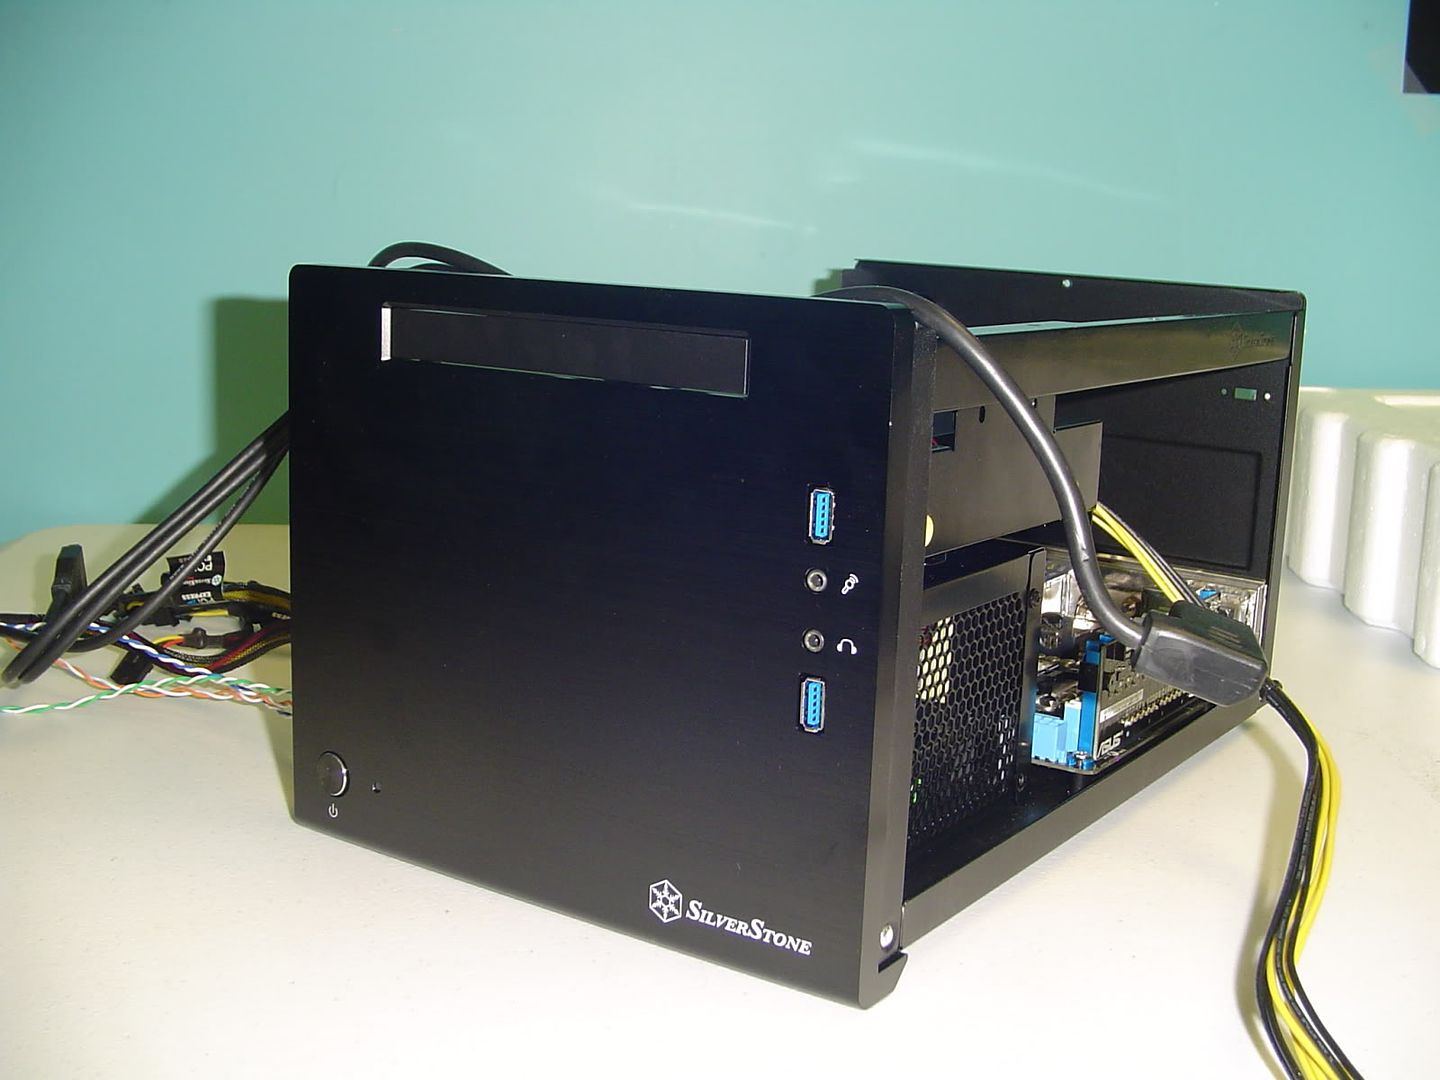
DSC02937.jpg


DSC02949.jpg


DSC02950.jpg


Stay tuned!
 
Last edited:
I just built a machine for my girlfriend using this case and a Geforce 680. Didn't need to do any special mods or recabling. I also didn't route the power cables through the 3.5" bay because I did put in a second harddrive. I just tied up the excess cables in a tight bundle near the front. The 680 is a tight fit for sure but I squeezed her in without any cables pressing against it.
Only thing I removed was a rubber wedge off the top fan that was pressing against the 680. It came off with 2 screws.

This thing gets nice cooling with the big fan on top and holes on the side directly beside the 680 intake fan. Much better airflow than the Shuttle Z77 case I was originally thinking about.

Asus P8Z77-I Deluxe
Core i7 3770k, stock cooler
8gb Corsair Vengeance LP 1866 (Didn't need low profile but it was on sale)
Asus Geforce GTX 680
Crucial M4 256gb SSD
Seagate 320g 7200 3.5" HD I had laying around until I pickup a 1 or 2TB one.
Silverstone SG08 case
 
Your gf needs a GTX 680?

ohh I want the Asus Z77 ITX so bad but it's waay out of my budget.
 
Time for a small update!


I'm still waiting on my MDPC-X stuff to arrive, hopefully it will be this week when it gets here. Until then, there isn't really much I can do to the project other than horde all the money I can get to buy that GTX 690.

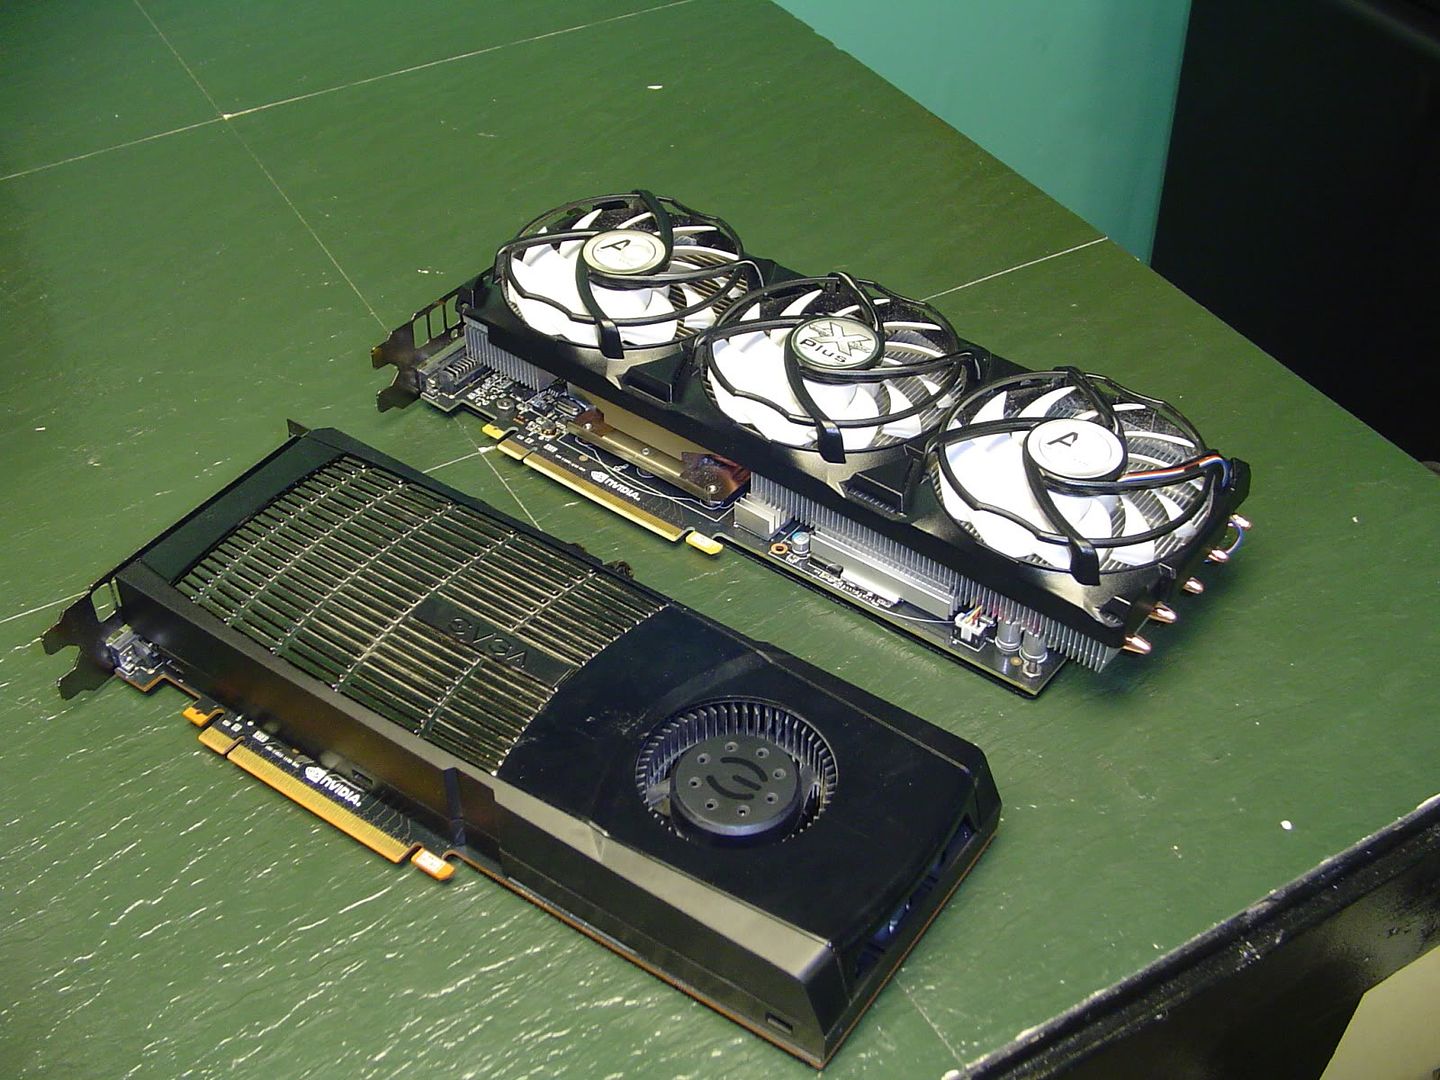
Now some of you might ask, why blow all the money on a 690 and not a 680? Well, what I have right now in my current PC (henceforth known as Colossus) is a pair of GTX 480's in SLI. From what I've seen, a GTX 680 is more or less equal to a pair of 480's. I'm not looking for a side-grade out of this machine. I'm looking to blow my monstrous, loud, power hungry Colossus out of the water with a small, more power efficient, quiet(er) SFF PC just like this one.


To get an idea of how monstrous my current PC is, have a look at its innards.
(I'm going to keep these pictures as thumbnails since they're not directly part of this project.)


That's a Cooler Master Storm Sniper case you're looking at. It's a nice case, but it's so huge and bulky. I've taken it to a LAN party one time and it'll never happen again. I don't even know why the thing has handles on it!


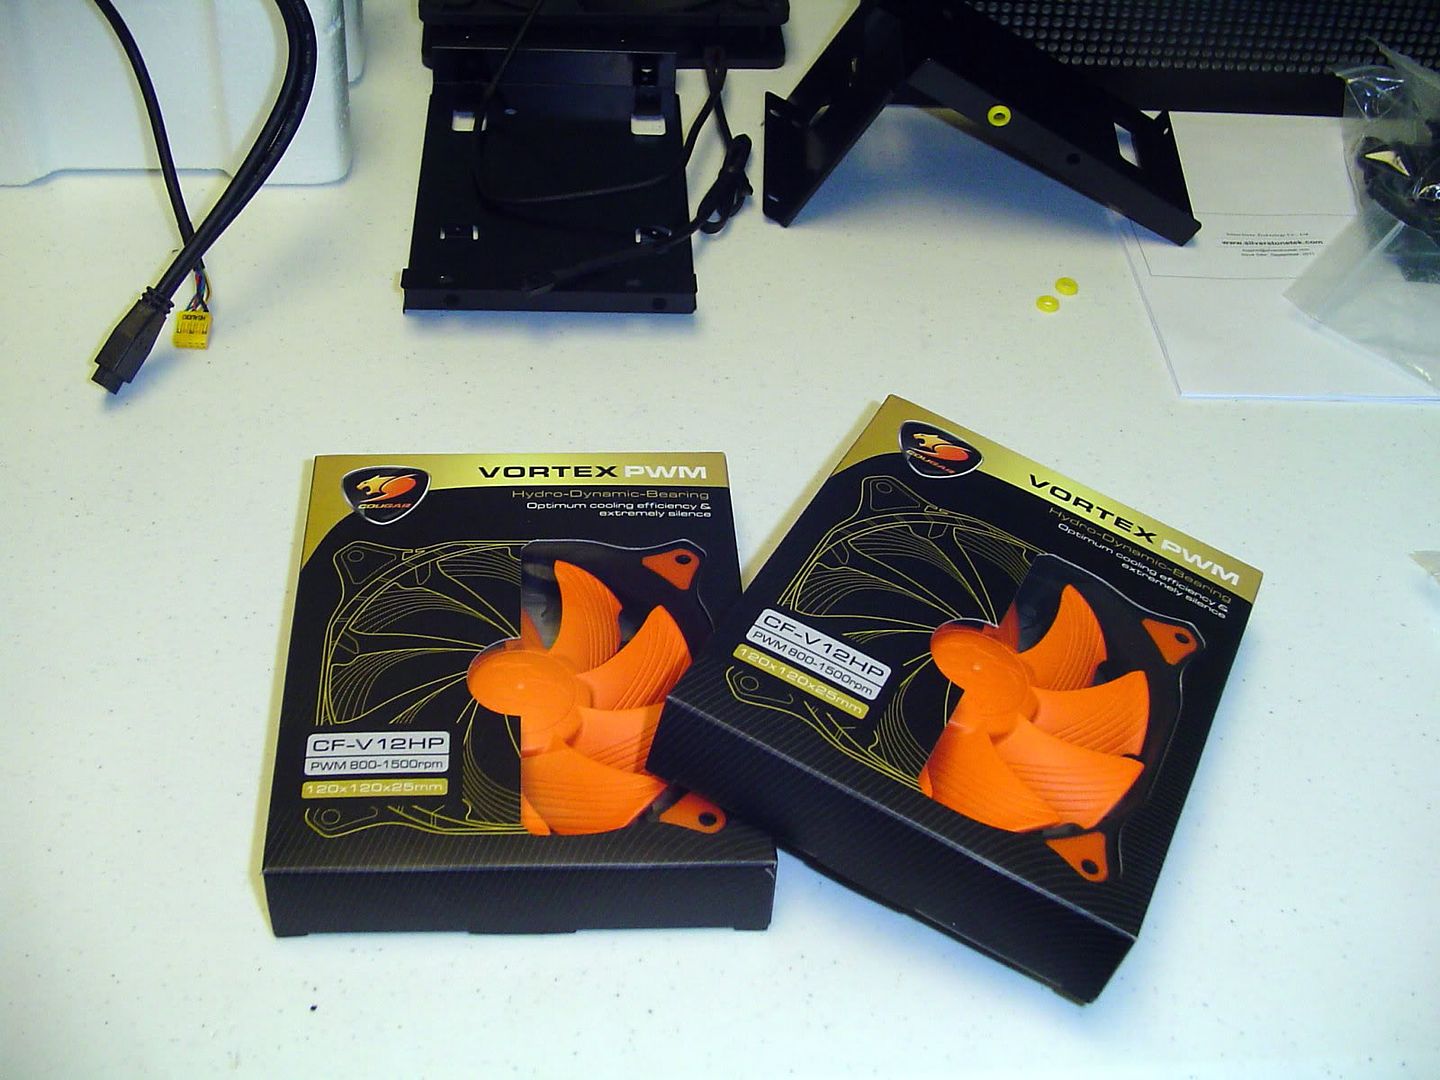
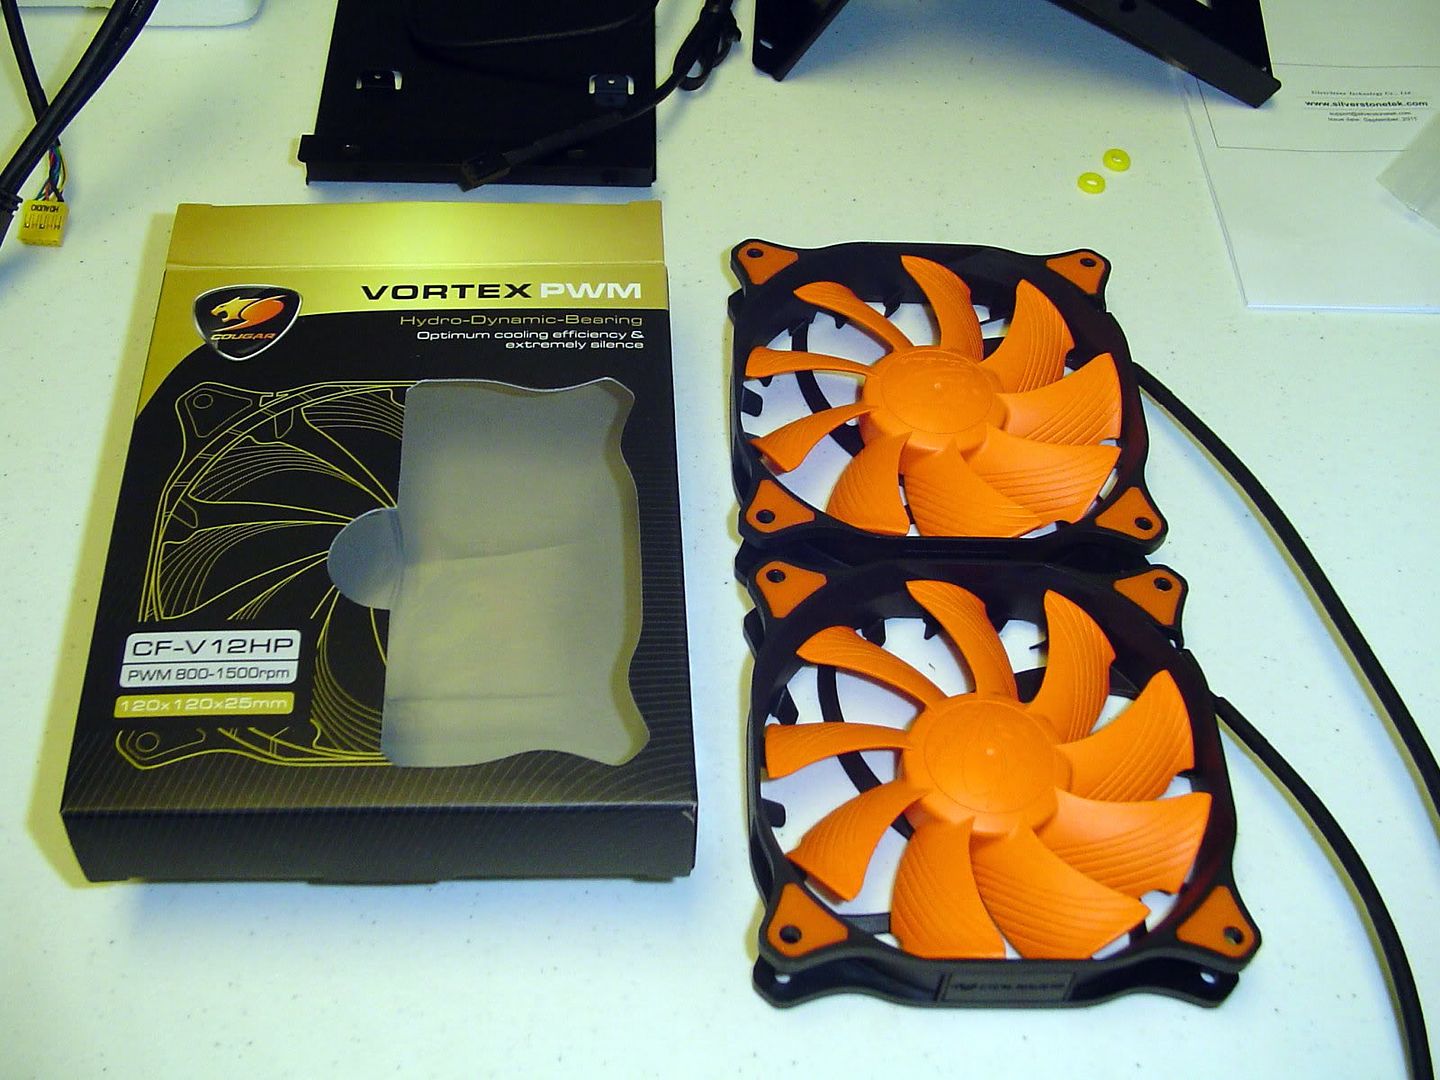
Anyway, back to Super Midget Rig. One thing did happen to arrive the other day. The fans I'm going to use on my Kuhler 920 are what arrived.

These fans are said to push just as much air as a Scythe Gentle Typhoon while being even quieter. I just had to put these to the test. They should look pretty sexy when they get mounted on the Kuhler 920. :D

DSC02962.jpg


DSC02963.jpg


In other news, I'm also working on (for a client) pretty much the sister system to this one. It is going to feature an Asrock Z77E-ITX, i5-3570k, 8gb Corsair PC16000, EVGA GTX 670 FTW, and a Sugo SG07.

Most of the parts arrived yesterday and I've assembled the motherboard.
(Once again, I'll keep these pictures as thumbnails since they're not part of the main build)


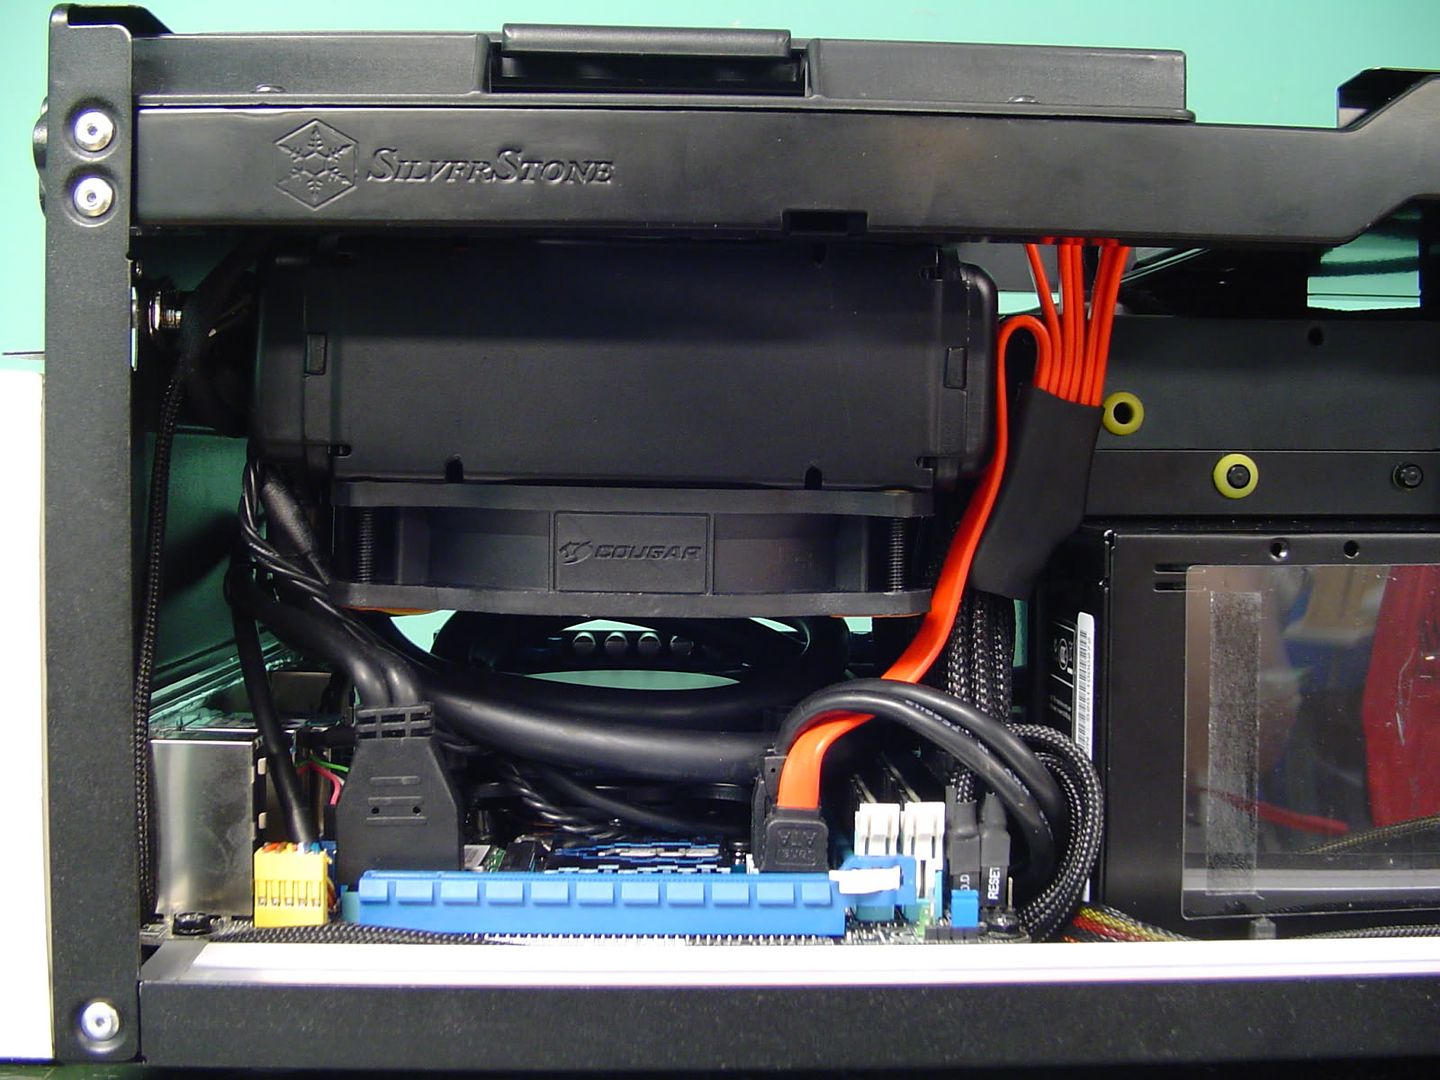
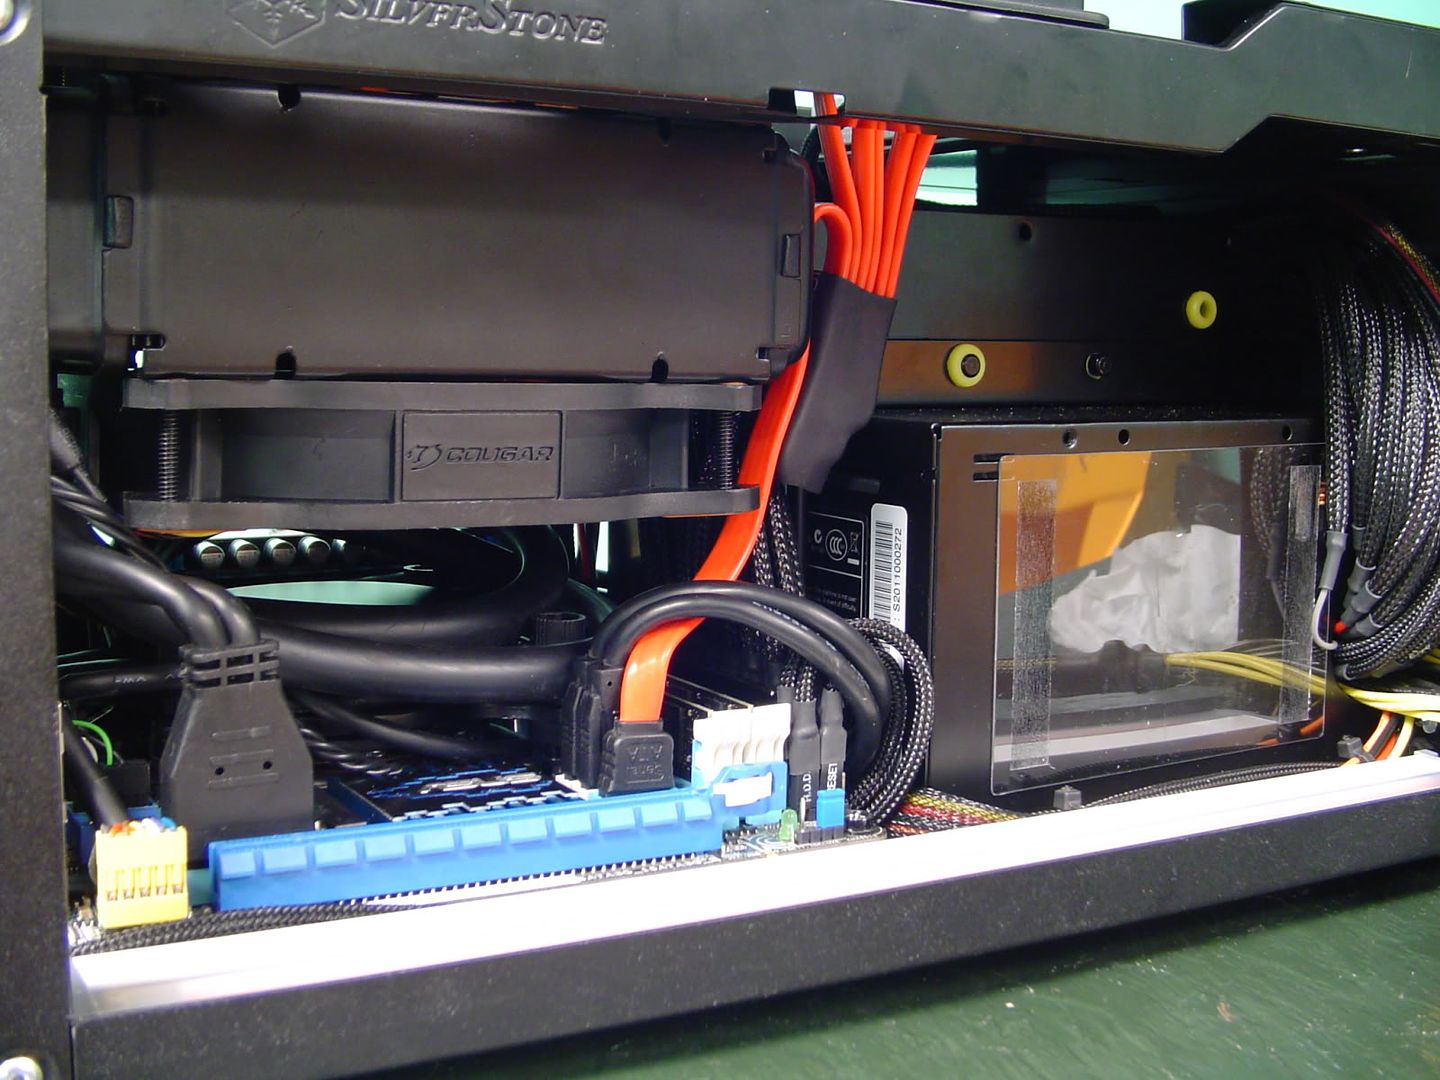
The cooler I'm using in this build is a Cooler Master GeminII S524 paired with a 140mm Cougar Vortex. The original Cooler Master GeminII S served me well in the original Midget Rig build so I have no doubt this enhanced version will do the same. With that said, however, I did have to modify the backplate to clear some of the electronics on the back of the motherboard. Nothing a pair of tin-snips can't handle. :D


That's all for now folks! I'll chime in again when my MDPC-X stuff arrives. Stay tuned!
 
I'm enjoying the work log. Do you happen to have a pic of what exactly you cut on the back plate of the 920? I'm curious what was involved. :)
 
That part of the build came before I started taking pictures, so I don't have any pictures of it yet. I'm bound to have to pull the motherboard back out for some reason or another so I'll definitely make it a point to grab pictures of it then.

Pretty much there were about 3 spots on the sides of the bracket that had to have notches cut in them and there were 2 corners that had to be ground down in order to get the bracket to sit perfectly flush with the motherboard.


Also, I just finished the "sister" system to Super Midget Rig. Check out the build gallery here.
 
Last edited:
Subscribed, let me know how those cougar fans work, I was looking at them since I heard it has amazing performance/sound.
 
Finally, after several weeks of saving money, I have gathered enough funds to get a GTX 690. I ordered it this morning and expect it next week. What have I been working on in the meantime? Well, not really anything. The project has more or less been dormant while I've been waiting to order the card. All that I have left now is the CPU and drives. Now that I've ordered the graphics card, I plan on ramping up production and getting the PSU cables modded.

Stay tuned!
 
Please Please show me how you fit in that big radiator into the case. I got an H60 and what a b@@ch, fits even tighter than my AXP140, and it cools like a crap at 60C where I got like 35C with AXP I just sold :mad::mad::mad:
 
60c at idle? You got it seated wrong or something. That is way too high for a H60. Something is not working right.
 
I know it's possible, but i don't know where to start to troubleshoot, other than re-installing it. I used Arctic Silver 5 and the pump seem to be tightly pressed against CPU. I'll do some reinstall to see. My fan is a thermaltake TY-140, push only, because there's no way I can fit another fan underneath the radiator. I have always been amazed by many other people about how they could do push/pull with even an H80! The hoses are taking too much space...
 
I bet you guys are wondering where the hell I went. :D

I've been too busy to even work on the project for a few weeks now, but I now have time to work on it! While I'm waiting to acquire enough funds to order the last few parts, I've jumped on to modding the psu cables and sleeving them!

Bear in mind this is the first time I've done any sort of sleeving, so it probably won't look the best. :(


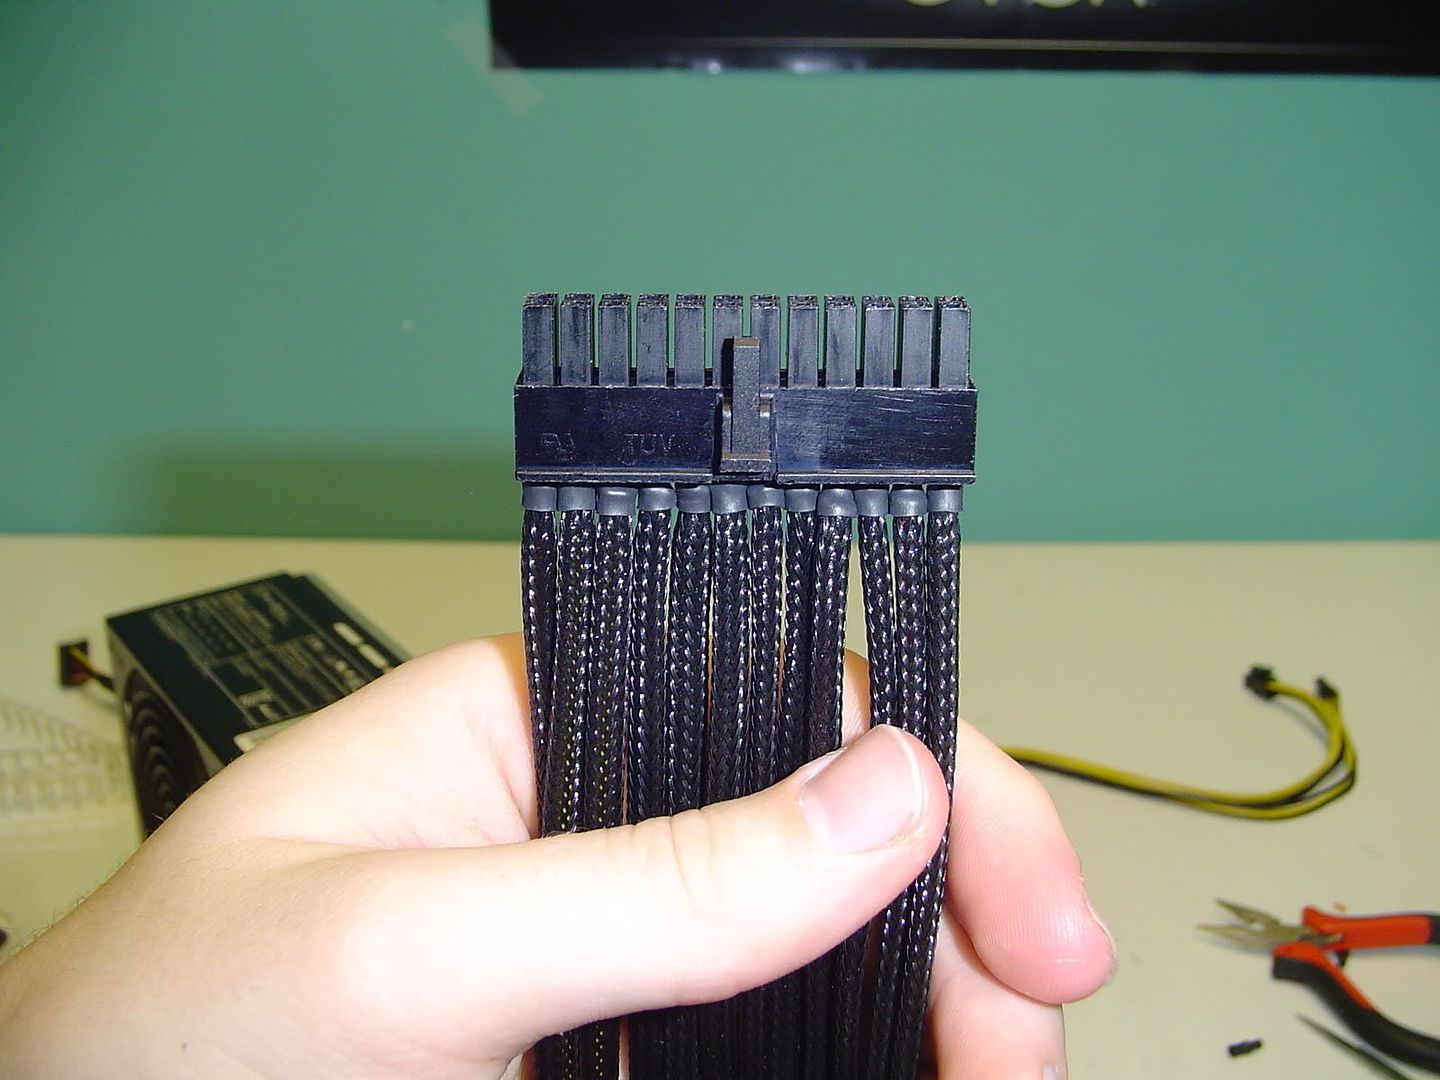
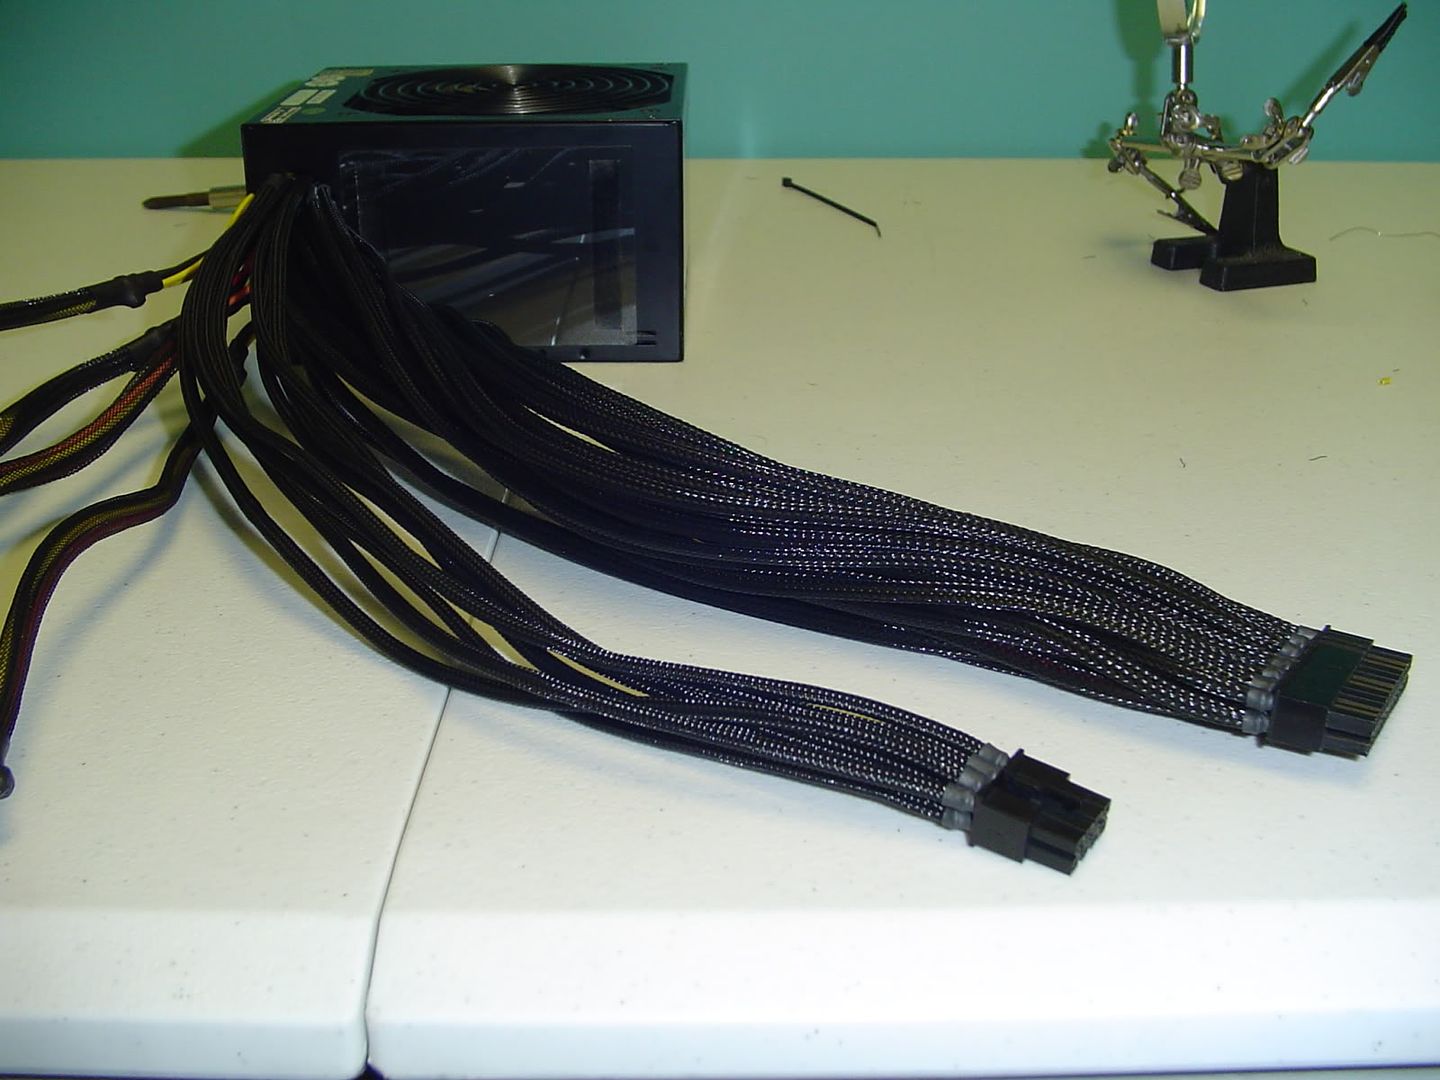
The method I used was pretty simple. I would cut to length, crimp, and sleeve each wire one at a time and plug them into the new 24-pin connector as I go, so I would never lose track of which wire goes where. This method turned out to work pretty well and before I knew it, half of the cable was already finished. :cool:
DSC03048.jpg


DSC03049.jpg


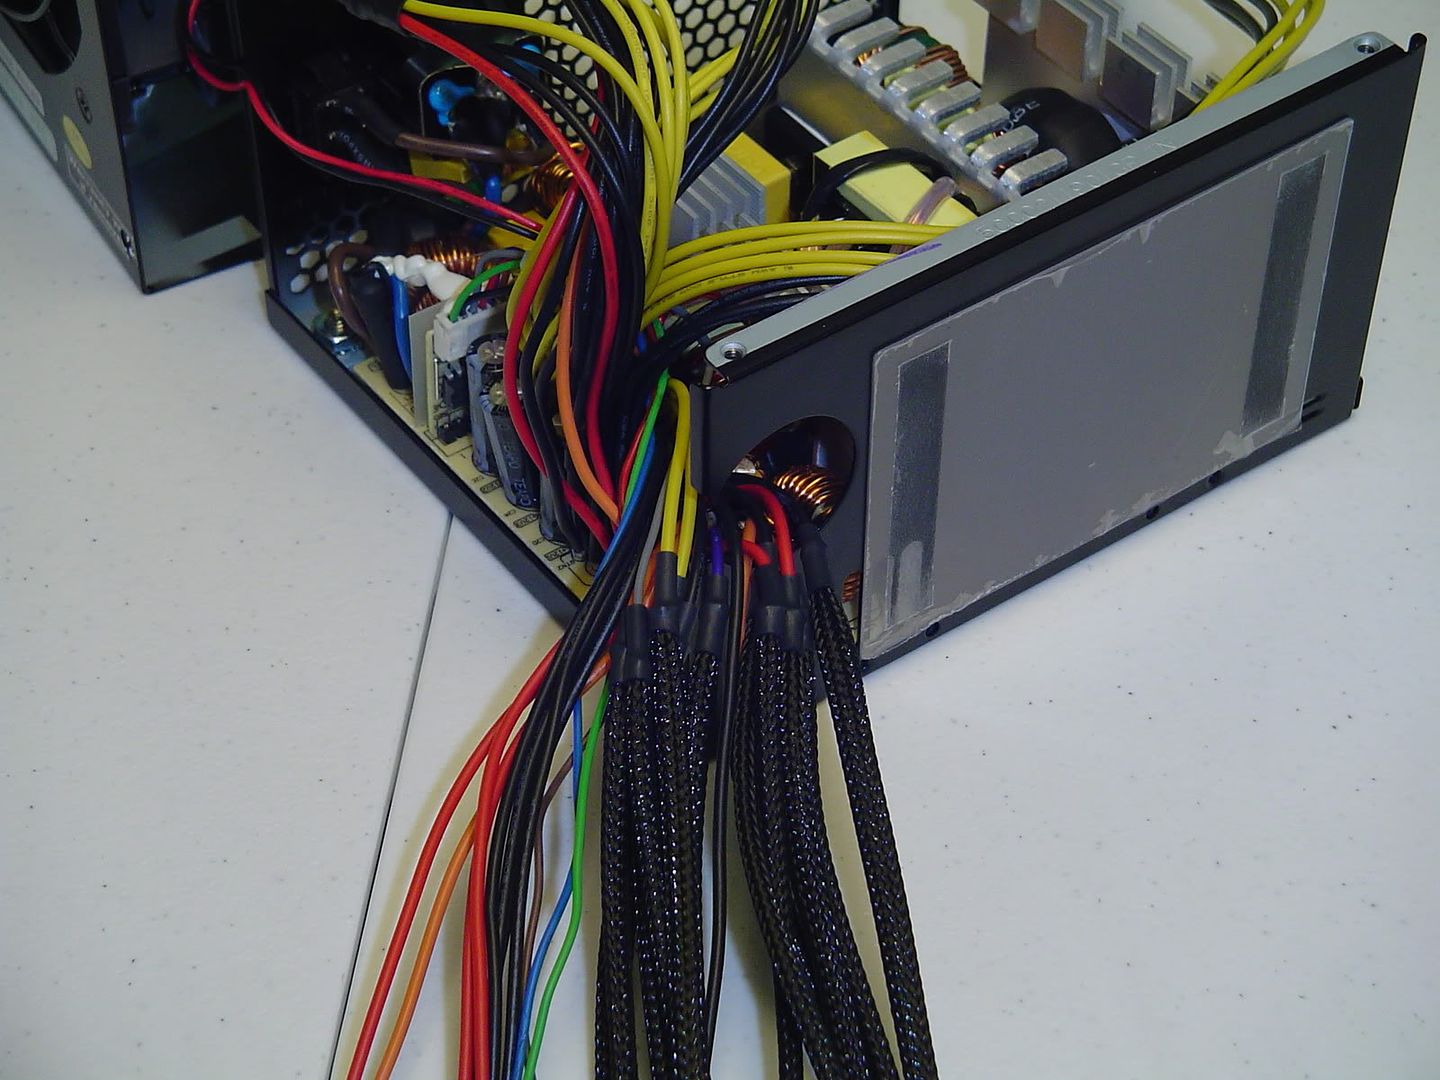
I stopped the sleeving just short of the hole in the psu. This is to allow the cable to have the best flexibility to take a 90 degree angle straight out of the power supply as needed.

DSC03050.jpg


After a short break, I continued to work on the cable and before long the entire 24-pin power cable was finished! I closed the power supply up temporarily and went for a test fit.
DSC03051.jpg


DSC03052.jpg


As you can see, the cable wraps neatly around the top of the power supply and through the 3.5" hdd bay, which I never intend to use.
DSC03053.jpg


Next I will be doing the same thing to the 8-pin EPS 12v cable and, eventually, the PCI-E cables.


Until next time, I'll leave you with this treat. :cool:


DSC03054.jpg


Stay tuned!
 
Those are some invaluable pics. Someone maniac over at Silverstone decided to put power cable THAT long in this small case, and you just killed his craziness! Yay.
 
Thanks for the feedback guys. :D

Progress continues!

After a few hours of work, the 8-pin EPS 12v cable has been completed. This one actually turned out better than the main ATX cable. There was less trial and error this time around. :p

DSC03055.jpg


DSC03056.jpg


With the power supply reassembled, it was painfully obvious that the extra thickness added by the sleeving was going to be hard to fit through the hole in the power supply. Somehow I got it all to fit through, but that pretty much killed my plans of sleeving the rest of the cables... :rolleyes: It's not a big deal though, I took care of the two main problem cables and that's all that really matters.

With the power supply more or less complete, I moved to mount it in the system for a test fit.

Much to my delight, everything fell into place exactly as it should. :D

DSC03058.jpg


DSC03059.jpg


DSC03060.jpg


DSC03061.jpg


DSC03062.jpg


I plan on ordering the CPU this week. That should enable me to finally get started on motherboard/cooler assembly. I can't wait!

Stay tuned!
 
Progress time!

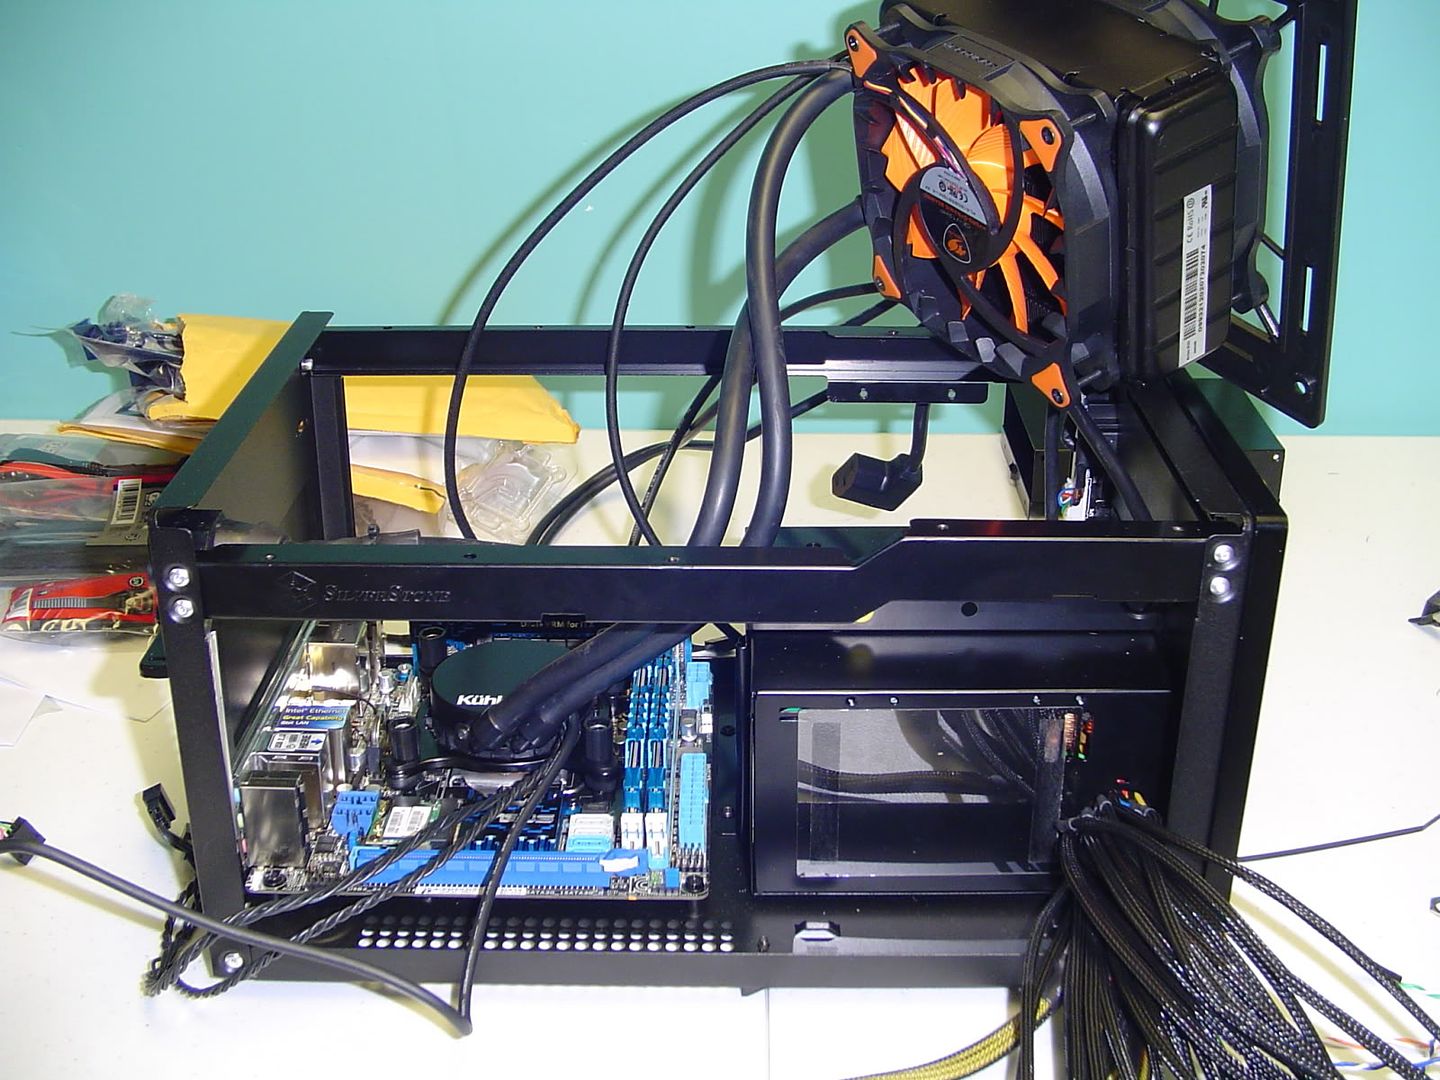
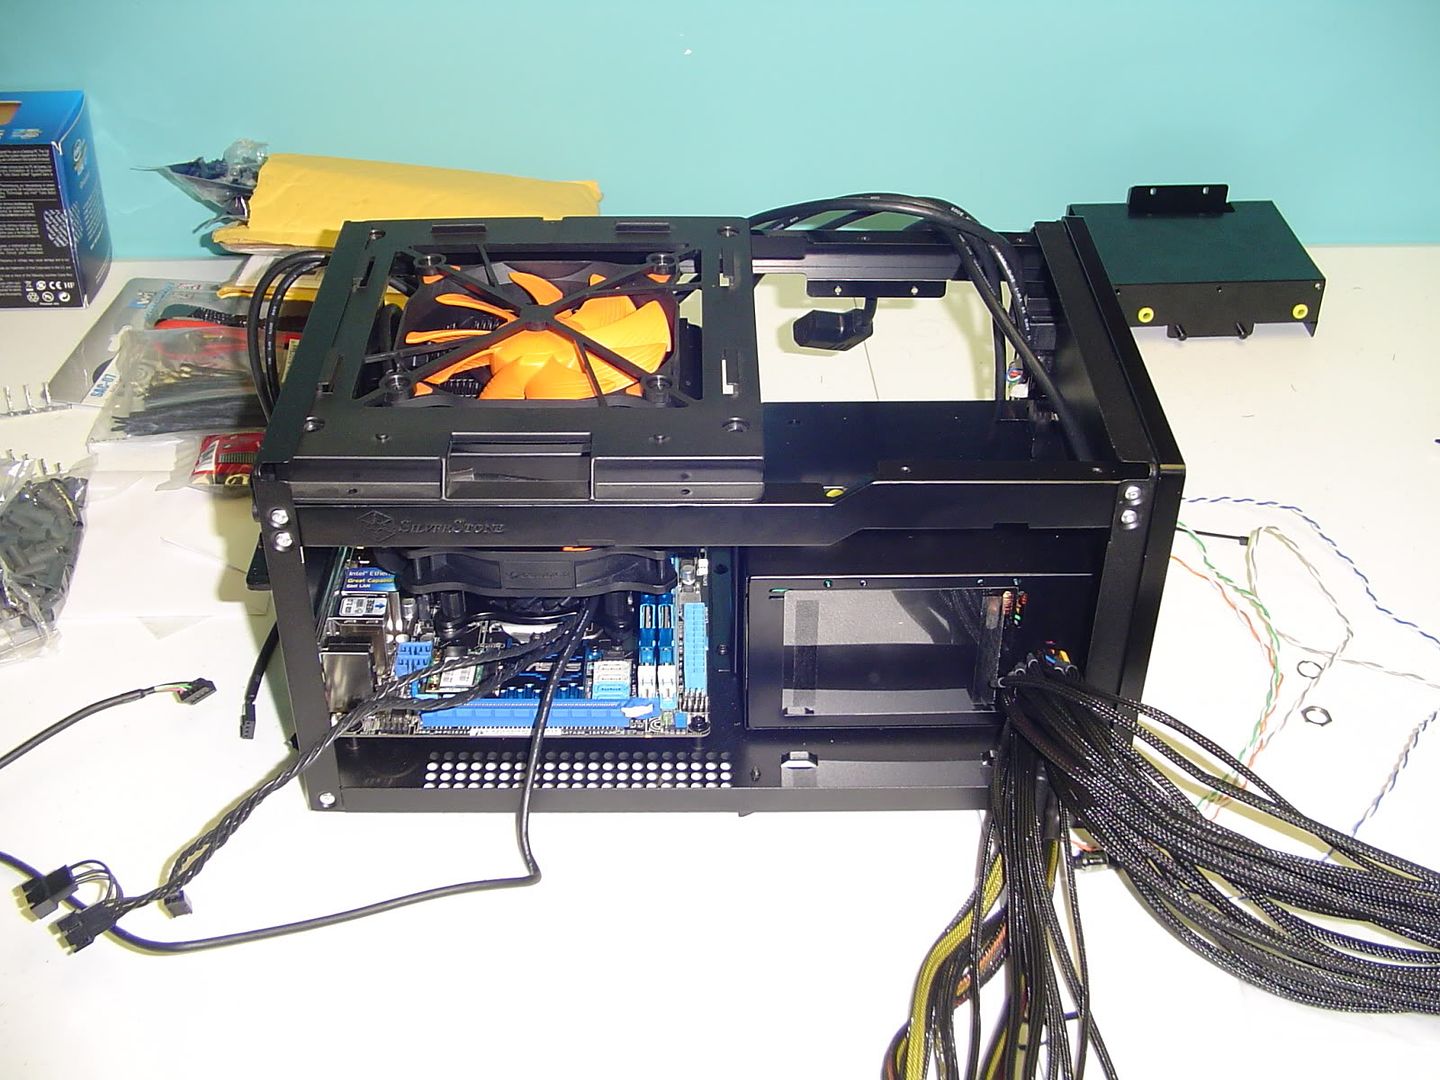
So I ordered the CPU late last week and it arrived yesterday. One of the very first things I did was install the cpu and cooler and make sure the Antec 920 would fit. Given it's thickness, I wasn't 100% sure it would fit. Buying one without knowing for sure was a gamble, but it paid off.


Here it is in all its push/pull glory, ready to be test fitted.
DSC03069_zps5dac68e0.jpg


DSC03068_zpsc6f4d25e.jpg


DSC03067_zpseba4d0fe.jpg


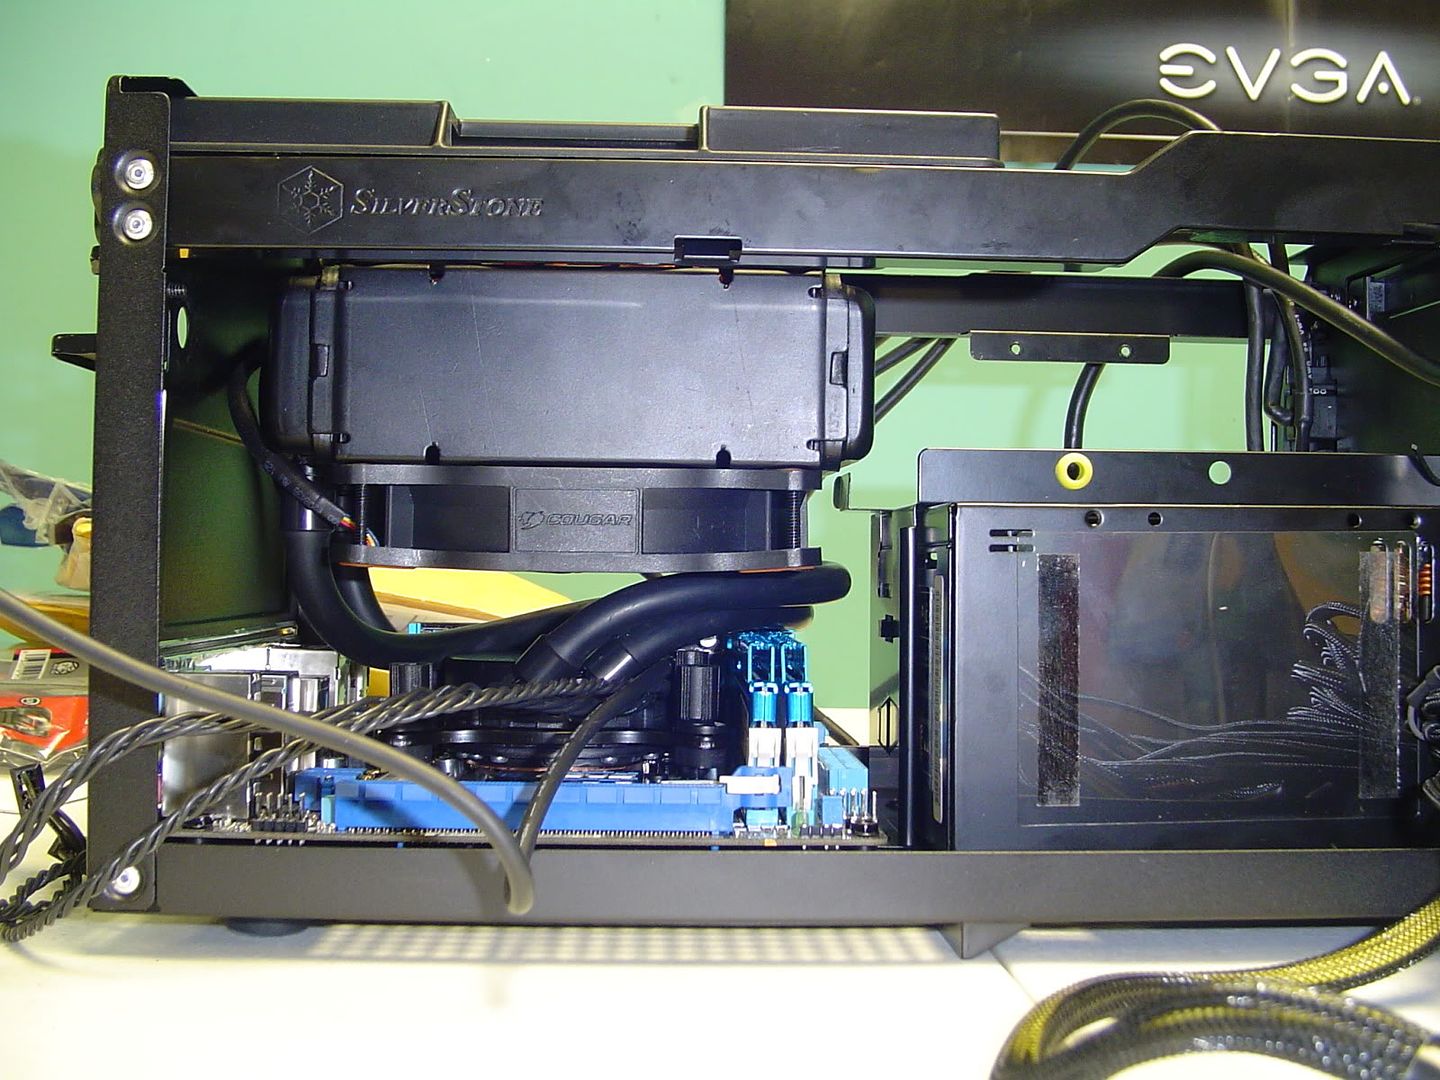
After fiddling with the hose for a bit, I finally got the cooler to slide into place.

DSC03063_zps953fc140.jpg


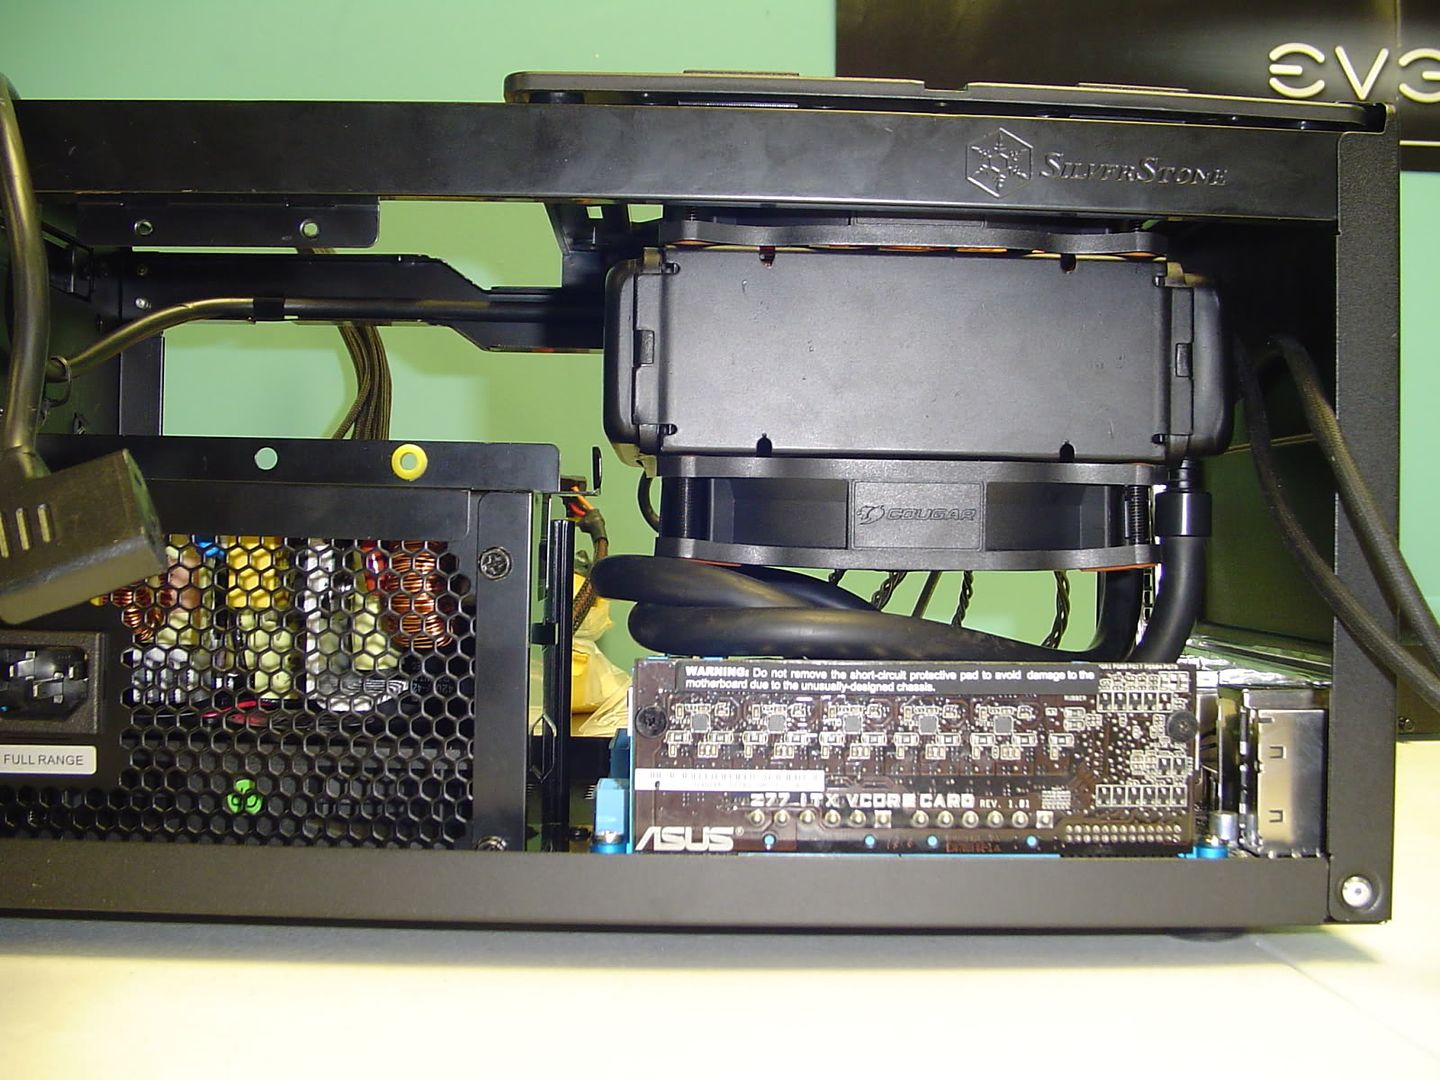
Turns out the Antec Kuhler 920 will fit in this case...

...just barely.

DSC03066_zpsd34d12e0.jpg


DSC03065_zpsc7608b54.jpg


I'm betting I would have had an easier time fitting this thing if I hadn't gotten ram that had 3 story tall heatsinks on it. They seem to get in the way of the hosing quite a bit. I'm actually thinking about swapping these out for a pair that isn't so tall. Anyone recommend any good low profile DDR3 ram?

EDIT: Just discovered this ultra low profile Samsung kit. The timings are a little low, but according to the reviews this kit overclocks like mad and runs super stable. I'm seriously tempted to go with these and use my skyscraper ram in some other project.


Next I'll be sleeving the front panel cables. Stay tuned!
 
Last edited:
Nice looking build, will be curious to see how the 920 cools your proc and what kind of overclocks you'll get.

Just one critique, I noticed you really tightened your fan bolts down and it's bending the fans it's tightened so much, you want to be careful with the bolts hitting the rad and busting it open - I'm sure you'd know by know because fluid would be running out but just something I thought I'd mention as I've read about others doing it.

Can't wait to see the GTX 690 in that small ass case lmao, are there other fans in this case to help cool the GPU? Doesn't the 690 vent to the inside of the case?

I know the 690 has that vapor cooling chamber but I've read they still get upwards of 80c while gaming.

Either way awesome looking build, great job on the sleeving!

Subbed!

Yeah, I noticed the corners of the fans bowing too. Oddly enough I only gave screws just a few turns, but I'll probably back them out just a bit to be safe.

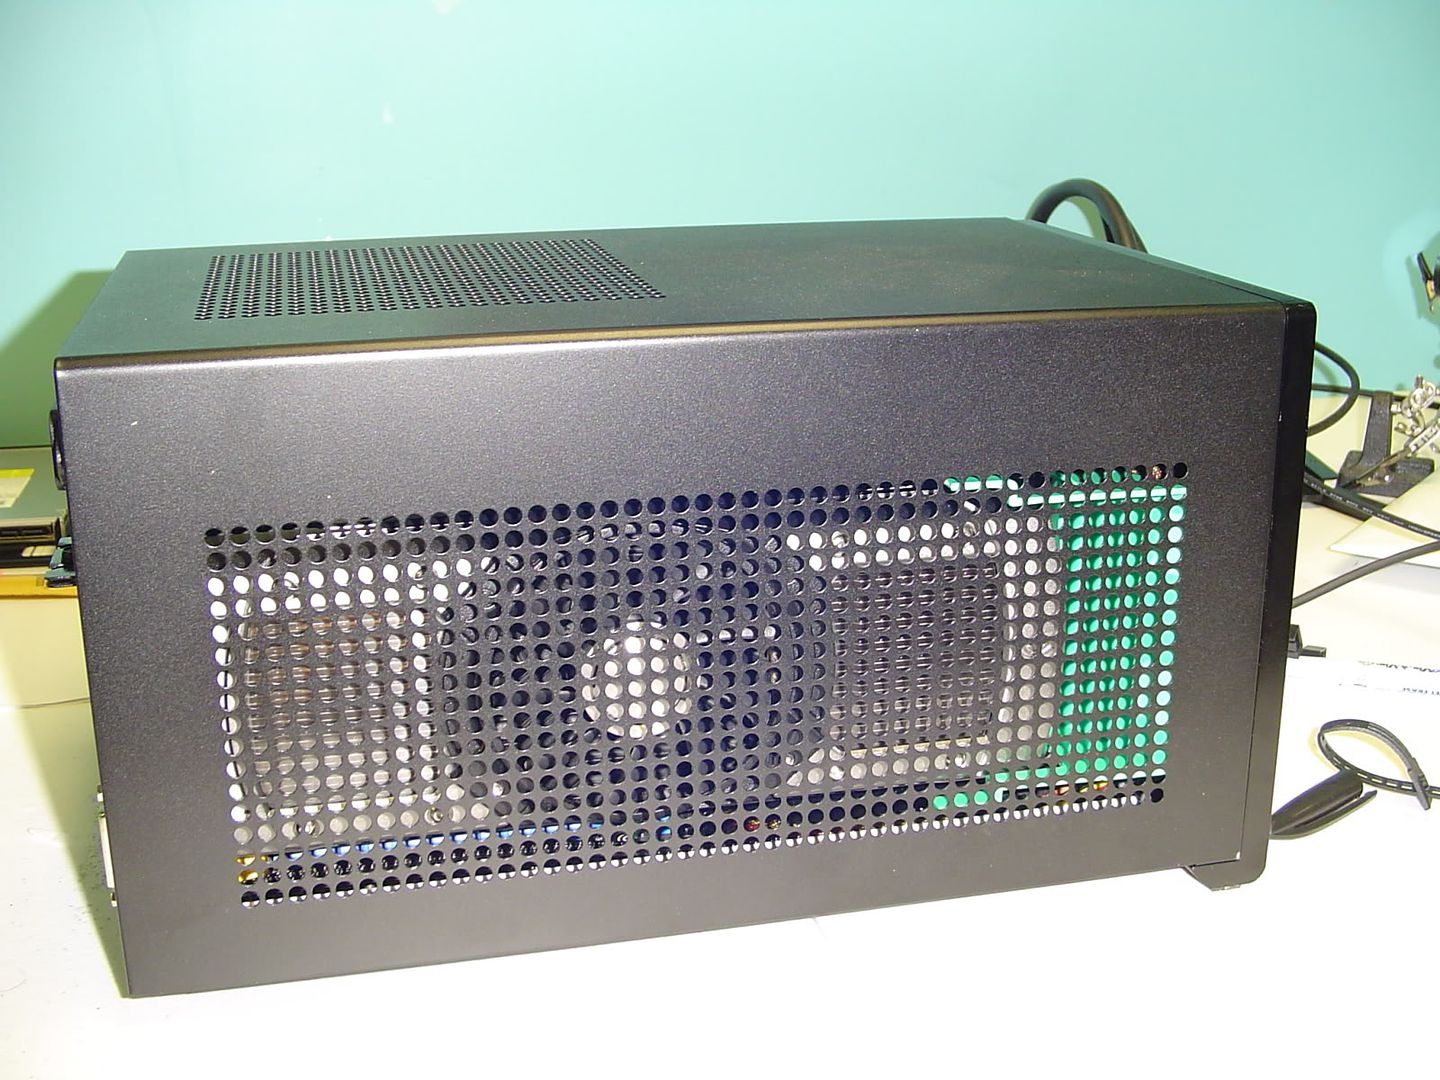
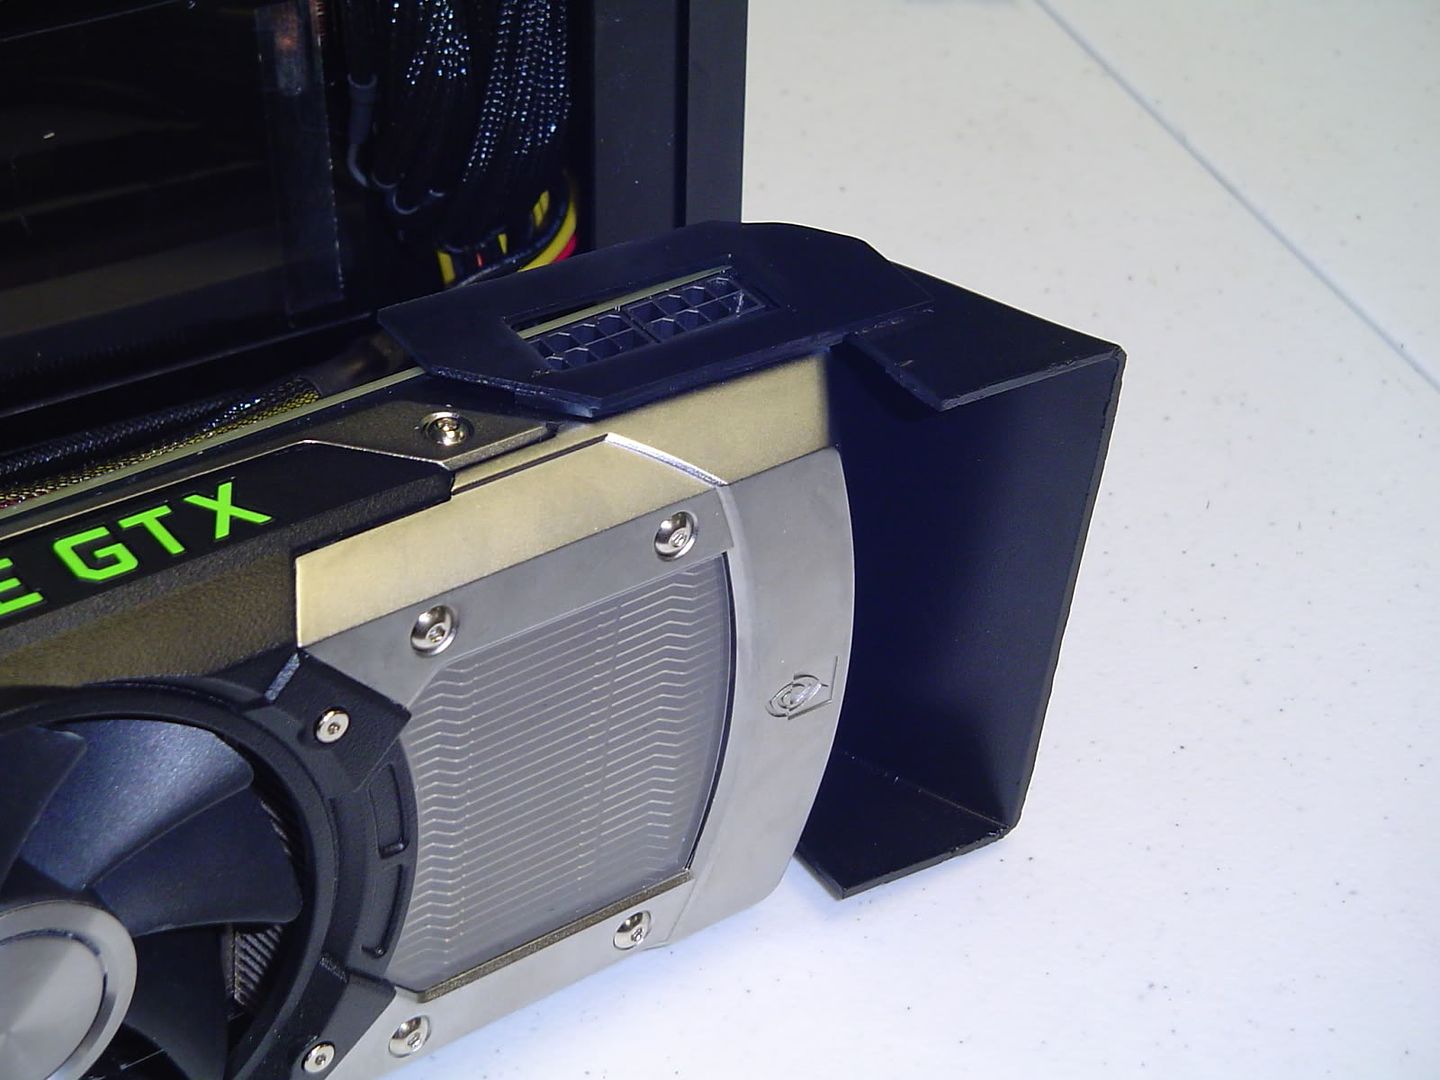
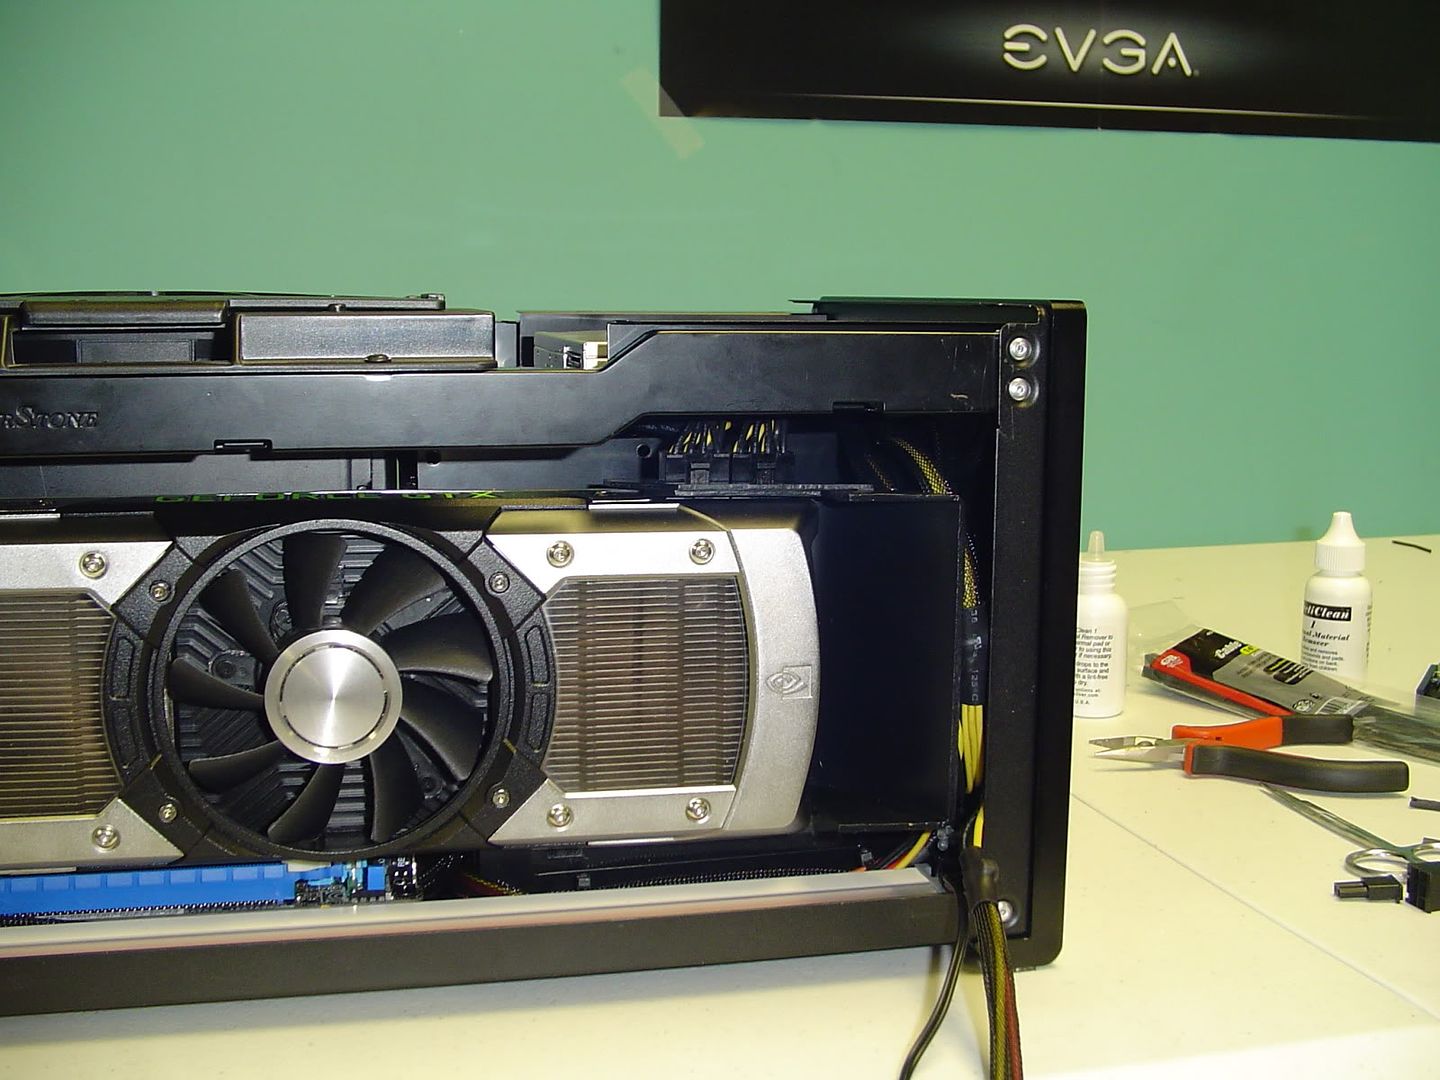
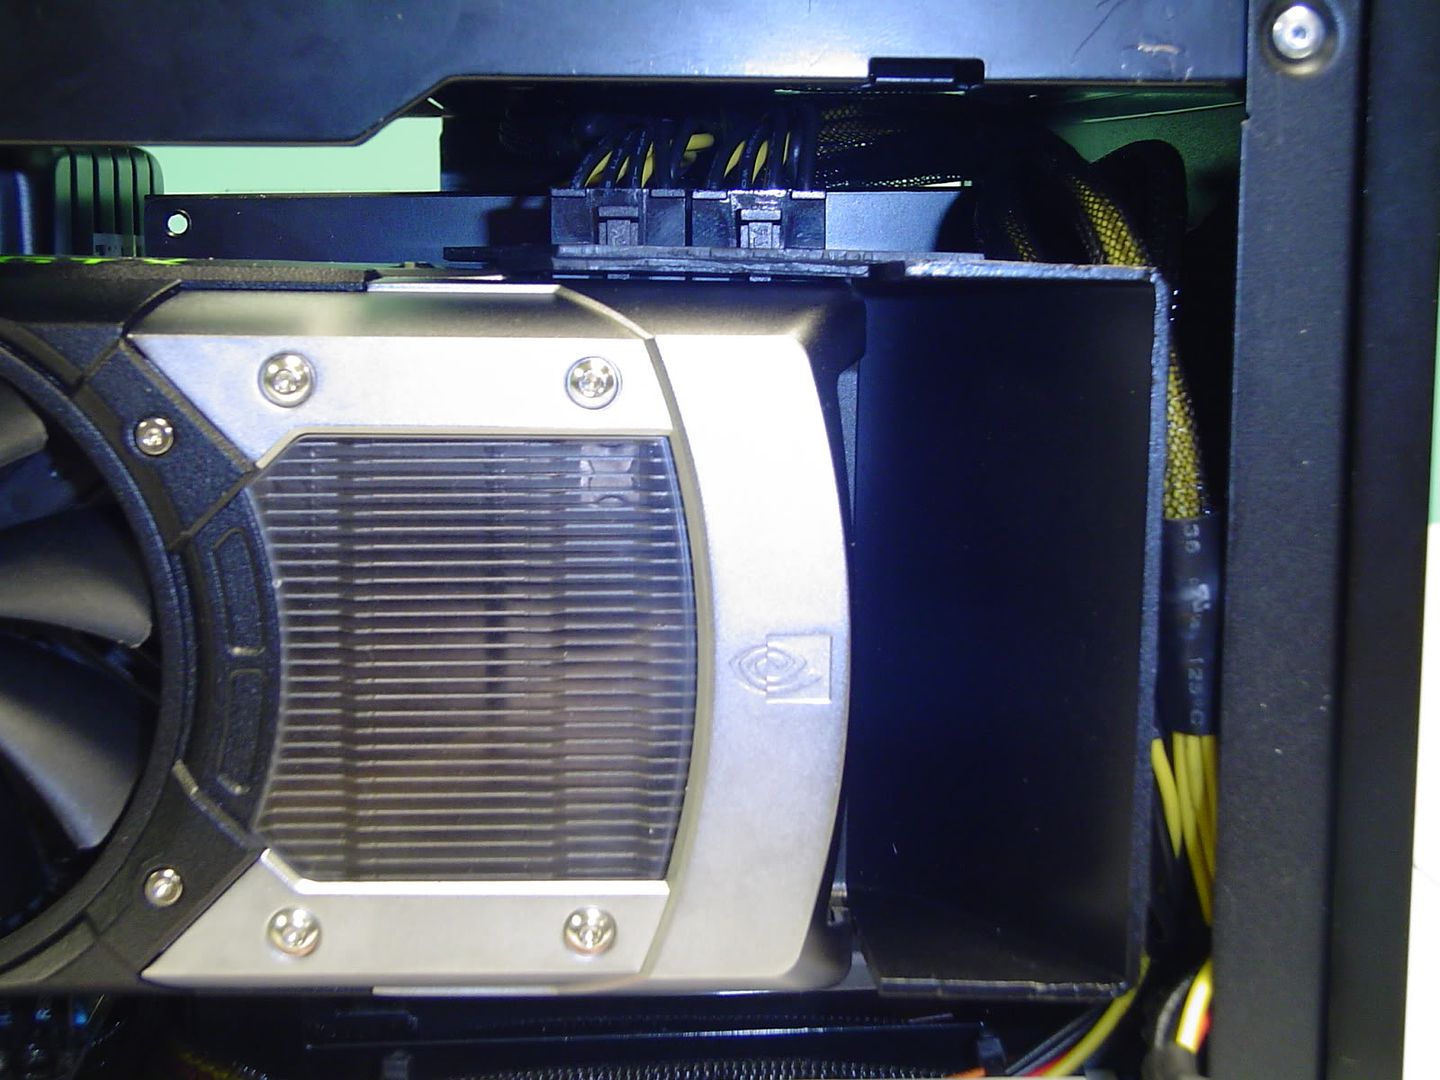
As far as the 690 goes, well I'm going to try to make some kind of duct work to shove into the corner of the case that will direct the flow of air out the side. I don't really know how I'll achieve that yet, but I'll just have to play it by ear and cross that bridge when I get to it.

On the ram, I've definitely decided to go with the low profile Samsung kit I mentioned in my last post. It should give me more room to manipulate the tubing and get it out of the way of the airflow. I'll probably be ordering it next week along with my two SSD drives.

Thanks for the feedback guys. Stay tuned!
 
Progress time!


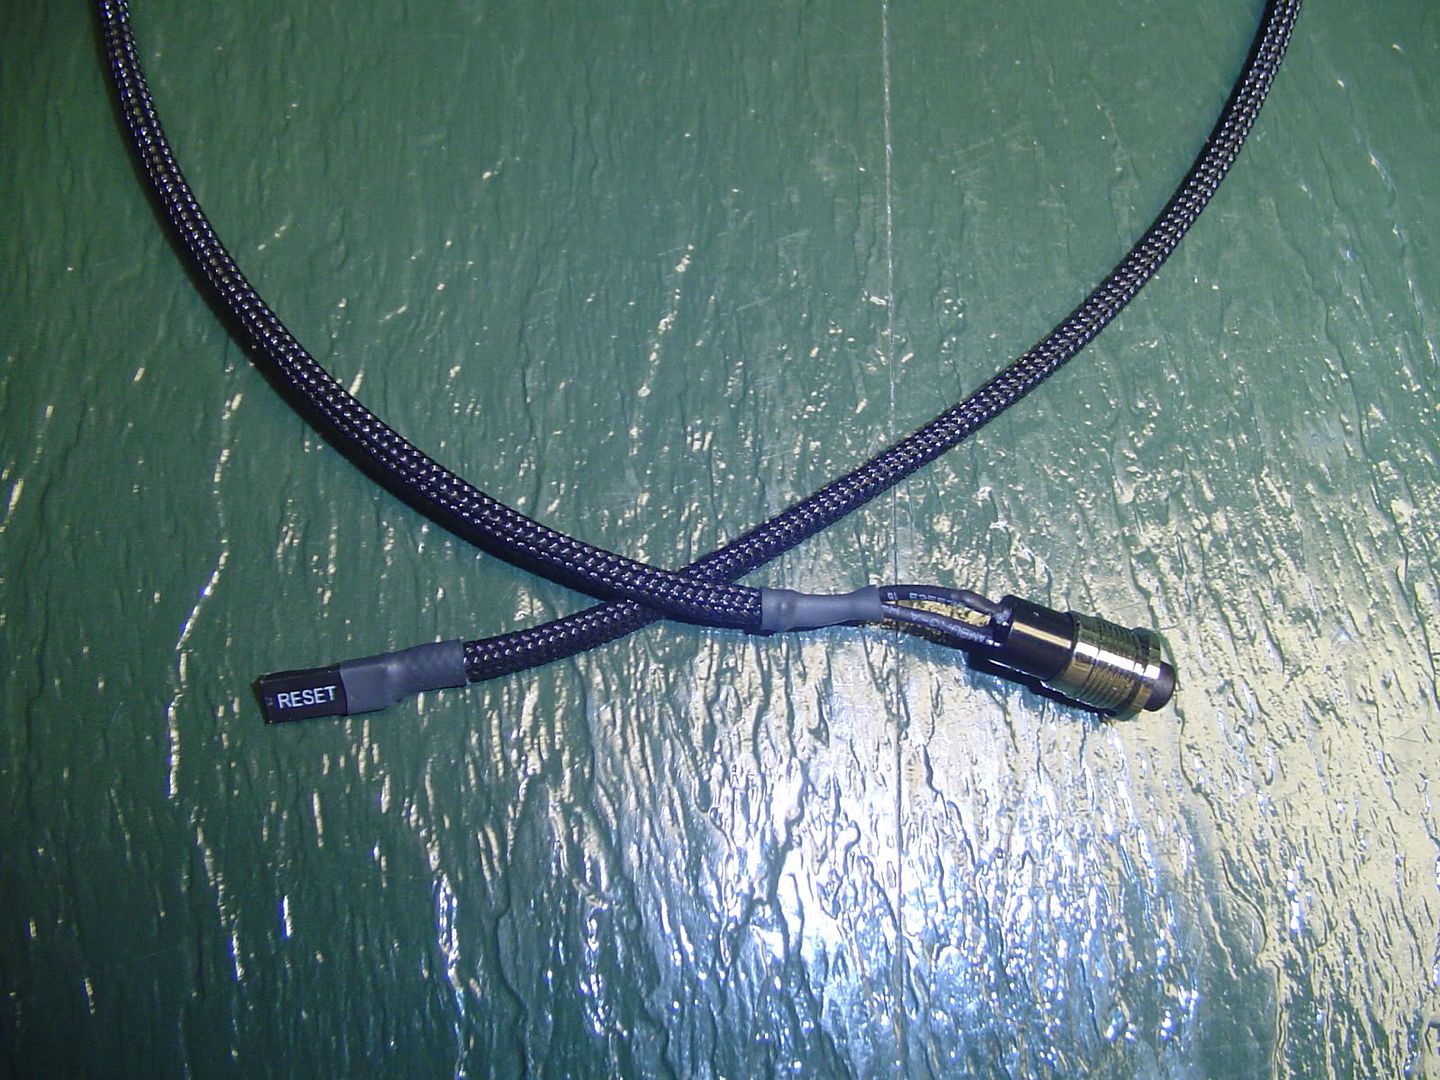
I started off by sleeving the power/reset and led wires. This not only made them look a whole lot better, but it also gave them some rigidity to make routing them much easier.


DSC02970.jpg


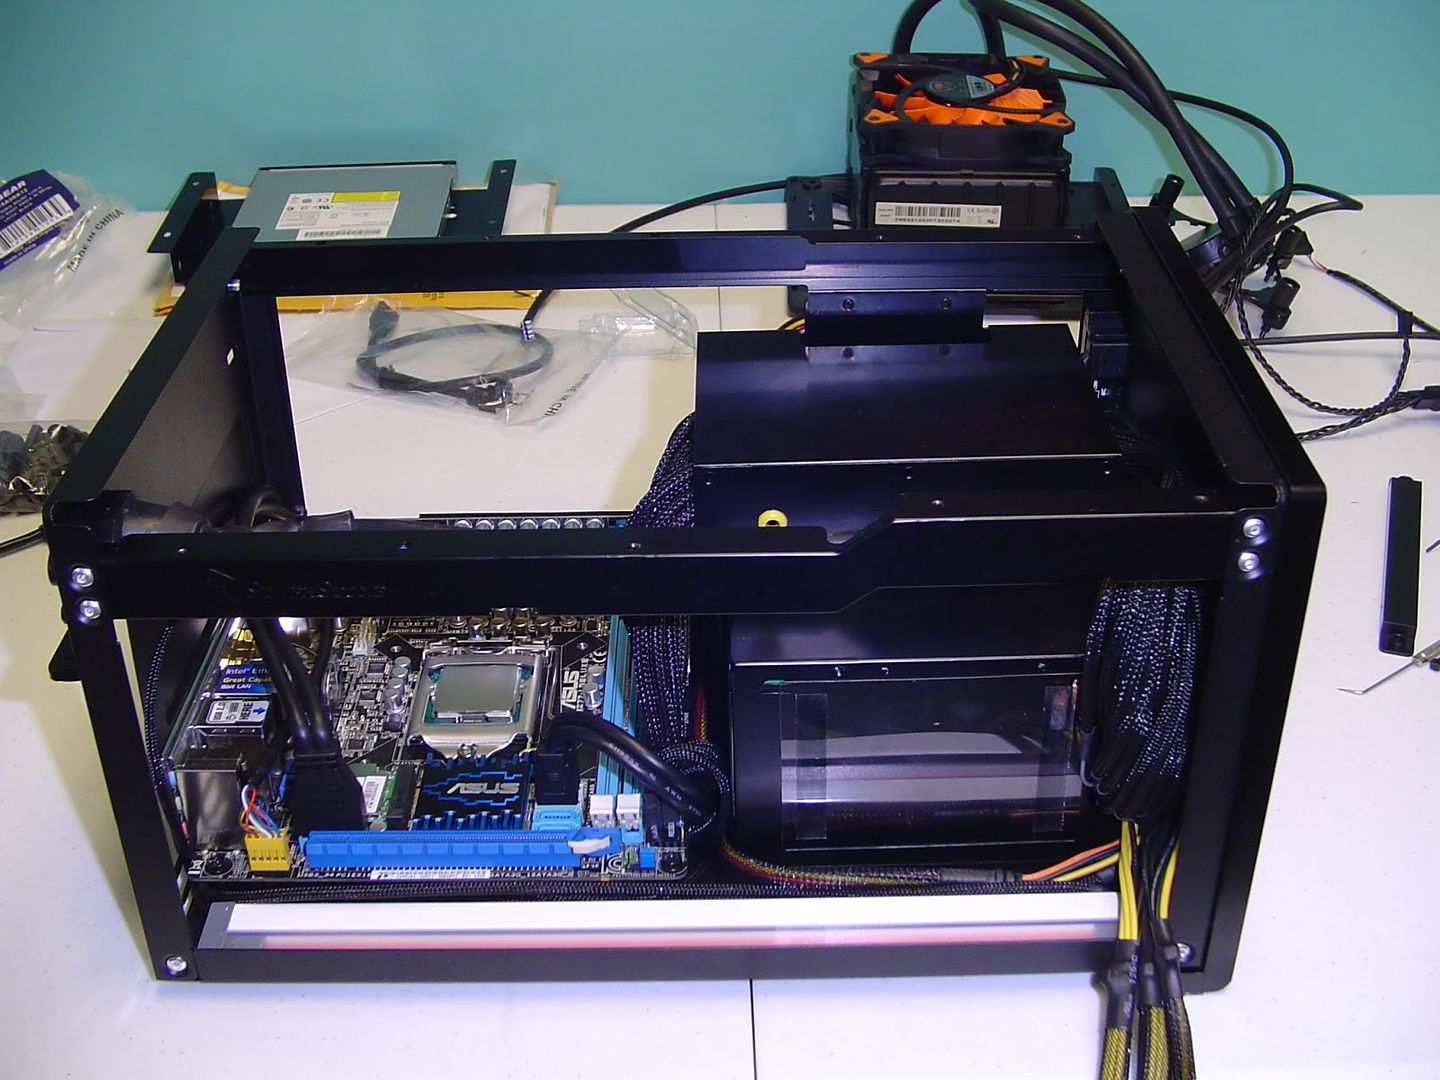
After I finished the four of them I moved on to preliminary assembly and cable management. Now one thing I should note about my cable management is that I absolutely hate having to bunch up a wad of wires and stuff them into a corner or a hole somewhere. With that said, I always try to route cables in such a way that they flow with the architecture and features inside the case and stay as close to the edges as possible. This serves to make use of any extra slack that I may have. It also means that I often don't even need to make use of wire ties whenever I can "form" a cable to hug the contours of a case. This isn't always the case, but exceptions are rare most of the time.


Picture time!

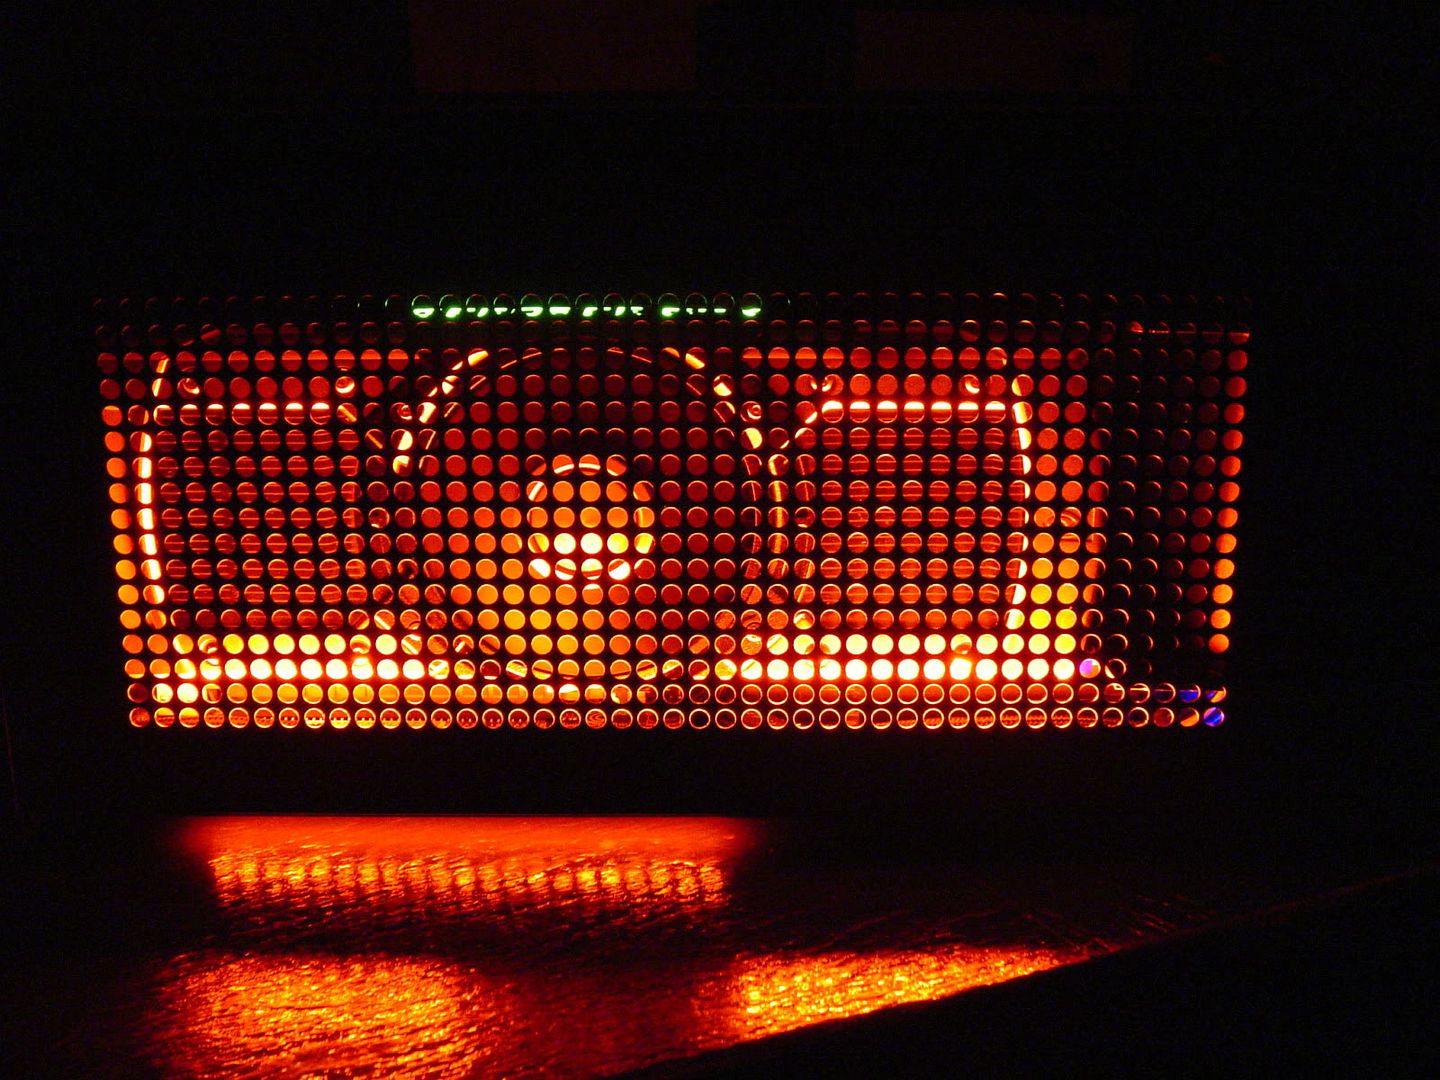
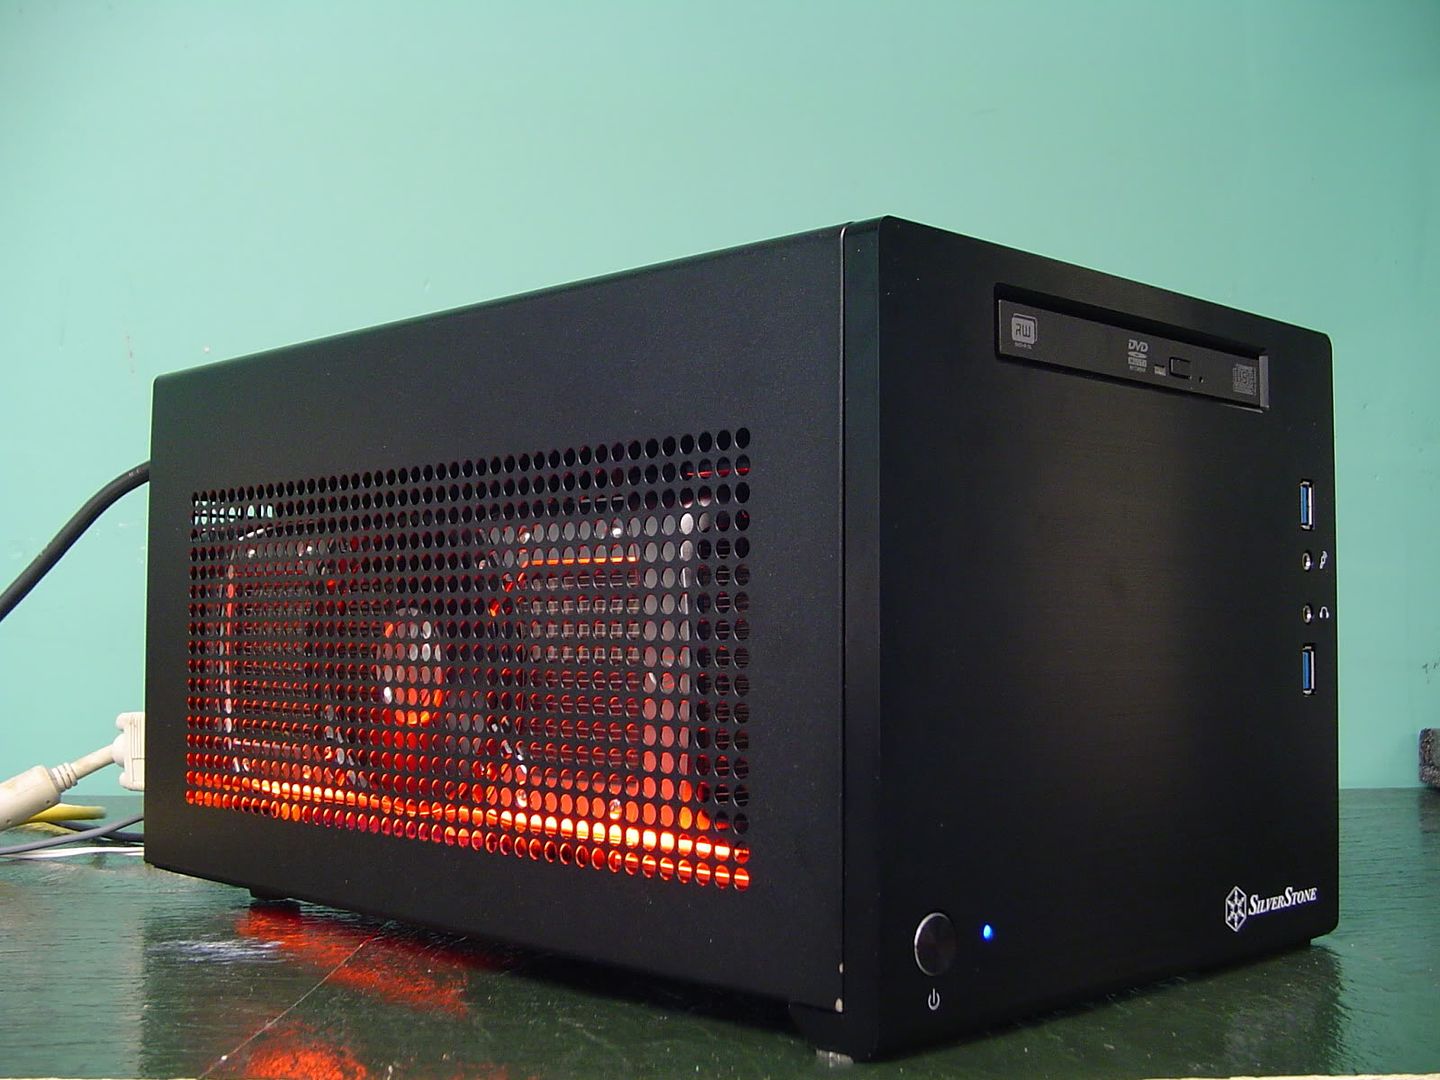
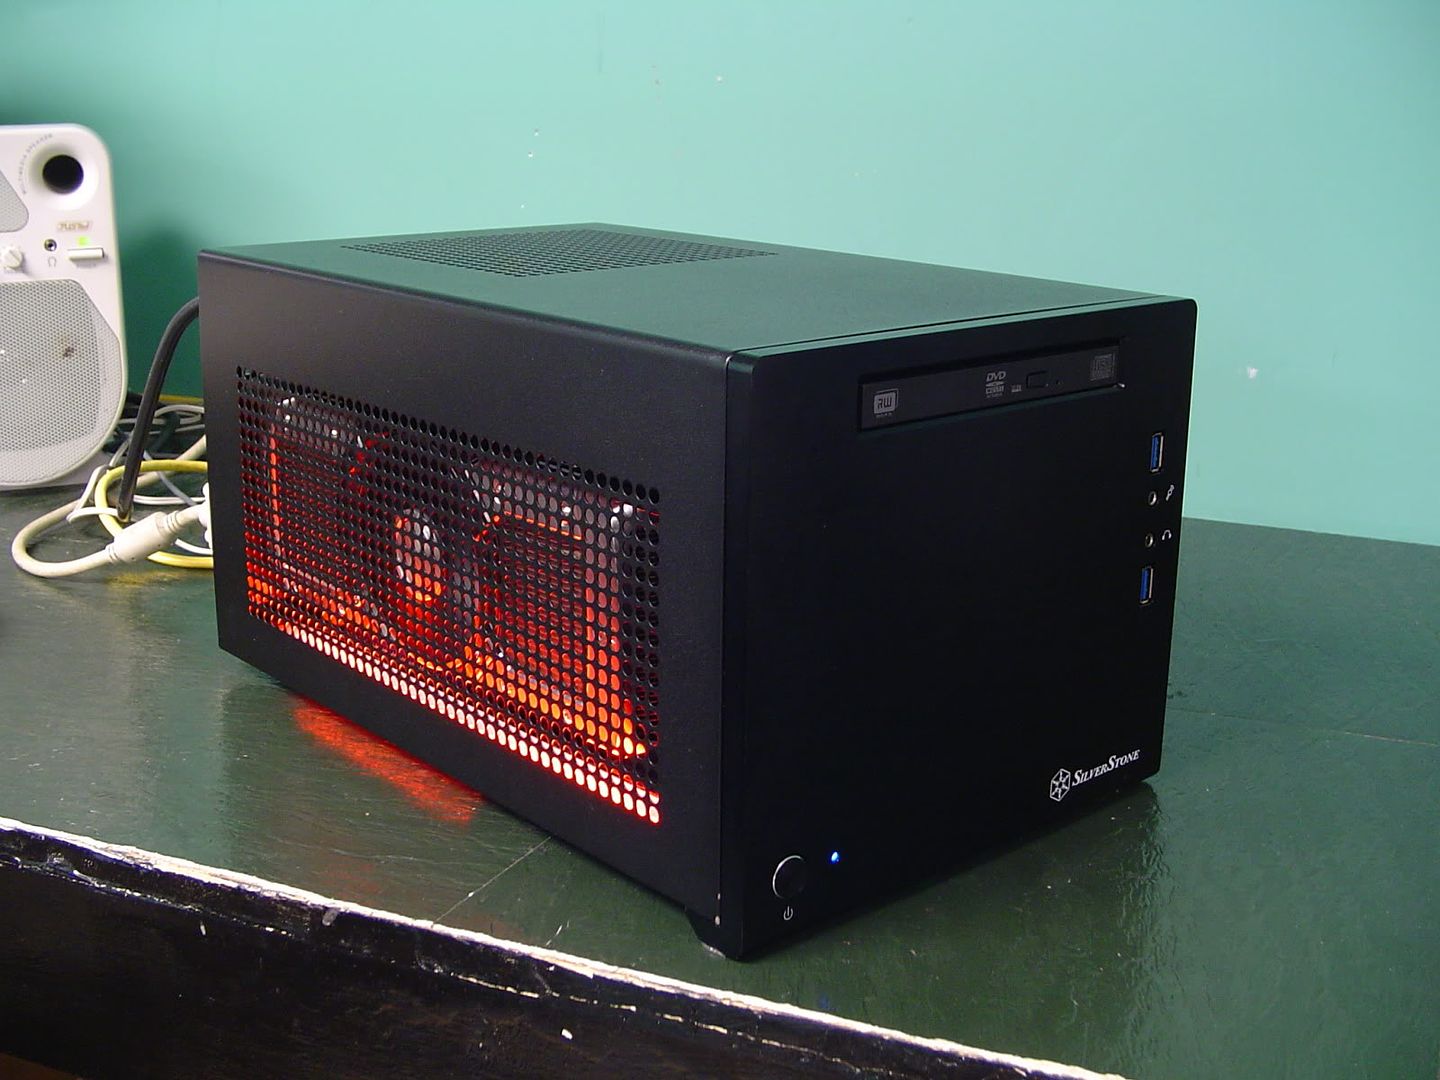
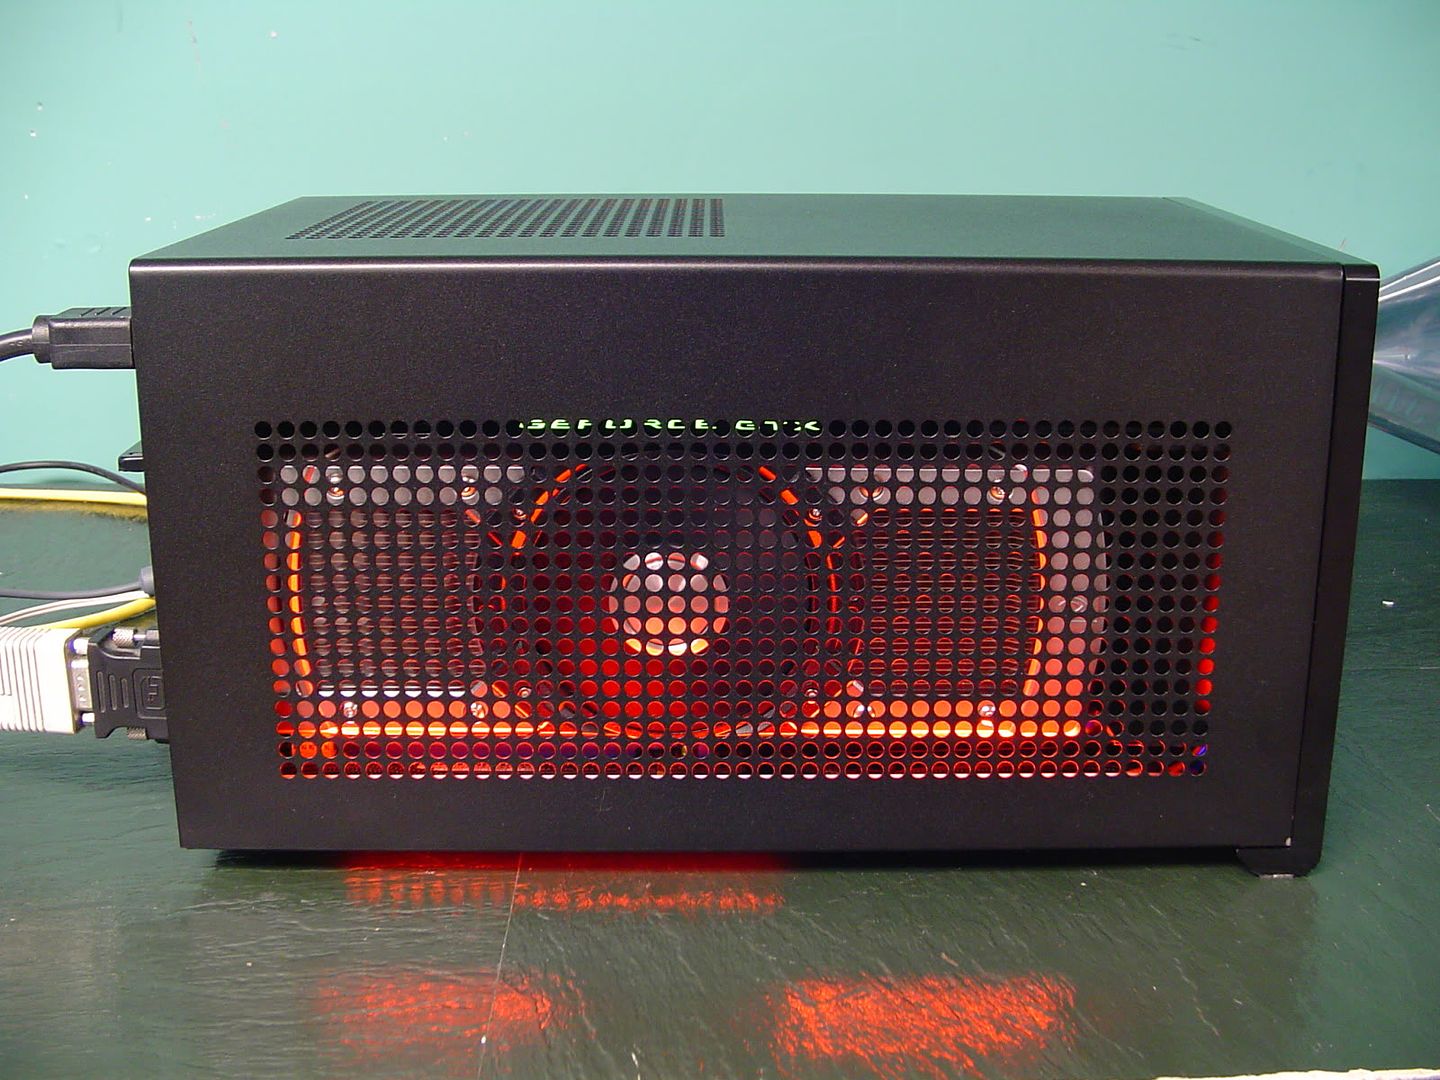
One of the first things you'll notice is that I'll be including a red CCFL in this build! I hope to illuminate the intake ventilation for the video card to make it seem like a red hot beast is inside!

DSC03075_zpsaf625df3.jpg


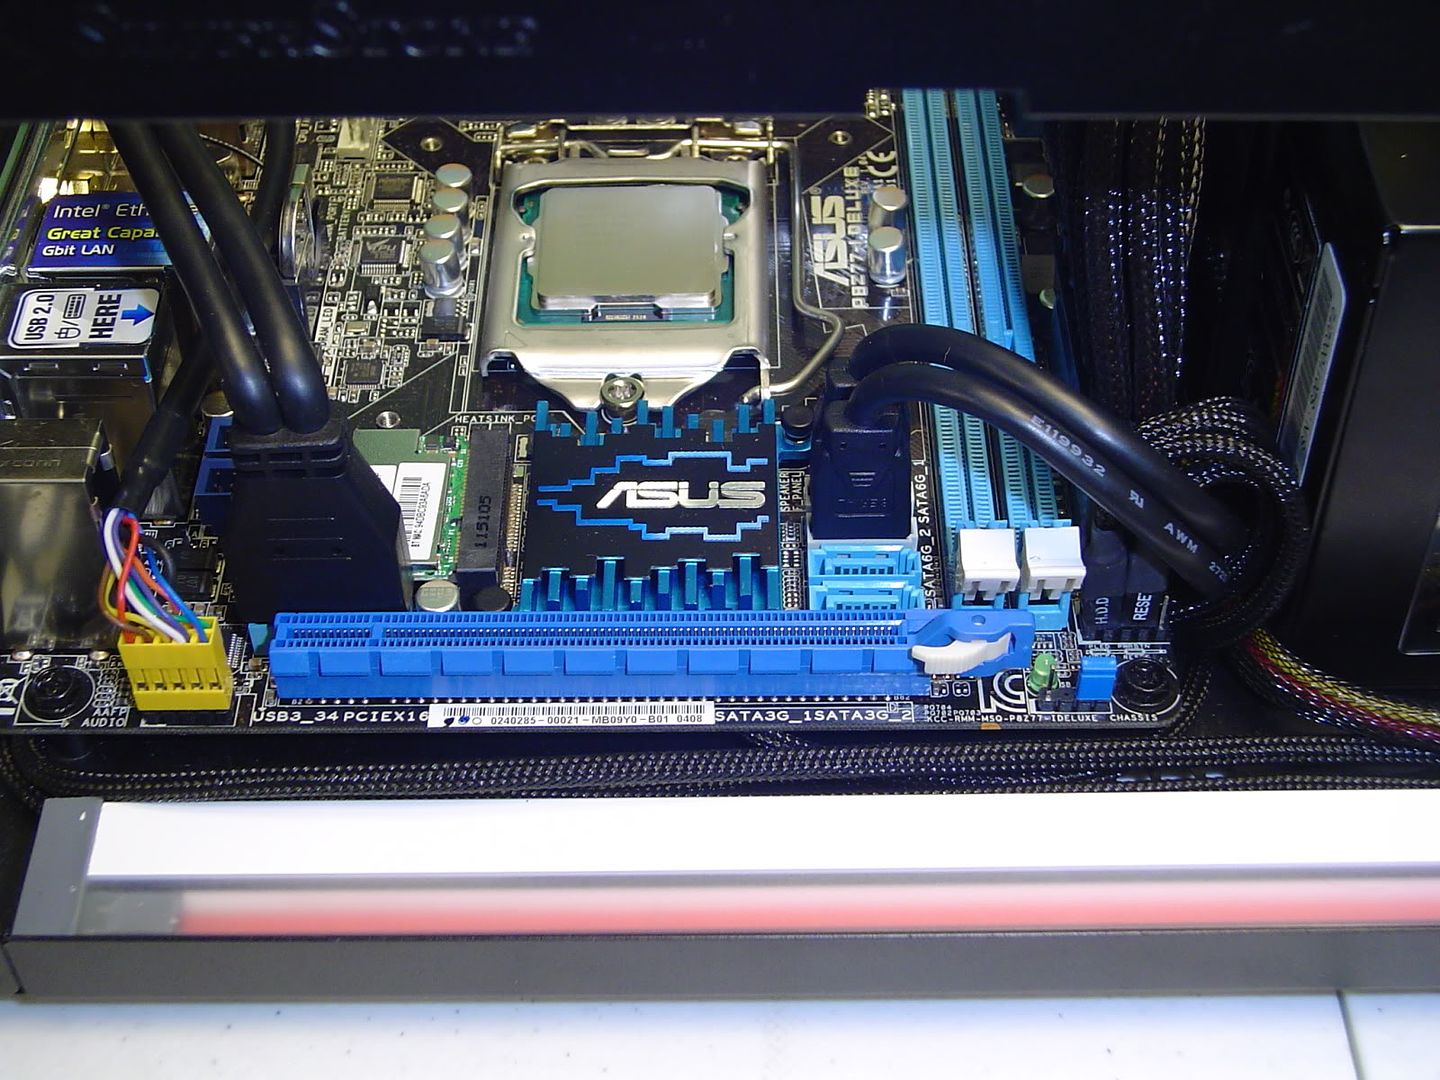
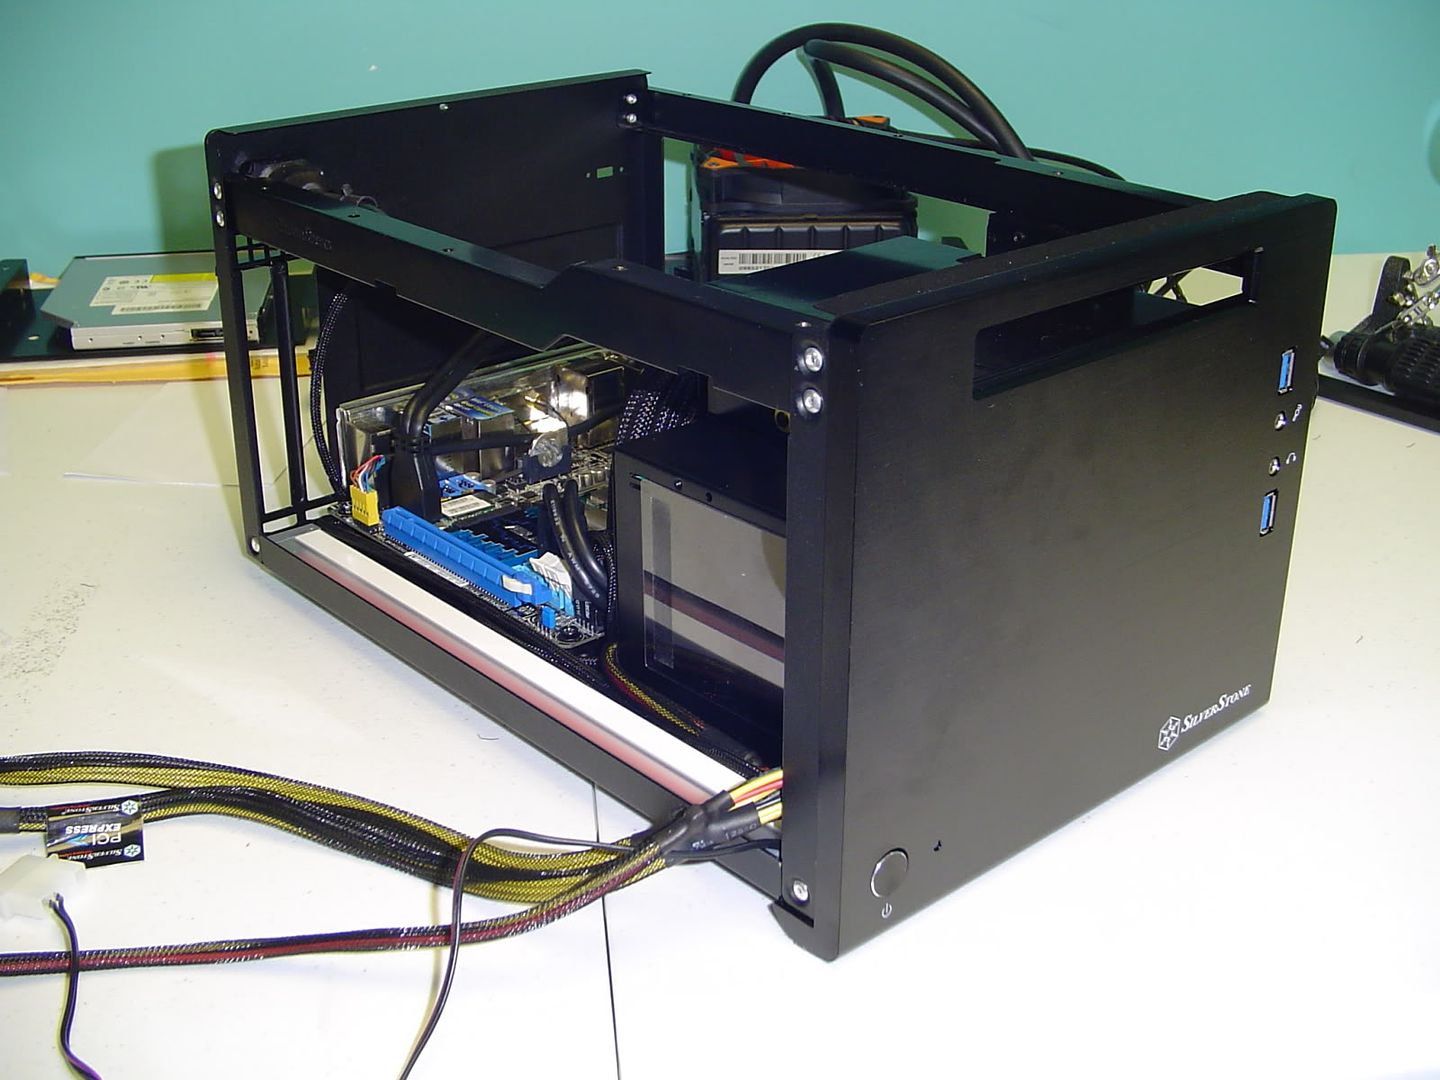
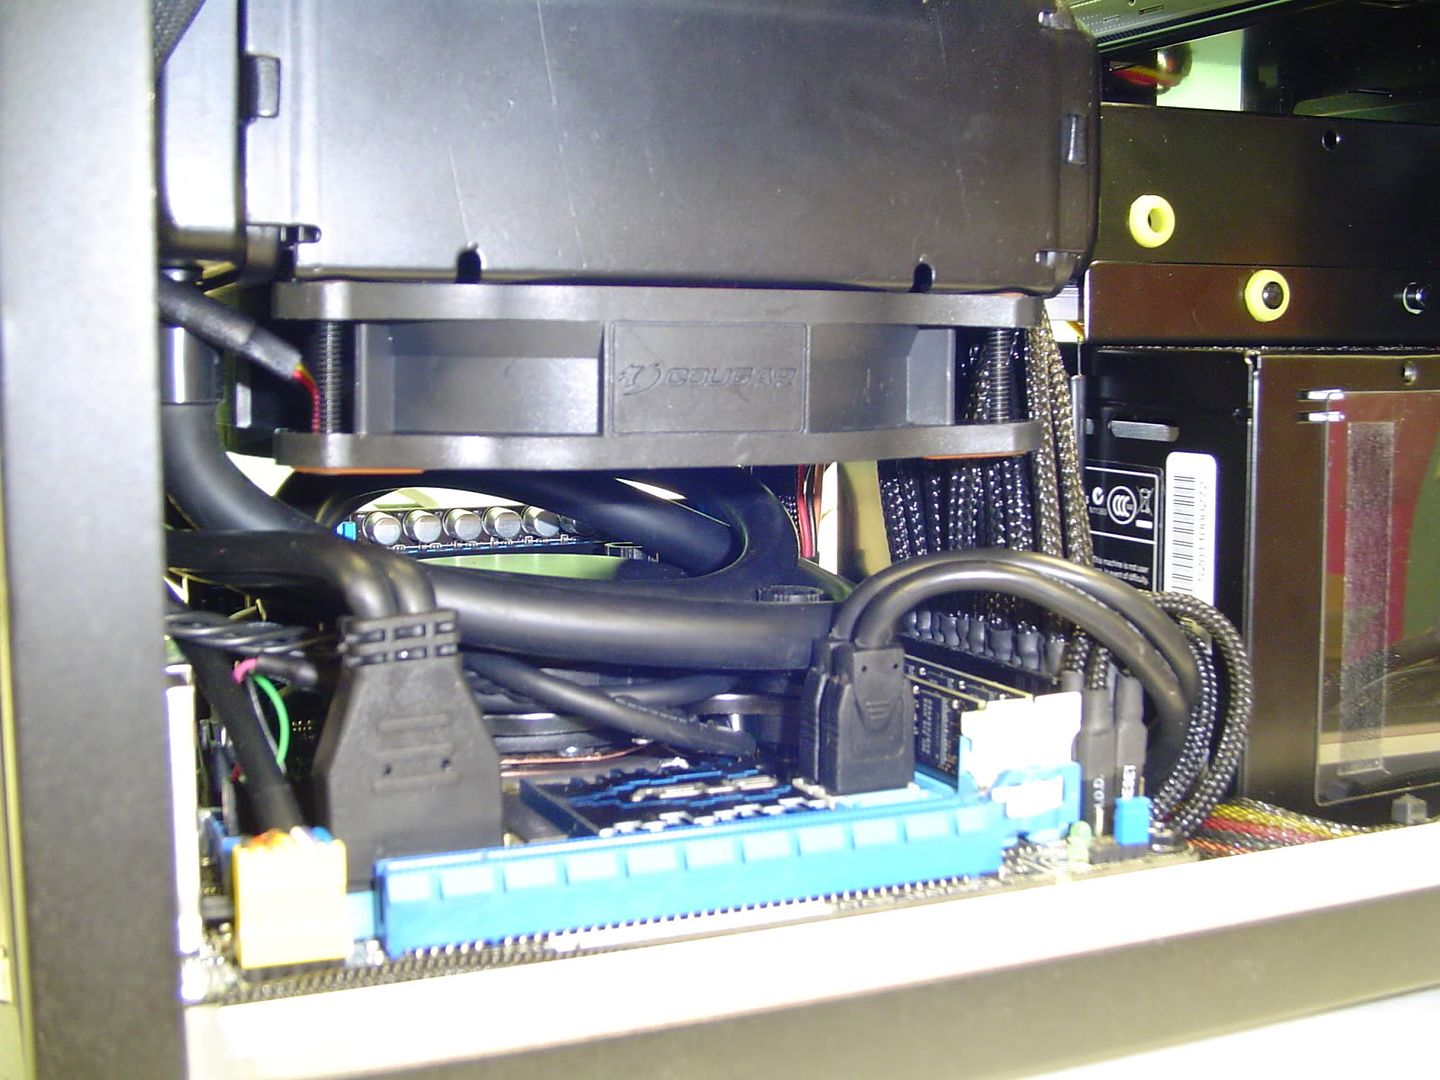
Upon closer inspection, you can see what I mean about my cable routing. I'm taking the front panel cables straight to the rear motherboard standoff, wrapping around and coming back under the motherboard and looping up into the plugs. All of the slack is used up and the cables remain nice, neat, and tight.

DSC03076_zps1e537524.jpg


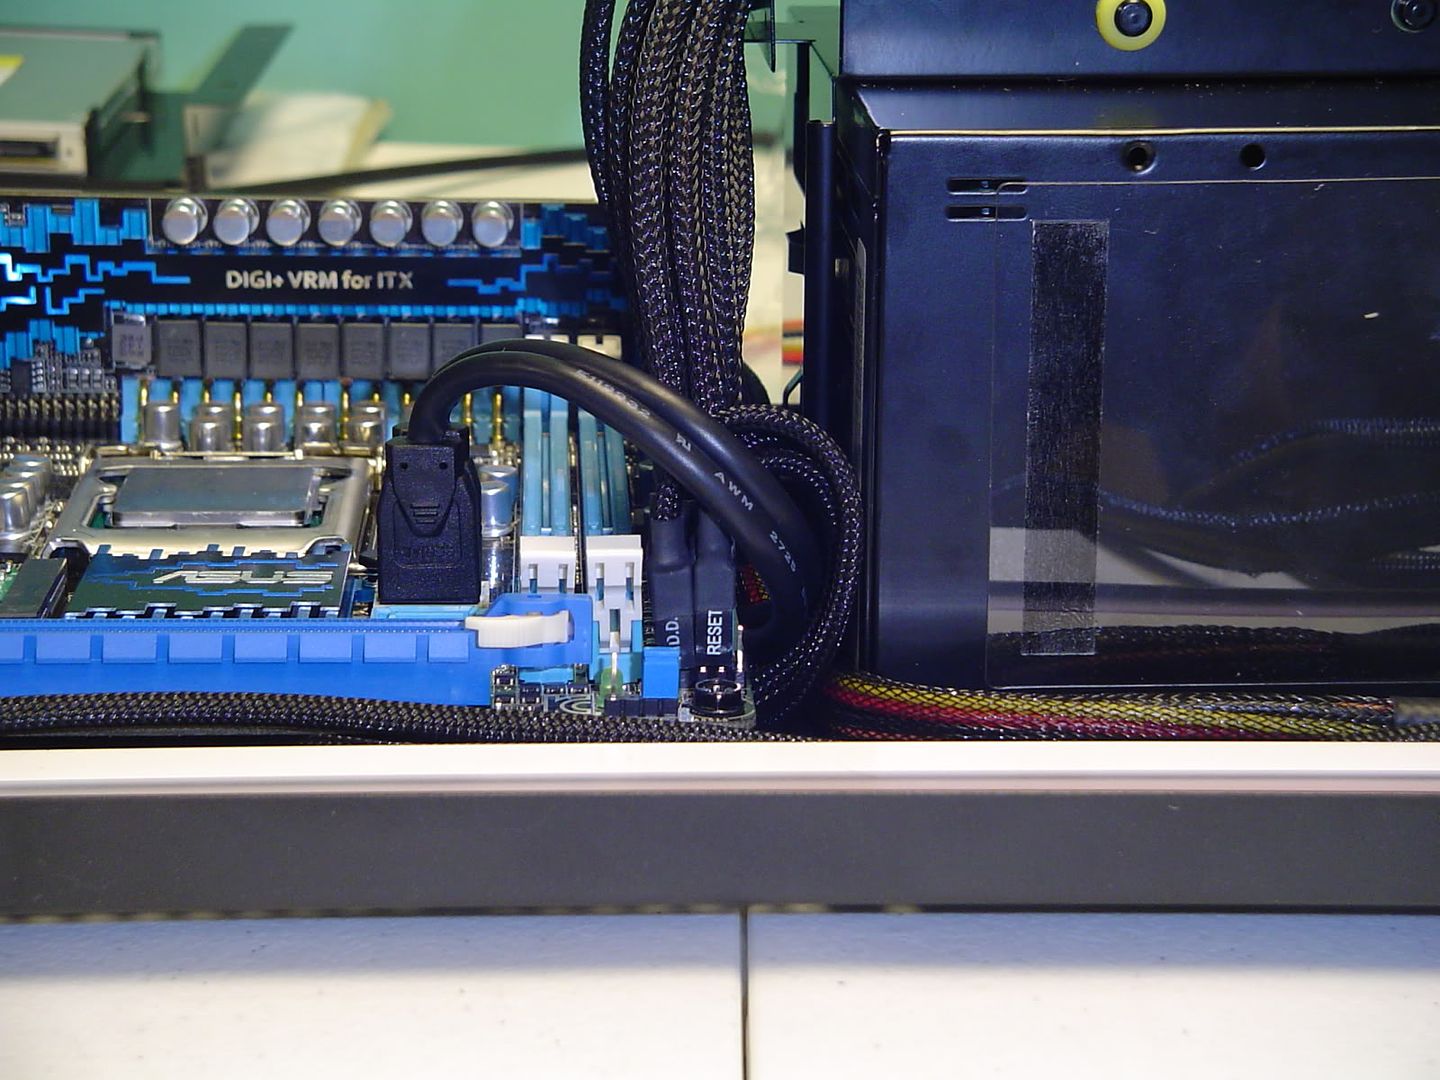
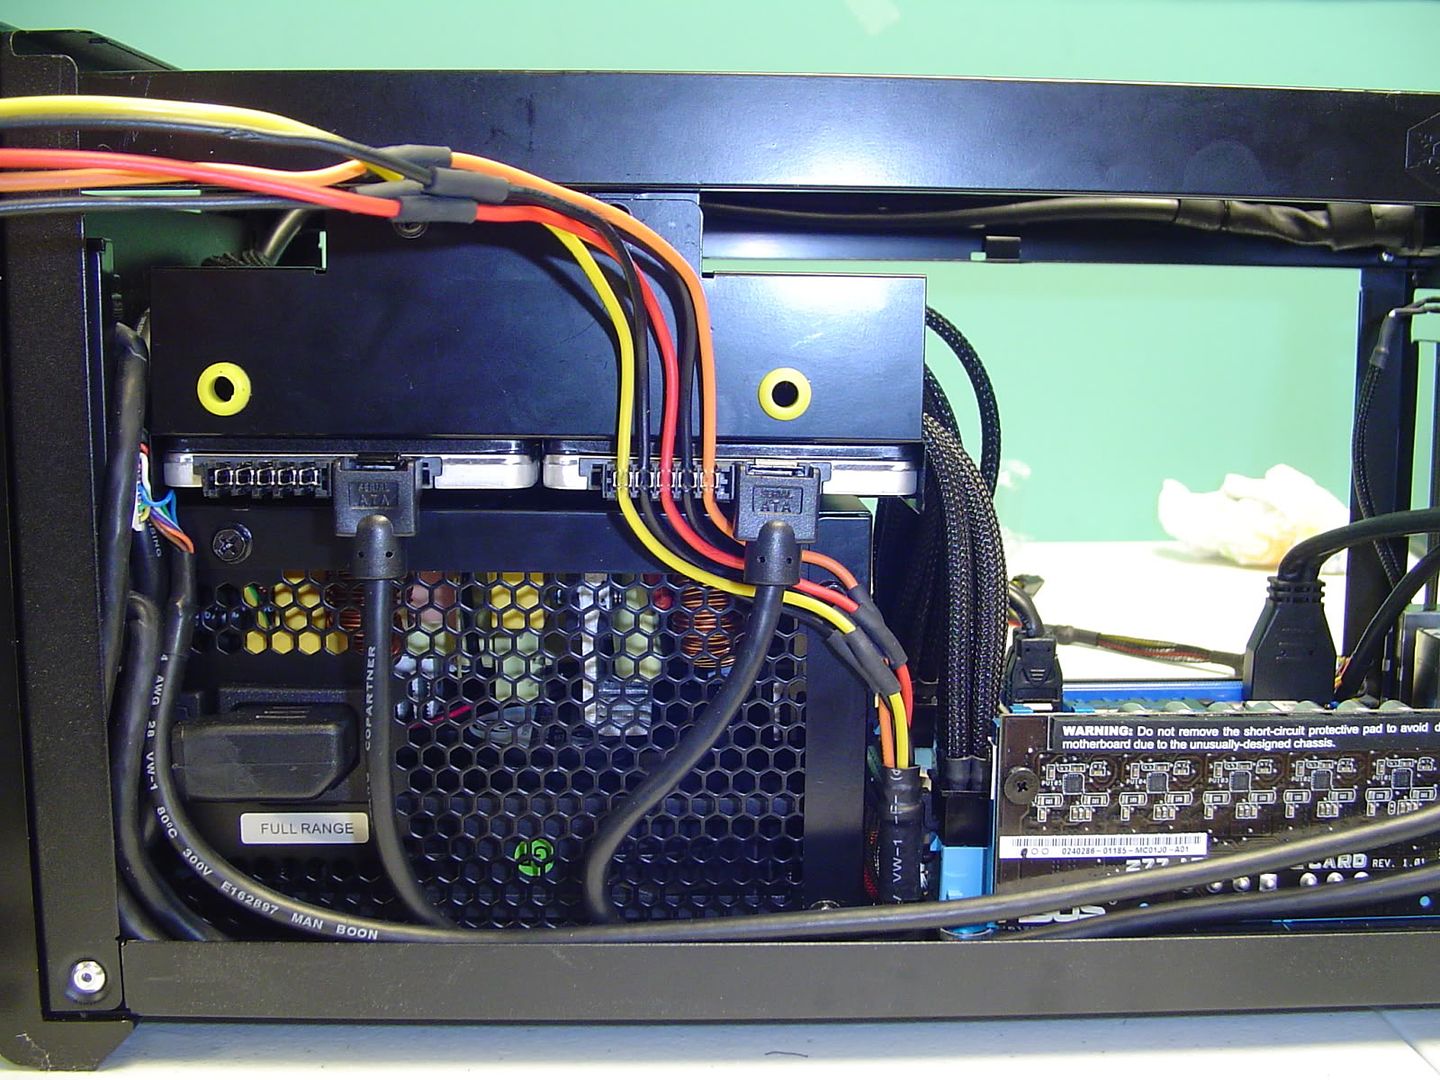
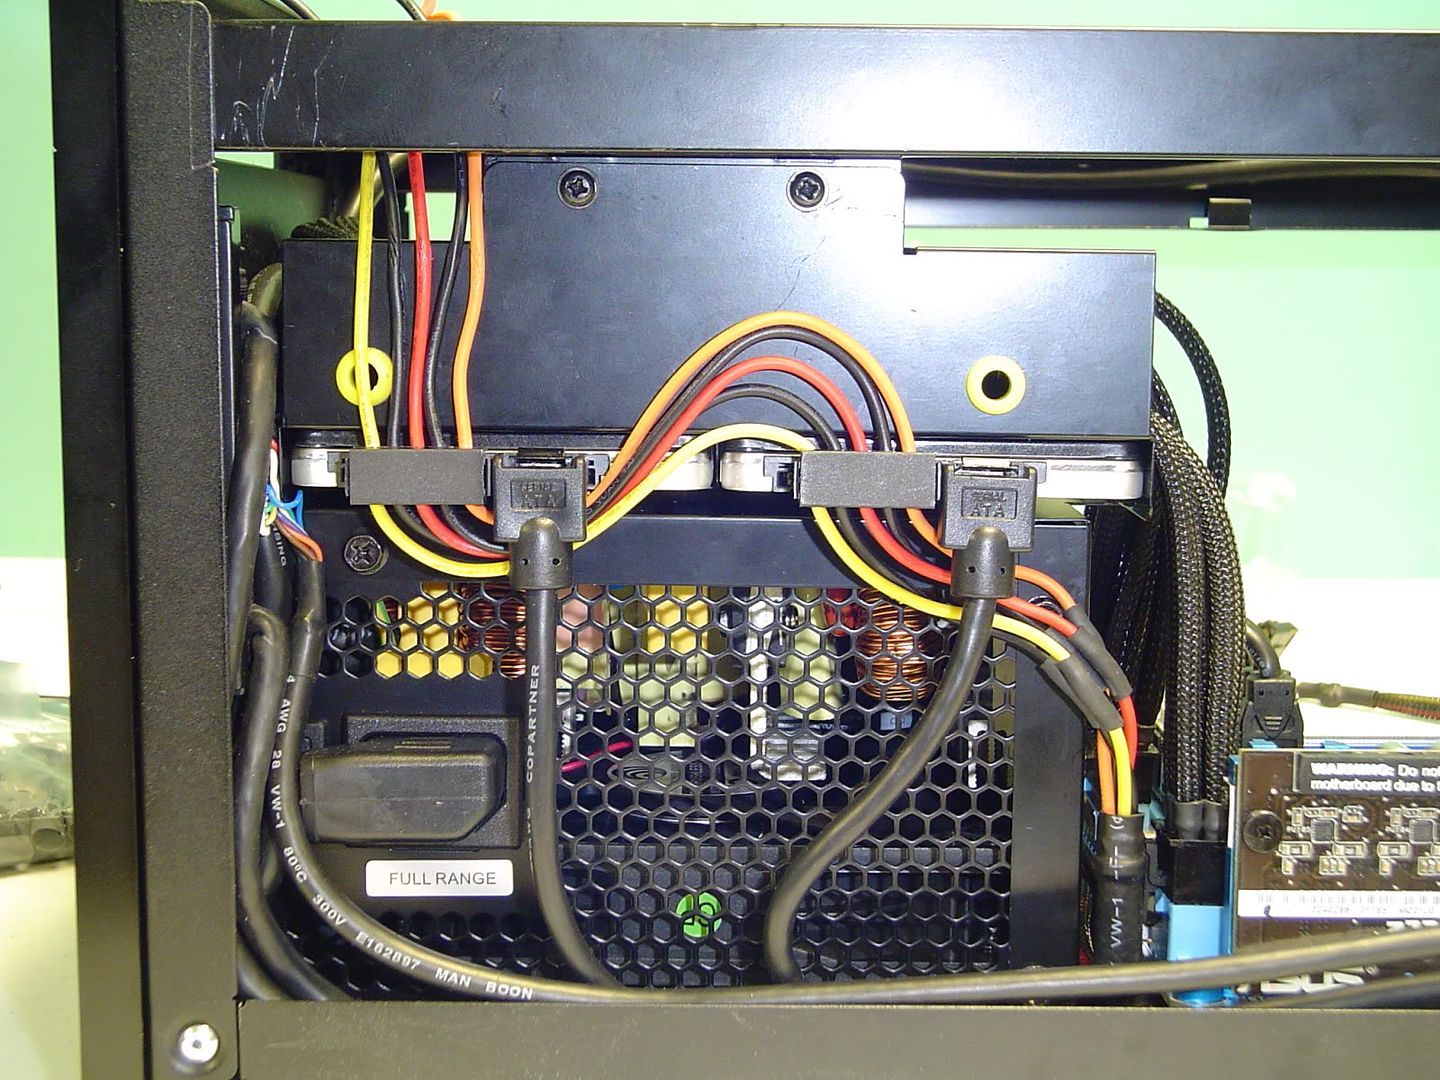
As you can see, I've already plugged in the two rounded SATA cables and I'm going through the loop with them and down the channel between the motherboard and power supply. I'm also taking the SATA power cable down the same channel.

DSC03084_zps23e4c502.jpg


Though I'll have to unplug the power cables when I go to install the drives, I went ahead and test fitted them once more.

DSC03078_zps395aeec9.jpg


From the other side, you can see that the two SATA cables are already in the correct positions to be plugged into two drives.

DSC03079_zps8fd6a417.jpg


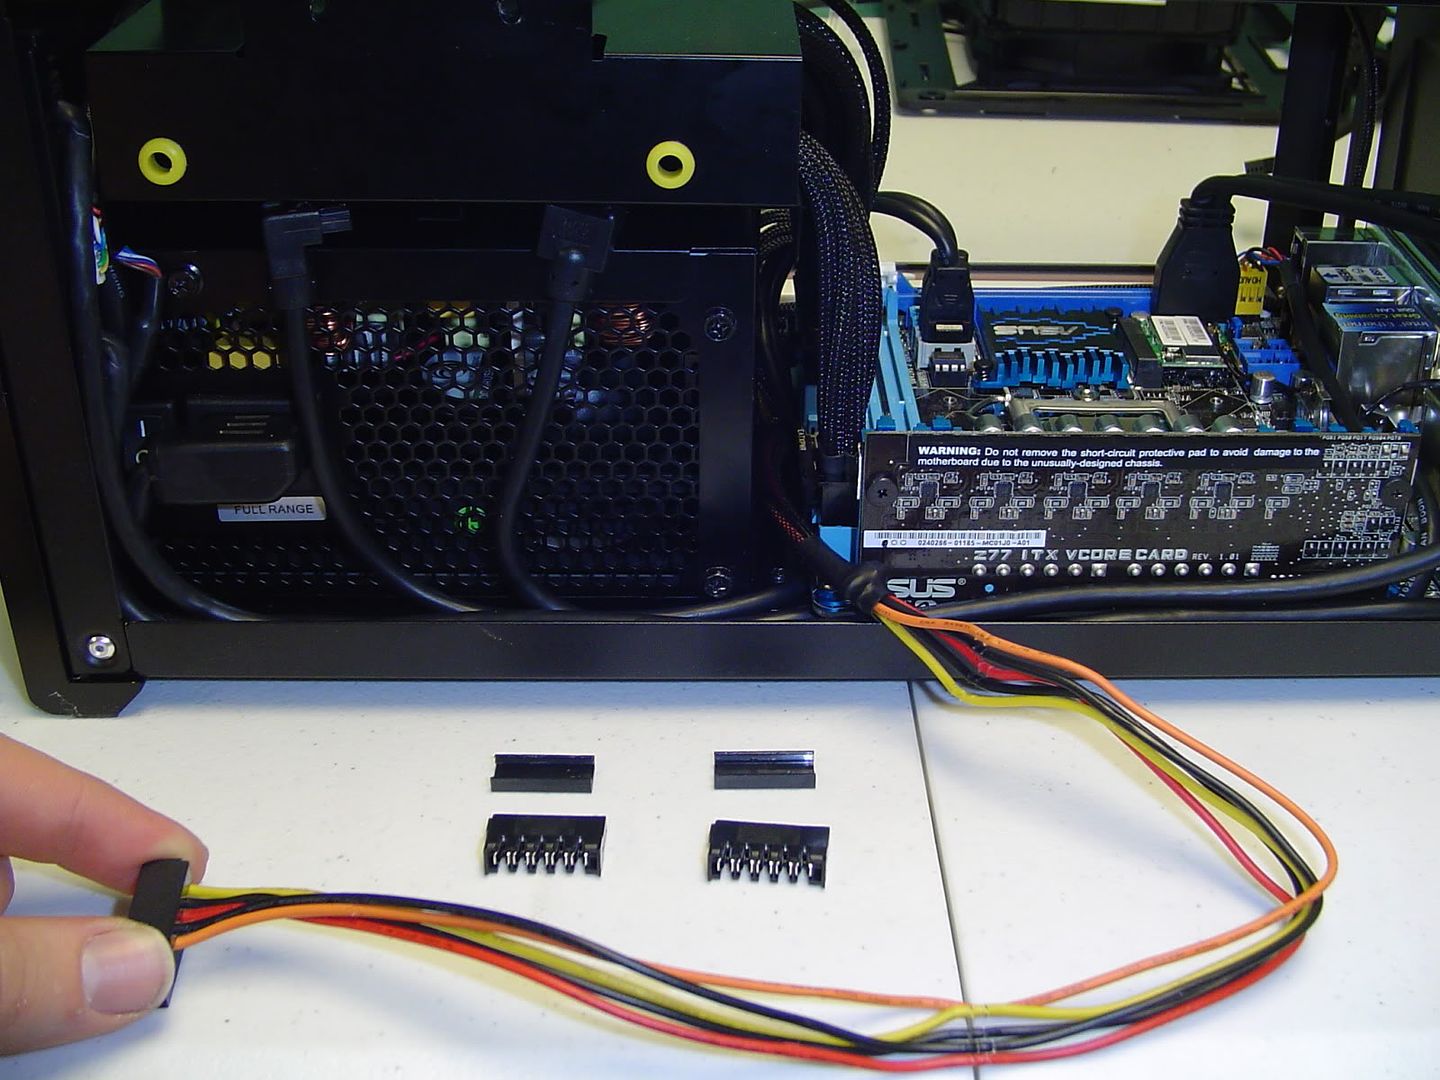
As far as the SATA power cable goes, well it's going to need a bit of modding. Fortunately, the plugs were removable and not hardwired into the cable. Once I get the drives installed, I'll simply insert the plugs into them. From there I'll adjust the cable and slide the wires into the plug in their new positions. The end plug will be used to power the optical drive and will probably be plugged into a Slim SATA adapter of some sort.

DSC03080_zpsfd5fbd37.jpg


So far the only cable to give me any sort of grief is the front panel USB 3.0 cable. Why they had to make such a huge, ugly, blocky connector is beyond me. I'm going to fiddle with it some more and see if I can get the cable to slide into a better position.

DSC03081_zps47aead5d.jpg


Back to the other side and you can see that I still have the PCI-E and Molex power cables to deal with. The molex will connect to the CCFL and probably end up being shortened enough to rest on top of the power supply next to the drive bracket. The PCI-E cables will most likely get shortened as well.

DSC03086_zps62b87a77.jpg


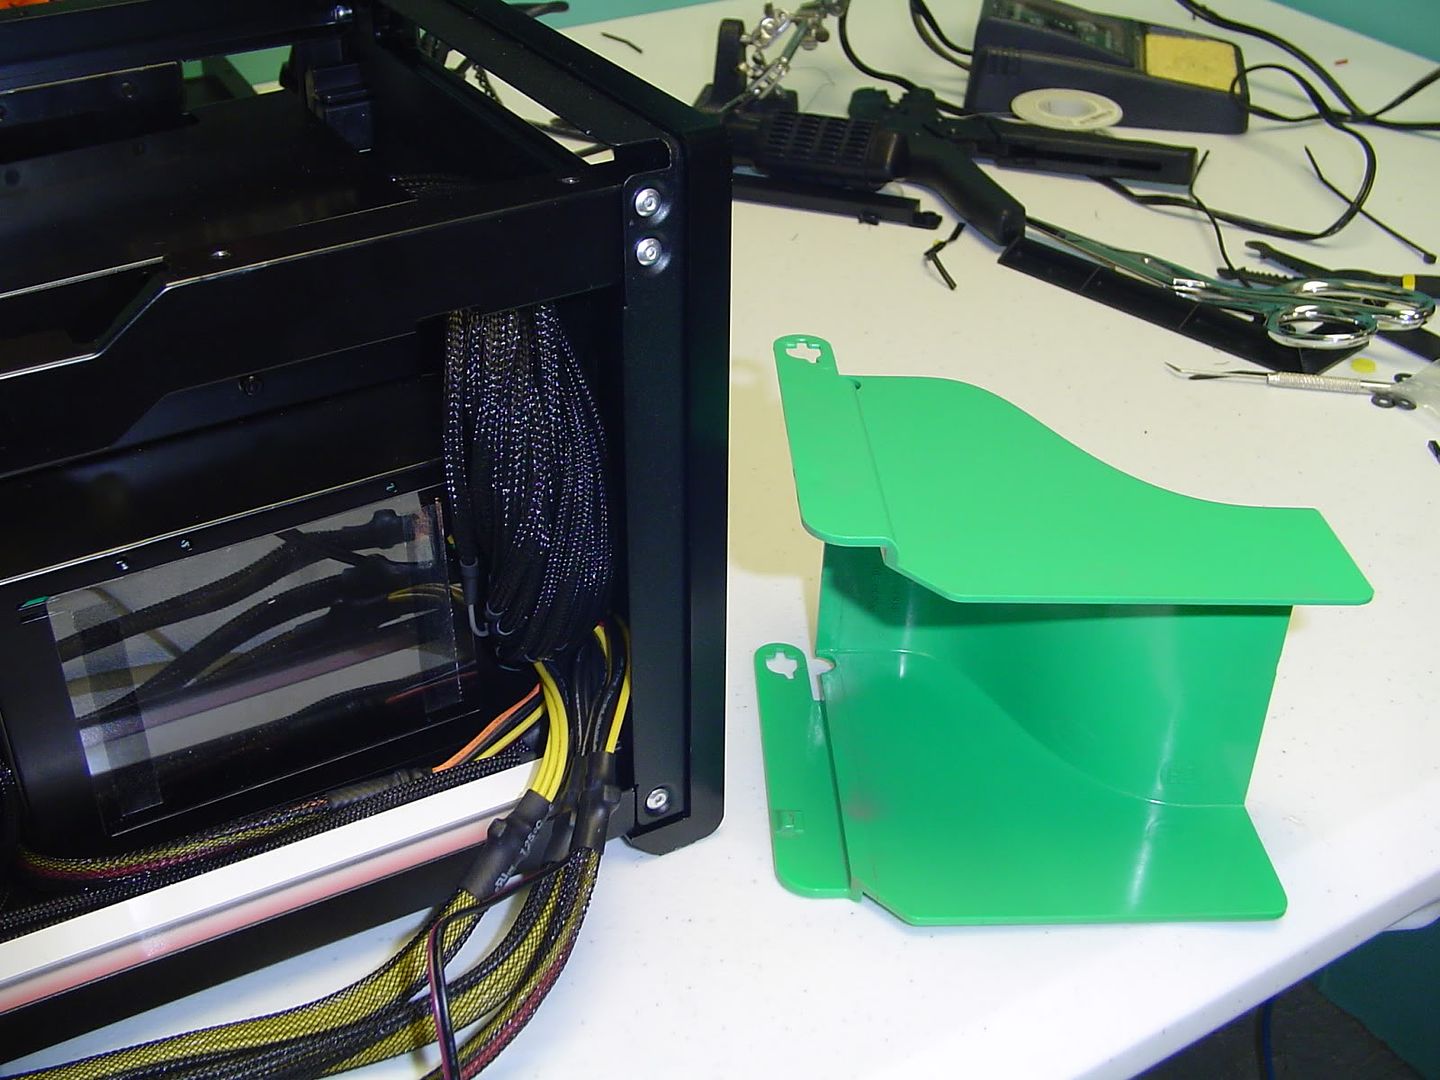
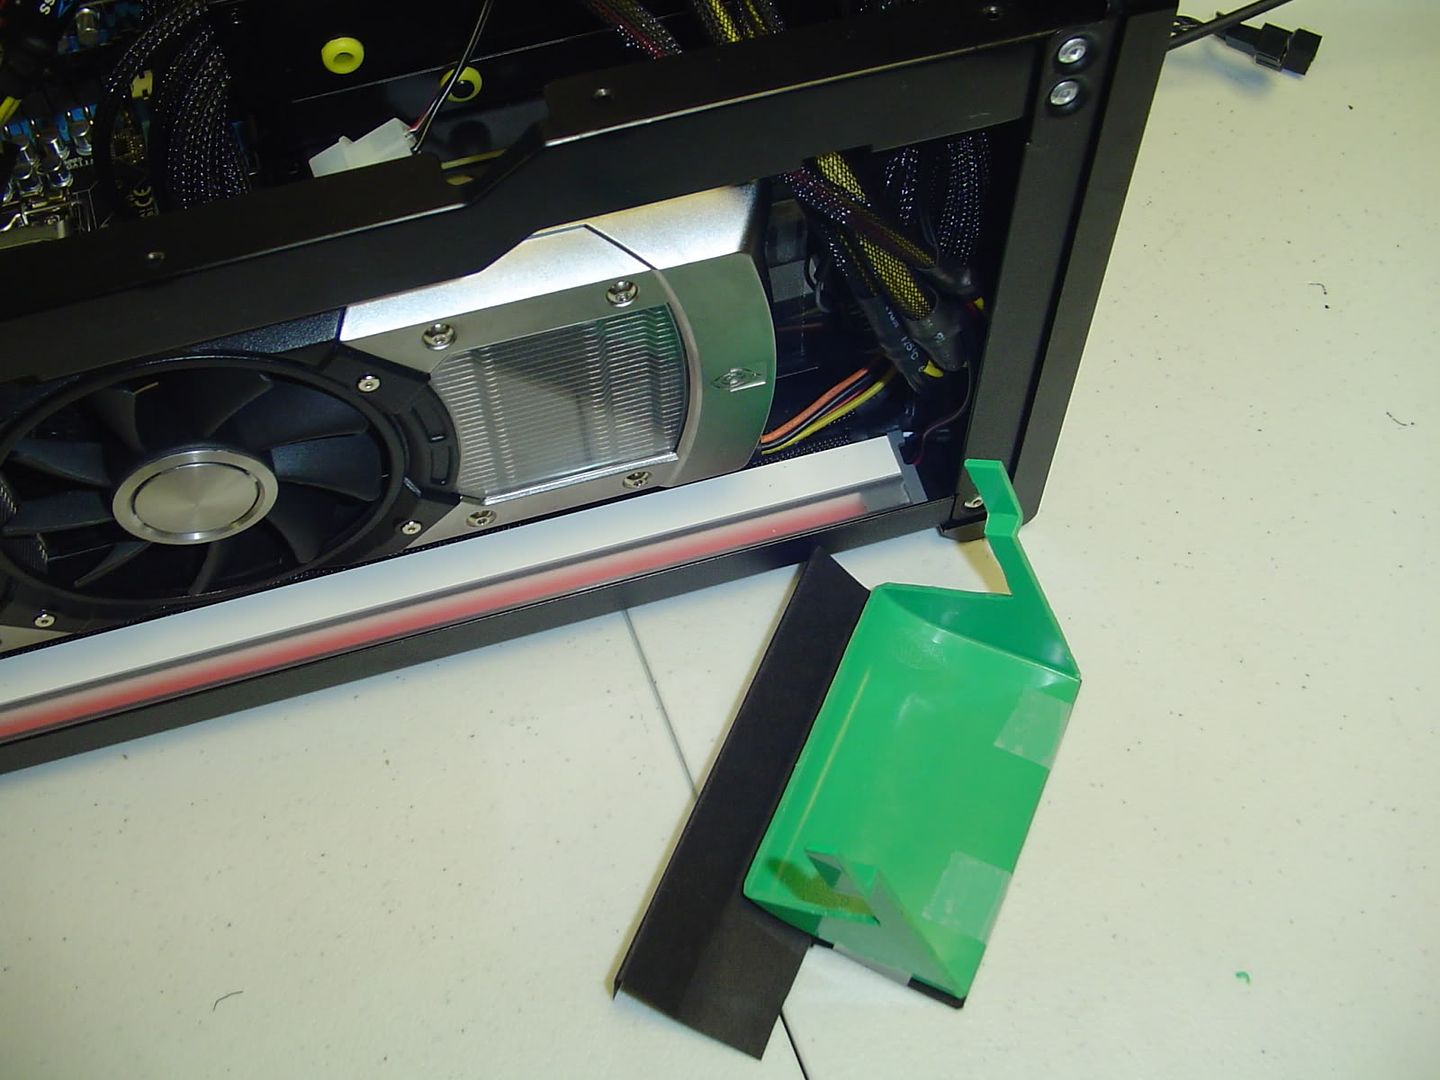
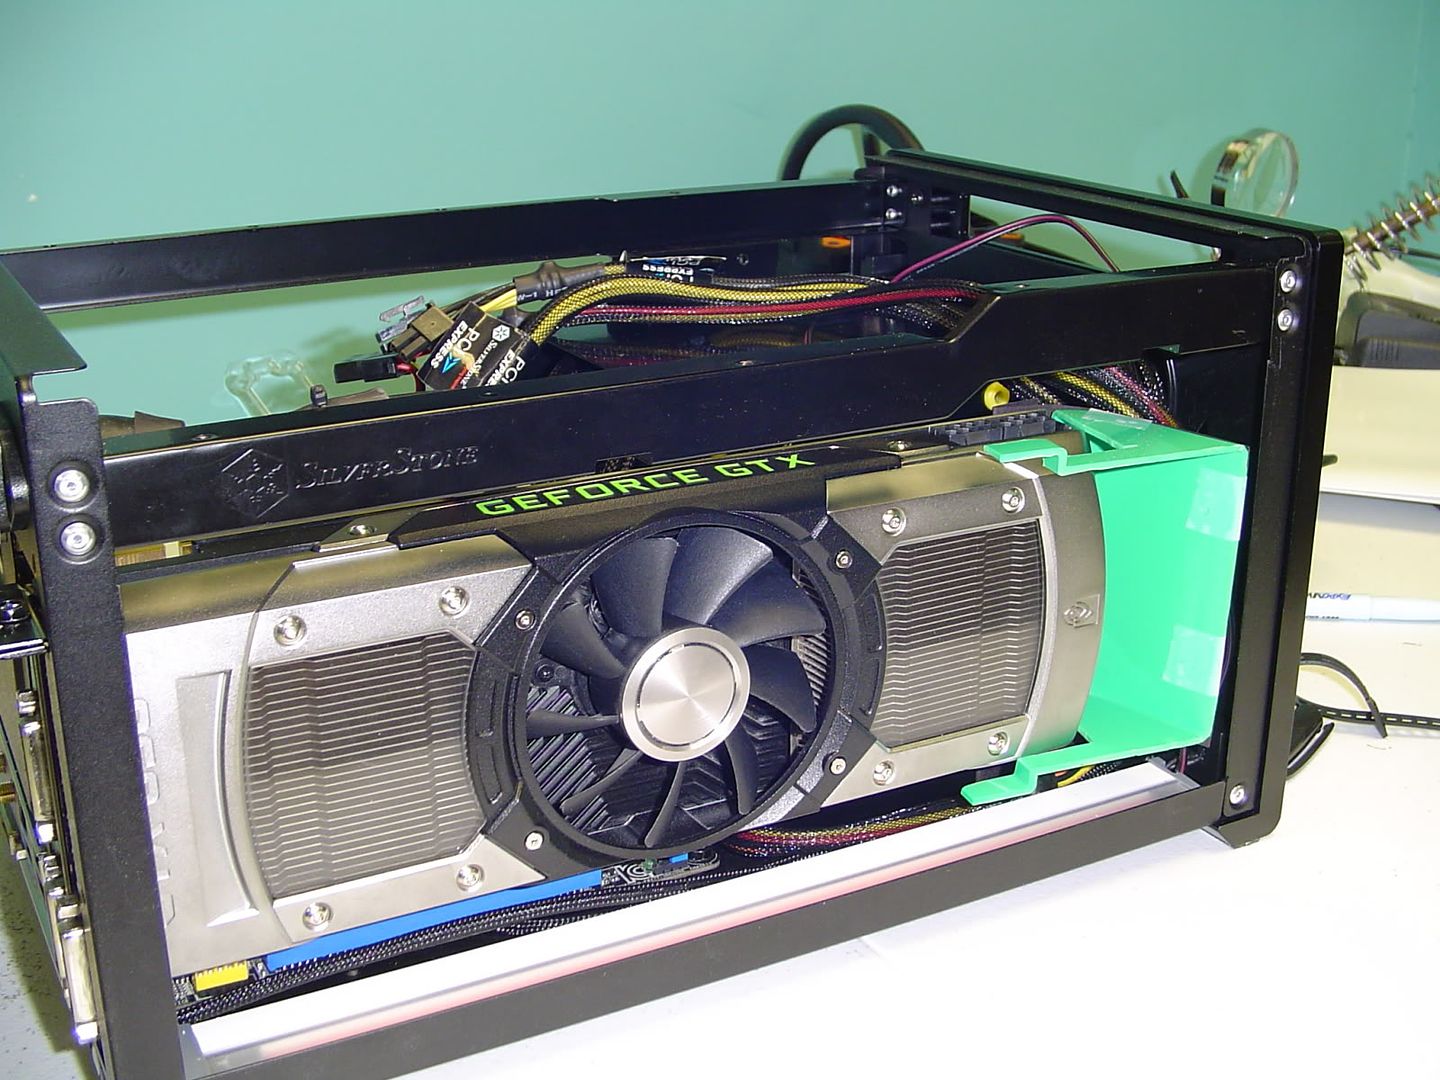
I'm going to try to get as much clutter out of that front corner as I can, because I hope to try to modify this green fan shroud into a duct that will direct the inward exhaust of the 690 out the side vent of the case. It'll probably be one of the last things I do since I'll need to make sure everything else is in place before I try to modify the shroud to fit.

DSC03087_zps85081057.jpg


One final picture on the system as a whole.

DSC03088_zpsea3277f8.jpg


There you have it folks. This is pretty much all that I can do until I get the drives and the new ram in. I plan on ordering that stuff next week. Stay tuned!
 
Update time!

I ordered the low profile RAM and some other odds and ends yesterday. They should be arriving within the week I hope. Thursday I'll be ordering the two SSDs and with that, I should have all of the parts. :D

In the meantime, I've been playing around with how to make a duct that will direct the inward exhaust of the GTX 690 out the side of the case. With that said, it was time to pull out the beast itself. :cool:

DSC03102.jpg


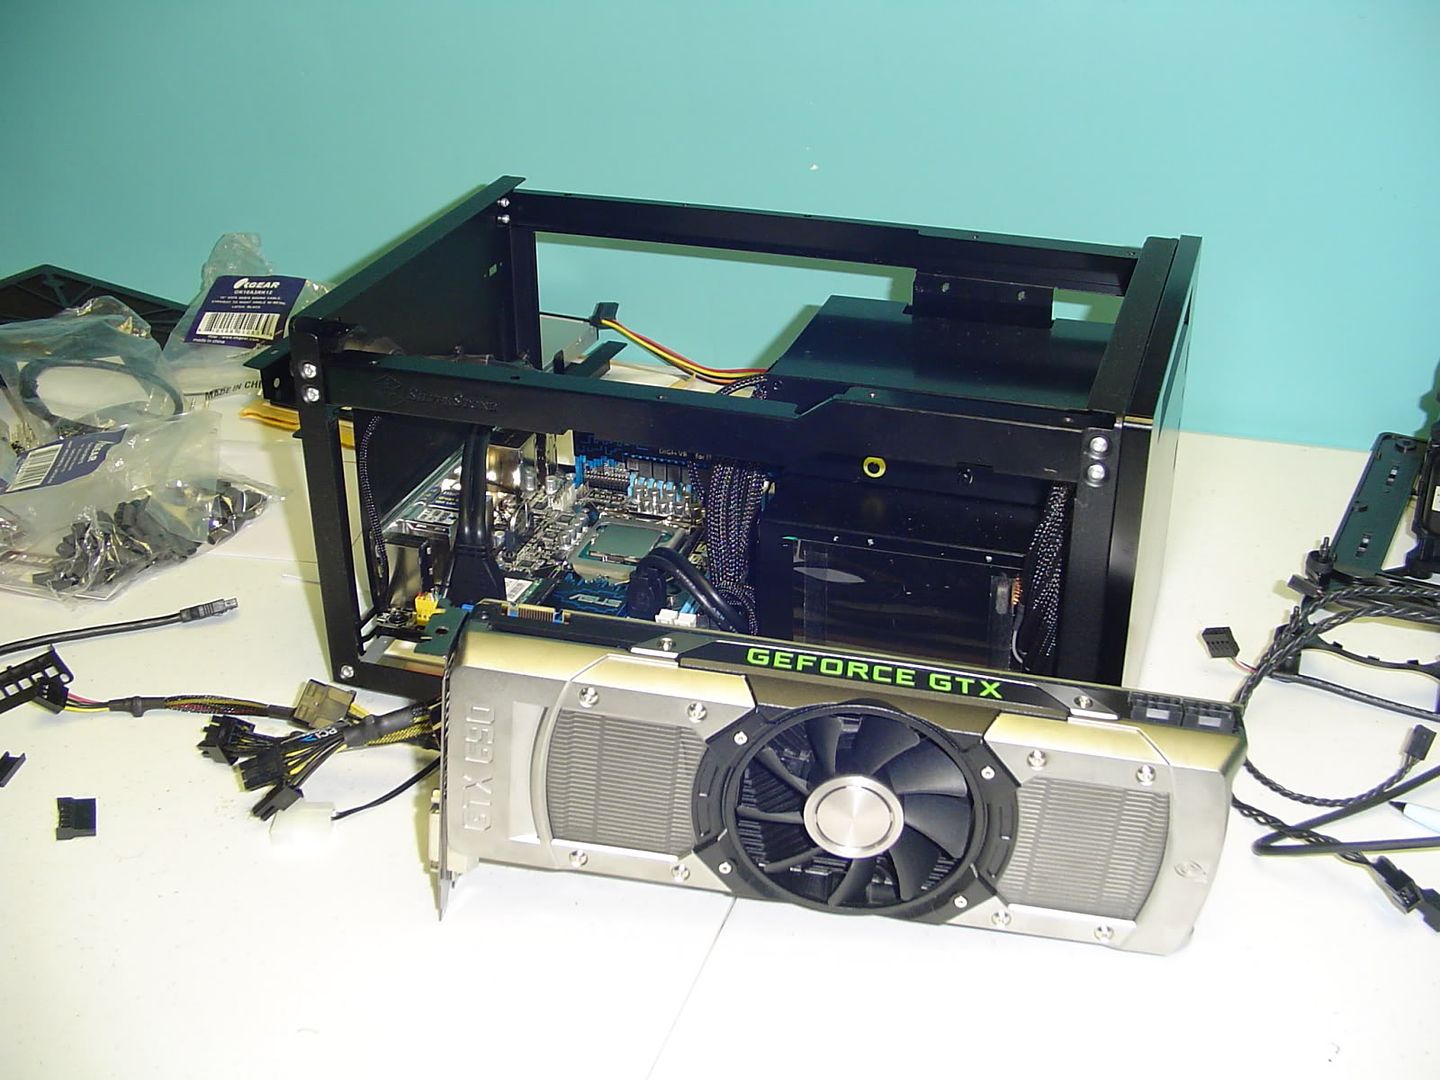
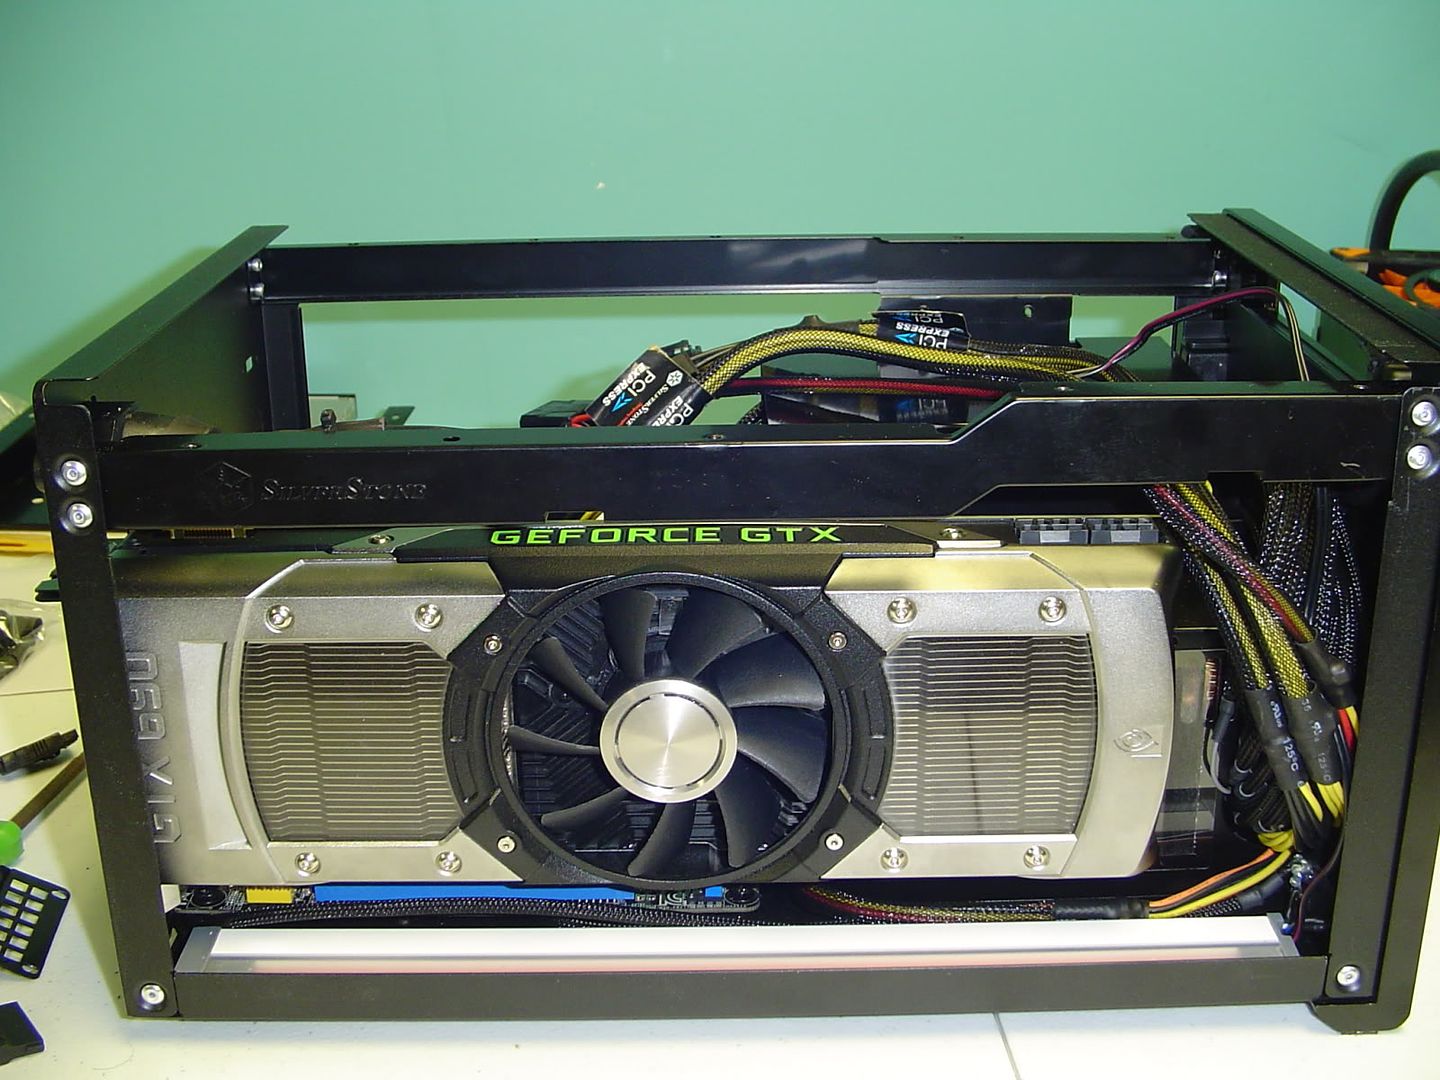
The first thing I did was pop it in the system and see how everything laid out. Getting the card in the case was no easy task and the plug for the front panel audio nearly kept the card from being able to be fully seated. I played around and finally got the card to settle into place.


DSC03097.jpg


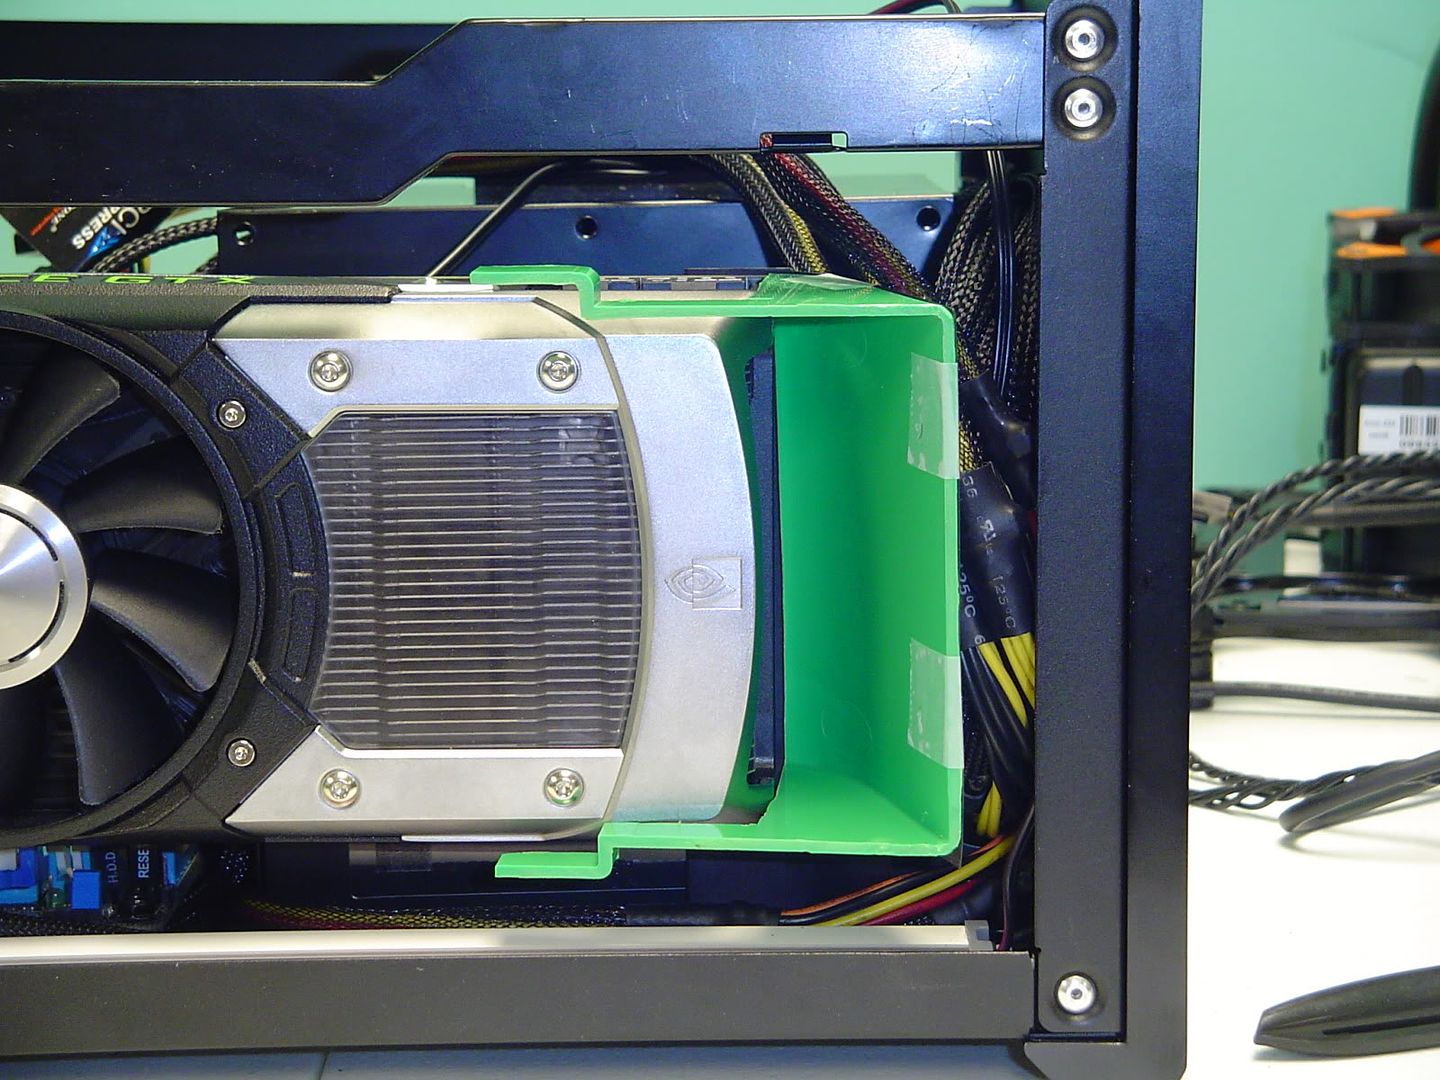
When I got a good idea of the general layout, I grabbed that green ductwork and started hacking away at it. I chopped it down and test fitted it over and over again until I ended up with this.

DSC03095.jpg


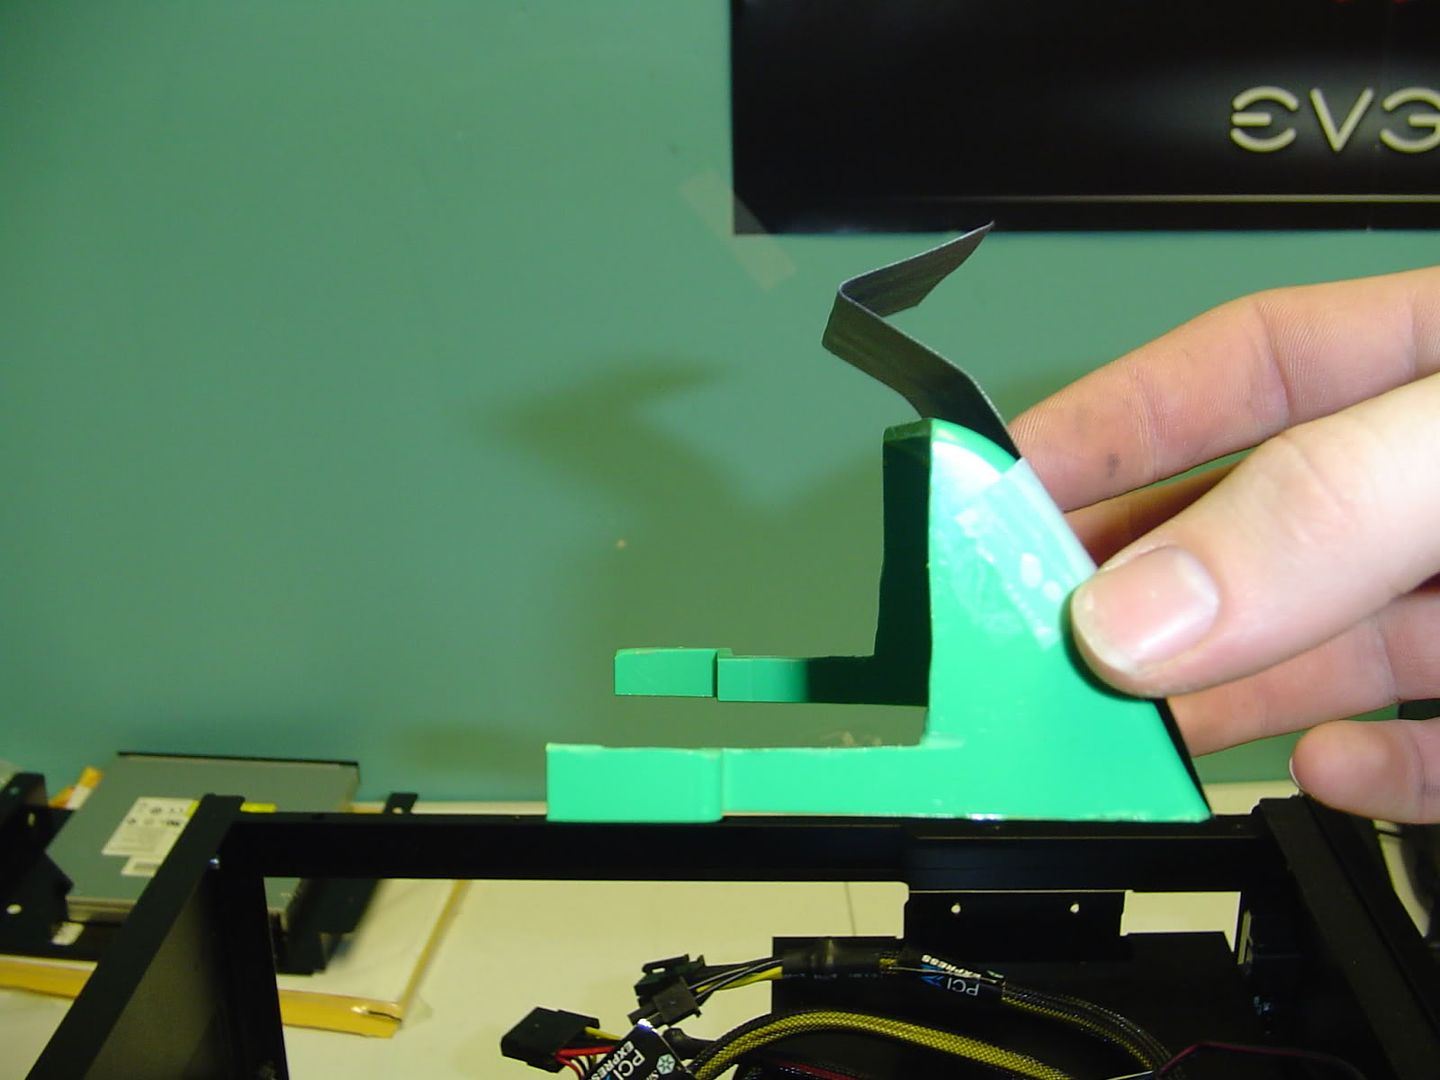
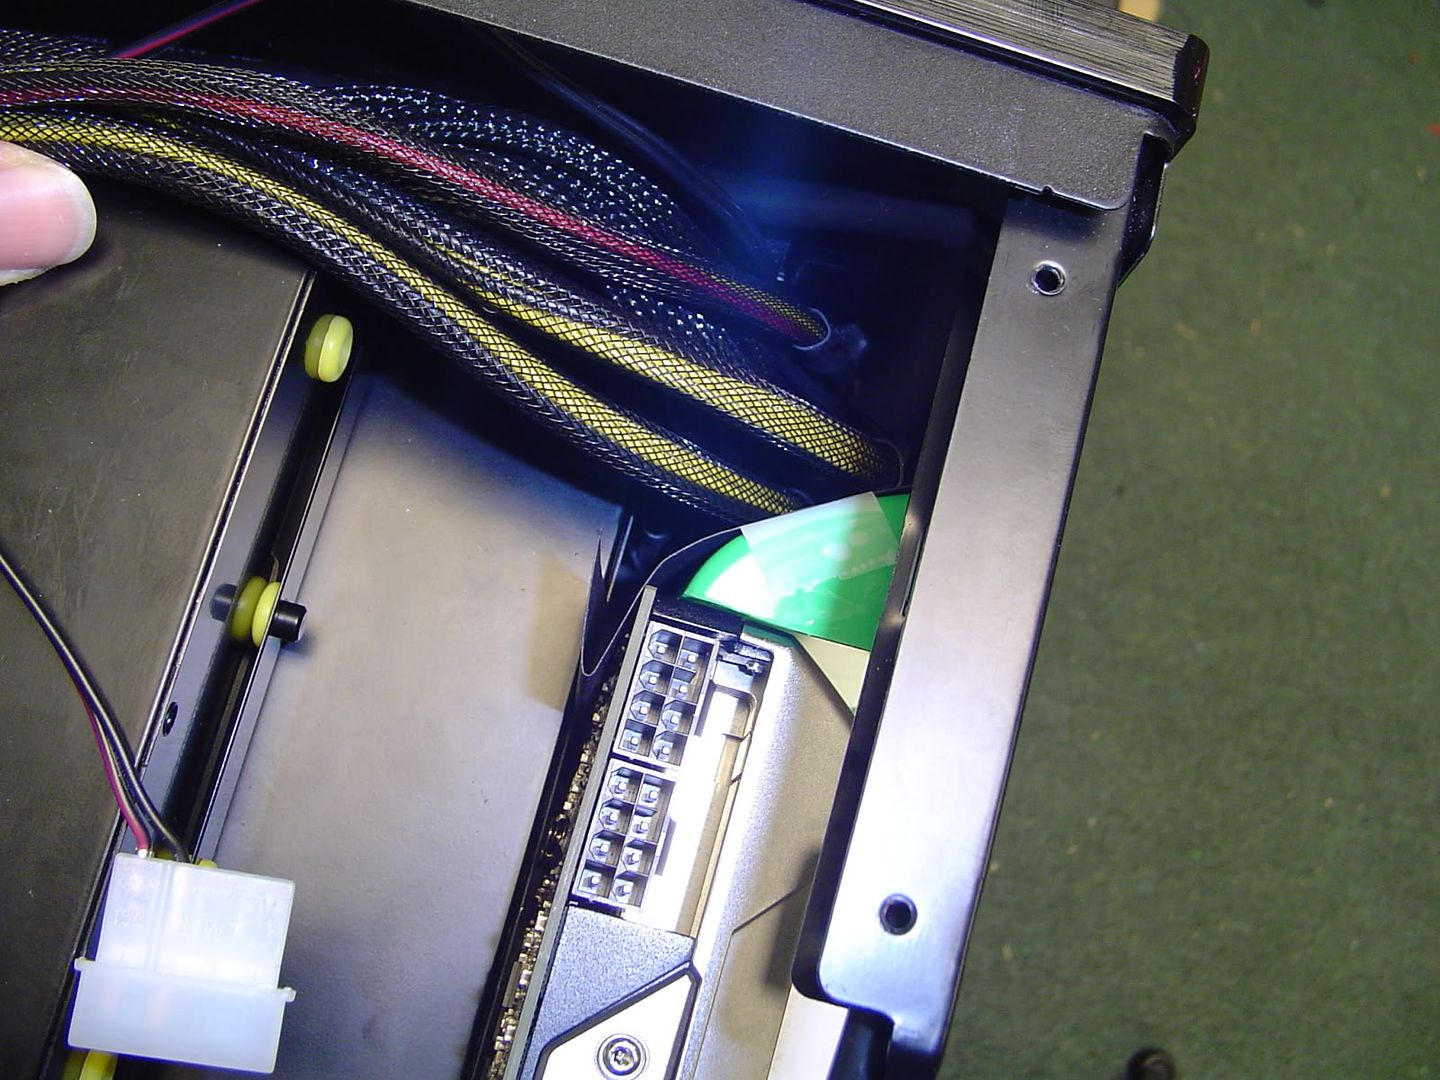
For the moment, I'm still working on how exactly to secure this thing into place without using ugly wire ties. Right now I have a piece of cardstock attached to the duct. The folded end goes in behind the video card, wedging between the power supply and the card itself. This enables the duct to remain in its position without having to be held.

DSC03096.jpg


DSC03094.jpg


The cables behind the duct push against it and it remains snug against the video card.

DSC03092.jpg


DSC03093.jpg


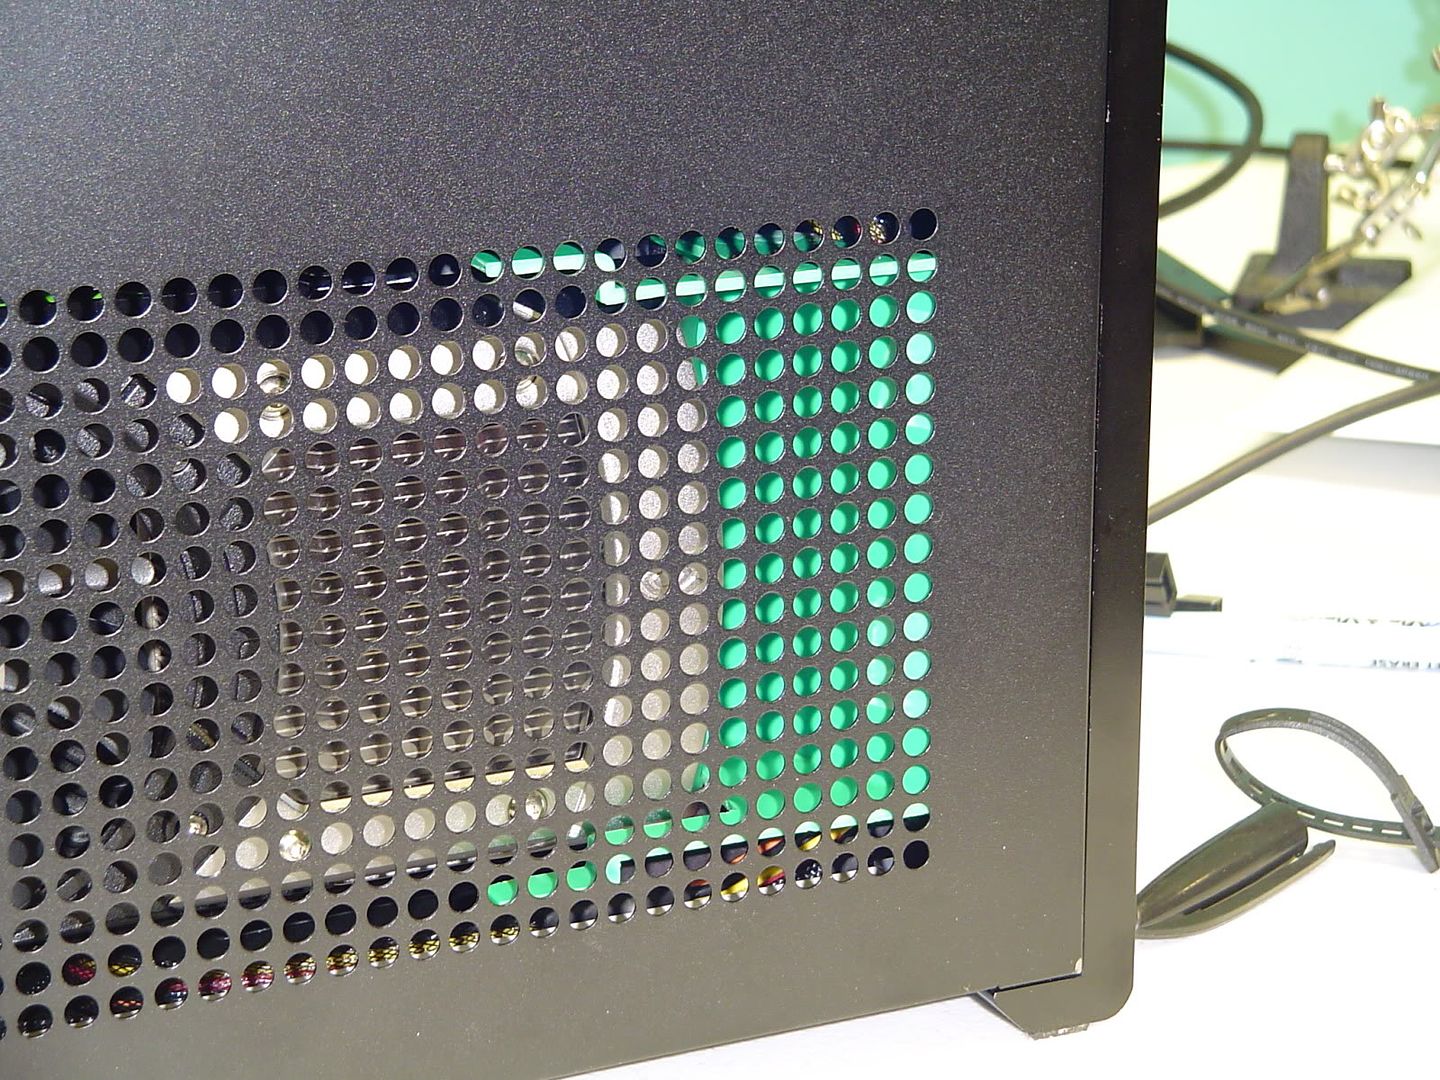
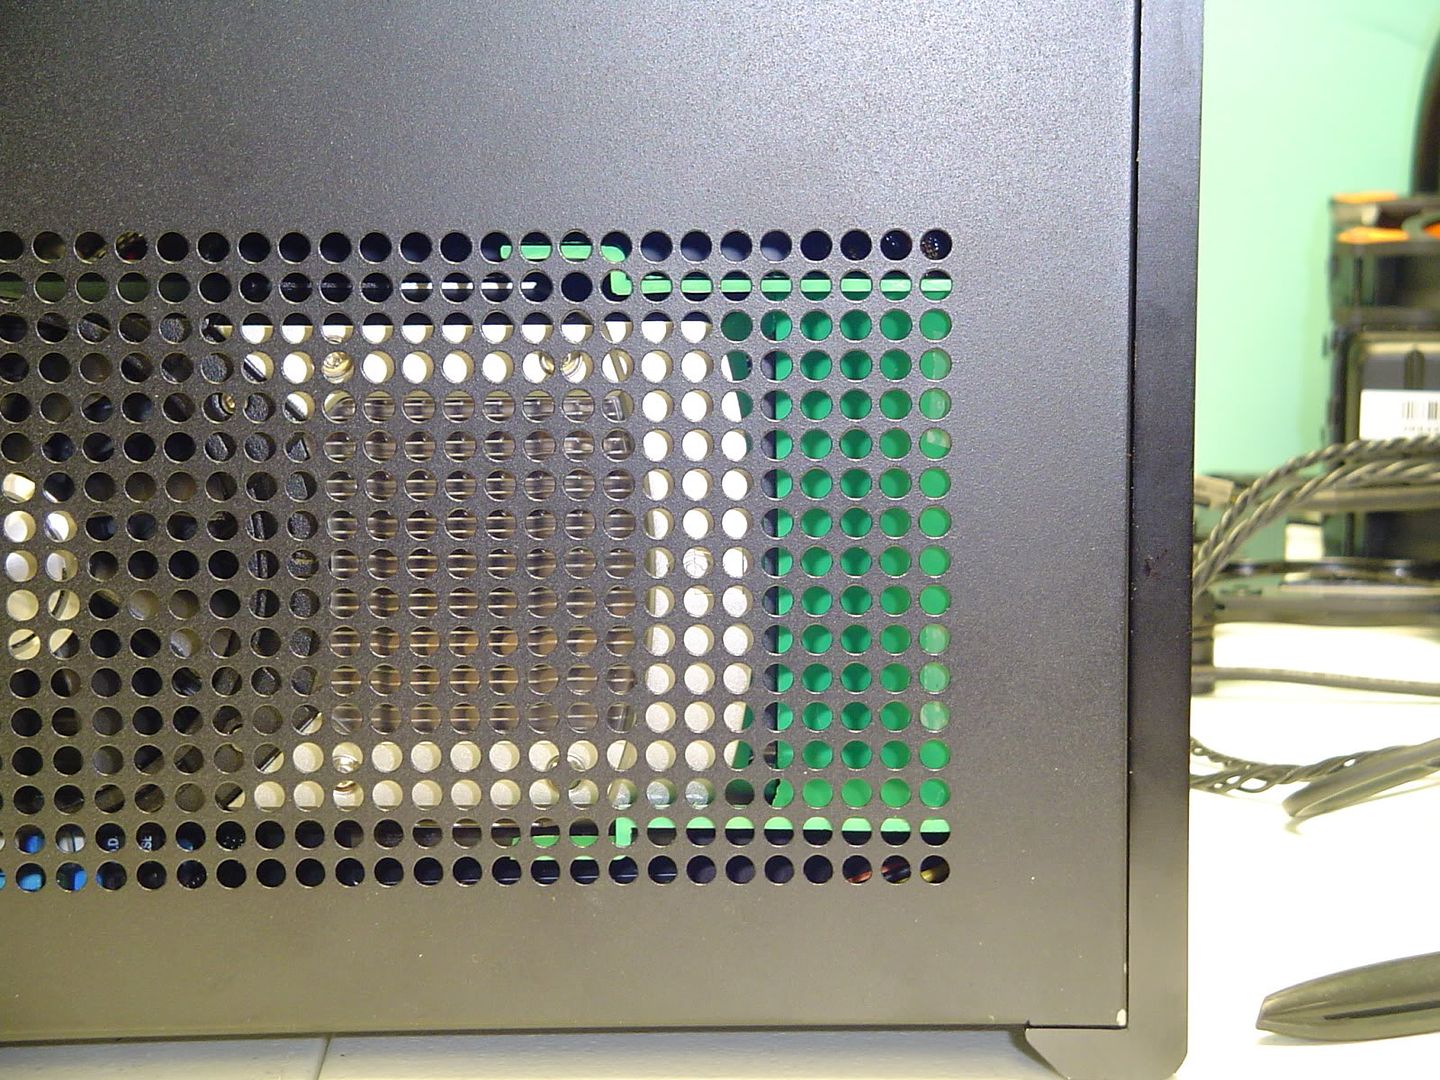
When the case cover is installed, it presses inward against the duct, which resists thanks to the pressure from the cardstock and the cables. It is flush against the case cover panel now.

DSC03089.jpg


DSC03090.jpg


DSC03091.jpg


I'm still not sure if I want to continue with this idea or not. Unless I figure out a better way to secure the thing I'll probably scrap it for another idea. I've been thinking about fabricating a duct out of cardstock and attaching it directly to the video card somehow. I'll have to play around with the idea a little further and see what I come up with.


Up until this point I've had the 690 in my main pc. From the use I've gotten out of it for the past few weeks, I'm incredibly impressed with it. Now that I've pulled the 690 for test fitting purposes and the upcoming final assembly, it's time to go back to my old setup.

Meet the dream team: :cool:

DSC03103.jpg


Stay tuned!
 
I thought your air duct was a great idea. You could paint it black so it blends in more. You mentioned making something else out of card stock. Do you think it would work even better, performance wise, than the plastic duct you already have?

I'm also curious what your idle and load temps are going to be with this set up. I'm thinking of doing a SG08 build and been watching this thread and I looked at your SG07 build thread as well. Great work. :)

Thanks :) Work continues on the air duct. I've gone through several redesigns and I think I've come up with a winning solution which I will share with you all when it is finished. I have painted the duct black as well.

The memory arrived yesterday and I've ordered the two SSDs, which will arrive sometime next week. Expect a full update soon!
 
that is an awesome build, about to do a SFF rig myself and you pretty much did everything perfect!
 
Update time!

The build is coming along very nicely. It's about a week away from completion. No sooner than when the SSDs arrived yesterday did I set to work on assembling the system. I have but a few parts (mainly black molex connectors and an adapter for the slim optical drive) left to install before the system is completed!

When we left off, I was working on the duct for the video card. After many revisions and lots of head scratching, I finally came up with an elegant way of securing the duct to the video card. This I will show you later in this post.


Just a few days ago, my 8gb kit of Samsung 35nm low-profile memory arrived. As you can see, it's quite a bit shorter than the kit I was planning to use. This is an extremely good thing as you'll see in the following pictures.

DSC03106.jpg


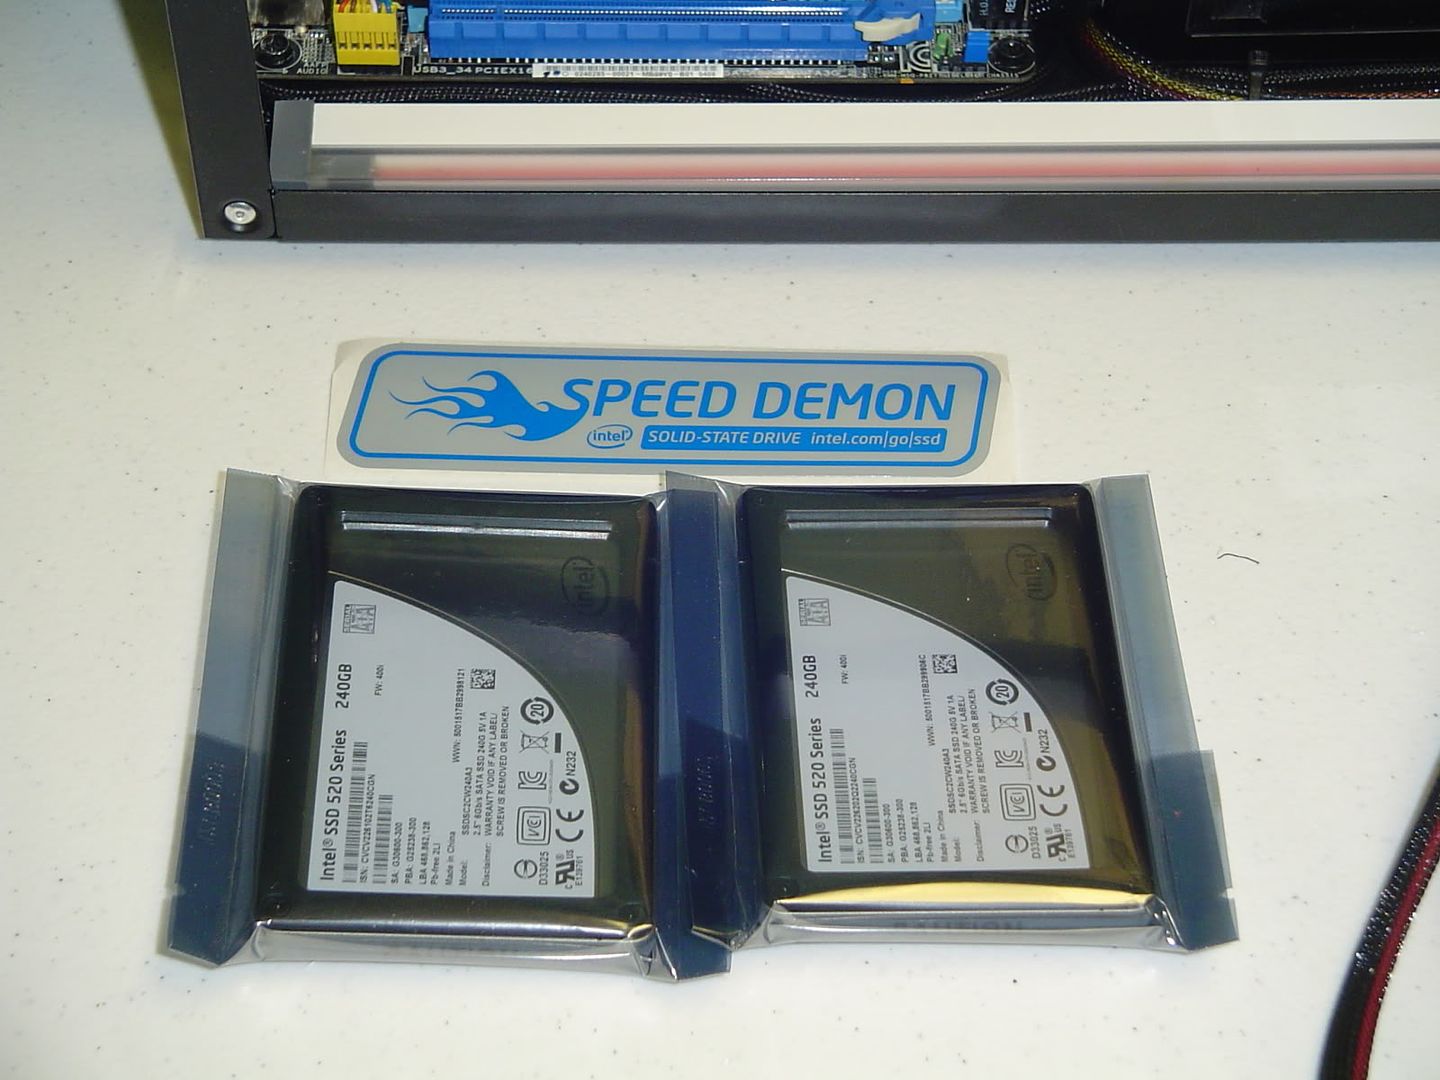
The two Intel 520 series 240gb SSD. This system will never know the slowness of ancient HDD technology.

DSC03105.jpg


A few minutes to install the two drives and I'm at the point where I can finally reconfigure the SATA power cable. I start by plugging the cableless SATA connectors into the drives and then I route each wire to the connector and insert them into it. The result is a clean looking SATA power cable with no extra slack to deal with. The original crimp points on the cable are covered with heatshrink to prevent shorting.

DSC03107.jpg


DSC03110.jpg


Next up was the daunting task of installing the cpu cooler. Not only was the block pretty difficult to install, but cramming the radiator, tubing, and power cables in was just a monumental task. For starters, the damn mounting bolts for the block kept pushing the anchor points through the holes in the motherboard causing me to have to remove the block completely to fix. Removing the block obviously meant I had to clean and redo the thermal paste. Not fun at all. The backplate is held on with sticky pads as per the instructions and is easy to dislodge. :mad: I had to pull one of the bolts out of the mounting bracket, poke it all the way down into the hole, screw it in enough to grip and then pull the anchor point back up into place. :rolleyes:

When I finally did get the block mounted I ran to even more problems trying to fit the rest of the cooler in. In my test fit, I did not have the drive bracket nor the main power cables in place. Now that they were in place, I could not simply lower the radiator assembly into the case with the top bracket (the thing that the whole assembly mounts to) attached. The bracket couldn't clear the lip on the back of the case and the radiator couldn't budge any further forward at all because of the atx power cables and drive bracket.

What I finally did was remove the top bracket, lower the radiator assembly into place, slide the top bracket into place, and reattach the two with screws. It was a pain in the ass to do, but it fit!


DSC03111.jpg


As you can see, getting the low-profile memory really helped the tubing to have a little more room to breathe. You can also see just how close the radiator is to the power cables and drive bracket. There is literally no room to maneuver this thing into place unless I completely detach the top mounting bracket.

DSC03113.jpg


DSC03114.jpg
'

DSC03115.jpg


With the cpu cooler installed, it was time to do another test fit of the video card. As you can see, the completed duct design is pretty straightforward. The duct "hangs" off of the PCI-E power connectors and remains perfectly stable. This also means it's very easy attach and remove.

DSC03118.jpg


DSC03120.jpg


DSC03122.jpg


At this point, I'm pretty certain I won't be shortening and sleeving the PCI-E cables. With plenty of space underneath the optical drive bracket, it seems to work best to just tuck the extra cable underneath it. I did, however, replace the 6+2-pin connectors with solid 8-pin connectors just to make them easier to plug and unplug.

I've removed the floppy connector from the power supply's only molex cable and I'm preparing to shorten it a fair bit so I can tuck it out of the way. With that said, I'm also replacing the white connector on the CCFL with a black one.

The optical drive will be powered by the SATA plug on the end of my customized SATA power cable. The adapter I'm getting has a molex power plug, but I'll be using a SATA to molex adapter to make it work.

All of the parts I need should be arriving within the week. The thing is, I couldn't wait. So.....


With basically everything but the optical drive and CCFL connected, I hooked 'er up for a test run! Though it's hard to ttell it in the picture, the system is up and running and sitting in the UEFI bios. :D


DSC03119.jpg


When I fired it up, the cpu cooler made some bubbling noises that went away after a few seconds. It must have been the coolant sloshing around inside after having the radiator upside down and sideways trying to get it mounted. Sitting in the bios, the system is near dead silent and the cpu hovers around 29c after a few minutes. I can't wait to see how this baby performs in actual gaming!

Now that the system is nearly completed, I'm trying to make up my mind what OS I want to install on it. Should I install Win 8 preview just to test drive it, or should I go ahead and get Win 7 x64 and forget even trying Win 8? I really don't like the direction Win 8 is taking, but I want to try it out myself rather than base my opinion on a general consensus.

That's all I have for now. Just one more week and I should have this thing buttoned up and ready to rock!

Stay tuned!
 
Personally I dont see Win8 as an improvement or even a necessity but that's just me. You know how every other OS version MS makes is something of a dud? Well Win8 is their upcoming dud. I dont see many people migrating to it. Hell, many still think XP is plenty good for them. Its a personal choice really. If you want to experience it then load up Win8 otherwise stay with Win7.

Edit: Btw, nice job with the air duct.
 
nice work. do you think there could be a room left for 1 hard disk?
 
of all your work, the cable management is what i like the most, great job.
 
Thanks guys. :D

Firas, I suppose I could cram a third 2.5" hdd or ssd somewhere, but a 3.5" hdd is out of the question. I went into this build with that in mind when I decided this would be an SSD only build.


In just a few days the rest of my parts should arrive. Stay tuned for the final build log and the unveiling of Super Midget Rig!


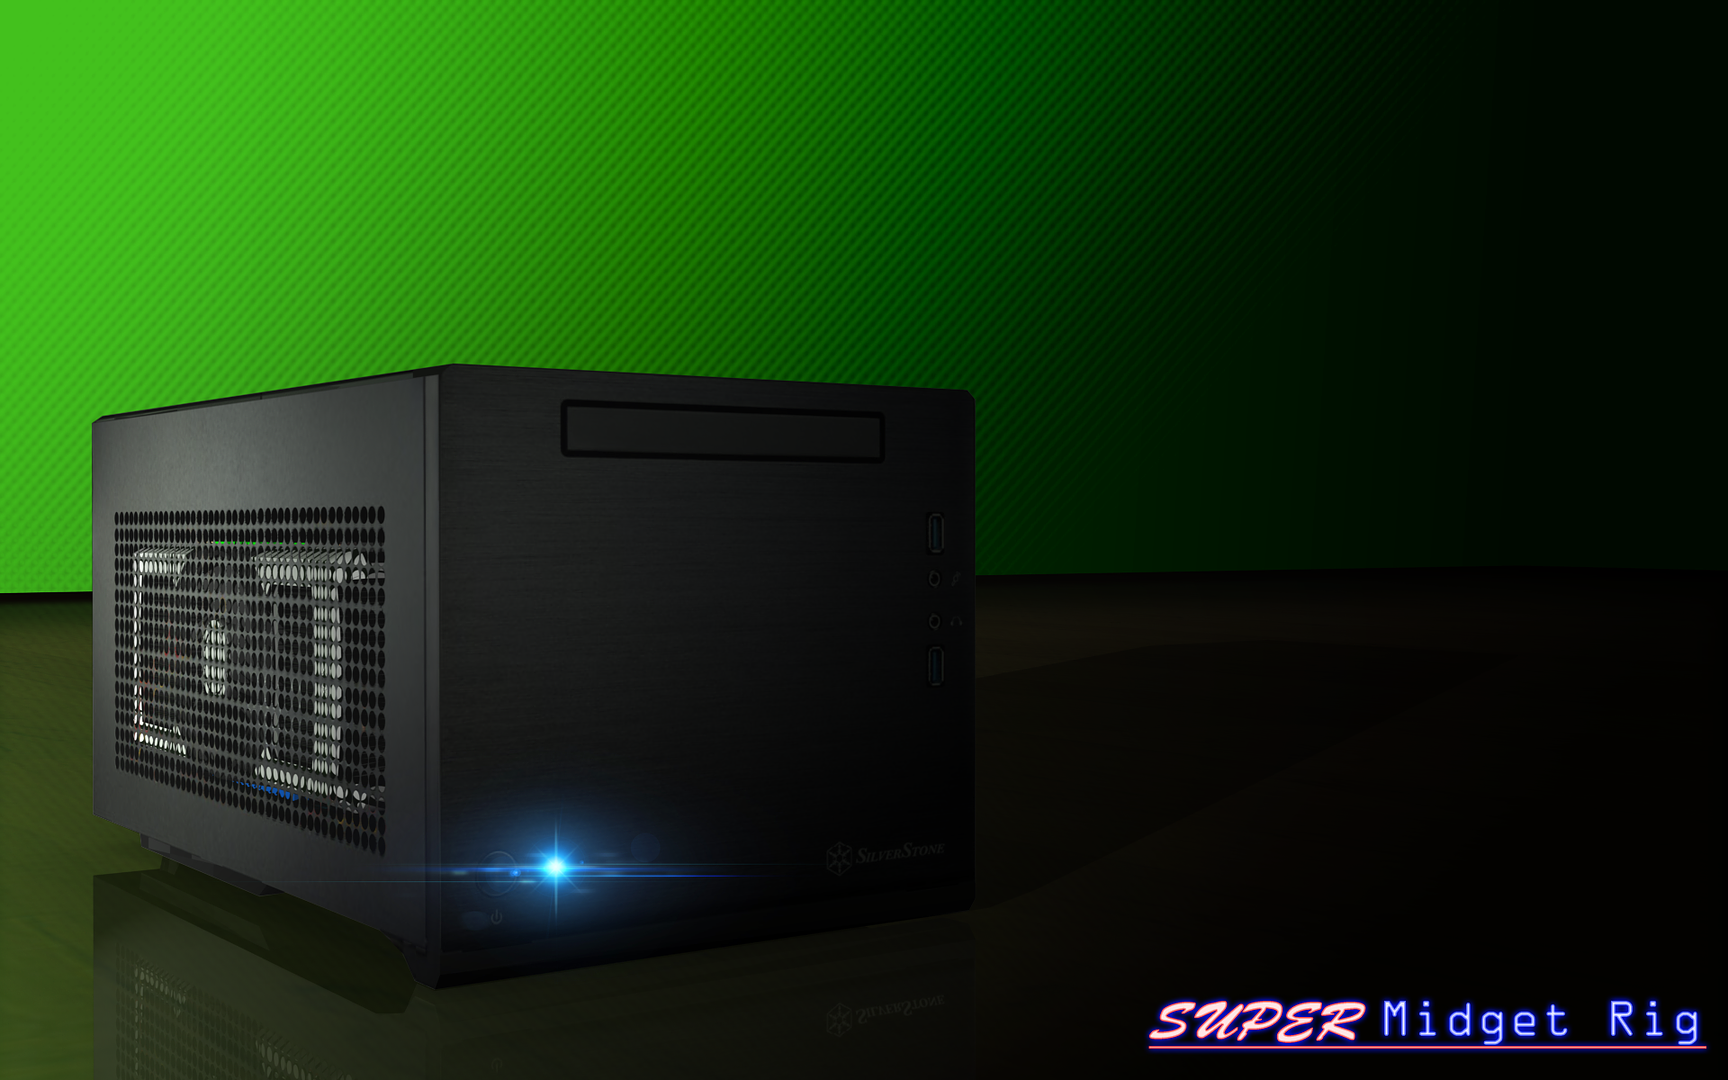
In the meantime, I went ahead and created myself a desktop wallpaper. The case was modeled in Sketchup and paired with existing models of the video card and motherboard. The whole model was then imported into Photoshop CS6 where the rest of the wallpaper was created.


SuperMidgetRig3.png
 
Last edited:
Update time!

The final part of the build was getting the optical drive adapter sleeved and modded and ready to go. Also I replaced the white molex plug on the CCFL with a black one and shortened the cable a bit.

DSC03126.jpg


DSC03124.jpg


DSC03125.jpg


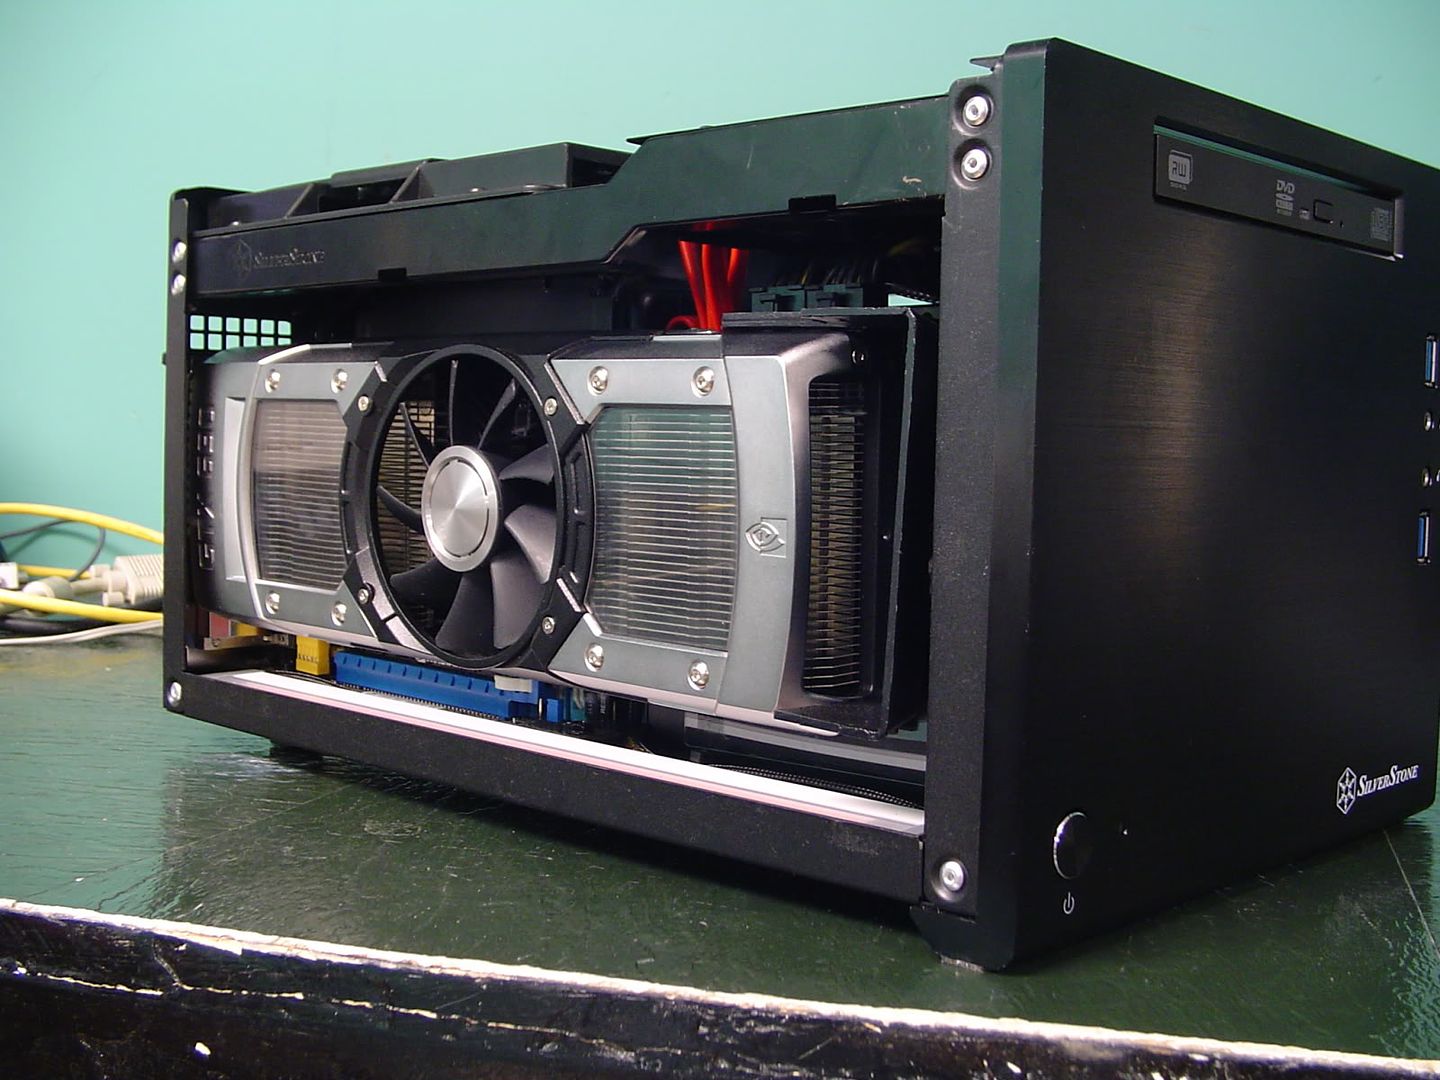
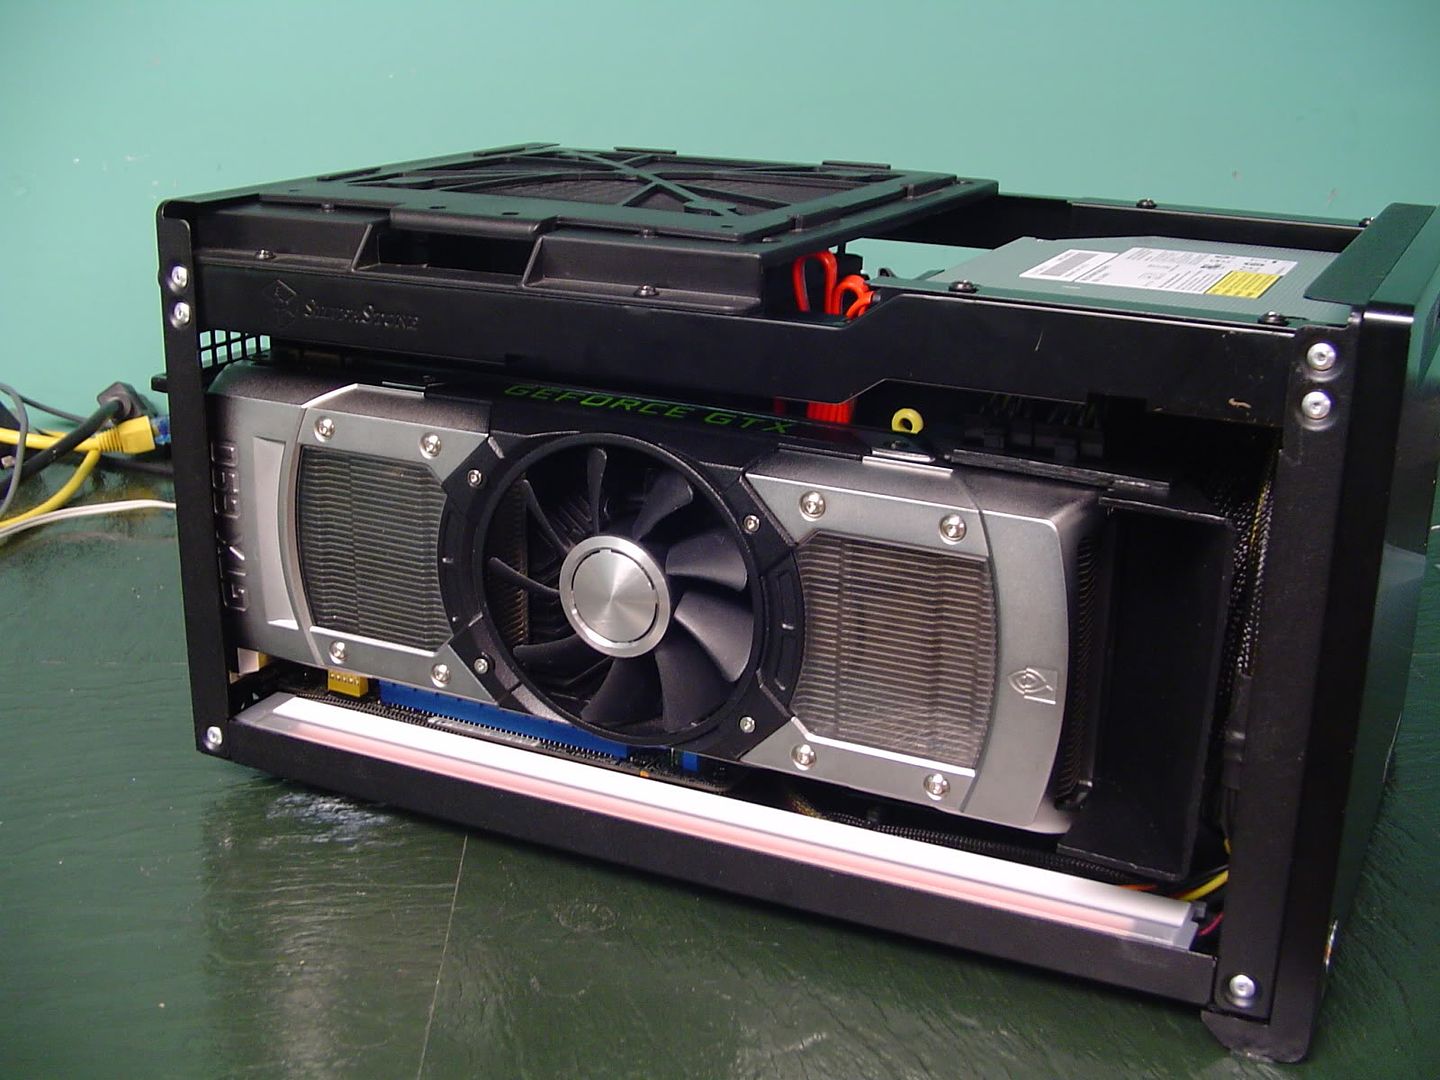
All that was left was popping in the video card and putting a few screws in and the system was finished! All that remains is to get an OS on it, which I'll be ordering within the week. It's been in the making for months now and it feels so good to have a completed system at the end of it. It turned out better than I hoped it would. Thanks for all the support guys. :D

DSC03139.jpg


DSC03130.jpg


DSC03136.jpg


DSC03137.jpg


DSC03138.jpg


Stay tuned for benchmark results!
 
DAT BUILD. Awesome cable management. Awesome parts. Awesome job. Congratulations, dude.

Can't wait to see the temps.
 
Nice job man, loving the red light - gives it a molten hawt look - let's hope the temps don't follow suit ;)

Love the attention to detail on the wiring, wish I had the patience for that, can't wait to see what the 690 can do for ya in that super midget lmao.
 
oh my, that is a massive small punch!

+1 respect, i've been liking small builds more and more over the years. My next will def be something tiny and ultra transportable! that has to be the highest fps box of its size!
 
Thanks guys. :D Turns out I don't have to buy another copy of Windows after all! I grabbed a random OEM copy of Win7 from a previous build and to my amazement it installed and activated just fine!

I guess I'll just use the copy I've already ordered in another build or something. I'm off to install drivers and benchmarks!
 
So I've been tinkering with the system all night. After I got the OS and stuff installed, I jumped straight into overclocking and benchmarking. Here's where I encountered my first hurdle. My temps were nothing short of awful. At stock settings the 3770k was hitting near 90c in a Prime95 run.


I pretty much knew then that my struggle with getting the cpu block installed had some negative effects. So, with a mutter and fuss or two, I began tearing down the build to redo the thermal paste...


This time I turned off flash and put my camera on a tripod. No more ugly glare-filled pictures!


After pulling the system apart and cleaning the old TIM, I applied some IC Diamond this time (using the line method) and made an amazing discovery.

I suppose if my dumb ass would have read the instructions the first time I installed the block, I would have figured out you could very lightly screw the mounting bracket onto the motherboard and then you could slide the block onto the cpu and rotate it so that the locking arms mesh together. Then you could proceed to tighten the block down to a snug fit.

Needless to say this made the block MUCH easier to install this time. Unfortunately there was still the radiator to cram back in...


DSC03140.jpg


DSC03141.jpg


As you can see, I have to cram the radiator down into the case and then lay the pusher fan on top of it and then slide the mounting bracket into place on top of them both. Then I have to line up the screw holes and put the screws in.


DSC03142.jpg


DSC03143.jpg


DSC03144.jpg


DSC03145.jpg


DSC03146.jpg


DSC03147.jpg


DSC03148.jpg


DSC03149.jpg


DSC03150.jpg


Now the system is back together and I've been running some stress tests. I've currently got the 3770k running at 4.5ghz (1.28v in CPU-Z, +.75 offset, High LLC) and it's topping out in the mid 80's after quite a few minutes of small FFT Prime95 stressing. It's a little high, but I understand IB chips run fairly hot thanks to the cheap internal TIM between the die and IHS.


...I'm almost tempted to pop the top on this 3770k and replace the TIM...


Stay tuned!
 
Last edited:
I've got a really bad SFF itch right now, and if I had the funds in my pocket, this would be my dream SFF build. Amazing build, the wiring is super nice. Cramming all that power in such a small box, bravo to you sir!
Keep up the good work, can't wait to see some benches for this setup.
 
Back
Top