• Some users have recently had their accounts hijacked. It seems that the now defunct EVGA forums might have compromised your password there and seems many are using the same PW here. We would suggest you UPDATE YOUR PASSWORD and TURN ON 2FA for your account here to further secure it. None of the compromised accounts had 2FA turned on.
    Once you have enabled 2FA, your account will be updated soon to show a badge, letting other members know that you use 2FA to protect your account. This should be beneficial for everyone that uses FSFT.

Project: Steampunk'd TJ11

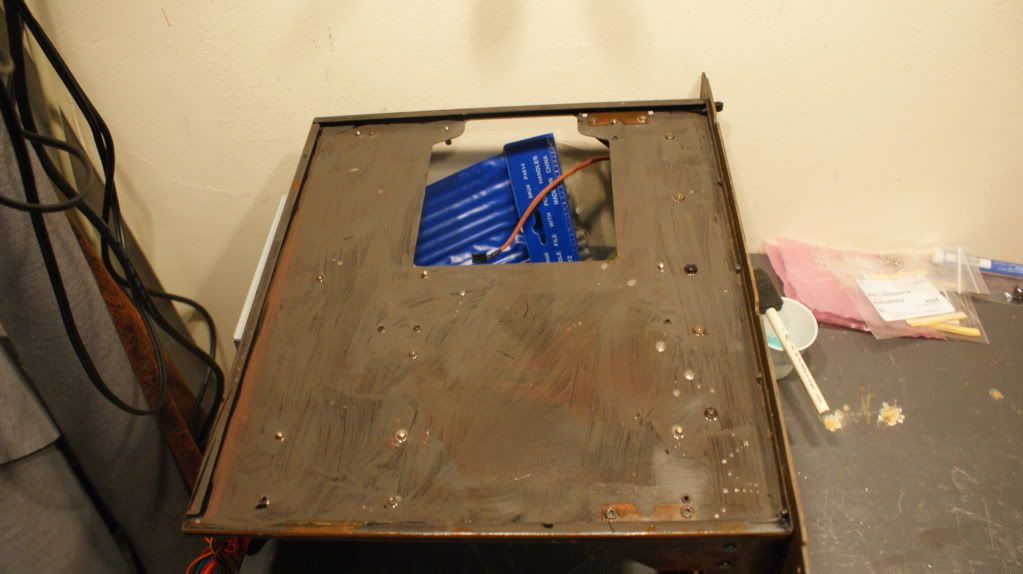
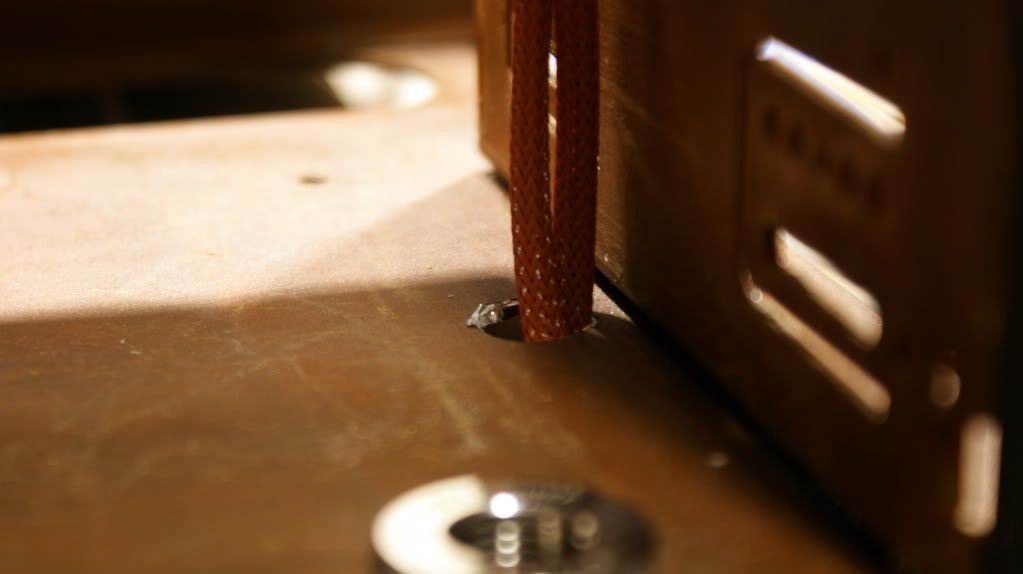
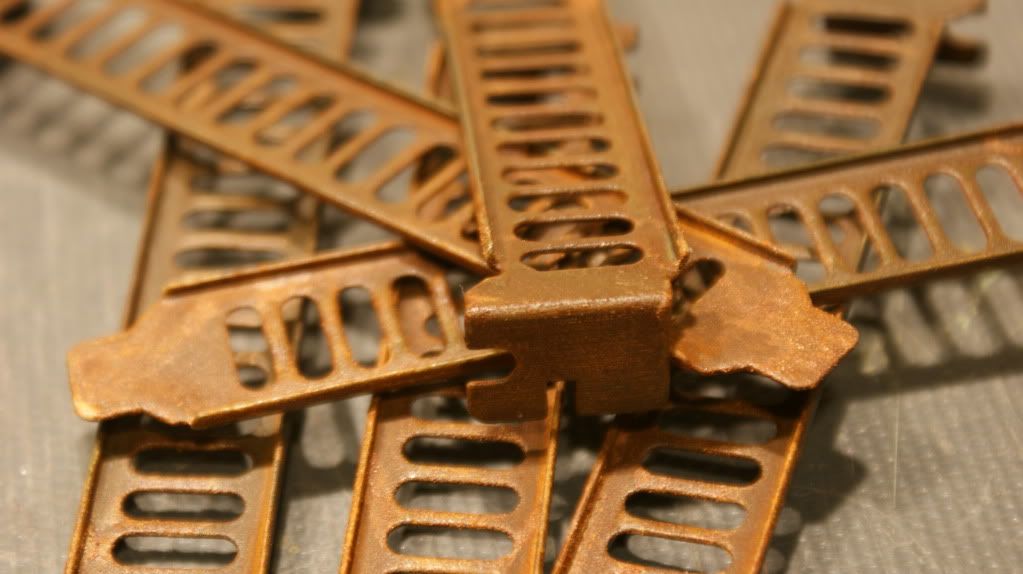
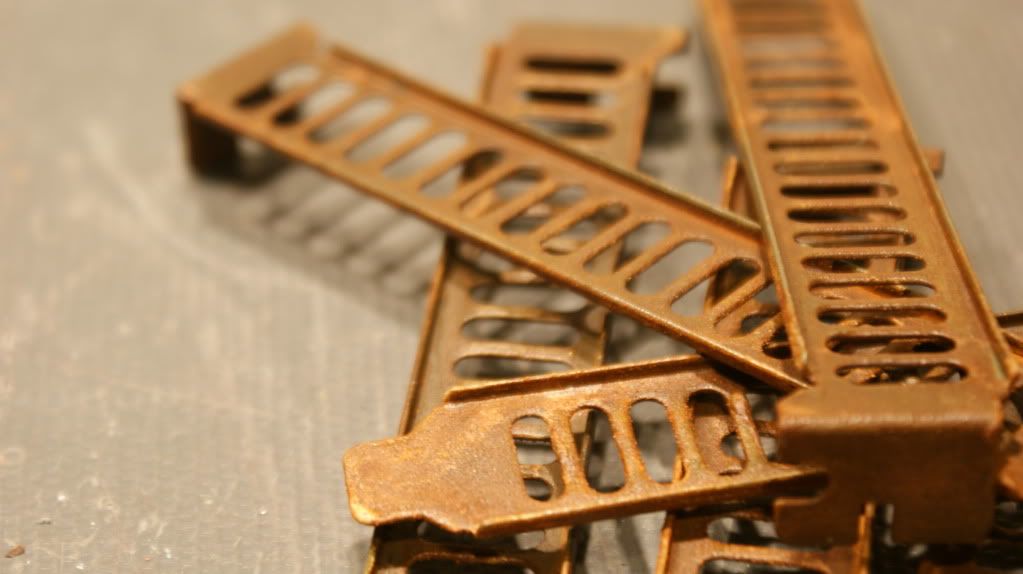
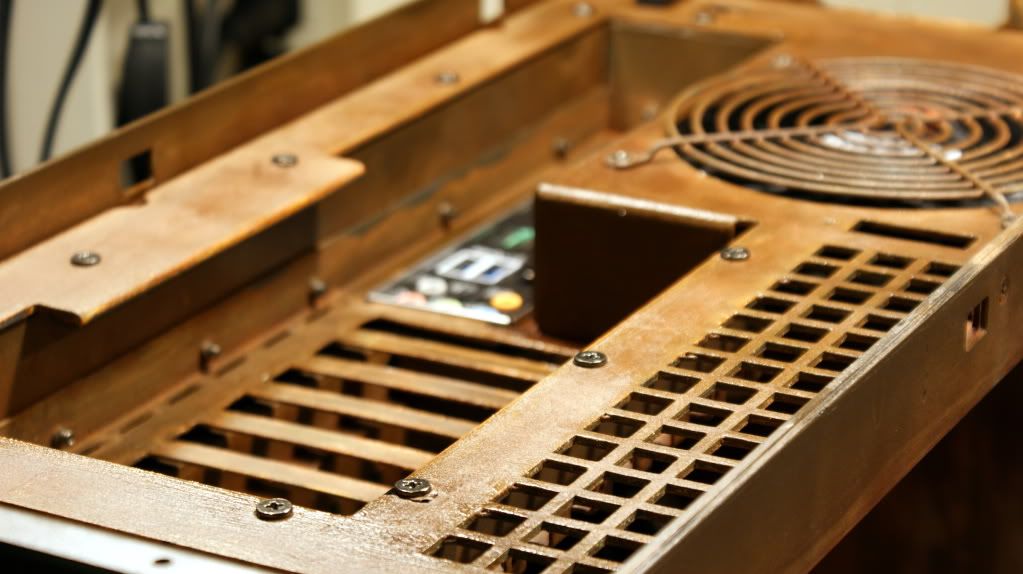
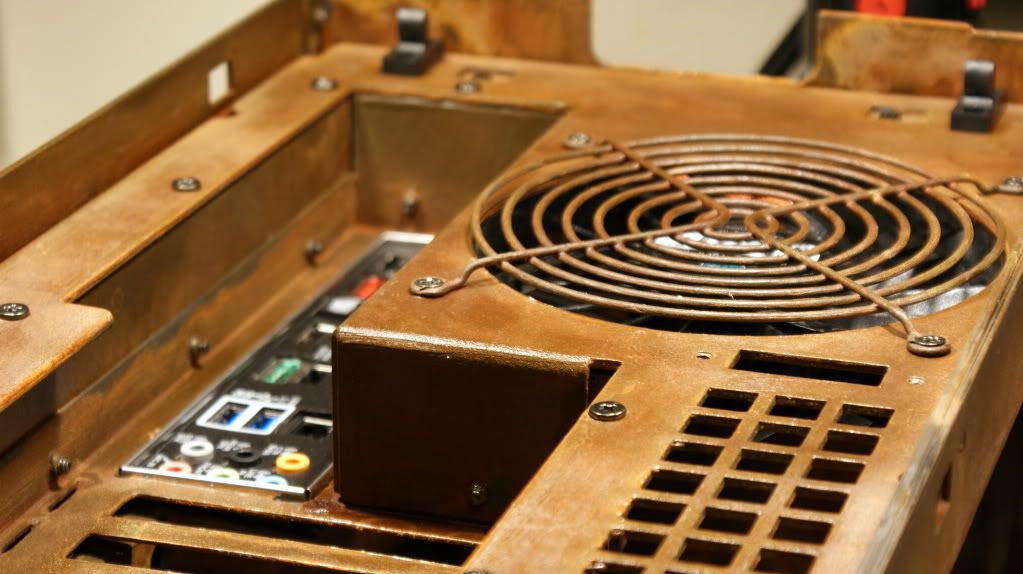
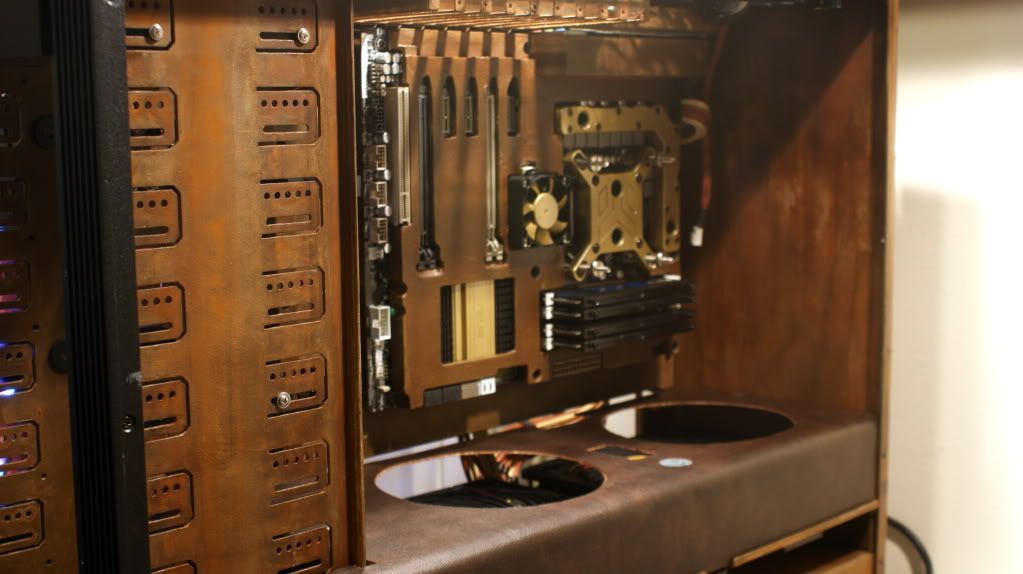
it would be bad on basically the whole computer. its not rust though, its a paint designed to look like rust.

you most not know how that paint works... its a two part paint. the first is iron based and the second is an oxidizer. that is why you have to prime the metal before you use it otherwize it will slowly eat though any steel parts. and the reason i was asking is because if the littlest chip of that falls off and onto the mb and shorts it then the whole system could be screwed
 
you most not know how that paint works... its a two part paint. the first is iron based and the second is an oxidizer. that is why you have to prime the metal before you use it otherwize it will slowly eat though any steel parts. and the reason i was asking is because if the littlest chip of that falls off and onto the mb and shorts it then the whole system could be screwed

ah ok never mind then. i thought he said there was a chemical reaction to make it look like rust, not actually make rust. hm if thats the case then yeah its probably not the best for it, but he is putting a clear coat over it so maybe the idea is that the clear coat will keep the rust from flaking off.
 
subbed. looking forward to this, keep up the good work :) i can see its gonna look totally killer...
 
That's gonna be Damn nice! Subbed, no question.

Makes me wanna go mod something, but then I remember I won't have time to finish it so I put the brakes on, I'll just live vicariously through amazing builds like this for now :D
 
Impressive work! Looking forward for more photos and details. :) (Now subscribed to this thread)
 
Looks like fun. great ideas so far.

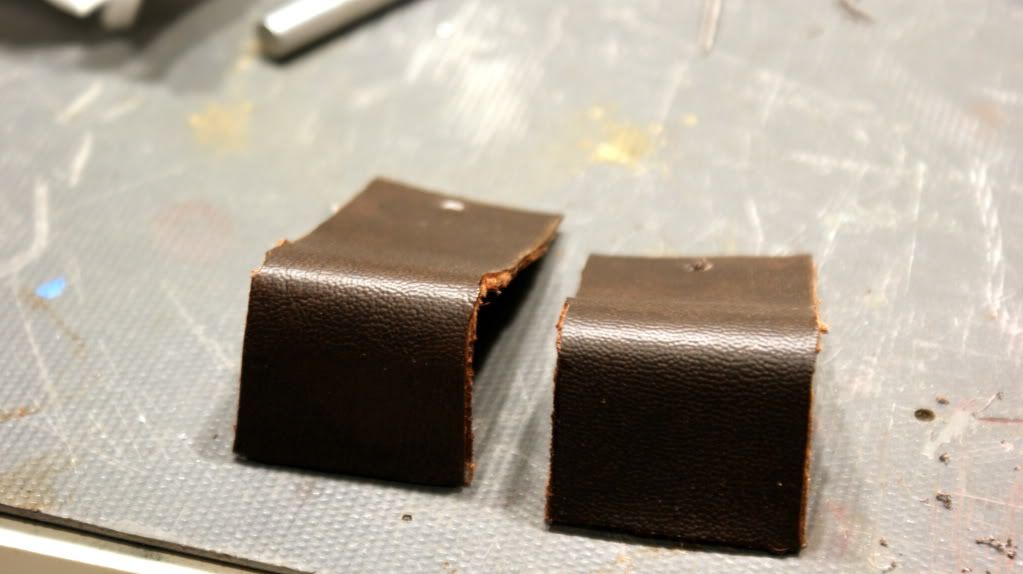
by the way, I vote for leather #3.......maybe if you took a sample and got it wet, then let it dry at room temp, it might cure and look more beat-up. the color of the leather in the third sample is really a nice complement to the paint.
 
Looks like your way to a nice dieselpunk setup, for steampunk I would expect more copper and brass.

Reminds me of this.
 
Something is amiss... I thought some of these pictures were taken with a cell phone camera from the noise in the photos. I just downloaded one of the pictures and found the cause. ISO is set to 3200. That explains where the noise is coming from. Lower ISO and increase the light in the room for better pix. Tripod for ultra steady pix too :cool:

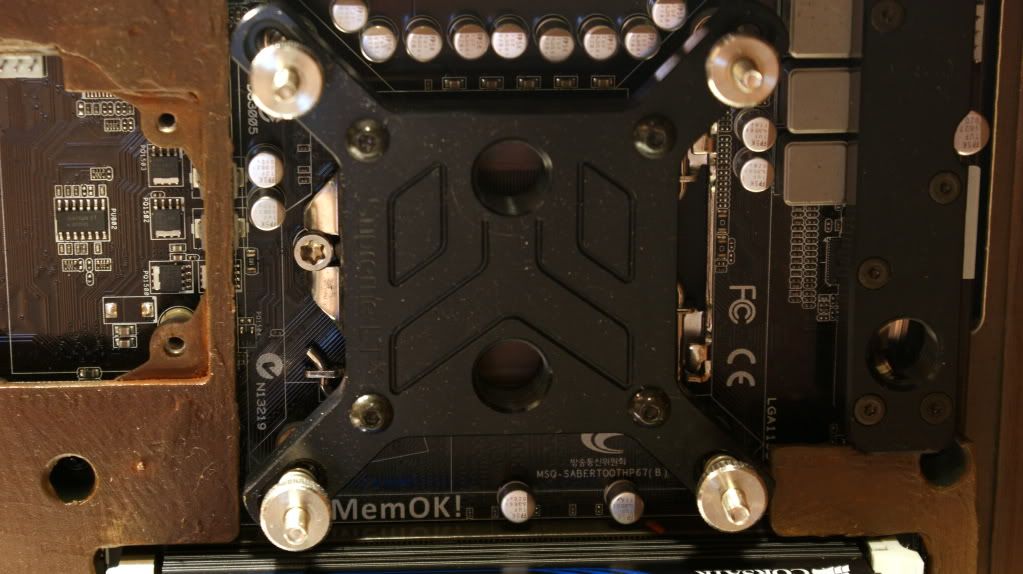
Ok, nuff about the picture quality... I really dig the rusty paint job!! It's looking GREAT on the motherboard. Will you be doing anything paint/finish wise to the waterblocks?

Ya I was in a hurry and didn't have enough room to keep moving my tripod back and forth to get things done. I'll try to take better ones next time.

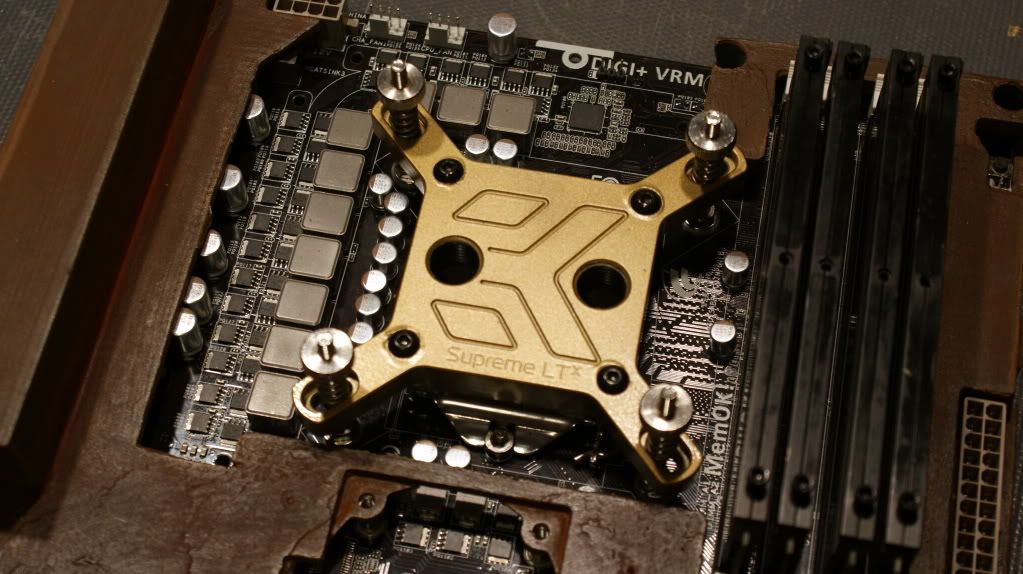
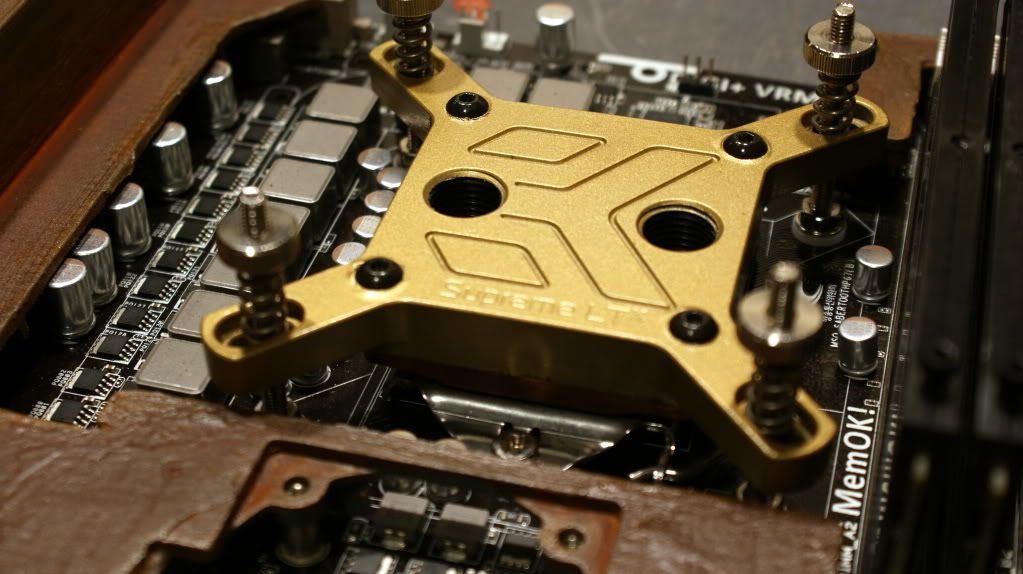
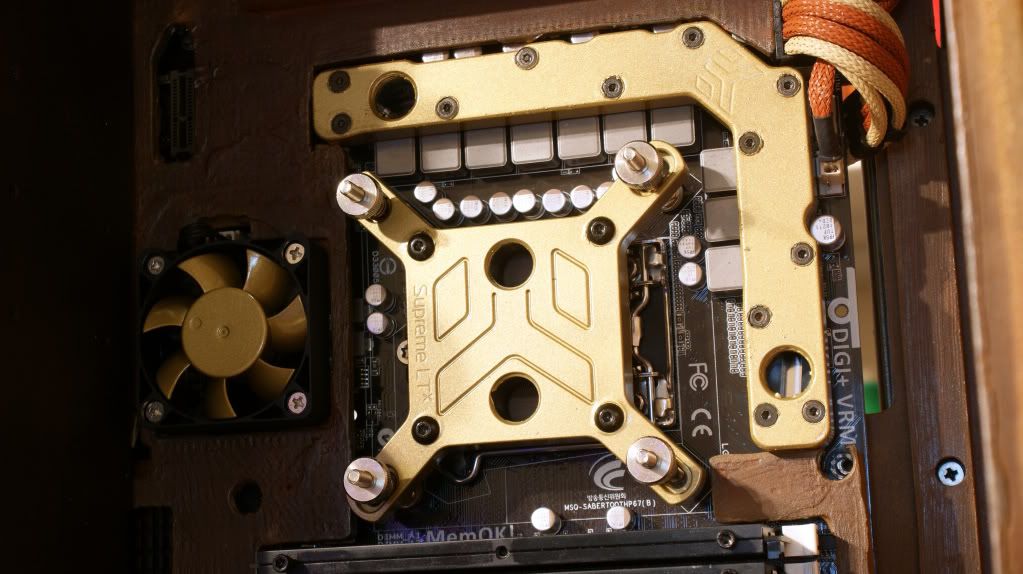
I think I'm going to spray paint the water blocks (black parts) gold. Should provide a nice contrast inside the case.

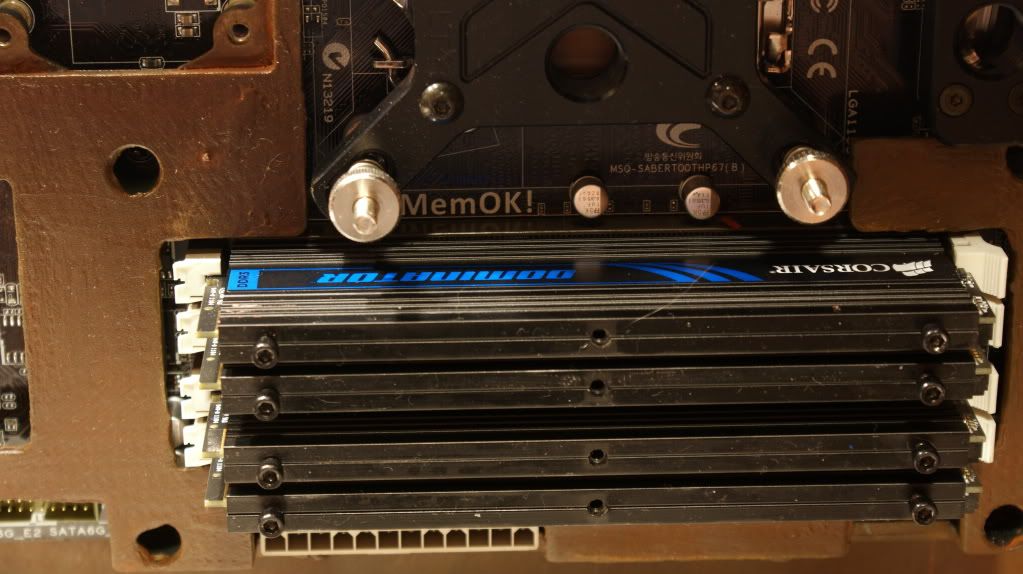
Looks incredible! What will you do for the blue on the dominators?

Not sure yet. I may rust them or paint them gold.

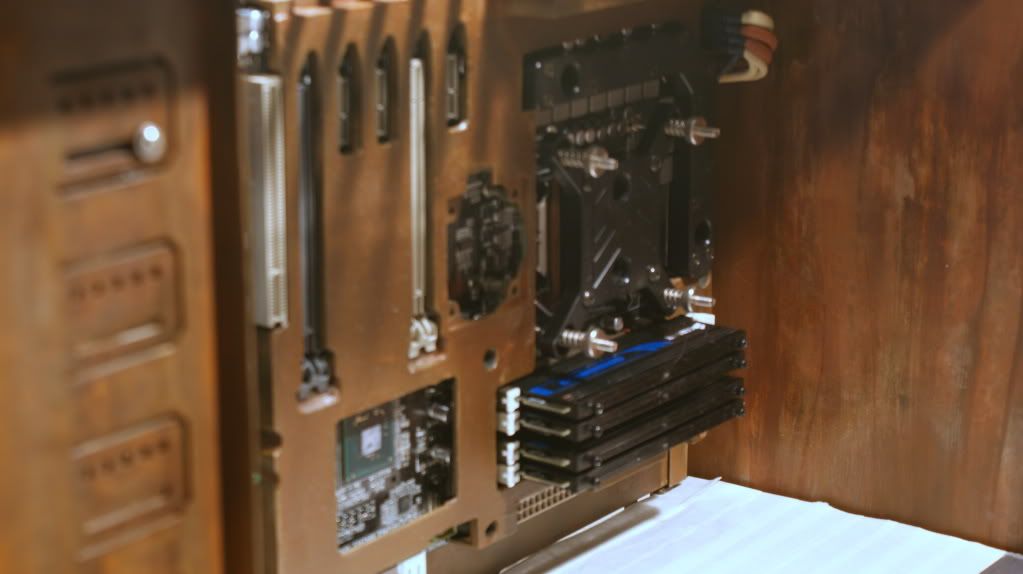
umm isnt it a bad idea to put rust on the motherboard shield?

No? Its made of plastic and coated with several coats of clear.

it would be bad on basically the whole computer. its not rust though, its a paint designed to look like rust.

Correct.

Not really, even it if was iron the top of the motherboard shield isn't touching the motherboards surface ;)

It is but only on the bottom which I made sure had clear coat on it.

you most not know how that paint works... its a two part paint. the first is iron based and the second is an oxidizer. that is why you have to prime the metal before you use it otherwize it will slowly eat though any steel parts. and the reason i was asking is because if the littlest chip of that falls off and onto the mb and shorts it then the whole system could be screwed

Which is why everything has a nice clear coat on it.

ah ok never mind then. i thought he said there was a chemical reaction to make it look like rust, not actually make rust. hm if thats the case then yeah its probably not the best for it, but he is putting a clear coat over it so maybe the idea is that the clear coat will keep the rust from flaking off.

Correct.

subbed. looking forward to this, keep up the good work :) i can see its gonna look totally killer...
Thanks!

That's gonna be Damn nice! Subbed, no question.

Makes me wanna go mod something, but then I remember I won't have time to finish it so I put the brakes on, I'll just live vicariously through amazing builds like this for now :D

Haha thanks!

Subbed. I never have had the balls to do a steampunk mod. My hat is off to you!

Thanks!!

Impressive work! Looking forward for more photos and details. :) (Now subscribed to this thread)

Thanks for the sub!

nice looking project... hope you've had your tetanus shots :p
haha, all is good

Looks like fun. great ideas so far.

by the way, I vote for leather #3.......maybe if you took a sample and got it wet, then let it dry at room temp, it might cure and look more beat-up. the color of the leather in the third sample is really a nice complement to the paint.

I'll have to try that out.

Looks like your way to a nice dieselpunk setup, for steampunk I would expect more copper and brass.

Reminds me of this.

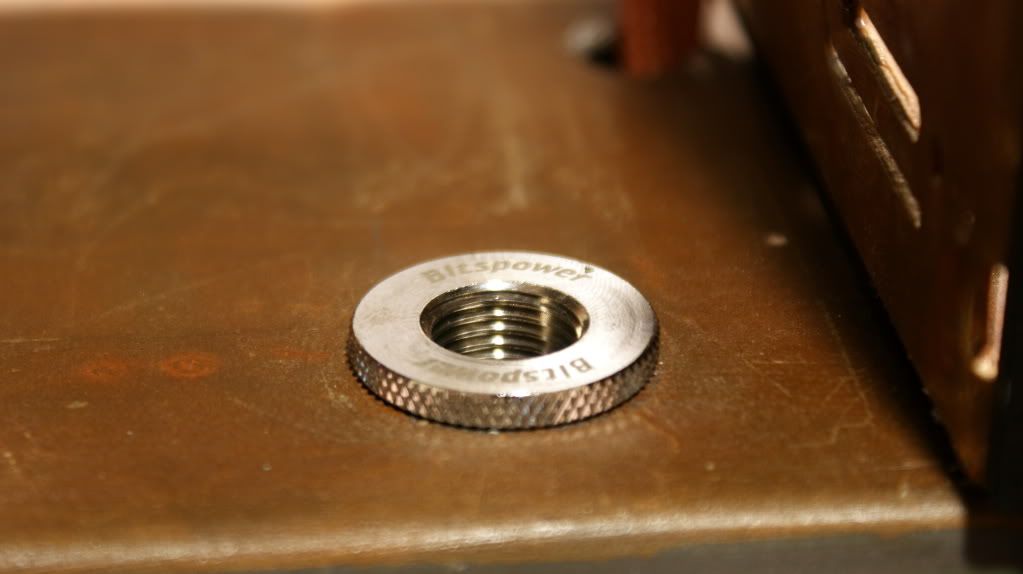
Problem is price. I would do copper tubing but its wicked expensive and Bitspower does not make them in Iron Age.

Fun build. Will be watching to see how it turns out.

Thanks!!

with all that rust it seems more Fallout than steam punk... also.... zip ties?
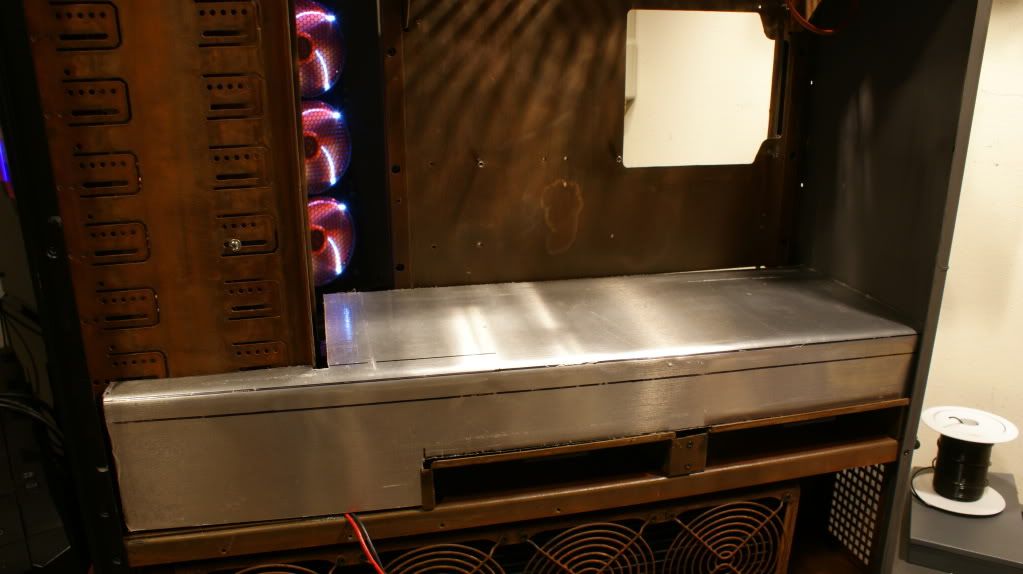
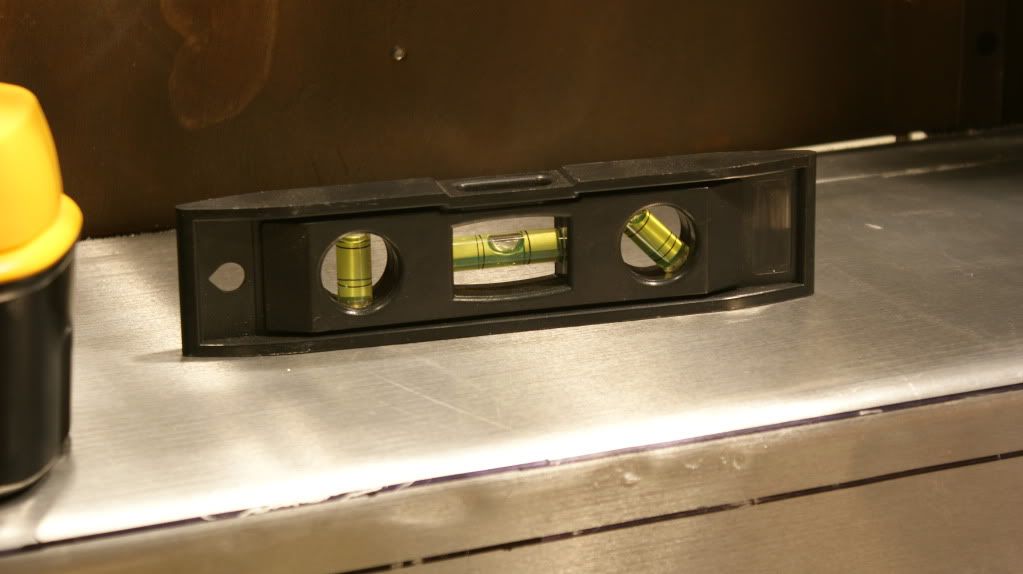
small hose clamps dude.... hose clamps :)
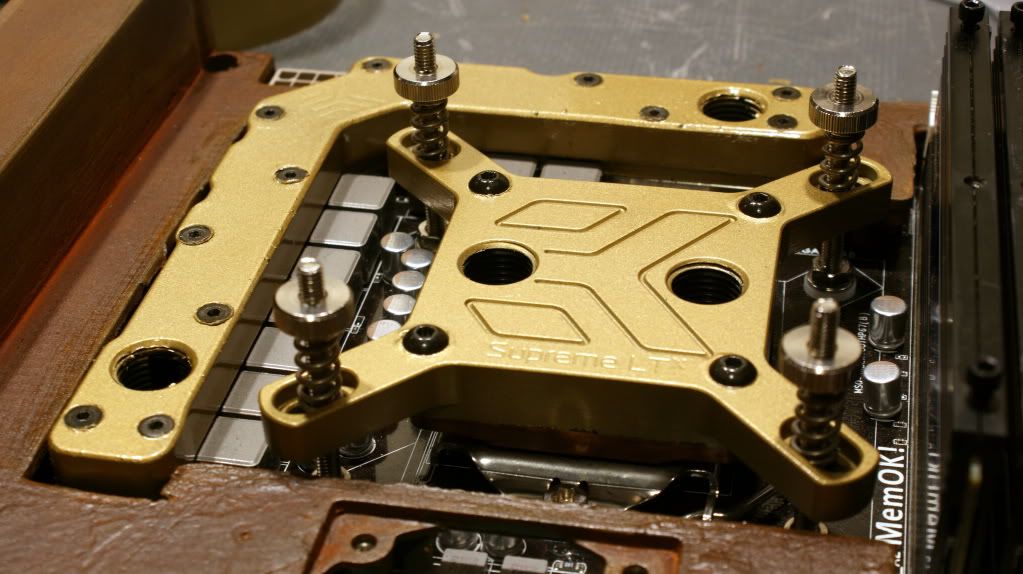
http://www.idealclamps.com/catalog/clamps/catalog.php?ID=17

You will never see the zip ties again so it does not matter.
 
Ya I was in a hurry and didn't have enough room to keep moving my tripod back and forth to get things done. I'll try to take better ones next time.

I think I'm going to spray paint the water blocks (black parts) gold. Should provide a nice contrast inside the case.
Sweet, can't wait to see more updates to the build :D :cool:
 
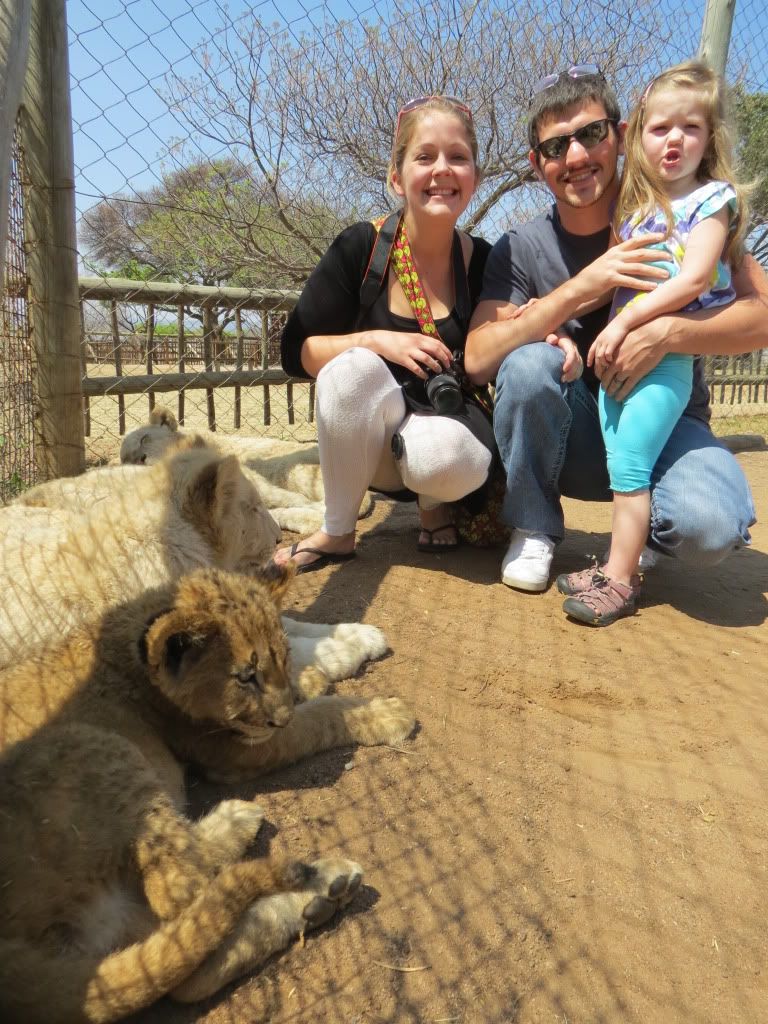
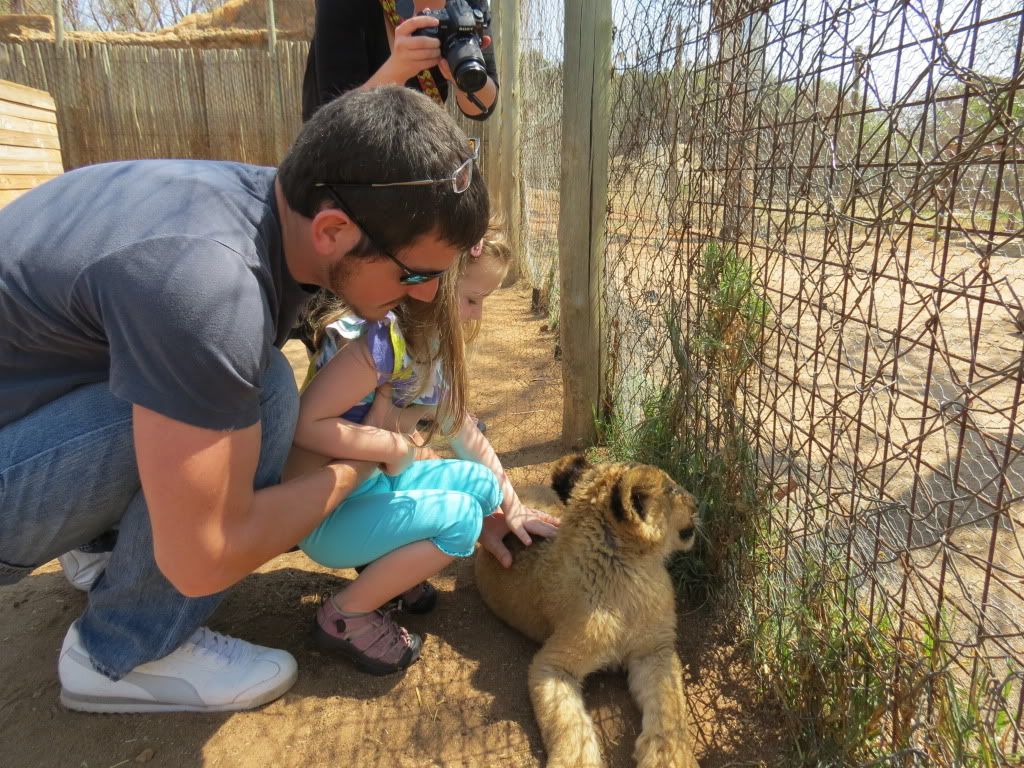
Sorry for the delay in updates. We took a trip to South Africa for some medical appointments last week. Got to do a ton of things down there including visiting a Lion Park!! Was pretty cool to be able to pet some lion cubs.

IMG_4653-2.jpg


IMG_4650.jpg


On with the modding!

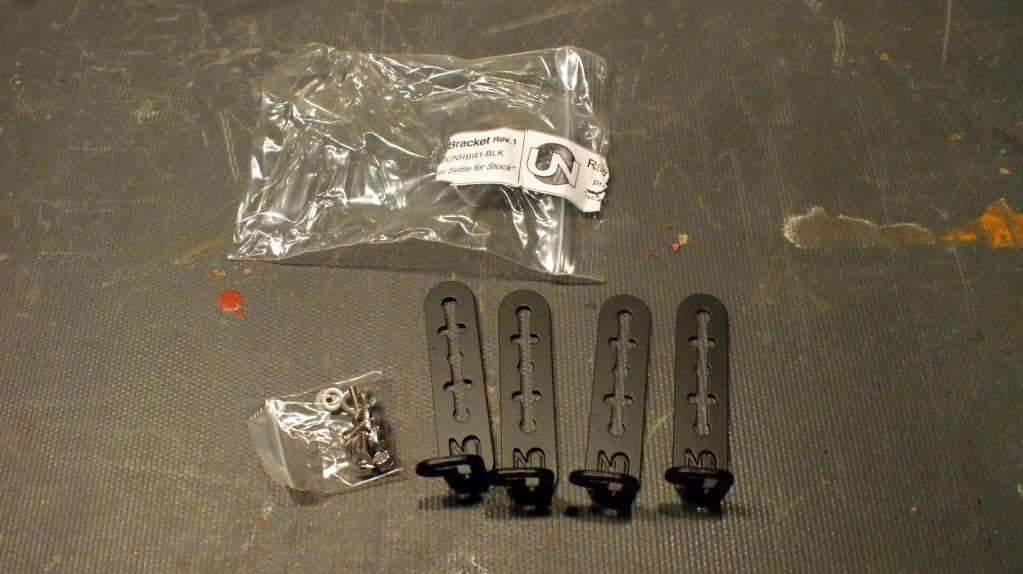
I picked up some UN Radiator mounting brackets which are so freaking awesome. They allow you to mount a radiator in your 5.25" bays.

DSC03137.jpg


And here it is.

DSC03646.jpg


DSC03645.jpg


Above it I put the Silverstone Slim DVD drive bay. The rad is touching it because I have to have enough room below the rad to put the pumps.

DSC03639.jpg


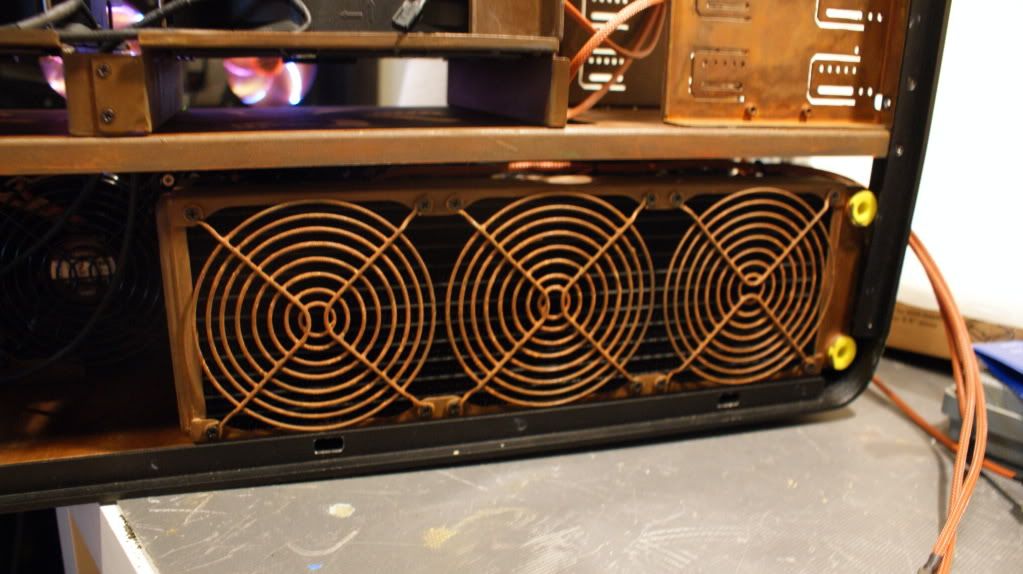
I decided to install all the rads to see how everything would fit. Here is the 4x120

DSC03636.jpg


A surprise will be going in this vacant spot :D

DSC03637.jpg


And the 3x120

DSC03638.jpg


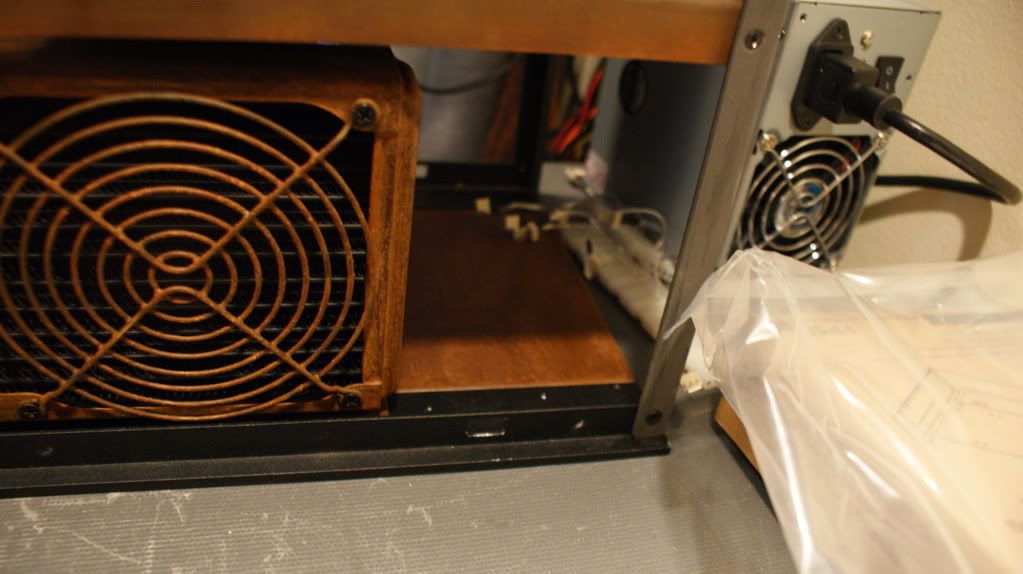
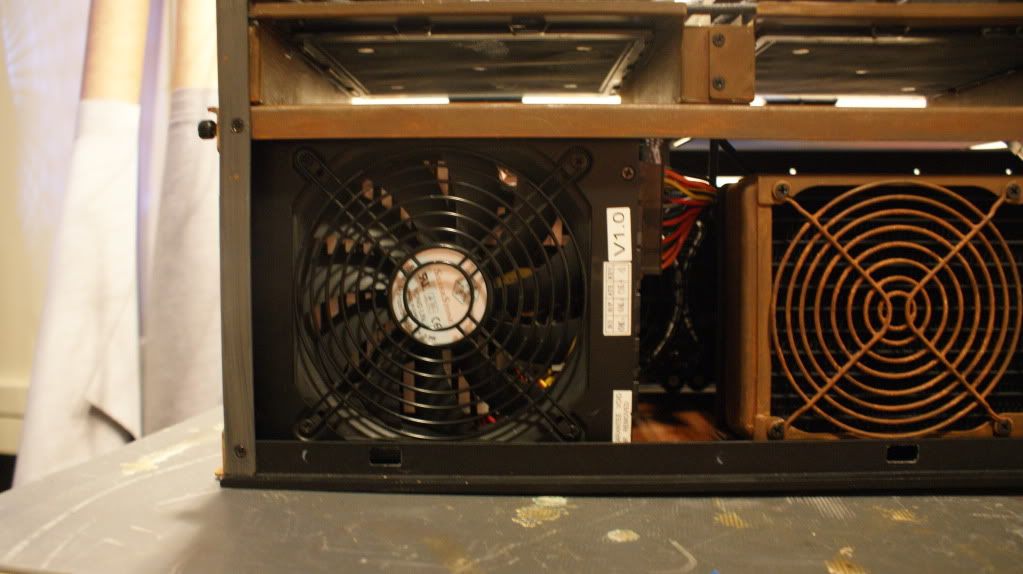
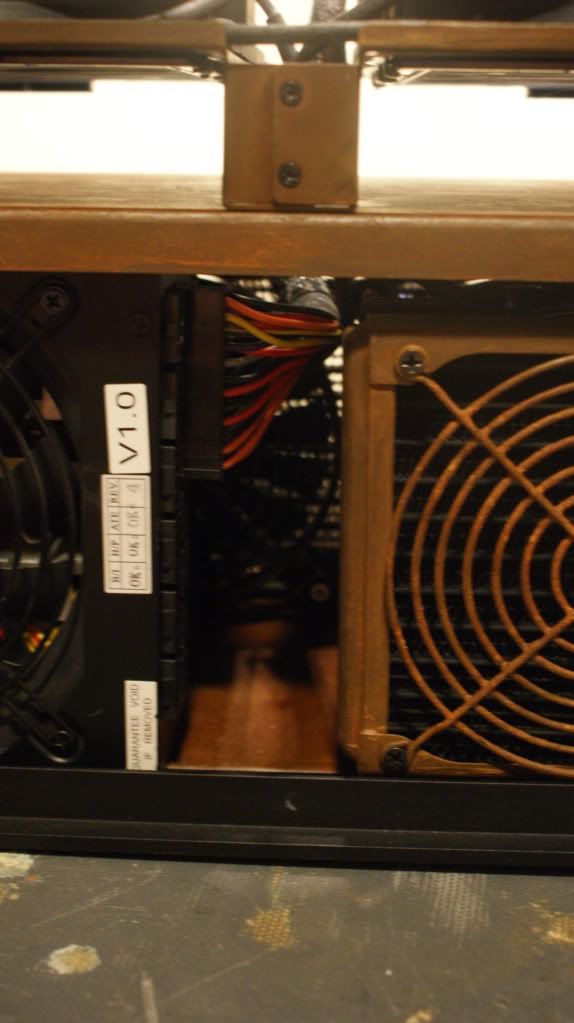
Installed the PSU to make sure I had enough clearance for the connectors.

DSC03649.jpg


Indeed. There is enough room!

DSC03651.jpg


Somehow I forgot to do the rust effect to the back of the mobo tray so that is going on right now. Once its done I can clear coat it and it will be good to go.

DSC03652.jpg


I've been doing lots and lots of thinking on how I am going to run the loop. I figured that I need to bring the loop through the midplate twice but I didn't want you to be able to see it the second time. So I measured and drilled a hole above the 4x120 rad and connected it with a Bitspower D-Plug for now. I ordered a 25mm extension to go there.

DSC03634.jpg


DSC03635.jpg


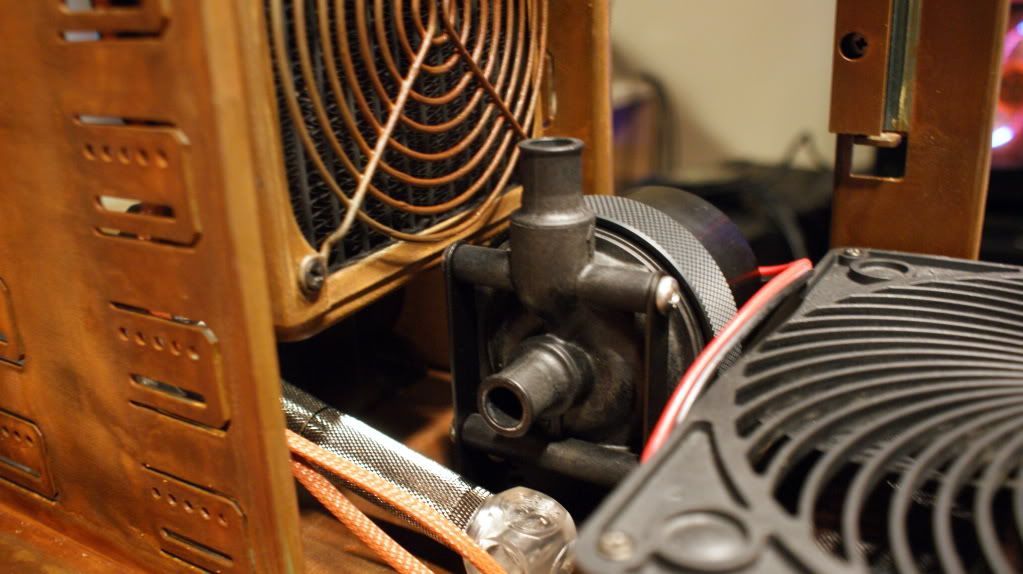
And here you can see where the pumps will be. I measured and the Bitspower dual D5 pump top should fit under it. If not, I ordered a second EK D5 pump top and ill connect them together using some 90 degree fittings and extensions.

DSC03683.jpg


DSC03684.jpg


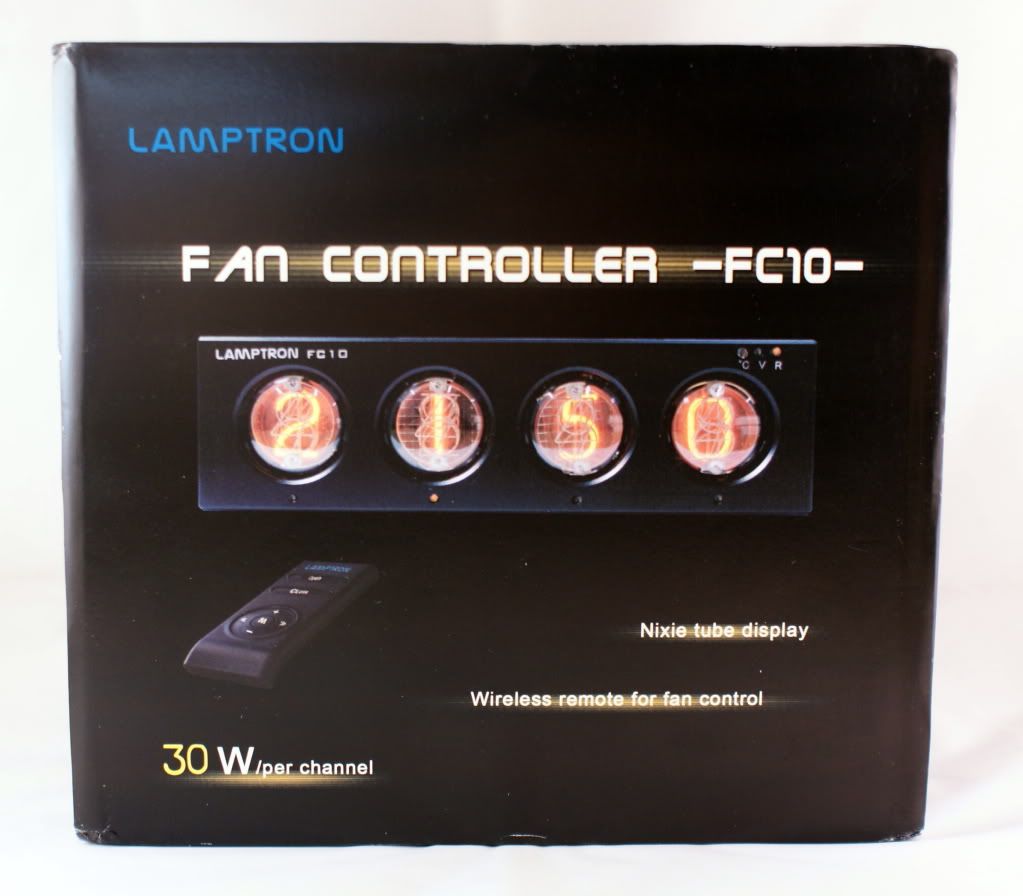
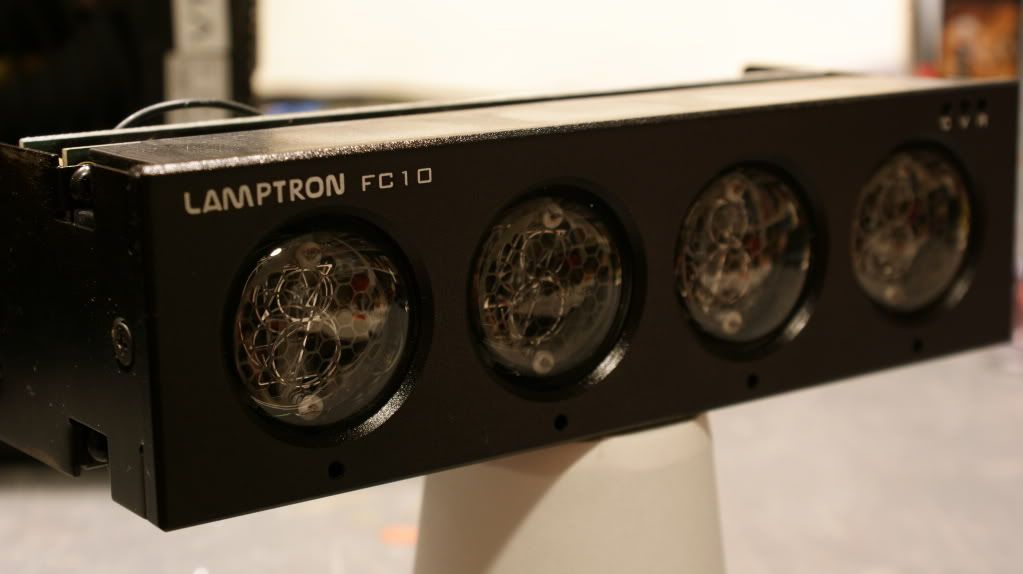
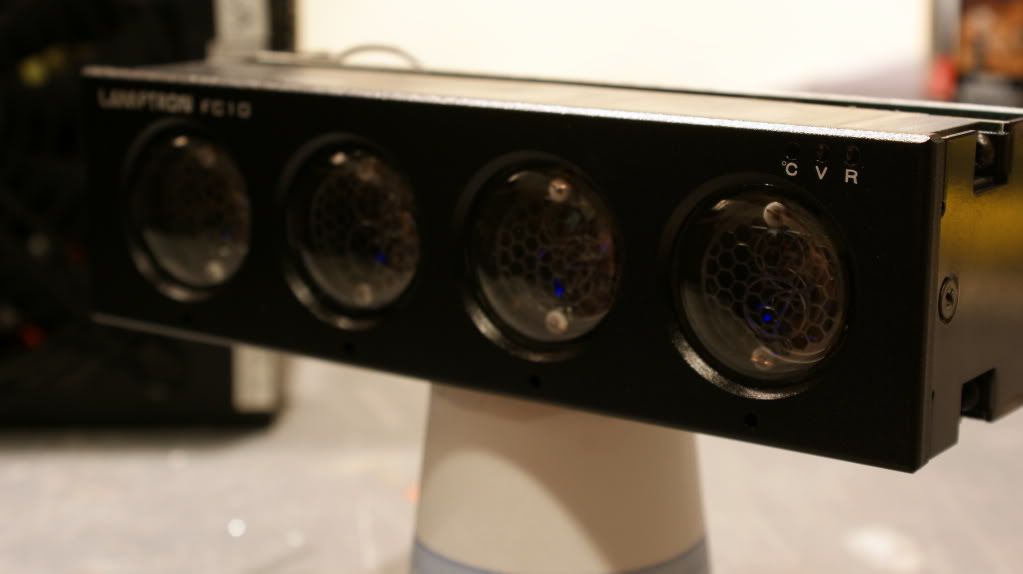
I received my Lamptron FC10 too! I'll be doing a review on it soon.

DSC03661.jpg


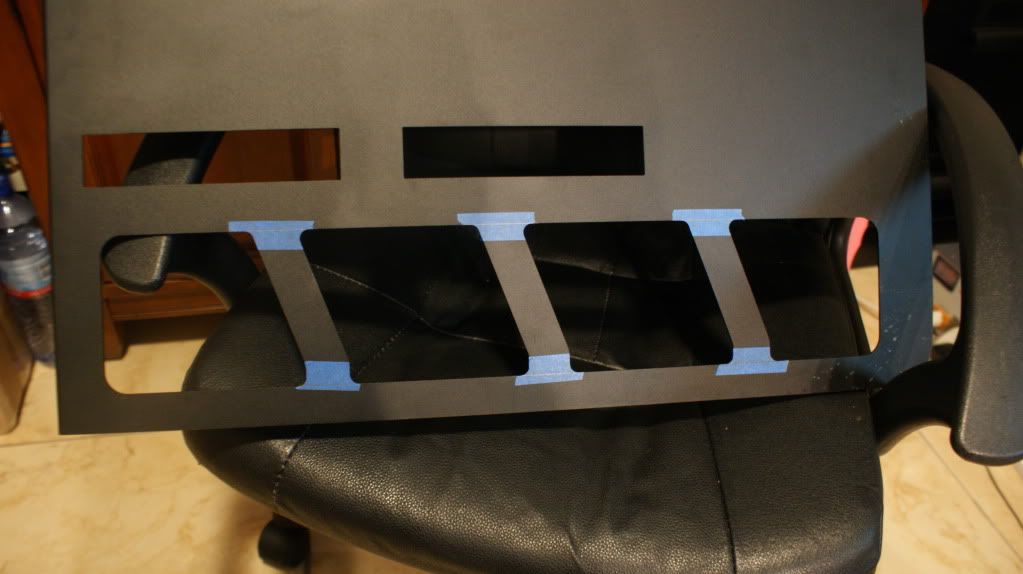
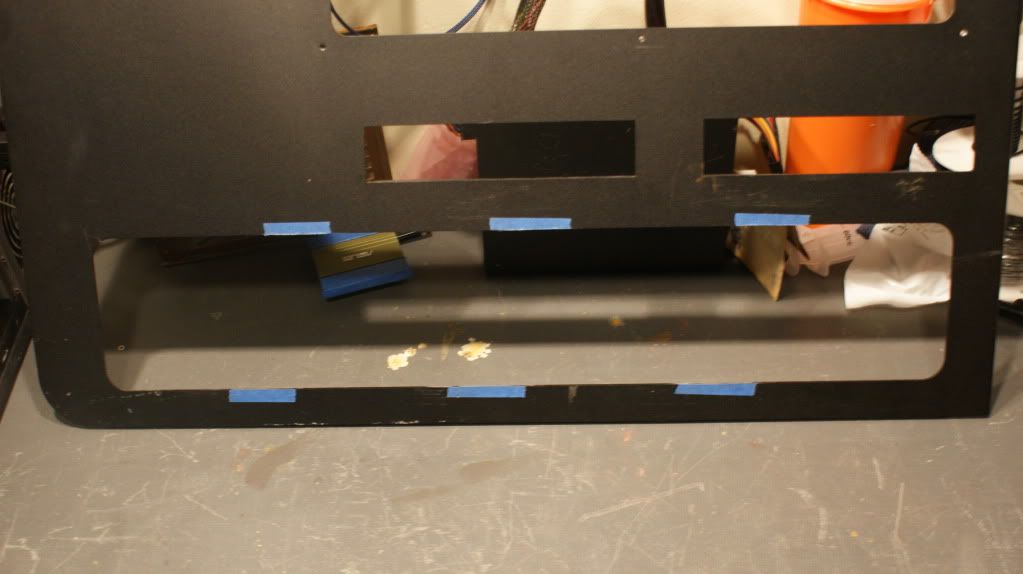
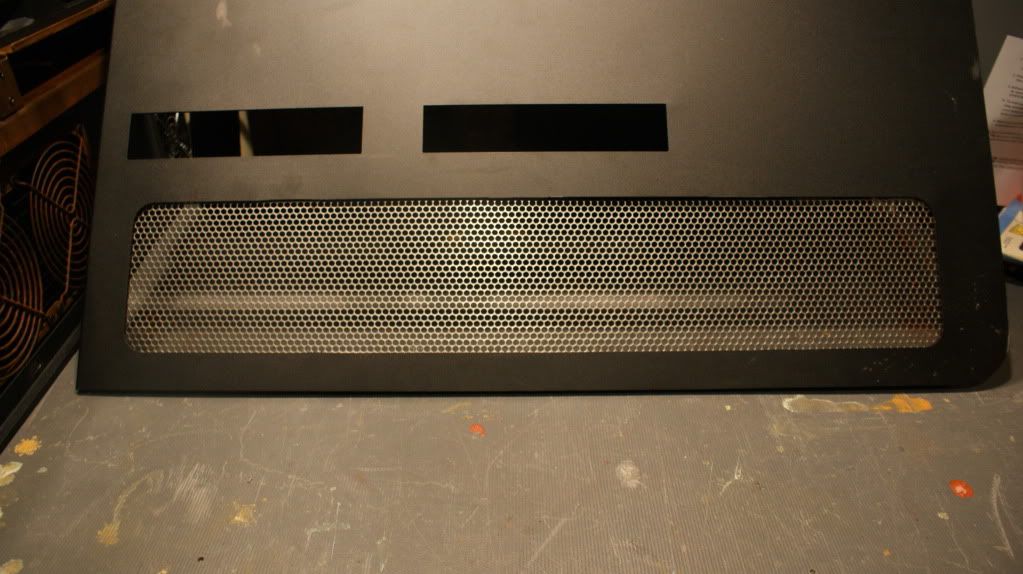
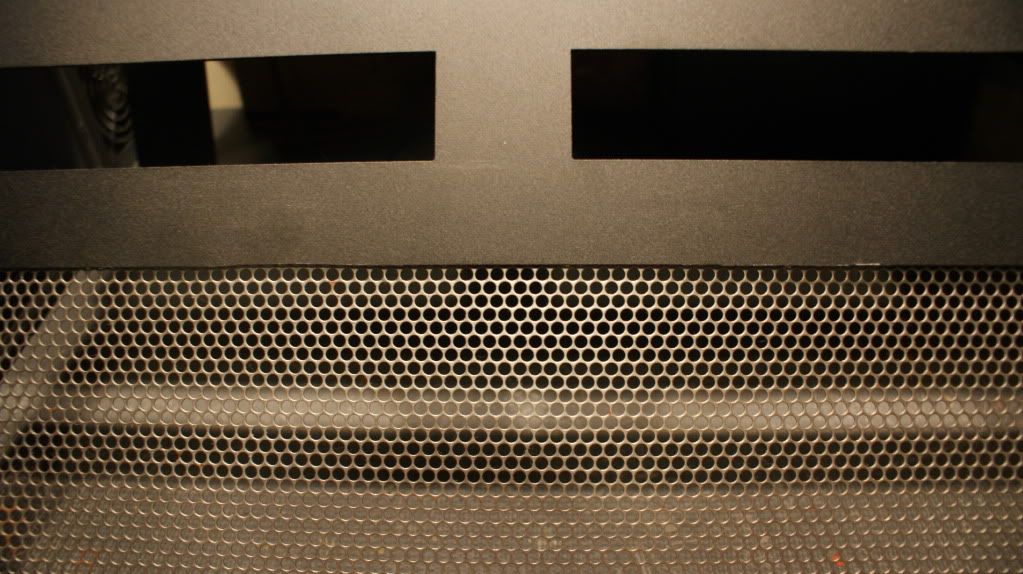
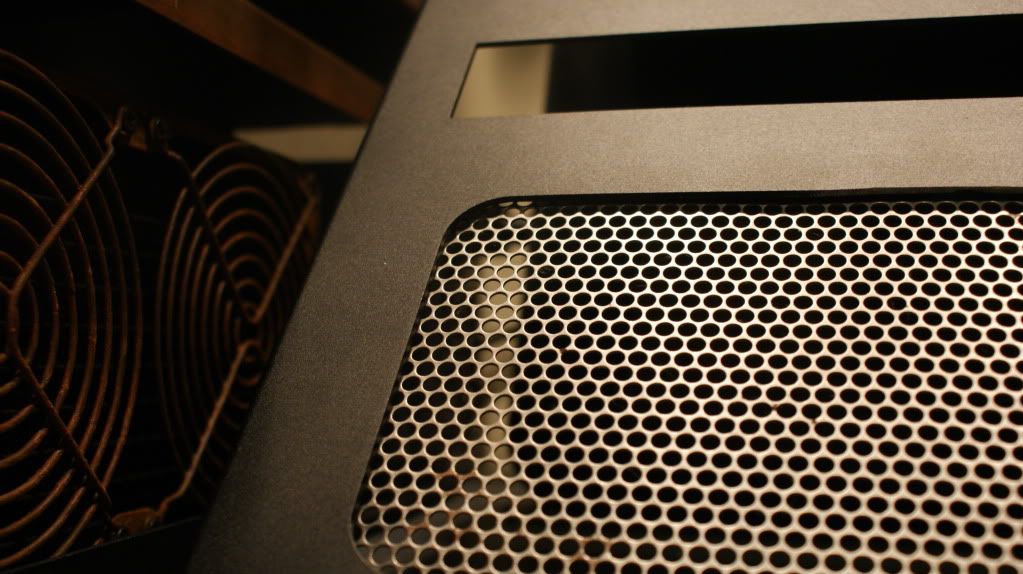
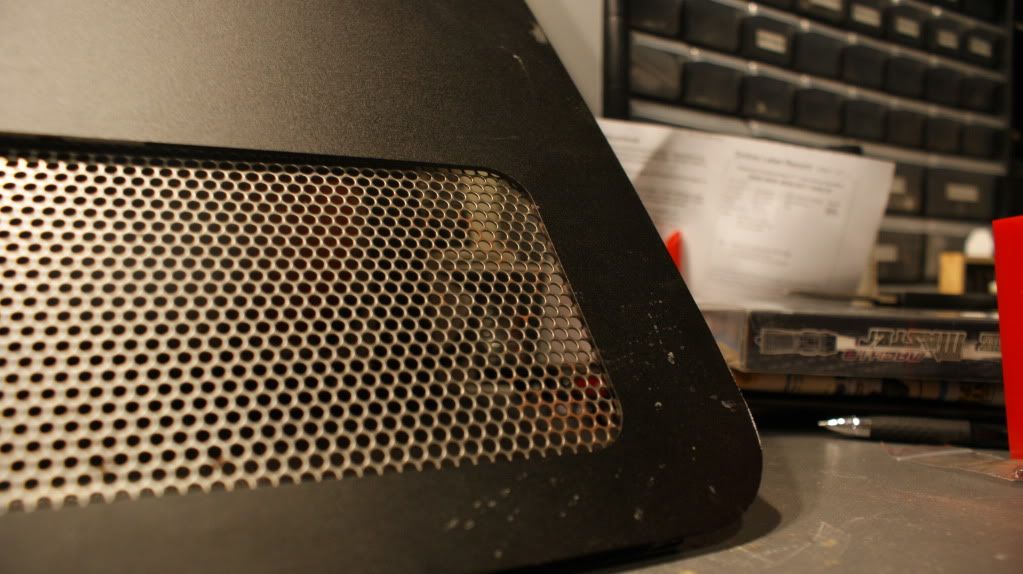
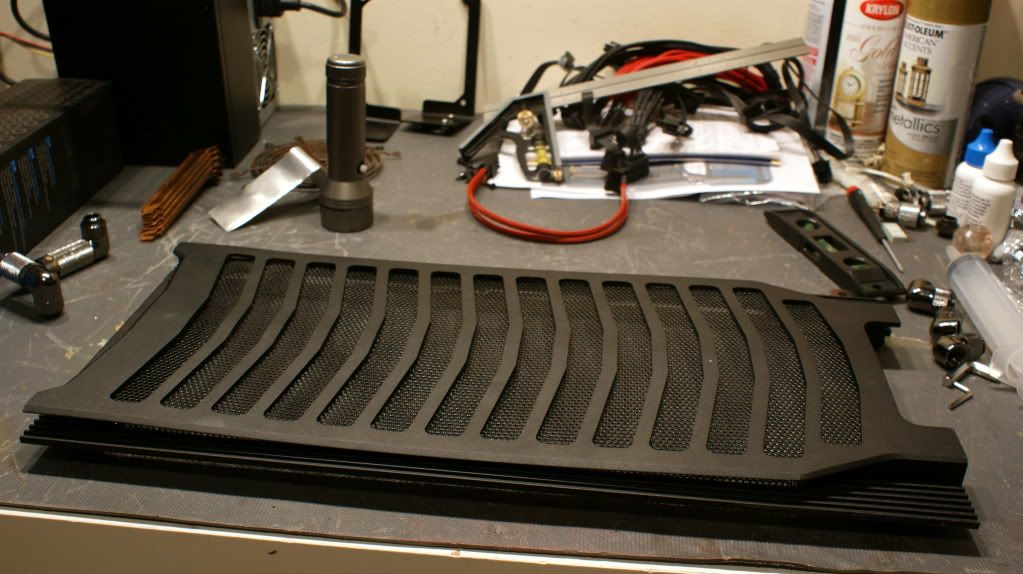
The last bit for this update are the door panels. I like the 4 small windows in the bottom of the side panels for the rads to get air but I decided to make them into one big window.

DSC03595.jpg


DSC03596.jpg


Then I added some MNPCTECH Round Modder's Mesh.

DSC03597.jpg


DSC03600.jpg


DSC03598.jpg


DSC03599.jpg


That's it for today. I have the spray adhesive coming for gluing the leather fabric to the case and the gold spray paint for the accents and the water blocks. That should all be here Friday so I can do a good bit of work this weekend. I'm also hoping that the pump tops get here by this weekend too so I can do some more testing to figure out exactly what I'm going to do.

Cheers till then,

Fuga
 
You, Sir, are a bad ass modding machine!!! I love those rad brackets..I never knew they existed, and now I am a bit sad because I tried to find a way to mount a 240mm rad in my 5.25" bays to go along with my 360mm up top..After days of brainstorming I said to hell with it and just used a 120mm in the rear fan slot:(

BTW, Sub-a-Dubbed :D
 
You, Sir, are a bad ass modding machine!!! I love those rad brackets..I never knew they existed, and now I am a bit sad because I tried to find a way to mount a 240mm rad in my 5.25" bays to go along with my 360mm up top..After days of brainstorming I said to hell with it and just used a 120mm in the rear fan slot:(

BTW, Sub-a-Dubbed :D

Thanks man. I actually found those brackets by watching Singularity Builds on youtube.


Made myself a little banner.

SteampunkdTJ11Logo_zps833bbcb2.jpg
 
Where did you get those radiator-bay brackets??

I have a project starting and they would be perfect.

If you don't mind?

thanks.
 
This past week I have really been trying to use my DSLR Sony A350 better. I'm doing alot more manual shots to try and get better pictures. After this update let me know what you guys think.

Here are some pratice shots.

DSC03691_zps28bc4a61.jpg


DSC03692_zps162be5ba.jpg


DSC03697_zpsfb9031f1.jpg


DSC03698_zps4483359c.jpg


DSC03699_zpsa5fc2cef.jpg


DSC03704_zpsd987f4b9.jpg


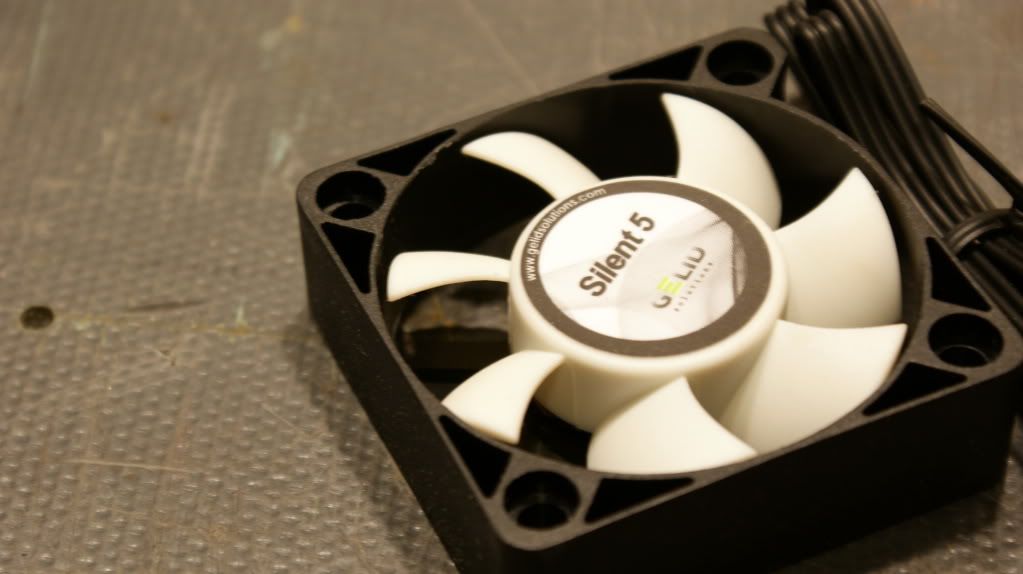
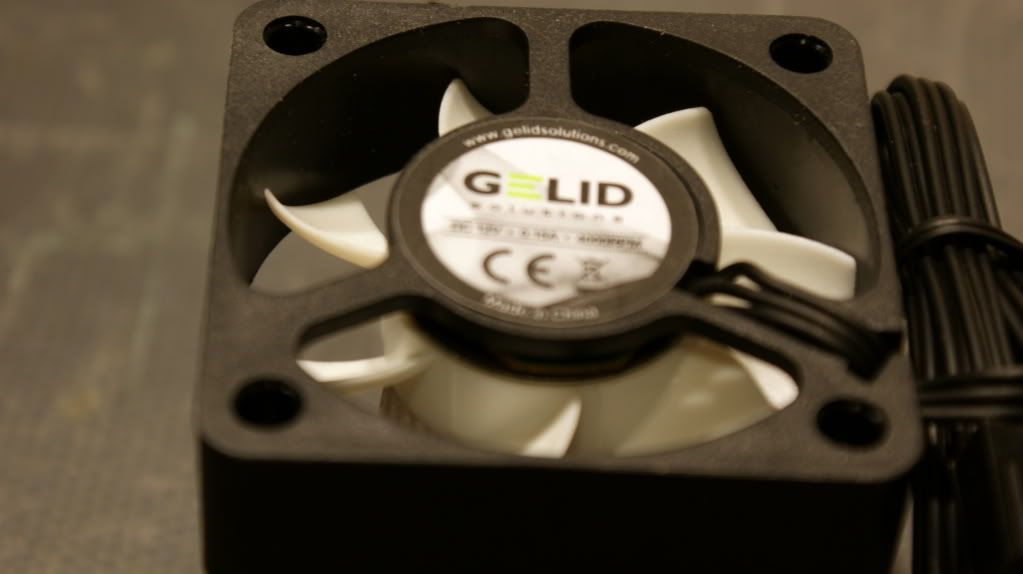
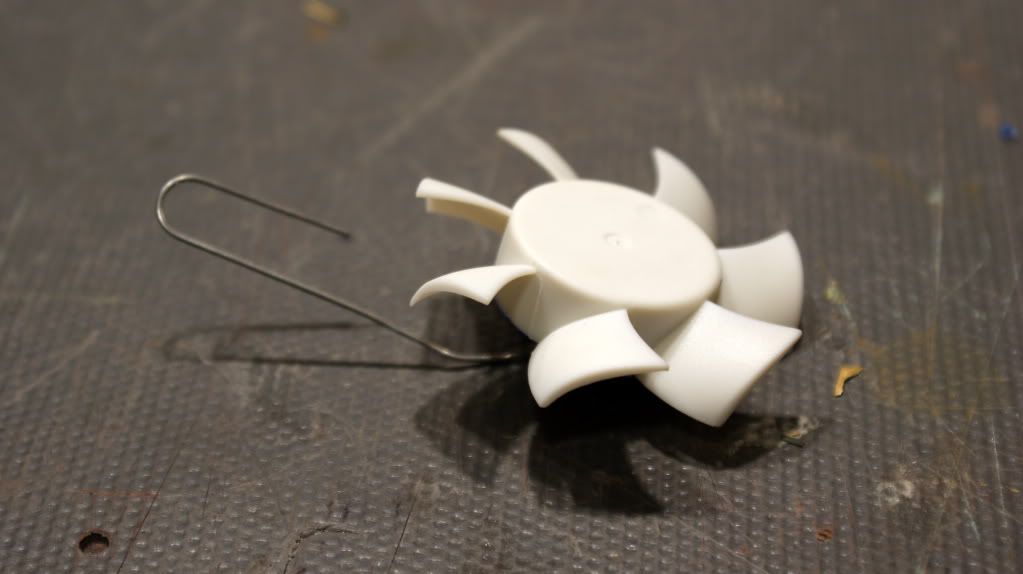
Now for the real update. I forgot to mention I got a 50mm fan for the motherboard.

DSC03714_zps98822561.jpg


DSC03717_zps7bf7a3dc.jpg


DSC03718_zpsb10b9ba0.jpg


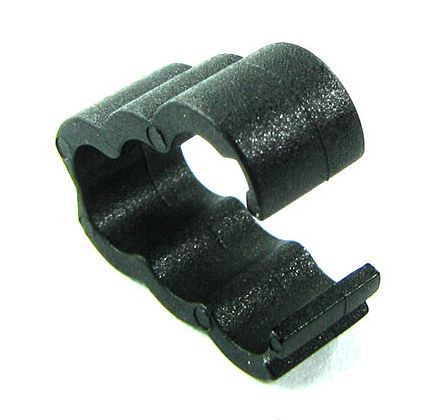
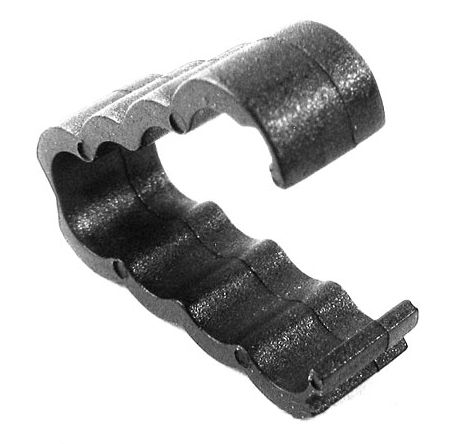
I also ordered some cable clips that I saw in another build. I think they will help to keep all my cables nice and straight.

pcs-cb-3-bk_01.jpg


pcs-cb-4-bk_01.jpg


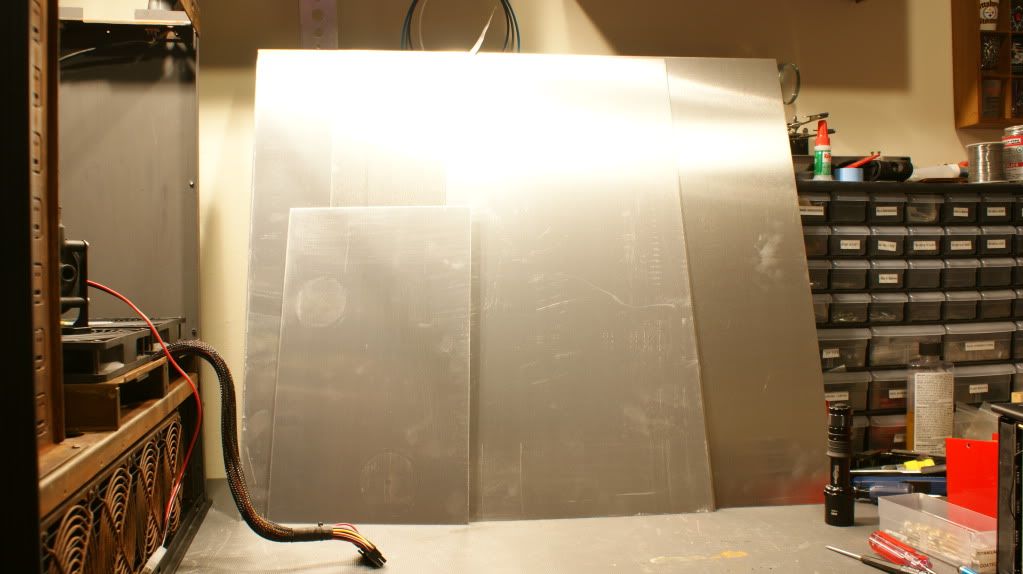
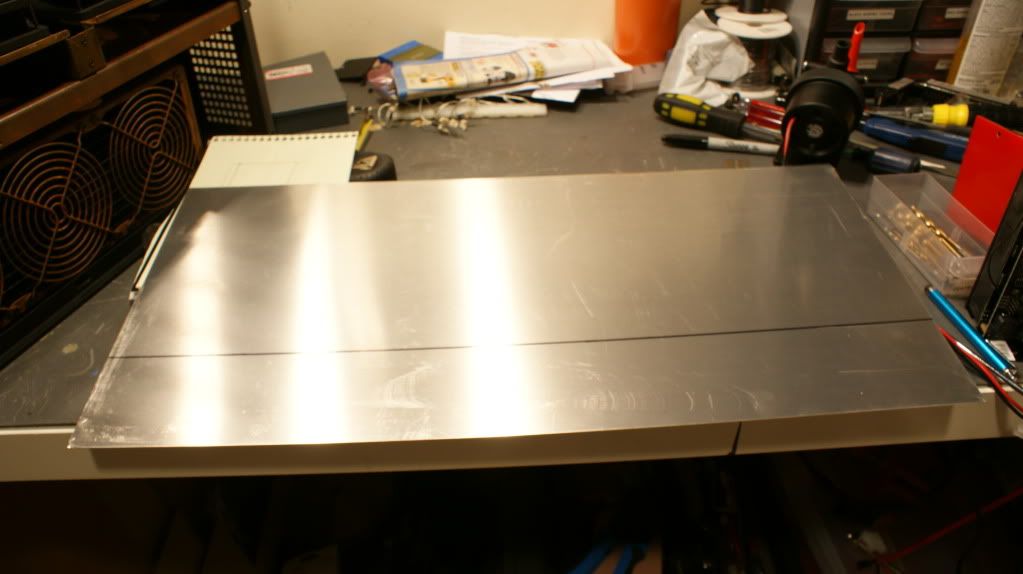
I orderd several sheets of 1mm aluminum so I could make a mid plate. (Got lots of extra incase I screw up.

DSC03706_zpsa7e39907.jpg


Measured and marked.

DSC03710_zpsb2667ac1.jpg


Now I didn't take any of the cutting and bending as that is boring. So this is what it looked like after that.

DSC03730_zpse1906075.jpg


DSC03732_zps36c6050e.jpg


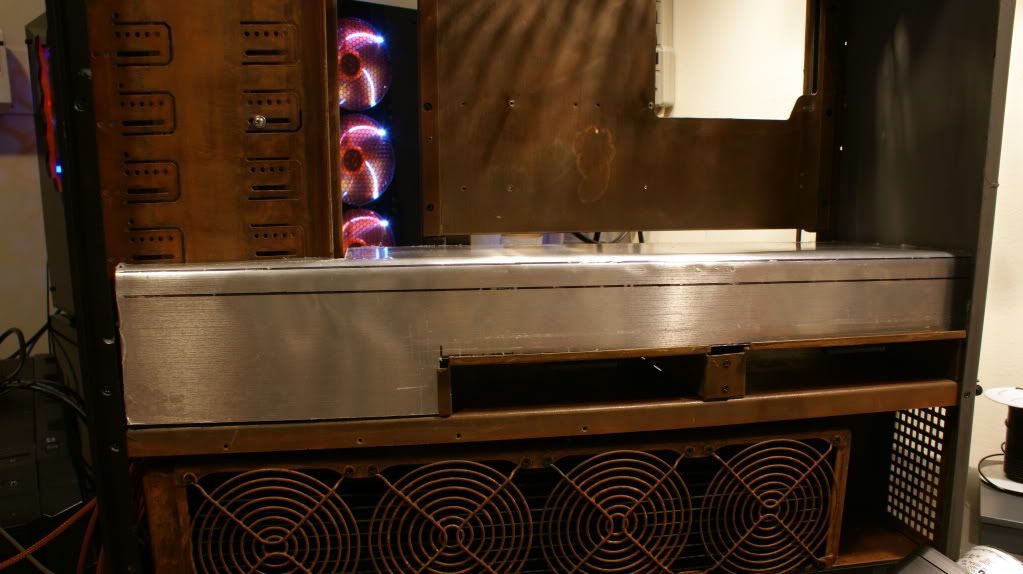
Pretty level

DSC03734_zps02350988.jpg


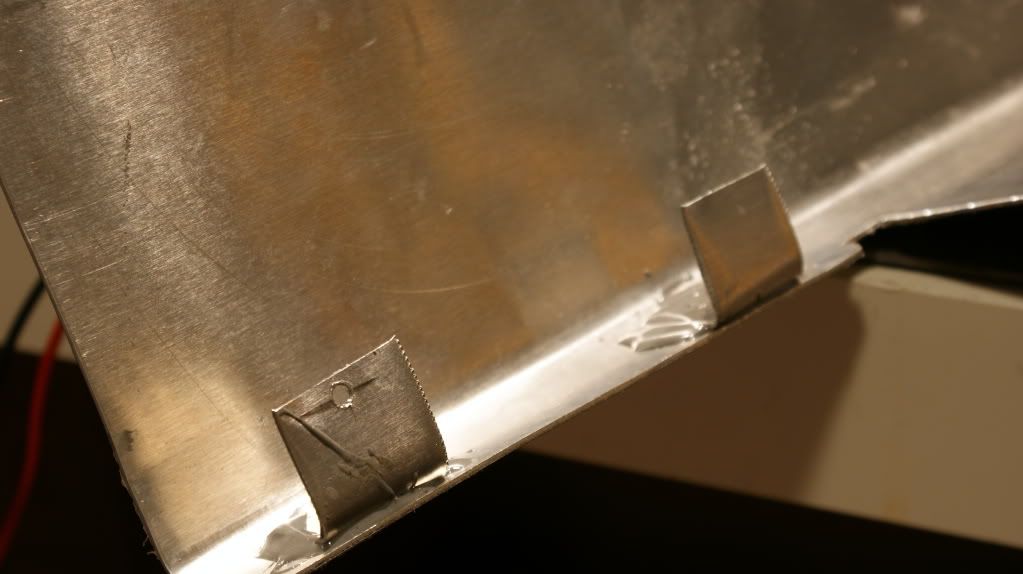
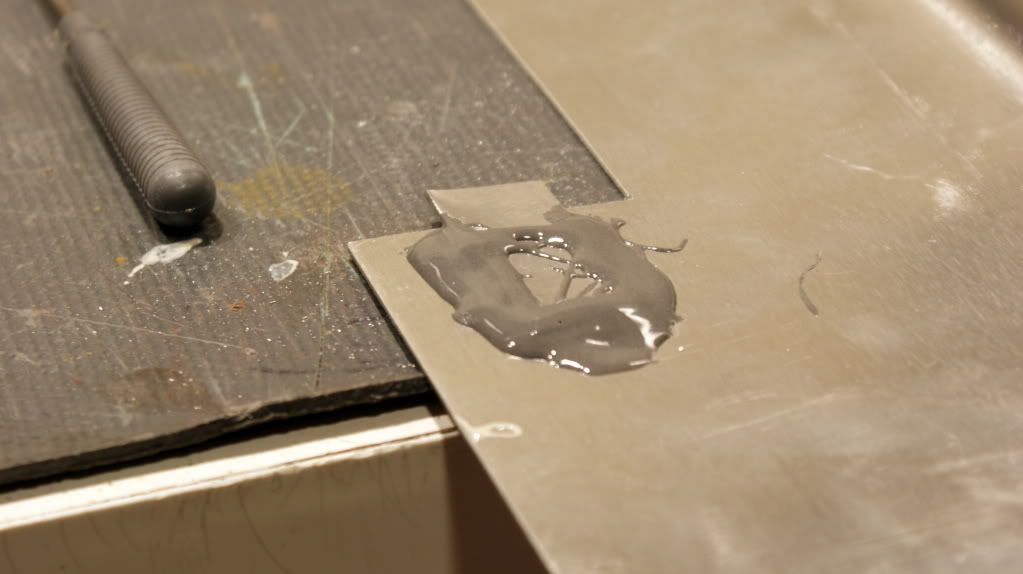
After that I had to find a way to keep it stable so I added some tabs. I attached them with some JB weld. These ones will be secured to the 5.25" bays.

DSC03741.jpg


And this one is just to keep it in place.

DSC03739.jpg


DSC03740.jpg


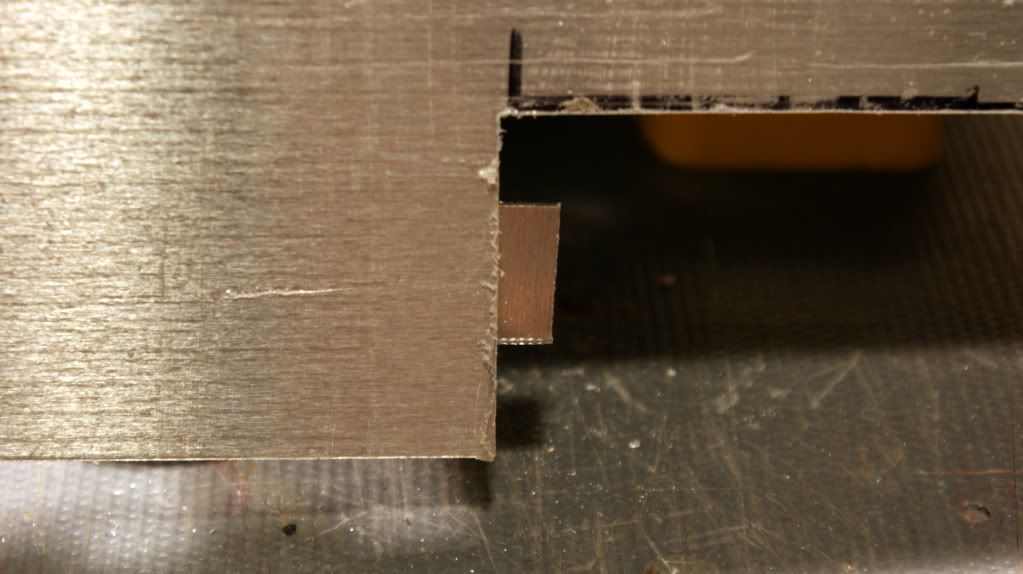
Now it sits nice and flush.

DSC03756.jpg


Now you saw where I am putting the pumps so I drilled a hole for the fill port to the pumps.

DSC03738.jpg


And attached the pump.

DSC03735.jpg


Next I marked the spots for the fan holes. They are actually a little bit smaller than the 180mm fans because I need the floor space for cables, tubing holes and acessories but it won't effect the performance too much.

DSC03747.jpg


I still need to mark it but I have to cut some away under the 24-pin connector for the cable.

DSC03760.jpg


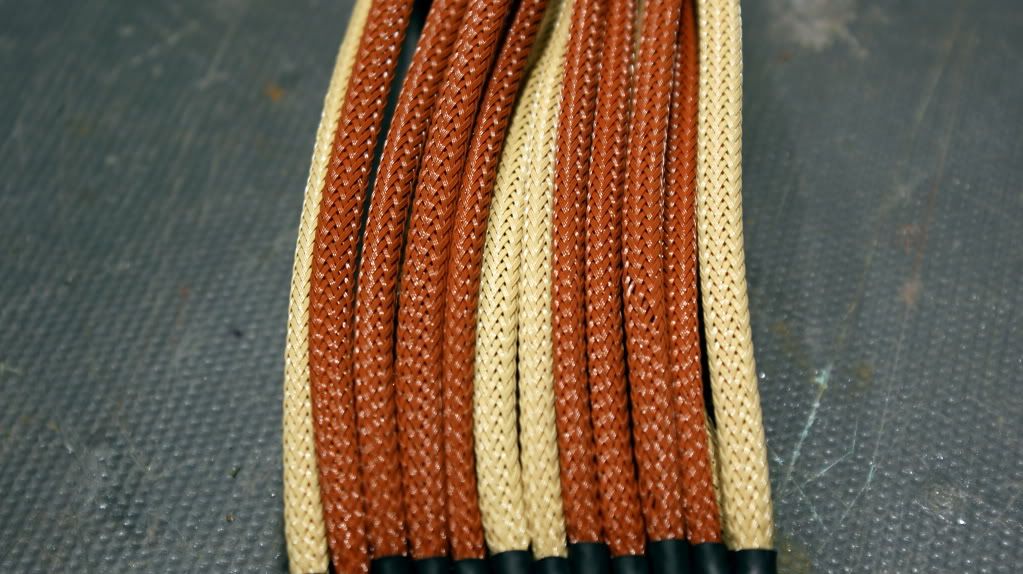
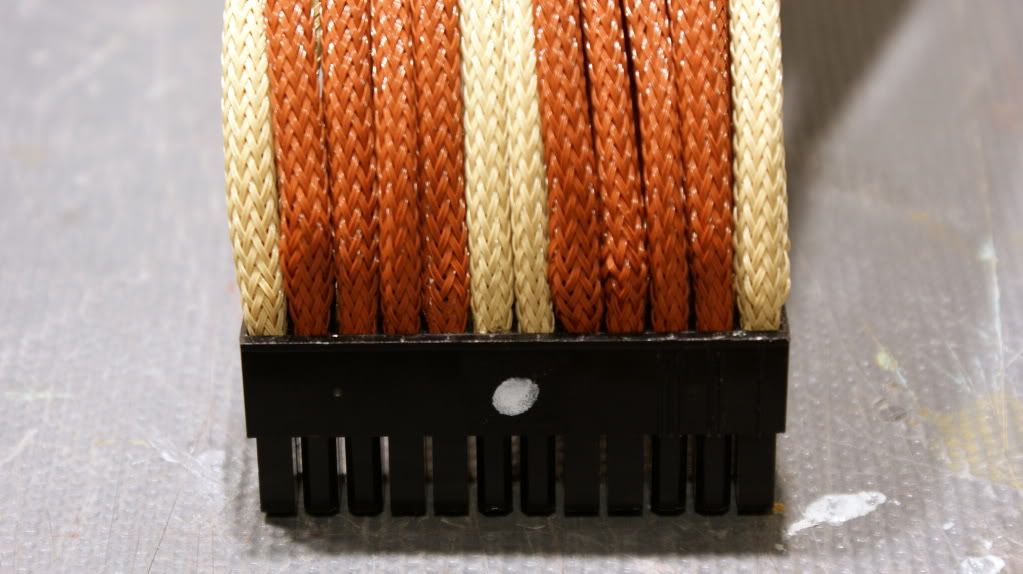
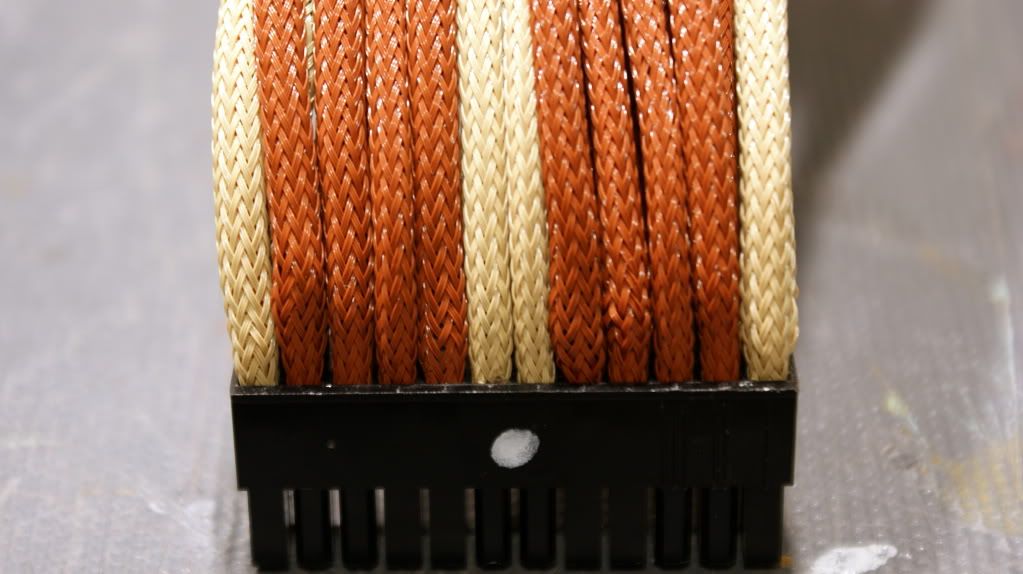
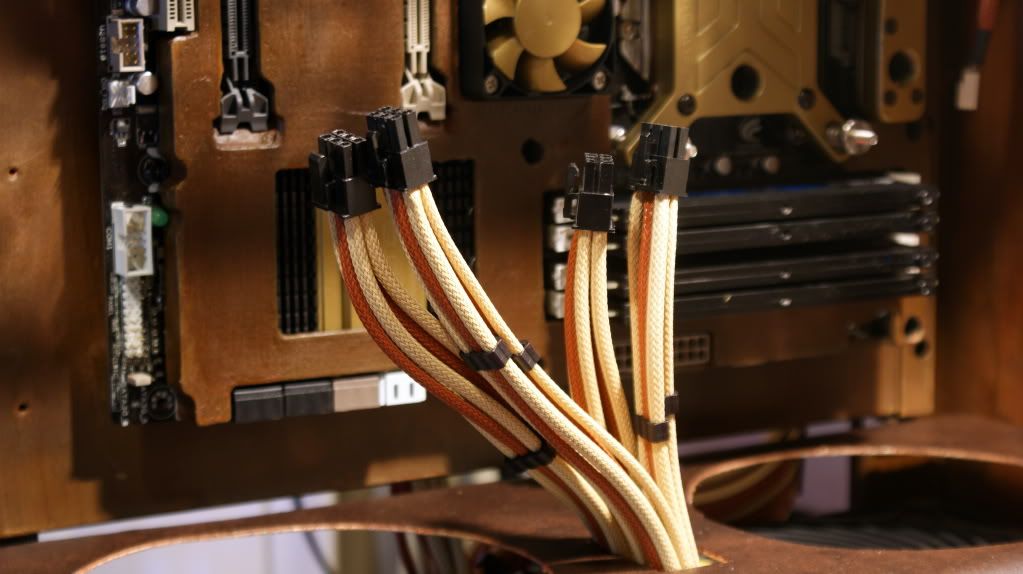
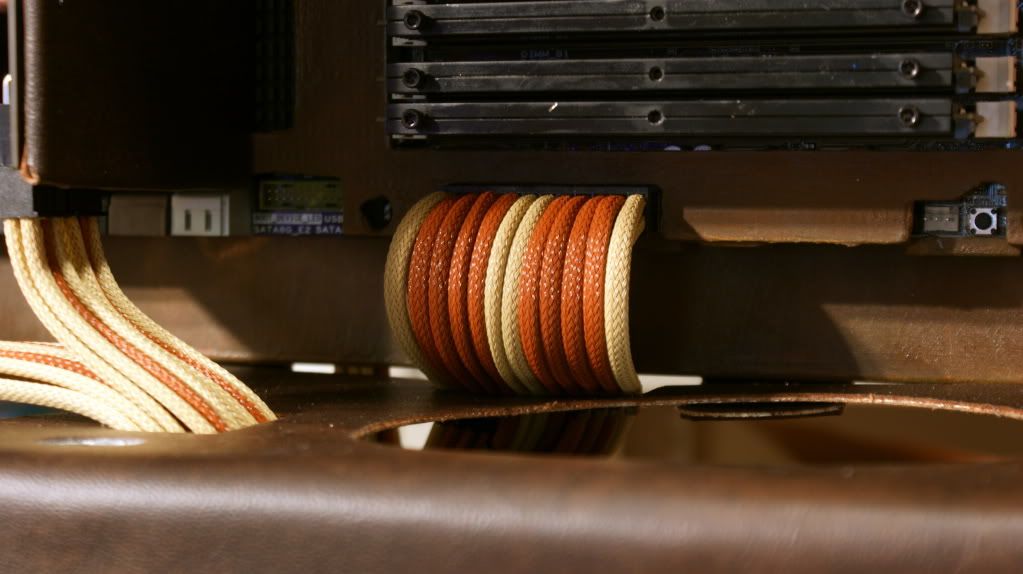
I sleeved the 24-pin cable and 8-pin cable.

DSC03748.jpg


The heatshrink isn't great so I may redo that.

DSC03749.jpg


DSC03751.jpg


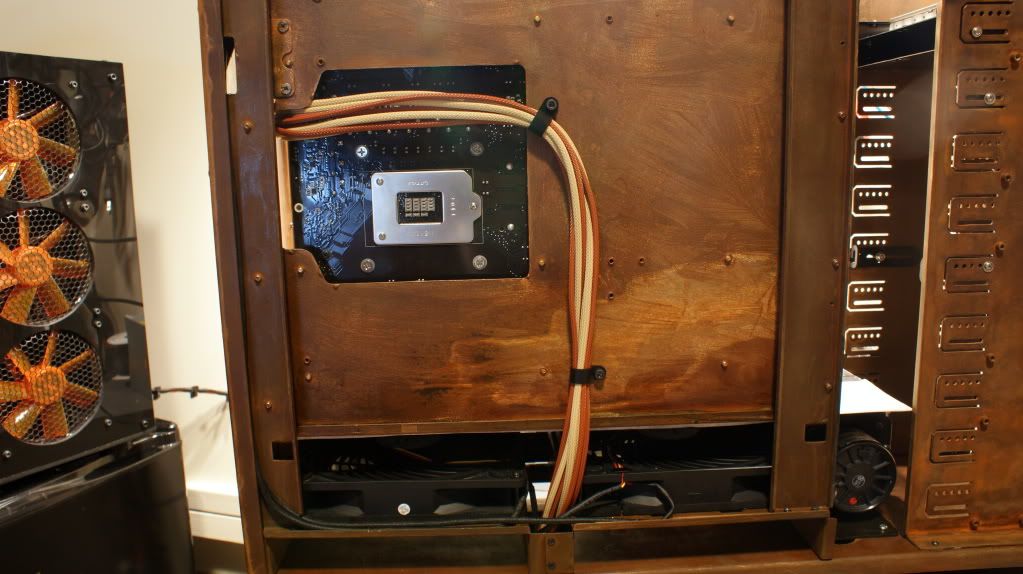
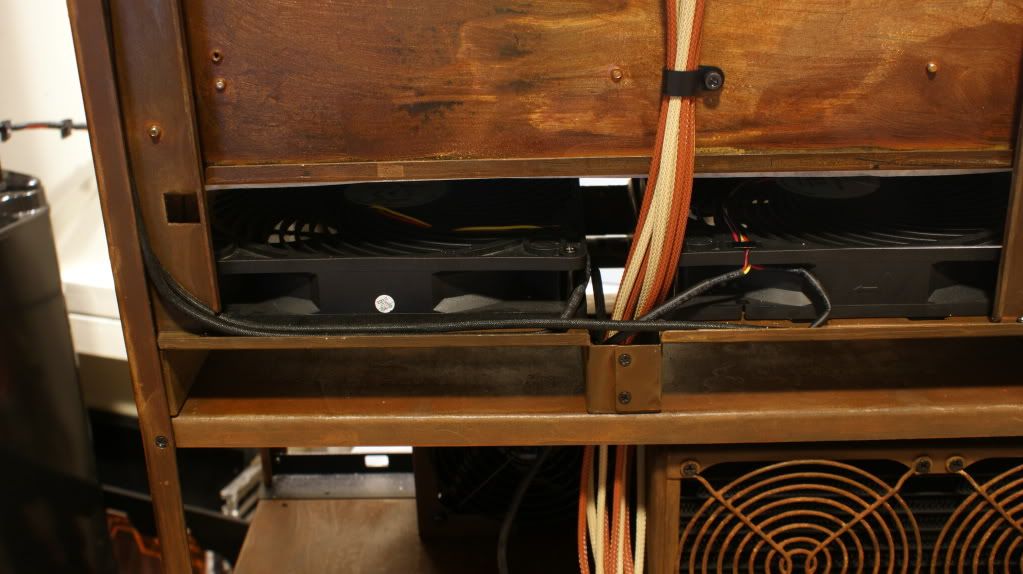
Then I did some cable managment with some P-Clips

DSC03758.jpg


DSC03759.jpg


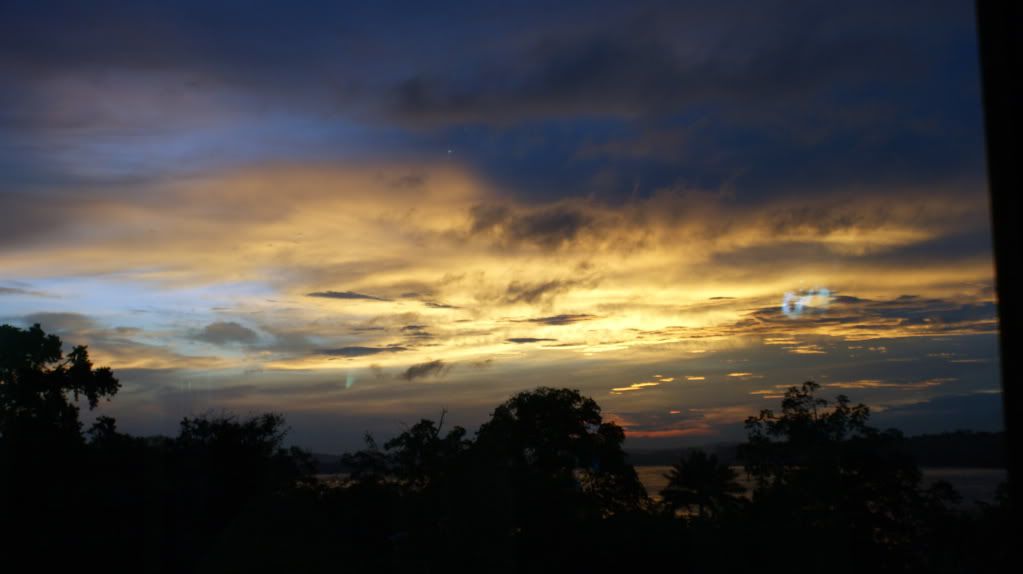
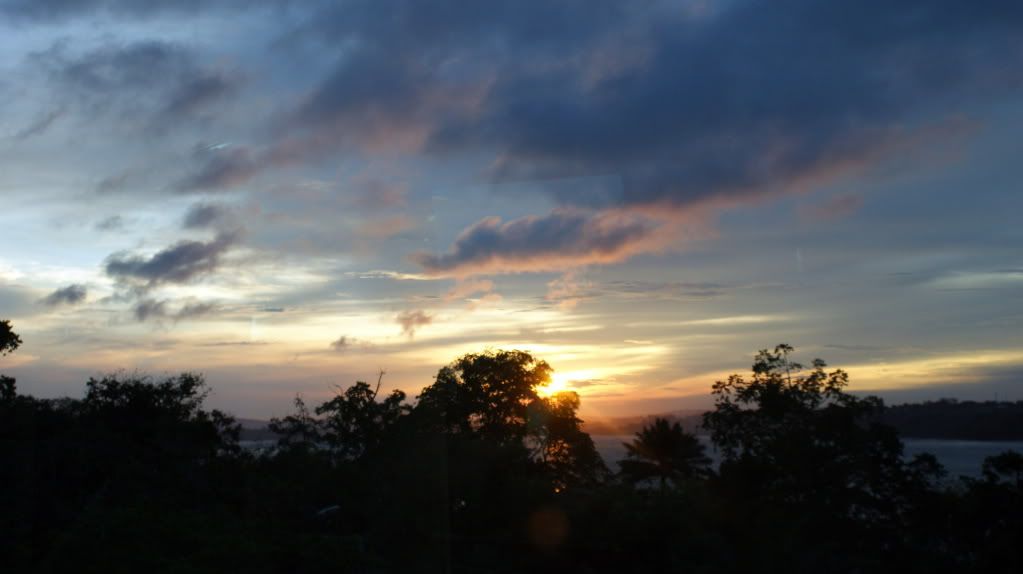
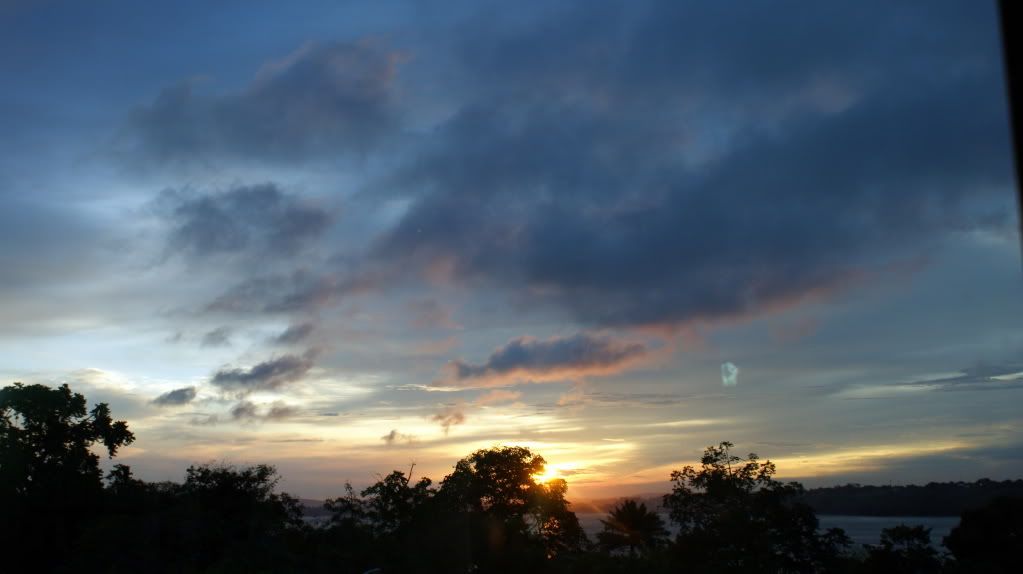
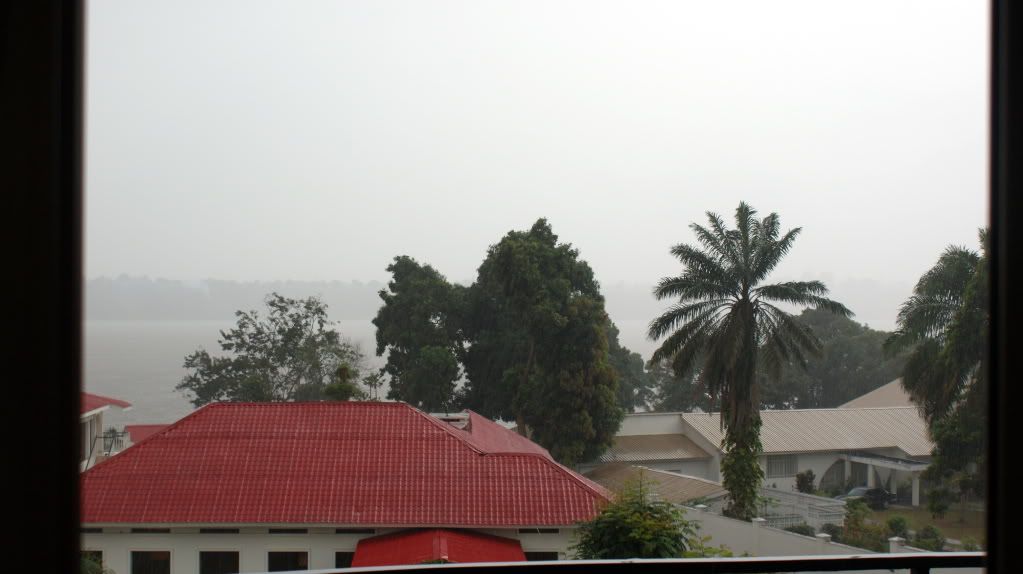
And the rainy season is back here in the Congo! We get some decent sunsets because of the weather.

DSC03746.jpg


DSC03742.jpg


DSC03745.jpg


Now for some more pratice shots.

DSC03761.jpg


DSC03762.jpg


DSC03765.jpg


DSC03766.jpg


DSC03768.jpg


DSC03769.jpg


DSC03770.jpg


DSC03778.jpg


DSC03780.jpg


DSC03781.jpg


DSC03786.jpg


And the best molex pin remover ever!!!

DSC03782.jpg


Sorry for all the photos but the only way to get better is to practice!

Cheers till next time,

Fuga
 
This must be a love or hate build :)
But i think it is a wherry special build and am gona keep watching till the end :)
 
i like what's happening here, but i've got say... this feels more like the theme is rust, not steam punk. i understand wanting the rust look in a steam punk build, but i think it makes more sense to make a few spots seems rusted rather than making it look like you fished the thing off the bottom of the sea.
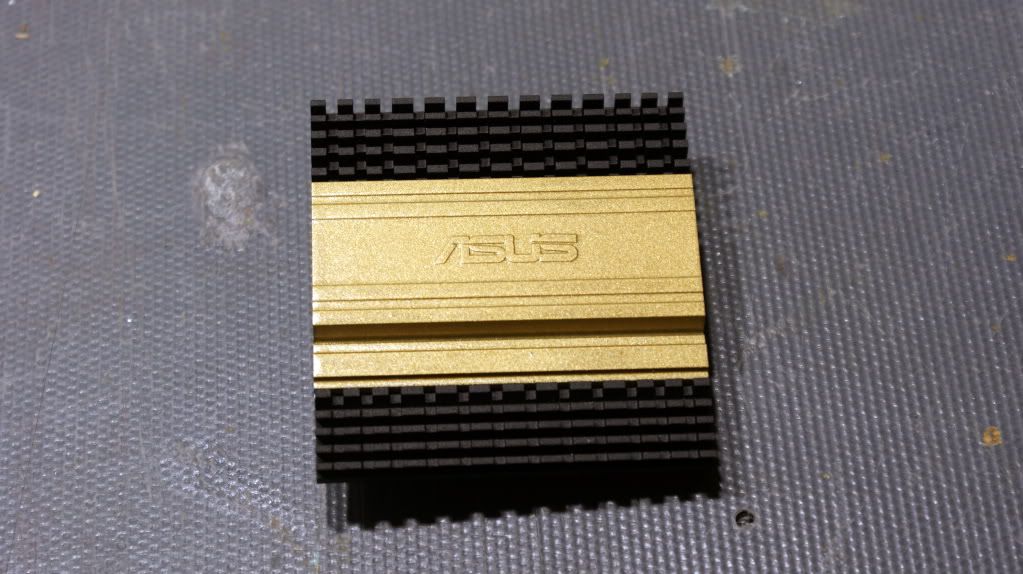
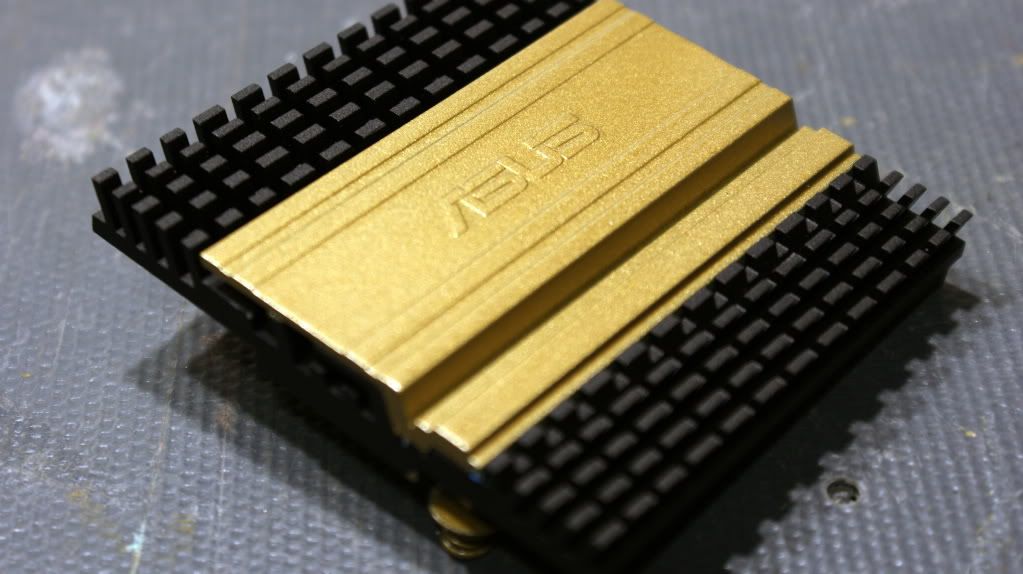
 
Much better pictures :cool:
Keep going and practicing man! can't wait for more updates :D

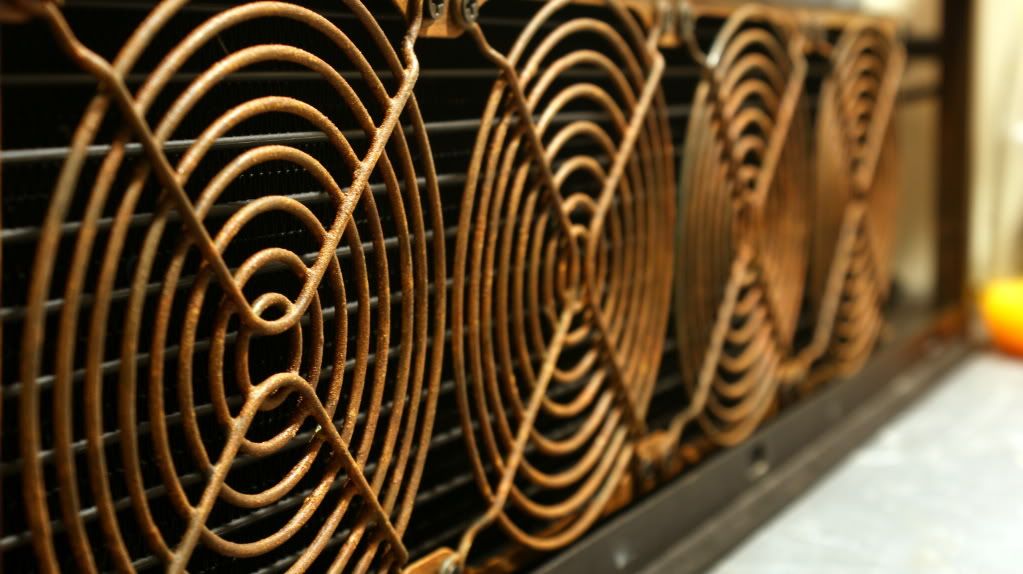
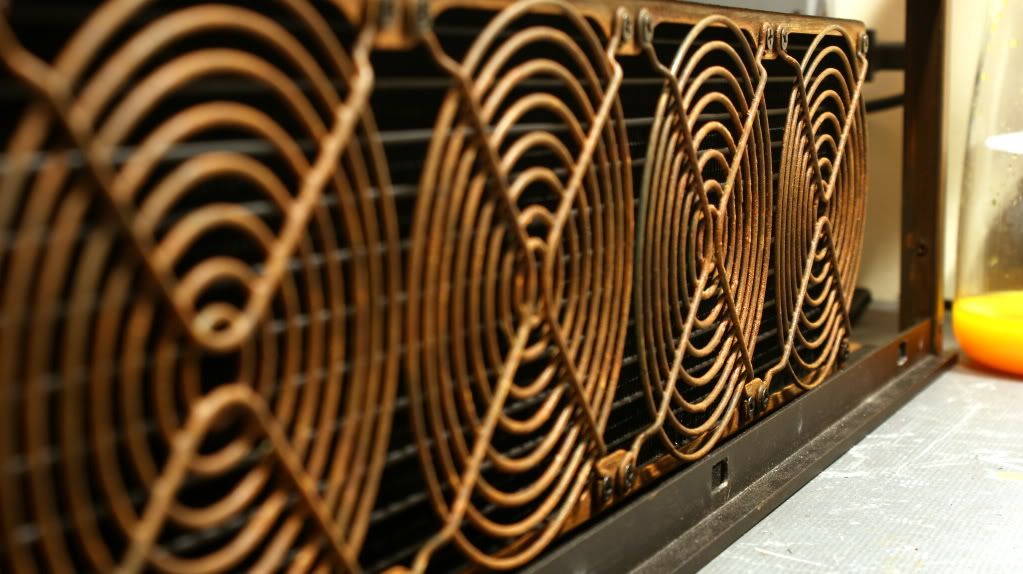
Are you going to leave the fans as is or mod/paint them?
 
looking awesome! after seeing your sleeving color choice, I feel this build will really benefit from the aesthetic of Noctua fans. As ugly as they are in all other application, I think they fit your color scheme and your aim for performance perfectly!
 
This must be a love or hate build :)
But i think it is a wherry special build and am gona keep watching till the end :)

Haha its tough sometimes to make decisions but I get it done. Thanks for watching!

i like what's happening here, but i've got say... this feels more like the theme is rust, not steam punk. i understand wanting the rust look in a steam punk build, but i think it makes more sense to make a few spots seems rusted rather than making it look like you fished the thing off the bottom of the sea.

No where near done yet.

Much better pictures :cool:
Keep going and practicing man! can't wait for more updates :D

Are you going to leave the fans as is or mod/paint them?

Thanks. I have not decided yet. I may paint the one you can see but the rest do not matter as you can't see them.

looking awesome! after seeing your sleeving color choice, I feel this build will really benefit from the aesthetic of Noctua fans. As ugly as they are in all other application, I think they fit your color scheme and your aim for performance perfectly!

I like the CM Turbine ones because they look like a turbine.
 
Here is another big update for y'all!

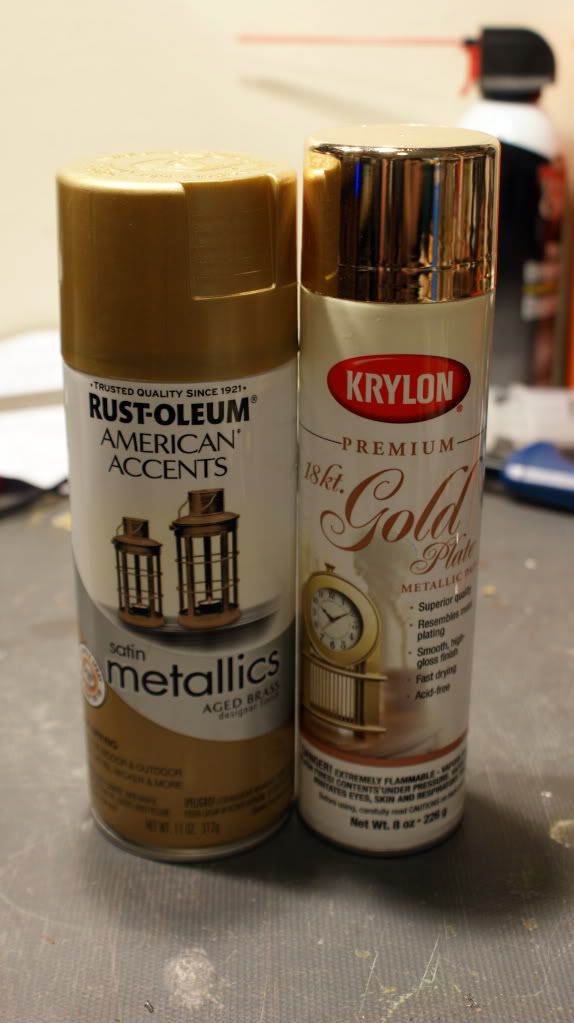
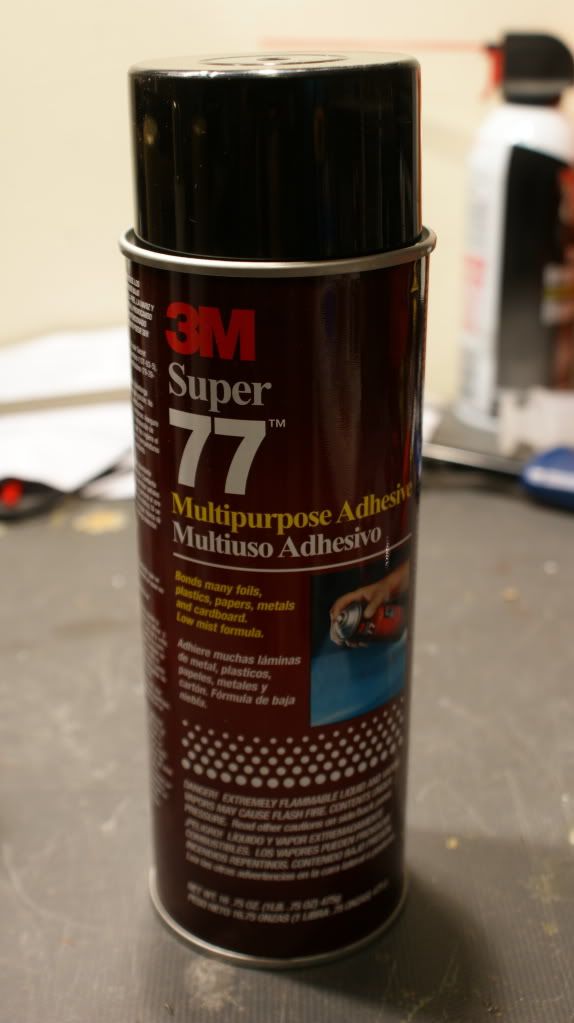
Finally got my paint and 3M glue in!

2 types of gold. I will ony be using the Rust-Oleum one though.

DSC03826.jpg


And the glue.

DSC03827.jpg


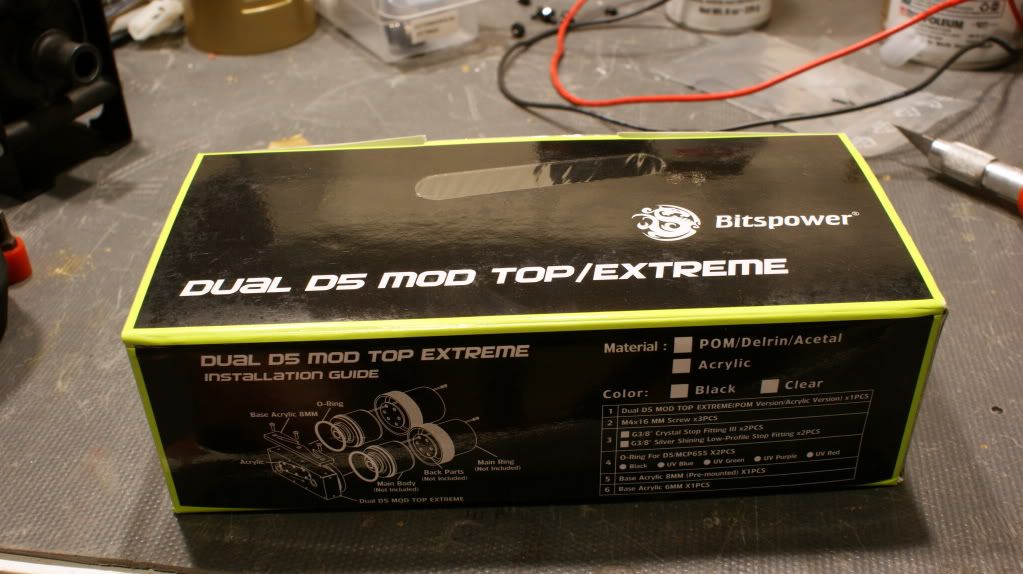
I also got in the Bitspower Dual Pump Top

DSC03871.jpg


I had to take one of the Acrylic layers off the bottom so the pump top would fit under the 240mm rad in the bays.

DSC03872.jpg


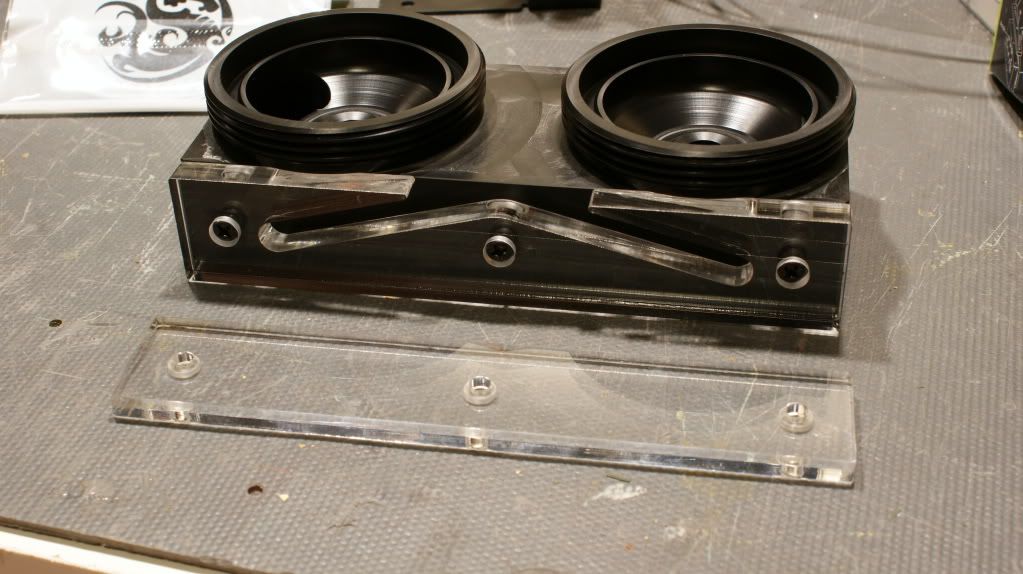
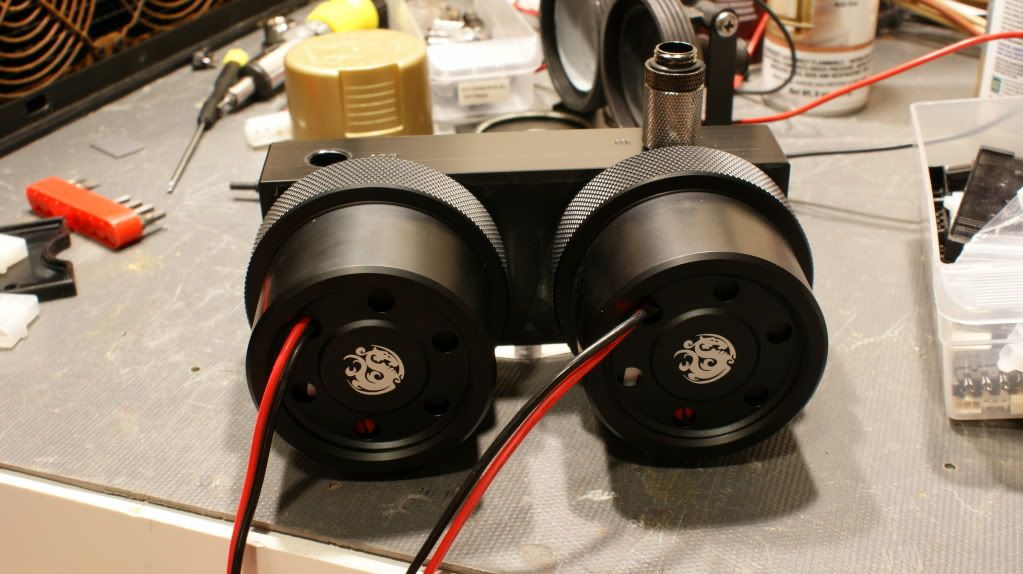
Put the pumps on with the Bitspower Mod Kit.

DSC03873.jpg


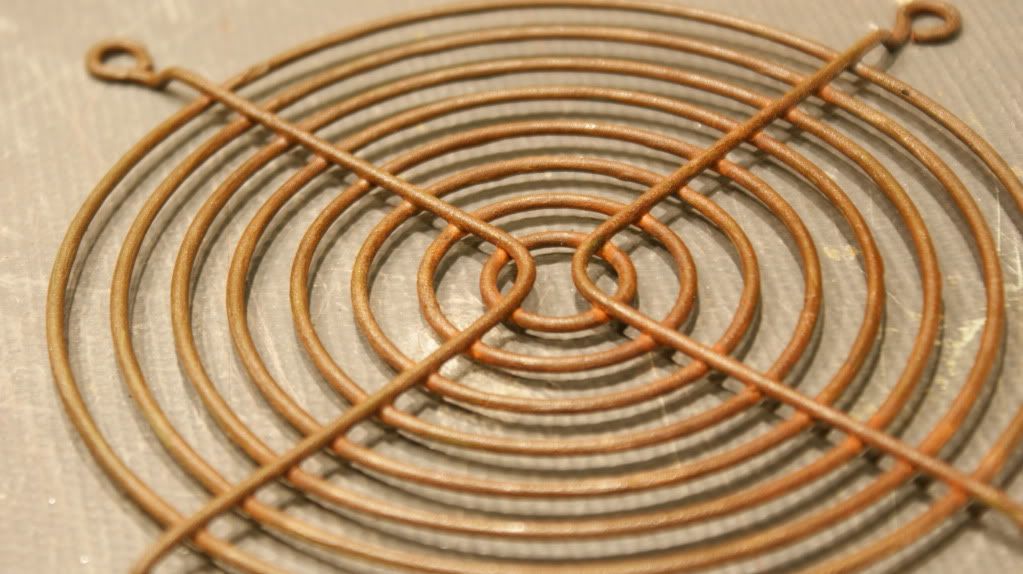
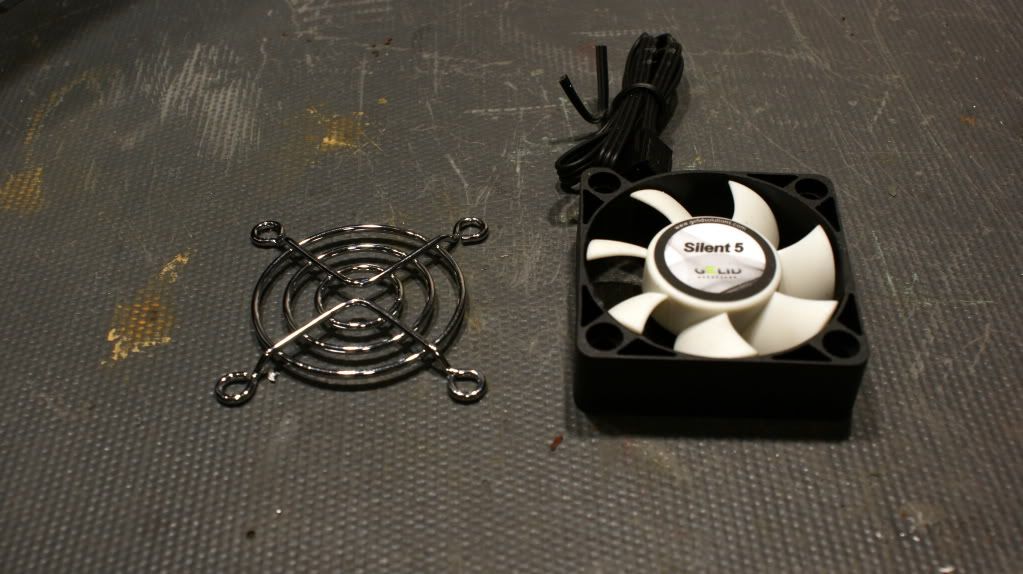
50mm fan grill. Not sure if I will use this or not.

DSC03792.jpg


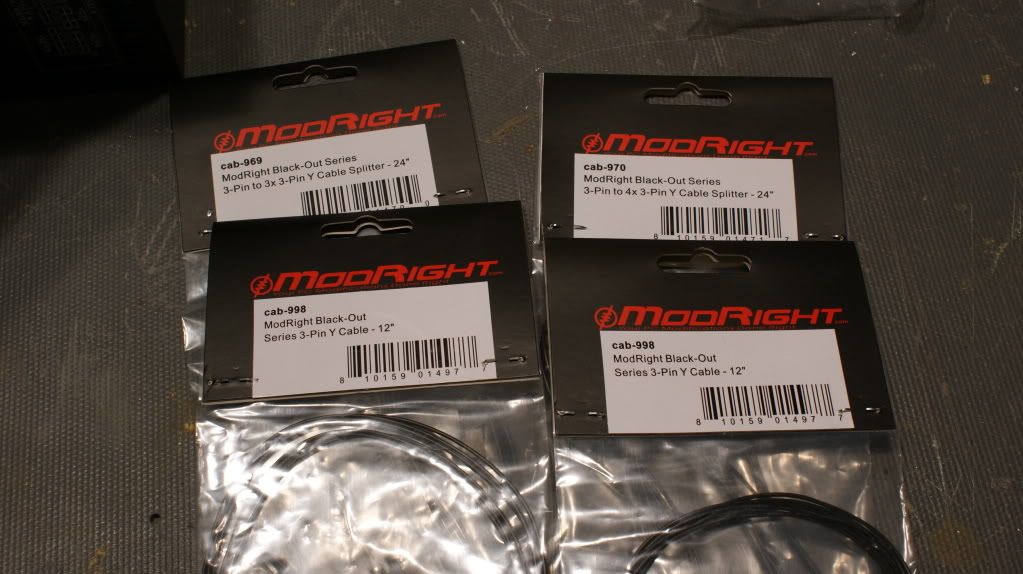
Some fan cables. 1 for each rad.

DSC03793.jpg


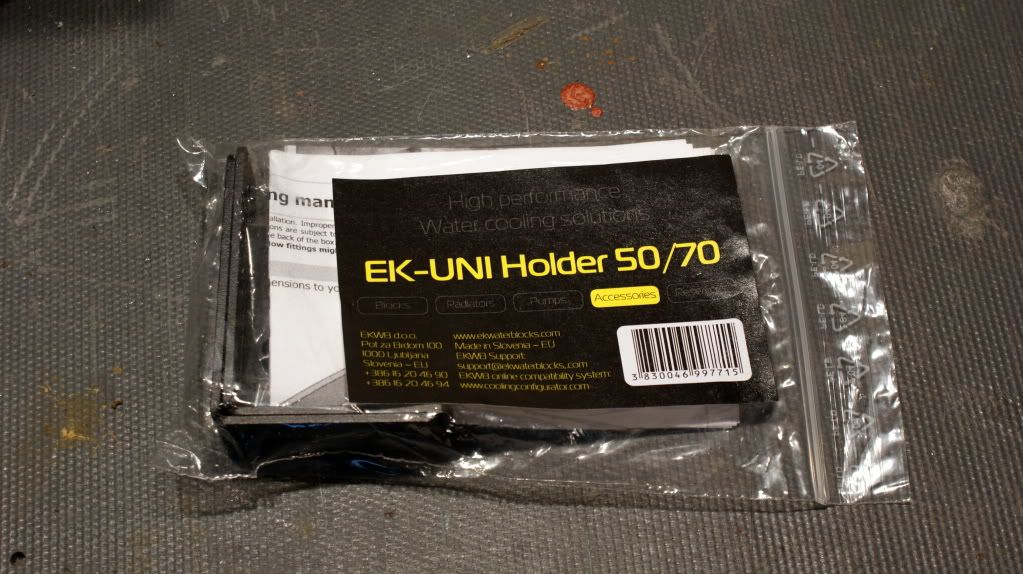
EK Uni Brackets for the Res (These are so I can mount the res to the 5.25" bays)

DSC03794.jpg


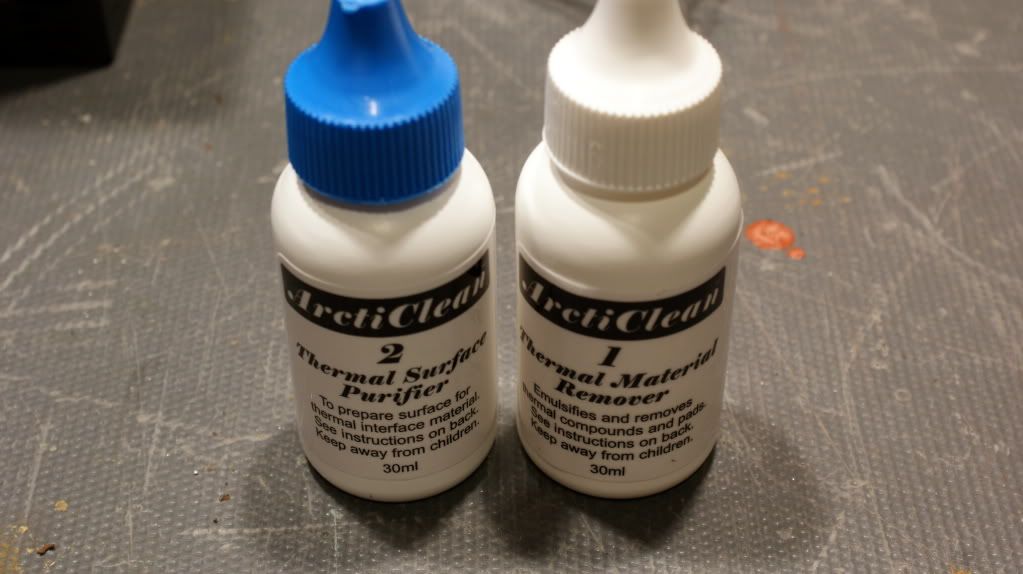
And some thermal cleaner so I can get some nice clean chips.

DSC03795.jpg


Now for the modding!

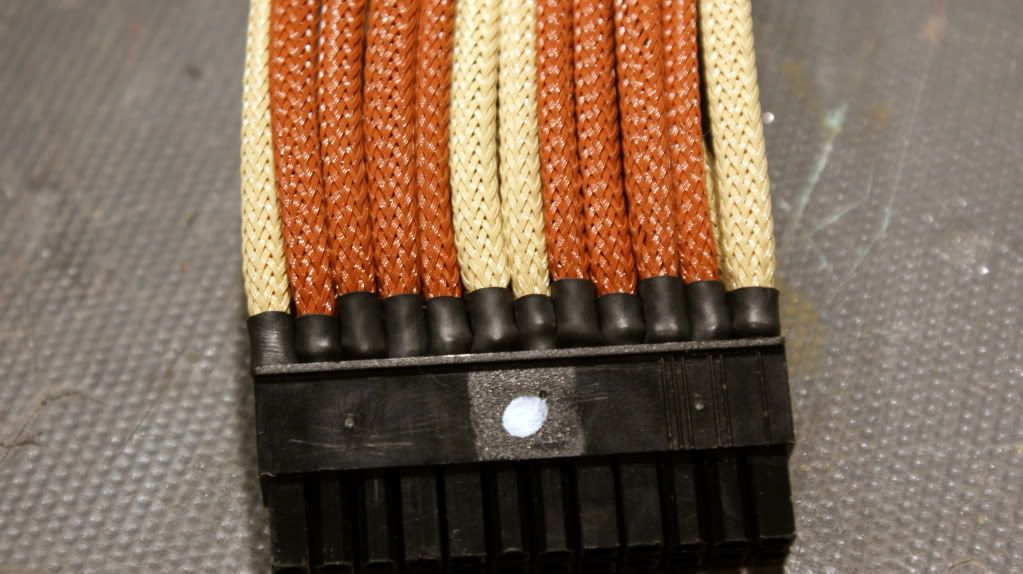
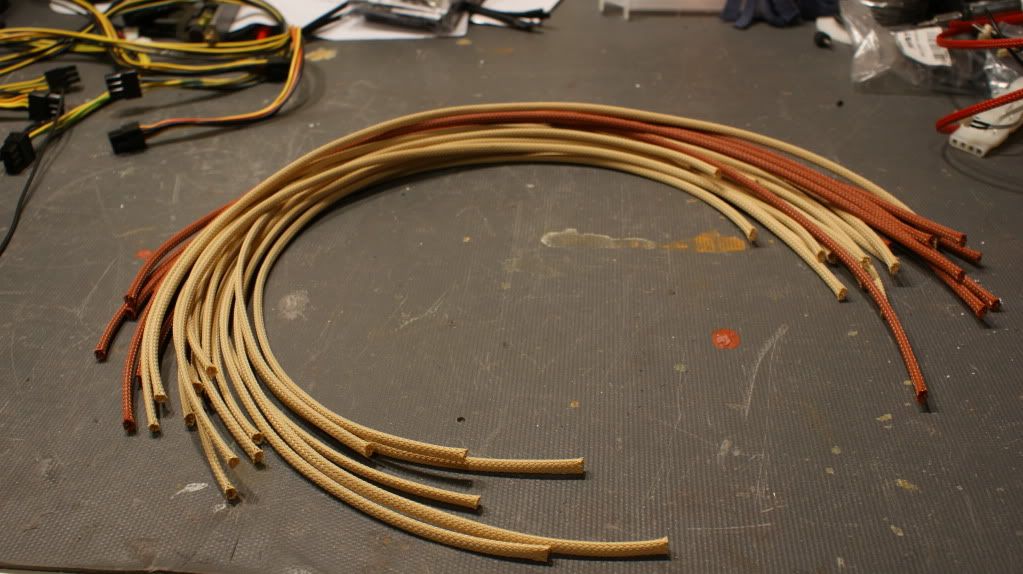
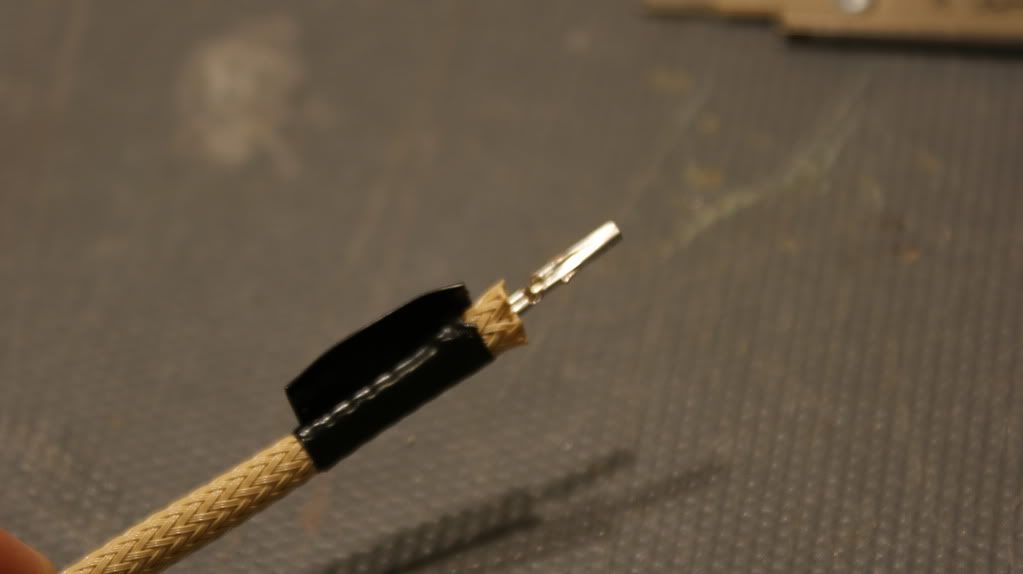
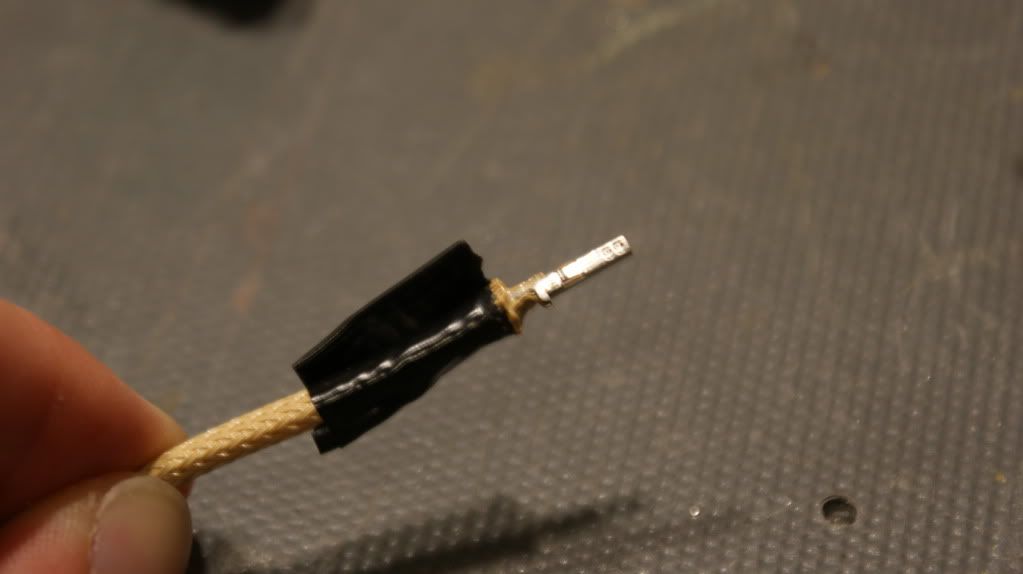
I decided to venture in to heatshrinkless cables for the ones you can see at least. Here is my journey.

All the sleeve ready to go.

DSC03815.jpg


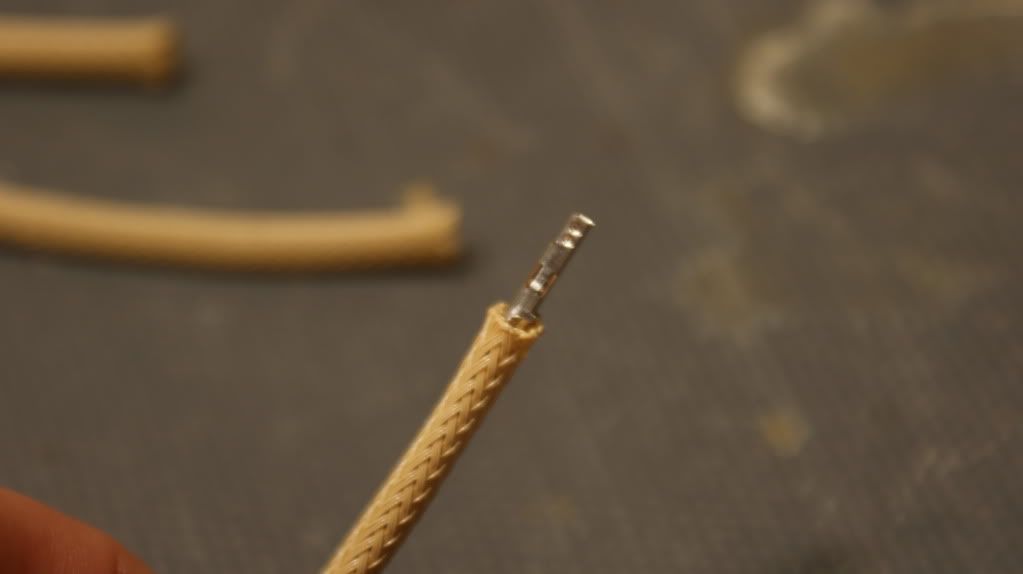
You have to have the sleeve almost touch the 2 prongs on the ATX pin.

DSC03816.jpg


I put some electrical tape on between 1/4" and 1/8" away from the end of the sleeve to keep the sleeving tight and to use as a guide.

DSC03817.jpg


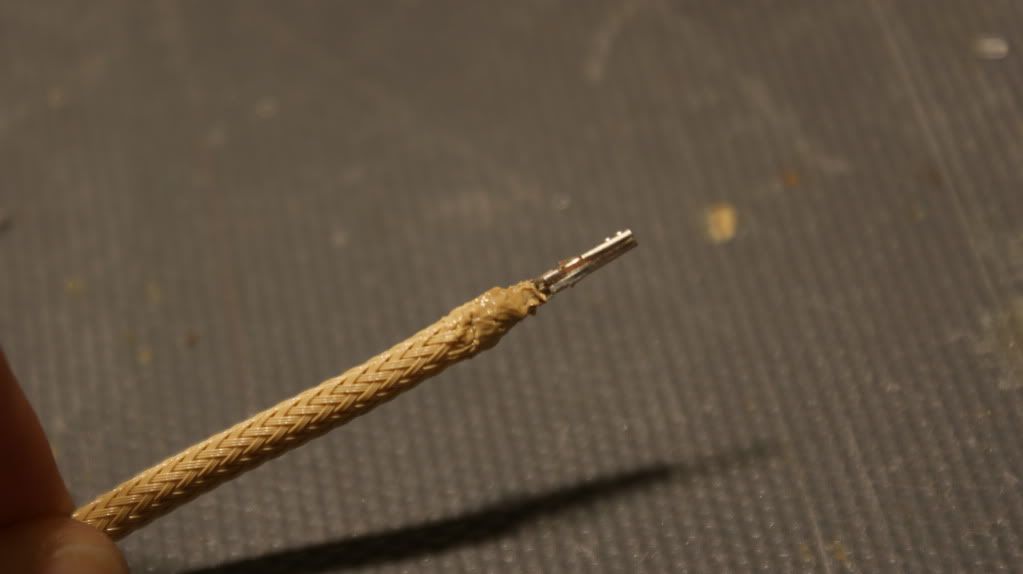
Next you use a soldering iron to melt the sleeve to the ATX pin. Don't melt more that what is marked. (Obv the tape is in the way)

DSC03818.jpg


Now all you have to do is melt it just a bit more to make it cone shaped basically to fit into the connector.

DSC03819.jpg


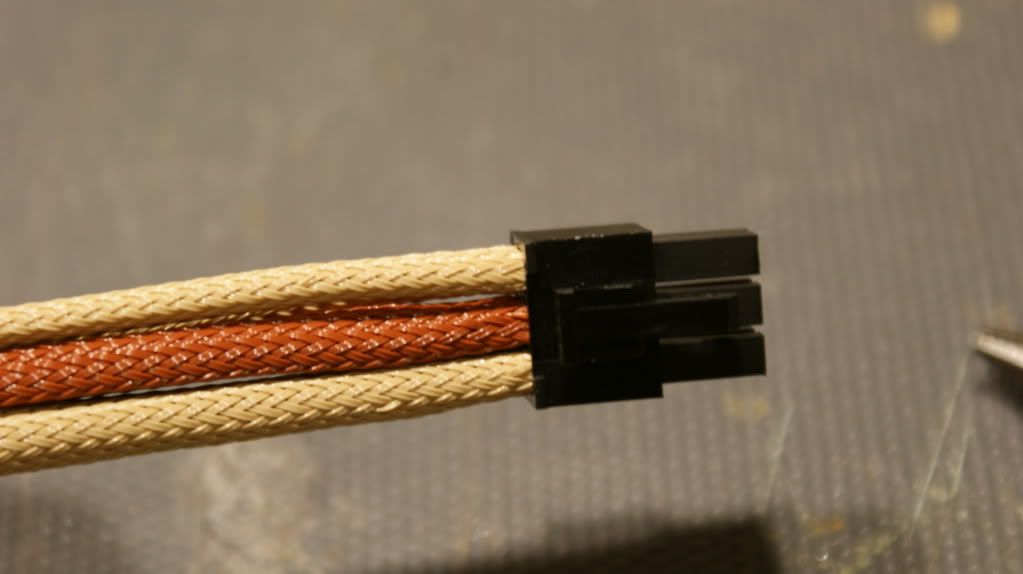
And here it is all done.

DSC03820.jpg


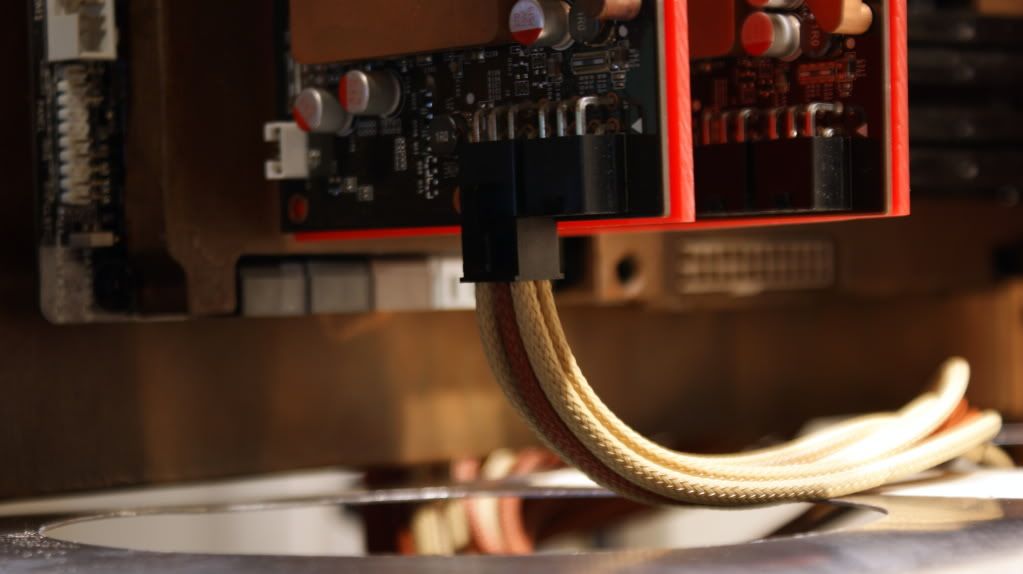
Here is how my 24-pin cable came out.

DSC03803.jpg


DSC03804.jpg


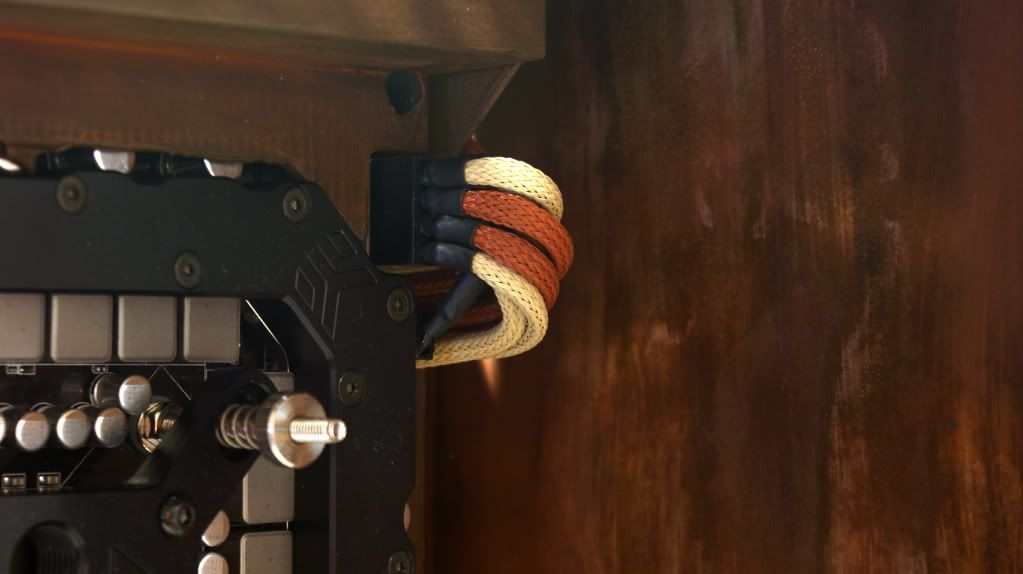
And the 8-pin

DSC03805.jpg


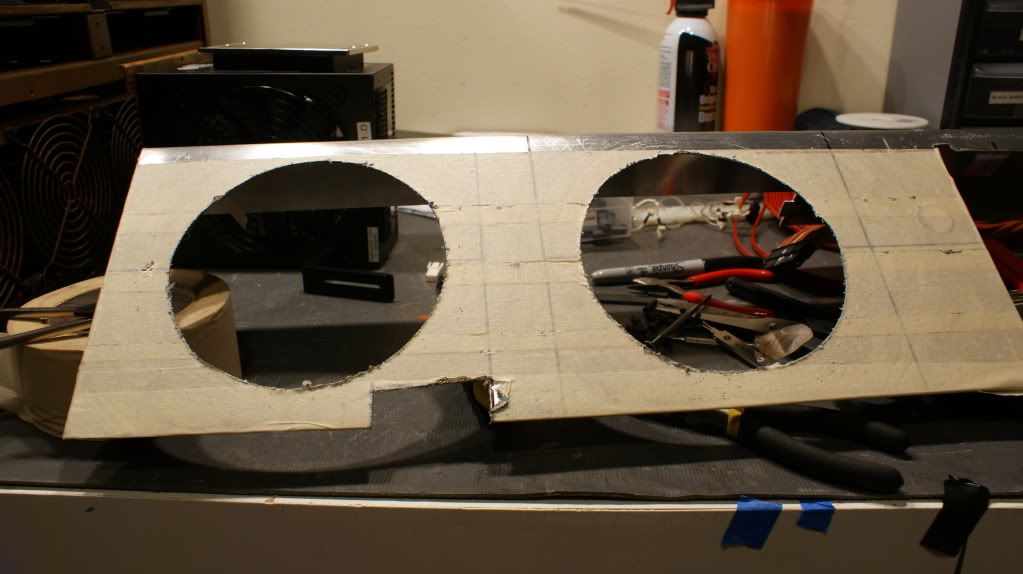
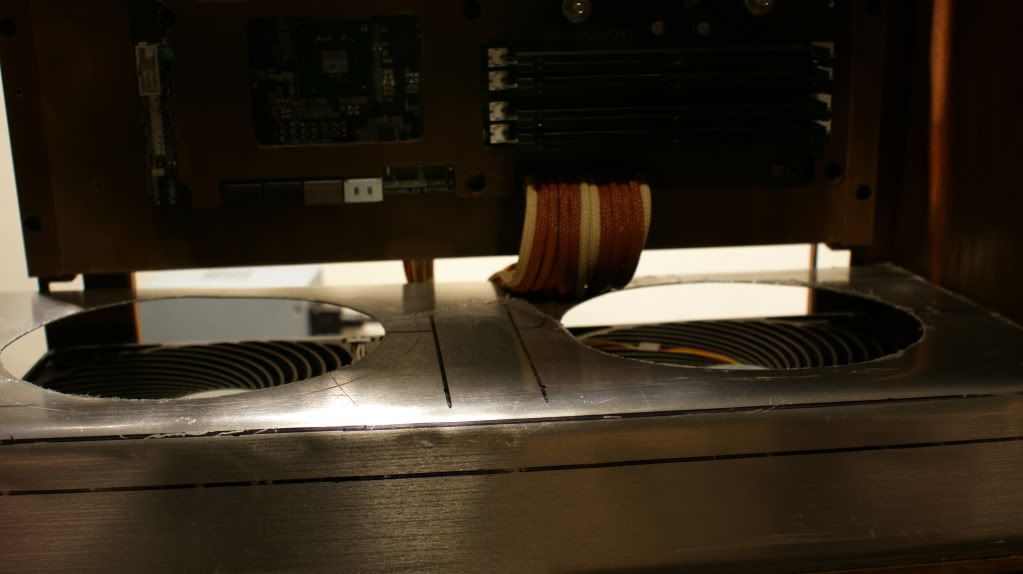
I cut the holes for the fans in the mid plate and a cut-out for the 24-pin cable.

DSC03807.jpg


DSC03809.jpg


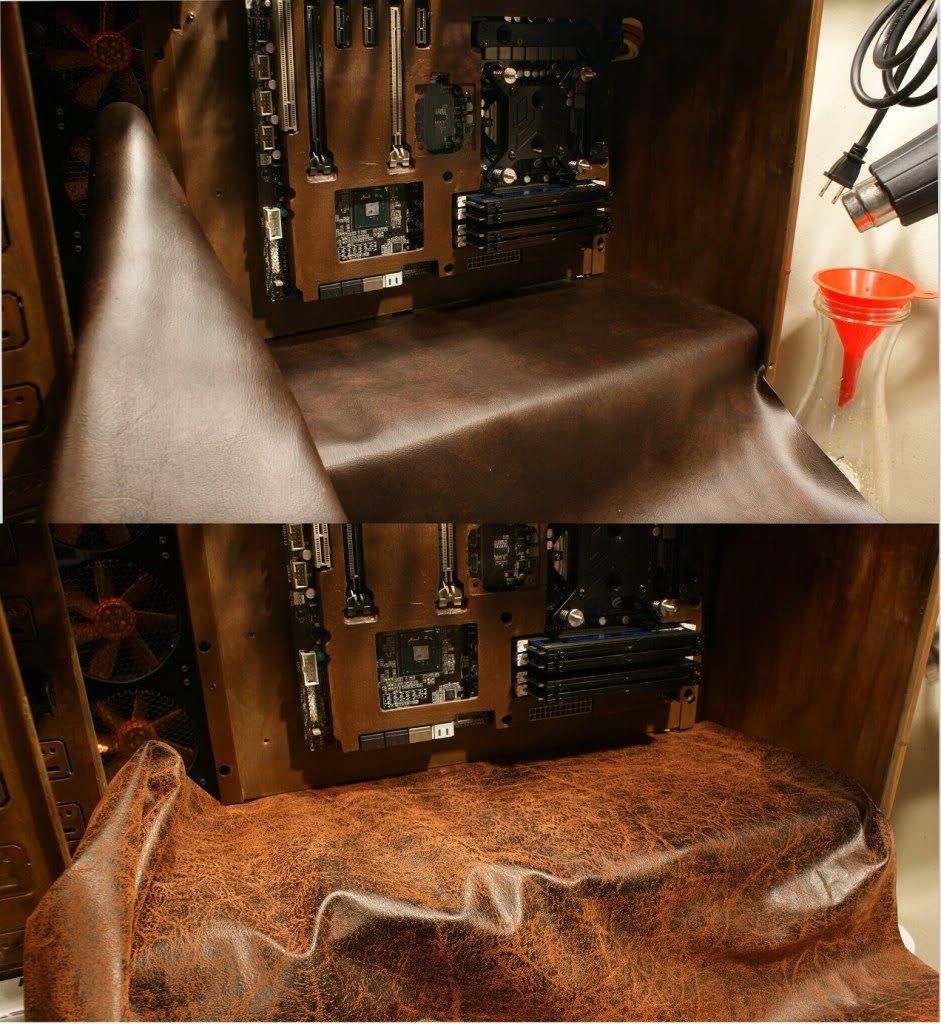
I made this photo so I could figure out which leather I would use for the midplate. I decided on the top one.

322671_540556101330_1213578805_o.jpg


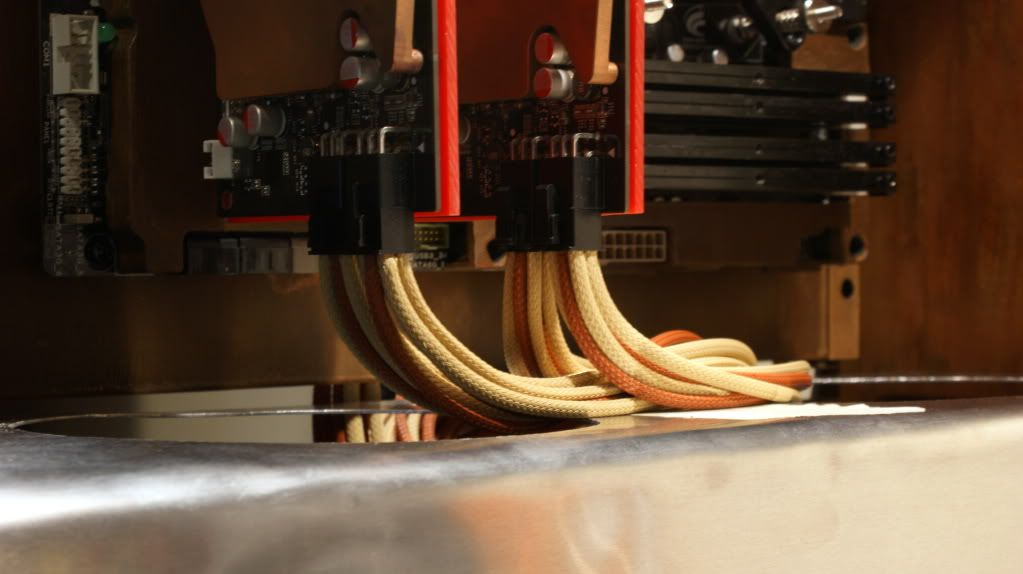
Here is how I was originally going to have the cables for the GPUs

DSC03811.jpg


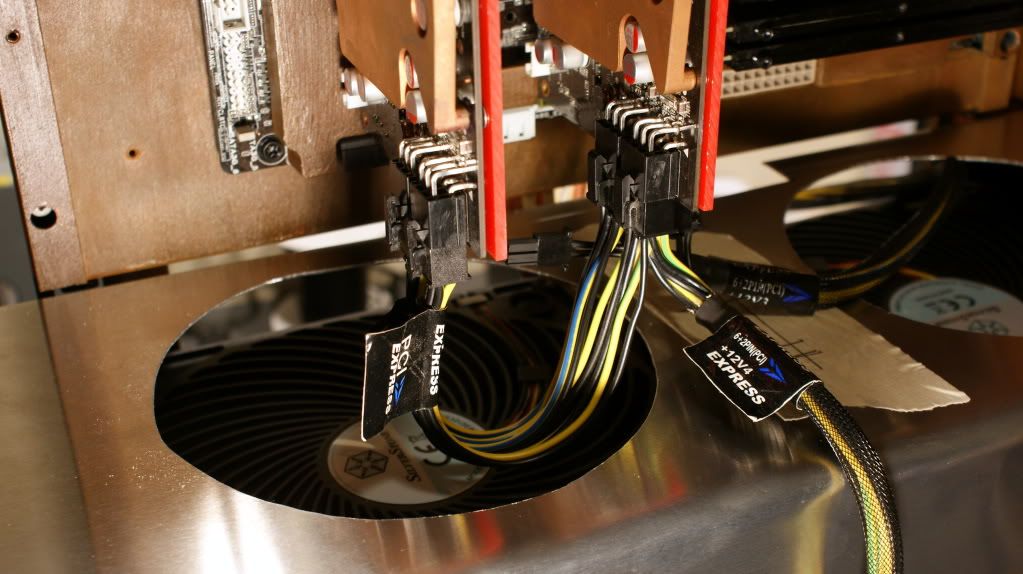
But since I'm going heatshrinkless I can't do that so I did this instead.

DSC03821-1.jpg


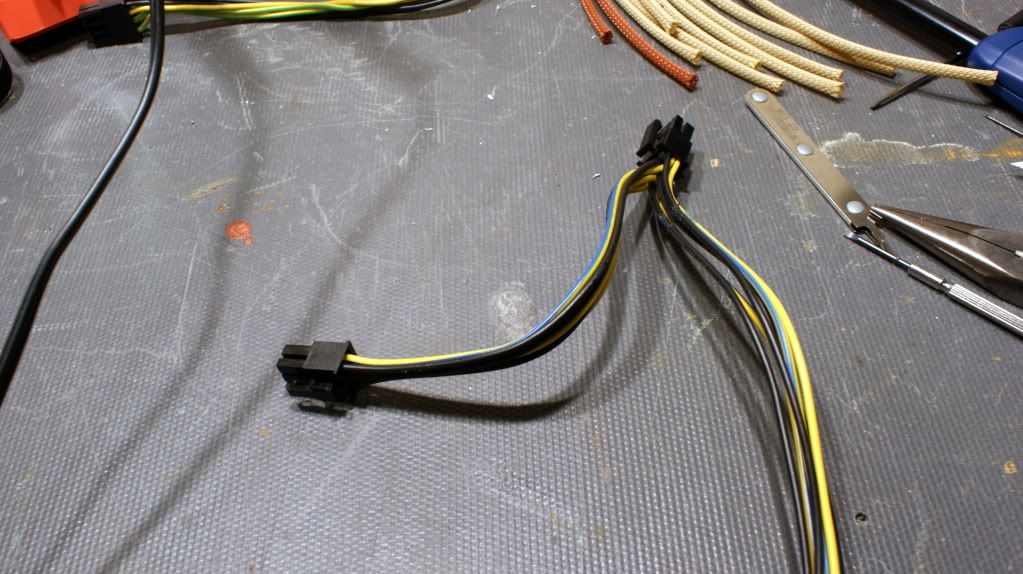
2 of the cables were straight 6-pin cables but the other 2 were made for 1 GPU each so I had to cut off the extra link.

DSC03822.jpg


DSC03824.jpg


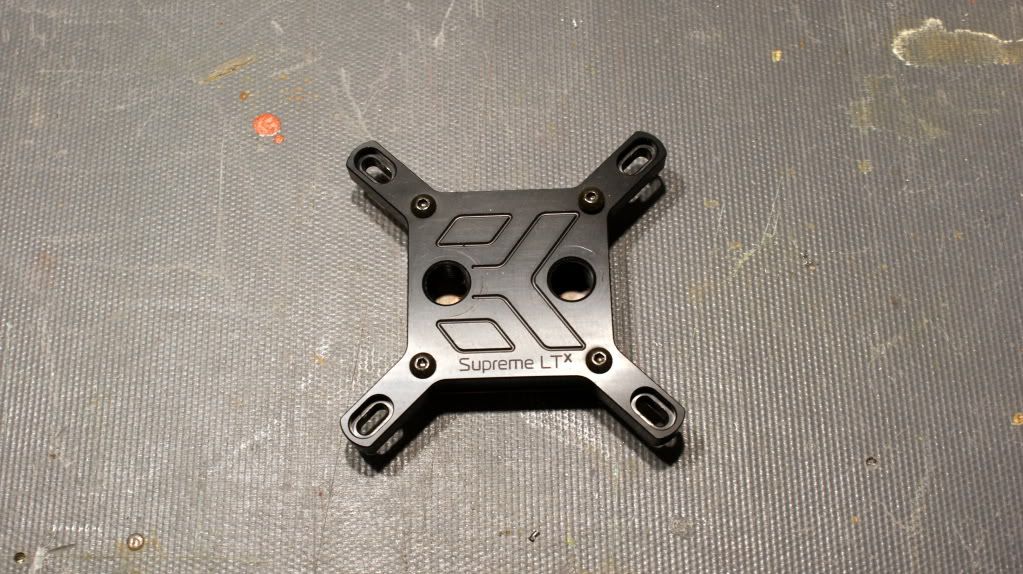
Now for a sweet mod!

DSC03828.jpg


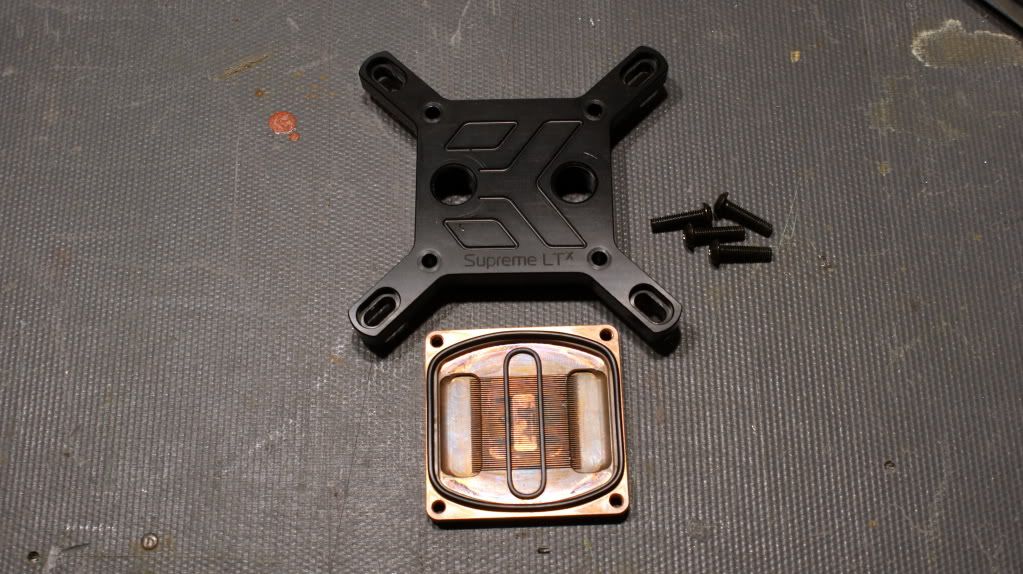
Coming apart...

DSC03829.jpg


Presto Chango!!

DSC03867.jpg


DSC03869.jpg


Did the same thing to the MOFSET block.

DSC03870.jpg


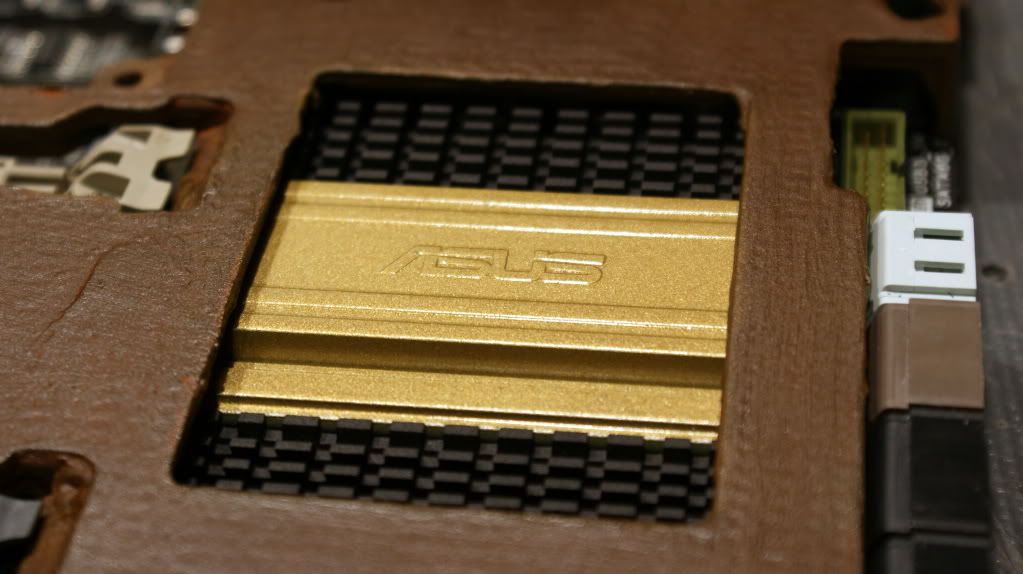
Then I painted the SB heatsink.

DSC03878.jpg


DSC03879.jpg


Looks good!

DSC03881.jpg


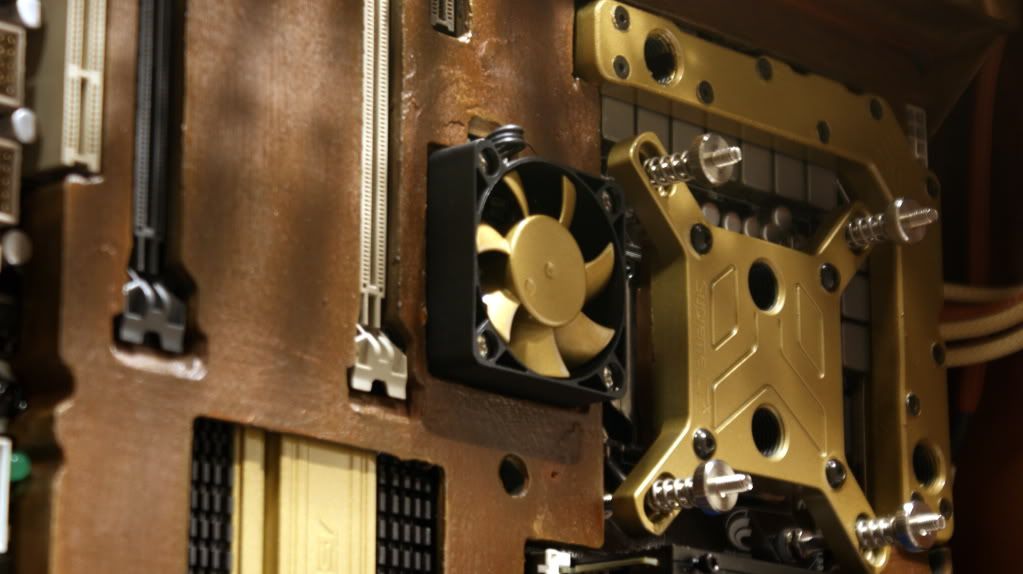
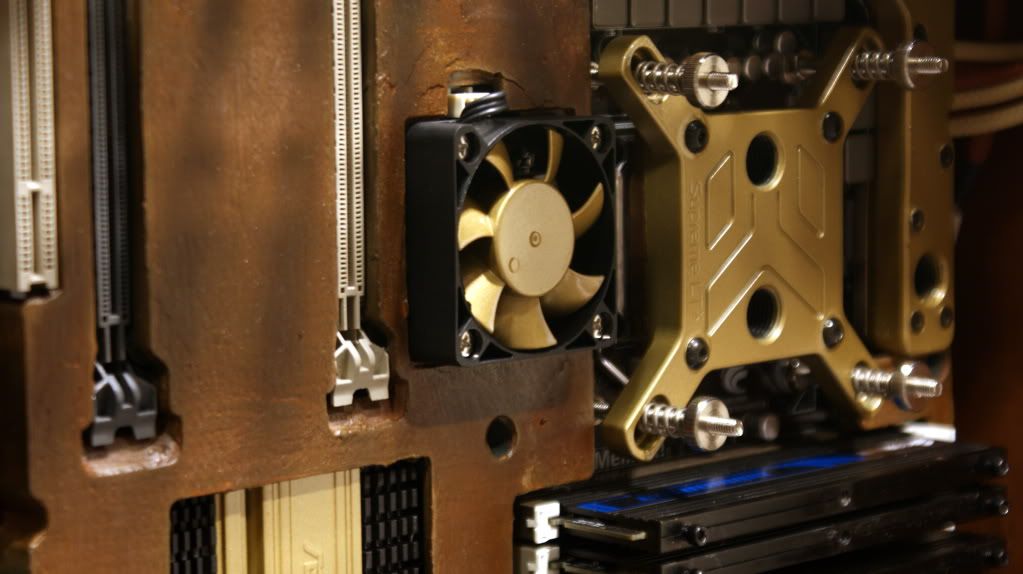
And then the 50mm fan.

DSC03882.jpg


DSC03883.jpg


DSC03885.jpg


Now that all really ads some pop to the motherboard.


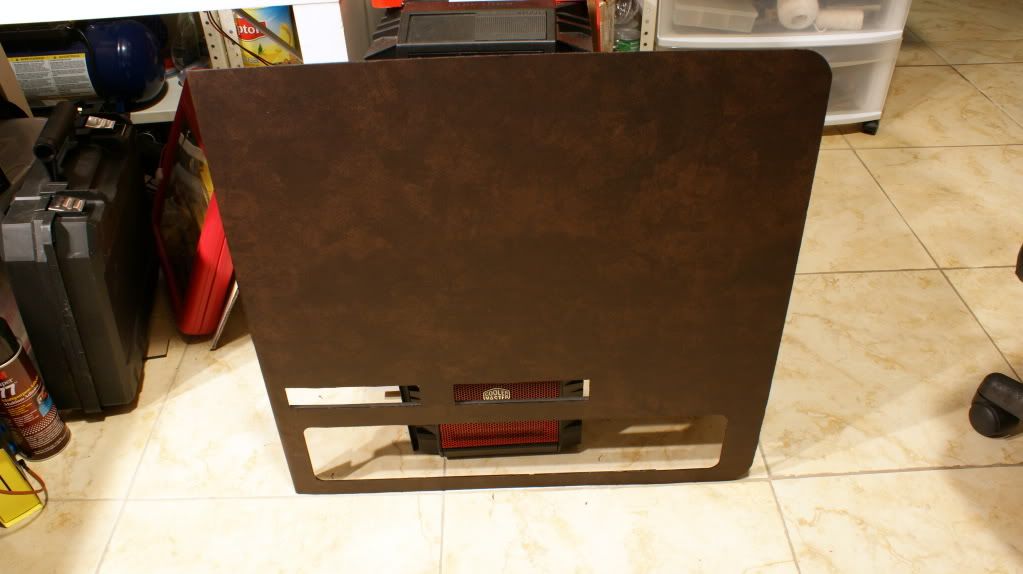
Since I decided to use the darker leather on the doors and here is what the first one looks like.

DSC03877.jpg


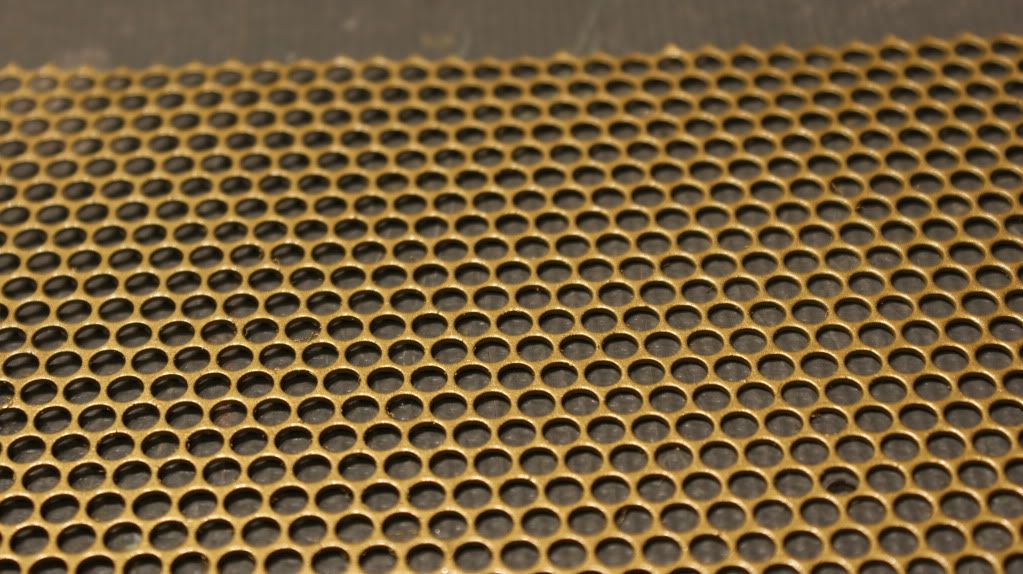
I also painted the mesh for the bottom gold too. Will be installed in the next update.

DSC03880.jpg


That's it for this update.

I'm working on the pump placement and routing to get the water from the res to the pumps effectively. Might need to do some fancy piping under the midplate with extensions and angled adapters... Hopefully some more gear will arrive this week so I can keep moving!

Cheers till next time,

Fuga
 
Awesome work. I'm loving everything about this build.

But I cringe every time I see the paint flecks inside the ports of those blocks.
 
Happy to say that EK is sponsoring my build!!

ekwb_logotip_a.jpg


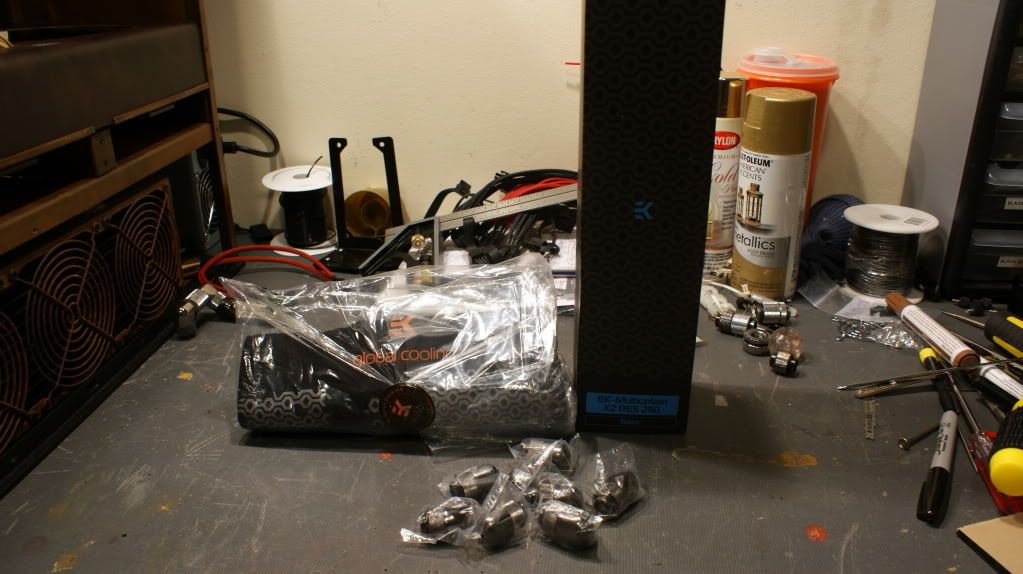
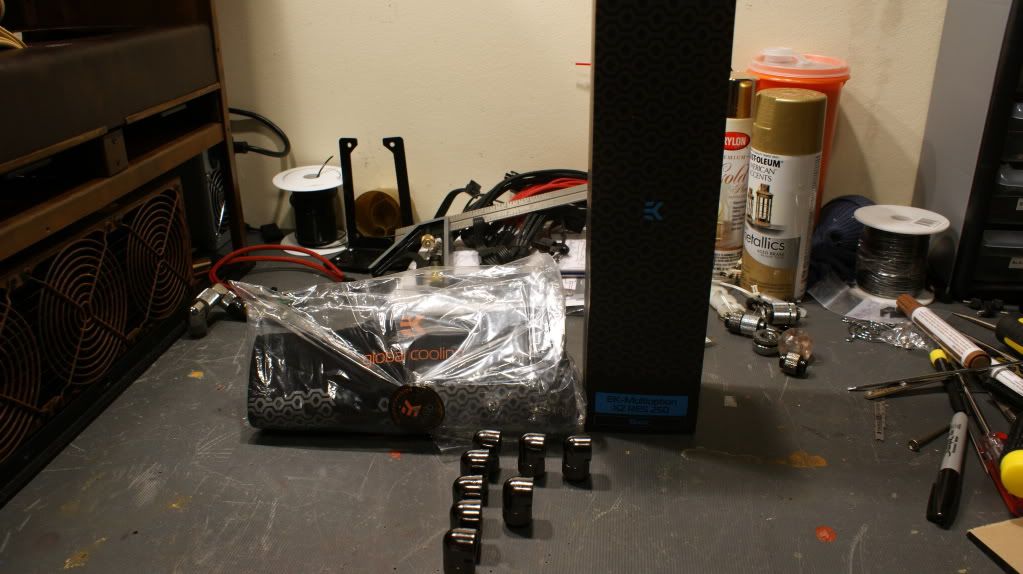
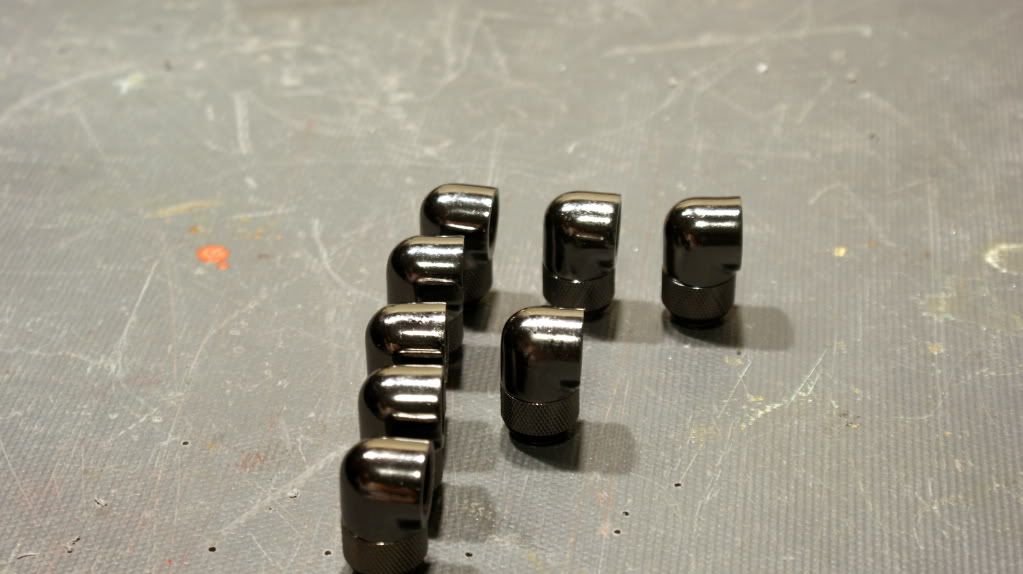
Gregor was able to send me a few things. EK-Multioption 250 Basic Res, 8x 90 Degree rotary fittings and a T-Shirt.

DSC03932.jpg


DSC03933.jpg


DSC03934.jpg


Now for the update. It is kinda big because I have not had time to write it up so here goes.

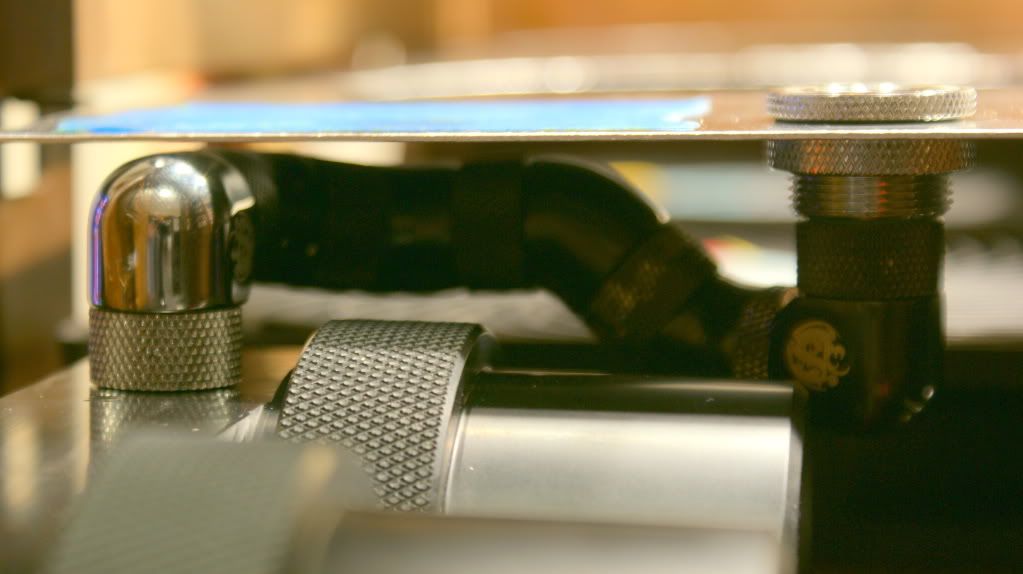
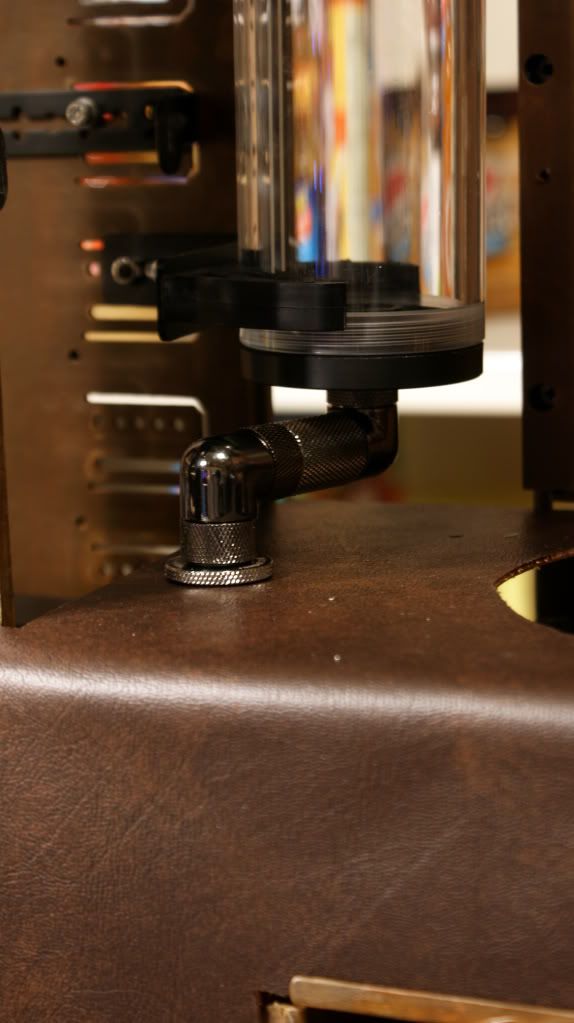
I had to figure out a way to get the water from the res into the dual pump top. A direct run would not work so here is what I had to fashion out of fittings I had laying around. Kinda ugly but it works and its out of sight.

DSC03886.jpg


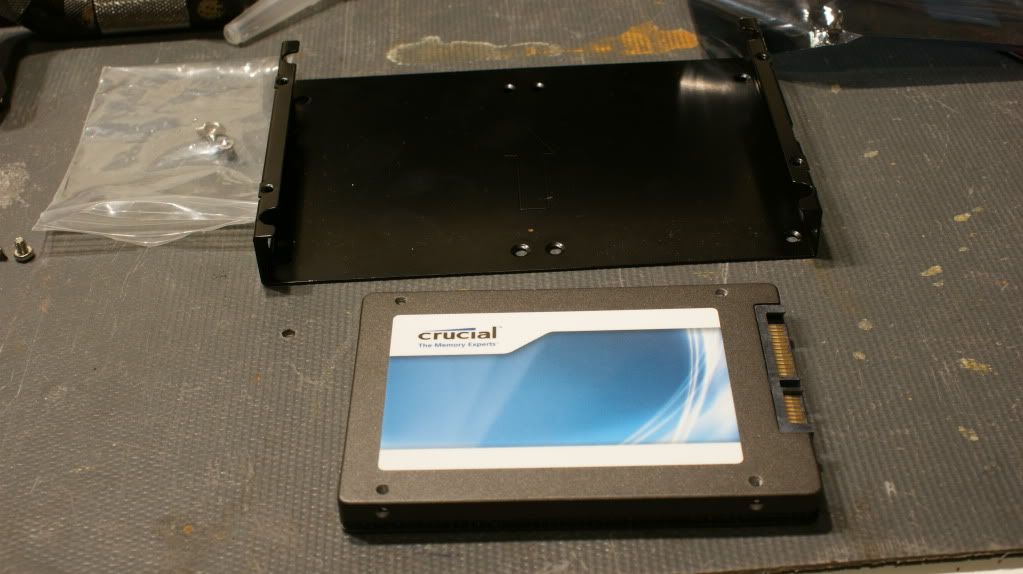
Got out my Curcial M4 128GB SSD and installed it on the Silverstone bay.

DSC03892.jpg


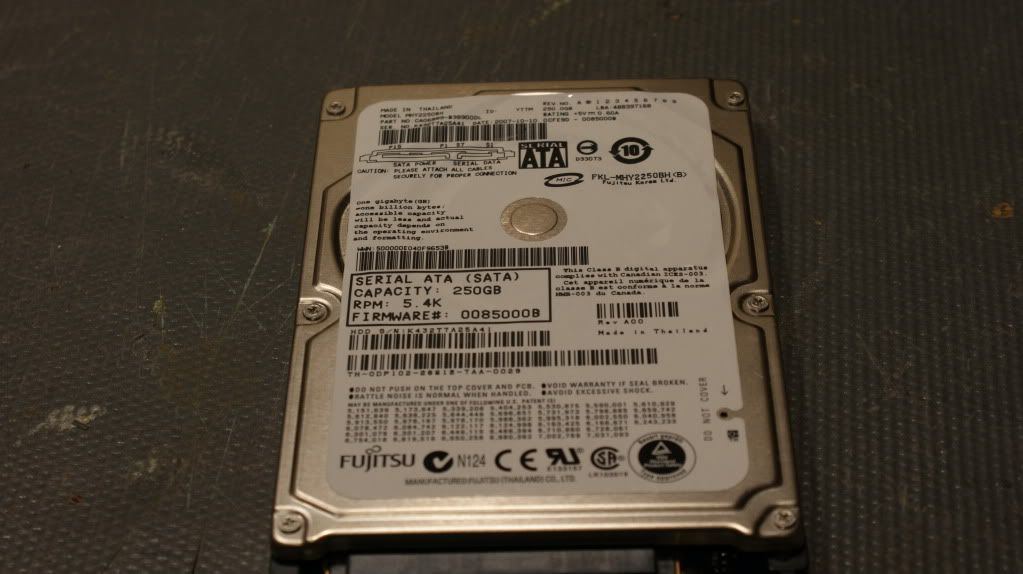
Found a 320GB HDD so I'll put that on there for now. I'm trying to get a 512GB SSD for games.

DSC03890.jpg


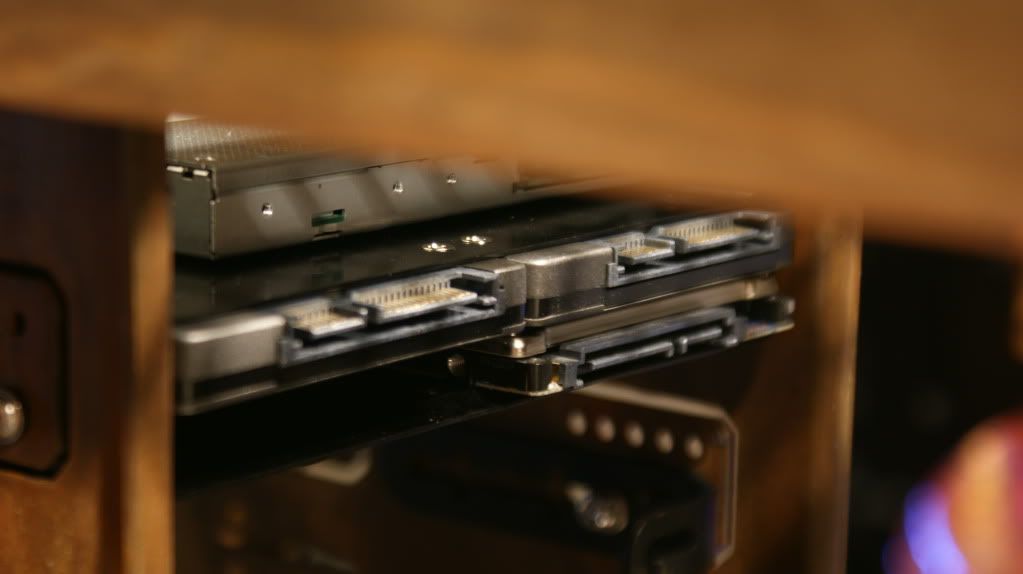
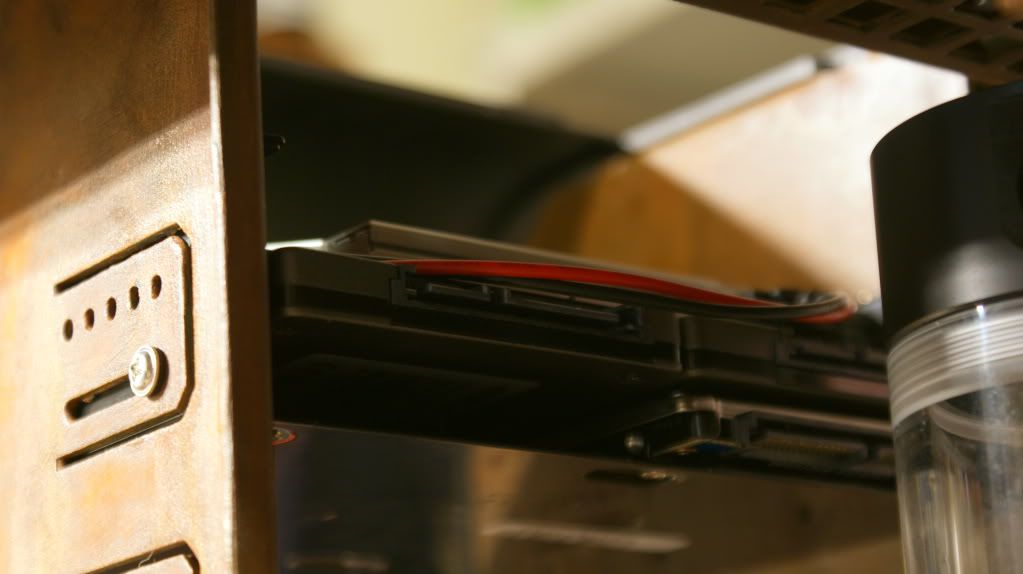
Now to figure out how to wire them all and make it look good...

DSC03895.jpg


DSC03952.jpg


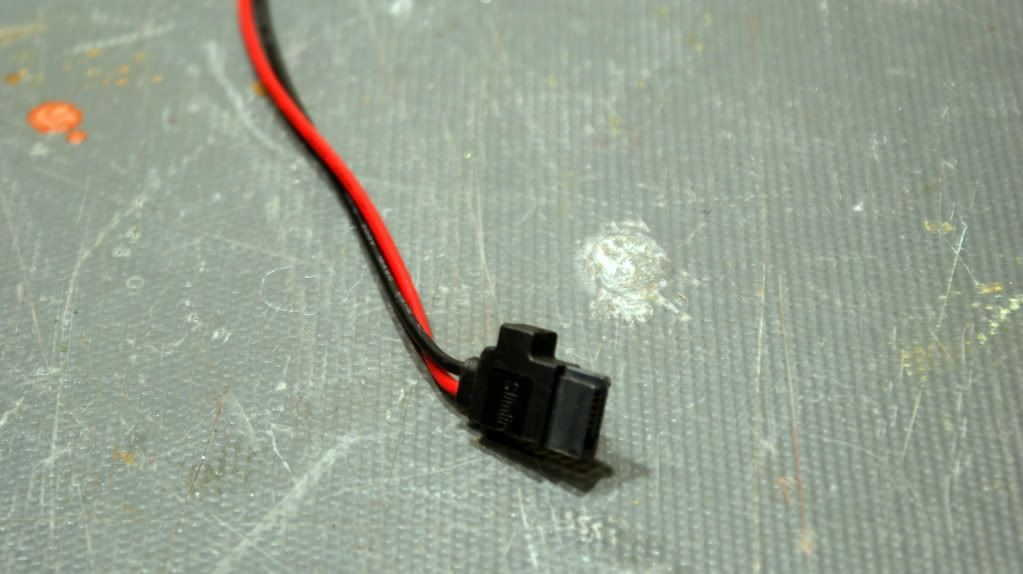
I also cut the Slim ODD cable so only the power cable is left. I have to use a longer SATA cable than what came with it.

DSC03907.jpg


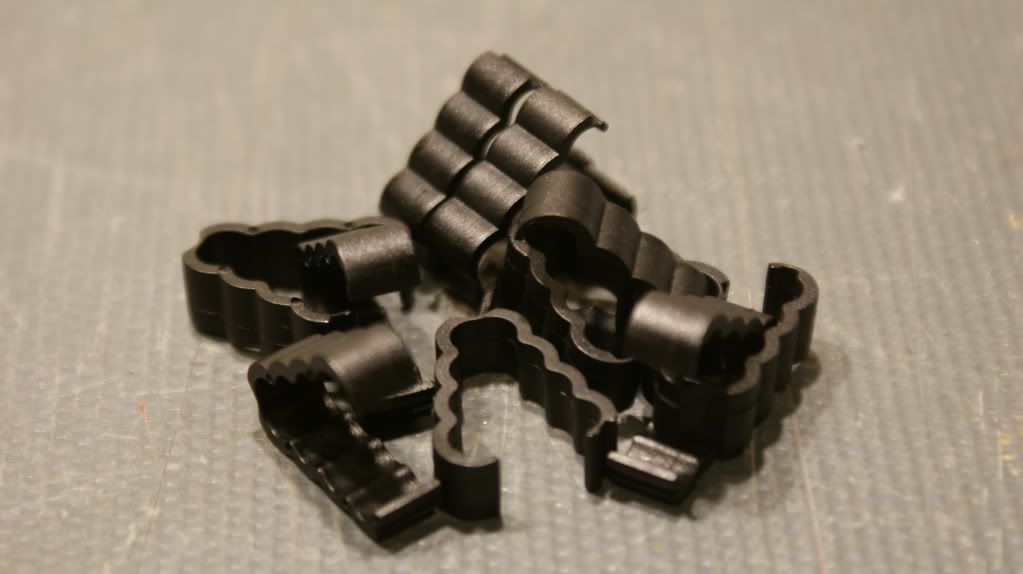
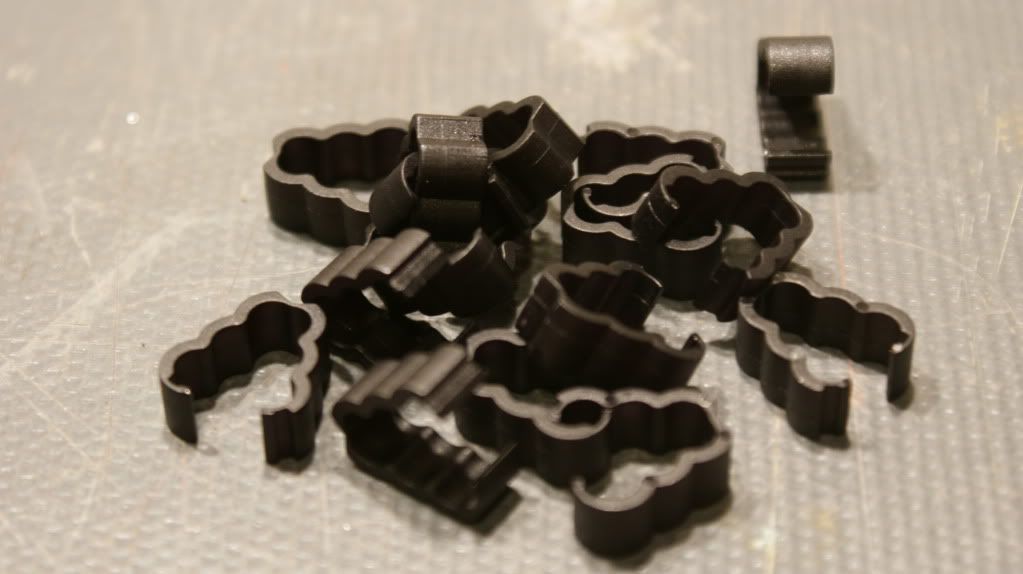
The 3-cable and 4-cable clips came in.

DSC03900.jpg


DSC03901.jpg


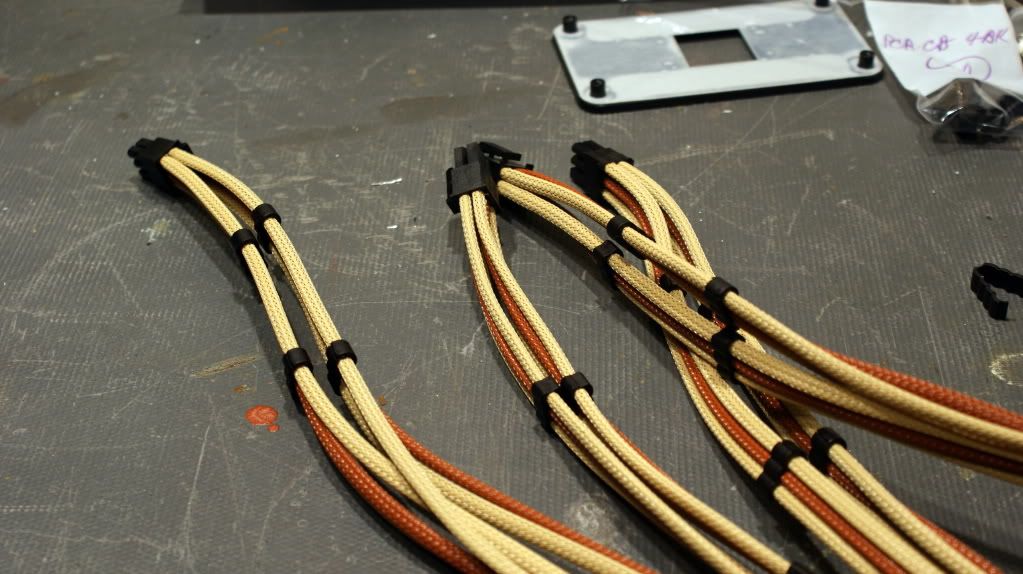
Added a bunch of them to the PCI-E cables and they look pretty good.

DSC03906.jpg


DSC03919.jpg


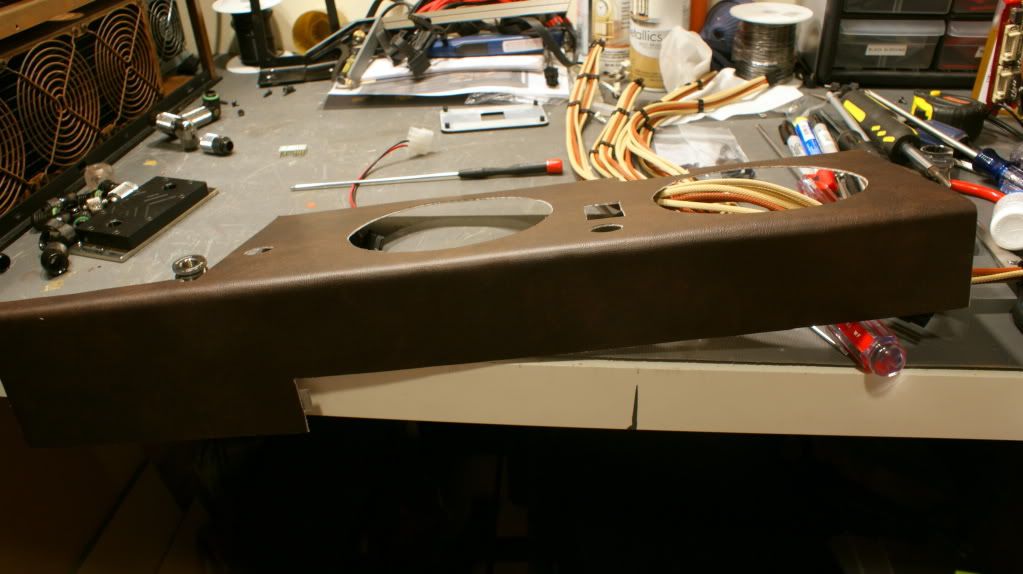
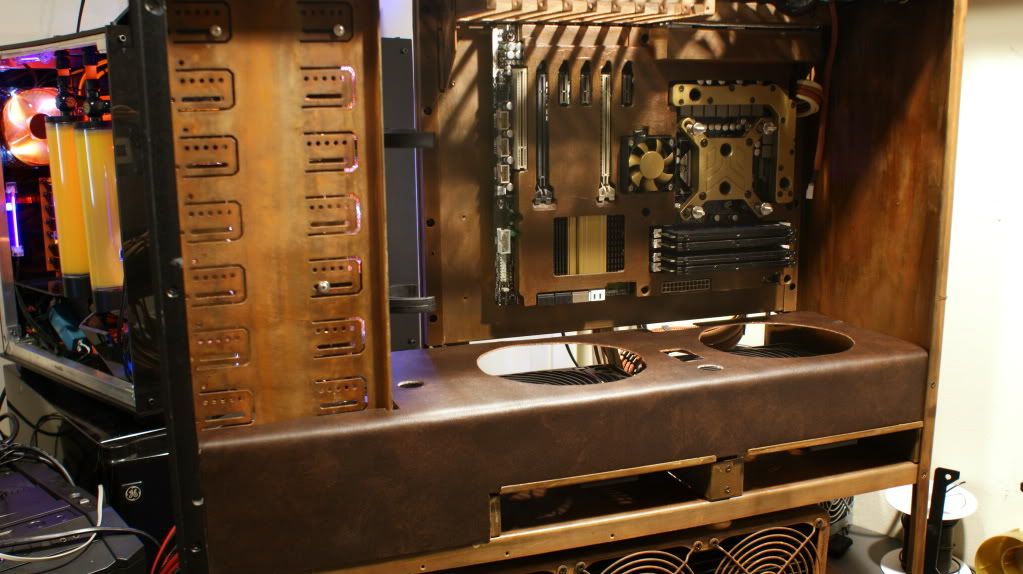
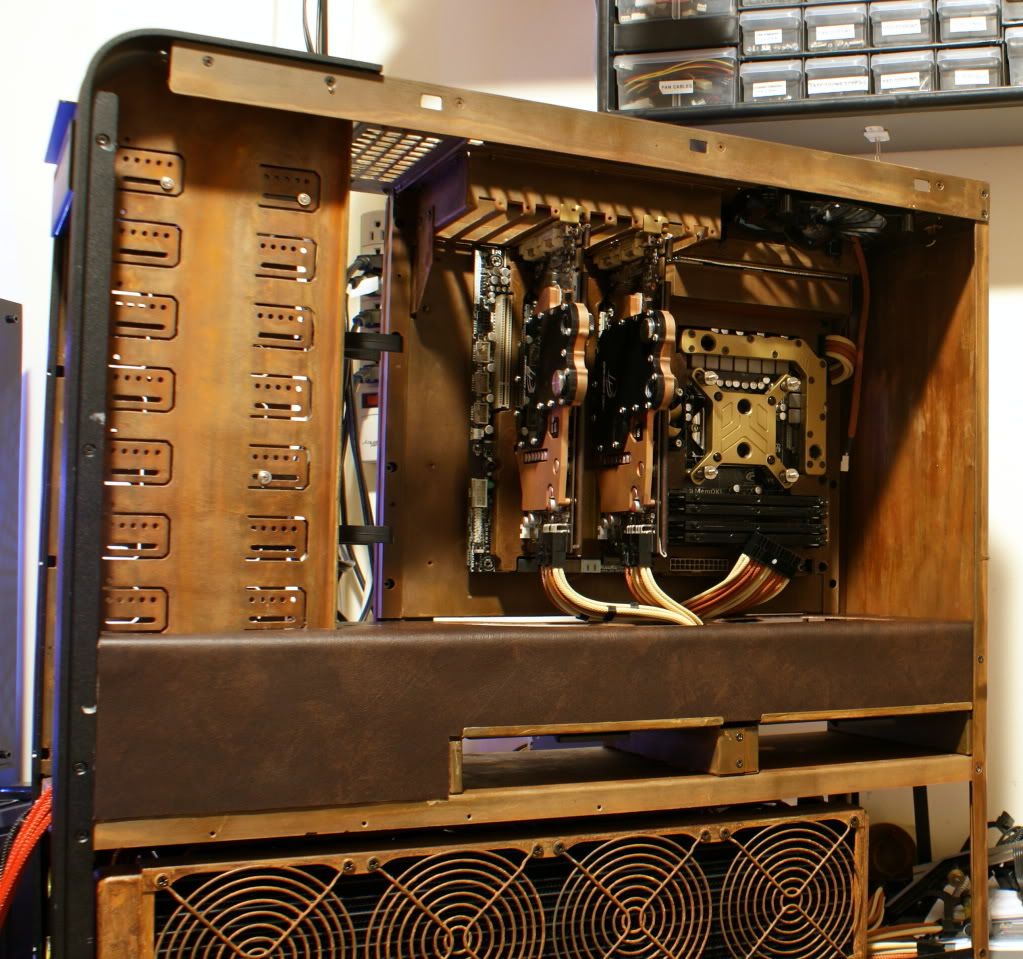
I finally got all the holes cut in the midplate so I put the leather on it.

DSC03908.jpg


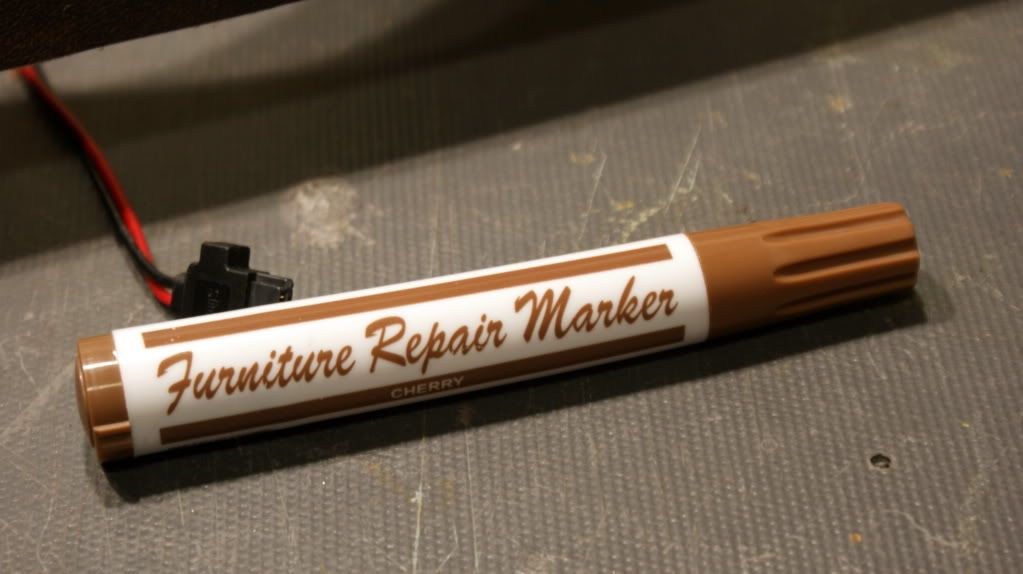
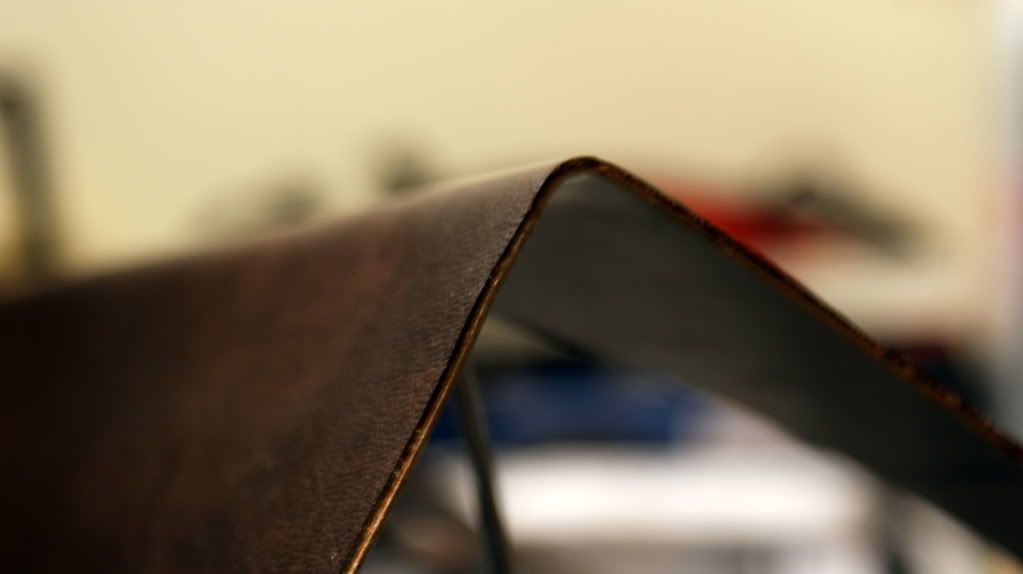
Then I used a furniture marker to color the edges since its fabric and the back of the leather is white.

DSC03909.jpg


DSC03910.jpg


I like it.

DSC03912.jpg


DSC03914.jpg


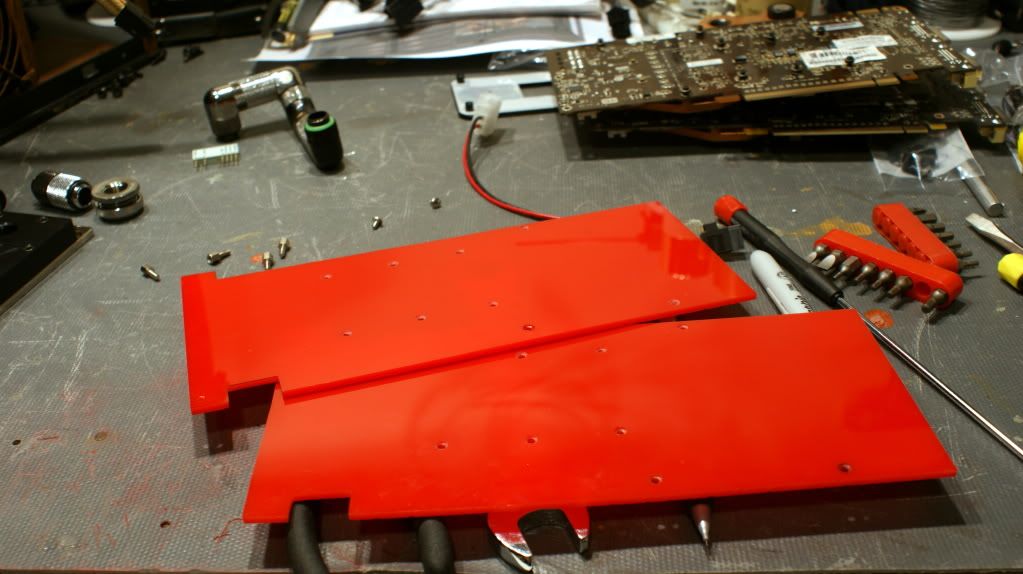
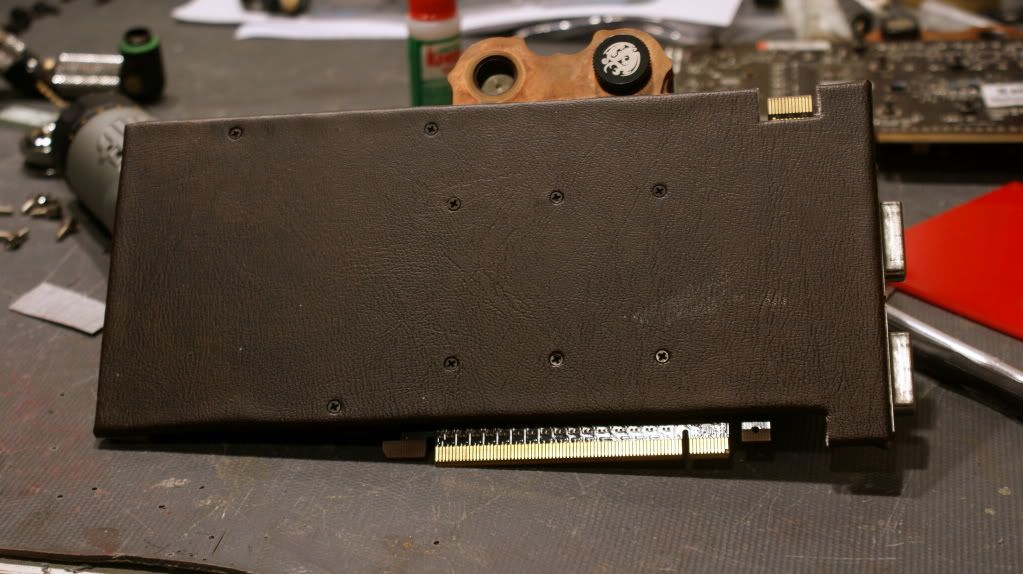
Now for a fun mod. Old GTX 560Ti backplates.

DSC03915.jpg


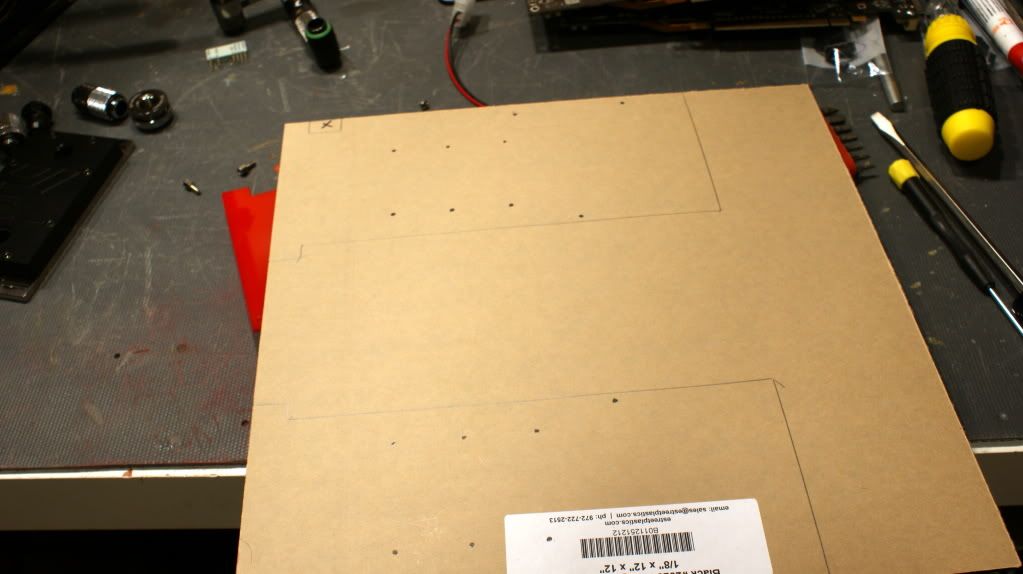
Traced

DSC03916.jpg


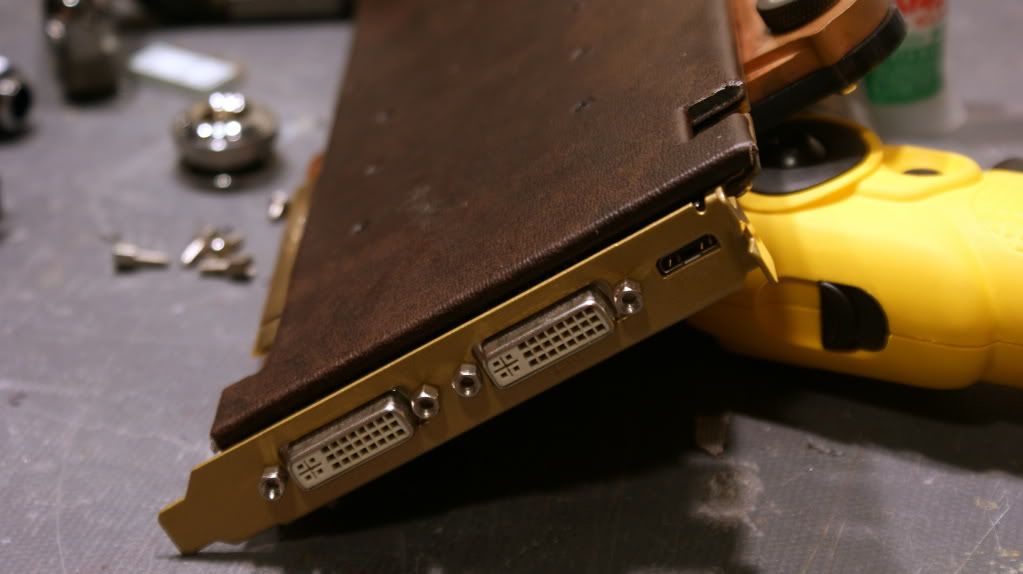
Cutting and drilling is boring so I skipped that part... and now we have... leather backplates!

DSC03921.jpg


And gold brackets

DSC03922.jpg


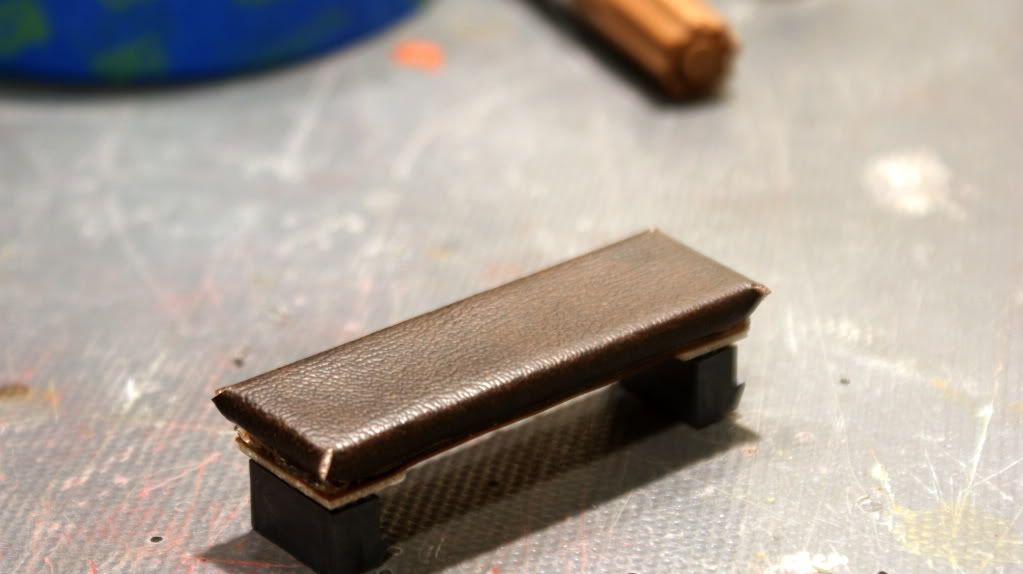
I also covered the SLI bridge with some leather.

DSC03931.jpg


Looking good IMO...

DSC03926.jpg


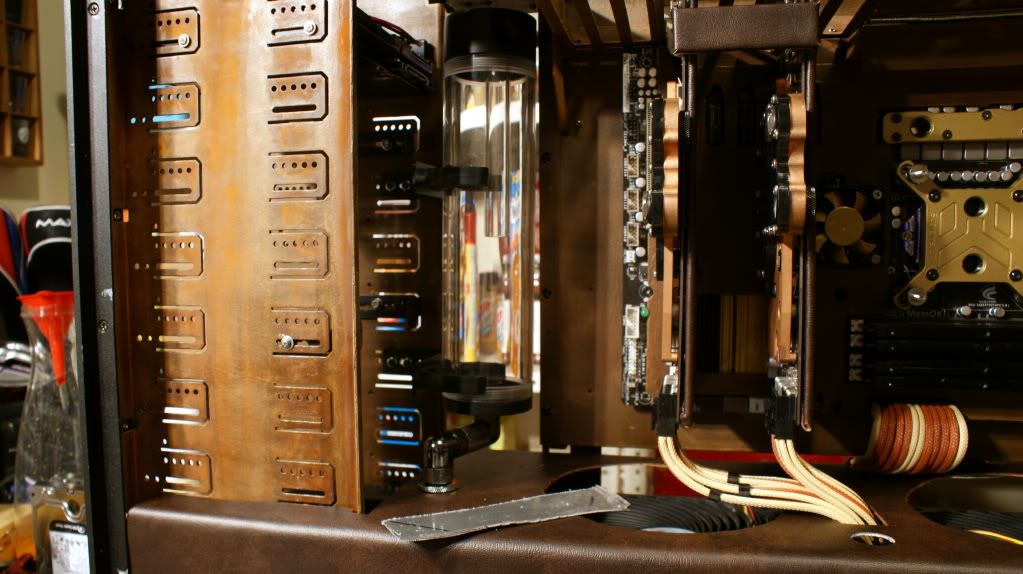
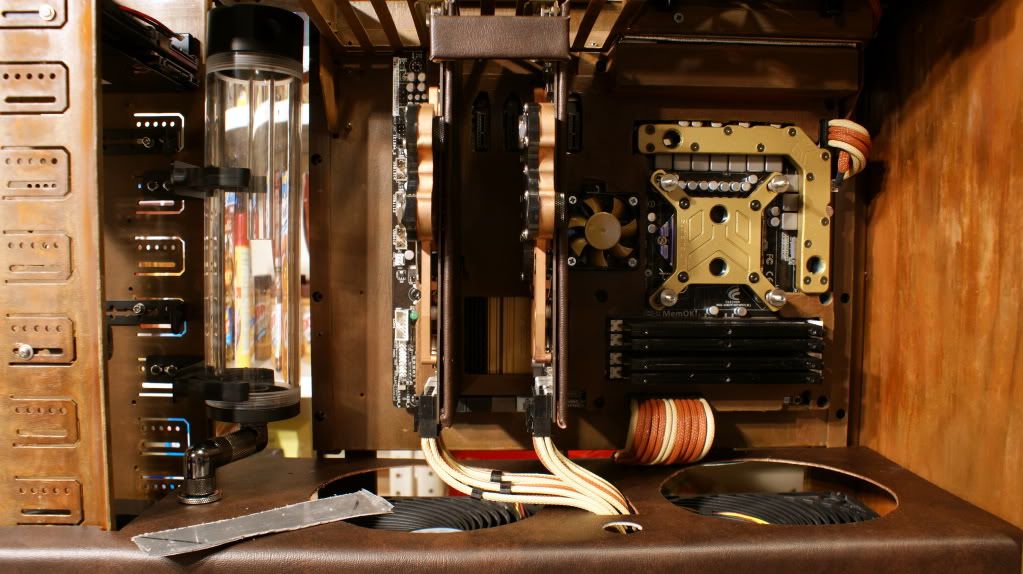
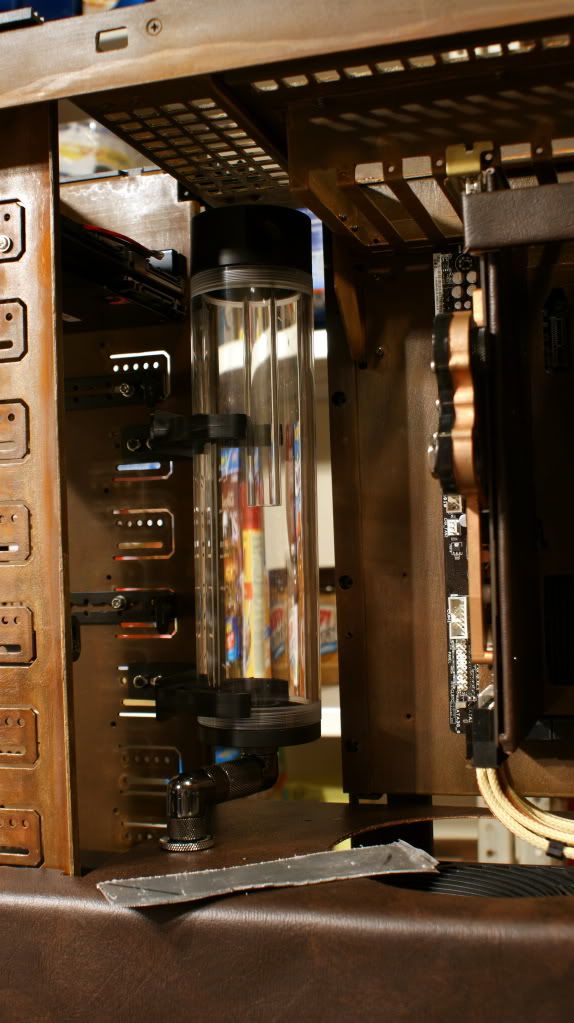
I put the res in and added some random fitting to see how it will all work.

DSC03935.jpg


DSC03936.jpg


DSC03937.jpg


DSC03938.jpg


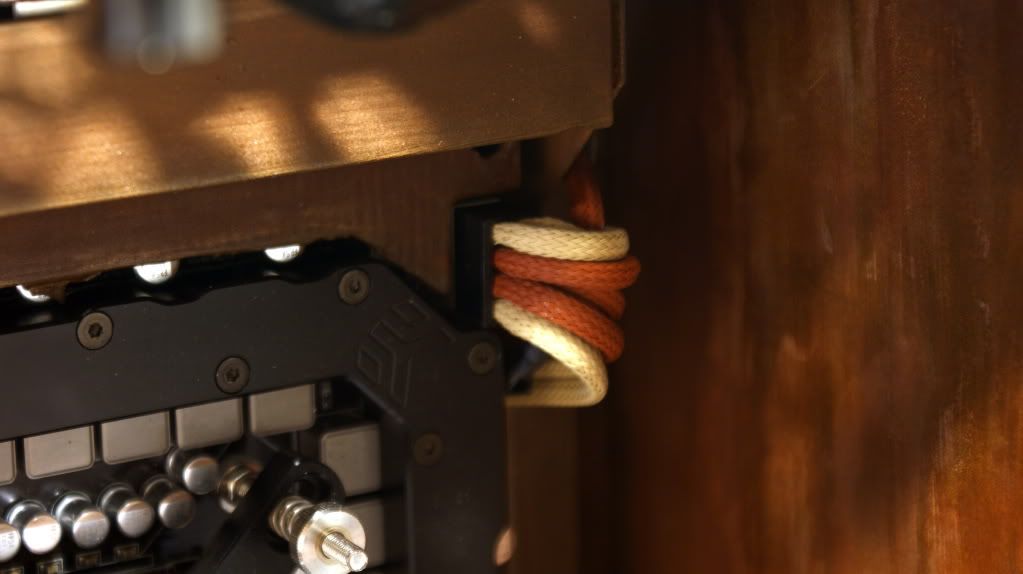
I had to make some brackets for the midplate to keep it level. The 24-pin cable pulls it down a bit in the back. Pics later of how they are mounted. (Ya I forgot to take them...)

DSC03940.jpg


But here is how it looks from the front.

DSC03951.jpg


Top panel before...

DSC03939.jpg


And after!

DSC03939.jpg


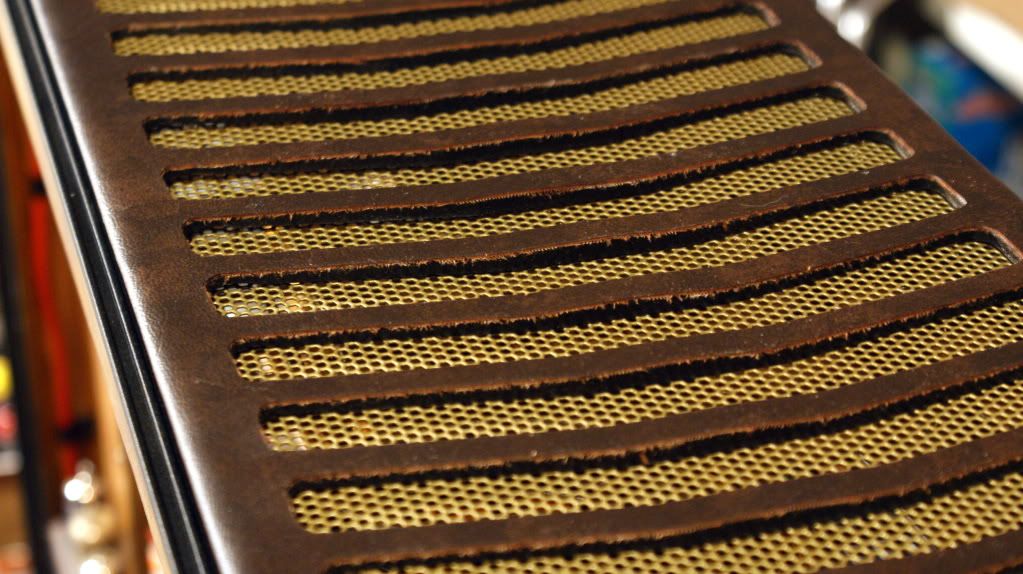
Paint the mesh gold and it looks great!

DSC03973.jpg


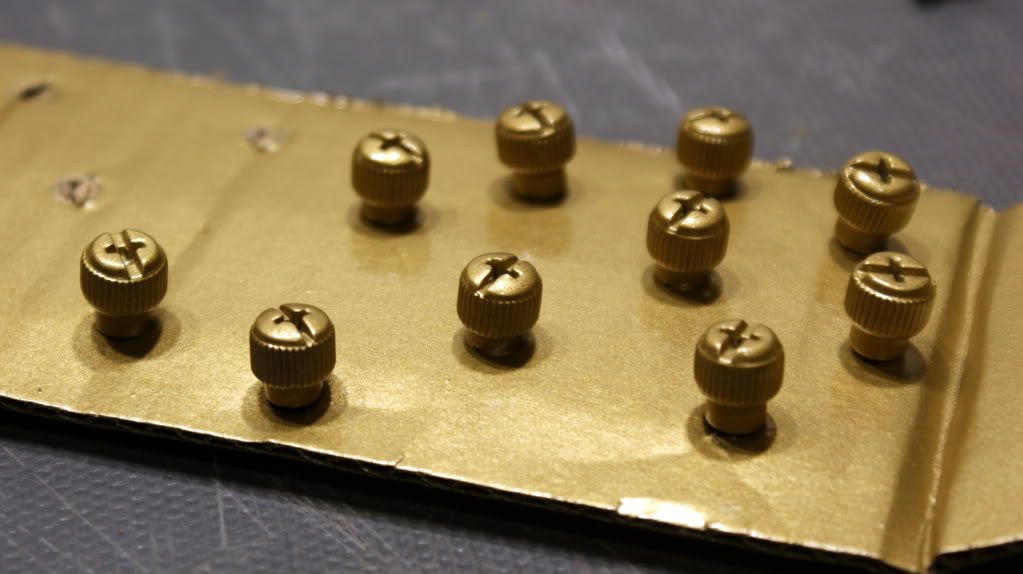
Painted all the thumb screws gold.

DSC03942.jpg


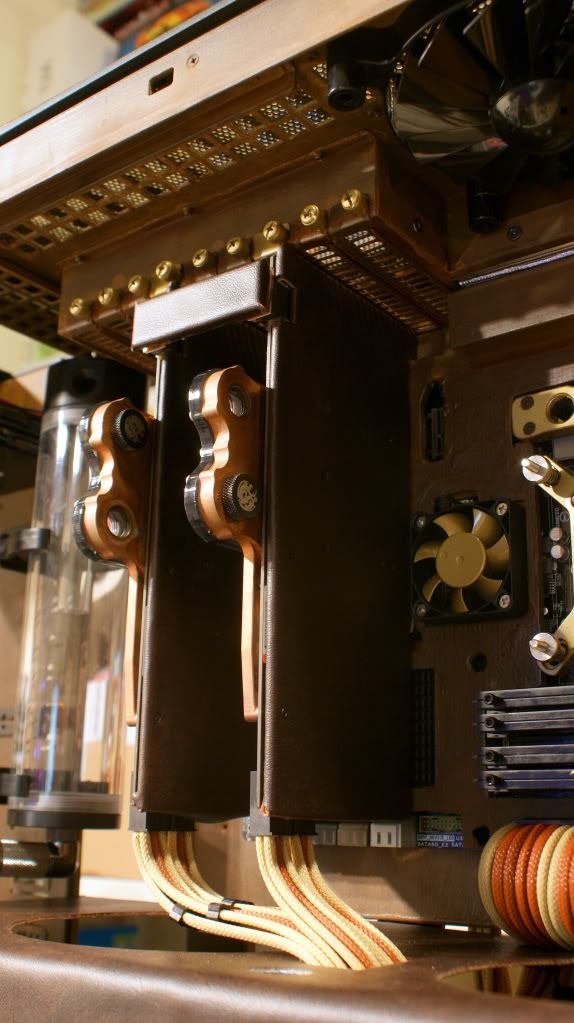
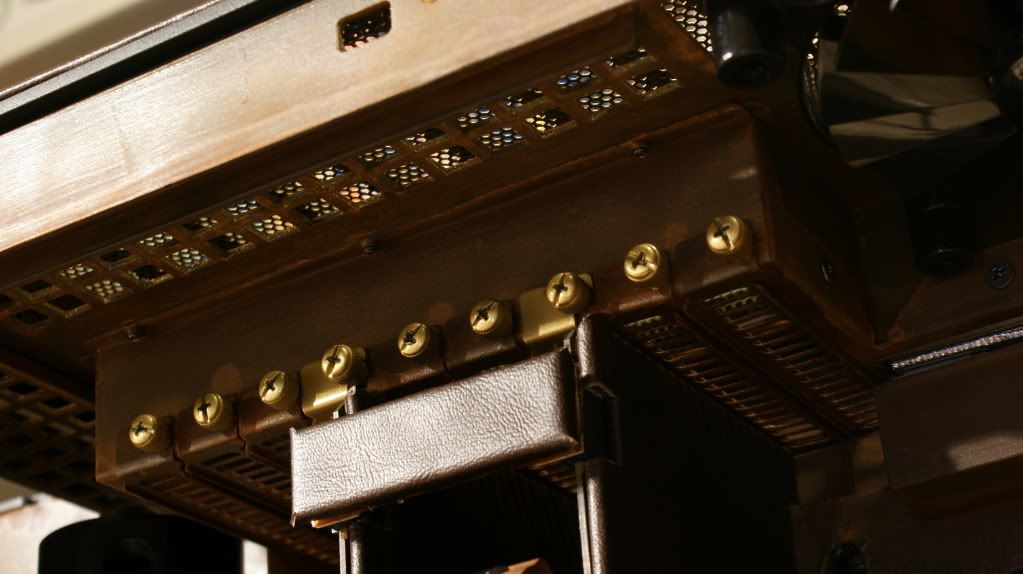
And installed.

DSC03946.jpg


DSC03948.jpg


Random shot...

DSC03949.jpg


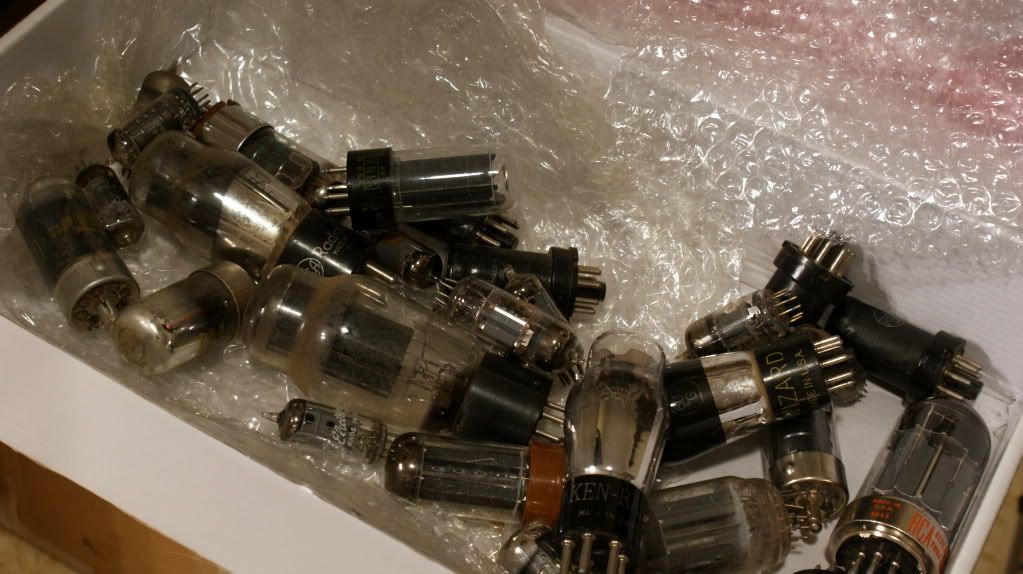
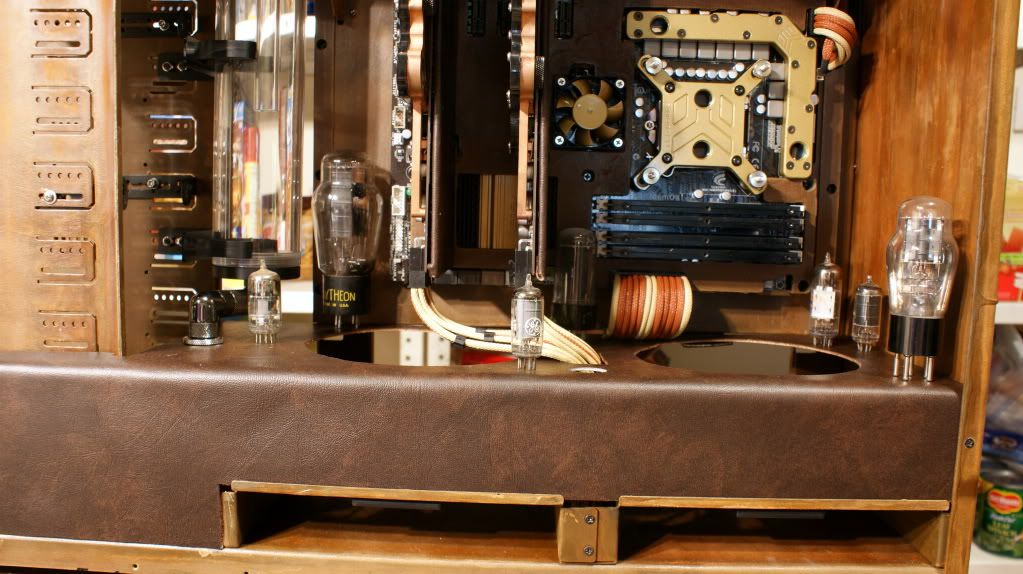
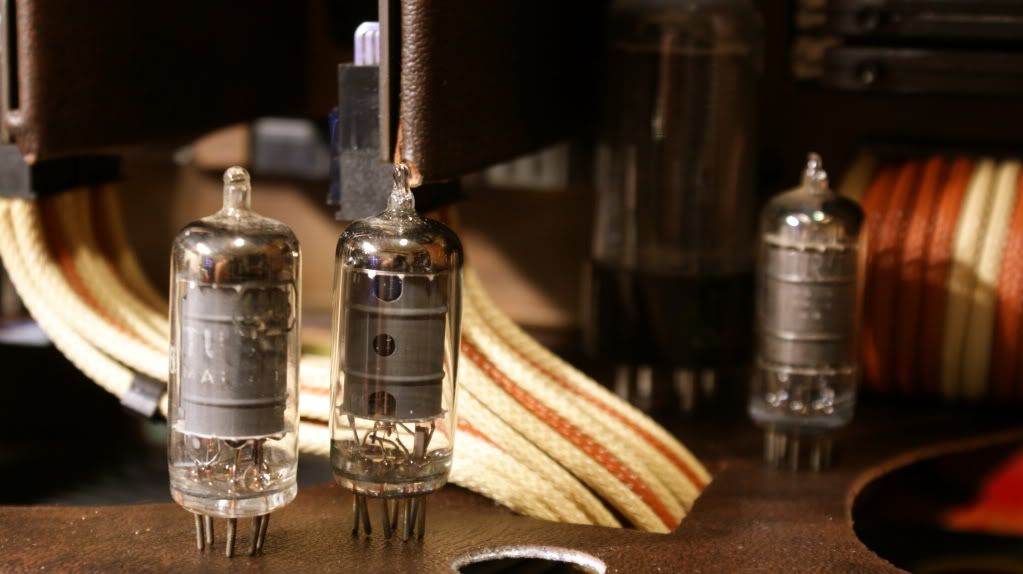
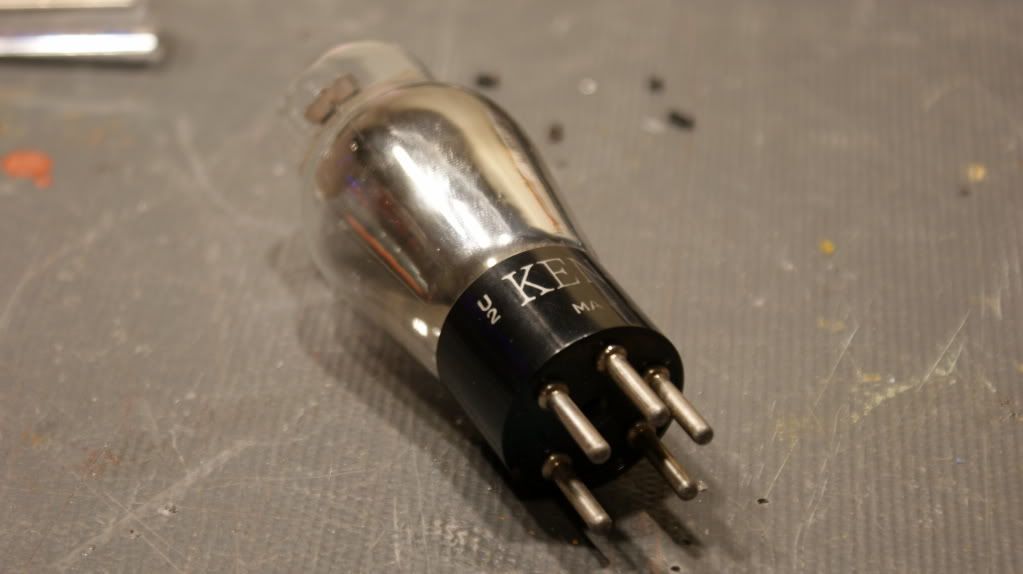
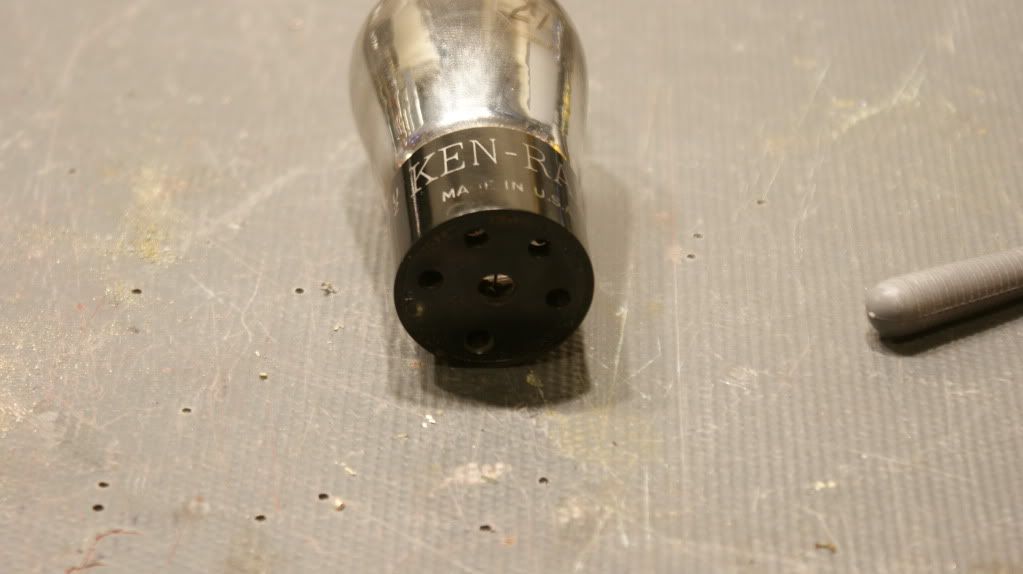
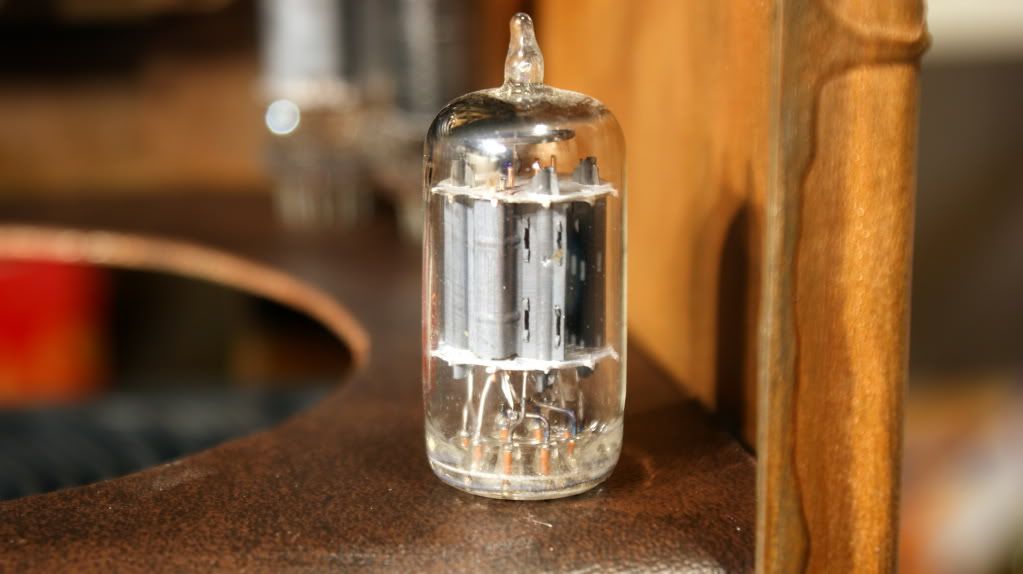
Vacuum tubes!!

DSC03953.jpg


Playing around with how they will be sitting. (Not sure of final setup yet)

DSC03954.jpg


DSC03965.jpg


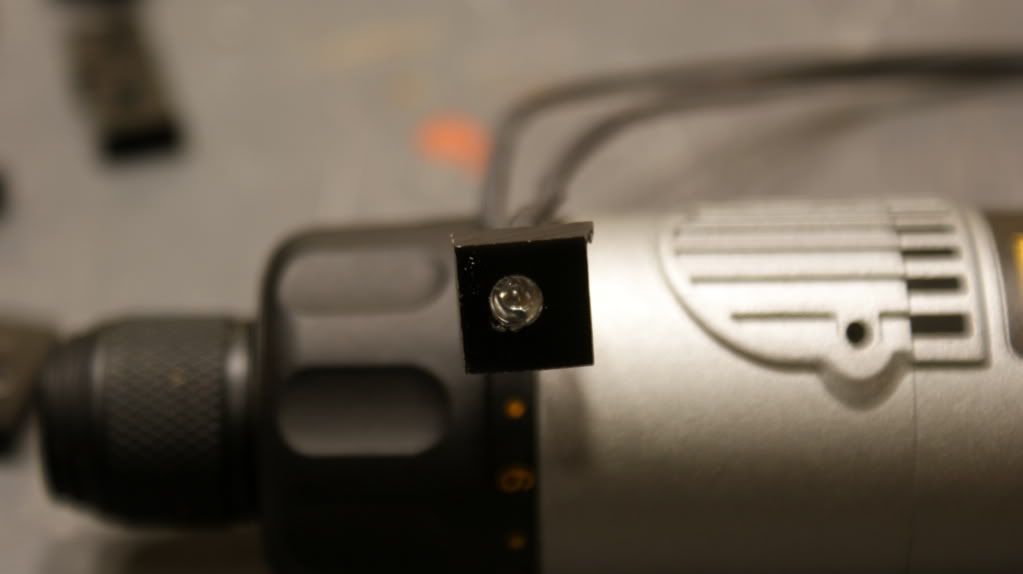
Cut the leds off the bottom so they sit flat on the midplate. I'll drill a hole under them for the LED.

DSC03967.jpg


DSC03969.jpg


DSC03964.jpg


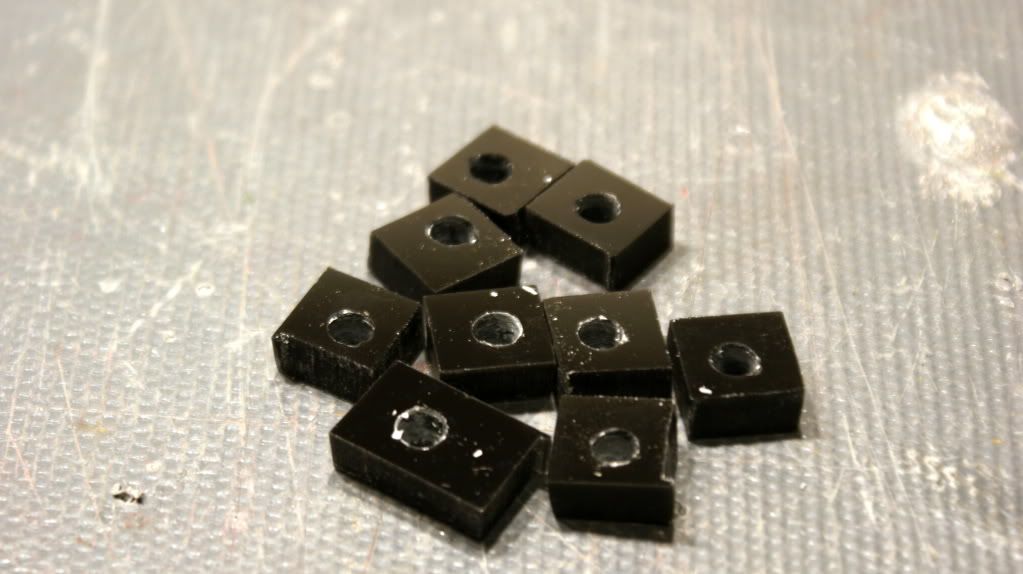
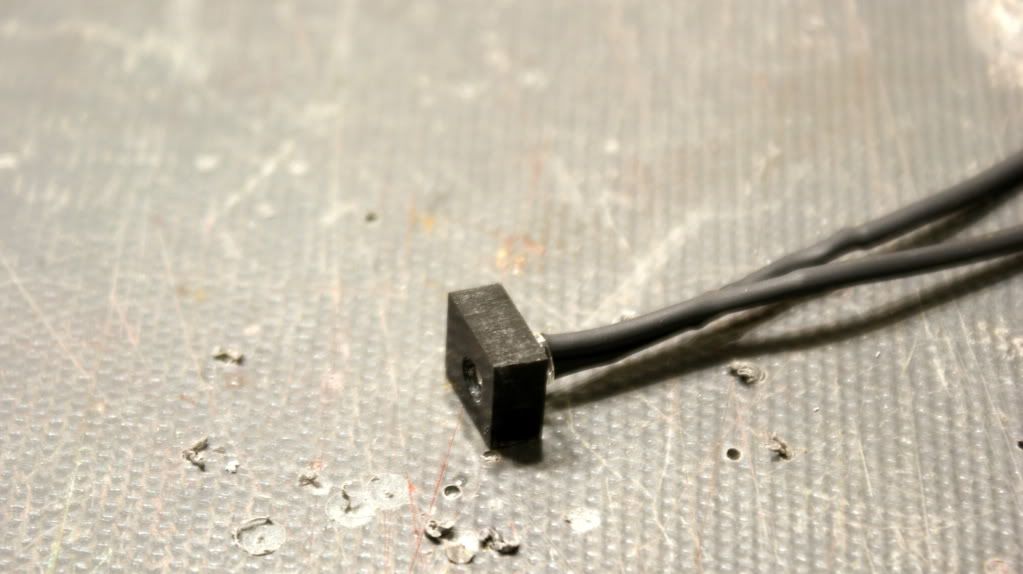
I cut some small pieces of acrylic to hold the LEDs under the mid plate.

DSC03985.jpg


DSC03986.jpg


DSC03987.jpg


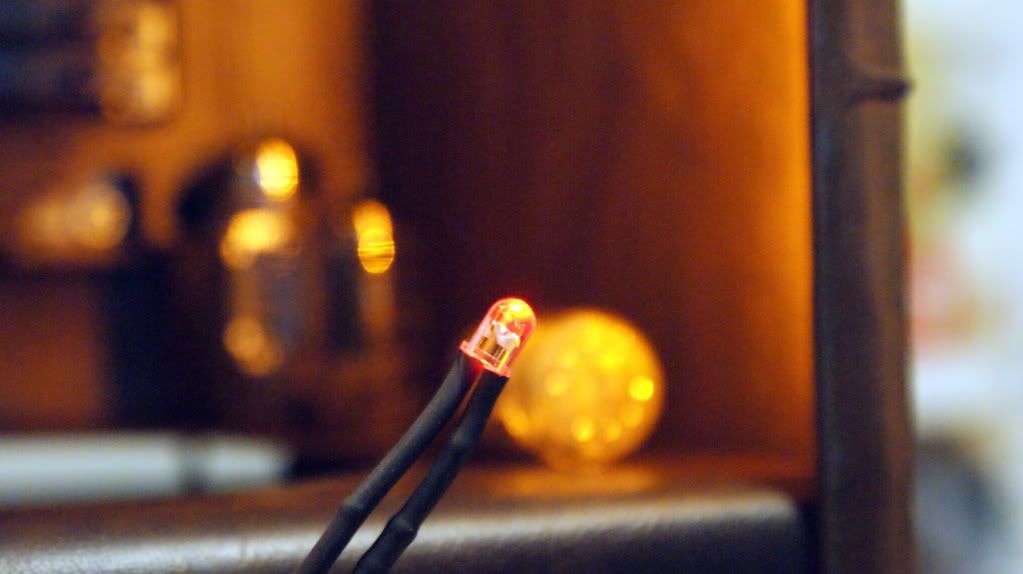
PROBLEM! I bought Yellow single LEDs instead of Amber so they don't match!!

DSC03972.jpg


I put in a order yesterday for some Amber ones and resistors.


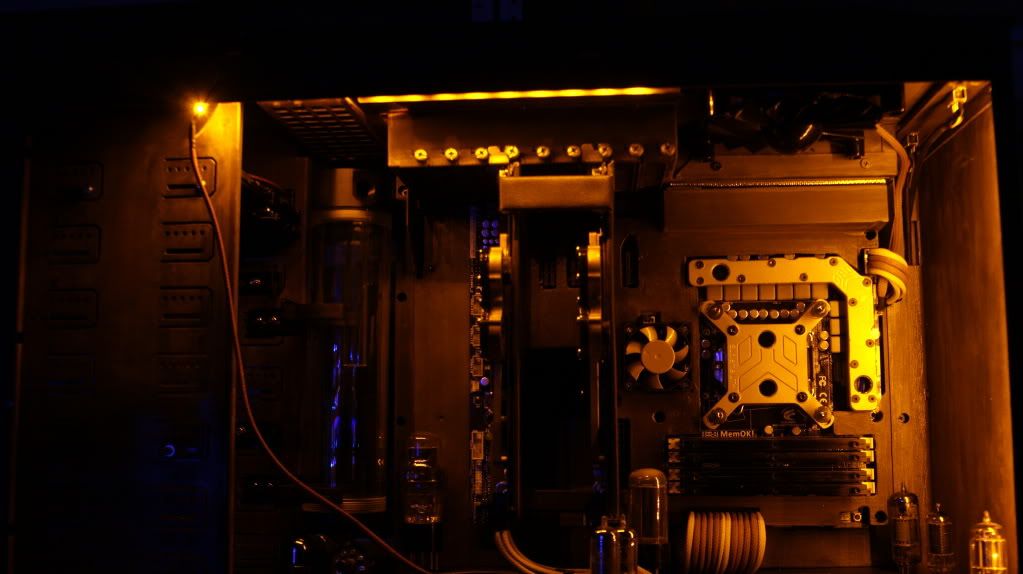
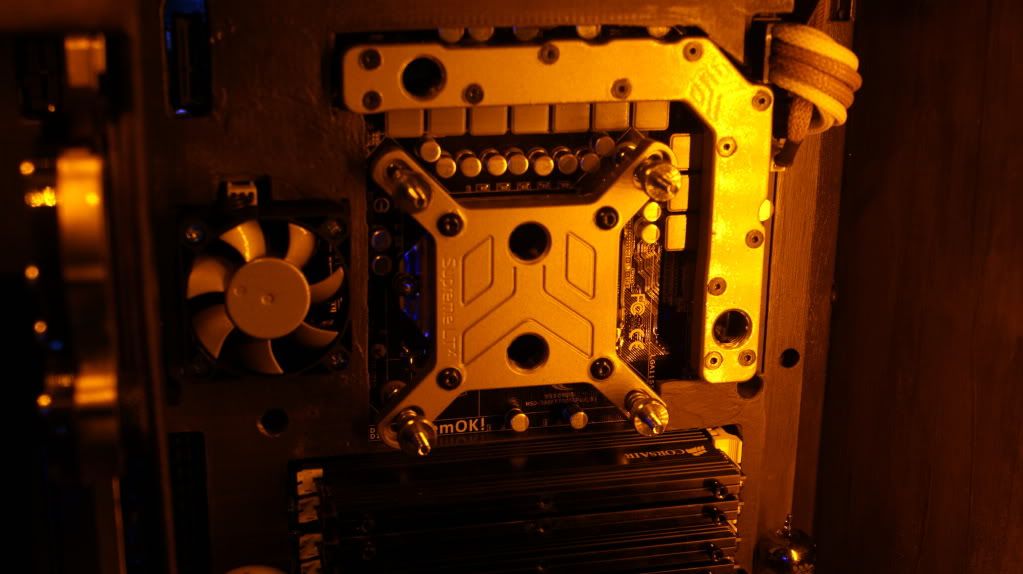
I think we need some lighting.

DSC03955.jpg


DSC03962.jpg


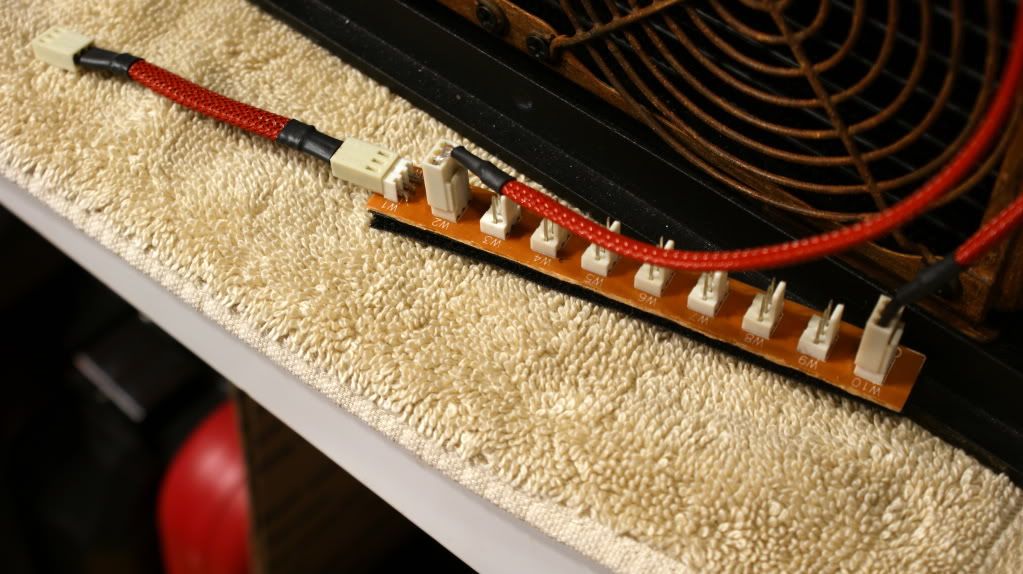
Using a fan bus to power the LEDs

DSC03963.jpg


DSC03957.jpg


DSC03961.jpg


I bought 2 of these new ones since I only have 1 of the above one. (They have to be the same since I'm OCD like that)

ele-988a1.jpg


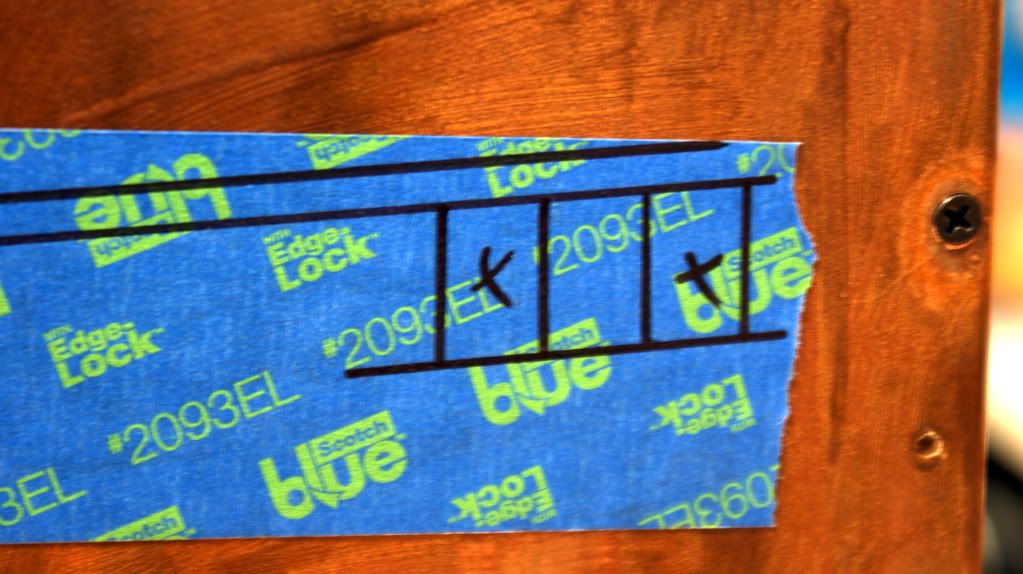
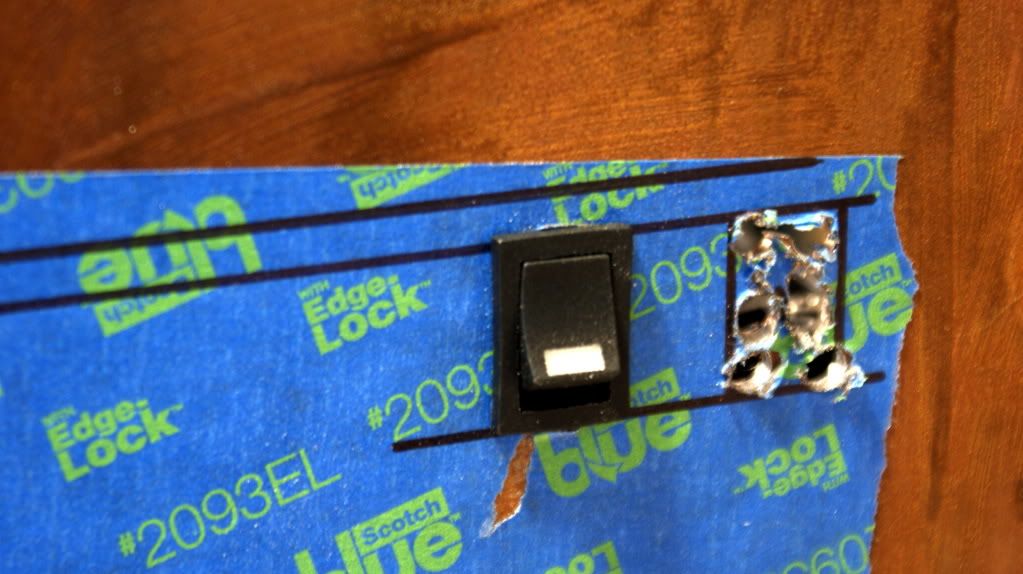
I'm not set on only having Amber lights so lets add some switches so I can have white too!

DSC03988.jpg


DSC03989.jpg


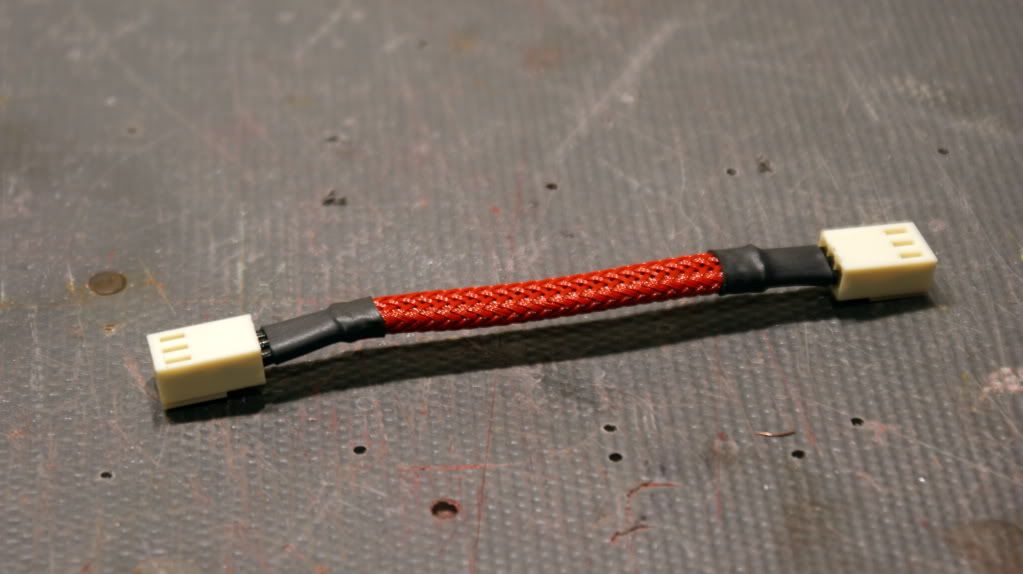
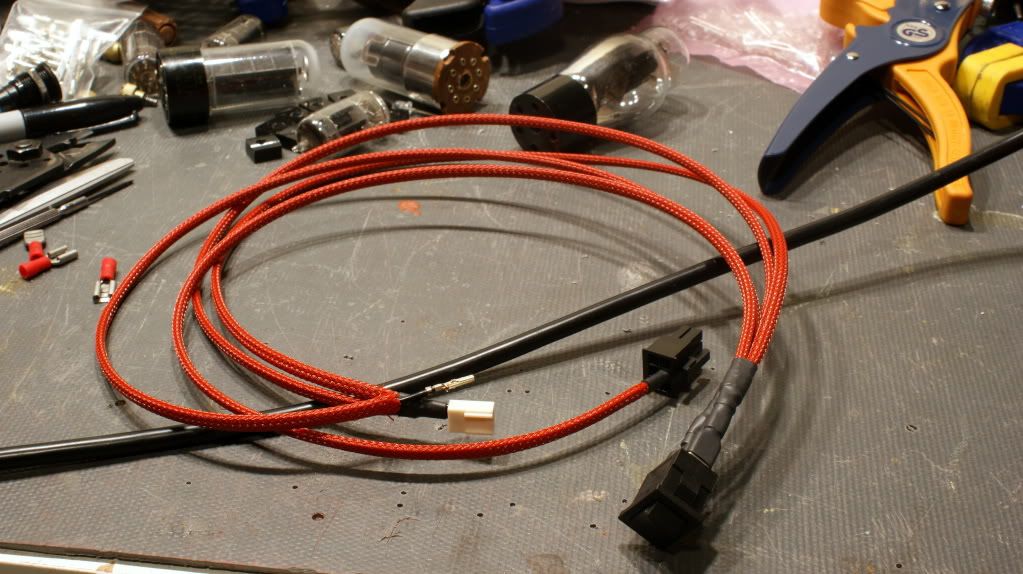
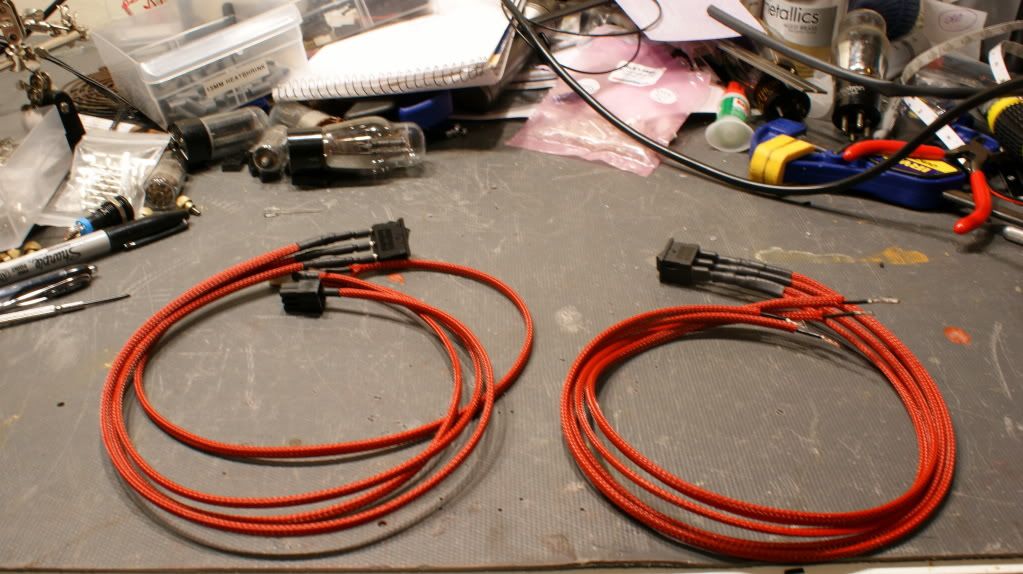
Start making cables.

DSC03990.jpg


Finished. (More pics of this later)

DSC03991.jpg


Finally the rainy season is here! (It rains every... single... day...)

DSC03983.jpg


That's it for now! I have some more stuff coming this week so next weekend I will be busy.

Cheers till then,

Fuga
 
i think your picture of the top panel before and after are the same pic.

looking great man! those vacuum tubes are cool!
 
can't wait to see it after you install the tubes and coolant. btw this mayhems is close it your color theme.
 
i think your picture of the top panel before and after are the same pic.

looking great man! those vacuum tubes are cool!

Correct. Mistake on my part. Thanks for catching it!

can't wait to see it after you install the tubes and coolant. btw this mayhems is close it your color theme.

I am not using brown coolant because it will blend in too much. If I use coolant it will be like yellow or something.
 
Damn my mouth is quite dry from it being open the whole time scrolling through the last update...

The leather midplate looks awesome! I actually liked it smooth and flat without the vacuum tubes on it. Maybe you can make it swappable with another smooth one? I definitely think you should call a vote for a smooth unobstructed midplate!
 
Back
Top