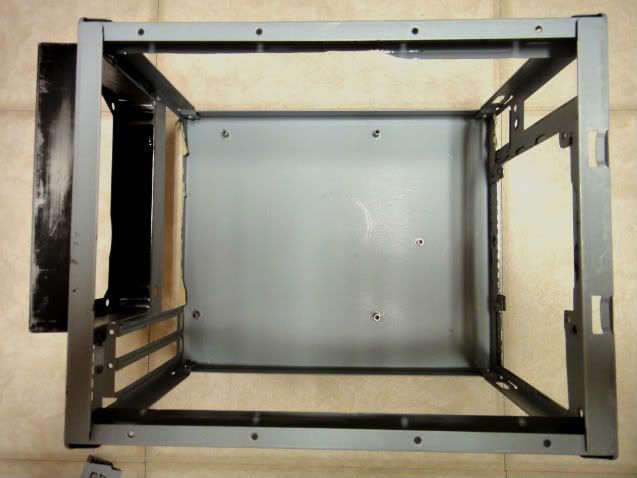
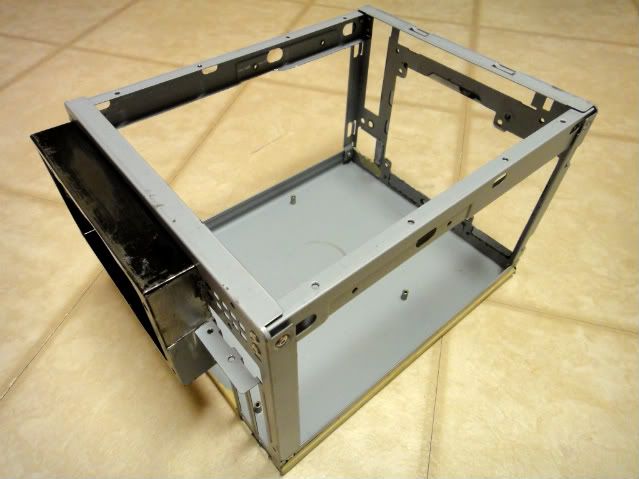
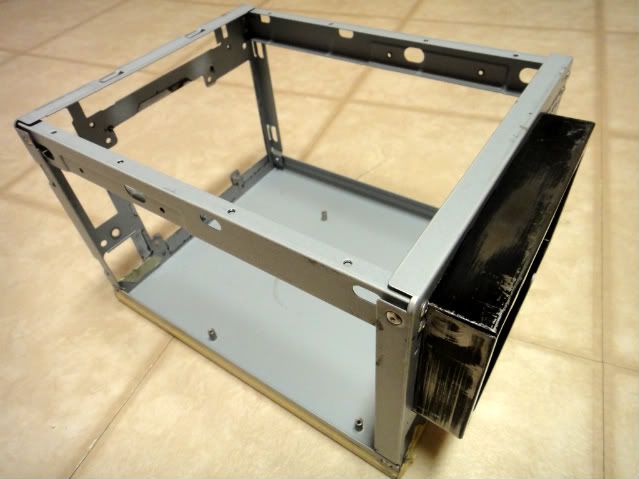
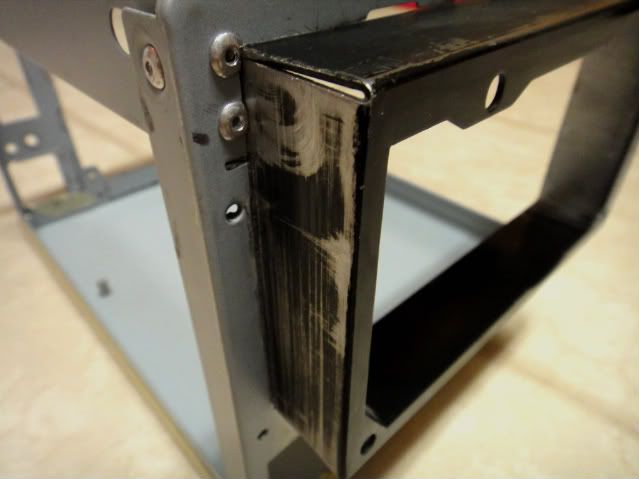
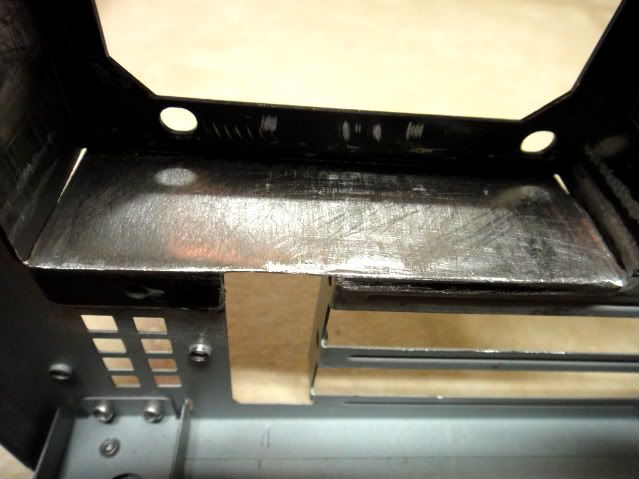
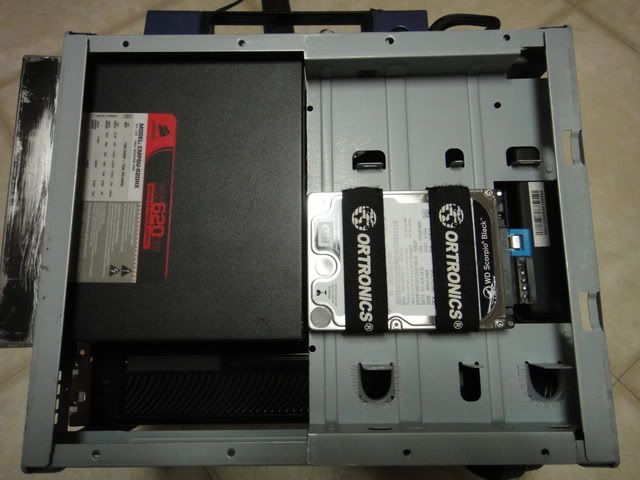
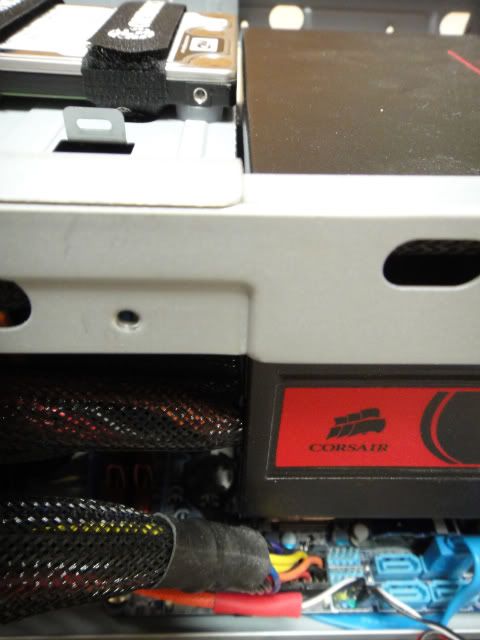
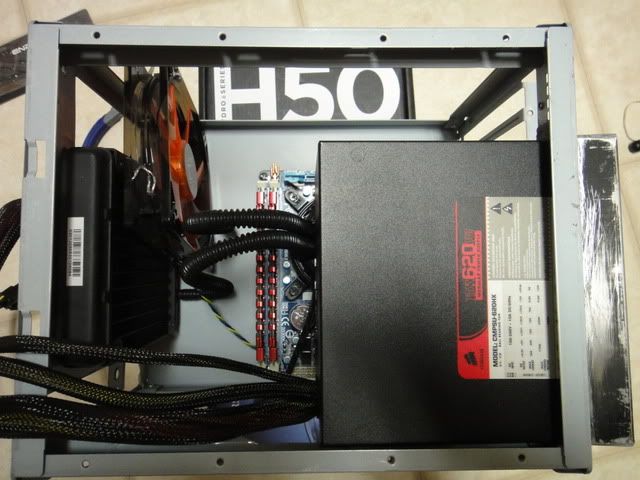
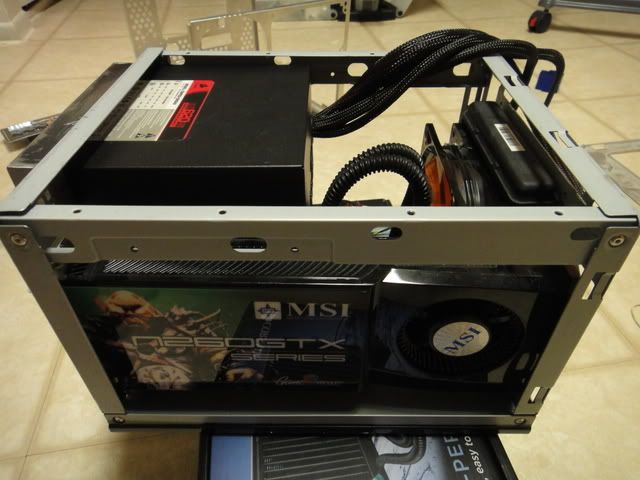
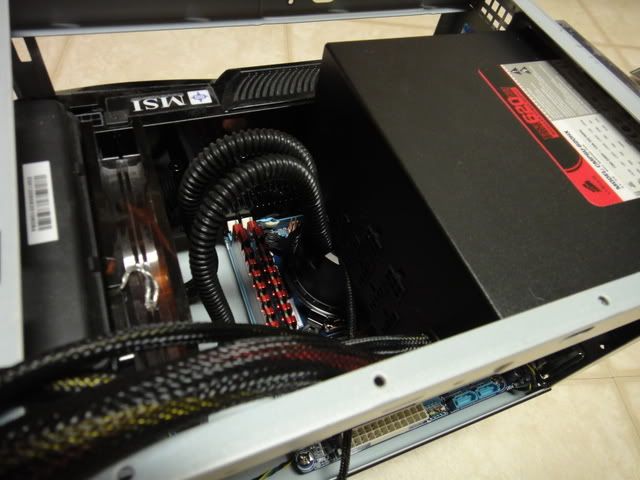
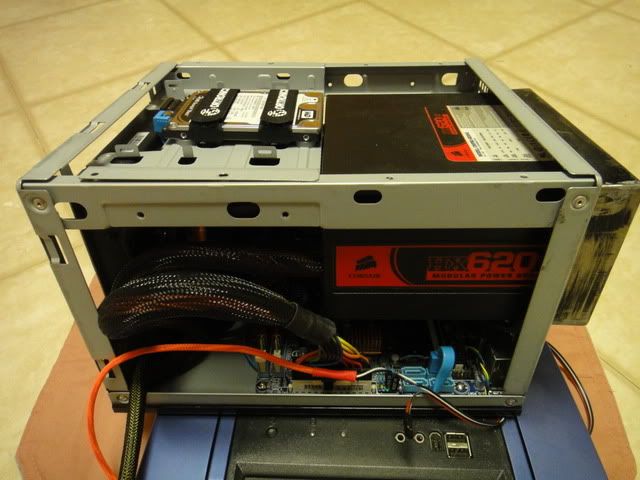
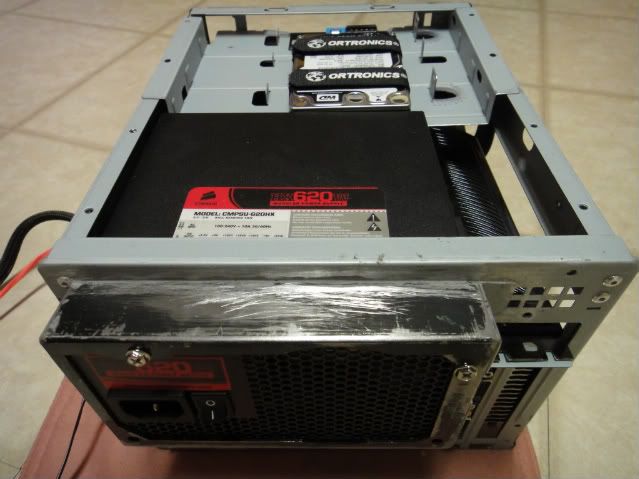
I didn't have much time as I hope I did over the weekend but still was able to mount PSU extender. I still have to JB weld 3 more support though. I think I really don't have to and it will hold up fine as is but just to have peace of mind and to get more rigidity I'll add them on.
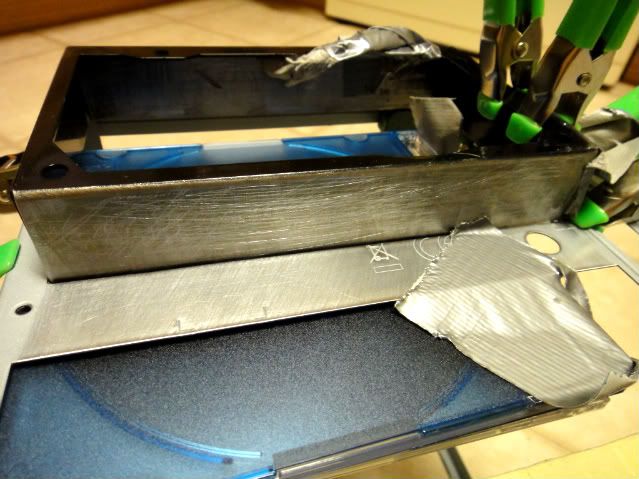
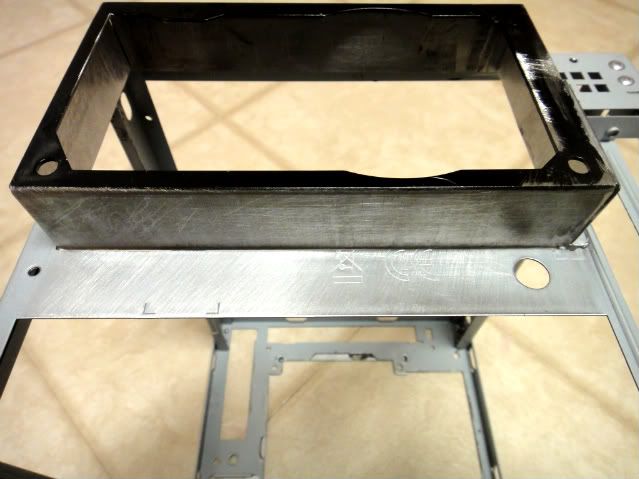
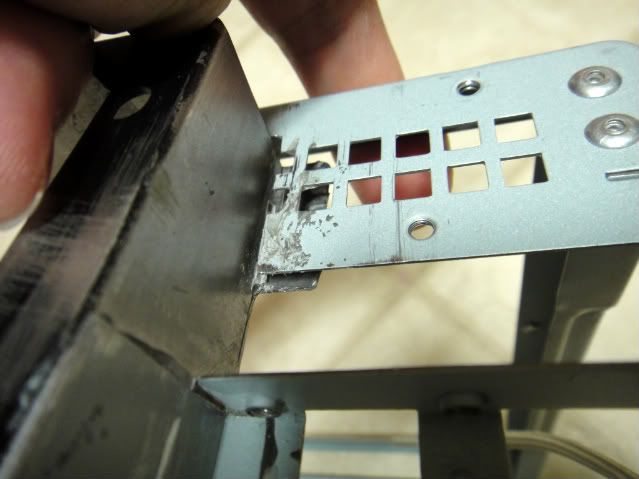
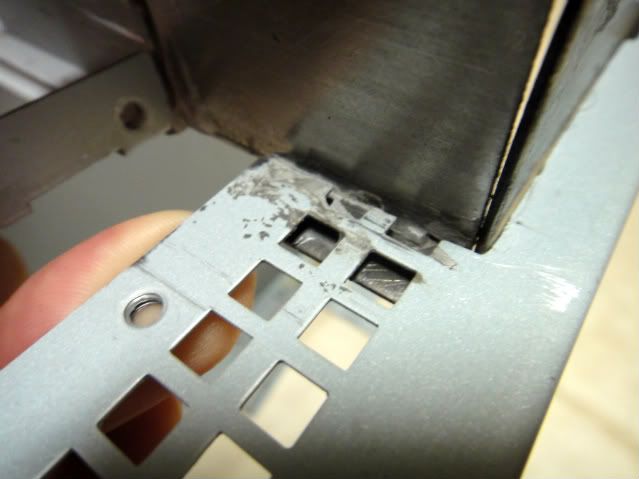
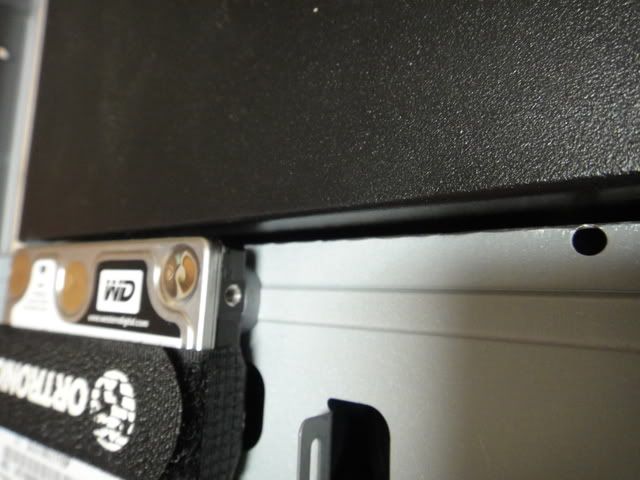
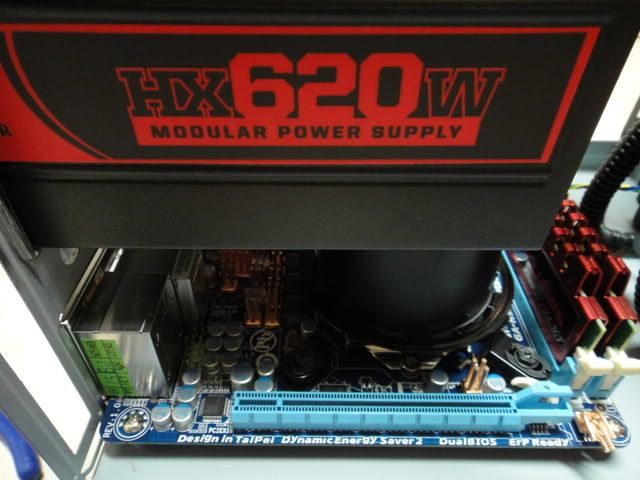
Also, one thing I forget to do before mounting was that I had to file end part of top of PSU extender. It comes in about 1/16 and it will block the support I was going to mount internally. So I guess I have to file it which is going to be pain in the butt since it's mounted already.
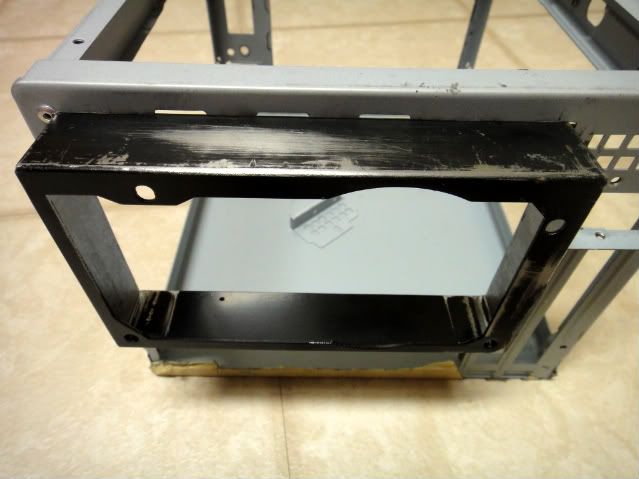
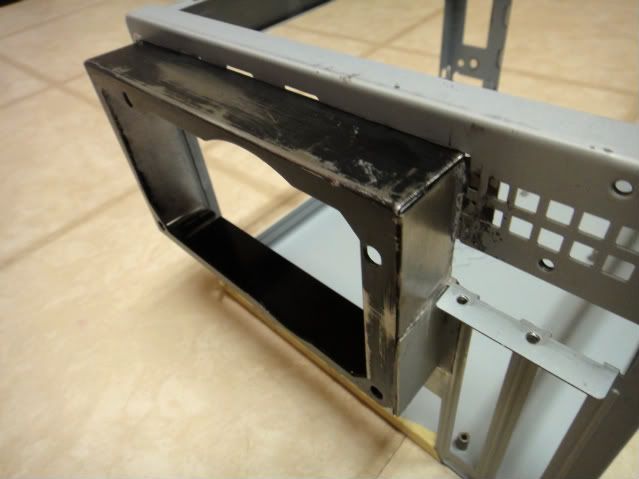
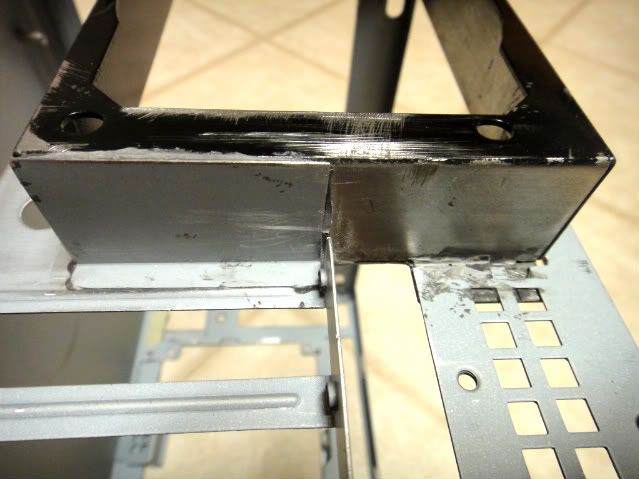
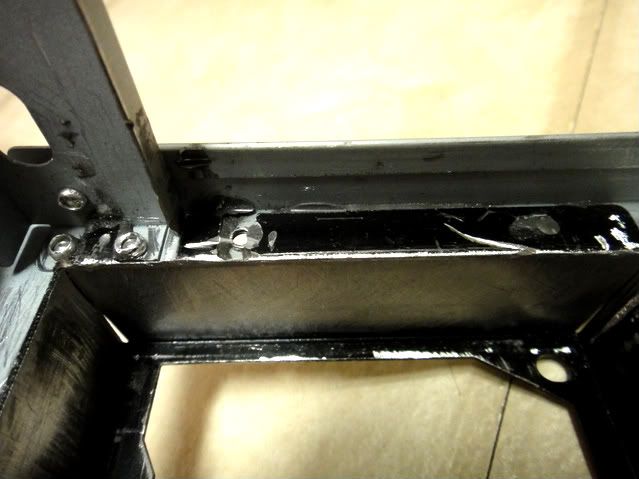
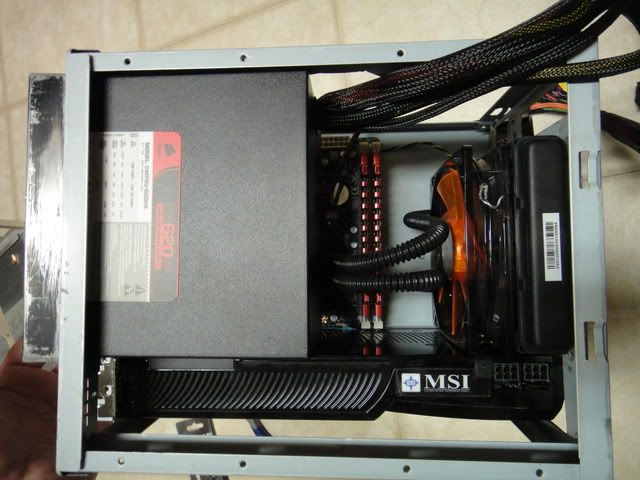
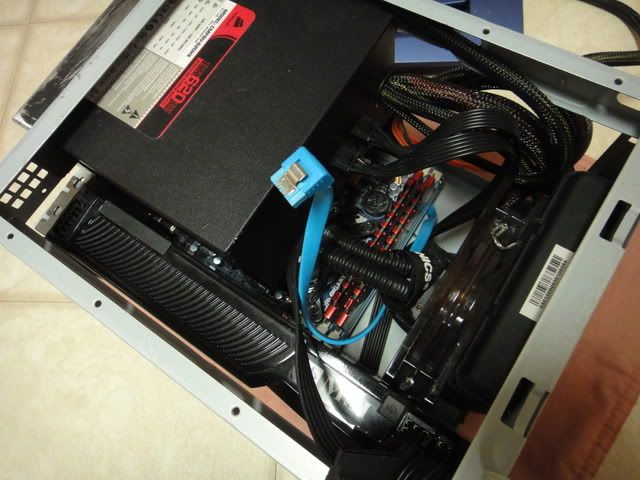
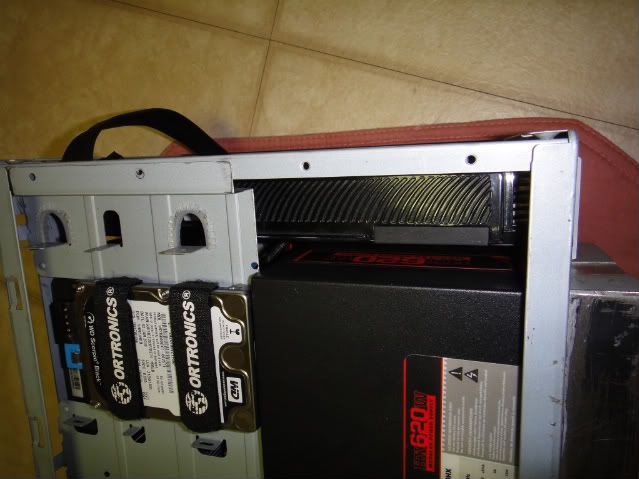
One mess up I did was level. Right from rear view sits about 1/16" lower than left side but nothing I can do now since JB weld is almost cured.
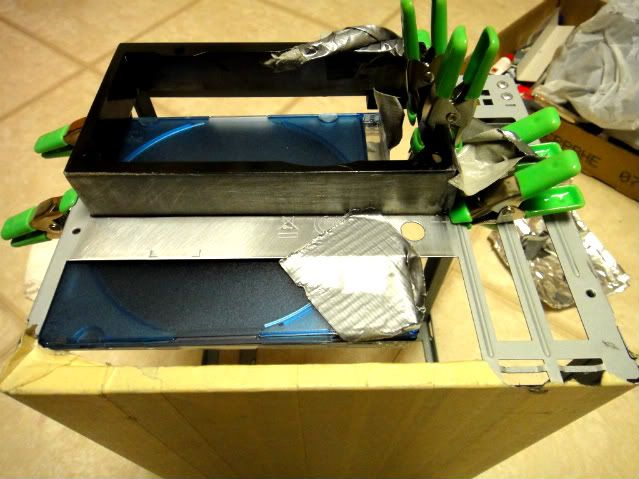
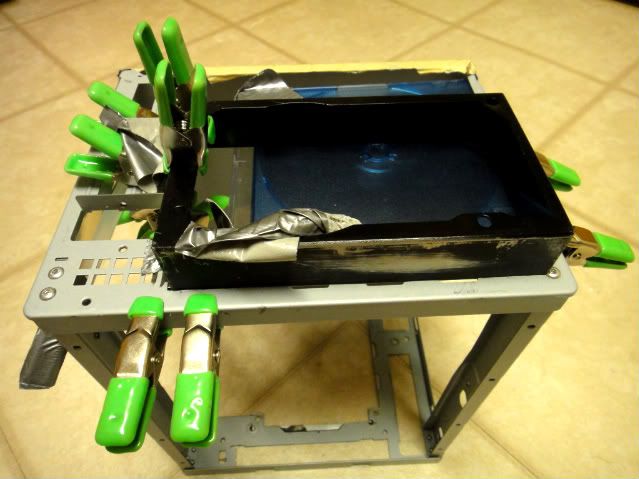
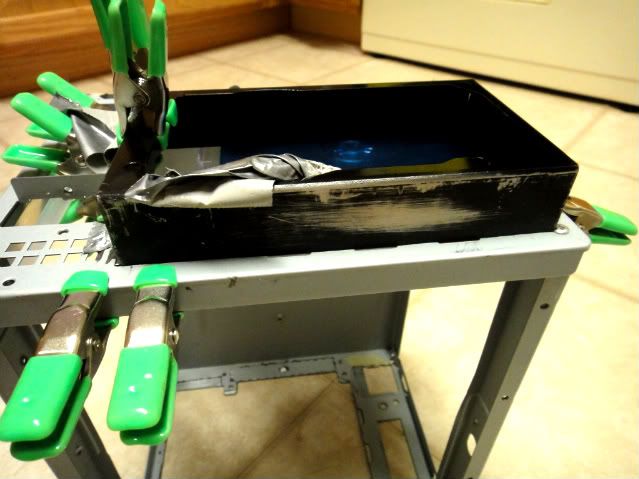
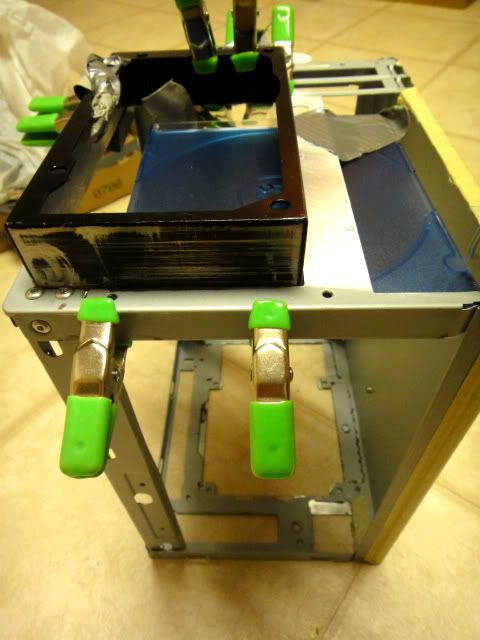
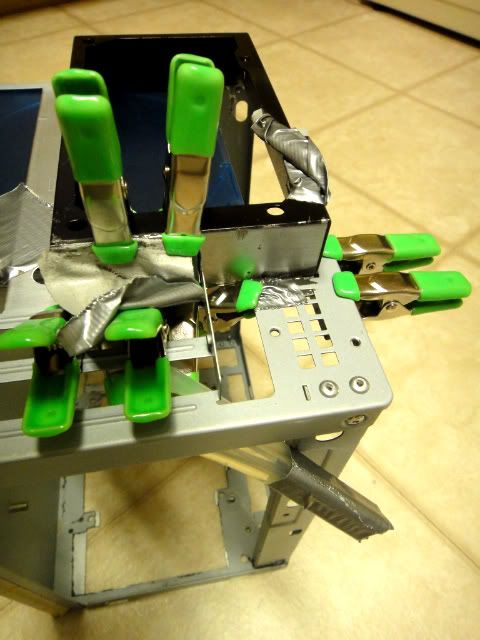
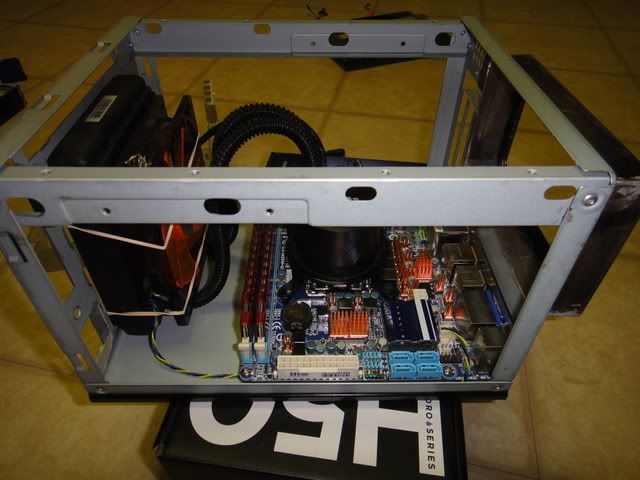
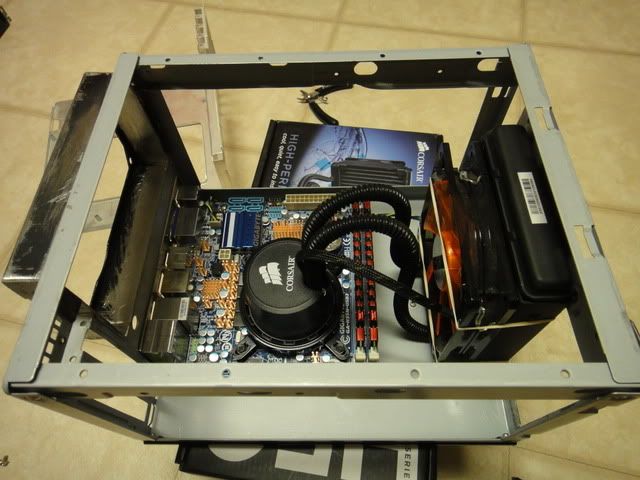
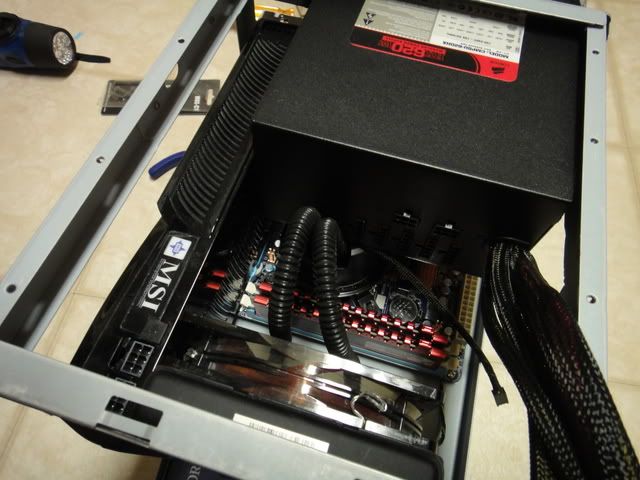
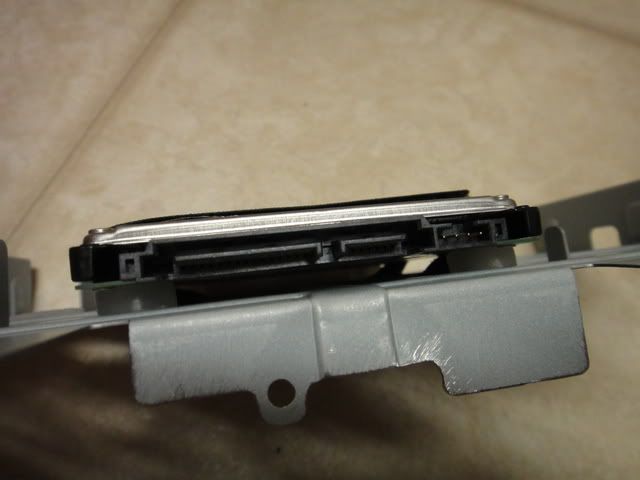
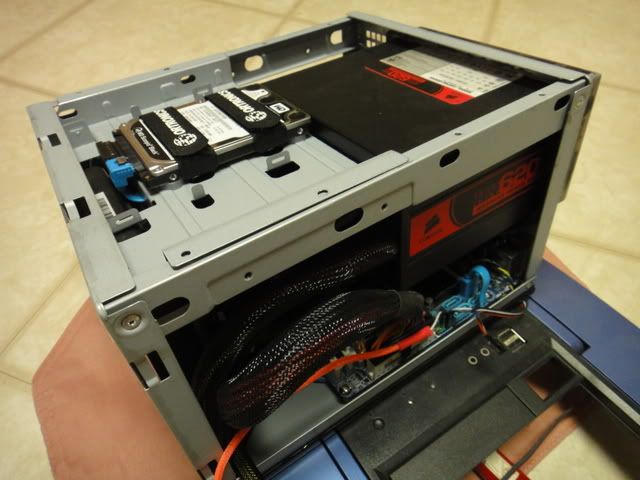
The way I had to clamp it was pretty ghetto job not just because lack of proper tool(I need more tool but not buying until I get a house) which was one of the reason but the way it had to be clamped. I basically applied JB weld and decided how to clamp it afterwards so I had to be creative quick.
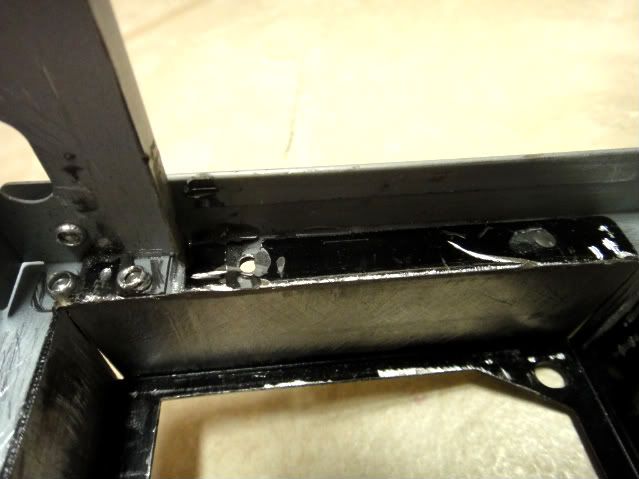
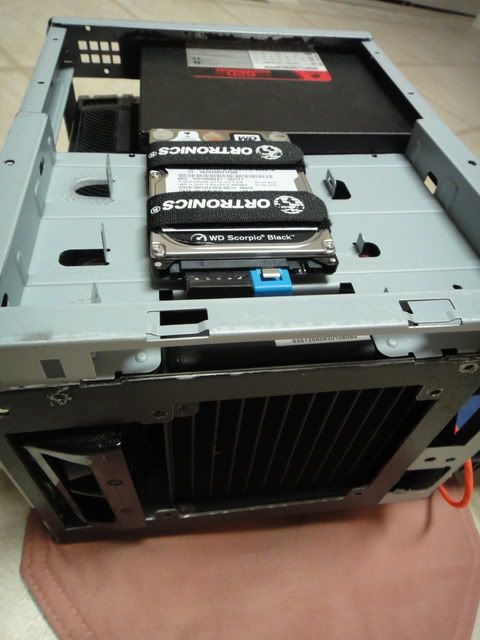
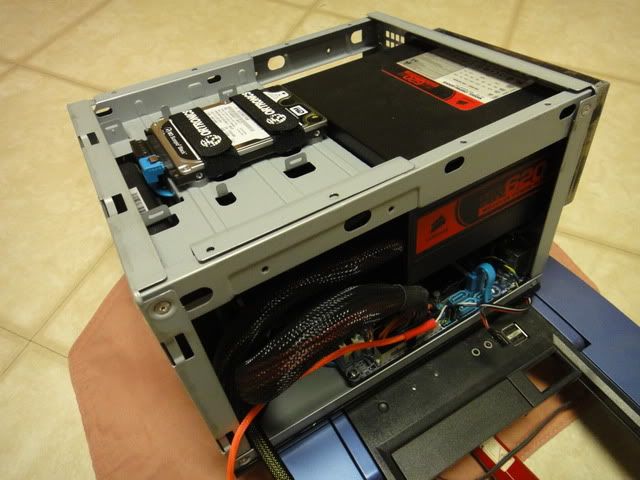
I'll post couple of shots I took while it's clamped(it still is) Maybe I'll JB weld to more support tonight.
Also, one thing I forget to do before mounting was that I had to file end part of top of PSU extender. It comes in about 1/16 and it will block the support I was going to mount internally. So I guess I have to file it which is going to be pain in the butt since it's mounted already.
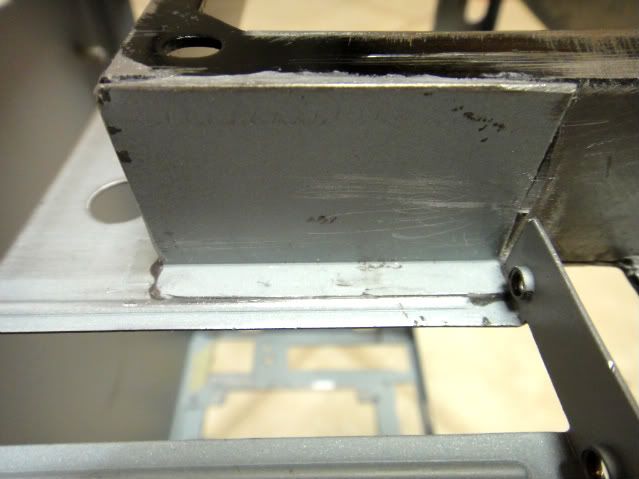
One mess up I did was level. Right from rear view sits about 1/16" lower than left side but nothing I can do now since JB weld is almost cured.
The way I had to clamp it was pretty ghetto job not just because lack of proper tool(I need more tool but not buying until I get a house) which was one of the reason but the way it had to be clamped. I basically applied JB weld and decided how to clamp it afterwards so I had to be creative quick.
I'll post couple of shots I took while it's clamped(it still is) Maybe I'll JB weld to more support tonight.