NukeULater
Gawd
- Joined
- Sep 12, 2006
- Messages
- 917
My latest mod. I was bored with this old Gateway tower I was using for a server. So after finding some oak and taking the tower apart and figuring out a mounting method this mod begun. I happen to really enjoy working with wood. It is easy to use, yet has its own quirks. I love the contrast between hard wood and metal, it is very modern and clean if built properly. Before some one asks about the name here you go. http://dictionary.reference.com/browse/ligneous
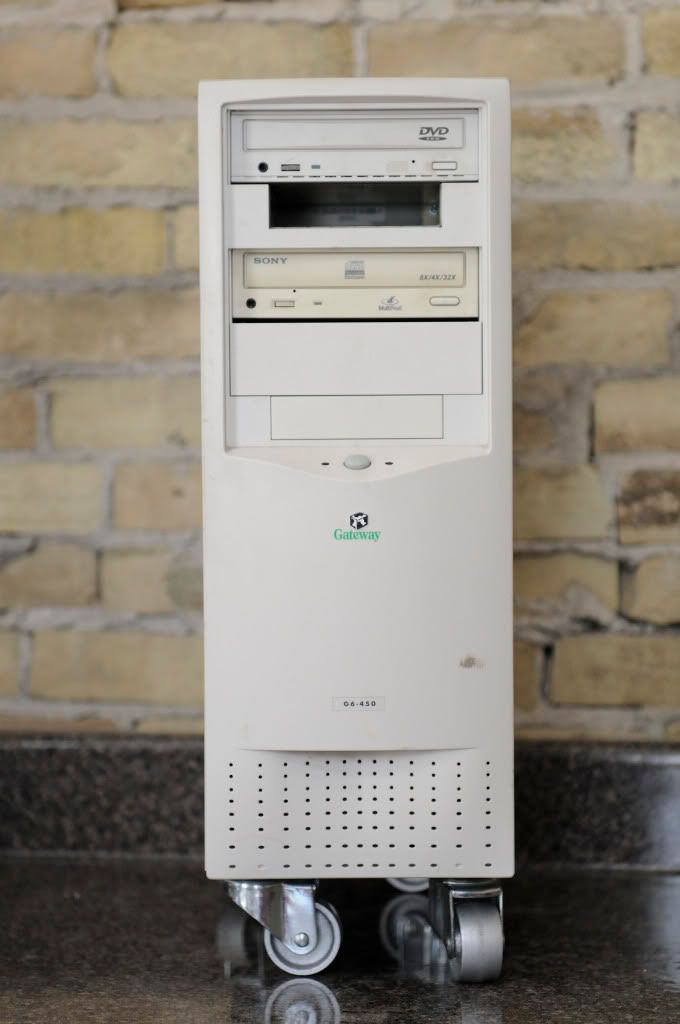
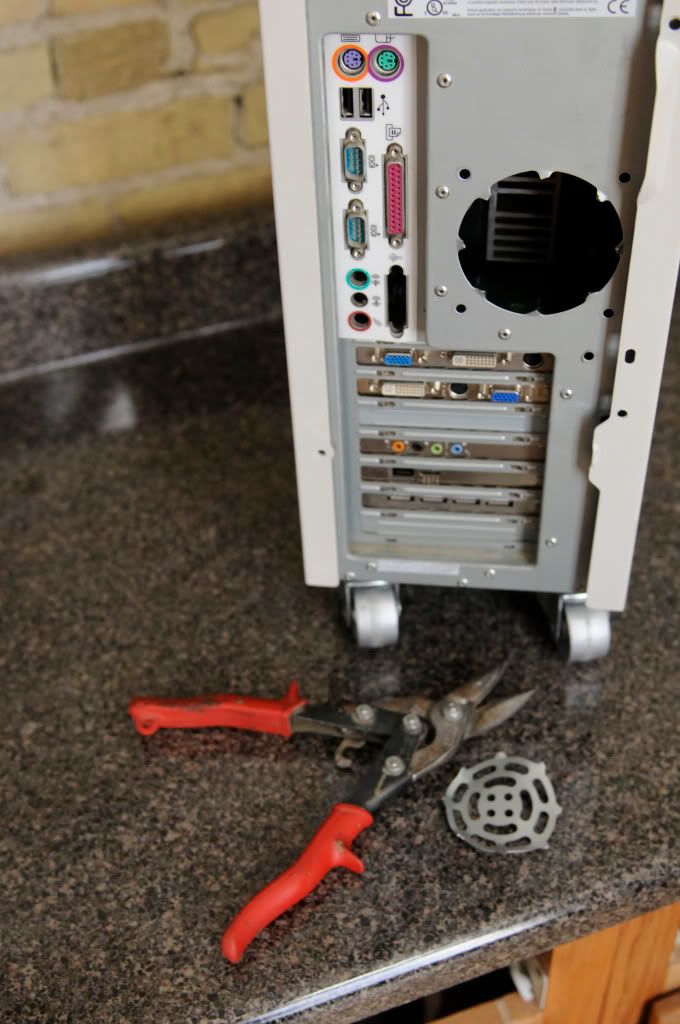
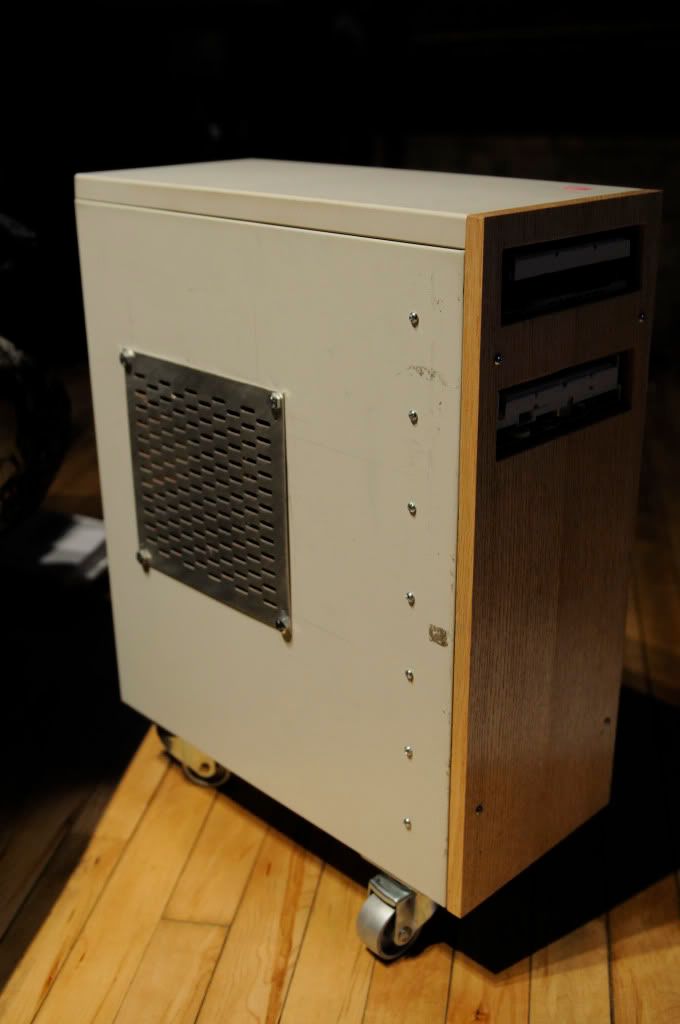
Before the mod started. As you can see I already mounted steel casters on the bottom of the case. I didn't think anyone would mind not having any pictures.
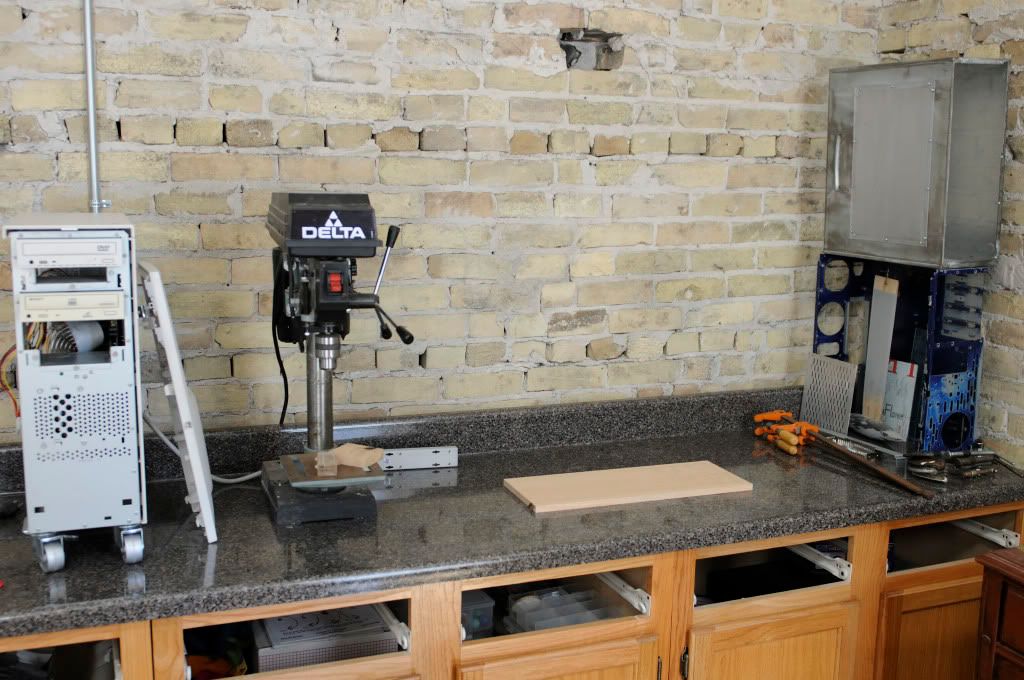
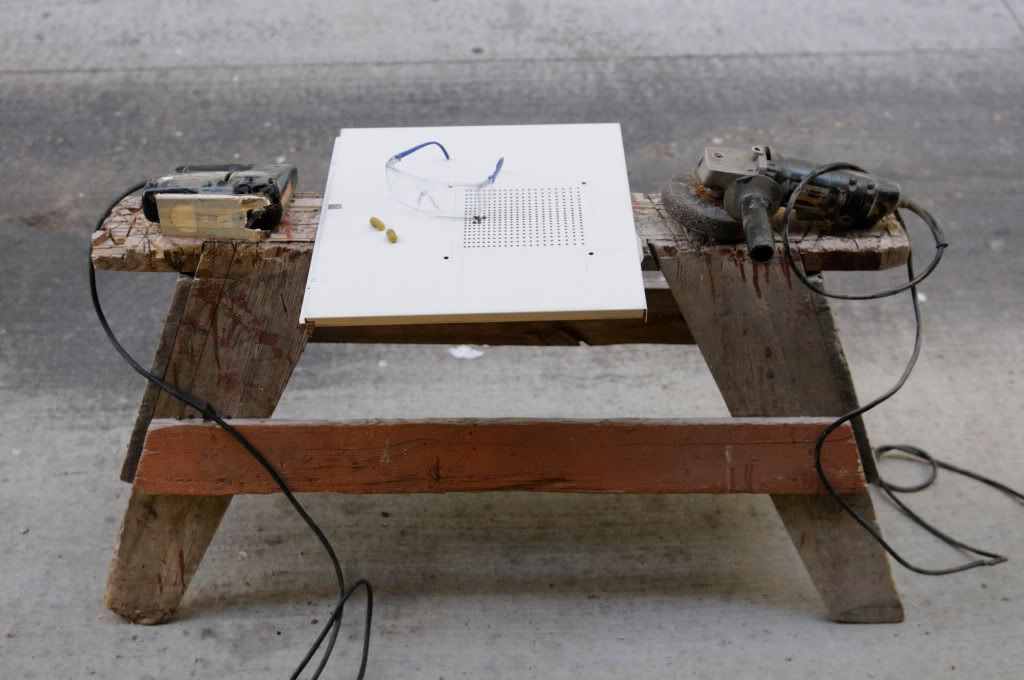
The workspace.
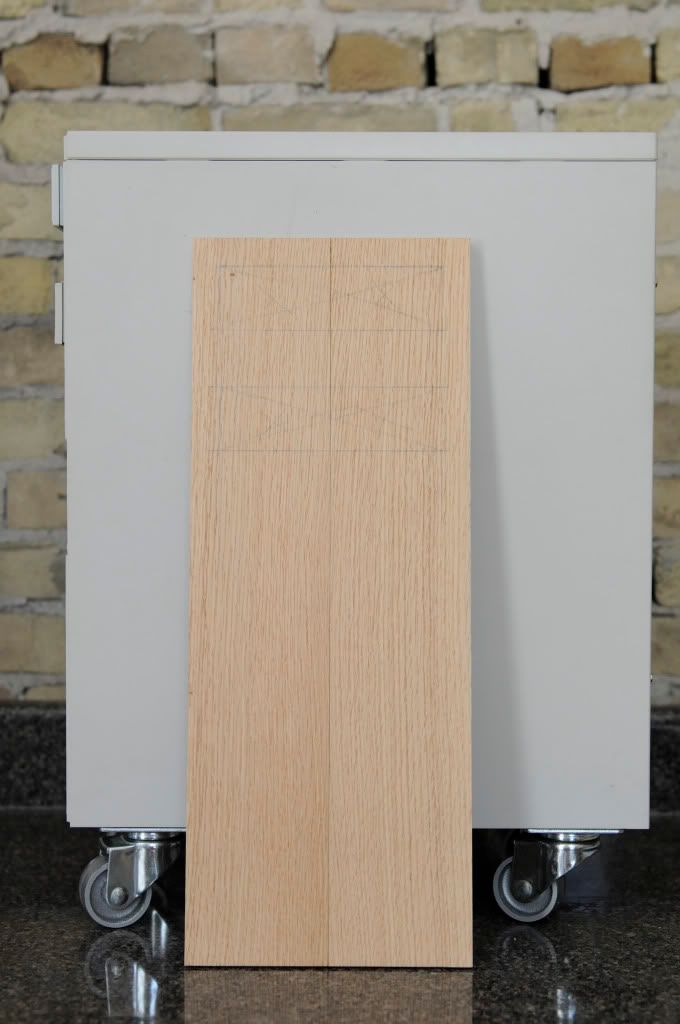
The wood after it was trimmed to size planned to .5 of an inch and glued. Originally, this wood was cut for a floor in my house. These were the left overs.
It calls...
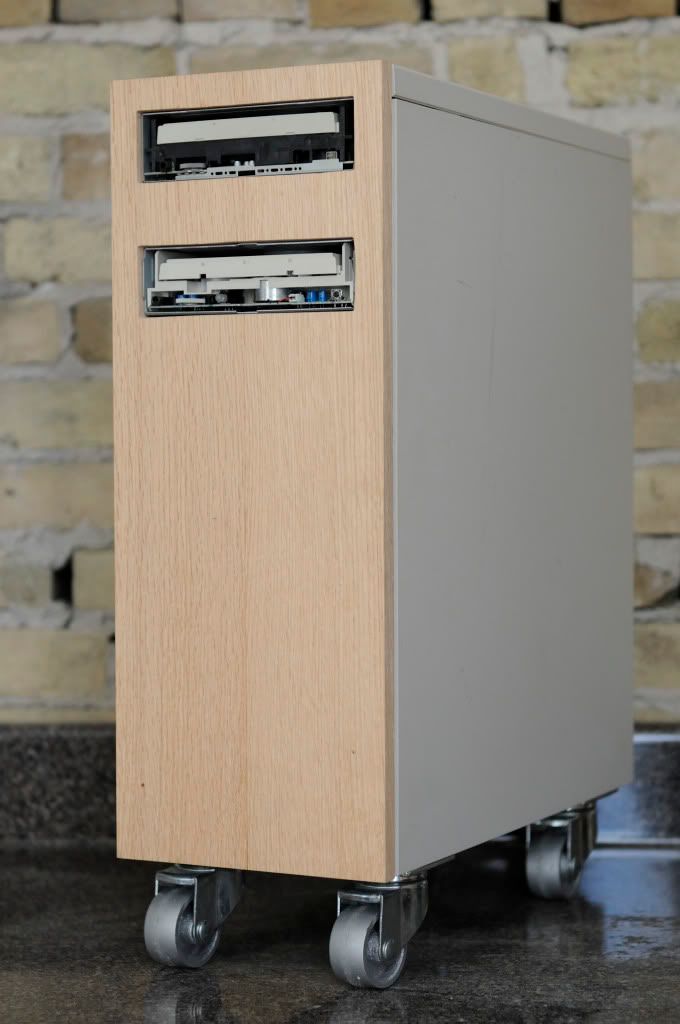
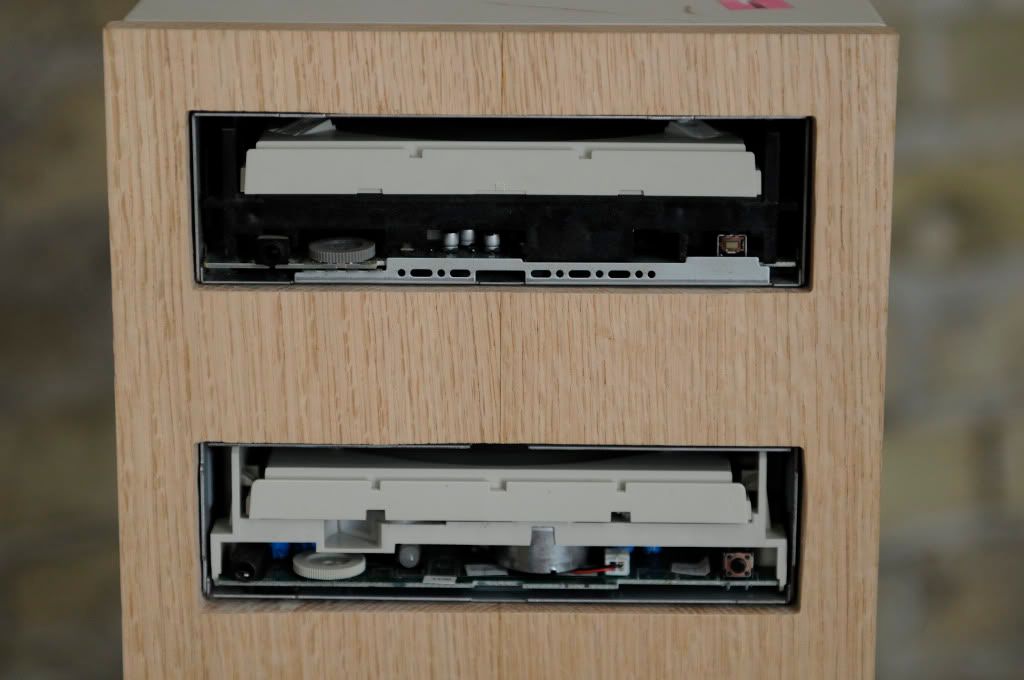
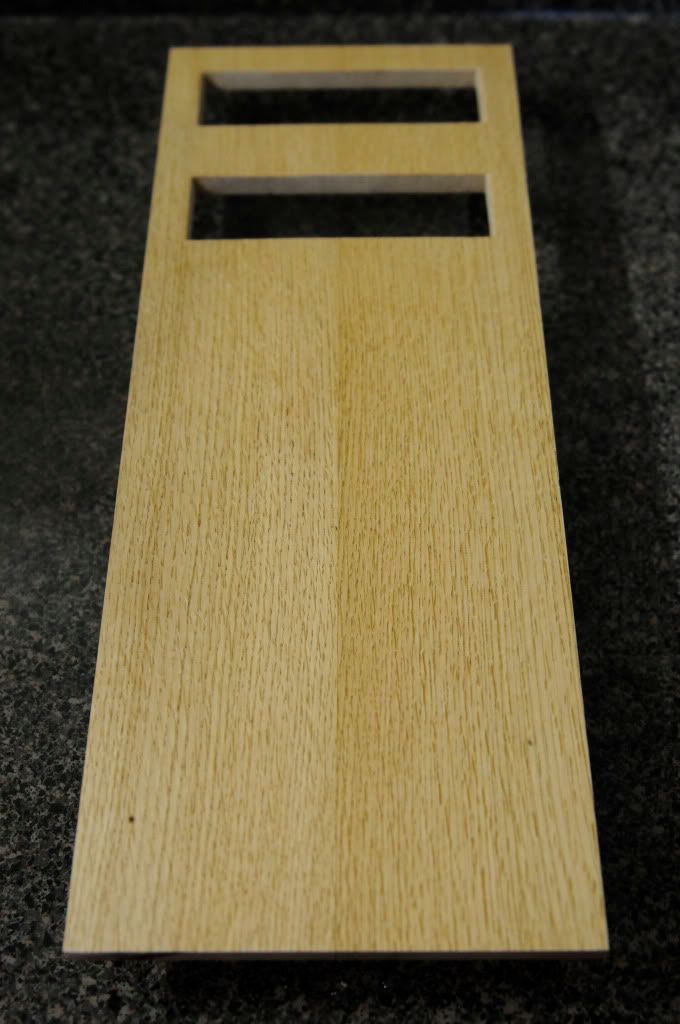
Finished cutting the optical drive bays.
A bit of a problem, at least it was expected. The ones that need less trimming are plastic, the other is going to be a problem because it is steel.
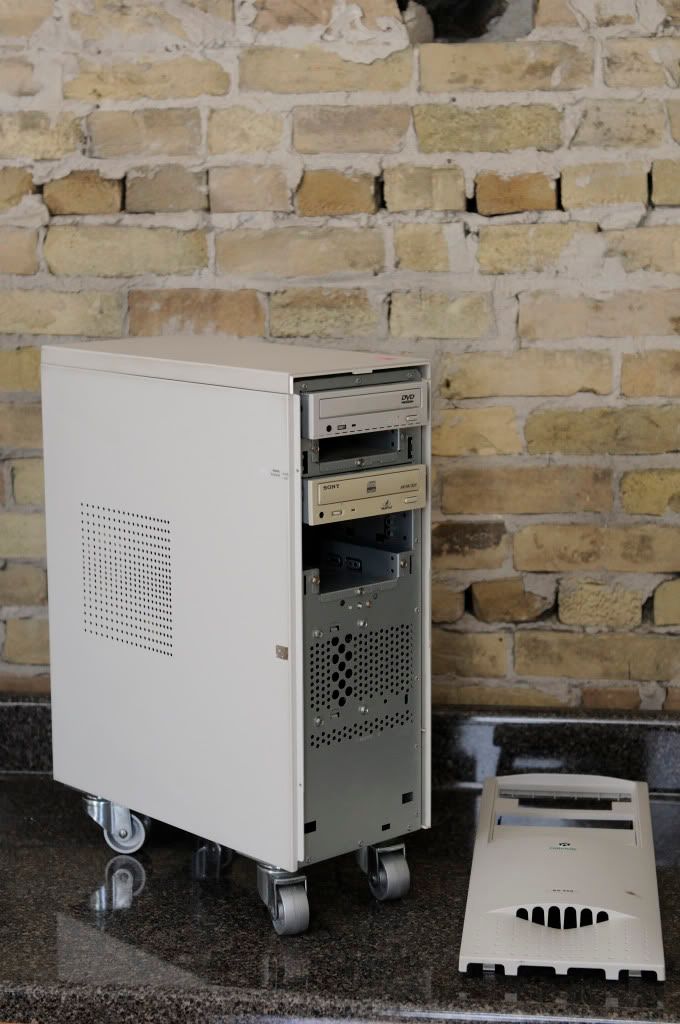
Finished with the plastic side panels.
Removing the fan grill. I will clean the edges better another time.
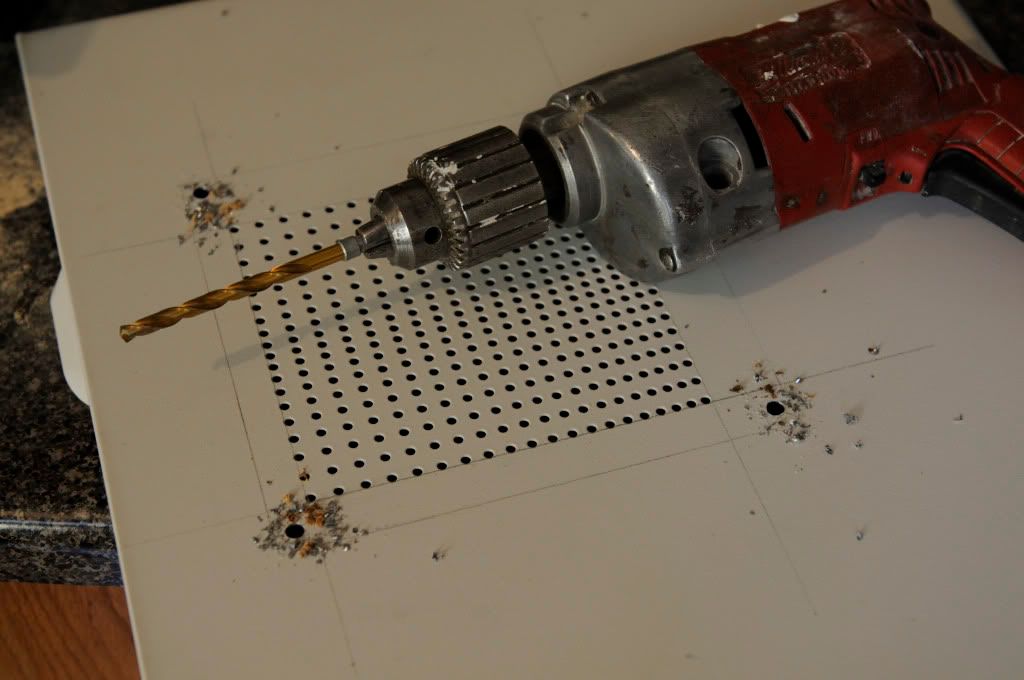
Drilling out the new mounting holes for the aluminum side vent. I still need to sand blast the vent, it was scrap in my garage.

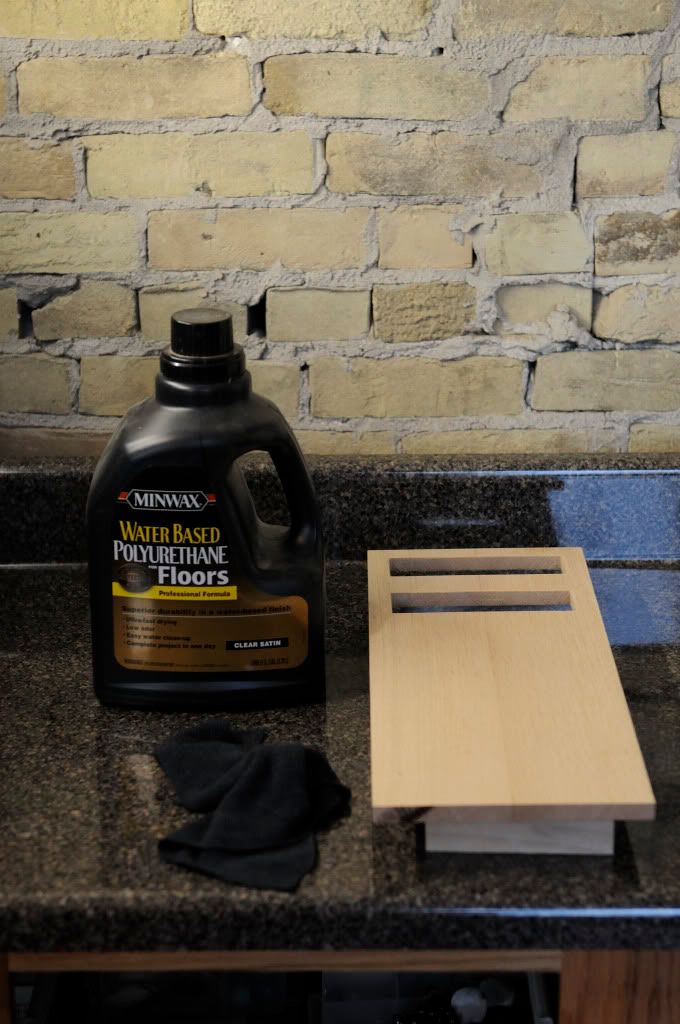
Time to start finishing the wood. I hand sanded at 220 grit for a nice smooth surface and then finished with Minwax water based polyurethane for floors. It has a very attractive satin finish, and turns very hard to protect the wood.
One coat.
Finished. (3 coats)
http://s41.photobucket.com/albums/e... Ligneous/?action=view¤t=Random_343.jpg

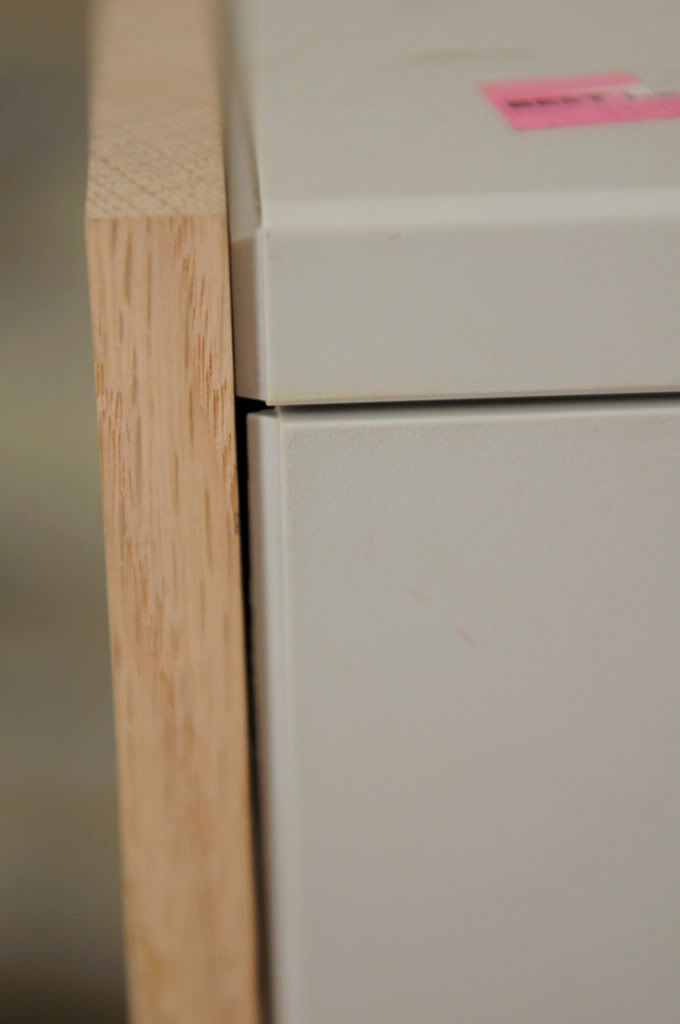
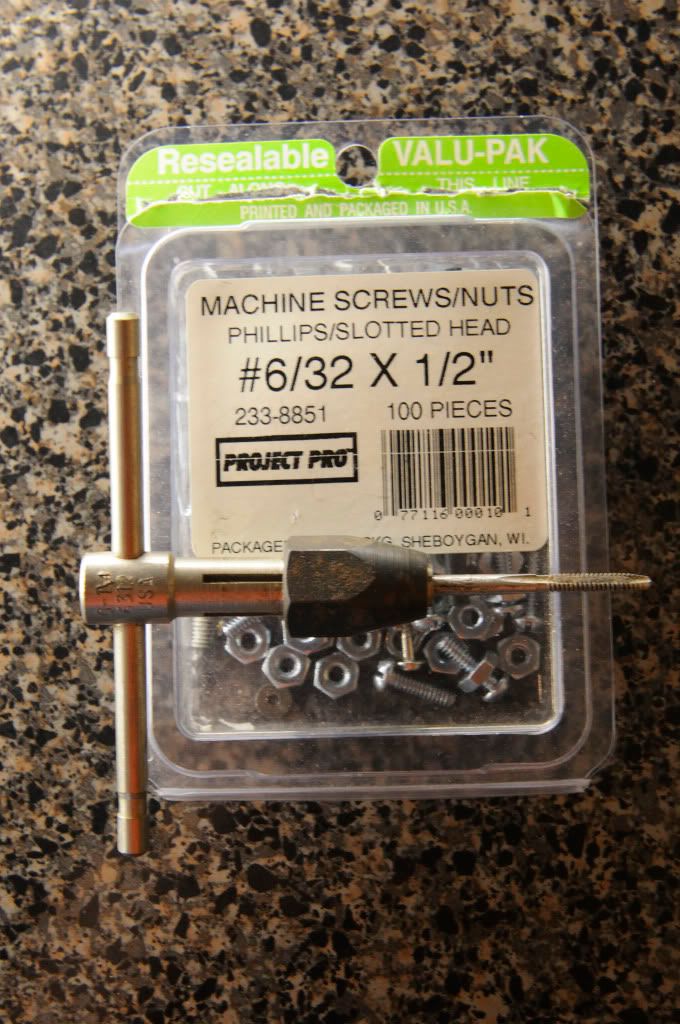
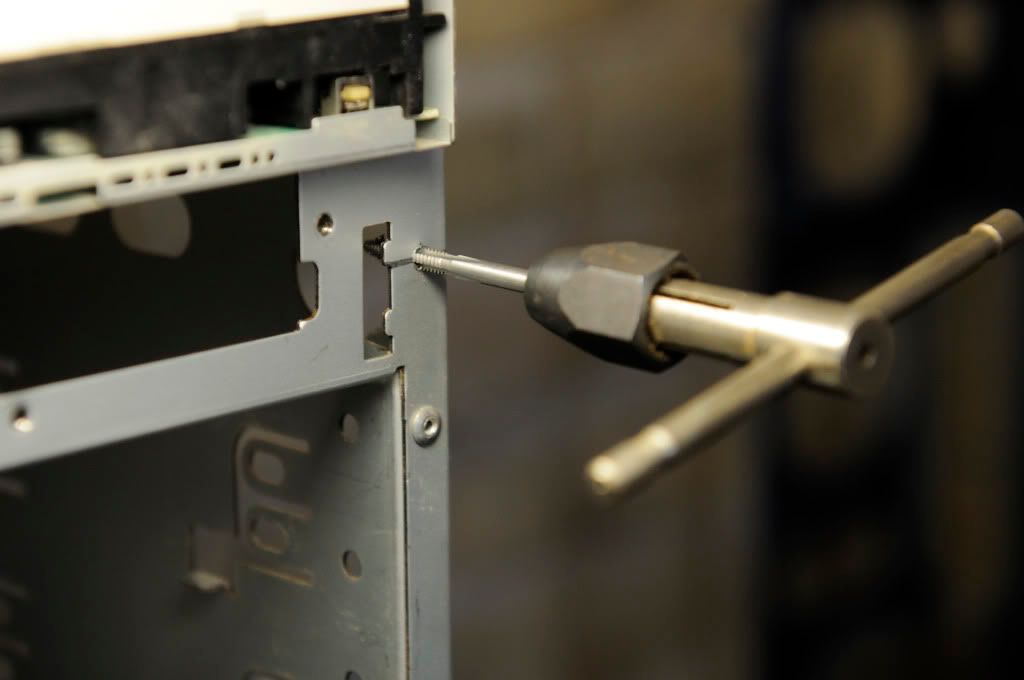
Time to mount the front panel. I am using 6-32 machine screws and tap. later I am going to get pan head stainless screws to make it look better.
I was going to tap these rivets but they just ended up spinning to much.
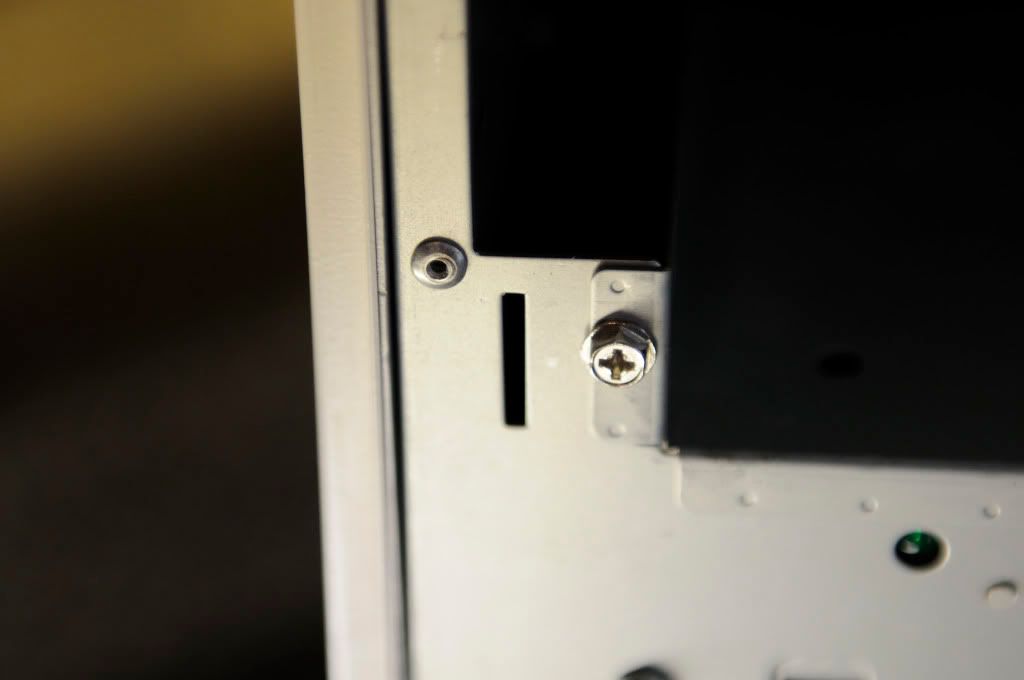
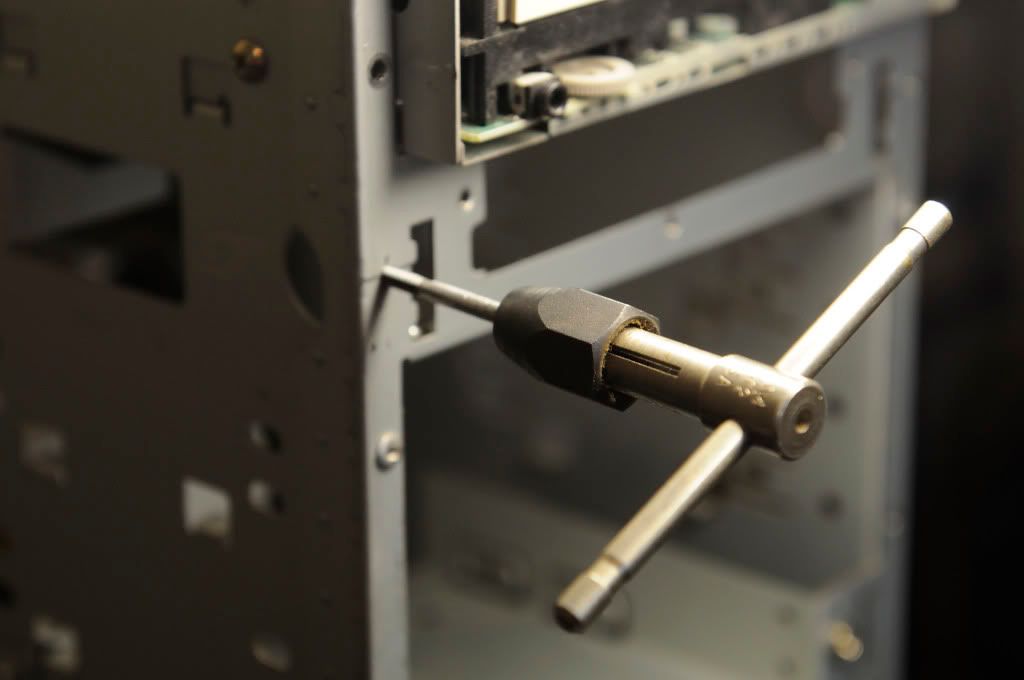
Then I moved to empty space between the optical drives. I used a 3/32nd drill bit and a 6-32 tap.
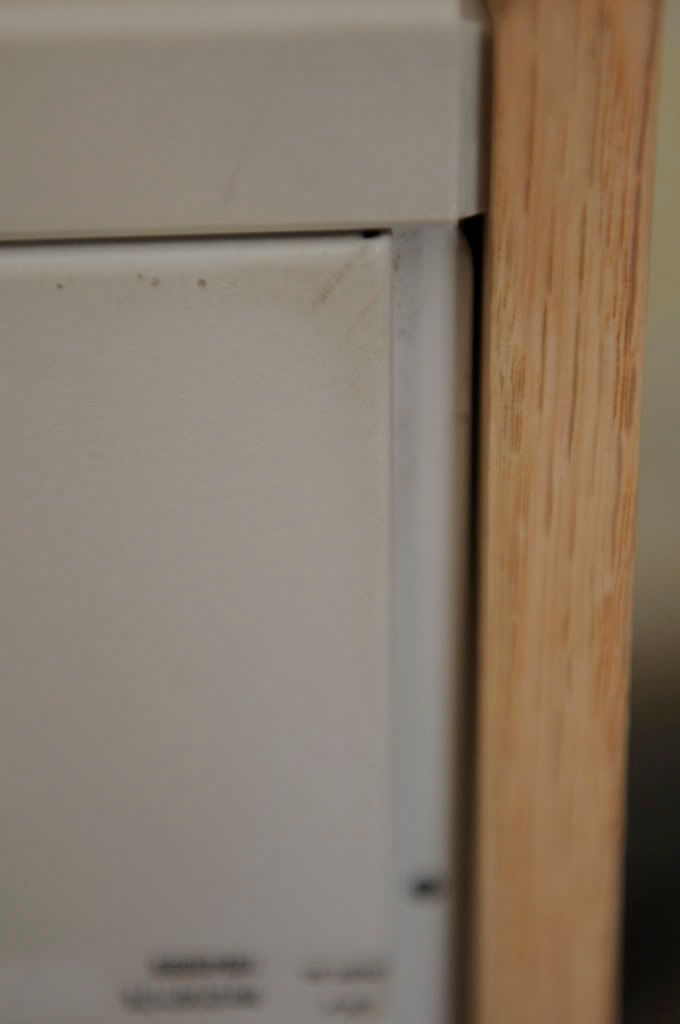
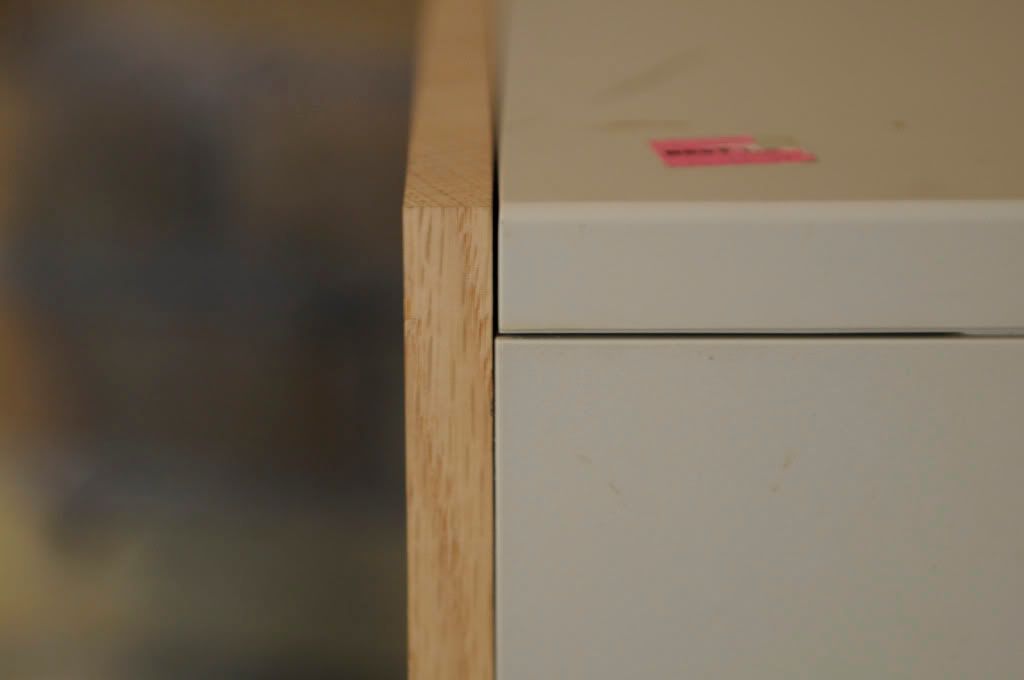
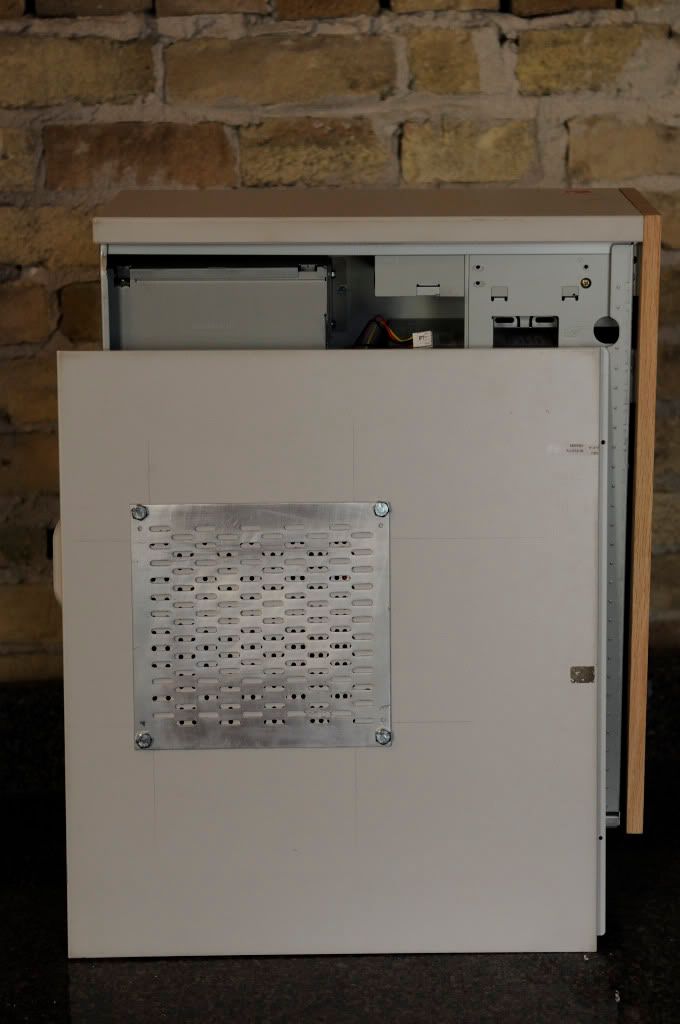
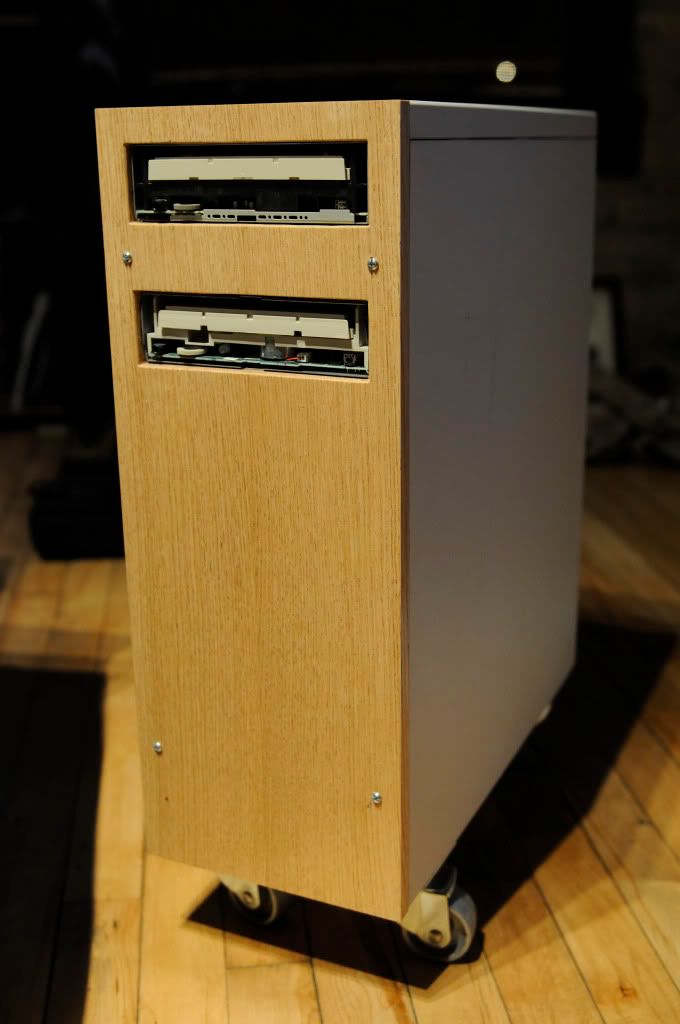
Finished with the mounting.

Back to the side panel. Please note the safety glasses and hearing protection. Please if you are working with these tools, wear them!
Remember that lip on the metal side panel. Well it is gone now. I cut it off with the jigsaw and then cleaned it up with the angle grinder. But in the mean time. I cut through the spot welds holding on the panel. I expected that. Sorry I have no pictures of the process, I cant grind and photograph at the same time.
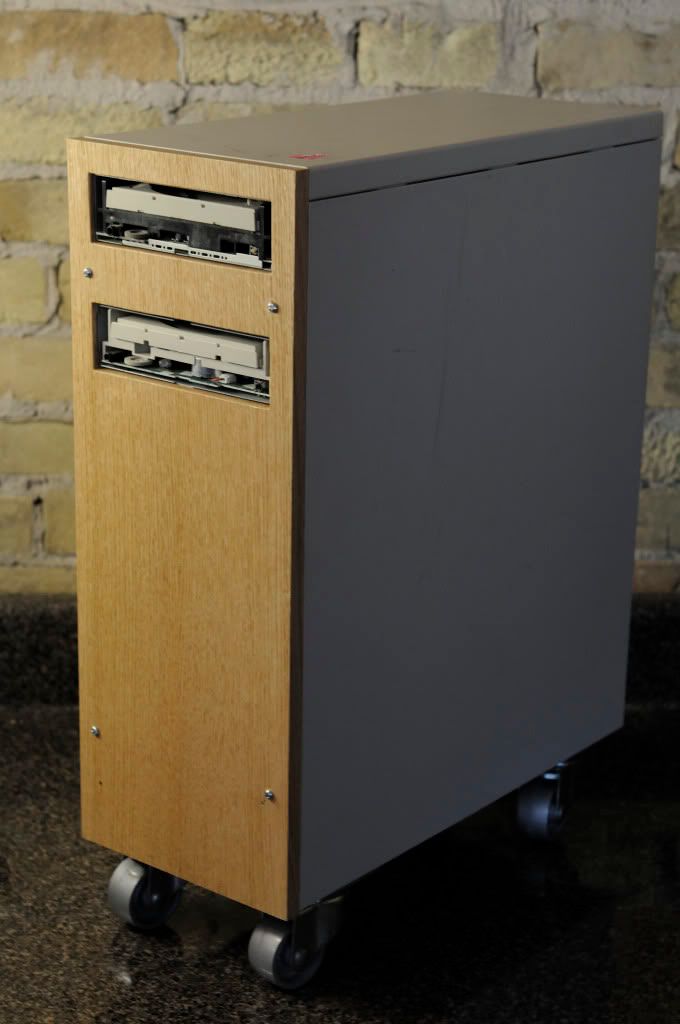
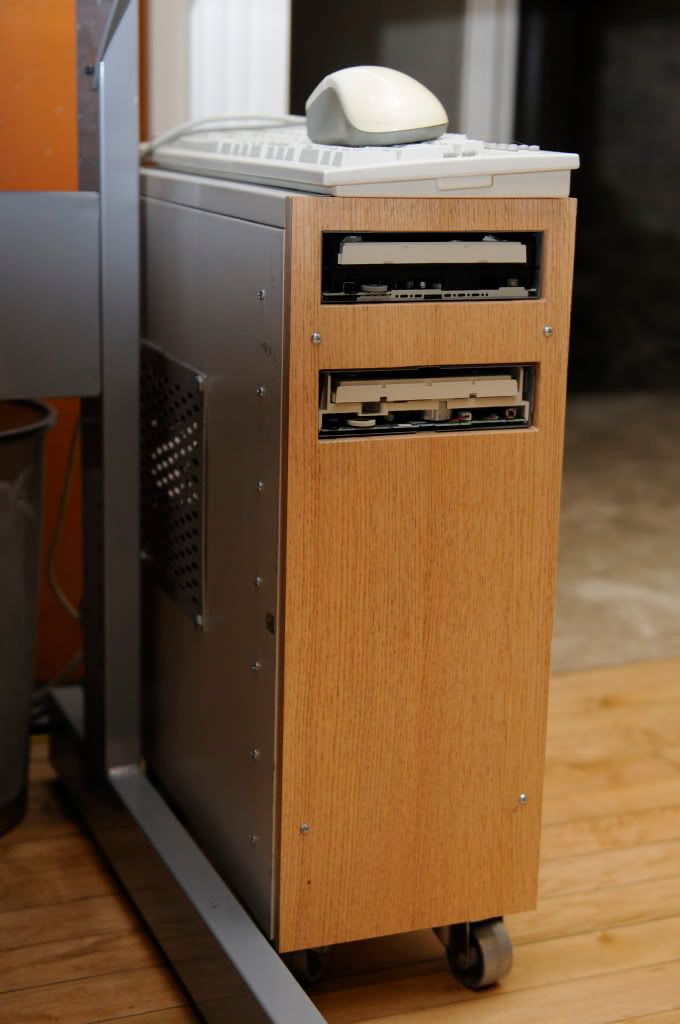
Finished for today. Notice the oak case against my maple floor. What a nice contrast.
If anyone has any comments, suggestions or questions feel free to post.
Before the mod started. As you can see I already mounted steel casters on the bottom of the case. I didn't think anyone would mind not having any pictures.
The workspace.
The wood after it was trimmed to size planned to .5 of an inch and glued. Originally, this wood was cut for a floor in my house. These were the left overs.
It calls...
Finished cutting the optical drive bays.
A bit of a problem, at least it was expected.
The ones that need less trimming are plastic, the other is going to be a problem because it is steel.
Finished with the plastic side panels.
Removing the fan grill. I will clean the edges better another time.
Drilling out the new mounting holes for the aluminum side vent. I still need to sand blast the vent, it was scrap in my garage.
Time to start finishing the wood. I hand sanded at 220 grit for a nice smooth surface and then finished with Minwax water based polyurethane for floors. It has a very attractive satin finish, and turns very hard to protect the wood.
One coat.
Finished. (3 coats)
http://s41.photobucket.com/albums/e... Ligneous/?action=view¤t=Random_343.jpg
Time to mount the front panel. I am using 6-32 machine screws and tap. later I am going to get pan head stainless screws to make it look better.
I was going to tap these rivets but they just ended up spinning to much.
Then I moved to empty space between the optical drives. I used a 3/32nd drill bit and a 6-32 tap.
Finished with the mounting.
Back to the side panel.
Please note the safety glasses and hearing protection. Please if you are working with these tools, wear them!
Remember that lip on the metal side panel. Well it is gone now. I cut it off with the jigsaw and then cleaned it up with the angle grinder. But in the mean time. I cut through the spot welds holding on the panel. I expected that. Sorry I have no pictures of the process, I cant grind and photograph at the same time.
Finished for today. Notice the oak case against my maple floor.
What a nice contrast.
If anyone has any comments, suggestions or questions feel free to post.