05/23/2005 Update... Killing time.
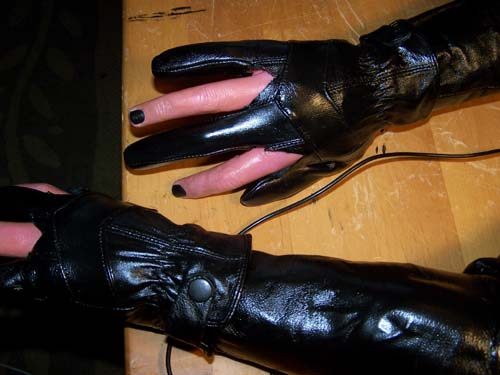
Well, the springs did not get here today (damn USPS). Since the springs are holding me up I decided to finish up some other busy work and painted/glazed the arms... I also blacked out the fingernails for visual interest.
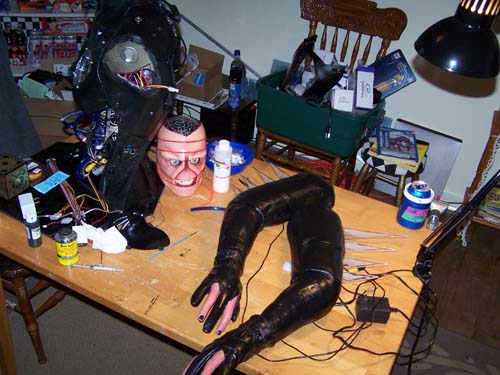
Here is a quick snap of my dining room/work shop, I think that if nothing else the past six months have served to prove to my wife that I need a real workshop added onto our house... she has been missing the dining room.
I really hope my springs get here tomorrow.
Well, the springs did not get here today (damn USPS). Since the springs are holding me up I decided to finish up some other busy work and painted/glazed the arms... I also blacked out the fingernails for visual interest.
Here is a quick snap of my dining room/work shop, I think that if nothing else the past six months have served to prove to my wife that I need a real workshop added onto our house... she has been missing the dining room.
I really hope my springs get here tomorrow.
")