Negative Decibel
2[H]4U
- Joined
- Dec 13, 2005
- Messages
- 3,588
very impressive! I'm looking forward to seeing the finished product!
Follow along with the video below to see how to install our site as a web app on your home screen.
Note: This feature may not be available in some browsers.
Very nice work man.
i wetted myself
very nicely done, can't wait for the finished product!
how much you want for it?
Im subscribed - curious how it finishes out!
MOAR MONITORS!
Looking nice can't wait to see it done.
S[H]ady;1038289466 said:holy crap!
this is epic!
very impressive! I'm looking forward to seeing the finished product!
cant wait for more updates!
Is this a '68 Porsche in the background?
Edit: Nevermind, a Karman Ghia I guess
I was somewhat close.
Seems like you're having fun. can't wait to buy another house and do stuff like that as well.
Really nice work, but I feel your not providing enough updates with pictures.
Nice work Wejjy. Thanks for the updates and the pictures. A few questions if you don't mind.
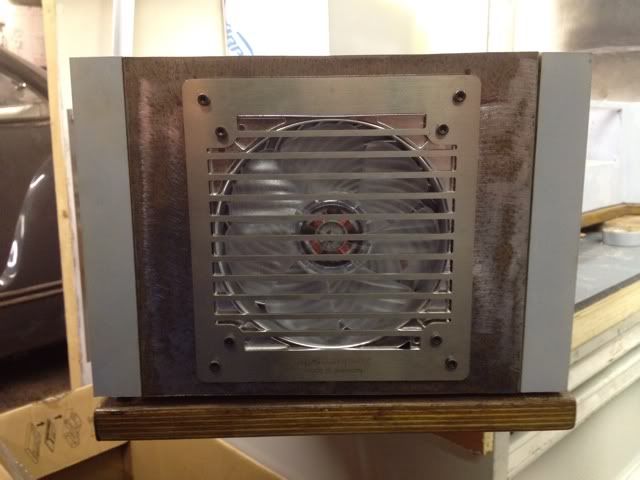
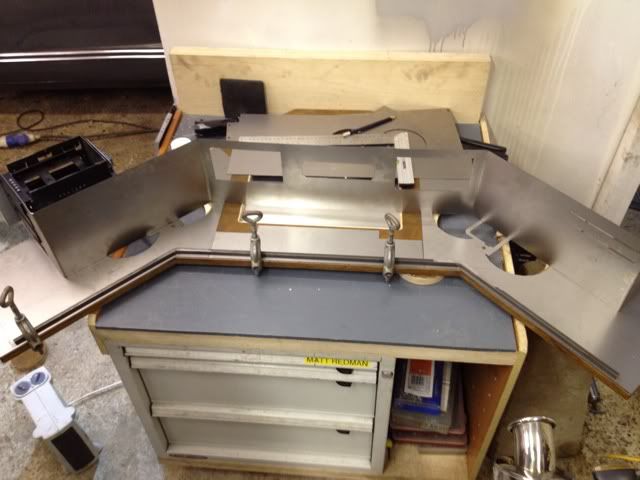
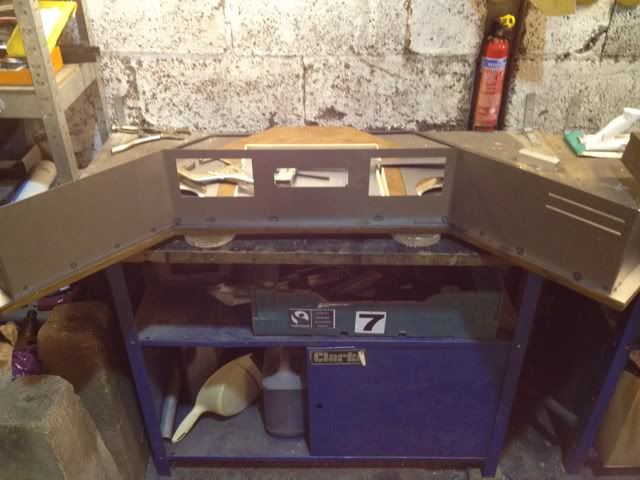
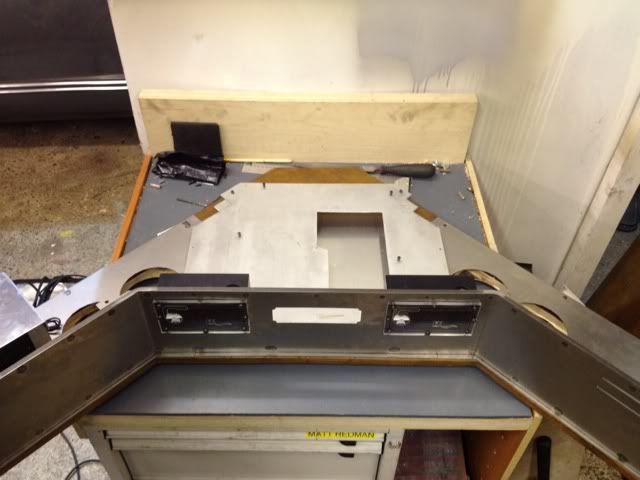
1) Where will the Power Supply go.
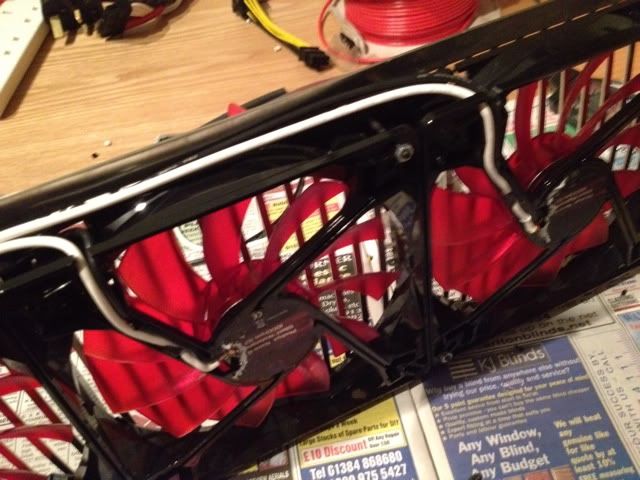
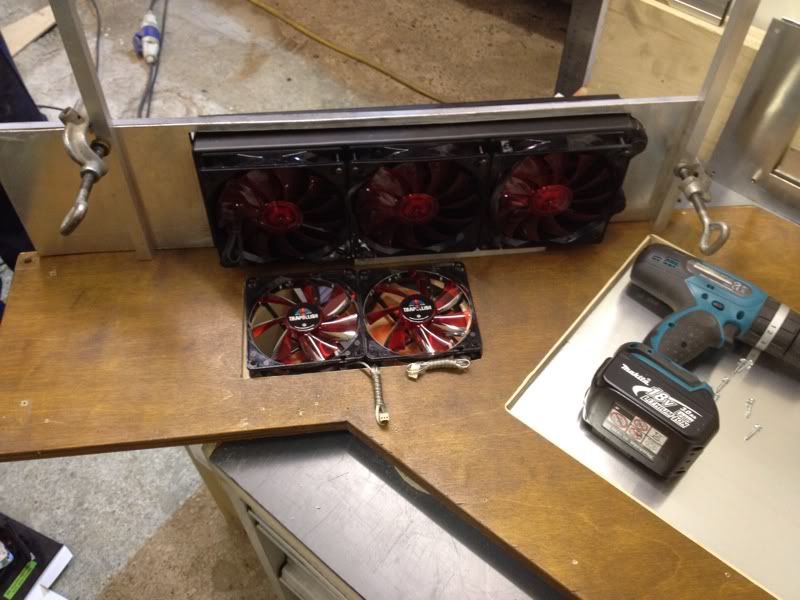
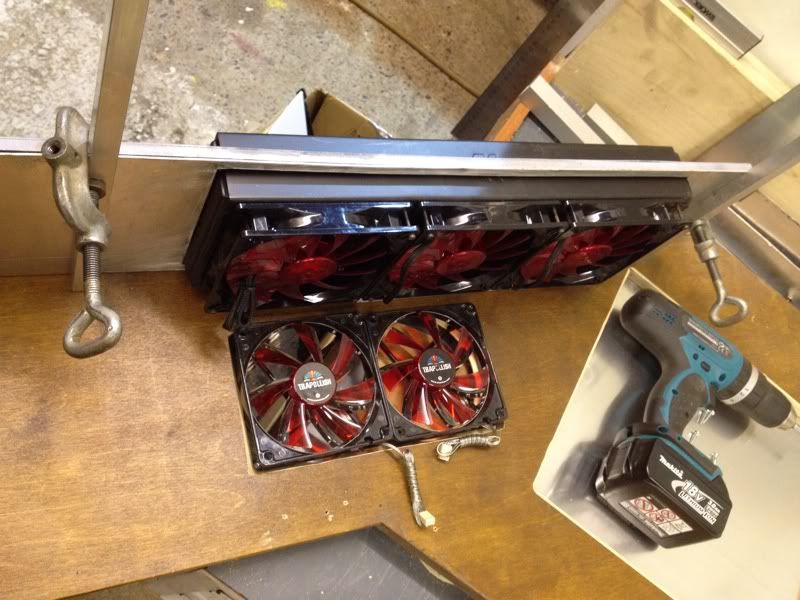
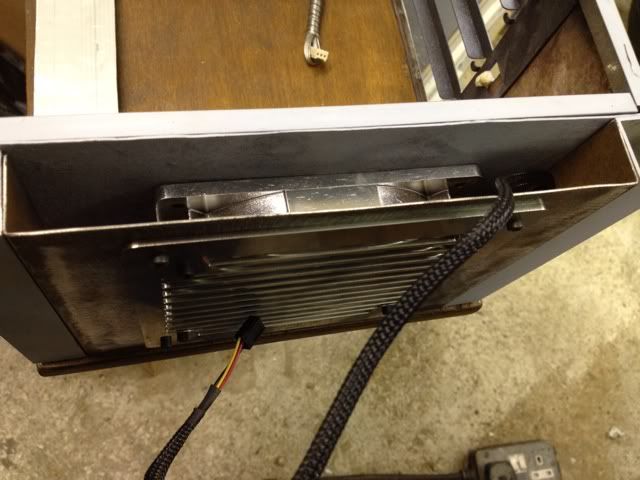
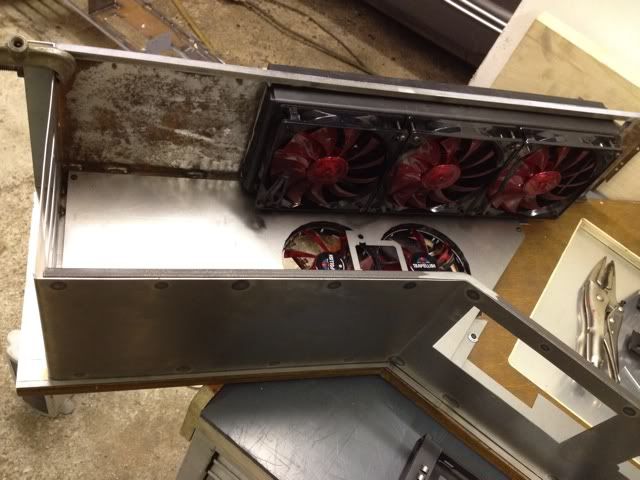
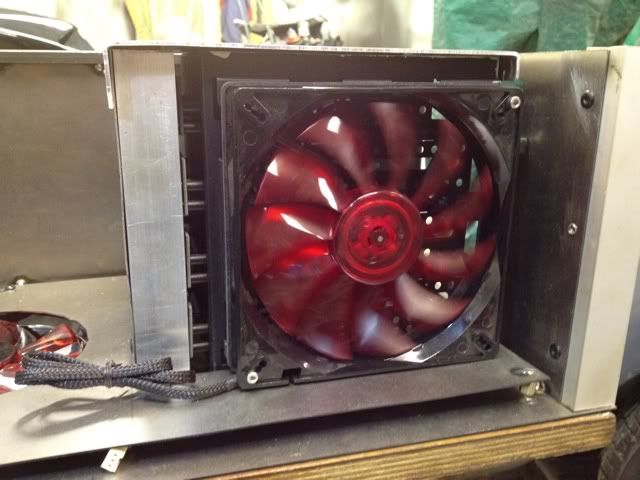
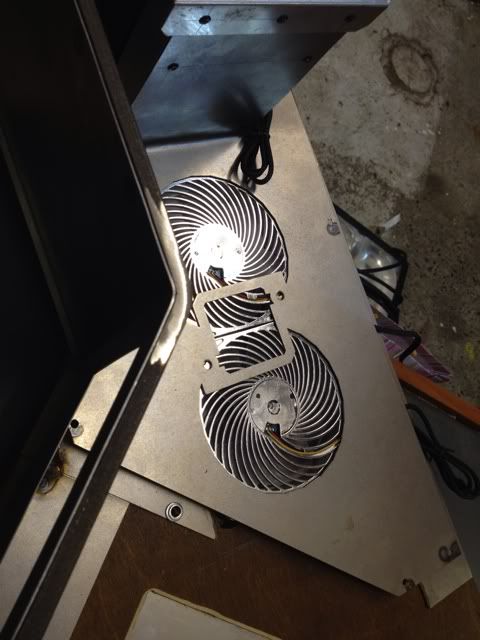
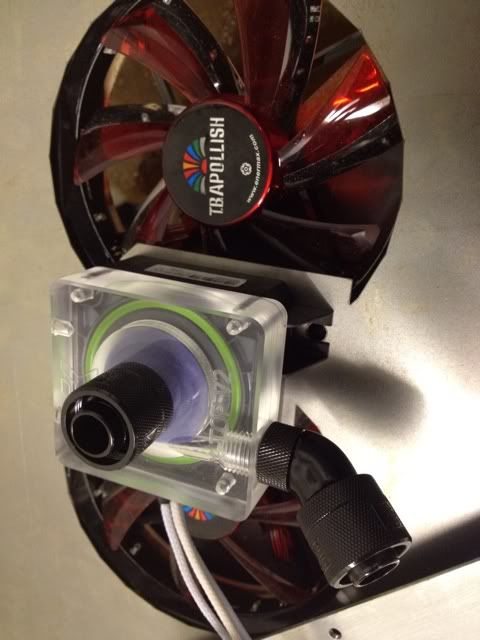
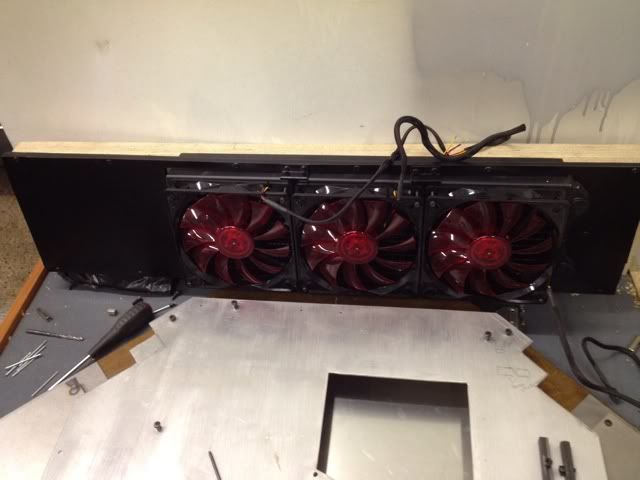
2) Where does the outflow from the radiators go? Is it going in to the walls?
As a father of 2 I hope your daughter is home soon.Thanks mate, sorry for the slow updates, my little girl is in hospital at the moment so I havent got much time, back to it soon though. Plus Im waiting for my laser cut parts to arrive...
Thanks!

Looks like a karmann gia.Well, I cant guess on the car myself, but nice work on the case brother!
Hope your daughter is okay, thats a nasty looking scar.
Nice update on the work.
Looks like a karmann gia.
Cool project man. Some serious [H]....
Good lord, Now I wan't to send a get well soon card
Thanks pal, shes getting stronger by the day, soon be back to normal hopefully!
It is indeed a Karmann Ghia, thanks for the kind words, I need them!
Thank you, an EVGA Classified Ultra card would be a great get well card! Lol
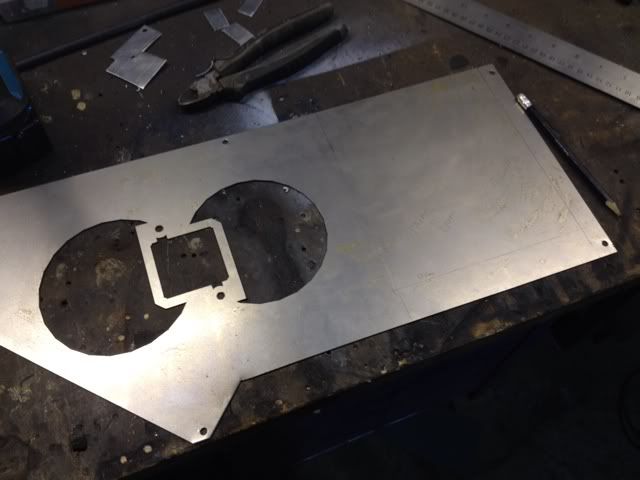
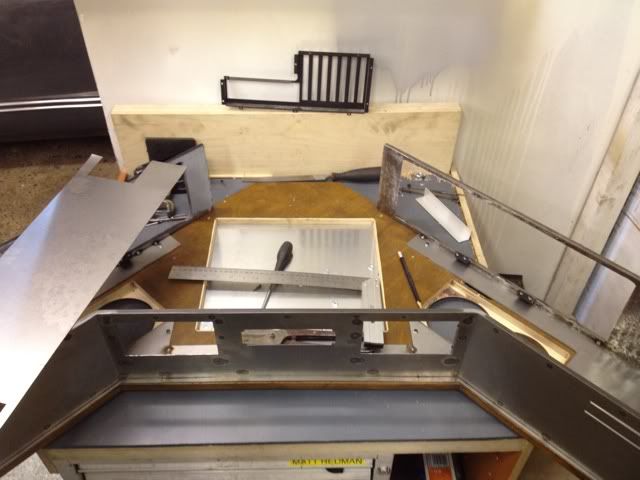
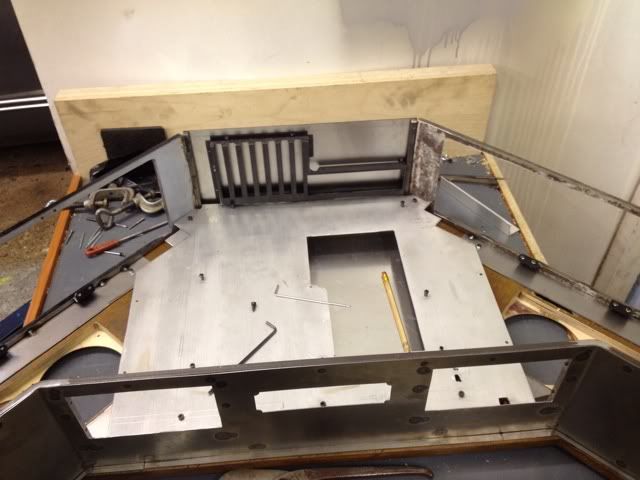
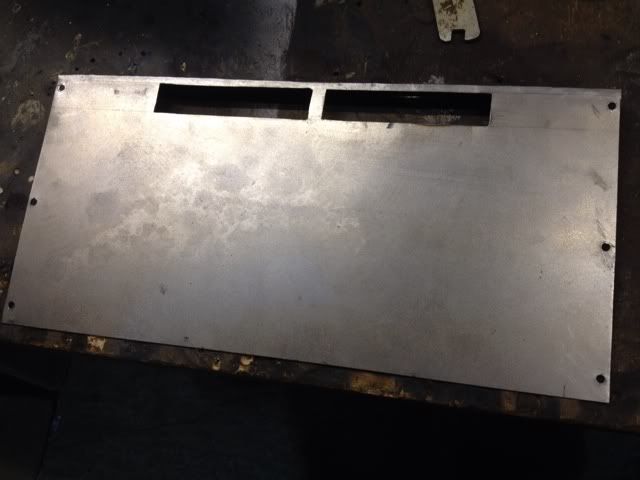
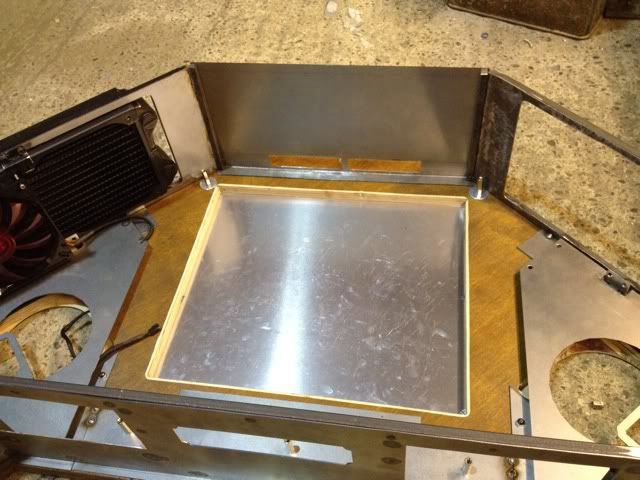
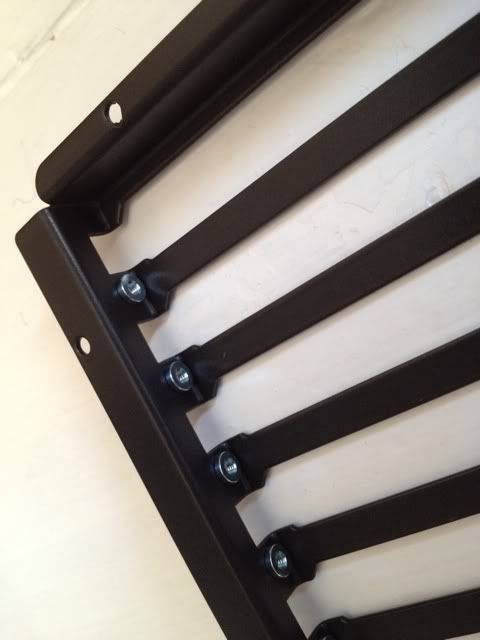
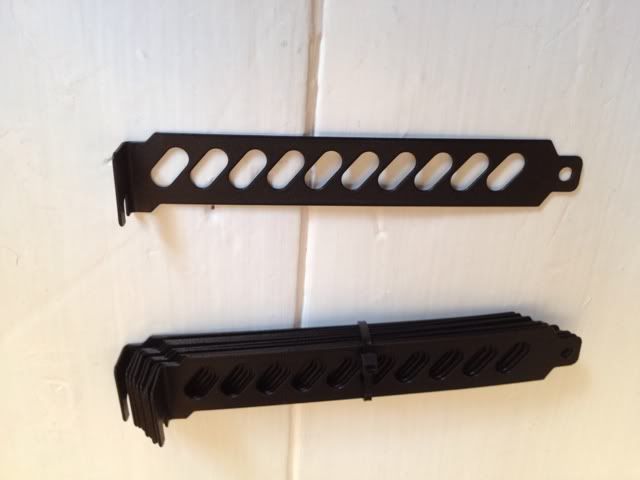
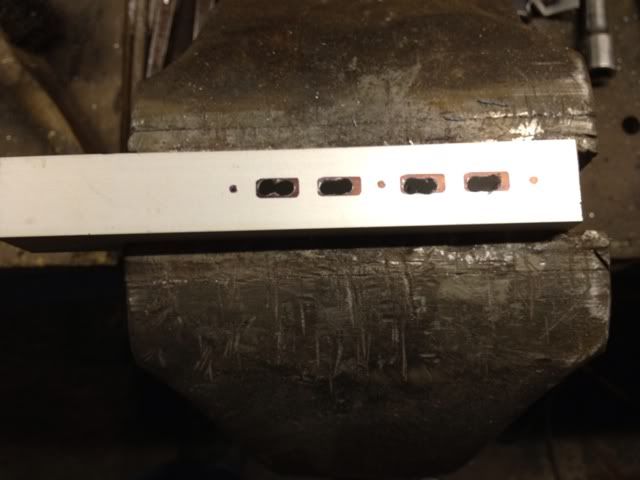
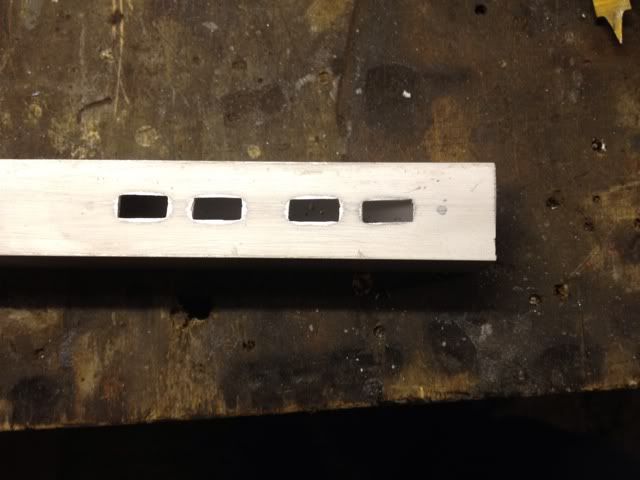
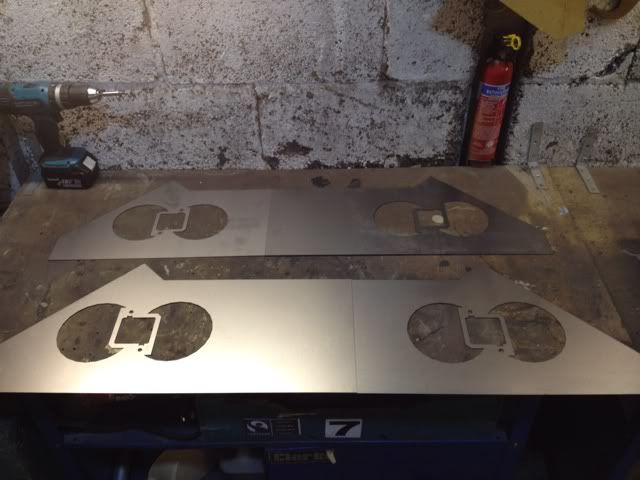
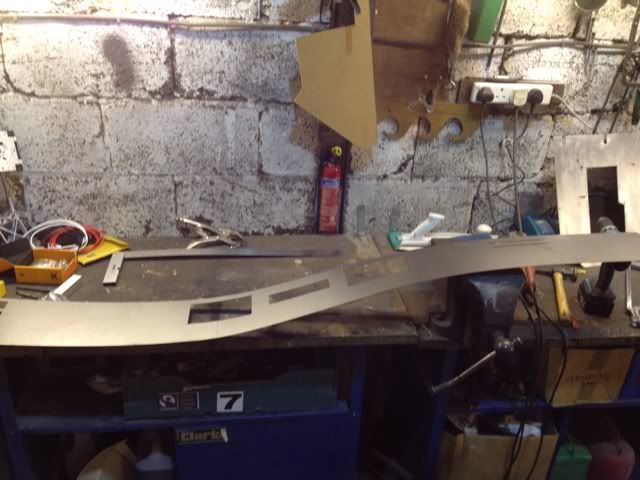
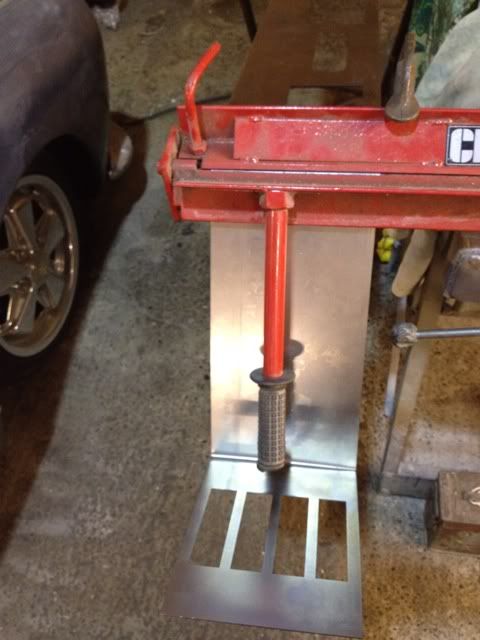
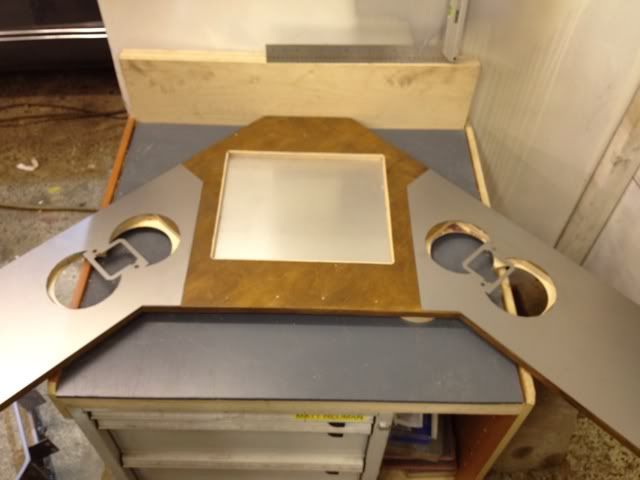
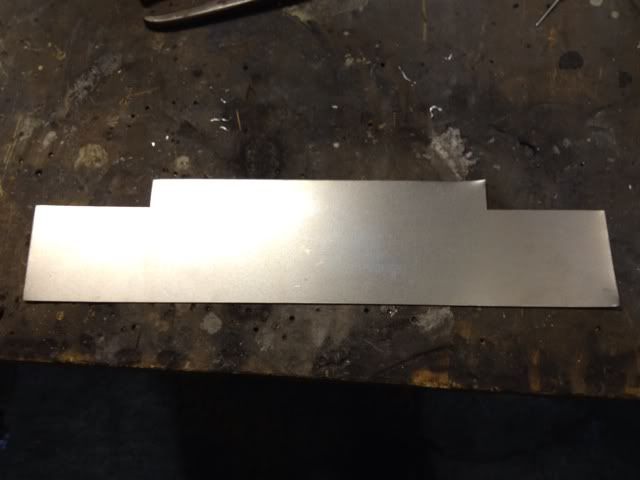
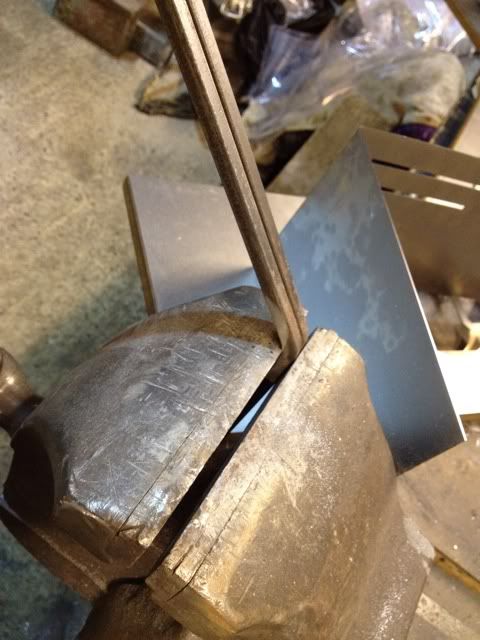
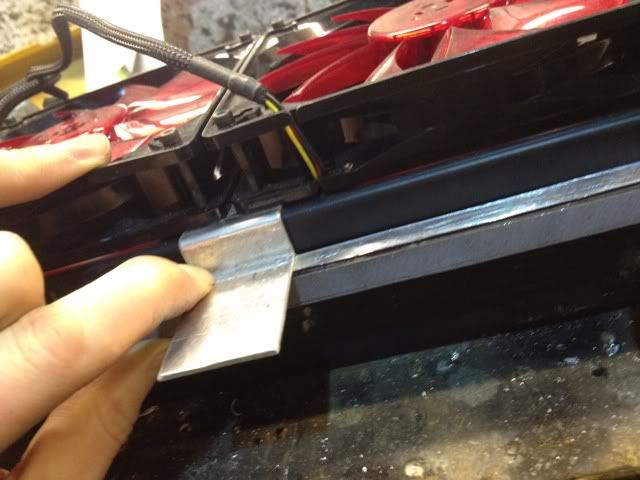
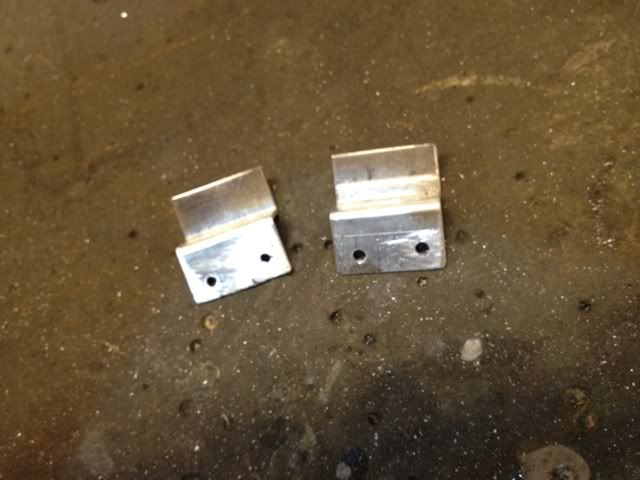
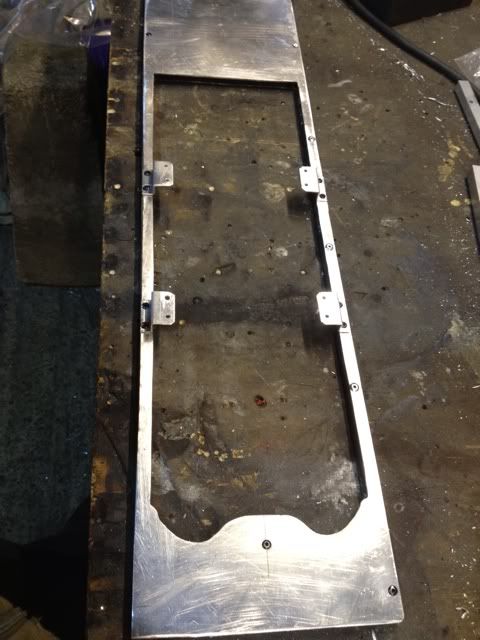
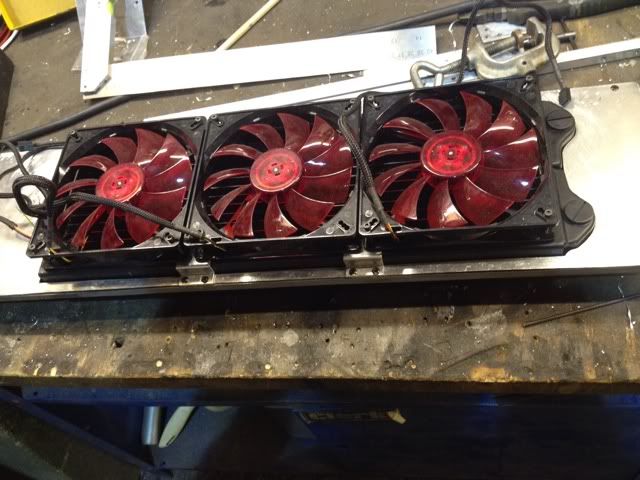
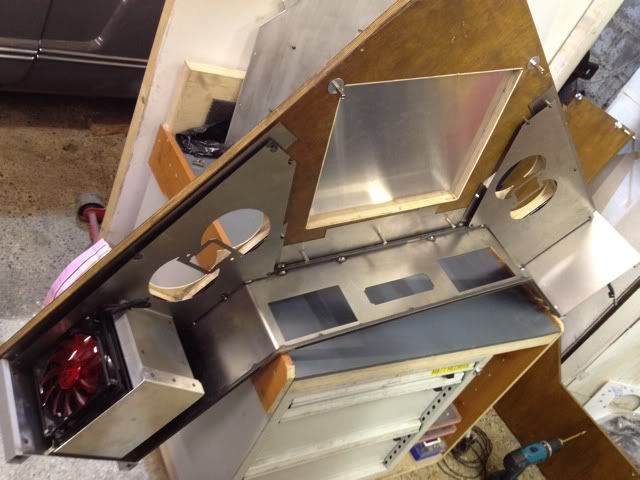
So the laser cutters called and told me my parts are ready, so im off to them tomorrow to collect them, then hopefully on wednesday I may be able to make a little but of progress, ihoping to get this finished by Mid March.
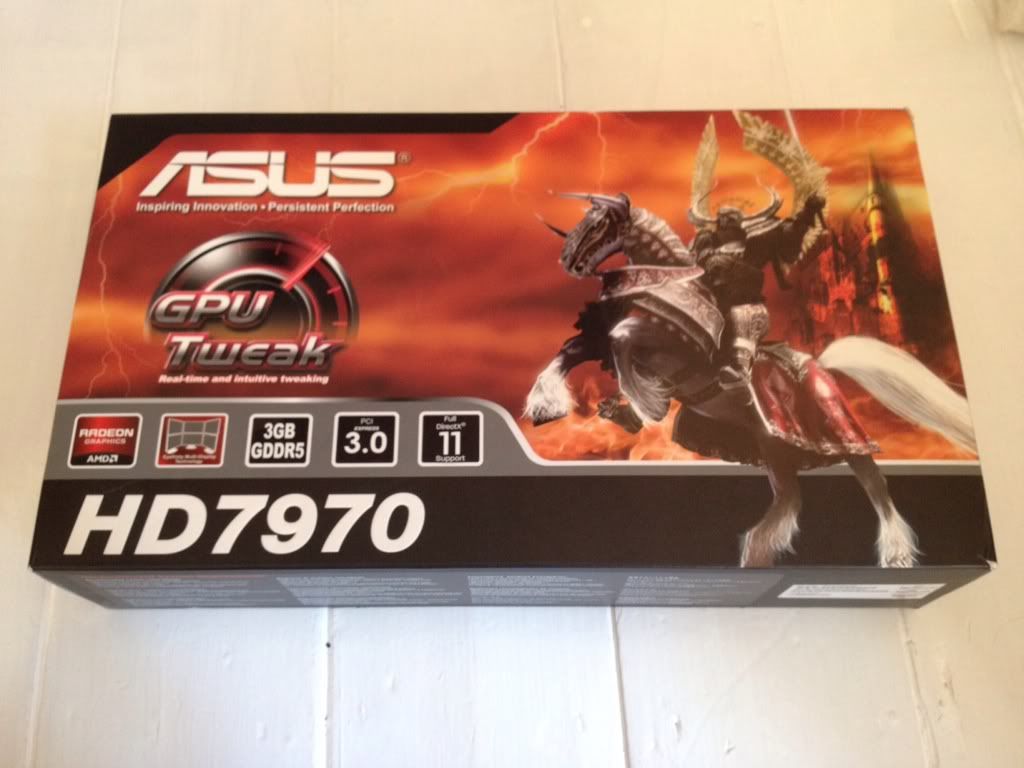
Quick question... Should I go Sli with EVGA Classified 580's the 3gb cards or go for 7970's in cf. I do a lot of rendering as well as gaming so need to know which would be the best all rounders not only gamers?
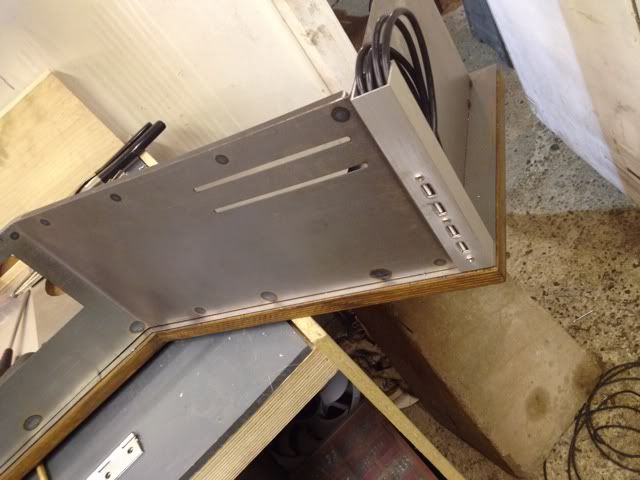
Should be a sweet looking corner desk Whoops clicked the wrong button and put my badge in.
Your mod is looking good, keep up the great work.
Good luck with your daughter's recovery, my prayers are with you, and your family
I love it! Prayers for your daughter! Hope all is well!


awesome man, really starting to come together.
Wow just impressive. Going to keep an eye on this as your rig puts mine to a complete shame.
Also, wishing your daughter doing well in her recovery.
bump for looking
great work


Its fantastic very L3p quality.
P.S. i hope your daughters recovery is coming along good.
Good to hear. looks like it wasn't pleasant for her.
Great work on the build. I check back daily hoping for more