• Some users have recently had their accounts hijacked. It seems that the now defunct EVGA forums might have compromised your password there and seems many are using the same PW here. We would suggest you UPDATE YOUR PASSWORD and TURN ON 2FA for your account here to further secure it. None of the compromised accounts had 2FA turned on.
    Once you have enabled 2FA, your account will be updated soon to show a badge, letting other members know that you use 2FA to protect your account. This should be beneficial for everyone that uses FSFT.

Project: "Constellation" Desktop Cluster

kahm

Weaksauce
Joined
Feb 3, 2006
Messages
120
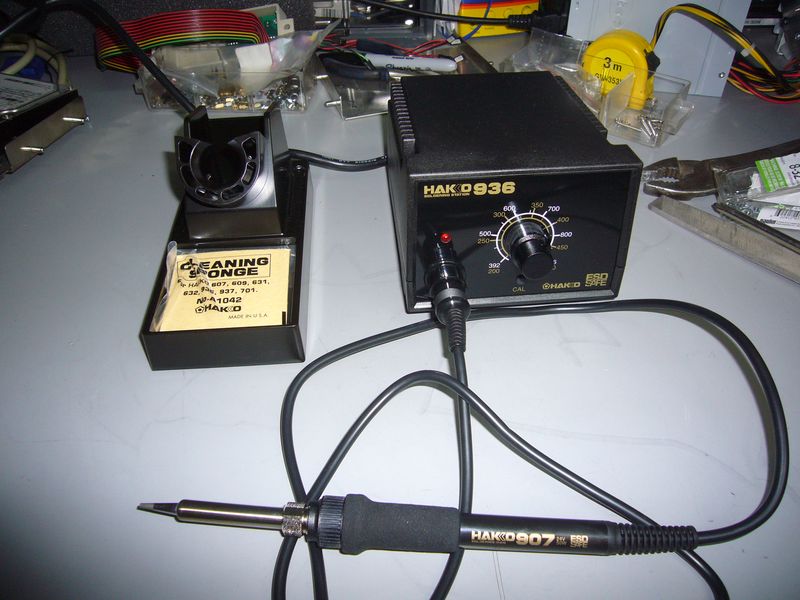
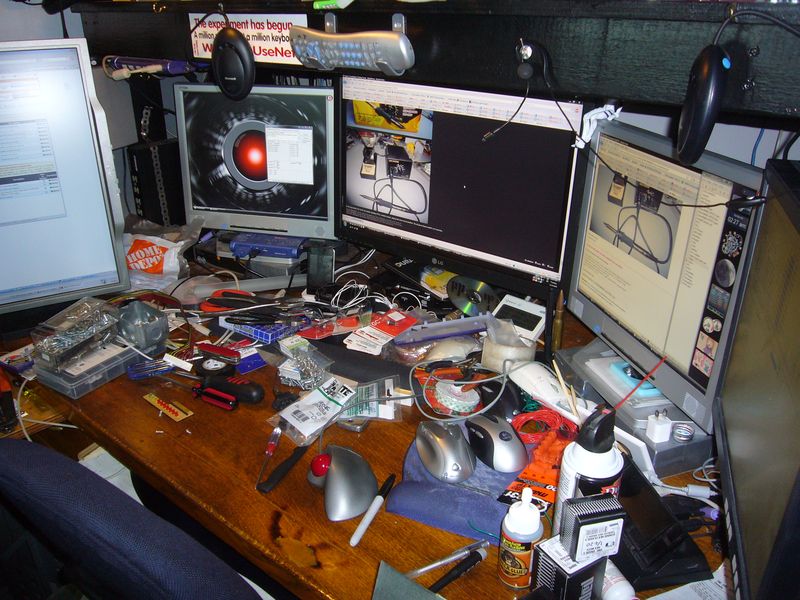
I've been sitting on a pile of parts for almost a year now - not a healthy thing when it comes to motherboards and CPUs, so when my vacation rolled around I figured I'd better start materializing the ideas I've had banging around my head.

"Constellation" is a bit of an atypical mod. It isn't going to be built to be pretty - just practical. The base I'm building on is beige, and it will remain so. The only lights that will be installed are indicator lights, and all the fan grills are wire.

Instead, what I'll be building is a desktop cluster computer. Four independant systems in a single, self contained box.

I've been dreaming of building a system like this since the very first time I ever saw a case big enough to stuff more than one motherboard in :) It probably won't be used for much practical work - I'll be experimenting with Beowulf clustering, render software, and some simulation work.

What will be going in it is this:

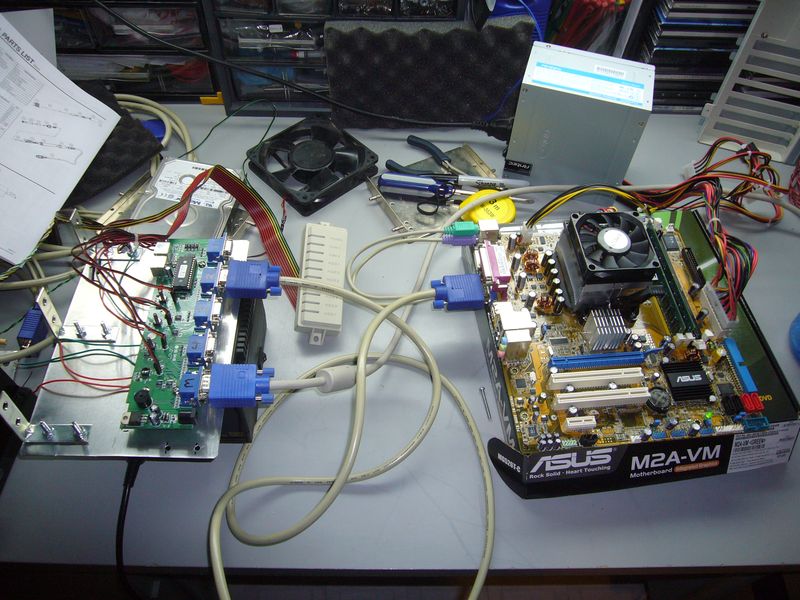
4xAsus M2A-VM, AMD-64 Dual Core 4200+ (2.2ghz), 2gb Ram
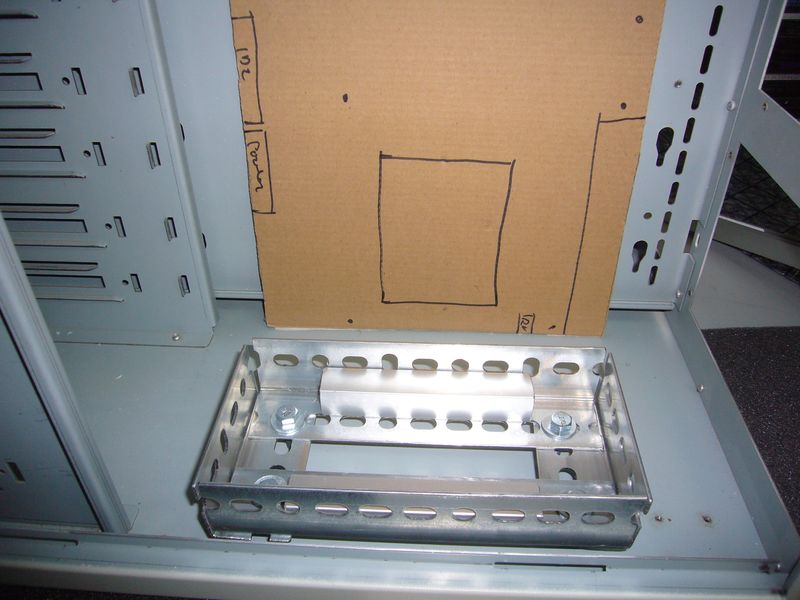
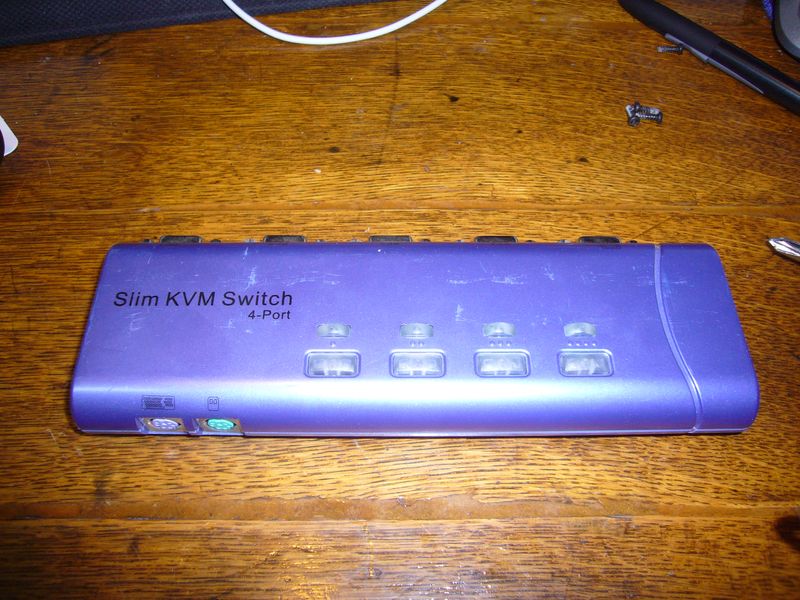
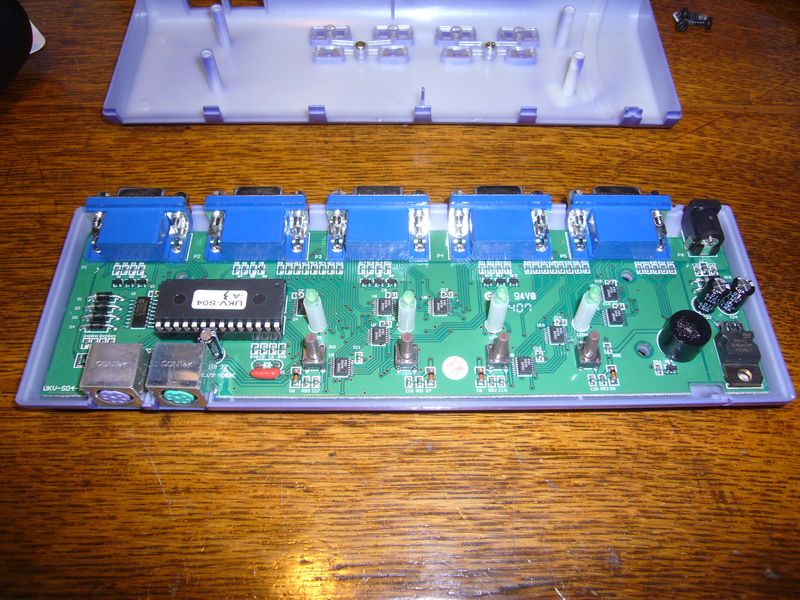
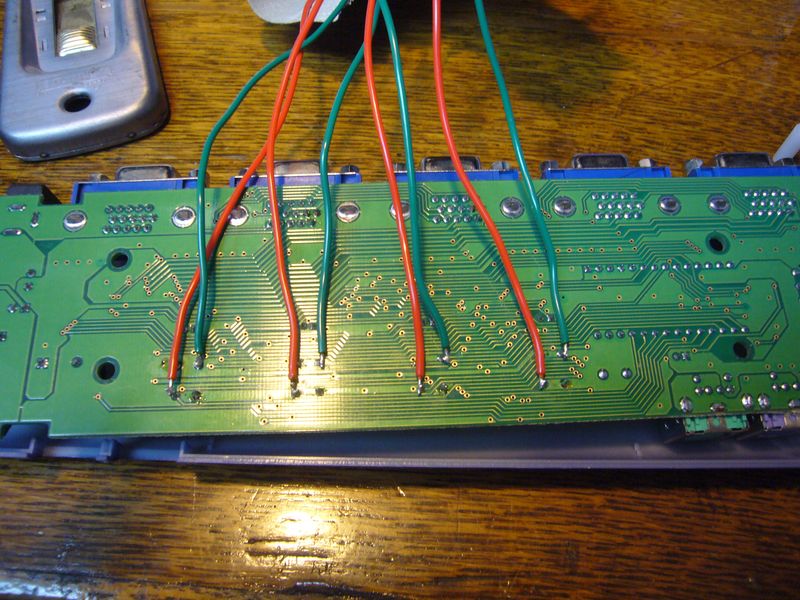
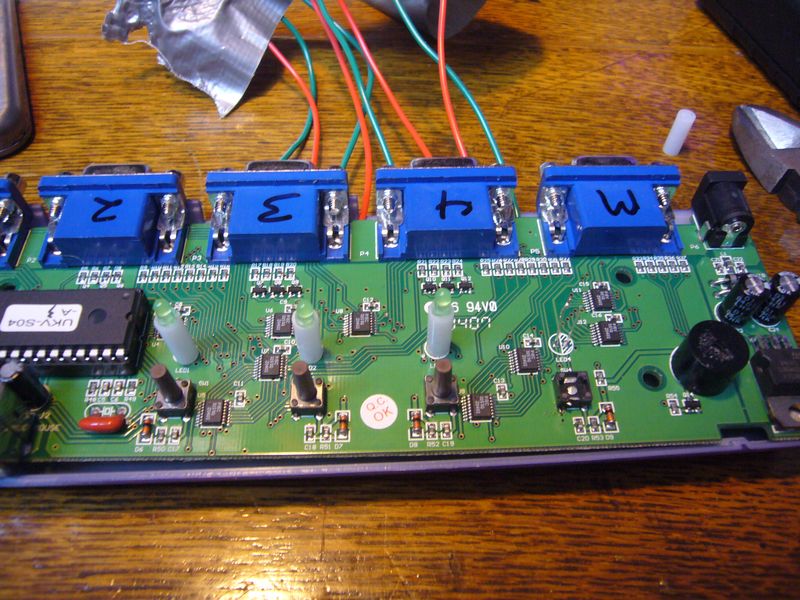
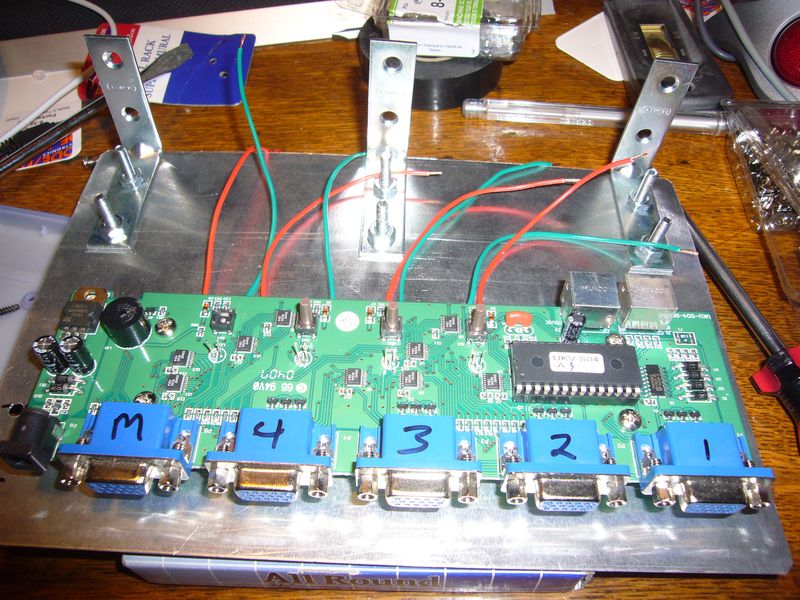
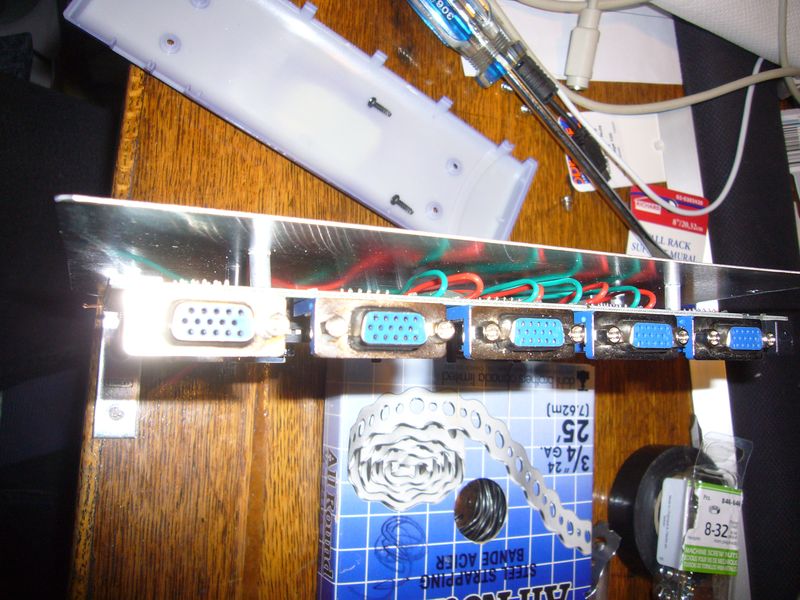
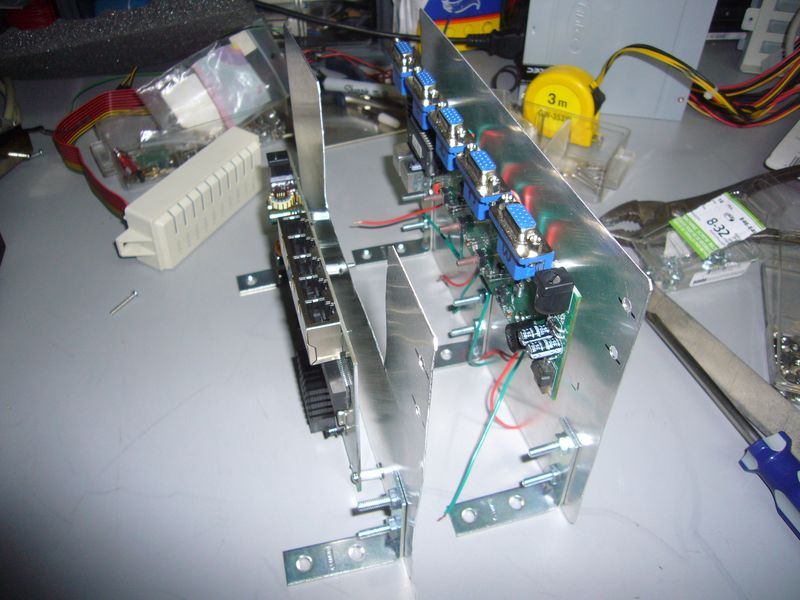
Integrated KVM (Keyboard, Video, Mouse) switch
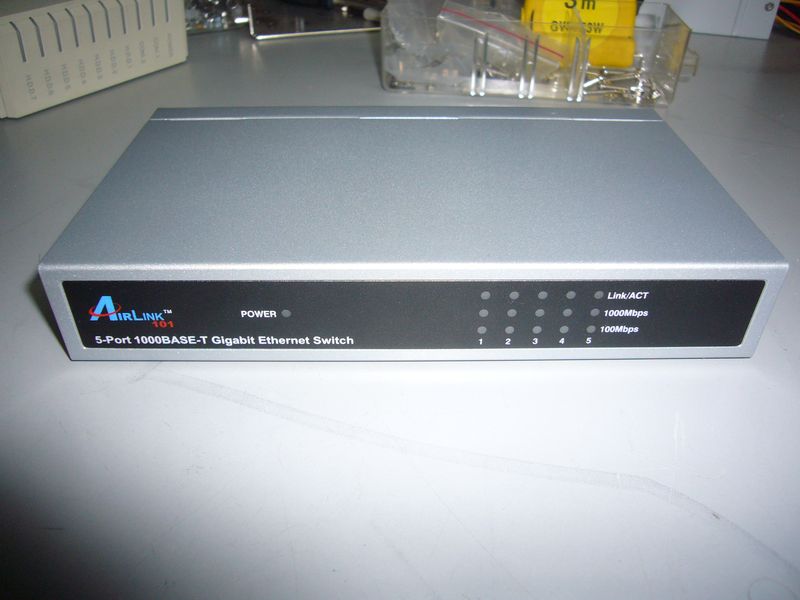
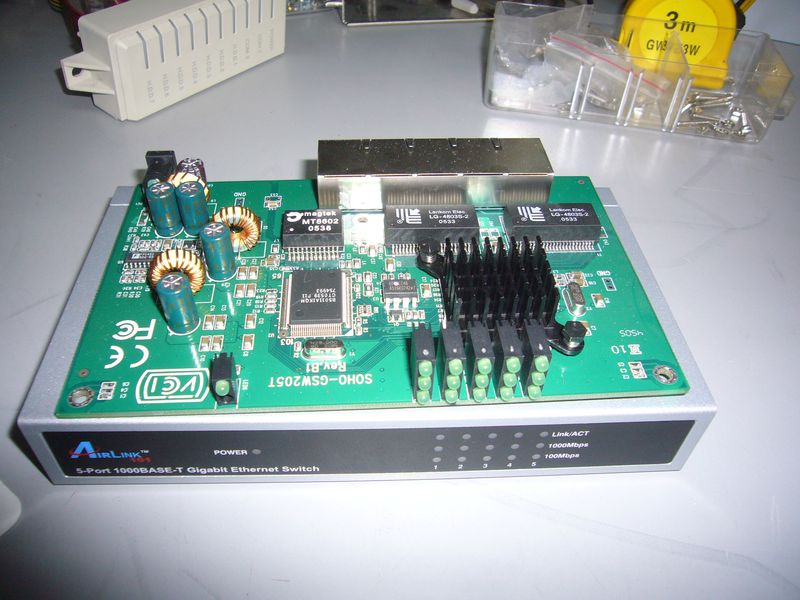
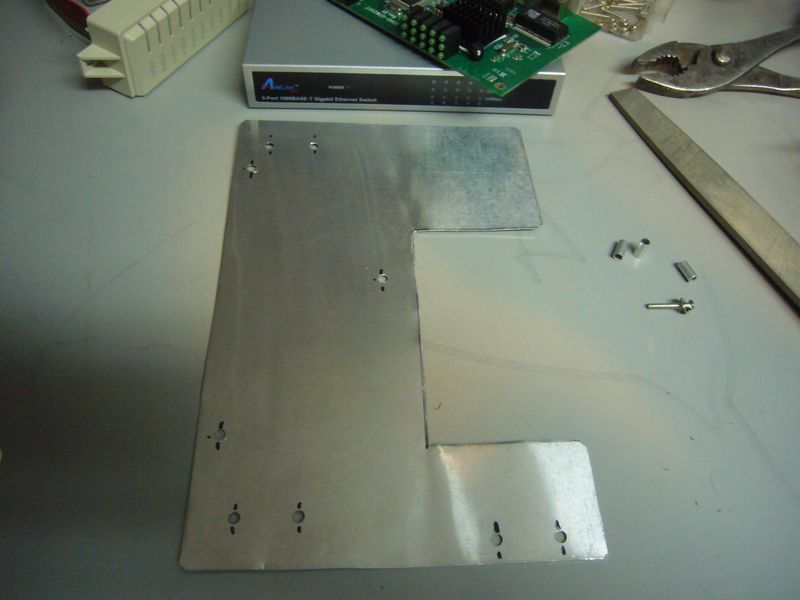
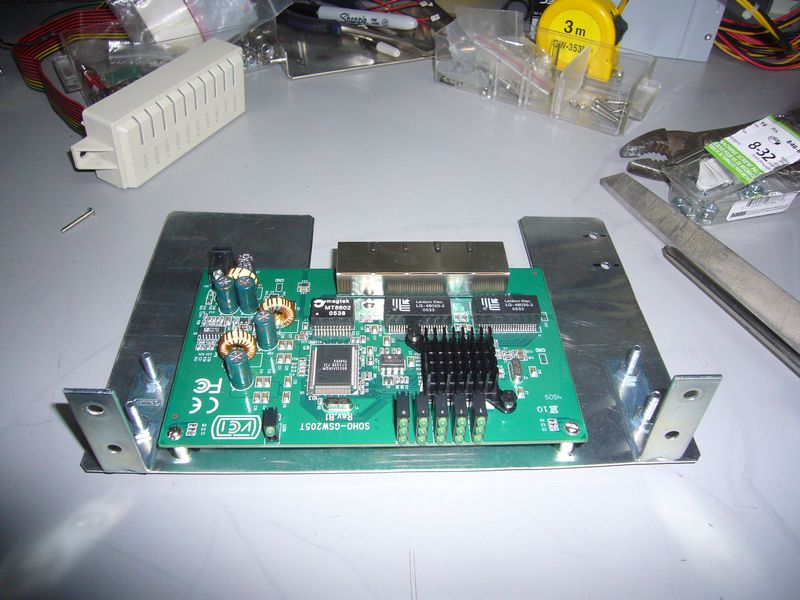
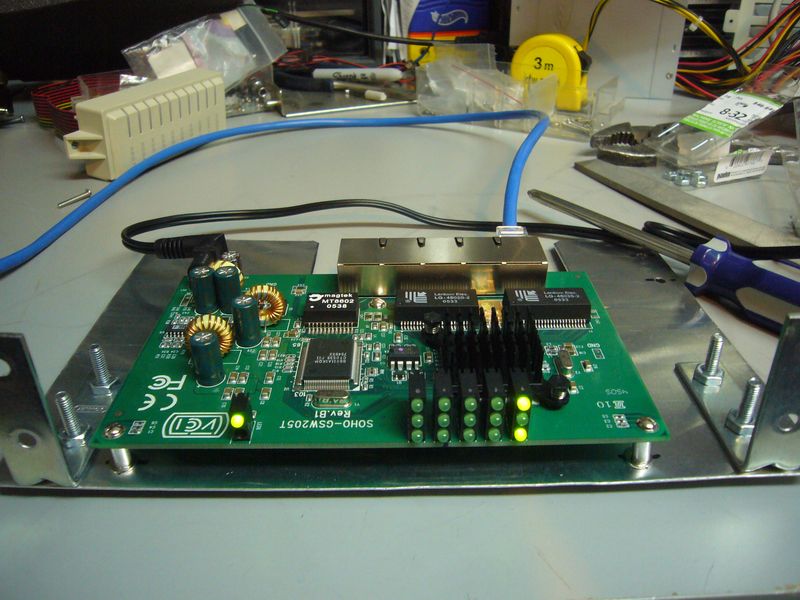
Integrated Gigabit Network

2999334094_ca2a6c5e8b_o.jpg


The unit will have a single power cord, a master power switch, and a single ethernet jack. I'll be configuring all four systems as compute nodes, with a head node in my computer rack for easier access.

Hardware is a little on the old side, now, but I got it cheap and it will be enough to play with. A goal of the project is to make it reconfigurable enough that I can easily upgrade the hardware.

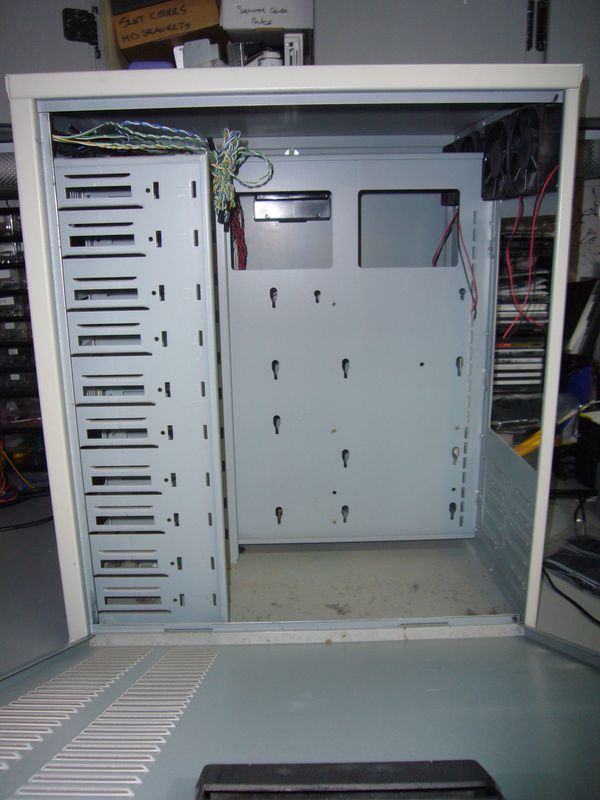
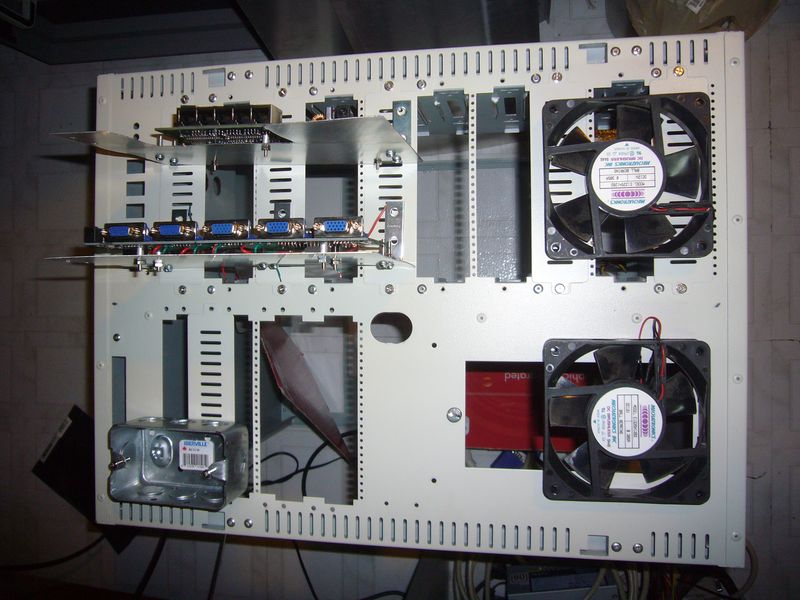
I'll be stuffing everything into this:

2999339588_9e13ea18fb_o.jpg


2999334104_ed027fcd1e_o.jpg


2999334112_5de3de3176_o.jpg


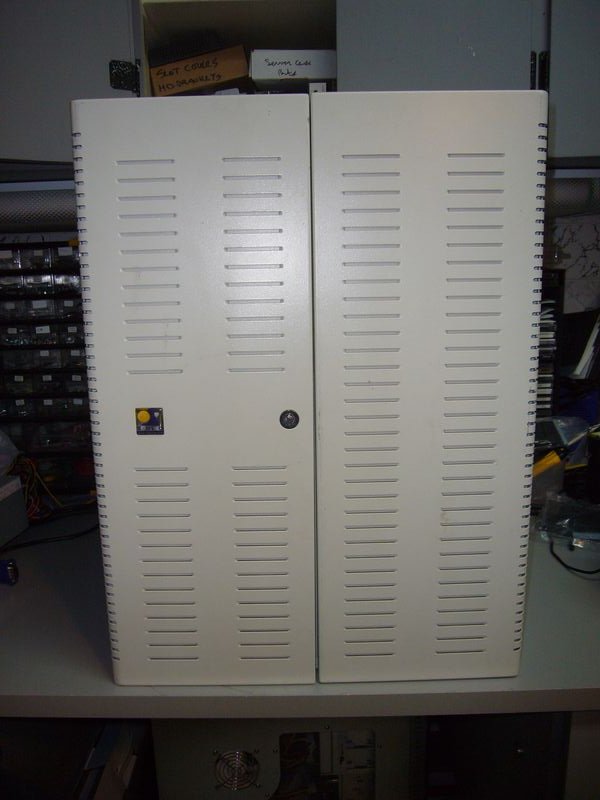
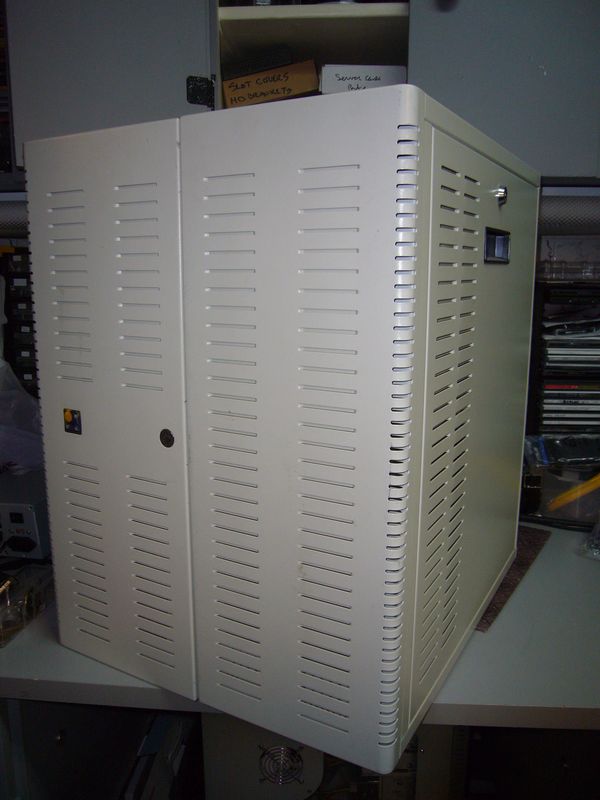
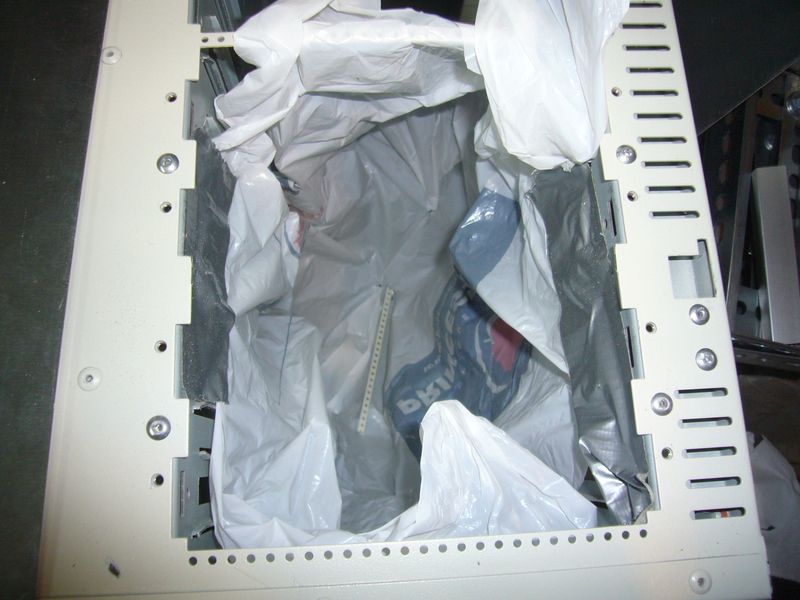
It's an old beast of a case I got years ago at an auction, pretty much expressly intending to do exactly what I'm doing now - filling it with as many computers as I can :)

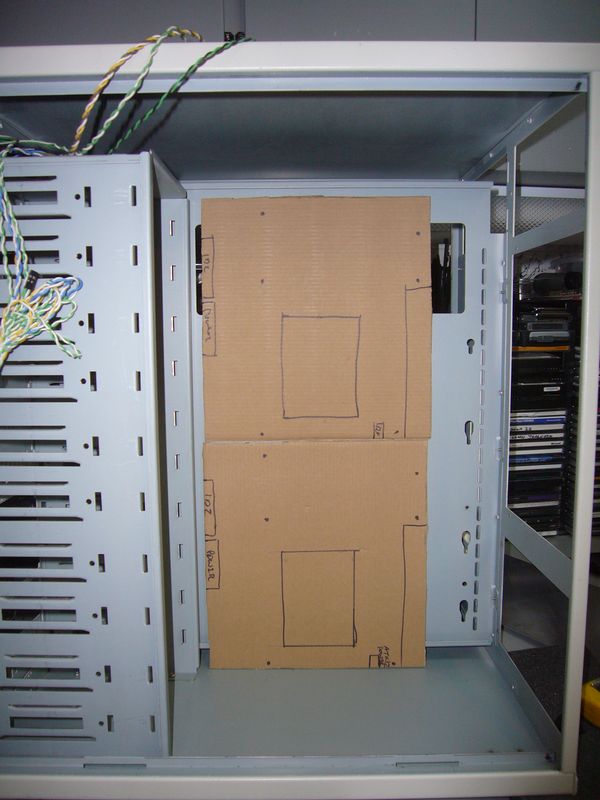
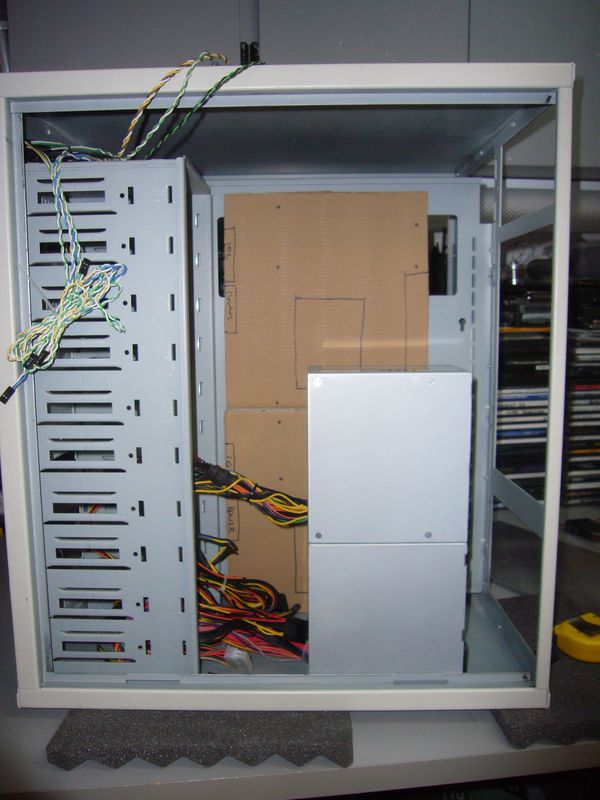
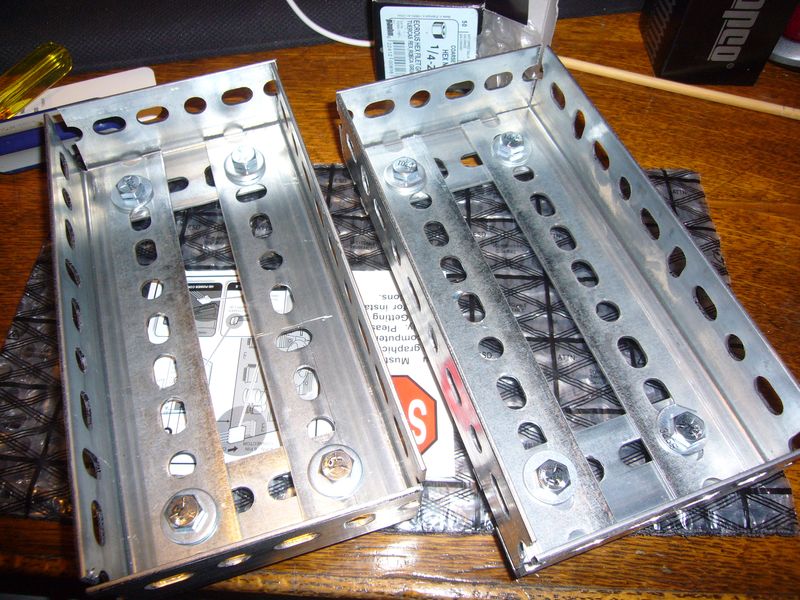
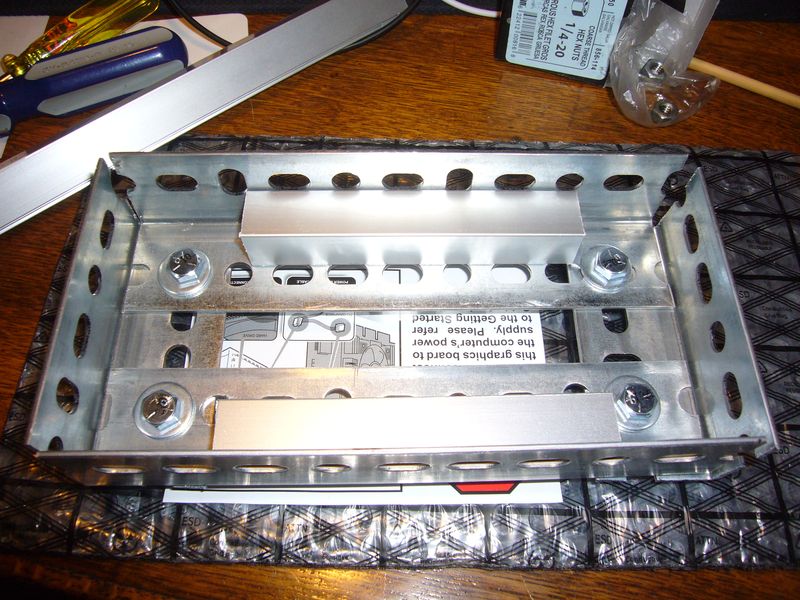
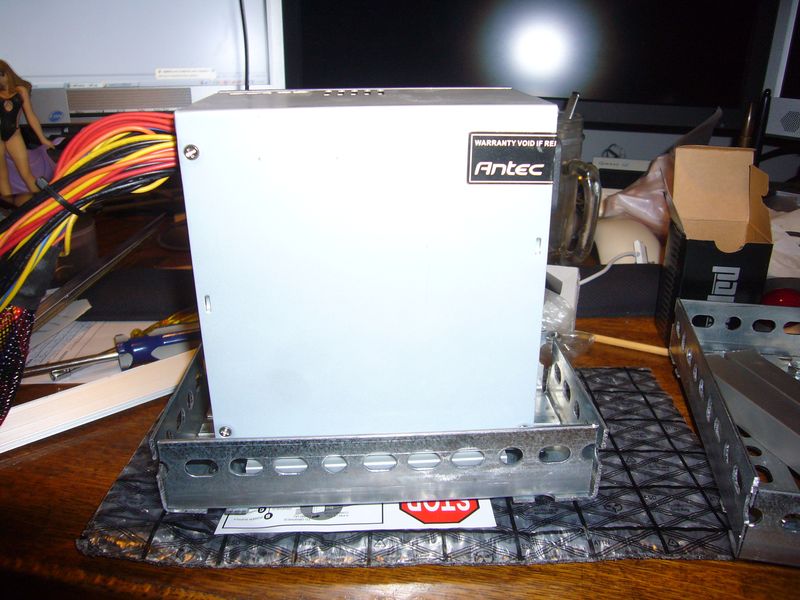
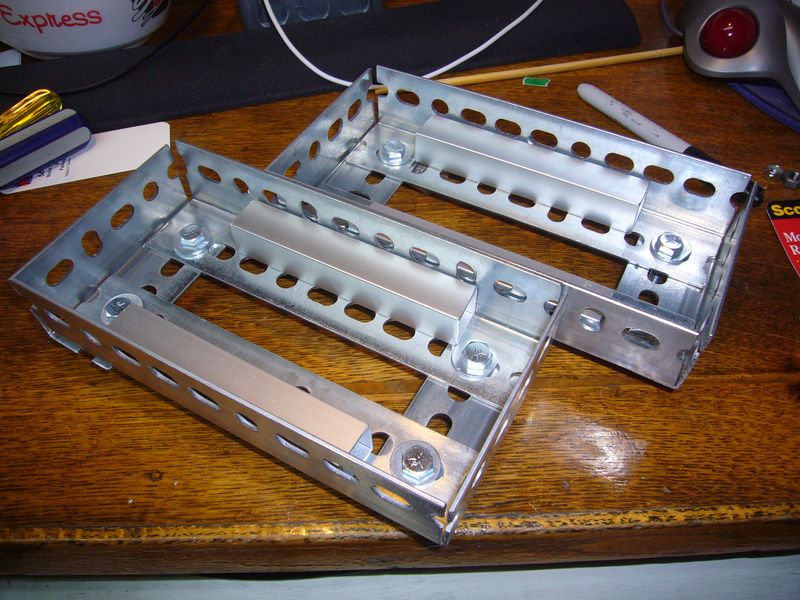
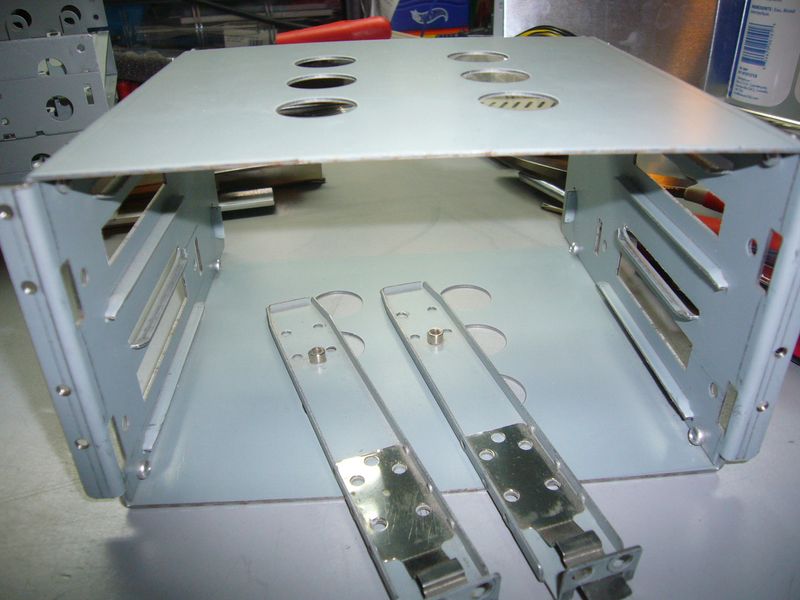
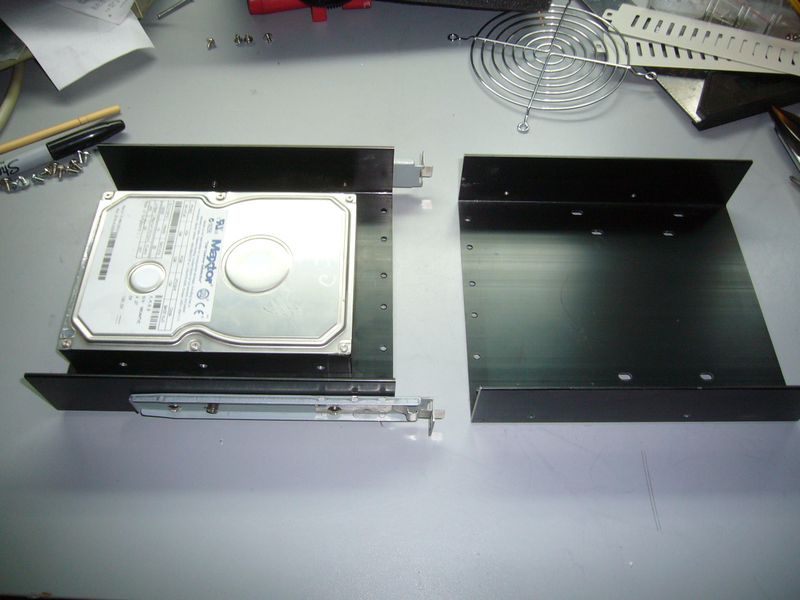
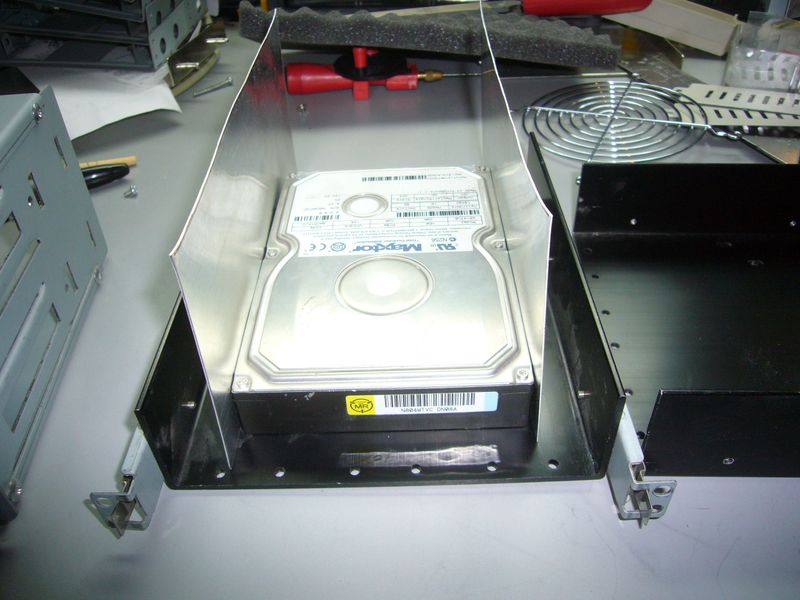
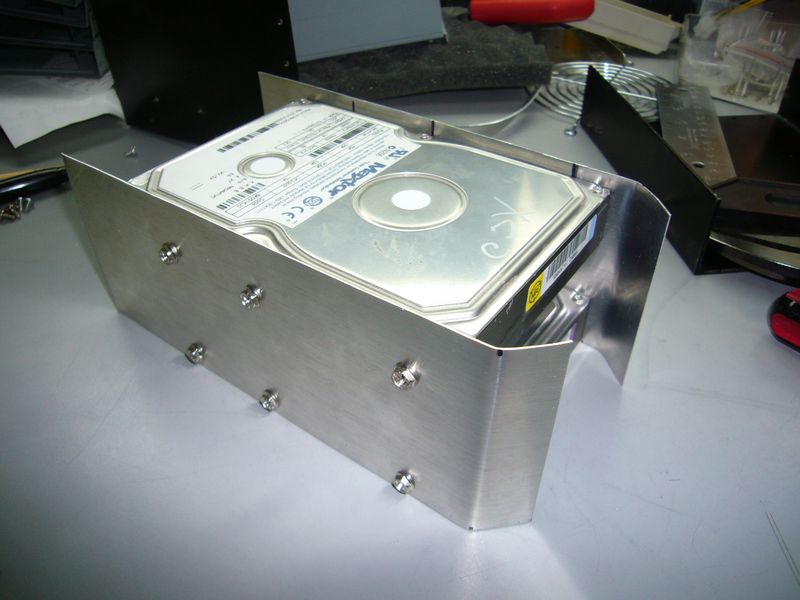
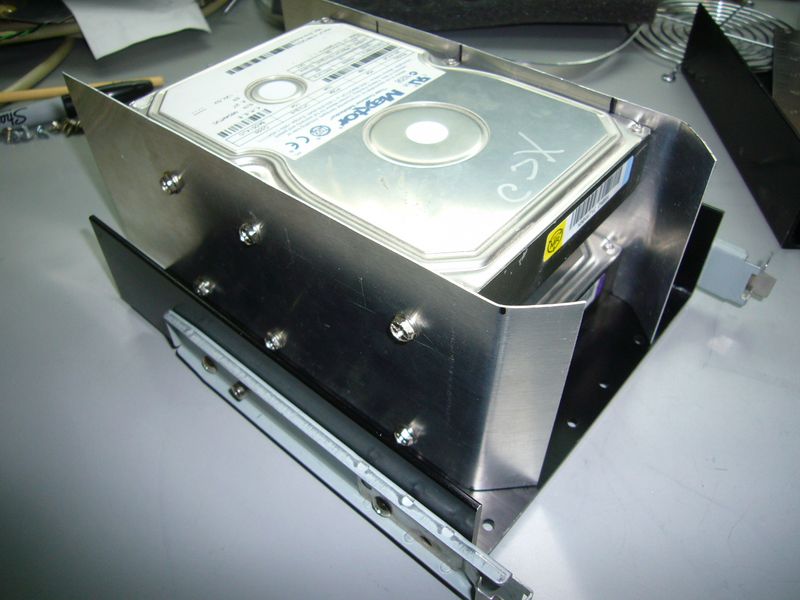
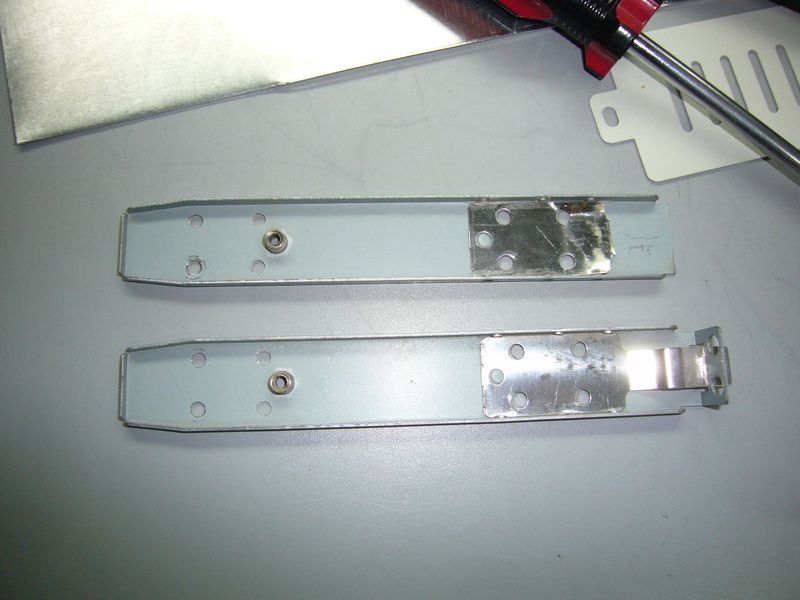
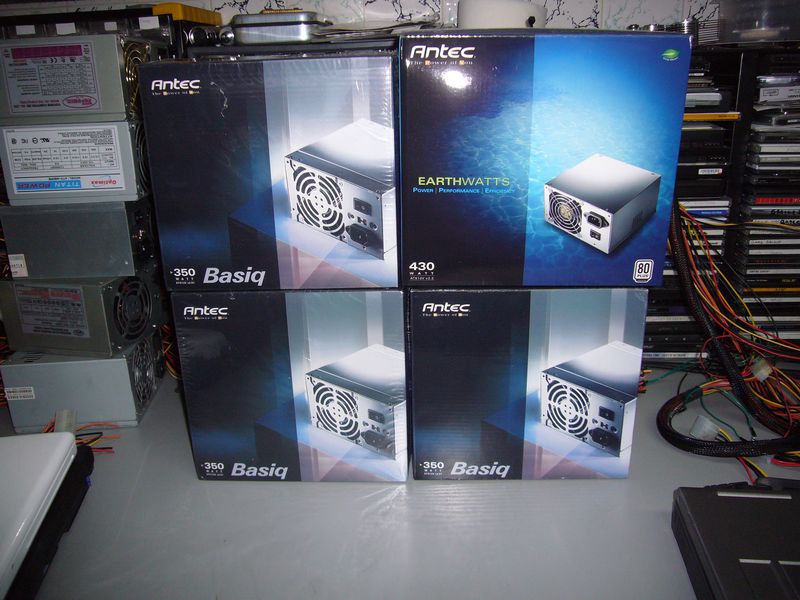
Of course, AFAIC, four computers also means four power supplies.

2999334114_7579b78654_o.jpg


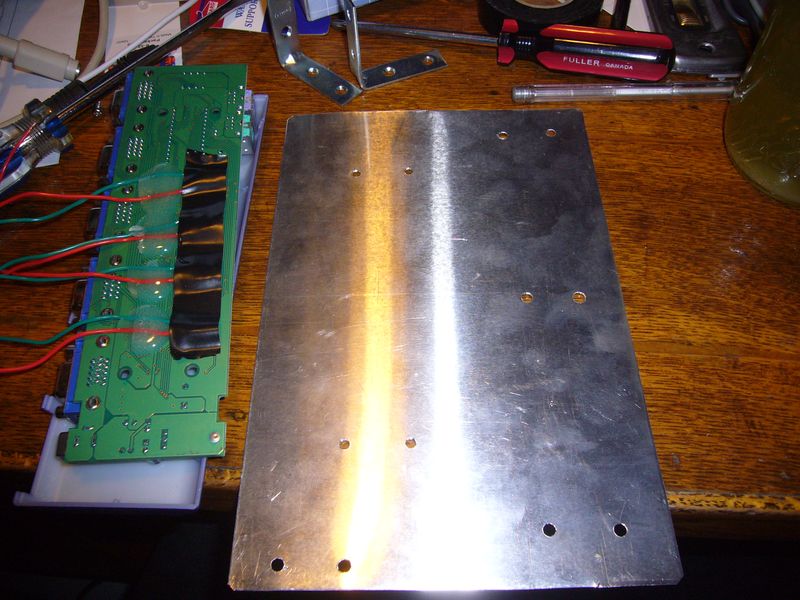
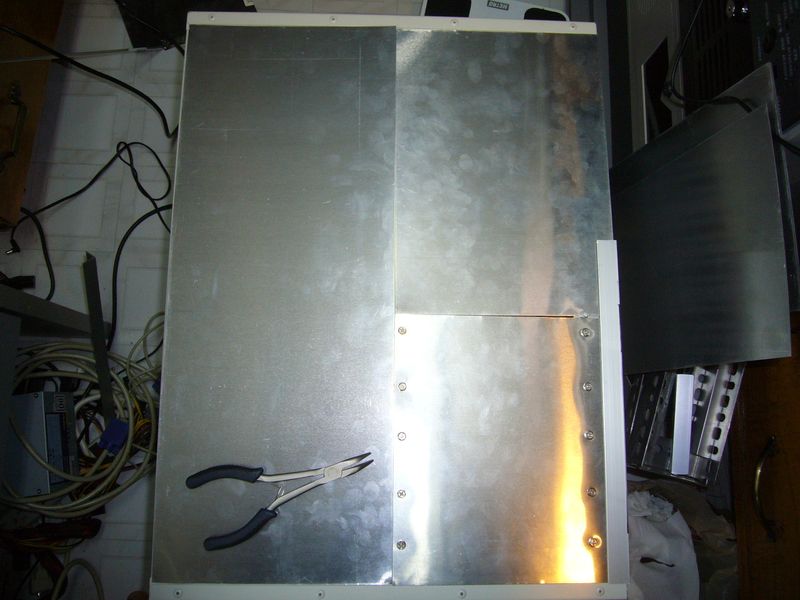
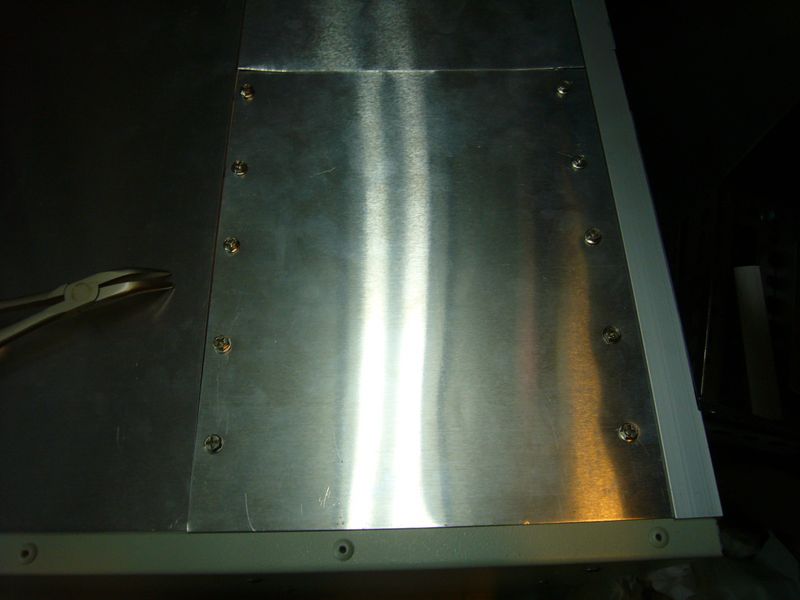
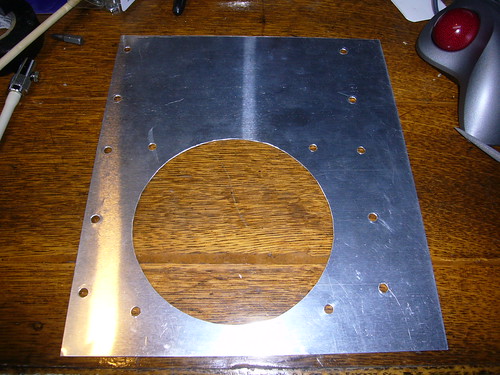
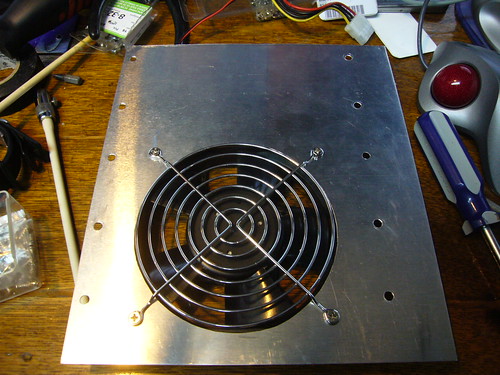
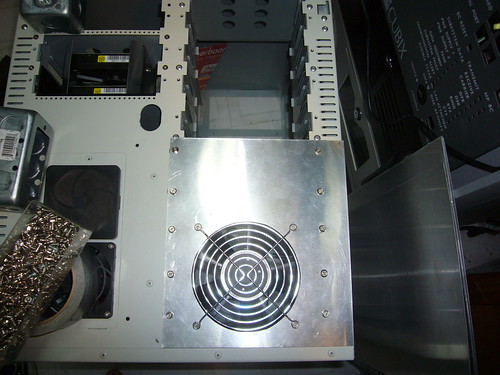
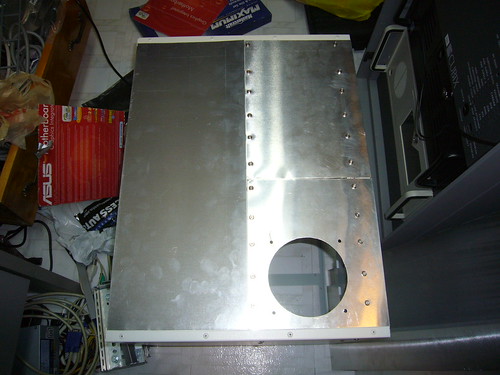
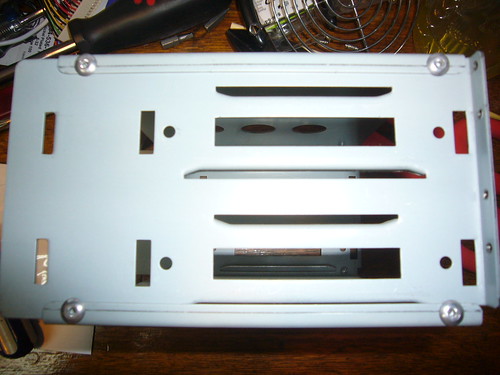
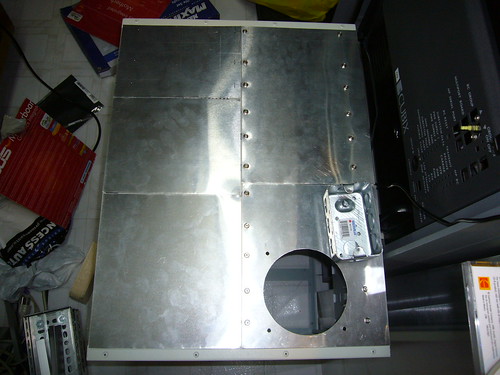
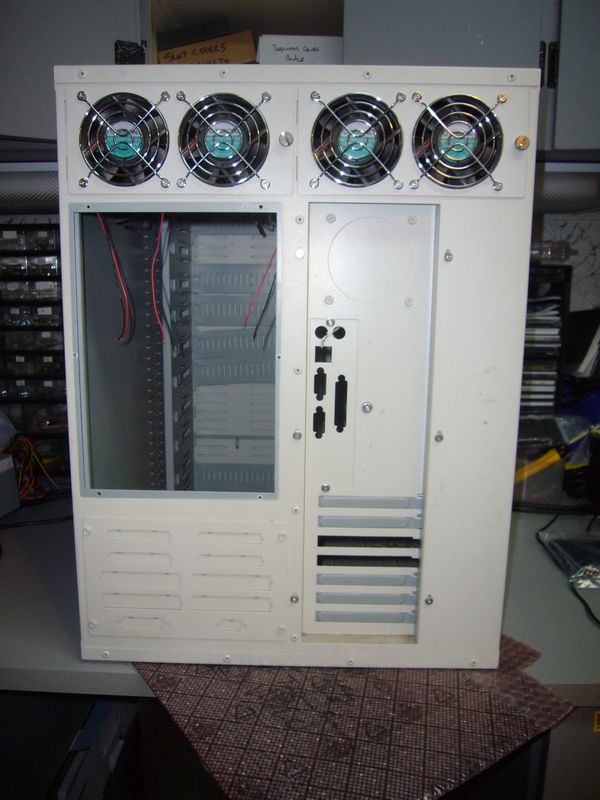
Fitting four motherboards, four power supplies, a power distribution system, a switch, and a KVM into one case is a bit of a tight fit. I really hope it works :)
 
First thing to do is to figure out the internal layout. I spent a very, very long time mentally imaging how I'd fit it in, then I found out all my elaborate schemes were worthless when I sat down and actually mocked up the motherboards.

This is the space I have to work with.

2999349128_fedcafbe77_o.jpg


The solution on how to fit the motherboards is pretty simple, illustrated thusly:

2999349132_dcfb111628_o.jpg


And the power supplies were almost as easy.

2999349140_6a29d4fca6_o.jpg


Flip it around to the other side for the other pair of MB/Power supplies.
 
Nice case. Is that a codegen?
No idea what it is. I bought it in a lot of server cases - think dual redundant power supplies and $1000 price tags. Ironically, I paid about $100 for the lot of 15 or so cases :)
 
No idea what it is. I bought it in a lot of server cases - think dual redundant power supplies and $1000 price tags. Ironically, I paid about $100 for the lot of 15 or so cases :)

Very nice. Treasure hunt. :D
 
Now, how am I to stack a pair of power supplies on top of each other like that?

First, I'll need something to attach them to.

A piece of angle iron and some elbow grease later:

2998519371_2cb2412a5d_o.jpg


It'll go something like this:

2998519385_510faa6bec_o.jpg


With some aluminum spacers for sitting the power supplies on:

2998519387_ddd8ab47bf_o.jpg


Thusly:

2998519397_fbd59615b6_o.jpg


A little more polished. Those bolts stick out the bottom of the trays, and will be used to attach to the bottom of the case.

2998519403_de3e30eaea_o.jpg


Like so. I'm going to hold off trying to actually mount them in the case for now - in case I need to adjust things later.

2998519407_784b16cc50_o.jpg


I had all sorts of elaborate aluminum do-dads I was going to fabricate in order to actually stack the power supplies together. Once again, reality (and my innate laziness) took over and I went with a more practical option: Industrial strength Zip ties :)

2998526255_a57cdd6881_o.jpg


I'll consider that problem solved. More interesting fabrication will be forthcoming - next I'm tackling the tricky problem of the KVM switch.
 
Last pics don't work :(

Still looks like an interesting project :)
 
My sacrificial victim for my KVM was an old PS2 unit with a damaged button. The button is no big deal - I won't be using them anyway.

I intend to have the whole KVM internal, so I'll have to extend the switches and LED indicators to the front of the machine.

The Donor:

3000555648_7505d58d04_o.jpg


Naked:

3000555660_e94233830e_o.jpg

The button on the right has collapsed - it no longer clicks and randomly activates itself.

After several attempts, I managed to find a way to wire extensions to the switches. My soldering technique leaves a lot to be desired...

3000555672_e8373c6905_o.jpg


To extend the LEDs, I cut the existing LED heads off and removed the support. The original LED leads are left, and are perfectly spaced to put a standared 2-pin header on them. You can also see where I popped the top off the faulty switch.

3000555674_af8195f272_o.jpg


The tray is made of 0.025" aluminum. Get used to seeing it - pretty much all the fabrication on this project will be made of this stuff. I bought a bunch of sheets at Home Depot of all places - first time I've found it so easily. I got some from a specialty place a while back, but I can't remember the name of the store, and it's way on the other side of town anyway :)

I've also added epoxy to the underside of the motherboard to strain relief my rickety soldering job...

3000555678_7d132b925c_o.jpg


My stand-offs are made of tiny aluminum tubing from a model shop. I wanted plastic - I've previously used plastic tubing meant as conduit for control rods in model airplanes, but the model shop I went to didn't have a very good selection. The aluminum tubing works well enough, but it's harder to work with. Incidentally, that's a #6 machine screw and a needle file in the picture - the tubing is 3/16" :)

3000555688_f0b90b8078_o.jpg


Here's the board mounted, with the support brackets. This will be positioned perpendicular to the front of the case.

2999781873_6bd8a8157c_o.jpg

2999781879_91d891cebf_o.jpg


It Lives! You can see the 2-pin headers attached to the LED leads.

2999781887_de74550a78_o.jpg
 
The companion piece to the KVM is my network switch. I've had a 5 port gigabit switch laying around for a while, so it's a perfect choice for a project donor.

The Switch:

2999808195_57bf5c4e44_o.jpg


The guts:

2999808199_643e0b3915_o.jpg


Another tray. This will be mounted parallel to the KVM unit. I had to break out the dremel for this one.

2999808203_7a405e091f_o.jpg


Mounted:

2999808211_4bec7904a5_o.jpg


It lives! I'm 2 for 2 in not killing things. Prospects are looking up!

2999808227_4d6ef90f4e_o.jpg


The two units, completed. They'll be mounted with the support brackets against the front of the case, inside the 5 1/4" bays.

2999808235_cec0bac015_o.jpg


Next I'll have to start on the first part of the front panel, including mounting the LEDs and switches for the KVM. I'm caught up to the current status, so new updates will have to wait a bit. I started this project on the second last day of my holidays (I'm lazy :)) so I'm now back to my regular work schedule.
 
Damn dude, gief more pics plox. This looks like it's going to be a really nice mod.
 
Damn dude, gief more pics plox. This looks like it's going to be a really nice mod.

I'm working on it :)

As an aside, I'm officially blaming my ordeal soldering the KVM on the tools. Out goes the 15yr old Radio Shack pen iron, in comes a new toy!

3000808922_11065096ee_o.jpg


3000808936_c2ba765326_o.jpg


It was long overdue. My "to do" list includes modding a PS-2, a robotics project, playing with some microcontrollers. The old piece of junk wouldn't cut it anymore...
 
this is going to look sweet, it may be old hardware but once combined into a cluster it will rock some powAAAAAAAAAAAAA
 
Not much progress tonight. Mostly visualizing how I'm going to proceed.

Here's how the front half of the case will be laid out - it's pretty full :( The four empty 5 1/4" bays are where the hard drives will go. The silver box on the left is where the power switches (1 master, 4 computer) and LEDs will go.

3001606735_8abf6c963b_o.jpg


I'm going to have to do a lot more case cutting than I expected. This case is made of pretty thick metal. I'll probably have to break out the heavy duty "dremel".

3001606737_ddd1a2ef5c_o.jpg

(I've never actually used that thing - I'm not sure how well it'll do. I'll have to practice on some scrap, first...)

On another note, a project like this tends to breed clutter. My desk was clean before I started:

3001606731_86ae47d4d2_o.jpg

Now it's covered in piles of tools, bolts, and parts. I'm not going to bother to clean it up until I'm finished, though. This project has to get done now, or I might as well give the stuff away :(
 
Hakko 936 Kicks major A$$

I used one for all my R/C car and slot car needs

I'm sincerely glad to hear that :) It was an unresearched impulse buy, based on a sale price and the knowledge that even if it weren't perfect, it's probably still overkill for what I need.

But I like overkill...
 
Subscribed, looks like a monumental build, never seen four boards and four PSU's sharing the same case, this will be interesting..and nice soldering iron, I bought one similar a few years back to fix a laptop.
 
Thanks for the comments, guys :) Hope I don't disappoint too badly!

Got some minor work done this morning. I decided to start with the easiest front panel piece - the right fan mount.

The Red Snips of Doom are called to duty. The 0.025" Alu doesn't stand a chance!

3003078723_1270e459c8_o.jpg


Action shots of a Man and his Drill have been skipped. Here's the general idea of how the case is going together. I'm leaving the doors off - they obstruct some of the bits I'm mounting on it - and using aluminum panels across the entire front. I'll be leaving the aluminum finish basically as is - I'll remind my audience that this is supposed to be a practical mod, rather than an attractive one :)

3003078735_b87d85d9a3_o.jpg


Here's a closeup of the fan panel. The 5 1/4" bay covers are mounted using screws, so I'm taking advantage of that to bolt my replacement panels on. I'll have to be more creative on the other side, though.

3003078741_deb8a49105_o.jpg


Now, my first modification to the case itself. The 120 mm fan takes up the bottom 3 bays, but the supports are spaced every 2 bays.

3003078751_cc7db4485e_o.jpg


So, out it comes.

3003078757_739d3d014f_o.jpg


That'll be all for today. I'll try and squeeze another post out between tonight and tomorrow, but the next bits are more serious work. I'll likely have to wait till Thursday to get much done.
 
It's a bit late, as you already have 4 PSUs there. But if you run into problems with space later in the build, then you could probably get away with powering 2 boards from one PSU.

If you get a couple of ATX power extensions, and splice them together into a Y cable leaving the green wired to one board, or on a seperate switch for power-up.

Build is looking great so far. Love the idea of an internal KVM and network switch for the cluster! :)

Installing the power supplies is basically solved. I considered the 2 boards off of one supply trick, but dismissed it because I want the ability to run the boards individually, and wanted future proof expandability (in case I decide to stuff some quad core or duallies in there).

The internal KVM/Network was a must, as far as I was concerned. I had a rack based blade system (made of pentium chips, bought at a gov't auction :) ) that had an integrated KVM, and I instantly fell in love with it :) My main goal of the project was to have a single power cord, network jack, vga port, and keyboard/mouse to make it a true desktop cluster.

I'll probably end up putting 2 network jacks on it, though, so I can reconfigure one node to either be a head, or a compute node.
 
So, an issue cropped up while I was working through the front panels - mounting the Hard Drives.

This particular case requires mounting rails for all drives.

3006403434_5bfdfcc210_o.jpg


Unfortunately, I only have 4 rails - just enough to mount 2 drives. There isn't an easy way to circumvent the rails, either. I had planned on using some old aluminum bar stock I had laying around, but it turns out it won't work for various reasons. Not without a fight, anyway.

So, I dug around my junk drawer, looking for some way to mount hard drives.

3006403438_9f3ea53c10_o.jpg


What I eventually came up with are these - heavy duty aluminum HD 5 1/4" adapters. Hands up anyone who remembers 3DFX Cool?

3006403444_bbfda7e892_o.jpg


Now, my only problem is how to mount two hard drives on each tray. A little more thought and some spare aluminum shows me the way:

3006403454_a96e68832b_o.jpg


So, off to build some brackets. The bend is there to increase the vertical strength of the thin aluminum. I use the hand drill to mark the holes for drilling - otherwise the bit skips around on the metal.Then I drill a pilot hole with a small bit, and then again with the proper bit.

3006403464_8a26c7822b_o.jpg


3005593687_1e7270643c_o.jpg


Test fitting.

3005593691_42dabb0bba_o.jpg


Finished product.

3005593693_459241a761_o.jpg


It's solid as a rock. I'll have nothing to fear to use this for my drives. I'll have to wait until later to build the second set, though. I don't have enough aluminum right now...
 
d00d this is a sweet project...ive always wanted to do something like this
 
How come there are 5 motherboard boxes in that first picture?

The fifth one is the head node, which is in my rack. That makes it easier to hook it into my keyboard and monitor. The cluster box will be able to run as 3 compute nodes and a head node, or 4 compute nodes - I'm initially going to run it as 4 compute nodes.
 
Where did you obtain your brace and bit? There have been many times when I've needed one (for example, working on a project while the kids are in bed).
 
Where did you obtain your brace and bit? There have been many times when I've needed one (for example, working on a project while the kids are in bed).

That crappy little plastic thing was bought at Radio Shack, probably 15 years ago. :) I've no doubt you'll be able to do better elsewhere these days.
 
Well, an awful lot of work for annoyingly little gain.

First off, the HD rails stick out of the front of the case, which I can't have.

3006850923_9b56e615fd_o.jpg


So, off they come. It isn't a big deal - the fit is tight, there is a stopper at the back to prevent it from sliding in, and there is an anchor screw that can be put in from the side.

3006850925_f34cca3a85_o.jpg


Next is the right fan mount. I did this the old fashioned way - dremel and needle file. I really don't like doing it like this - too much work for sub-standard results :(

3010445715_7762ba519a.jpg


I'll need fans to mount, and luckily I have some laying around. These were donated by an old rackmount system that held 8 Pentium 200 blade-style computers. They're like little hurricanes in a box. This machine will definitely be a little on the noisy++ side...

3010445721_e3a7dd0deb.jpg

3010445723_d55f4fc069.jpg


And mounted on the case...

3010445727_fe65d12496.jpg


Both completed panels thus far...

3010445729_4a3e358ba0.jpg


Now, the other side of the case isn't as accommodating as the first as far as mounting holes are concerned. Therefore, I hauled out my tapping kit and discovered it can tap #6-32 threads! (standard "large" computer screws)

So, we're off!

3010445735_bb3804c270.jpg


My next issue is that the pre-existing holes on this side of the case are straight through and depend on the removable 5 1/4" bays to anchor them. I'm mounting HD in the bottom pair, but I wanted to put some bulky power stuff on the top.

After examining the bays, the solution was easy!

3011285718_1a145872e5.jpg


The top is just riveted on. I drilled out the rivets and converted the bays into a shelf.

3011285740_fc2b78de52.jpg


That solved, I planned out how to set up the panels. The top panel is for power, the middle covers the HD for the left systems, and the bottom will be painstakingly dremeled out to be a matching fan mount.

3011285746_6a75e84c3b.jpg


Much drilling, tapping and cutting later.

3011285760_081882970c_o.jpg


That catches me up to my current status. Next, I'll be taking the angle grinder to the case to make way for the left fan and power section.
 
Why not mount the drives vertical to use the space more efficiently? You should have been able to get 4 drives in there.
 
Why not mount the drives vertical to use the space more efficiently? You should have been able to get 4 drives in there.

I have to have 2 drives on each side - routing IDE cables between the case halves won't work very well. Plus, a 3 1/2" drive won't fit vertically in two 5 1/4" bays.

Set up this way, the drives are easily accessible and secure. Unfortunately, your post set me thinking about something else, and that means I have a new problem to solve. Thanks a lot :)
 
or 8 2.5" drives could fit in there vertically

I only need 4 :) This isn't a storage cluster. If I wanted to, I do have a HD rack I took from something else that'll take 9 3.5" drives quite handily. If I wanted that much storage I'd probably try and stick that in somewhere.

As this is a computational machine, all I need for storage is room for an OS and a swapfile. I don't want to burden the network by using diskless stations, either.

Since this project consists of 75% recycled equipment anyway, I'm reusing some positively ancient 60gb drives that I've had laying around for quite some time - kept with the express intent of using them in this project.
 
Back
Top