• Some users have recently had their accounts hijacked. It seems that the now defunct EVGA forums might have compromised your password there and seems many are using the same PW here. We would suggest you UPDATE YOUR PASSWORD and TURN ON 2FA for your account here to further secure it. None of the compromised accounts had 2FA turned on.
    Once you have enabled 2FA, your account will be updated soon to show a badge, letting other members know that you use 2FA to protect your account. This should be beneficial for everyone that uses FSFT.

Project: BloodMoon

:) getting close. I didn't save the "WordArt" file that I squished and shaped the letters with originally, but I wanted to trace along my letters precisely.

Onto Mirror plexi, in reverse, on the silver side. Etching the "outside" surface doesn't reflect the LEDs nearly as well, so I knew I needed to etch the inside.

This is all driven by the fact that I only have 3/8" depth under the letters to the top of the PSU and DVD drive to build my lightbox, hence the previous construction with the mirror 1/8" and the LEDs.

Why I didn't think of this before, I have no idea.

So...

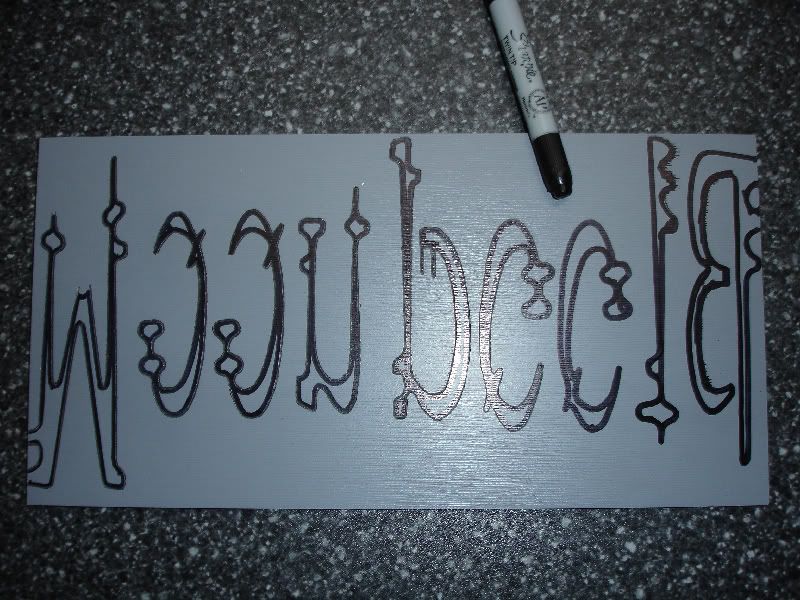
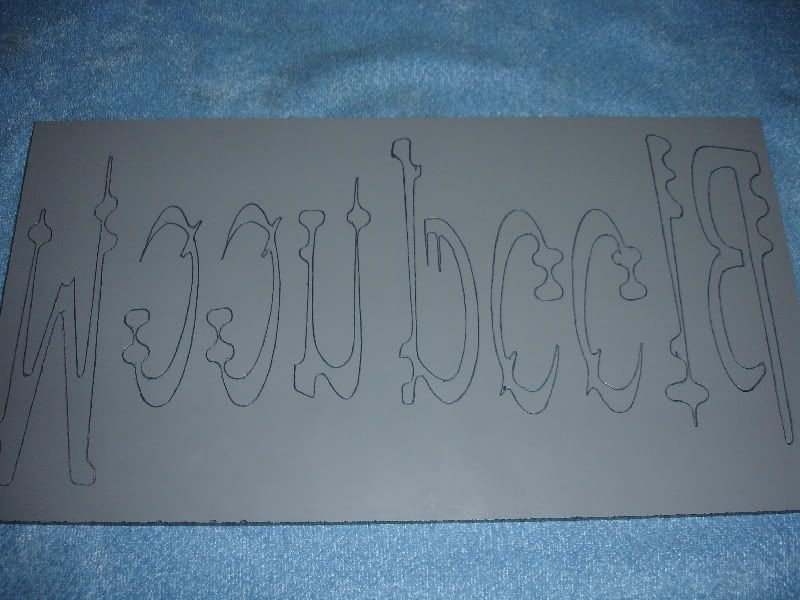
I took my existing lettering, my fat sharpie, and turned it inside out:
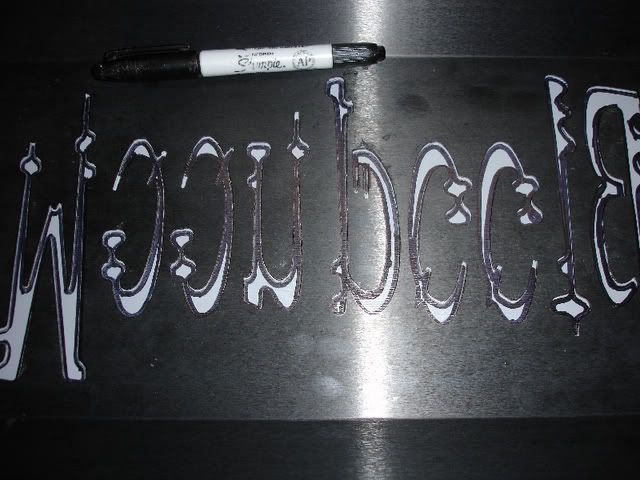
trace-etch-01.jpg


That left me with:
trace-etch-02.jpg


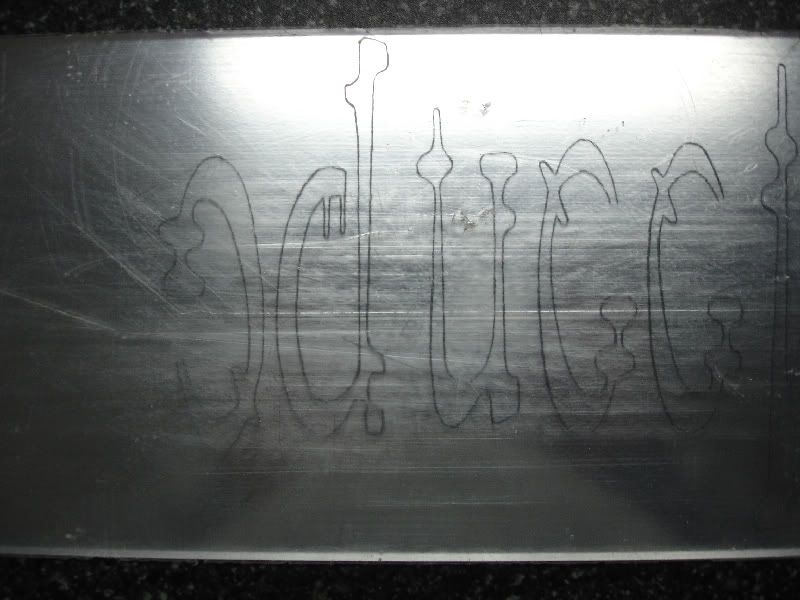
then I took my dremel with a very tiny tip:
trace-etch-04.jpg


And very carefully, traced the outside most edge of my sharpie path to outline the lettering:
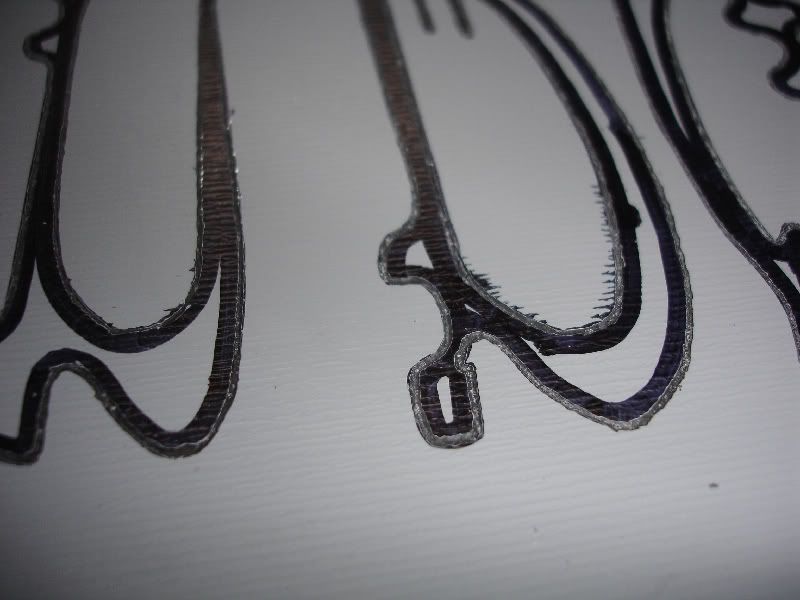
trace-etch-03.jpg


To get this:
trace-etch-05.jpg


Still has the full protective film on the pretty side, I just etch the silver layer off the back side.

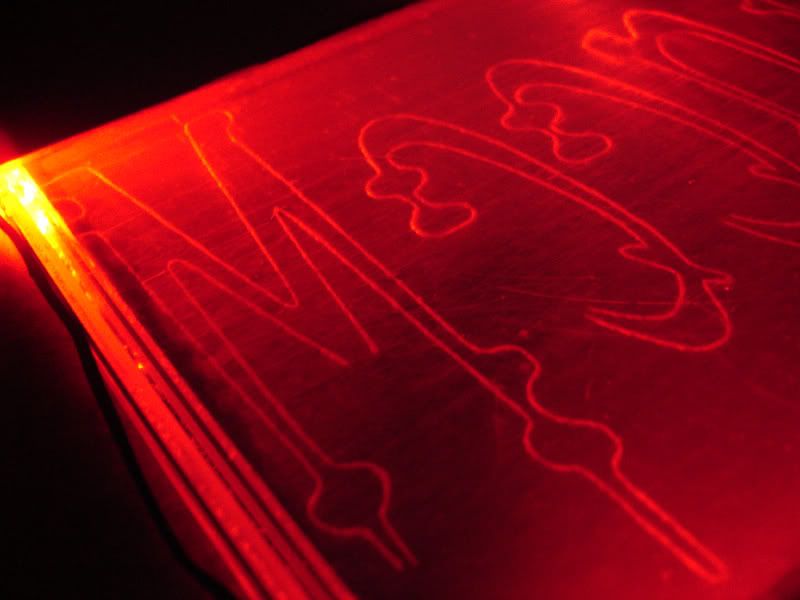
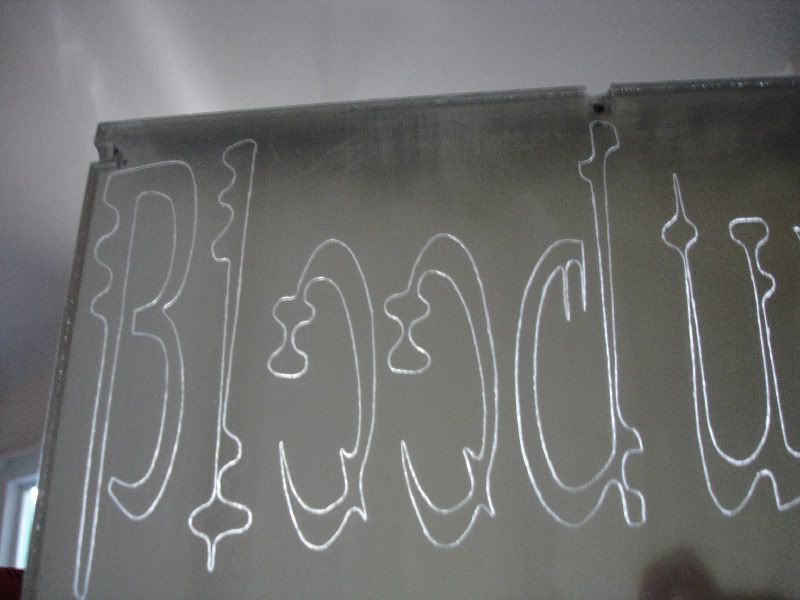
Mostly lit up by dropping into my previous lightbox:
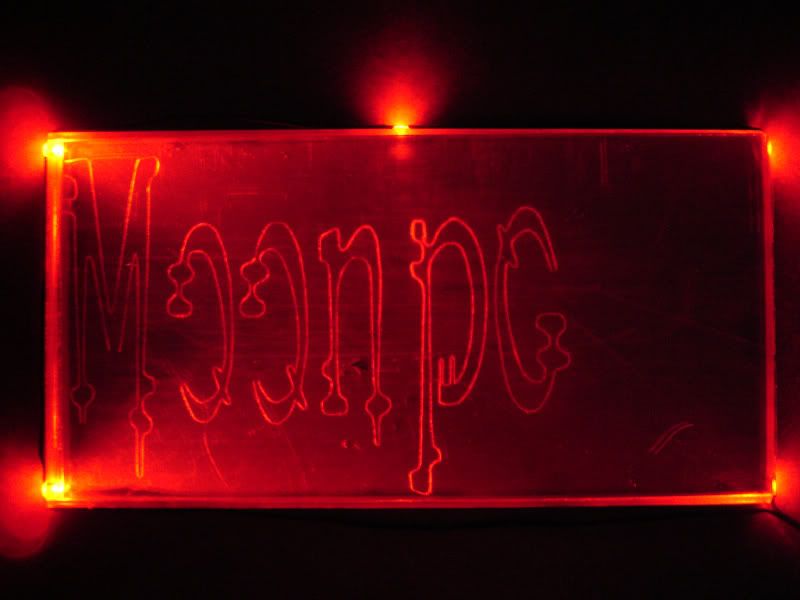
trace-etch-06.jpg


a little closer:
trace-etch-07.jpg


And placed behind my metal lettering to show the outline effect:
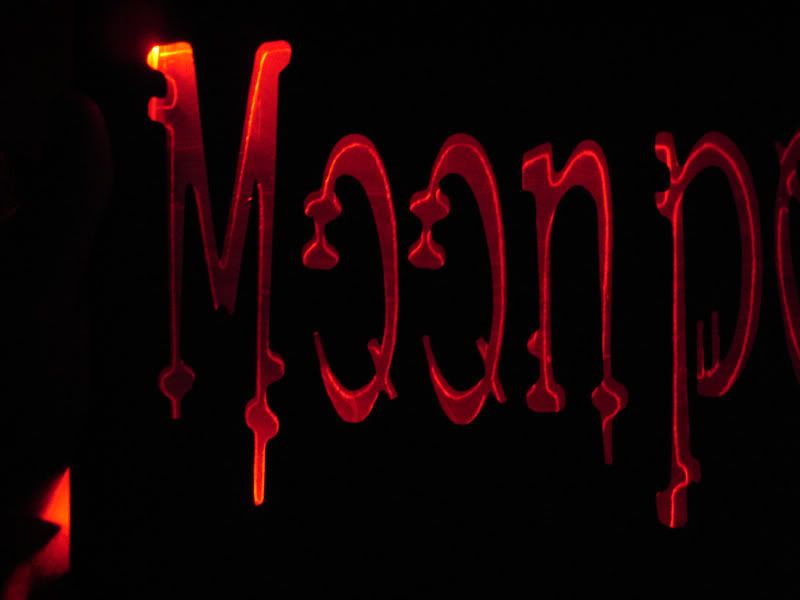
trace-etch-08.jpg


I will move the LEDs, cover the edges, and then stick it to the inside of the metal lettering for the final result.

I might fill in the etch to make the lettering more solid, or frost some of the front to make the lighting more even. Not sure yet.
 
ah, so that's how u did it, looks very nice. like the idea about frosting the letters, i think that it's going to look good with that since the letters are getting more visible that way.
 
my thoughts exactly. But I am going to wait until near completion to decide. The mirror backing should give a nice double image effect when assembled.

I might like that more than the frosting :)
 
if u have any smaller plexi pieces left u can try and frost one and put it behind a letter to see which looks better, with or without
 
yah, I have somne 1/8" still, I can test out a letter and frosting it as scrap.

I need to get some wiring and more paint done so I can get some assembly started at the end of the week.
 
Dgephri said:
yah, I have somne 1/8" still, I can test out a letter and frosting it as scrap.

exaclty what i meant ^^


Dgephri said:
I need to get some wiring and more paint done so I can get some assembly started at the end of the week.


allright, sounds good
 
allright, sounds good

As long as that is "OK" with you. :) (sarcasm)

Tonight will be more wiring, painting my 716-SATA DVD the metalcast red, polishing my drive faces (3.5" and Matrix), and getting power laid out to my X-Fi card.
 
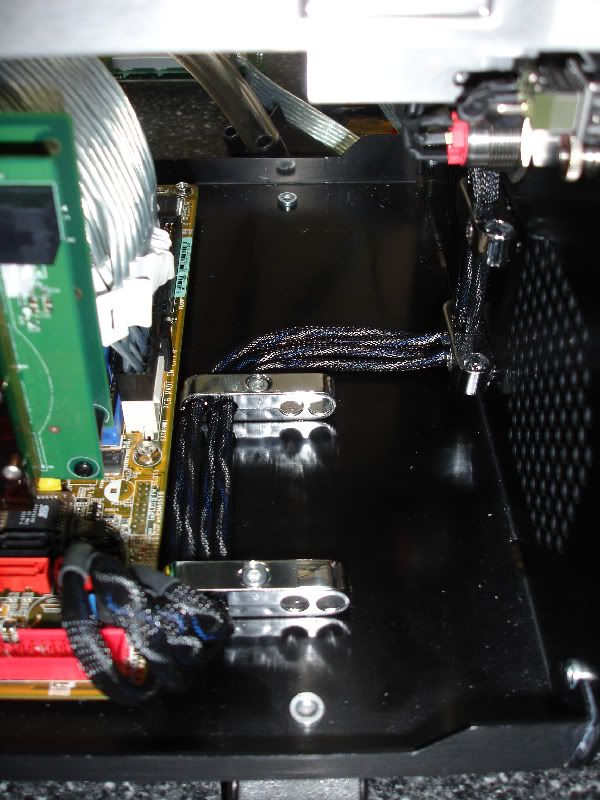
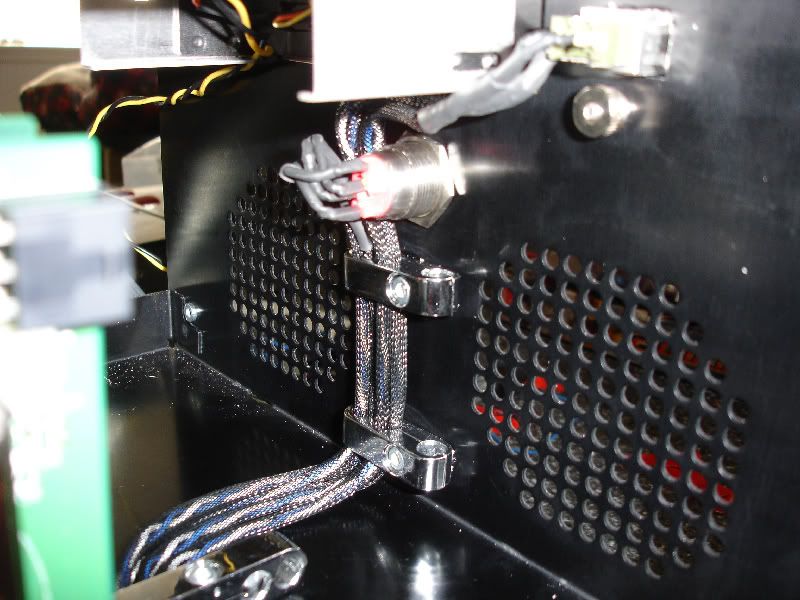
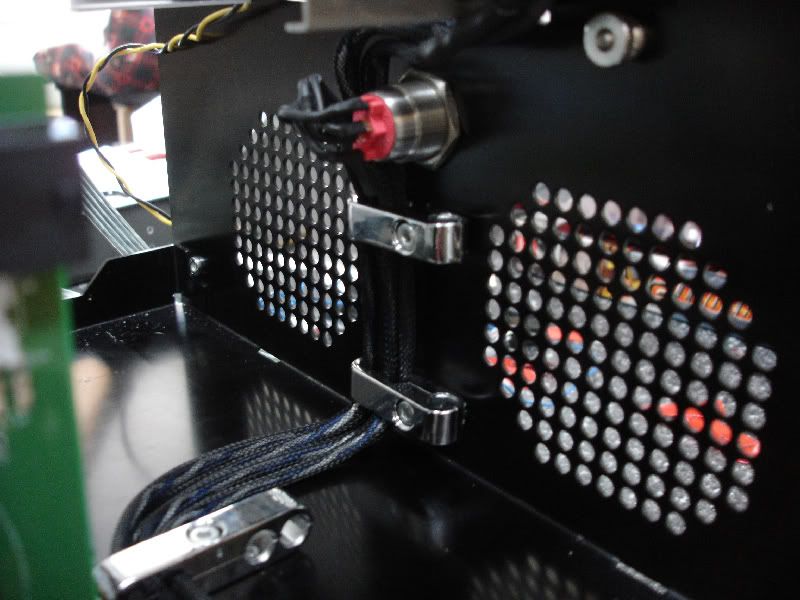
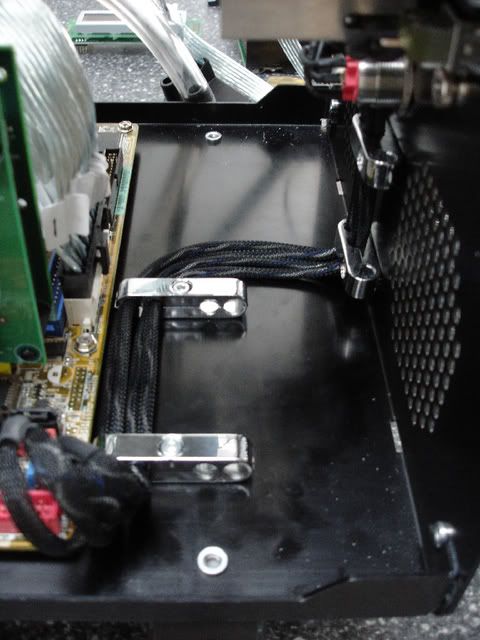
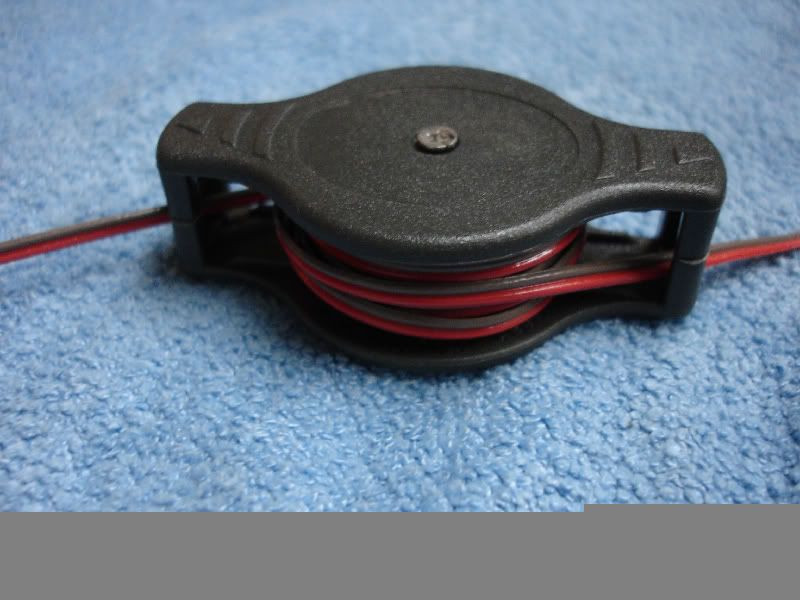
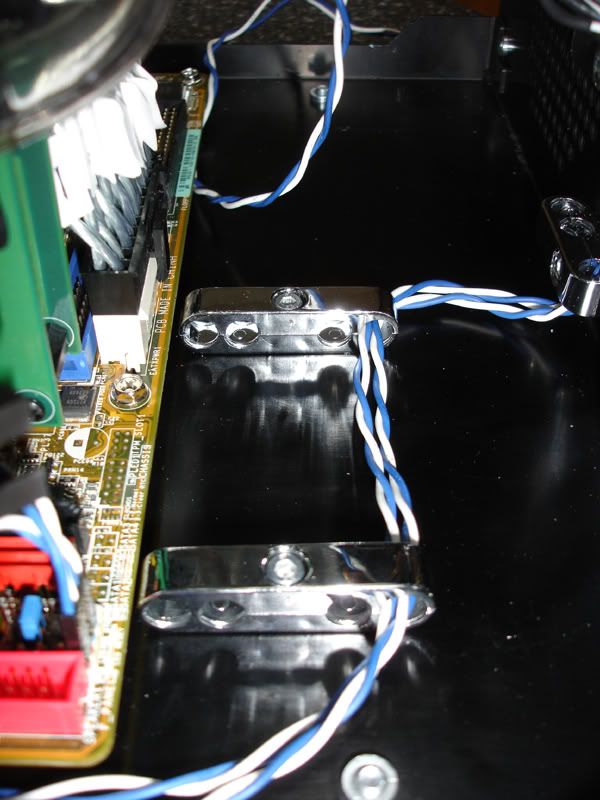
did some more menial work last night, settup up my wire guides (had to order 4 more packages this morning):
wireguides01.jpg


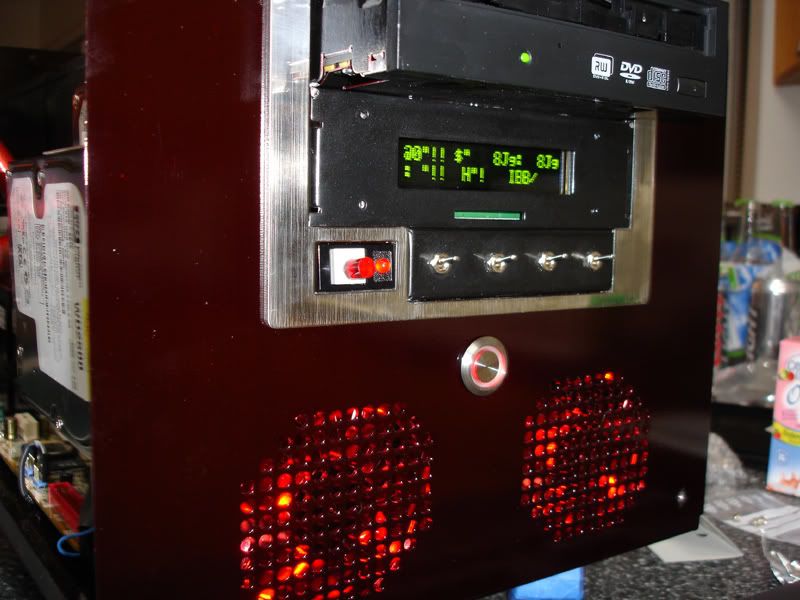
And then I put my DVD drive in to locate the stealth panel for the face:
faceplate-01.jpg


faceplate-02.jpg


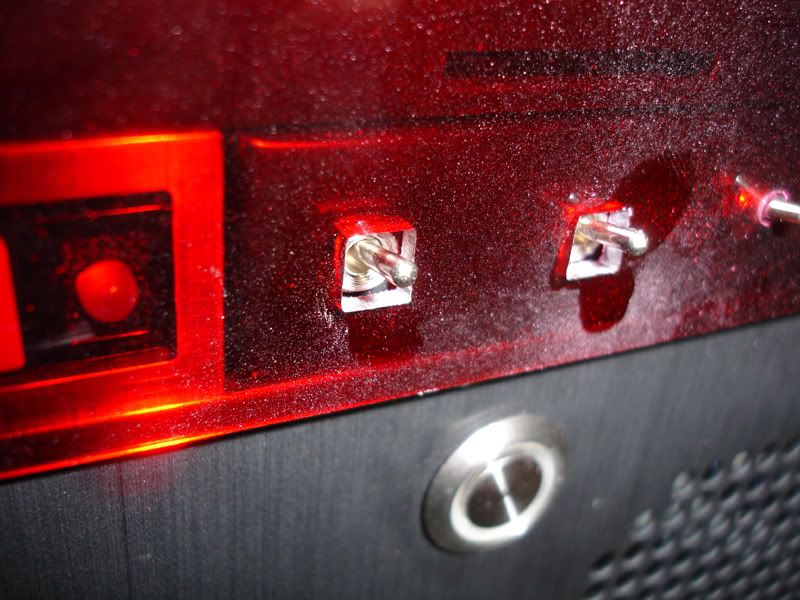
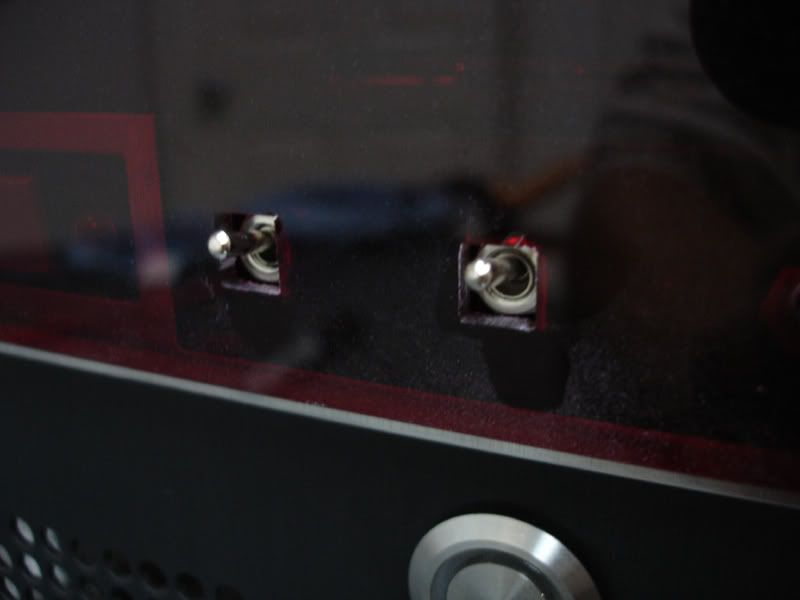
And got to work on the detail shape of the toggle opening:
switches-01.jpg


switches-02.jpg


I almost went Hex shaped to match the nuts on the Toggles, but that would have proven a little hard to make an perfect as I would like.

I will shape all 4 square, then get my Micrometer out to check trueness.
 
FYI, no more updates! Not until the LAN anyway. :)

At PDXLAN, I will post up the final assembly pictures, but there are some touches in the final assembly that I don't want to reveal until the Contest...
 
Now that I think about it, I am just going to tease you with short summarized text updates only!

Wednesday night: soldered on fan leads, tested out run lengths, picked up more wire guide, prepped for sleeving.

Thurdsday night: sleeving fans, shrink tubing, fitting sleeved wires into guides, picked up a bunch of goodies at NWCA (tee hee, you ain't seen a G15 like I am going to make!), and deciding final paths on all power lines. Photos taken in progress, but alas, you won't see those for 3 more weeks...

second G-15 disassembled- kind of surprised I remembered well enough, took about 10 minutes
Red LEDs soldered in, but 5k MCDs reds on order anyway
something special for the LCD tested and works!
something special for the USB cable tested and works!
something special for the exterior in the works
paint in process--2-3 days for color coat and curing
reassembly round about Wednesday
 
Saturday-Sunday-Monday:
Not a lot of work done, taking a Holiday from my modding...sort of--

Painted deck of G-15 (ooh, shiny!)
G-15 cable mod-done, only need some clear shrink tubing
G-15 lighting mod-seems like it will fit, tonight is dremel work to cut the holes
G-15 display mod-failed! trying change out the ribbon cable (straight vs. angled) didn't work. Kind of expected, but I wasted a free display so I'm not too sad.
G-15 LCD red film trick used on existing LCD--done.
Case is polished (2000grit) cleaned (tack cloth and microfiber) and masked (mobo mounts, PCI edges, tray mounts, etc.) and ready for paint.
What paint you ask? (rubbing hands in evil glee)
 
thanks. As soon as I held it up to the front, I felt exactly the same. Flat, sick, red, and minimalist. I loved it right off.
 
no...I considered cutting them out to be full holes, but I do like how different the Qmicra looks, and didn't want change that too much.

I will be painting the outside, but not in such a way that it changes much.

I am losing the clear acrylic faceplate though.
 
oh sorry: NOT the Red drive stealth plate, but the stock acrylic sheet that goes top to bottom on the larger front face.

I am keeping the red drive plate that I recently completed. ;)
 
ahhh, are you doing anything more to the switches, as i think it would look sweet with like a black border around them or something :D (the sqaure holes)
 
I really hate edge molding, and they are such tiny holes (only about 1mm clearance for the up/down throw of the toggle) that adding anything would bulk them up.

I will probably use some black foam gasket around the hex nuts at the bases to cover the rim of the toggle.

The square edges will be polished and trued so they look almost laser cut when done. I can't stand misaligned edges. :)

Just a couple weeks, wait till you see the G-15!
 
i love this mod, i cant use a dremel to save my life as it just bounces :( , i need a manual :p
 
this is THE most intense dremel work I have ever tackled.

1. Planning--Sketchup makes it possible to visualize your layout.
2. Planning--masking tape, cutter bits, files, sand paper, etc.
3. Patience--any hurry and you will mess it up. My PC case cost over $350 and I didn't want to ruin it. :)
4. Patience--repetitive I know, but there is probably 30+ hours in filing alone.

This was one of my most ambitious designs, but I am really excited to see it all assembled in the next week!
 
omfgbbqsauce ;)

new G-15 mod unlike any seen!

typing on it now...soo pretty. Just you wait.

LEDs, LEDs, more LEDs, and some paint to boot.

And I just got my Revolution from Logitech to get started on.

Qmicra is getting painted, I should be able to reinstall the hardware and start watercooling Sunday.
 
not yet...I originally considered it since I didn't want ANY silver color in the case.

I have since revised that and will have some silver touches here and there to offset the dark of the red and black.

Still not sure about the handles. I might paint them the candy coat red. I have to make one more before I do that. Only have one bendy shaped one right now.
 
thx all, weekend text update:

MX Revolution disassembled, painted, and reassembled including charger base.
G-15 tested and only awaiting glue gun to set new internal wiring.
Qmicra base painted and clear coated, full day curing time.
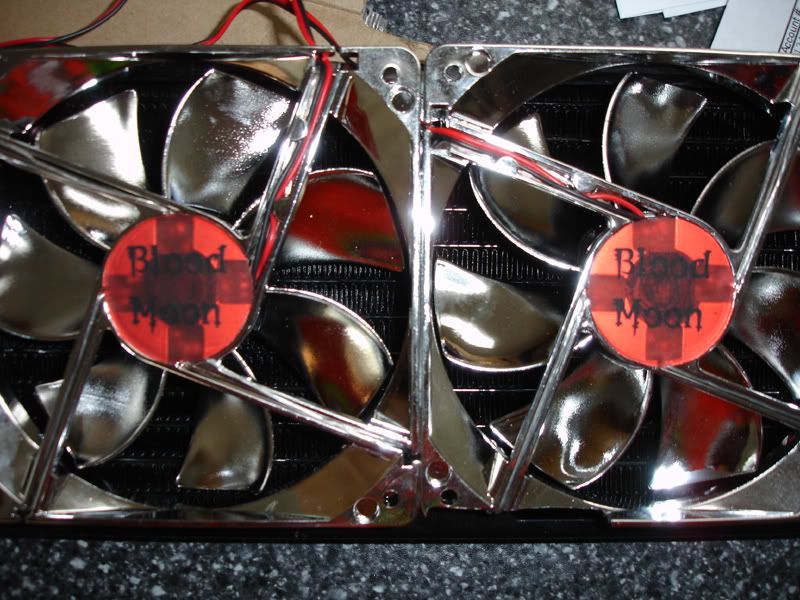
120mm Blue Chrome fans removed LEDs and replaced with RED. Leaving silver to accent other silver touches.


Things yet to start:
ReCement Radiator mounts prior to hardware. Mount new Red Chrome Fans.
Reinstalling hardware.
G-15 final wrap up.
Watercooling final plumbing.
OS install.
Final LED wiring.
Shell painting and final assembly.
Dome installation in final Shell.
Tweaking for CPU OC, Matrix text and LED control, and GX2 OC.
 
small text update:

put all the tubing in (ooooh, pretty) what a pain, this sucker is small and hard on the hands (keep scraping up my knuckles).

Finishing wiring for the rad fans (red LED, silver anodized).

4X512Mg Corsair modules installed.

Purging DDC pump and checking for leaks tonight...pretty hard to purge and fill when you only have about 3" of T-Line to work with. :)

Tomorrow is final installation of Matrix Orbital MX6, Plextor SATA DVD drive, 2X250Gig Western Digital SATA300 Harddrives, and turning on to see how BIOS looks!

Still have to make my Driver/BIOS disk so I can stay offline until I install my firewall/antivirus.

wish me luck
 
good luck, man. hury up and FINISH!!!!!!! i wanna c the final product. o, and maybe some benches, just for fun.
 
much appreciated. I yanked my final harddrive from my old case and prepping to turn it on tonight.

The pump is now dead silent, and most of the air is out of the system.

This evening is first power on and checking BIOS for stability.

This little sucker is PACKED:
P5LD2-VM motherboard
Pentium 950-watercooled
XFX 7950GX2-watercooled
2X250Gig Western Digital SATAs
Plextor 716SA DVD +/- RW
Matrix Orbital MX6
TopShelpLabs LED Controller
4X80mm Sunbeam Red Anodized (Case intake/exhaust)
2X120mm Silver Anodized (Radiator intake)
DangerDen DDC 12V pump
BlackIce Pro II radiator
Domes and LEDs
Top Lettering and LEDs
whew!
 
fandecal01.jpg


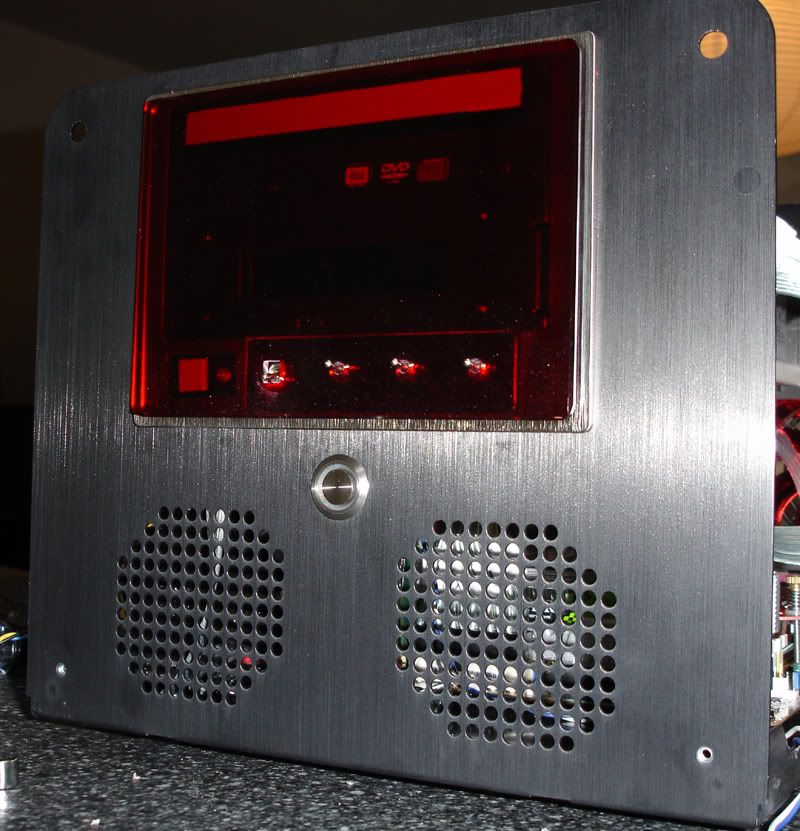
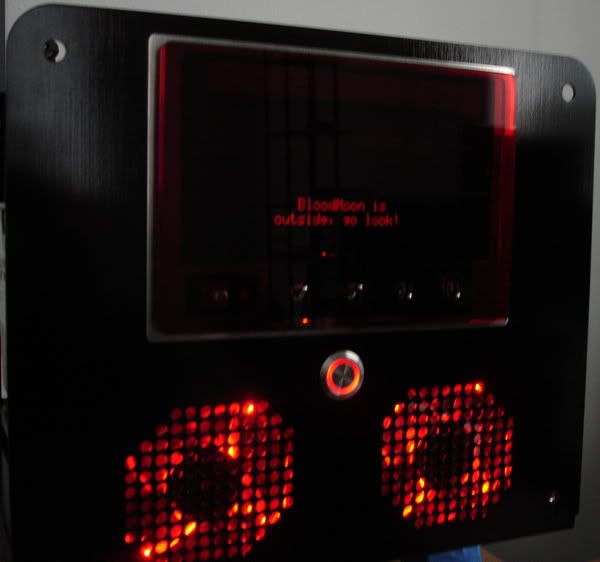
frontface01.jpg


The full centerfold will have to wait. :)

right now, windows is defragging, the GX2 is running at 750-580 which is the "optimal" chosen by the driver...I will push it further soon.

GX2 temp is at 36C idle!! Woot for DangerDen GX2 Block #1 (yes, actually the first one they made).
 
first DD block for the GX2?! Nice... almost as nice as the 36C idle temp :cool: . It seriously looks awesome, you'll be proud at PDXLAN
 
thx, I hope to do well in the Mod Contest (and running the Amateur one myself).

Still fiddling with the GX2 to get SLI settings, still looks like one GPU (and only 2k in 3d06).
 
everybody is hammering me for not posting (other forums too :) )

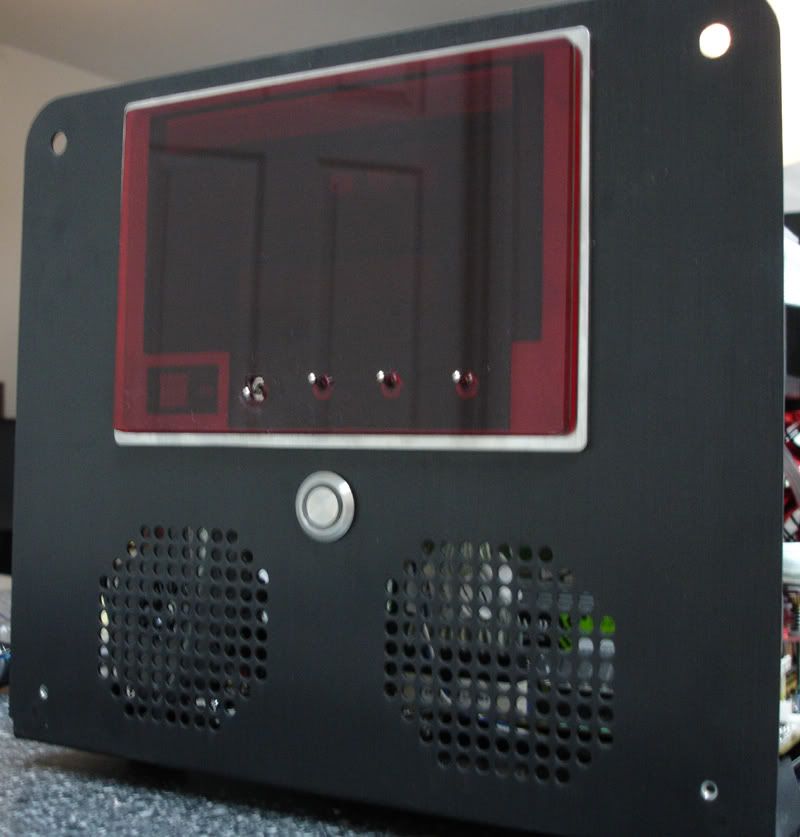
So here is ONE more teaser, it's really coming together, very nearly done.

Yes, it's fuzzy, no, there is no flash, but there is red paint there, and the shell is almost done, and the wiring is completed, and the Mouse is installed, and the G-15 just needs a little TLC before it's 100%.


faceplateteaser.jpg
 
much appreciated. The case itself isn't all the different from the Black Qmicra I started with.

Just wait till you see the full on sweet ass you have been waiting sort of patiently pics get up.

At different angles it shifts from Glossy Jet Black to Dark Bloody Maroon to a rich tomato soup color. Camera flashes bring that out the best though.

All the peripherals are installed, tested, and working wonderfully (Revolution MX, G-15, and a G-25 too!). All the watercooling is leak free, temps are nice (CPU stays at 40C for fan reduction, GPU idles at 36C but only one GPU is working right now) and overclocking is pretty amazing from my last real Intel (a 3.73EE that didn't clock for squat):
CPU 200X17 up to 245X17 22% at 4.165!!
GPU 520/1350 up to 600/1500 15.8%!

Asus just told me I need to RMA my motherboard to fix the GX2 problem, but that won't happen before PDXLAN. I will have to gut the whole thing before I can change out the motherboard sometime in the near future (my poor poor tubing).
 
I just about forgot to make my second case handle Doh!

So I pounded the sucker out tonight (bench vise and rubber mallet). Turned out pretty dang close to the first one, kind of surprised.

Files, tapped, and fit onto the Qmicra. I just have let the adhesive on the Eclipse window cure, and I am ready to assemble for the final time. :)

The work list completed:
dome openings cut
eclipse opening cut
top lettering cut
radiator openings cut
LOTS of filing on the above
2000 and 2500 grit sanding on all exterior surfaces prep for Red and Clear coat
Painting Red and Clear coats
Fitting watercooling wiring preliminary layout
Trimming PCIe, SATA, Floppy, and fan cables for electronics layout
Sleeving visible wiring, and mounting wire guides
change out blue LEDs in Radiator fans to red LEDs
solder Power, LED, Reset and HDD LED connections since the crimp ons are (sorry PCDLab) kind of sucky :)
trim and solder internal USB for the Matrix Orbital PLED device
paint Matrix Orbital faceplate and DVD shell
put casters on (I like it, makes it very easy to move around the desk for stuff)
wire TopShelfLabs LED controller and toggle switches for faceplate
make LED holders for the Dome lighting, and wire for power
etch Earth and Lunar geography onto Domes
some Tubing stuff
disassemble and paint Logitech Revolution Mouse
disassemble and mod Logitech G-15 keyboard (wiring, paint, other stuff)
TAP plastics cut DVD stealth plate in Red Acrylic w/bevels
tubing, watercooling layout, t-line location, radiator placement and brackets, fan adhesion, fan grills, fan labels (for center sticker)
make new side handles from barstock, drill, tap, file, and fit for grip
program Matrix with clever sayings and Eclipse countdowns
hardware stuff
software stuff
games, drivers, updates, patches, and controllers
find out 7950GX2 isn't working up to spec :(
other little things that I haven't shown you yet :)

Two more days!!!!
 
Back
Top