• Some users have recently had their accounts hijacked. It seems that the now defunct EVGA forums might have compromised your password there and seems many are using the same PW here. We would suggest you UPDATE YOUR PASSWORD and TURN ON 2FA for your account here to further secure it. None of the compromised accounts had 2FA turned on.
    Once you have enabled 2FA, your account will be updated soon to show a badge, letting other members know that you use 2FA to protect your account. This should be beneficial for everyone that uses FSFT.

Project: BloodMoon

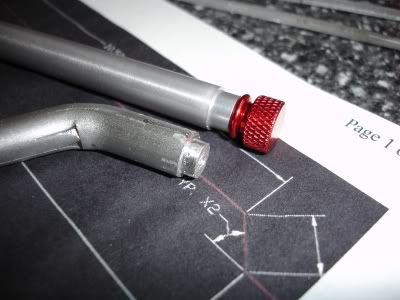
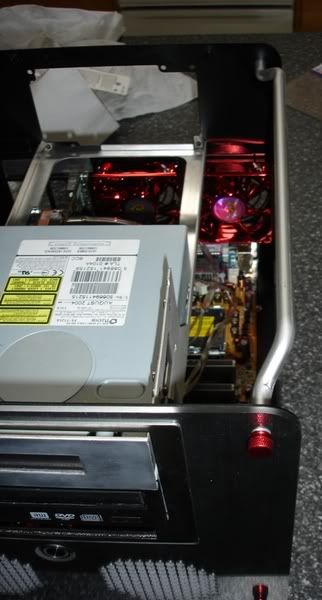
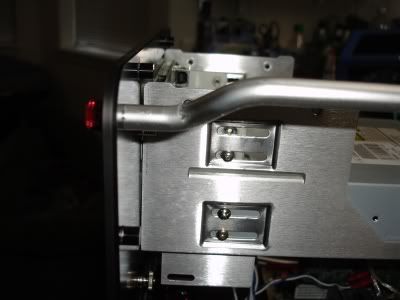
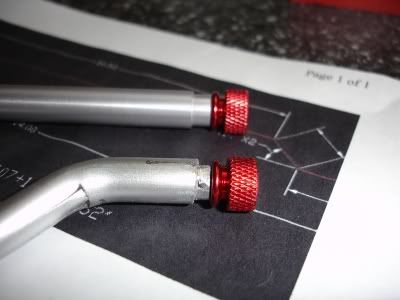
worked on my idea for new handles on my Qmicra
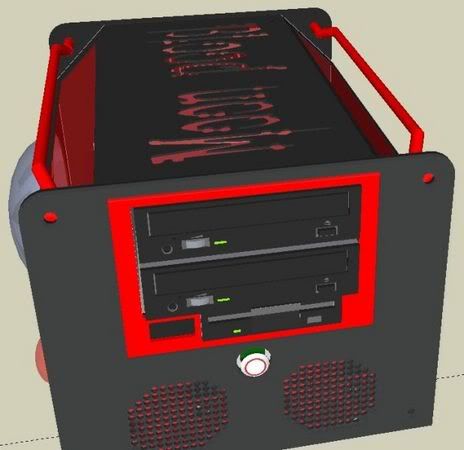
handlerevision.jpg


I wanted more clearance to actually USE them as handles...

here is the first one before little files
newhandle03.jpg


after little files
newhandle04.jpg


newhandle05.jpg


newhandle06.jpg


newhandle07.jpg


it locks down tight enought to pick up the case (with mobo, GPU, DVD, and RAM) without rotating out of place!!! :))) Me likey.

I will eventually get them anodized red along with the PSU tray, radiator brackets, etc.
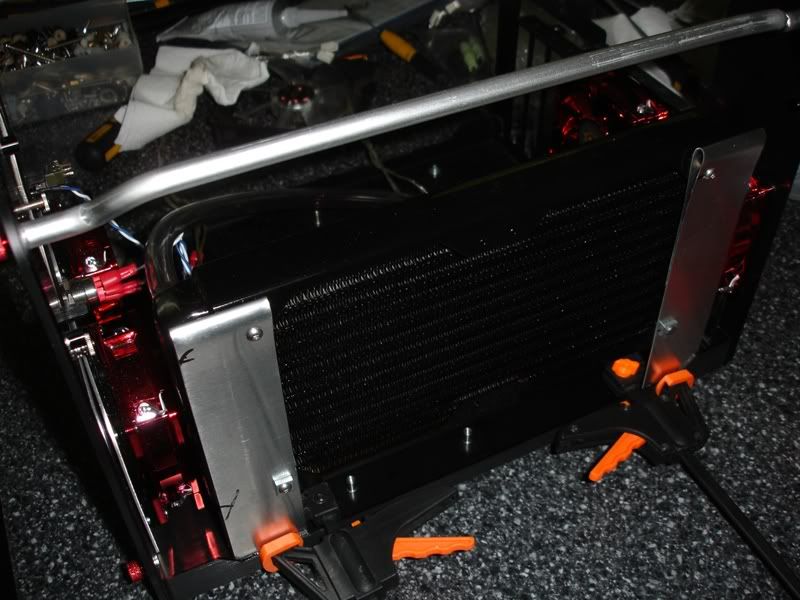
 
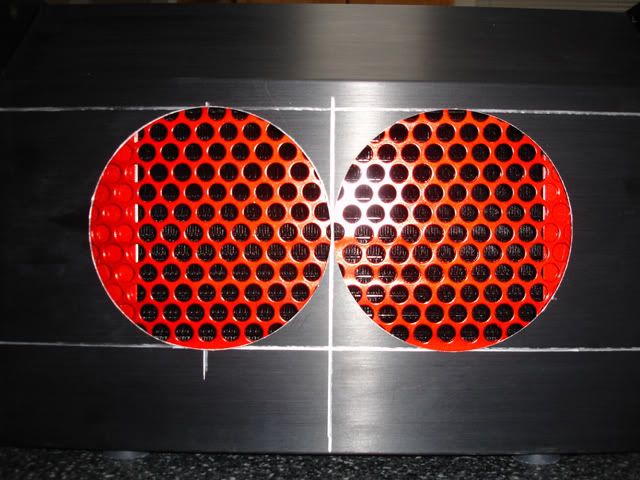
today...I mount the radiator! Just HAVE to be sure it will fit.

:)

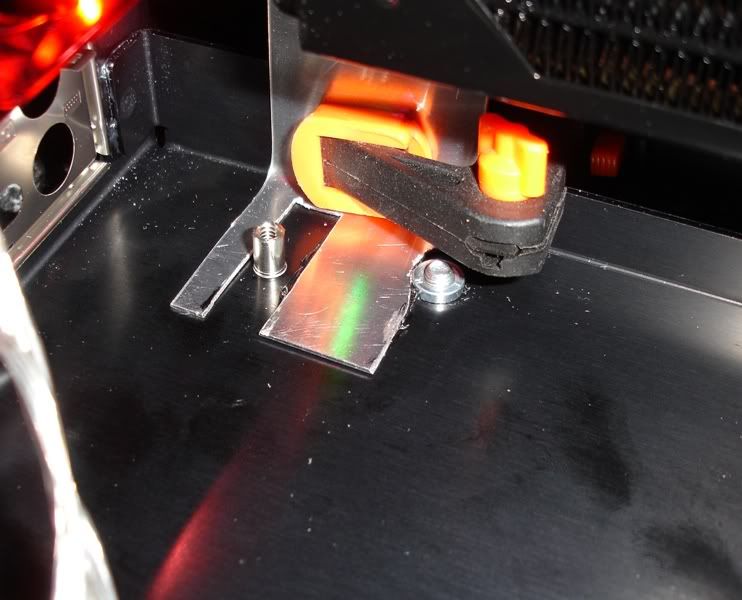
Stopped and got some strips of 20Ga aluminum sheet, 1.5" wide at a local hardware store.

Some measuring, some bending, some folding, some dremel work, some drilling, and some E-6000 adhesive gives us this:
radmount01.jpg


radmount02.jpg


radmount03.jpg


those ugly cuts will actually be UNDER the motherboard, but I will probably cover them with red acrylic anyway.

it's light, a little flexible, and holds it nicely. The only thing is the tubing has to cut through the 3/5" bay, but I'm not gonna use it anyway. Maybe some switches for my special LED controller....hmmm.
 
thx all...I really appreciate the positive feedback.

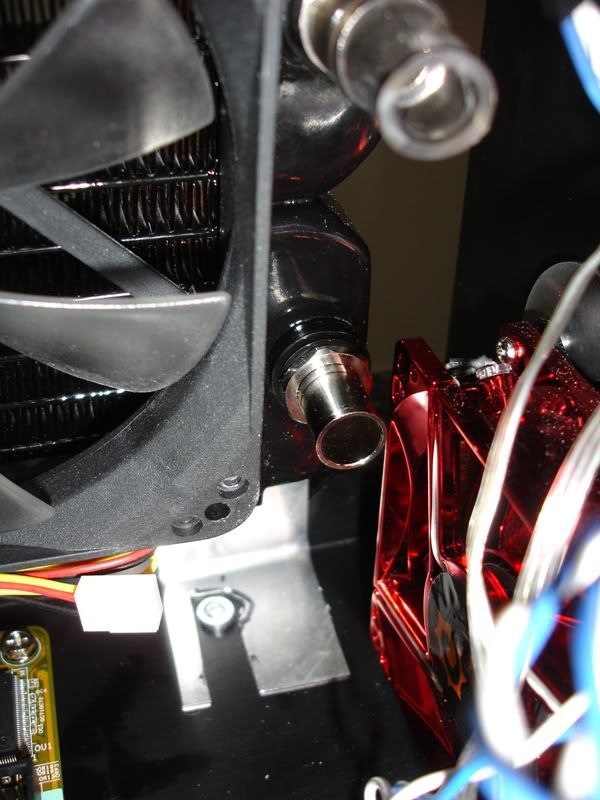
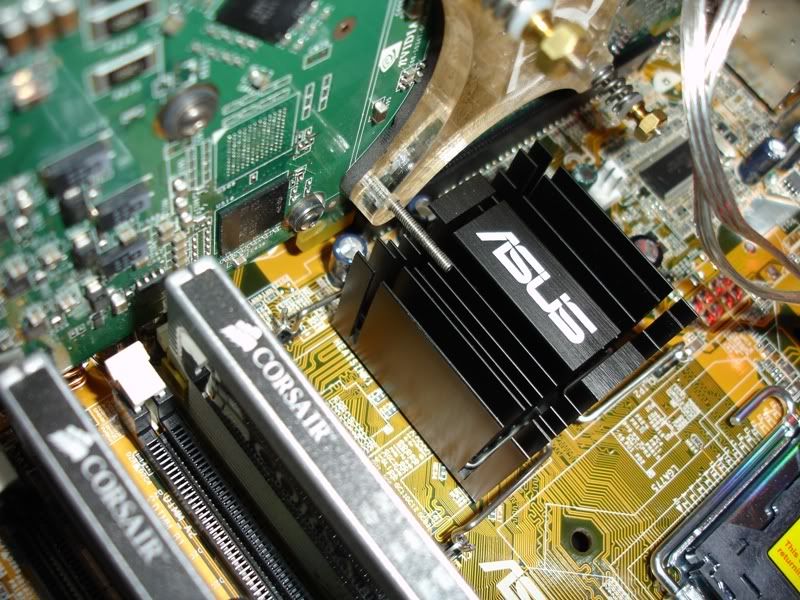
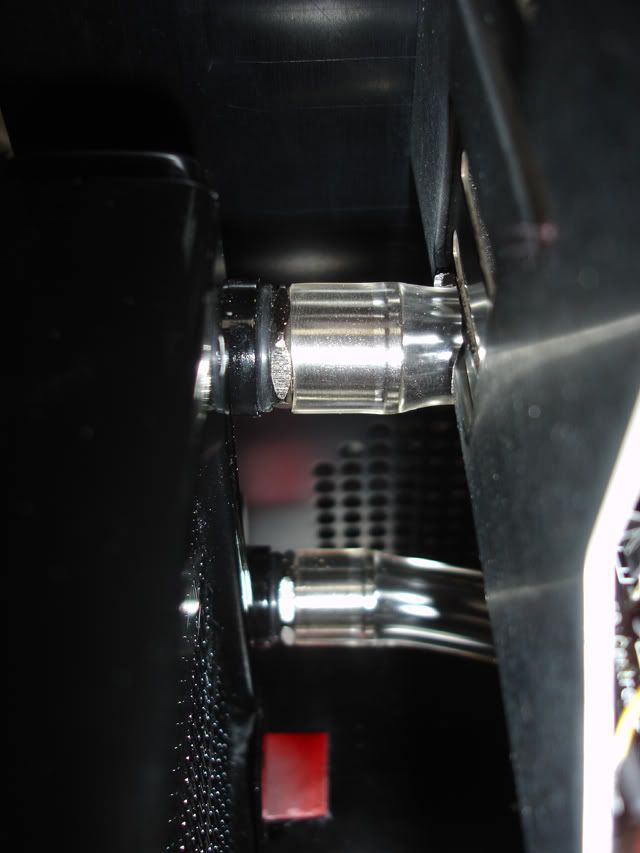
I thought I would snap some closeups to show just how tight the overall fit is should anyone else want to cram watercooling gear into a Qmicra:

I figure the TDX will sit with the barbs perpendicular to the radiator
watercoolingclearance01.jpg


the tubes will run like in my Loch Ness case shown here:
watercooling-1.jpg


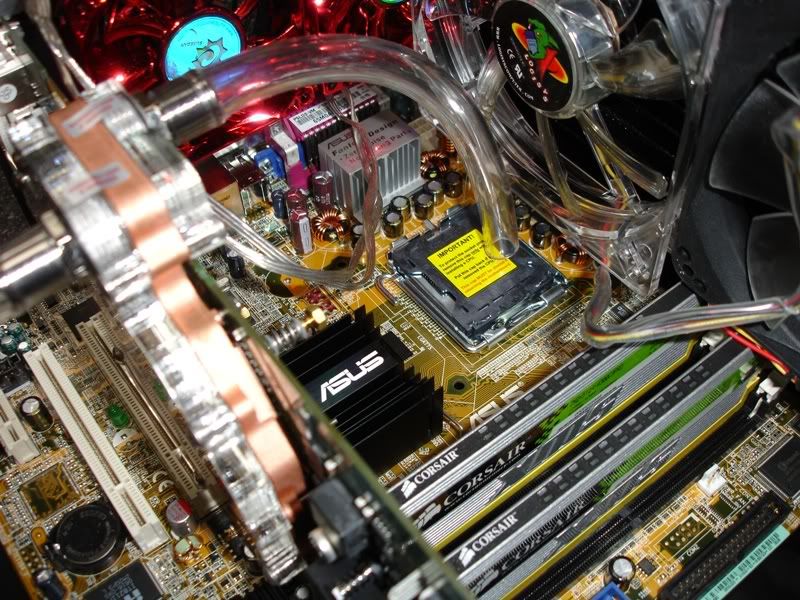
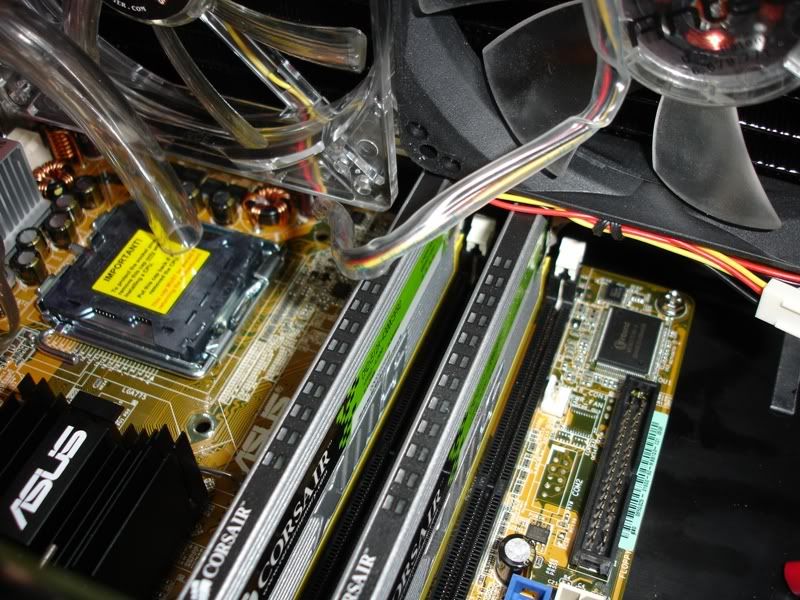
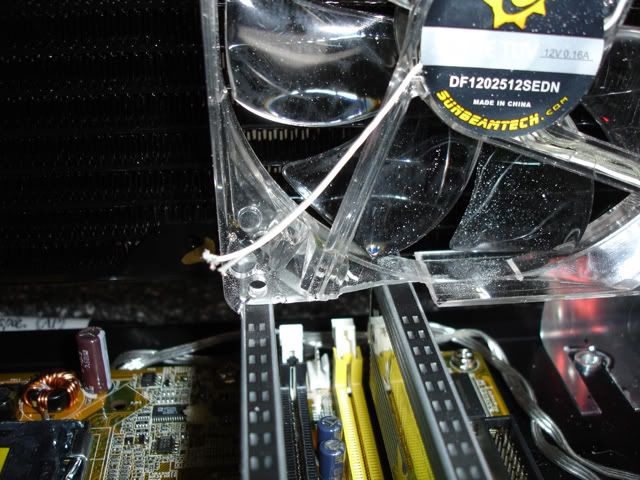
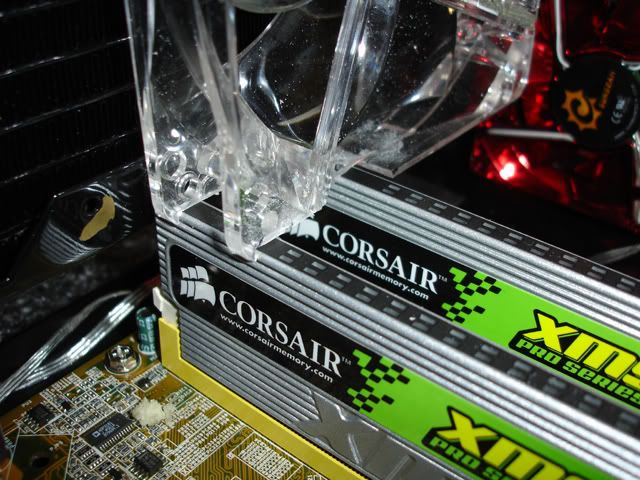
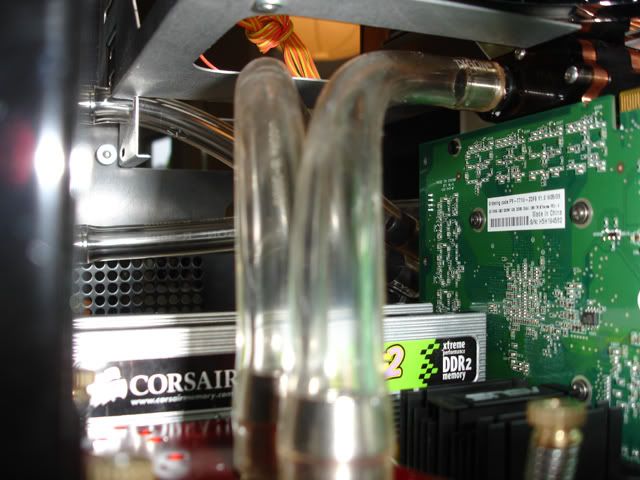
Here you can see how close the fans sit over the RAM. I know the whole fan won't sit over the radiator, but my guess is the cooling loss will be negligable.
watercoolingclearance02.jpg


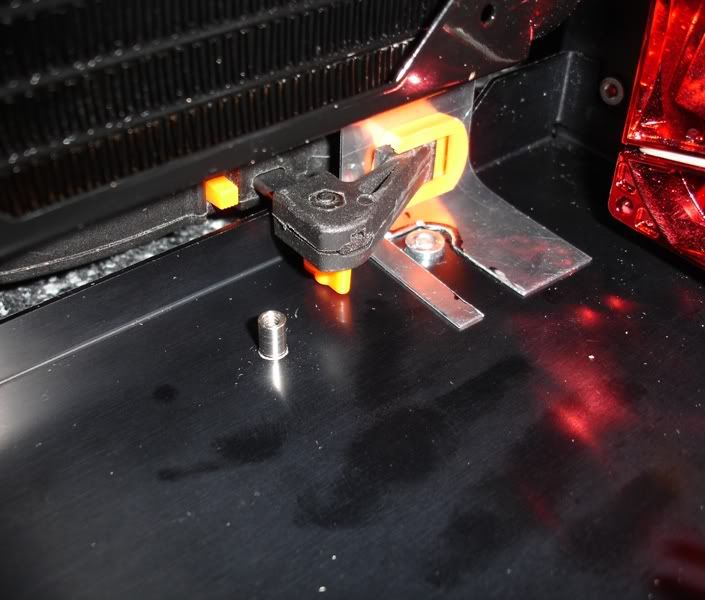
This shows how closely those Radiator brackets sit to the rear 80mm fan...I might actually lay a thread of adhesive on the fan to further brace it from rubbing and hold the Rad in place better.
watercoolingclearance03.jpg


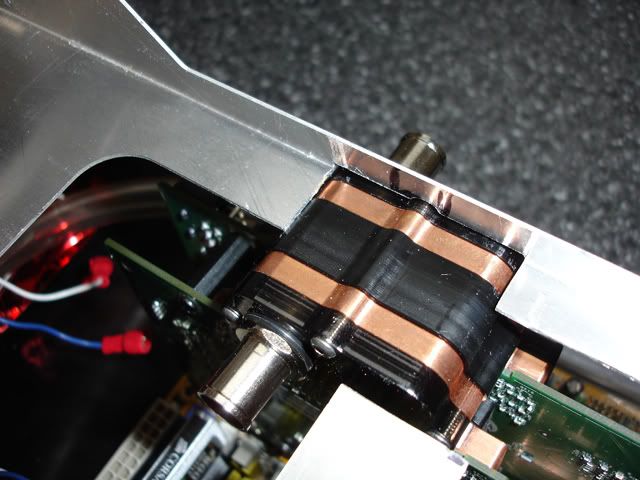
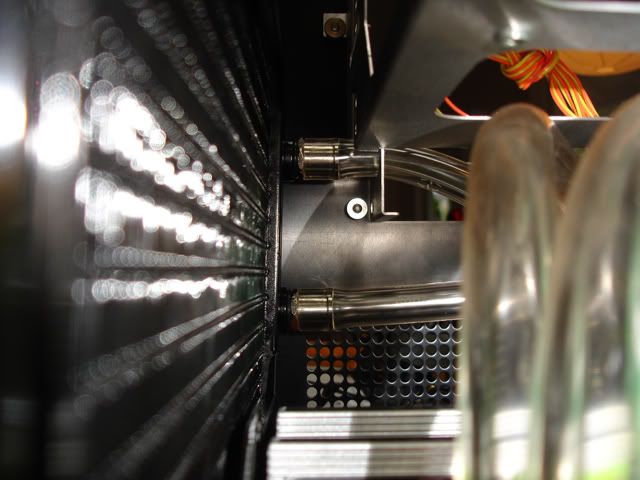
This is the Rad barb end and I will have to cut an opening through the Floppy/Matrix Orbital section of the drive cage. Works out fine because I want my DVD drive above the MO anyway. The drive stealth works out a particular way if I do that. :)
watercoolingclearance04.jpg


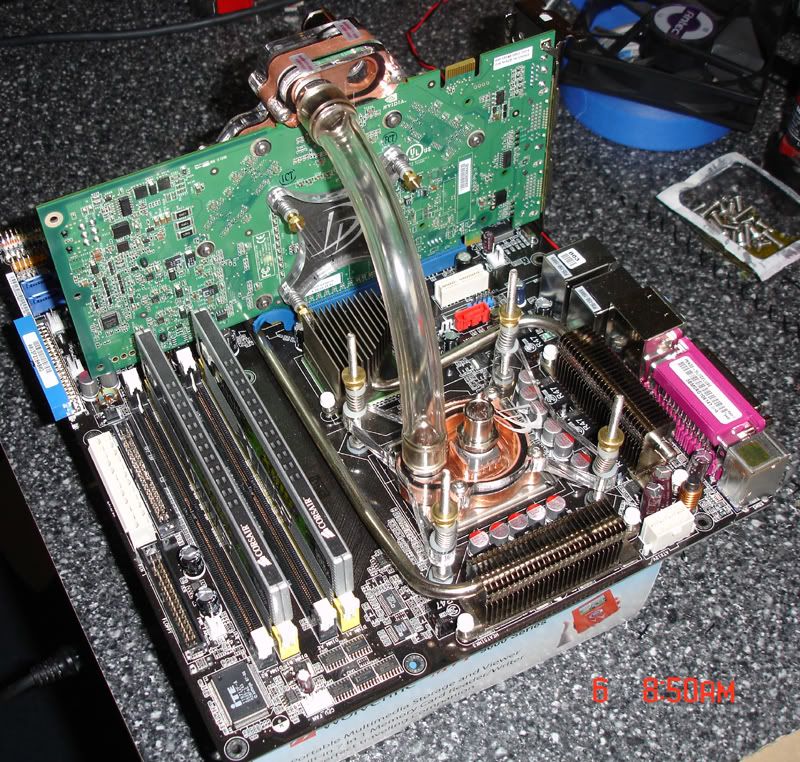
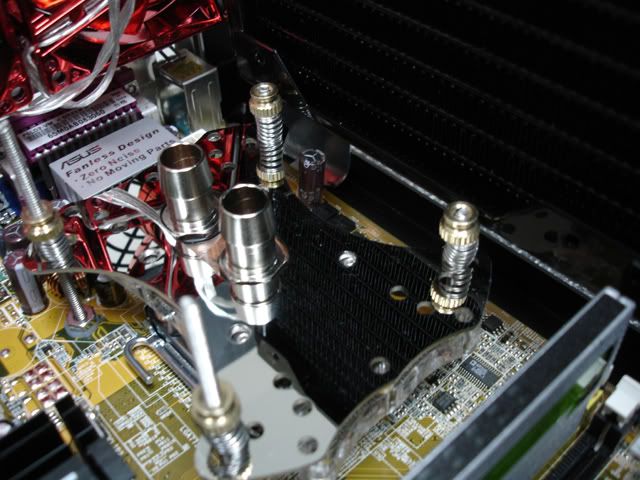
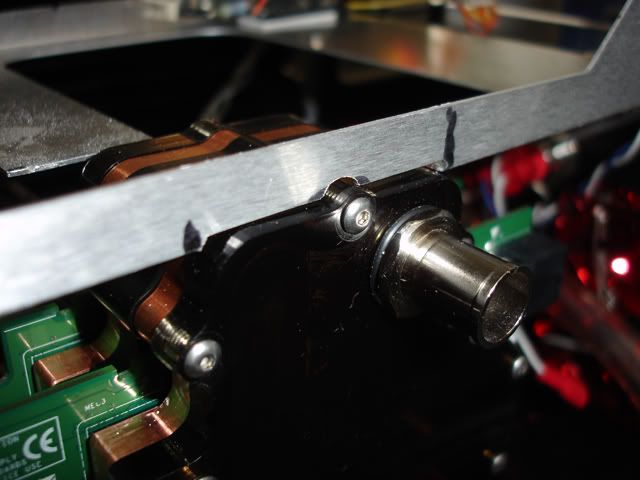
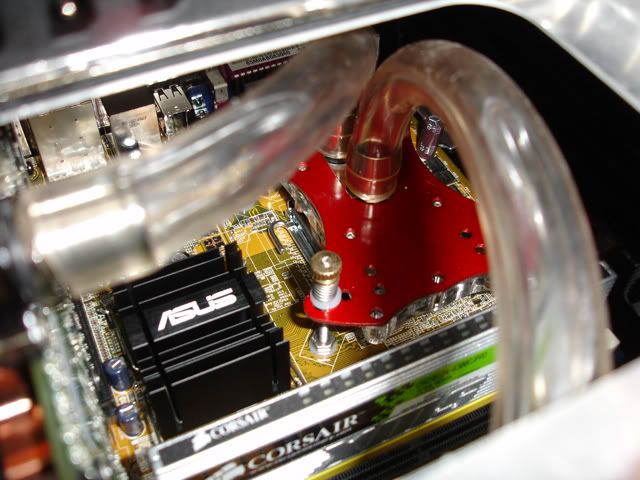
Lastly, this is the clearance on the threaded rod of the NV-7800 waterblock meeting the Asus Northbridge cooler...not sure what the clearance on my GX2 will be, but I will work something out.
watercoolingclearance05.jpg
 
Yes, I am working on it...but it might not be available for a month, hopefully before PDXLAN. ;)
 
got some more work done over the weekend.

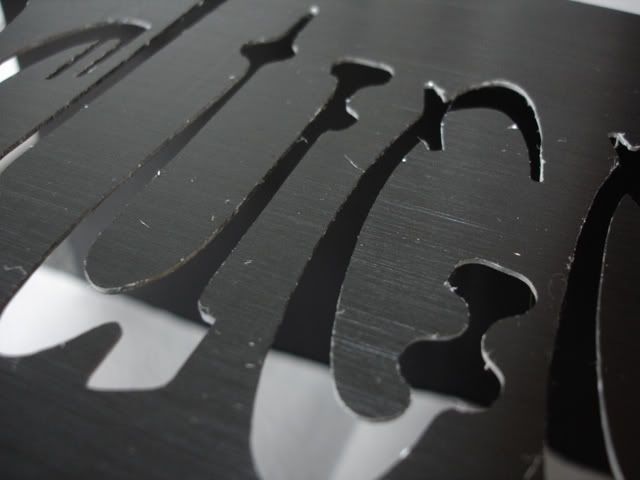
Probably about 8 hours of small size filing, up to the "d" now:
filedclean01.jpg


filedclean02.jpg


filedclean03.jpg


This only leaves the "Moon" letters.

I also fiddled with getting the fan put on my Radiator, and I knew the RAM was too high, so I did this:

fanclearance01.jpg


fanclearance02.jpg
 
thanks, it's about 70% done on filing work, you just can't see the rough edges of the M-o-o letters with that lighting. :)
 
much appreciated, I have some stuff coming tomorrow via UPS, some watercooling stuff from DangerDen tomorrow, that waterblock in a week or two, and then I can start to finish component hookup.

Very exciting for me. Glad to share!
 
another actual work update :)

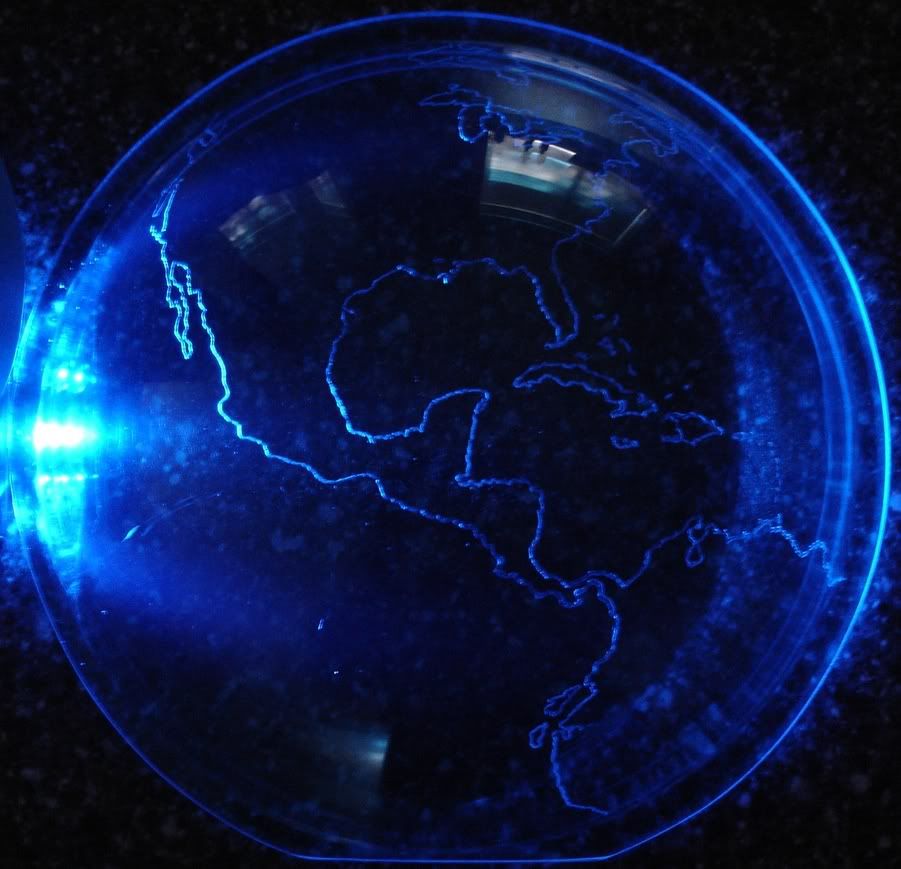
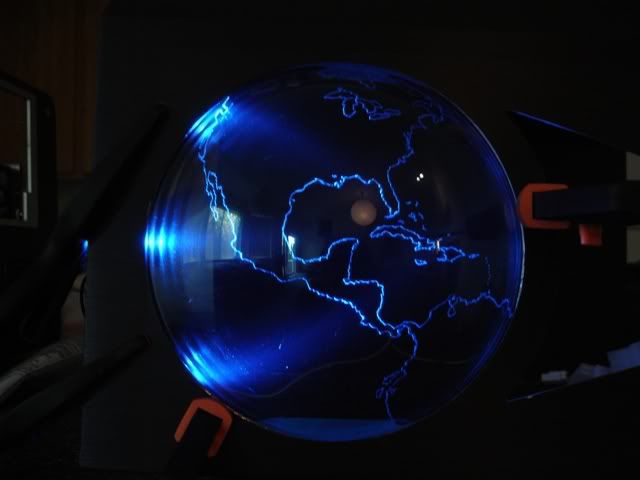
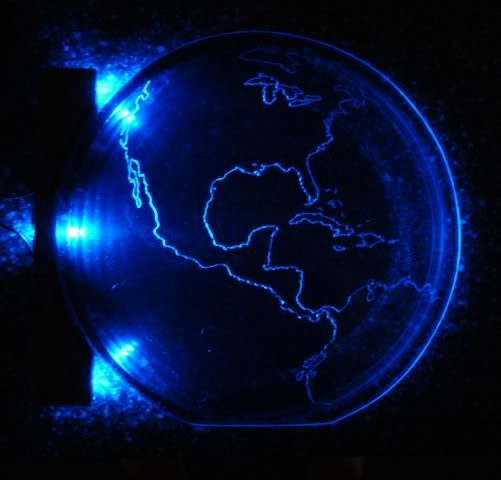
I decided to drag out my blue dome, and "etch the planet" today.

Some printing, some sizing, and my normal trick of using full sheet adhesive clear...I traced out the continents and lakes onto the inside of my dome:
Earthdome01.jpg
the whole thing

Earthdome02.jpg
Mexico down to Peru?

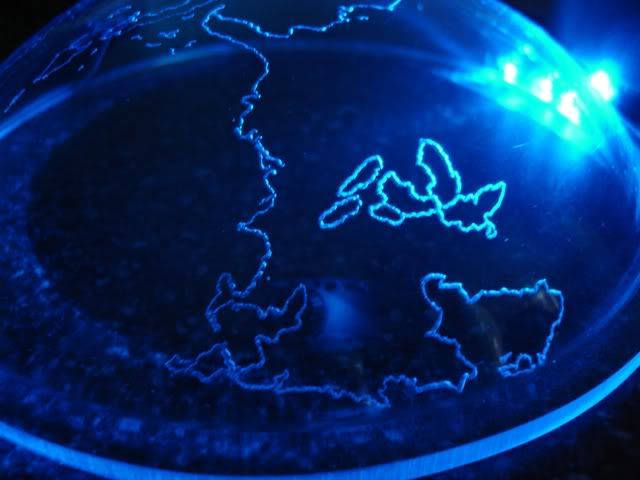
earthdome03.jpg
looking down on the Great Lakes area.

I might touch up some spots to make it more "earthy" but...
 
Beautiful work. I bet that new DD block for the 7950 will cost 200$ and a guarenteed PITA to install. I can't wait :D
 
Domes: http://www.cleardomes.com/smalldomes.htm

Very helpful crew there...not cheap (mine were $37 each) but I didn't really have the time or means to make a forming rig.

GX2 waterblock: I bet, but I can drive right to DD, so I think I will get some help. :)

I will post when I do get it, should be a week or two.
 
Hahaha cleardomes.com

That's such like... well... when my mom wants to get a recipe off the internet, and she types in the URL www.chicken recipe.com (sic).
 
yeah, came up in google, and I figured, this must be the place!

Several emails on my needs and colors later, ordered.
 
Here go with some more weekend work:

Was out at DD Friday, picked up my DDC Pump, my CPU block with generic top (I like the shiny this time) and rushed home to work on it.

CPU01.jpg

Had to dremel the bolts short enough for my Radiator and fans to clear it...it might look like the fans won't fit, but they will. I have a few tricks left!

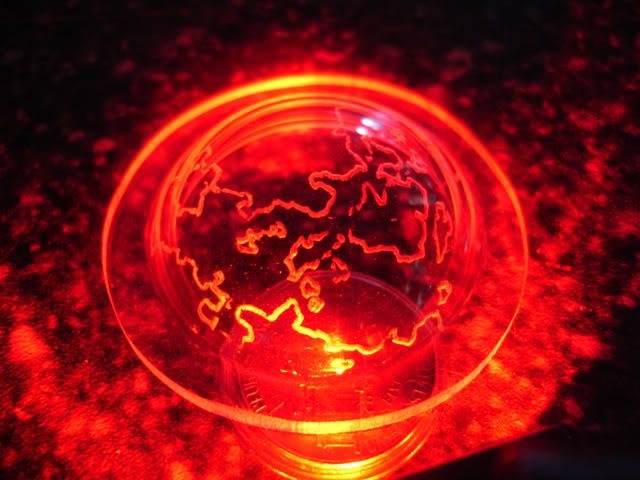
And the MooneY Dome:
MoonDome01.jpg

MoonDome02.jpg

It's not done yet. I will put some obvious crater shapes in the right places to be geographically accurate and make it more MooneY. ;)

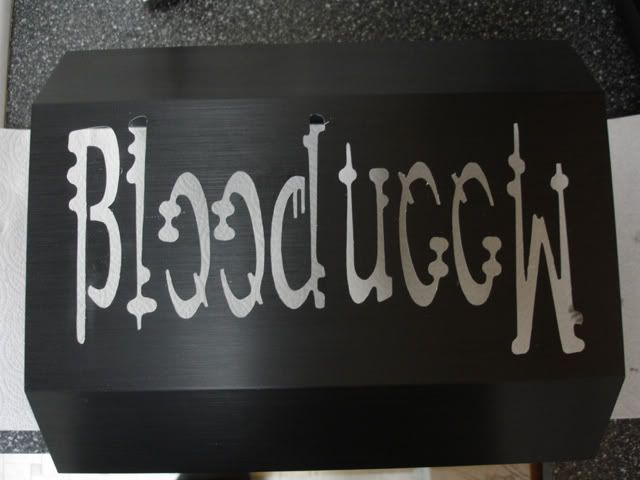
And the lettering filing is about 95% doe so I took the white sheet off and cleaned up to have a look at the result:
letteringfinal01.jpg

letteringfinal02.jpg


Next stage is to try painting my 120mm fans to match the anodized red 80mm I have. More coming.
 
thanks...can't wait to get it all together, mainly waiting on that GX2 block to final assembly.
 
Three posts back, in the picture of the top of the case where you talk about "And the lettering filing is about 95%" is the word "Moon" supposed to be upsidedown and backwards?
 
yeah, I decided it worked in my eye...evening out the tallest letters to opposite corners, making th eye stay longer to figure it out, etc.

I finishe Blood a while ago, and only last week decided I would leave it that way. I did have to ponder it a bit. Some might disagree.
 
more work done tonight! Little stuff, soldering, plugs, wires, etc.
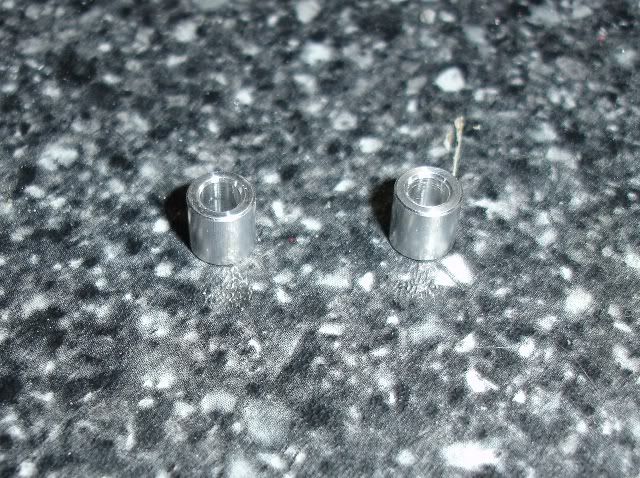
Needed to get the LEDs for the Domes set up so I tore up a Blue LaserLED and a Red LaserLED.

I had to decide how I was going to attach them to the inside of the Shell around the Domes:

little aluminum spacers, some clear adhesive, a couple clamps--
LEDbrackets01.jpg


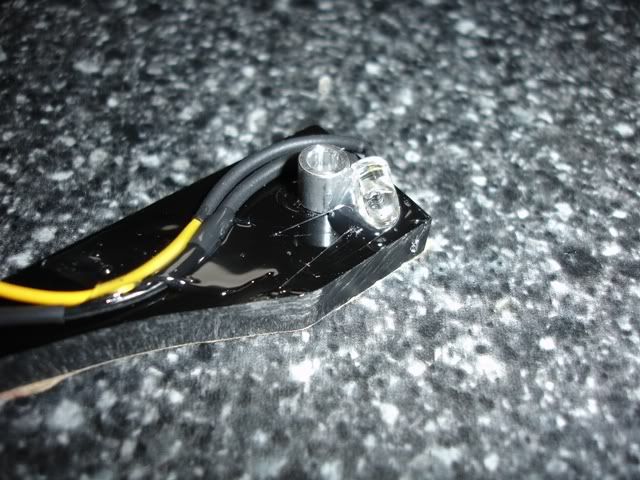
Black 1" plastic strips, cut and then traced out to shape right up against the dome edge--
LEDbrackets02.jpg


Each of 3 LED are curing in clamps to point at the edge of the dome.

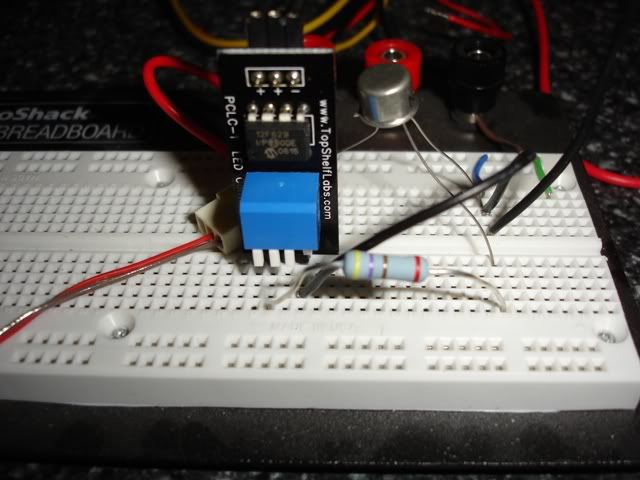
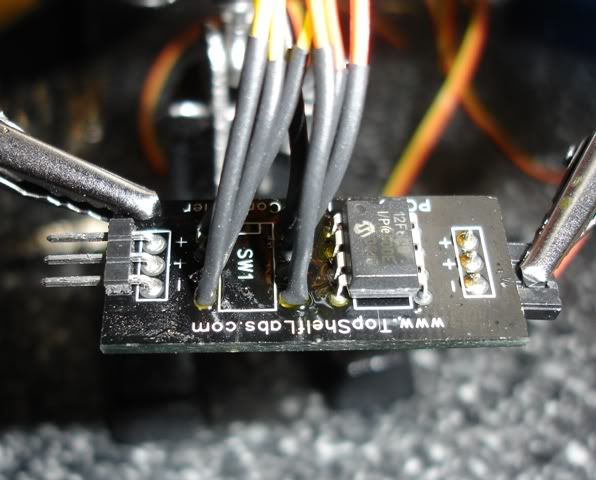
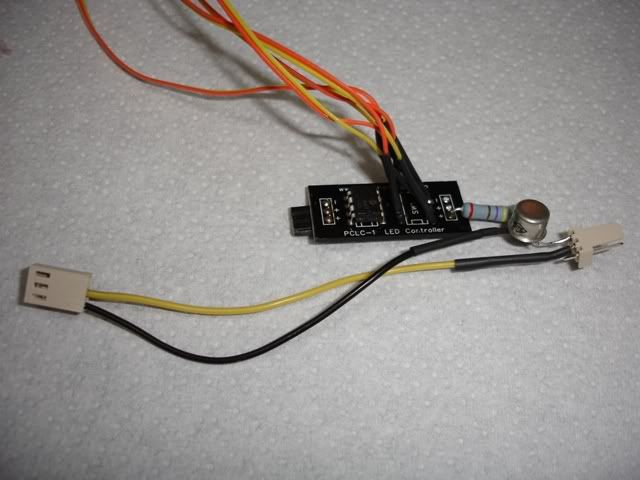
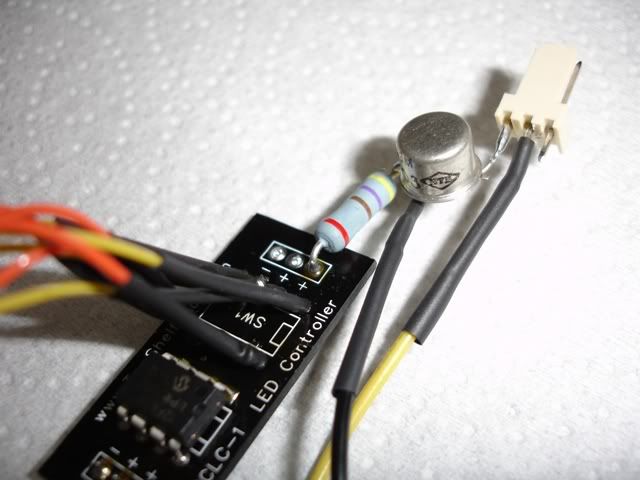
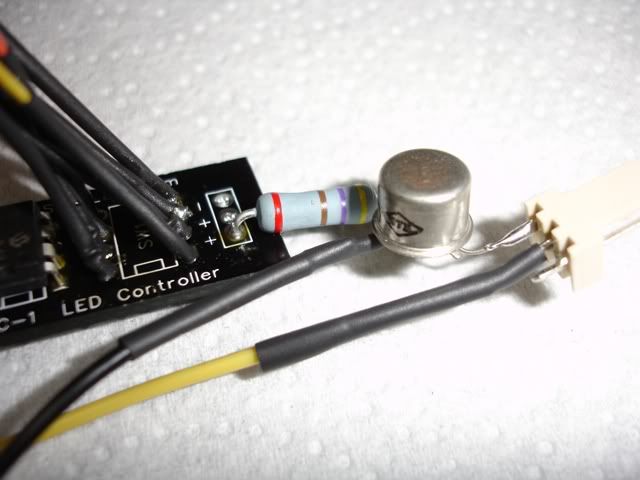
And the little LED controller I bought from FrozenCPU.com, made by Topshelflabs.com.

I needed to take out the DIP switch since I want the control on the front of the case--
LEDpulser01.jpg


LEDpulser02.jpg


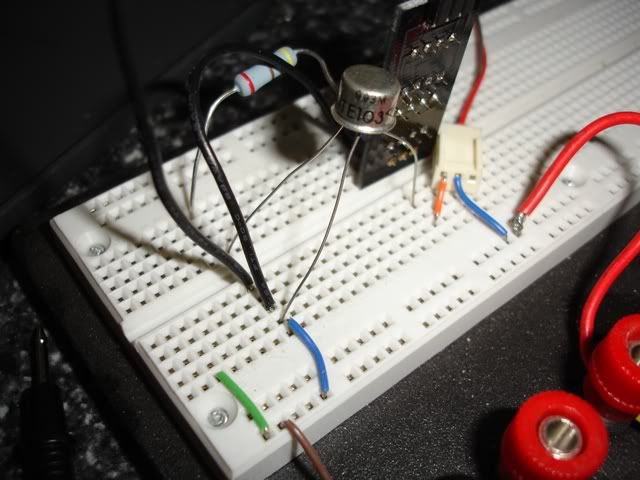
And then I had to convert it to 12V load instead of 5V load, along with connectors (the guys at topshelflabs helped me with transistor and resistor codes)--
LEDpulser03.jpg


LEDpulser04.jpg


LEDpulser05.jpg


It will likely get stuck on a piece of red acrylic, and mounted somewhere. Then I will take the 4 micro toggles (SPST) and mount them somewhere easy for control. It has 8 or 10 different pattens, and two speeds for the LEDs to pulse or flash.
 
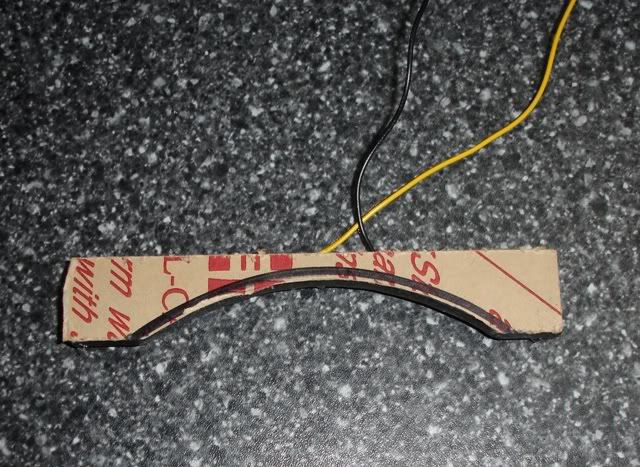
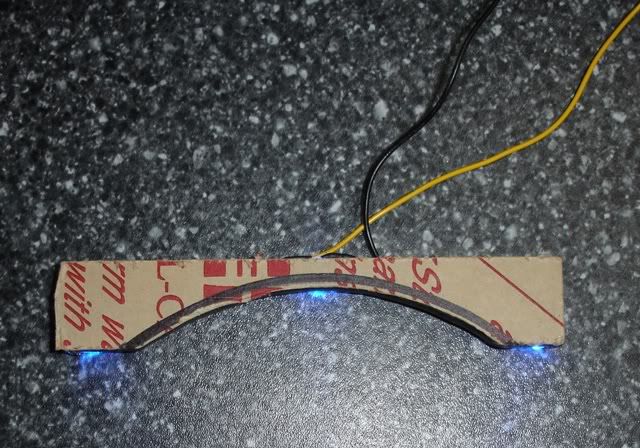
did some more glue work to finalize my LED bracket for the Earthdome:

LEDbracket01.jpg


LEDbracket02.jpg


LEDbracket03.jpg


LEDbracket04.jpg


LEDbracket05.jpg


The end result:
earthdomeLED02.jpg


EarthdomeLED01.jpg


ooooh, aahhhhh, bluuuuuuuuuuuuuu. ;)
 
missed an update last week:
EarthdomeLED03.jpg
now

Noticably more even on the etching, and I haven't even polished the flats yet. I just took one of my microfiles and flattened each LED till it was almost square on the tip to the body cylinder. Not close enough to the diode to worry, but pretty flat. Still frosted tips from the abrasive, but I can polish that later.

UV land mass...not that I never considered painting the landmasses, but IMO, etching needs to be simple, clear, and crisp. UV paint is tricky to do that small (masking, etc.) and takes a LOT to glow brightly.

I already have 3 Blue LEDs (Earth), 3 Red LEDs (Moon), 5 Red LEDs (Lettering), and a custom LED control system to pulse the lettering.

I also weigh if more and more stuff makes it too "Busy" and distracts from the overal Theme. Gluttony was busy as ---- on purpose.

Even if BloodMoon doesn't win anything, it really has been an enjoyable challenge to fit full on DD watercooling, OCable CPU, GX2 GPU, and 3 custom lighting elements all into an SFF case.

finally!!!

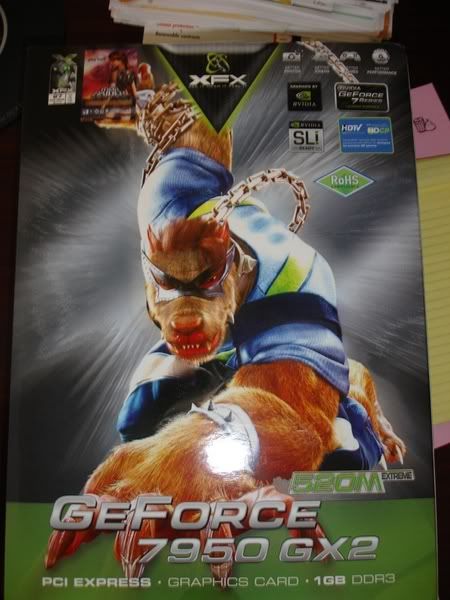
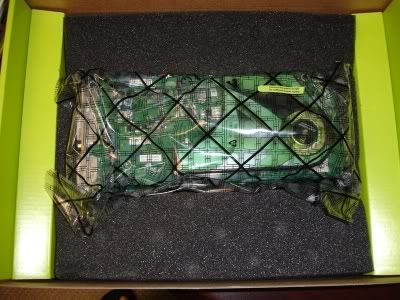
my GX2 waterblock:
GX2WB-01.jpg


hmm, need some vertical changes in the PSU-Drive tray don't I?

GX2WB-02.jpg


GX2WB-03.jpg


I can finally move on to my wiring now. I think I will sleeve the water lines if I can find RED sleeving, not that pinky-looking stuff.
 
thx, I won't be able to get it wet for a couple weeks, I have all my wiring to do, some metal polish, plumbing, and some other stuff first.
 
well, nearing a time when I can almost see it done!

Didn't get around to any wiring this week.

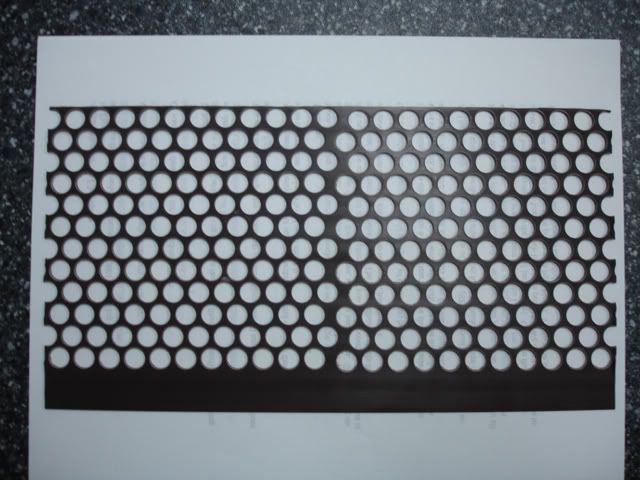
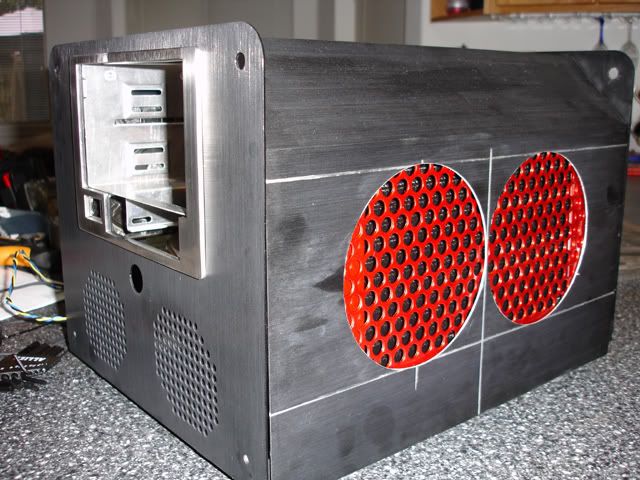
However, I did get my Radiator grill done up:
radgrill01.jpg
gutter screen like I used on Lubic

radgrill02.jpg


radgrill03.jpg


radgrill04.jpg


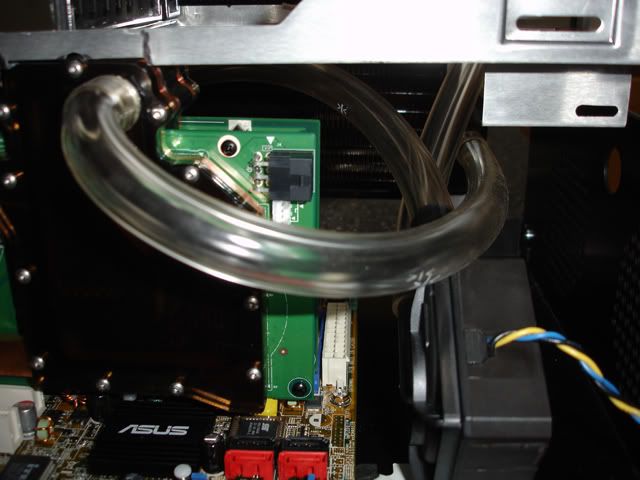
And then I did up a preliminary routing on my water lines:
tubing01.jpg

No floppy drives for me...the switches for my LED controller will go here.

tubing02.jpg


tubing03.jpg


tubing04.jpg


tubing05.jpg


tubing06.jpg


tubing07.jpg
 
thx, I have some other cool stuff to try before final assembly.

Some unique tubing ideas, switches for the LED controller, stealthing the drive and Matrix Orbital, and then some fancy layouts for the wiring.
 
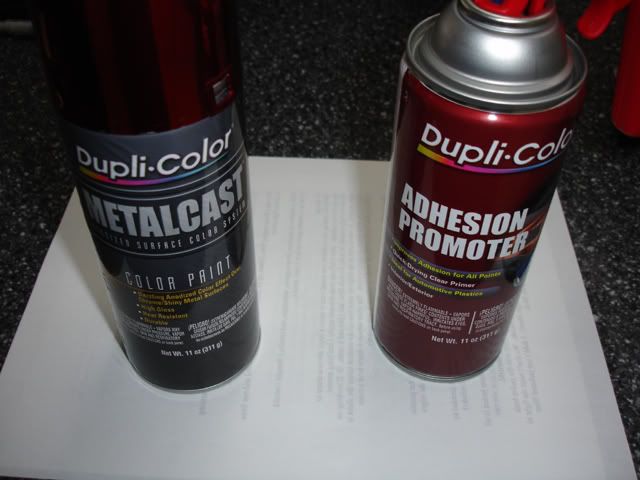
what tedium! wiring, painting, tubing, more wiring, more sanding, more polishing, repainting, etc.

I have been puttering around on the less exciting parts of getting ready to power on:

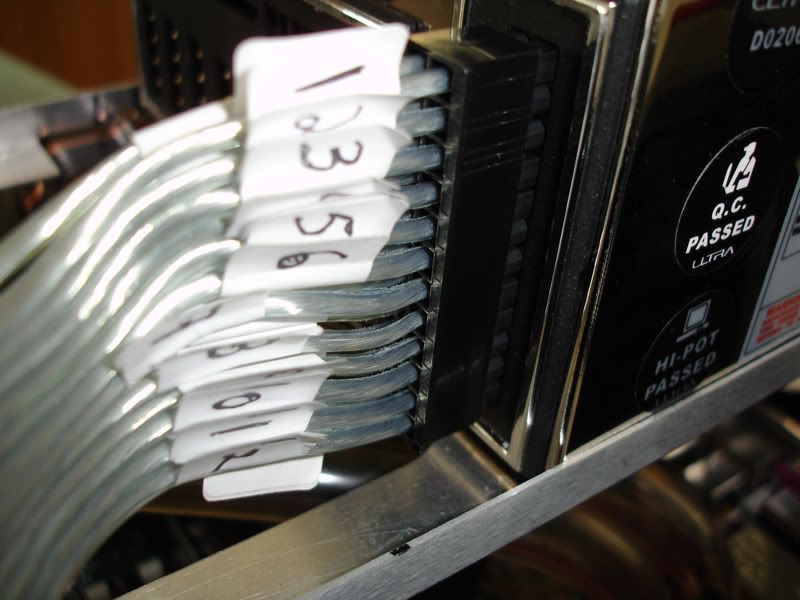
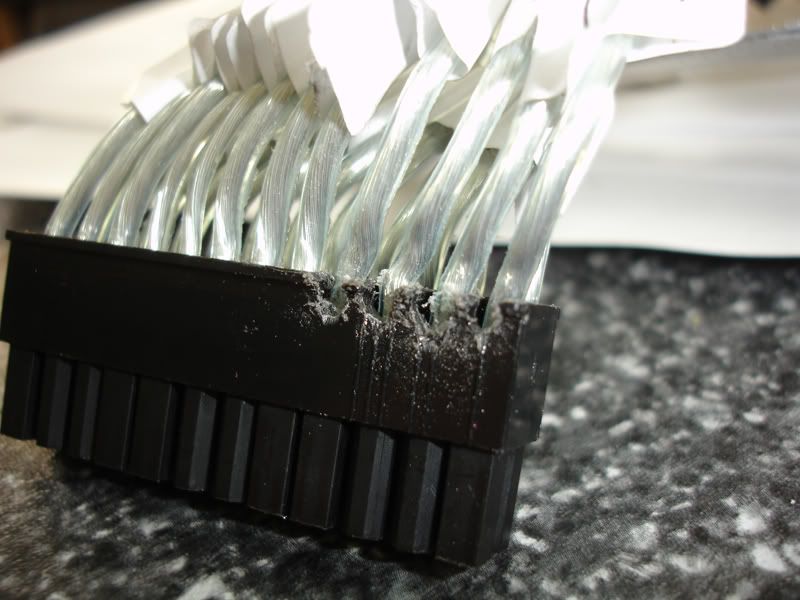
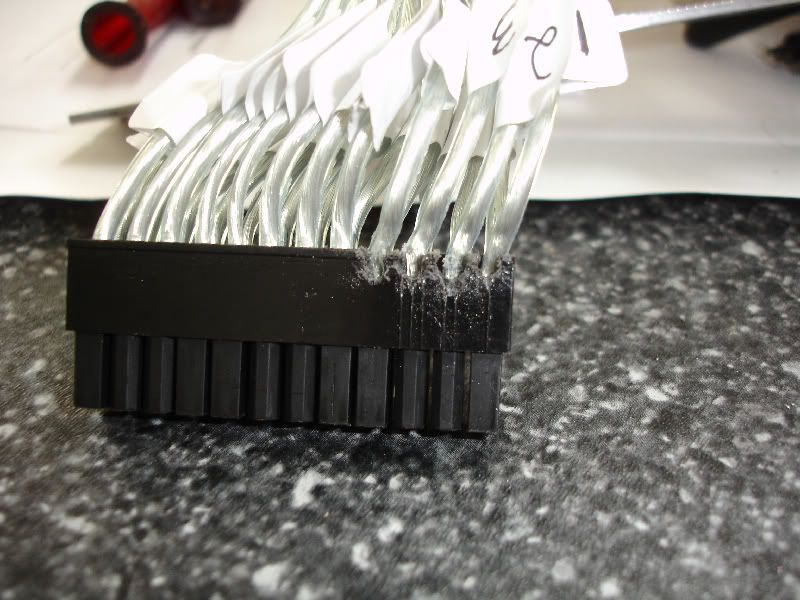
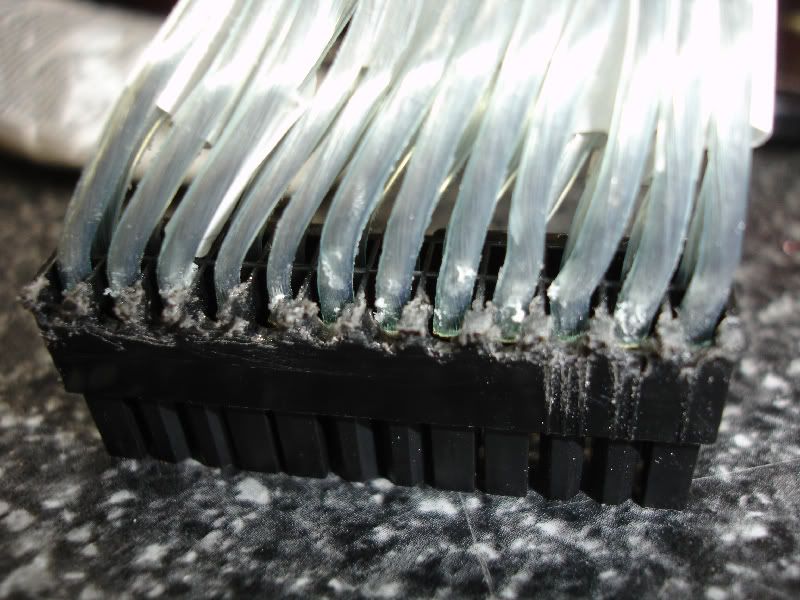
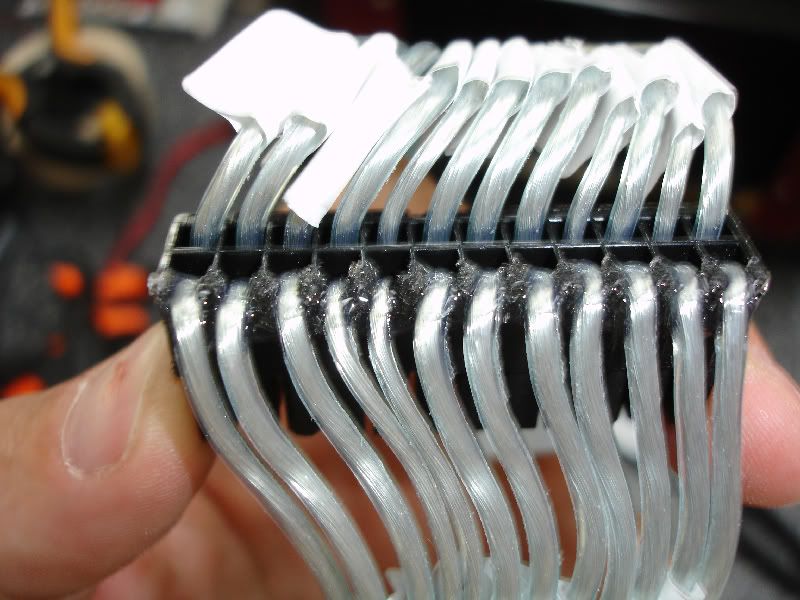
ATX header at the PSU end--
stock
ATX-01.jpg


on with the dremel for a lower profile
ATX-02.jpg


ATX-03.jpg


ATX-04.jpg


ATX-05.jpg


ATX-06.jpg


ATX-07.jpg


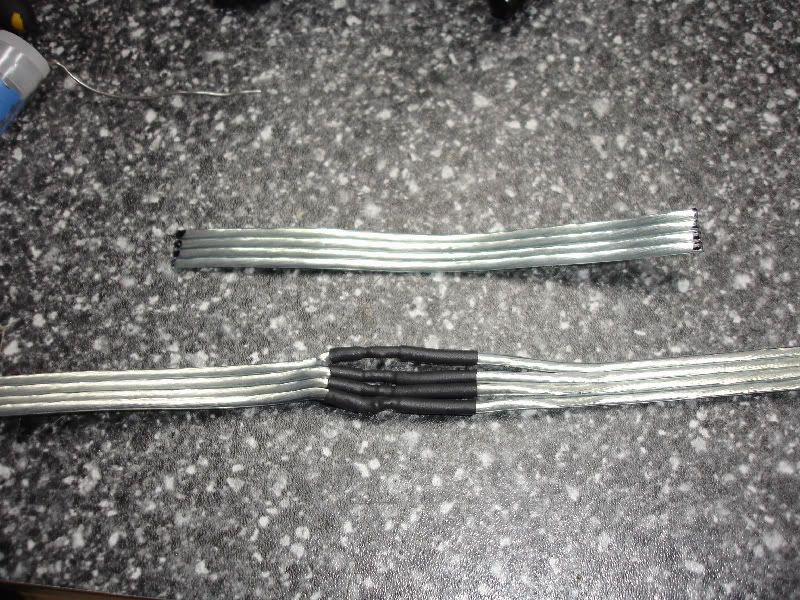
some wires I am trimming
wiring-01.jpg


with no colors, I had to use my handy Sharpie to tell me which is which
wiring-02.jpg


wiring-03.jpg


wiring-04.jpg


wiring-05.jpg


wiring-06.jpg


wiring-07.jpg


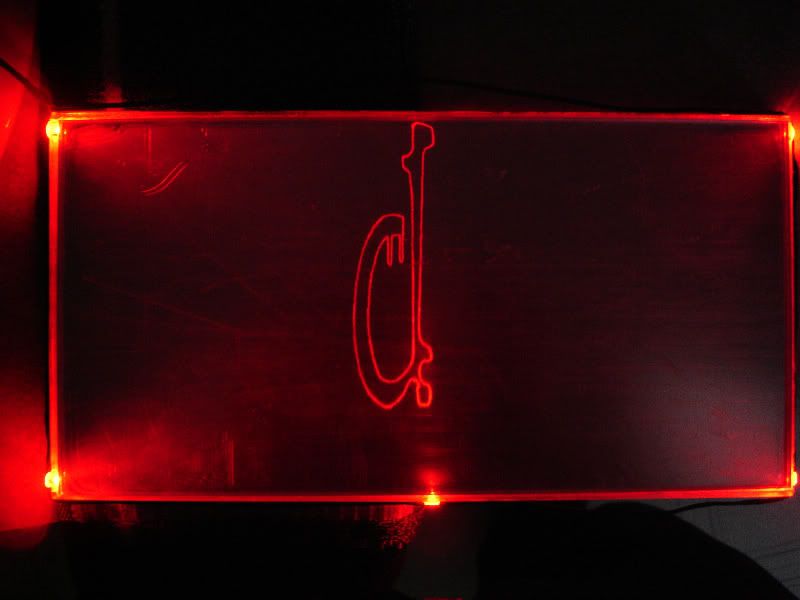
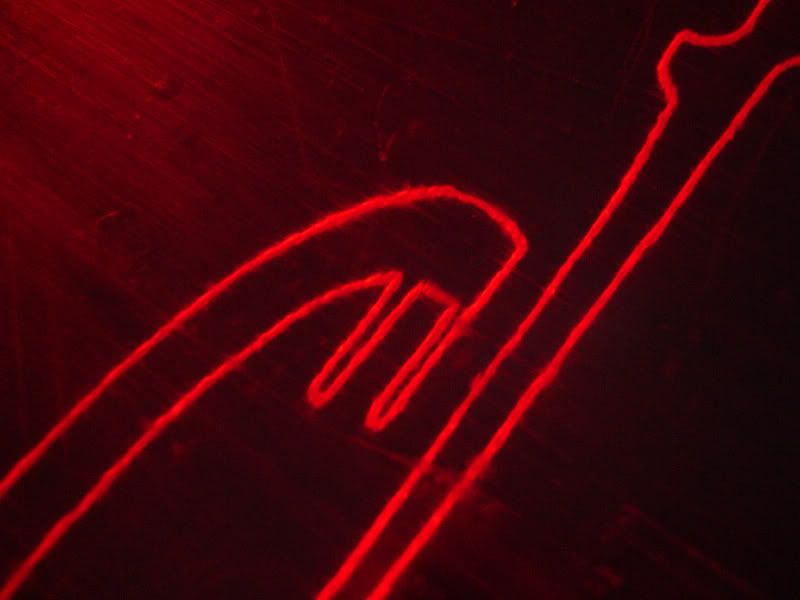
And my new idea for lighting the BloodMoon letters
newlettering-01.jpg


newlettering-02.jpg


don't think I have ever heard or, or seen etching quite like it...I will give clues on how I did it later on...
 
Oh stop teasing lol.

Something to think about, maybe another identical blue led bracket on the other side of the dome? Or would that even fit? Just something to even out the bloooo ;)
 
well, first I want to finish it, should be later today, then I have to take my LEDs out of the old mirror box and mount them to the new 1/4" thick etched plate, then I have to power it up to take pics, blah blah blah. :)

first clue:
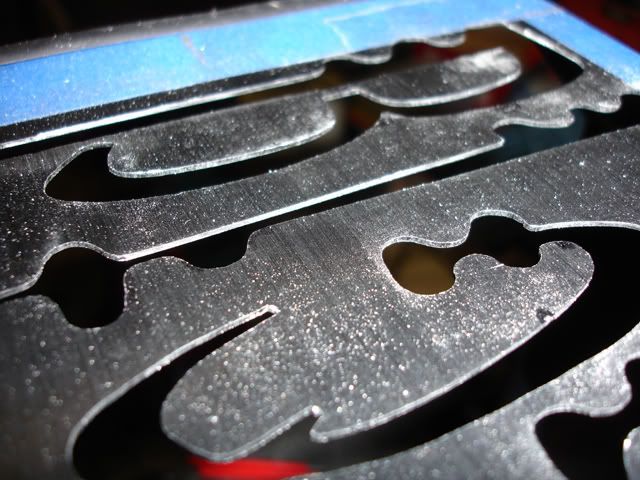
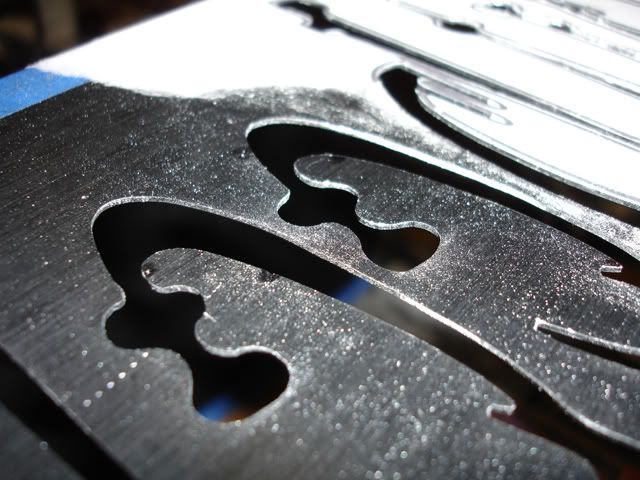
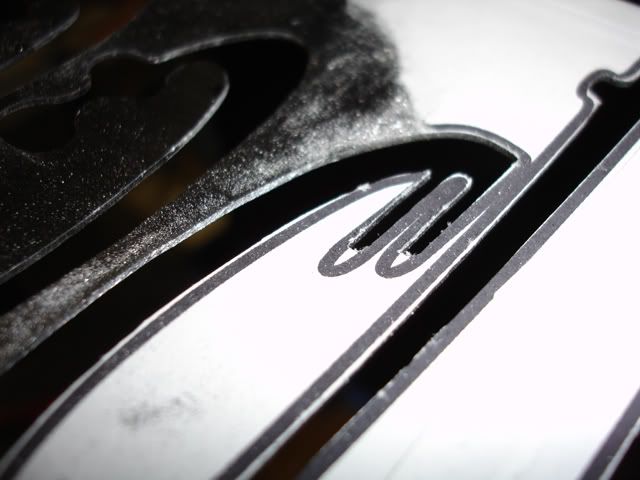
I realized I could make an exact trace of my cut out lettering onto another surface, so the etch with follow my previous work quite closely.
 
So basically its using a metal stencil? But it can't be that simple. Maybe with, a soldering iron? lol
 
Back
Top