phoderpants
Gawd
- Joined
- May 11, 2005
- Messages
- 804
andrew911tt said:you have a wife that will let you send that much I think that is very lucky
my wife won't let me send $5 with oout filling out paper work first
That's really too bad...
Follow along with the video below to see how to install our site as a web app on your home screen.
Note: This feature may not be available in some browsers.
andrew911tt said:you have a wife that will let you send that much I think that is very lucky
my wife won't let me send $5 with oout filling out paper work first
Tman said:so...
when is the next update? =]

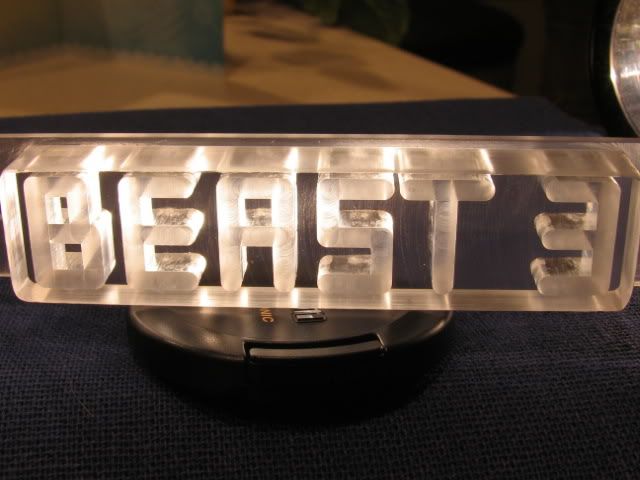
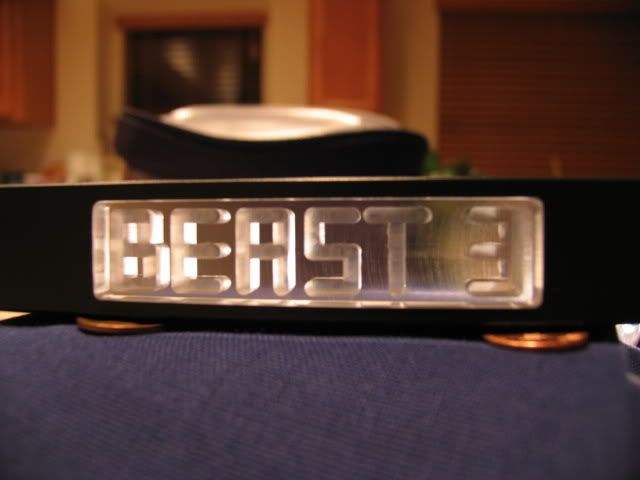

freddiepm61 said:Not UV, in fact (just my opinion) not a huge UV fan...
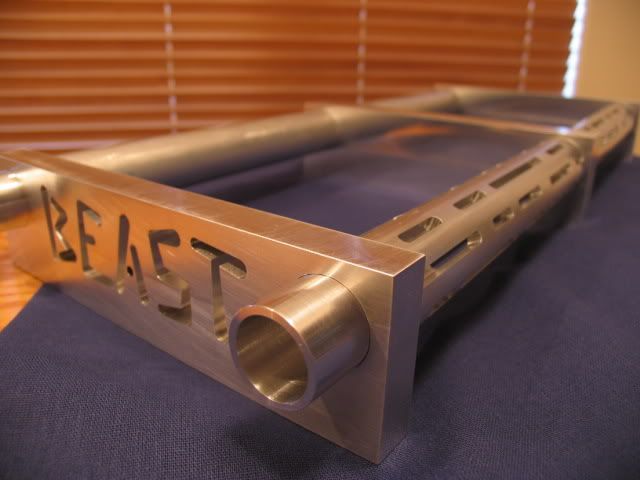
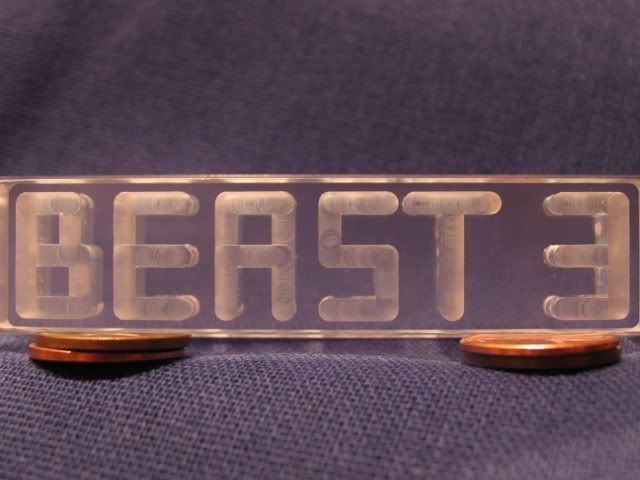
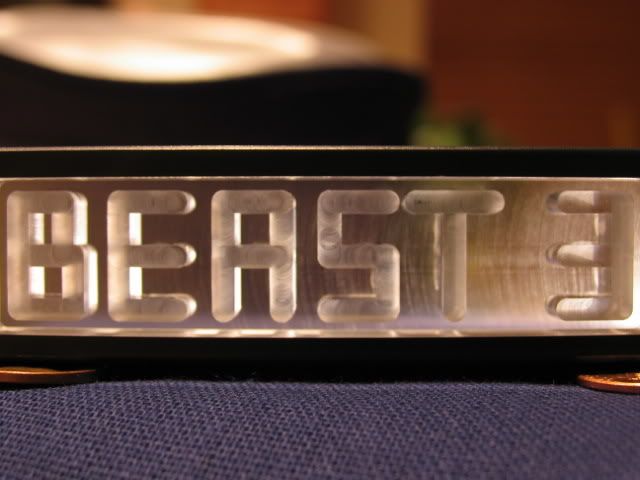
As it is BEAST, so evilish etc, and the coolers are red, I would go with a red light behind, try and be as dark as possible.
Lokking great as always, shame about the number of hernias you will have when trying to lift it!!
f
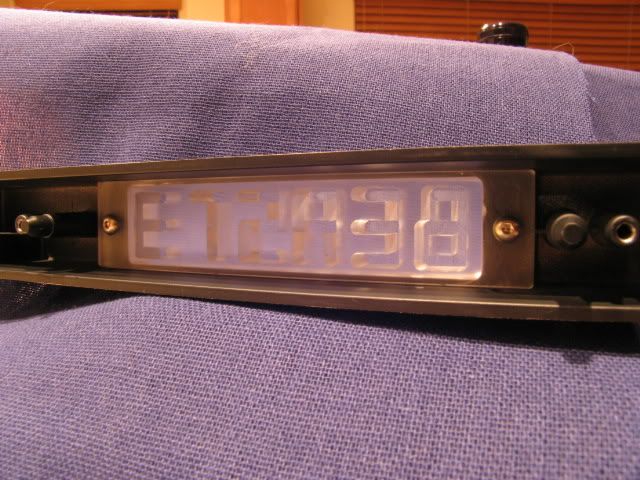
Jason711 said:that should look pretty sweet in the dark.. what color?
domoMKIV said:so, one can pretty much masturbate to the craftsmanship displayed in this thread.
excellent work, cant wait to see more updates.
cyks said:You should build to sell, I would buy one of these monsters: high dollar.
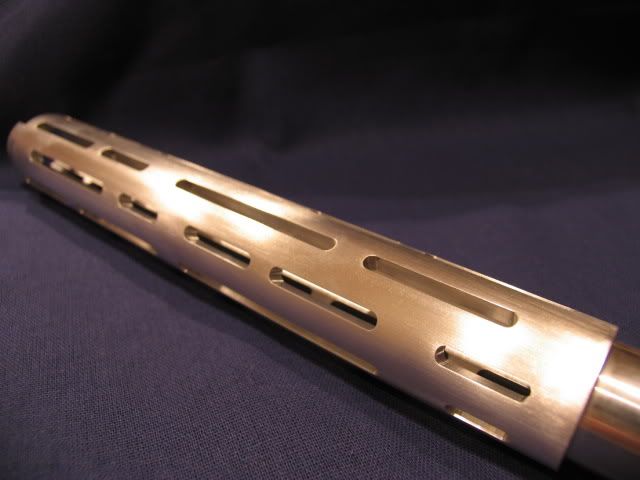
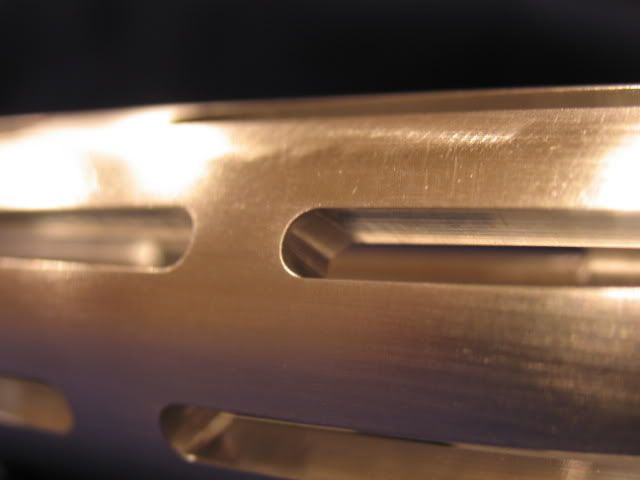
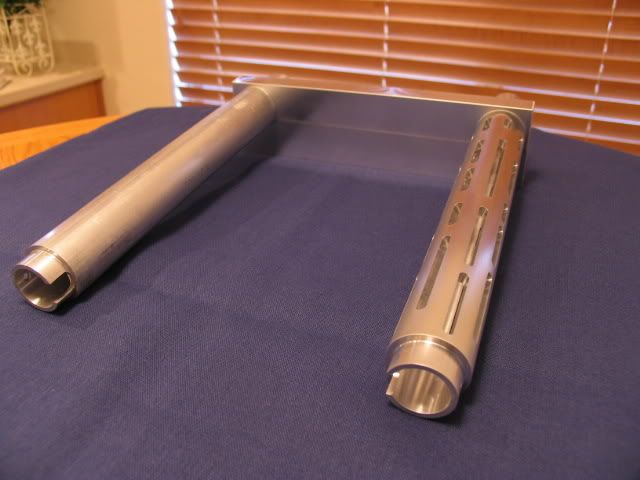
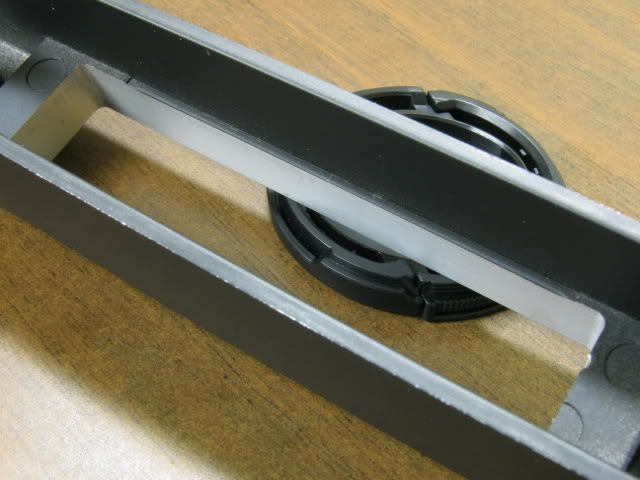
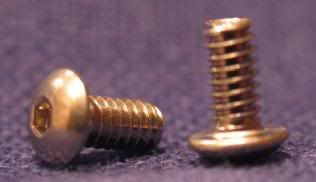
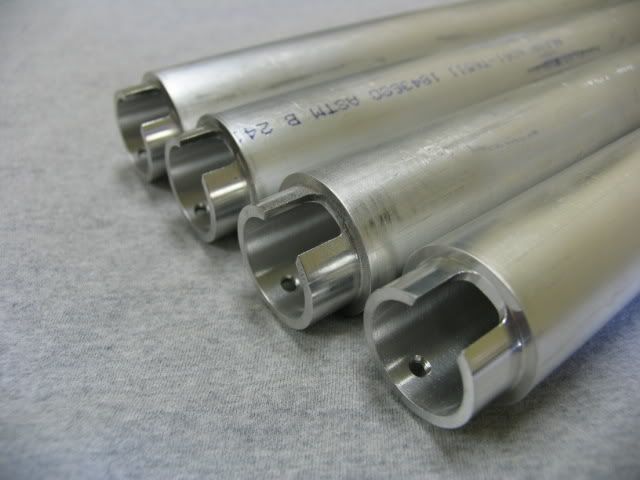
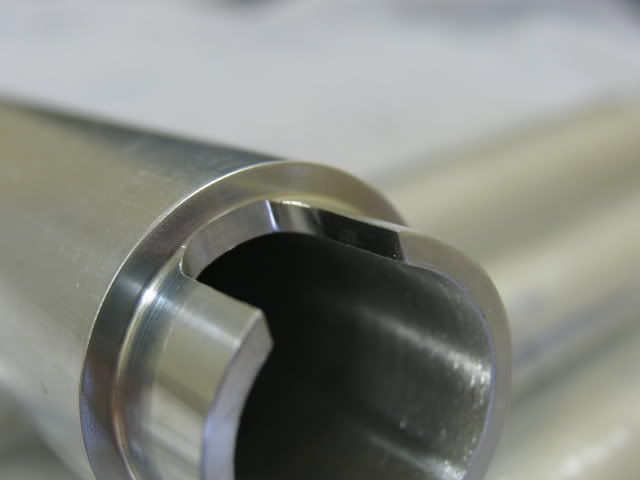
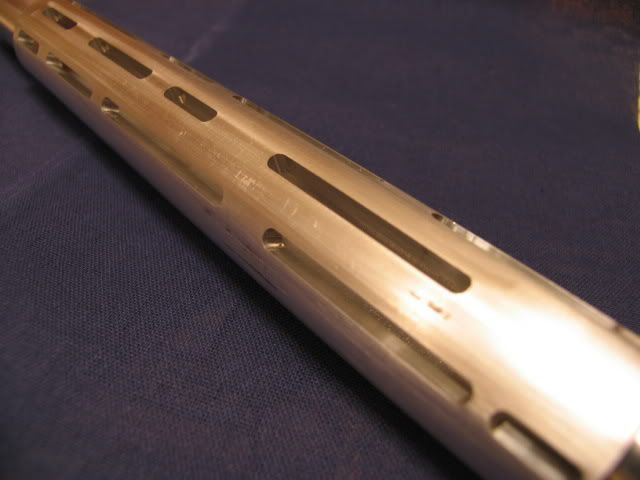
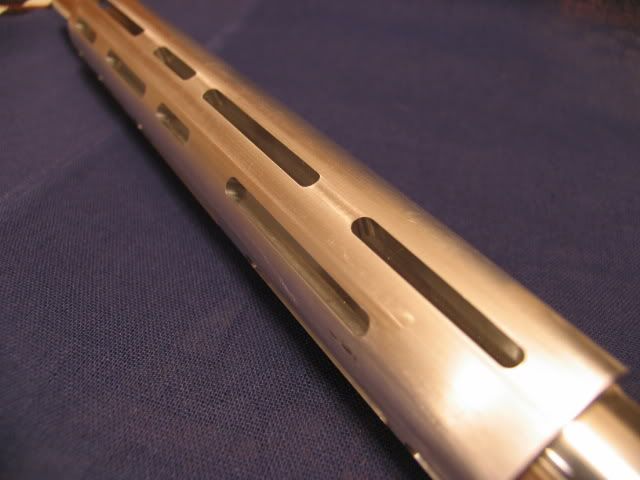
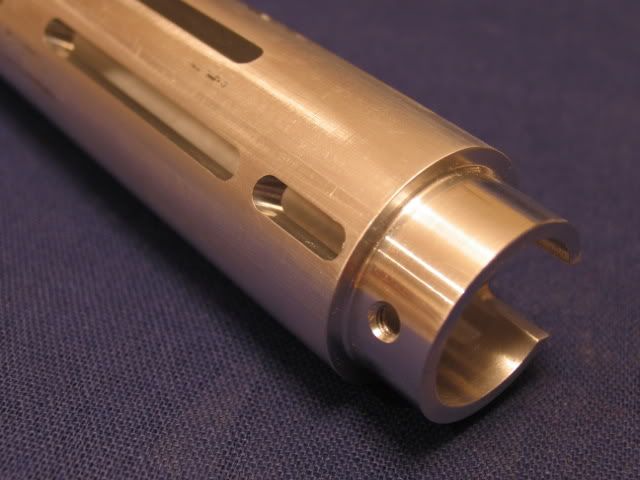
Dr.Khron said:Did you use a rotary table to do the tube slots, or do you have a mult-axis lathe?
-Dr.K
CrimandEvil said:I wasn't going to response seeing as how dumb the the first response was but gladly someone else did. God, I can't believe some people can't take a joke muchless someone that doesn't even know what a "race' is. What do they teach in those Canadian schools anyways? Your parents should demand a refund on your education.
(Mods- if anything delete that top part if you feel it was out of bounds.)
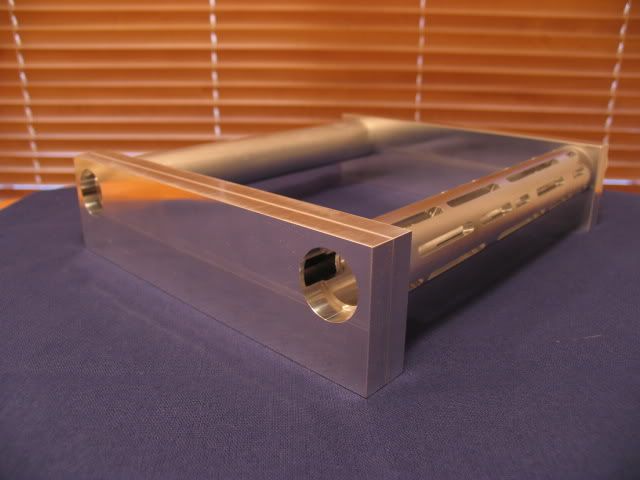
ANYWAYS, Stevennoland those cases are tight and that reservior is awesome. Would it be possible to buy one like it?