l3p
Limp Gawd
- Joined
- Oct 30, 2010
- Messages
- 386
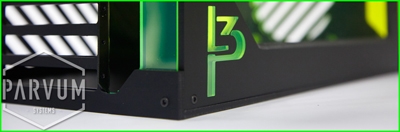
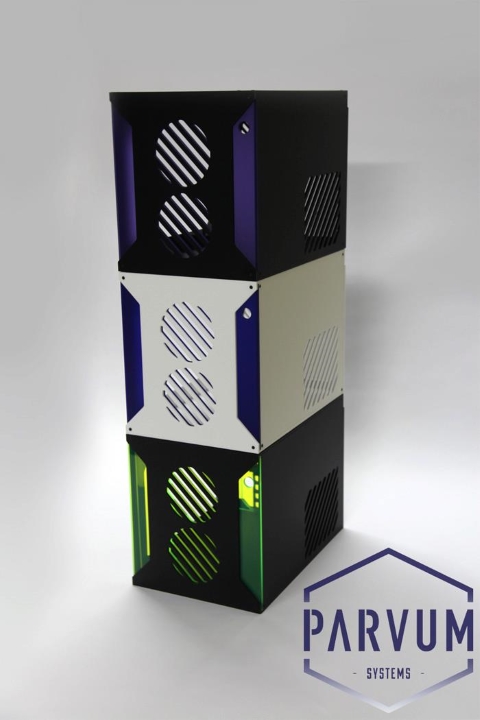
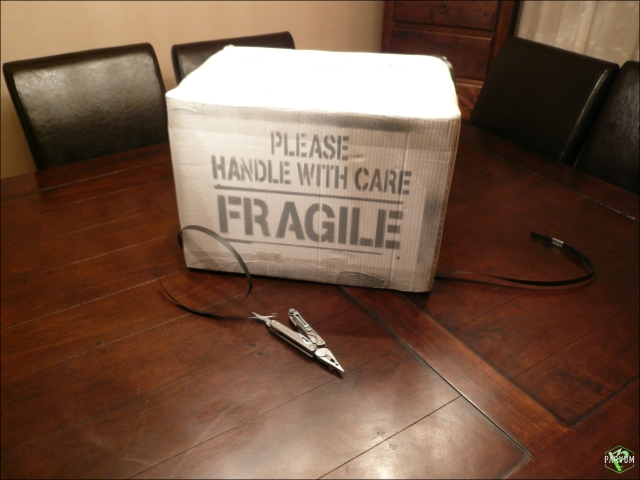
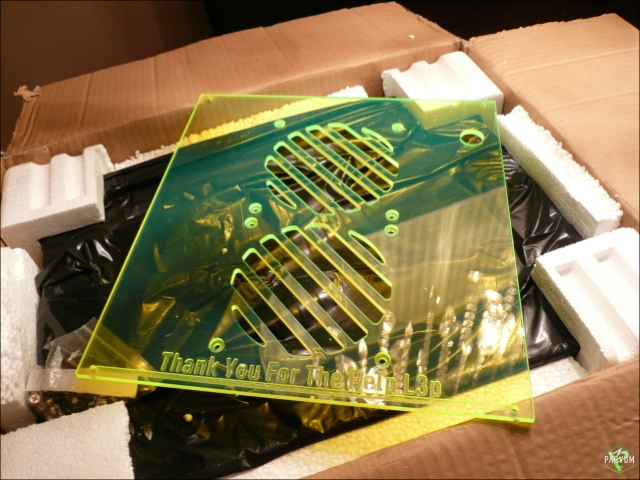
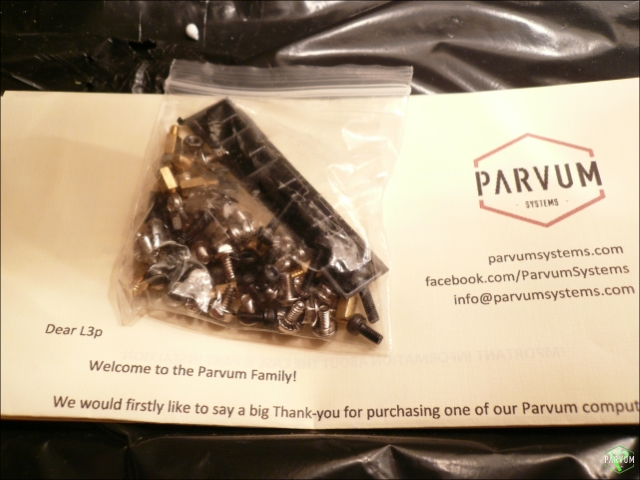
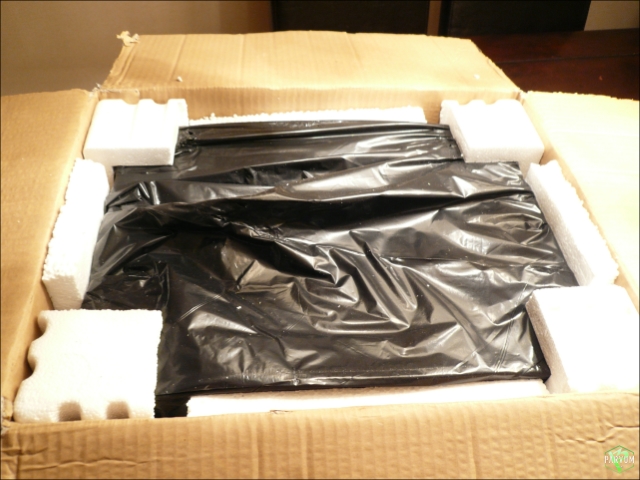
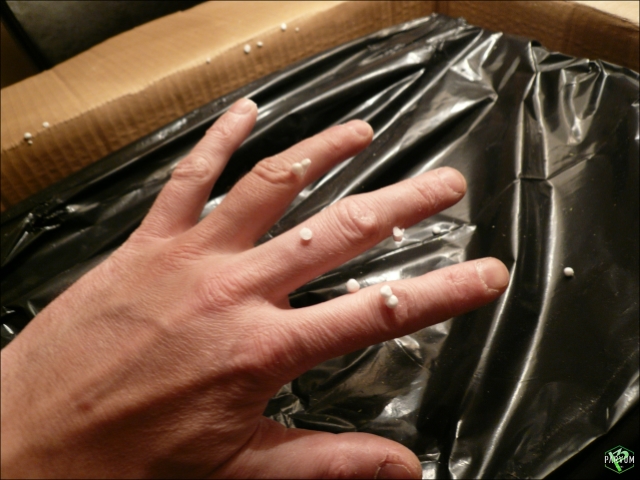
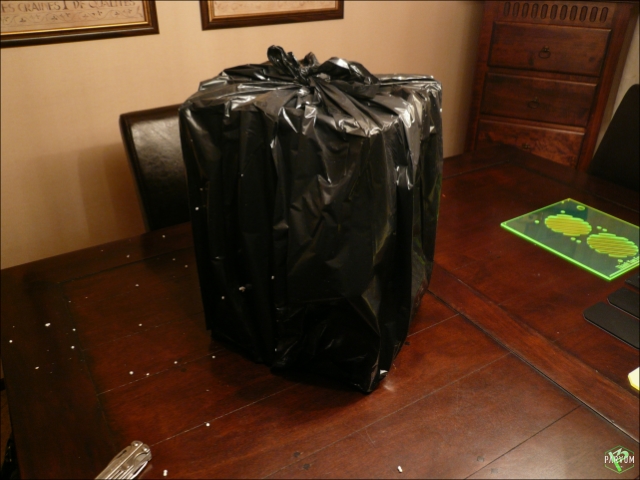
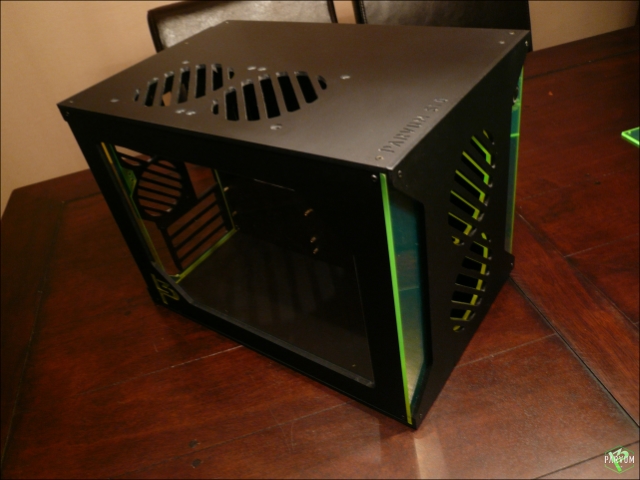
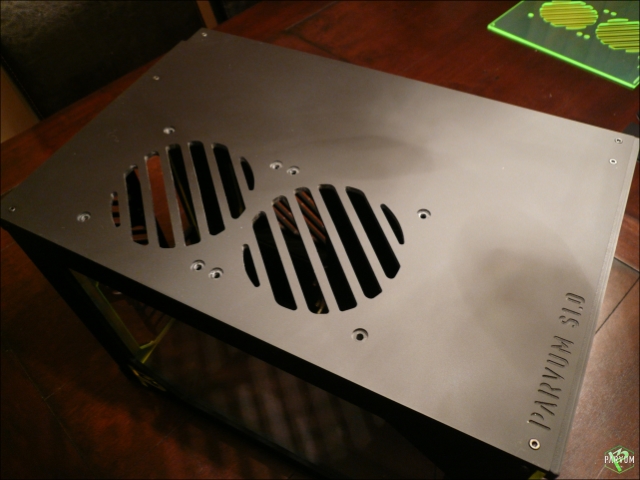
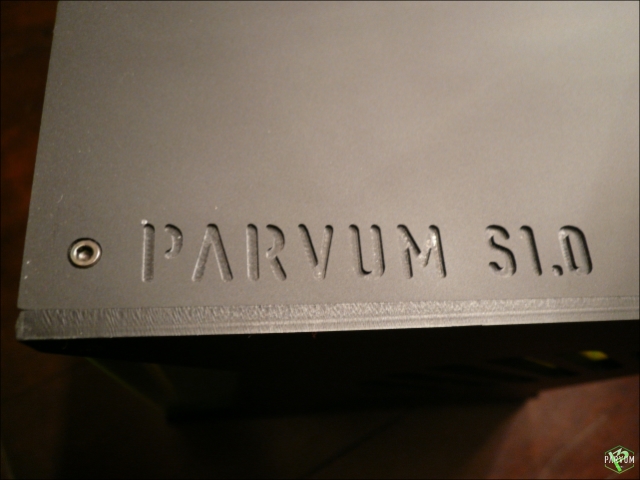
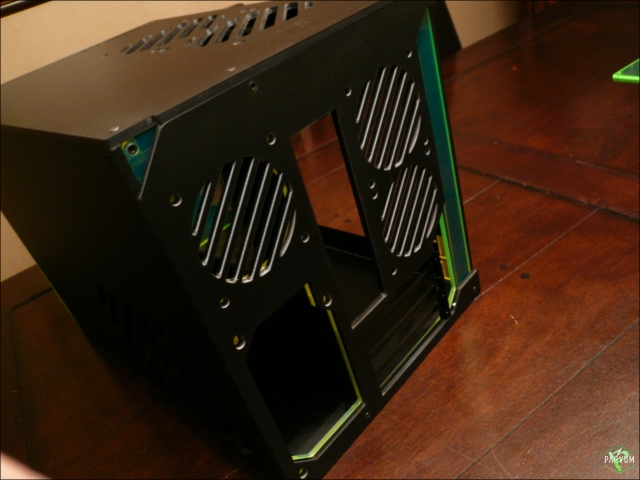
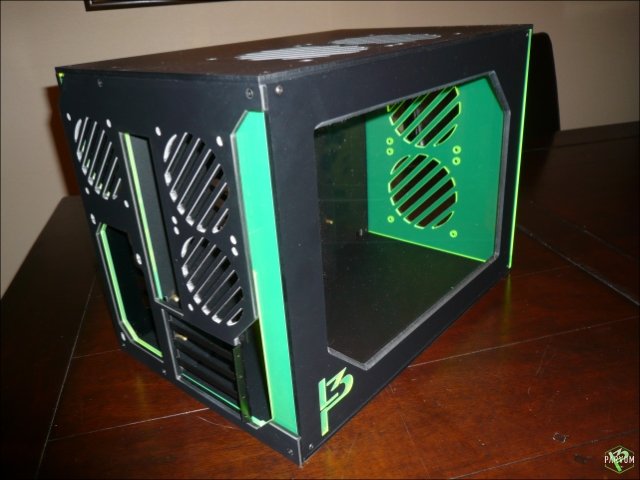
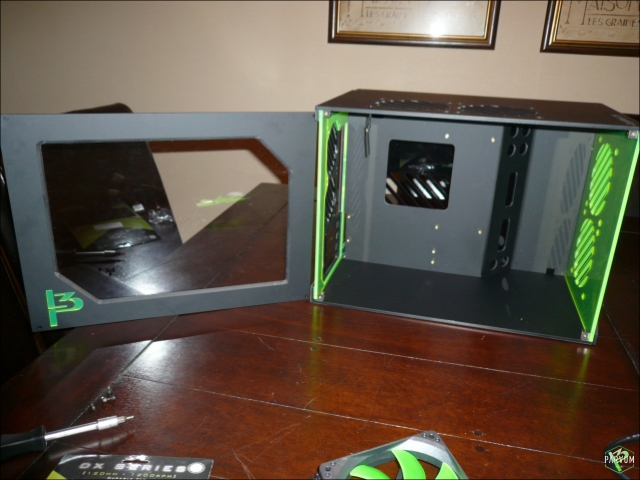
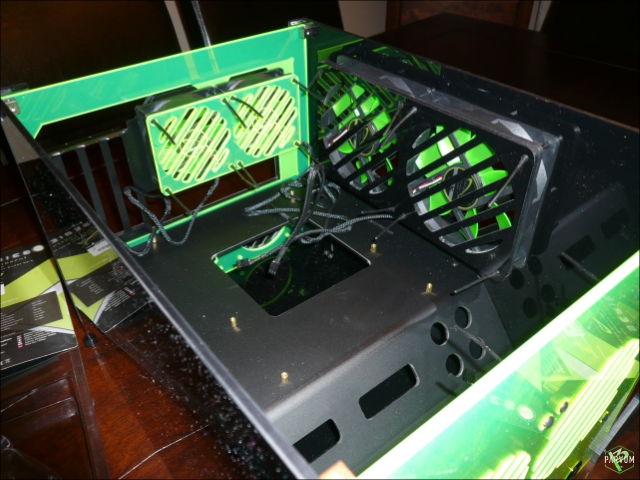
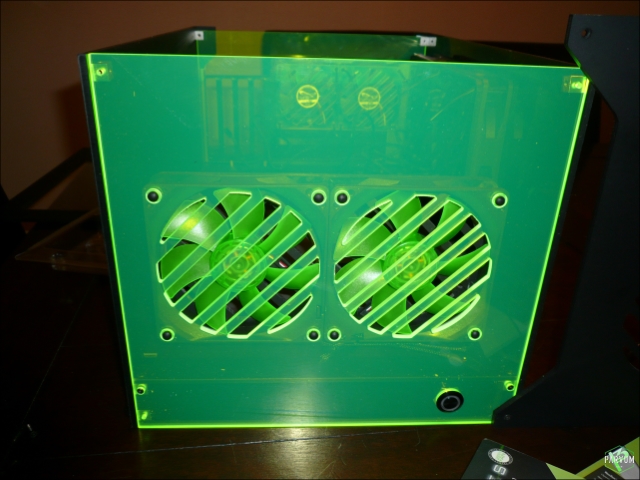
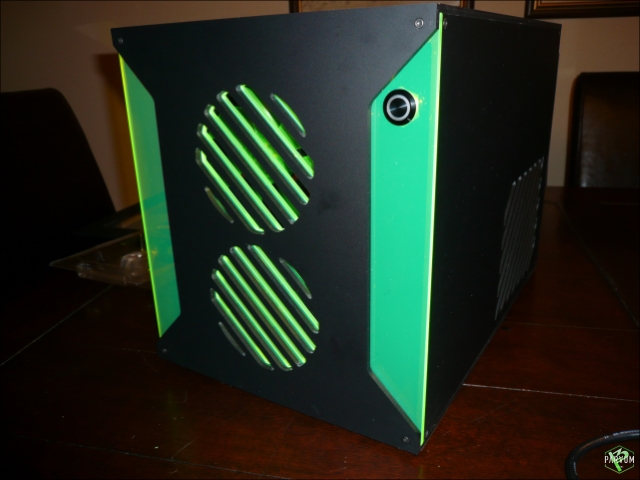
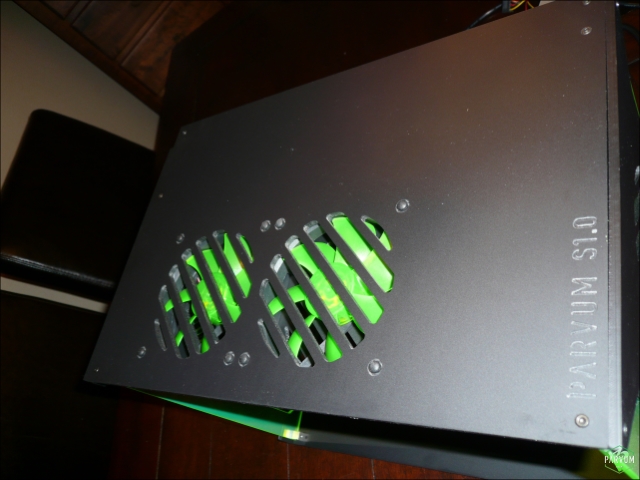
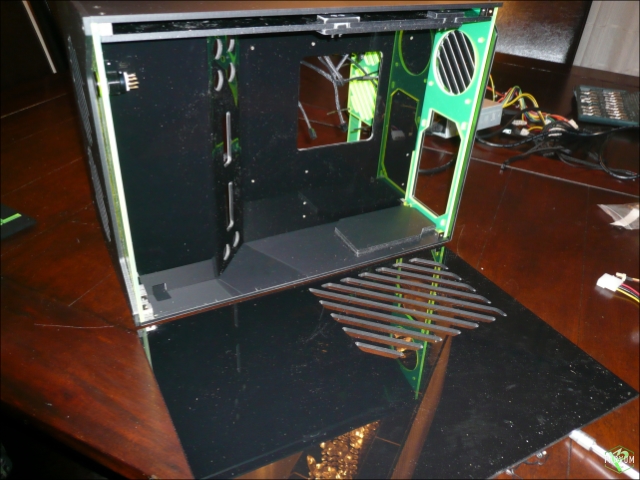
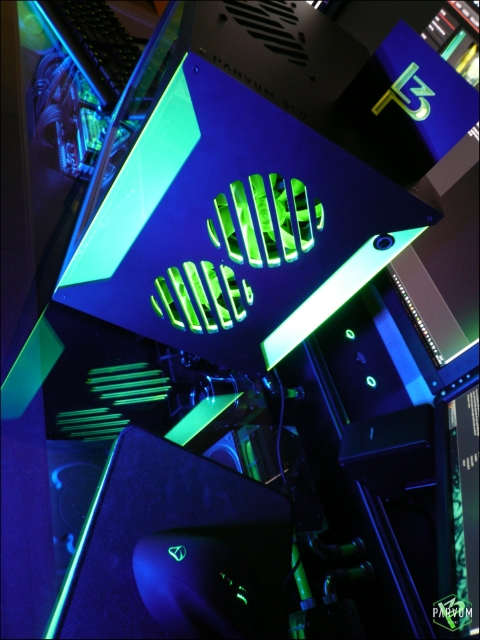
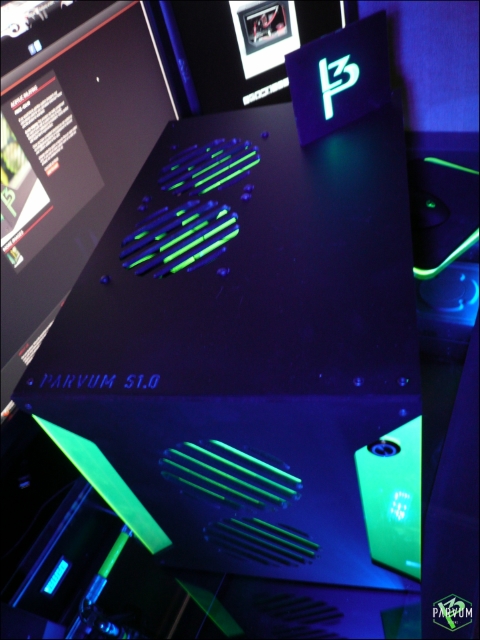
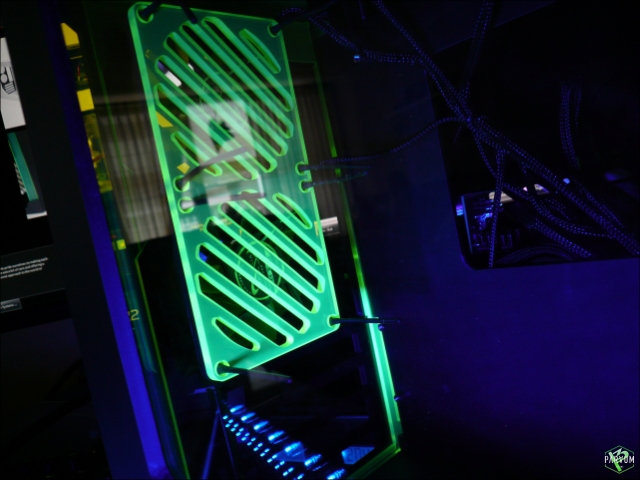
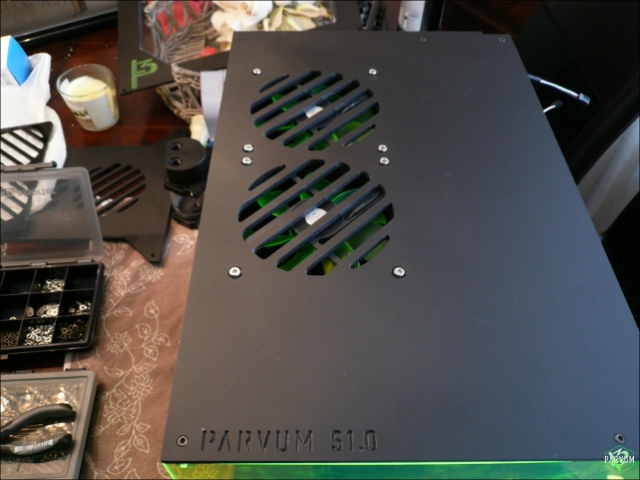
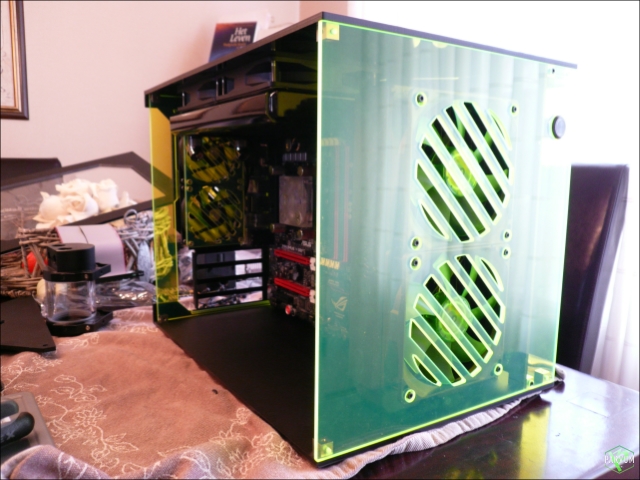
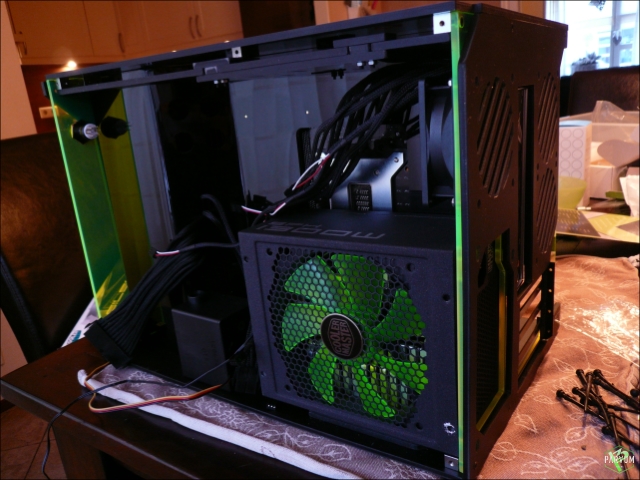
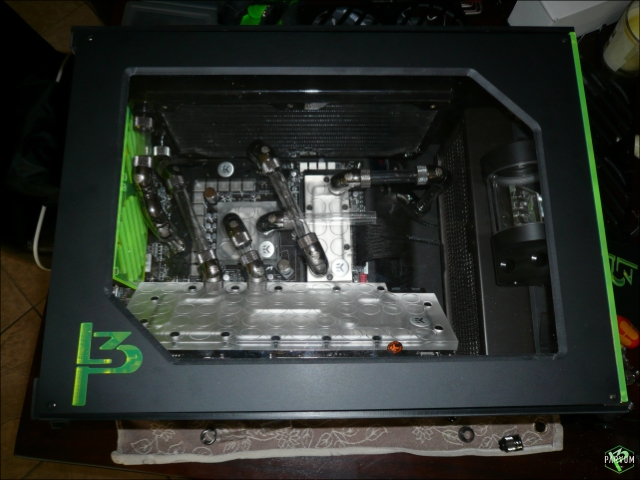
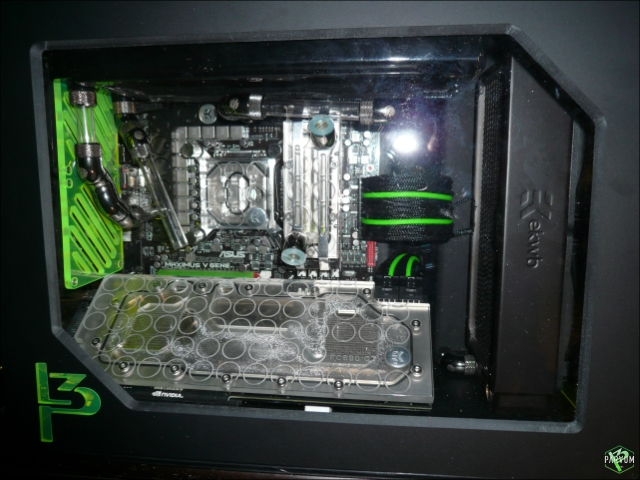
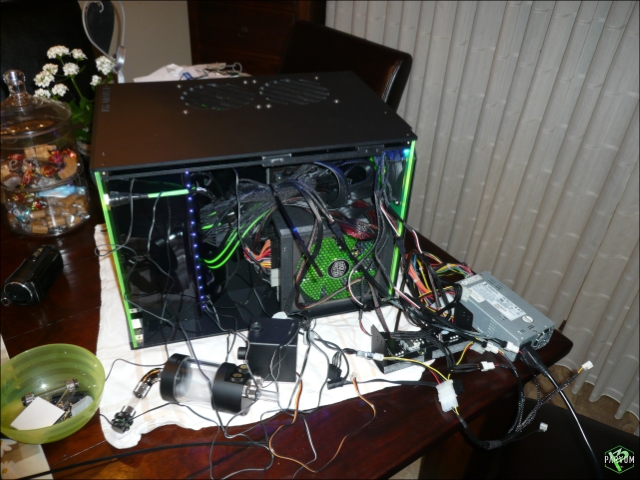
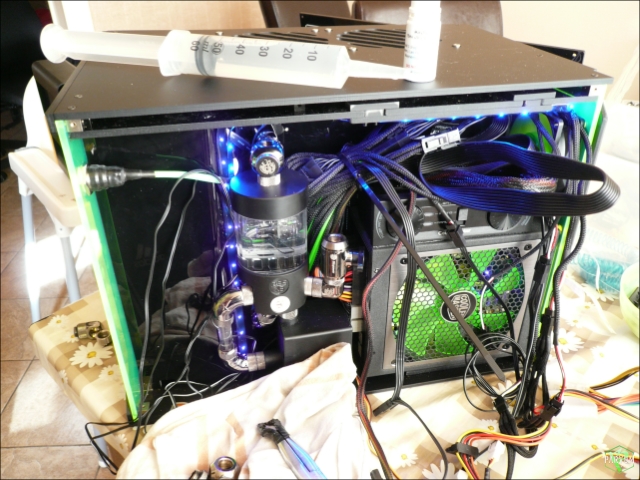
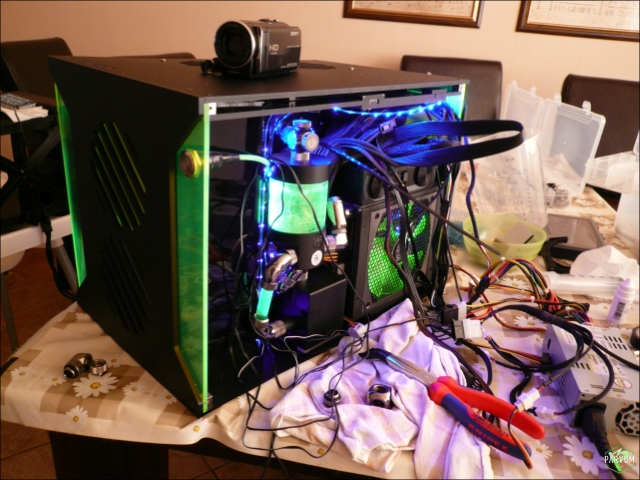
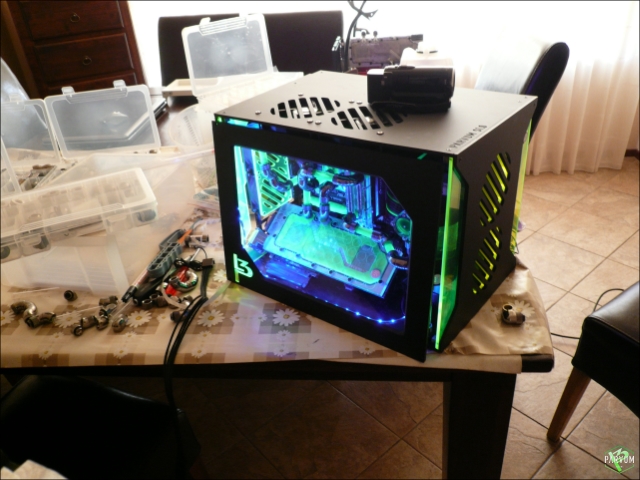
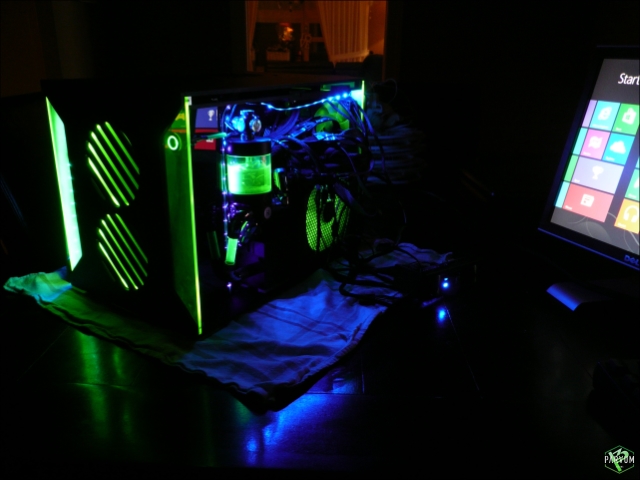
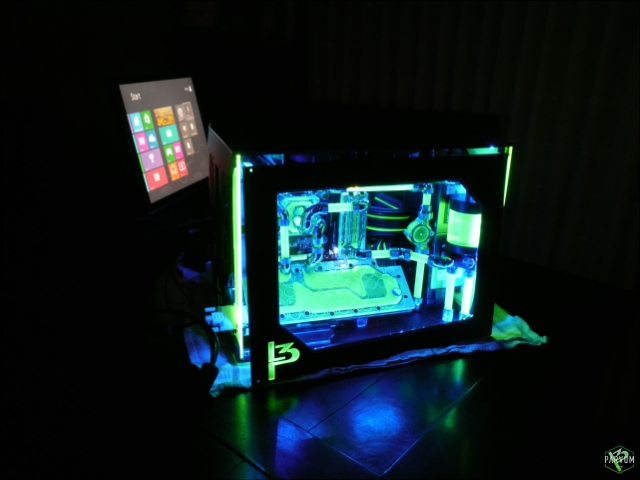
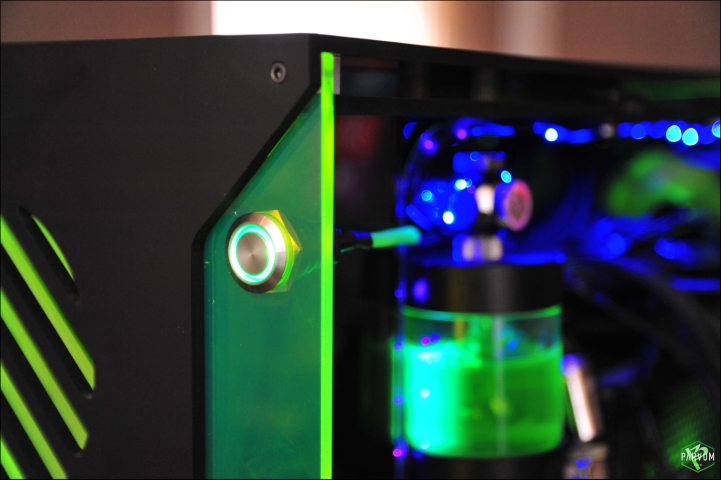
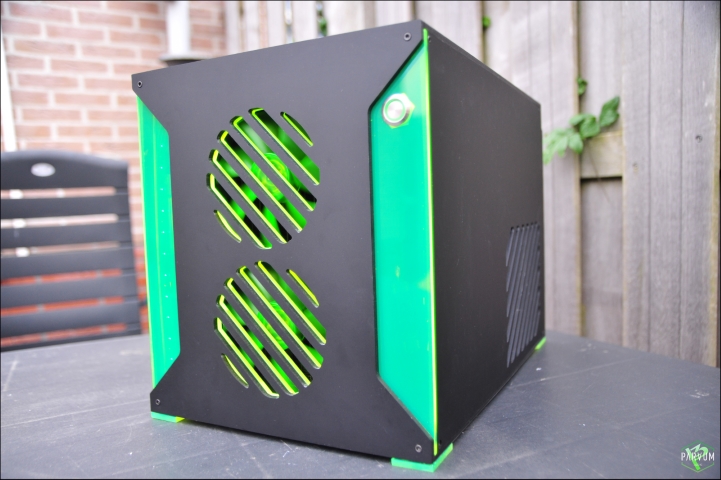
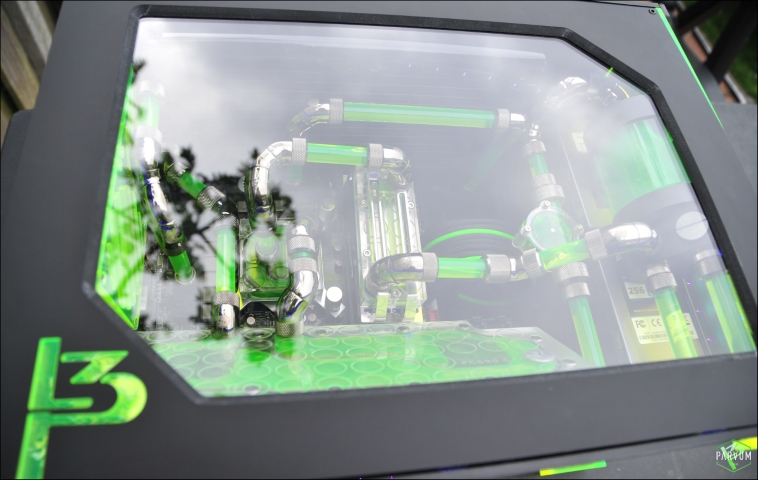
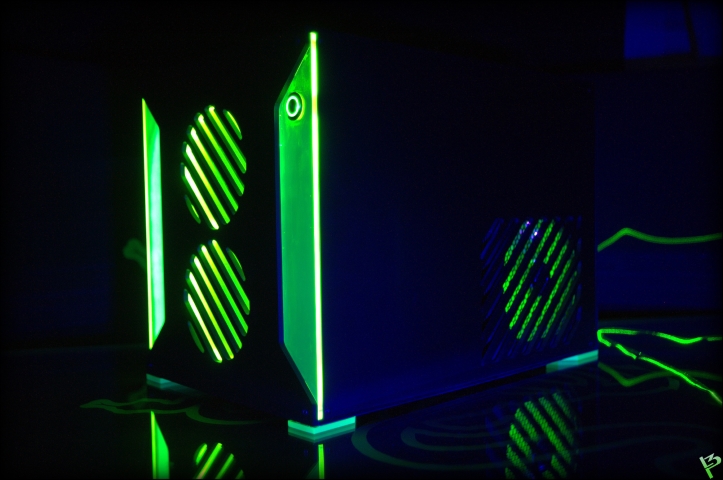
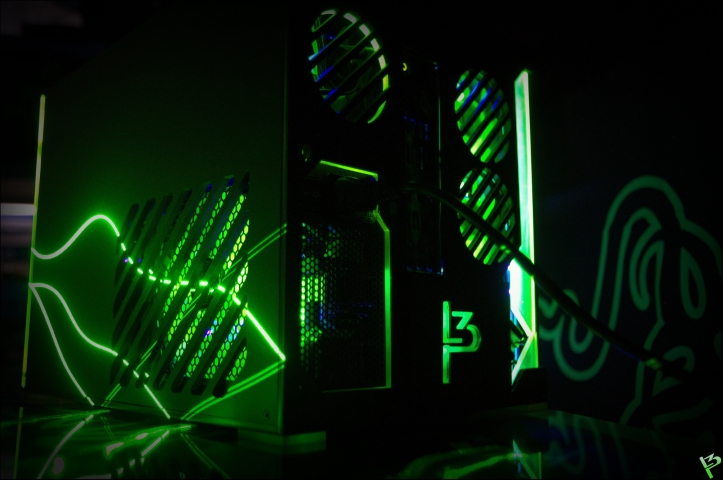
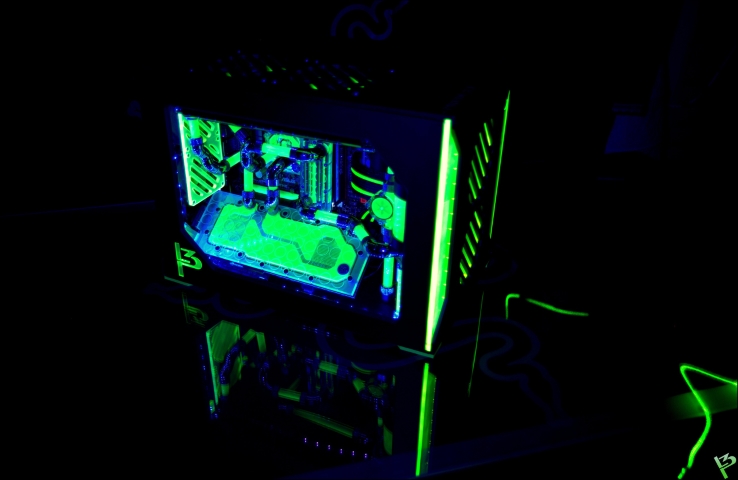
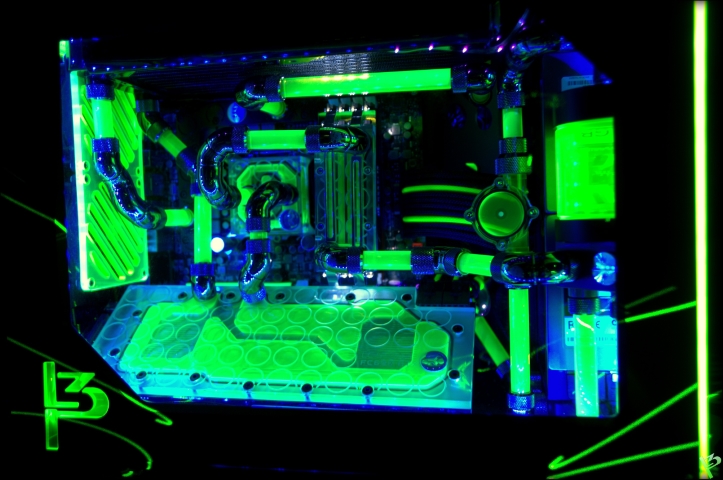
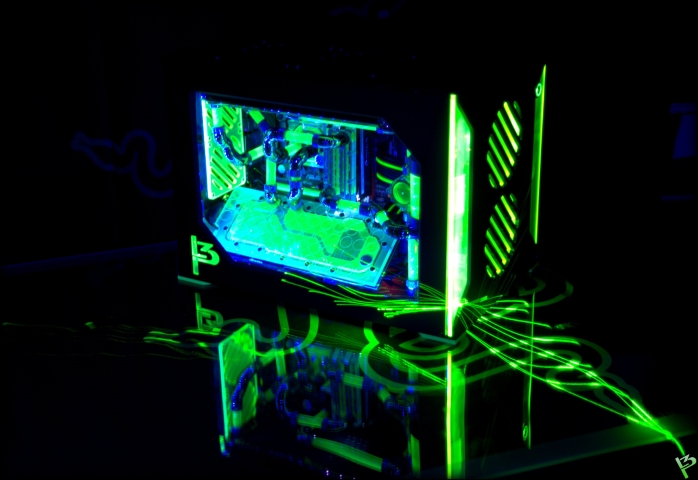
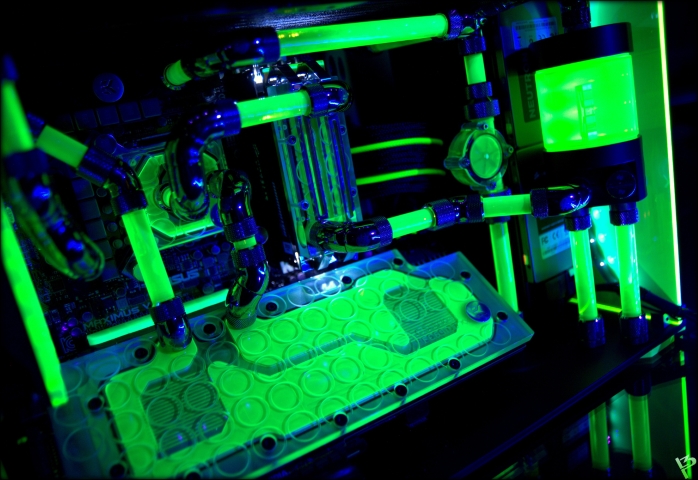
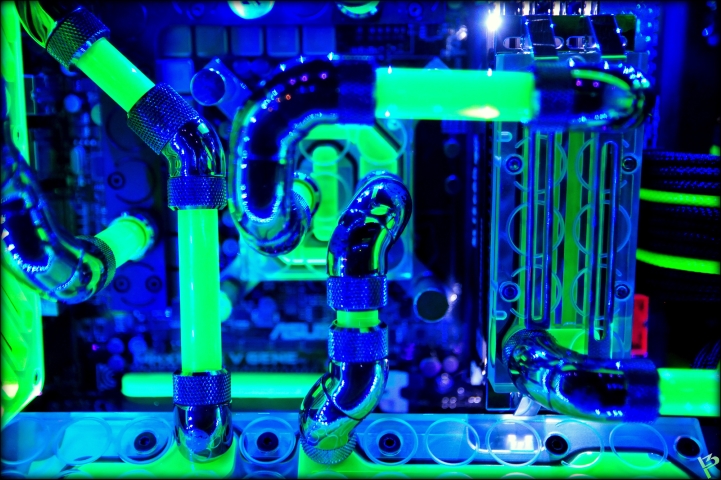
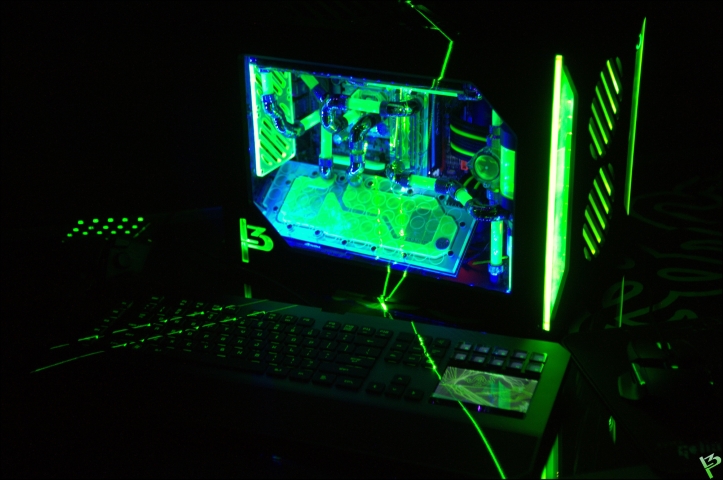
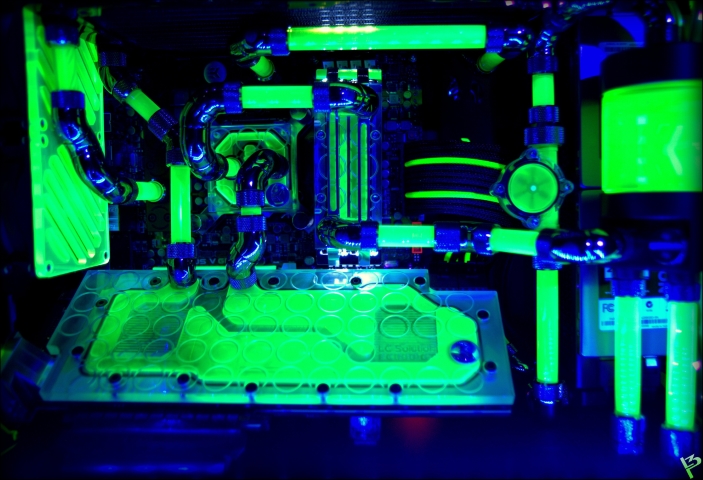
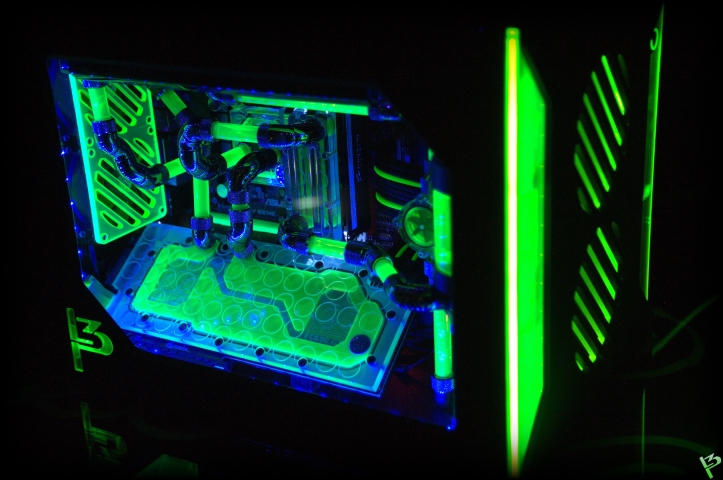
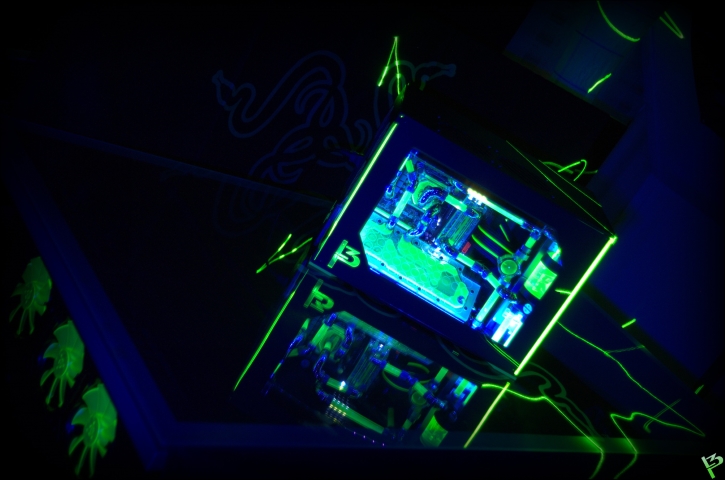
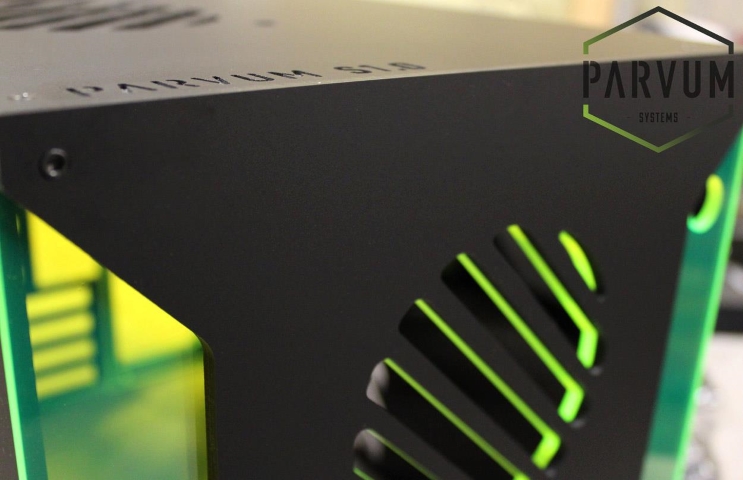
In December 2012 Justin from Parvum systems asked me if I wanted to do a small build in their new acrylic m-ATX case.
Since I was kinda busy with 2 other projects I helped him with 2 other casemodders (Kier & K.enny) who wanted to do a new build.
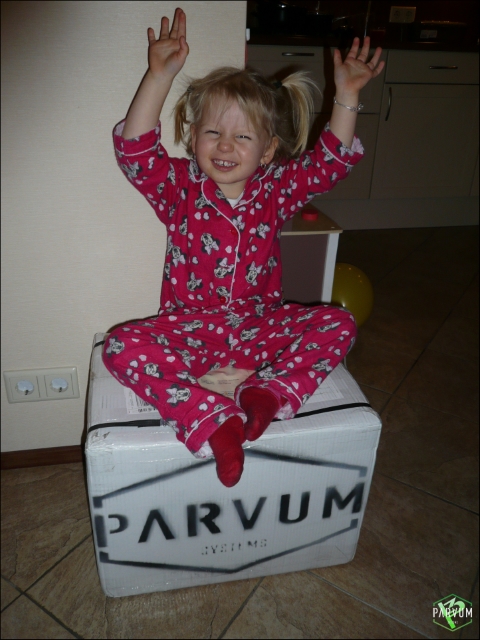
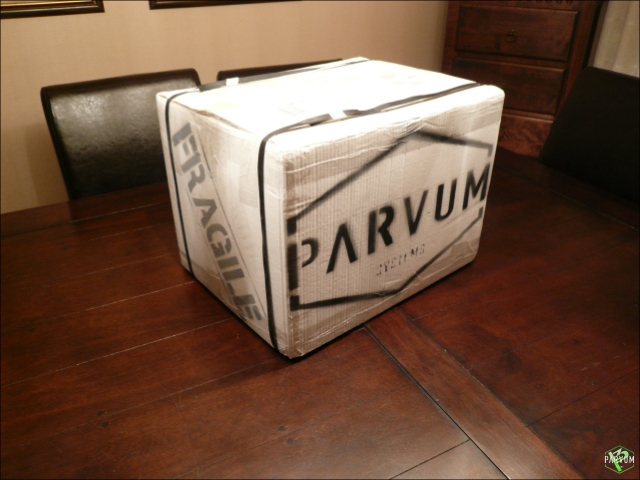
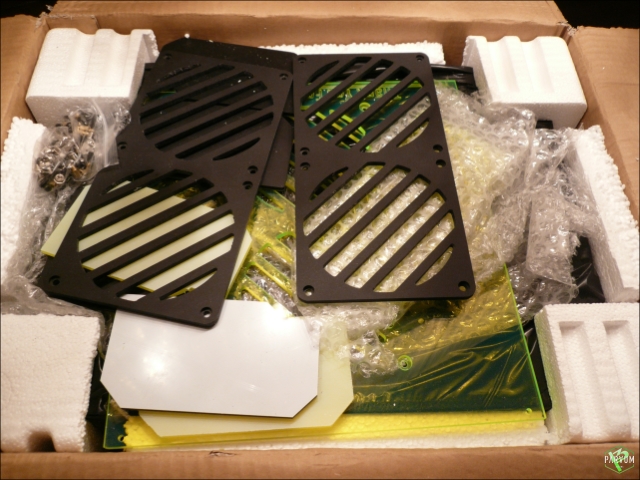
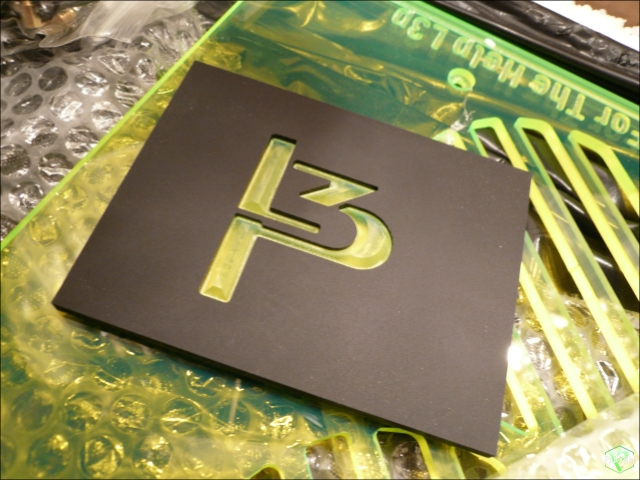
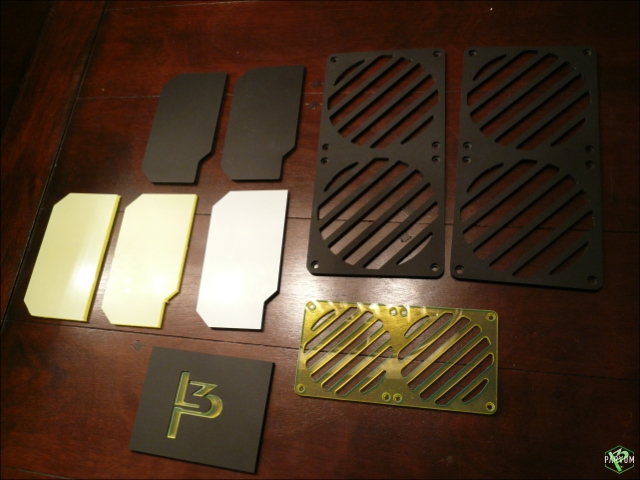
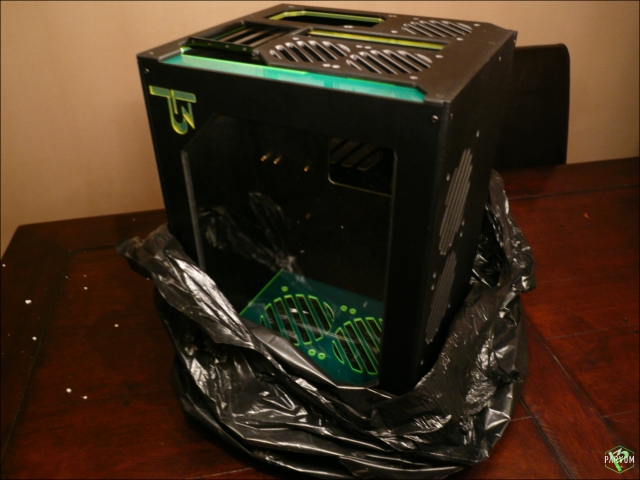
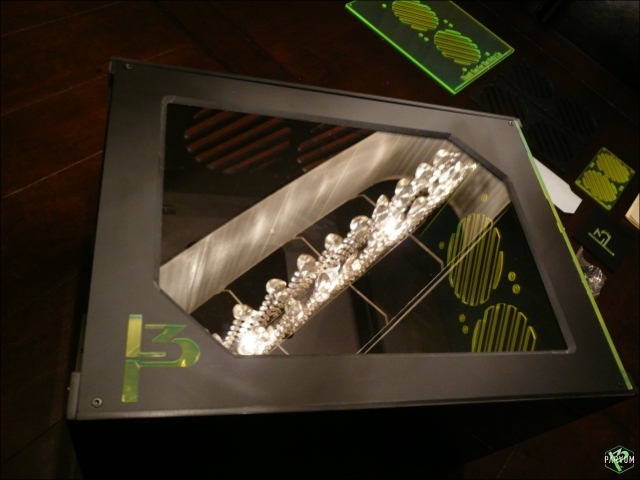
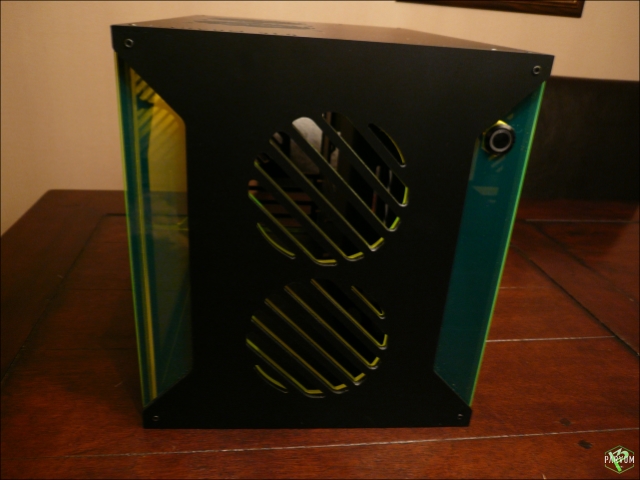
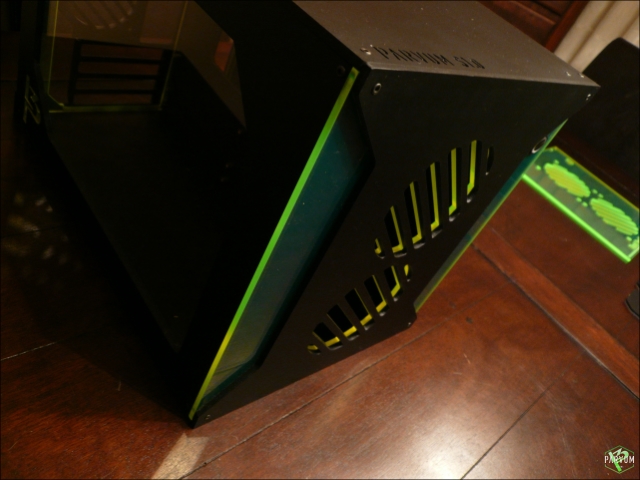
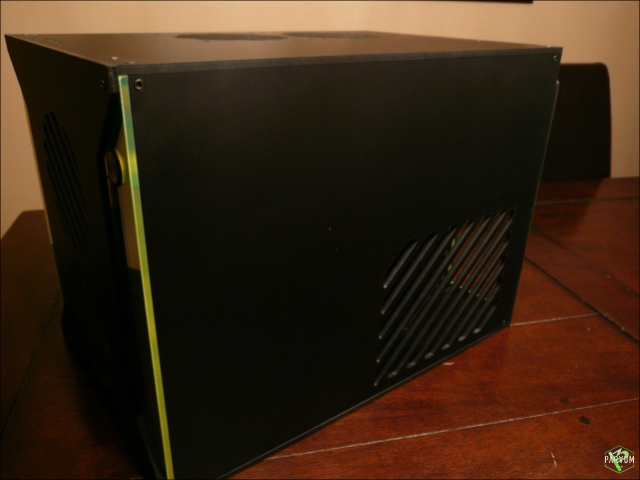
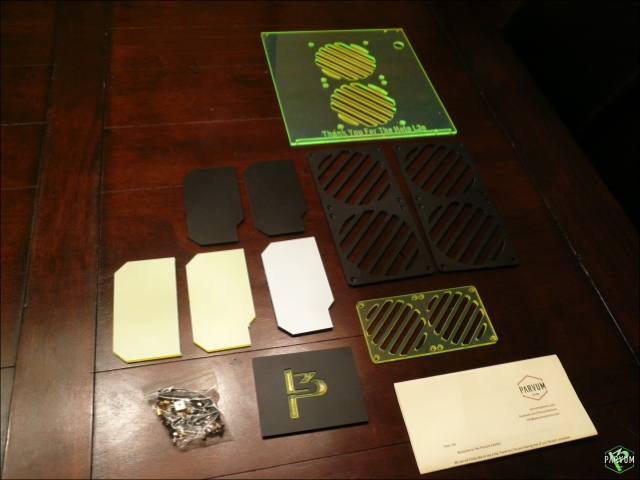
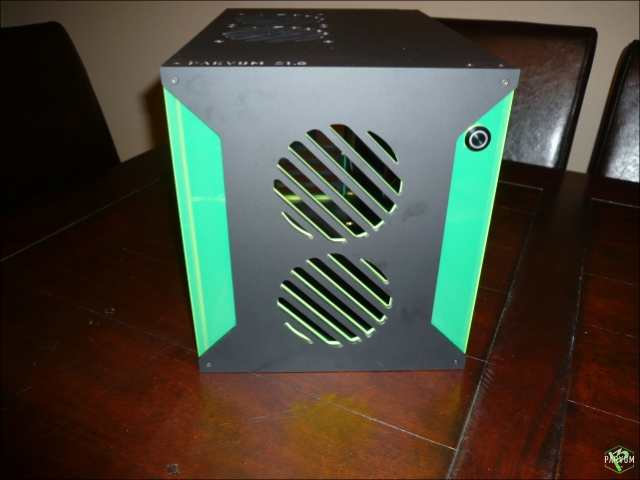
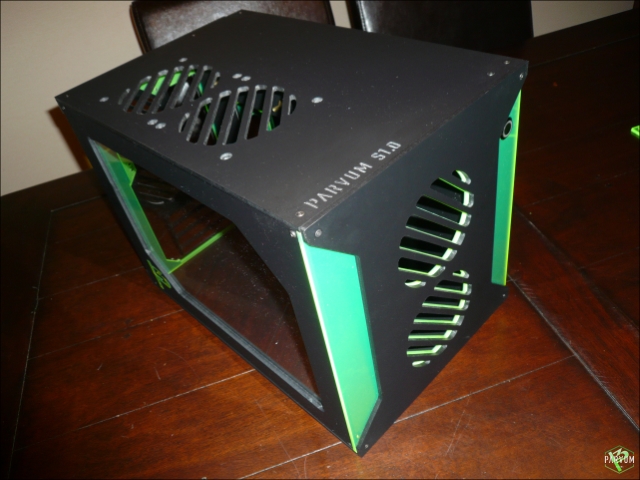
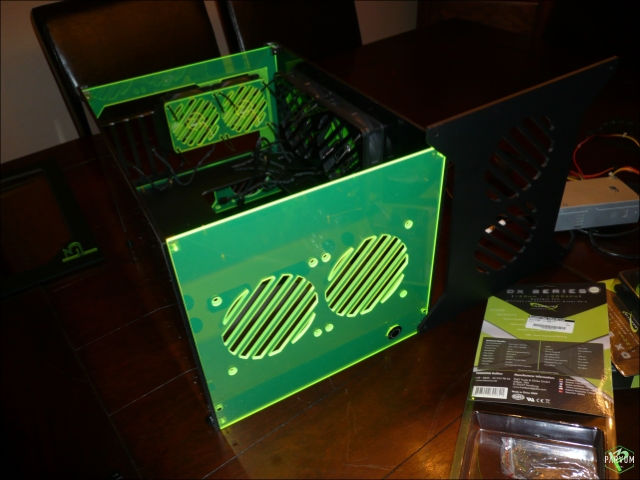
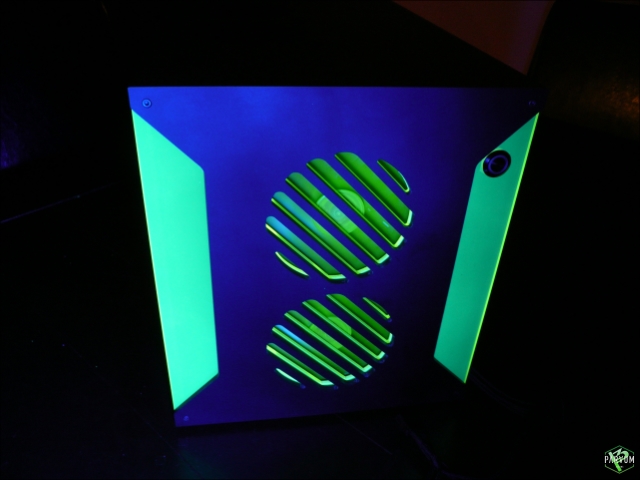
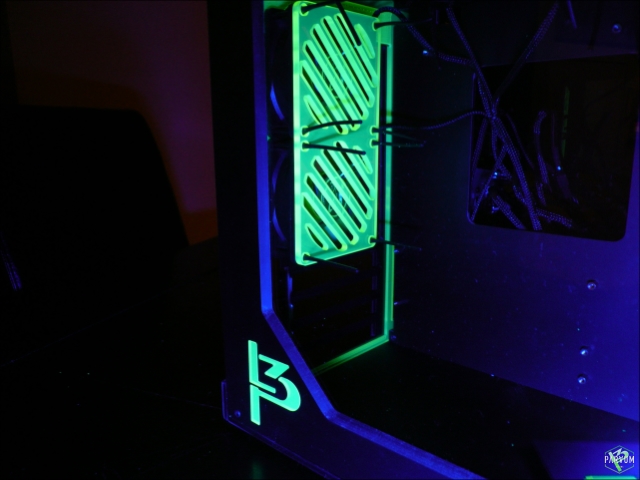
Justin still sent me a case for the help also on some adjustments to the design.... and in my favourite color scheme
")
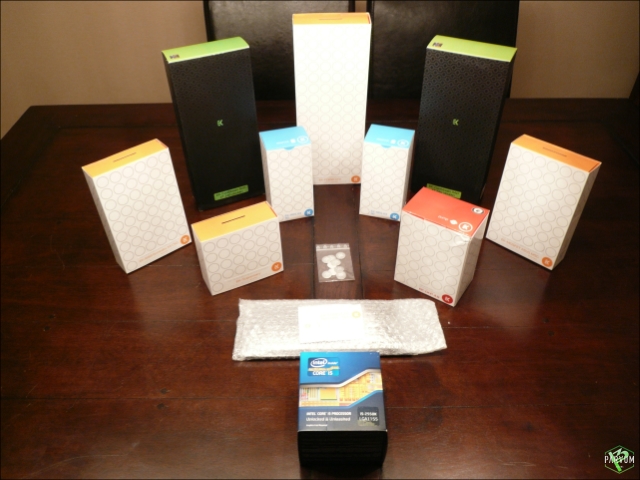
At the same time I won an awesome prize in the CooledPC contest.
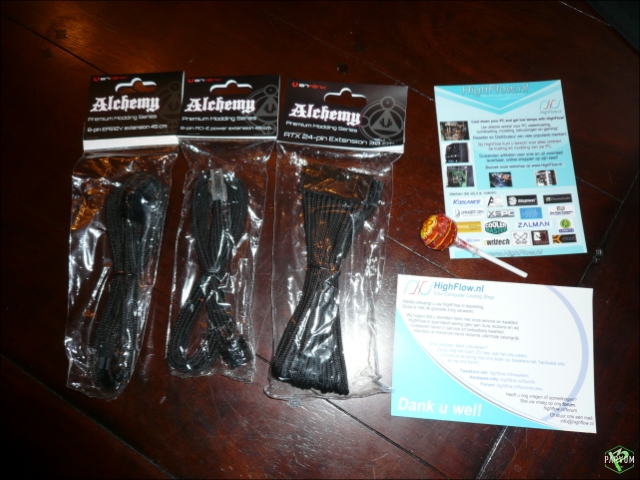
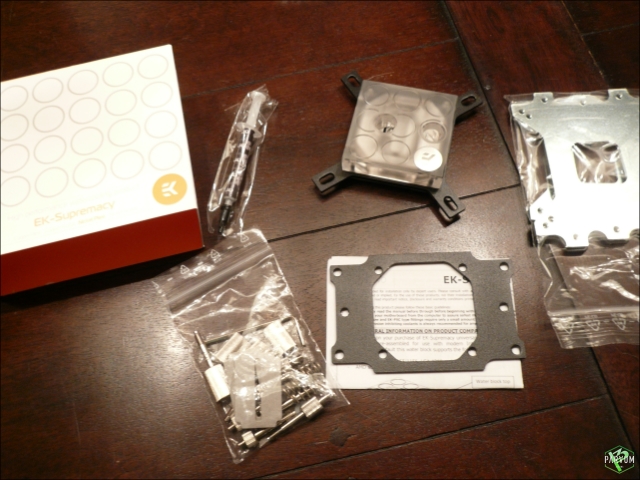
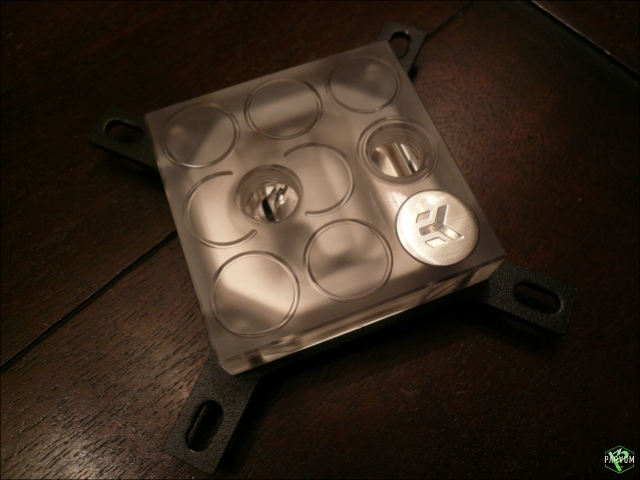
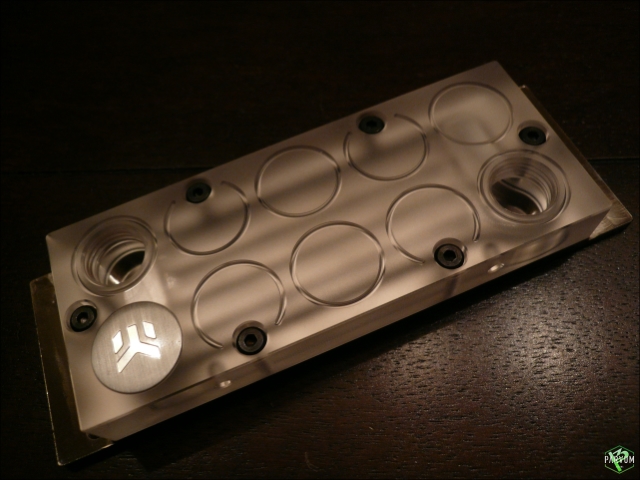
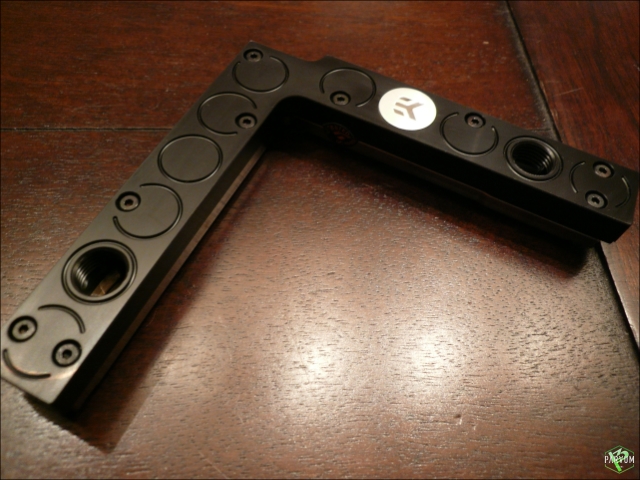
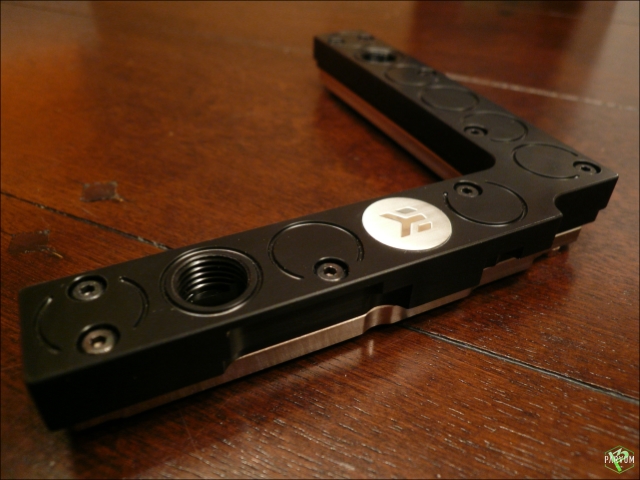
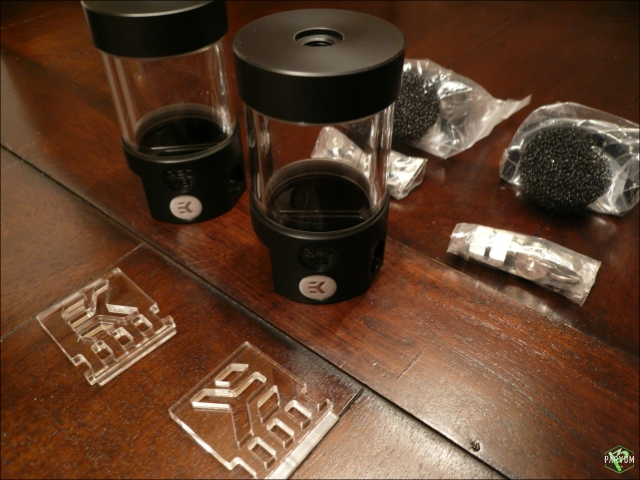
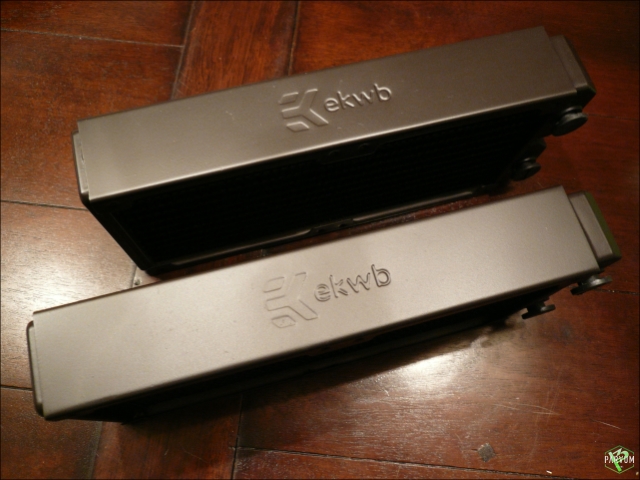
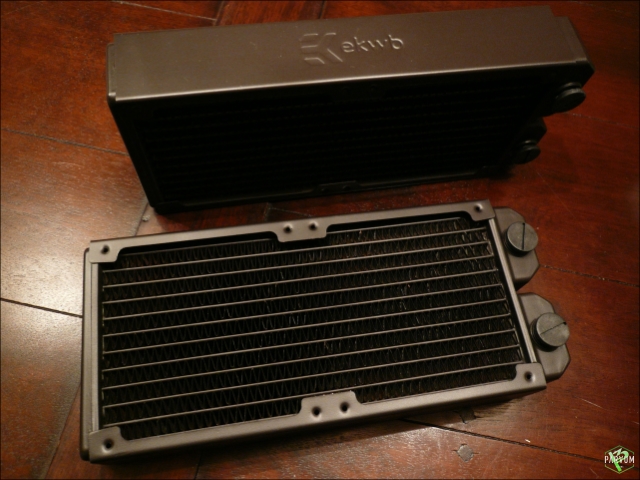
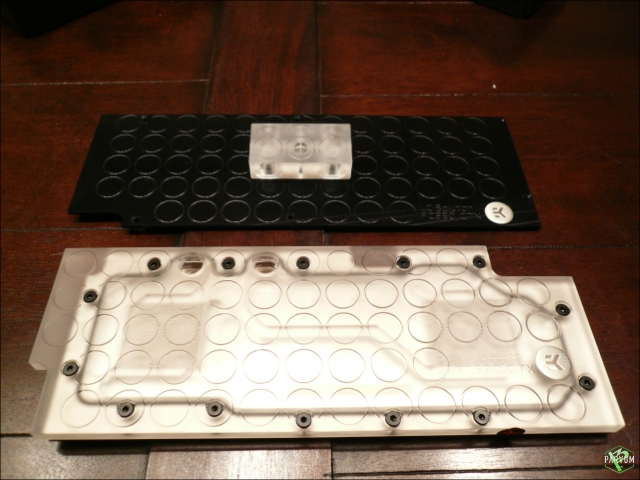
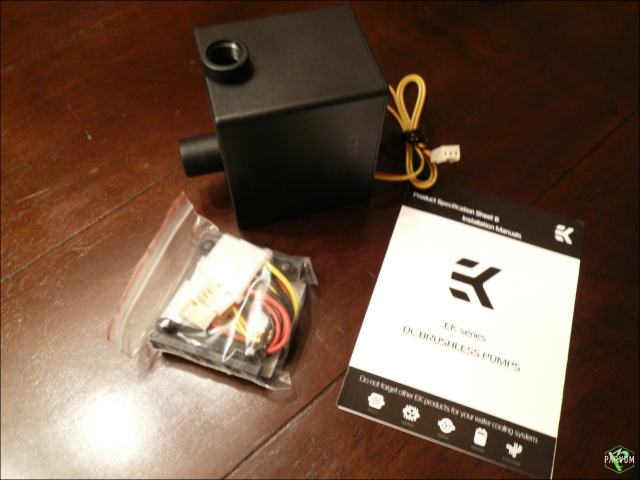
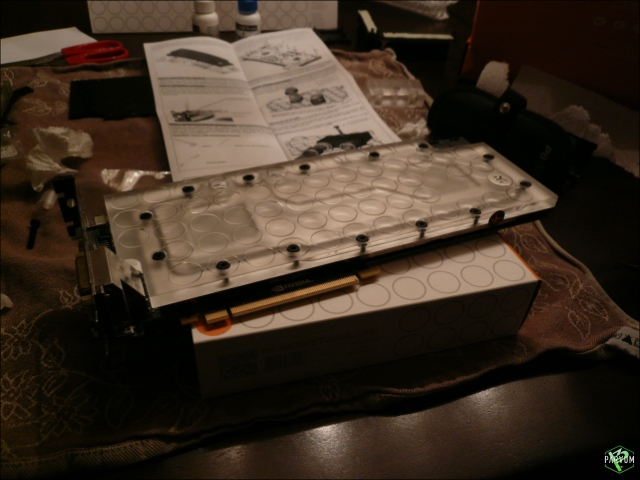
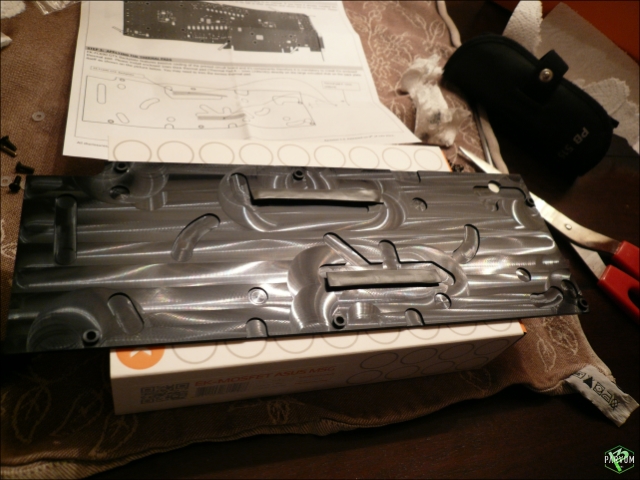
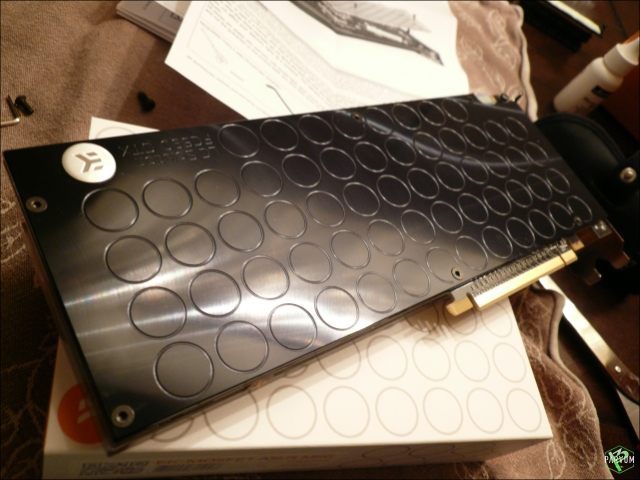
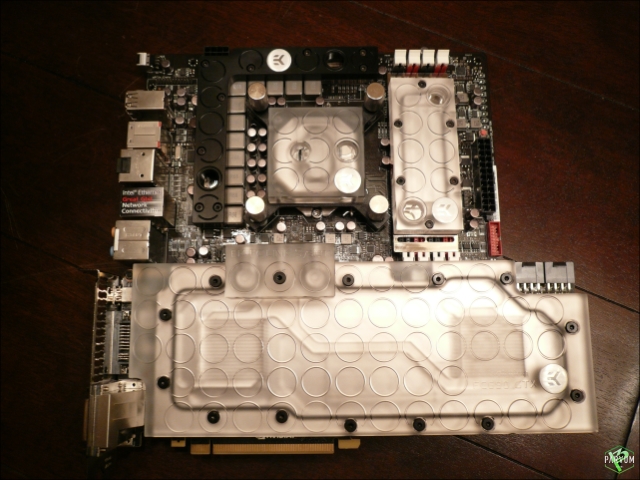
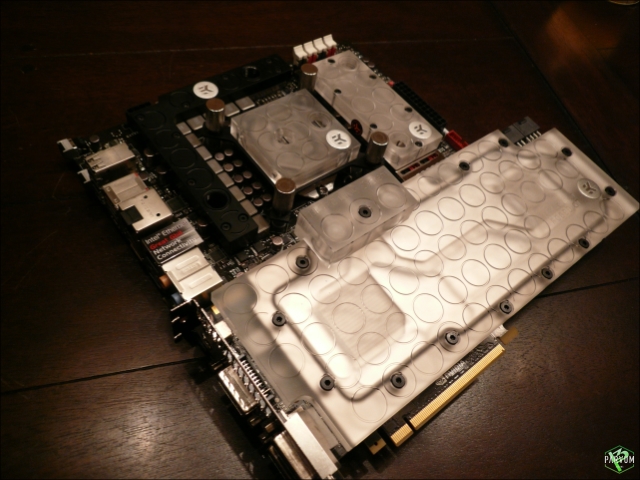
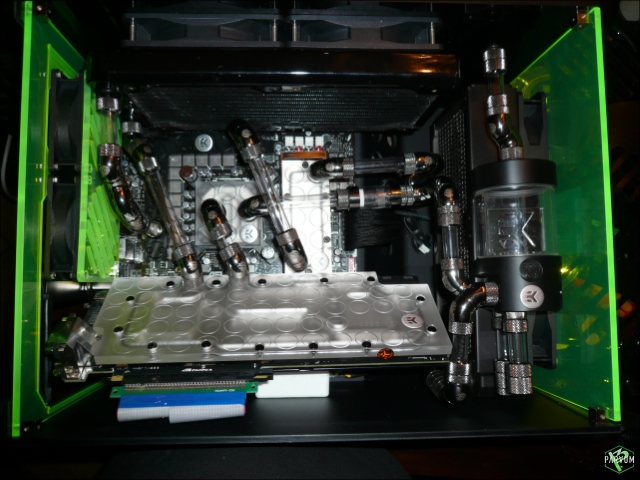
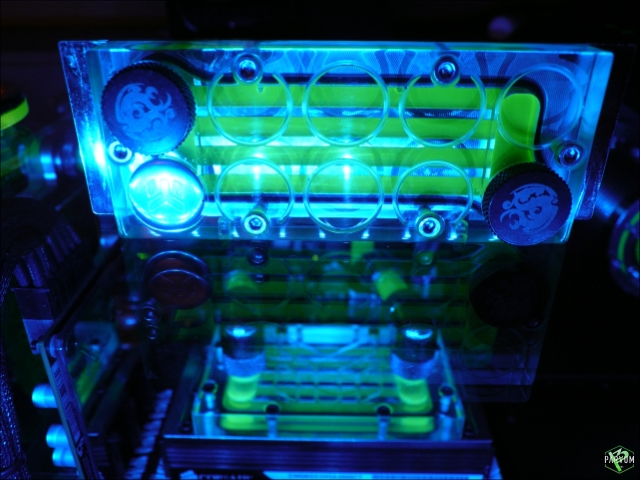
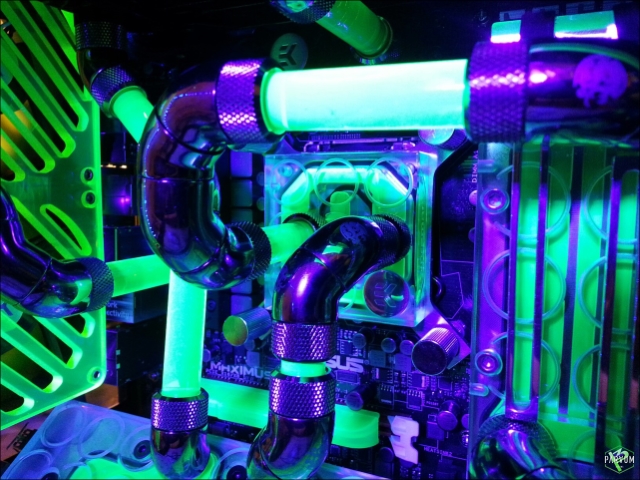
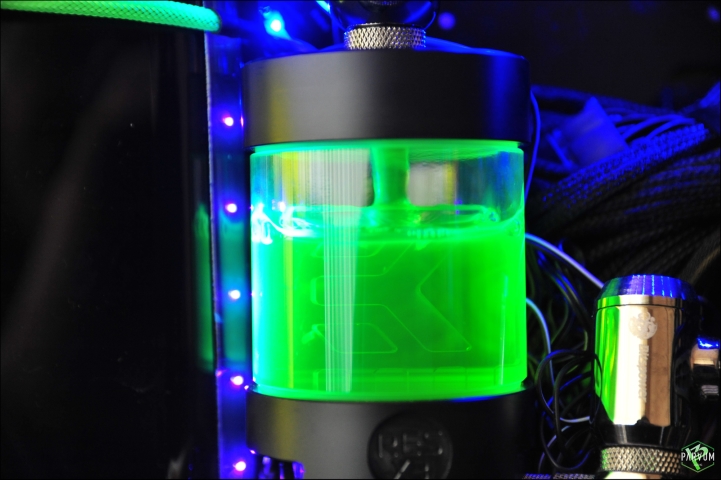
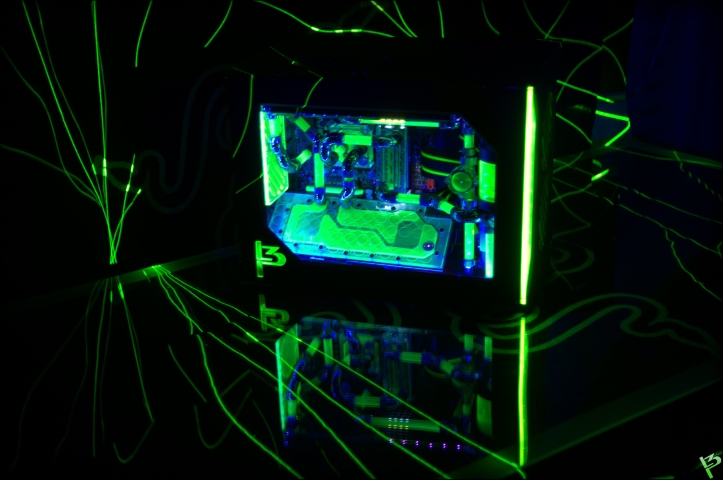
So made a deal with EKWB I could trade the prize package for products that fit the Parvum case.
Another small build was born.
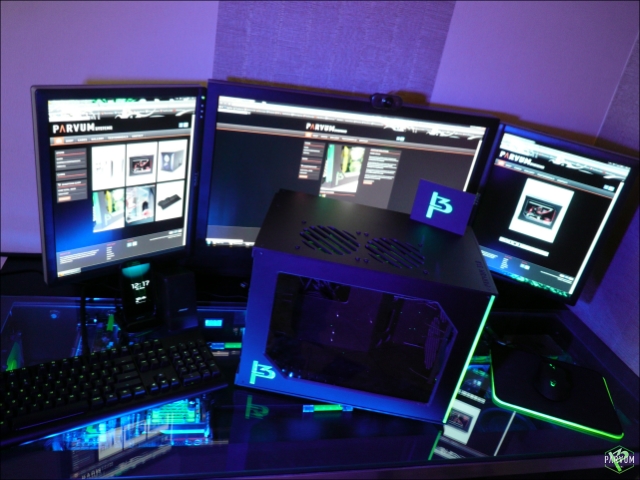
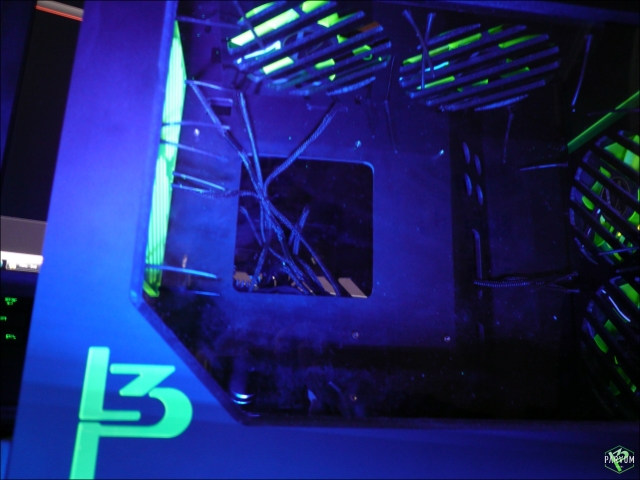
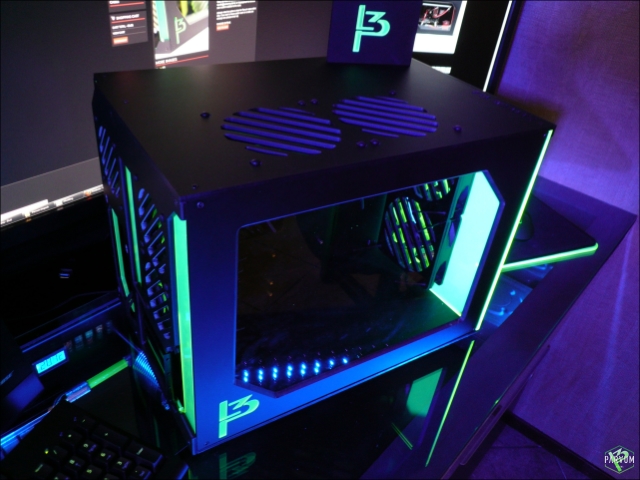
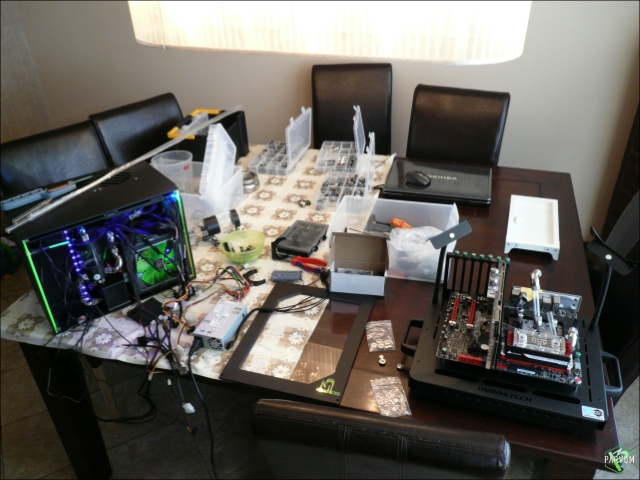
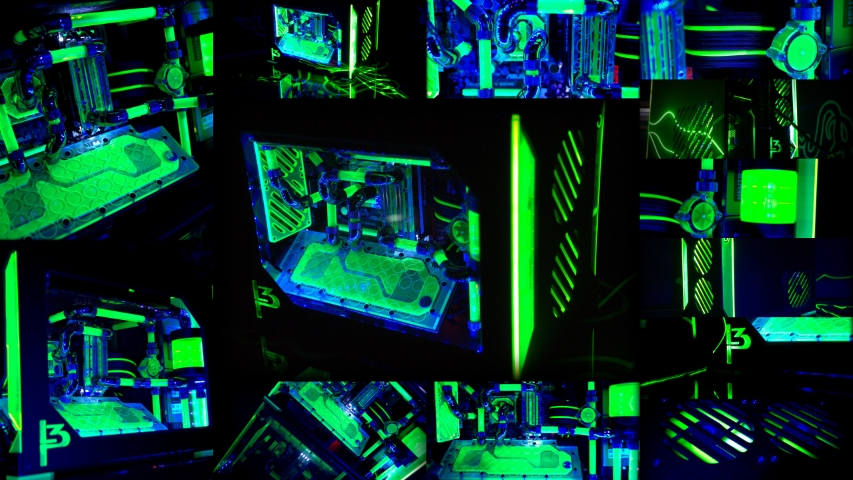
So decided to make some buildlogs, I just loved the case!
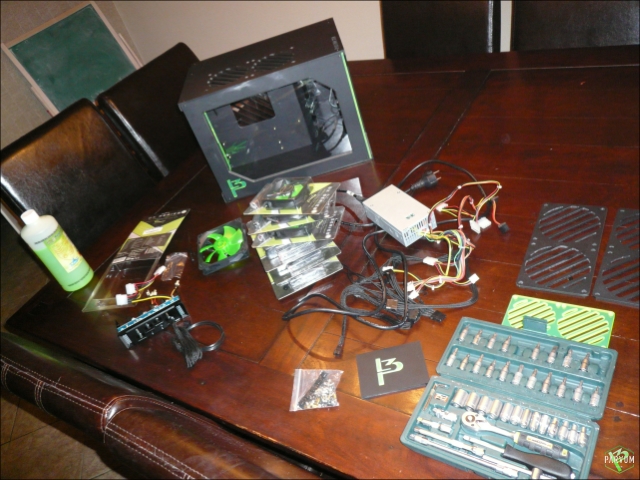
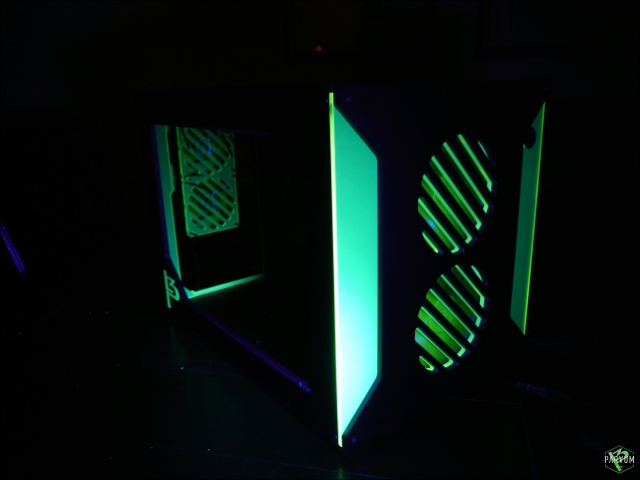
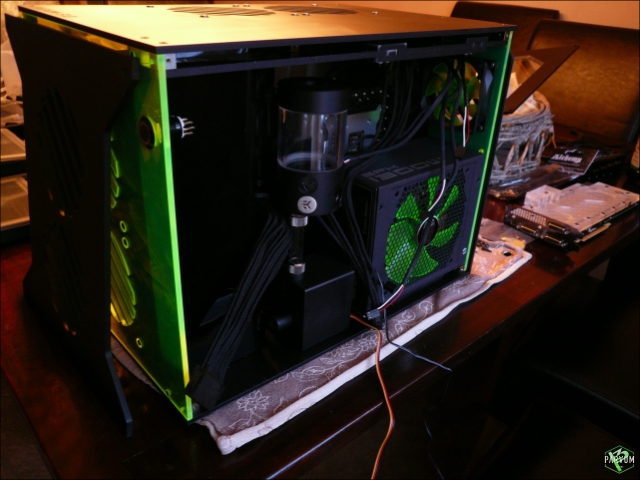
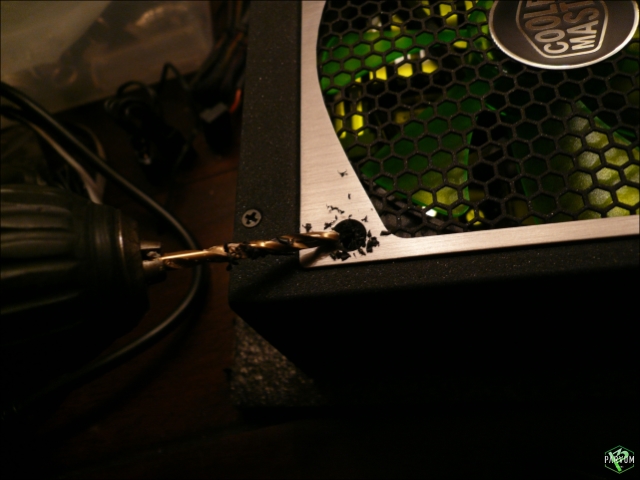
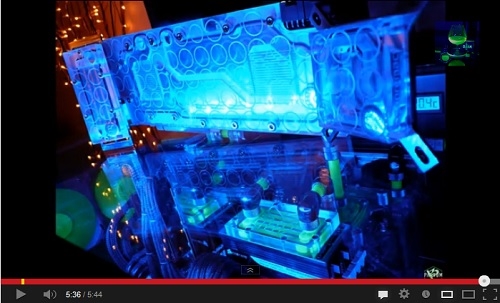
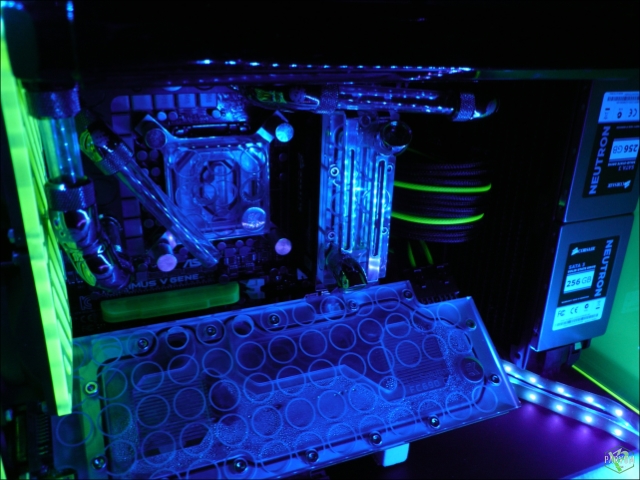
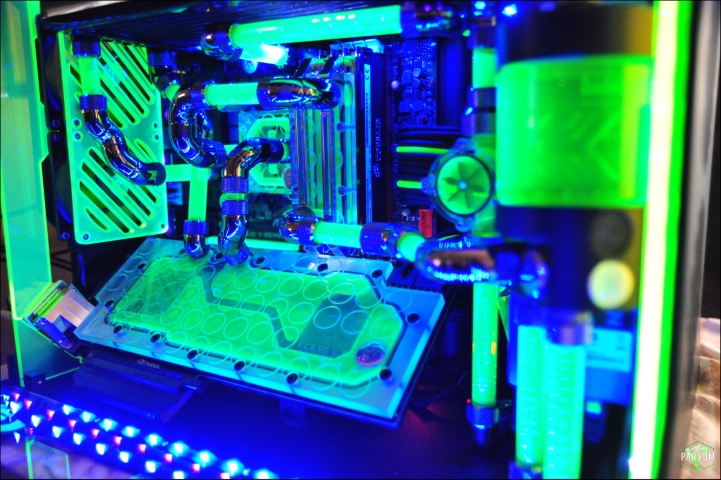
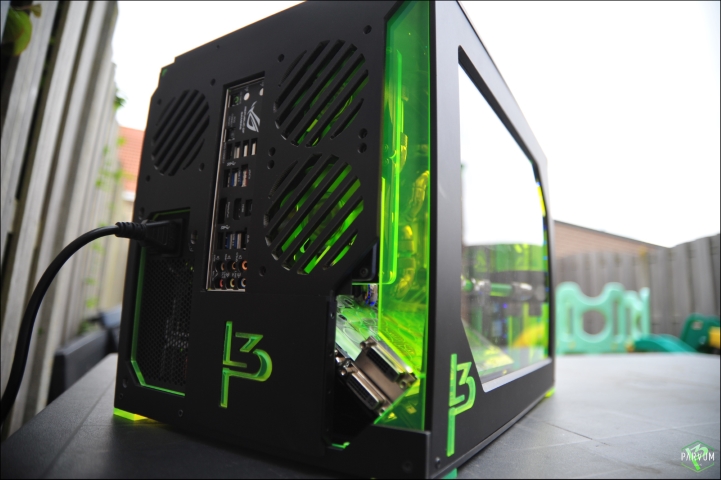
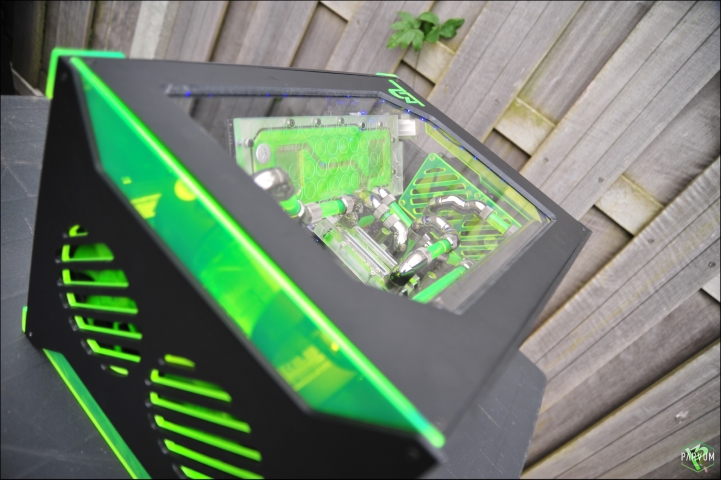
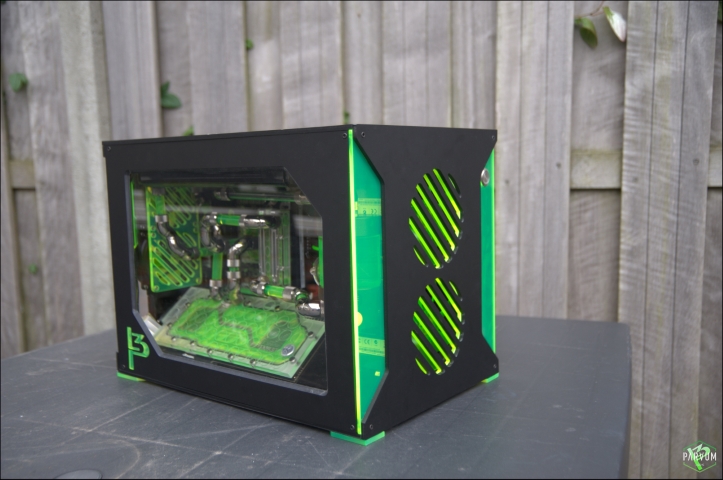
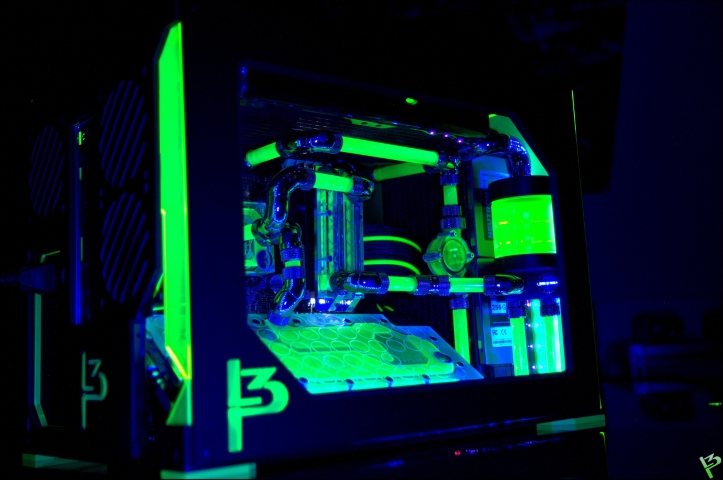
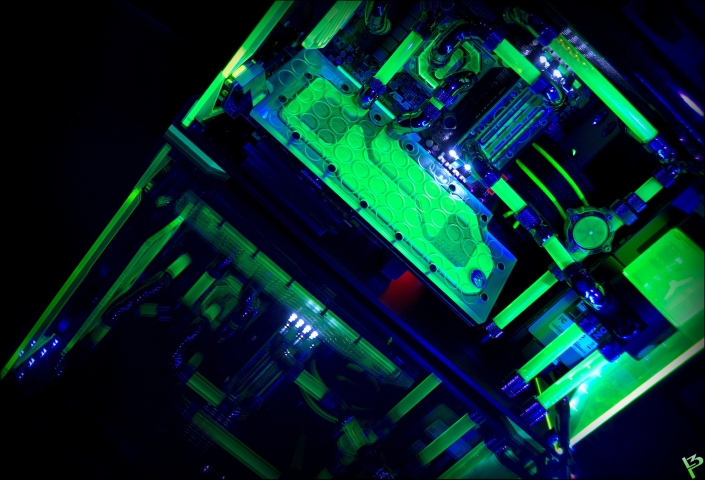
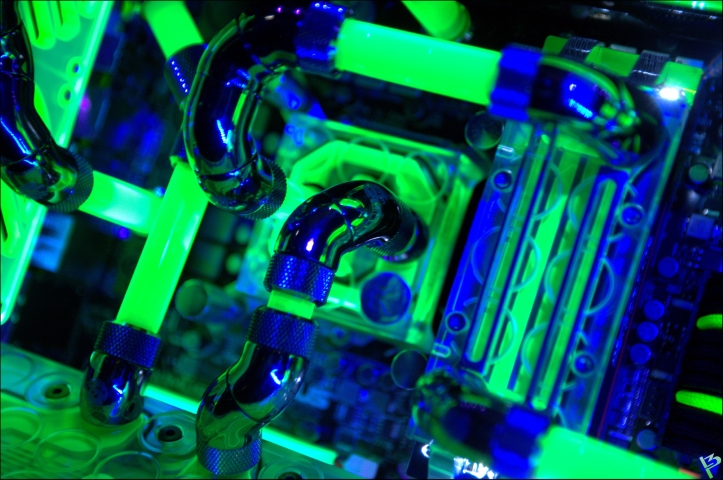
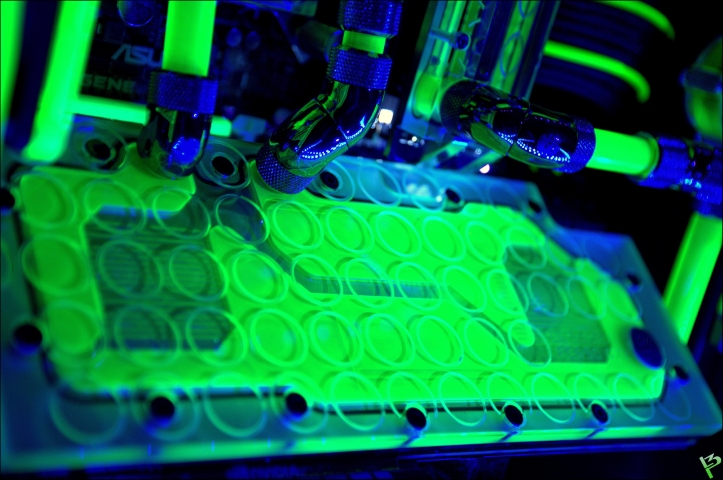
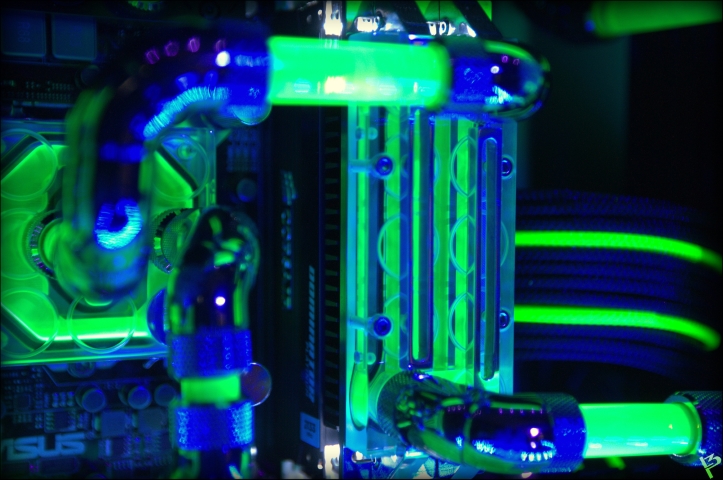
Won't be a huge casemod, more a watercooled build with lots small mods and lots of pics
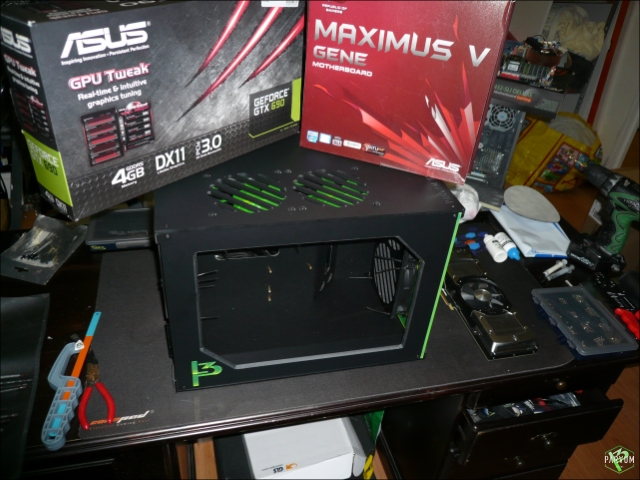
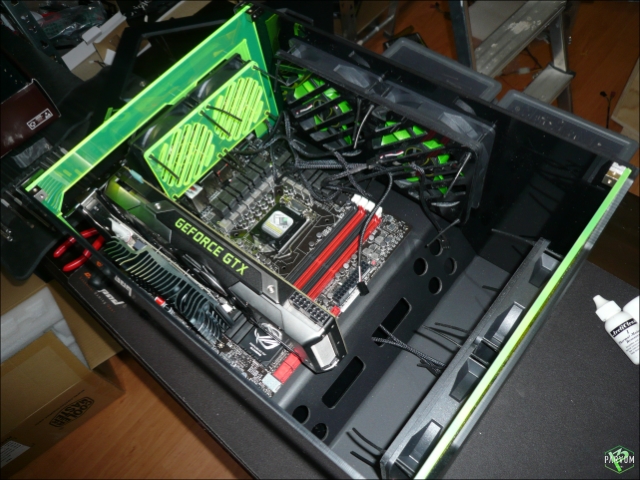
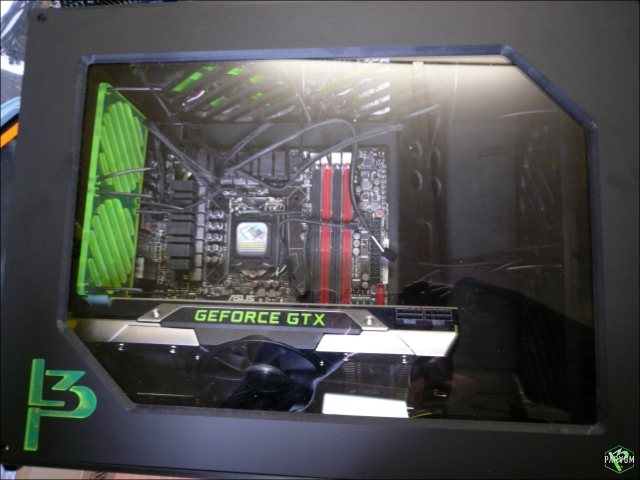
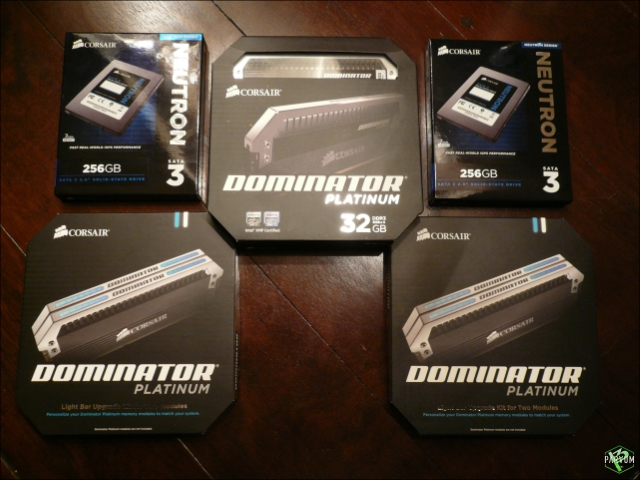
Hardware
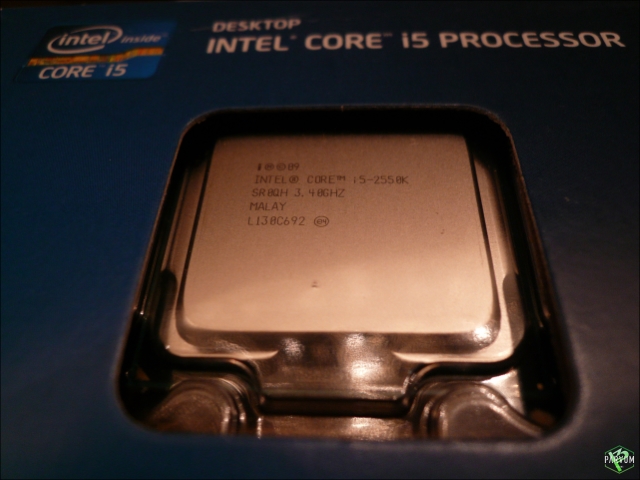
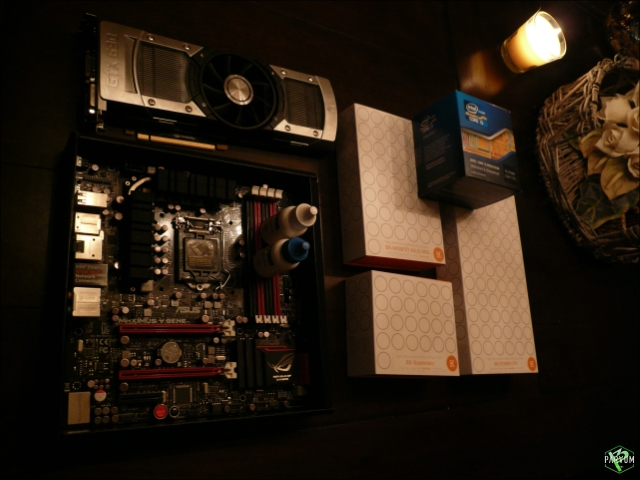
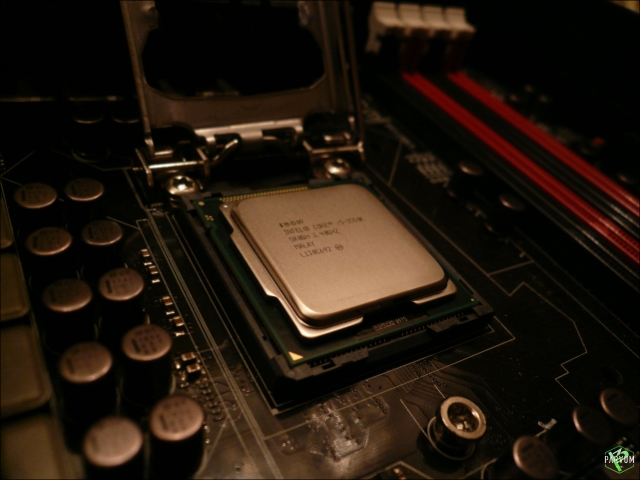
Intel Core i5 2550K
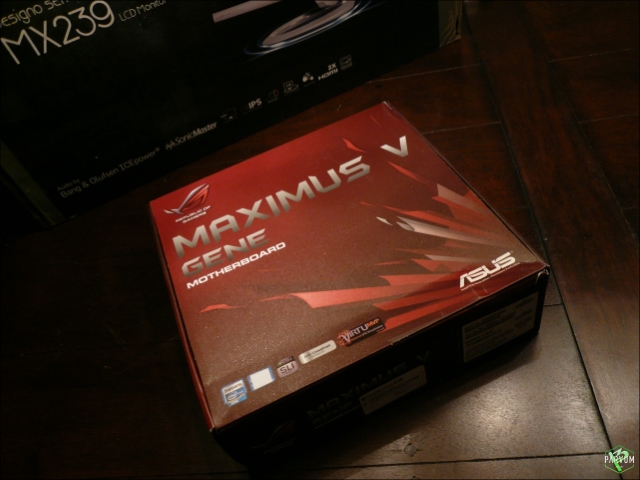
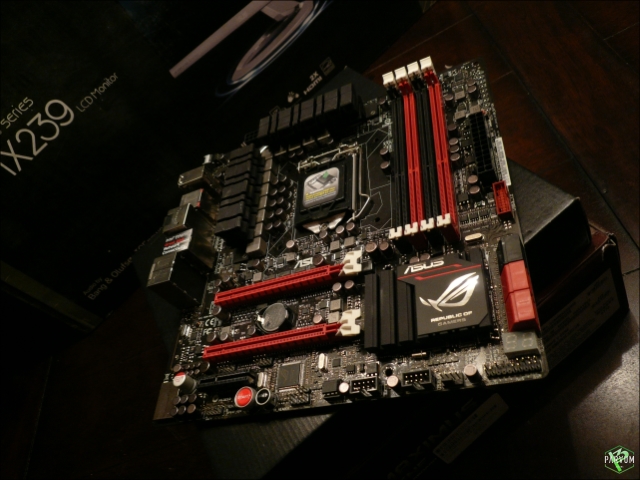
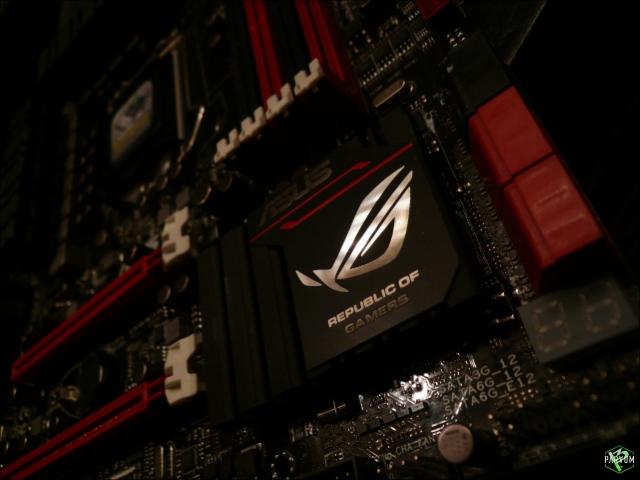
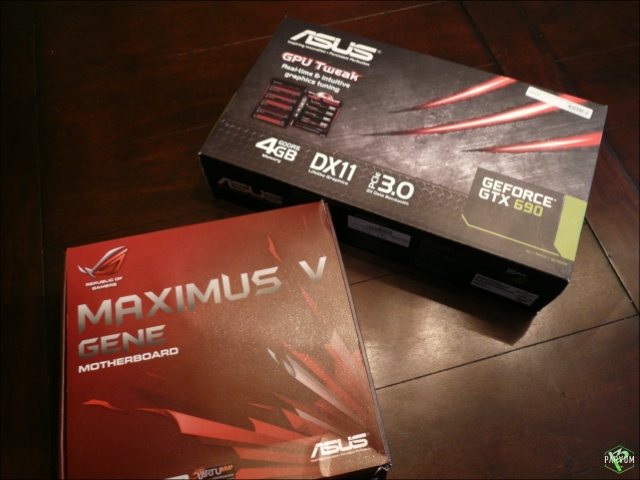
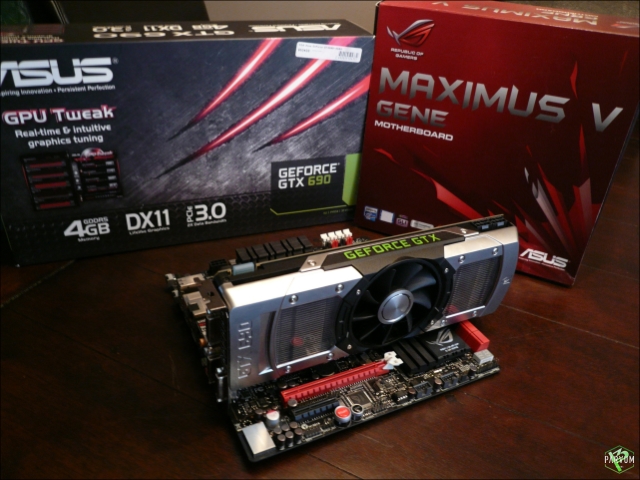
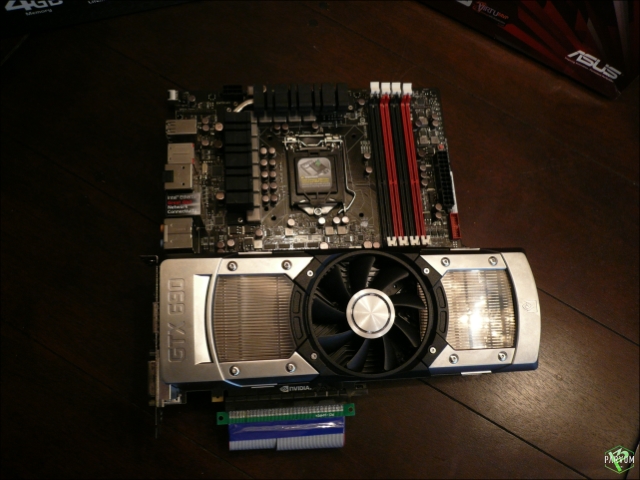
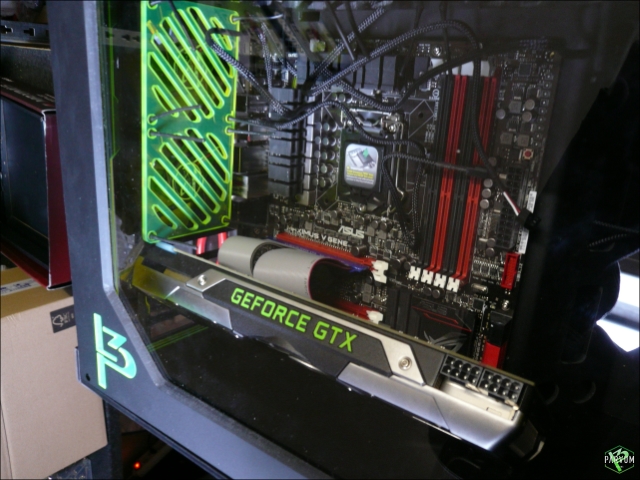
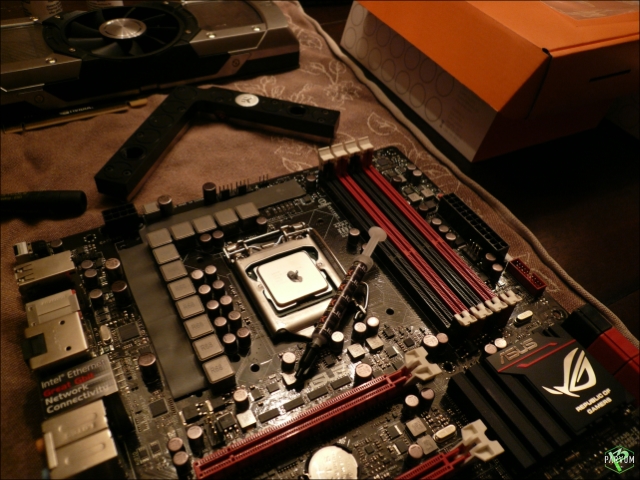
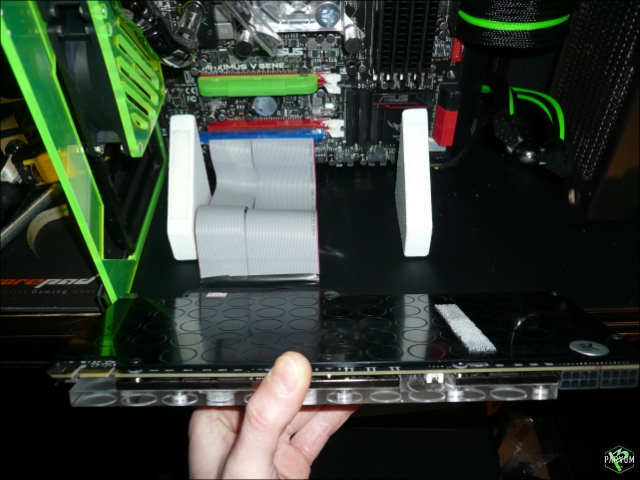
ASUS Maximus V GENE
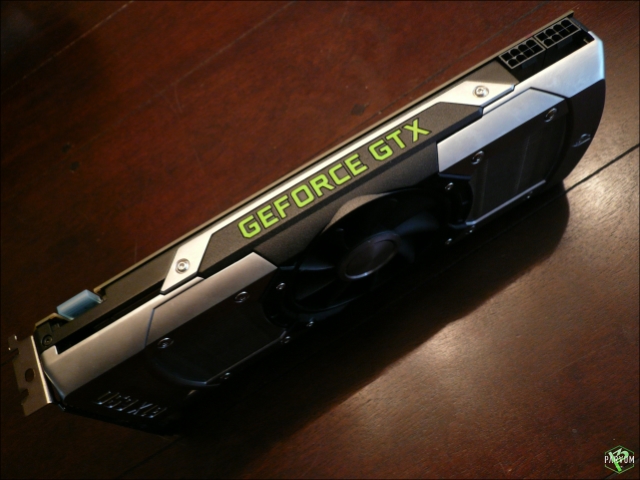
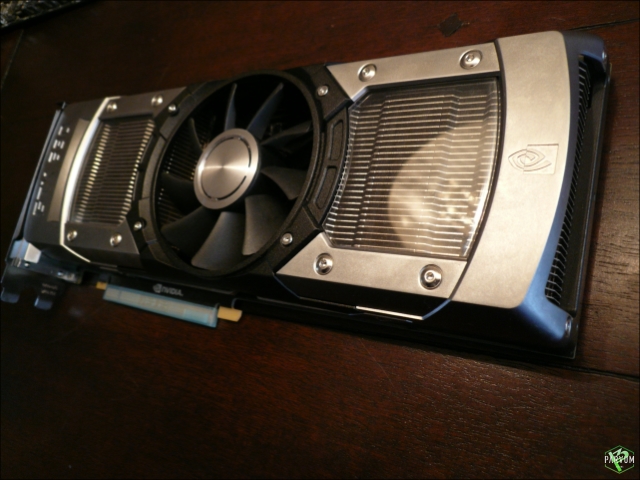
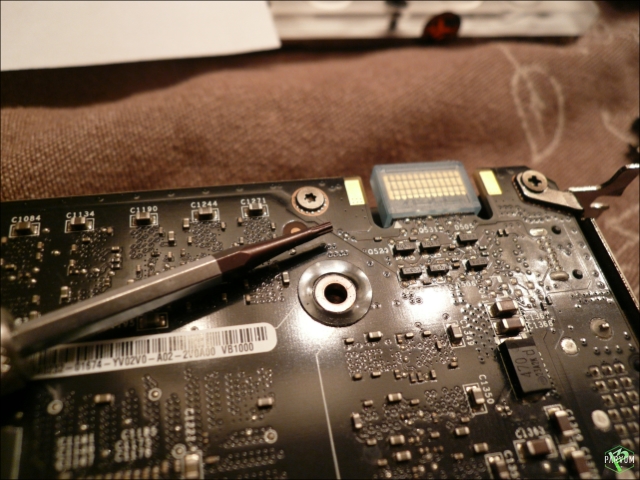
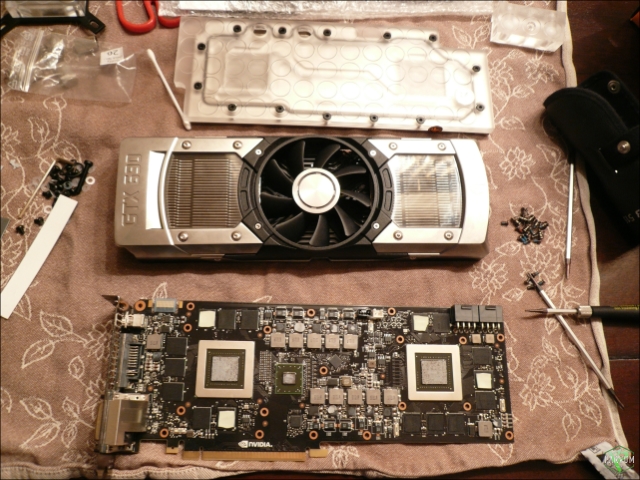
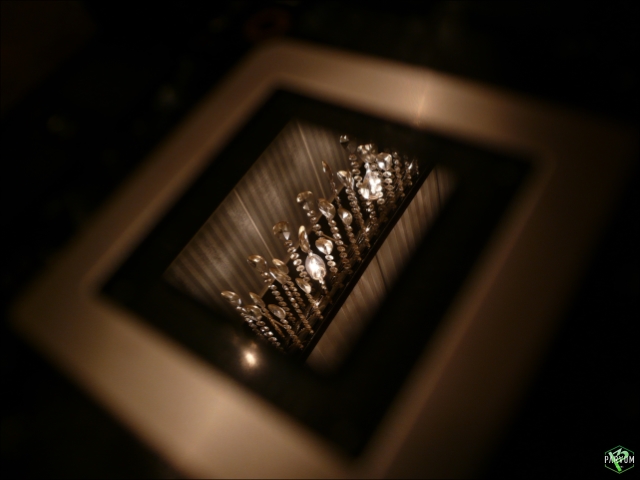
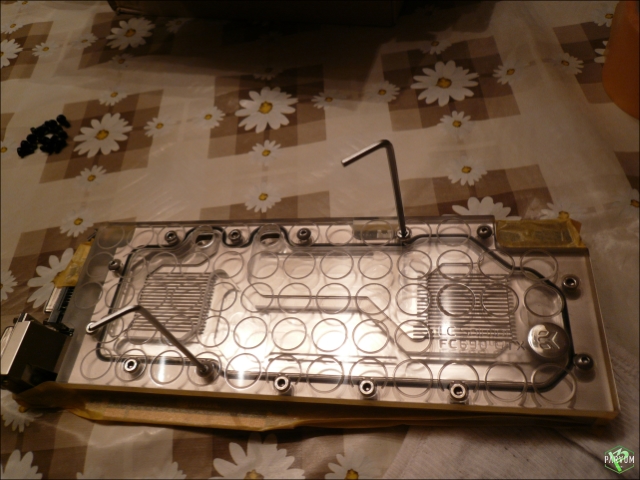
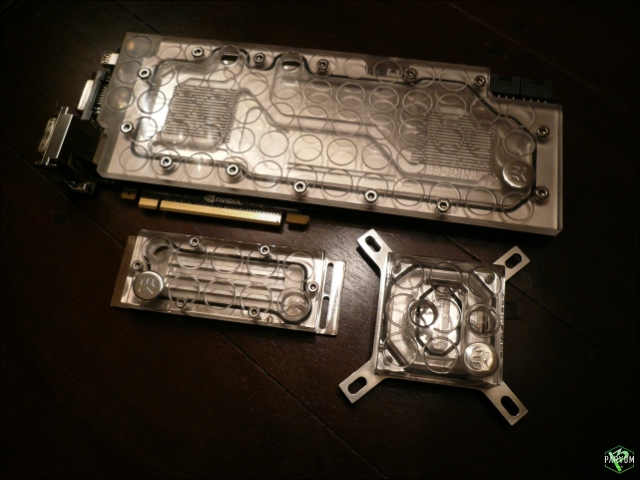
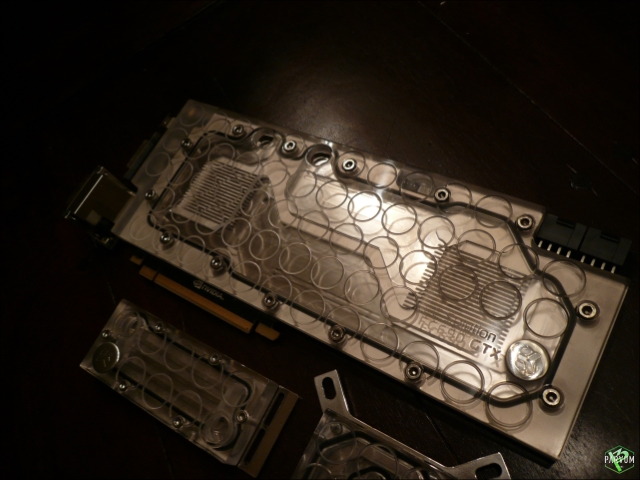
ASUS GTX690
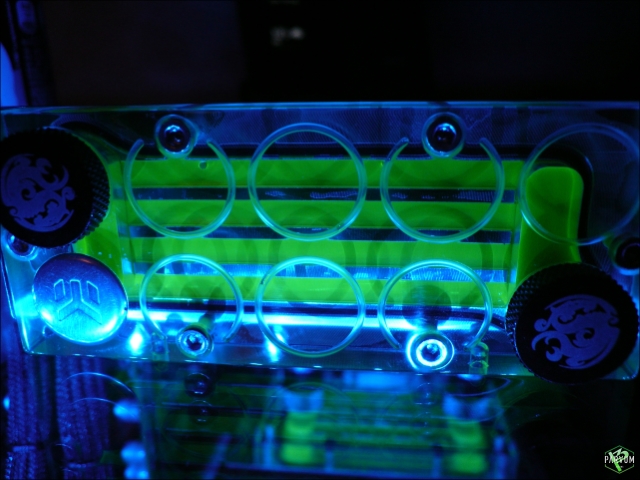
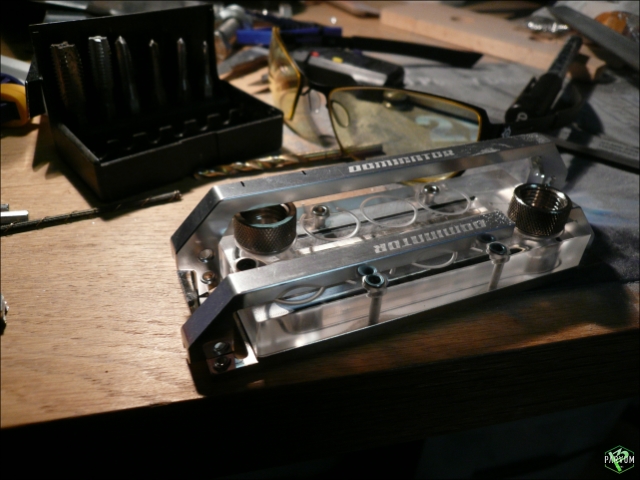
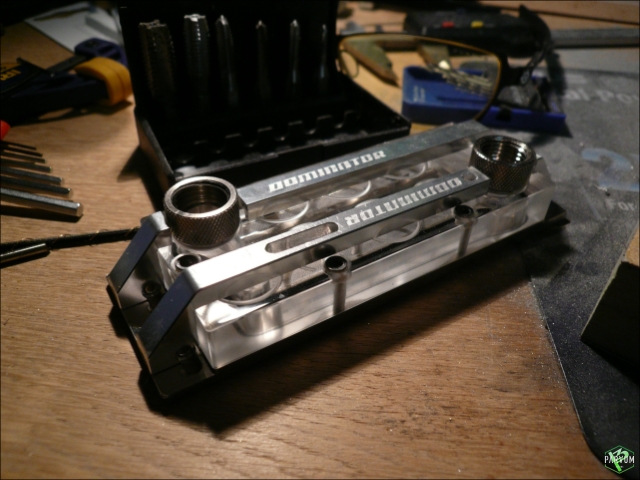
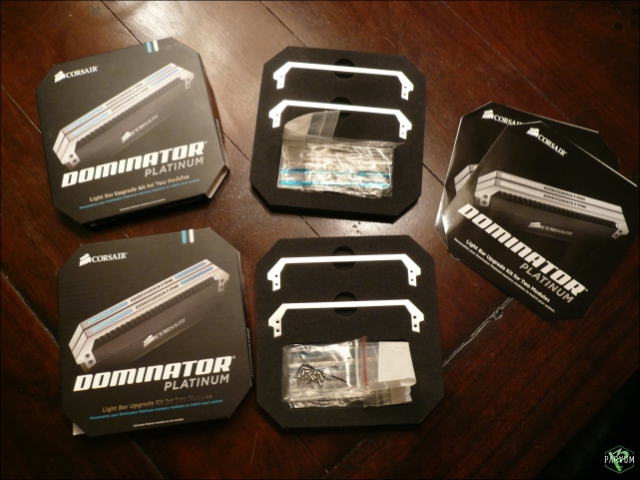
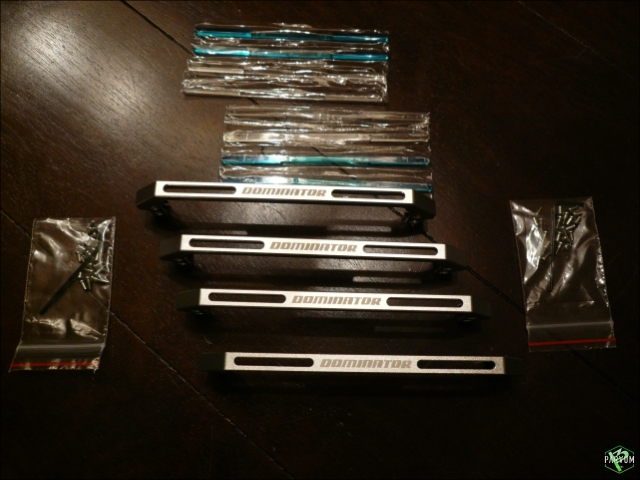
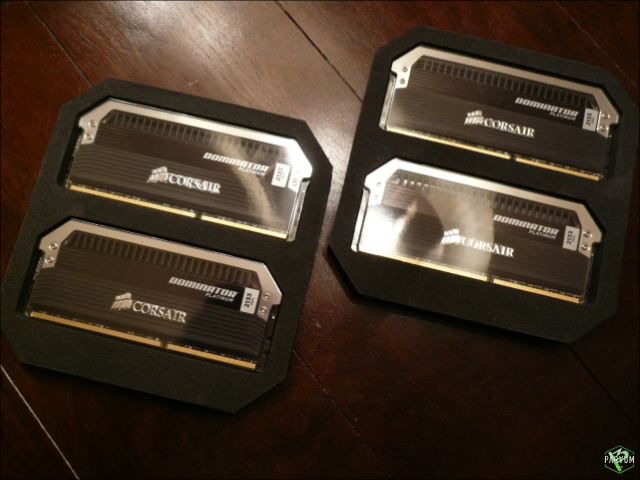
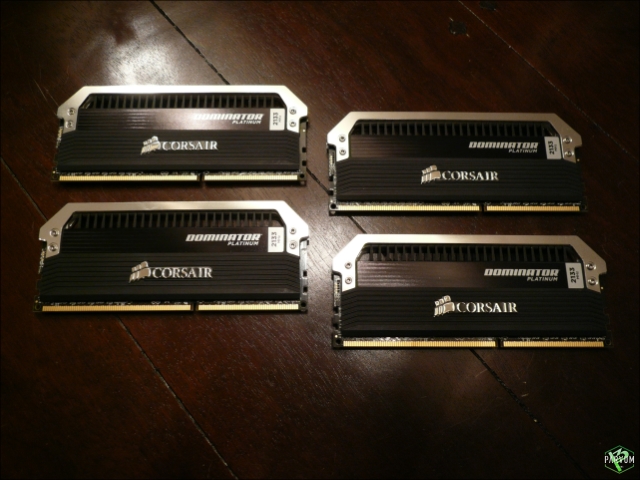
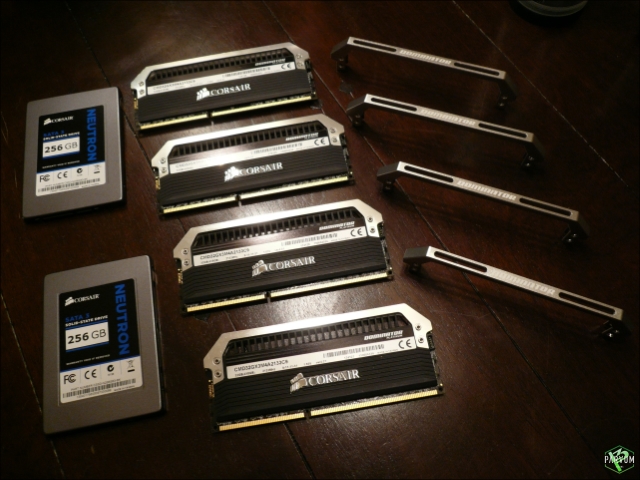
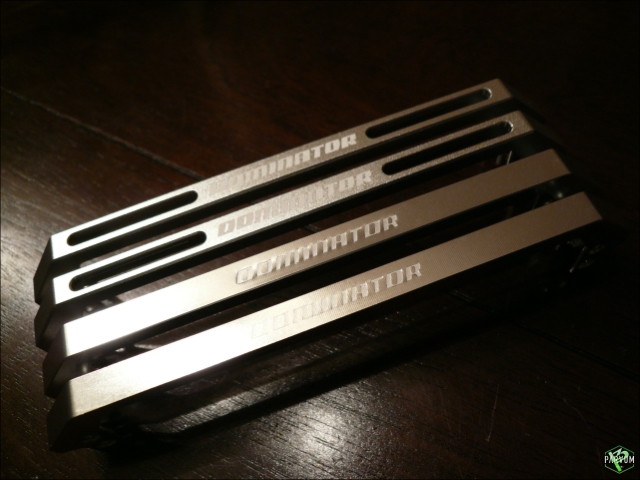
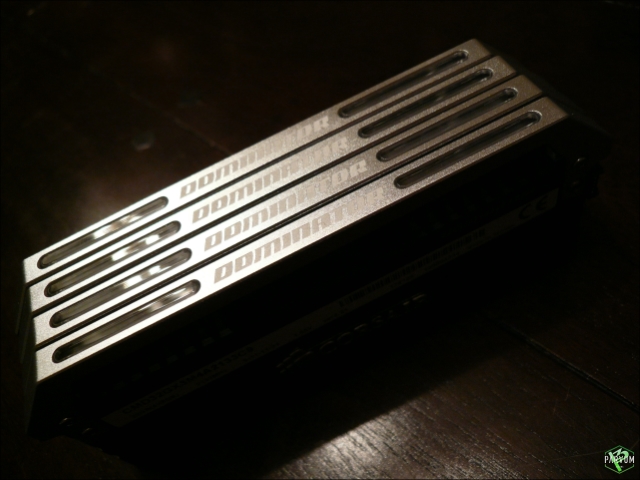
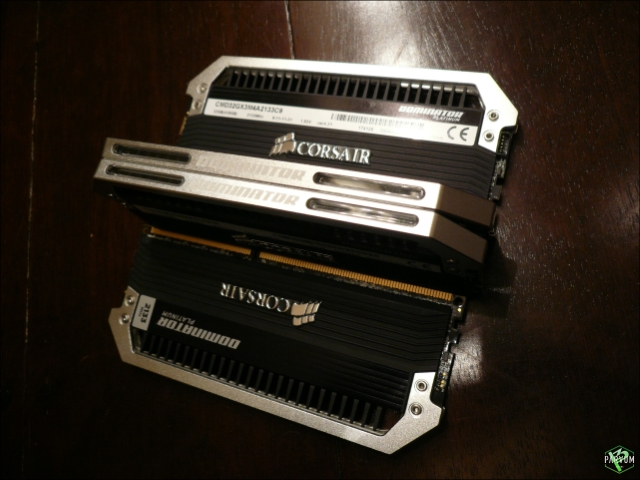
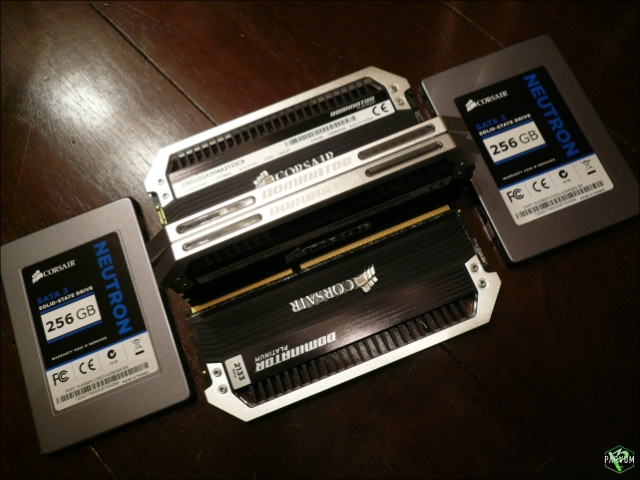
Corsair Dominator Platinum 32GB 2133Mhz
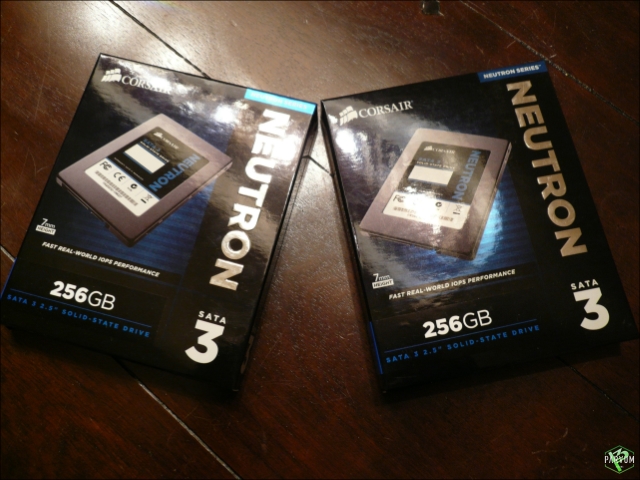
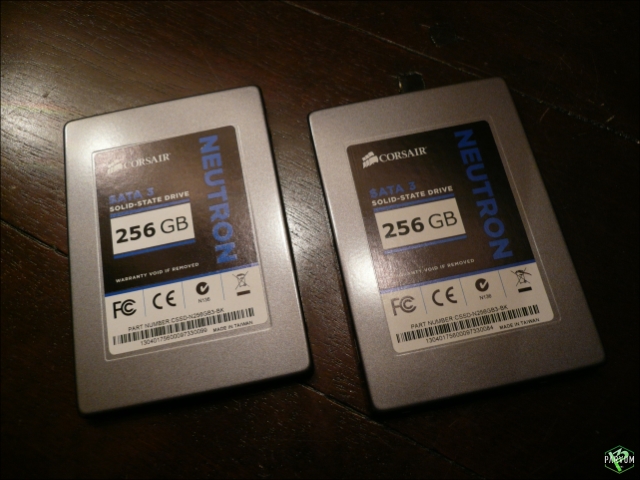
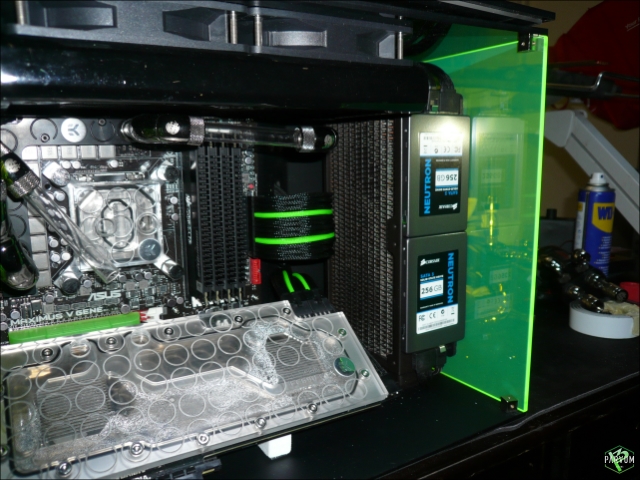
Corsair Neutron 240GB 2X
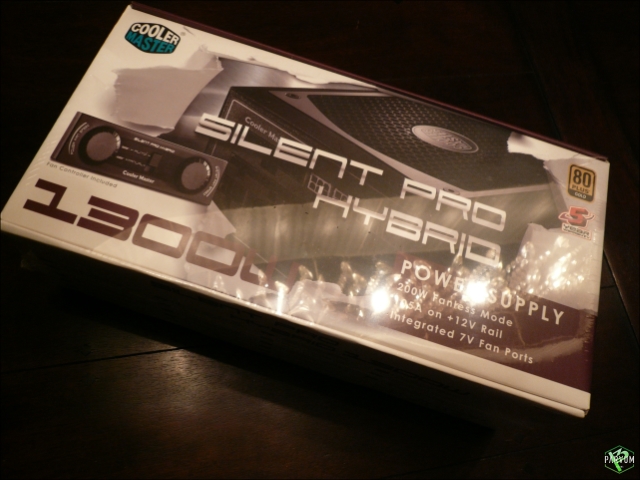
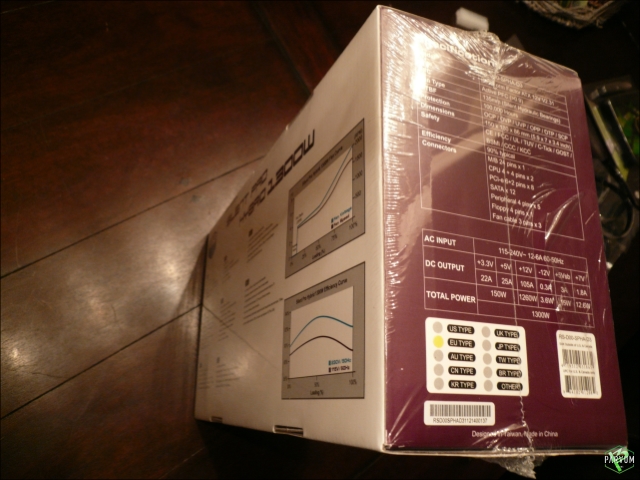
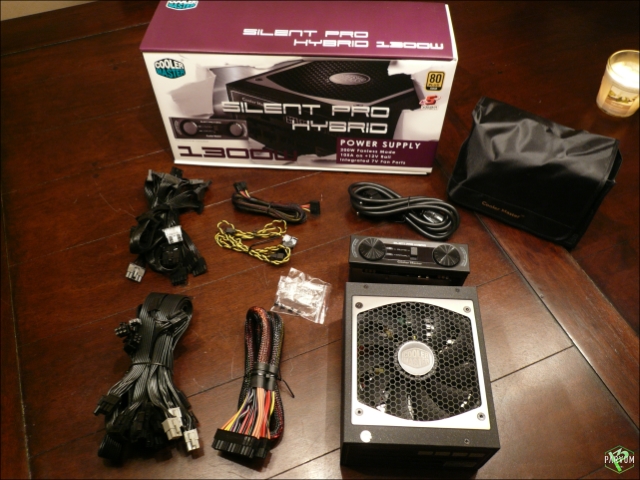
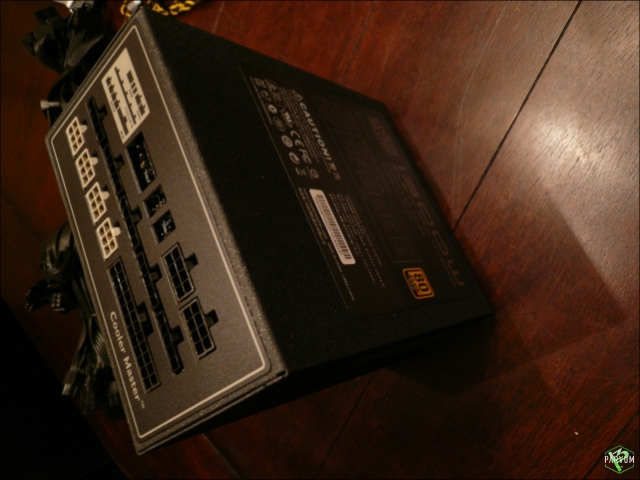
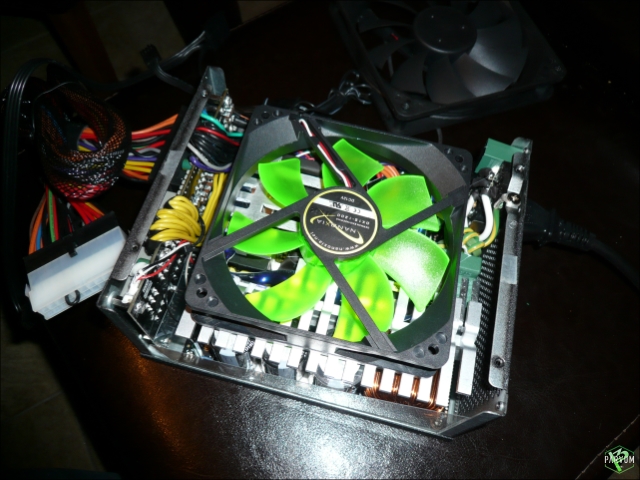
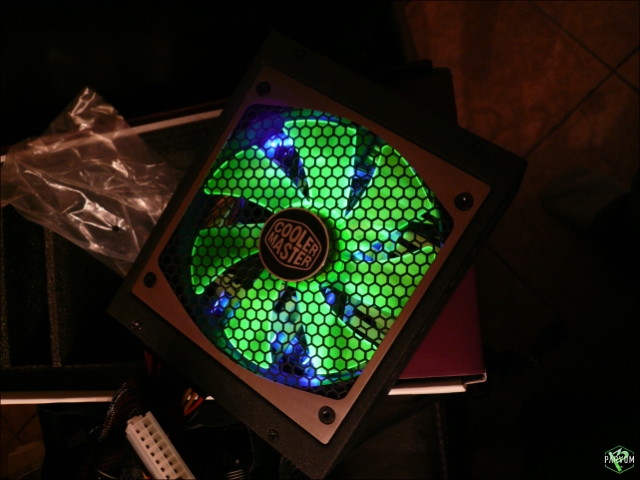
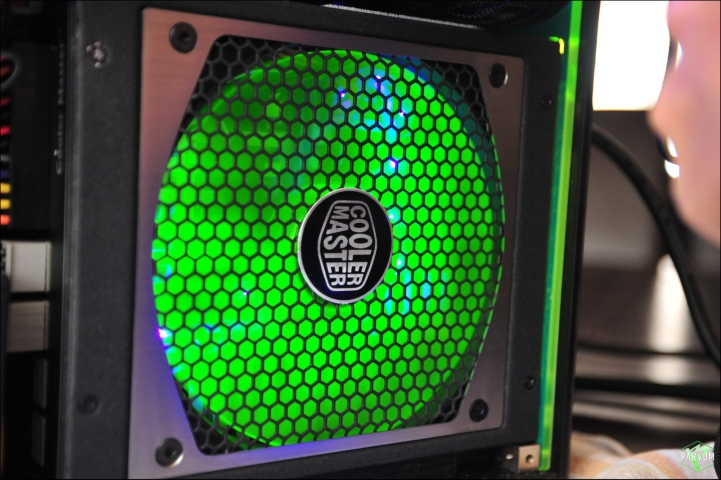
Cooler Master Silent Pro Hybrid 1300W