How possible is this?

Liver

Supreme [H]ardness
Joined
Oct 24, 2005
Messages
5,922
I’m just wondering and I’m sure it’s not a very intelligent question, but I got to know.

Hypothetical. If I have a part that breaks on some device and I want to replace it. How do you do that? Without having an existing print file?

Do you 3D scan it? I really do not understand.

I will be getting a printer in 2022. No doubt.
dont know much and havent used one much but i know it depends on the part size/detail. ive seen programs that can generate from pics or scans and theres good old fashioned measuring and cad drawing.
 
  • Like
Reactions: Liver
like this
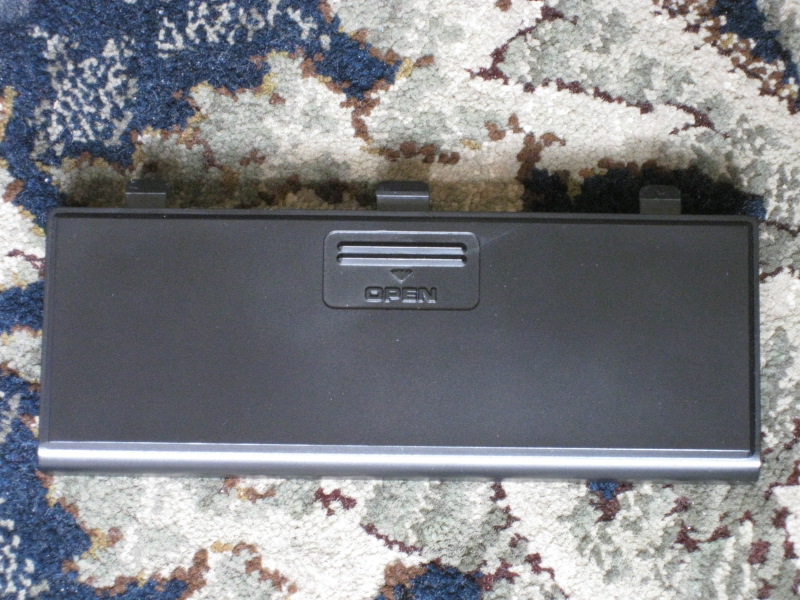
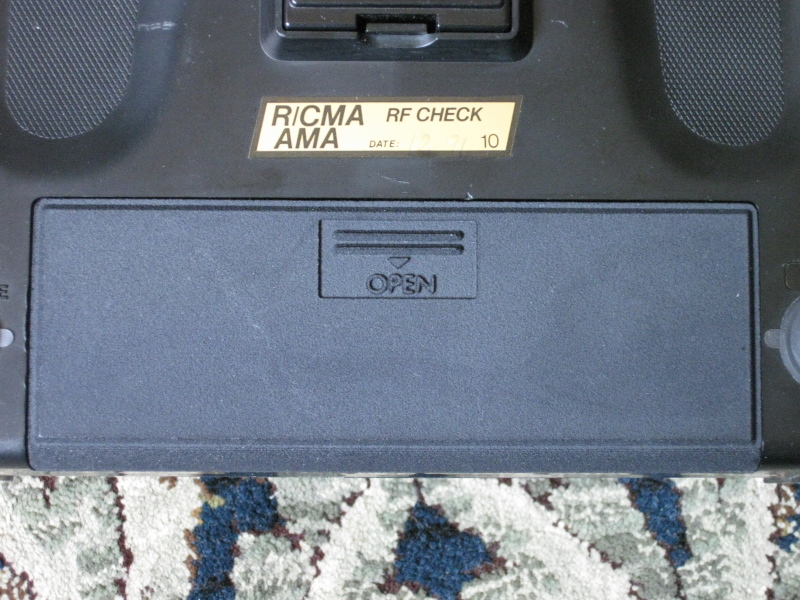
When I need to re-create a missing battery cover for a device I used (An RC Car transmitter long out of production), I used an existing battery door that I had from another transmitter that was the same model and used digital calipers and Blender to re-create the part. I just carefully measured every part of it and guesstimated some of the curved parts. When I finally 3D printed it at Shapeways (I do not own a 3D printer), the resulting printed door actually snapped into place like the original. I still had to tweak the final fit and finish to get it to look more like the original part, but I was super happy that it actually worked and snapped shut the first time.
Best suggestions I can give is:
Work in millimeters in the calipers and the 3D program you use.
The more accurate the better (down to 0.1mm is good). Your 3D printer may not be that accurate, but if you decide to have some place like Shapeways print it for higher quality later, you'll be happy you did.
 
I am not quite following. Is the piece wholesale missing or broke? If it's the latter then a bit of glue to get it back to proper shape, measure, design, and print. If it's the former then the process is more involved with making a template out of paper, cereal boxes, cardboard, etc.. get it to fit, measure, design, and then print.
 
  • Like
Reactions: Liver
like this
Just to motivate you some more with pictures.
Original battery cover:
IMG_2561-800.JPG


3D printed cover installed in transmitter:
IMG_2558-800.JPG
 
I do not have a specific need currently. Simply asking if this is possible.
 
I would start with fusion360, start working at making models of items you can find by taking measurements. Learn it and when you get your printer it will be a tool in your belt to fix things with. This way you wont have to learn at the moment something breaks.
 
Take rough measurements with a ruler, compass, protractor, etc. Make a model in a 3d modeling program. Re-measure and adjust if it doesn't look right. Send the model to a manufacturer in a supported format. Profit$$$! ;)
 
  • Like
Reactions: Liver
like this
Can also search on thingiverse.com to see if someone else has designed something already.

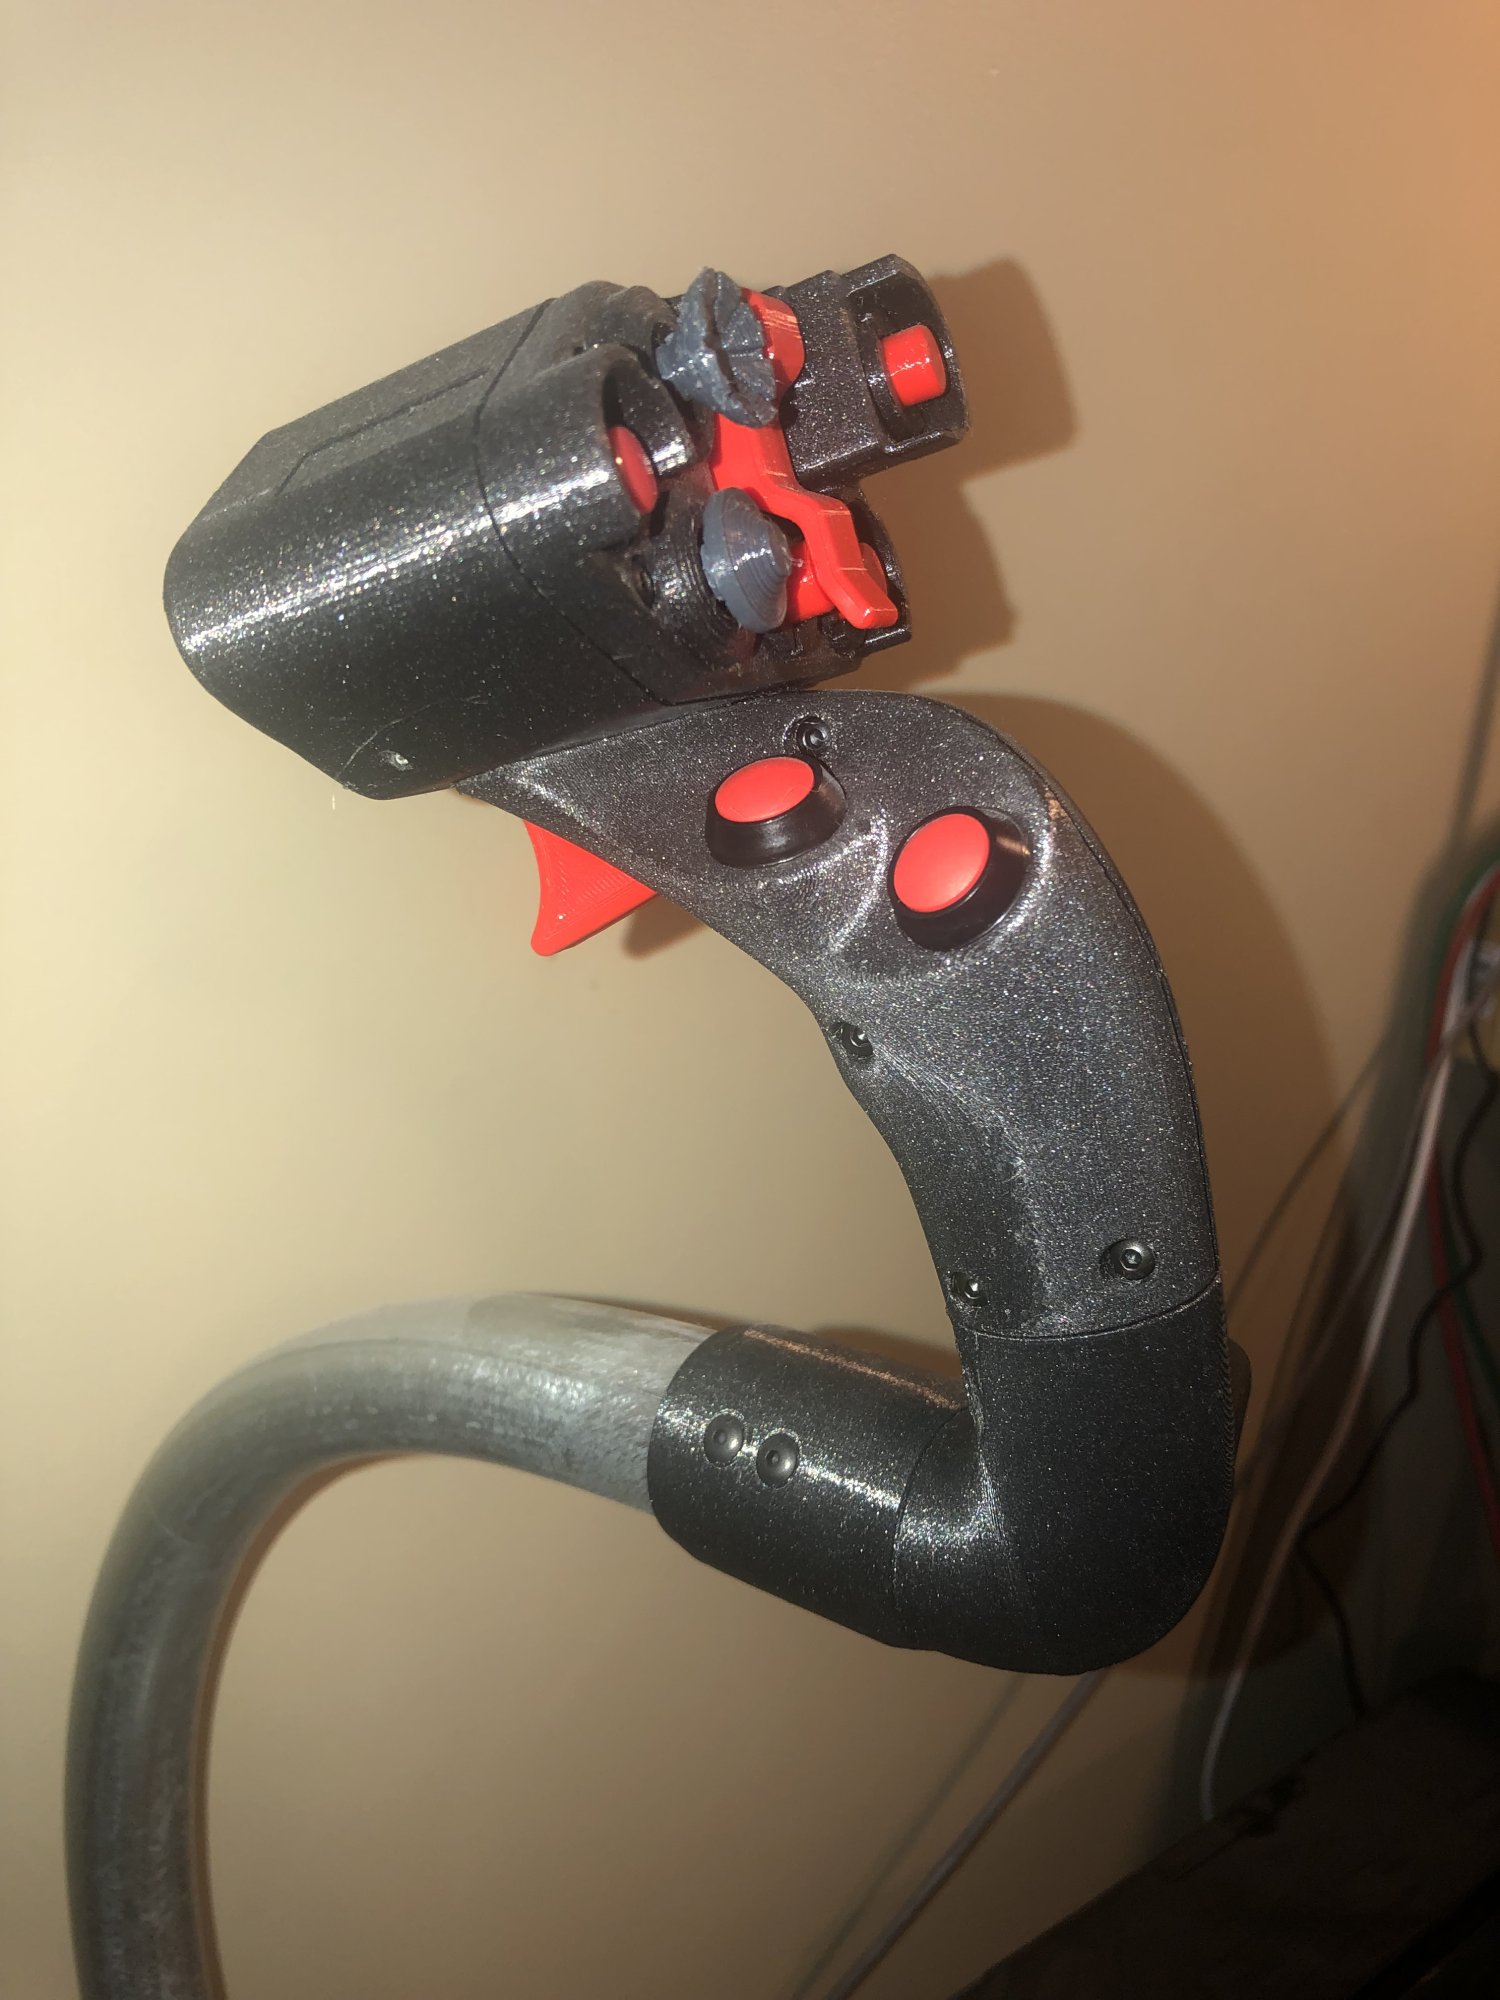
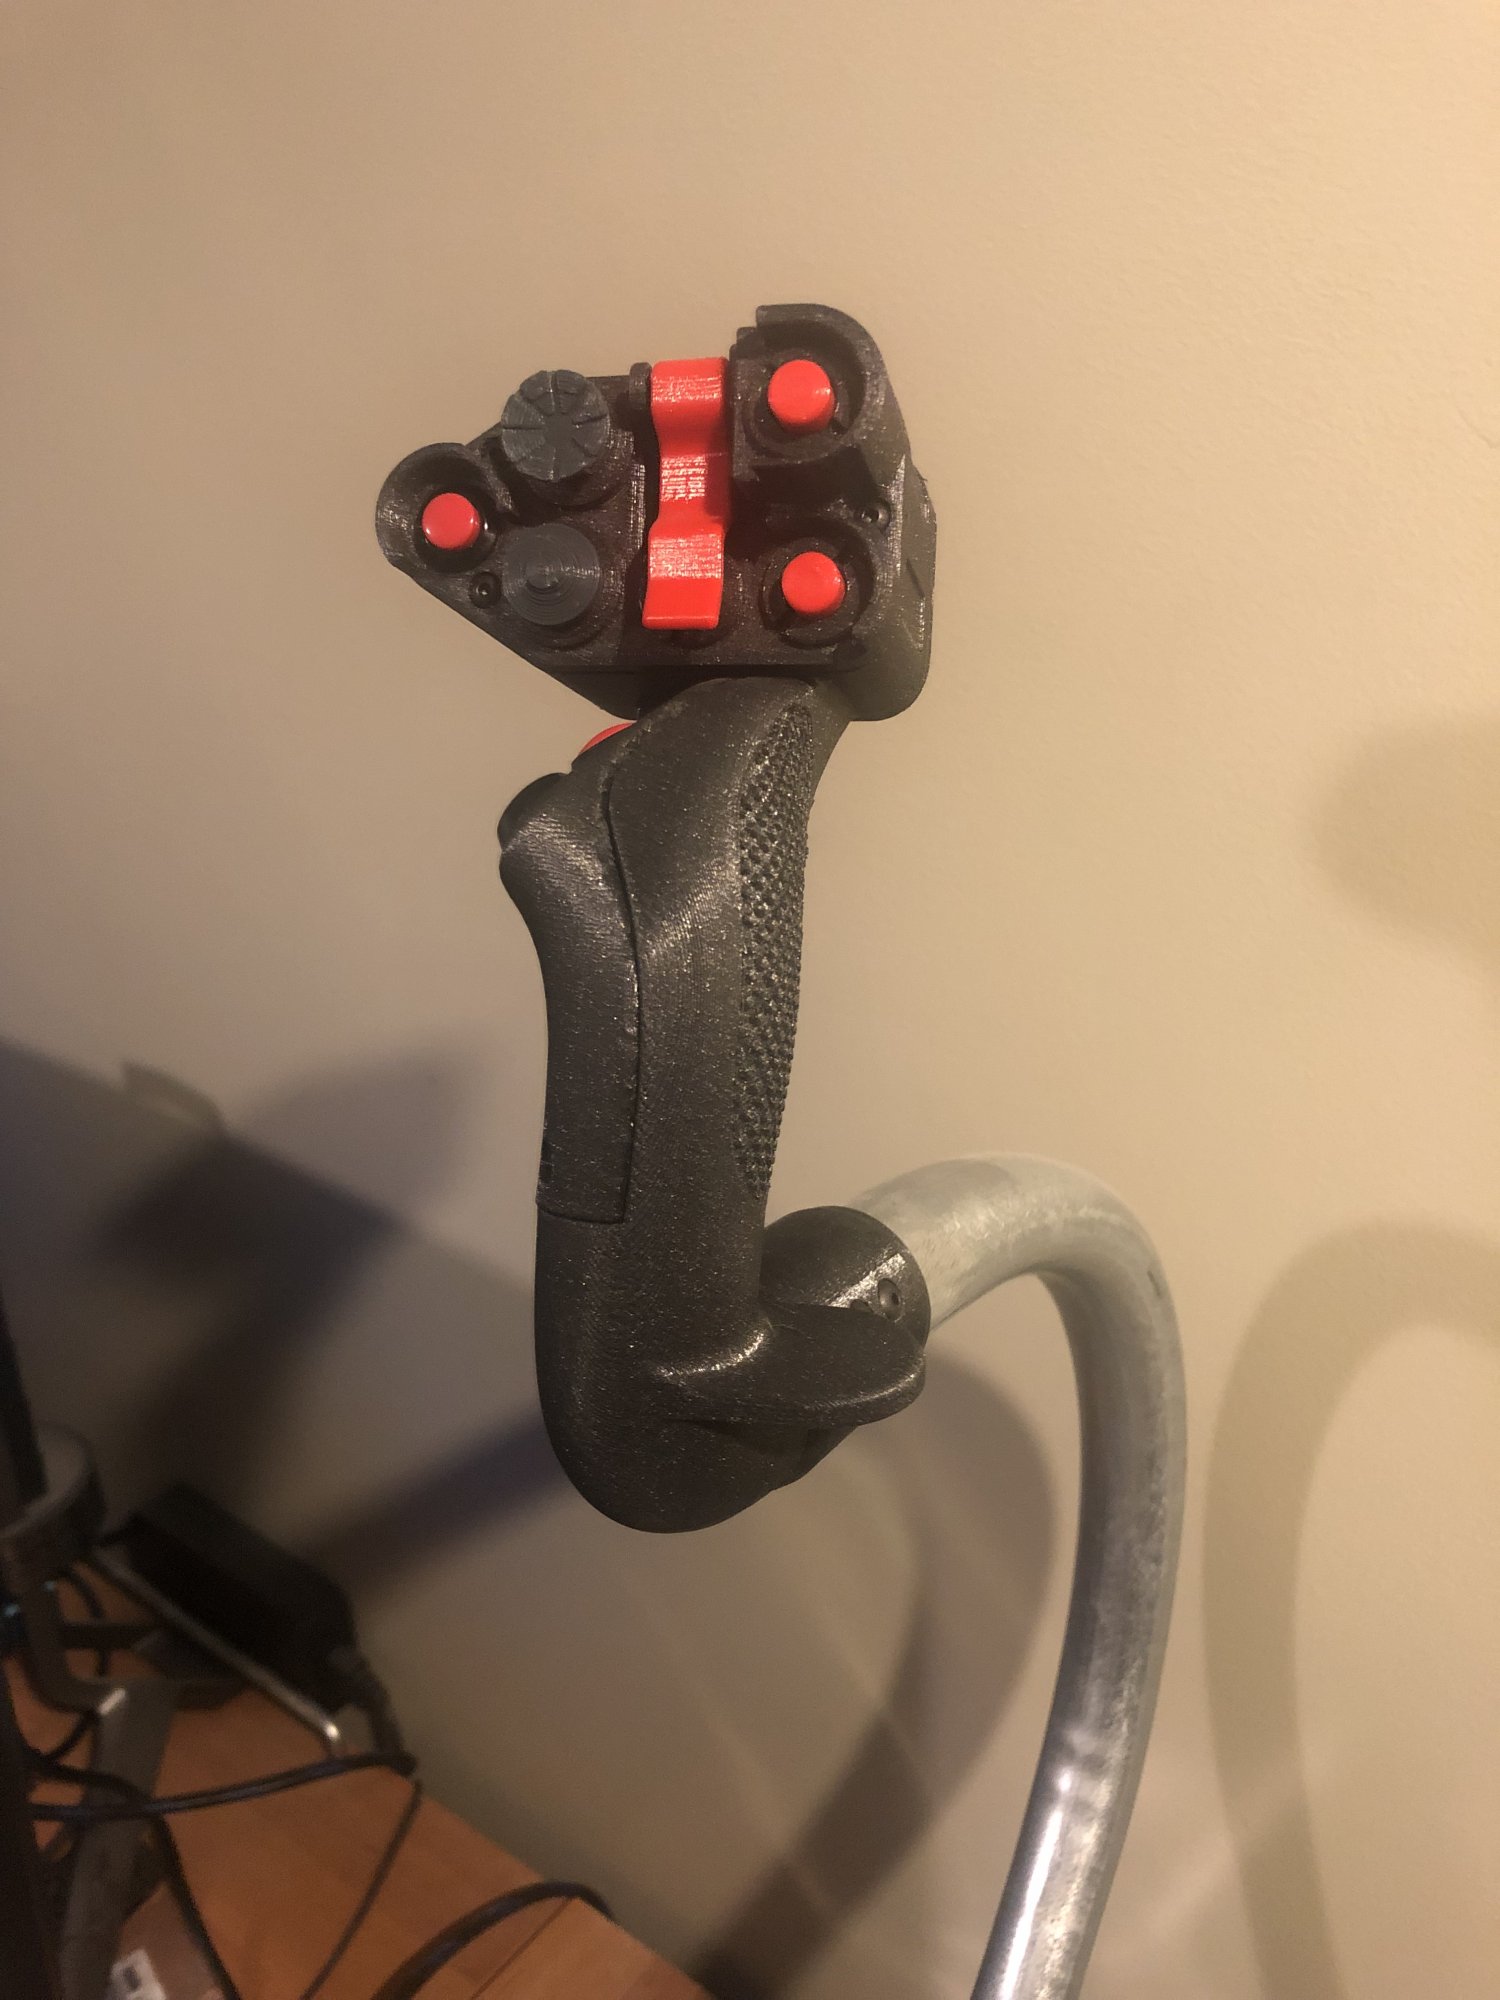
I found a really good model of a helicopter cyclic grip and modified it to suit my needs including beefing up the adapter and mounting surfaces where the handle meets the 1" EMT shaft.

Most of what you see in these photos was printed on a Prusa I3-MK3s including some of the buttons which have tactile SMT micro-switches underneath, the low profile ones are a part from DigiKey.


IMG-9072.jpg
IMG-9070.jpg
 
I found a really good model of a helicopter cyclic grip and modified it to suit my needs including beefing up the adapter and mounting surfaces where the handle meets the 1" EMT shaft.

Most of what you see in these photos was printed on a Prusa I3-MK3s including some of the buttons which have tactile SMT micro-switches underneath, the low profile ones are a part from DigiKey.


View attachment 518043View attachment 518044

that is amazing to me. Wow.
 
1667748209367.png

More inspiration:
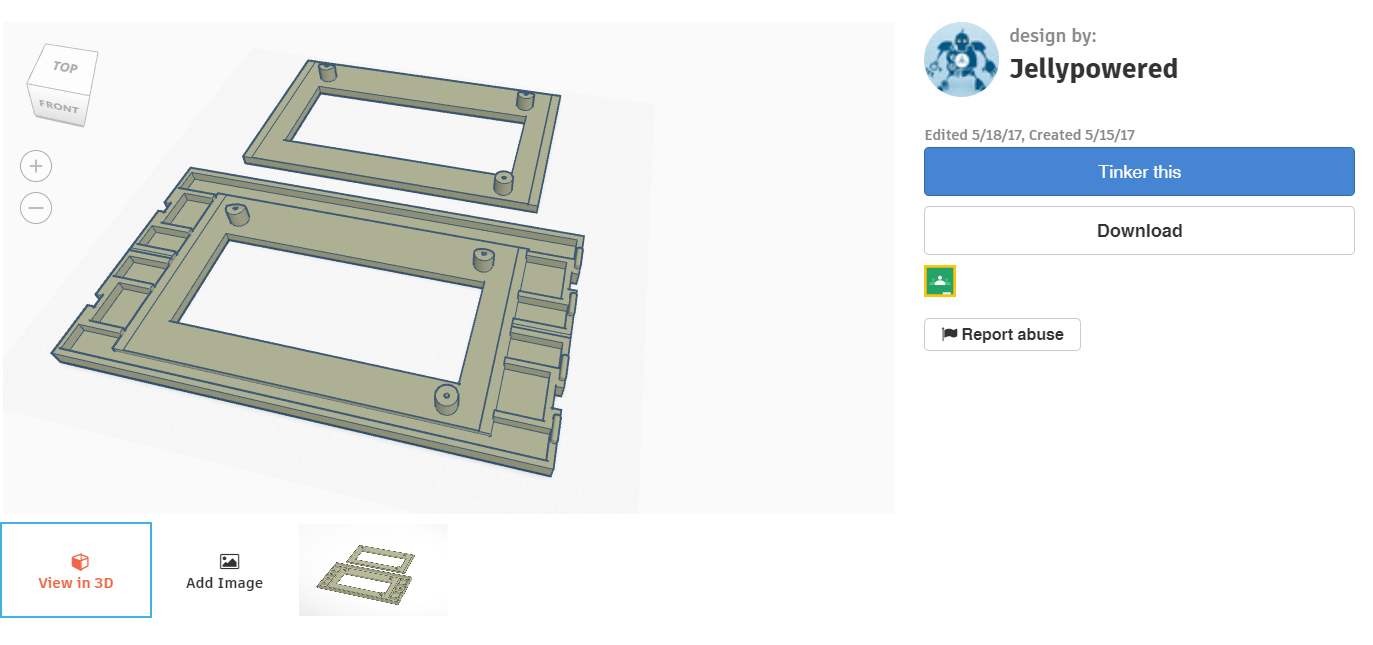
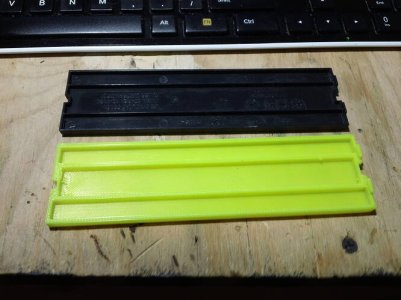
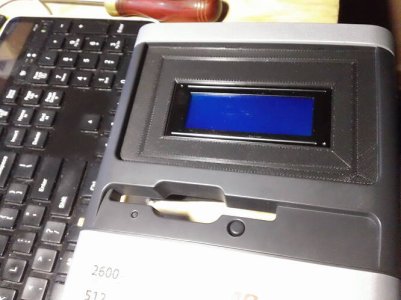
Way back when I wanted to make a arduino controlled pc plant box, I wanted to utilize the 2 5.25 bays to hold my 4x20 Character LCD. Found a mount for the LCD on thingiverse and made up some slot covers, then merged the mount into the slot covers. :)

Testing the fit of the slot cover itself:
Edit: I had one slot cover, it was missing the second. I used calipers and tinkercad to model up a replacement. This was a test print of the model I had made, it worked, so I went on to duplicate it and add the LCD mount.
566abac1ef0c3d3501014bce41198c21a70fe67c_2_666x499.jpeg
ffe908029d0b3772015eaa4217cea2eec912d492_2_666x499.jpg
And the final result.
 
Last edited:
Certainly depends on the complexity of the parts, but more or less this is what Fusion360 is built for. Bust out some calipers, take measurements, thicknesses, etc and start mocking it up in Fusion360.
This. After checking thingiverse and other sites to make sure the design isn't already available to download.
 
Back
Top