Username:AY786
Age:17
Modding Experience:None
DIY:None
Painting experience:None
Well that was a bit about me, as you can see im 17 so im on a strict budet and have no experience on case modding what so ever. My DIY and painting skills are useless as well (you dont wanna be near me with a hammer or drill)
Now the Project:
Project Name: Project A (i cudnt think of a name so i just used the first initial of my name)
Case to be mod: Lian Li PC75 server case (it is for a desktop PC)
Why i am modding this case: Well my current case (raidmax samurai 908 is not very good for cooling in terms of the parts i have used which was custom built by me a couple months ago. Plus you cannot really mod it or you probably can but im not.
Basically my plans are simple really since it is my first mod. Im not doing no next level modding like ive seen others do (especially the batman case which is comming along nicely, parallel hex and many more too long to name all.) Its just going to be a simple paint job and other things.
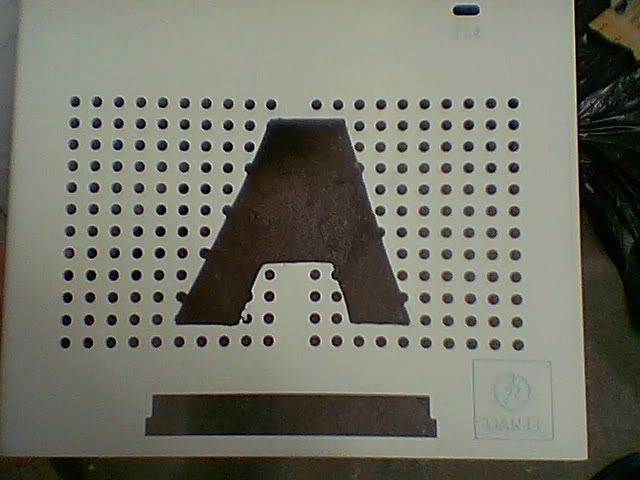
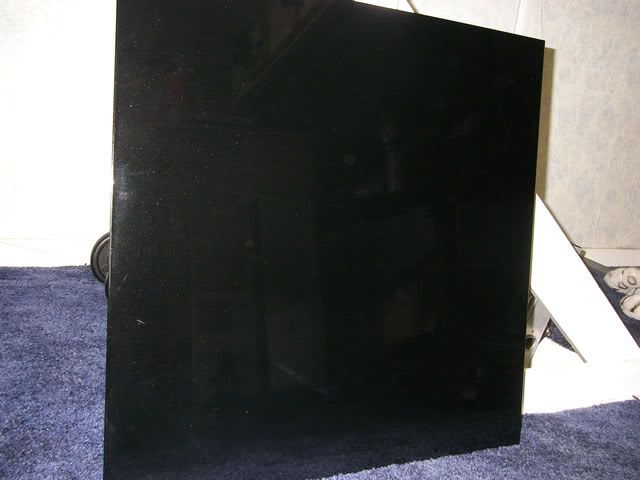
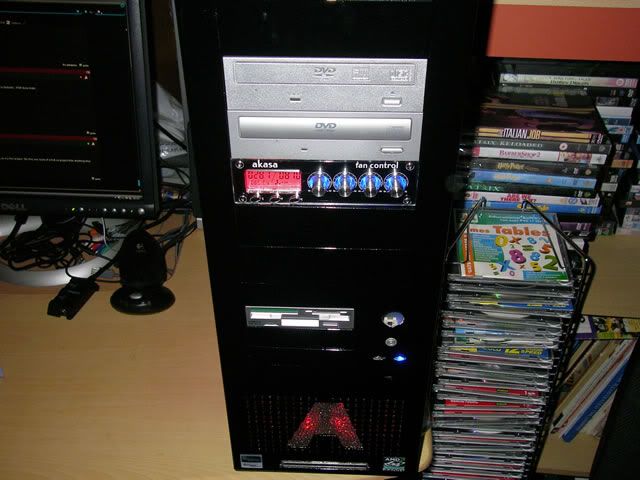
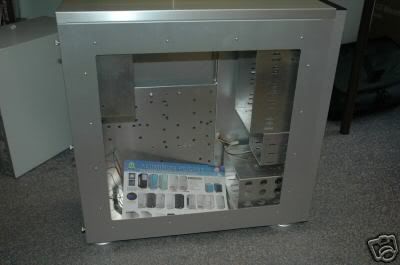
First things first - a pic of the case of what it looks like before i did anything to it.
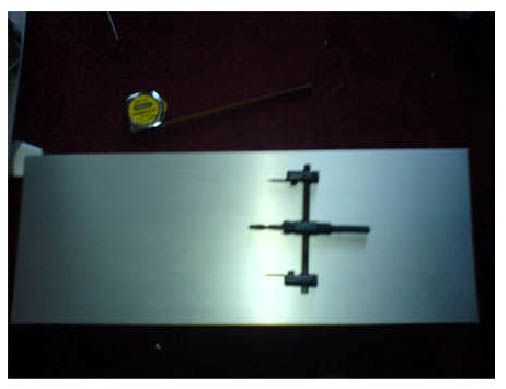
First thing im going to do is to cut out a 120mm blowhole on the top. Simply because heat rises therefore it is very useful to have one of these. Some pics below:
This is the top part of the case which i had to drill out the pivots. You can also see the tank saw that i am going to use. It is very useful as this can be adjusted to any size hole you want to make up to 120mm.
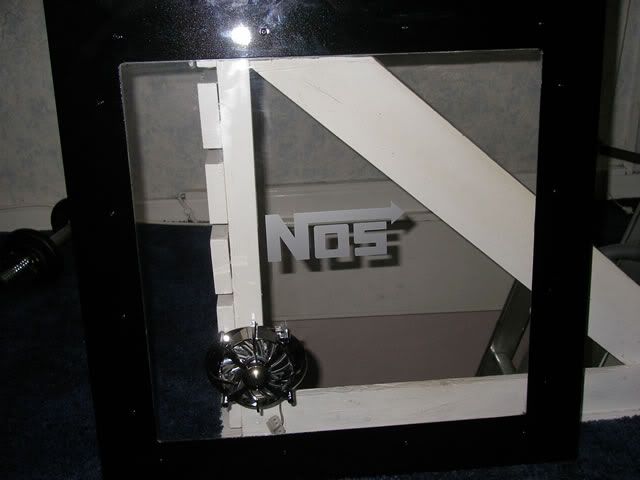
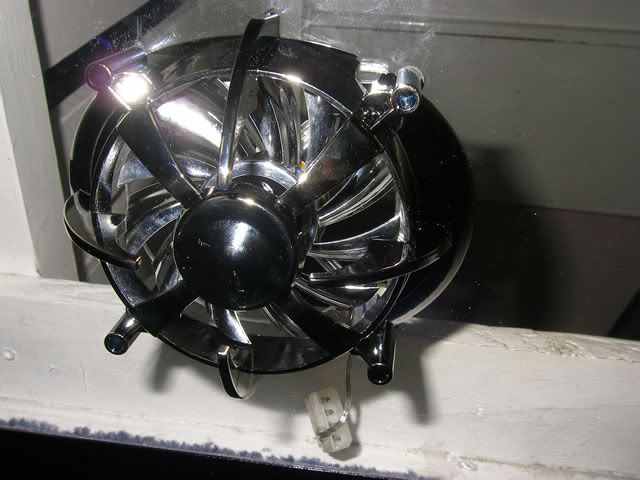
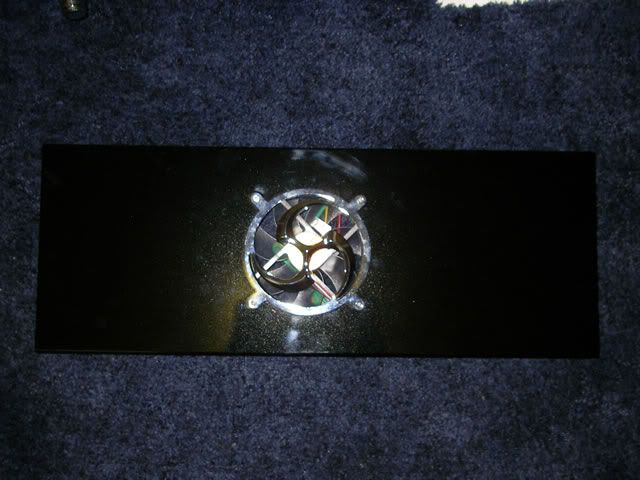
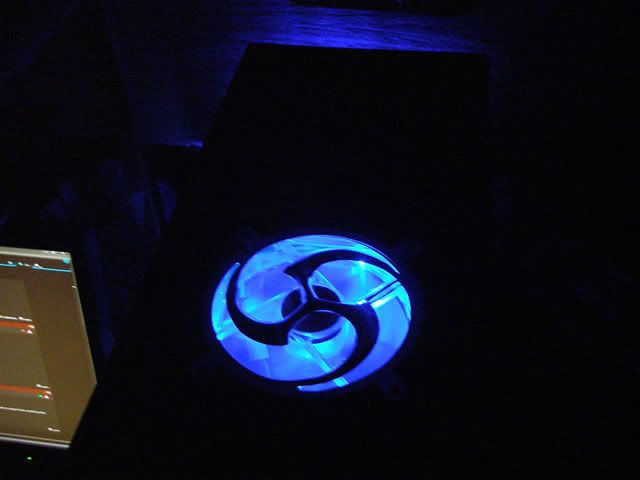
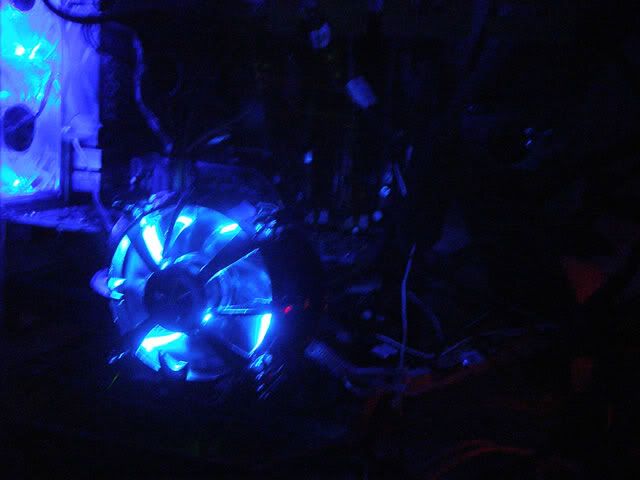
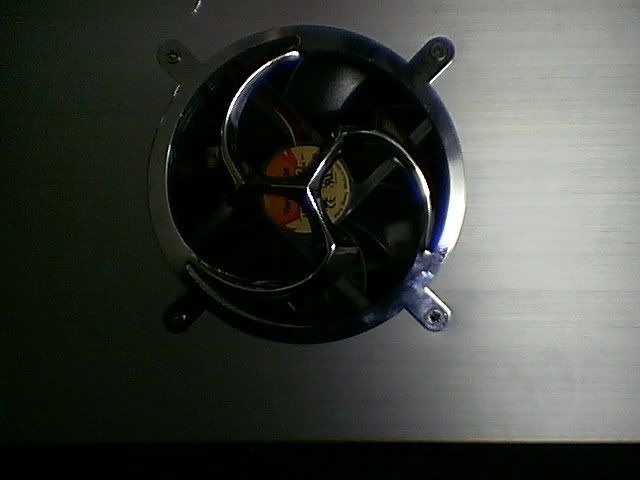
After some hard drilling, which i was nervous about doing, the result. I have used a 120mm thermaltake fan with blue leds and a sunbeam 3D grill (looks pretty cool i thought).
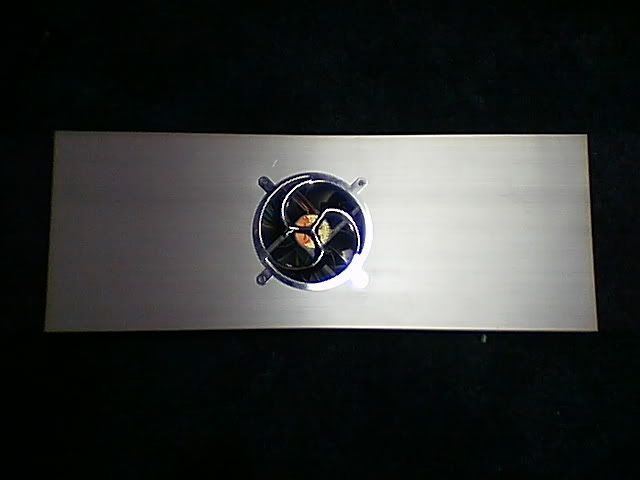
and another closeup:
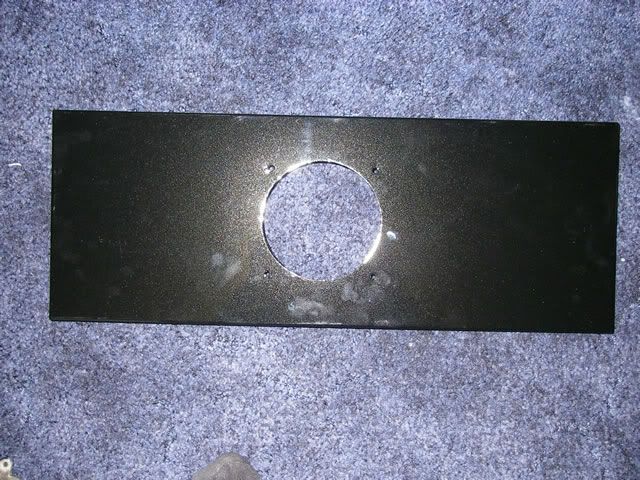
Right that was one job done, the next thing was to cut a 80mm hole on the side panel of the case. This was probably most trickiest. Sorry guys but i forgot to take a pic i was that nervous but will have one comming soon.
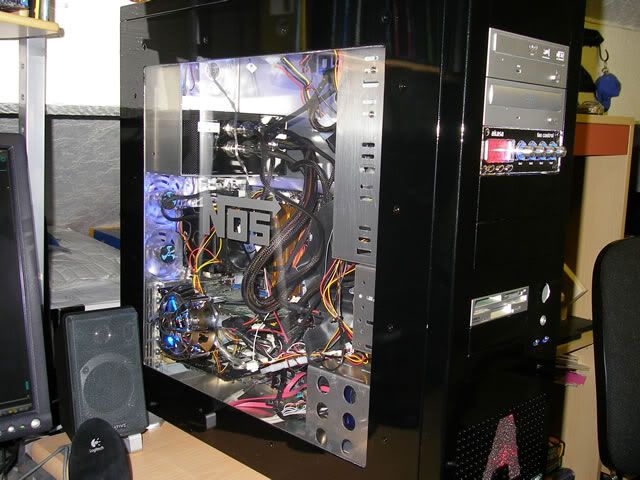
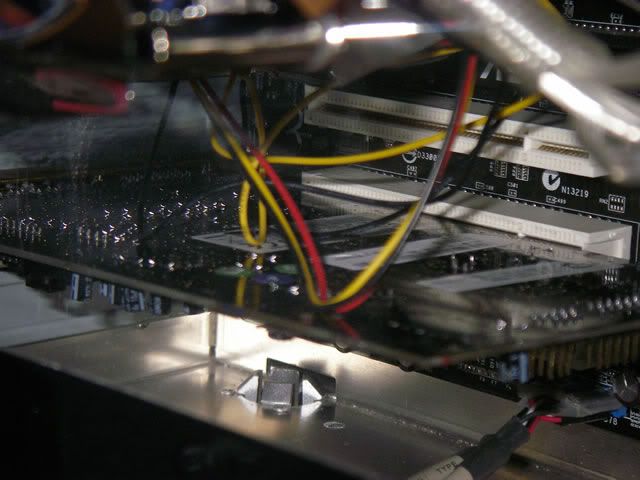
I then stripped the case apart leaving me with the following, some pics for you to enjoy...
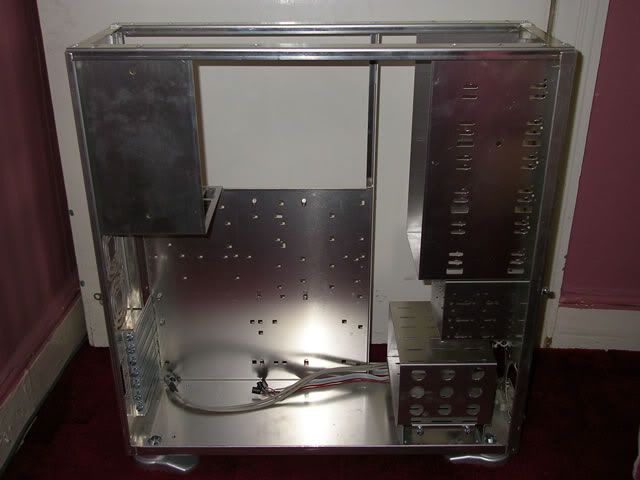
and...
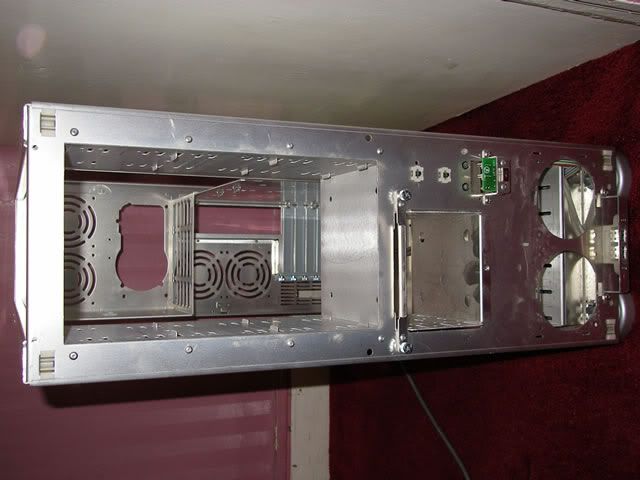
As you can see there is alot of room for fans. I was thinking about water cooling but then a few reasons stopped me from doing this.
1) - Cant afford it
2) - Water & electricity = AHHHHHHH
3) - Was not sure how to go about setting it up.
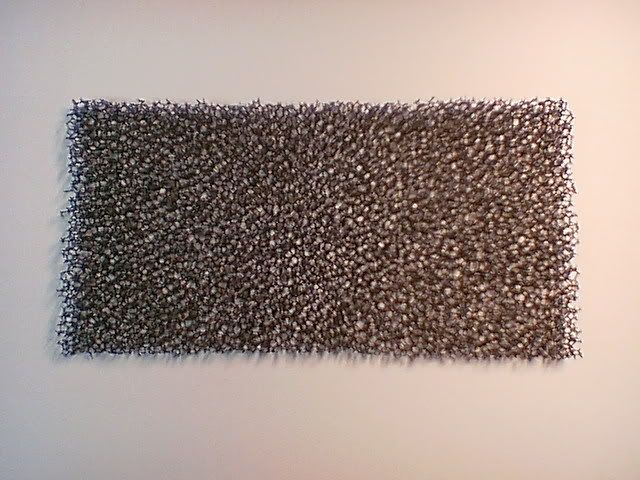
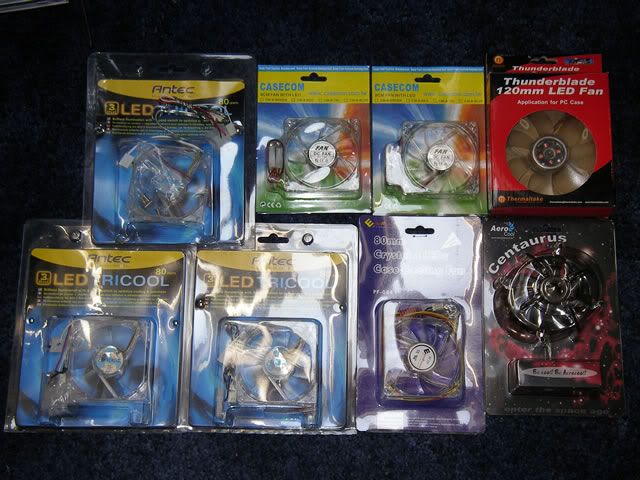
Ahh well,maybe next time so i decided to stick to the good old fans. Im going to be using quite alot of fans actually, here are some new ones that arrived a few days ago...
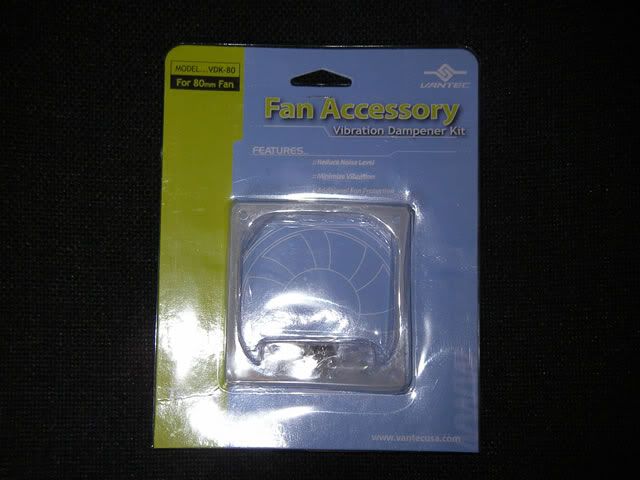
Yes i know what you are thinking, that is alot of fans and how loud is it going to be. So ive purchased a fan controller (hasnt arrived yet) and a vibration dampener (below), this should help.
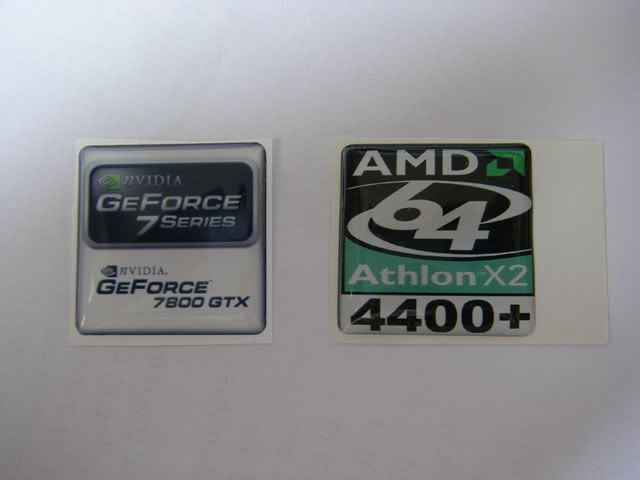
ive also purchased some badges as well related to my computer...
RIGHT NOW FOR THE PAINTING....
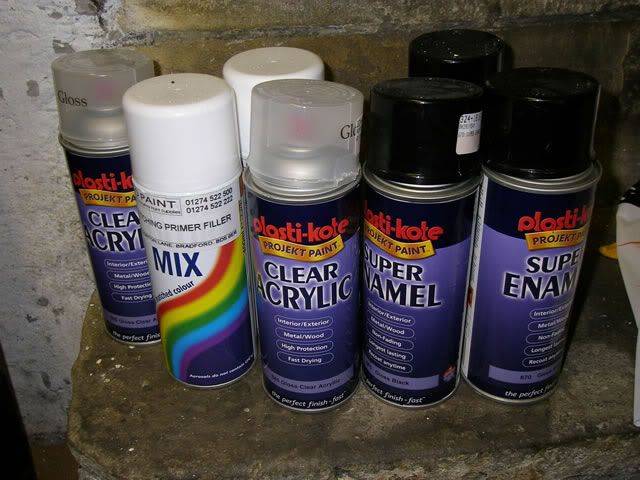
First things first, im going for a black gloss effect so below are some pics of the things i will be using...
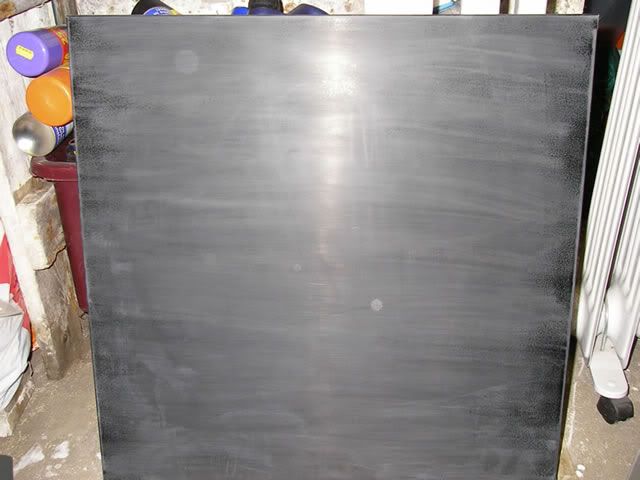
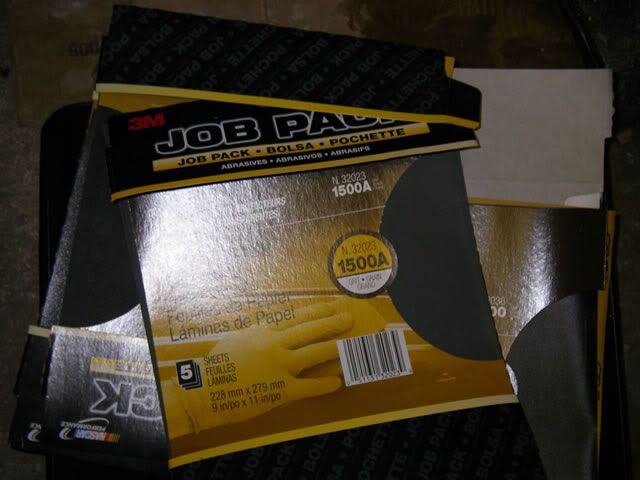
Sandpaper...
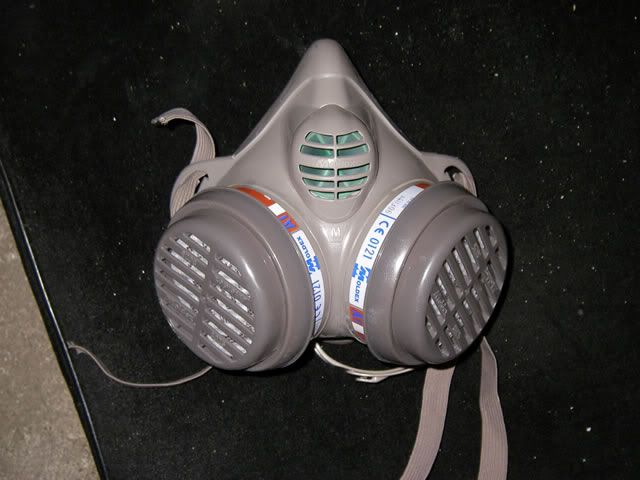
Respirator Mask...
Paint...
Rubbing compound and hand glaze...

That is pretty much the main things you need really. Now for painting the case. i will post more pics on this later. I would appreciate all comments though...
Age:17
Modding Experience:None
DIY:None
Painting experience:None
Well that was a bit about me, as you can see im 17 so im on a strict budet and have no experience on case modding what so ever. My DIY and painting skills are useless as well (you dont wanna be near me with a hammer or drill)
Now the Project:
Project Name: Project A (i cudnt think of a name so i just used the first initial of my name)
Case to be mod: Lian Li PC75 server case (it is for a desktop PC)
Why i am modding this case: Well my current case (raidmax samurai 908 is not very good for cooling in terms of the parts i have used which was custom built by me a couple months ago. Plus you cannot really mod it or you probably can but im not.
Basically my plans are simple really since it is my first mod. Im not doing no next level modding like ive seen others do (especially the batman case which is comming along nicely, parallel hex and many more too long to name all.) Its just going to be a simple paint job and other things.
First things first - a pic of the case of what it looks like before i did anything to it.
First thing im going to do is to cut out a 120mm blowhole on the top. Simply because heat rises therefore it is very useful to have one of these. Some pics below:
This is the top part of the case which i had to drill out the pivots. You can also see the tank saw that i am going to use. It is very useful as this can be adjusted to any size hole you want to make up to 120mm.
After some hard drilling, which i was nervous about doing, the result. I have used a 120mm thermaltake fan with blue leds and a sunbeam 3D grill (looks pretty cool i thought).
and another closeup:
Right that was one job done, the next thing was to cut a 80mm hole on the side panel of the case. This was probably most trickiest. Sorry guys but i forgot to take a pic i was that nervous but will have one comming soon.
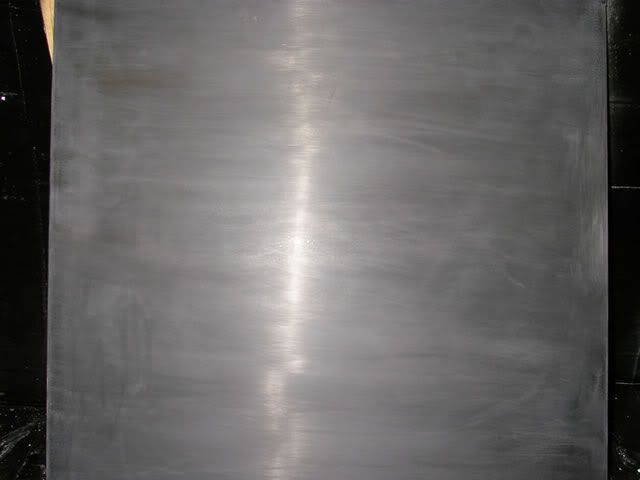
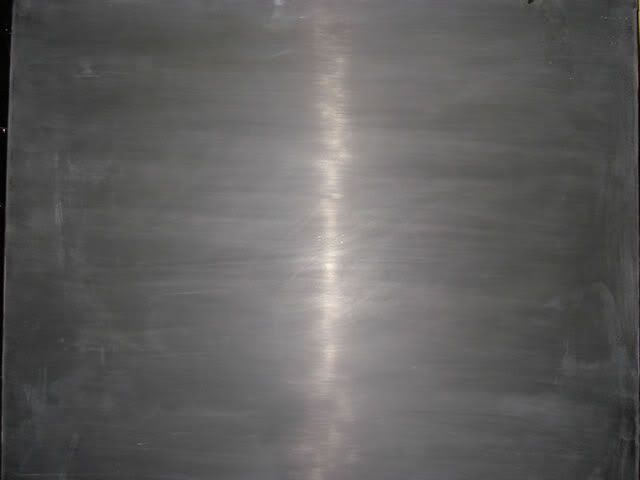
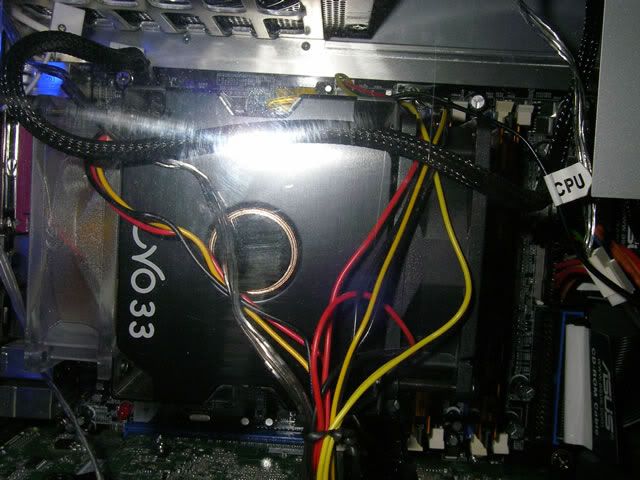
I then stripped the case apart leaving me with the following, some pics for you to enjoy...
and...
As you can see there is alot of room for fans. I was thinking about water cooling but then a few reasons stopped me from doing this.
1) - Cant afford it
2) - Water & electricity = AHHHHHHH
3) - Was not sure how to go about setting it up.
Ahh well,maybe next time so i decided to stick to the good old fans. Im going to be using quite alot of fans actually, here are some new ones that arrived a few days ago...
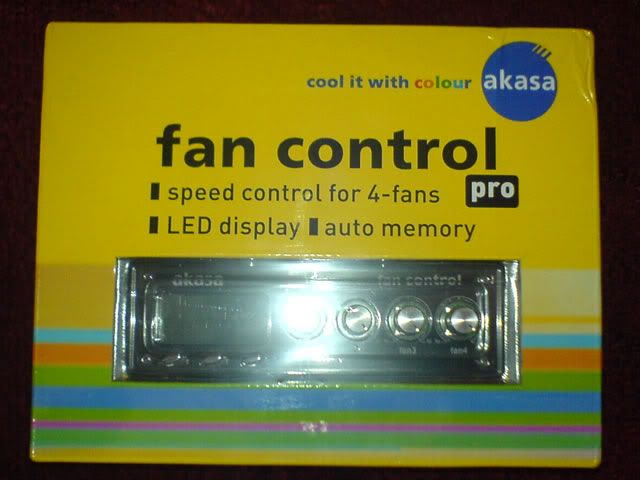
Yes i know what you are thinking, that is alot of fans and how loud is it going to be. So ive purchased a fan controller (hasnt arrived yet) and a vibration dampener (below), this should help.
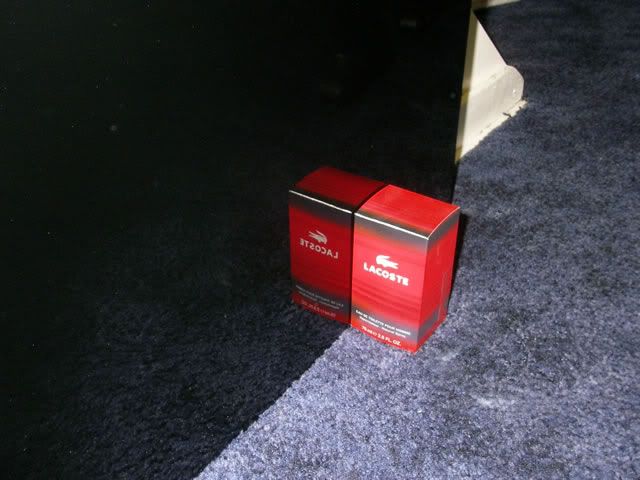
ive also purchased some badges as well related to my computer...
RIGHT NOW FOR THE PAINTING....
First things first, im going for a black gloss effect so below are some pics of the things i will be using...
Sandpaper...
Respirator Mask...
Paint...
Rubbing compound and hand glaze...
That is pretty much the main things you need really. Now for painting the case. i will post more pics on this later. I would appreciate all comments though...