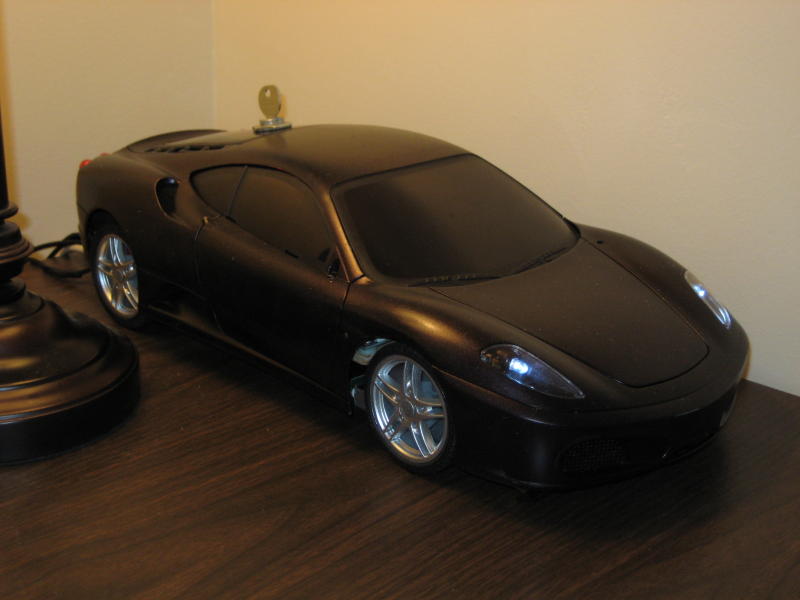
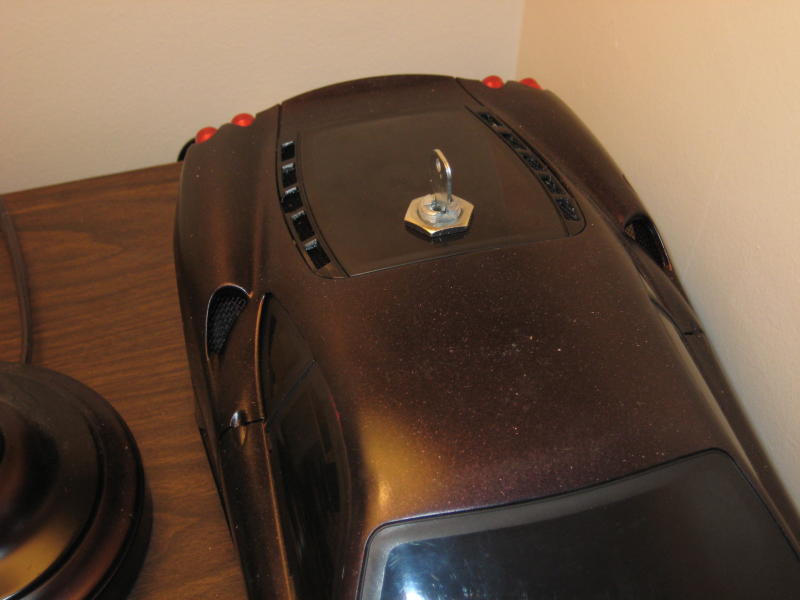
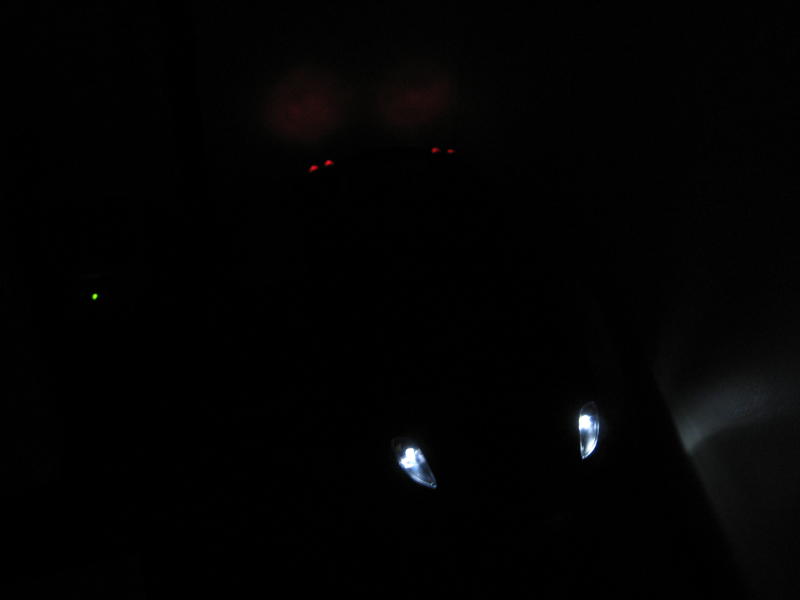
Ferrari F430 PC

holy shit
awesome worklog and pc...

looking foward to the final product...

THis looks like it would be a fun project and cool pc to have :D
 
u should get a tiny radiator and water cool it. to make it look like the cars radiator and to be plain awesome.
 
Wow man, very impressive.

Can't wait for more updates and the finished product.
 
Cool project! I know I'm kind of late but if this is my project, I would do it another way. Actually I'm into RC cars so I know a little bit about it.

Instead of getting a RC car and turn it into a computer I would get a polycarbonate body shell like this and two pair of wheels like this. You will also need some tyres for your computer :p

The body is clear so you need to paint it yourself from inside. You need a special paint for the polycarbonate body but these paints are normally metallic paint so the body will look more like a real car, not like a toy car. You can use a masking tape for the windows and headlight. After finish painting, you need to cut out the excess plastics and the remove the protective layer outside the shell. After that put on the decals. Now you will have a shiny body with metallic paint.

Then you can fabricate your own chassis using the plywood and mount the wheels to the chassis yourself. If you want to have a wheel that can spin, you could get some uprights too.
 
A long awaited update, but sadly little good news. I was having display issues with the motherboard so I figured it was the RAM. I tested and sure enough it failed Memtest. I went to Fry's and bought a replacement because I didn't have time to wait for an RMA and Christmas was fast approaching. After installing the new RAM, the problems continued. I tested this stick of ram and it was ok. I now have to RMA the motherboard. Hopefully the replacement gets to me soon. I live close to the Via RMA facility so it shouldn't take too long to ship it to them and the shipping back - lets just hope they are quick to send out the replacement as I am leaving soon to go back to college.

The good news is that soon I will be able to post pictures of me painting the body of the car. I am excited to see how the black with red flakes will turn out.

u should get a tiny radiator and water cool it.

I thought about doing that. I thought it would be an awesome touch. I just didn't have the money and finding a radiator small enough is certainly a challenge.

Instead of getting a RC car and turn it into a computer I would get a polycarbonate body shell like this and two pair of wheels like this. You will also need some tyres for your computer

That was actually one of the first things I considered. The only problem was that I would have to provide my own emblems and stuff. This would have been quite difficult. The RC car I bought was also awesome for doing the LED lighting becuase of the plastic tail lights and head lights.
 
That was actually one of the first things I considered. The only problem was that I would have to provide my own emblems and stuff. This would have been quite difficult. The RC car I bought was also awesome for doing the LED lighting becuase of the plastic tail lights and head lights.
With masking, you could still do the LED lighting but the emblems are decals. However Tamiya's shell is quite detailed.
 
Update!!!!

I have gotten it all together now. These pictures show my progress over several days.

I got some new stuff for the car. The ignition key I bought is shown later.
newstuff.jpg


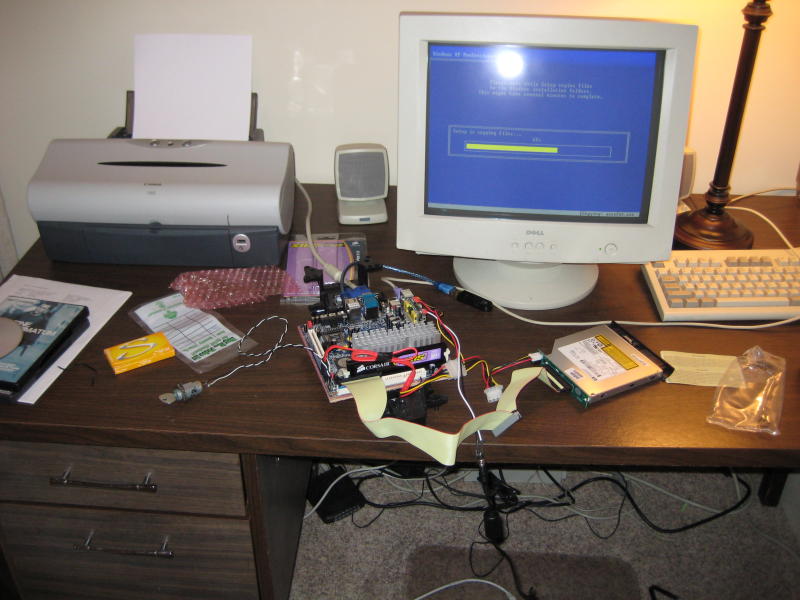
One of the first things I did was got Windows installed on the machine.
windows.jpg


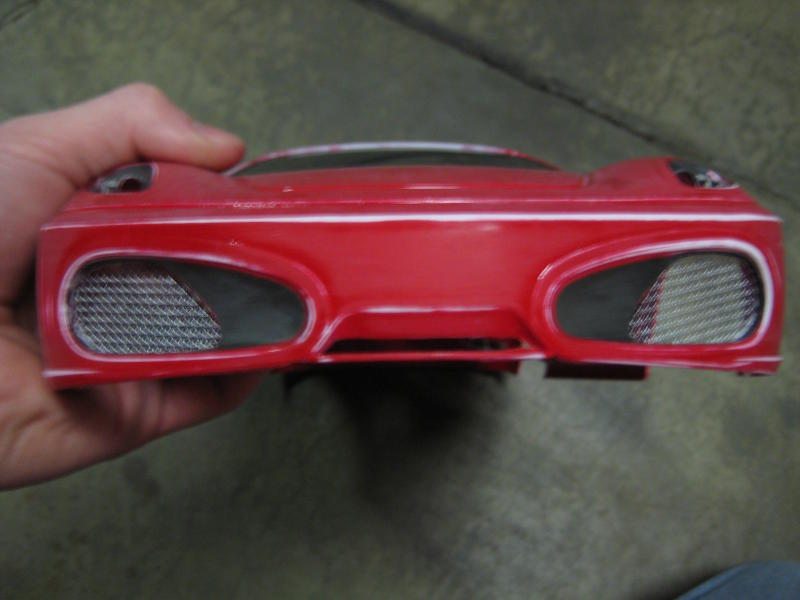
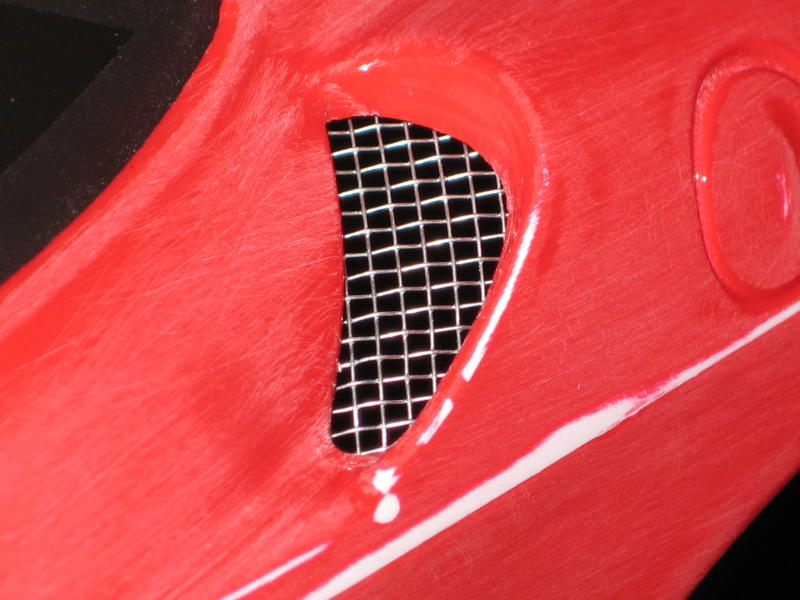
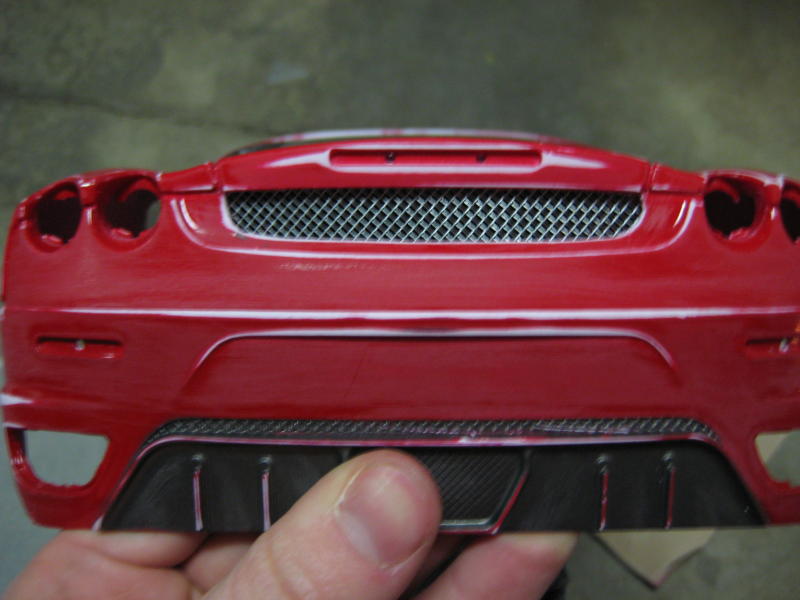
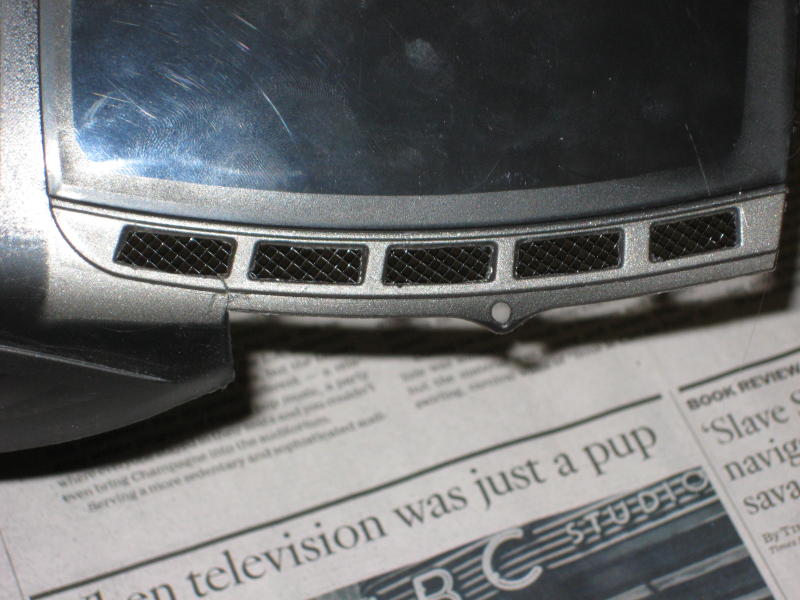
I then got to working on the body. I started off getting the mesh in place.
frontmesh.jpg

sidemesh.jpg

rearmesh.jpg

backmesh.jpg


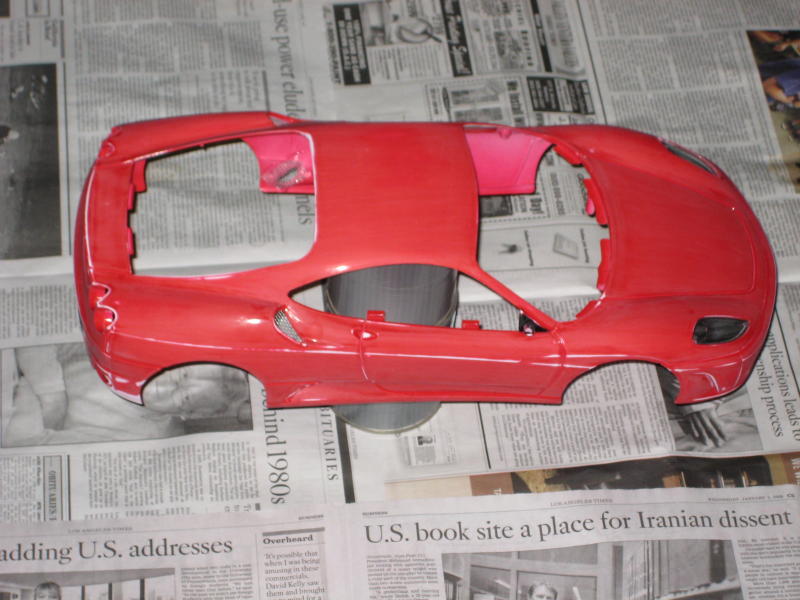
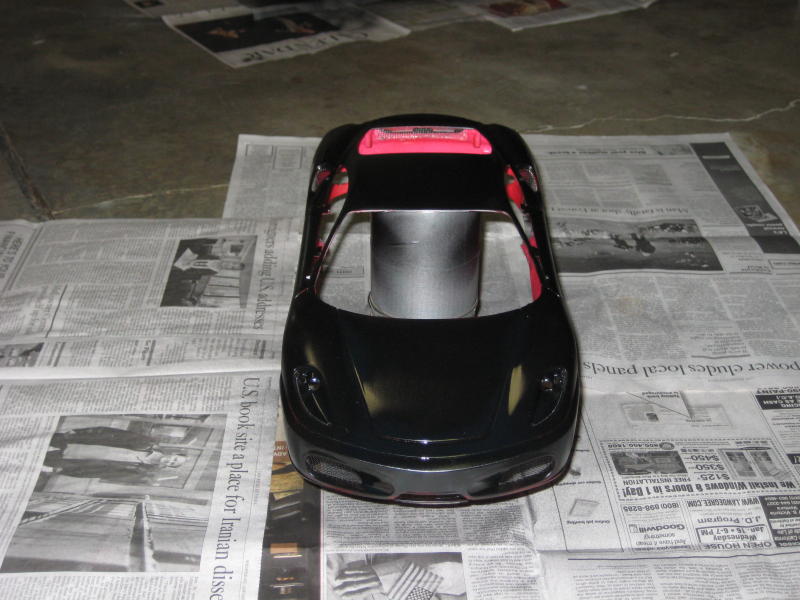
I set up the body on a couple of stacked small paint cans so that I could paint better.
stand.jpg


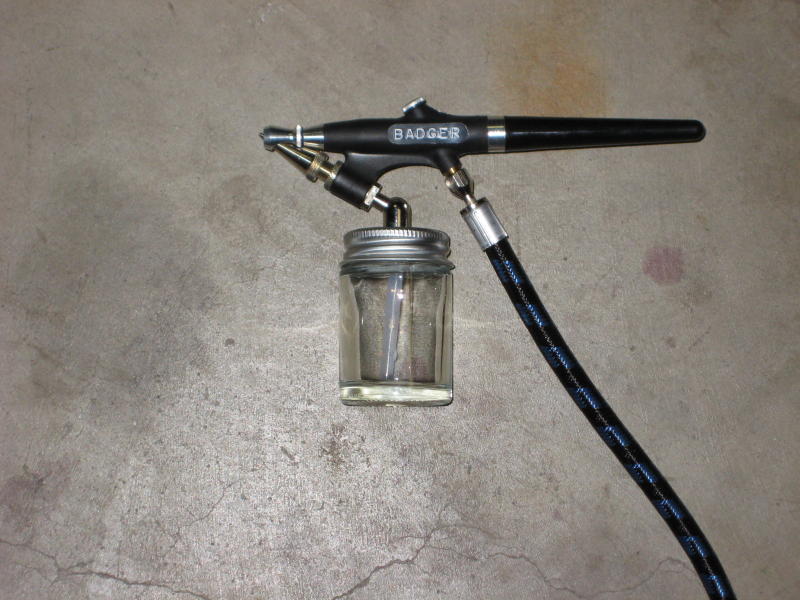
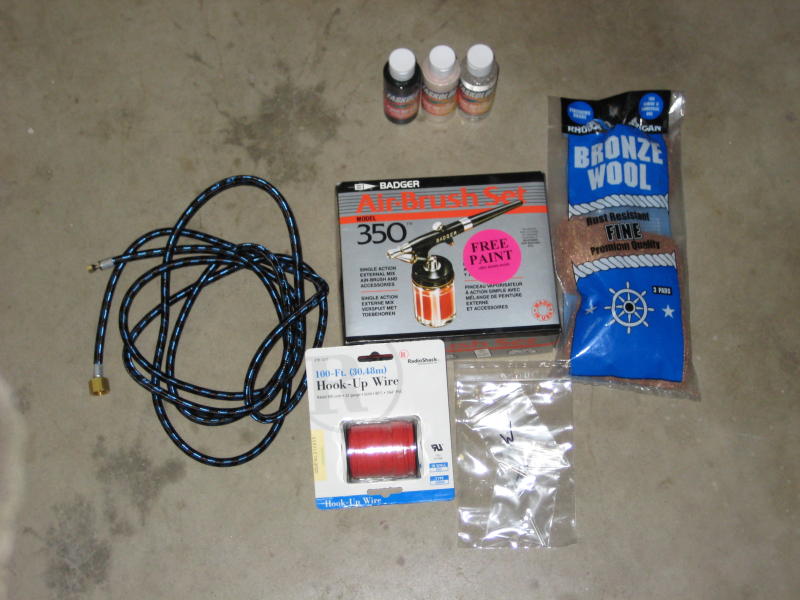
This is the airbrush and stuff I am using for this painting job.
airbrush.jpg


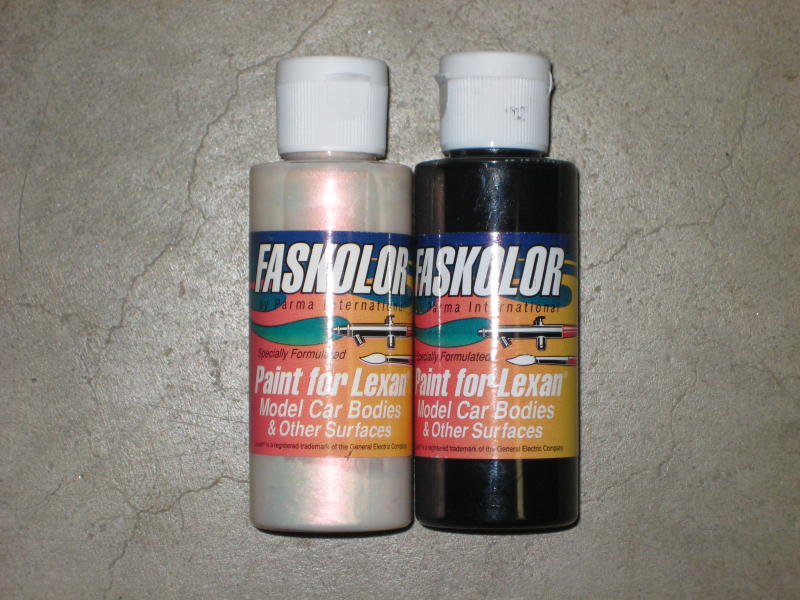
This is the paint I am using. Black and a special paint to add red flakes.
paint.jpg


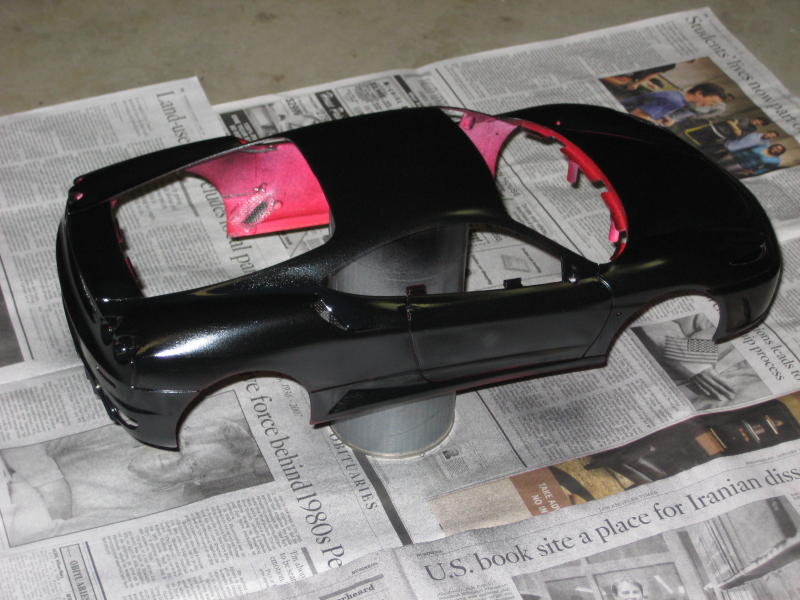
This is after my first coat of paint.
firstcoat.jpg

firstcoatfront.jpg


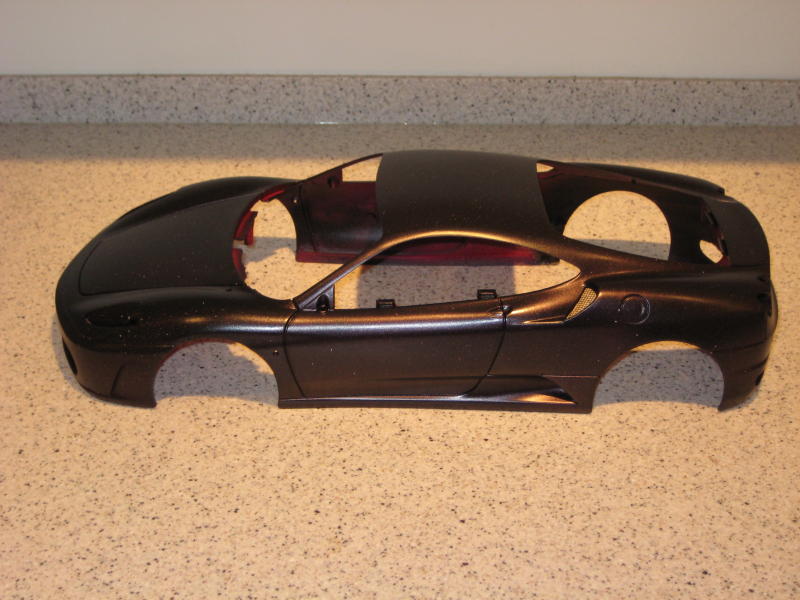
Three coats and some work later, this is what I have.
flakes.jpg


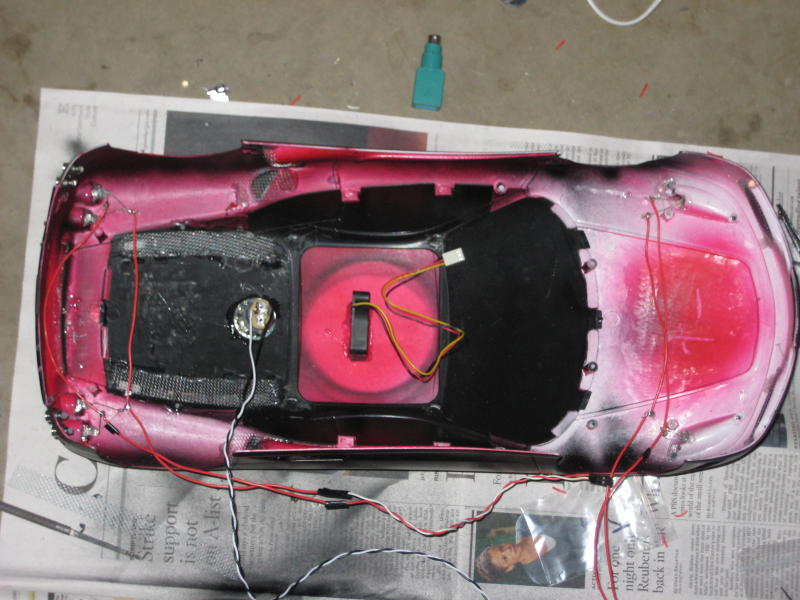
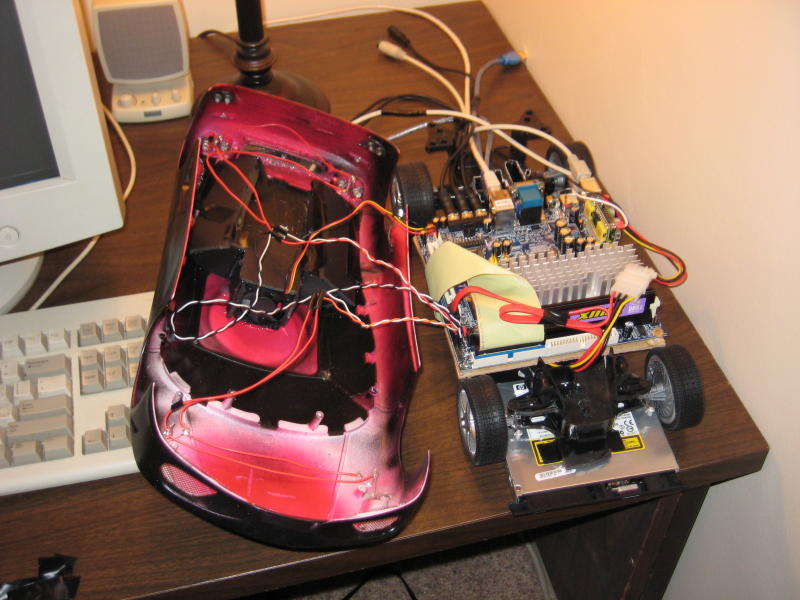
I then got to work wiring up all the nice LEDs I bought as well as the ignition switch.
wiring.jpg


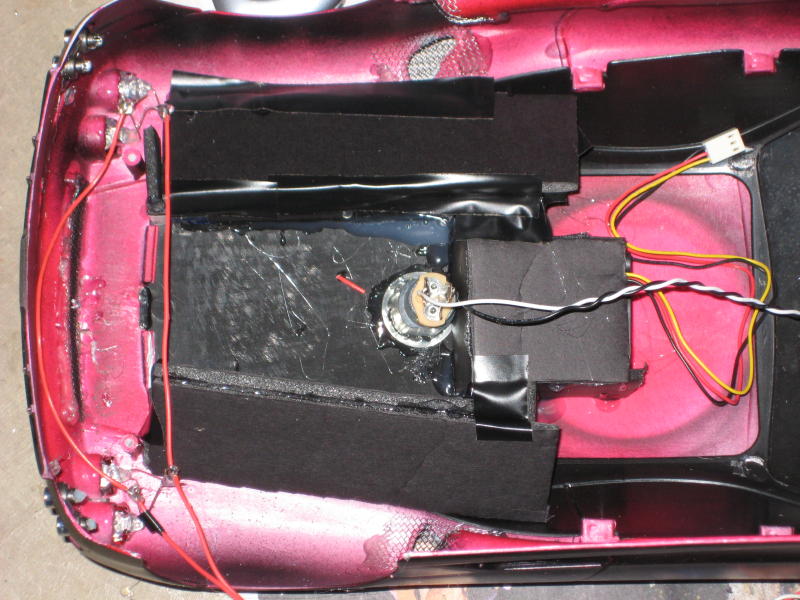
I then used some black foam board and the electrical tape on hand to create the air channels to the exhaust.
airchannel.jpg


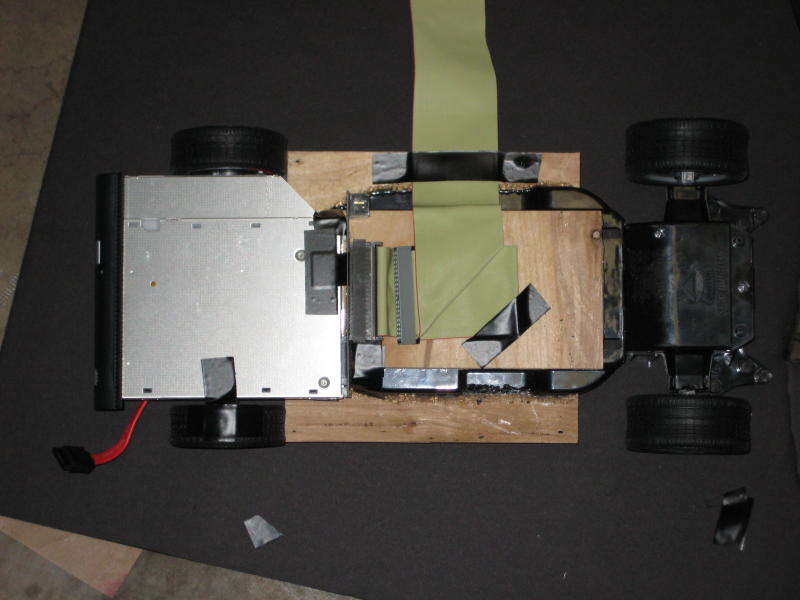
Due to a certain lack of glue sitcks, it started getting ghetto when it came time to mount the cd/dvd rom drive.
underbelly.jpg


Here I am connecting all the wires and getting ready to re-attach the body to the chassis.
wires.jpg


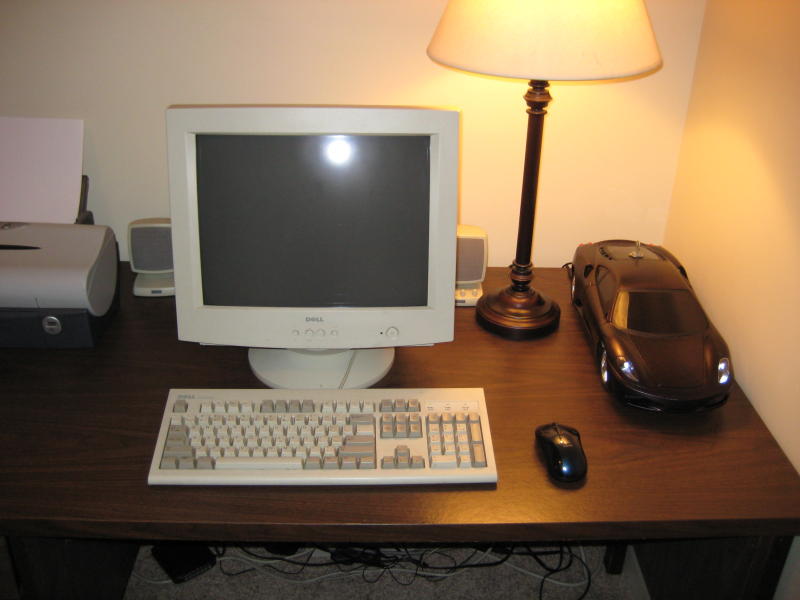
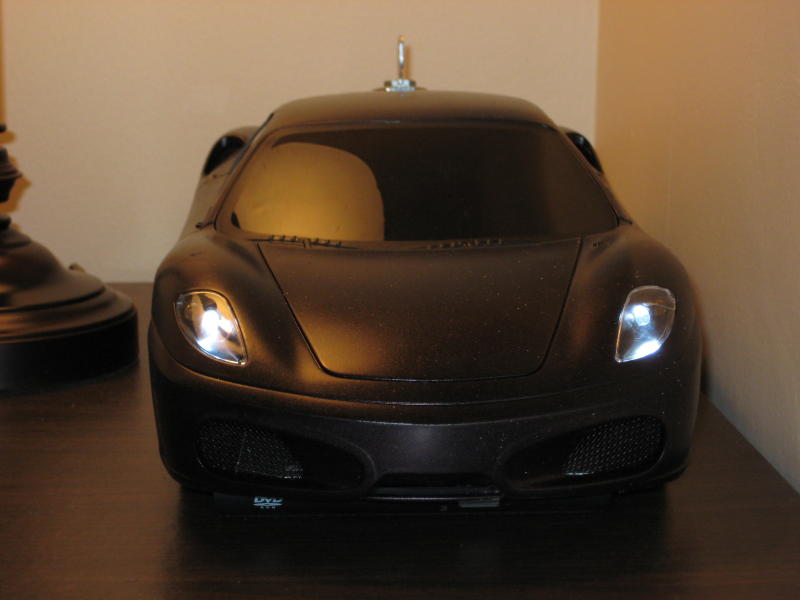
Ready for some finished pics? Here they come....
monitor.jpg

front.jpg

bodyangle.jpg

ignition.jpg

dark.jpg


Here is also a quick 10 second video showing the mod in the dark while defragmenting.
Download here - 1mb-ish WMV

The side mirrors are gone because I was having some difficulty with them. They will be put on later along with some new decals that I will buy. The stickers were being difficult. Sadly I did not get to chrome the rims like I wanted because I couldn't separate the front rims from the plastic disk brake.

EDIT: 50th reply which also has the 5th update posted on the 5th of January... haha
 
Holy crap that is awesome, and it performs better than my old desktop haha.
 
when i saw this thread i expected an 8800 sli/core 2 extreme setup.boy was i disappointed
 
looks niceeeeeeeeee, dont get me wrong though but even though my favourite colour on cars are black, the ferrari red would have probably been a better finish, but im not complaining though lol nice work man :
 
Great job man. Looks awesome. Love the Dave Chappelle in the background of the video :D
 
You're crazy.

You have to like a car computer complete with startup key.

Have my man-babies.
 
I remember reading this when the mod started, and was not expecting this!

Great job, bet your dad loves you :D
 
Very nice job! You should try and find a Ferrari key to use in the ignition, but that would probably cost a fair bit.

The paint looks fantastic.
 
dang!
how does that CPU perform?
it's the super low voltage stuff, right? (forgive my n00bness)
-seth
 
I don't know. I never did any benchmarks or anything before I left. Next time I am home I will make sure to do that.

The motherboard I picked uses the C7-M which offers the lowest power consumption of the C7 series CPUs. I am interested in seeing what the system uses as a whole - sadly I don't have the equipment to test it. All I know is the power usage is very low.
 
Back
Top