• Some users have recently had their accounts hijacked. It seems that the now defunct EVGA forums might have compromised your password there and seems many are using the same PW here. We would suggest you UPDATE YOUR PASSWORD and TURN ON 2FA for your account here to further secure it. None of the compromised accounts had 2FA turned on.
    Once you have enabled 2FA, your account will be updated soon to show a badge, letting other members know that you use 2FA to protect your account. This should be beneficial for everyone that uses FSFT.

Ferrari F430 PC

visionviper

[H]ard|Gawd
2FA
Joined
Jul 24, 2007
Messages
1,226
Codename: Ferrari F430 PC
Objective: To place a computer inside a 1:10 scale model of a Ferrari F430 and give it to my dad for christmas.

everything_resize.jpg

everything_resize.jpg


Parts list:
VIA EPIA LN10000EG Mini-ITX Motherboard (1ghz C7 processor)
120w PicoPSU
512mb G.Skill DDR2-533
80gb notebook SATA hard drive
Slim CD-ROM drive (on its way)
2x 40mm fans (I don't think I am going to need them)
2x USB male to female
3x stereo male to female
2x PS2 male to female
VGA male to female
RJ-45 coupler (on its way)
Molex to SATA power adapter

Briefing:
My plan is to remove the big parts of the RC car, giving me as much room as possible. All the cables are going to be used for creating nice, clean connections on the back of the RC car. I don't want to just cut off chunks of the back. This way is going to look much nicer. I will have to cut the cables shorter because they are are so long, but it was to be expected. Currently, I am having some trouble trying to figure out how I am going to mount the CD-ROM drive, but more on that later. I am also considering wiring up some LEDs. The headlights would be wired up to the power led pins, and I am thinking about wiring LEDs into the break lights and using them as HD activity LEDs. My first item on my todo list is to take out what I can in terms of RC components to give me more room.

I know it's not exactly the most original or the most complex mod, but one thing I am going to make sure I do that I haven't seen many other model car mods do is not to just make big ugly cuts to expose connections. I am either going to just cut down the wires and have them be free hanging out the back of the model (going under the body) or I am going to make nice, clean cuts for the connectors to fit into. I haven't decided. If anyone has thoughts on that I would like to hear it.

This PC is going to be a christmas gift for my dad to replace his aging Dell computer.
 
Last edited:
The P733 is probably faster then a C3 at 1ghz...

As a novelty I'm sure he will love it but it won't be faster.
 
Tomato, To-mat-o. The p3 is a solid processor and the VIA is a lawnmower in a car race.
Thread crap much? Either one will do fine for general web surfing and such.

To the OP-good luck dude, this looks to be a challenge! I'm interested in seeing how it comes out! :D
 
Thanks Clarior. The only thing my dad will be doing with this computer is web surfing and some word processing. I'm a college student, so price had a big impact on what I could buy since I am paying for it.

Now I would appreciate it if the conversation revolved around the mod, not the choice in processor. That discussion can be had elsewhere.
 
Great Idea, Cant wait to see how it turns out and i love the idea with the LEDs being the headlights. Good Luck and im sure your dad will love it.
 
Subscribed and hoping to see an awesome result! Neat idea.

Hopefully you have a good camera for small work. :)
 
Cant wait to see it done

Im amazed companies get those tiny PSU's to push the amps they do
 
Have you considered locking the wheels somehow?
Display stand, miniature wheel blocks, gluing the wheels, etc?
I imagine you wouldn't want this thing rolling around too much...;)

I love the idea. The LED lights are a great idea as well.

You say you may not need the 40mm fans...I would still try to ventilate it somehow (convertible?:D). The plastic body of the car won't help dissipate much heat. Those C7 processors don't put out much heat (<20 watts), but that can still build up quickly under plastic. For example, ever notice how small plug-in power supplies for appliances, phones, etc., tend to get a little warm?

There are all sorts of things you could do with the cables. I would try to mount them to the rear bumper somehow...you could even make your headphone and mic jacks look like dual exhaust pipes.
.
 
I'd recommend trying to leave all RC components in place. That way when the Feds bust down your door to catch your huge filesharing ring, you can just drive the car to safety. They won't have any idea.

Cool idea though. What about putting a clearish window in the rear and trying to mount the mobo so the cpu is below the window? That way you can see the 'engine' of the computer right where the engine of the Ferrari would normally be. I don't know how tricky that would be.
 
UPDATE #1

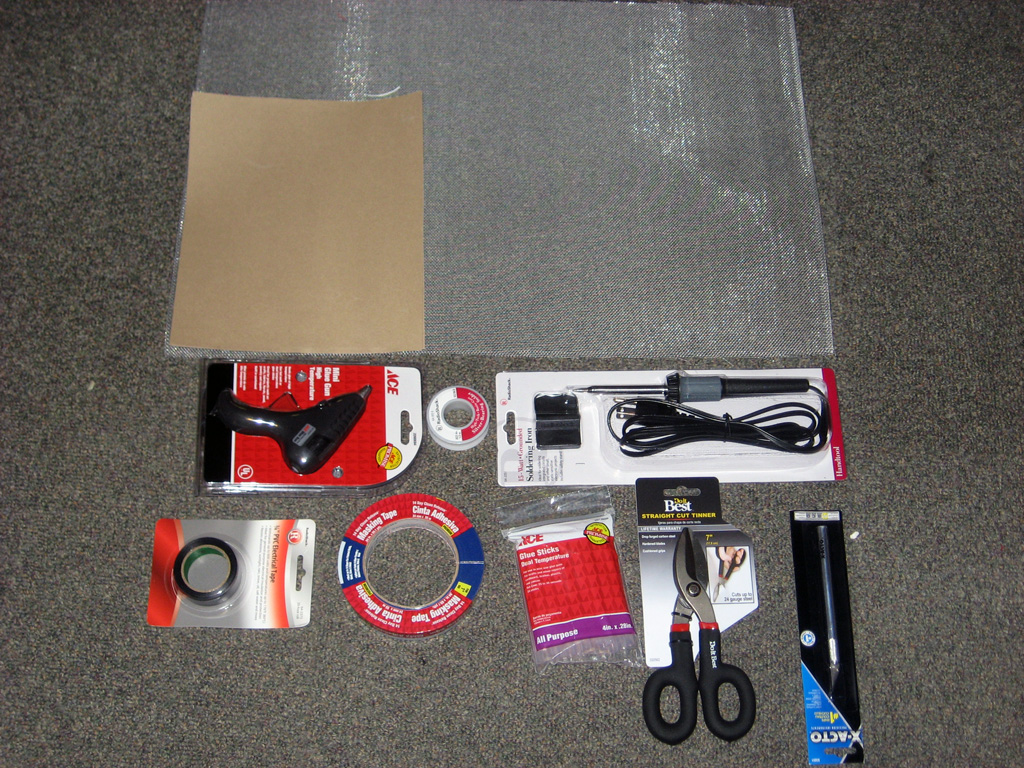
I went shopping today for things I need for this project.

storetrip_resize.jpg


Here is what I got:
Aluminum mesh screen
220 grit sand paper
Hot glue gun
Glue sticks
Soldering iron
Solder
Electrical tape
Painters tape (more on this in a bit)
Scissors on crack (metal cutting shears)
X-Acto knife

The aluminum mesh is going to replace the plastic in the various air intake areas and stuff. I was just going to keep the plastic there and just put holes in it, but I decided for the sake of good looks I should just cut it out and replace it.

I also am going to be repainting the whole body. I am currently shooting for a color changing paint job with some dark-ish red (like a burgundy or crimson) and black. If anyone can offer their advice here, I will gladly take it.

I am going to be buying my LEDs online. Radio Shack's LEDs were very expensive.

Thank you to those who have made suggestions; I always like to hear them.

CaptNumbNutz said:
Have you considered locking the wheels somehow?

I am going to be putting glue on the wheels/axels to keep it from moving.

CaptNumbNutz said:
I would still try to ventilate it somehow

I have been planning a little something :) I am looking into creating a custom air duct using one of the 40mm fans to channel air to the soon to be created open area on the sides of the back window.

CaptNumbNutz said:
There are all sorts of things you could do with the cables. I would try to mount them to the rear bumper somehow...you could even make your headphone and mic jacks look like dual exhaust pipes.

I'm liking the audio jacks in the exhaust pipes. I want to makes the cables go to the bumper, but I would need to find the tools to do it. Since I am a college student, I have to make my purchases carefully. I know I didn't exactly choose a cheap hobby (or project), but if I can get away with not needing something, I will. Right now I am trying to find someone with a Dremel. If I can, I will most certainly mount everything in the bumper. If I can't though, I am not sure I will go out and buy one.

owkia said:
What about putting a clearish window in the rear and trying to mount the mobo so the cpu is below the window?

I was thinking about doing something like that. I was actually wanting to just take out the whole black plastic window set and creating a clear copy of it, but I don't have the equipment (or the money) necessary to do that unless I can find someone who would do it for me just for the cost of materials. Just doing the rear window though wouldn't be all that great because the mobo has to be mounted between the front and back wheels. The mobo is too wide, so I can't put it towards the back. This means if I just made the rear window clear, you would see some of the mobo, but mostly the cables going from the motherboard to the rear of the vehicle.

I will have another update here in the next couple days showing my progress on the project. :)
 
Update #2:

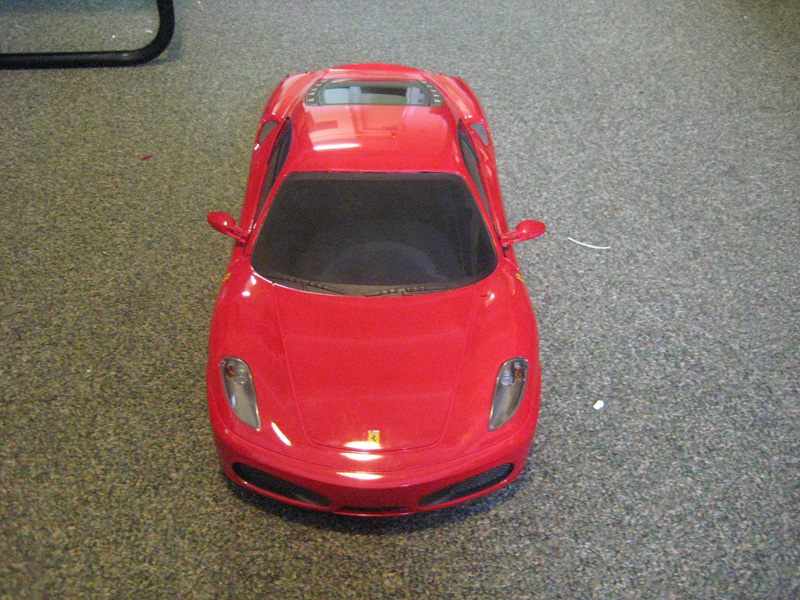
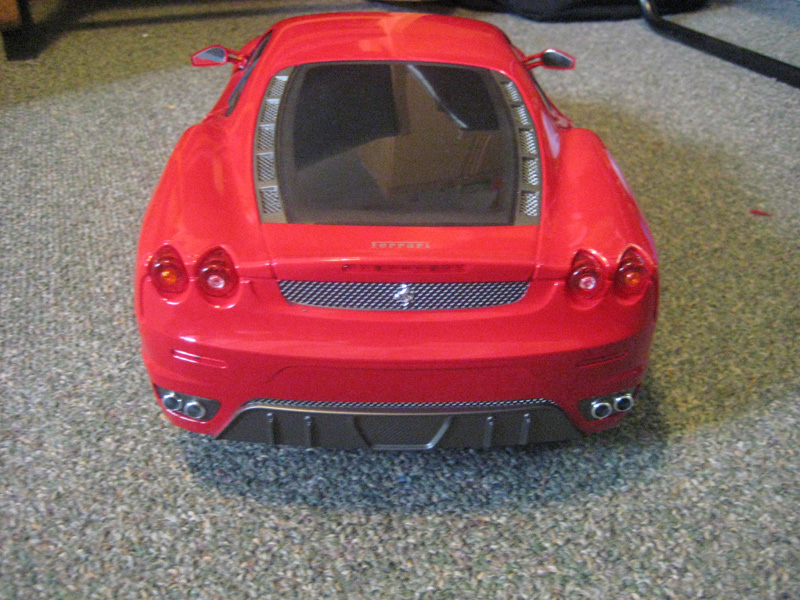
Here are a couple more pictures of the car itself:

car_front_resize.jpg


car_back_resize.jpg


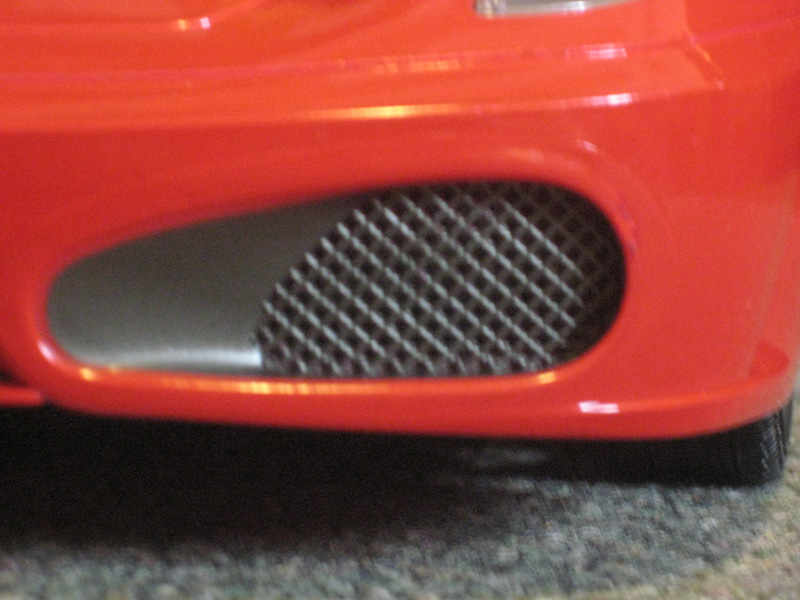
This is a picture of one of the grills in the front that I am removing:
grill_front_resize.jpg


First thing I did was removed those plastic bumpers:
bumpers_resize.jpg

I still may be able to find use for the plastic somehow.

While taking off the bumpers, I found this sticker:
sticker_resize.jpg

Hmmm... I wonder if they will help me butcher this car for my project... I like the "Do not return to store" part.

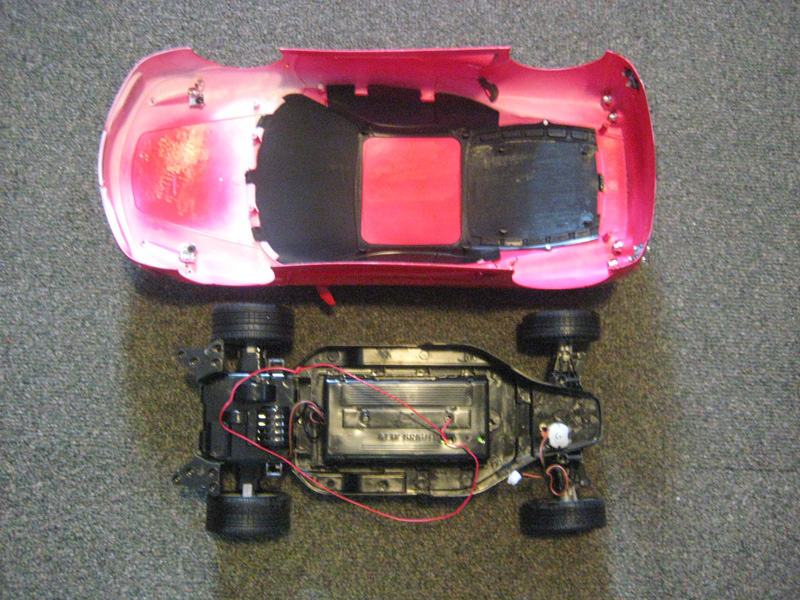
This is what I saw when I removed the top of the car:
car_topoff_resize.jpg


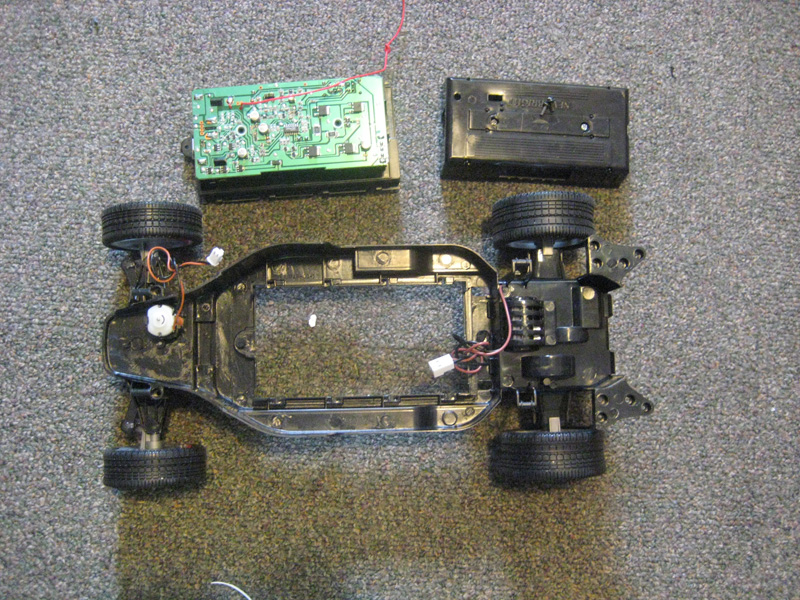
I took out the electronics and this is what I was left with:
elec_removed_resize.jpg


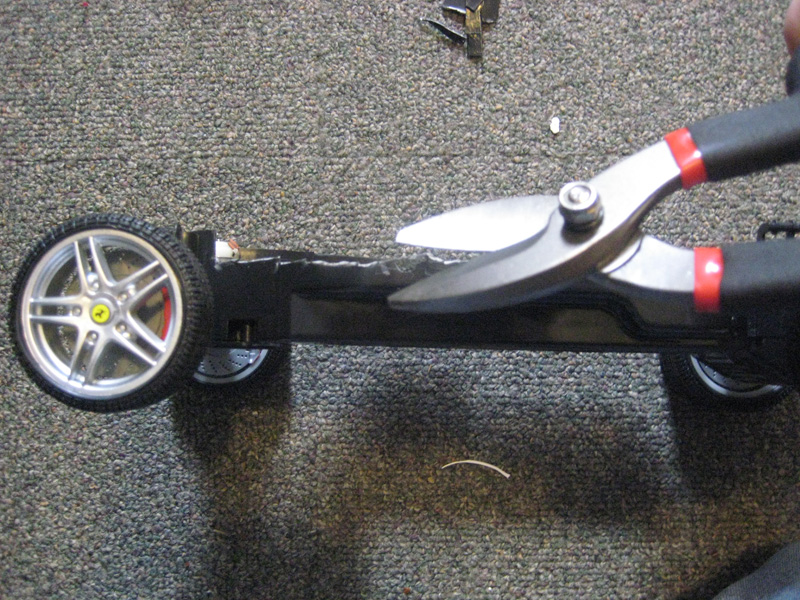
The sides of the plastic chassis was very tall, so I decided to cut it down to a much more manageable height:
cutting_body_resize.jpg


I went on to taking off the decals next. I was able to remove all the stickers without any problem. I was aided by my X-Acto knife. I then took the rear plastic medallion off. It has two posts that were put through holes in the back and then the ends were melted to hold it in place. I merely separated the melted plastic from the posts and it came out just fine.

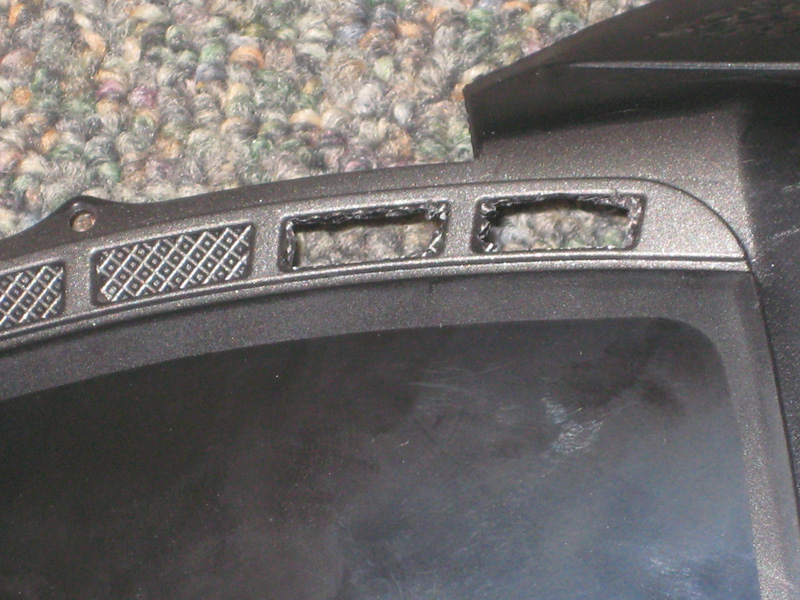
After taking off the decaIs moved onto removing all those plastic grills. The small ones near the doors of the car were easily removed. They just came out in one piece. The others though had to be cut off. This is me part of the way into cutting out the rear vents:
rear_vent_resize.jpg

The rear vents came out as part of the black plastic windows. Sadly, I put a crack in it. I put some glue on it, and I wasn't able to finish all the black vents.

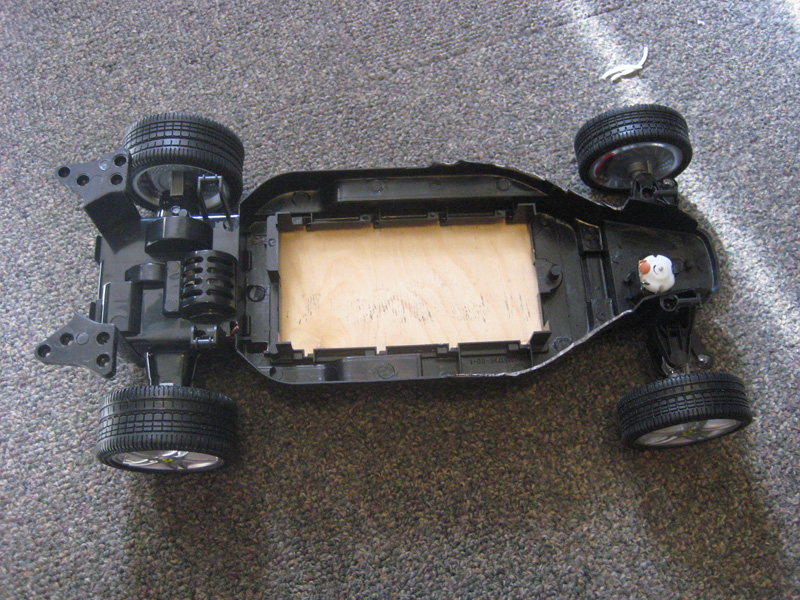
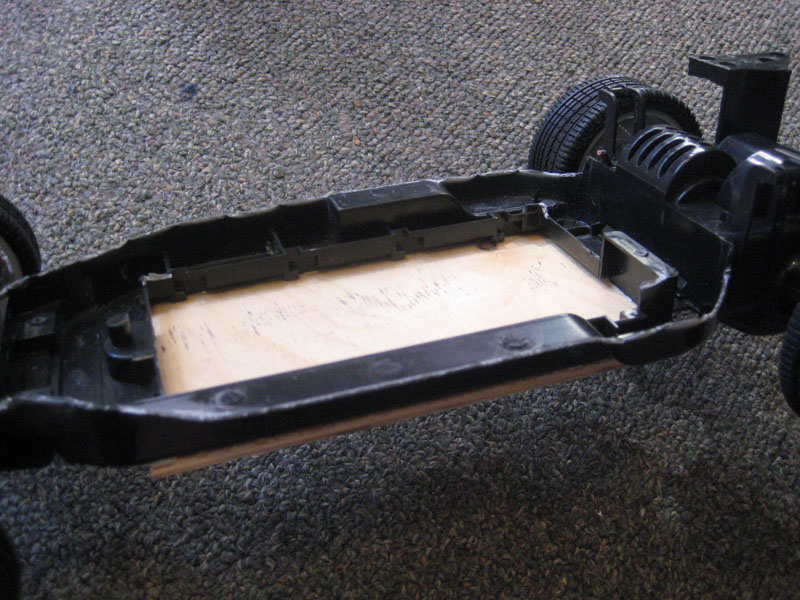
While i was working away on those vents, I took some of the wood I bought and glued it to the bottom of the car.
hd_board_resize.jpg


This is after the glue dried:
hd_board_done_resize.jpg

As you can see, it makes this nice little compartment that I can place the hard drive into. The hard drive gets about .5cm on each side of the hard drive. I plan to put something there to hold it from shaking side to side, have the hard drive moved all the way to the front with the connections being exposed towards the back of the car, and held in place by something I will glue in. The body isn't exactly conductive to screwing things in.

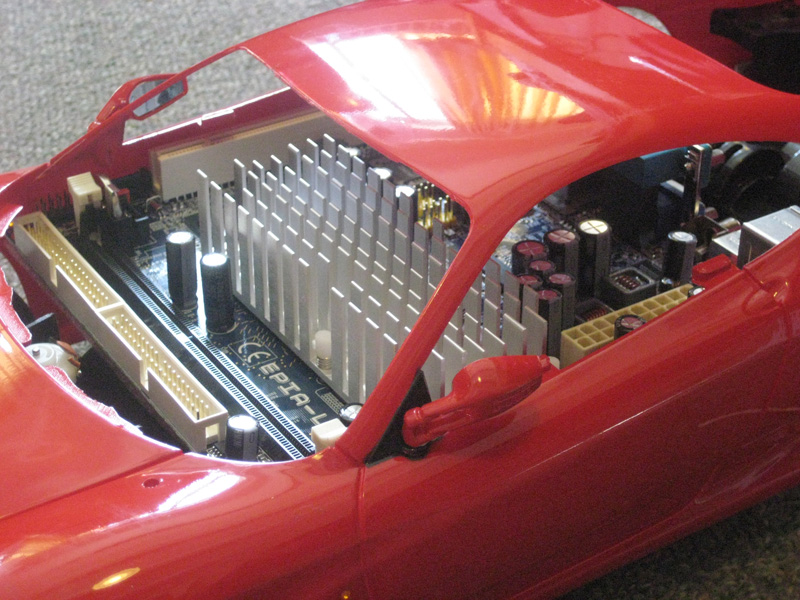
I decided to do a little test fit of the motherboard inside the car:
testfit_resize.jpg

It barely fits widthwise and vertically. This picture was taken with the motherboard all the way up, the connections facing the back of the car. I don't know if there will be enough room for the big vga connector. Oh well, that is another day :)

I have purchased the LEDs for the project, and I will get them eventually.
 
sick, you're not gonna leave the little toy motor in? thats what i wouldve done.
 
Looking good dude. Sorry to hear about the window-maybe you can call that 1-800 number and get a new one? Tell them it was cracked in the package or something ;)
 
Nah replace the Windows with some thick mesh it would help with ventilation.
That would look absolutely horrible, lol. Have you ever seen a Ferrari with screen mesh windows? :p

I'd call the company and get a replacement. Keeping as much of the original look of the car as possible should be one of the major targets of the project.
 
Leave the motor in + get a SSD from newegg. you could then use a 1.8" hdd, and save some room.
 
Wow thats wild, I was just planning on doing almost the exact same thing last night. My project will be slightly different, but its great to see you tearing that Ferrari apart.

George
 
Dang! I hope everything fits because this is going to be awesome XD I really didn't know they made motherboards that small! :eek:
 
Update 3:

I did a bit more work on the project. I am pretty close to finishing, I mainly just need to get the painting stuff.

I had to cut down the chassis quite a bit more to allow everything to fit. By everything, I mean the ram. It would have had to go straight through the window!
cut_down_body_resize.jpg


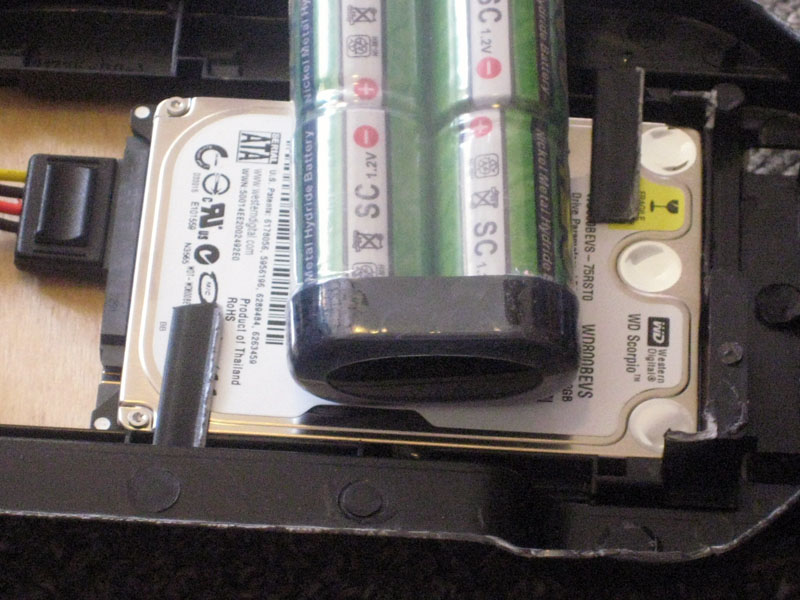
After that I worked on installing the hard drive:
gluing_braces_resize.jpg

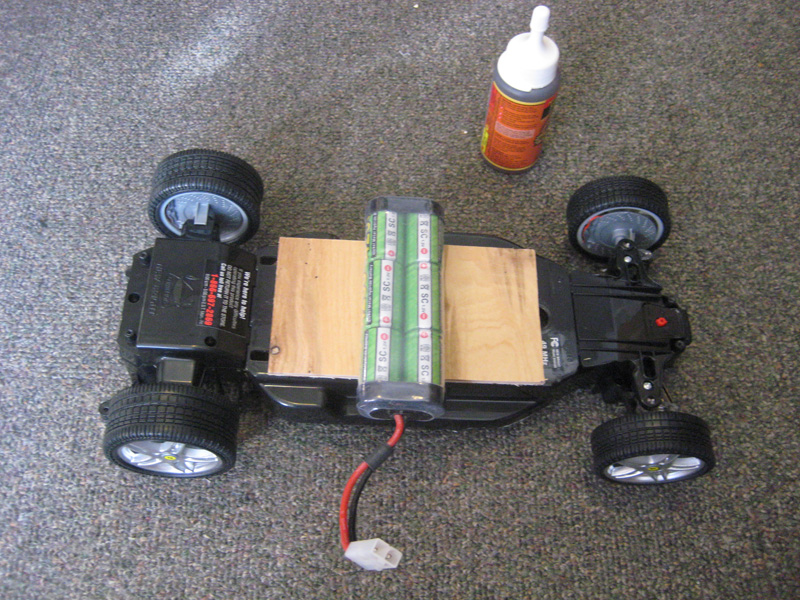
All the various pieces of plastic I glued to the body keep the hard drive from moving about (I added a couple more after the picture was taken). The battery is putting just enough pressure on the drive to keep it from moving about while I waited for the glue to dry.

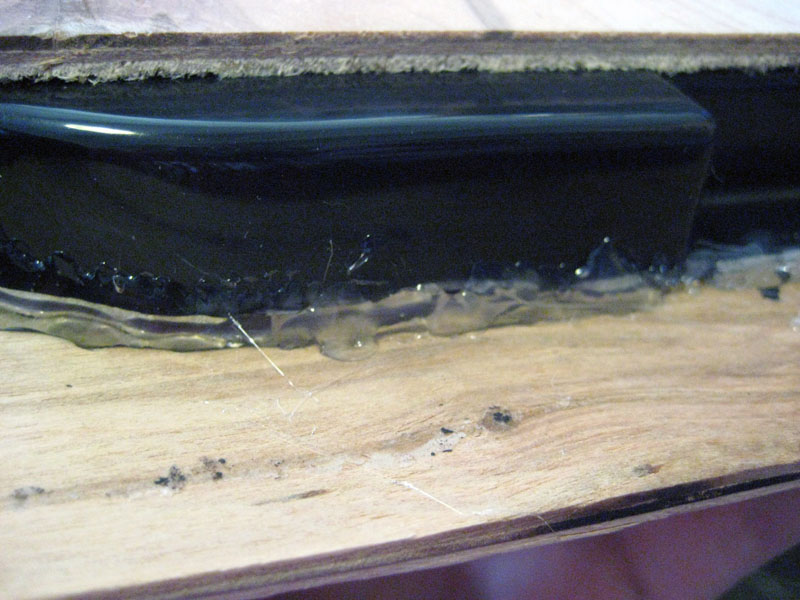
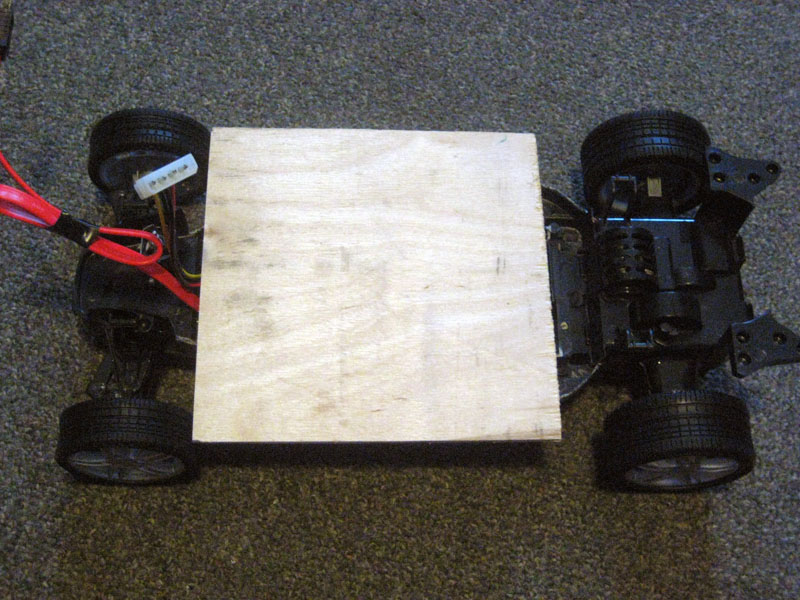
I then moved onto gluing the piece of wood that I am going to mount the motherboard on. I used a hot glue gun to do this because I could just take a X-Acto knife to it and remove the board if I needed to (and I did). Then you can just reheat the glue and its re-sealed!
glue_mobo_mount_resize.jpg


finished_mobo_mount_resize.jpg


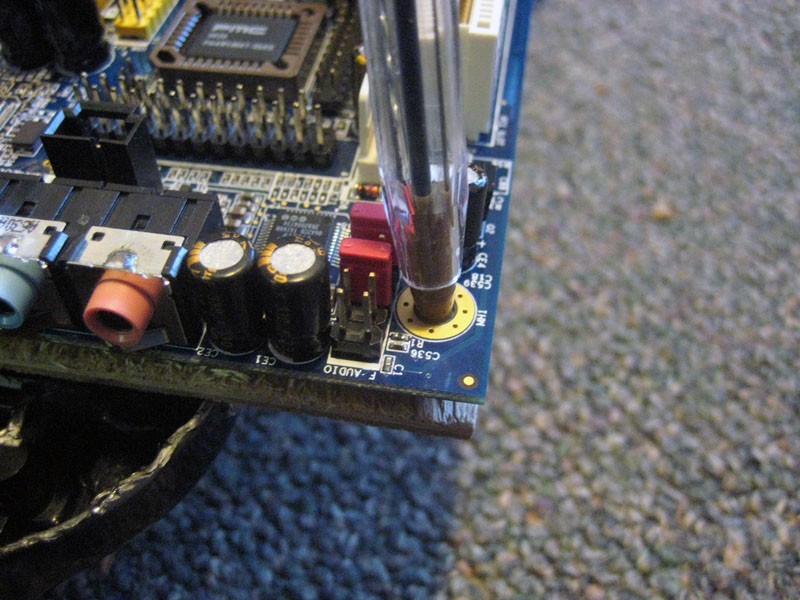
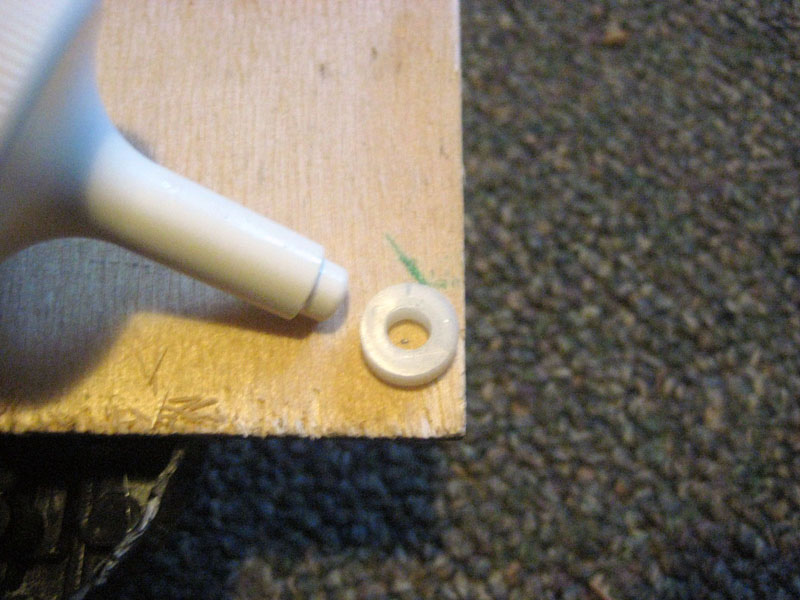
I moved onto the nylon washers I am using to space the motherboard from the wood:
marking_screw_holes_resize.jpg


gluing_washers_resize.jpg


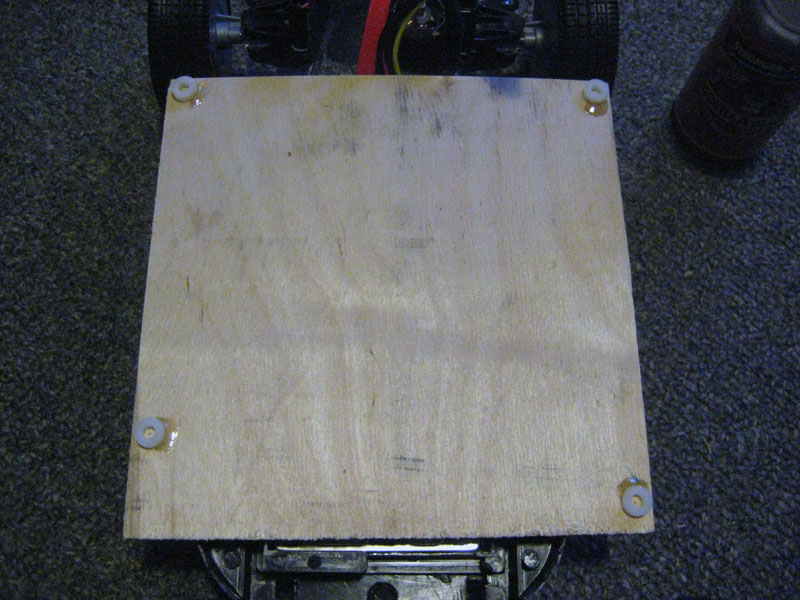
This is after I got all 4 washers glued:
four_washers_resize.jpg


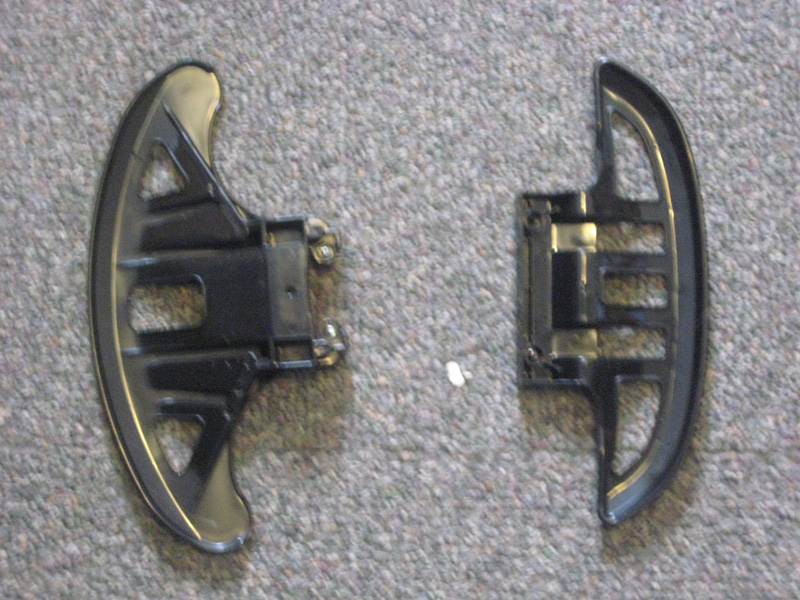
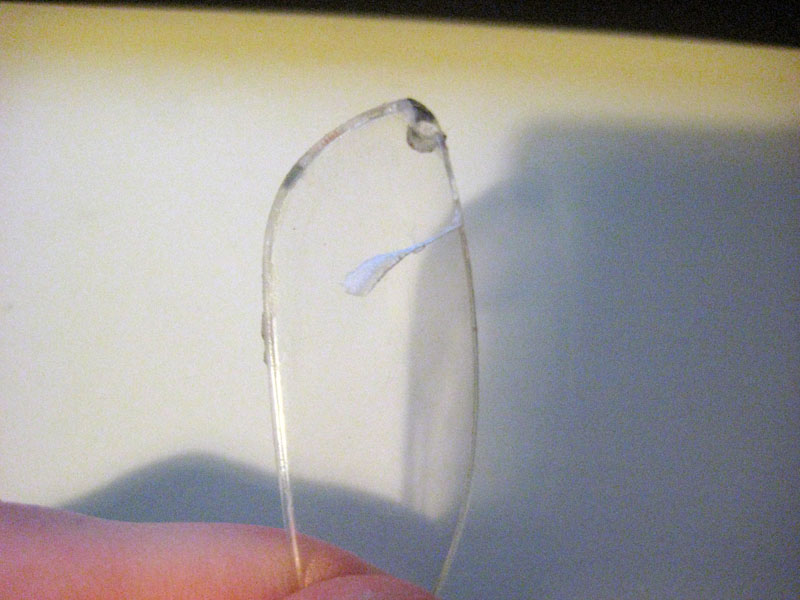
While I was removing the various bits and pieces to prepare the body to be sanded and painted, I managed to pull this off:
cracked_plastic_resize.jpg

:( Any ideas on making a replacement or something? I'd rather not have to buy another RC car to replace one piece.

I also made this audio file to replace the standard XP startup sound:
Click here to listen
(link takes you to the .mp3 file)

I got that sound from a video of a F430 at a dealership being started up. I think it adds a nice little touch to the whole thing... :D

So yeah. Overall this project is moving right along. I can't wait to show off the finished product.
 
That start-up sound is awesome! :D Good work so far. On the broken piece trying contacting the manufacturer. I'm sure they have spare parts and what not.
 
Check your local hobby shops for sheets of lexan

Or maybe trim the window down for a rolled down window effect

Start up sound is awesome
 
Or maybe trim the window down for a rolled down window effect

I wish it could be that easy. That piece of plastic was covering the headlights. :(


ClariorHincHonos said:
On the broken piece trying contacting the manufacturer. I'm sure they have spare parts and what not.

I was thinking about trying. Don't think I will be able to get a hold of that little piece though. The company who makes the car I bought isn't exactly a top shelf brand though - it's just one of those random Chinese companies that makes cheap RC stuff.

That start-up sound is awesome

Thanks! :D
 
NICE.. was thinking of doing one myself


i wonder if they make 1:8 models.. so you could have a little more working room... maybe get a DTX system in there :eek:
 
thats an amazing project you have going there

abou that window, you say its curved, i cant exactly tell from the picture but maybe a lense from some glasses?? probably too thick but im just shooting ideas for the hell of it

GL on that project i cant wait to see the finished product
 
if all else fails, if you were to paint the window black, would it still look ok ?
 
if all else fails, if you were to paint the window black, would it still look ok ?

No. I am putting LEDs in for the fake headlights, so it needs to be clear.

maybe a lense from some glasses??

Maybe if I had the proper equipment to work with glass, it is possible I could get something to work, but most likely not. I am going to give the manufacturer a call and see if they will ship me one.
 
I know it has been a long time since my last update, but I will be bringing an update this weekend. I have been a bit tied down with school recently.
 
Wow man. That is a pretty cool idea! Can't wait to see the finished product. What OS are you going to put on there? Just wonderin . . .
 
Heres a little idea for the CD-ROM.
http://image.automobilemag.com/f/mu...ibles/6691281/0502_ferrari_f430_spider_01.jpg
If you look at that image you can see that trim line that runs across the middle of the bumper. If the RC car has this then you could carefully cut a perfect and straight line along that and around to the wheels. That should create a nice little cover for the front of your CD-ROM drive. As for the body mounts that go where the CD-ROM would sit you could cut them off and attach them to the top of CD-ROM after grind them down some. Should also work for the front if there are placement conflicts. :)
 
If the RC car has this then you could carefully cut a perfect and straight line along that and around to the wheels.

I thought about doing that, but I don't really have the proper tools for it or know someone who does. The drive is going to be mounted on the bottom of the chassis and sit back just far enough to be out of view. It is the simplest way to do it without me having to go buy more tools.

Update #4:

Late update, I know. The next update after this should come rather quickly as the semester is ending next week.

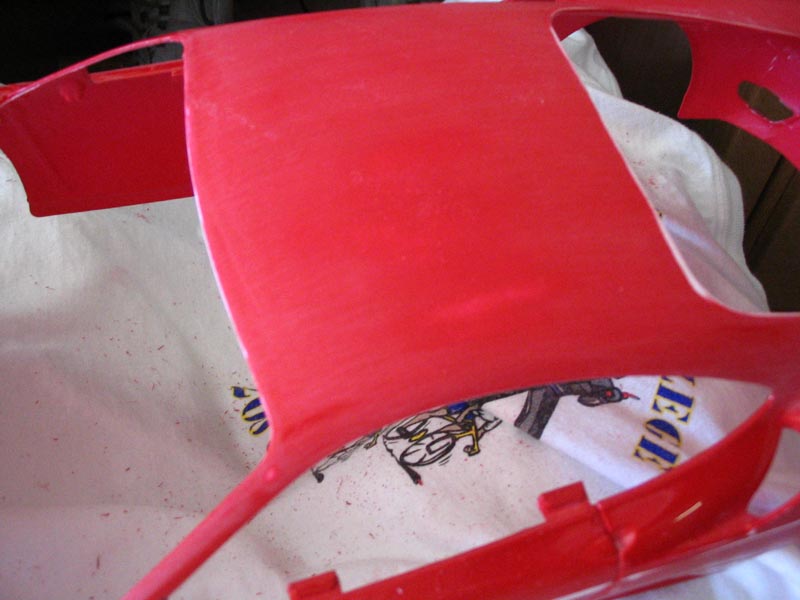
I did a little bit of work. I got sanding work in as well as cutting down all the cables I had.

sand_body.jpg

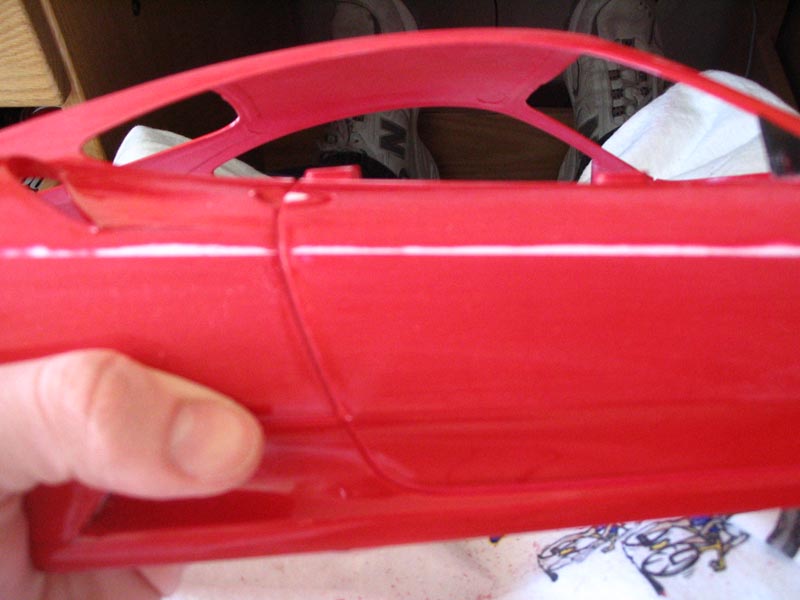
This is after a little bit of sanding work. I am just trying to remove the gloss finish and even out the surfaces.

sand_body2.jpg

That long white strip used to be where there was a big ridge of paint. Thankfully that monstrosity is now gone :D

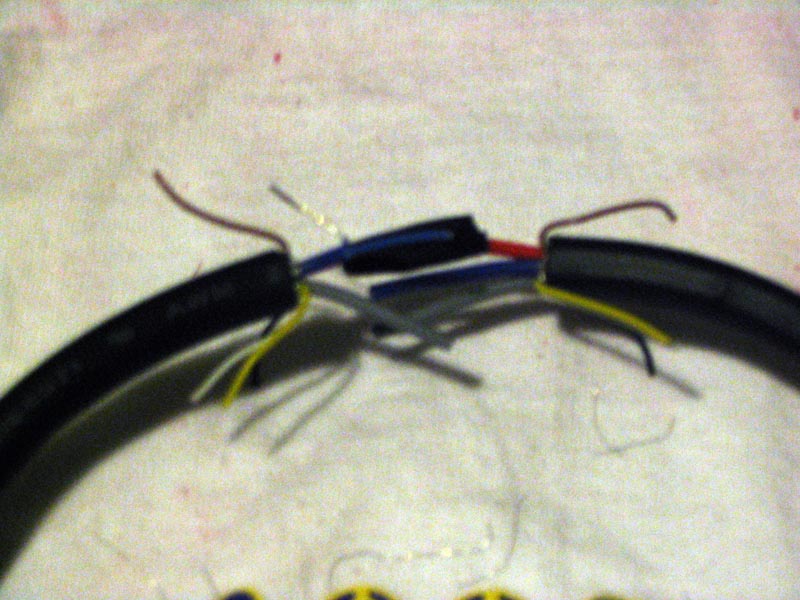
soldering.jpg

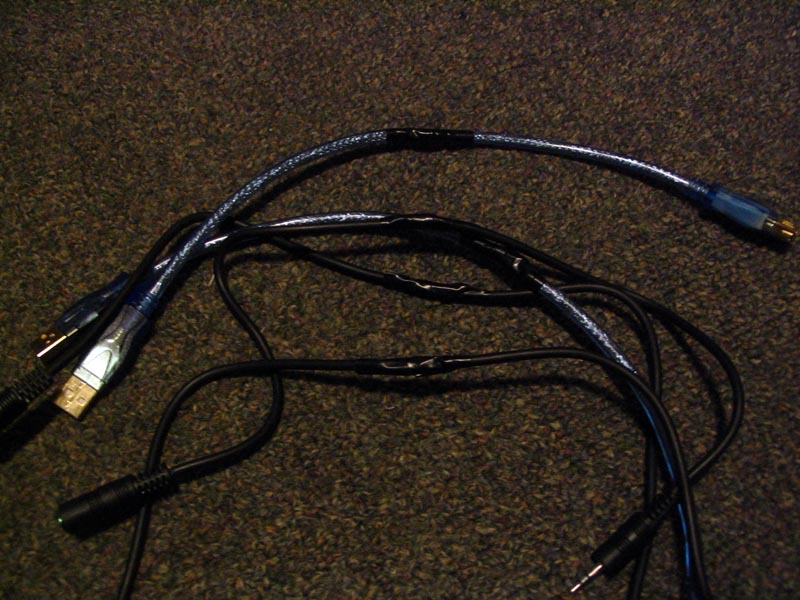
I cut all the various cables down (USB, audio, vga, etc) to about the same length. I then connected all the wires back together with solder.

finished_wires.jpg

Here are some of the wires that I had finished.

I have now packed the car back into the case and gotten everything together to be shipped back to my house so I can continue working on it over the winter break. Next week I plan to have it all finished up. I can't wait to show the finished product.

I still haven't figured out what to do about that broken plastic piece :(
 
You may just have to forget the led headlight idea and paint them.


Great mod though. Can't wait to see it finished.
 
Back
Top