This project has been in the works for about 1.5 years now. I started out making a normal water-cooled ATX case back then, but quickly decided that it was boring. Over the next year I watched the rise of ITX, and finally had the means to build the computer I really wanted. Over the last 6 months, I've amassed the following components for this build:
CPU: Intel Core i7-860...........................................................................$160 used
Mobo: Gigabyte GA-H55n-USB3............................................................$110 new
RAM: G.Skill Sniper 2x4GB DDR3 1333, 9-9-9-24, 1.5V.............................$75 new
GPU: Sapphire HD5870 1GB.................................................................$215 new
HSF: Thermalright AXP-140+Yate Loon Medium Speed 140mm Fan............$62 new
HDD: 320GB Seagate Momentus 7200.4...................................................$30 used
Total...................................................................................................$652
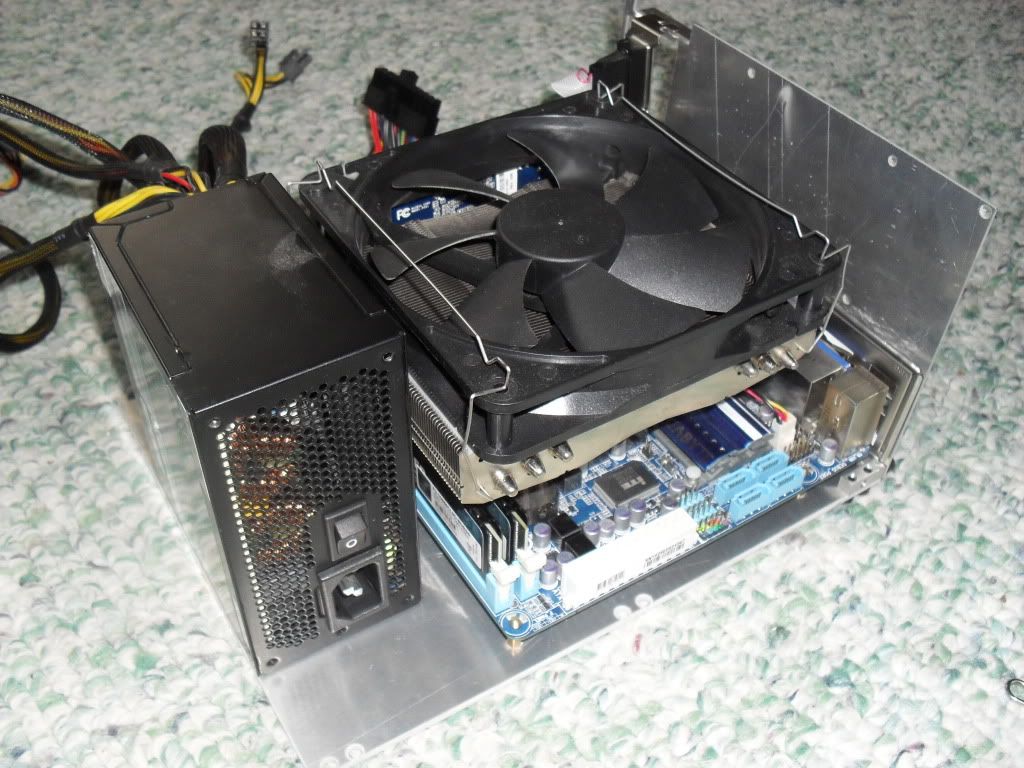
Why I decided on these components: I change my mind a lot and upgrade regularly, so I wanted to make it able to fit whatever I am currently using. With the rise of ITX complete, I figure I can plan on always finding a mini-ITX motherboard to my liking. For the gpu I wanted to fit anything up to 10 inches, since typically any cards longer than 10 inches require way too much power for my PSU. That brings me to my PSU, which is SFX. ATX PSUs are just too big, and would have made my case much bigger than I wanted. The largest SFX PSU is the SIlverstone ST45SF, which puts out healthy 432W on the +12V rail. This gives me plenty of room to run my 5870 and a 95W quad-core CPU, since I will be undervolting the CPU. The only thing im worried about is fitting my HSF on future ITX motherboards, but I should be able to use any smaller heat sink, or even the stock one, just fine since the CPU will be undervolted.
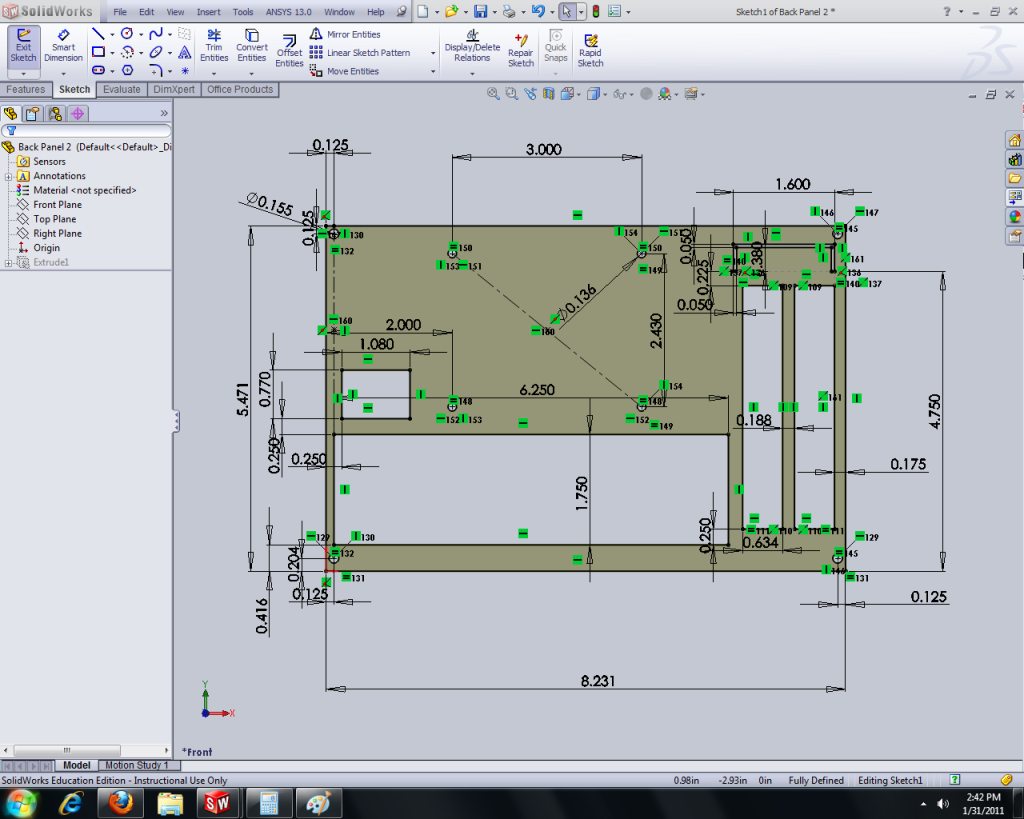
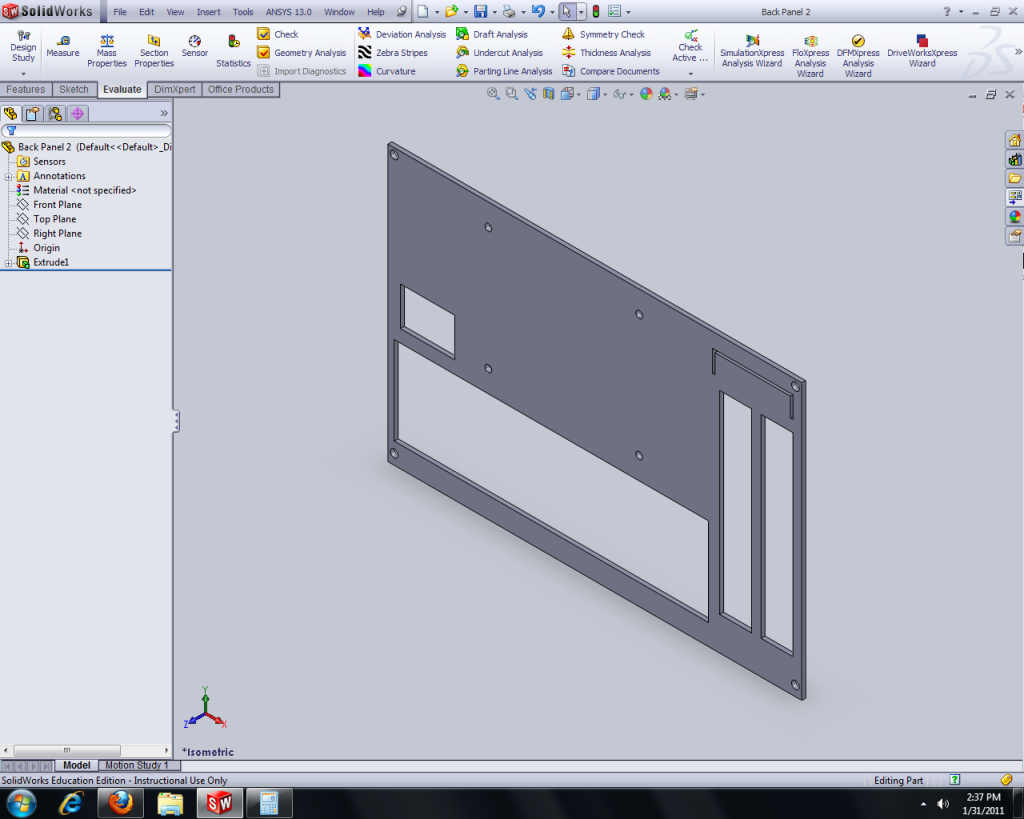
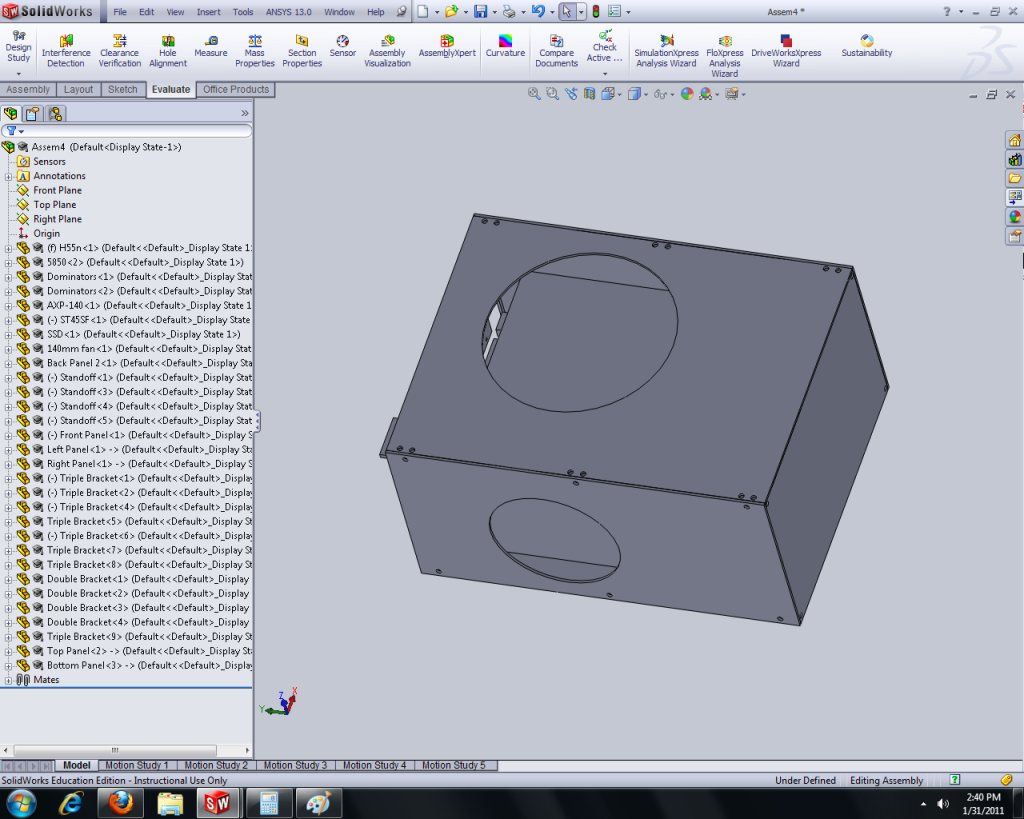
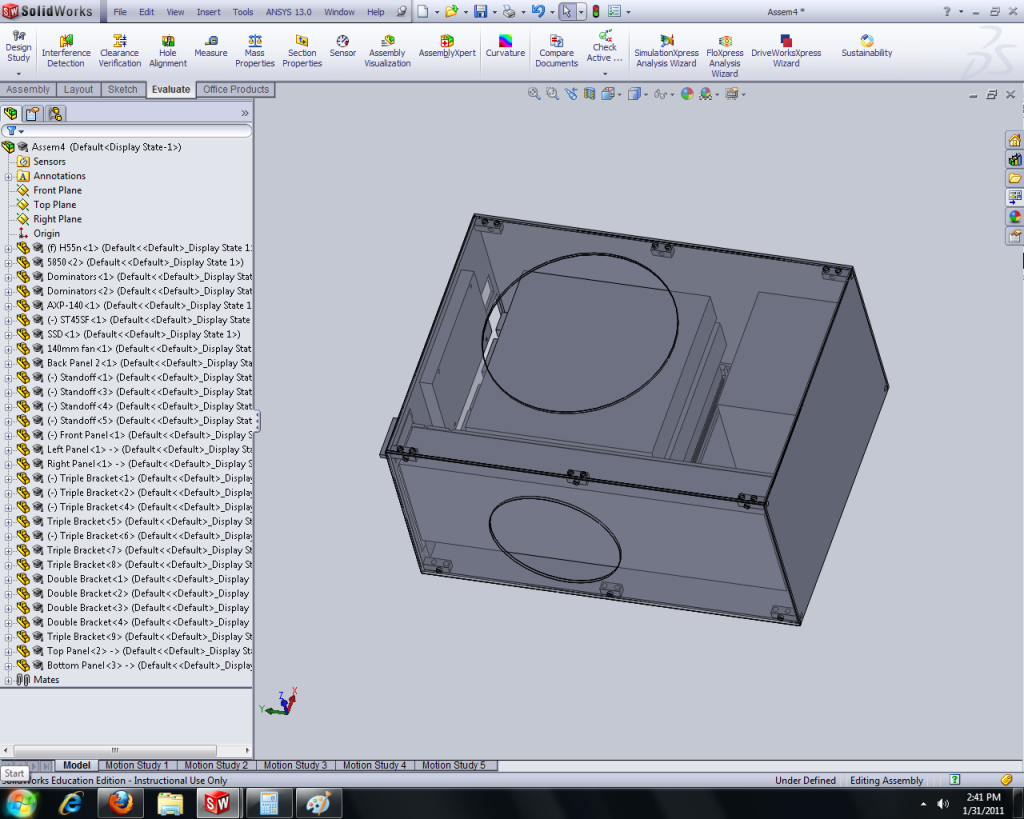
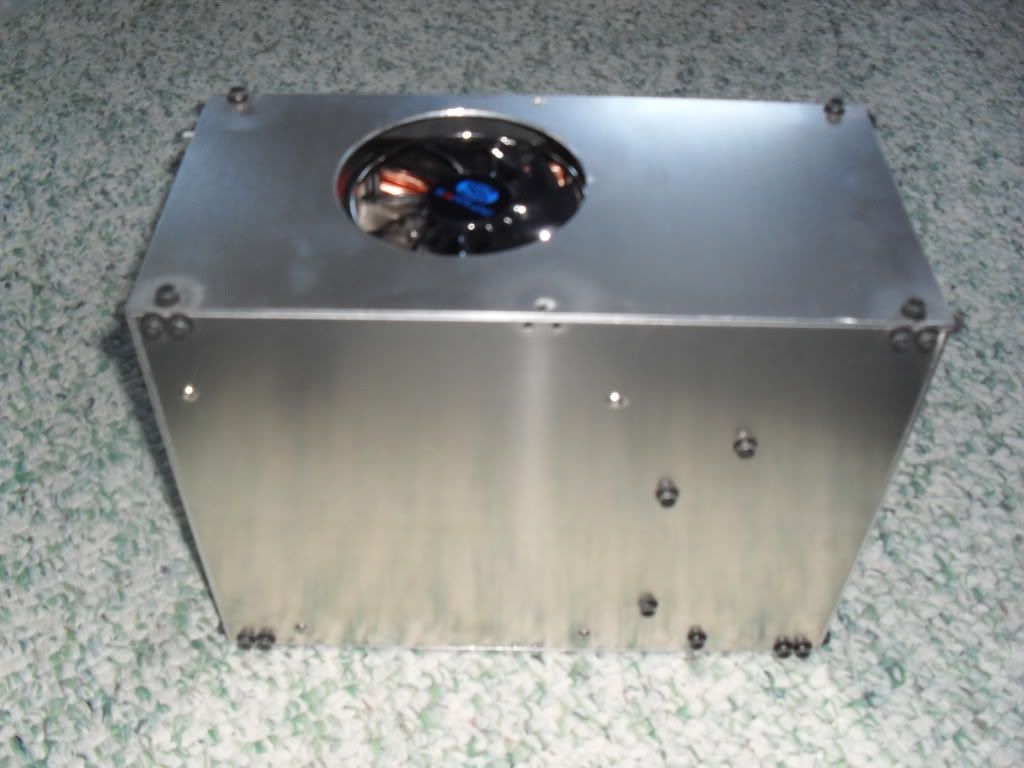
The case design: Once I decided on the components, I positioned everything in a 3D modeling program called Solidworks, and found the smallest case I could make. Since I wanted the case to last, I decided to make each panel (6, for a rectangular prism shape) modular, and able to be taken apart and put together in any order I wanted. This would allow me to add ports, change vent locations, even make a specific back panel for every new motherboard to fit its particular port arrangement (although i decided to forgo that idea this time around), etc. So, because I don't care for photoshop or photography or even writing more words that people won't read, I will just get right into it.
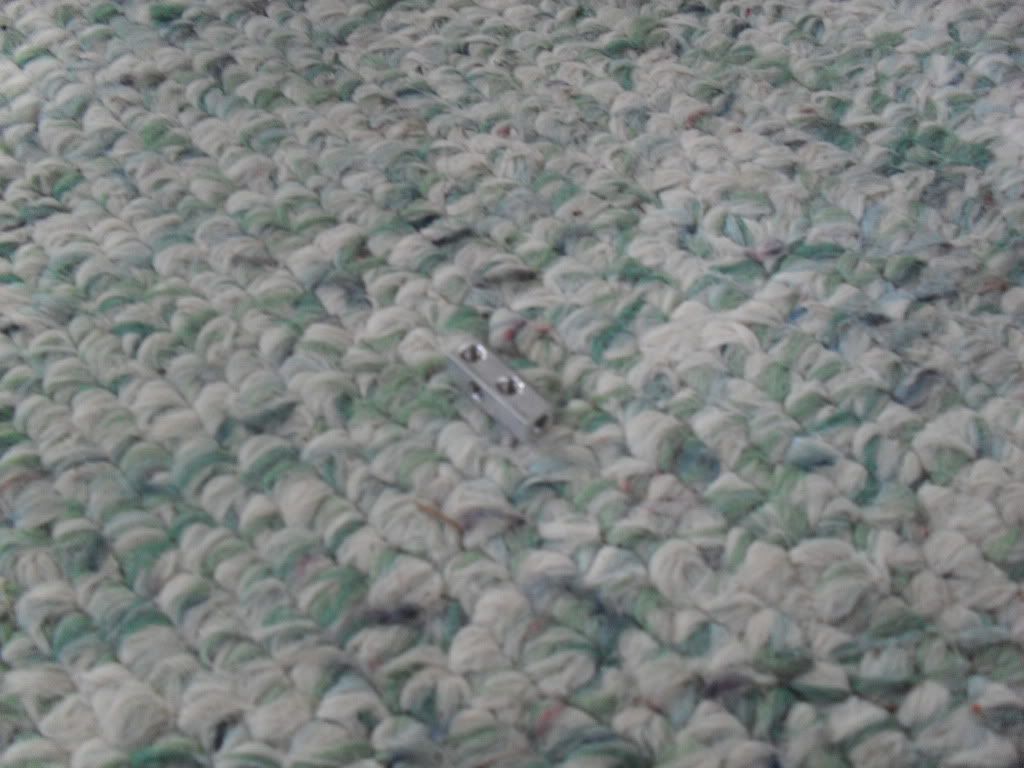
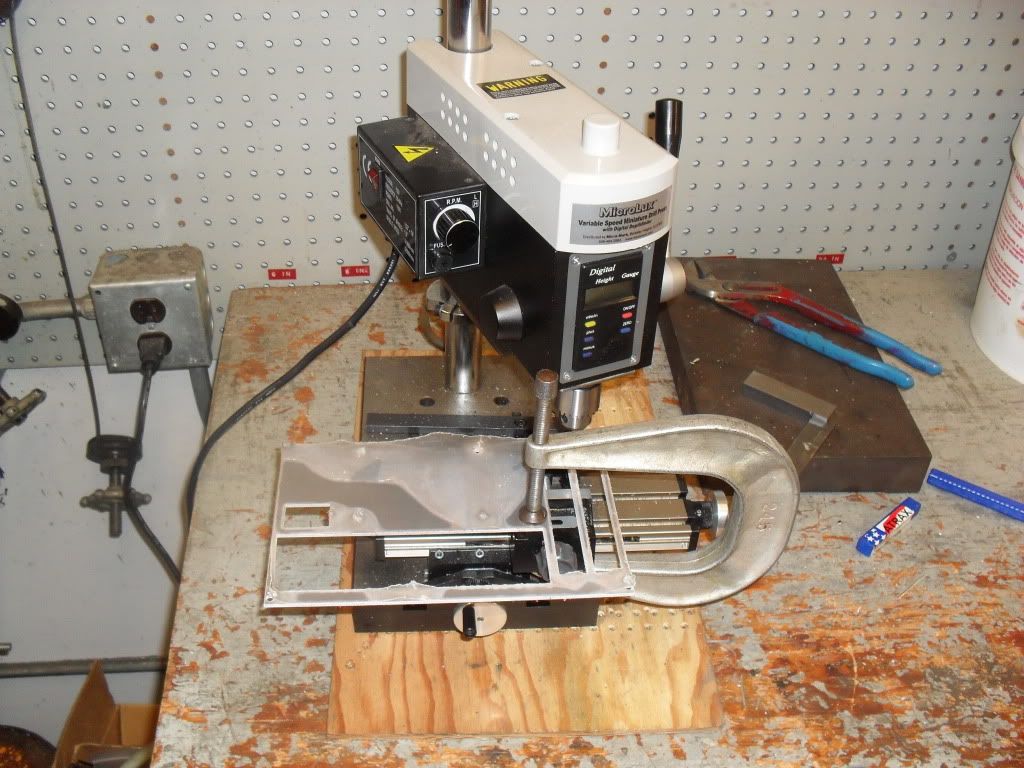
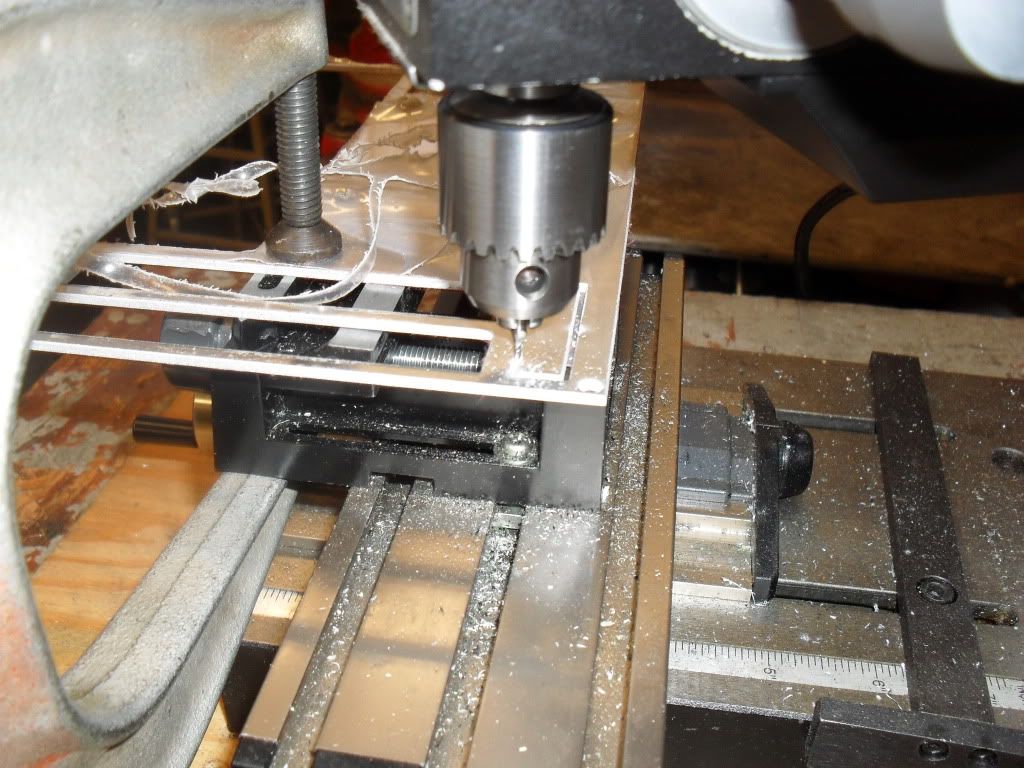
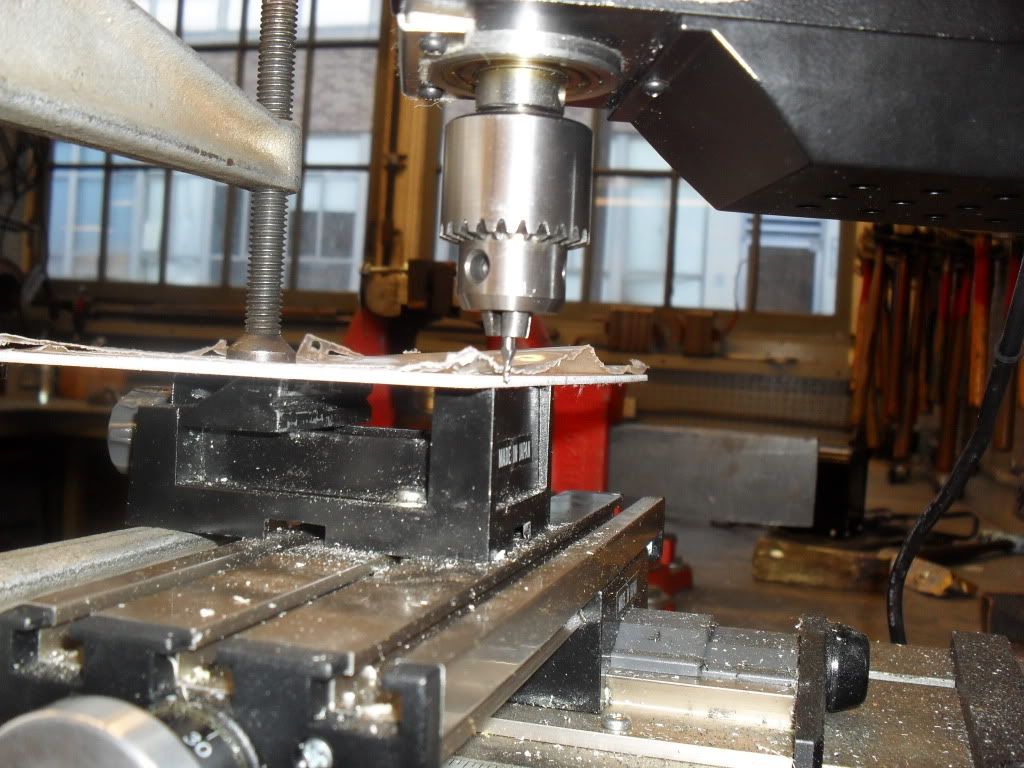
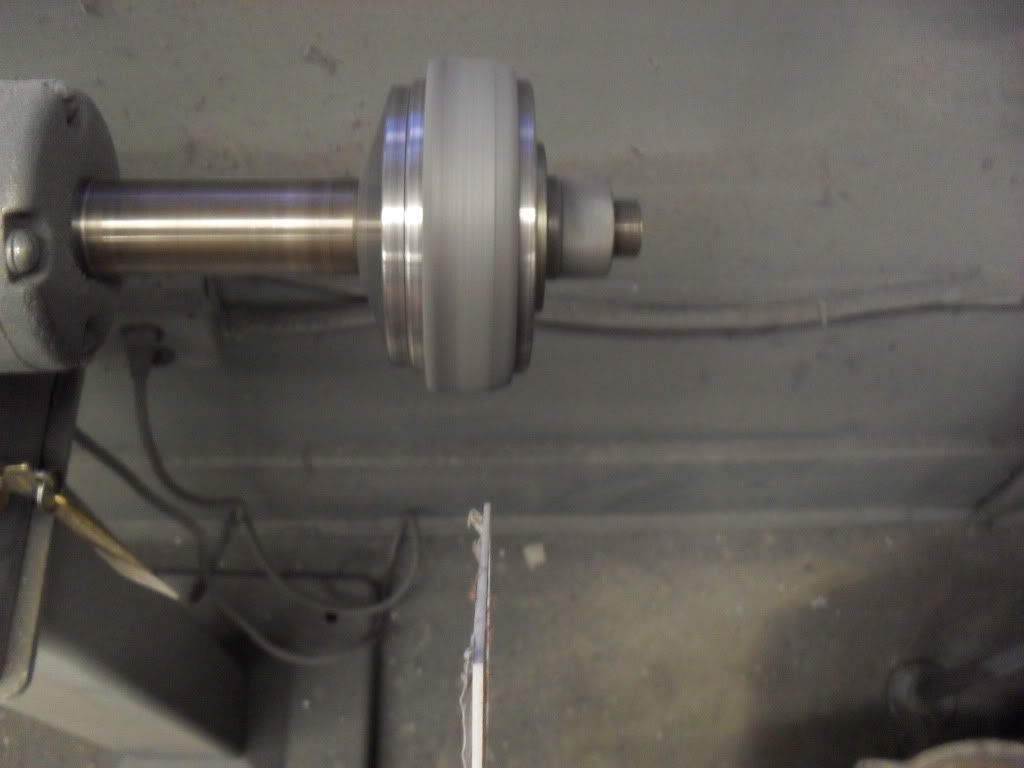
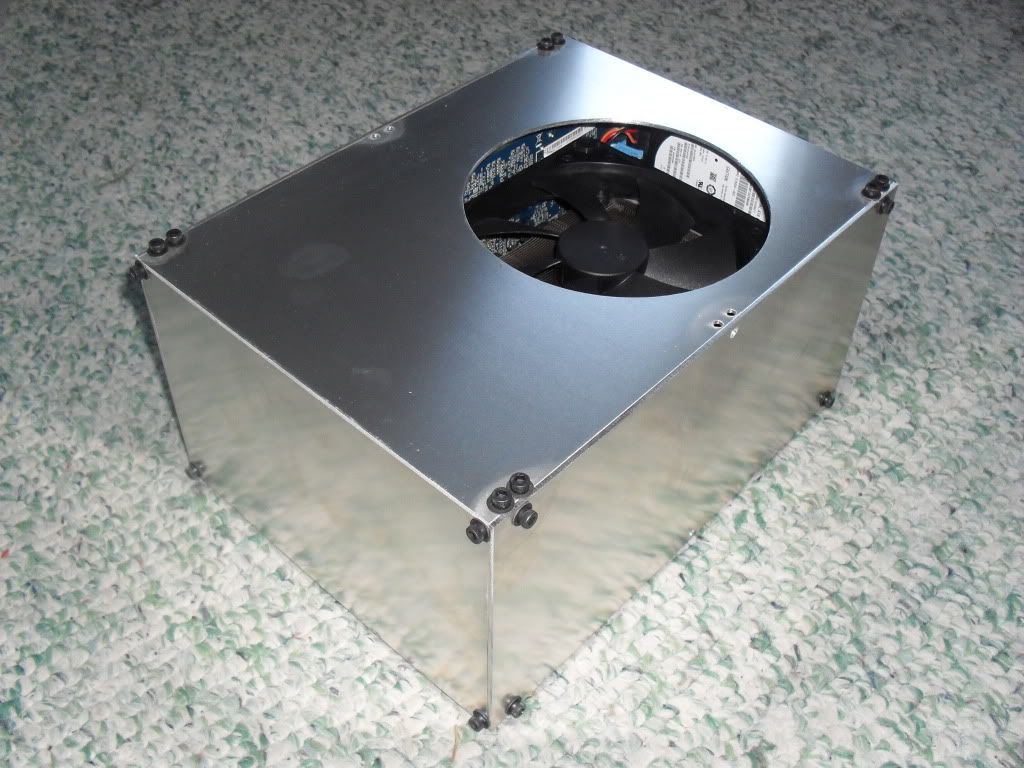
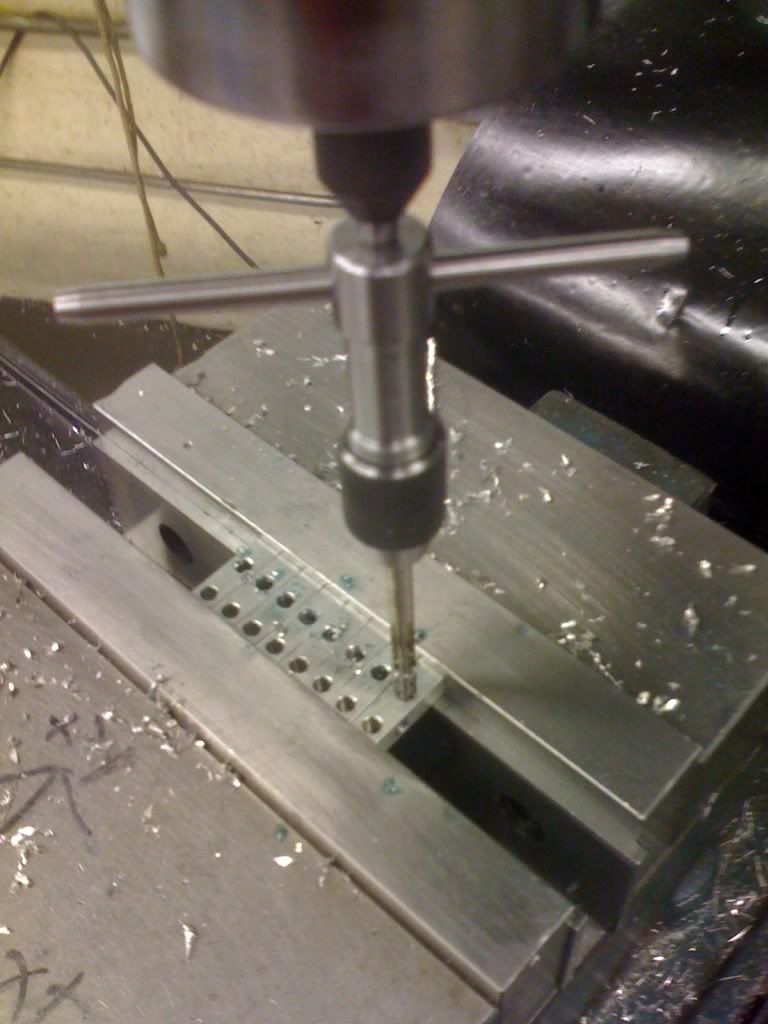
First I made all these way cool corner pieces which will hold all the panels together, one in each corner.
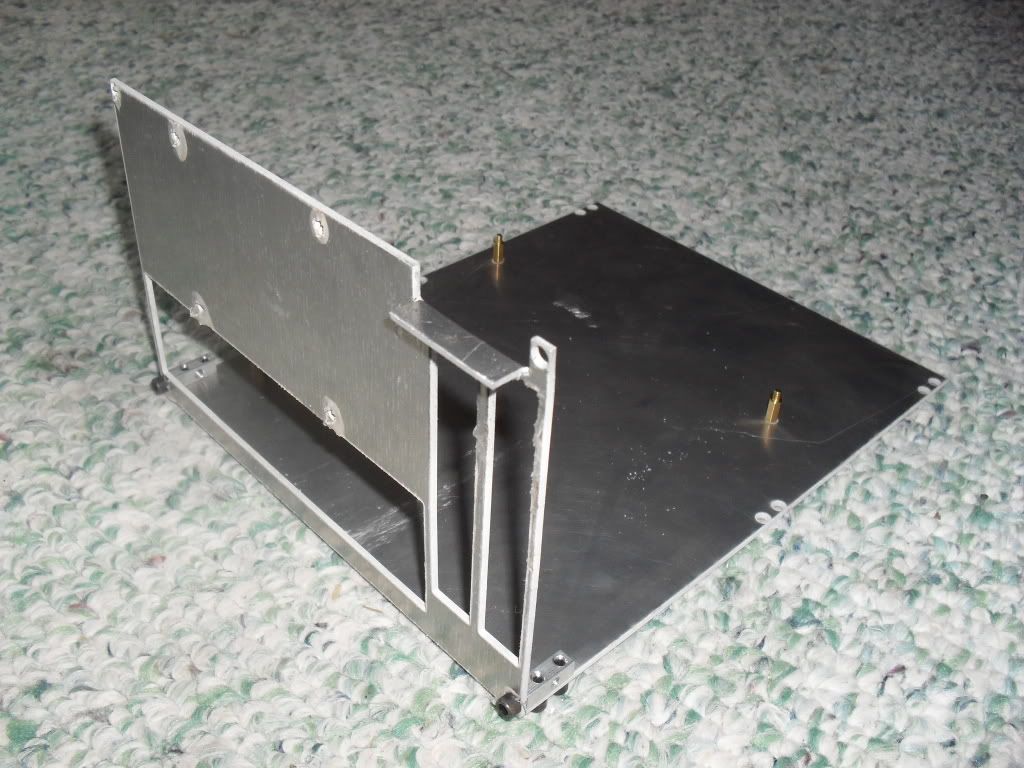
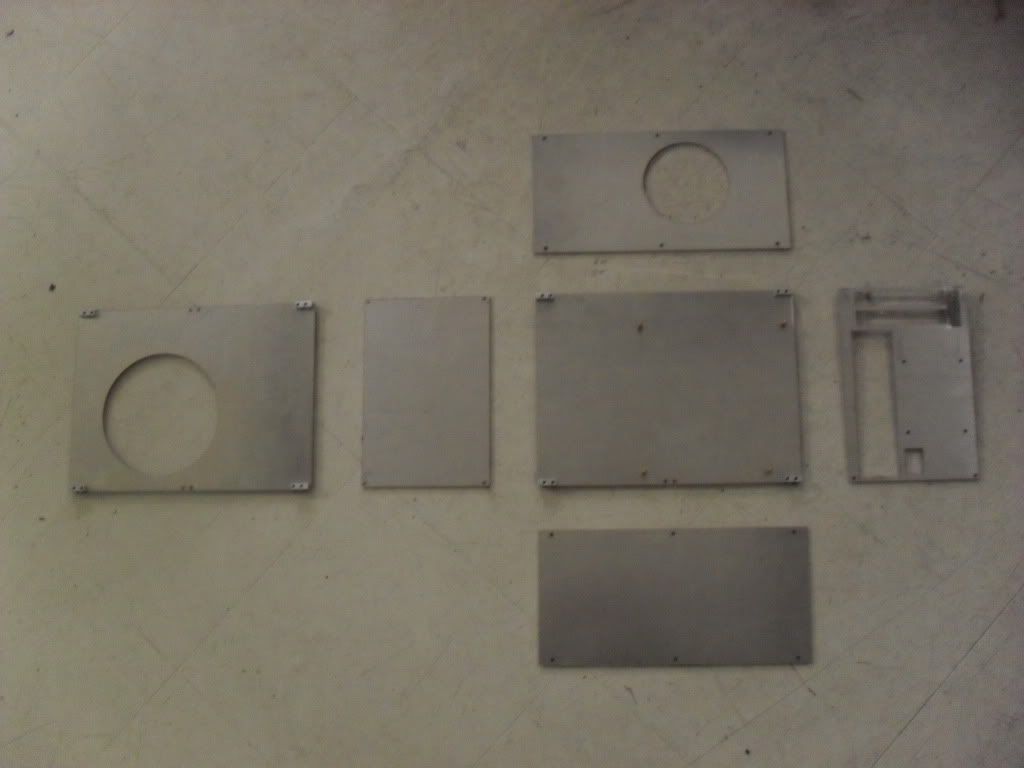
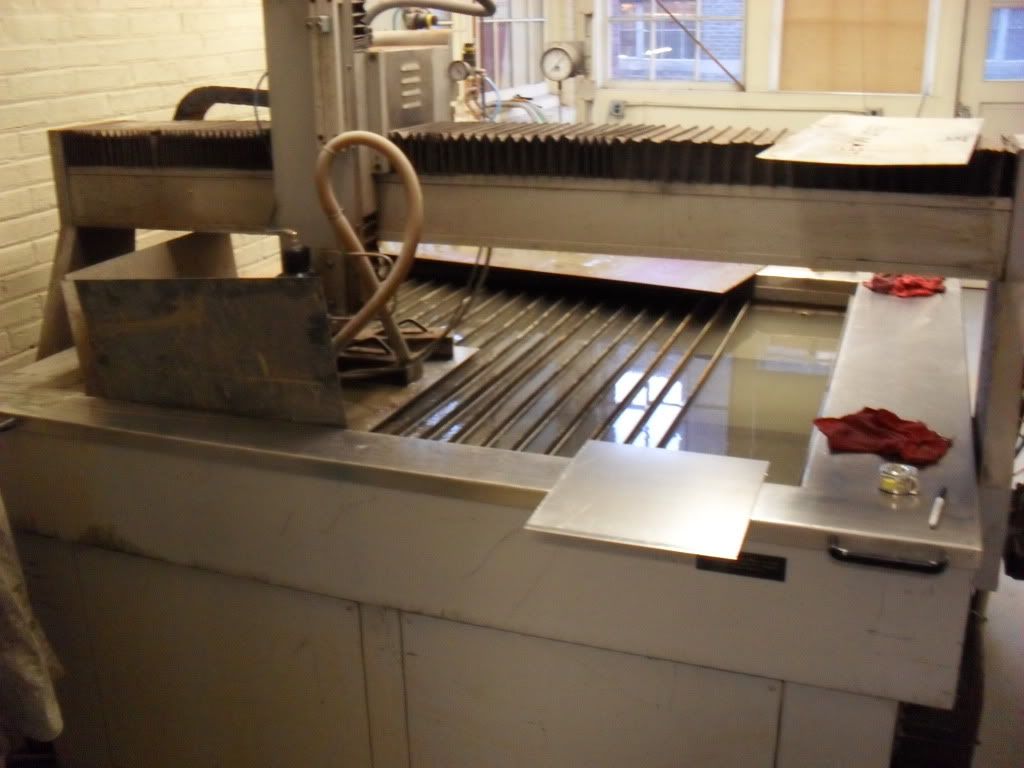
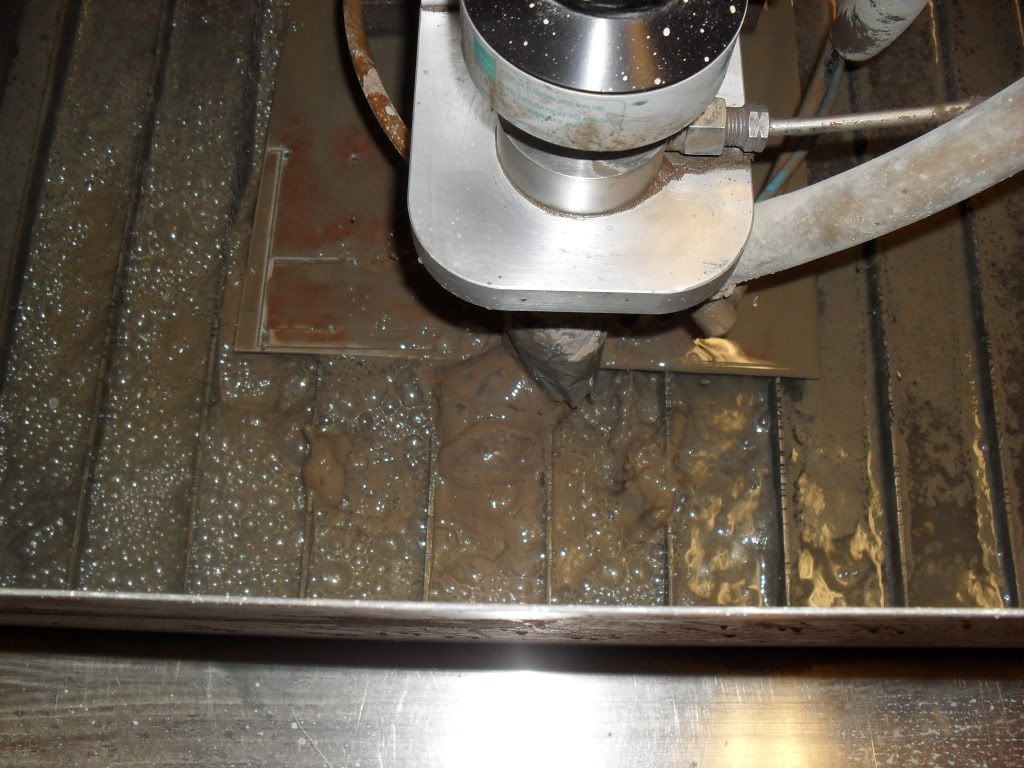
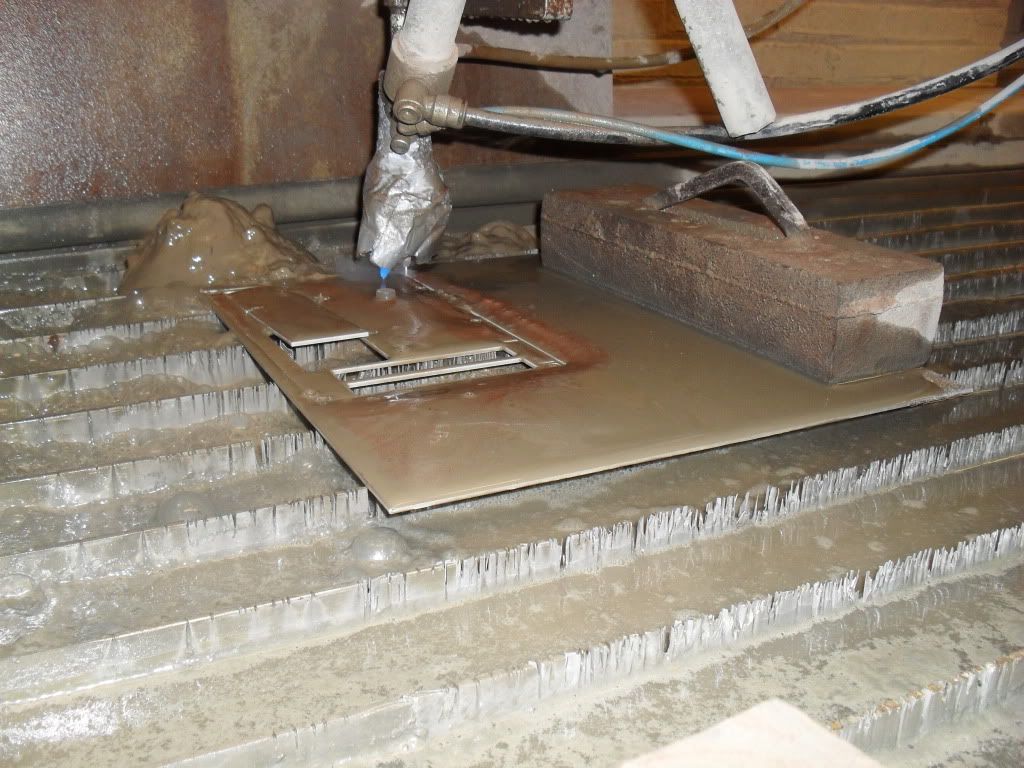
Then I cut out the first two panels on a water jet machine since its way easier and more precise than doing it by hand.
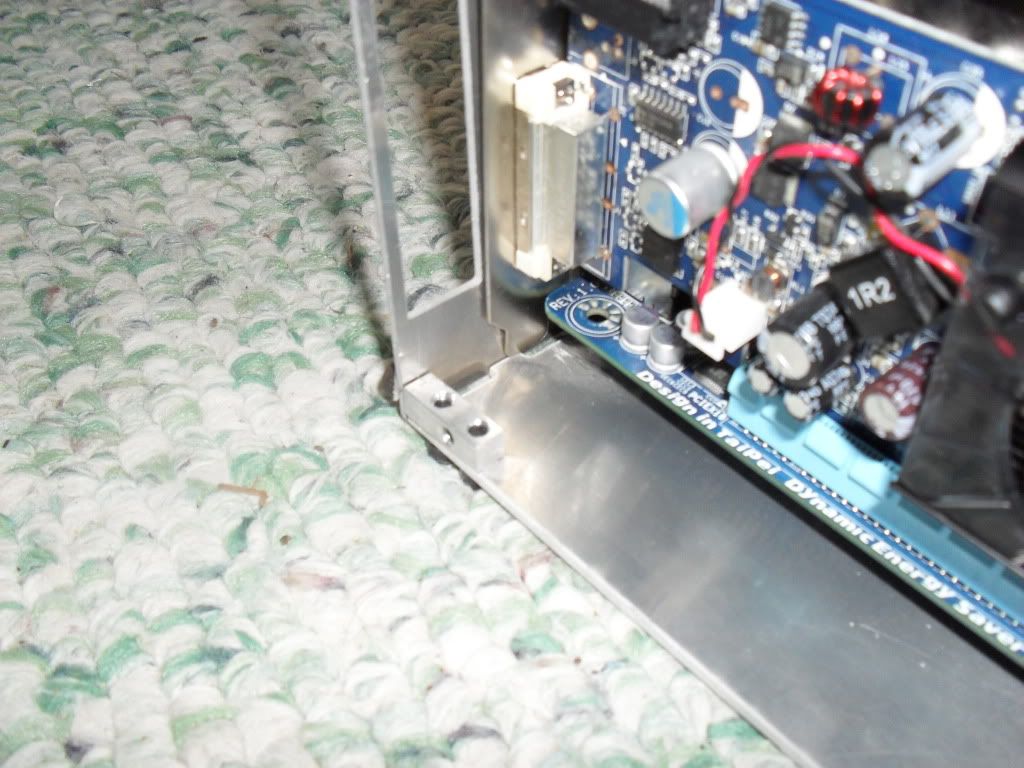
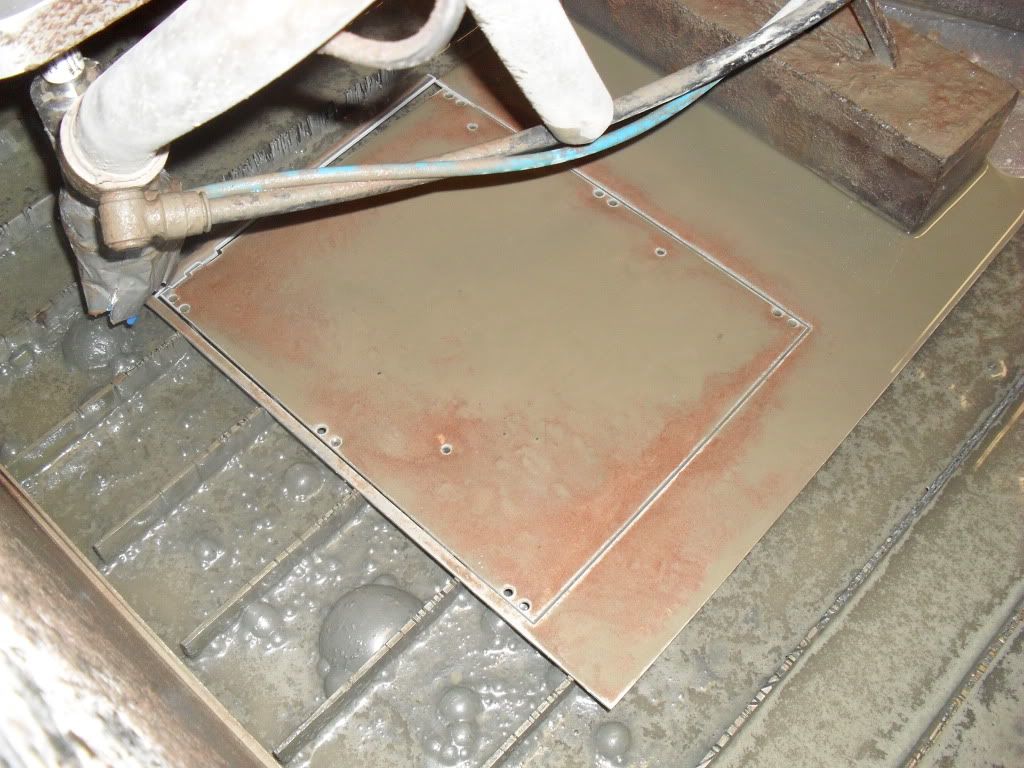
Bottom Panel. If you'll notice, there's about 1/16" between some of the holes and the nearest edge of the panel.
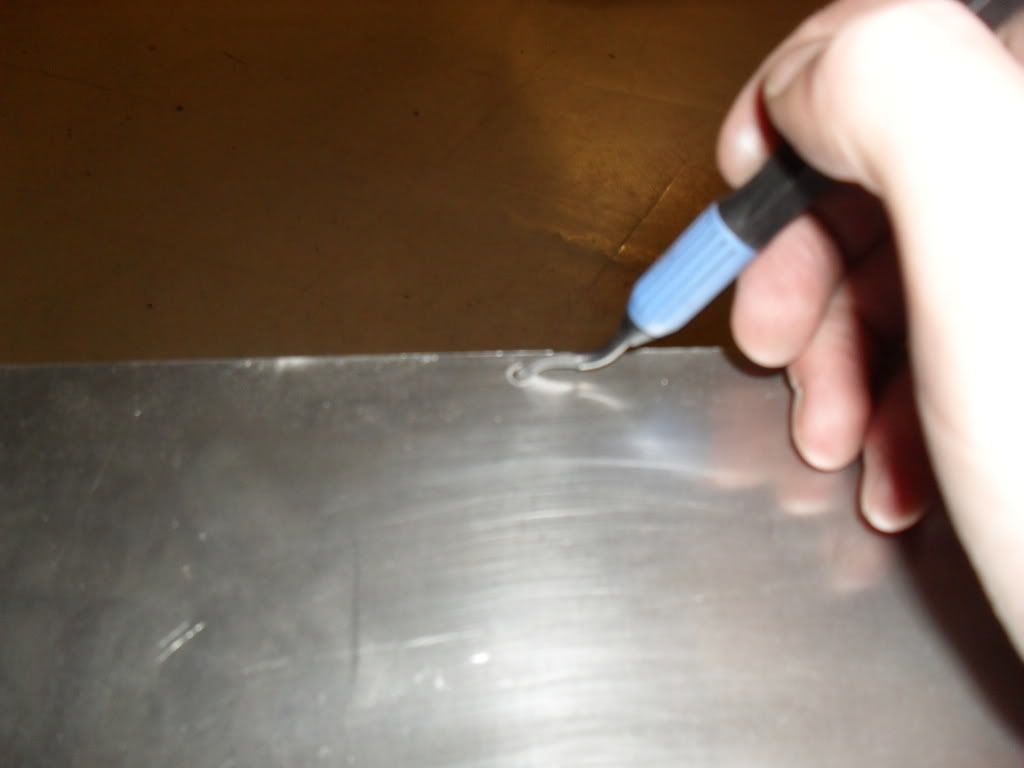
Bubble
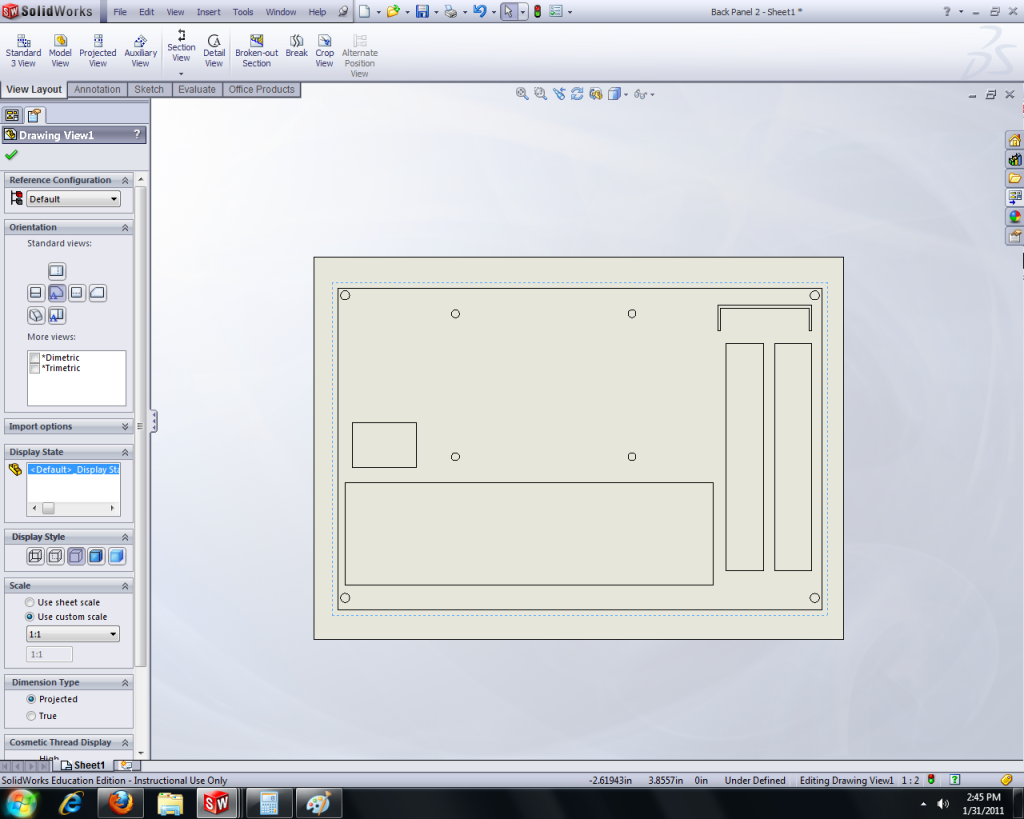
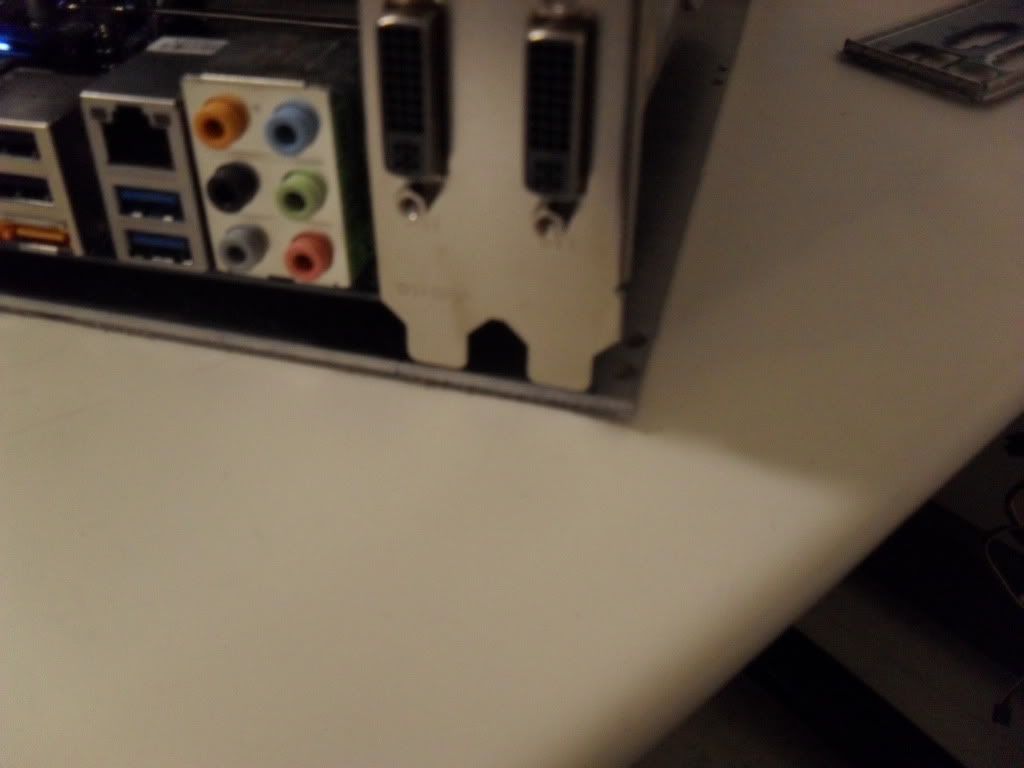
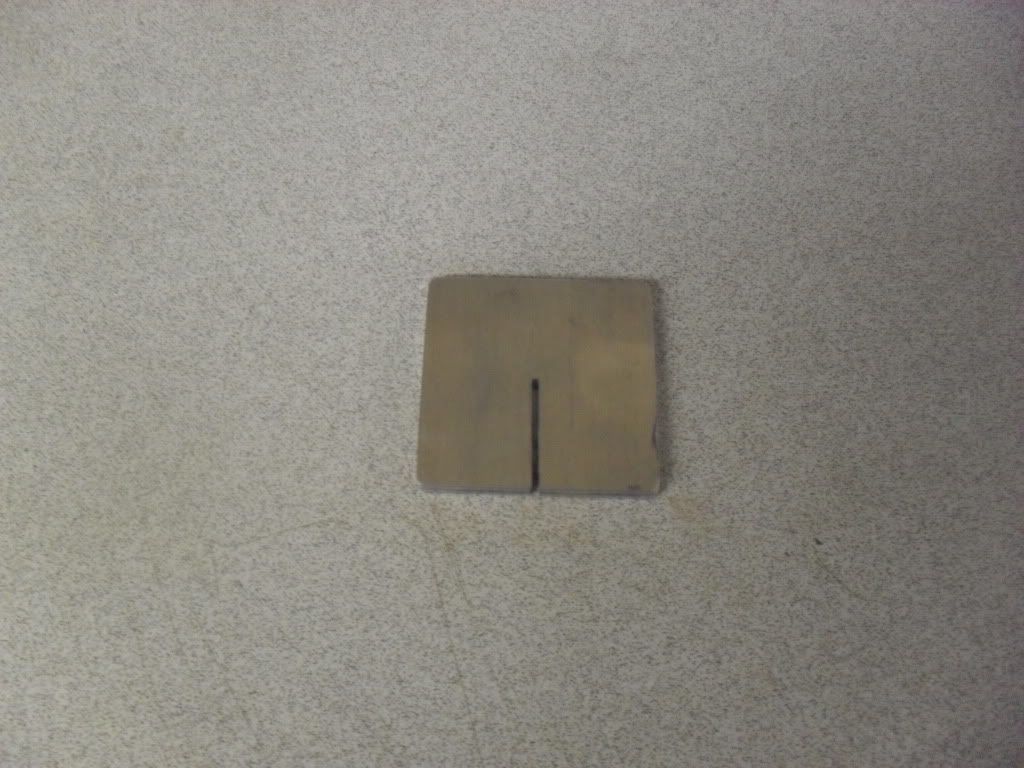
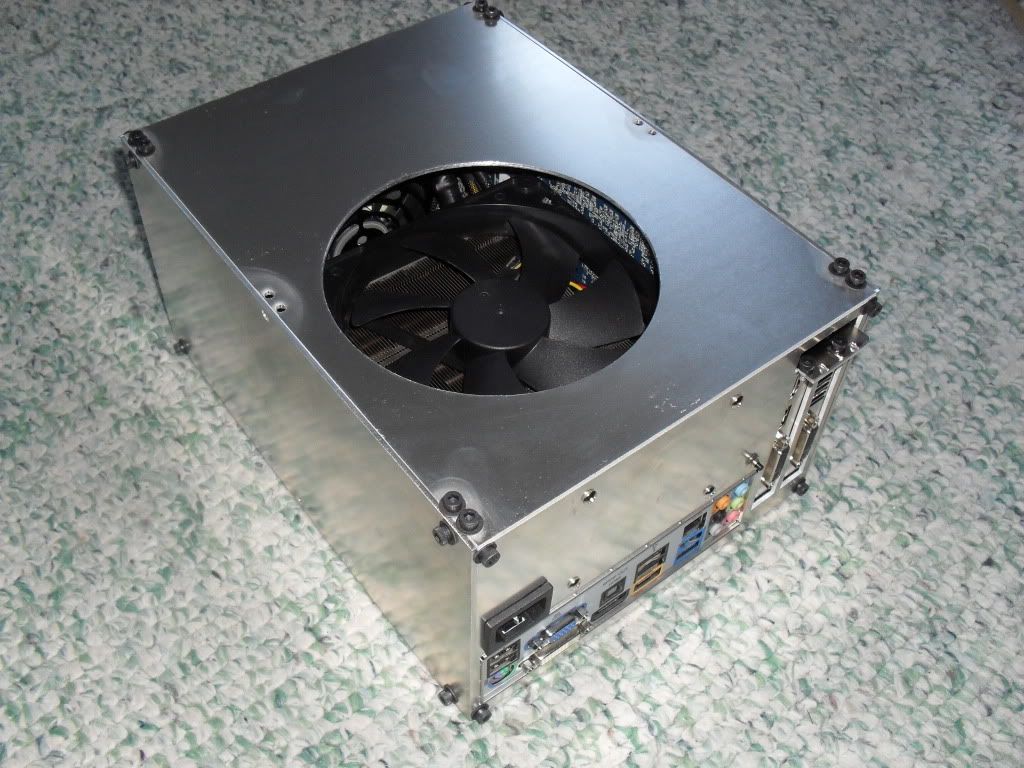
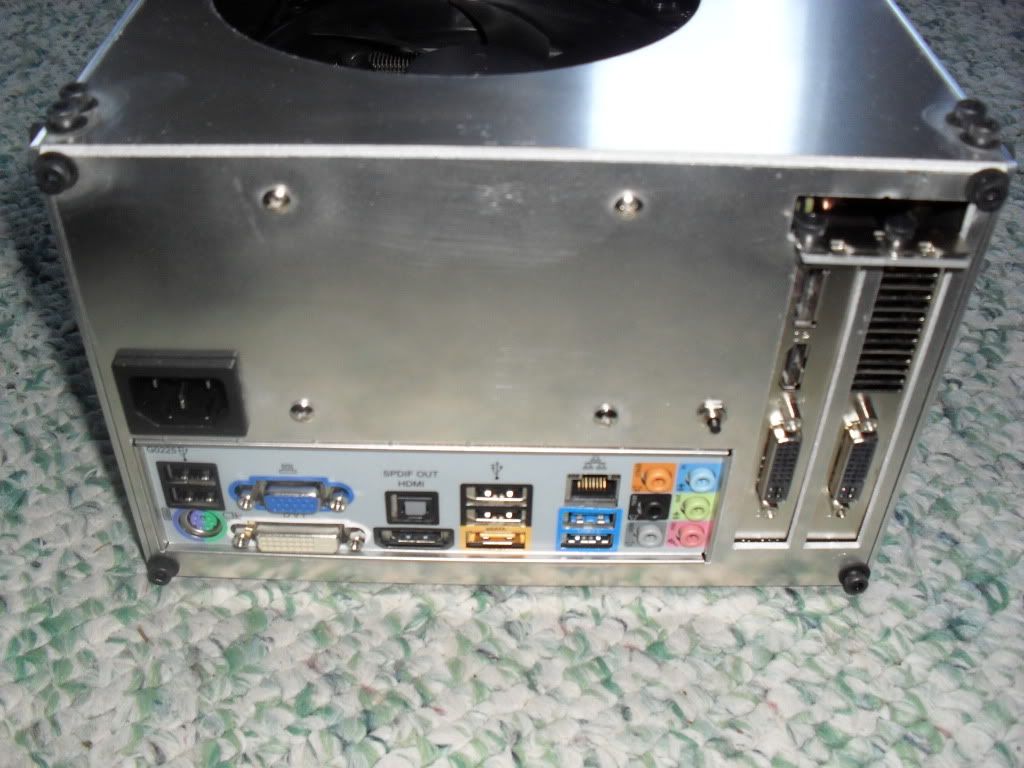
Rear Panel, with I/O shield space and the PCI slots.
Is it easier if I do big pics like this so you don't have to click links, or would you rather have thumbnails so the page loads faster and you can click for big?
CPU: Intel Core i7-860...........................................................................$160 used
Mobo: Gigabyte GA-H55n-USB3............................................................$110 new
RAM: G.Skill Sniper 2x4GB DDR3 1333, 9-9-9-24, 1.5V.............................$75 new
GPU: Sapphire HD5870 1GB.................................................................$215 new
HSF: Thermalright AXP-140+Yate Loon Medium Speed 140mm Fan............$62 new
HDD: 320GB Seagate Momentus 7200.4...................................................$30 used
Total...................................................................................................$652
Why I decided on these components: I change my mind a lot and upgrade regularly, so I wanted to make it able to fit whatever I am currently using. With the rise of ITX complete, I figure I can plan on always finding a mini-ITX motherboard to my liking. For the gpu I wanted to fit anything up to 10 inches, since typically any cards longer than 10 inches require way too much power for my PSU. That brings me to my PSU, which is SFX. ATX PSUs are just too big, and would have made my case much bigger than I wanted. The largest SFX PSU is the SIlverstone ST45SF, which puts out healthy 432W on the +12V rail. This gives me plenty of room to run my 5870 and a 95W quad-core CPU, since I will be undervolting the CPU. The only thing im worried about is fitting my HSF on future ITX motherboards, but I should be able to use any smaller heat sink, or even the stock one, just fine since the CPU will be undervolted.
The case design: Once I decided on the components, I positioned everything in a 3D modeling program called Solidworks, and found the smallest case I could make. Since I wanted the case to last, I decided to make each panel (6, for a rectangular prism shape) modular, and able to be taken apart and put together in any order I wanted. This would allow me to add ports, change vent locations, even make a specific back panel for every new motherboard to fit its particular port arrangement (although i decided to forgo that idea this time around), etc. So, because I don't care for photoshop or photography or even writing more words that people won't read, I will just get right into it.
First I made all these way cool corner pieces which will hold all the panels together, one in each corner.
Then I cut out the first two panels on a water jet machine since its way easier and more precise than doing it by hand.
Bottom Panel. If you'll notice, there's about 1/16" between some of the holes and the nearest edge of the panel.
Bubble
Rear Panel, with I/O shield space and the PCI slots.
Is it easier if I do big pics like this so you don't have to click links, or would you rather have thumbnails so the page loads faster and you can click for big?
 (photo size)