Droc
2[H]4U
- Joined
- Mar 20, 2007
- Messages
- 3,402
Whats the dollar value on this build?
Follow along with the video below to see how to install our site as a web app on your home screen.
Note: This feature may not be available in some browsers.
Your build is awesome as usual. I have always admired your work. Especially your yellow TJ11.
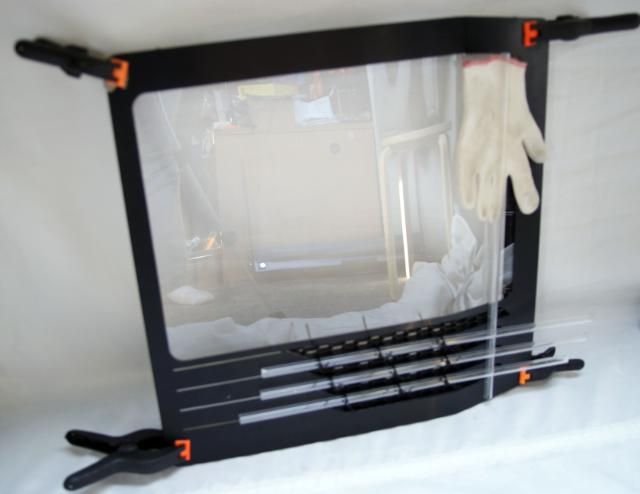
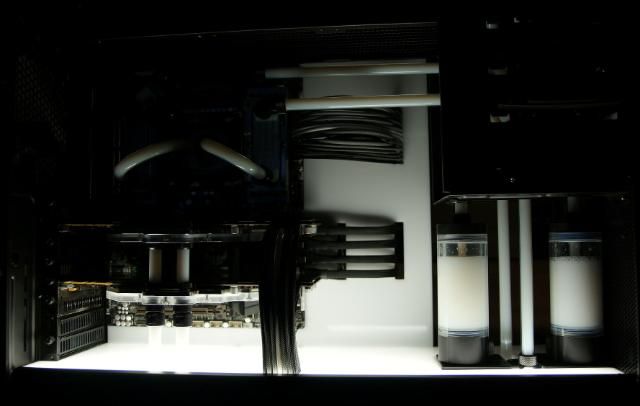
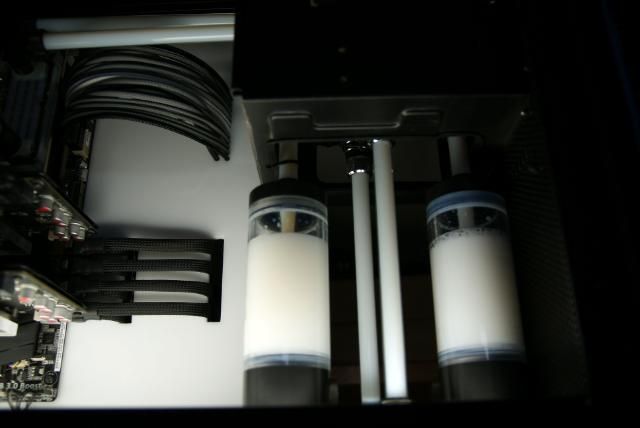
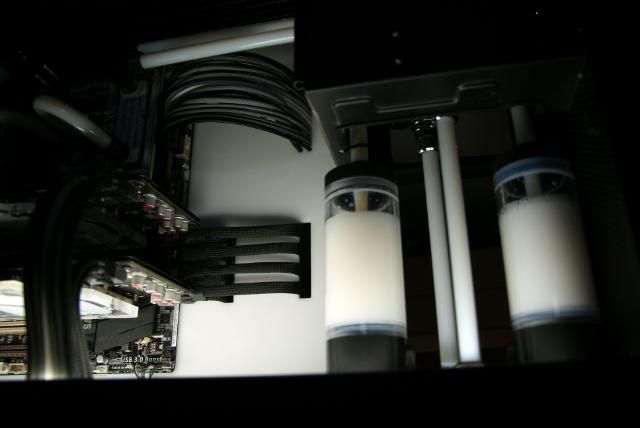
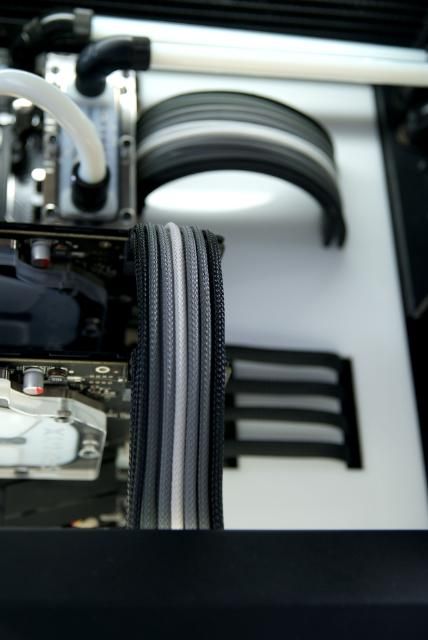
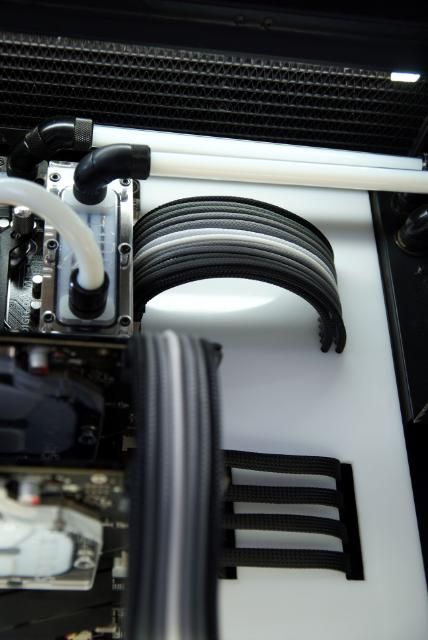
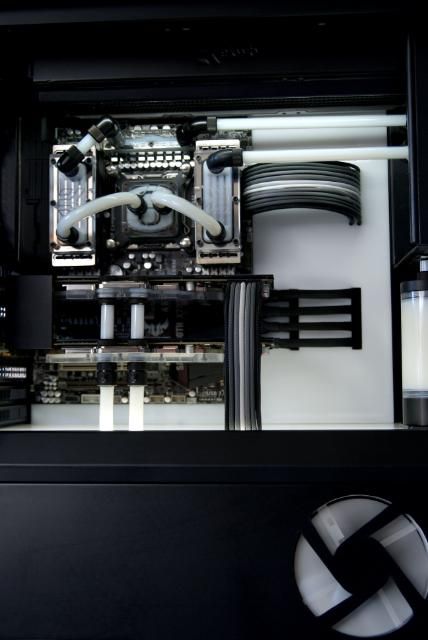
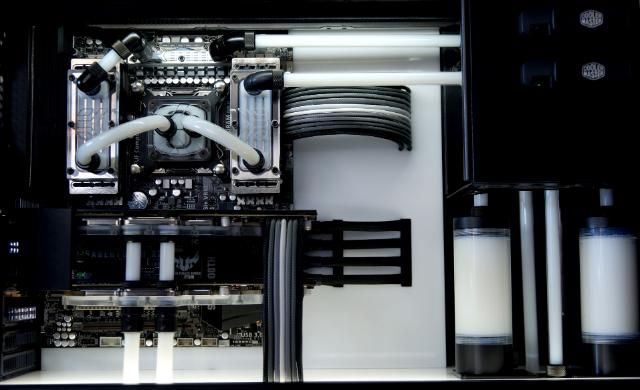
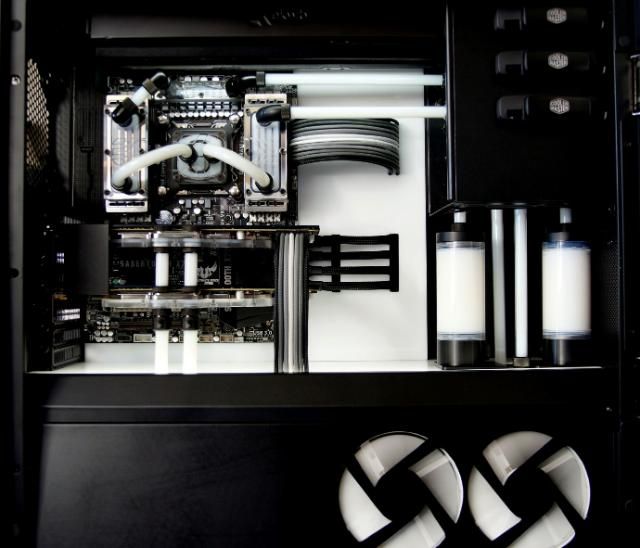
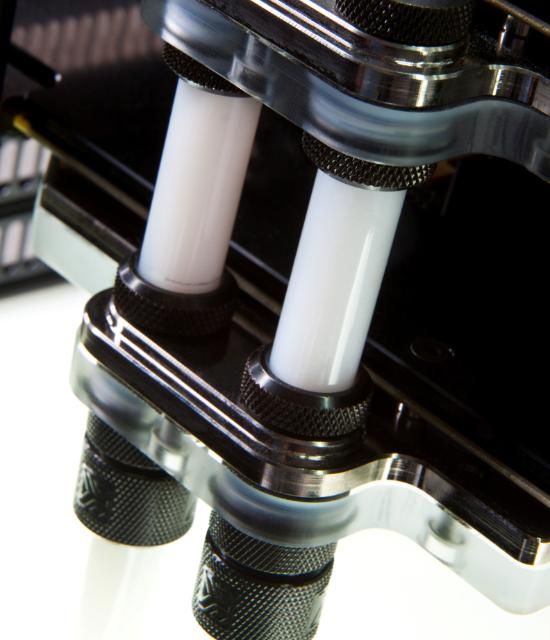
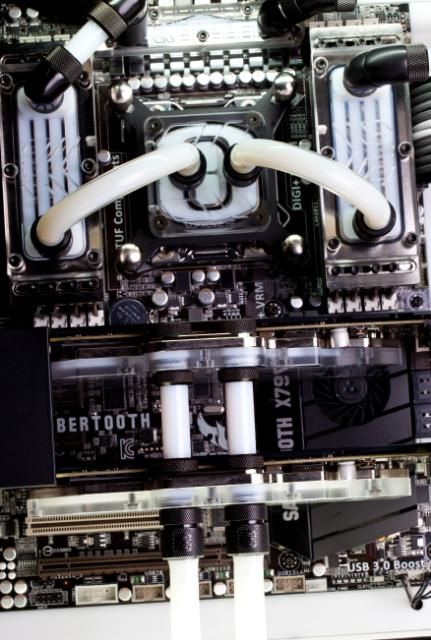
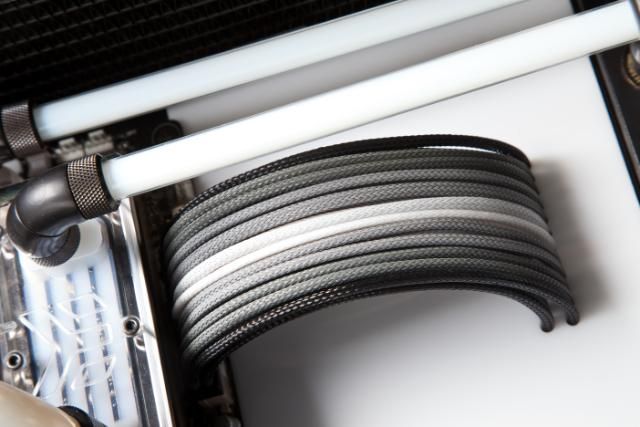
I was wondering, if you care to tell me, how you achieve the straight rigid tubing - specifically the part that runs behind your reservoirs. I have a long tube running horizontally, and have achieved to get it quite rigid, but it's not perfect as yours. If it's not one of your pro modder secrets")
Sort of a rude question.
Your build is awesome as usual. I have always admired your work. Especially your yellow TJ11.
I was wondering, if you care to tell me, how you achieve the straight rigid tubing - specifically the part that runs behind your reservoirs. I have a long tube running horizontally, and have achieved to get it quite rigid, but it's not perfect as yours. If it's not one of your pro modder secrets
Whats the dollar value on this build?
Sort of a rude question.
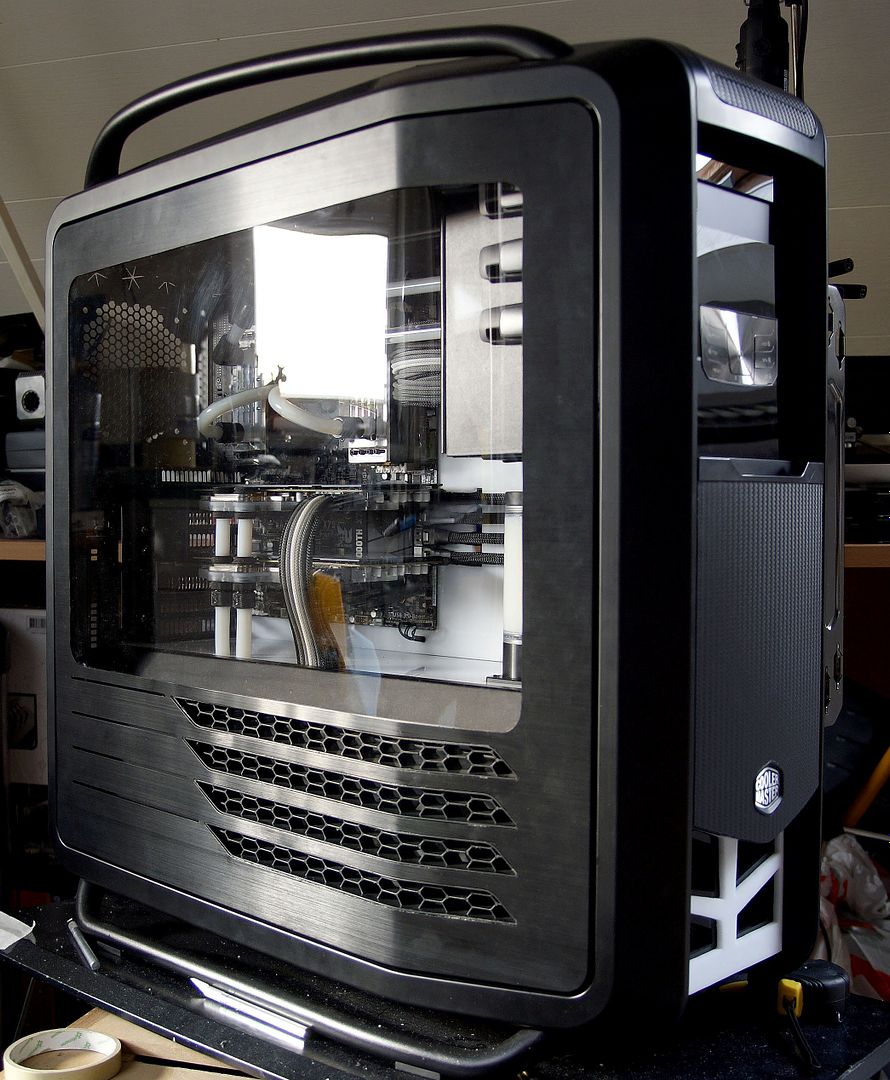
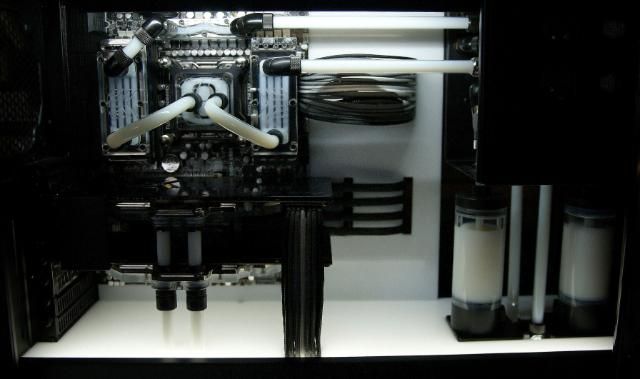
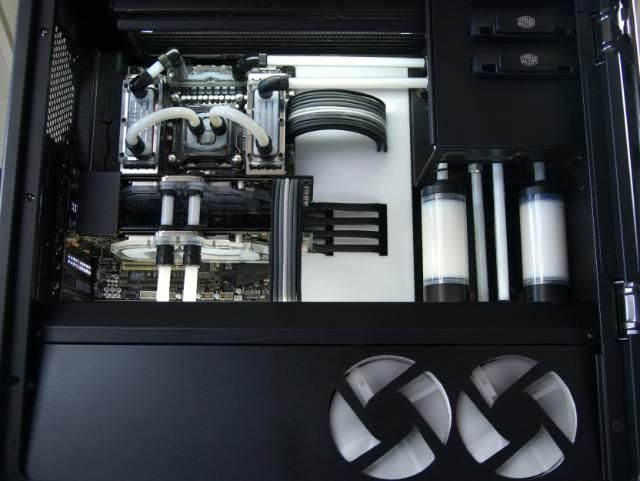
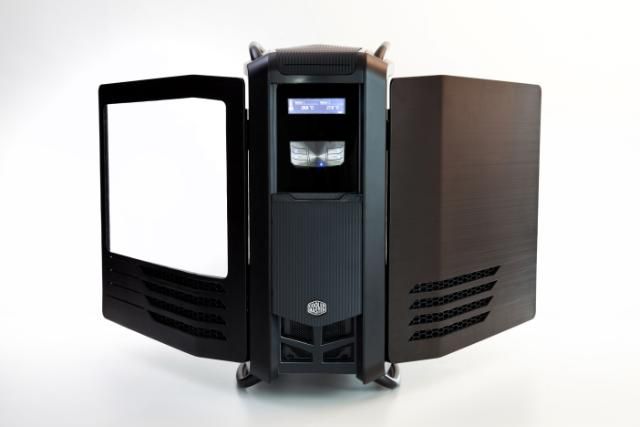
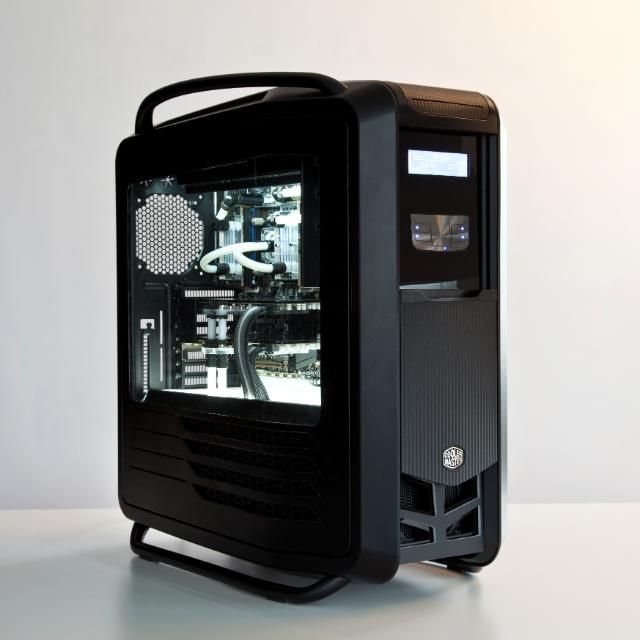
This is absolutely amazing. I love the lit center section. Cant wait to see the glory shots.
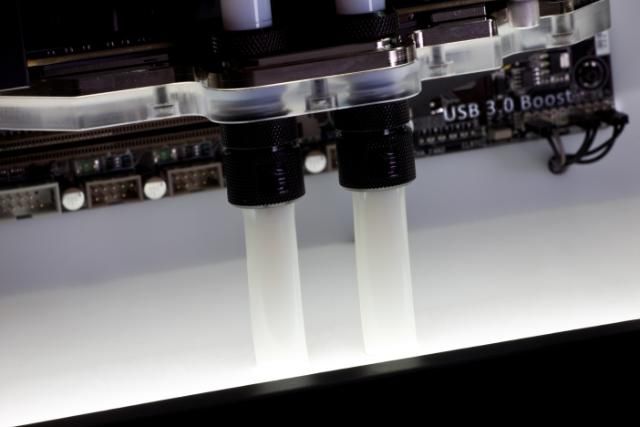
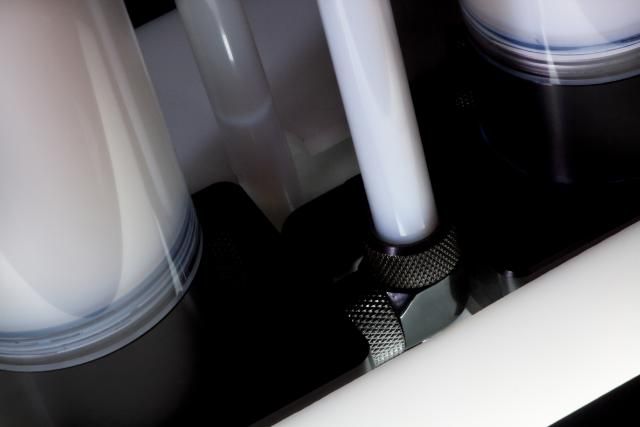
Straight section is not flex tubing its acrylic pipe. At least I thought that was what he said.
Why? He didnt ask how much he makes, he asked the cost of such an amazing build. Those of us who do not know the amount of time required would like to still know how far out of reach something like this is for us to even buy.


Sort of a rude question.
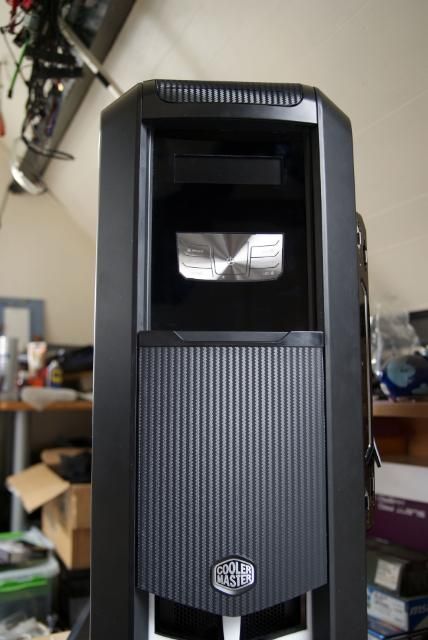
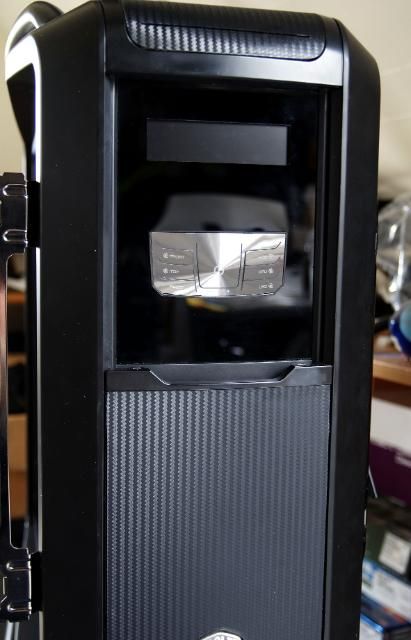
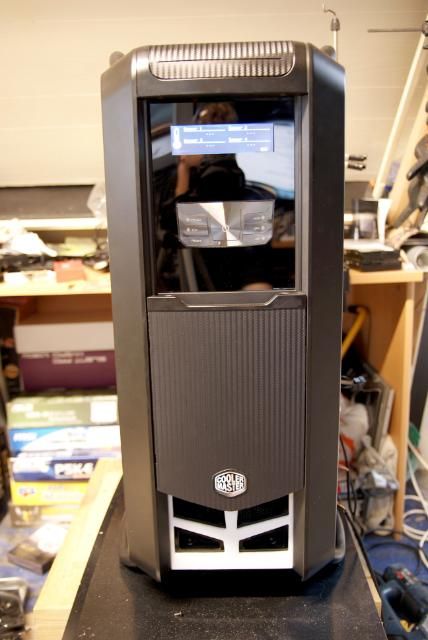
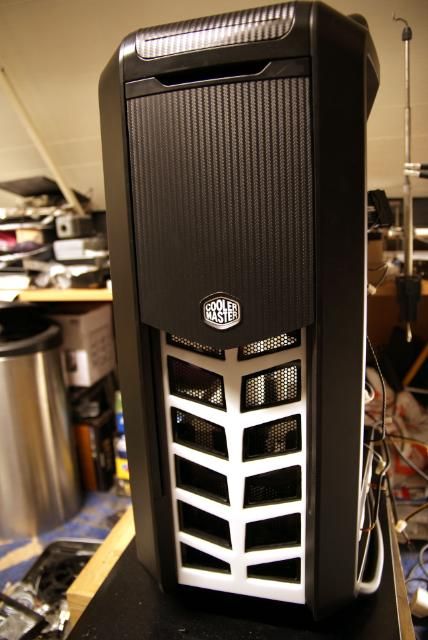
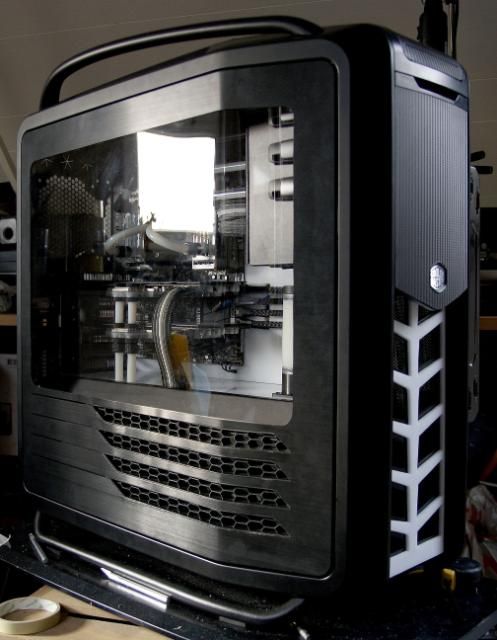
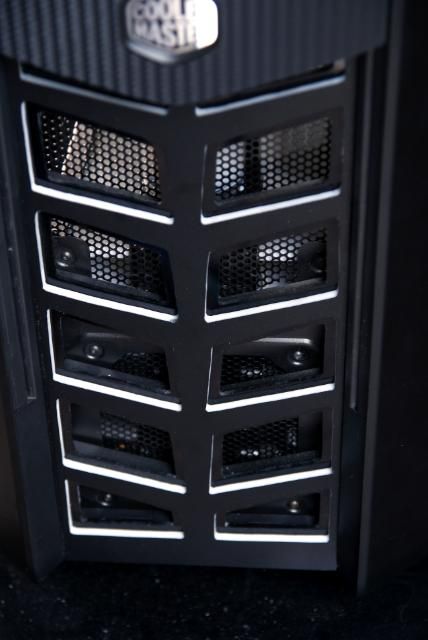
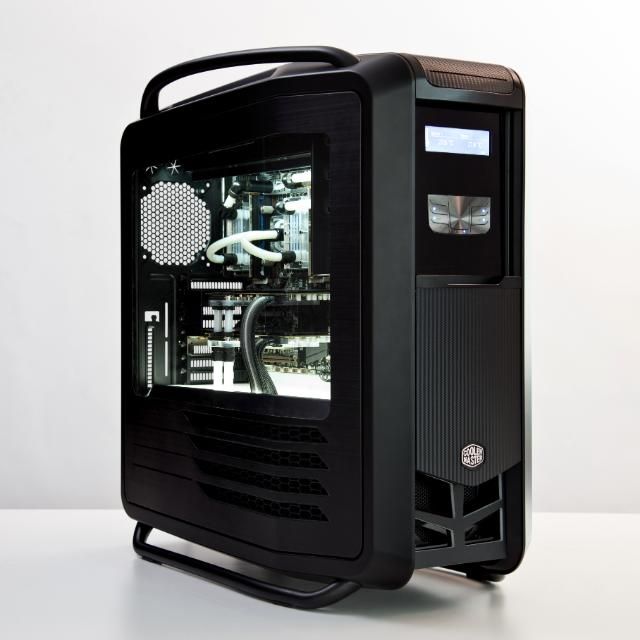
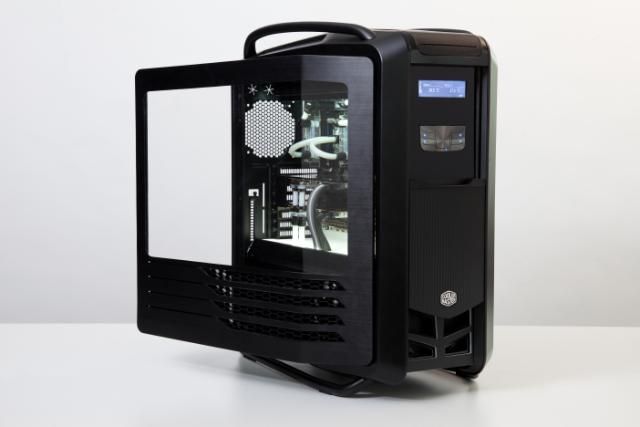
That case is a badass! Loving the slot load mod and EVERYTHING else you have done to it! This is gonna be a killer setup!
you're a true master
Just doing my thing Nice Kier!
Not rude at all. A straight forward question. We could look up all the parts individually, but knowing how much it was isn't a secret. I'm fairly curious too... LOL $4854.89 on hardware is a dream for the average Joe.
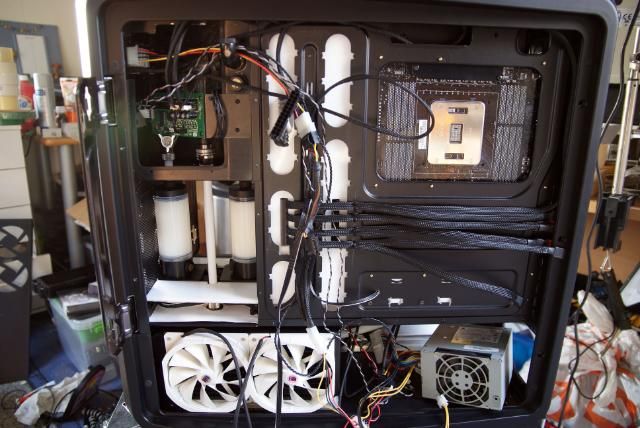
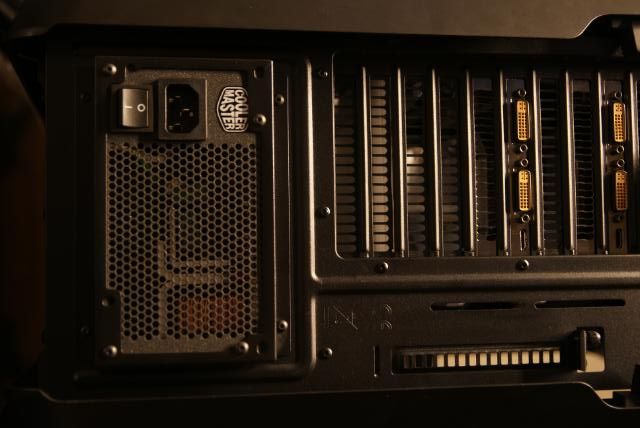
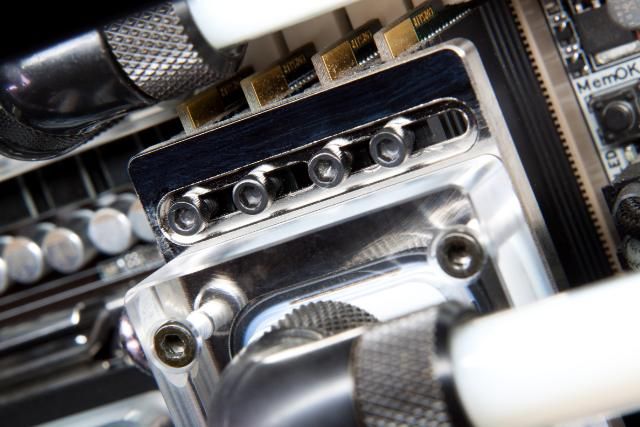
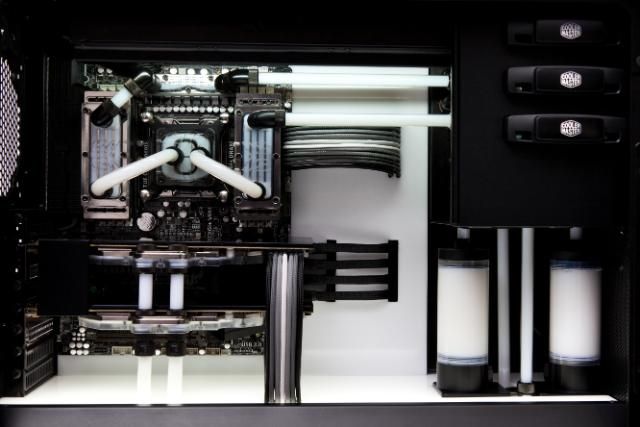
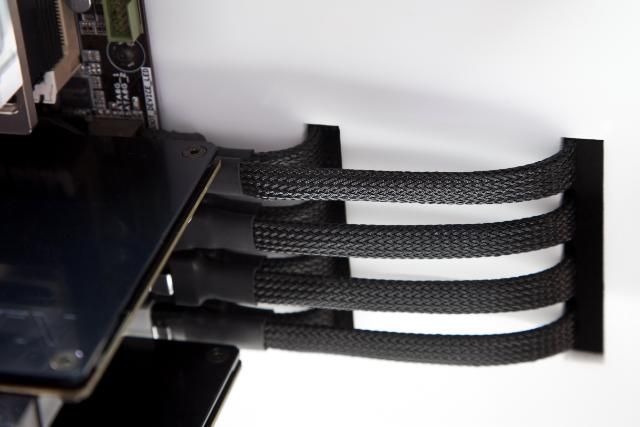
As much as I like the look you have achieved ... the engineer in me cringes at how you have your coolant system rigged ... your video cards especially.
AMAZING, Beautiful, makes me droll, and inspires me to continue to doodle more on my own design...!!!!
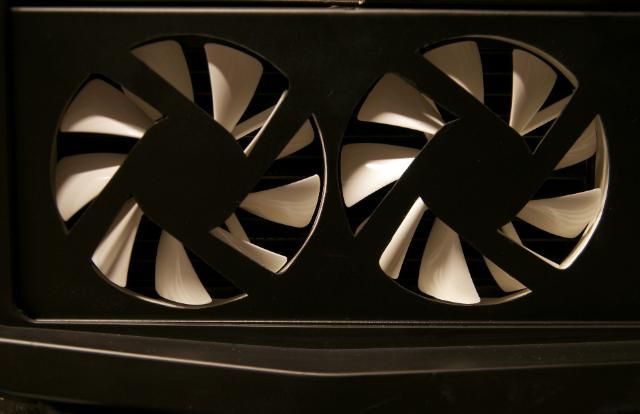
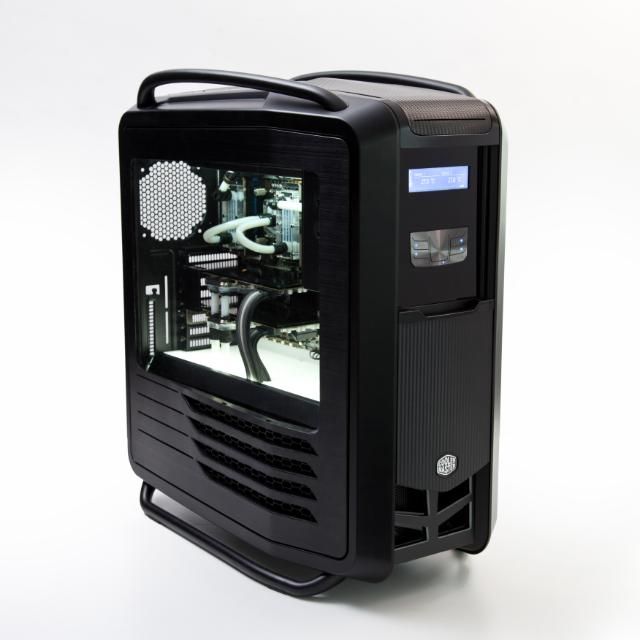
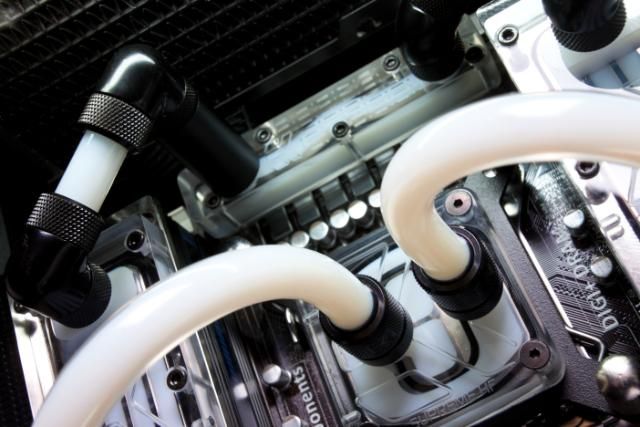
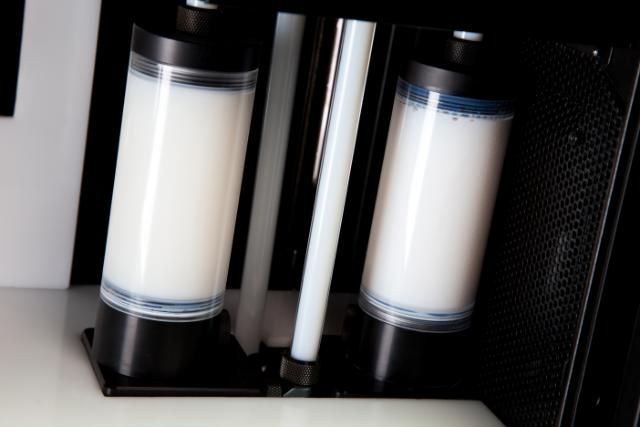
I'm craving cookies now looking at the milk like coolant flowing through your lines. Very pleasing to the eye.
It is just me or does it look like that thing is running on Ketracel-white?
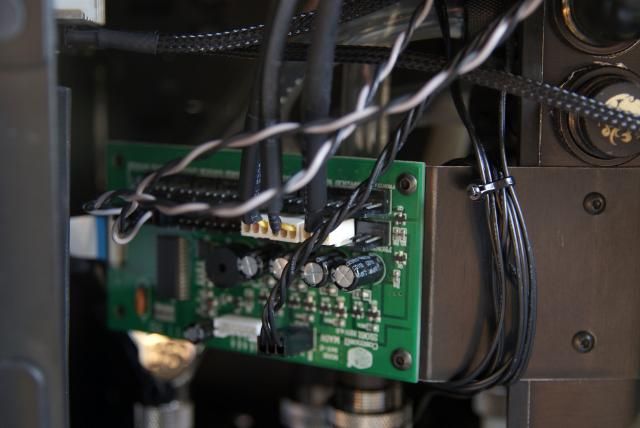
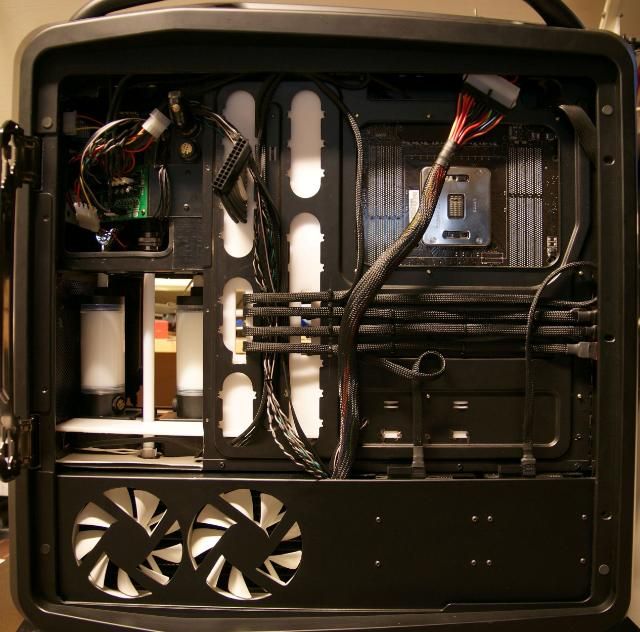
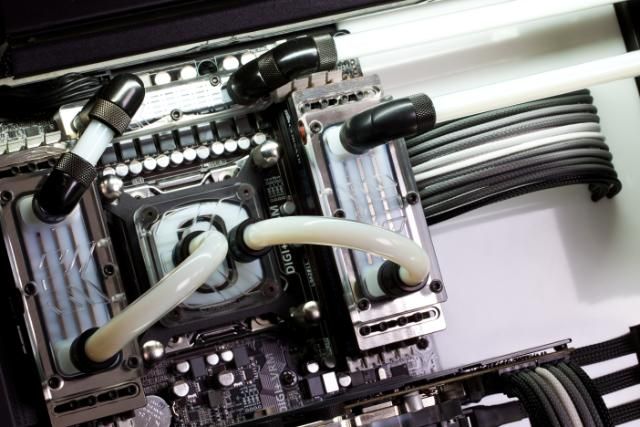
Holy shit that mobo/guts looks absolutely bad ass. Seriously looks like some props for a Star Trek movie, like you pop open the wall and that's the computer system inside of it.
This is a very nice build. You've shown some true craftsmanship and artistic style.
Its the AMG of computers and I love it!
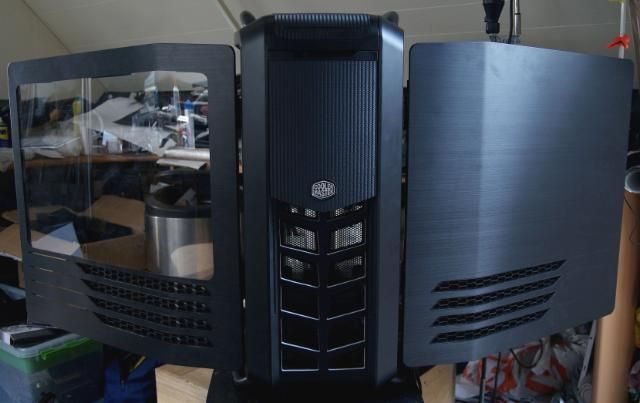
Just an awesome build all-together and with one of my favorite cases on the market. Not sure I would have the guts to mod an already beautiful case like you did and make it look even better.
I was looking to redo my loop later this year and thinking about going with white tubes, but this looks much better. I am fairly new to watercooling myself, but isn't adding any additives to the water bad for parts?
wow,wow,........wow.
Really beautiful.
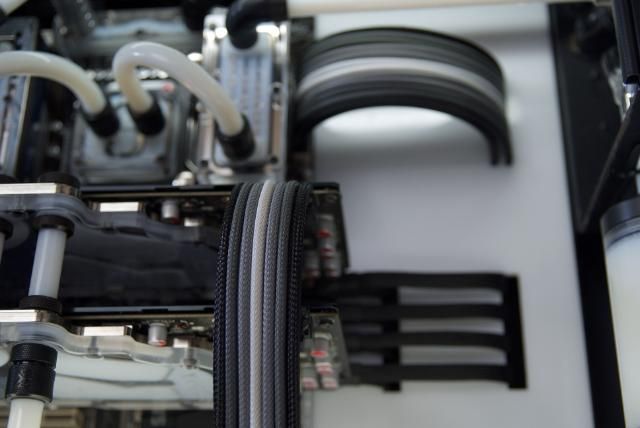
the attention to detail the crafstmanship just fantastic
I'm blown away. The amount of talent and creativity is astounding.
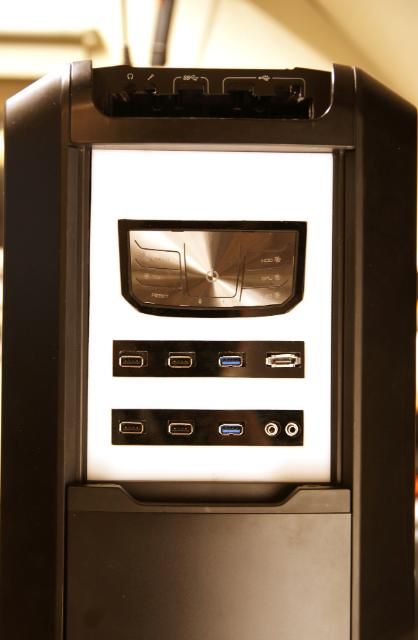
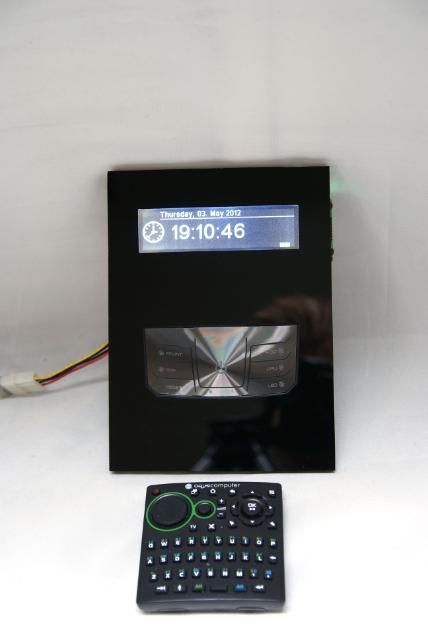
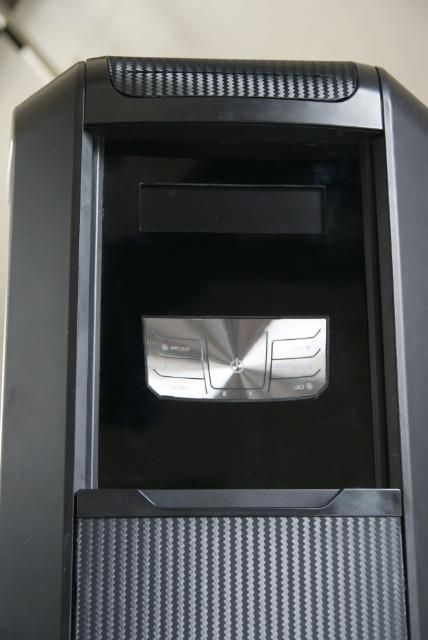
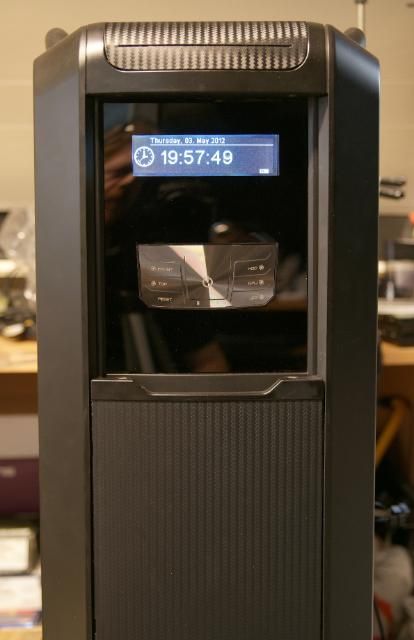
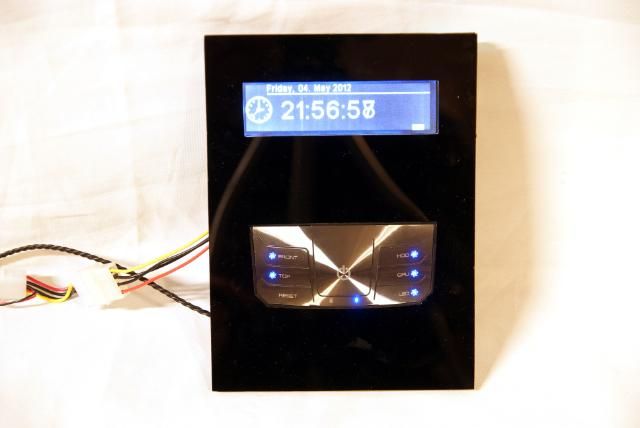
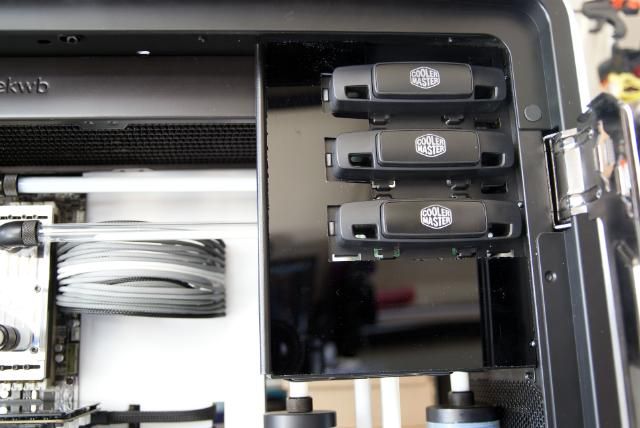
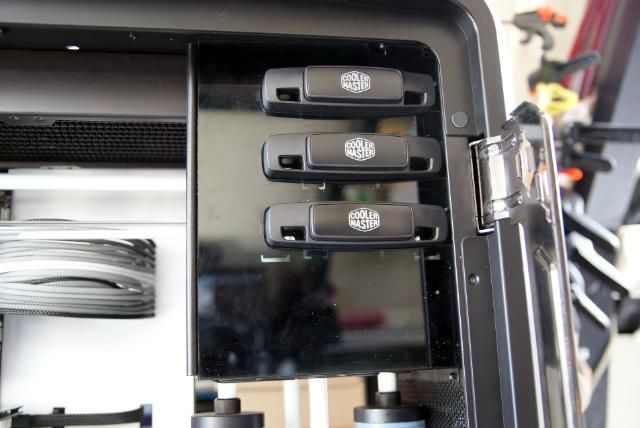
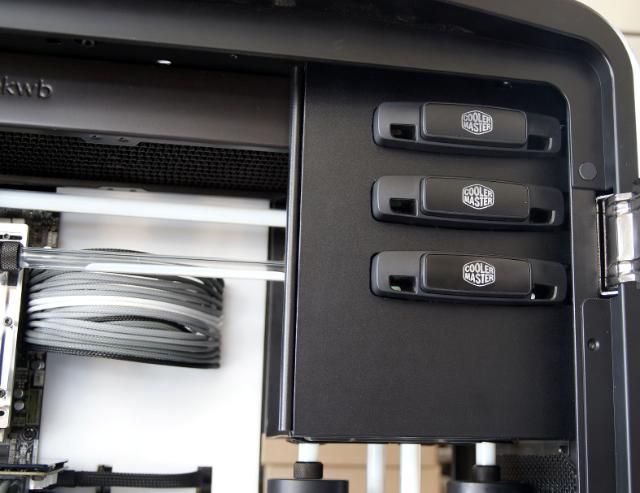
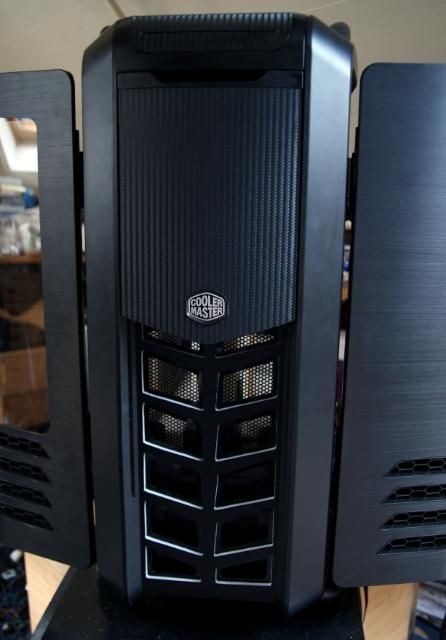
Liking the mod. I just don't think that silver button piece taken from the top works in the front. It was made for the user looking down to press those buttons. Otherwise, very nice.
Simply amazing
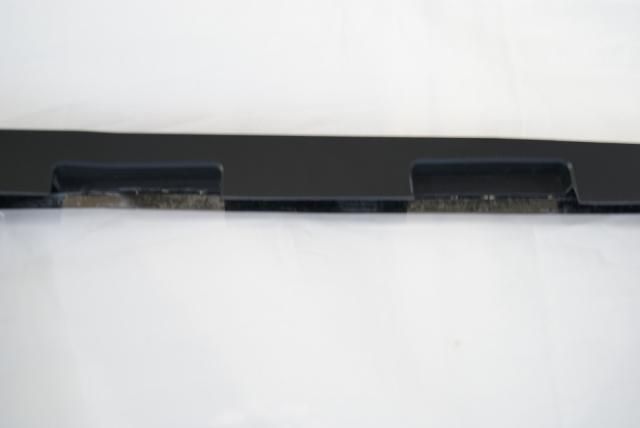
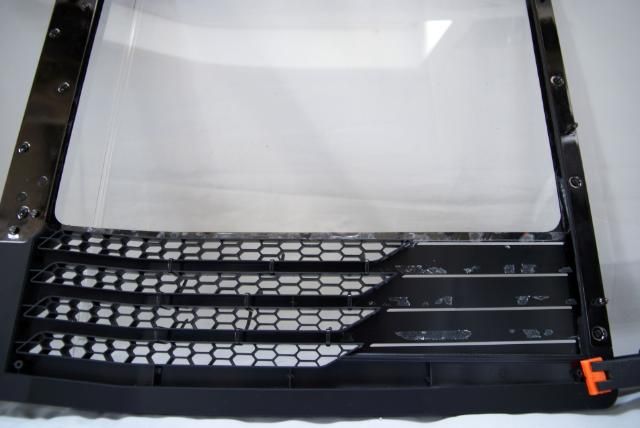
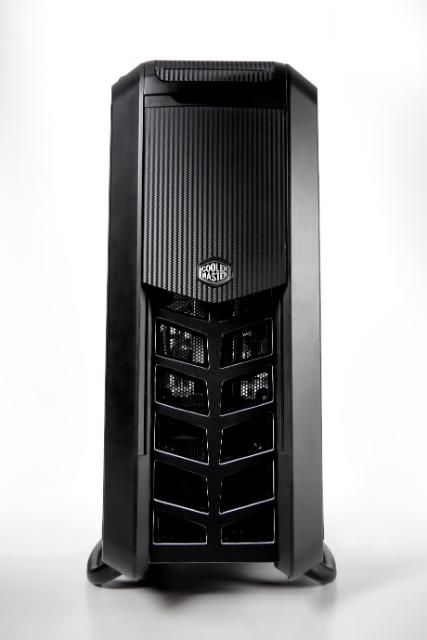
. Fortunately there was Ruud from Coolermaster, who still has parts of the Cosmos
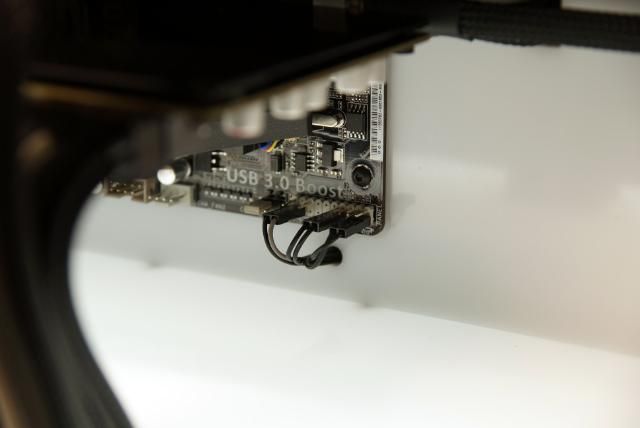 So this will disappear.


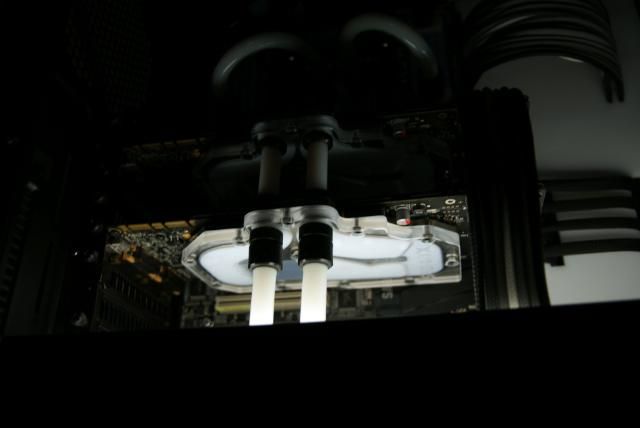

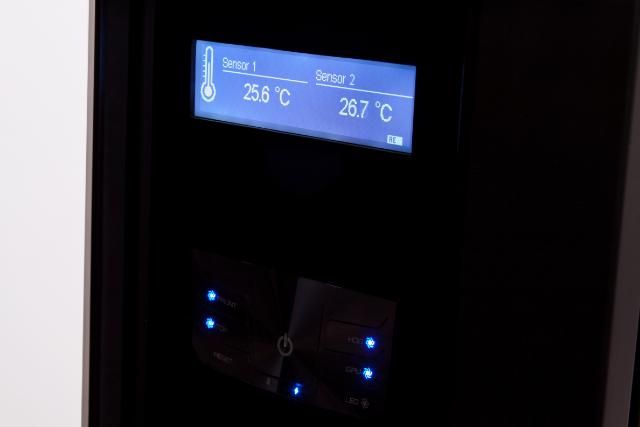
If you wouldn't mind, when you have this up and running ... could you please post temperature readings of the two video cards under load? I am very curious if that setup will cause a noticable temperature variance that is worth any sort of consideration. It will obviously cause some amount of variance, but is it worth worrying about is the question that may be answered.
when everything is up and running I will post some temps for you. 


 .....www.facebook.com/madebykier