Cooler Master Cosmos II MbK
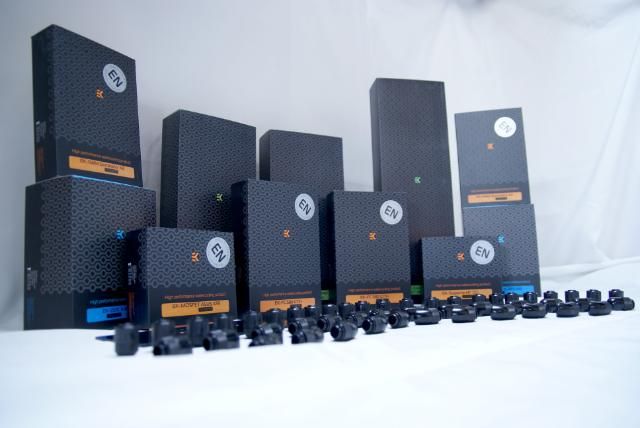
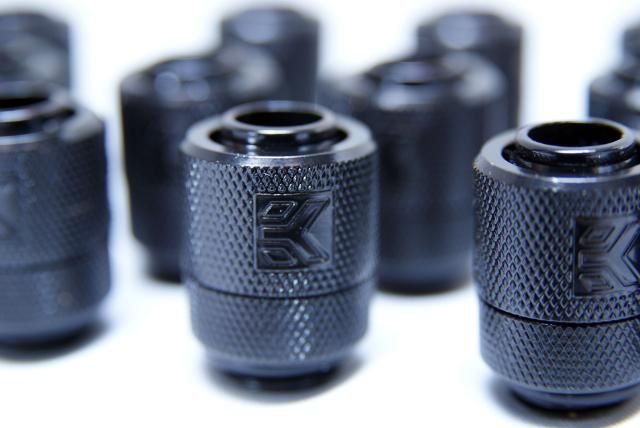
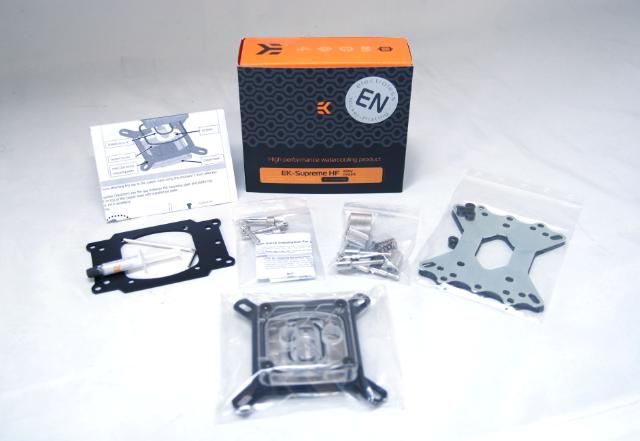
Sponsered by:


Hi my modding friends,
A new year begins, so a good start in terms of a new modding season
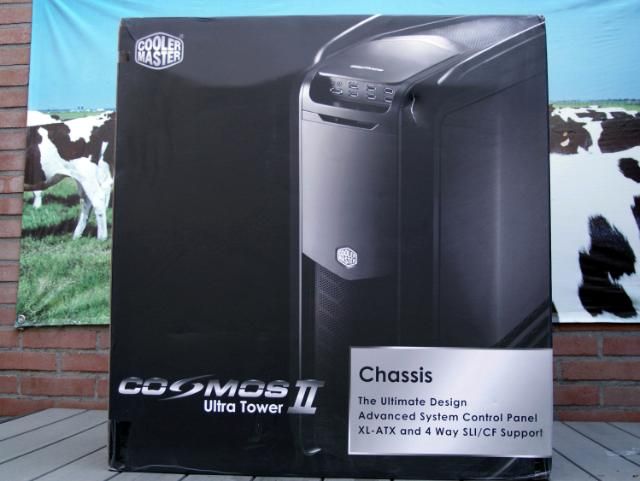
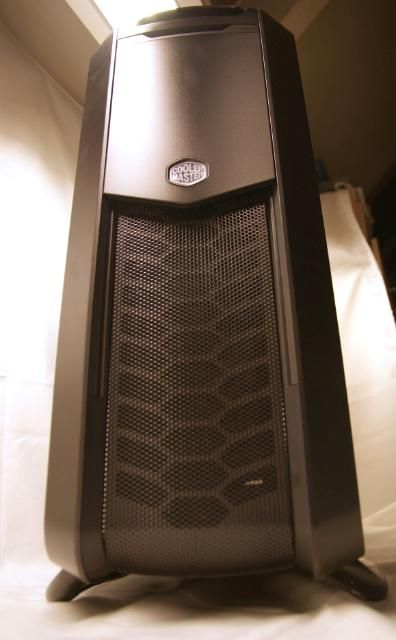
With a brand new case .... which is released right now, the Cosmos II
The new flagship of Cooler Master.
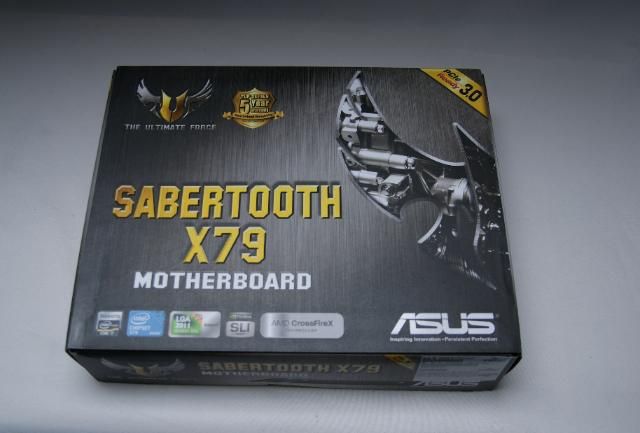
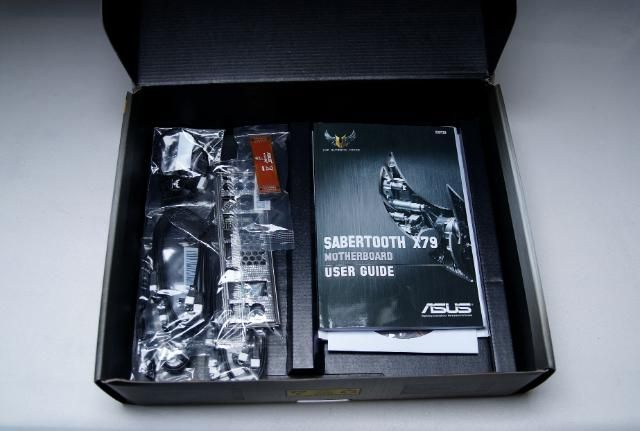
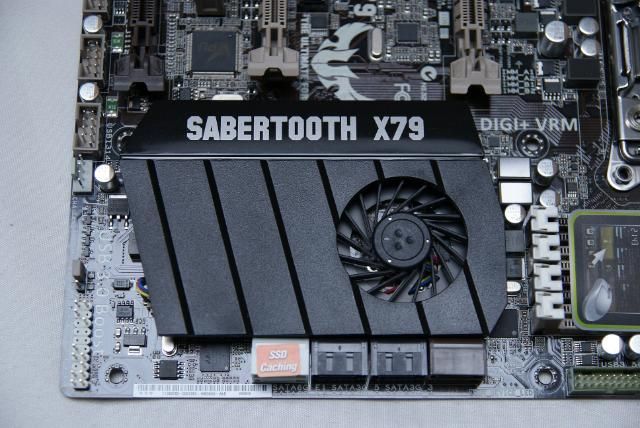
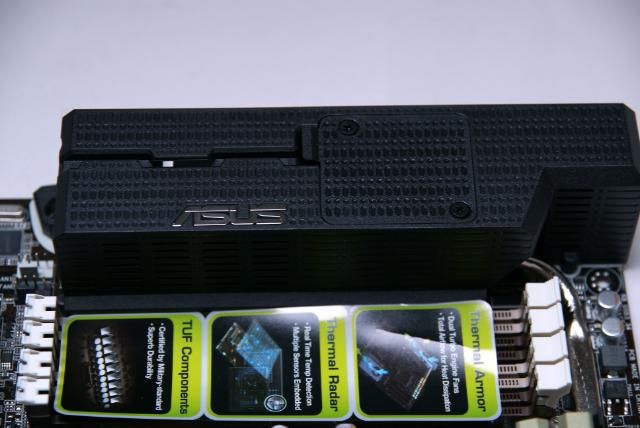
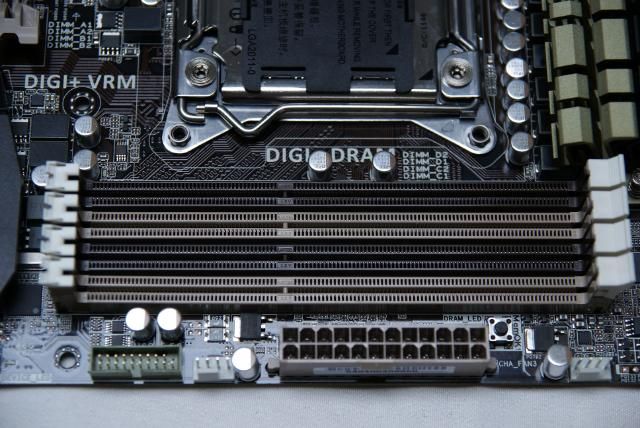
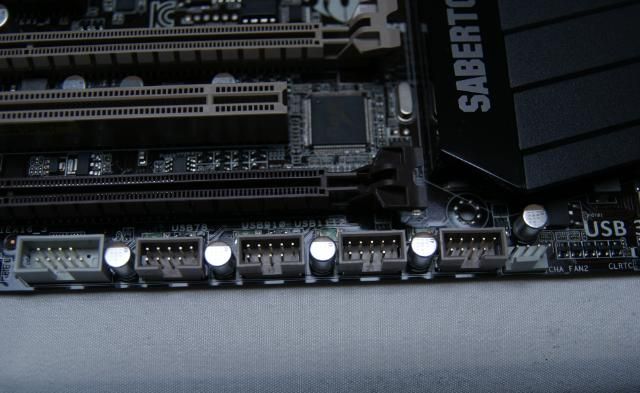
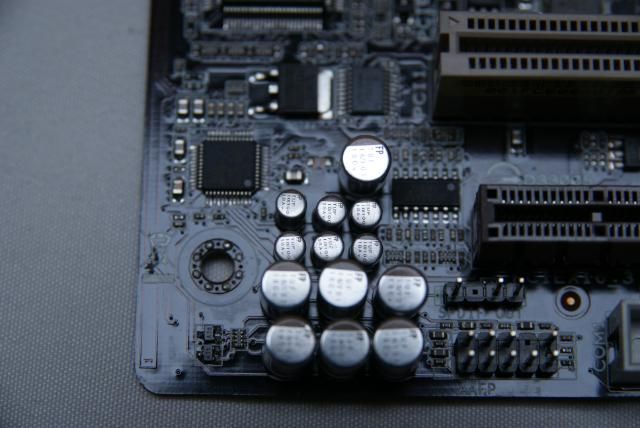
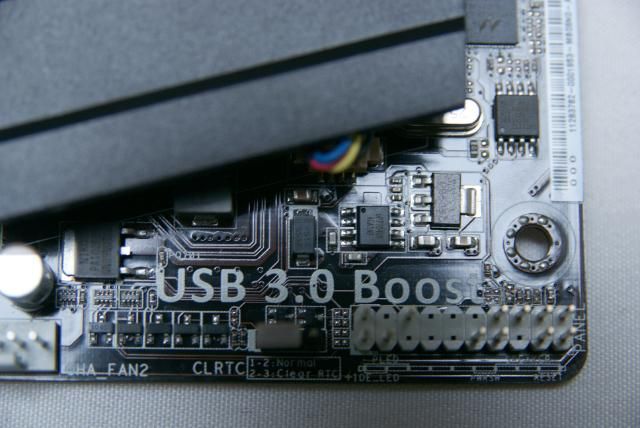
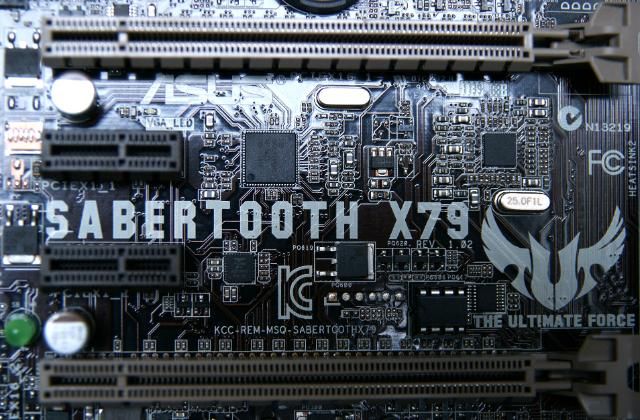
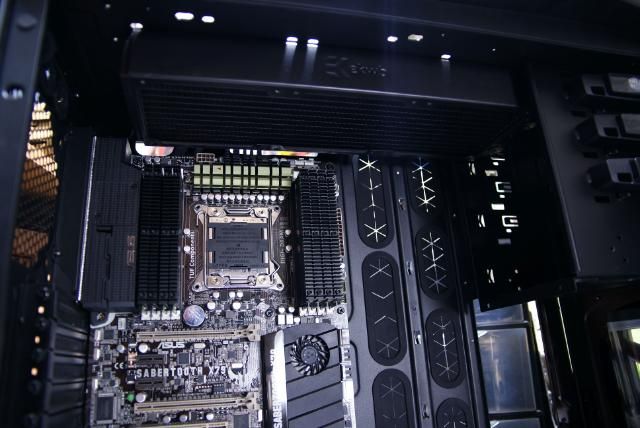
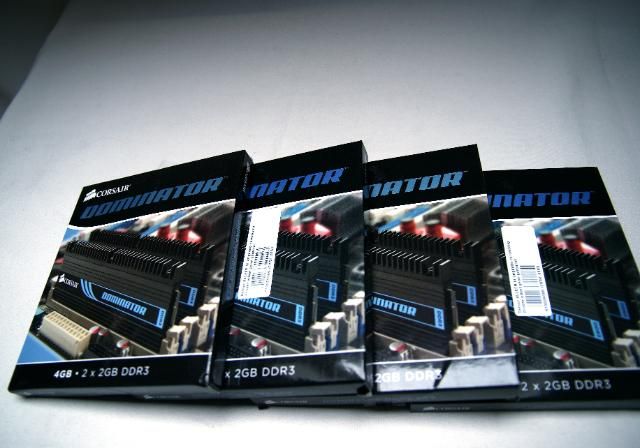
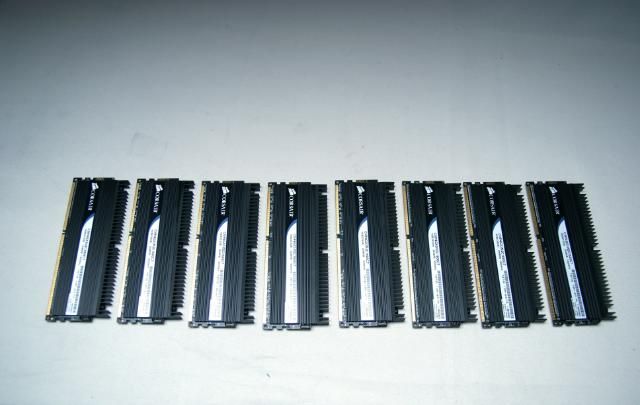
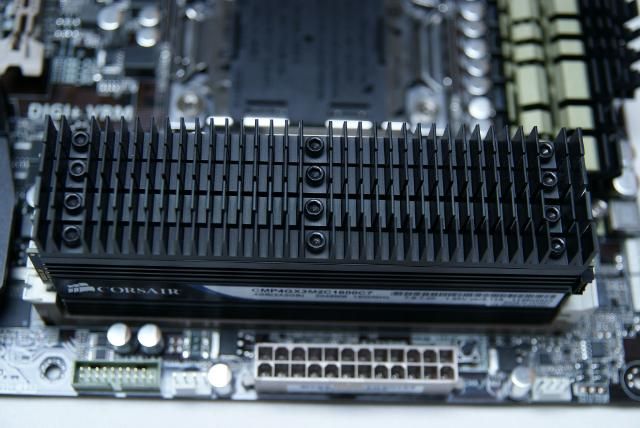
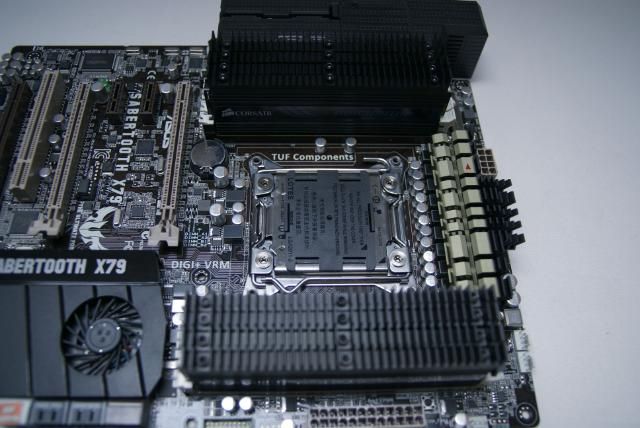
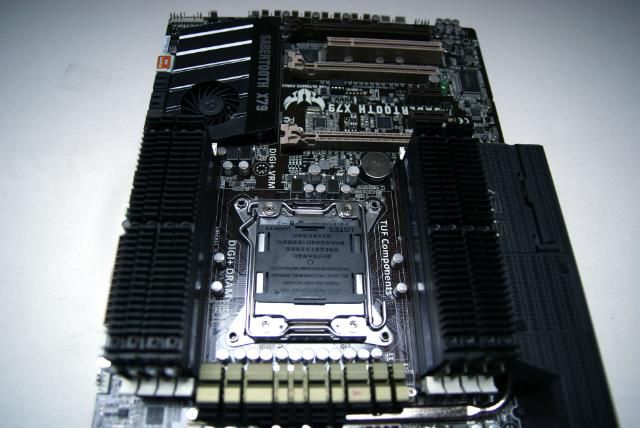
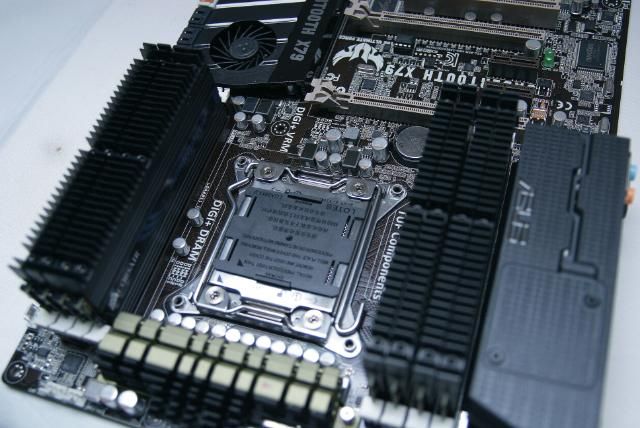
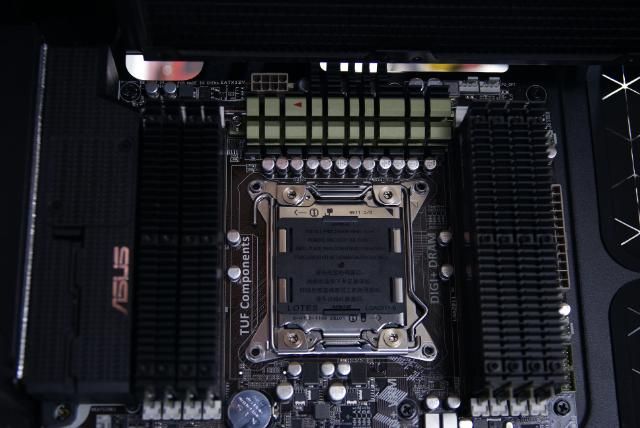
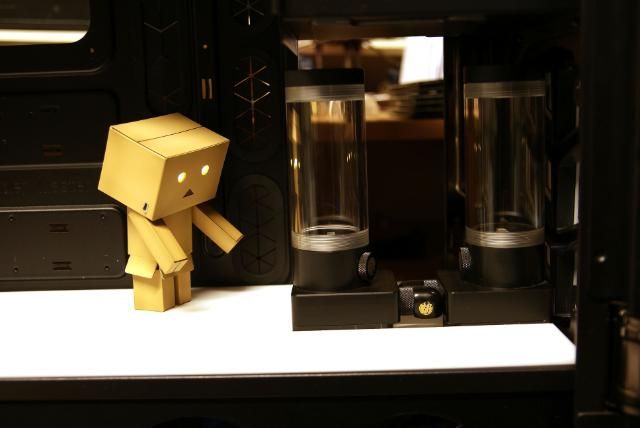
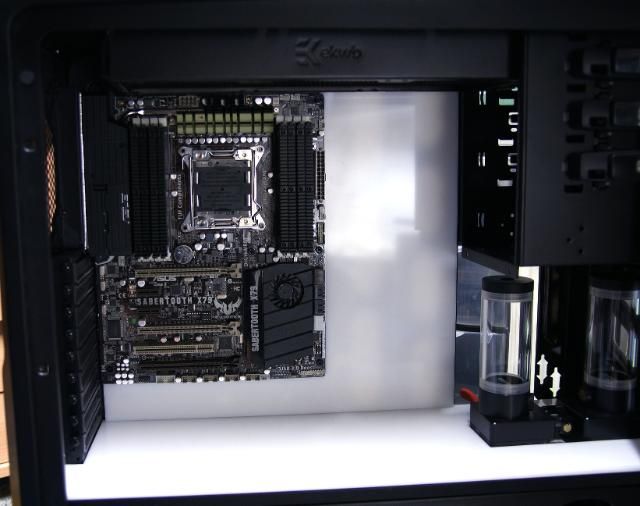
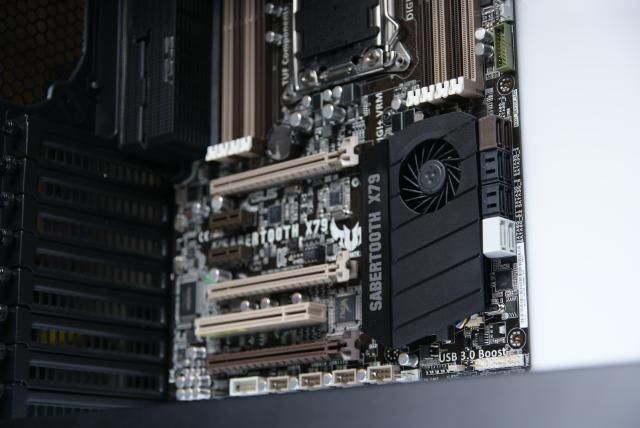
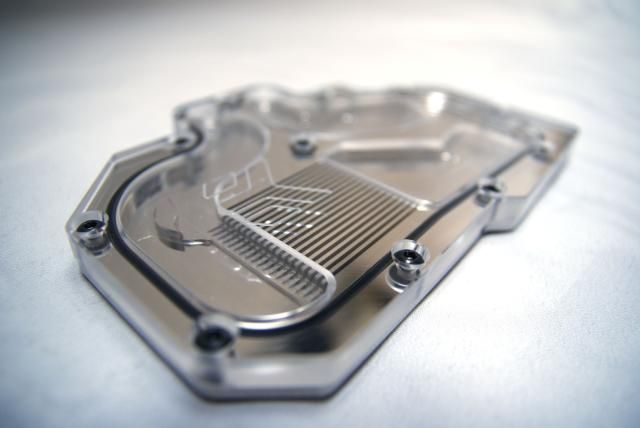
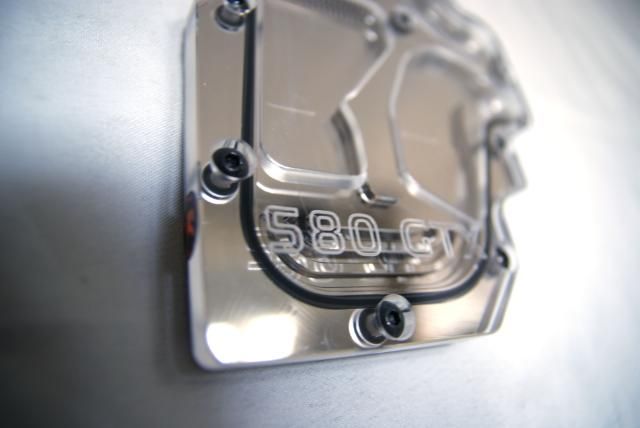
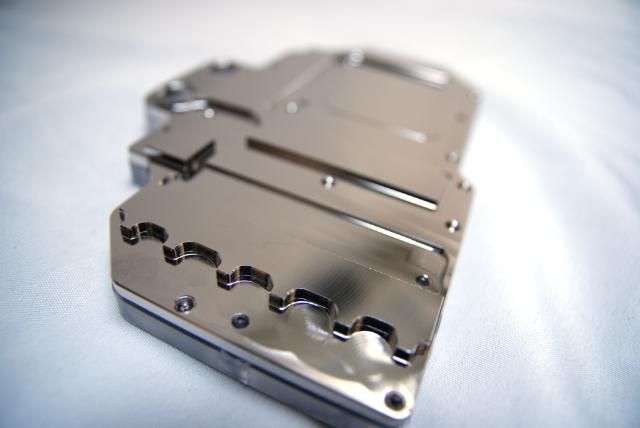
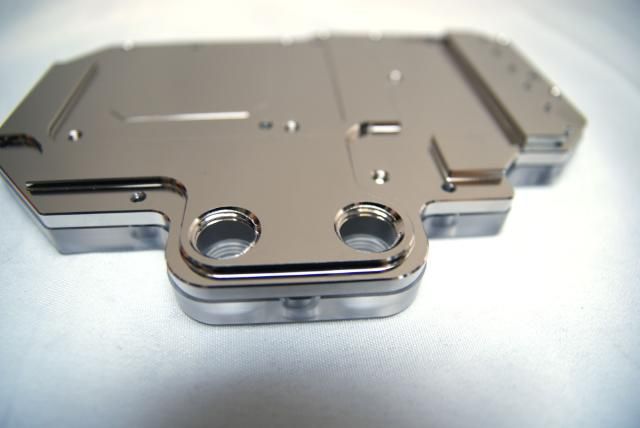
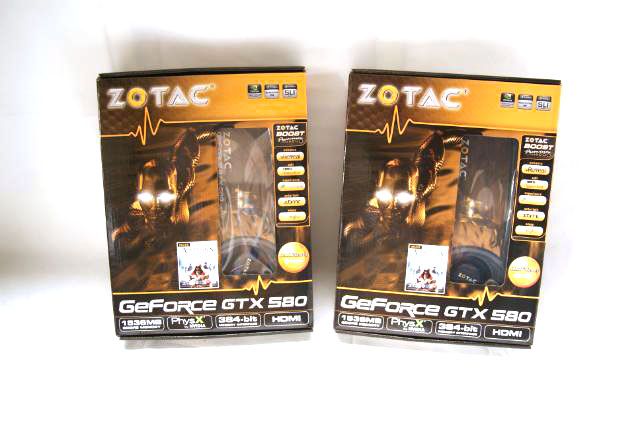
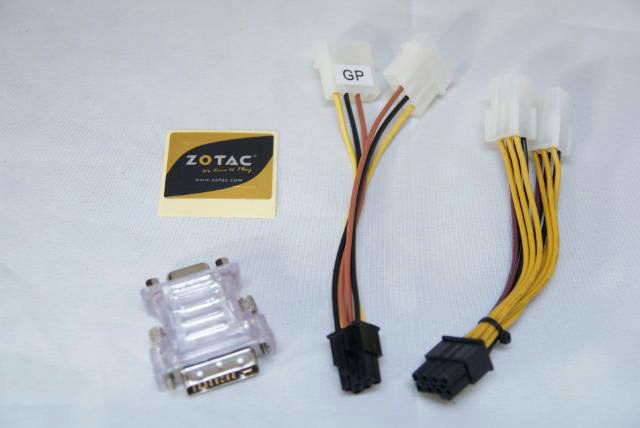
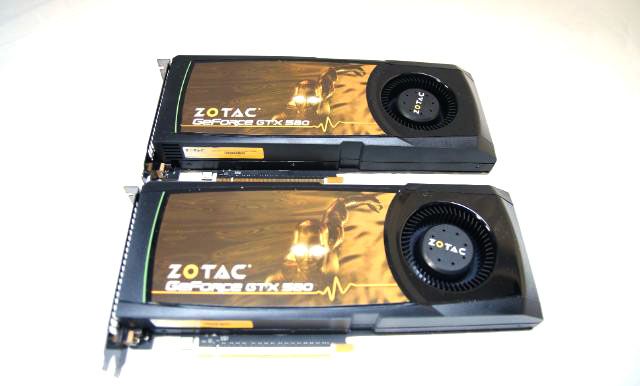
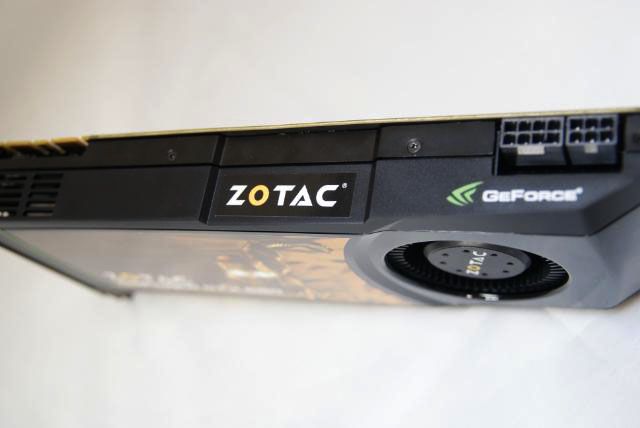
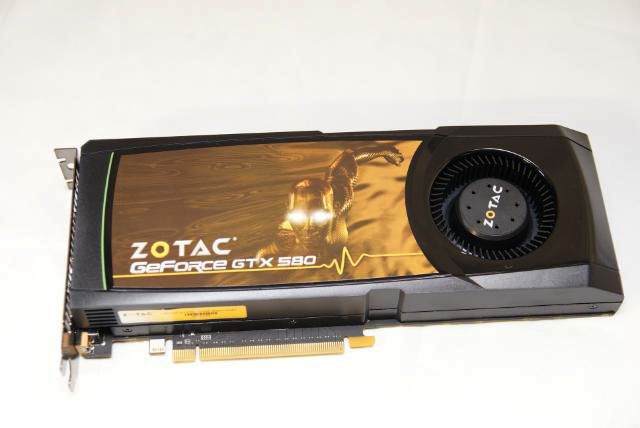
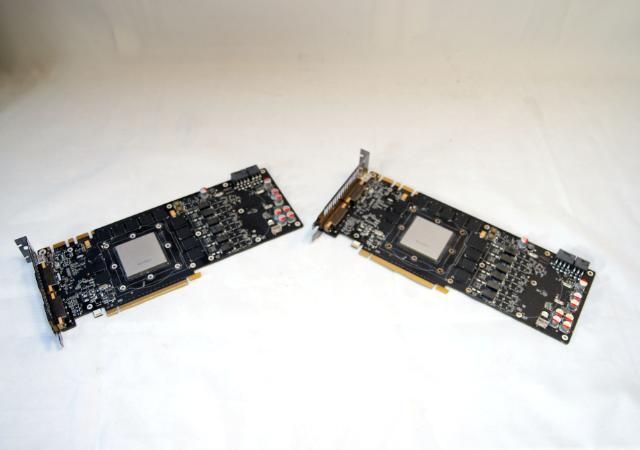
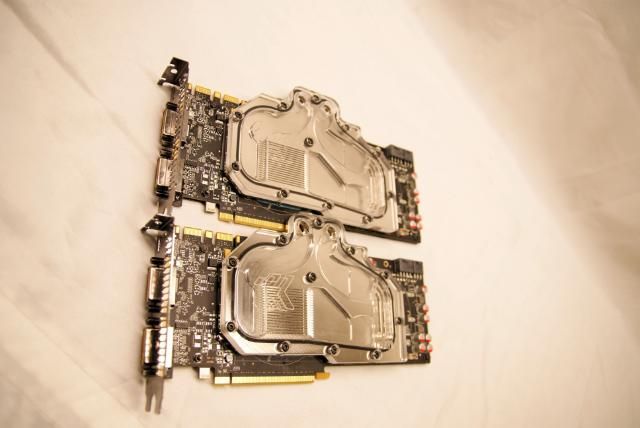
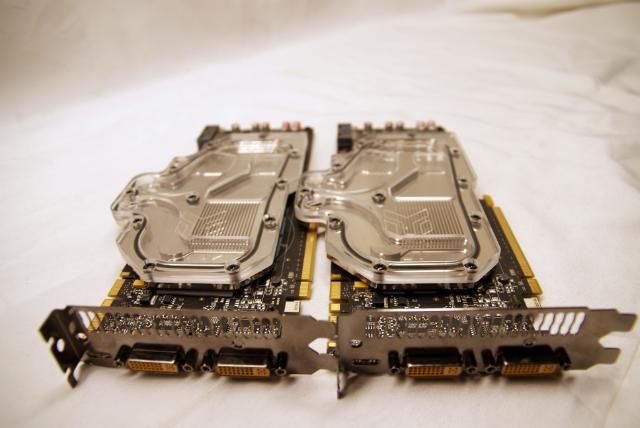
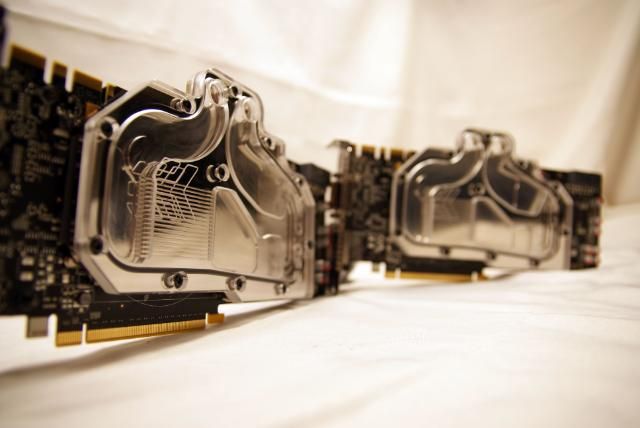
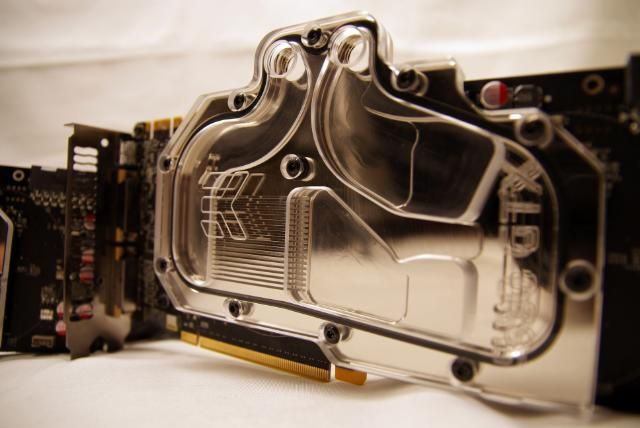
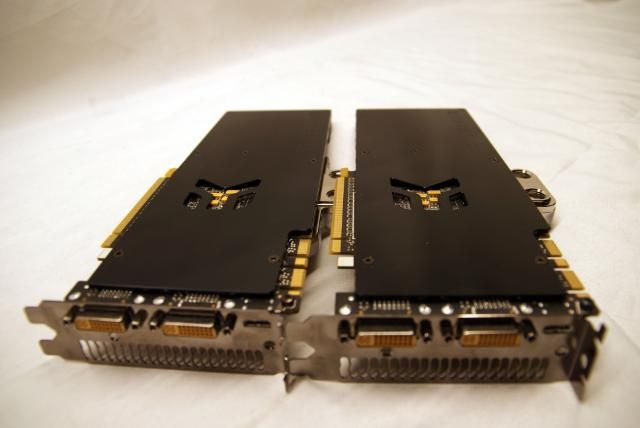
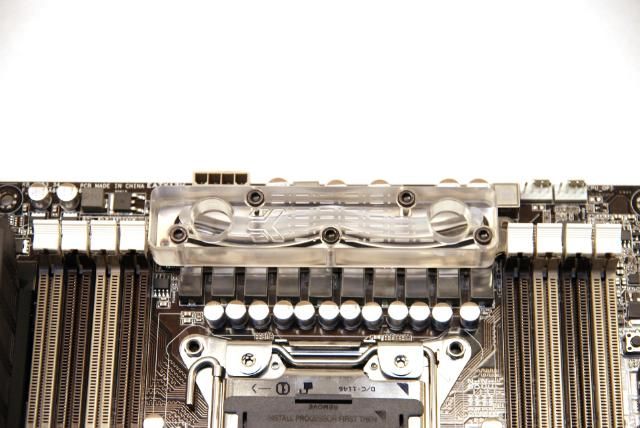
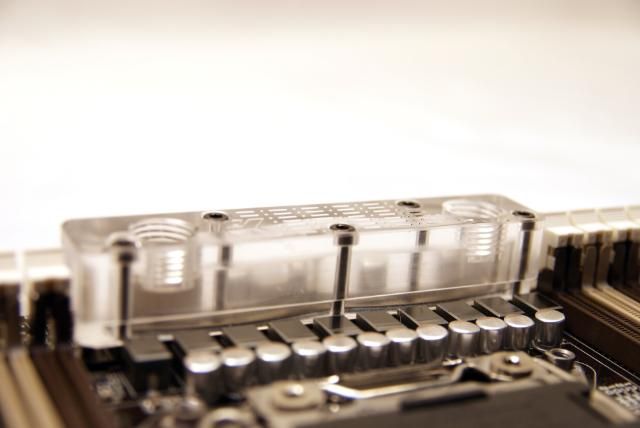
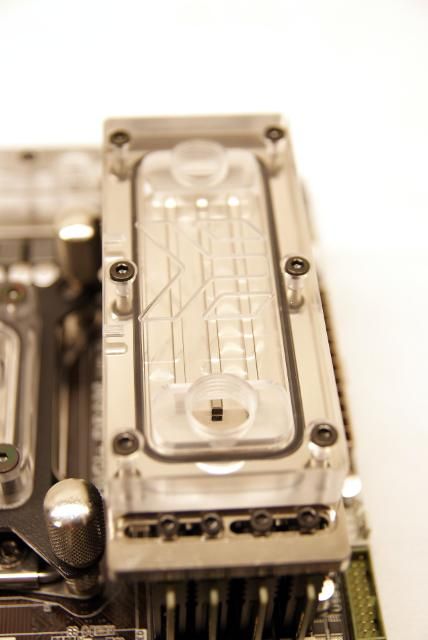
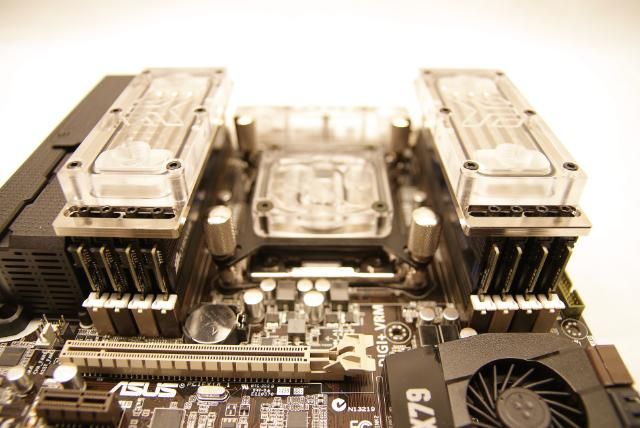
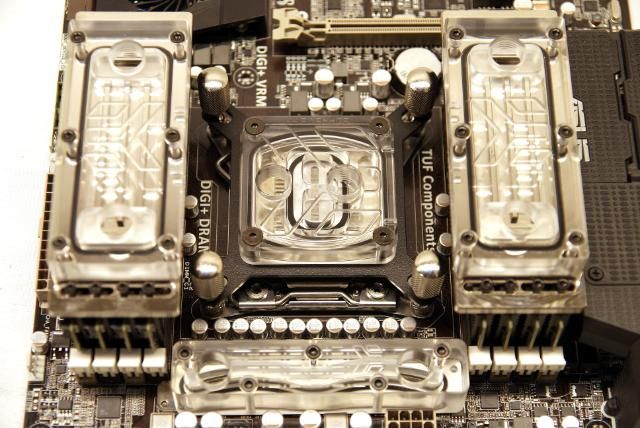
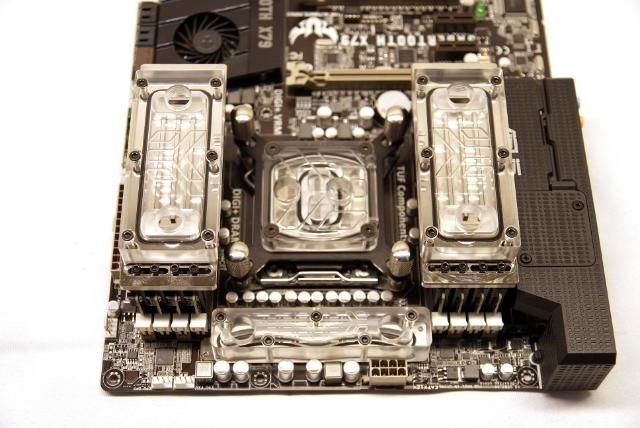
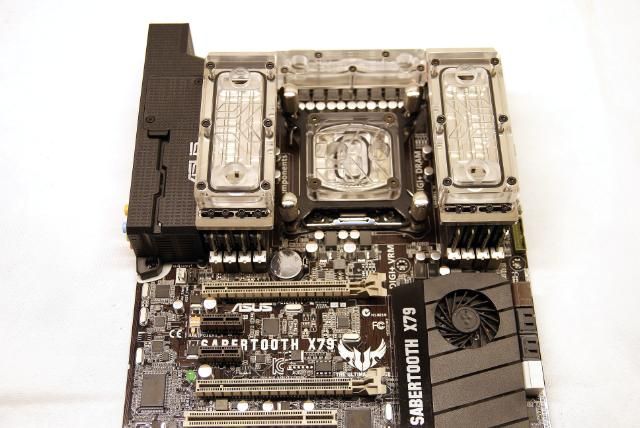
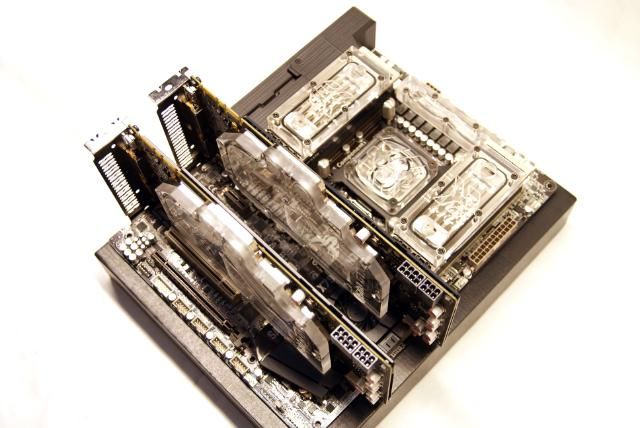
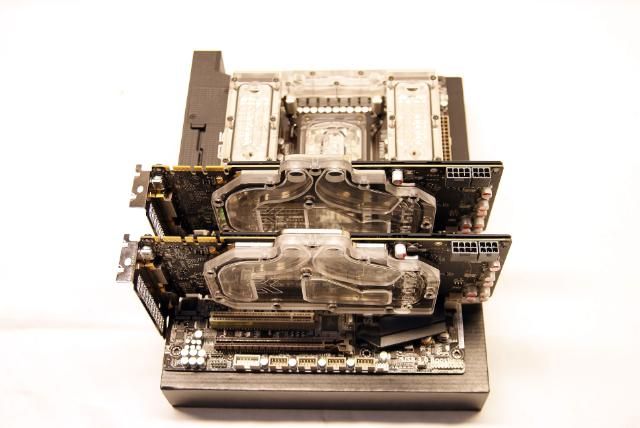
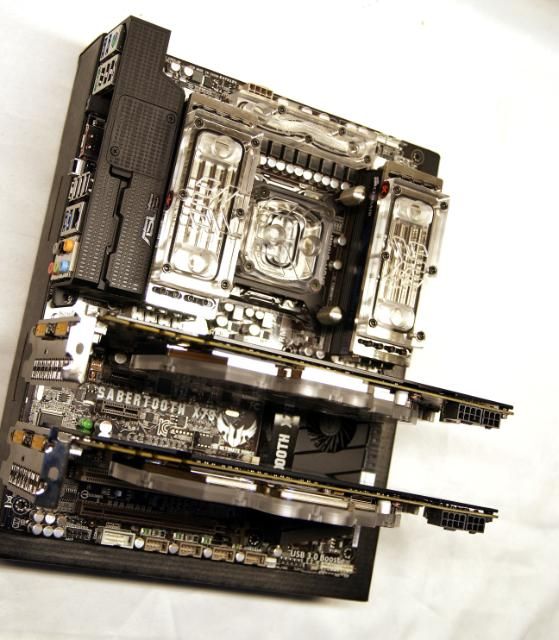
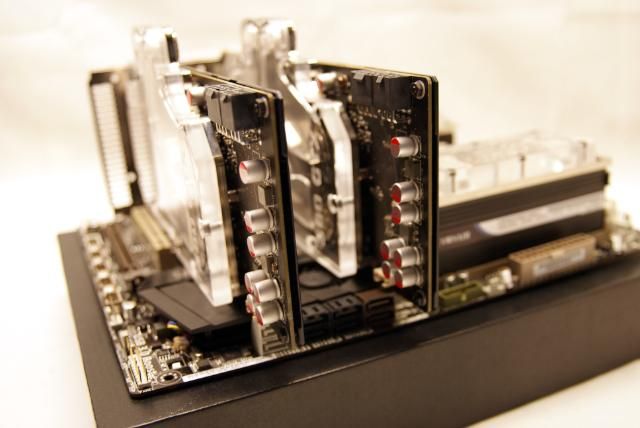
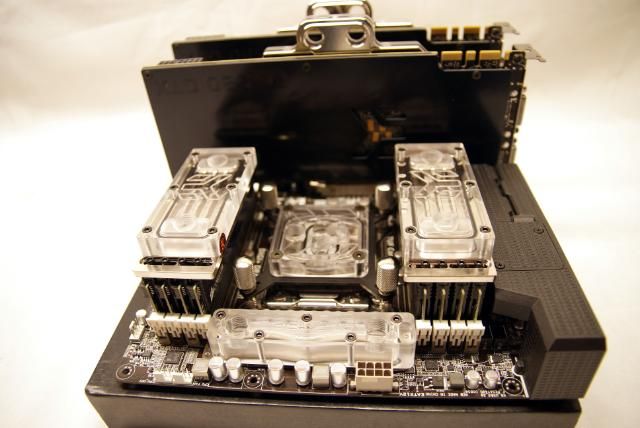
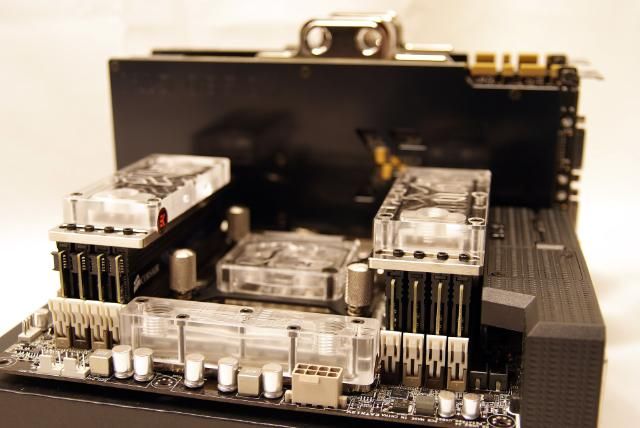
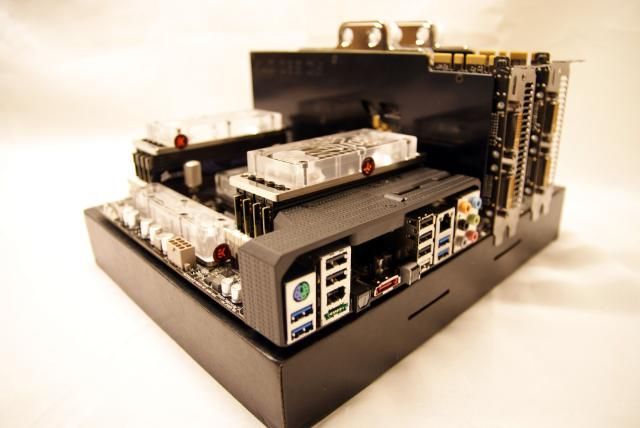
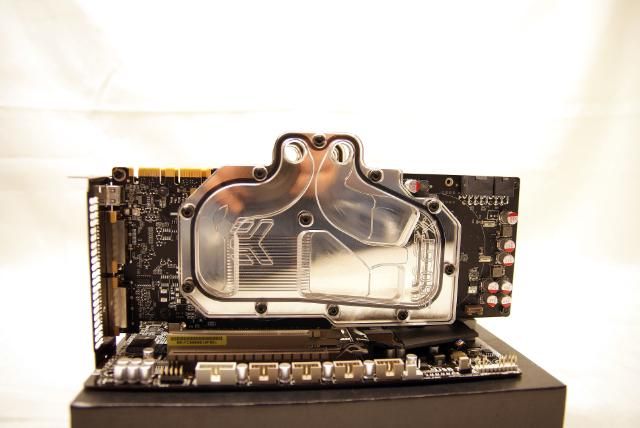
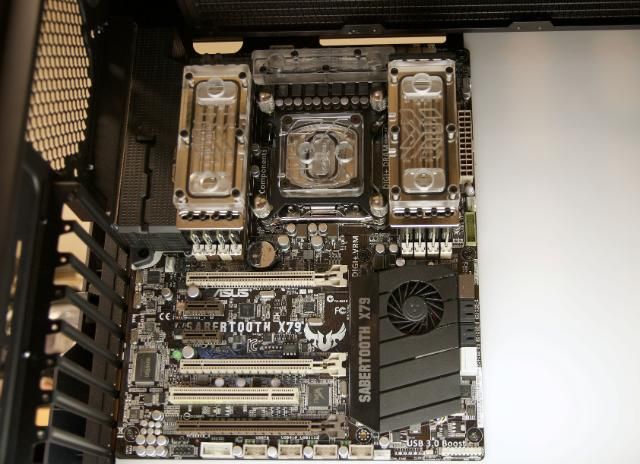
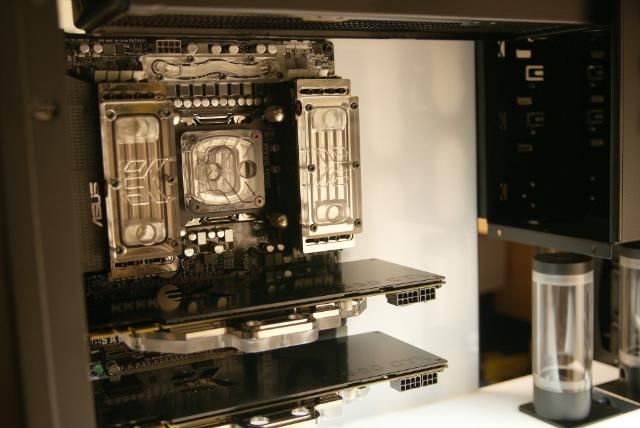
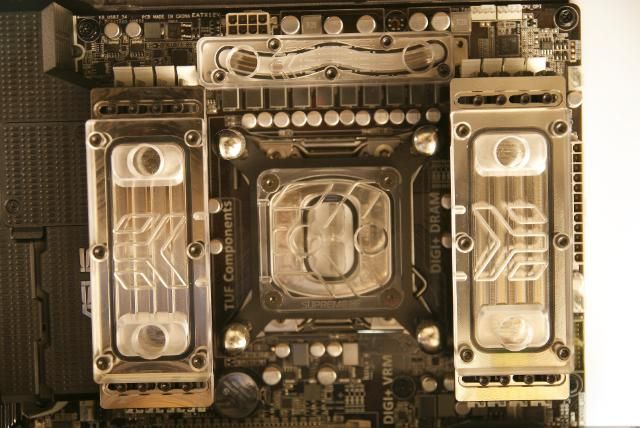
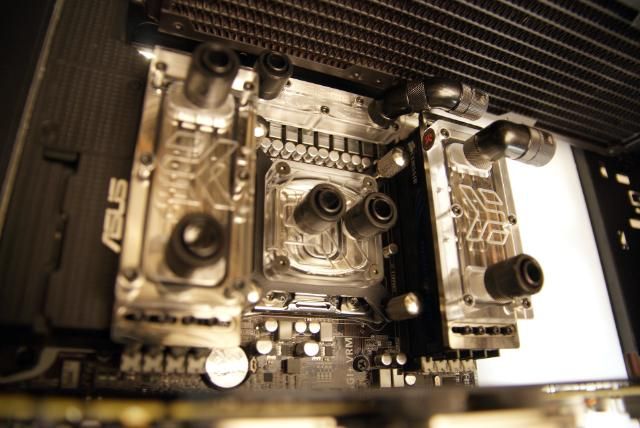
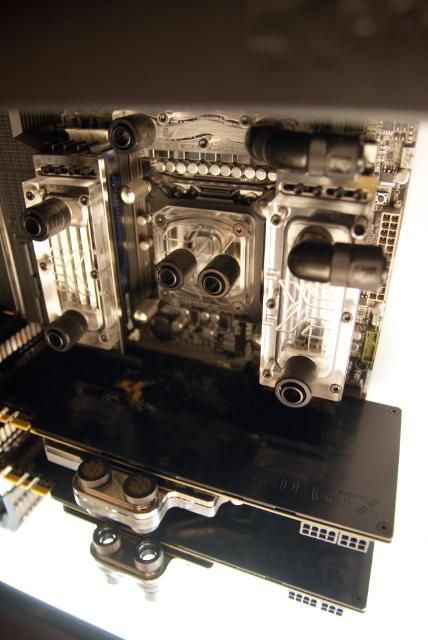
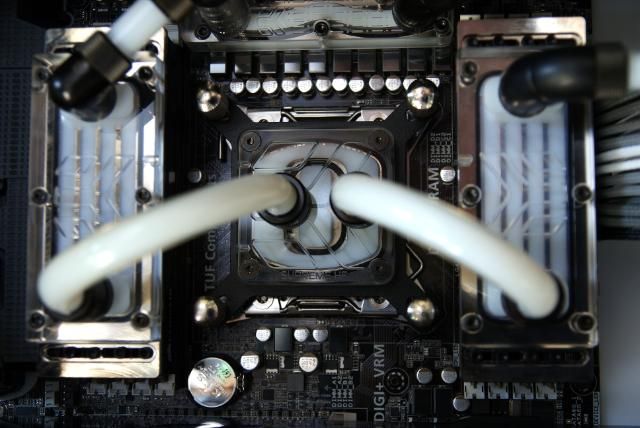
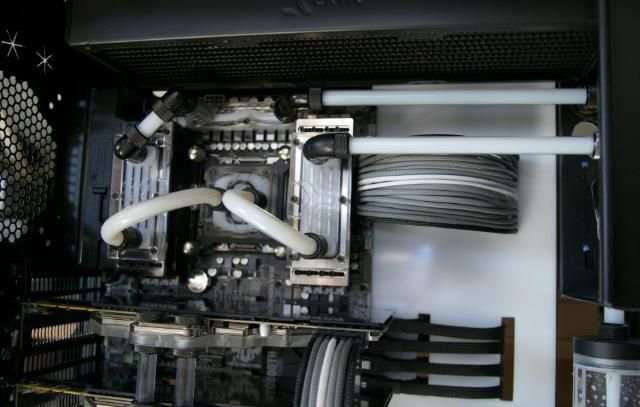
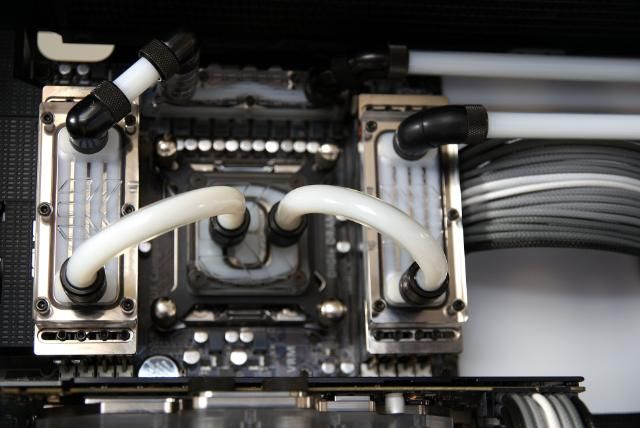
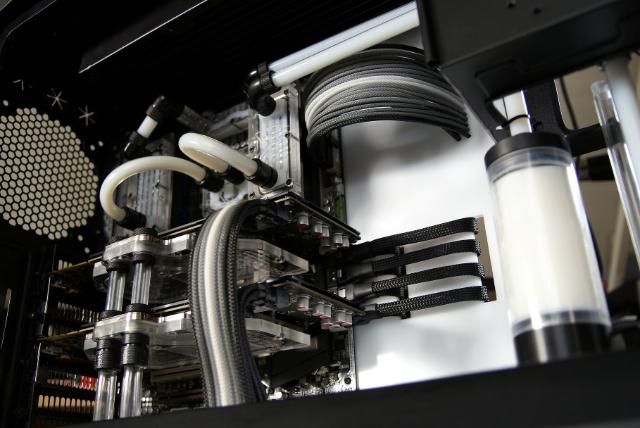
The hardware which comes in it is not known yet for sure, but it is certain that an x79 mobo and a number GTX580 GPUs comes in
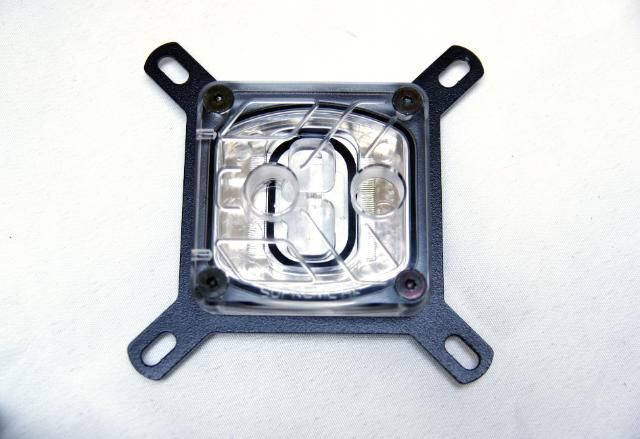
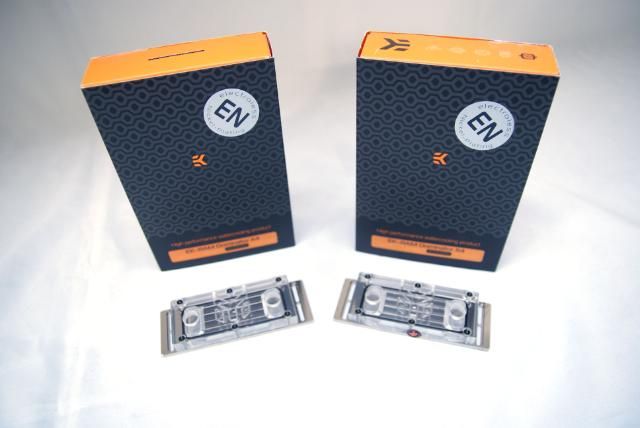
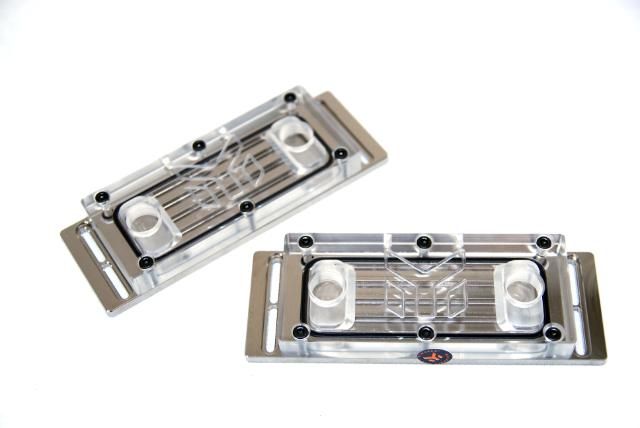
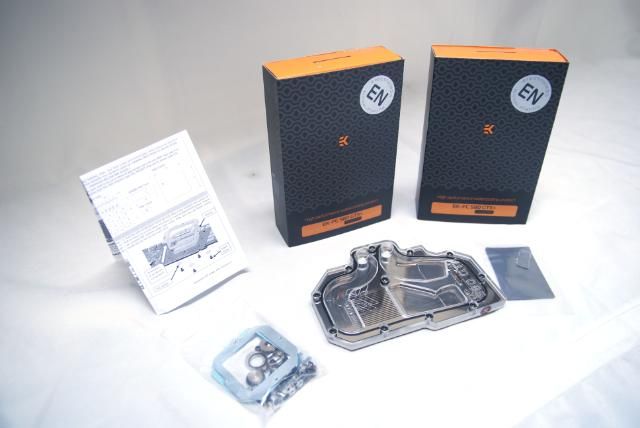
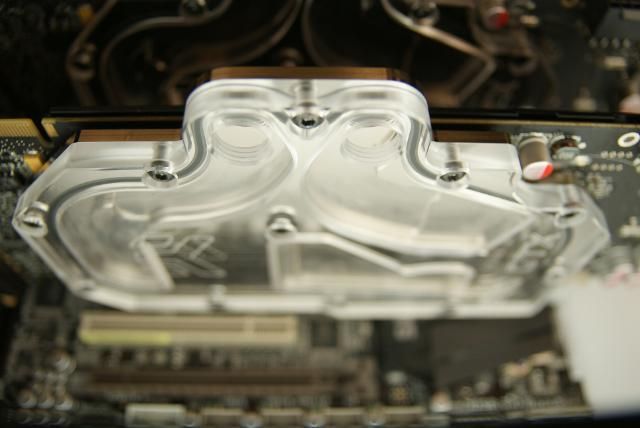
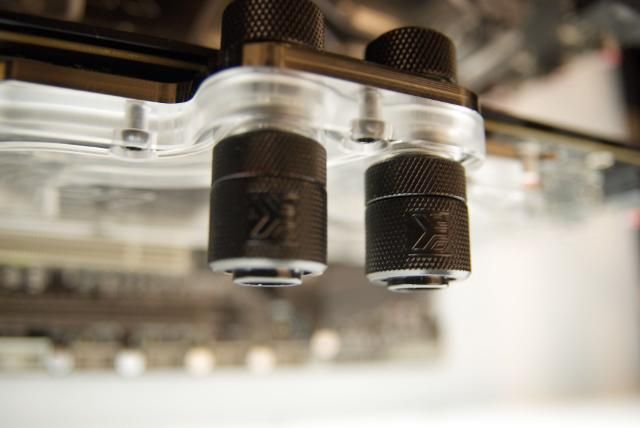
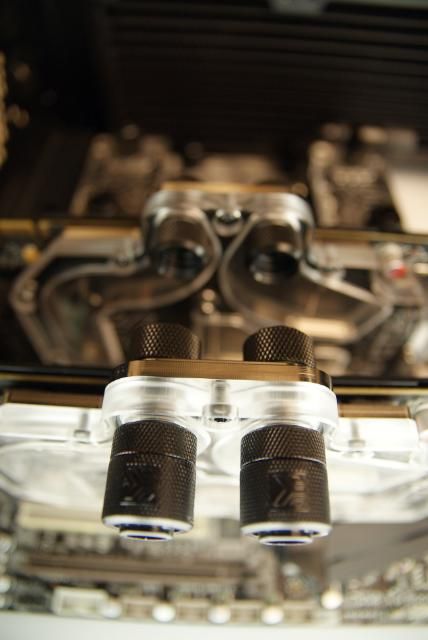
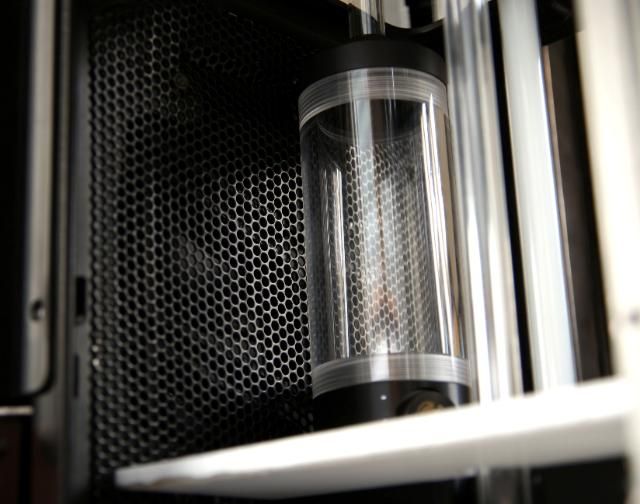
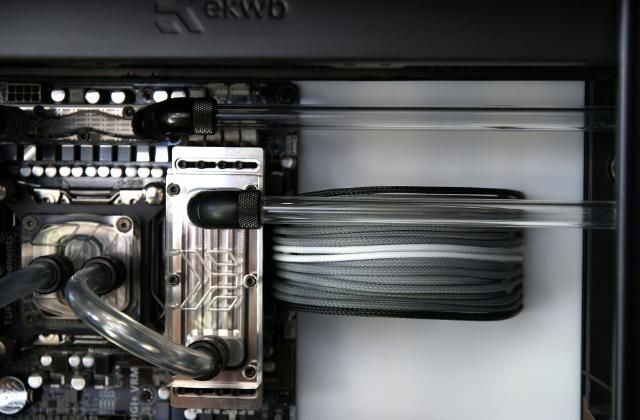
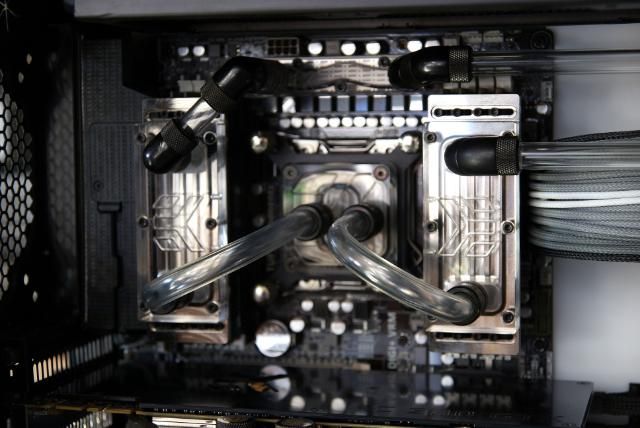
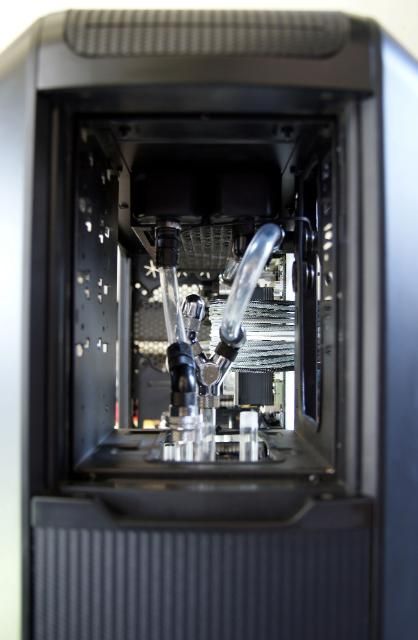
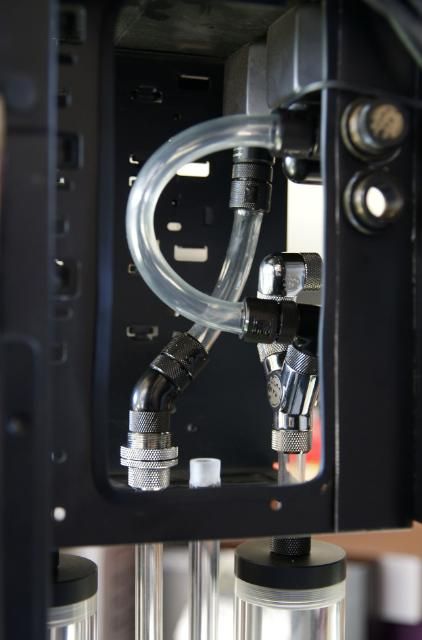
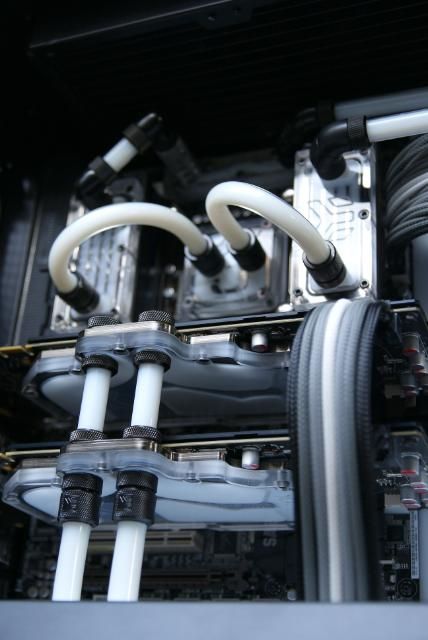
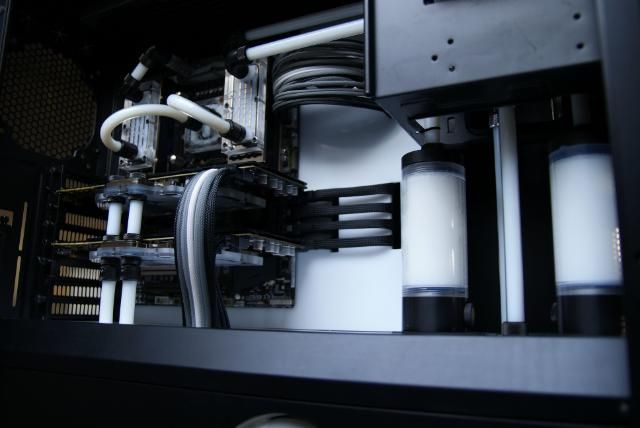
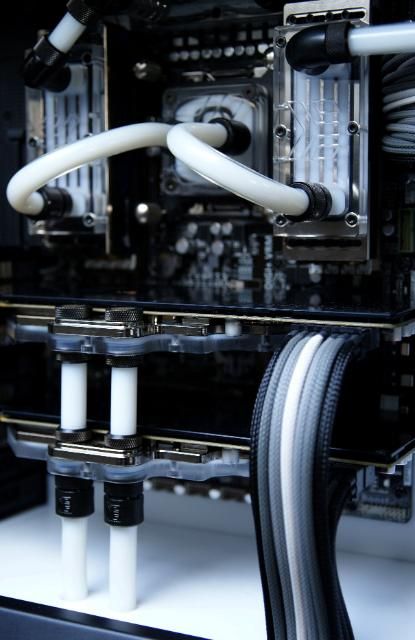
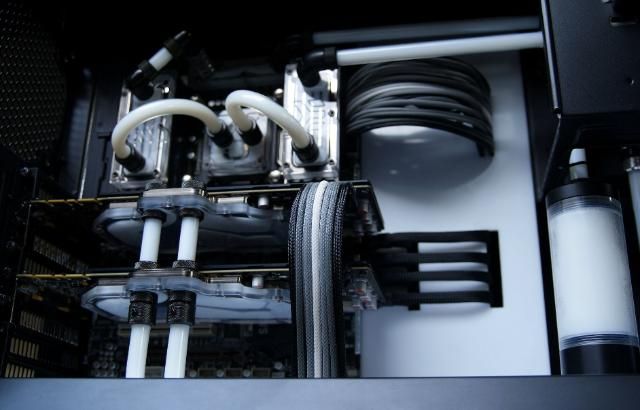
And offcourse watercooled.
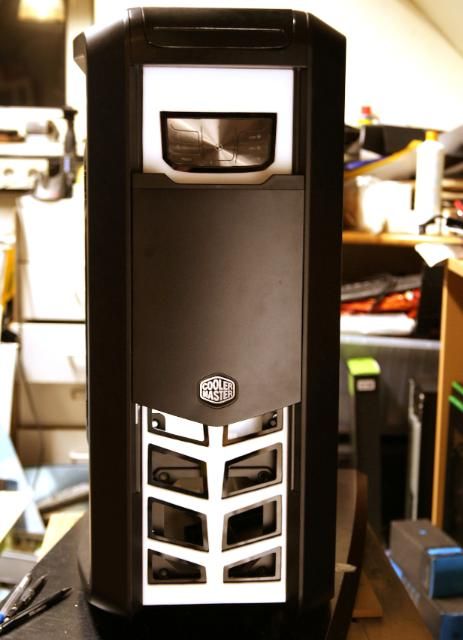
The color combination is going to be black, gray and white
The package was brought a month ago, the deliveryman cursed me
")
What a case and what a weight, unbelievable. My wife was pissed and called me some names I didn't heard before
So I needed to make space in my workshop to properly view the case.
The package:
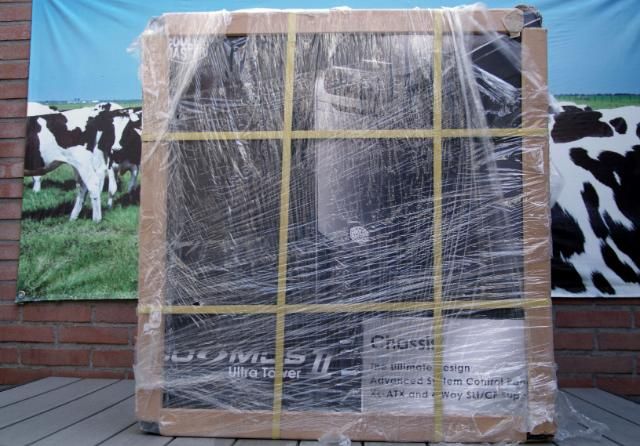
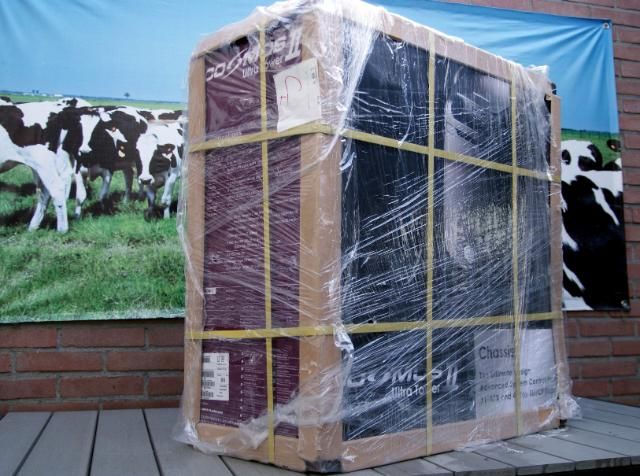
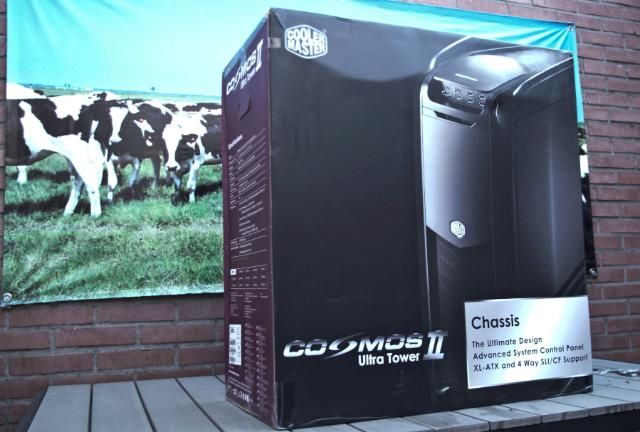
First unpacking which quite a operation turned out to be

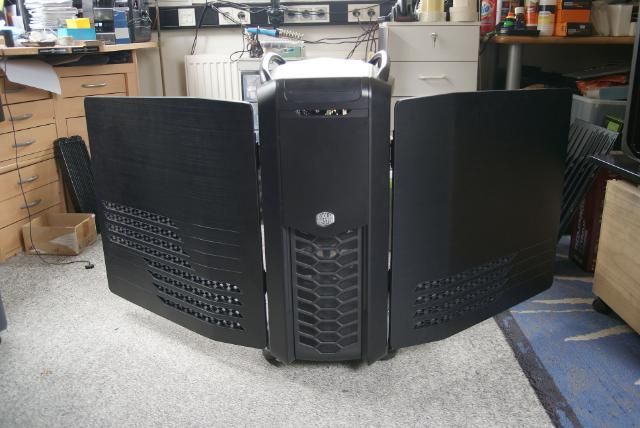
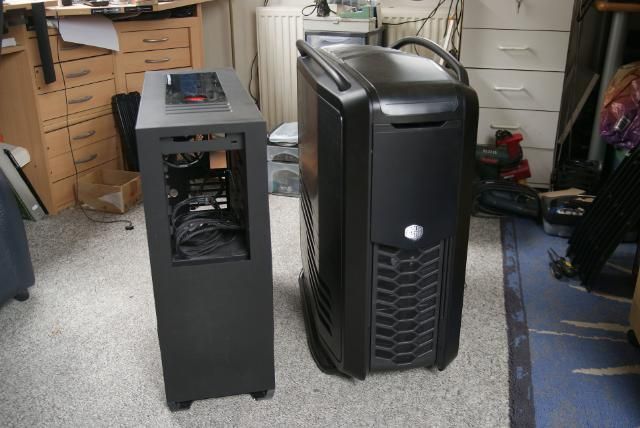
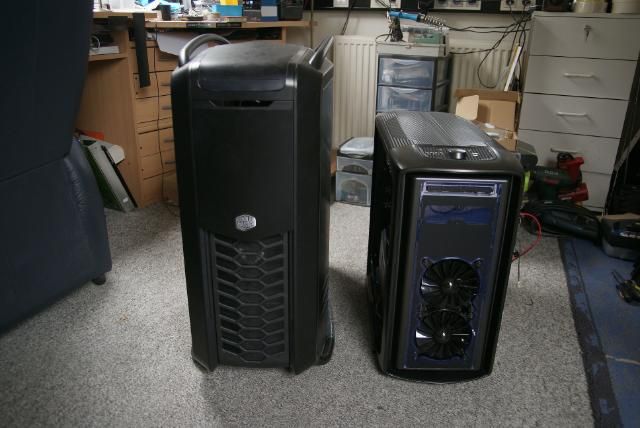
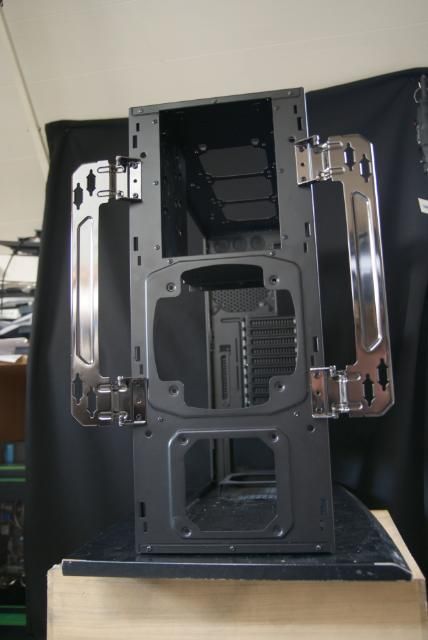
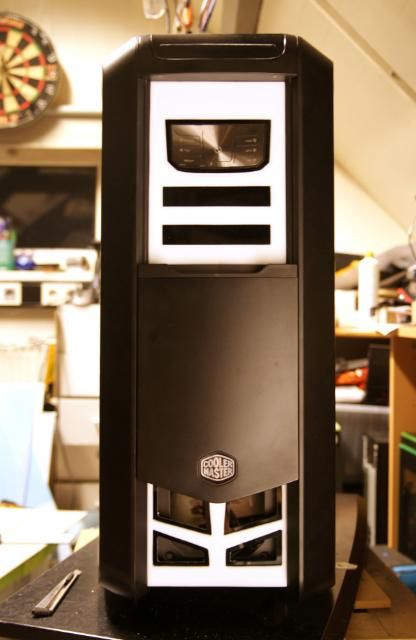
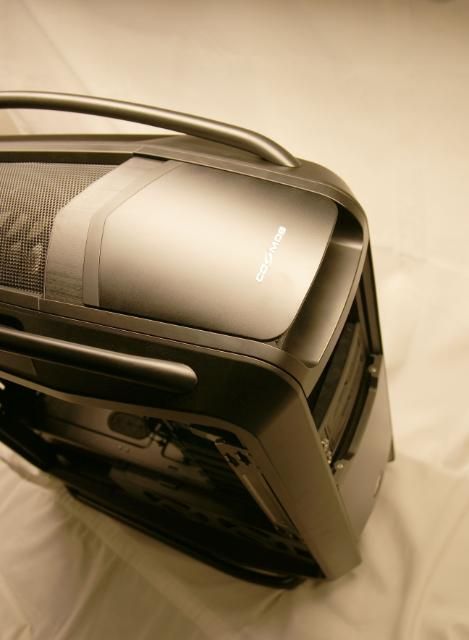
And here it is the great Cosmos II
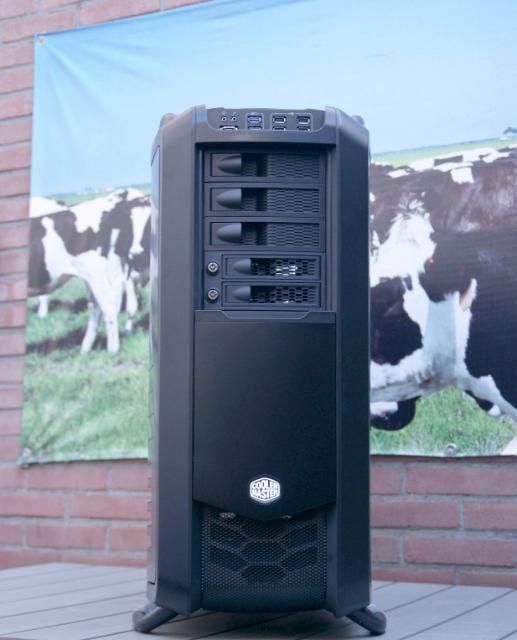
Lots of case with a lot of space, really a true pleasure to mod this one
Cooler Master Raymen, Ruud and Marco and of course anyone who makes this possible ... Thanks!
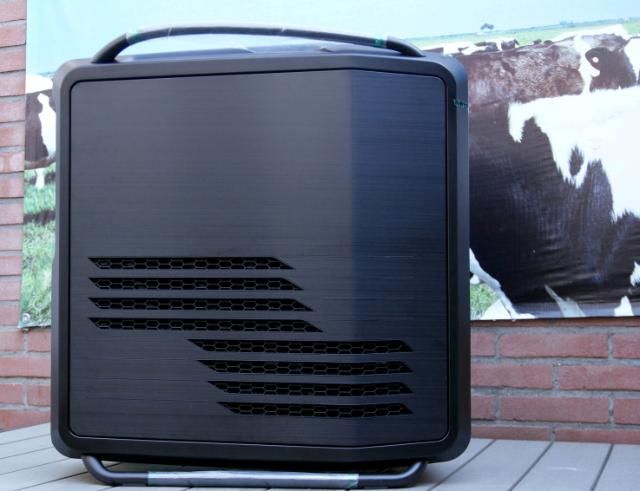
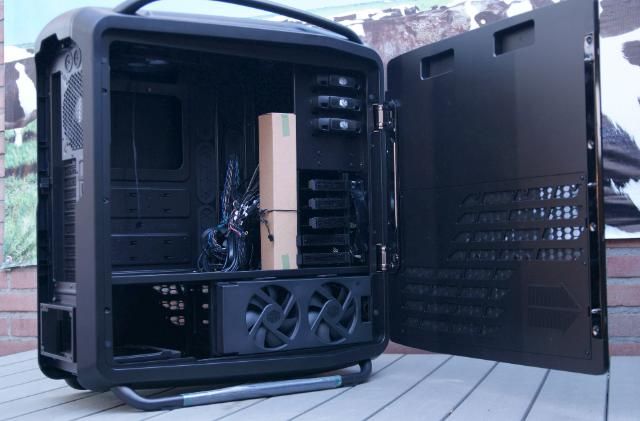
And then moved it straight to my workshop to view and show interior
First some specifications:
-Exterior Material: Aluminum, mesh, synthetics
-Interior: Steel alloy, plastic, rubber
-Dimensions: 344 (W) x 704 (H) x 664 (D) mm / 13.5 x 27.7 x 26.1 inches
-Weight: 22 lb kg/48.5
-Maximum compatibility CPU cooler height: 190 mm/7.48 in.
-GPU-Length: 385 inches mm/15.15
-Type-M/B: Micro-ATX, Micro ATX, E-ATX, Extended ATX, SSI CEB, SSI EEB
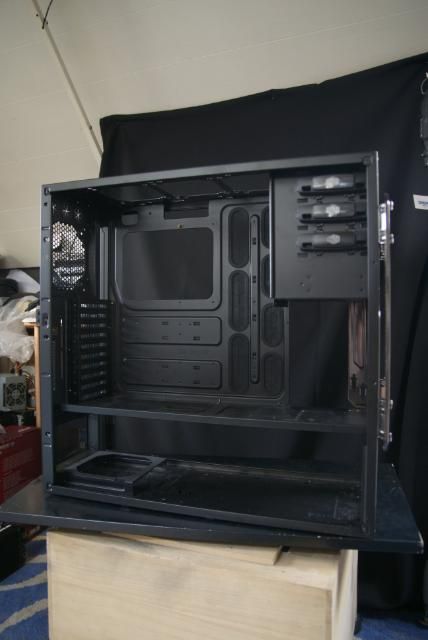
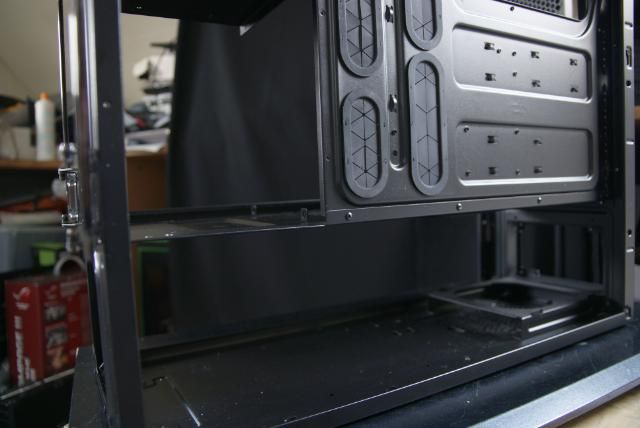
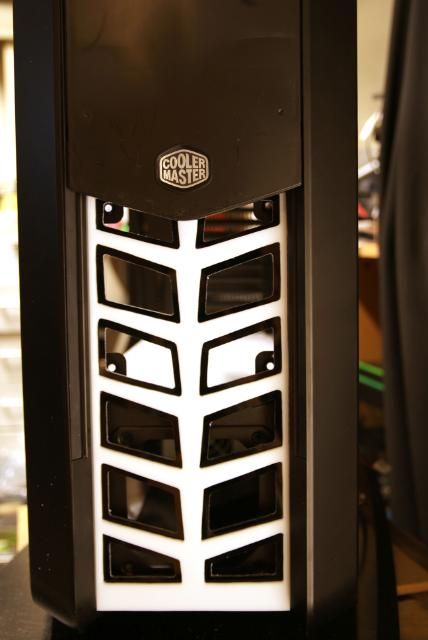
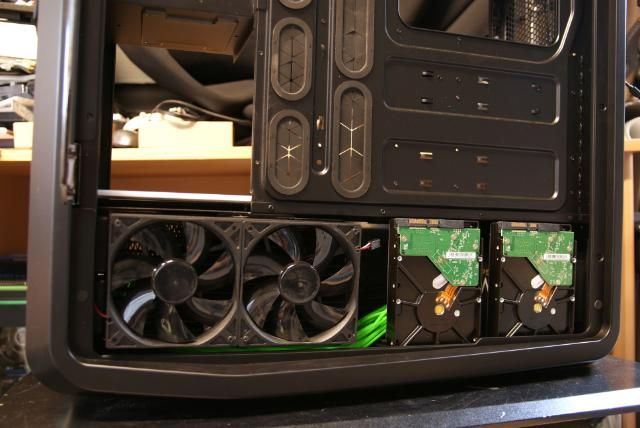
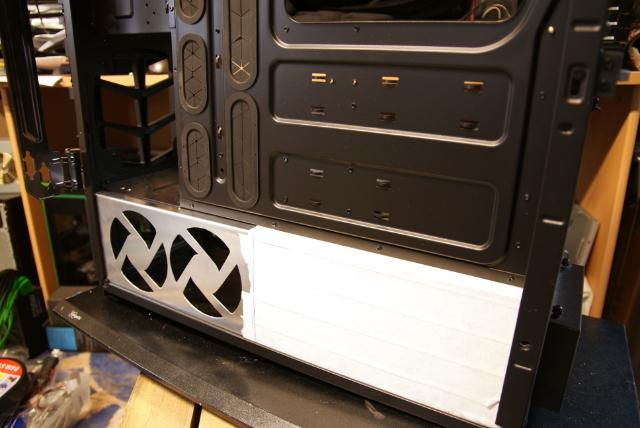
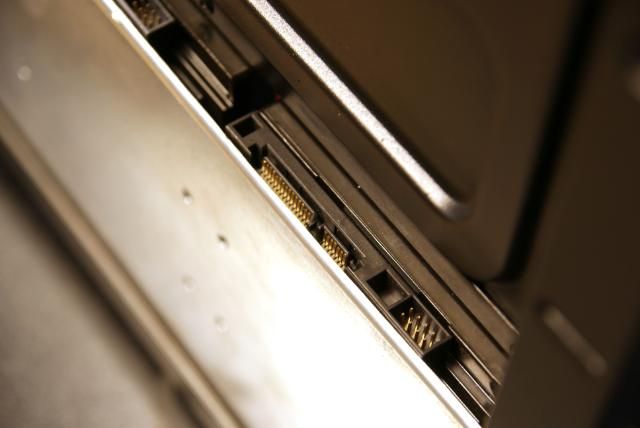
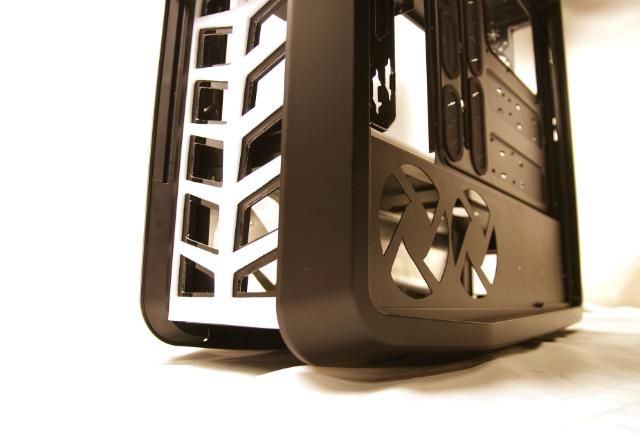
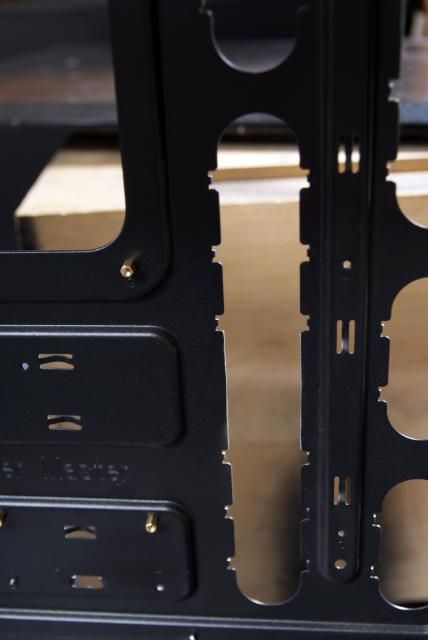
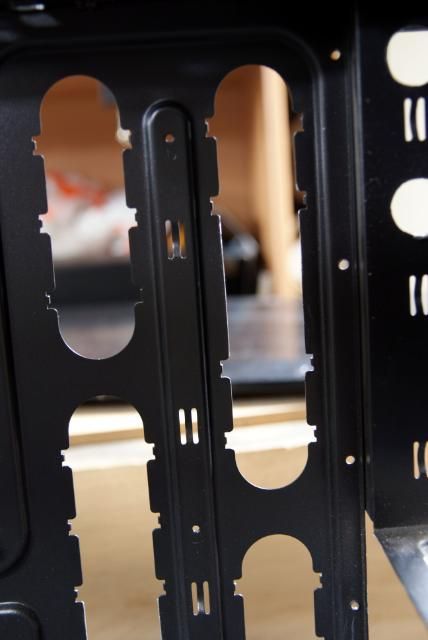
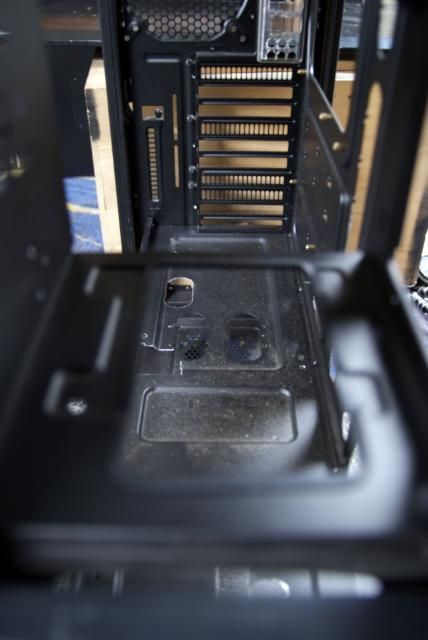
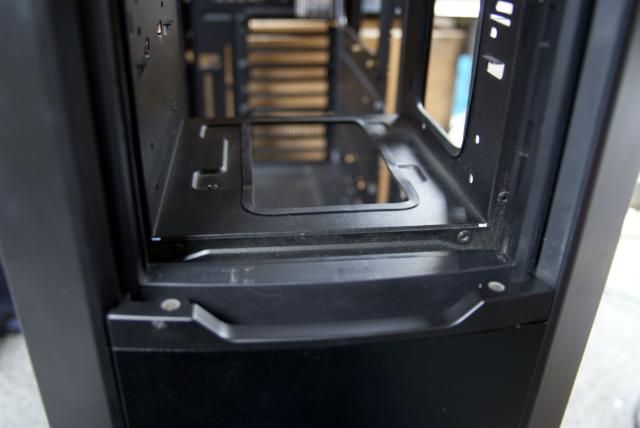
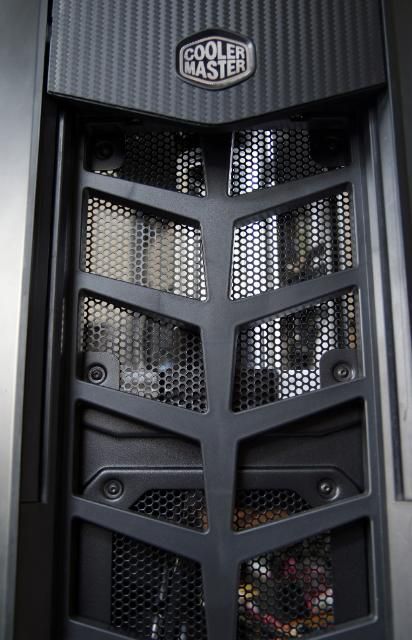
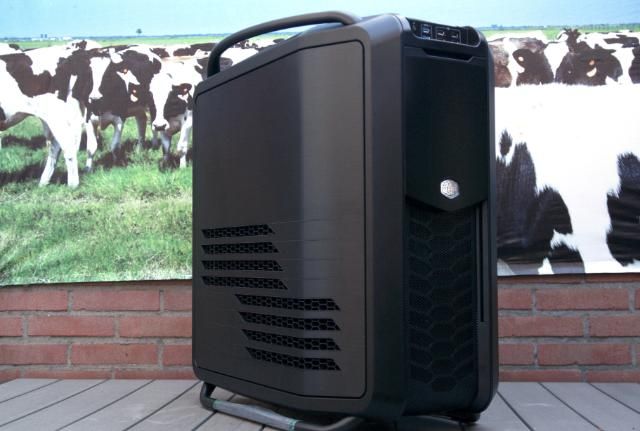
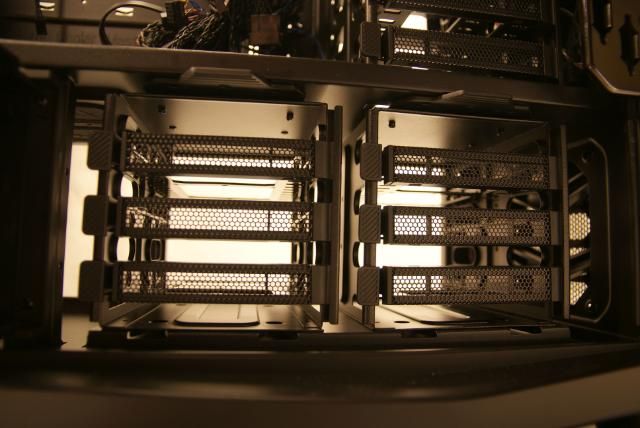
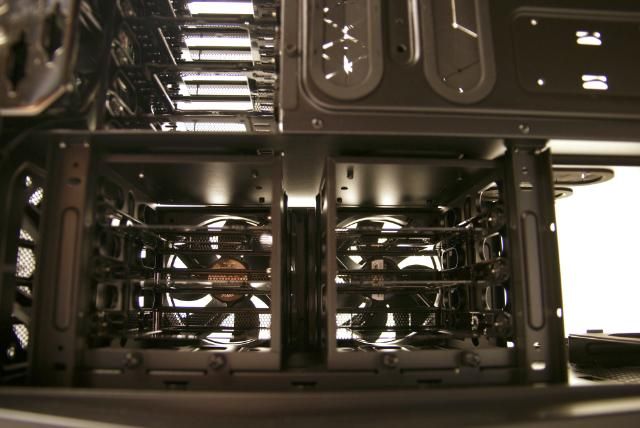
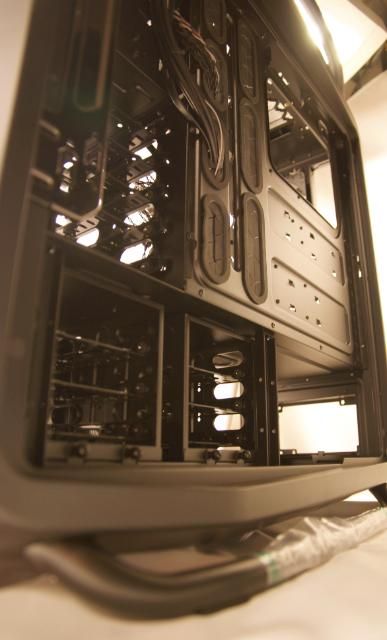
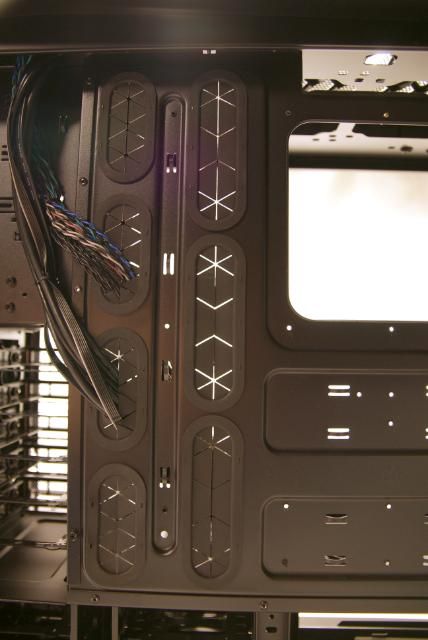
Once dragged in my workshop and opened it immediately, I noticed how much 3.5 Drive Bay are in it
less than 13 pieces in total (2 from X dock, Mid cage for 5 HDDs, bottom cage for 6 hard drives)
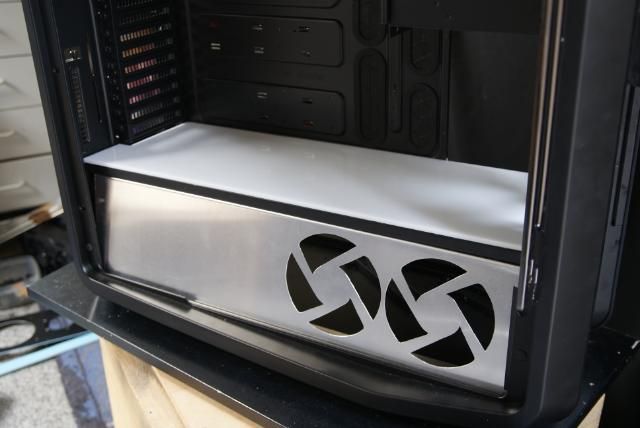
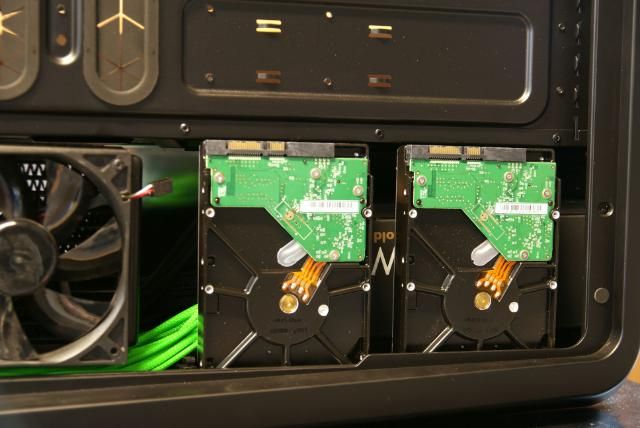
The middle bay has room for 5 HDDs
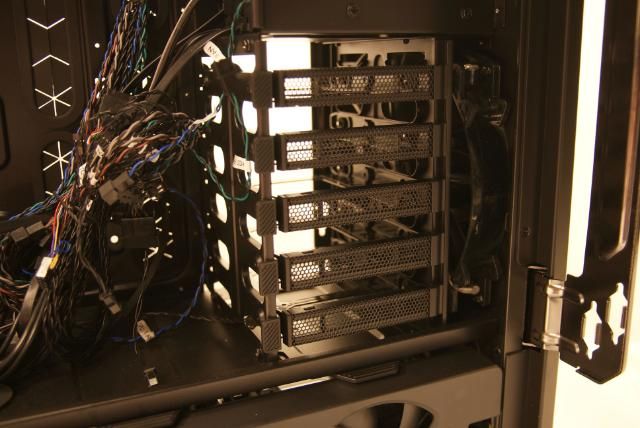
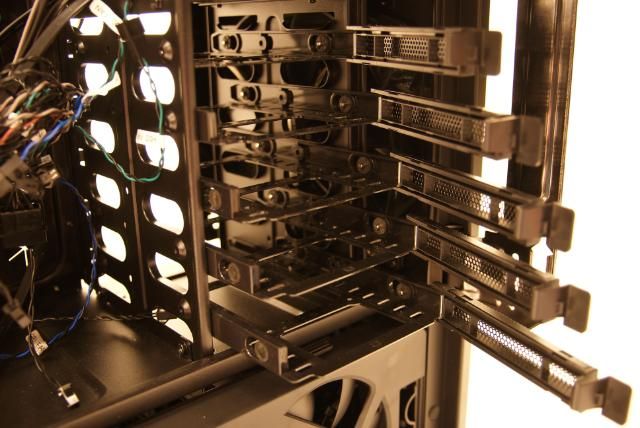
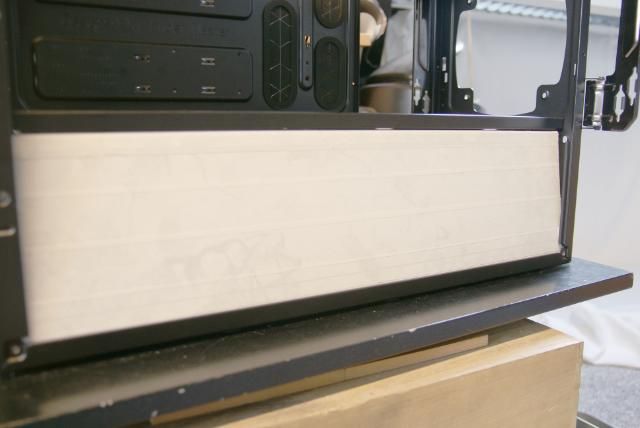
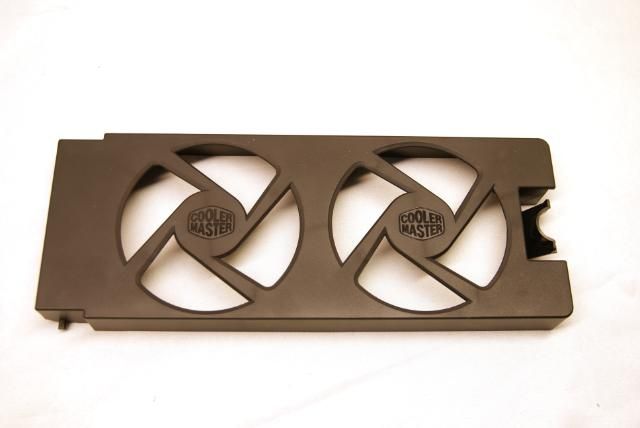
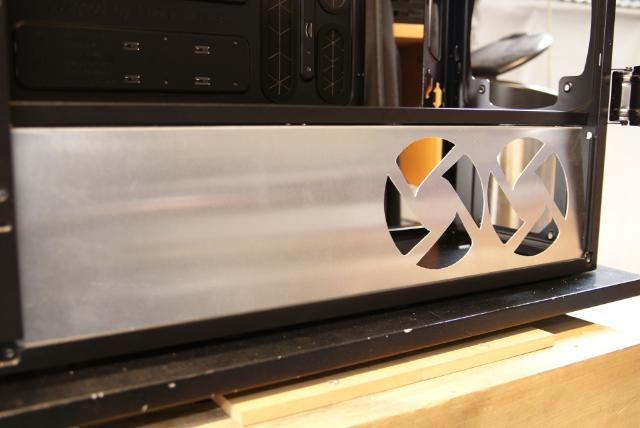
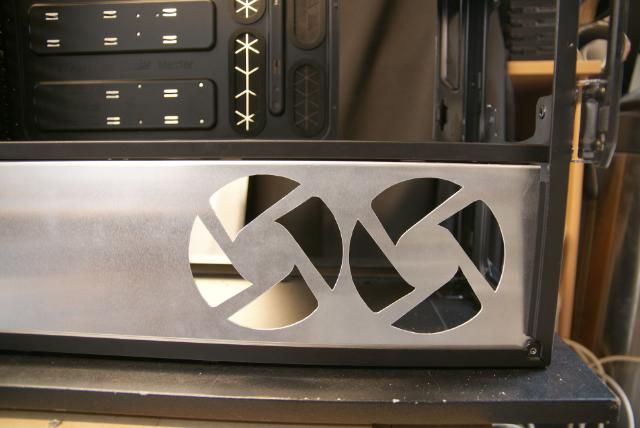
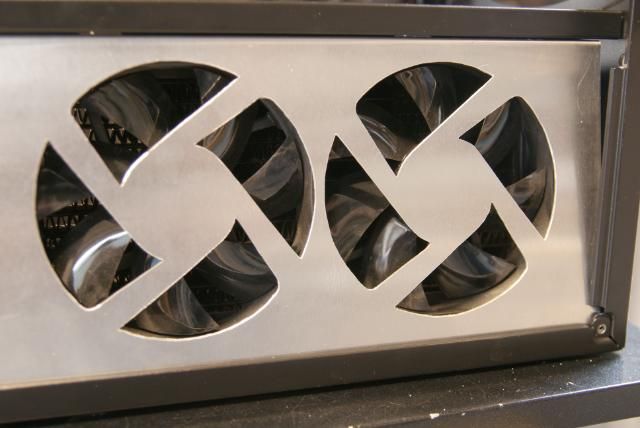
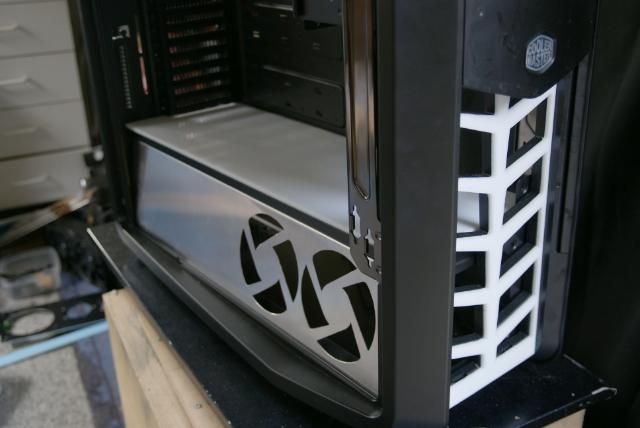
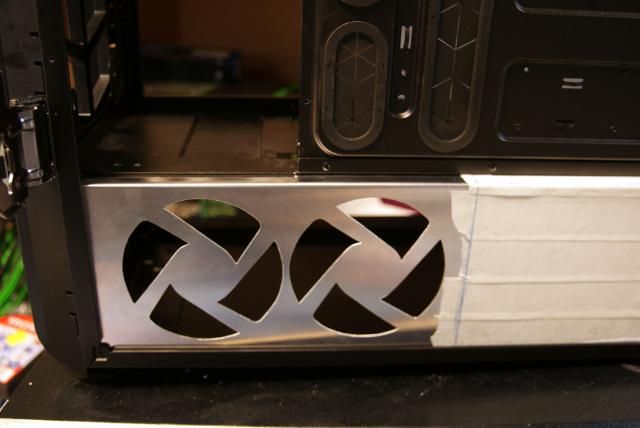
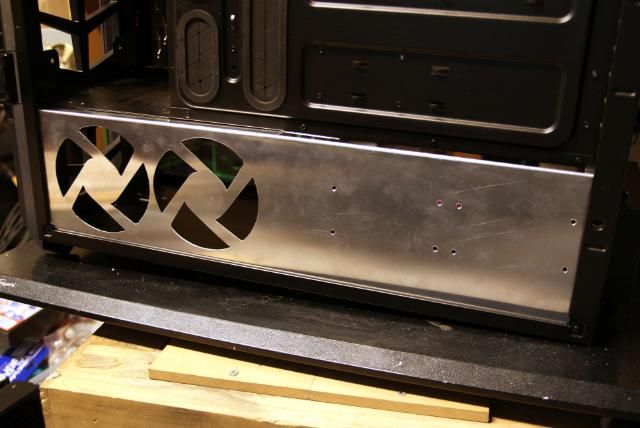
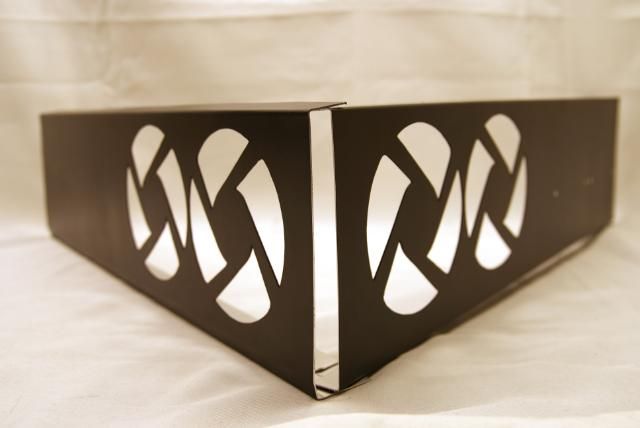
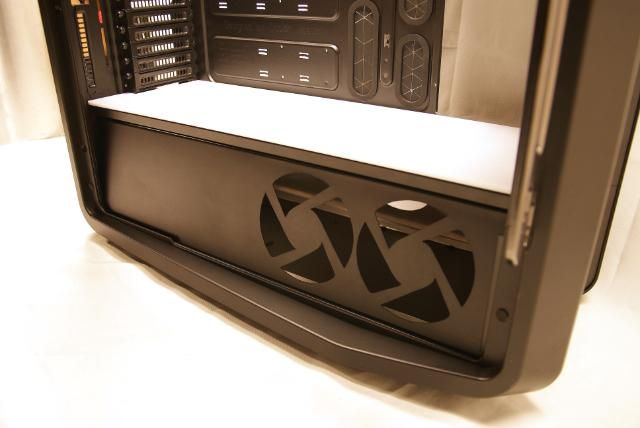
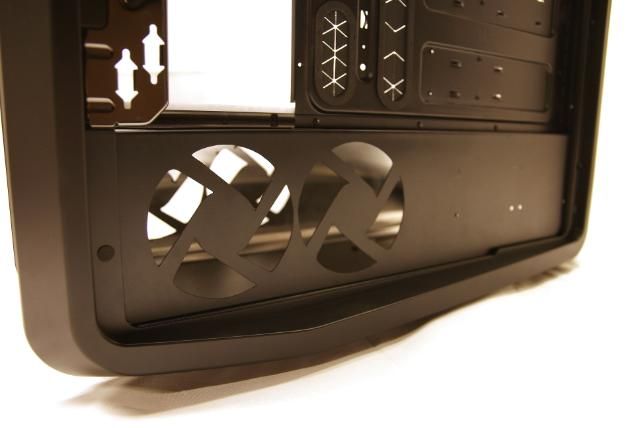
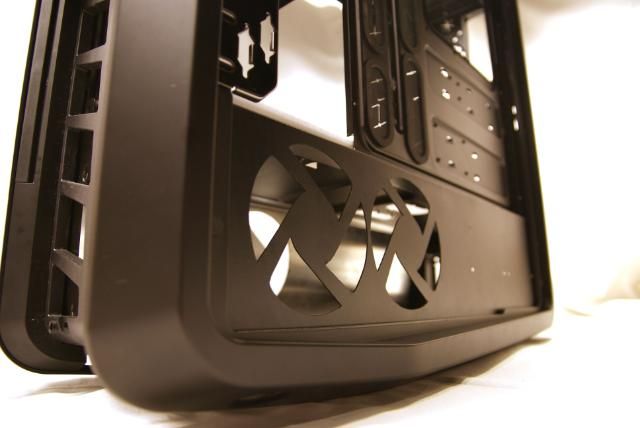
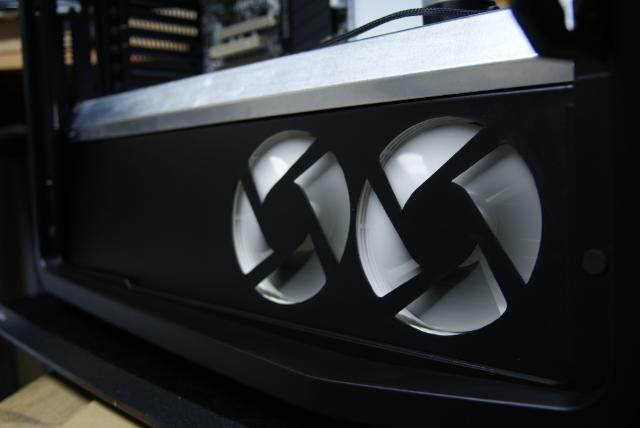
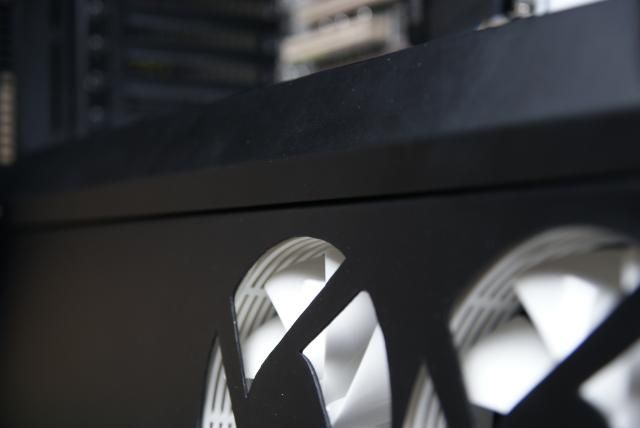
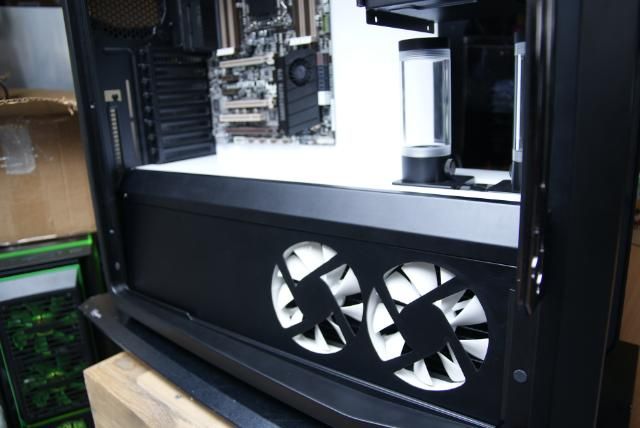
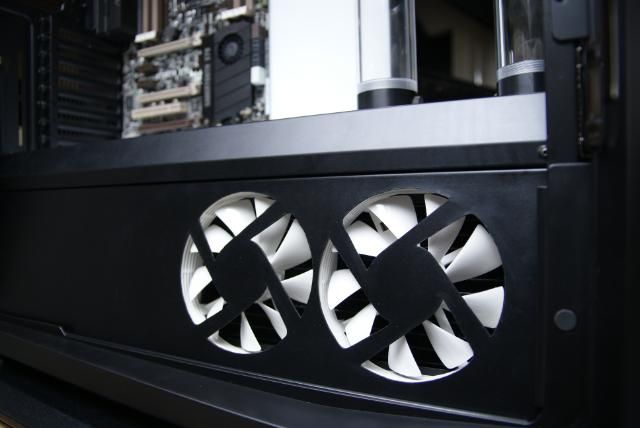
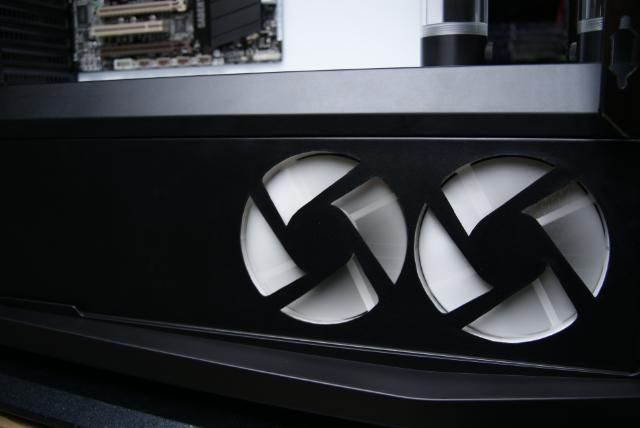
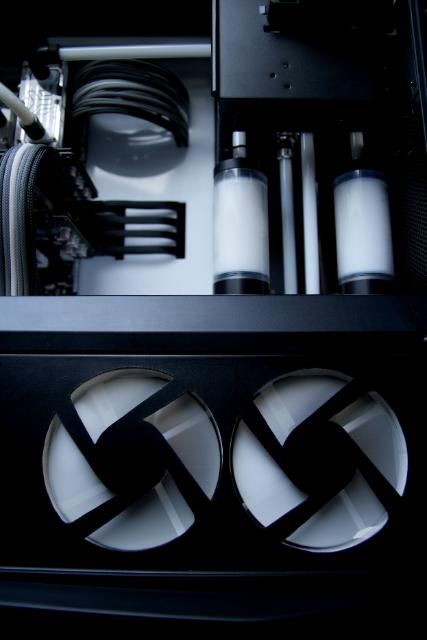
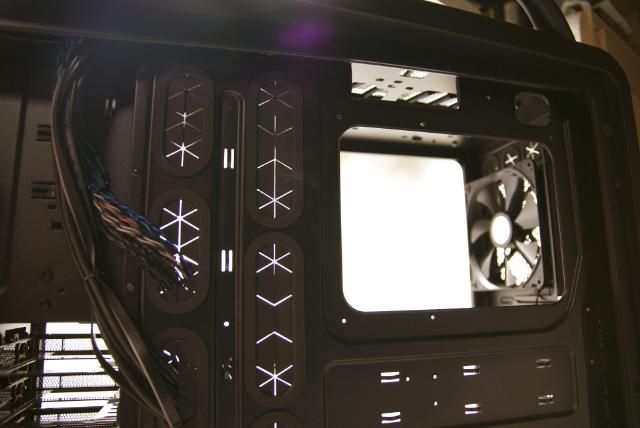
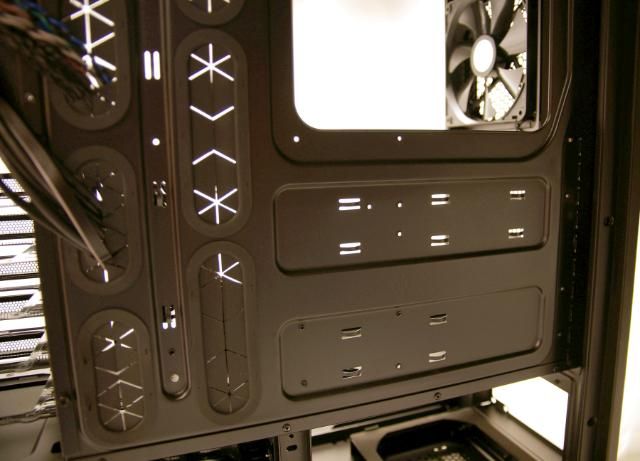
In the lower HDD bay there's room for 6 hard drives which is hidden behind a beautiful fan bracket with
2 x 120 mm fan, 1200 RPM, 17 dBA
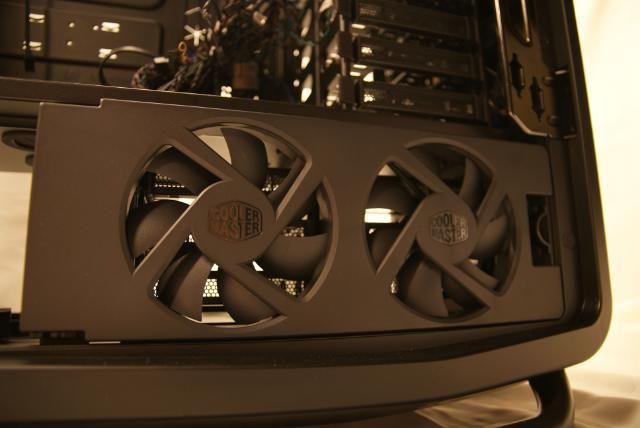
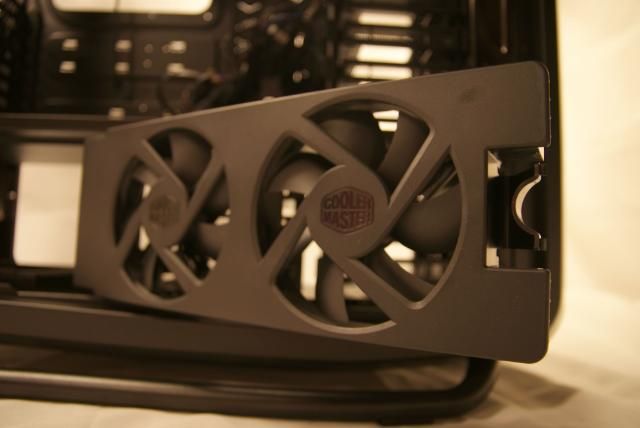
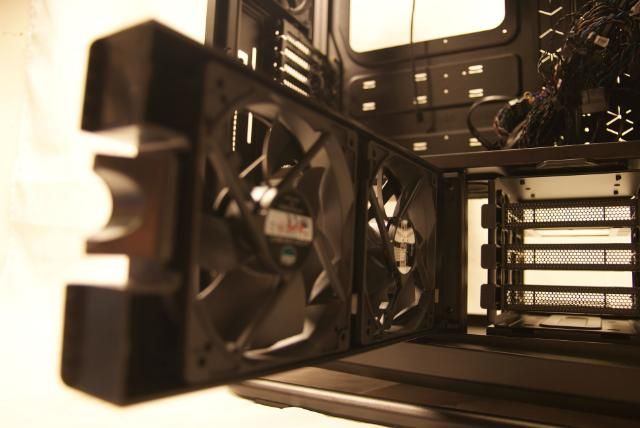
And here there is room for 6 HDD's
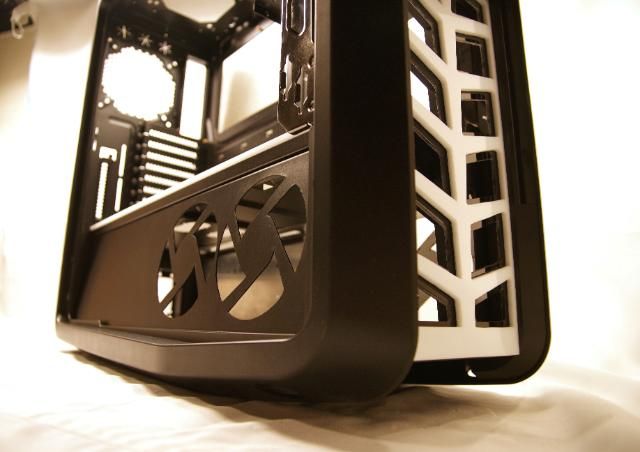
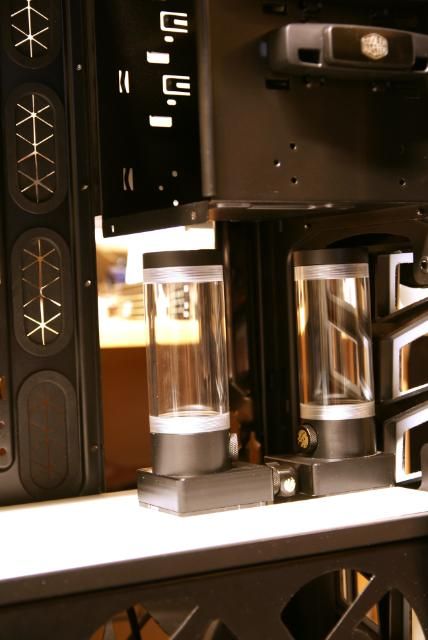
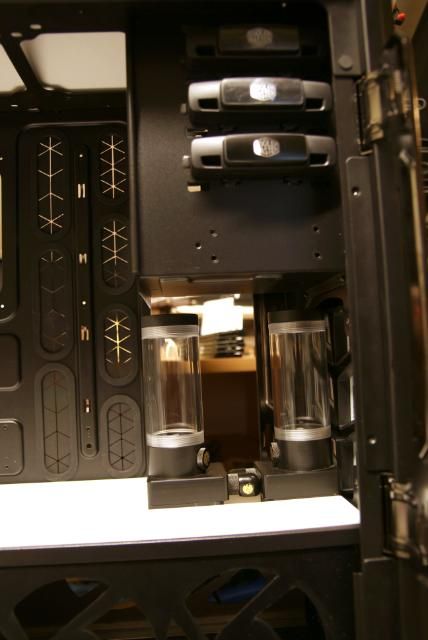
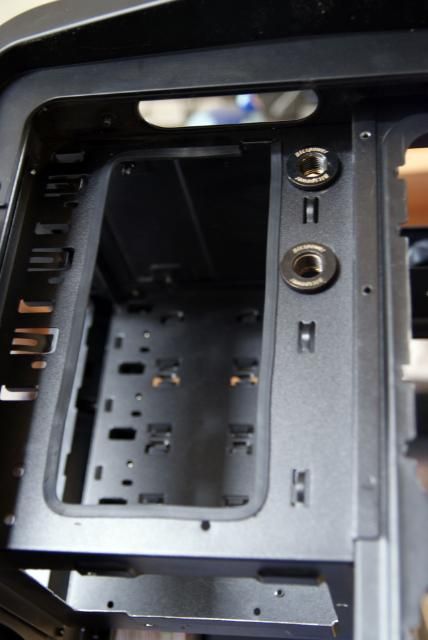
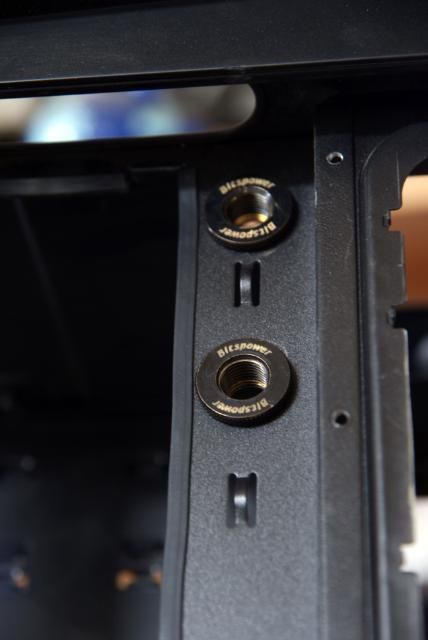
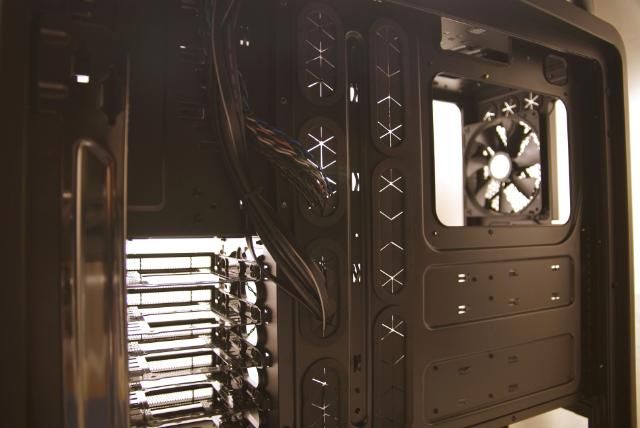
The PSU has shifted back for some extra space inside
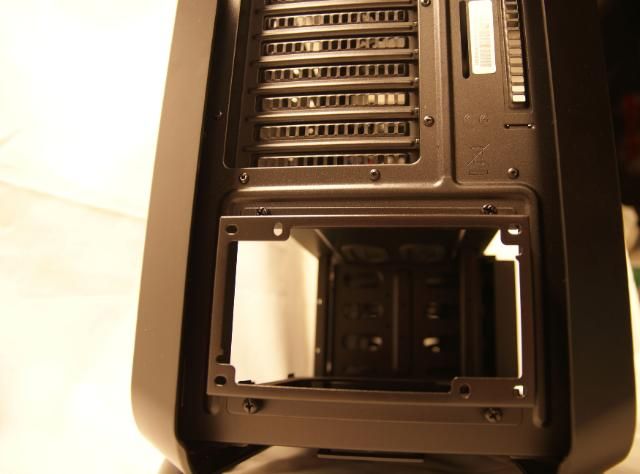
And is raised a little
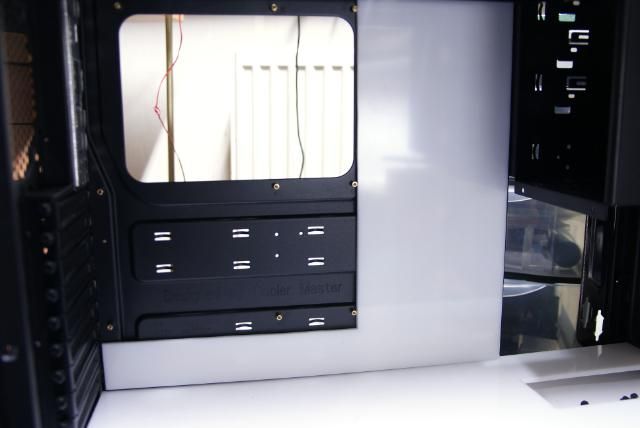
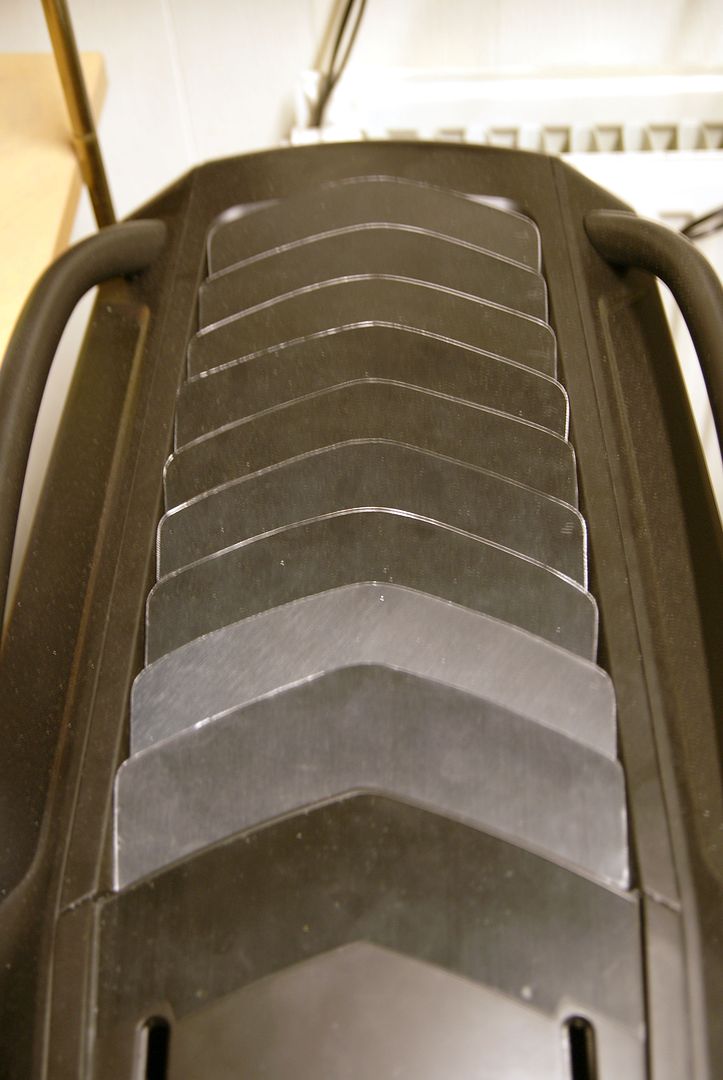
At the front there is space for two HDDs through the X-dock and there are three 5.25-inch drive bays available

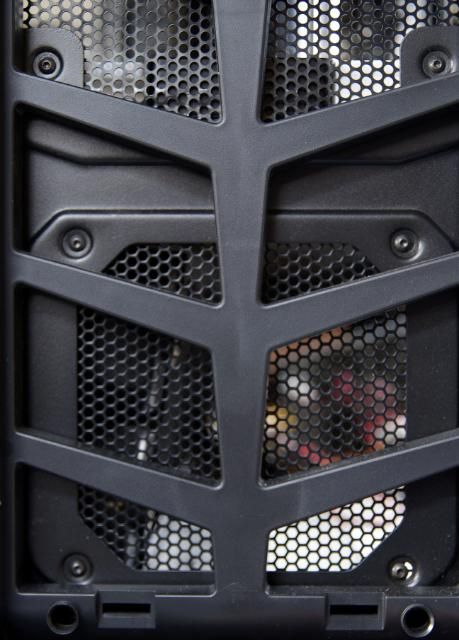
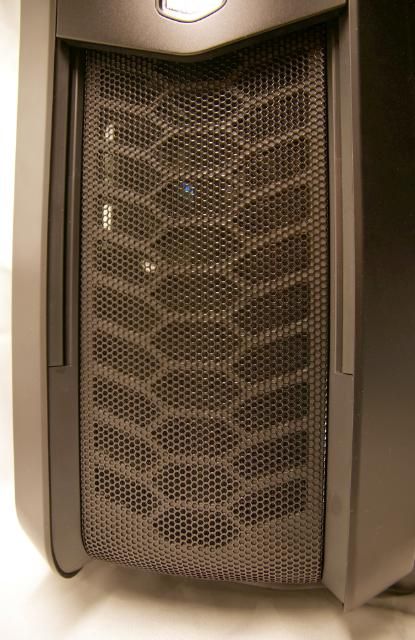
Below this compartment, behind the mesh part there is one 200 mm LED fan, 700 RPM, 19 dBA (converted from 120 / 140 mm)
And below that there is still room for a 120mm fan for the airflow trough the lower HDD's bracket
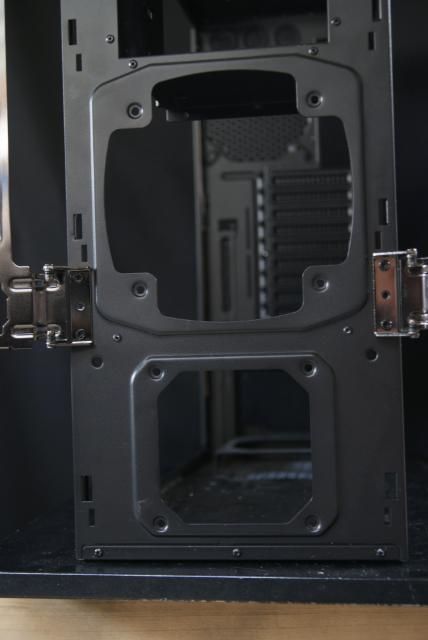
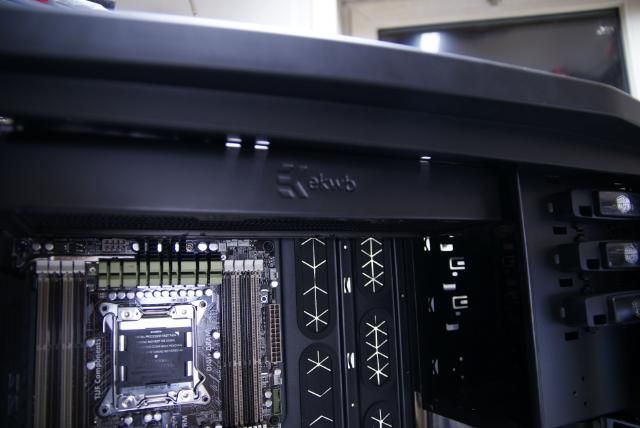
The back has room for a 10+1 Expansion Slots
http://i759.photobucket.com/albums/xx233/kier1976/Cosmos%201/DSC05678.jpg[/IMG
And a 140 mm fan, 1200 RPM, 19 dBA comes with it to the rear
[IMG]http://i759.photobucket.com/albums/xx233/kier1976/Cosmos%201/DSC05679.jpg
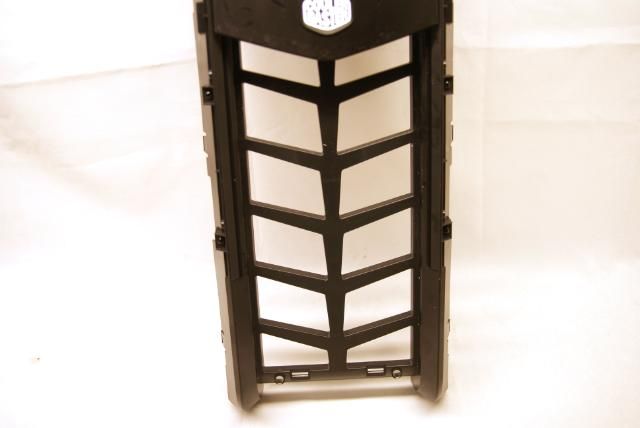
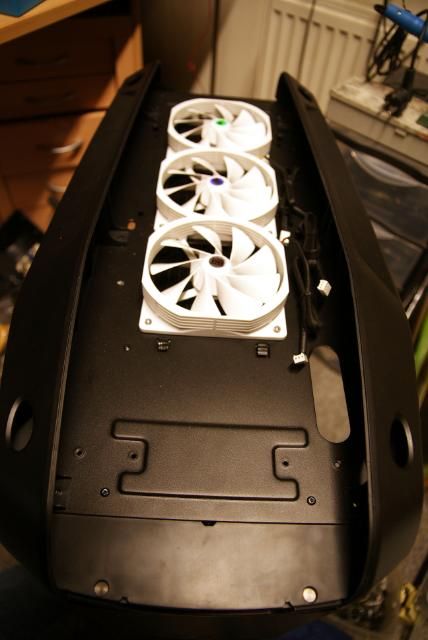
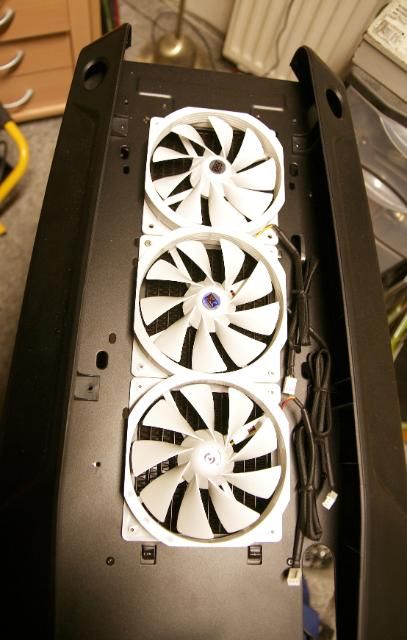
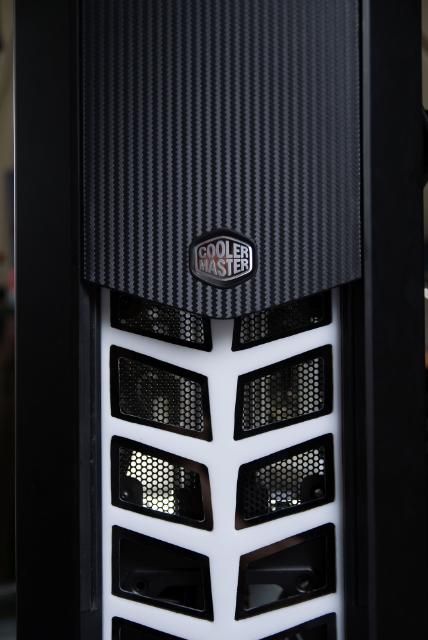
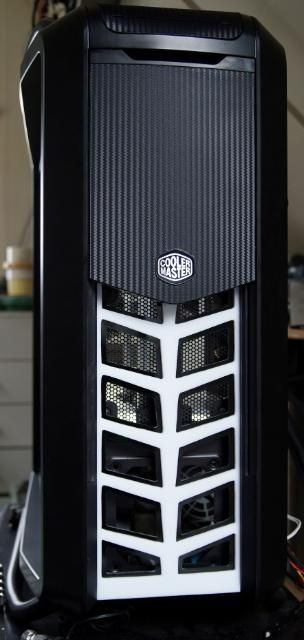
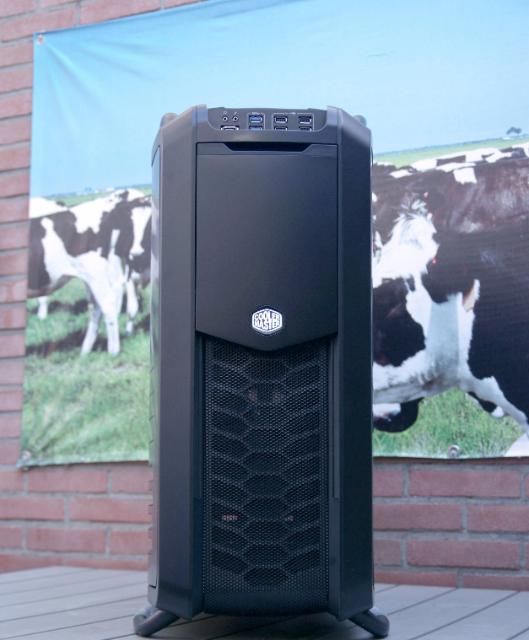
At the top is a lot of space under the mesh
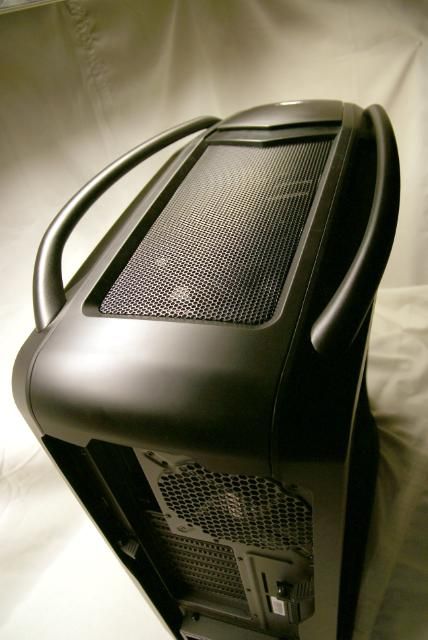
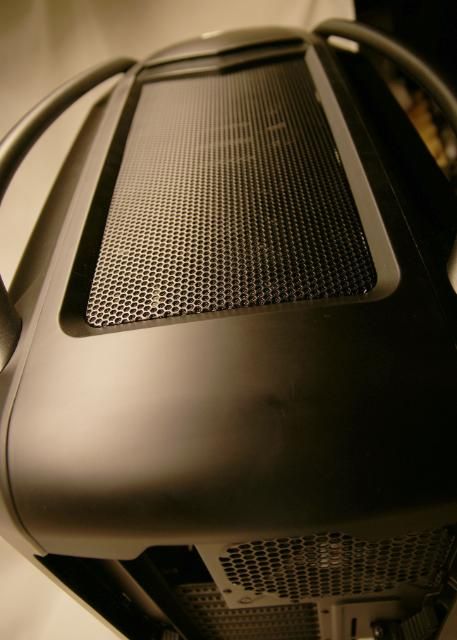
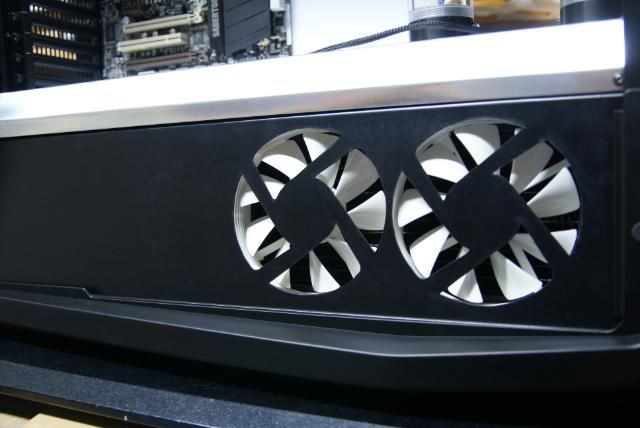
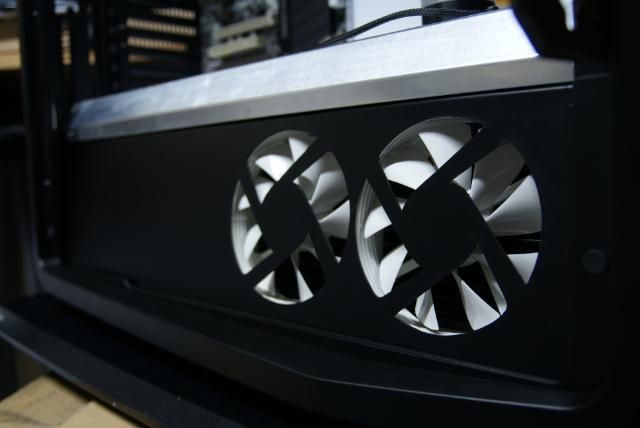
This cover is very easy to remove with a screw, and below is enough space for 3 fans and wiring
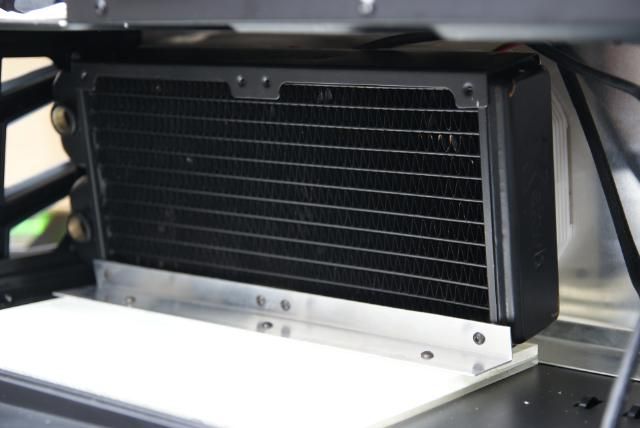
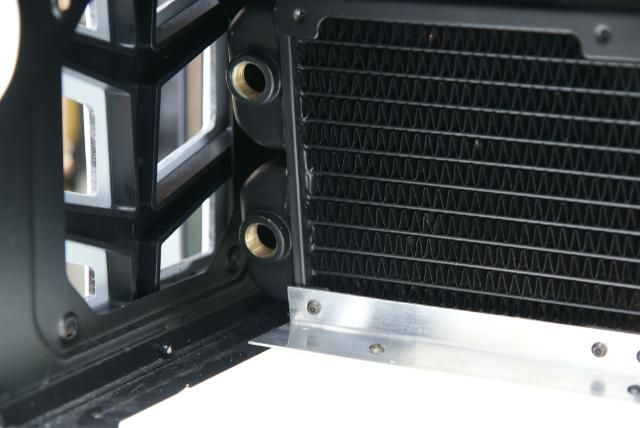
There also would fit a 360 rad but for that there are some adjustments needed.
And it comes with a black 120 mm fan, 1200 RPM, 17 dBA

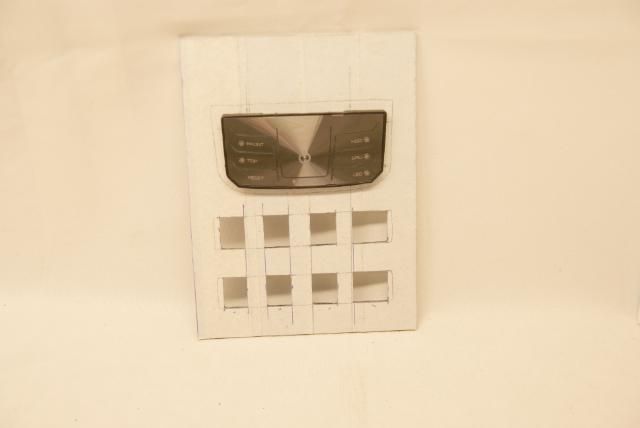
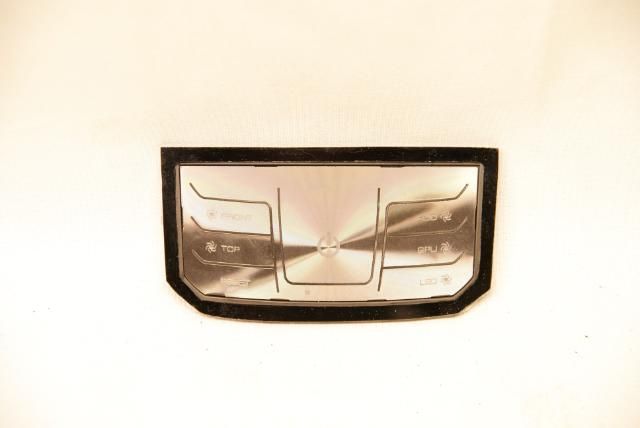
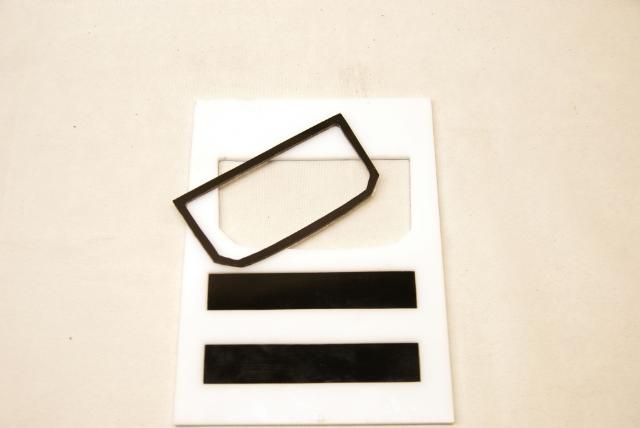
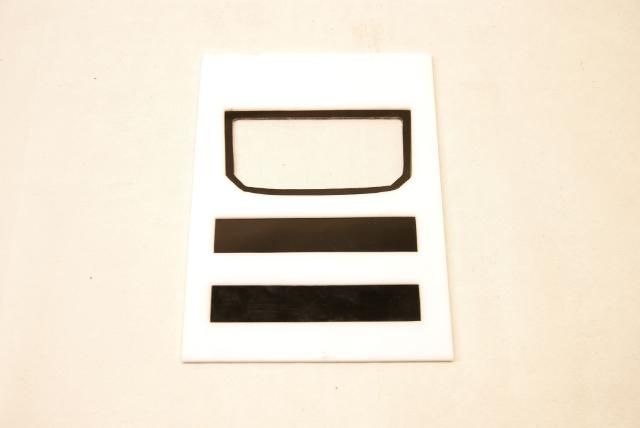
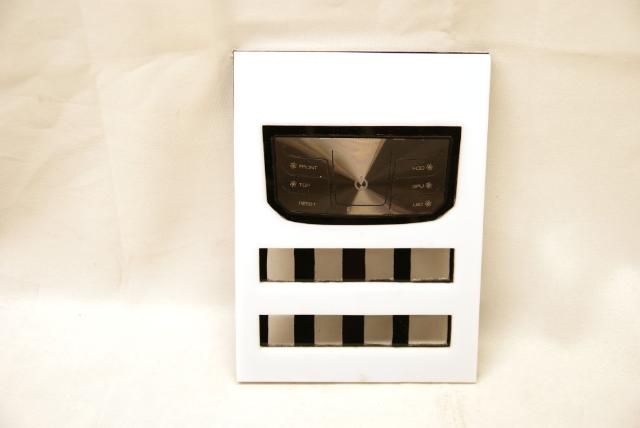
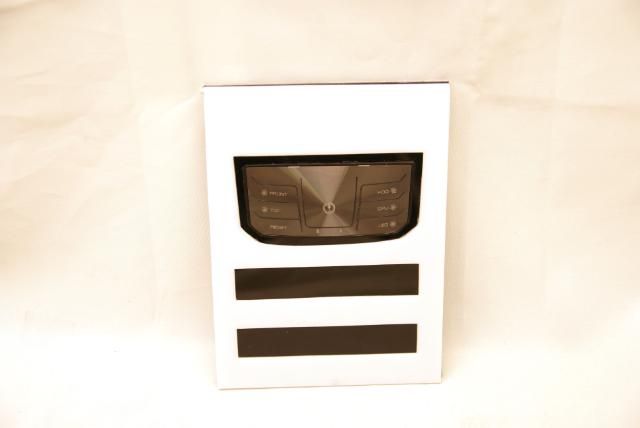
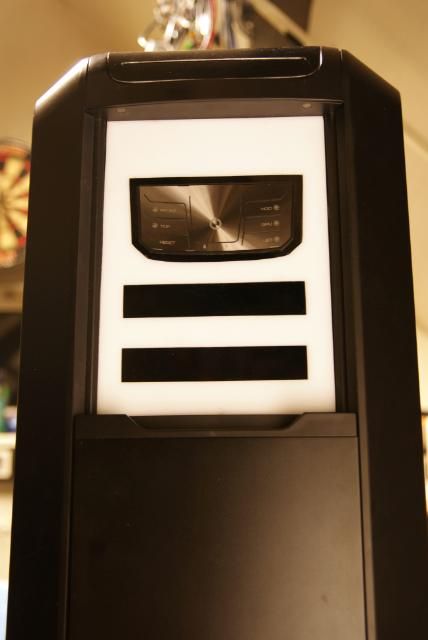
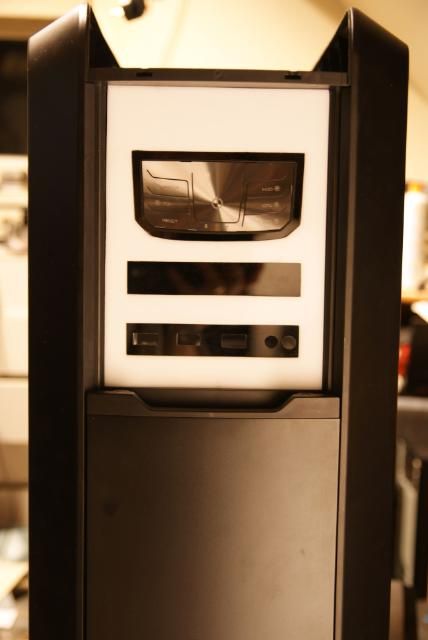
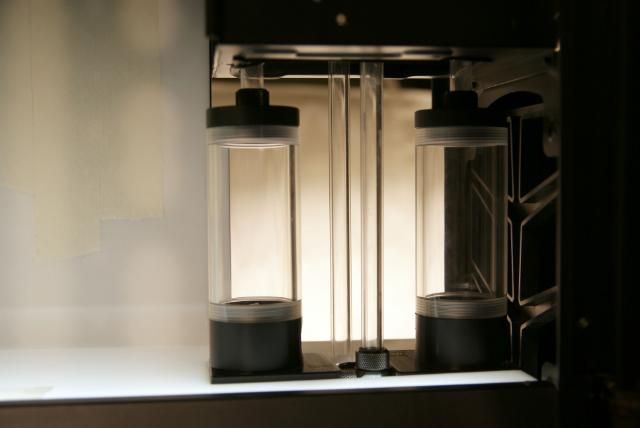
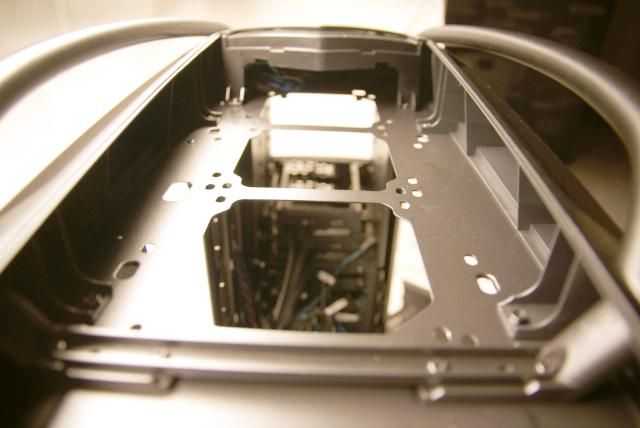
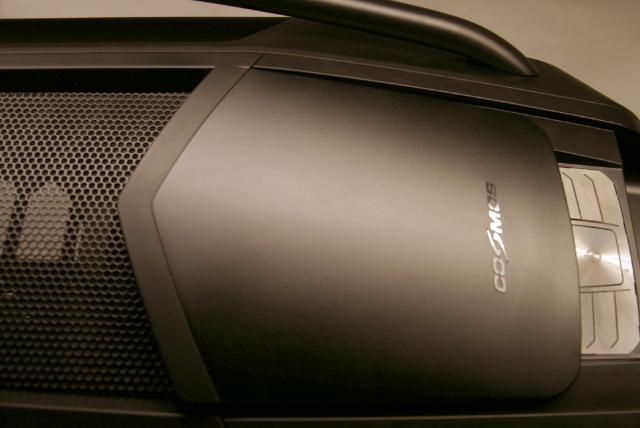
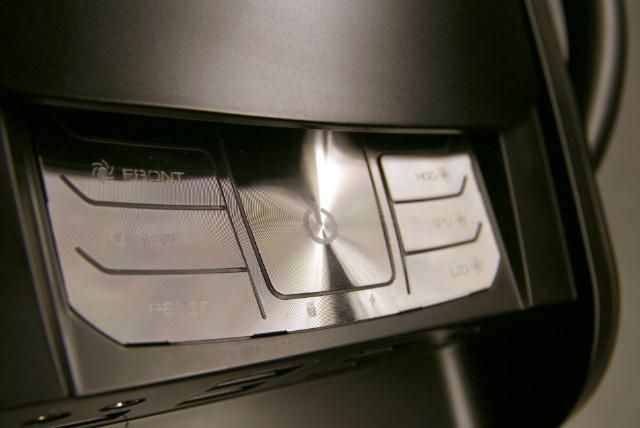
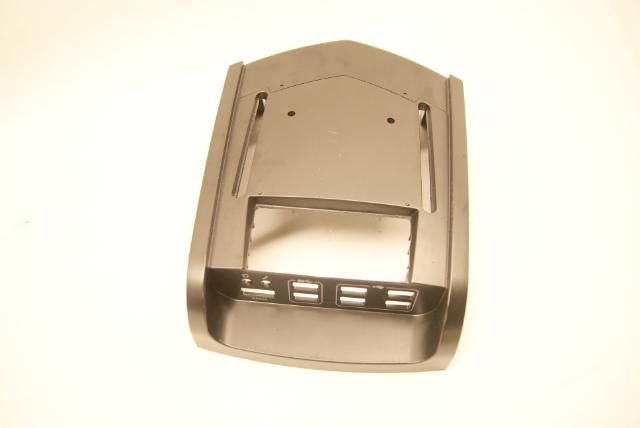
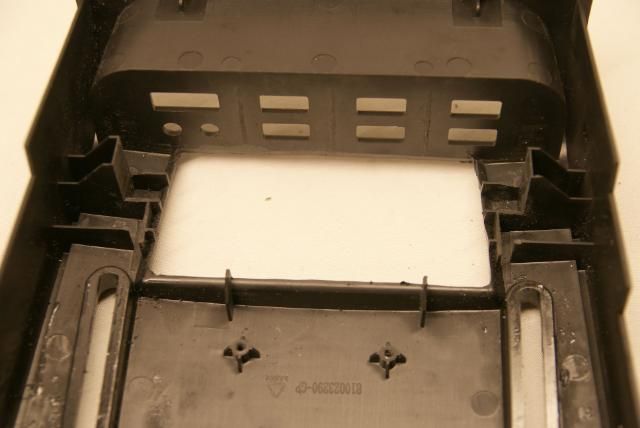
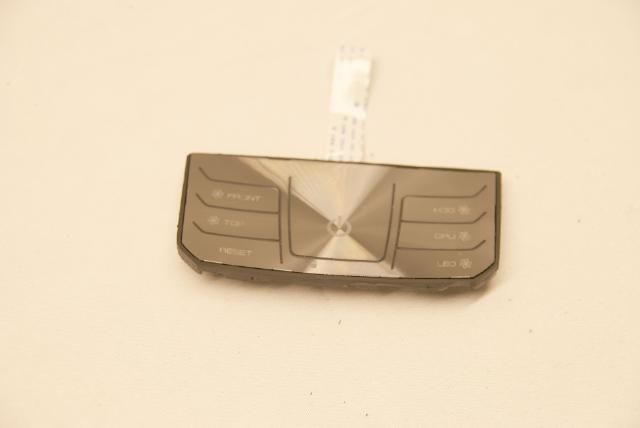
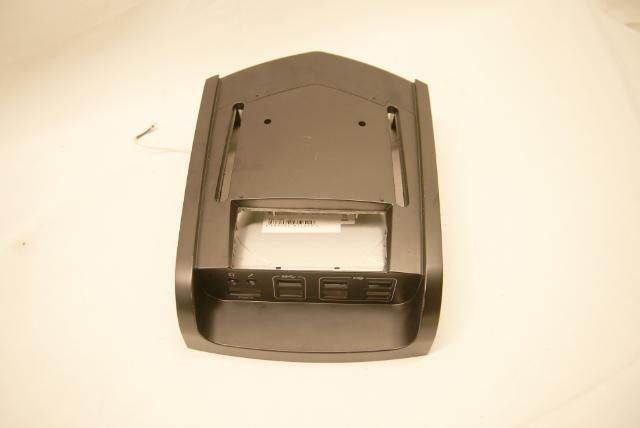
Also on the top there is a sliding panel. Below that there is a control panel with 7 functions
More about this in the next update
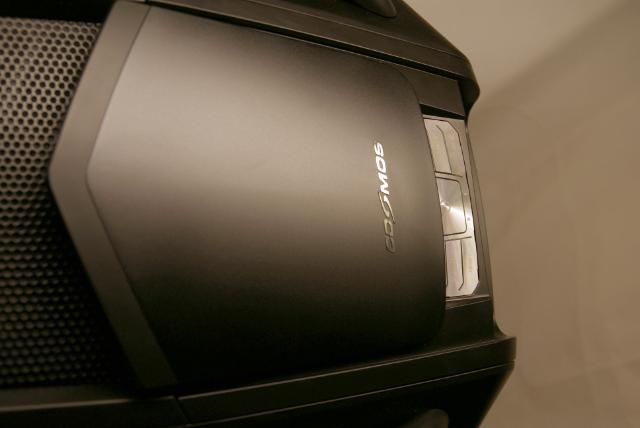
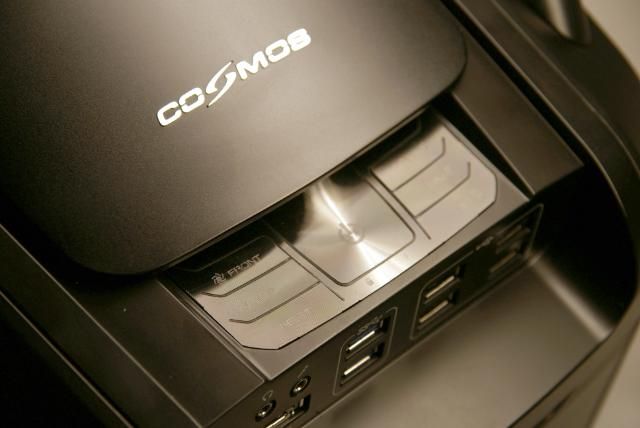
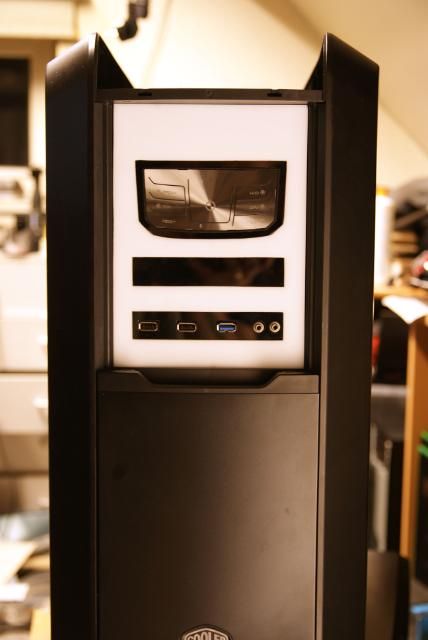
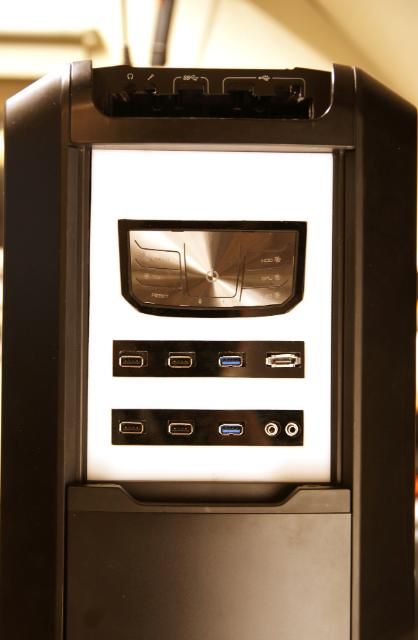
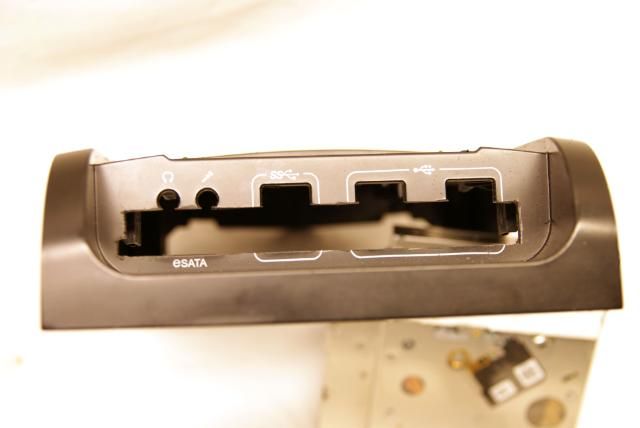
At the front there is the I / O panel with 2 xUSB 3.0, 4 x USB 2.0, 1 x e-SATA and audio in / out
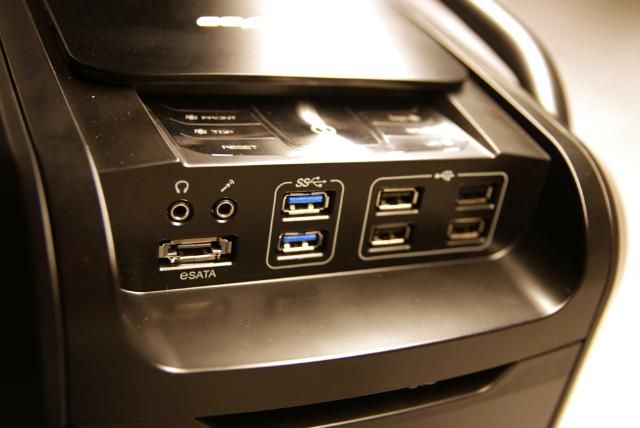
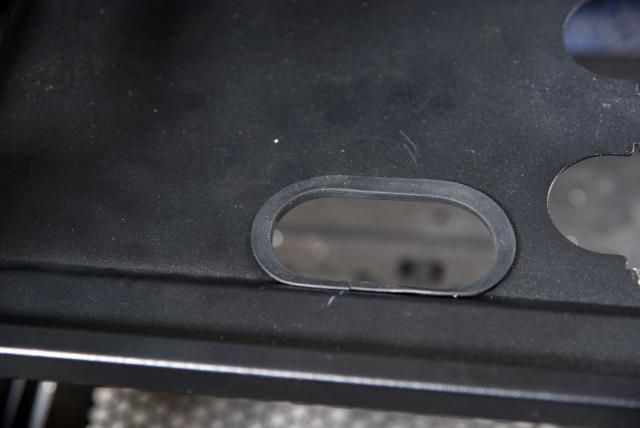
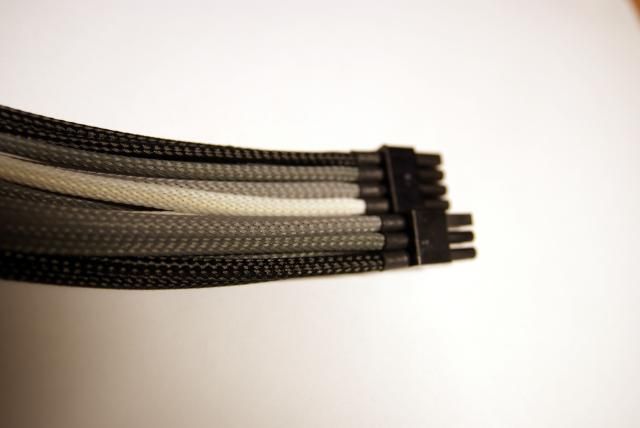
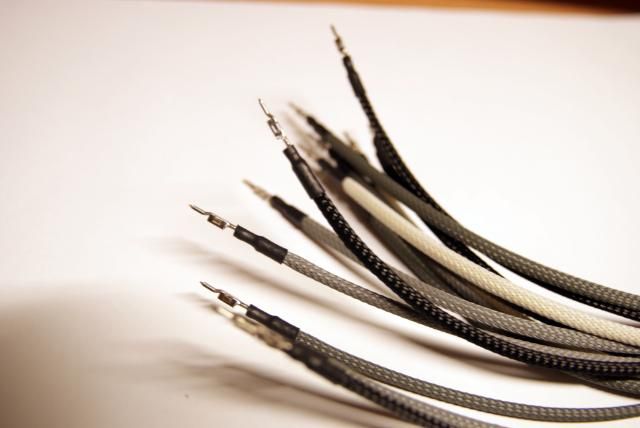
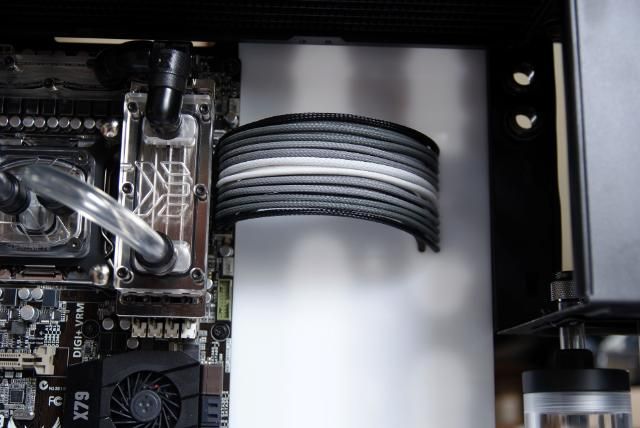
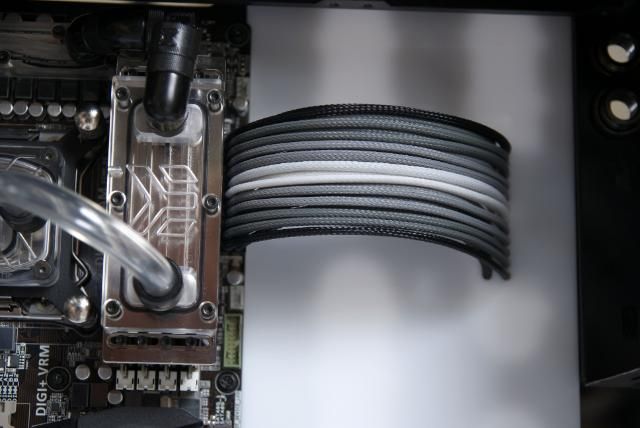
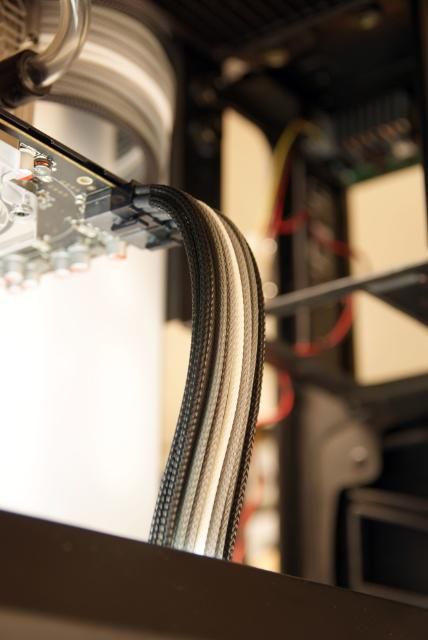
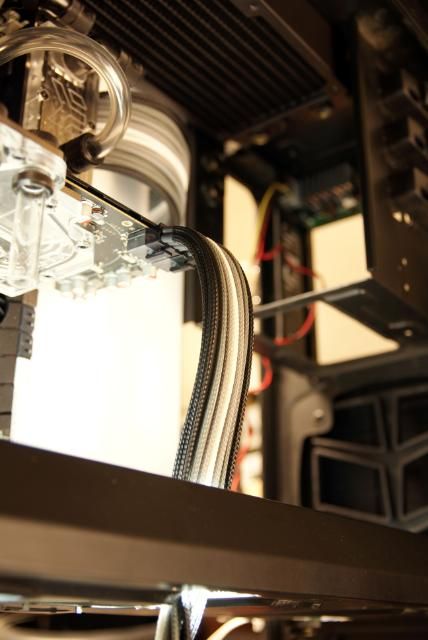
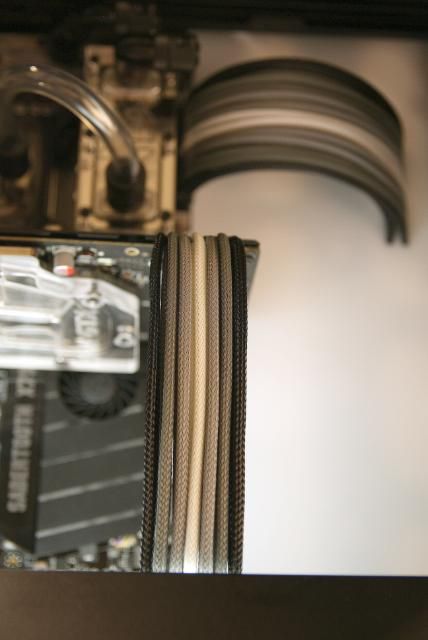
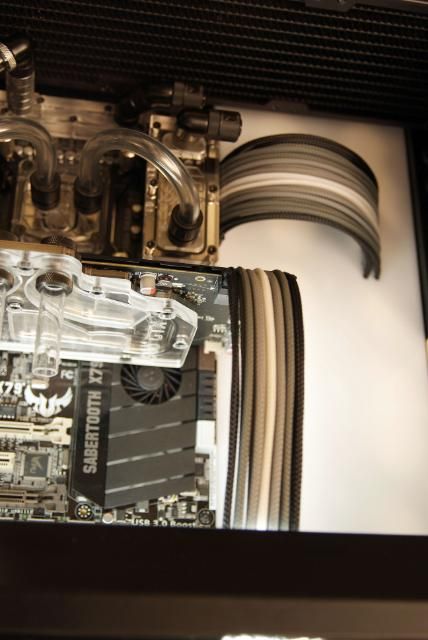
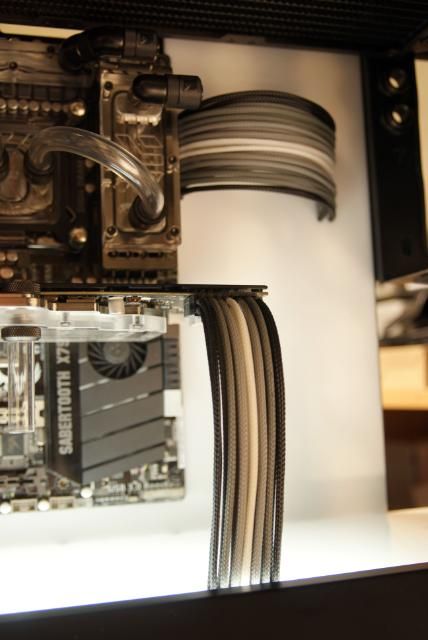
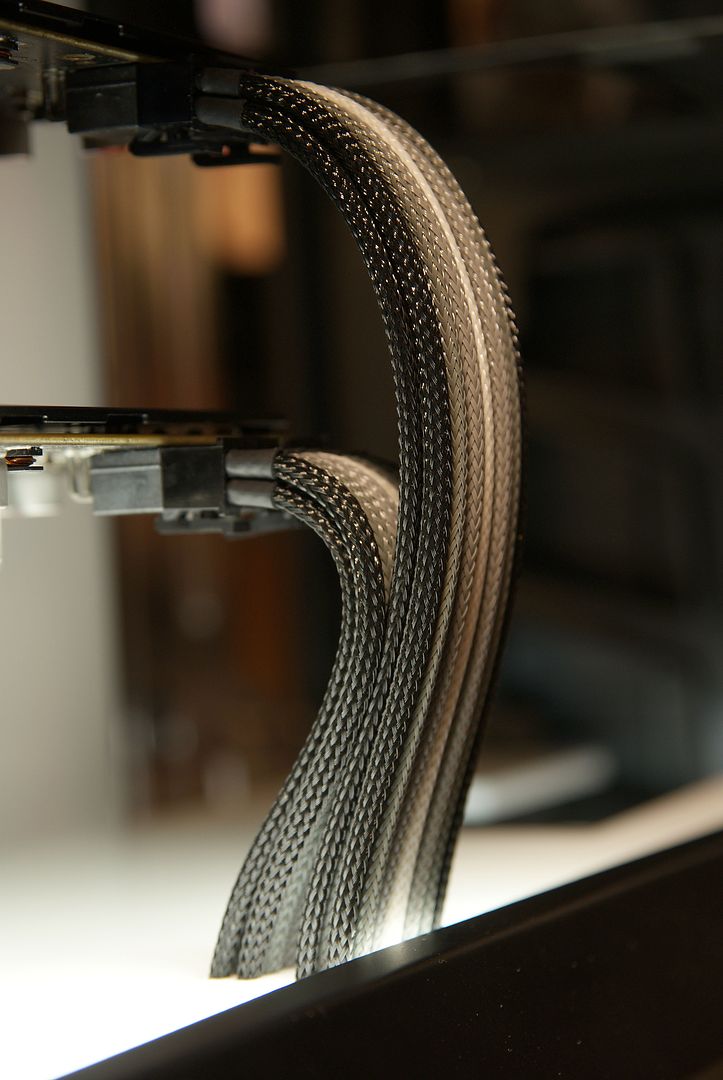
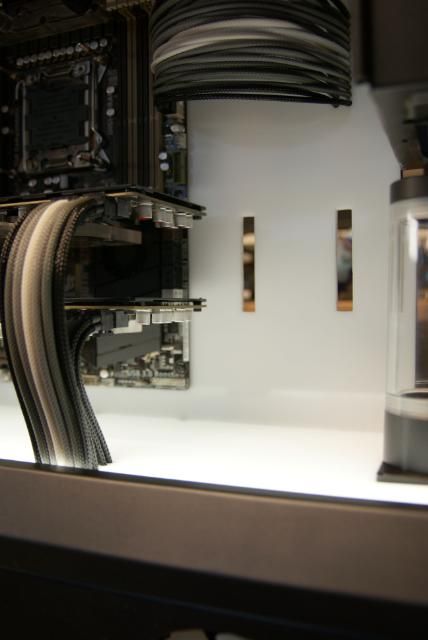
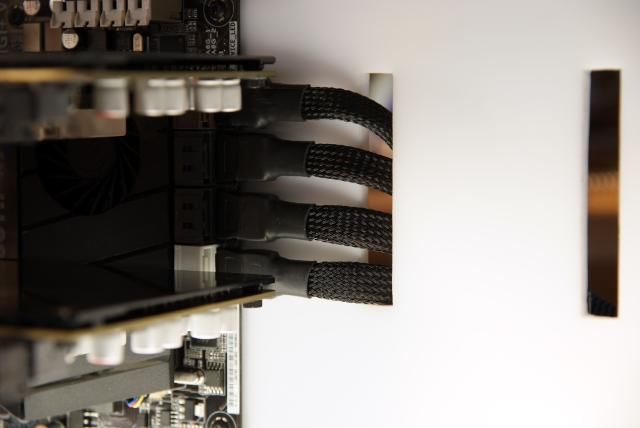
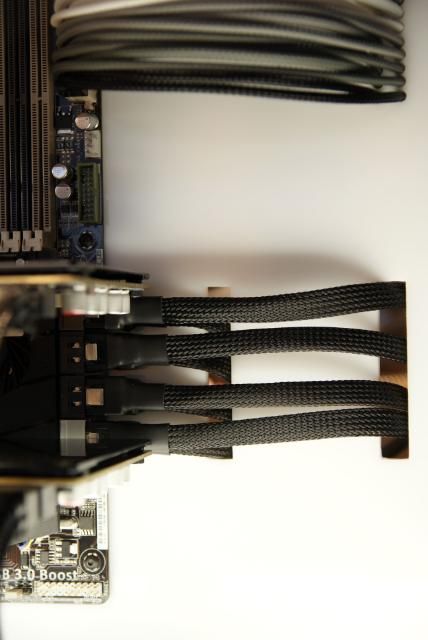
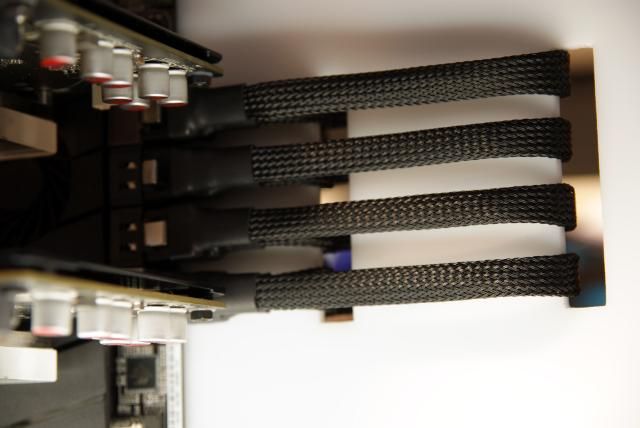
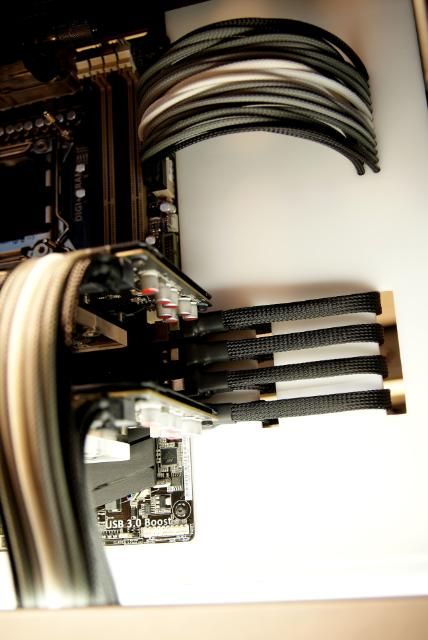
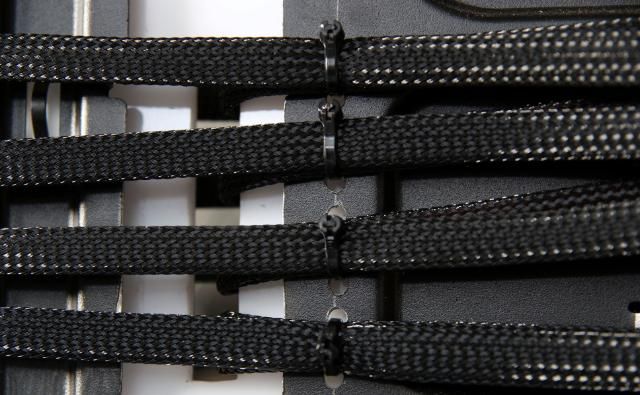
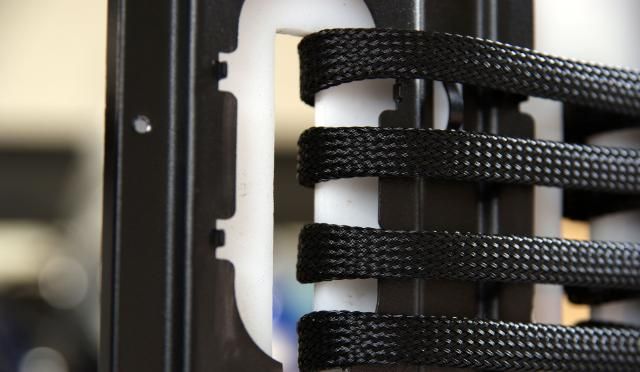
And there is very good tought about the cable management
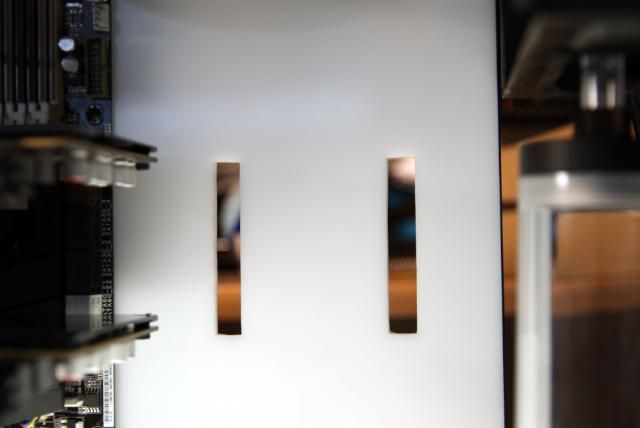
With enough holes
I could go on an d on about the case but..... now it's modding time
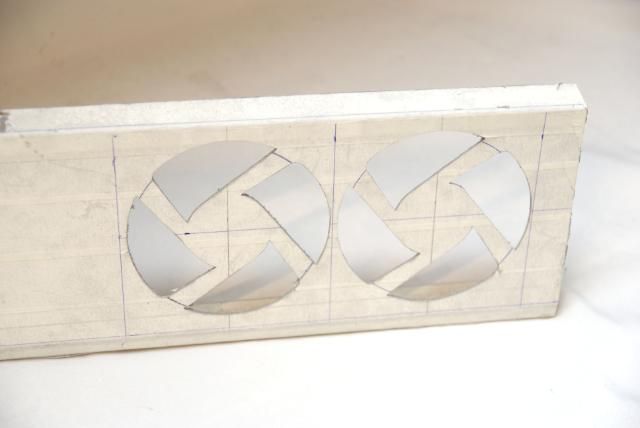
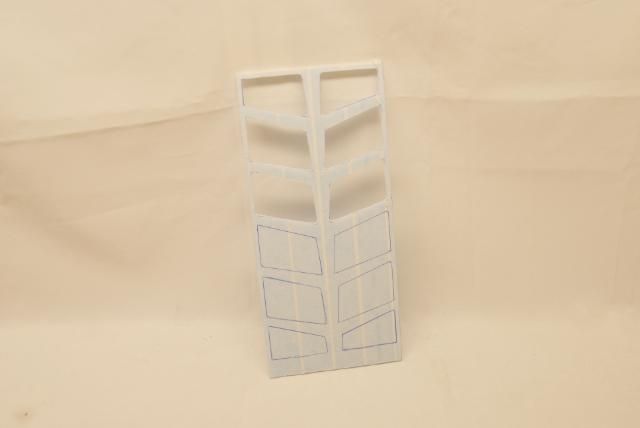
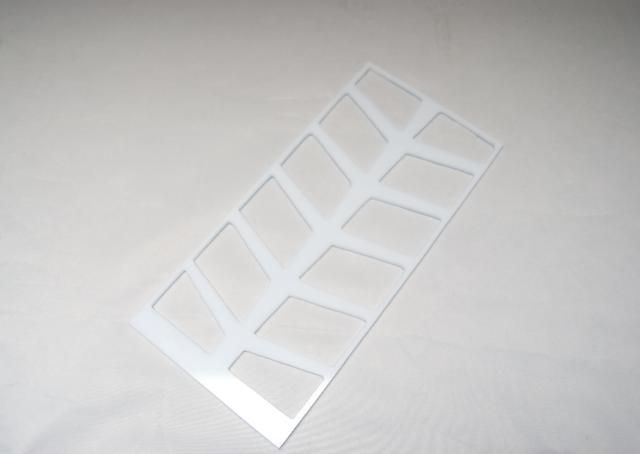
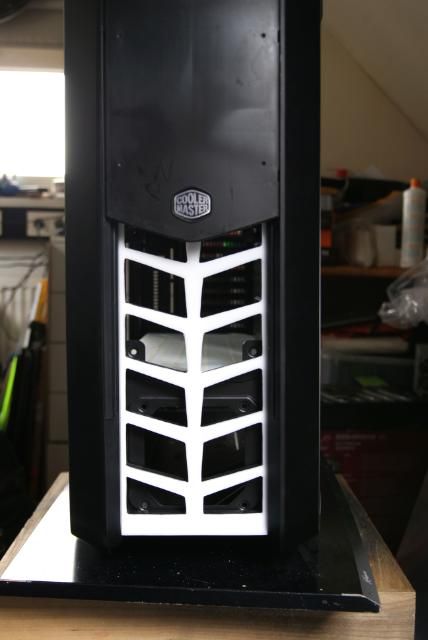
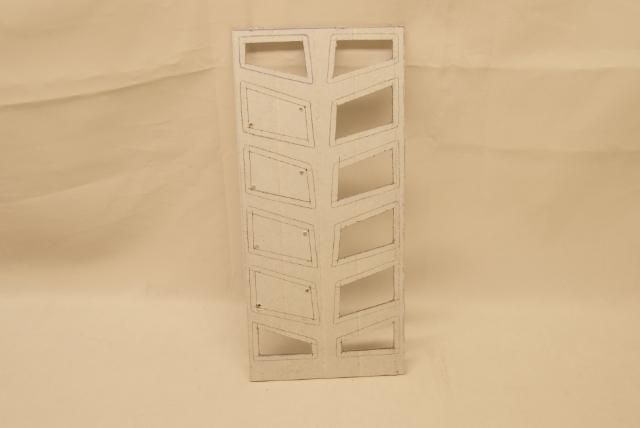
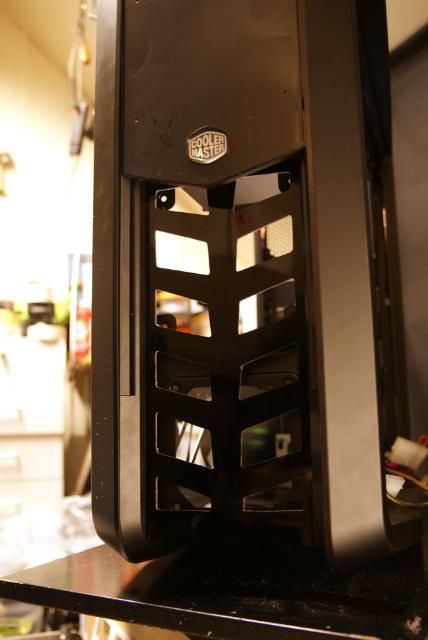
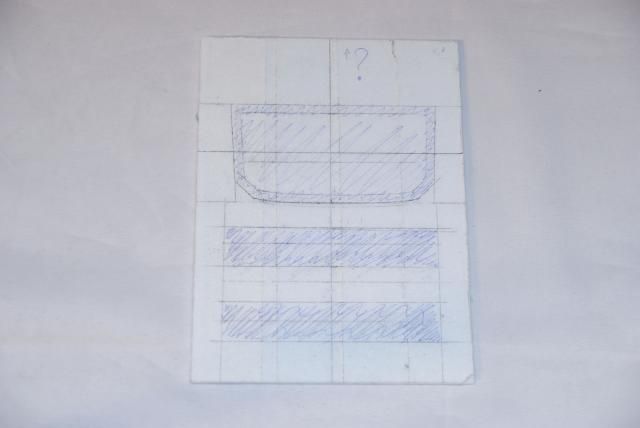
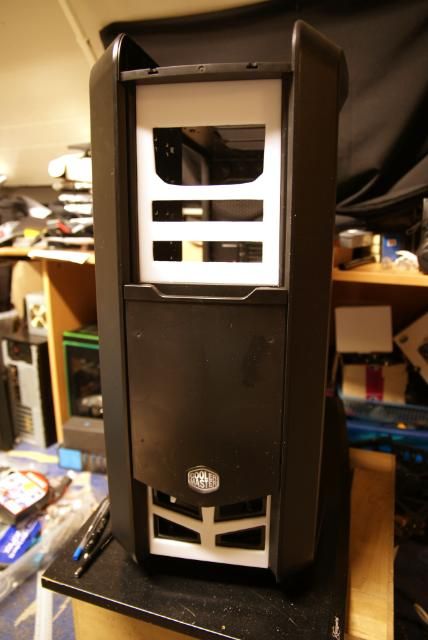
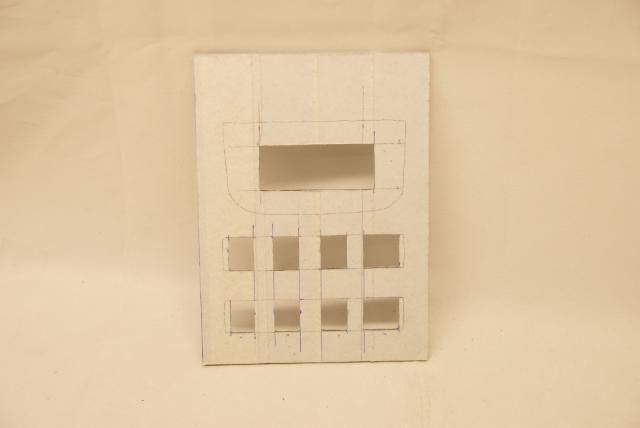
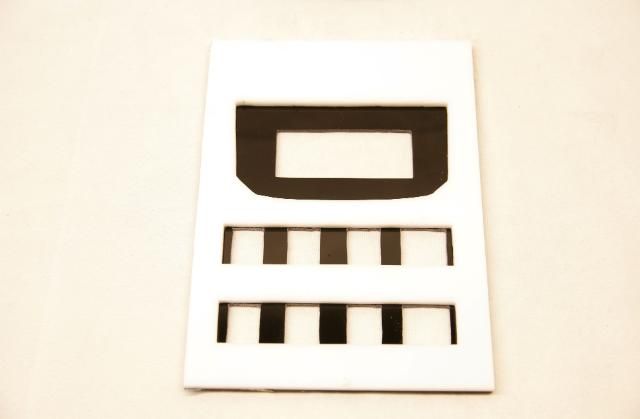
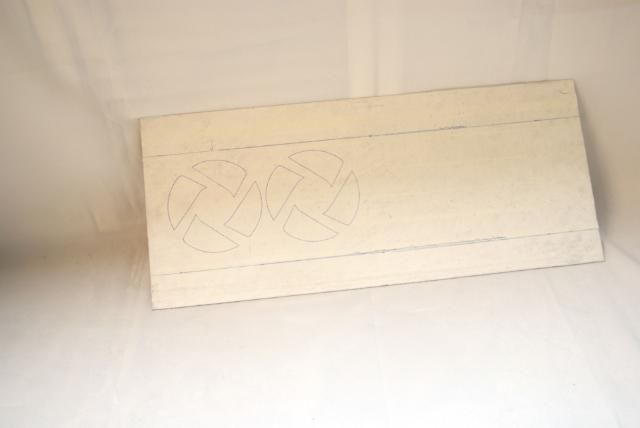
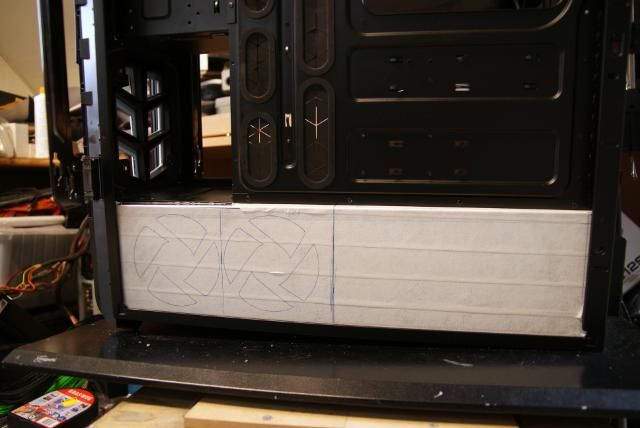
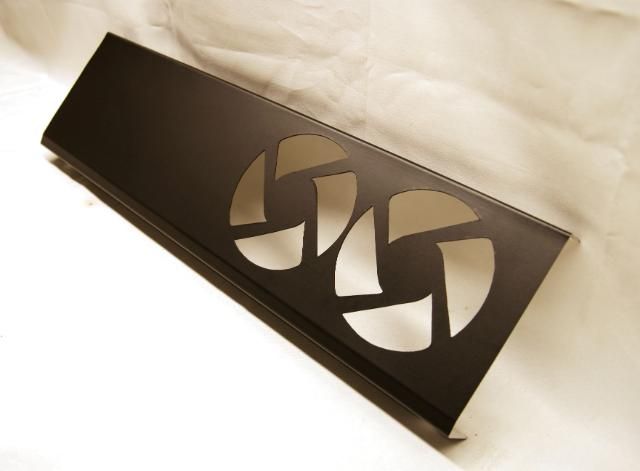
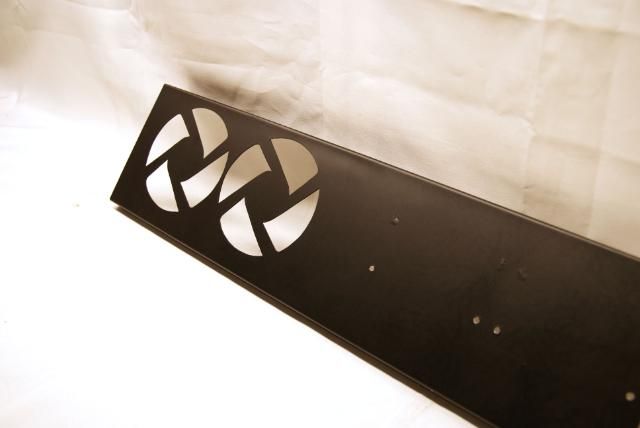
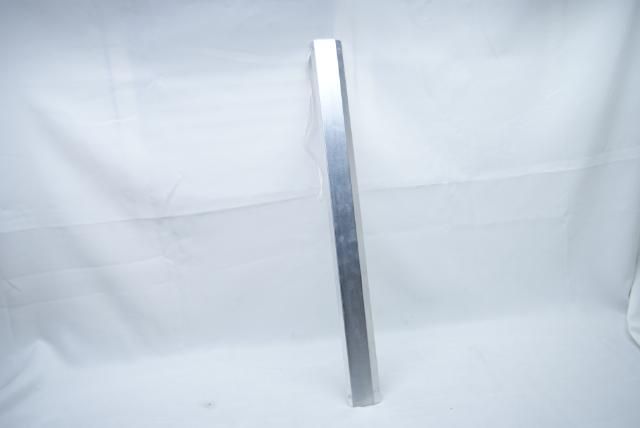
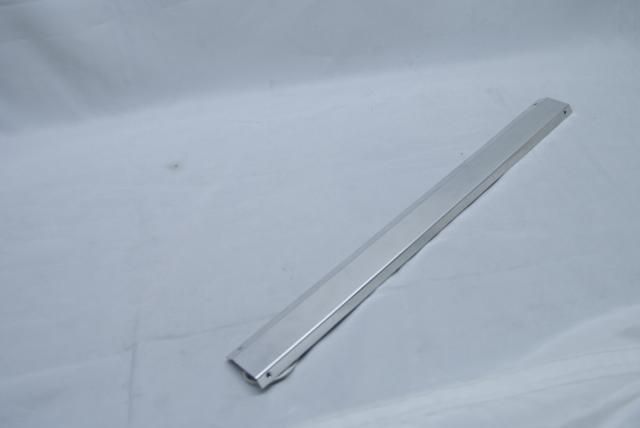
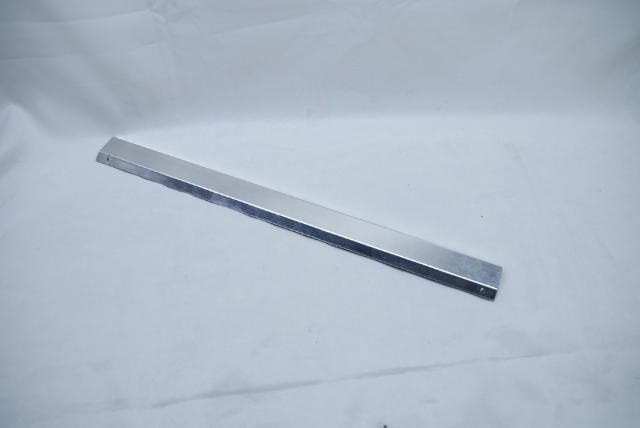
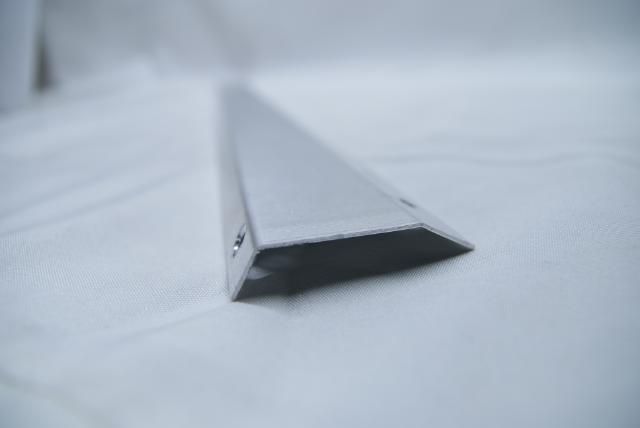
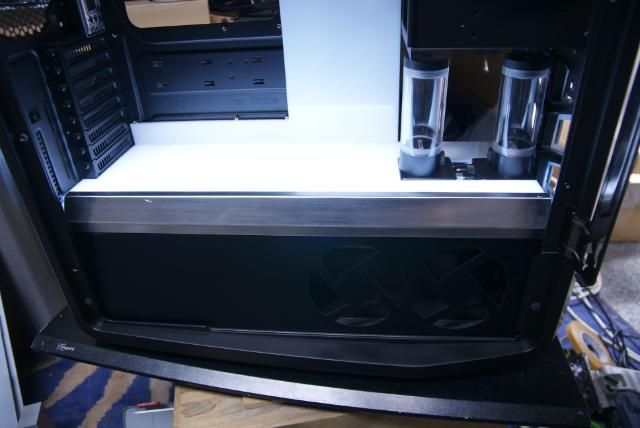
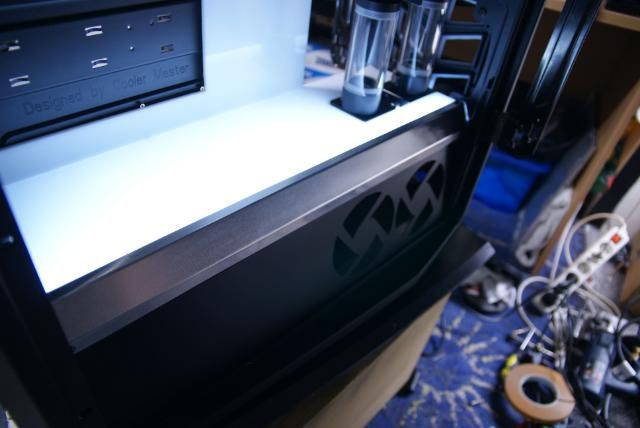
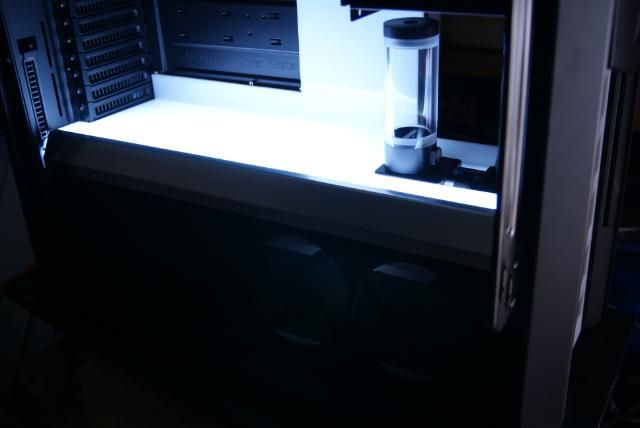
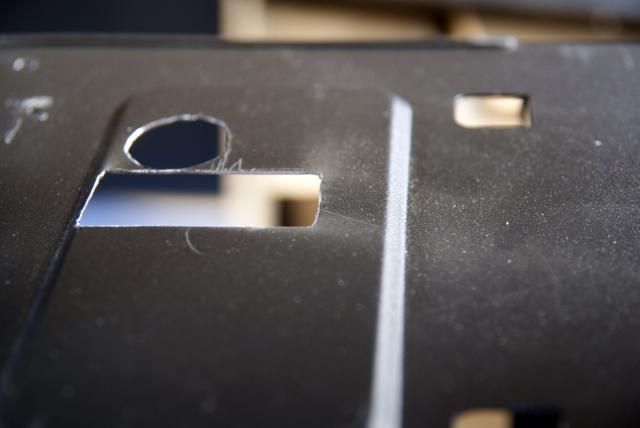
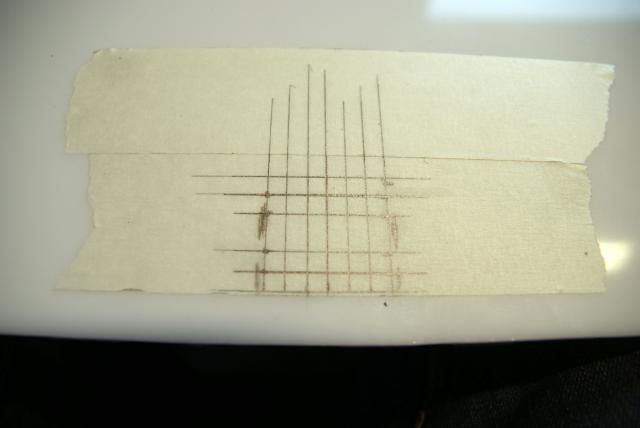
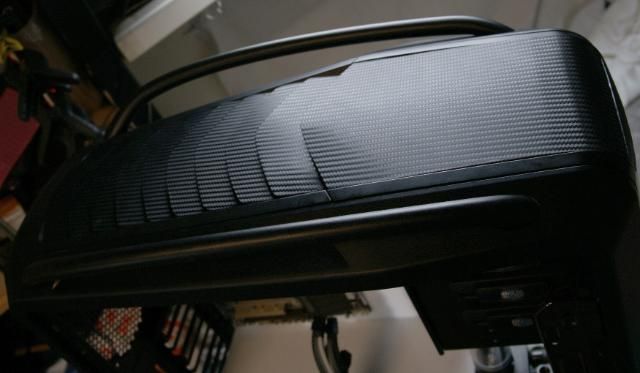
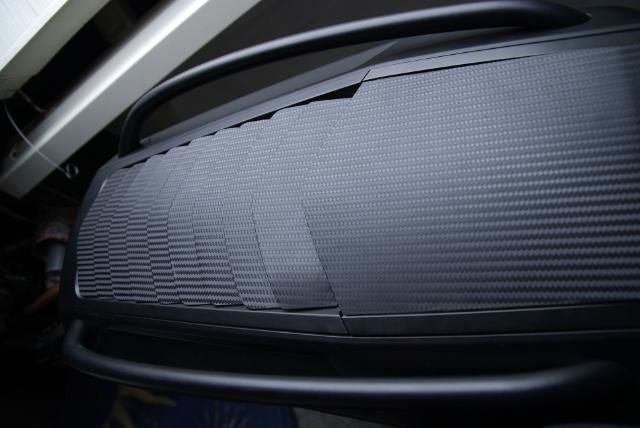
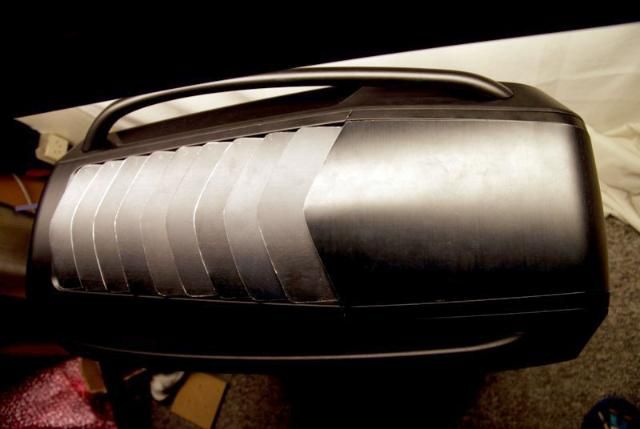
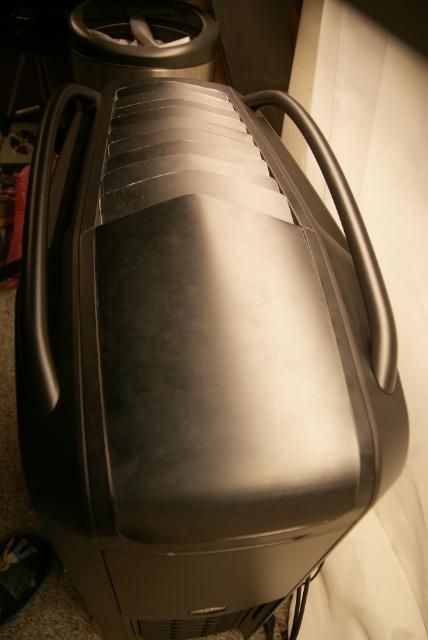
I removed the top mesh and made ​​a number of strips.
Which are directed obliquely backwards, this is still a rugged design and has yet to be finished
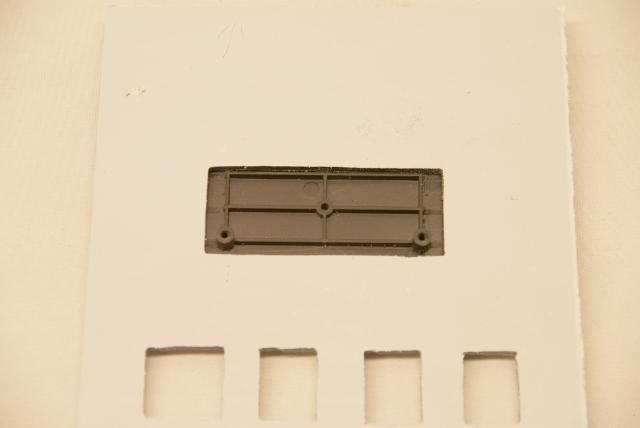
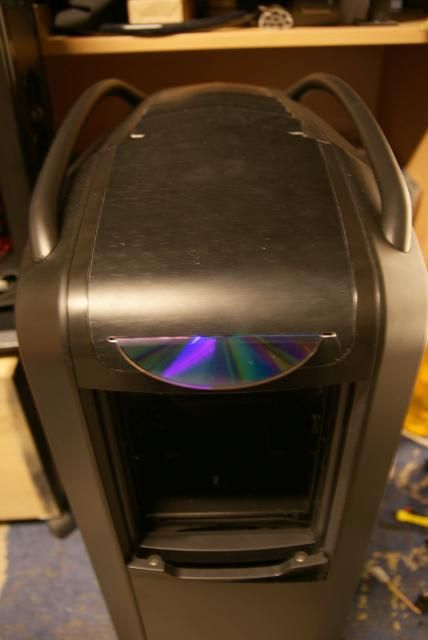
Cut out the fan controller carefully
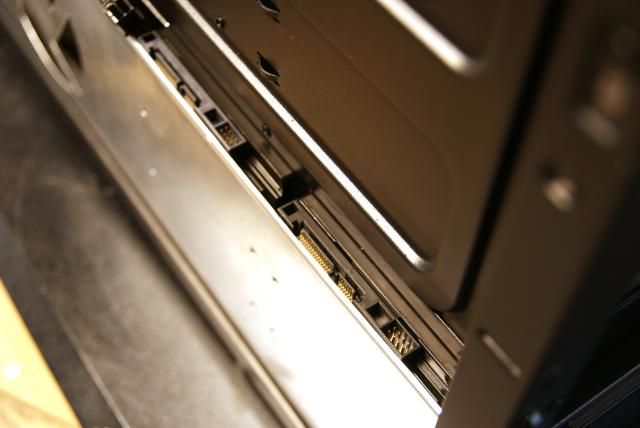
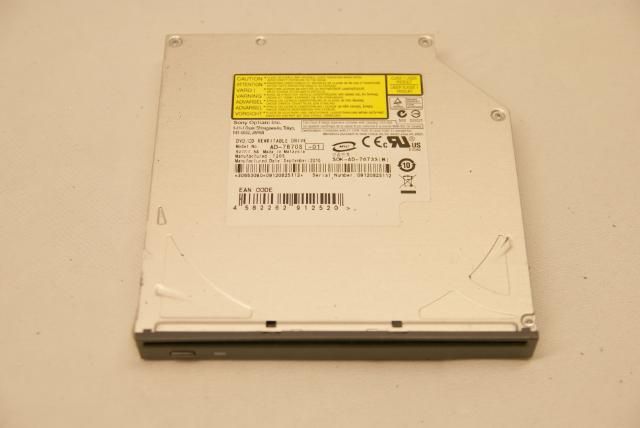
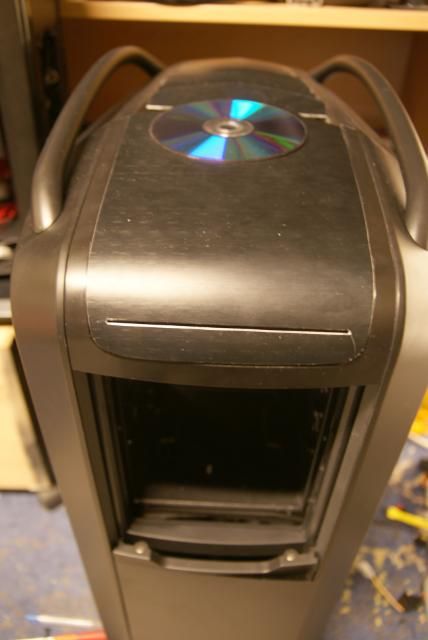
Here is coming a slot loader DVD or Bluray.
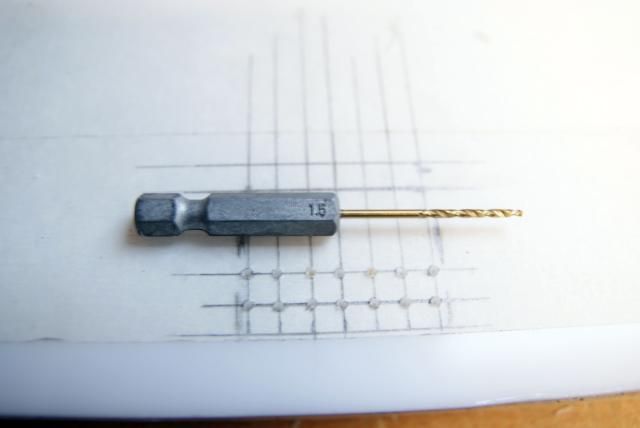
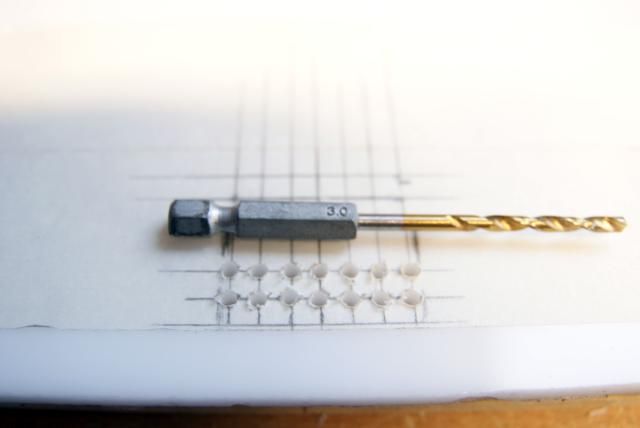
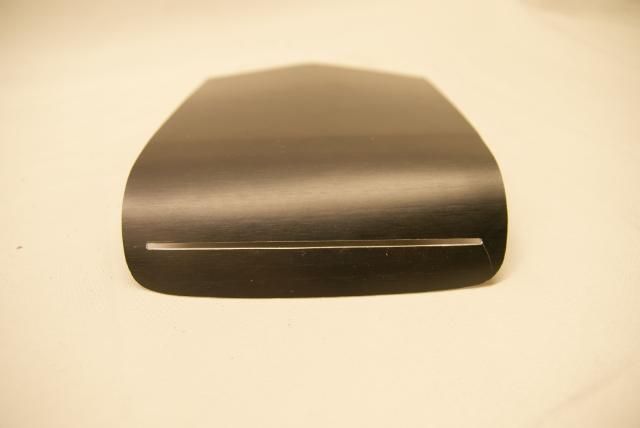
For measuring I used this one .
And made a slot for it

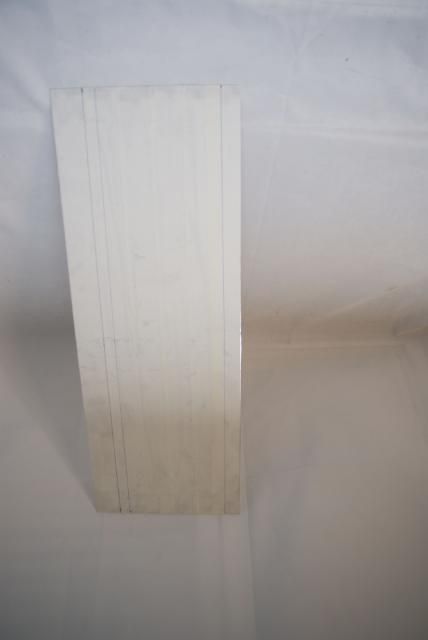
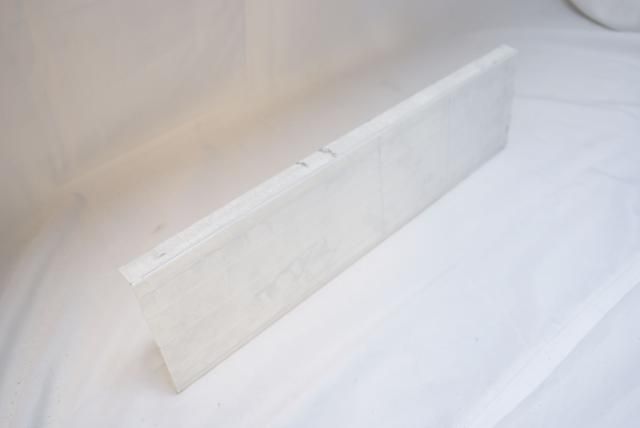
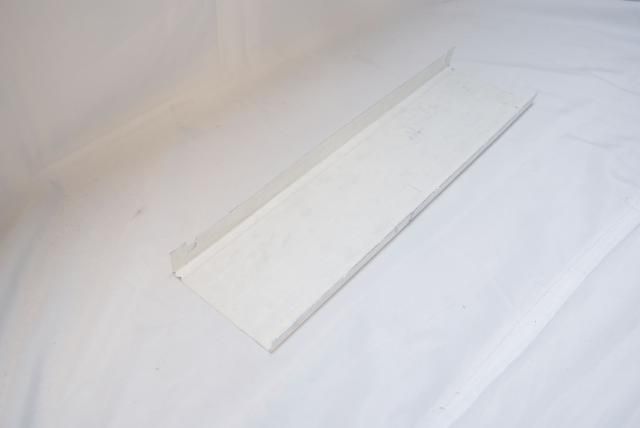
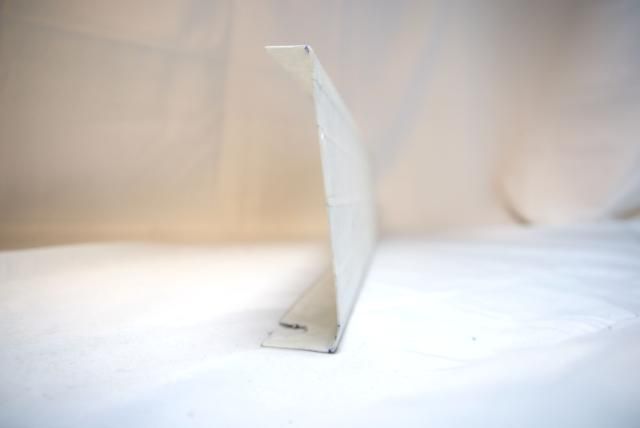
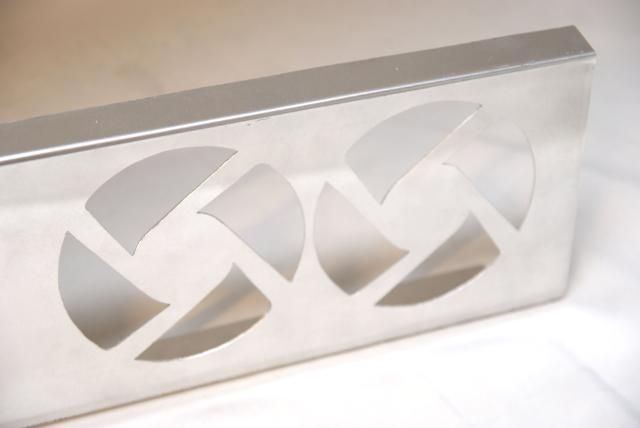
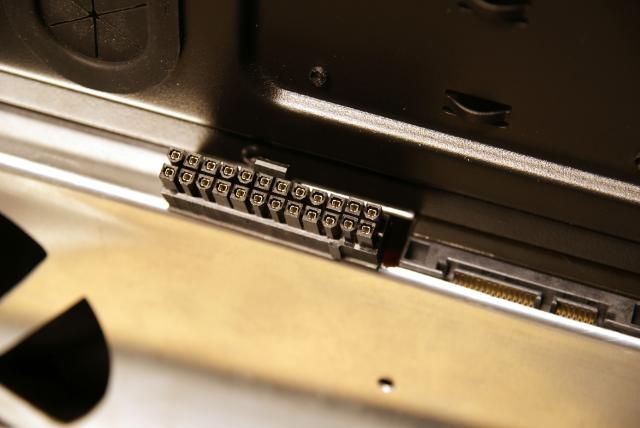
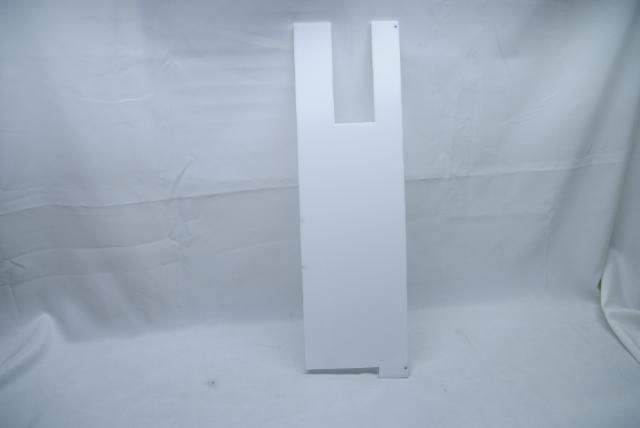
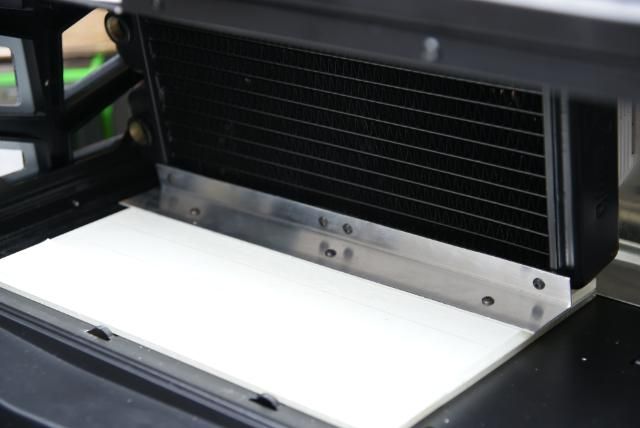
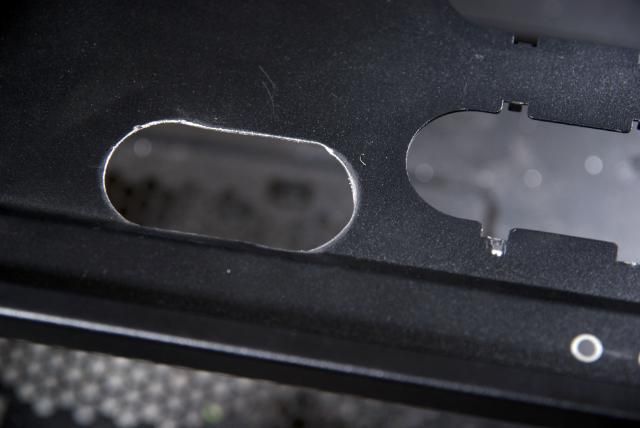
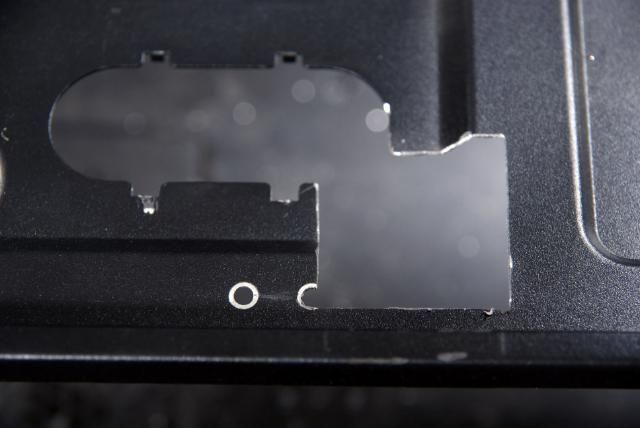
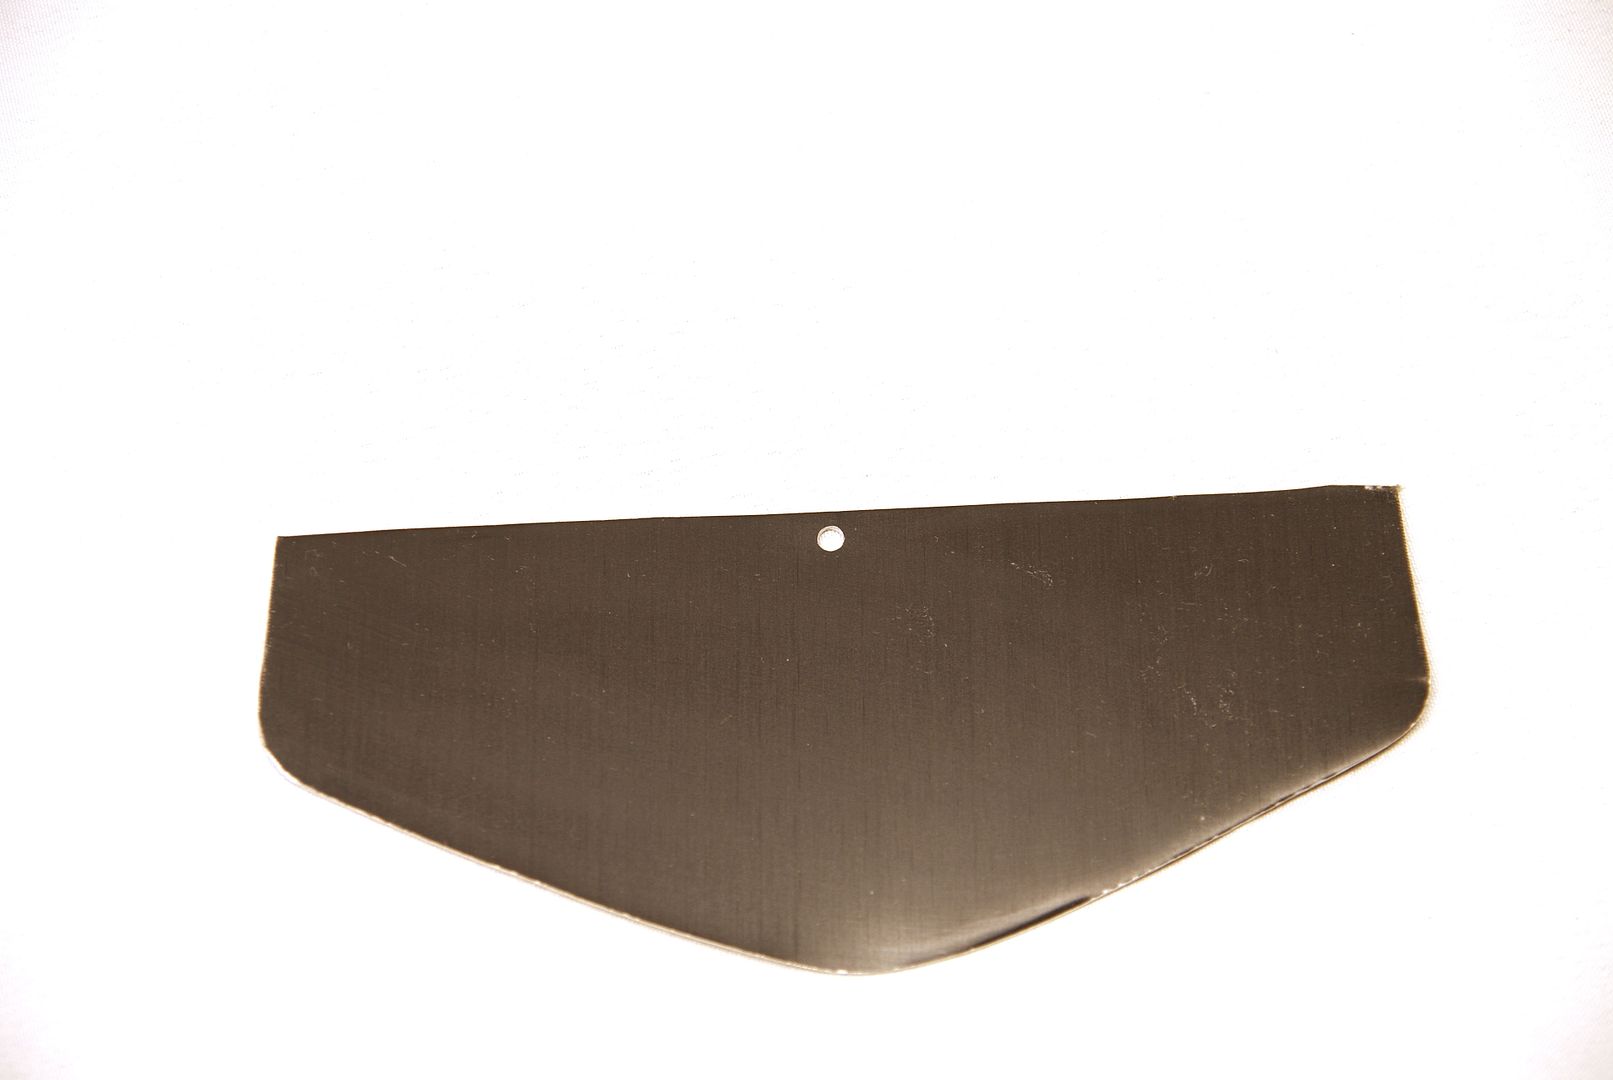
Where before was the sliding panel I cut and bent a piece of aluminum
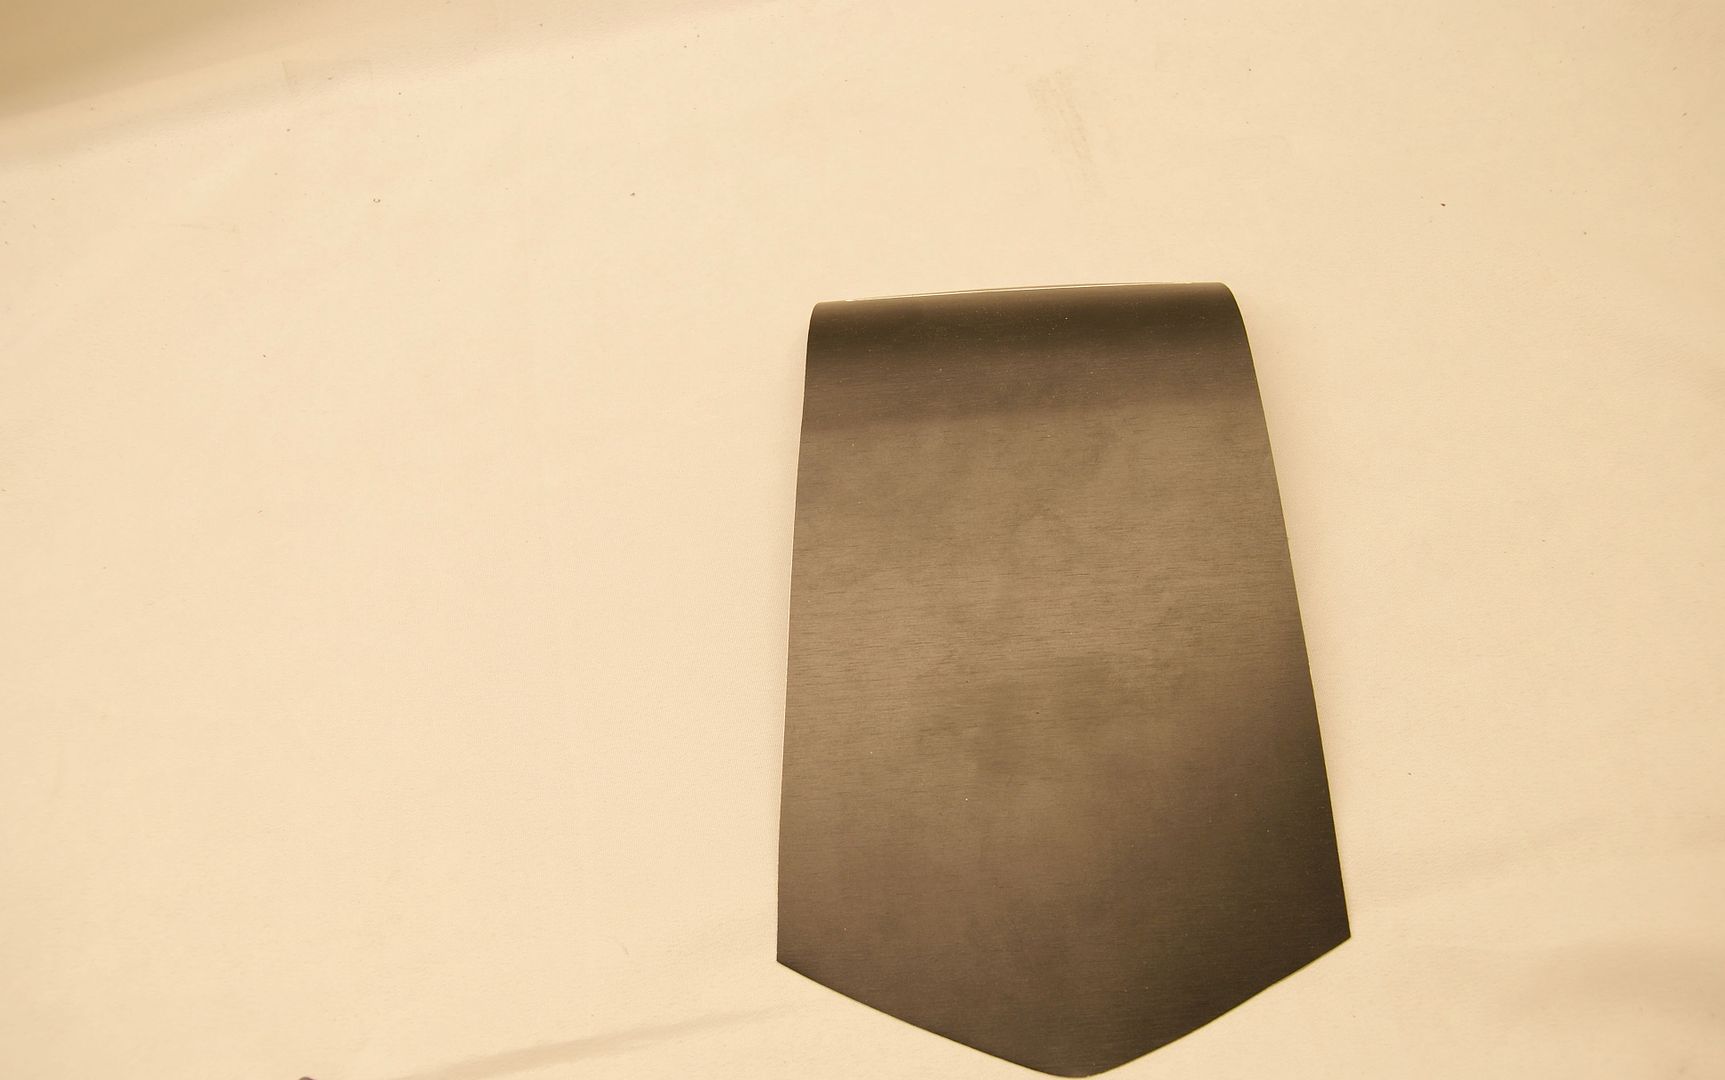
Which is placed like this
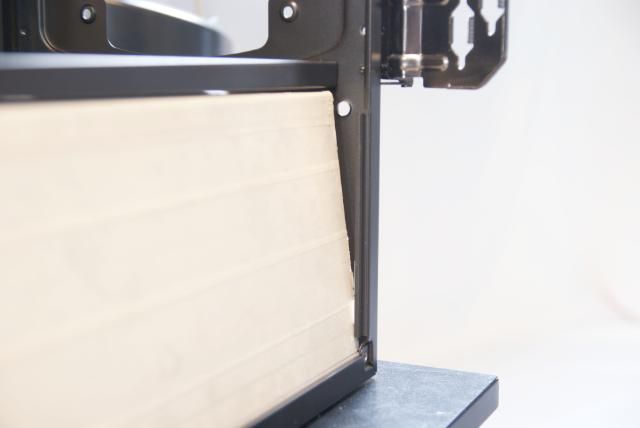
And made the slot for the slot loader drive
I hope this is a good start of the new year for you ... for me it is
More to come!!!
Last edited: