Arcygenical
Fully [H]
- Joined
- Jun 10, 2005
- Messages
- 25,066
Introduction
I recently got bit by the Folding At Home bug... again... Living in a dorm room, with free power, I was no longer feeling the sting of my FAH kwh's. I decided that, since folding on GPU's was an insanely cheap way to maintain around 10kppd, I would opt in for 4 8800GS system, and stash it under my bed to deal with the noise.
Well, plans change. I realized that, with the advent of cheap, second hand hardware, I could build a system and have a ton of fun modding it; all while keeping costs relatively low. I shopped around for the best prices on absolutely everything, and used the box as an excuse to upgrade some parts in my main system (and donated the old ones to the FAH project of course!).
Arcygenical03 System Specifications:
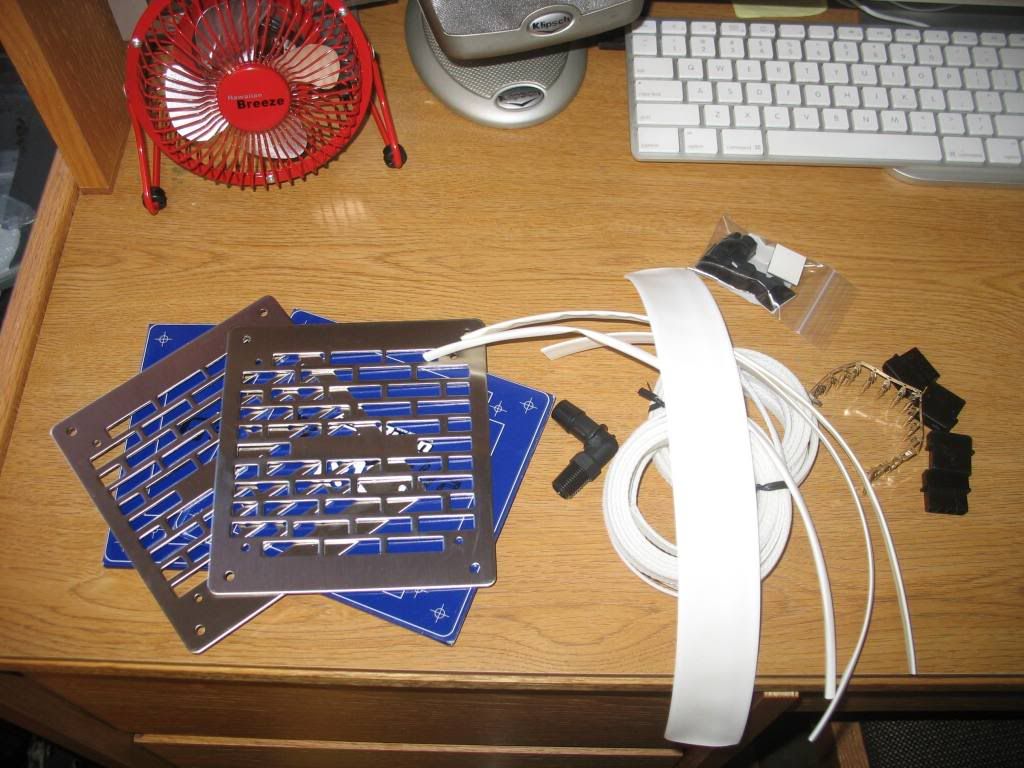
Arcygenical03 Cooling Specifications:
This mod is personally exciting for a variety of reasons: the most pertinent being my location. I'm living in a dorm room... 100 square feet of glory. I'm therefore not allowed to use many power tools, I can't paint, and I certainly can't make many cuts. In-Fact, the only tools I'm using for the project include:
And that's about it... Therefore, with the plans I have, this will be the most labour intensive project I've ever embarked upon, relying more on my skills and hacks than tools and materials. Additionally, I've been playing around with the idea of a specific colour scheme for some time now... One that I'll finally get to fulfil with this build... But you'll see all that later") .
.
Finally, I'm going to outline the goals of this project, in their order of preference:
So, stick around, stay tuned for some updates (they're going to come slow this round...) and have a good time! Any input, suggestions or comments are encouraged, as always.
I recently got bit by the Folding At Home bug... again... Living in a dorm room, with free power, I was no longer feeling the sting of my FAH kwh's. I decided that, since folding on GPU's was an insanely cheap way to maintain around 10kppd, I would opt in for 4 8800GS system, and stash it under my bed to deal with the noise.
Well, plans change. I realized that, with the advent of cheap, second hand hardware, I could build a system and have a ton of fun modding it; all while keeping costs relatively low. I shopped around for the best prices on absolutely everything, and used the box as an excuse to upgrade some parts in my main system (and donated the old ones to the FAH project of course!).
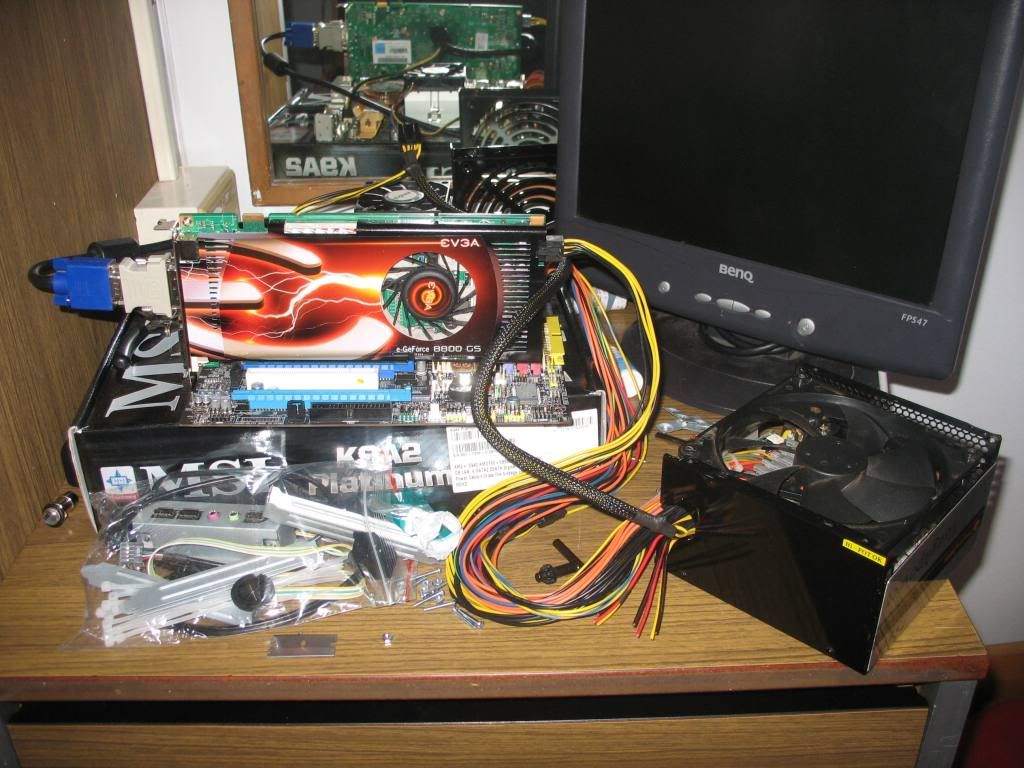
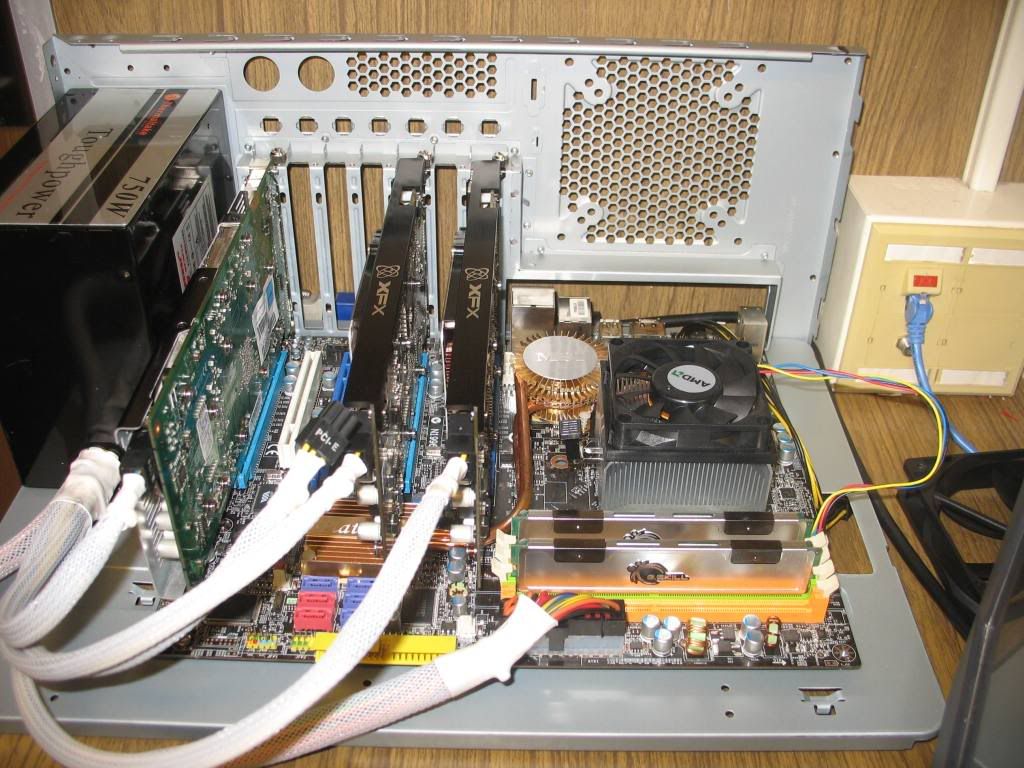
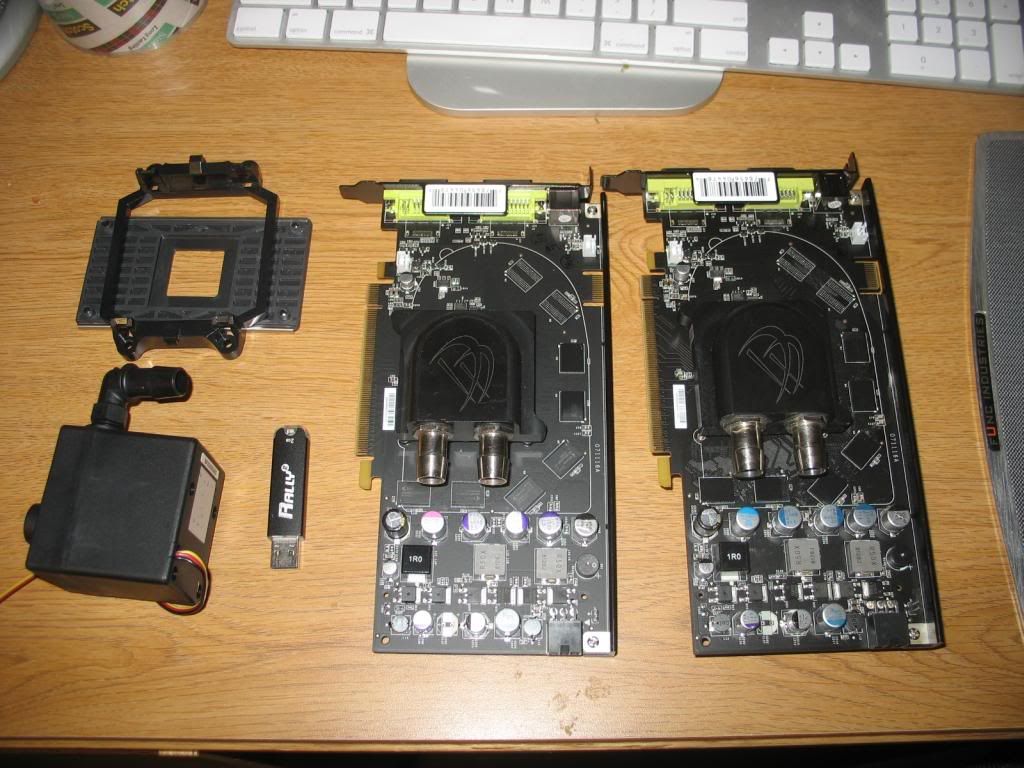
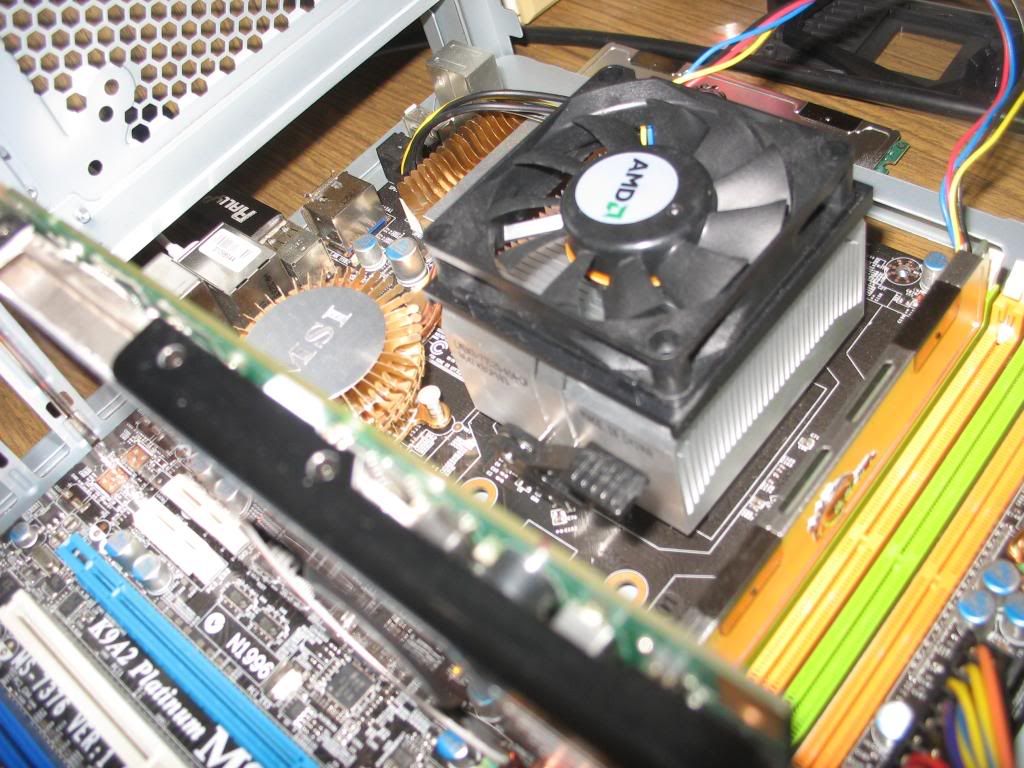
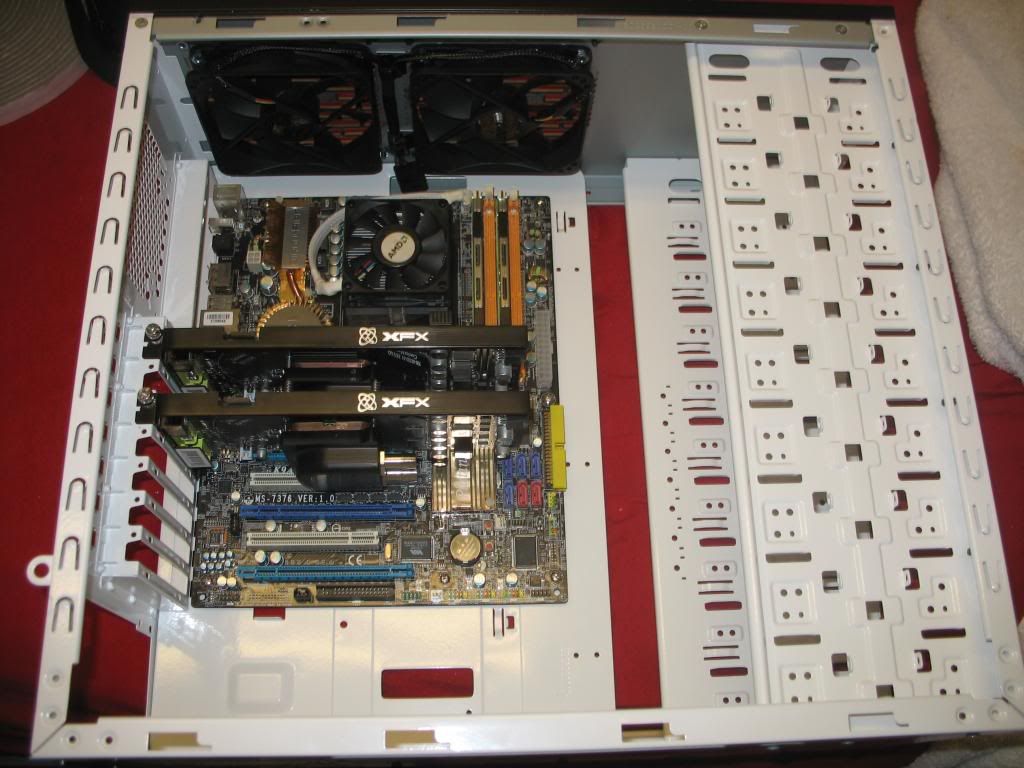
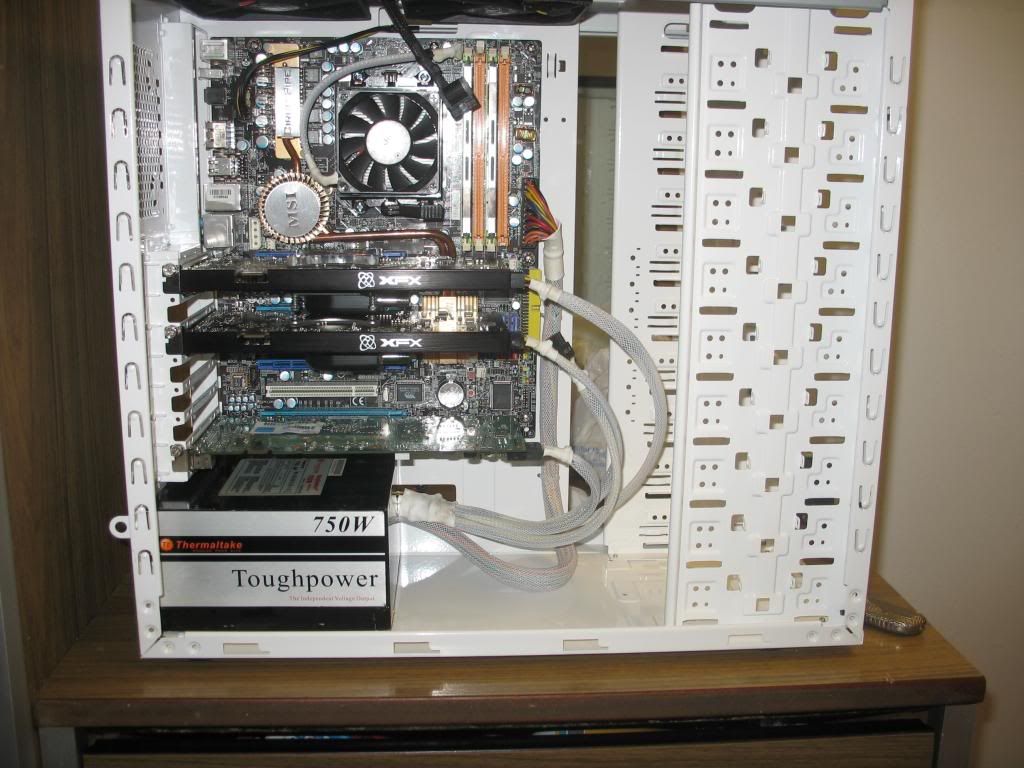
Arcygenical03 System Specifications:
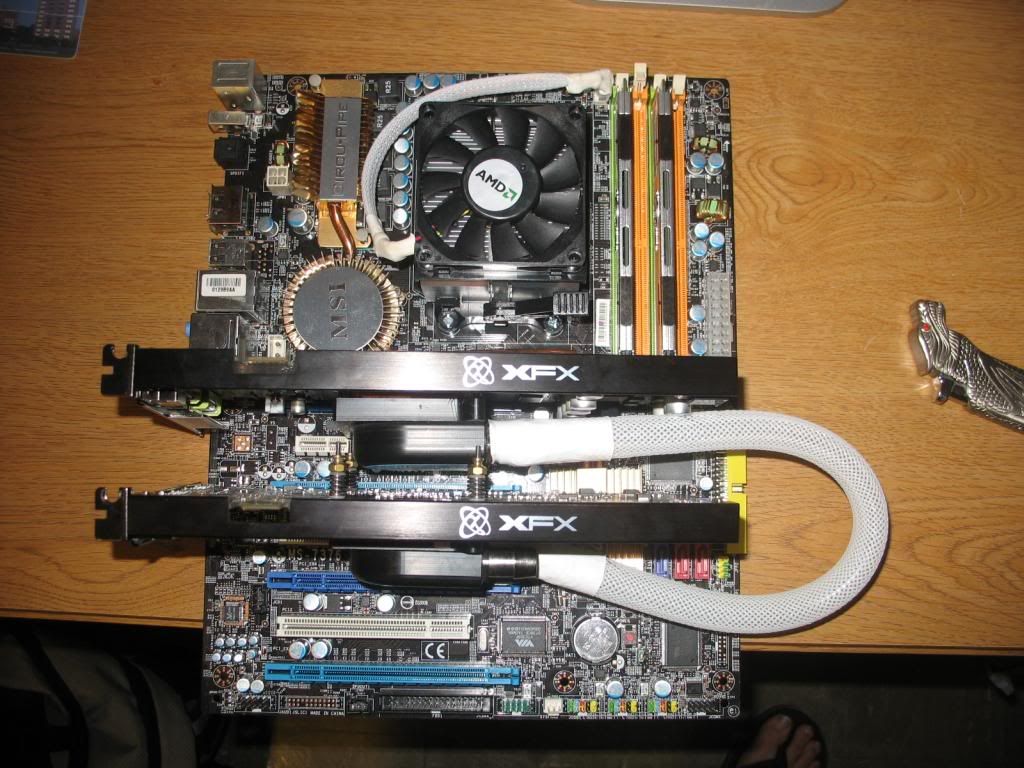
- MSI KA92 Platinum
- AMD Orleans 3200+ 65w
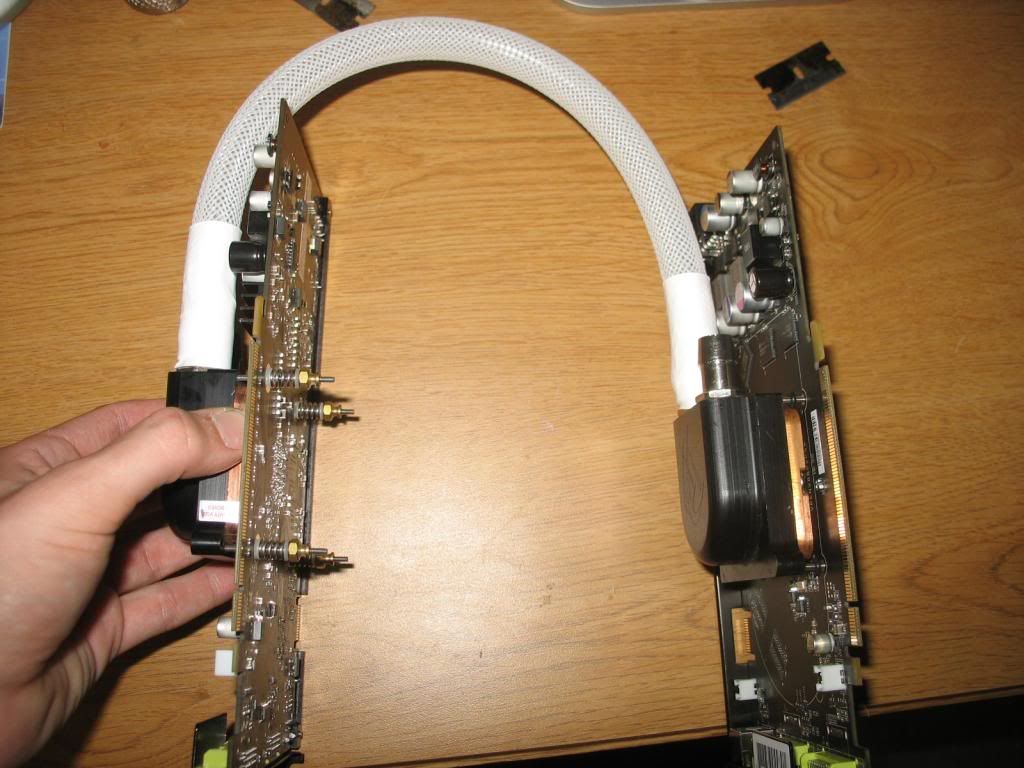
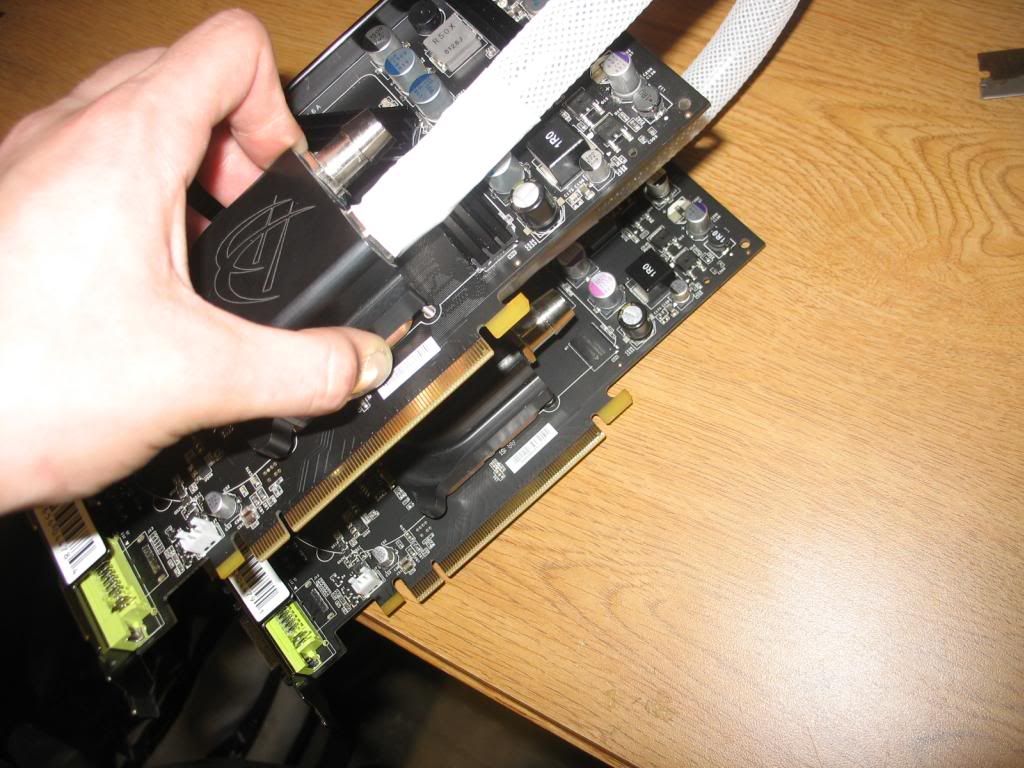
- 4x 8800GS
- Thermaltake 750w Non-Modular PSU
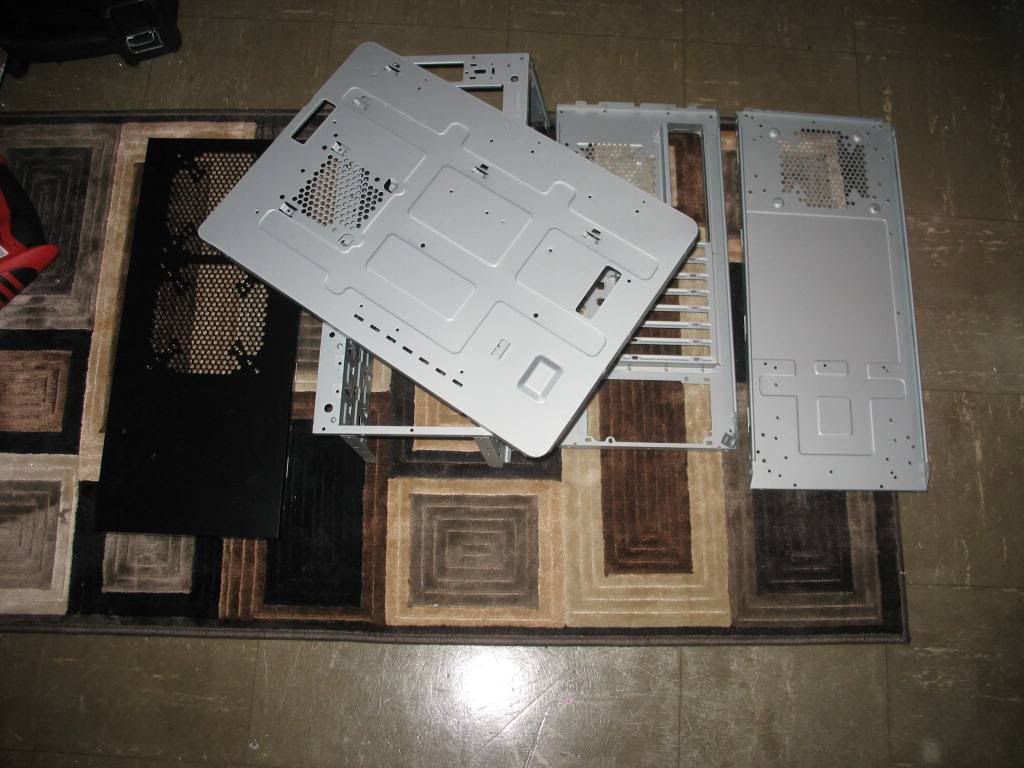
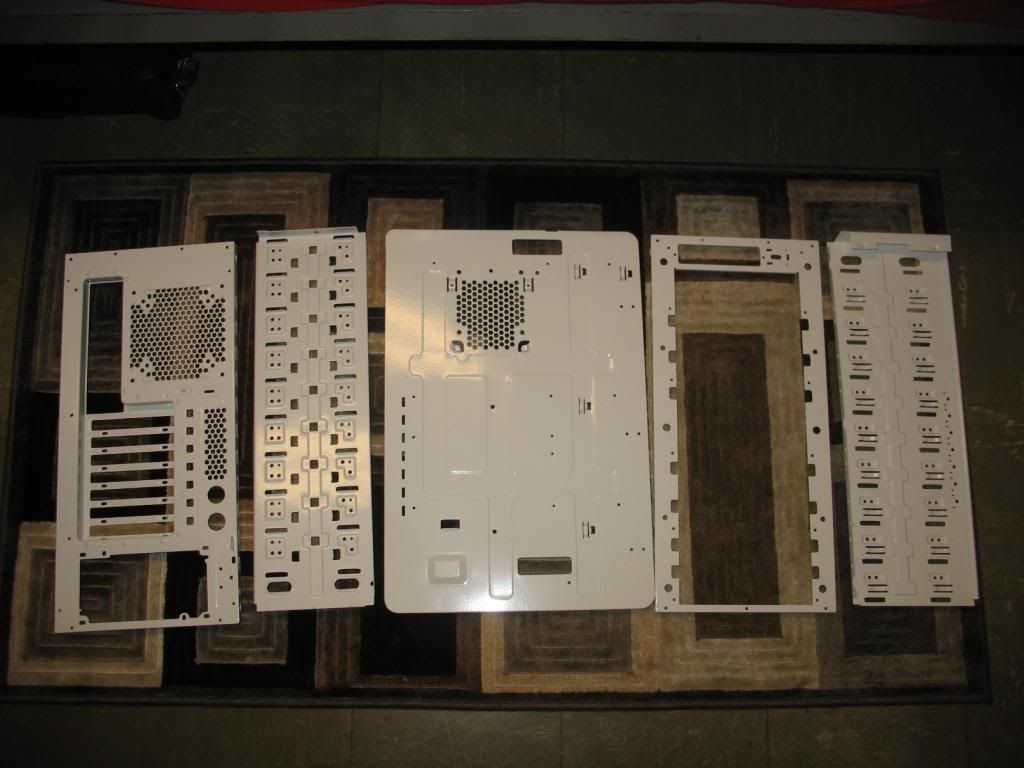
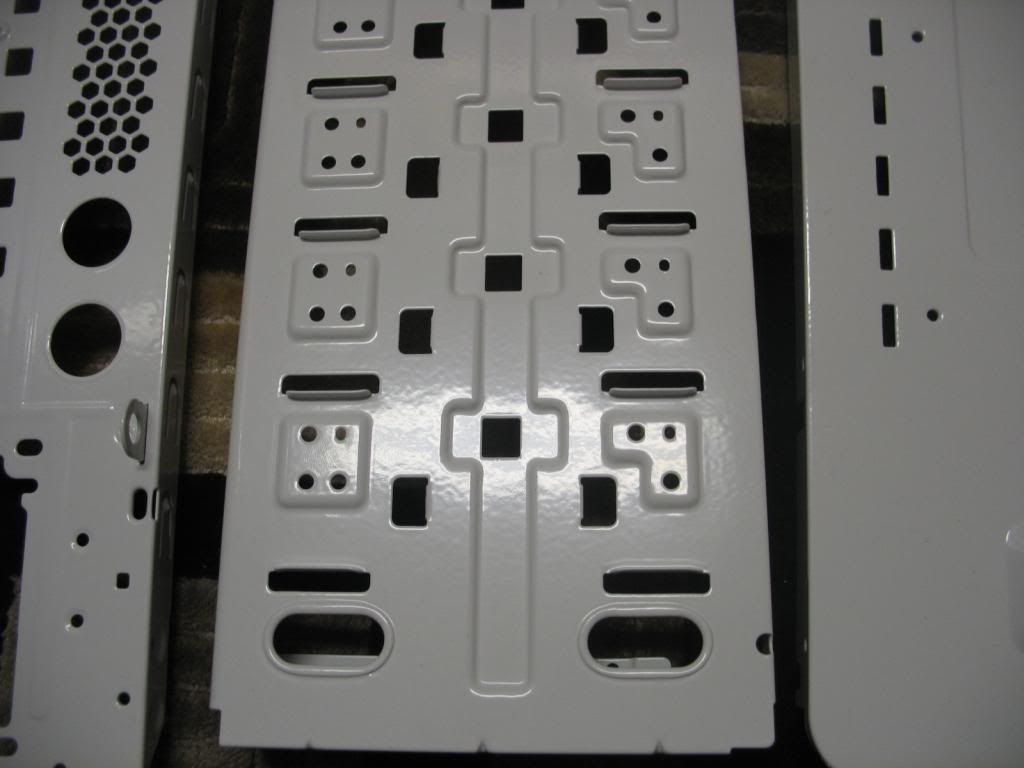
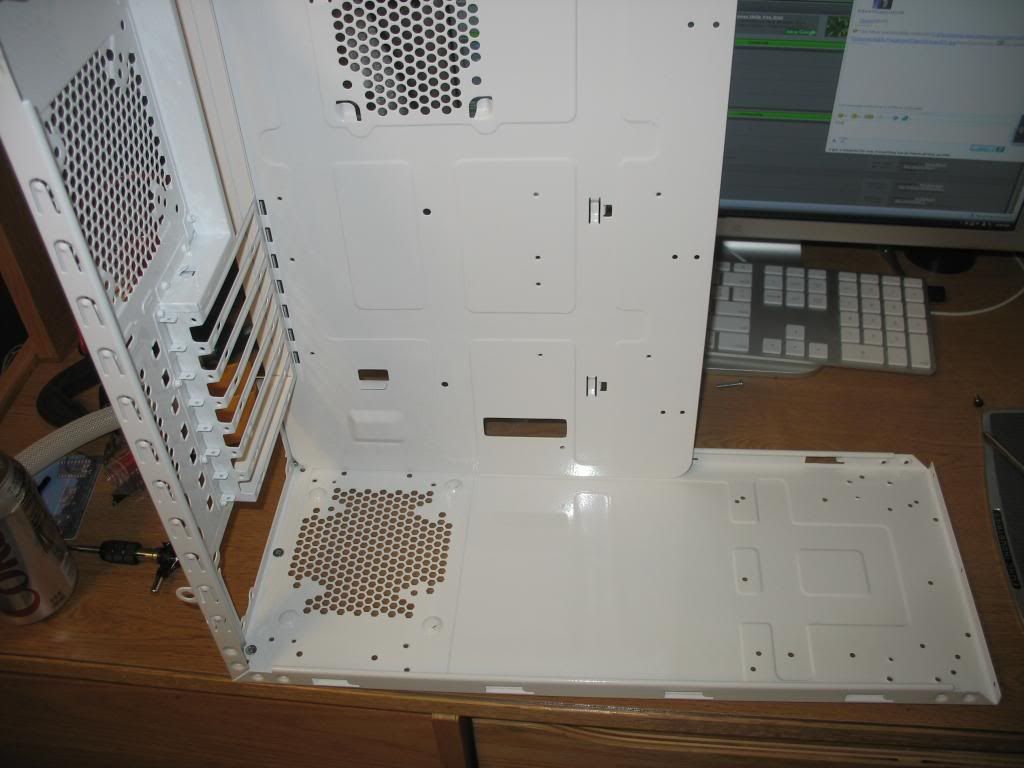
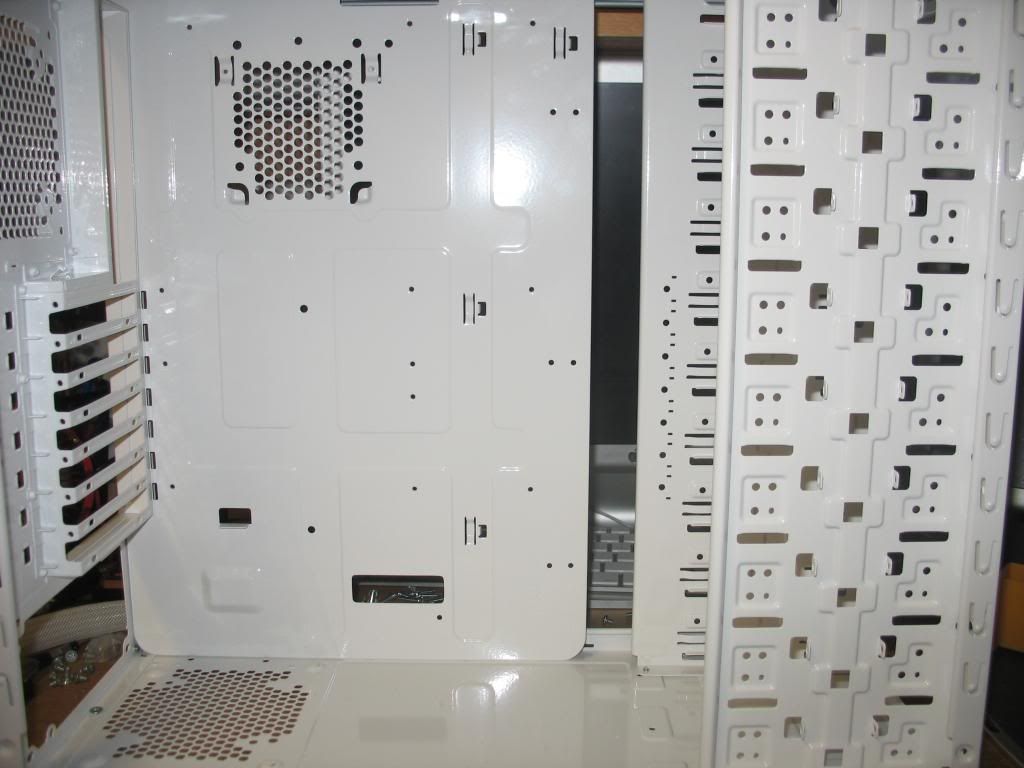
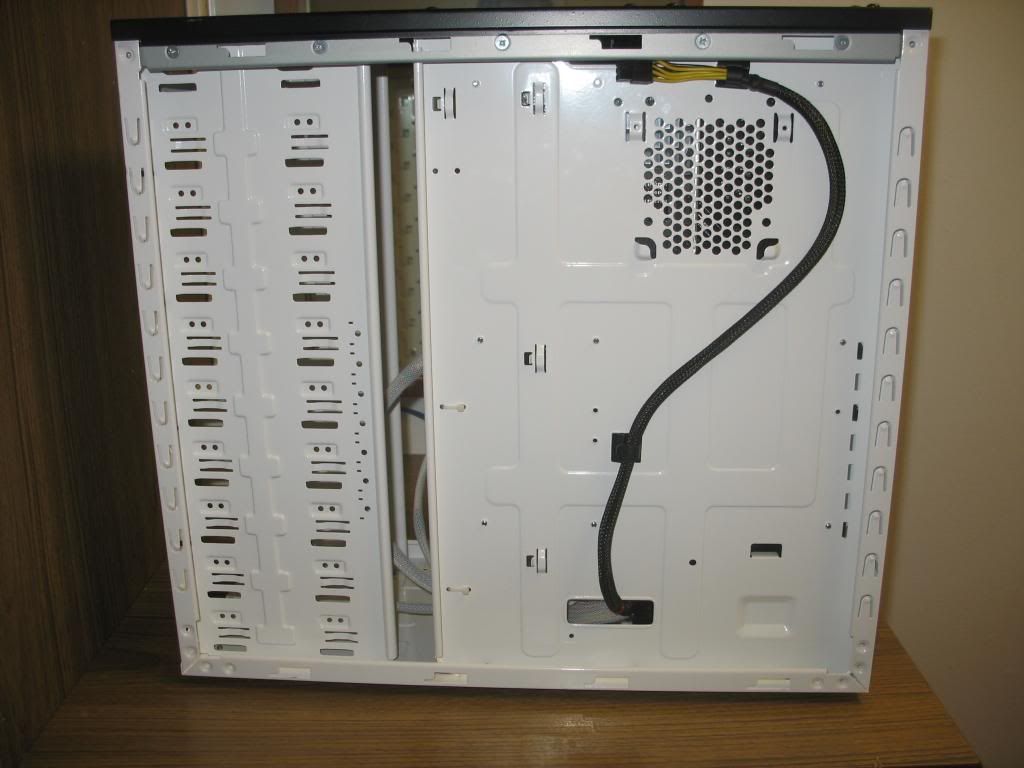
- Cooler Master 590 Case
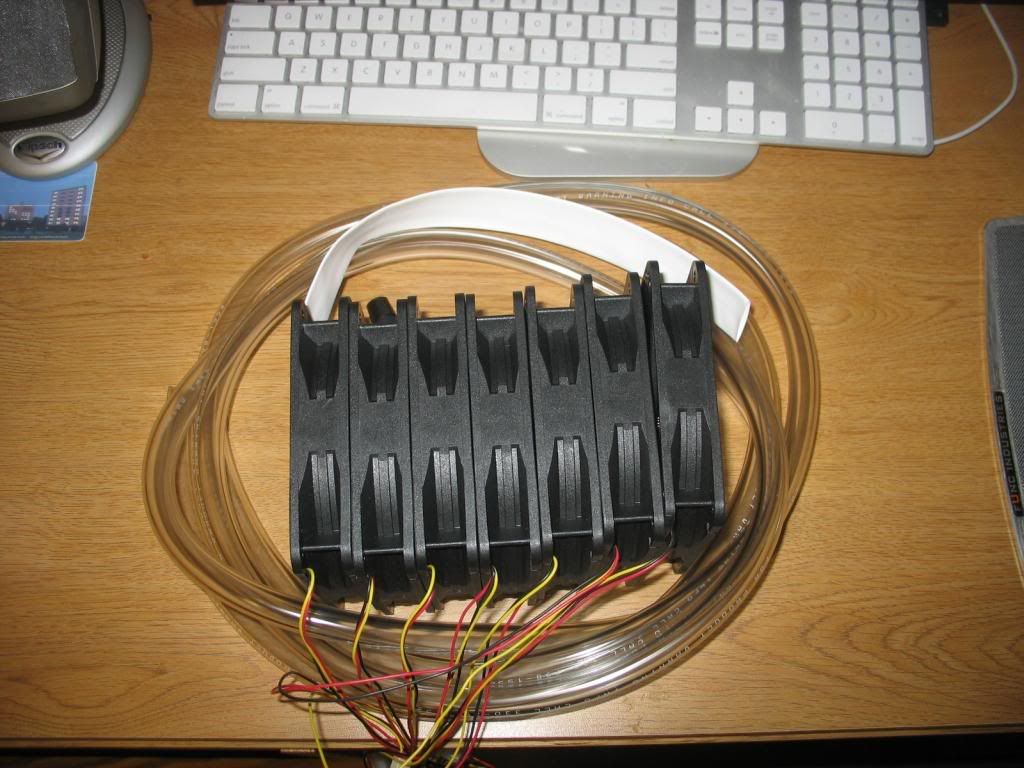
Arcygenical03 Cooling Specifications:
- Black Ice Pro III Radiator (I NEED ONE OF THESE: PLEASE SELL ME ONE)
- 4x Maze 4's with modded retention brackets (I NEED 2 OF THESE TOO!)
- Danger Den CPX-1 Pump (low flow system, Temperatures aren't that important really...)
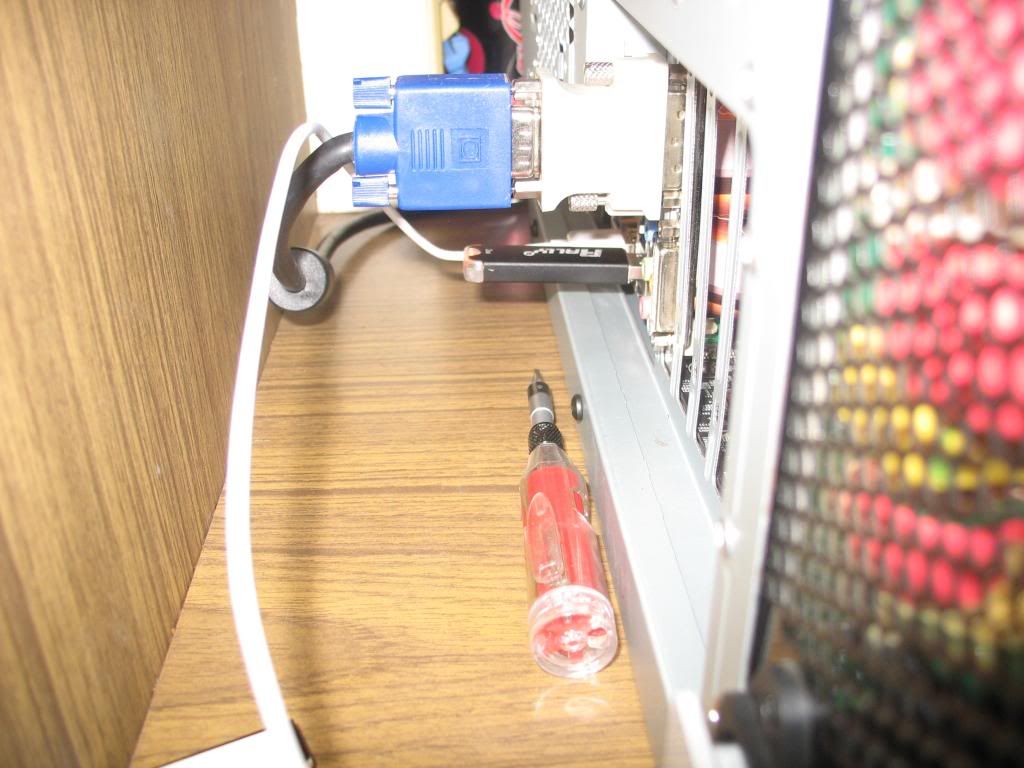
This mod is personally exciting for a variety of reasons: the most pertinent being my location. I'm living in a dorm room... 100 square feet of glory. I'm therefore not allowed to use many power tools, I can't paint, and I certainly can't make many cuts. In-Fact, the only tools I'm using for the project include:
- Cheap Wal-Mart Variable speed drill
- 4-40, 6-32, 8-30 taps
- Straight razor blades
- 6 coping saw (with 1 blade, better make it count!)
- 3 C clamp
And that's about it... Therefore, with the plans I have, this will be the most labour intensive project I've ever embarked upon, relying more on my skills and hacks than tools and materials. Additionally, I've been playing around with the idea of a specific colour scheme for some time now... One that I'll finally get to fulfil with this build... But you'll see all that later
.Finally, I'm going to outline the goals of this project, in their order of preference:
- 13k ppd minimum!
- Very quiet, less than 34dba from 3 feet.
- Visual mods
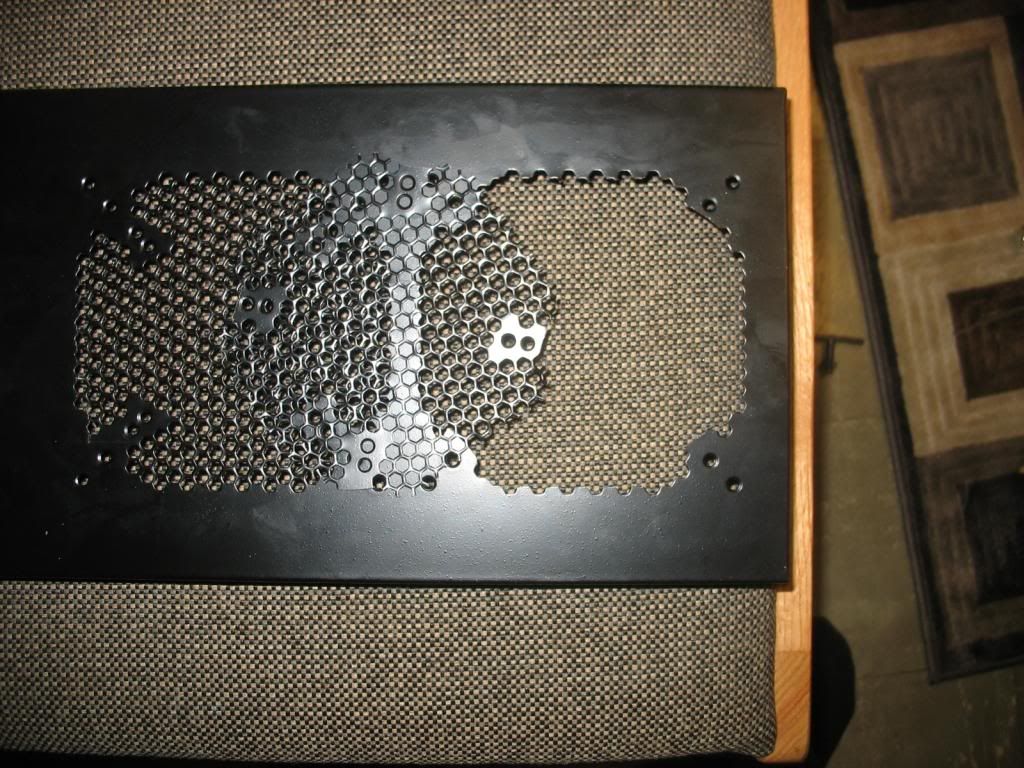
- No cuts to the case (except for a window, eventually)
So, stick around, stay tuned for some updates (they're going to come slow this round...) and have a good time! Any input, suggestions or comments are encouraged, as always.