Arcygenical
Fully [H]
- Joined
- Jun 10, 2005
- Messages
- 25,066
Part 1 - Introduction
Well, It's official. I'm moving back into residence next year, and because of this, I need a smaller server. I've got roughly 3tb worth of space (1.5tb after mirroring) to host all my legally downloaded linux ISO's. This space, however, is in a centurion 5 case. Coupled with my freshly overdone Arcygenical01 system, it's just way too much space devoted to computers to live in a cramped dorm room.
So, I've decided that I need to condense my main server into something much smaller, something I can lock, and hide if need be. Because of this, I've settled on the following goals:
Things I need (would like?) to emphasize in this build:
So, due to this, I started off trying to find the perfect case to house the following components:
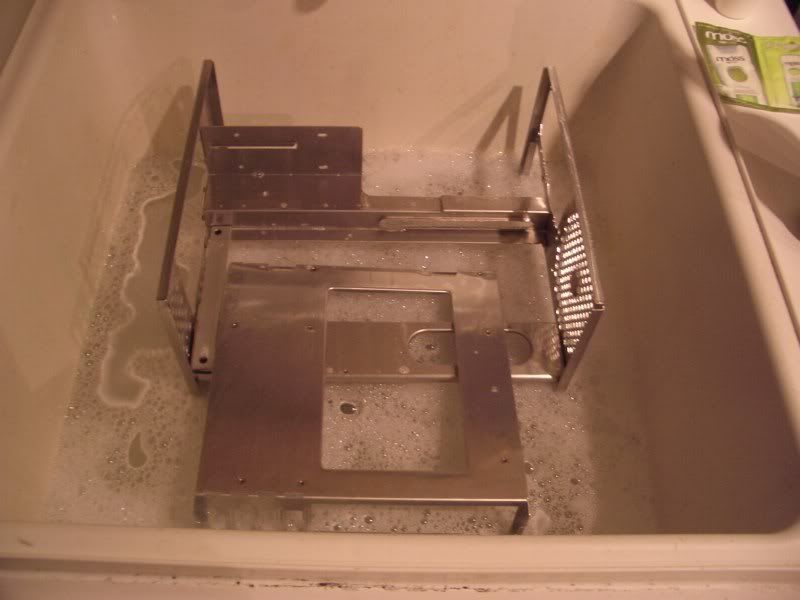
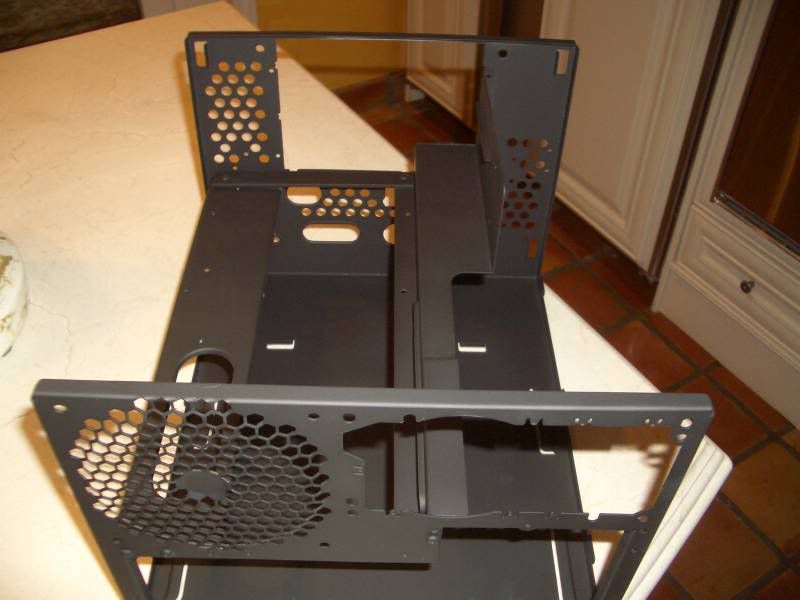
I looked at audio receivers to gut, speakers to pull apart, 3U chasses, etc... And finally I remembered I had a small, but nice, Ultra Microfly in pieces down in my parent's basement. Bingo.
So, over the next week and a half or so, I'll be cramming all of the above into the case, while trying to keep it very cool, and below 25dba. Should be relatively exciting for me, and perhaps you too.
Keep it locked, I've got lots to show you.
Well, It's official. I'm moving back into residence next year, and because of this, I need a smaller server. I've got roughly 3tb worth of space (1.5tb after mirroring) to host all my legally downloaded linux ISO's. This space, however, is in a centurion 5 case. Coupled with my freshly overdone Arcygenical01 system, it's just way too much space devoted to computers to live in a cramped dorm room.
So, I've decided that I need to condense my main server into something much smaller, something I can lock, and hide if need be. Because of this, I've settled on the following goals:
Things I need (would like?) to emphasize in this build:
- Small!
- Able to hold at least 5 Hard Drives to start, upgradeable to 7.
- Be totally silent, and cool.
- Look nice
So, due to this, I started off trying to find the perfect case to house the following components:
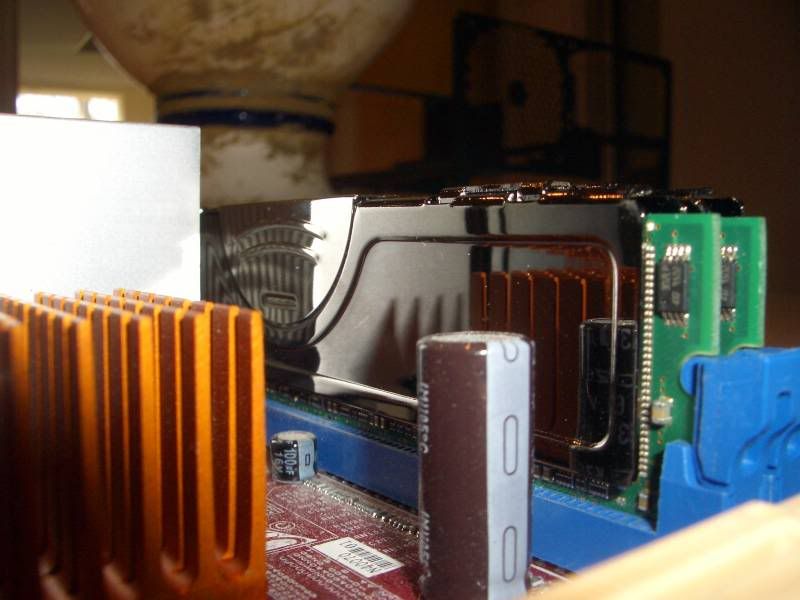
- Biostar M7VIG Socket A MATX motherboard
- AMD Athlon XP 3200 (I think?)
- 1GB RAM in Dual Channel
- 5 Hard Drives (2x 1TB SATA, 2x 500GB SATA, 1x 250gb IDE OS)
- Silverstone 350w PSU
I looked at audio receivers to gut, speakers to pull apart, 3U chasses, etc... And finally I remembered I had a small, but nice, Ultra Microfly in pieces down in my parent's basement. Bingo.
So, over the next week and a half or so, I'll be cramming all of the above into the case, while trying to keep it very cool, and below 25dba. Should be relatively exciting for me, and perhaps you too.
Keep it locked, I've got lots to show you.
") . The two fans together run (I would estimate) at around 18dba, a full 7 dba less than the PSU. So far, so good!
. The two fans together run (I would estimate) at around 18dba, a full 7 dba less than the PSU. So far, so good!