raygan_gamer
Limp Gawd
- Joined
- Sep 26, 2007
- Messages
- 330
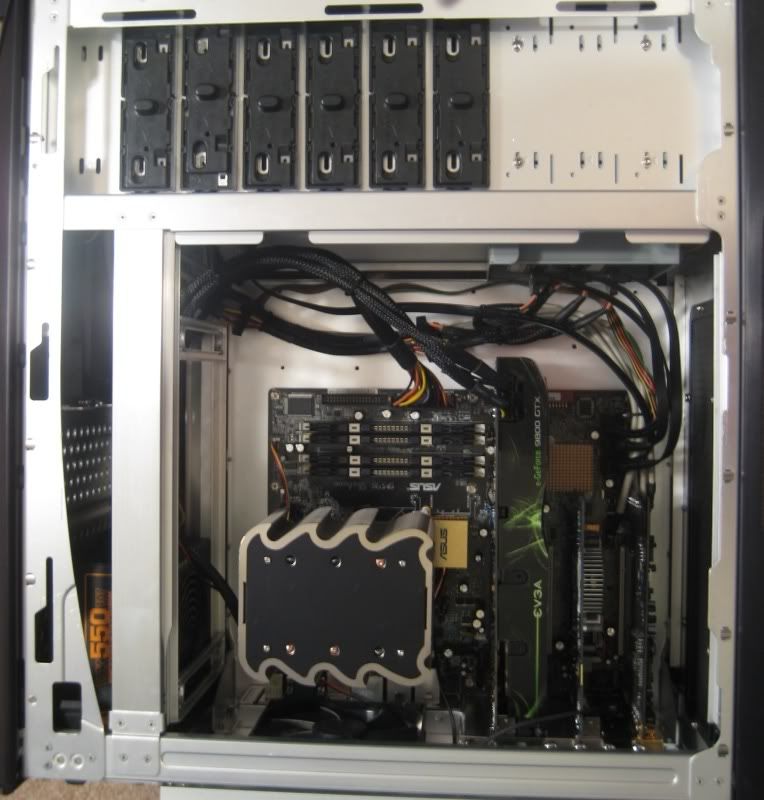
damn...that does sound easierif you wanted to you could easily mount the entire HDD cage backwards and swap the fan orientation without any trouble. Cable hiding in this case is hard though, with the see-thru mesh on both sides.
 ...maybe I'll not install the fan on the cage and just maybe add the fan on the front with some zipties, then again maybe I'll search the gallery if there is a more secure way to mount the fan though
thanks