digital_exhaust
[H]ard|DCer of the Month - May 2008
- Joined
- Aug 14, 2006
- Messages
- 6,903
I believe they are partially filled with liquid. Pretty sure anyhow.
Follow along with the video below to see how to install our site as a web app on your home screen.
Note: This feature may not be available in some browsers.
")
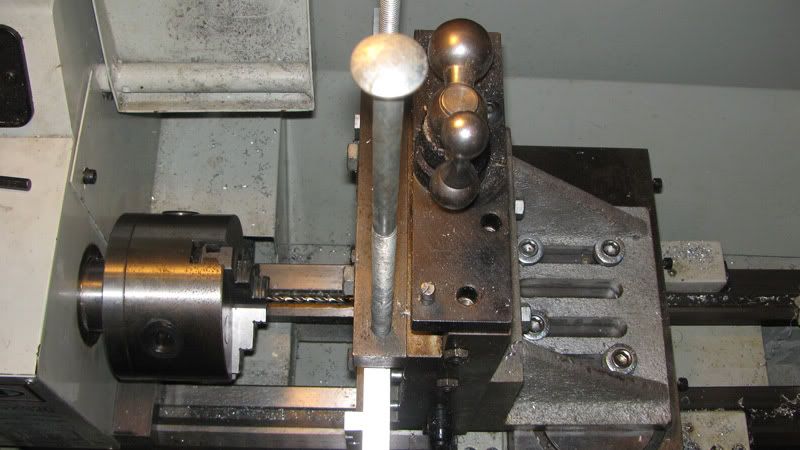
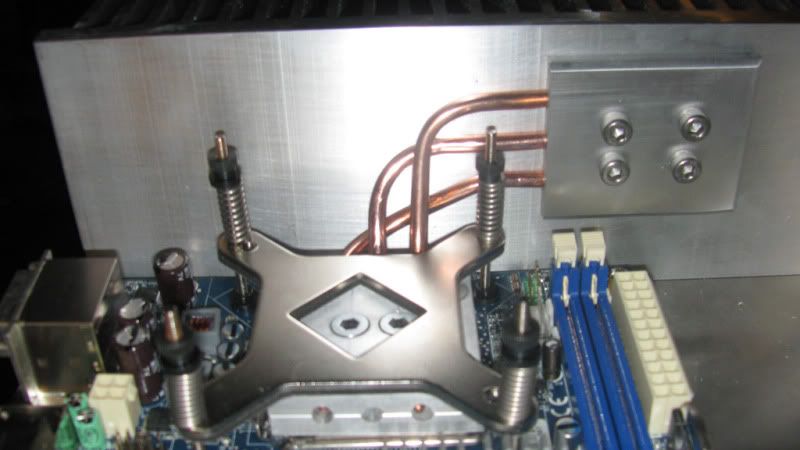
 fortunately that was after i had bored most of the holes and the last one is just a bit less deep, that heatpipe is shorter there anyways.
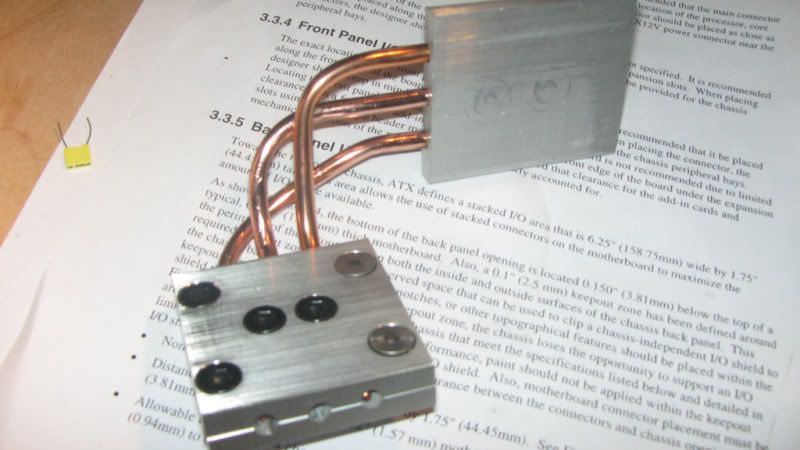
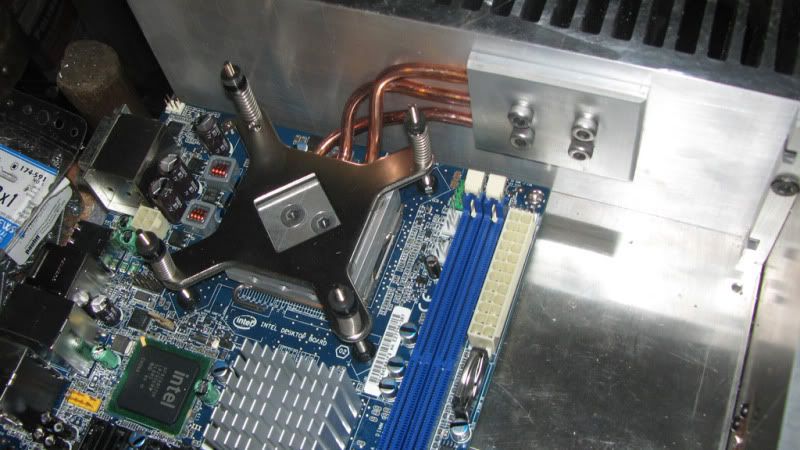
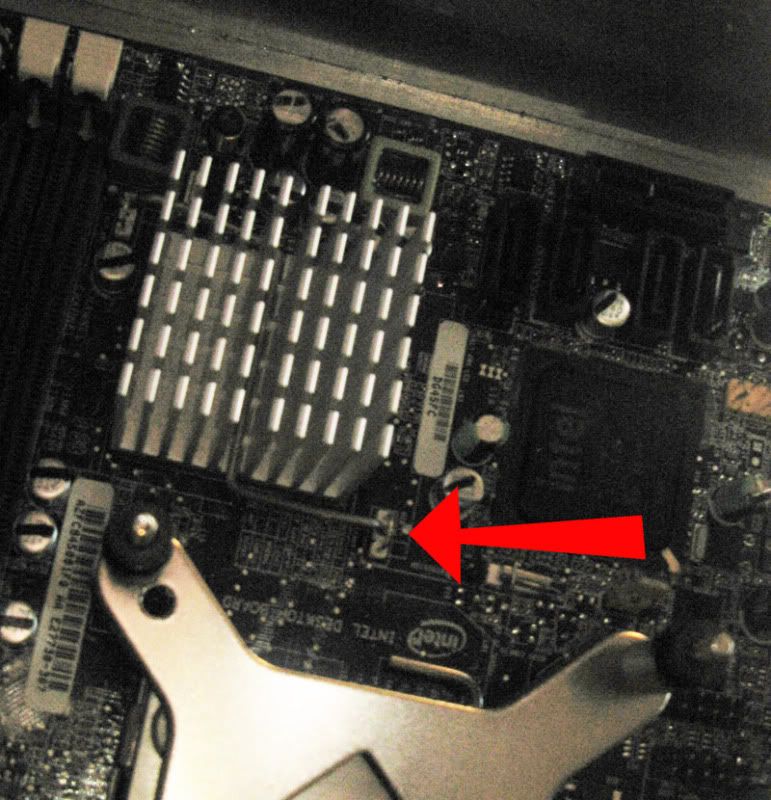
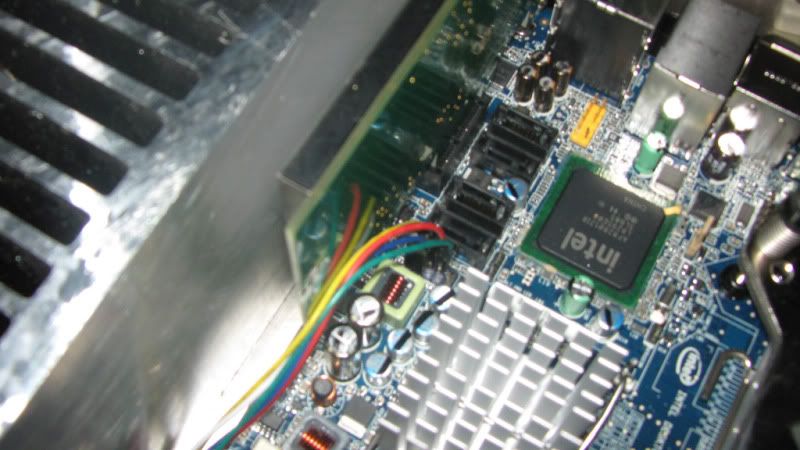
now does anyone know how to remove this kind of heatsink clip? they have just used a double circuitboard header with a u shaped wire instead of 2 pins. then the spring clip hooks under it.
http://i7.photobucket.com/albums/y283/neutron7/how.jpg
very simple and cheap to make but not so easy for the DIYer!
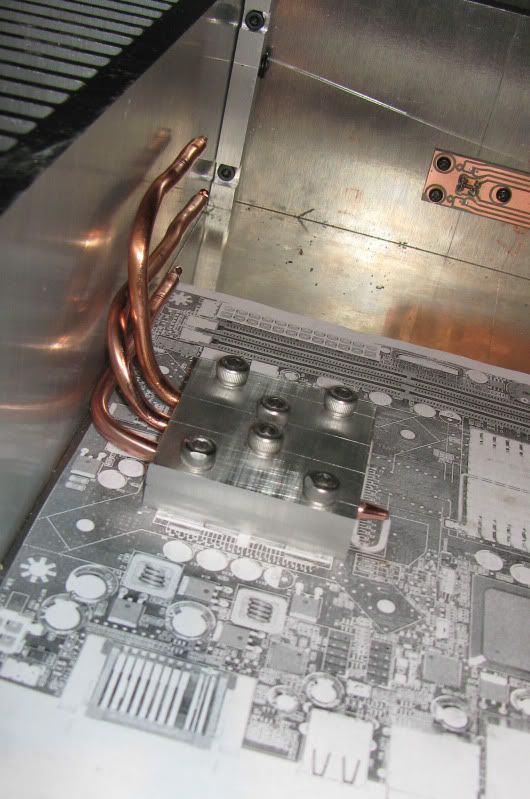
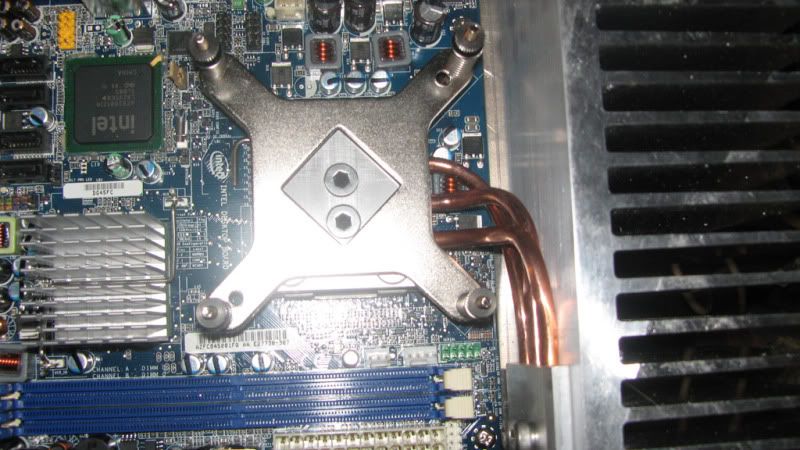
With the heatpipes, did you jsut slap the alu plates over or did you use some TIM as well? also when bolting onto the side of the case i assume you used some TIM there too?
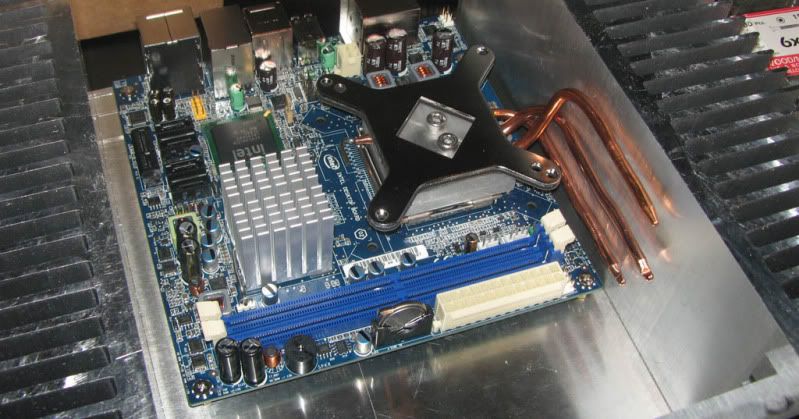
I see you have a printed copy of the ATX specification ready
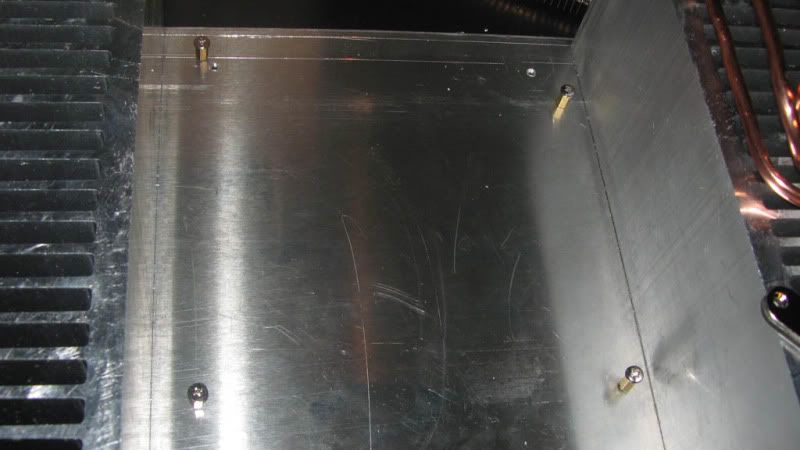
and no measurement from here to there, you have to add and subtract and dont make any mistakes or nothing fits!yeah it is not pretty the way things are supposed to line up
I am still not looking forward to doing the cutout for the atx sheild plate. but it is next on the list.