First off, I would like to give a huge thank you to my sponsors.
Nvidia
Caselabs
Koolance
Thermaltake
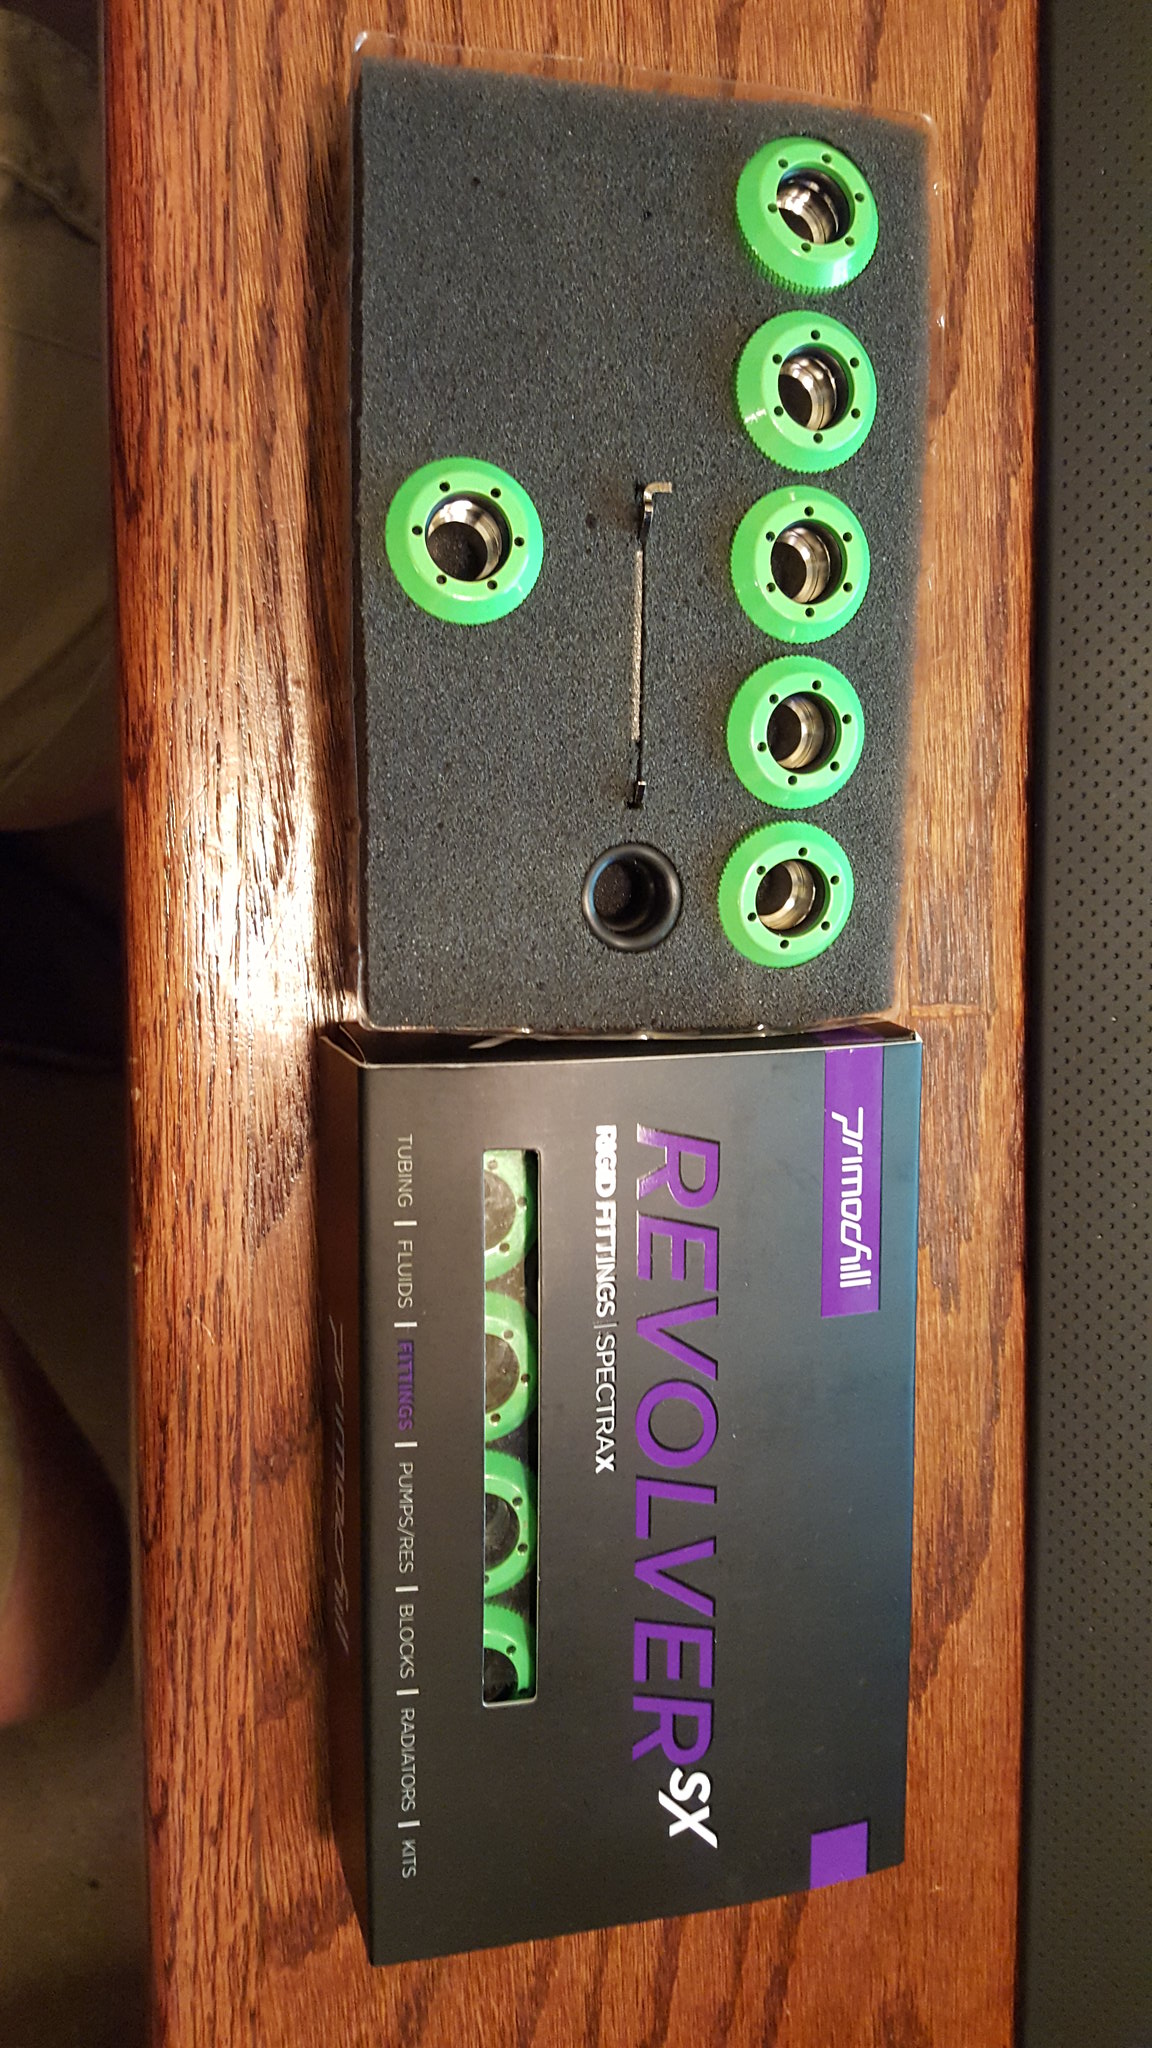
Primochill
Mainframe Customs
Tap Plastics
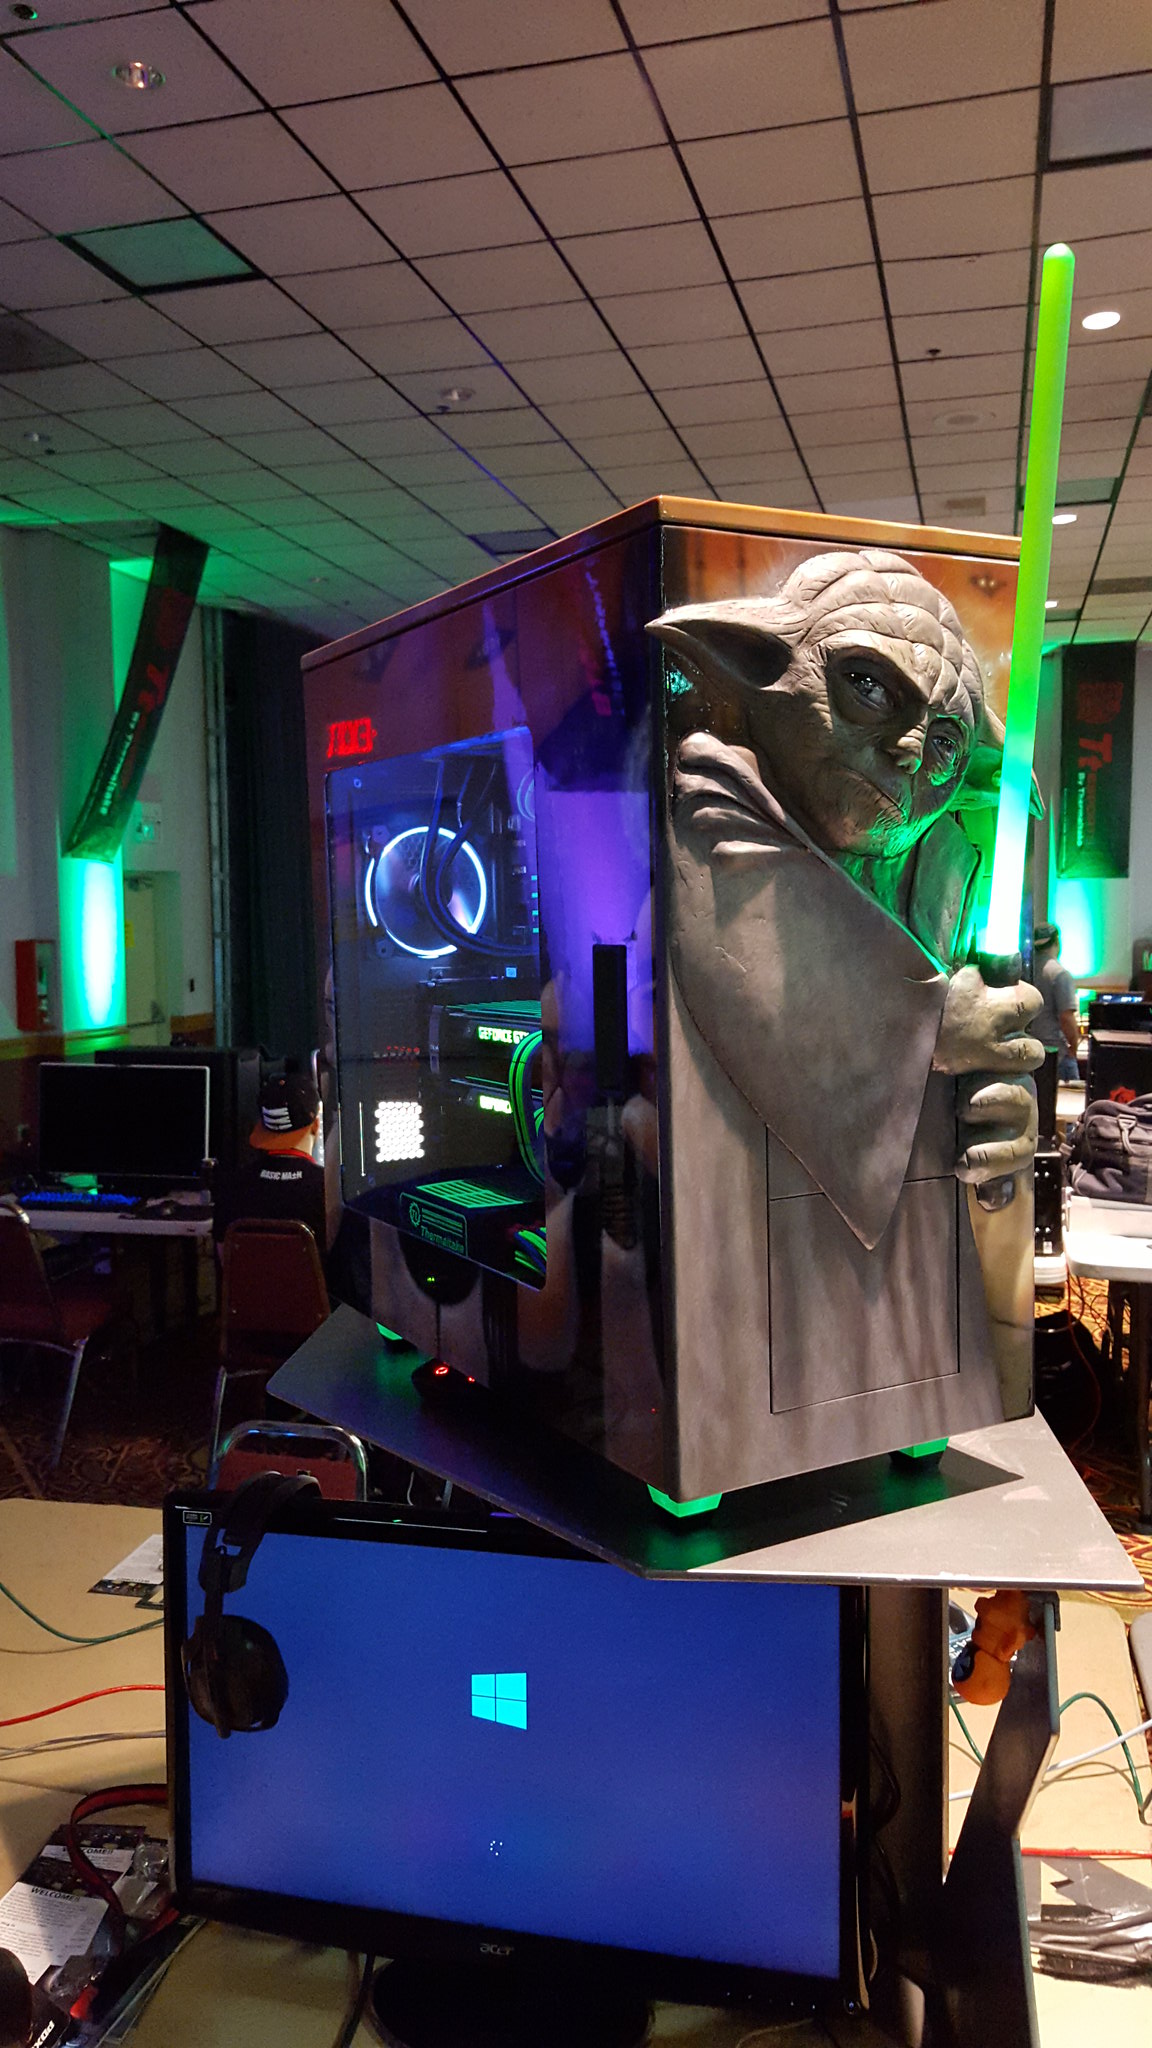
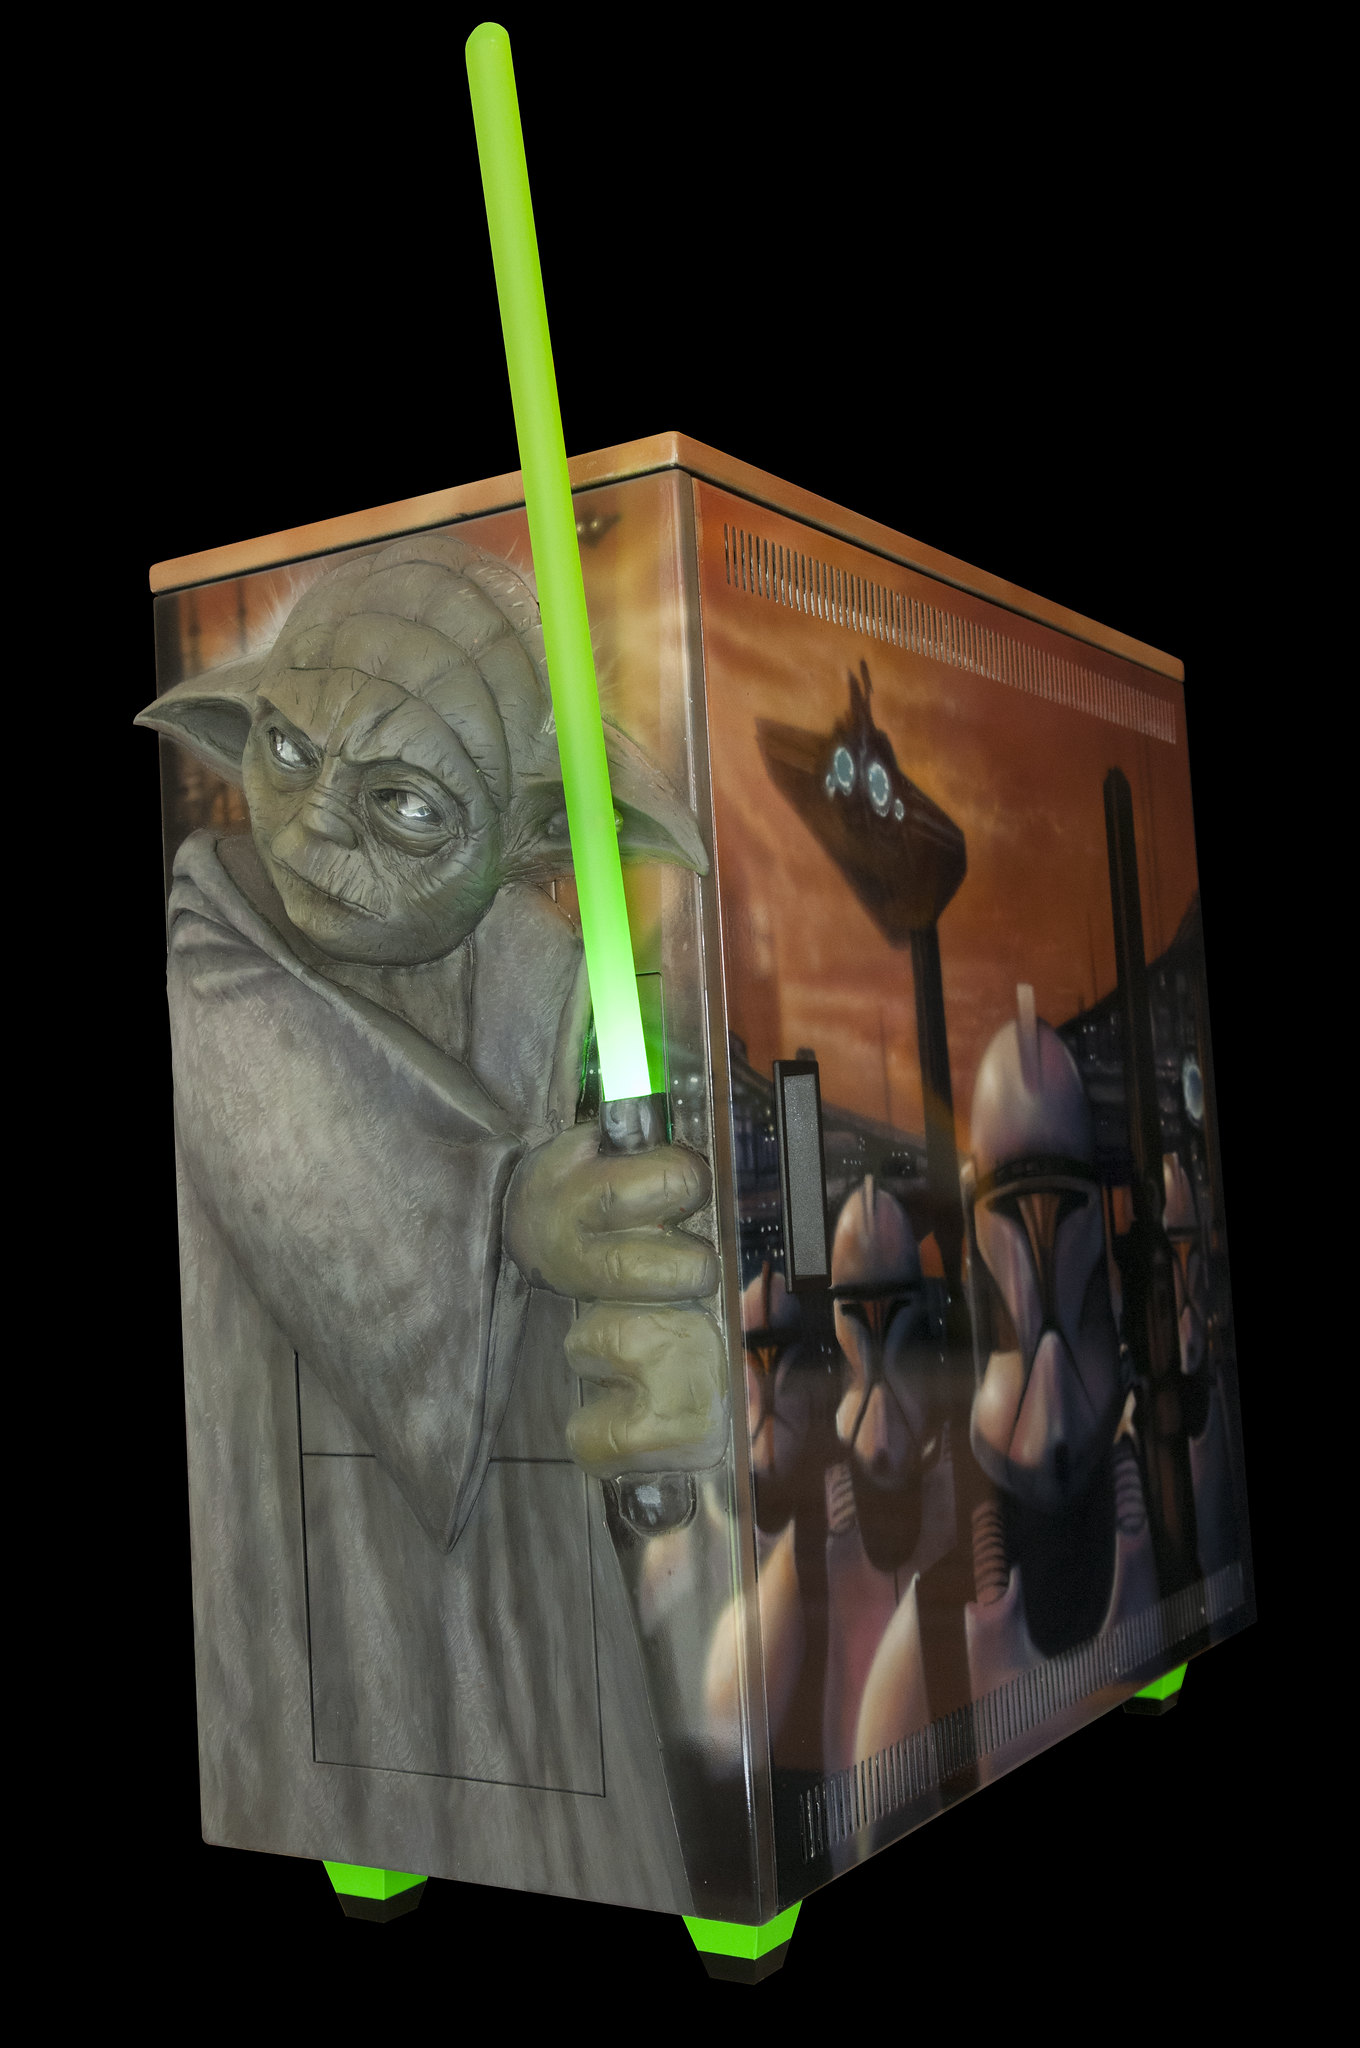
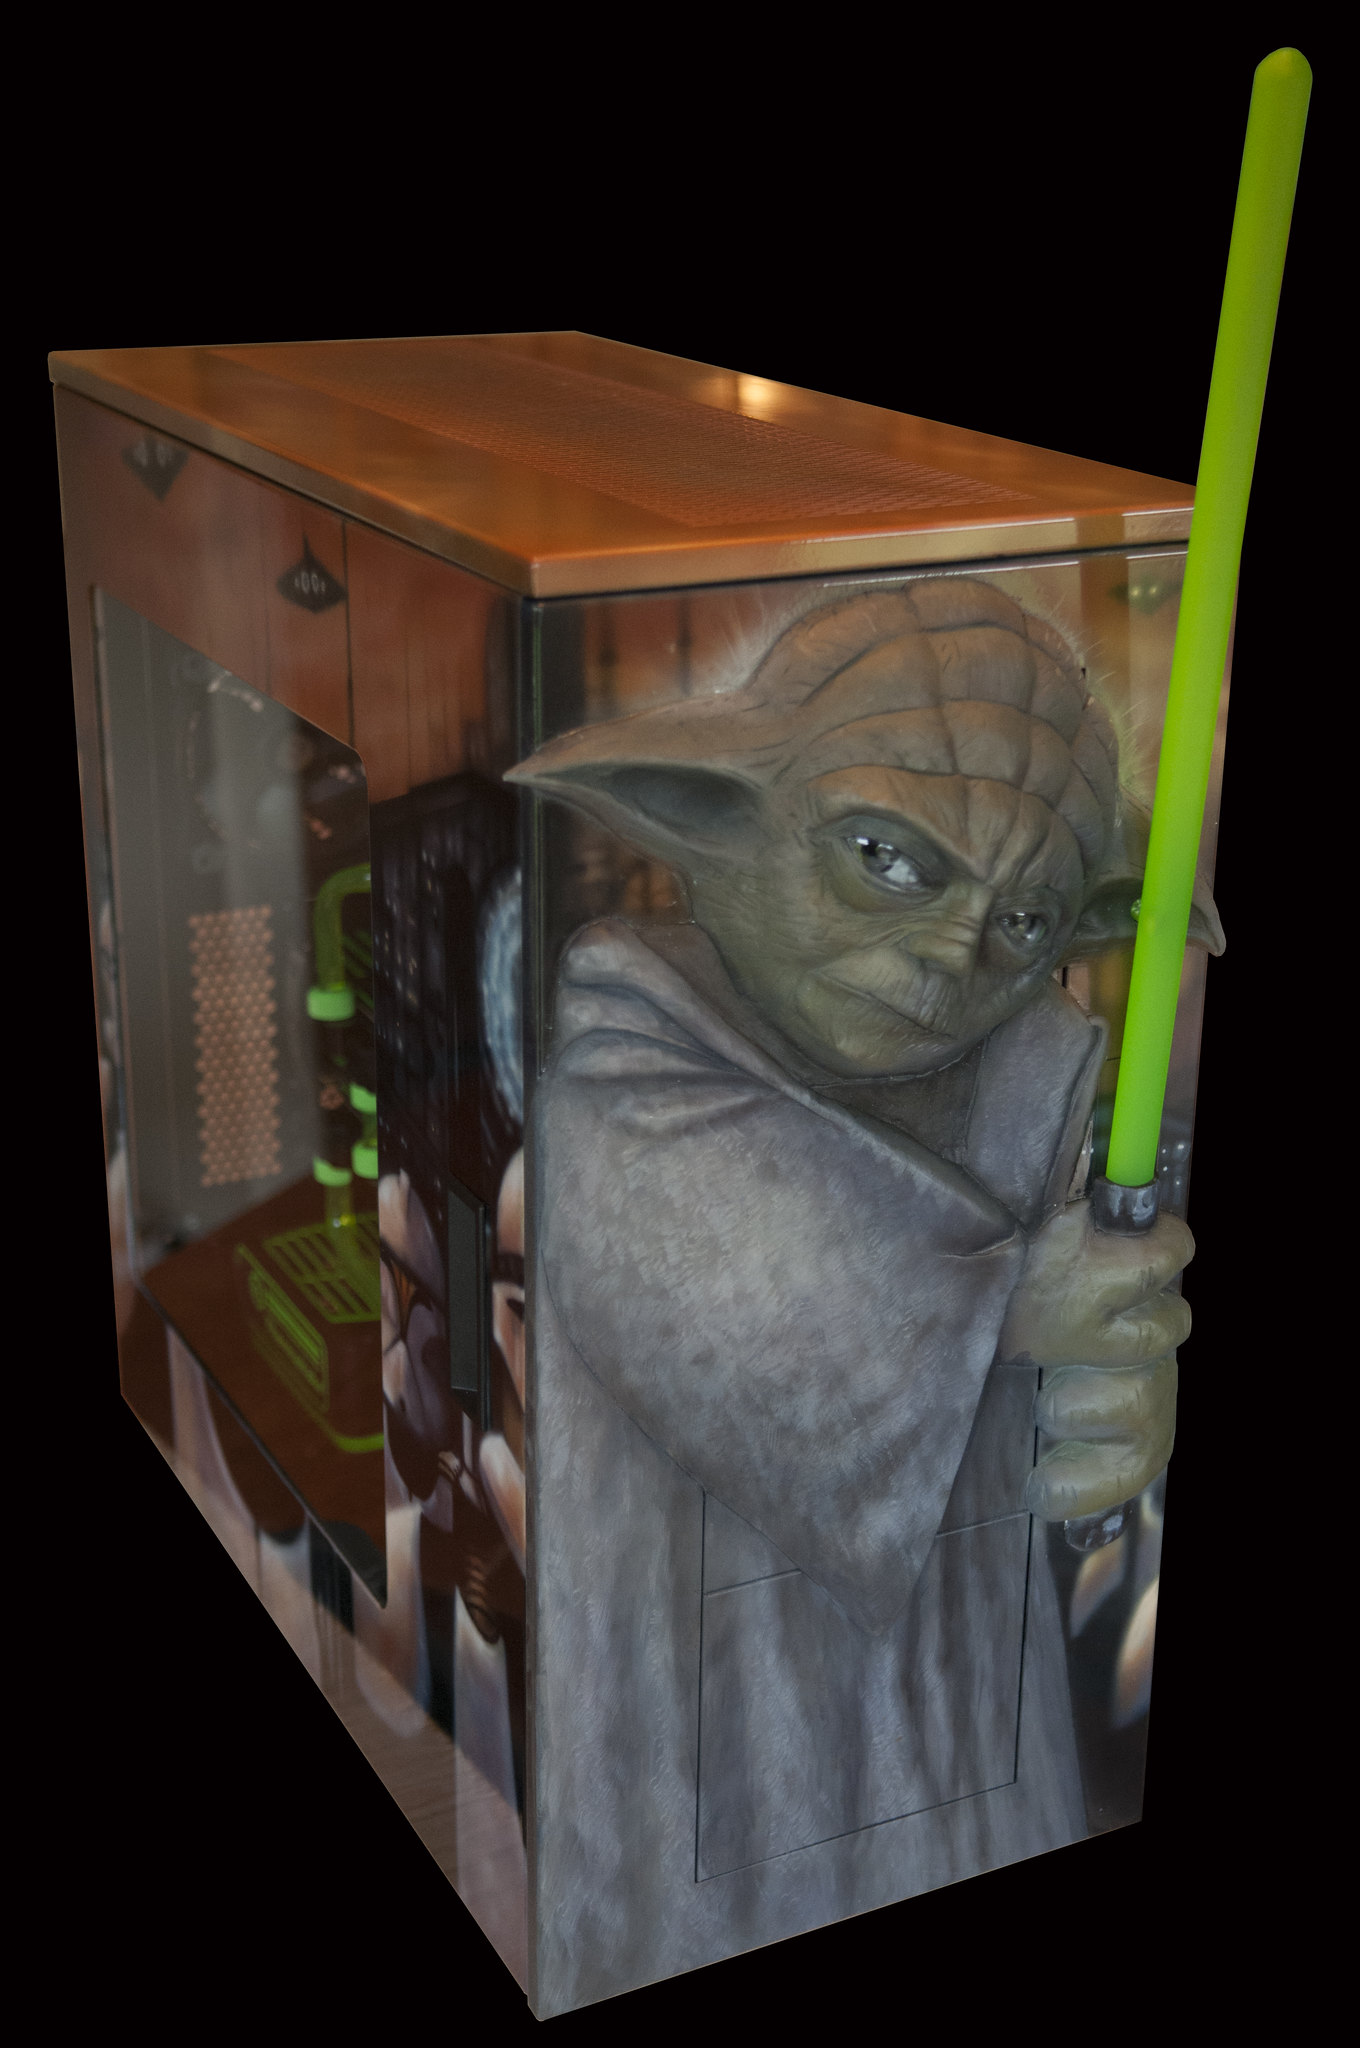
Yoda has been my most favorite character in the Star Wars series.
I was so excited to get started on this build.
There wasn't time to do a work log when I first built it, as I was doing a charity mod at the same time.
I only had 1 month to complete both builds.
In reality, I only had about 2 weeks to have this build ready for PDXLAN.
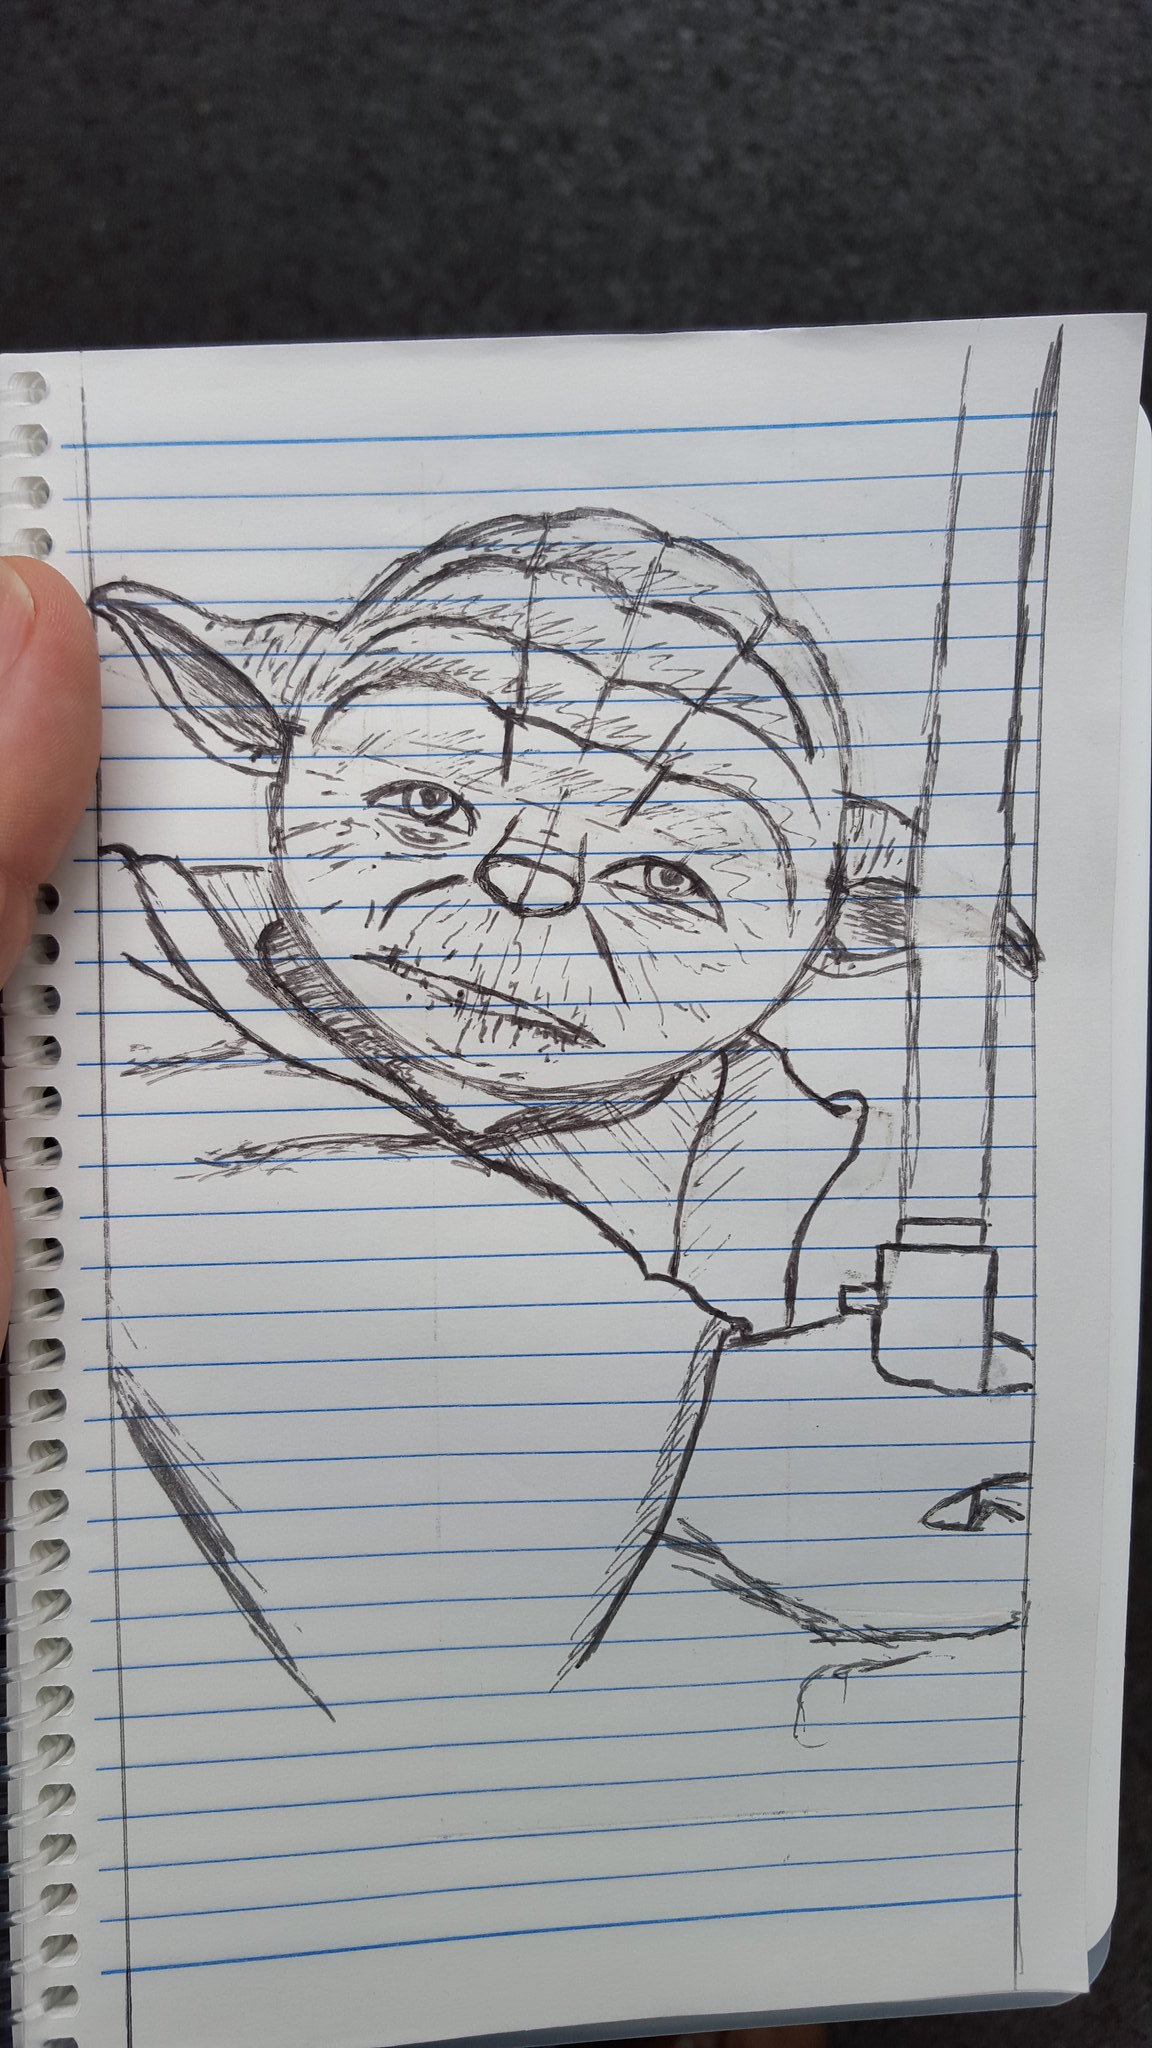
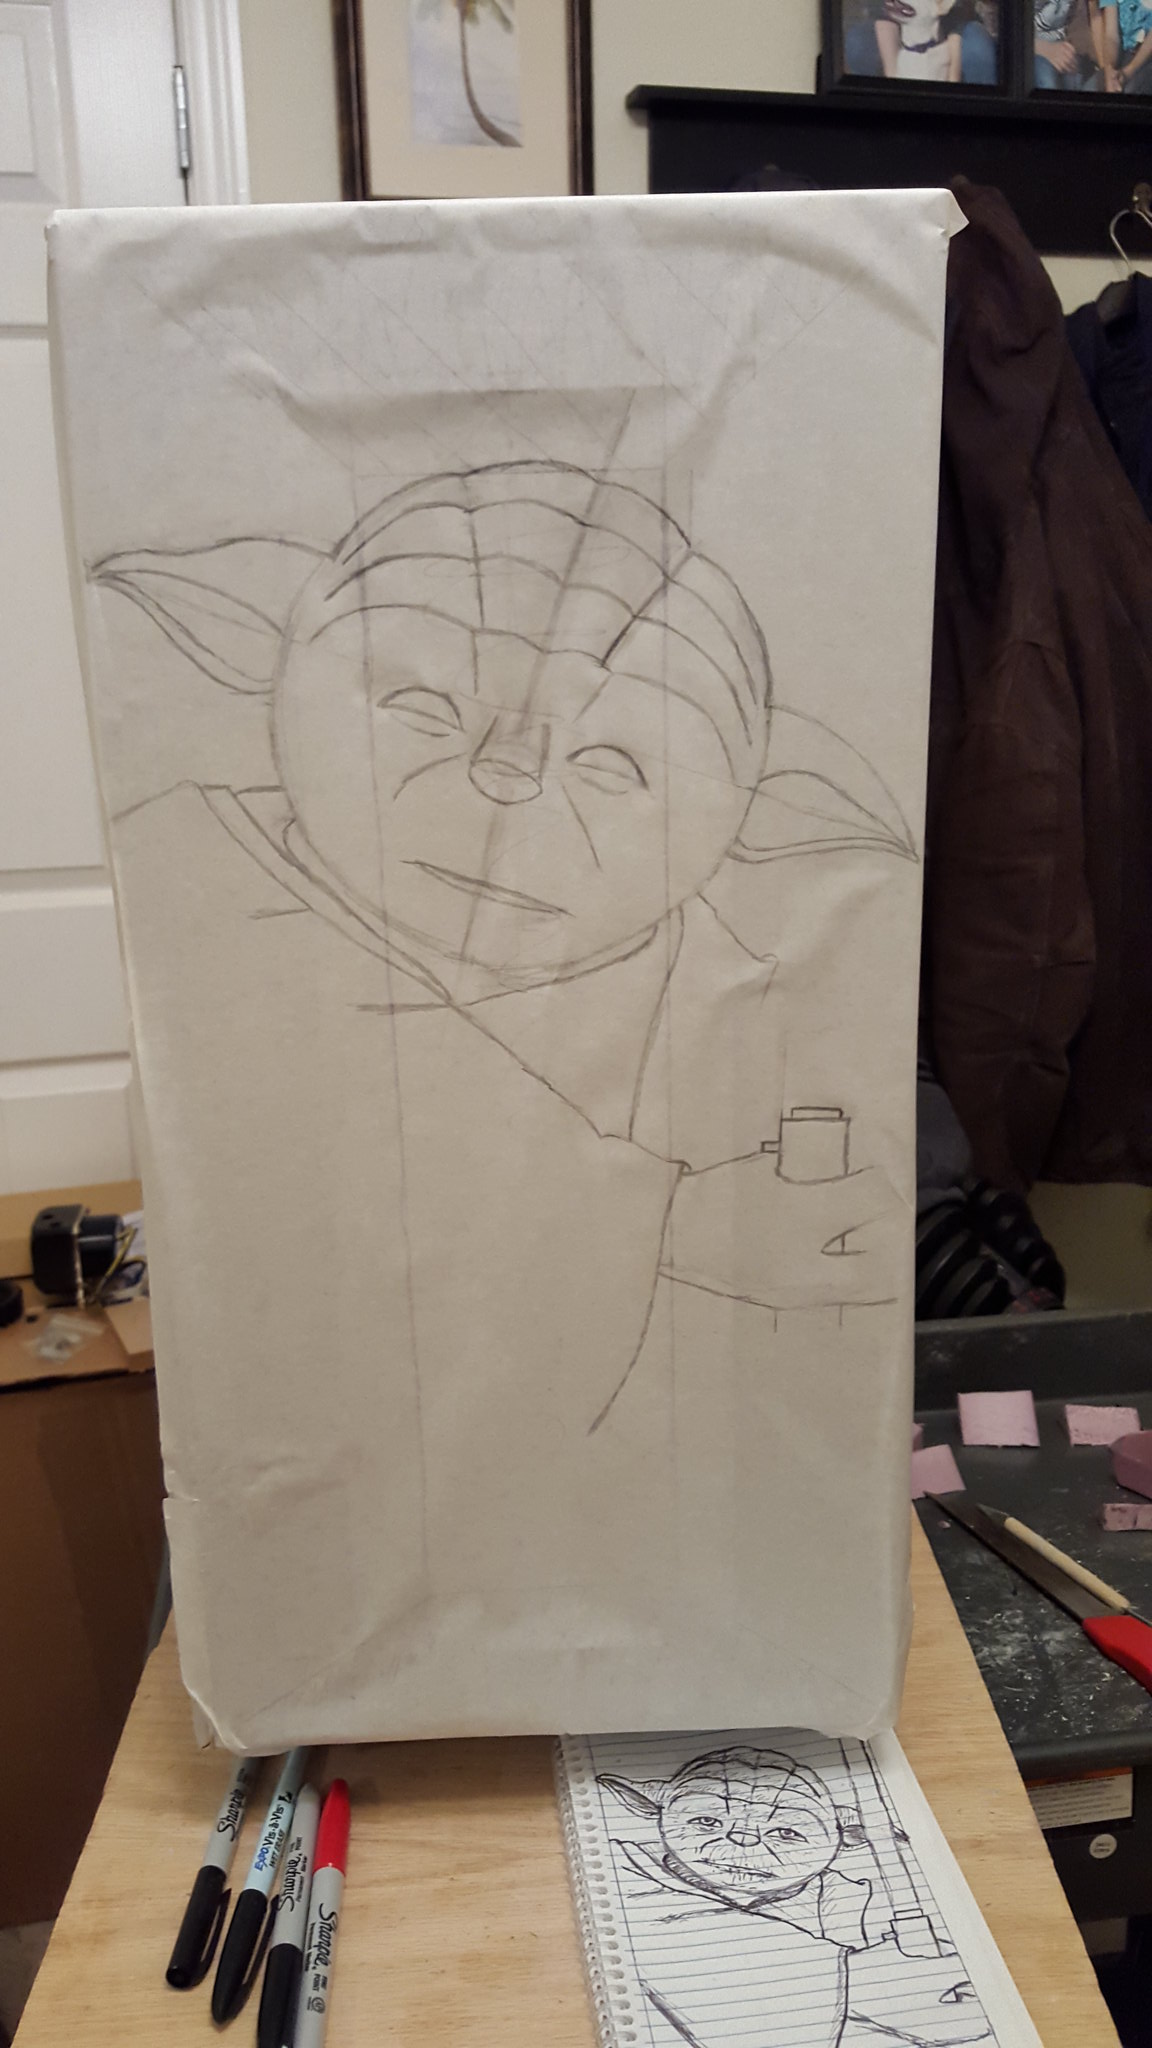
So, I am a little old school when it comes to designing a build and work out a concept.
I started by sketching out a basic drawing of my idea.
Now the really old school part.
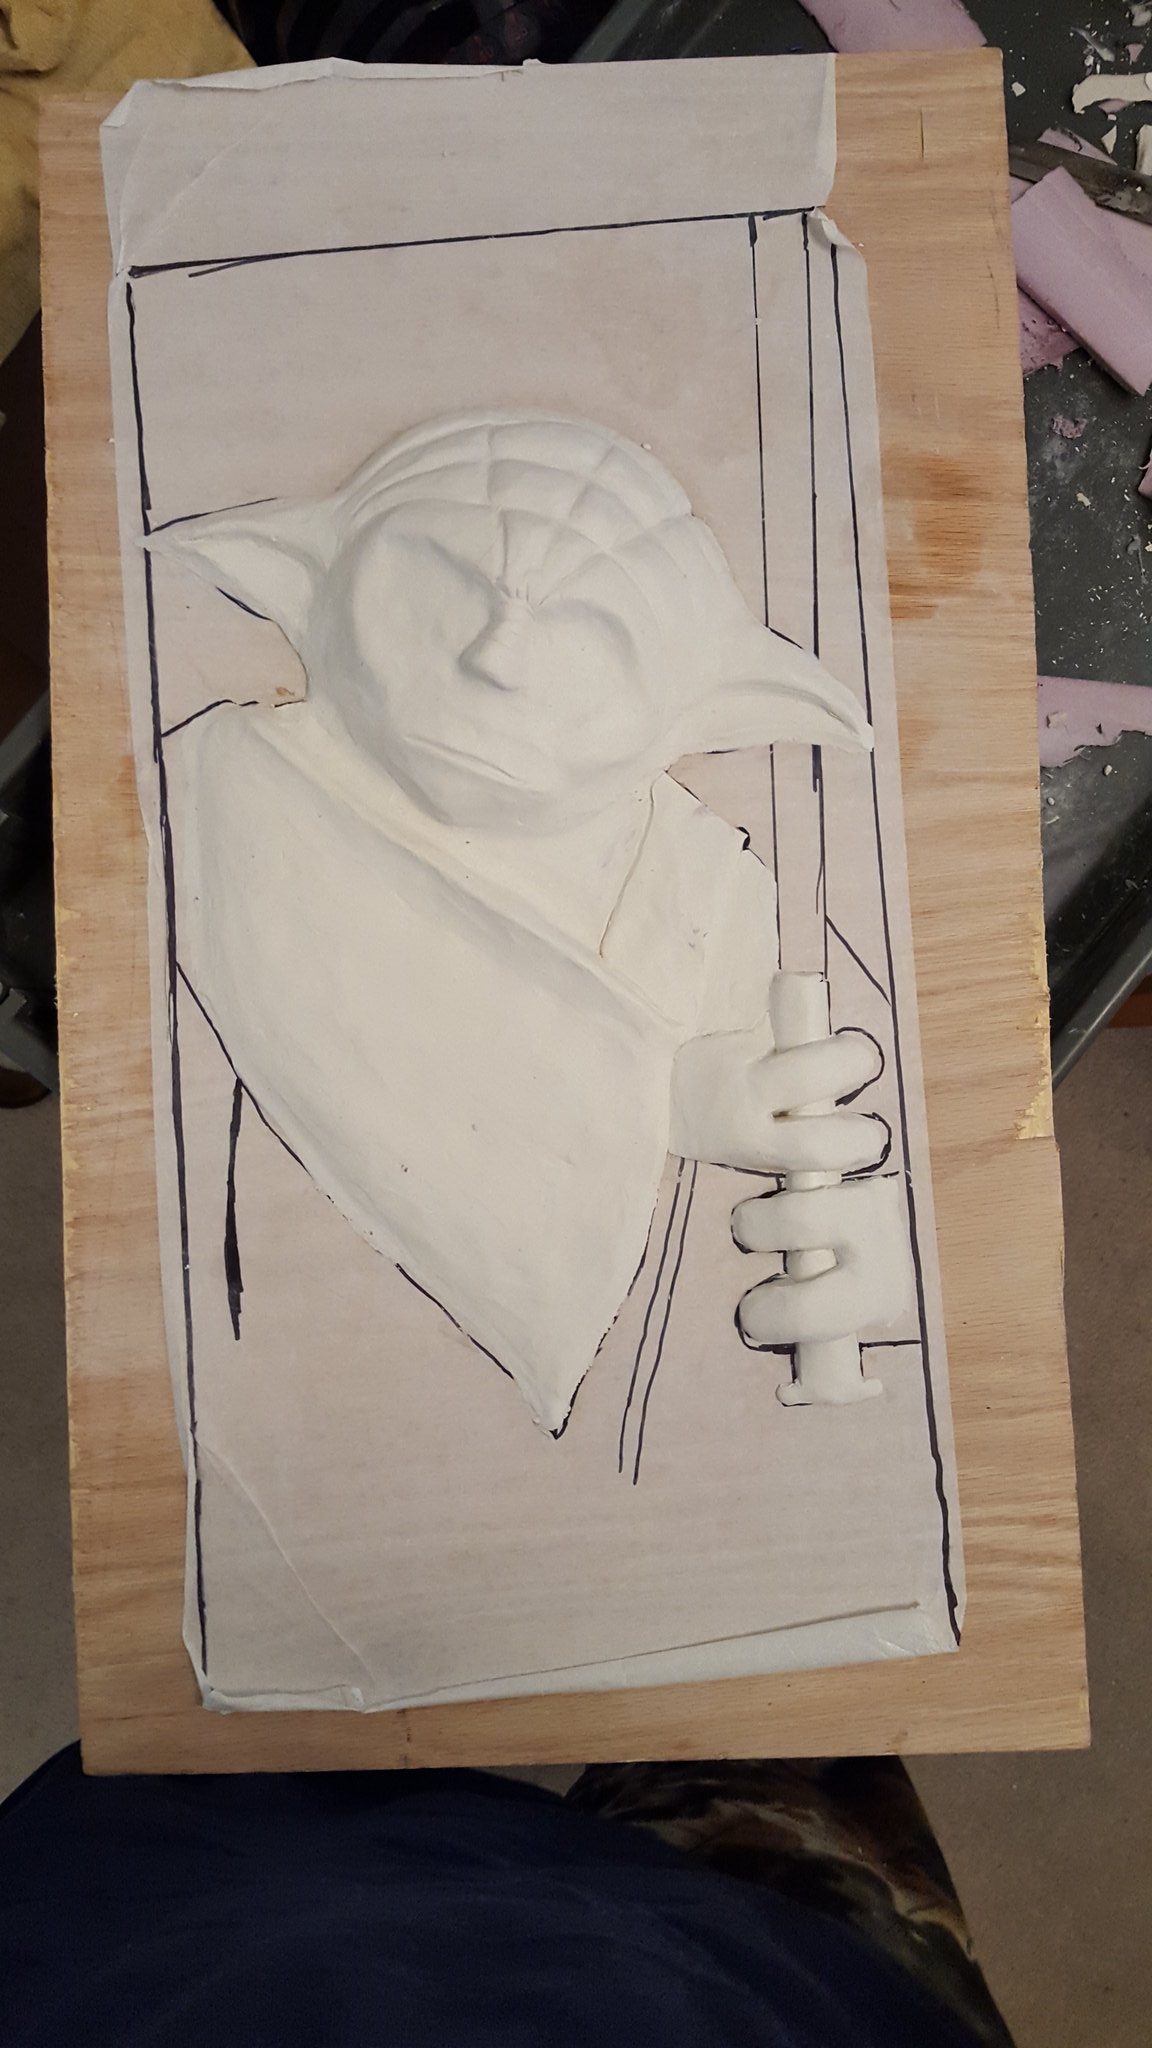
I cover the case in masking tape, and draw on my design.
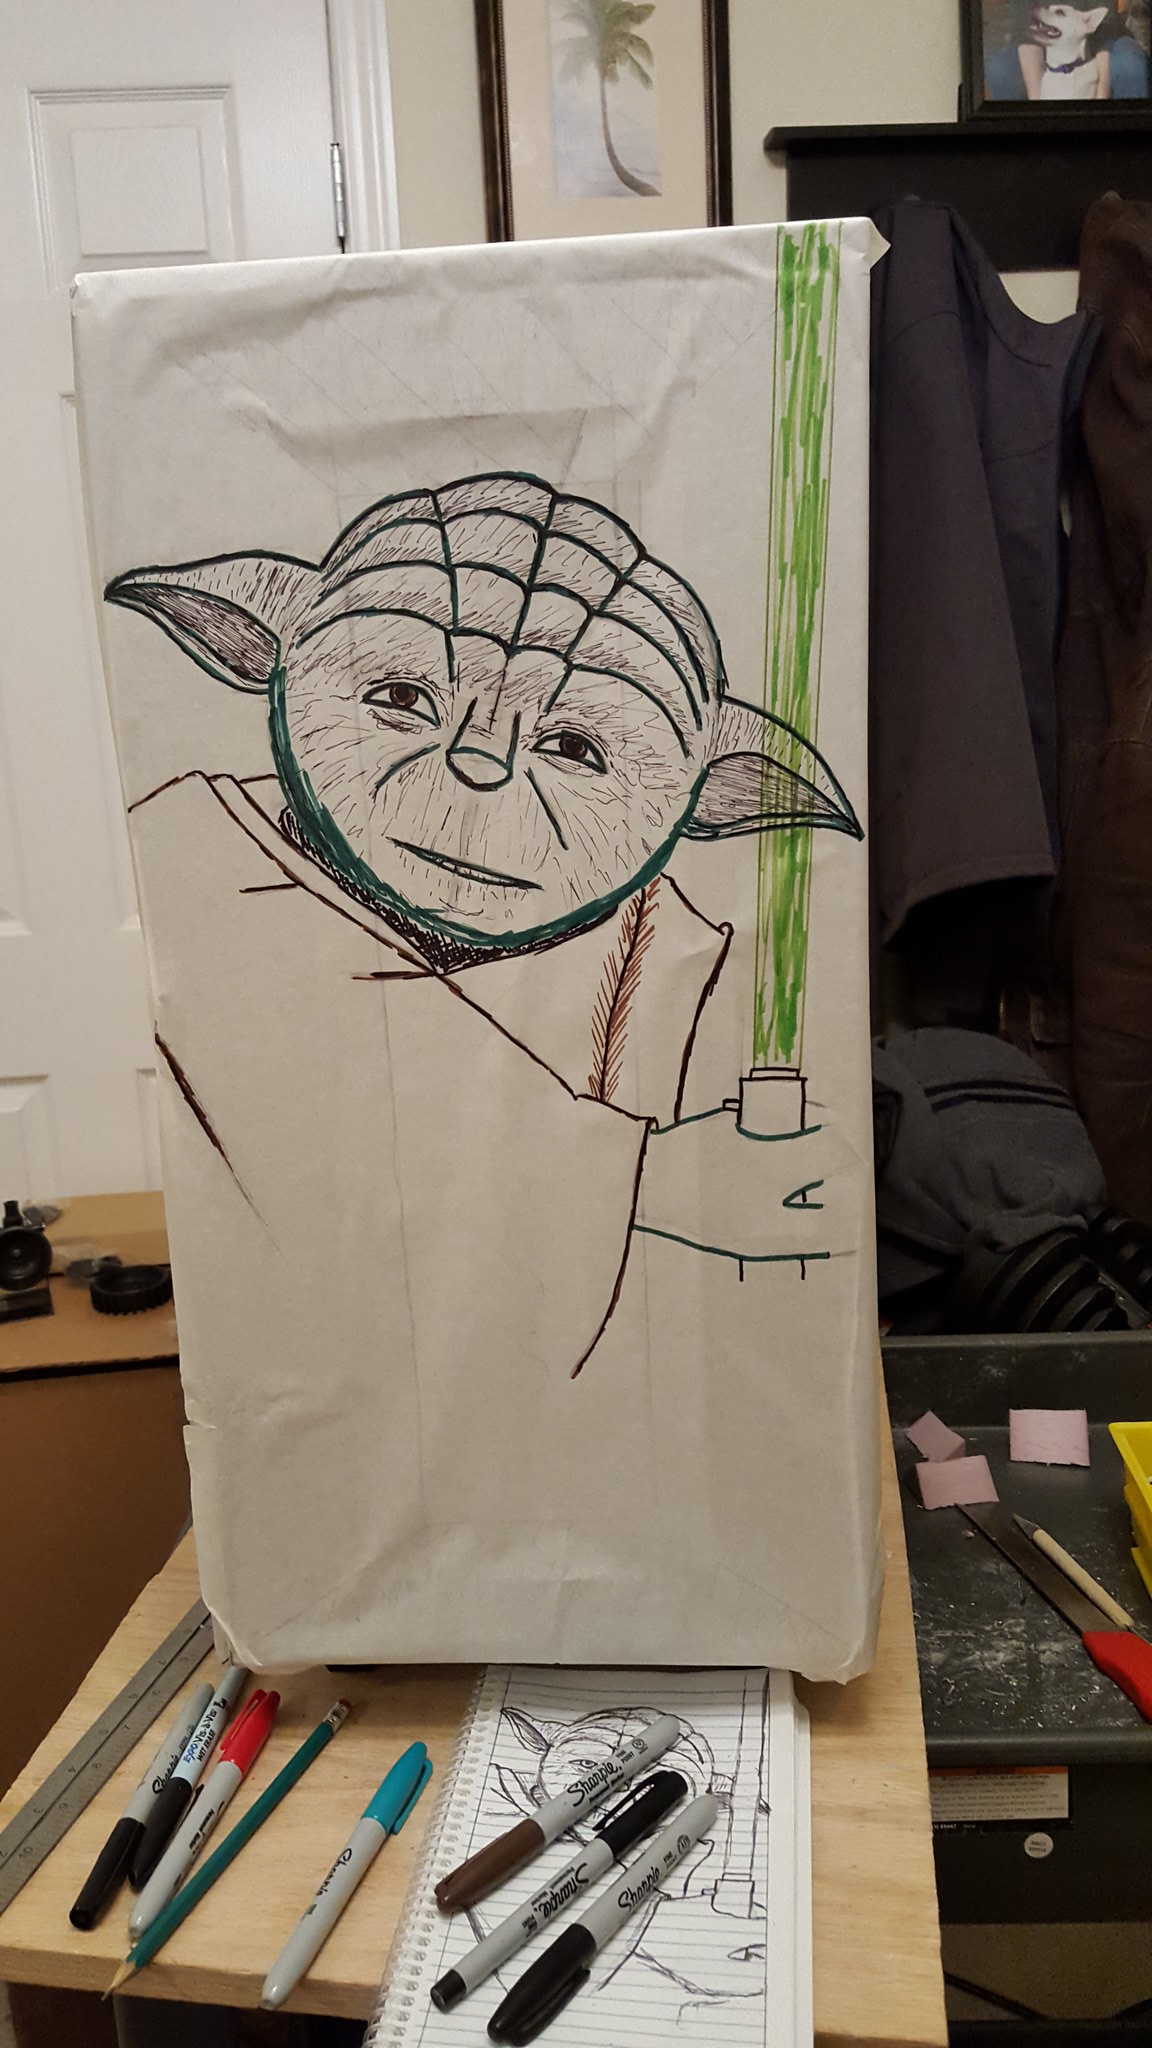
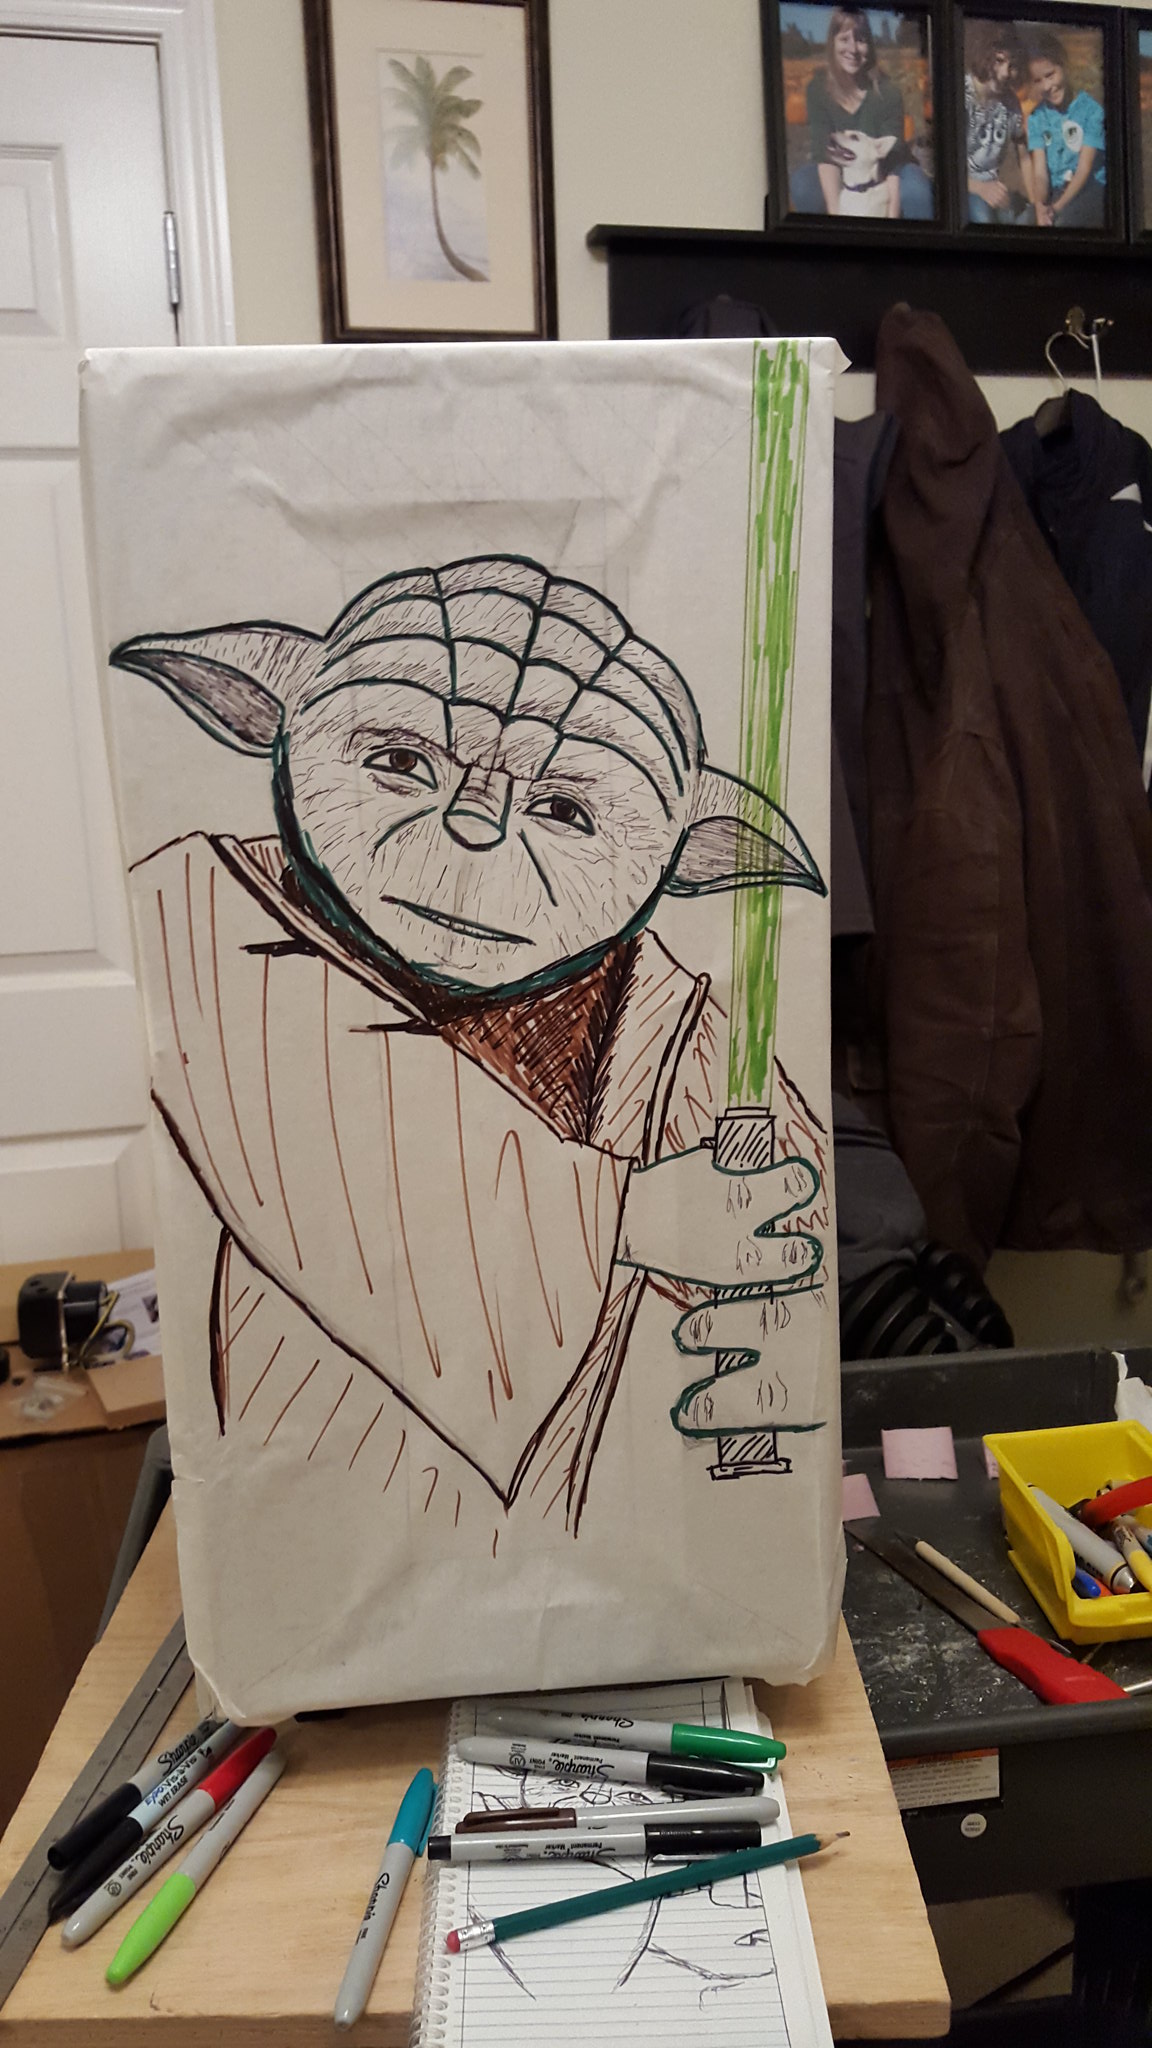
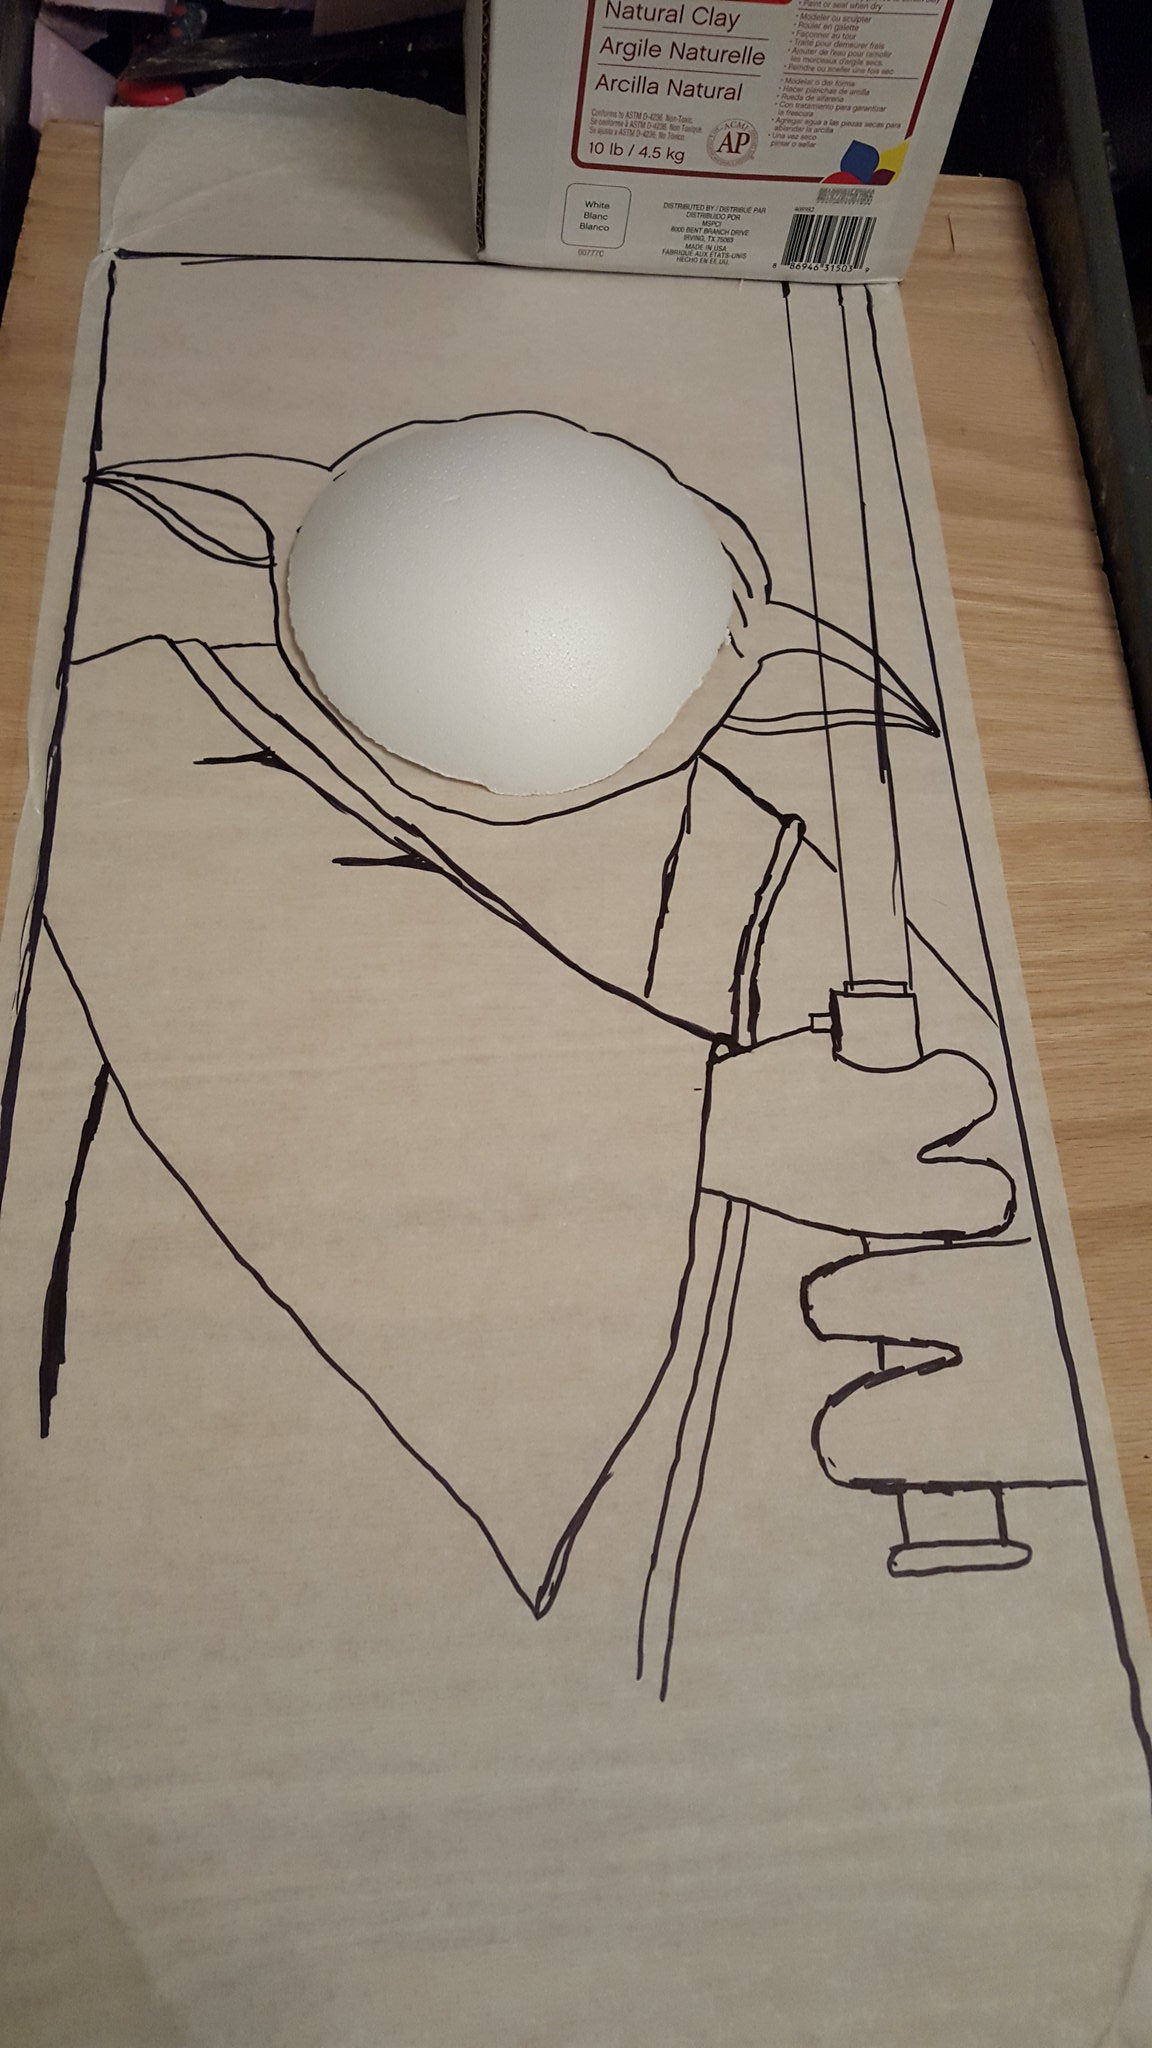
I add on a piece of transfer tape over the drawing and trace out all the main lines.
Then, I pull it up and put it on somthing that I can work with easier.
This time, it was a piece of ply wood.
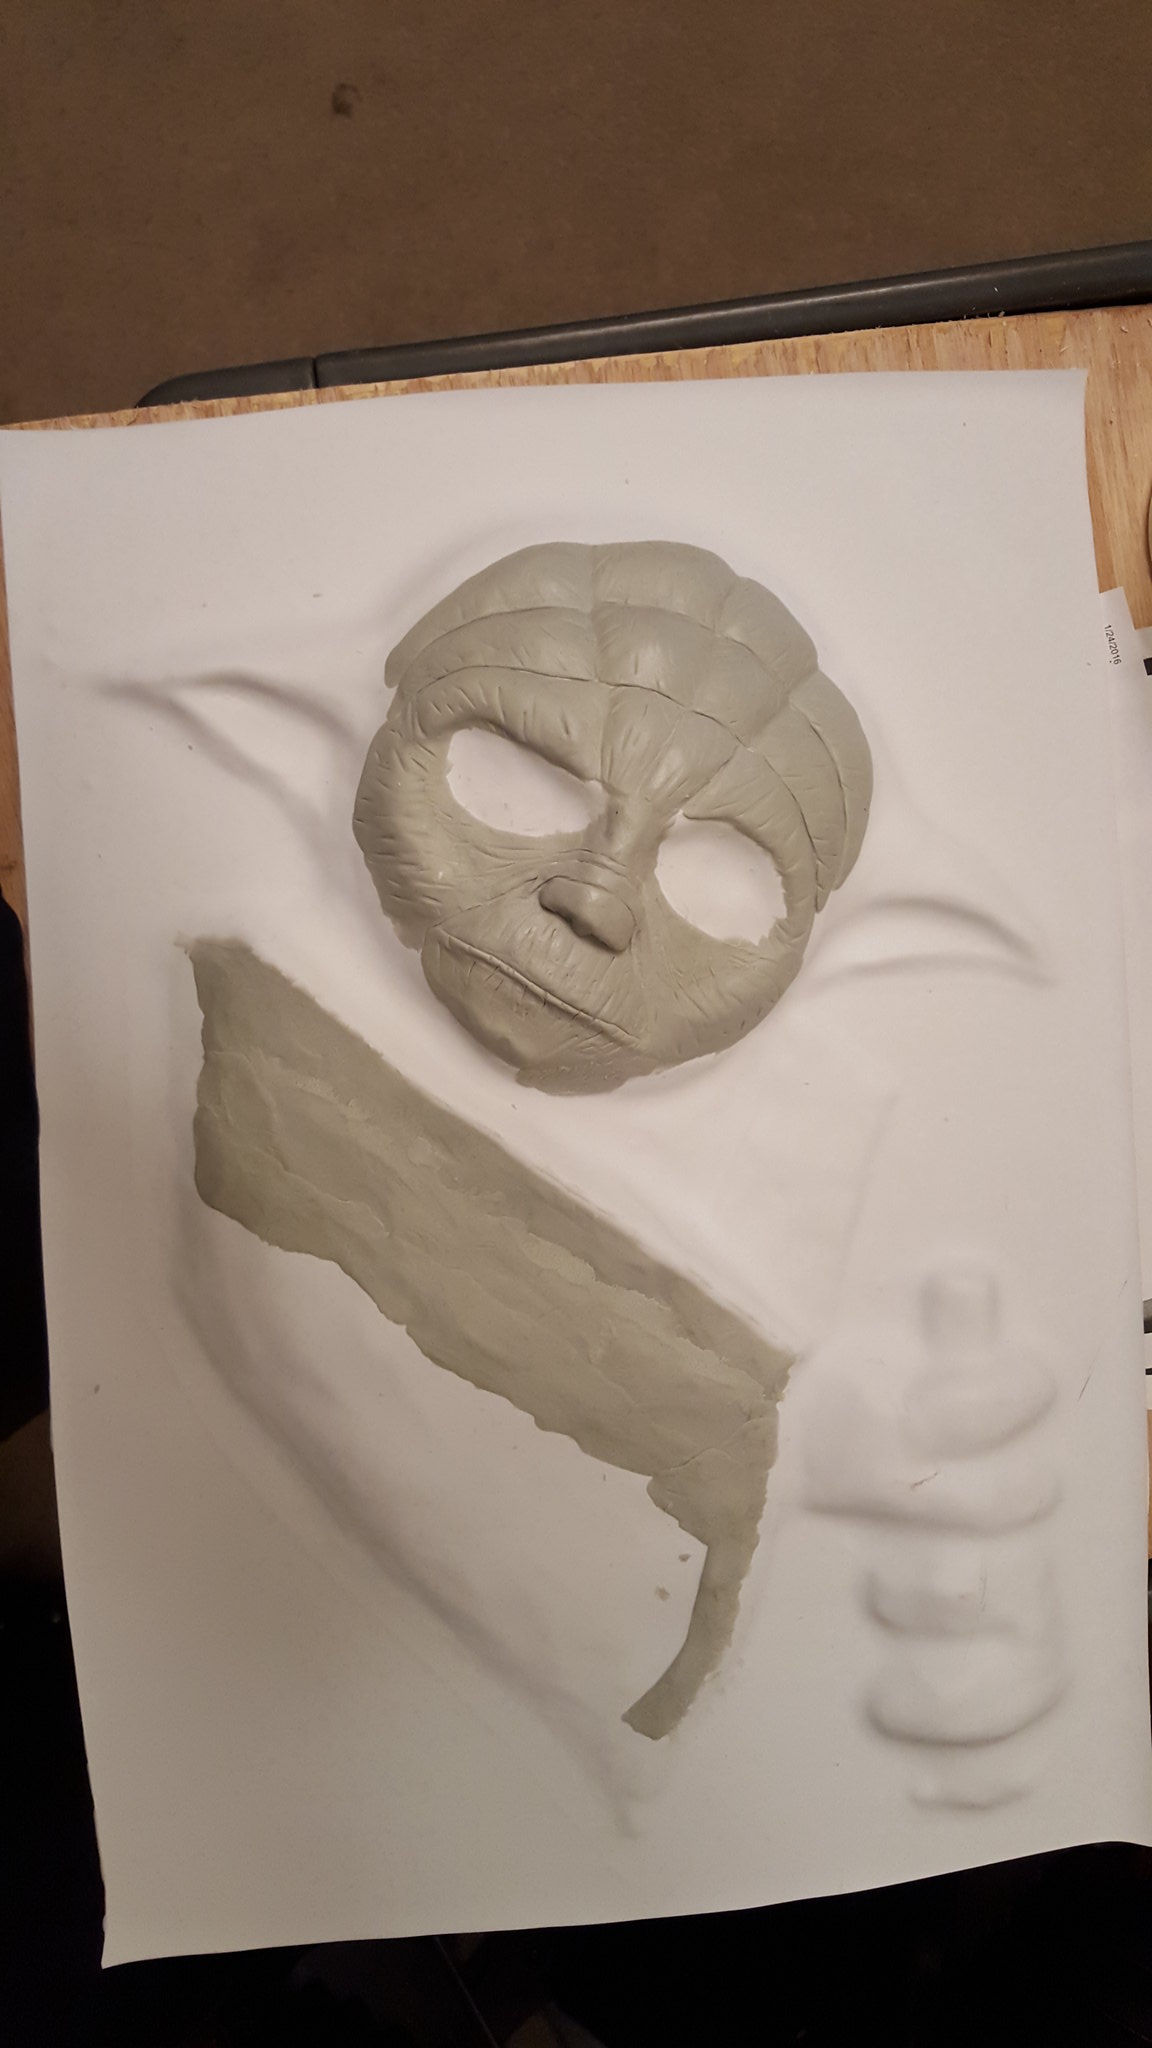
I had found a piece of foam for the general shape of the face.
This will make it so I dont have to use so much material up when sculpting.
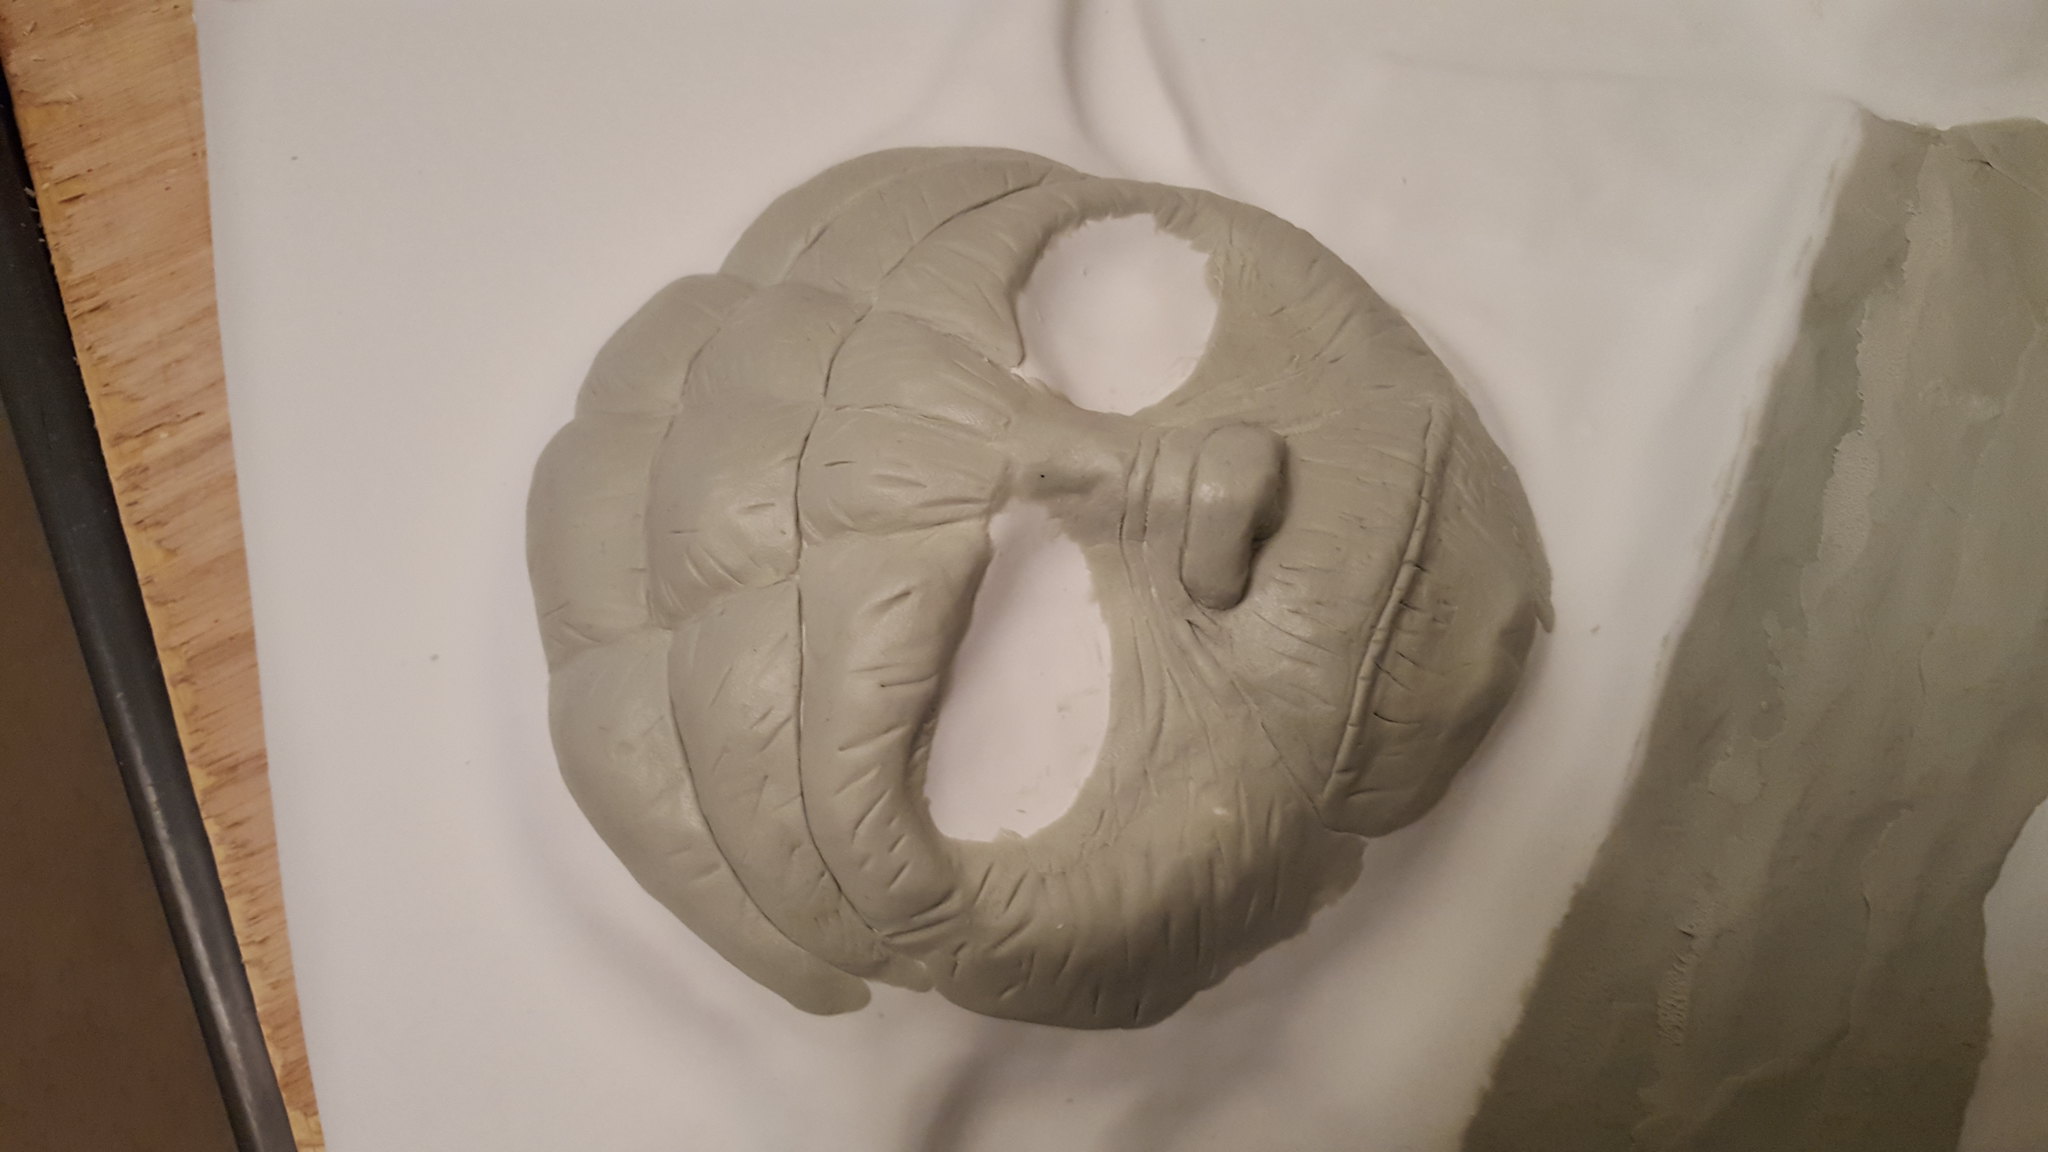
I then sculpt out the general shape that I want it to buy.
Acually slightly smaller.
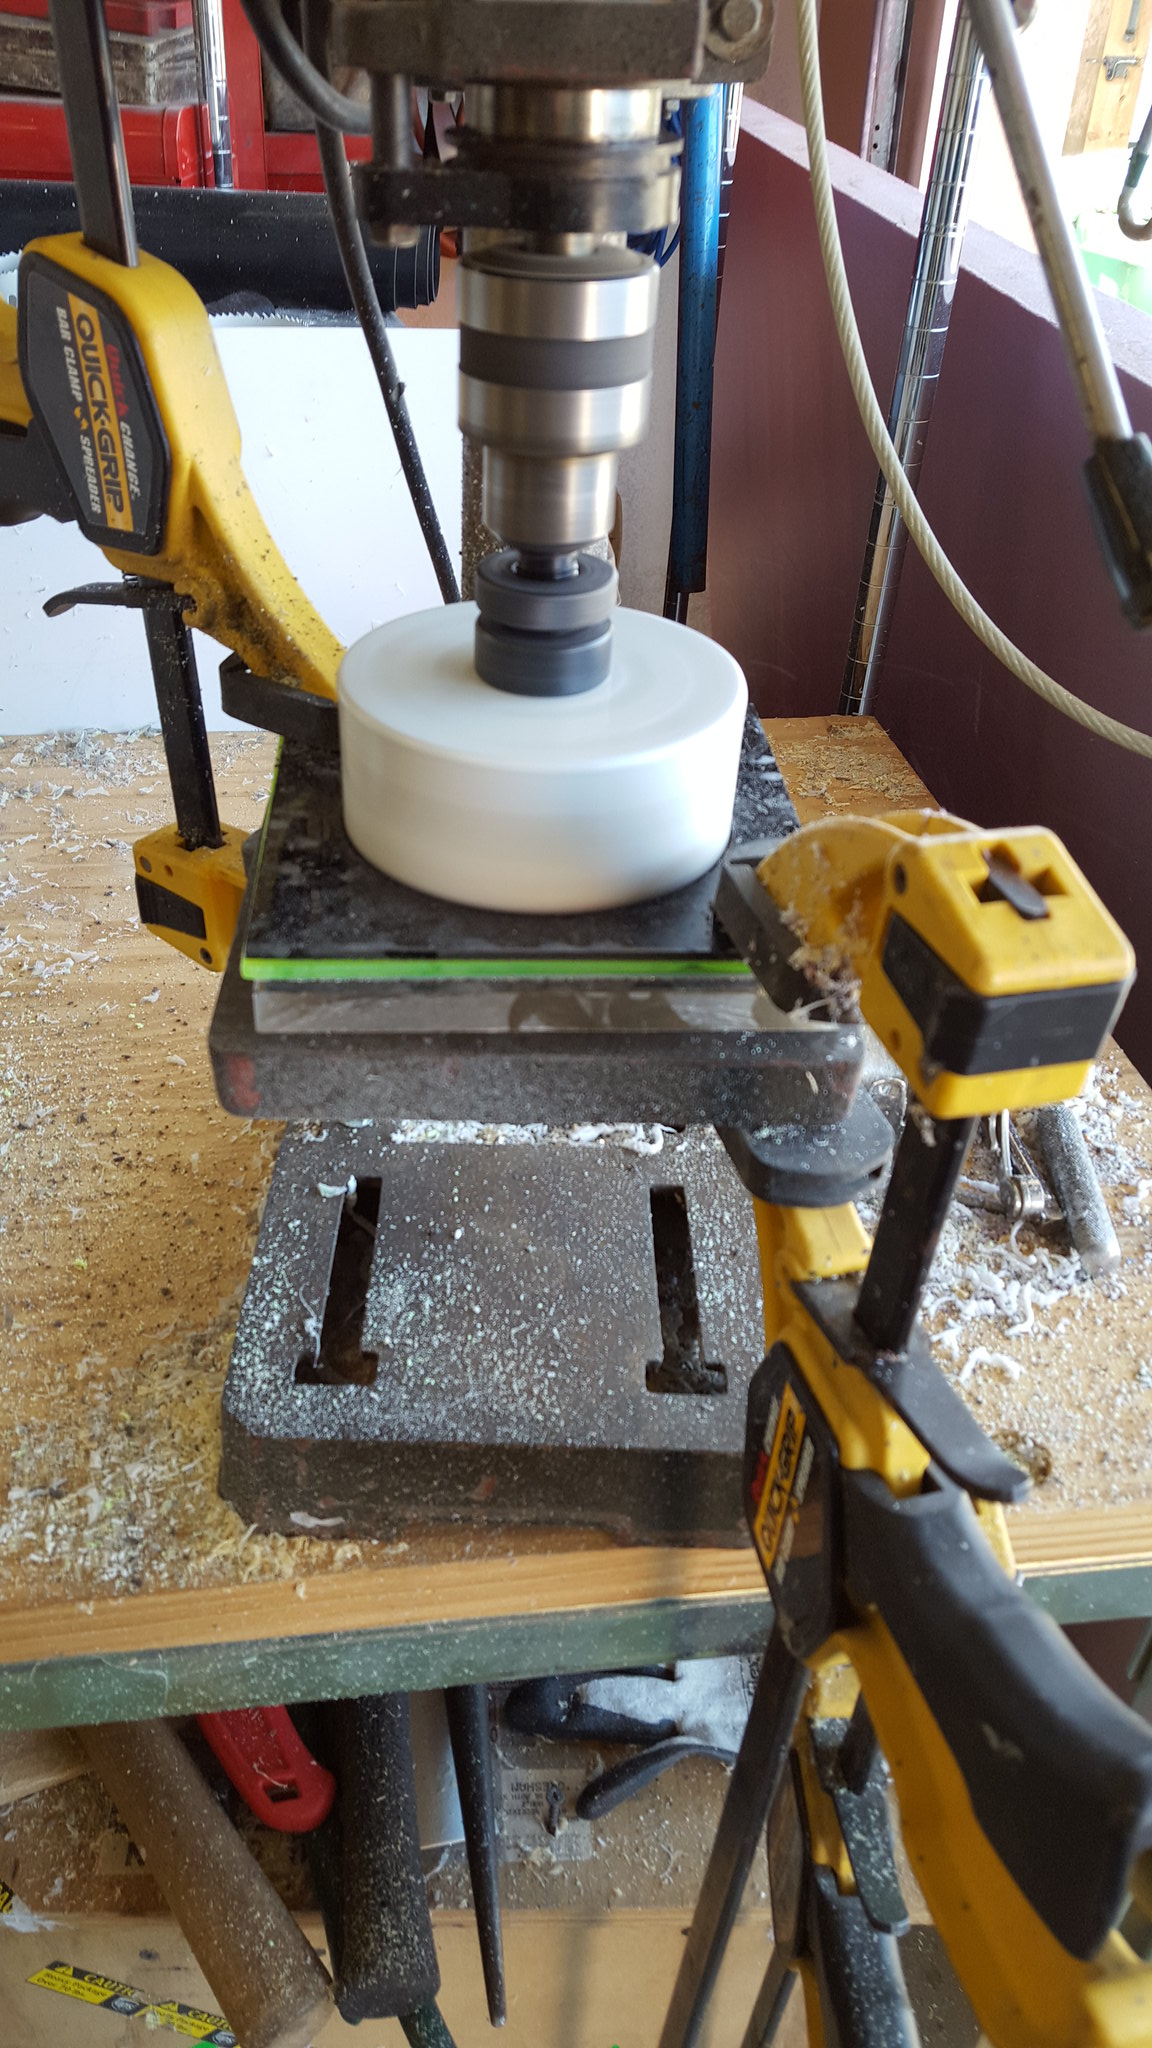
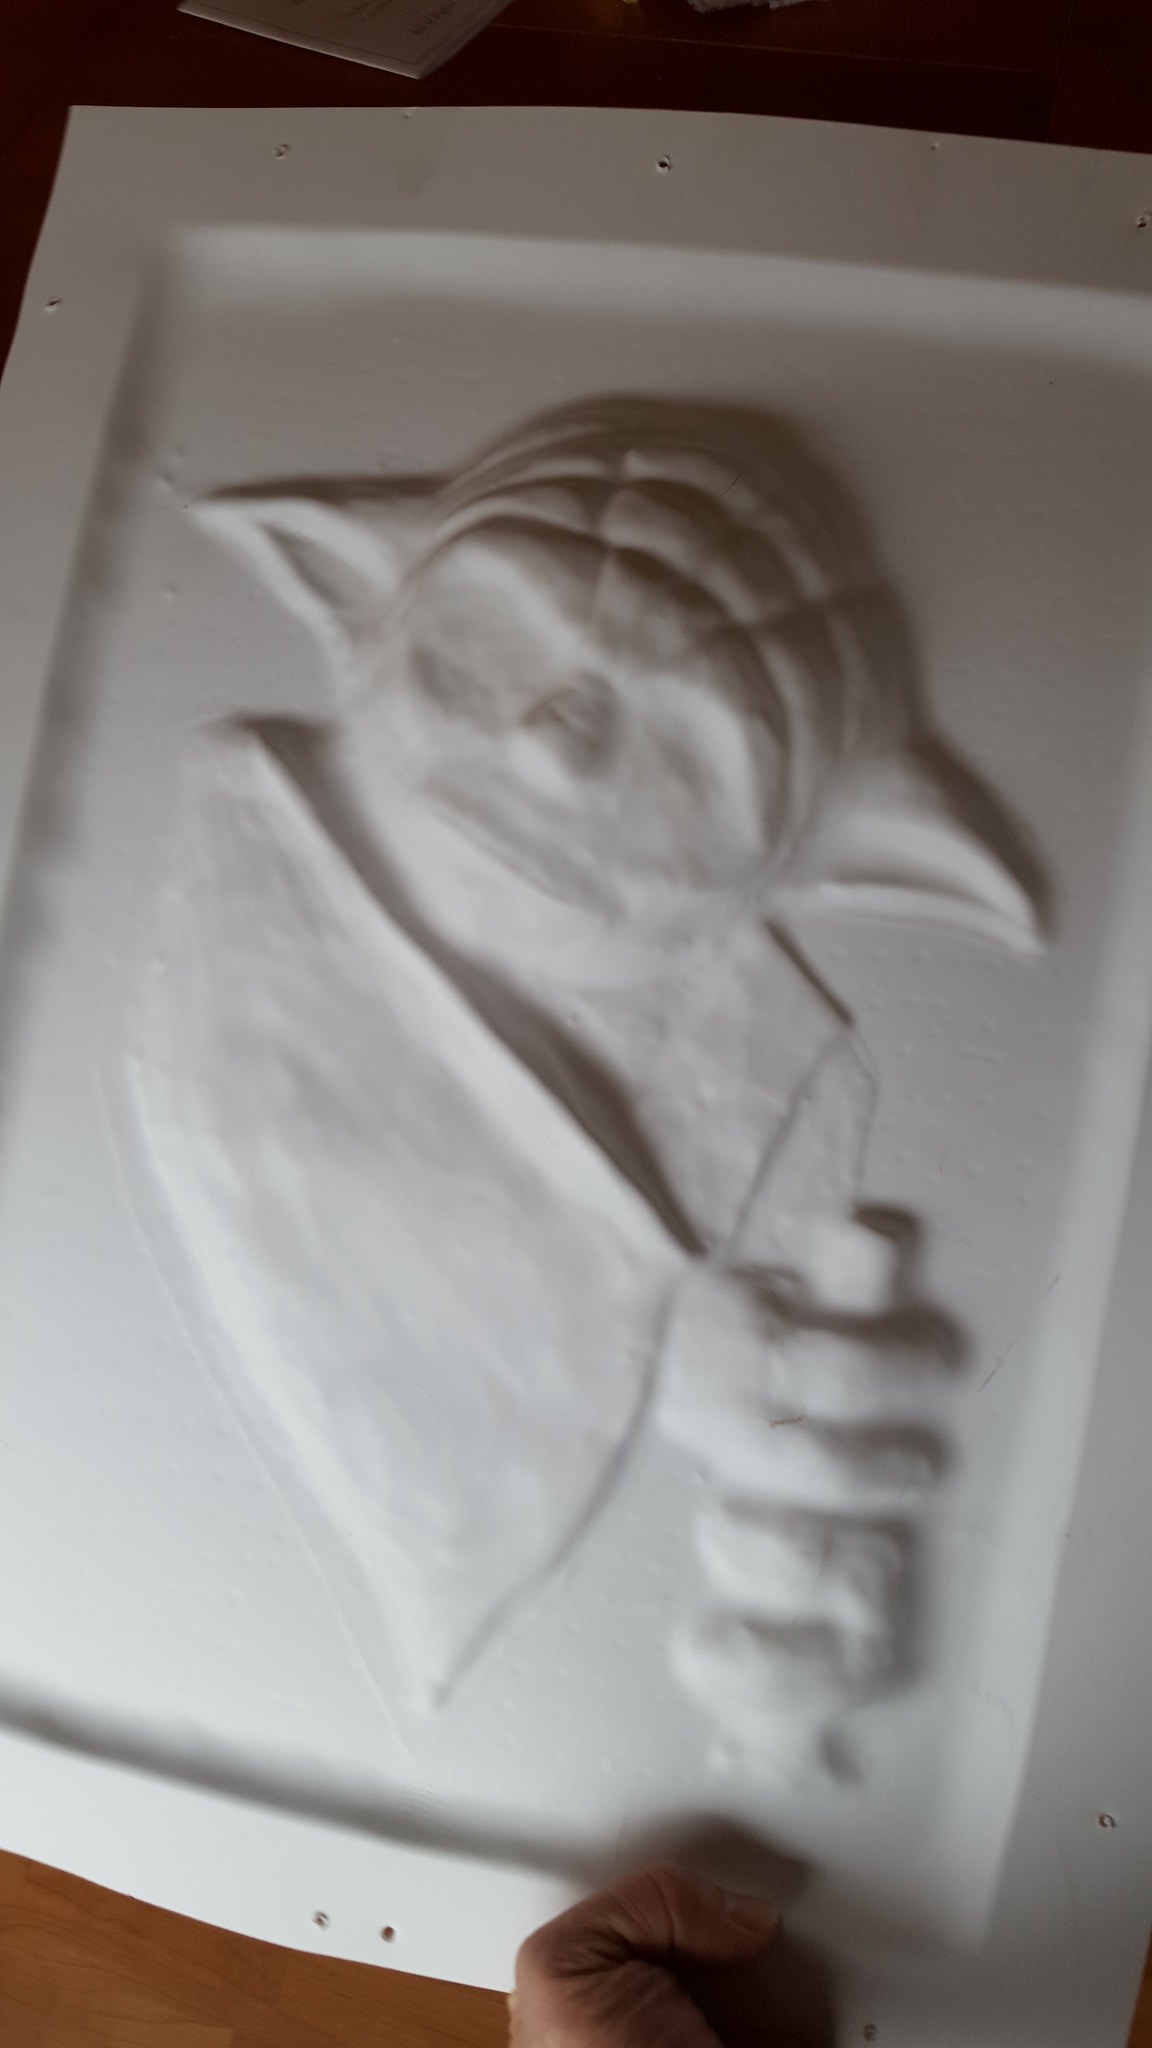
Using my makeshift vacuume former, I vacuume formed the sculpture.
I do this so that it is easy to attach to the case and very light and durable.
I find that shipping these mods to event has become quiet common, so I build then so they are lighter and more durable for shipping.
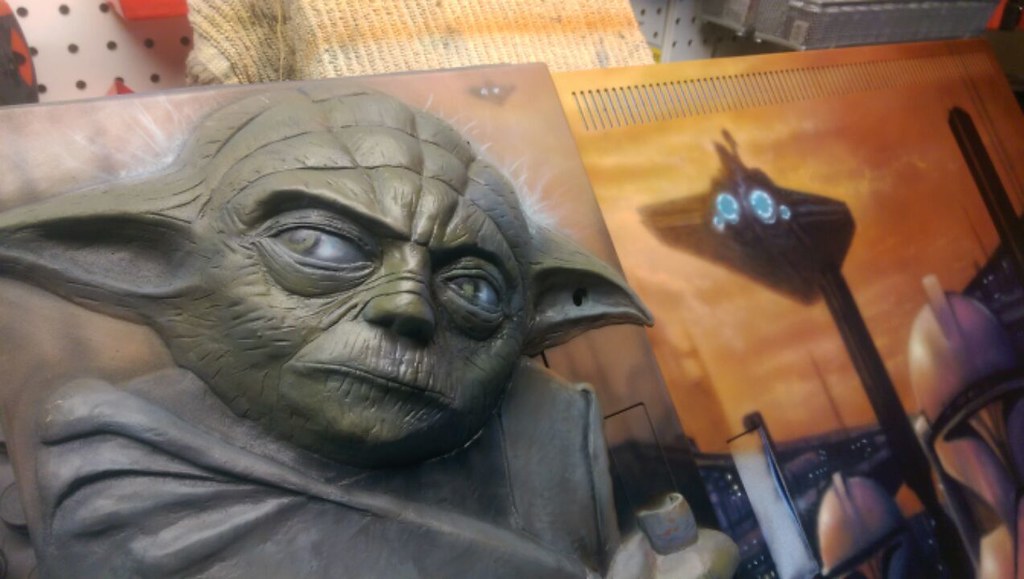
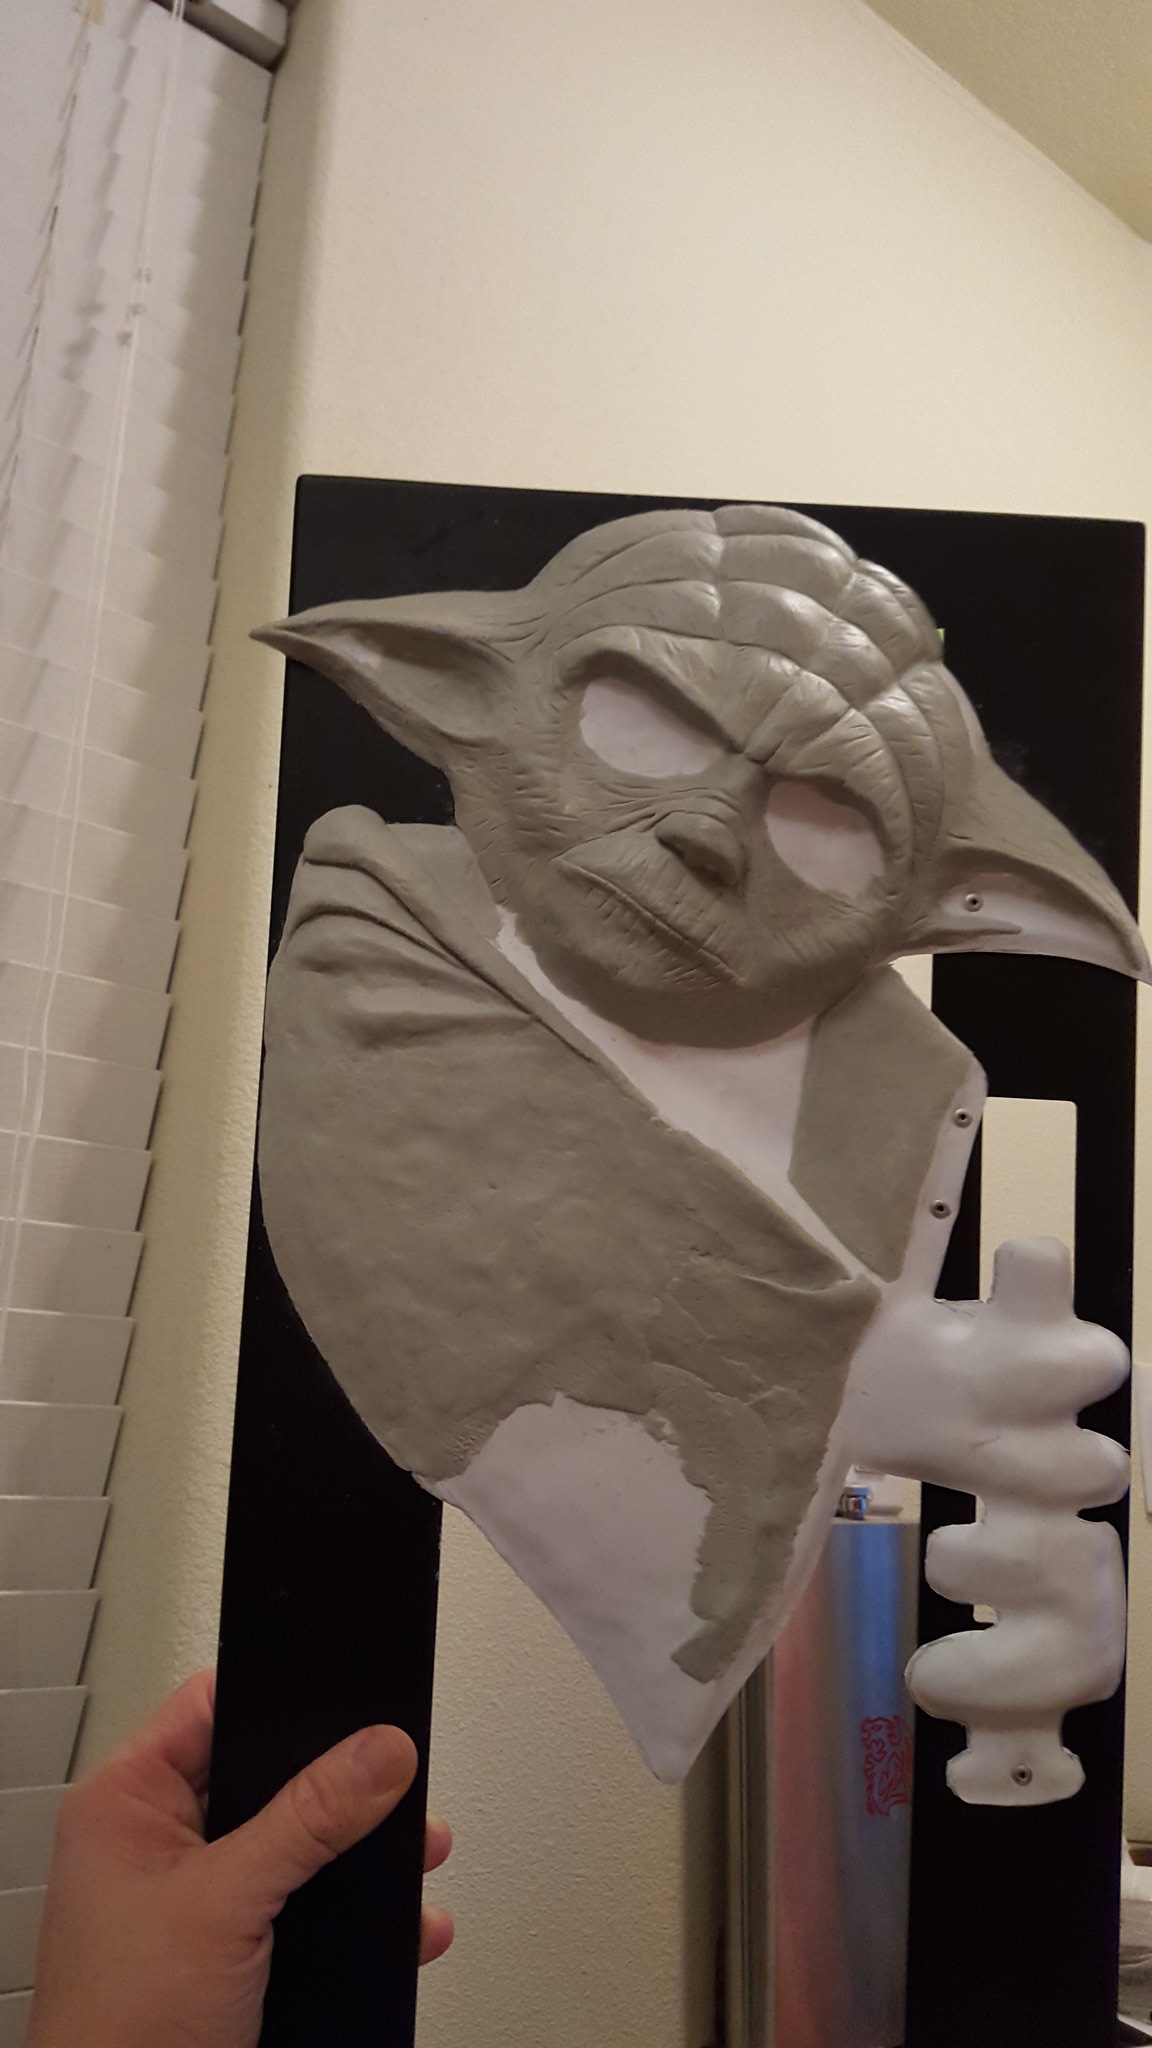
Now with the vacuume for I have somthing I can start sculpting with Magic Sculpt.
I find it easier to work with by mixing small amounts and building up the sculpture with layers.
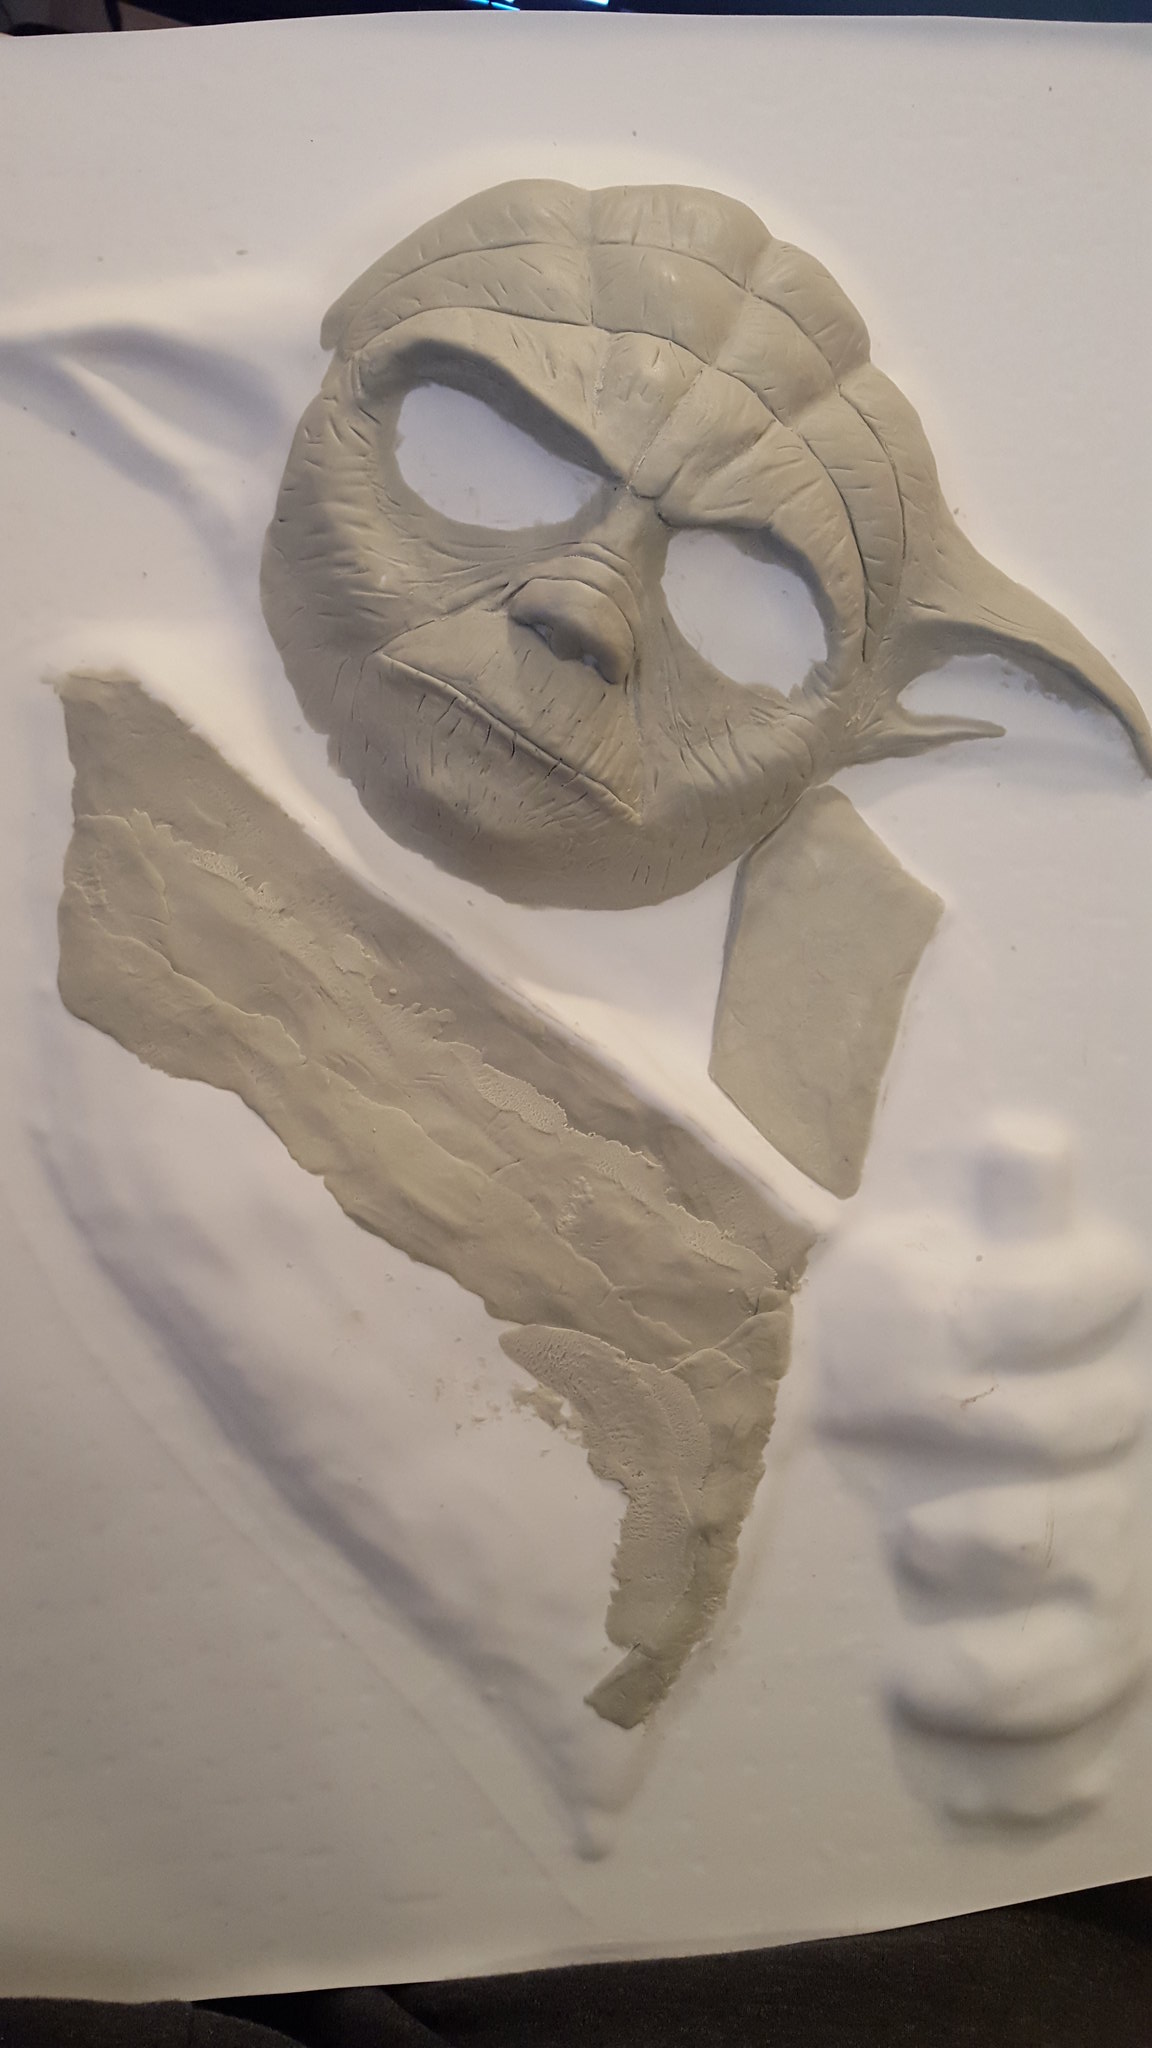
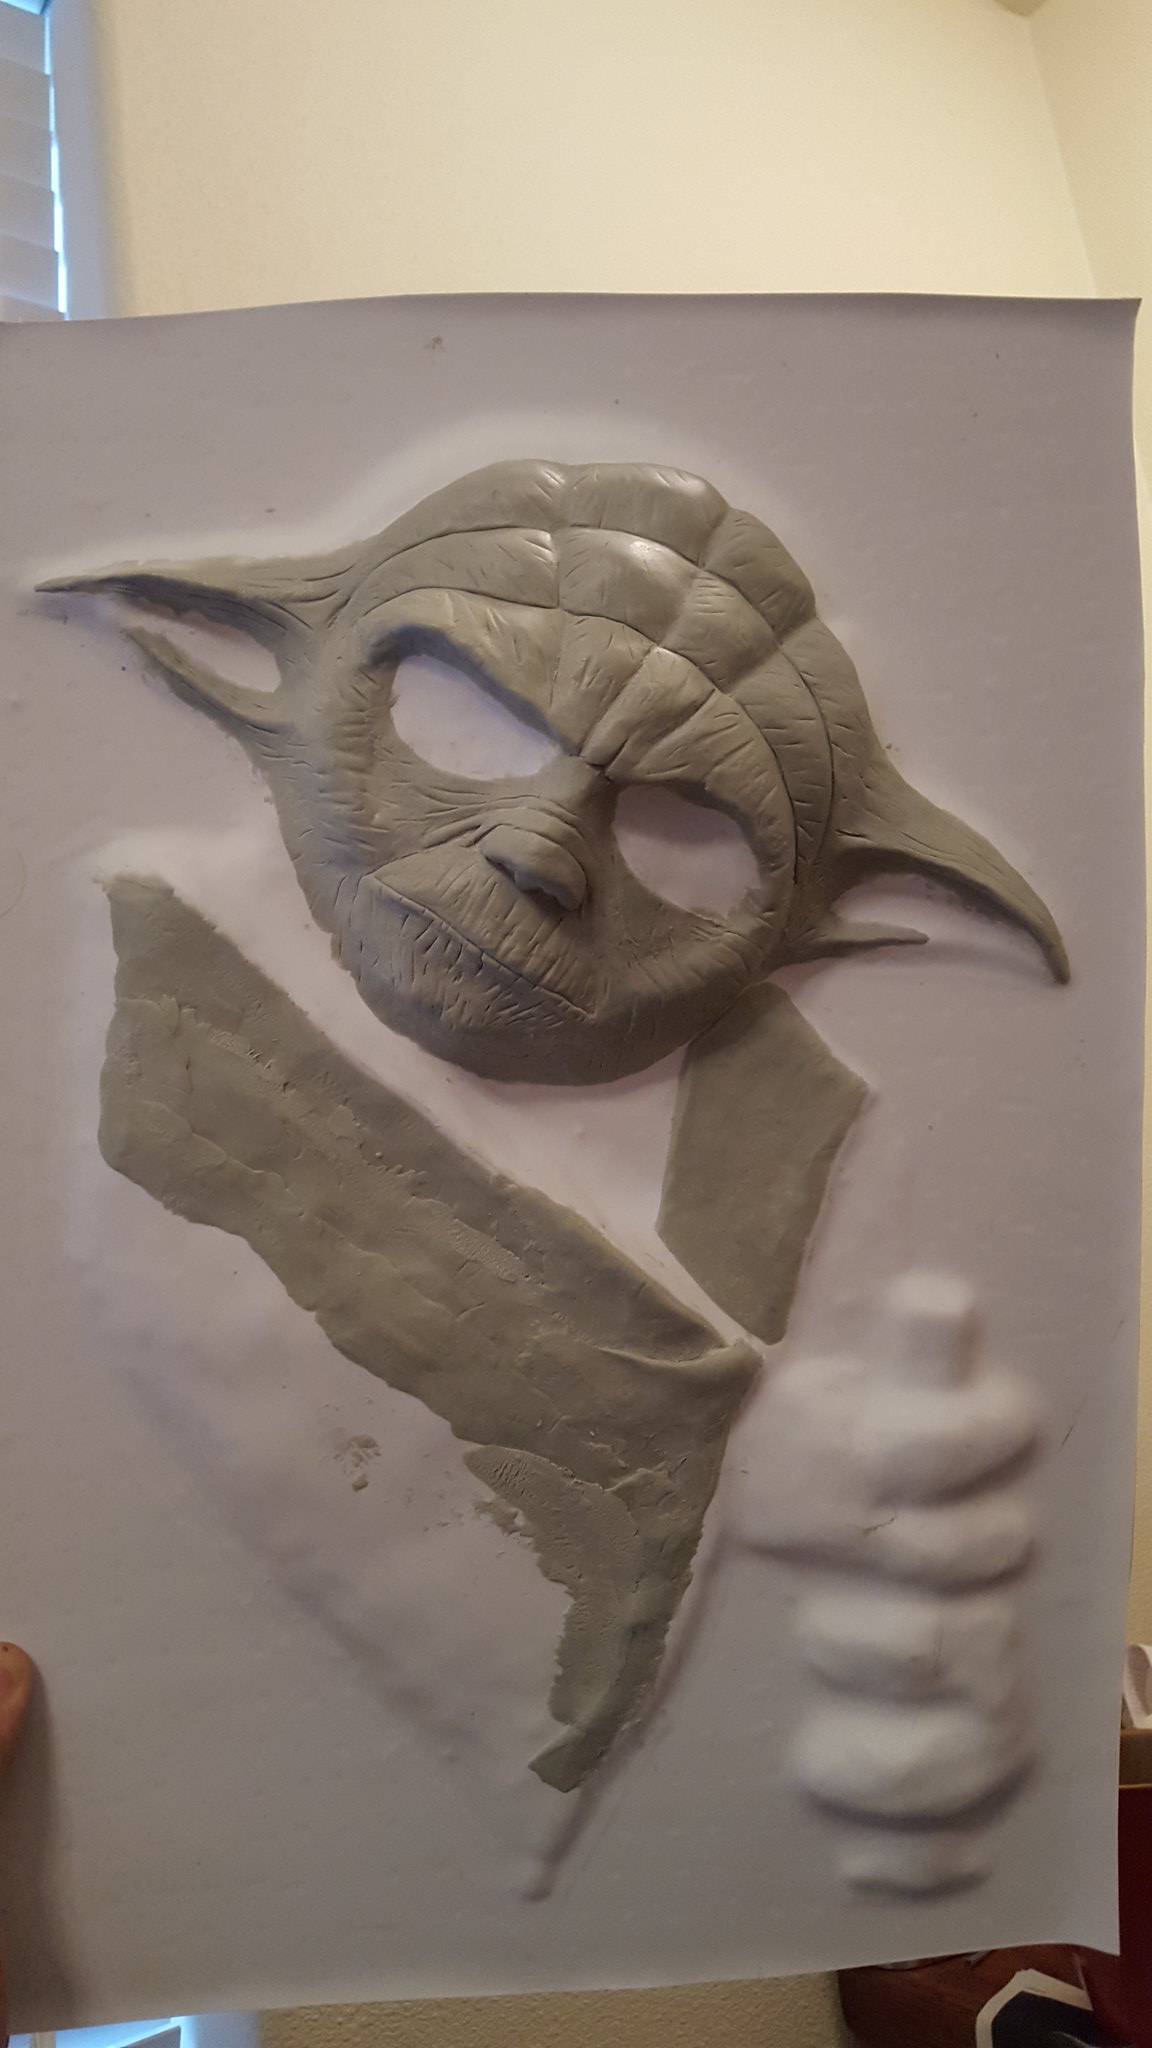
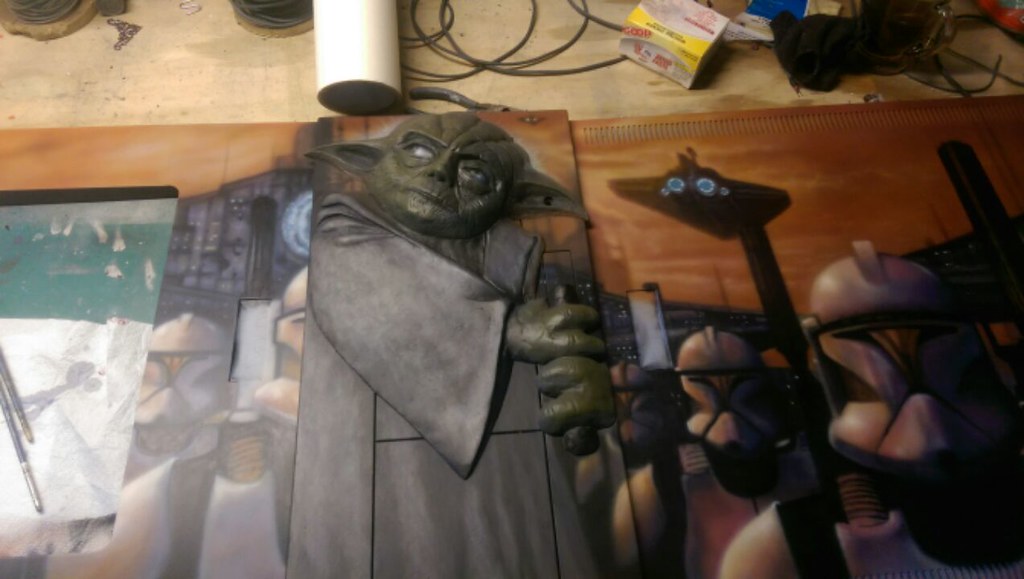
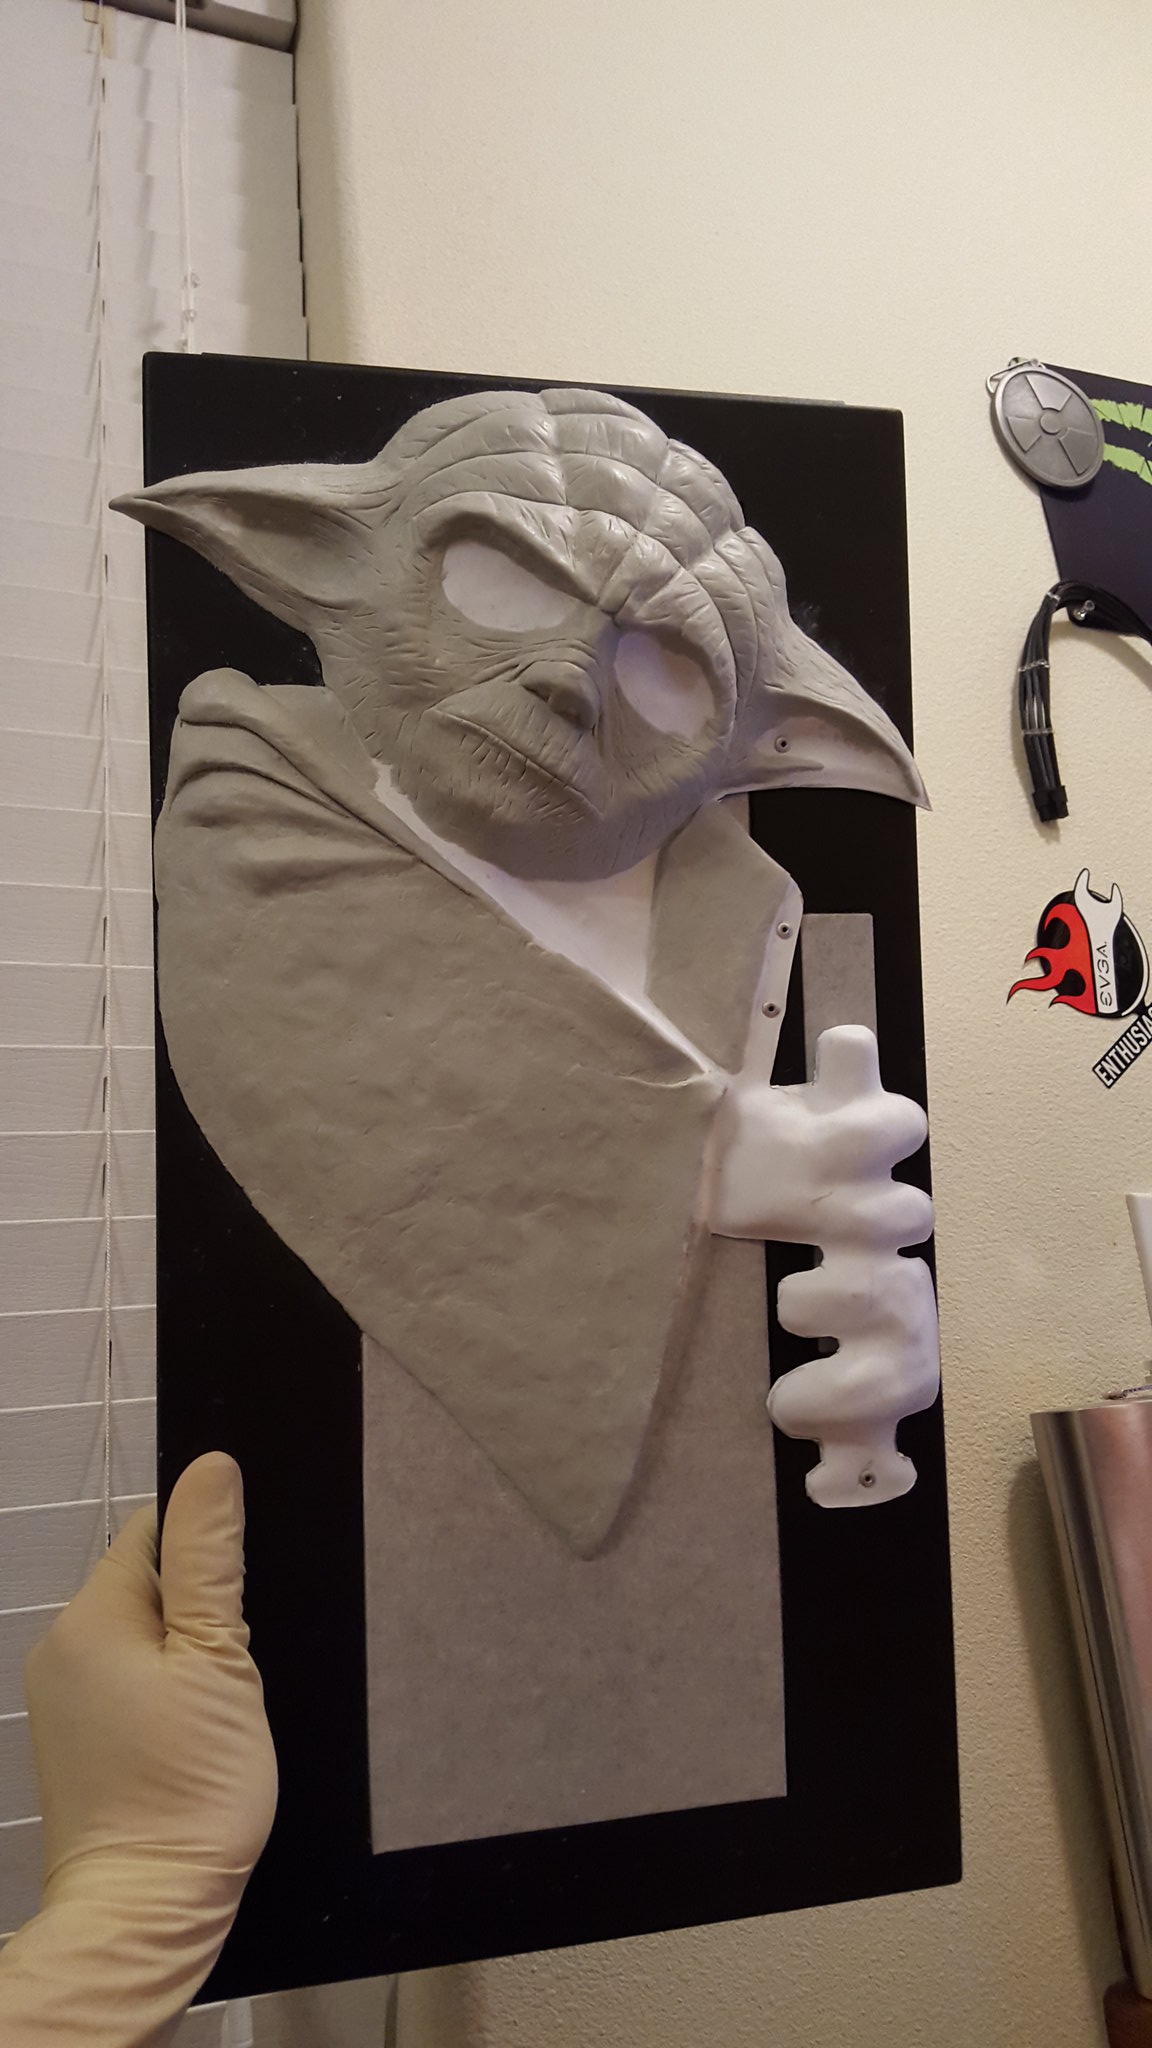
Now that I am mostly done with the sculpture, I will rivet it onto the case.

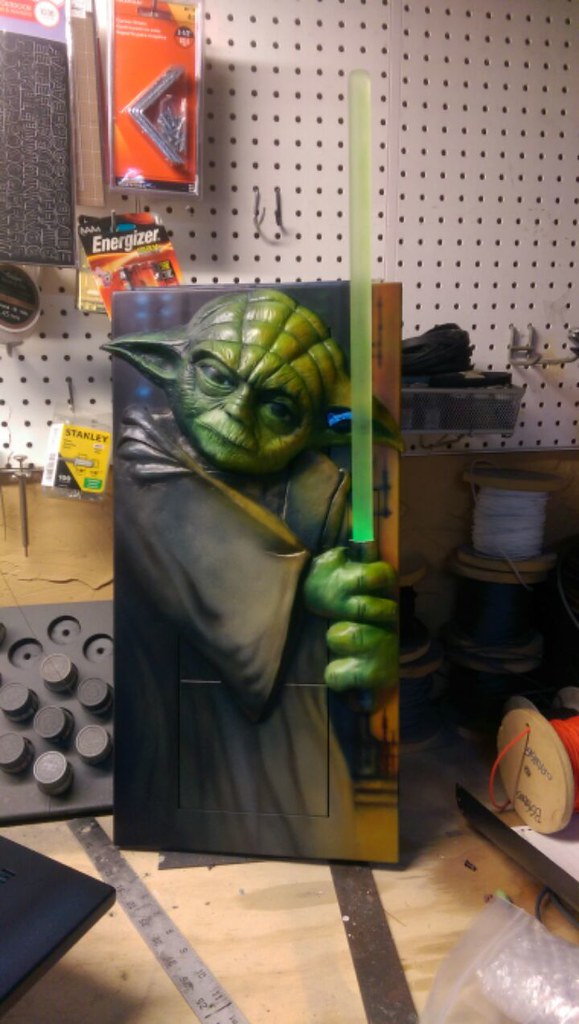
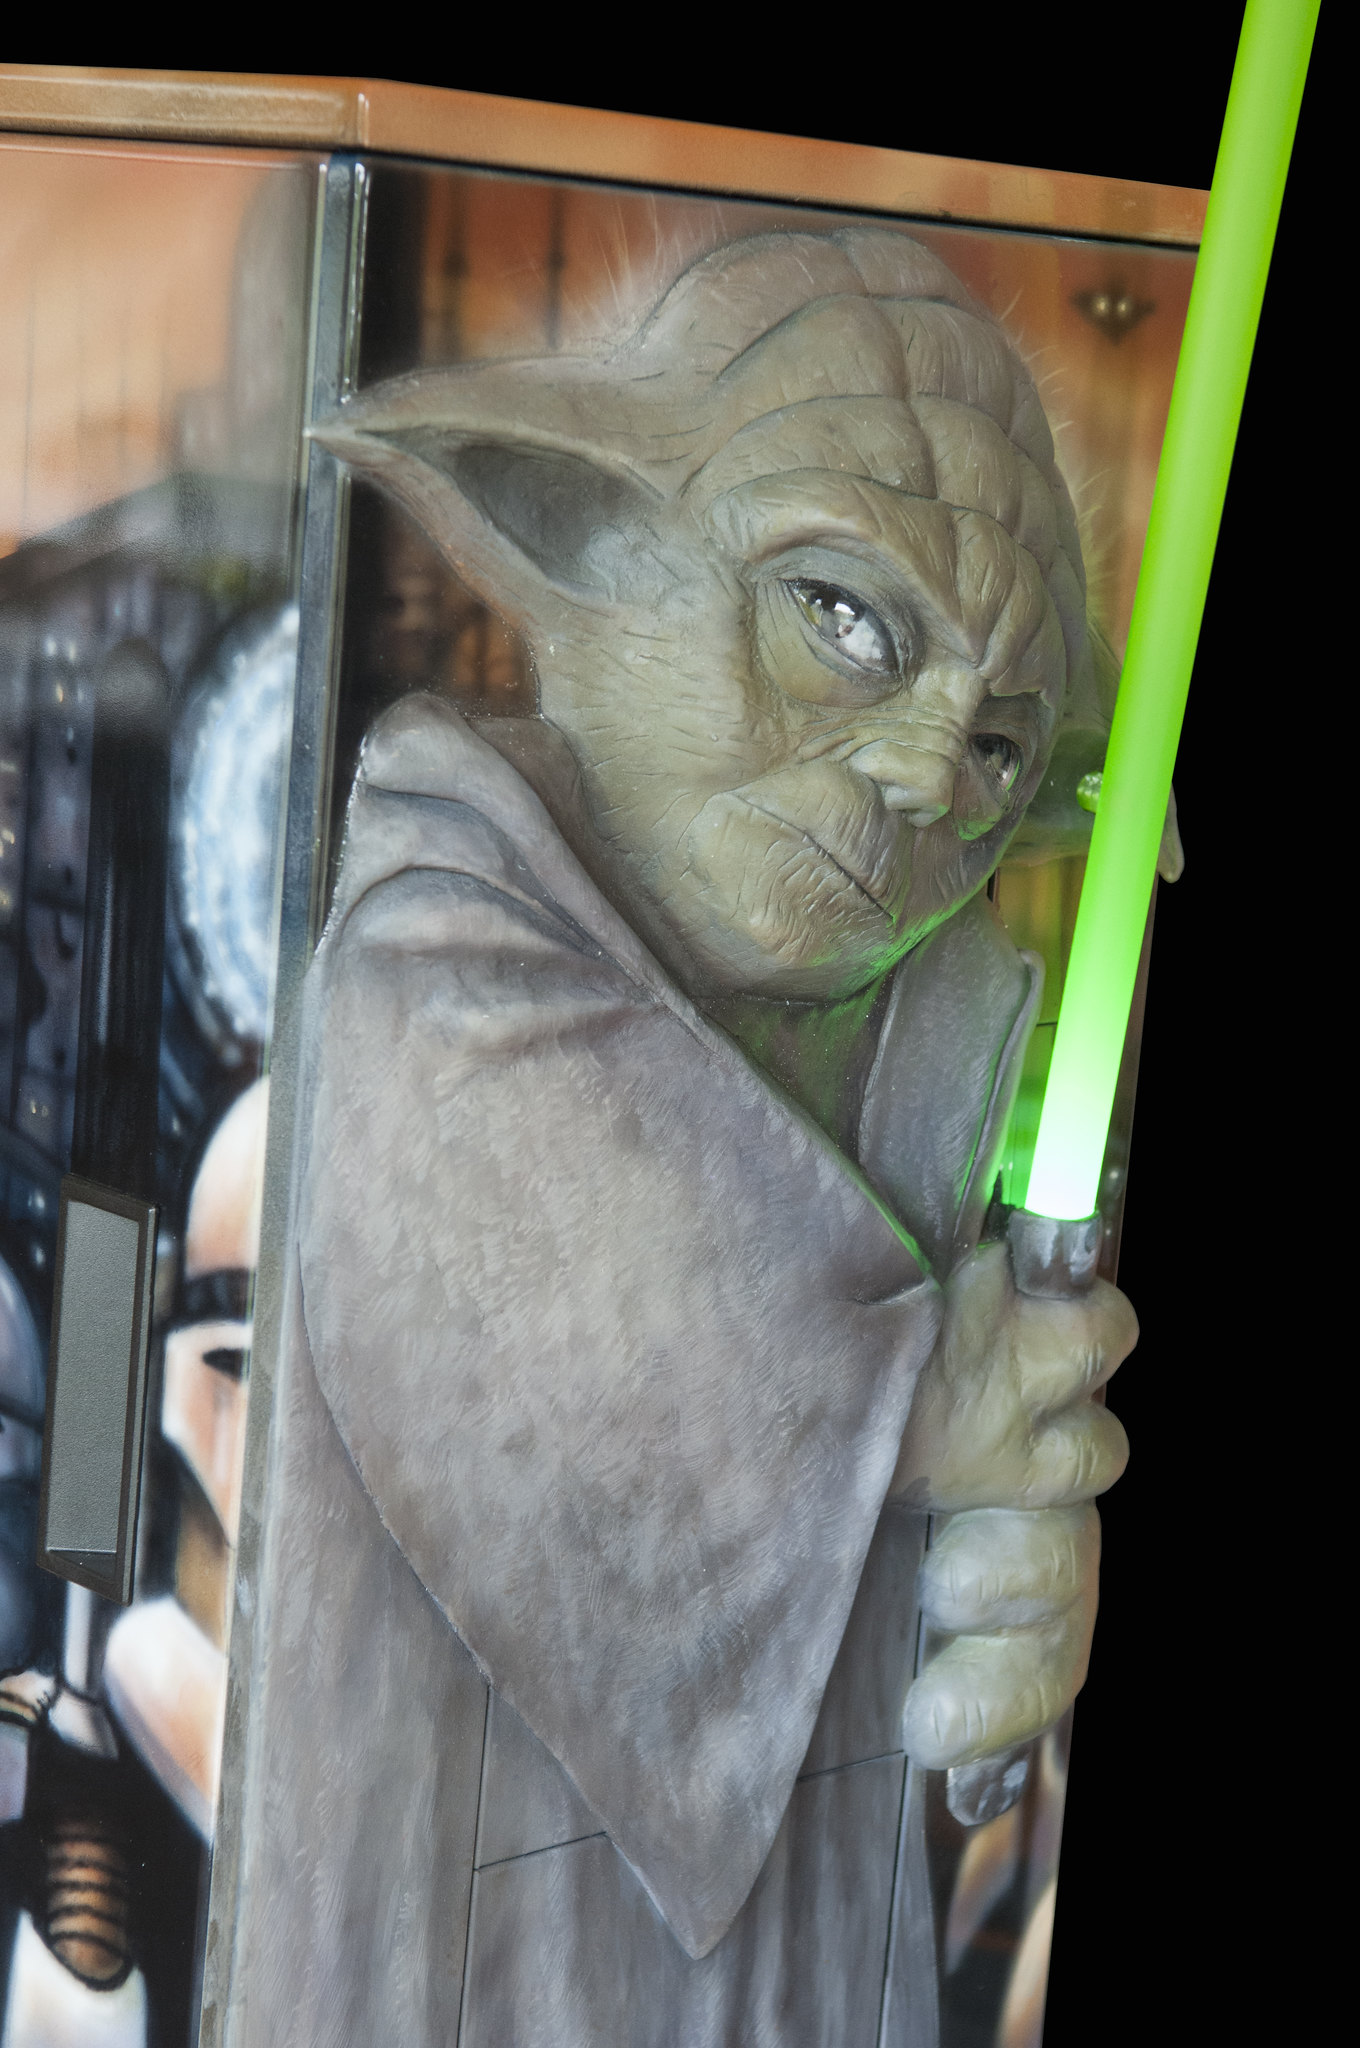
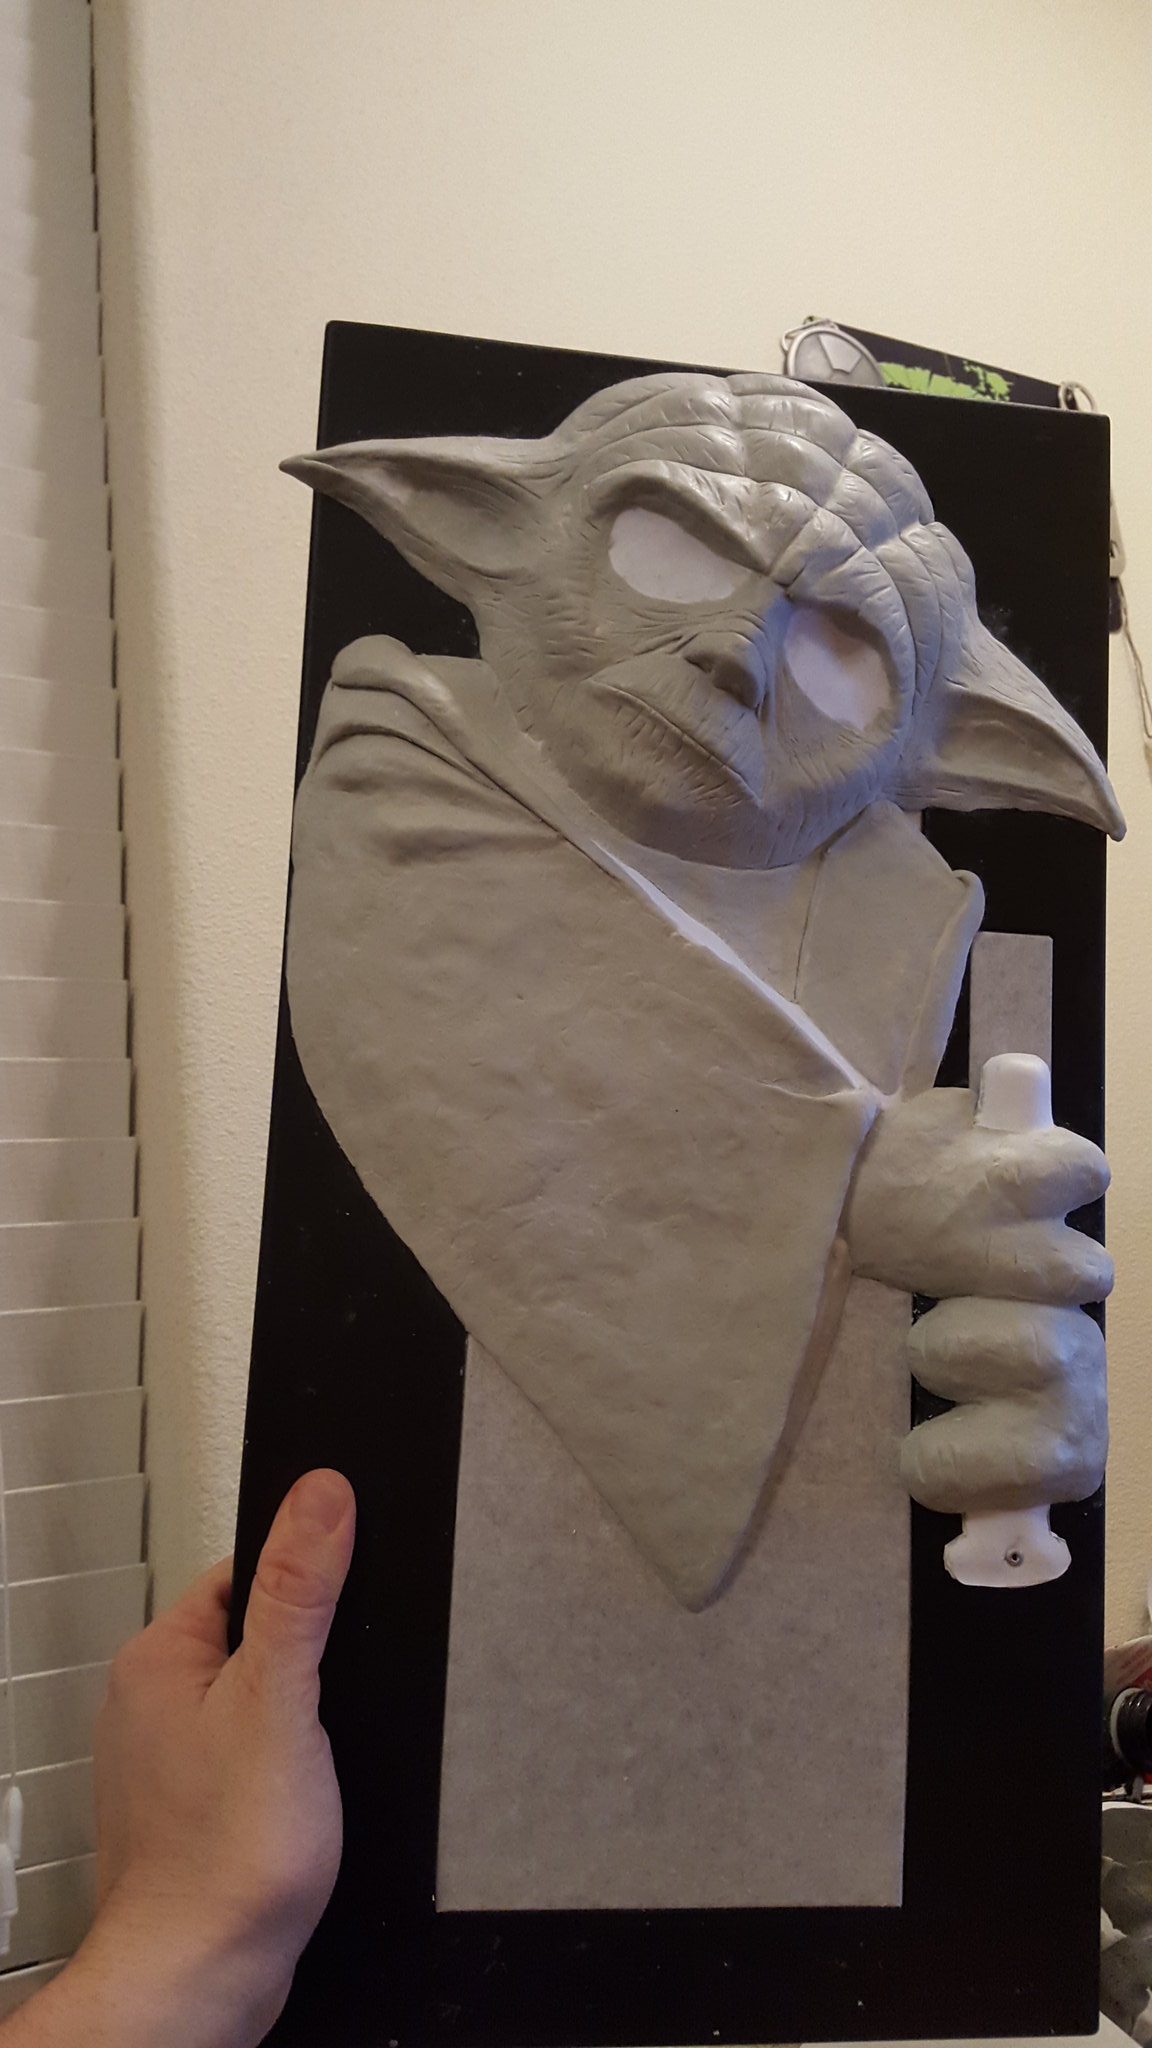
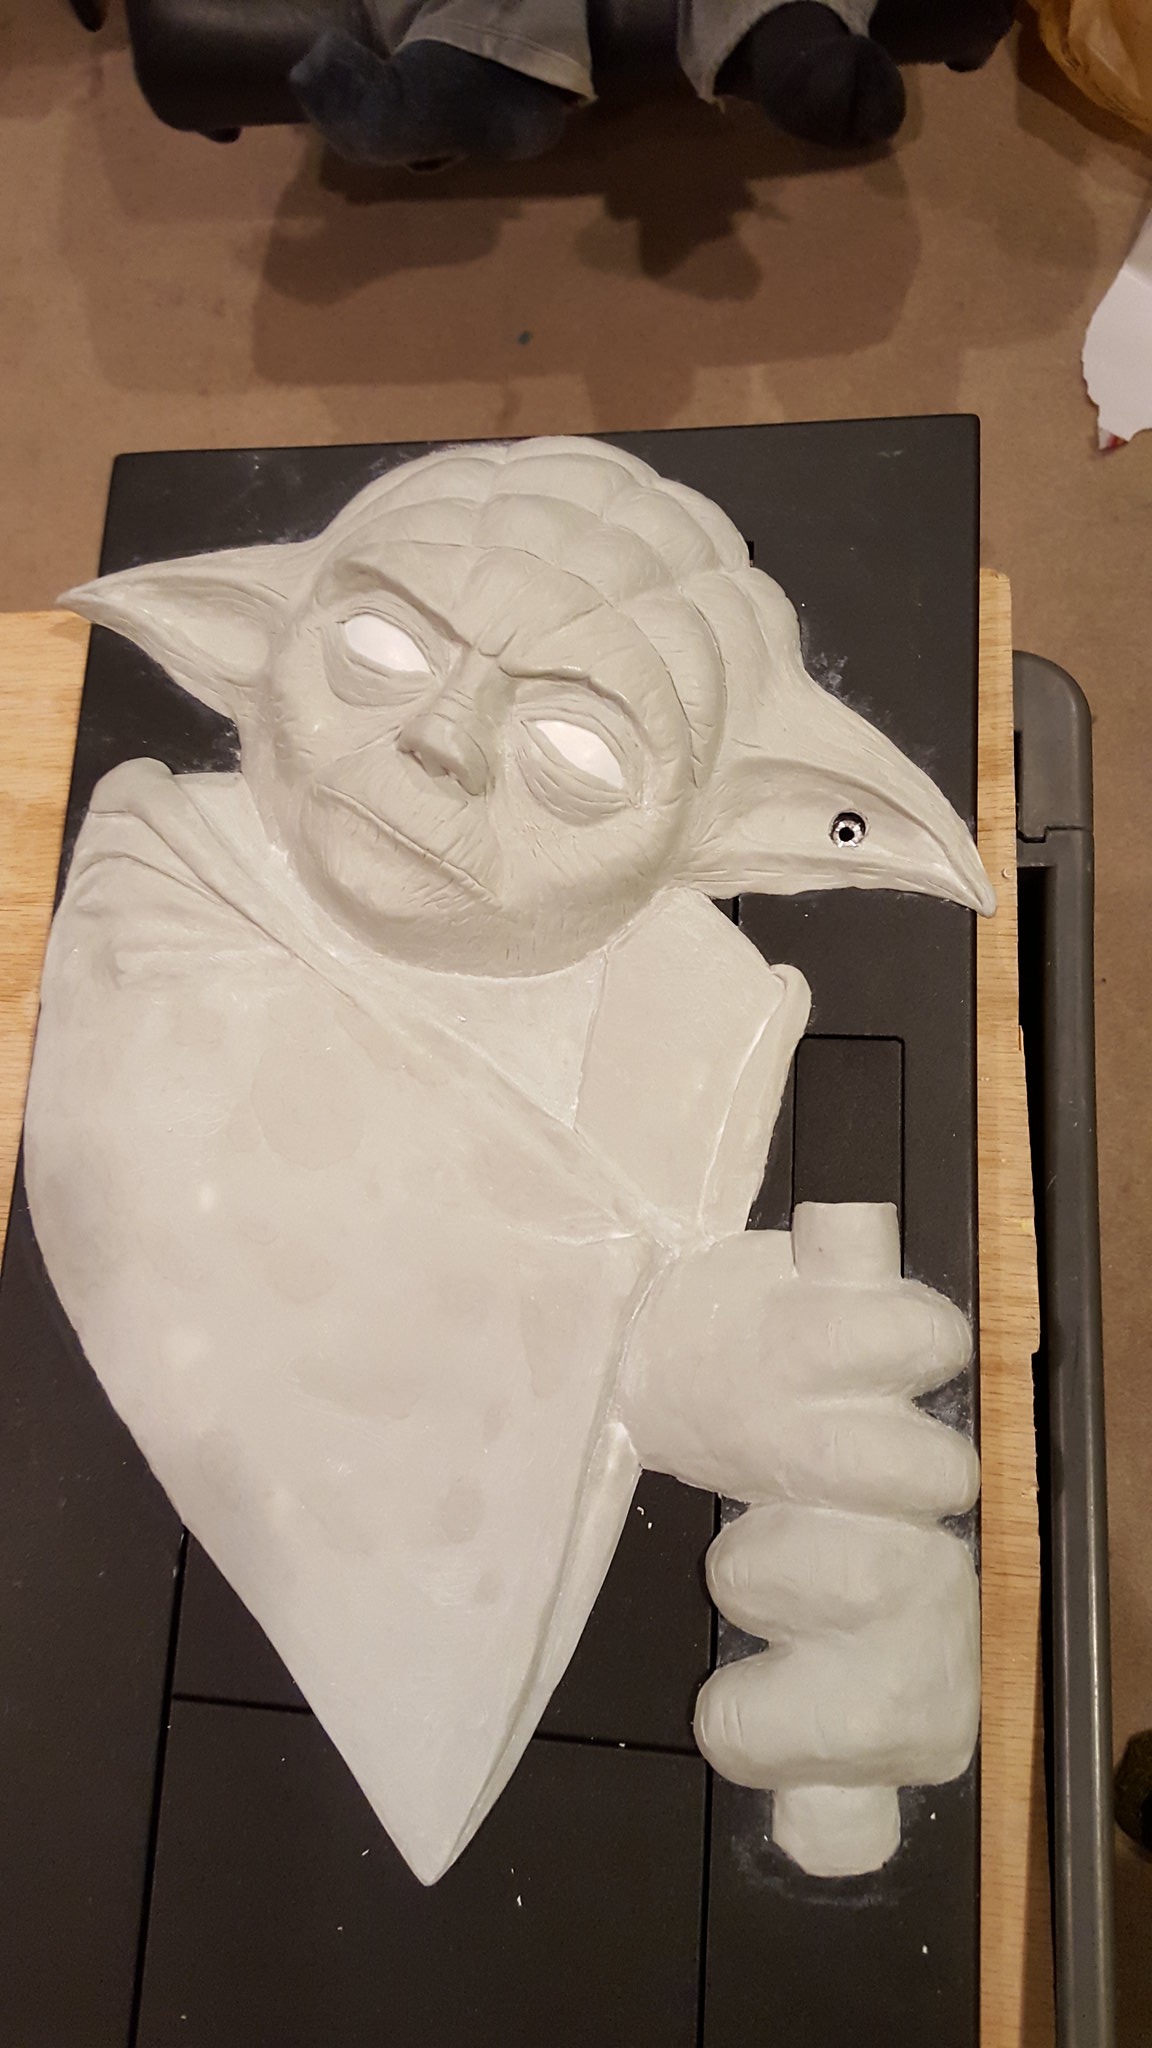
Now I can begin sculpting it so it looks like it is coming out of the case.
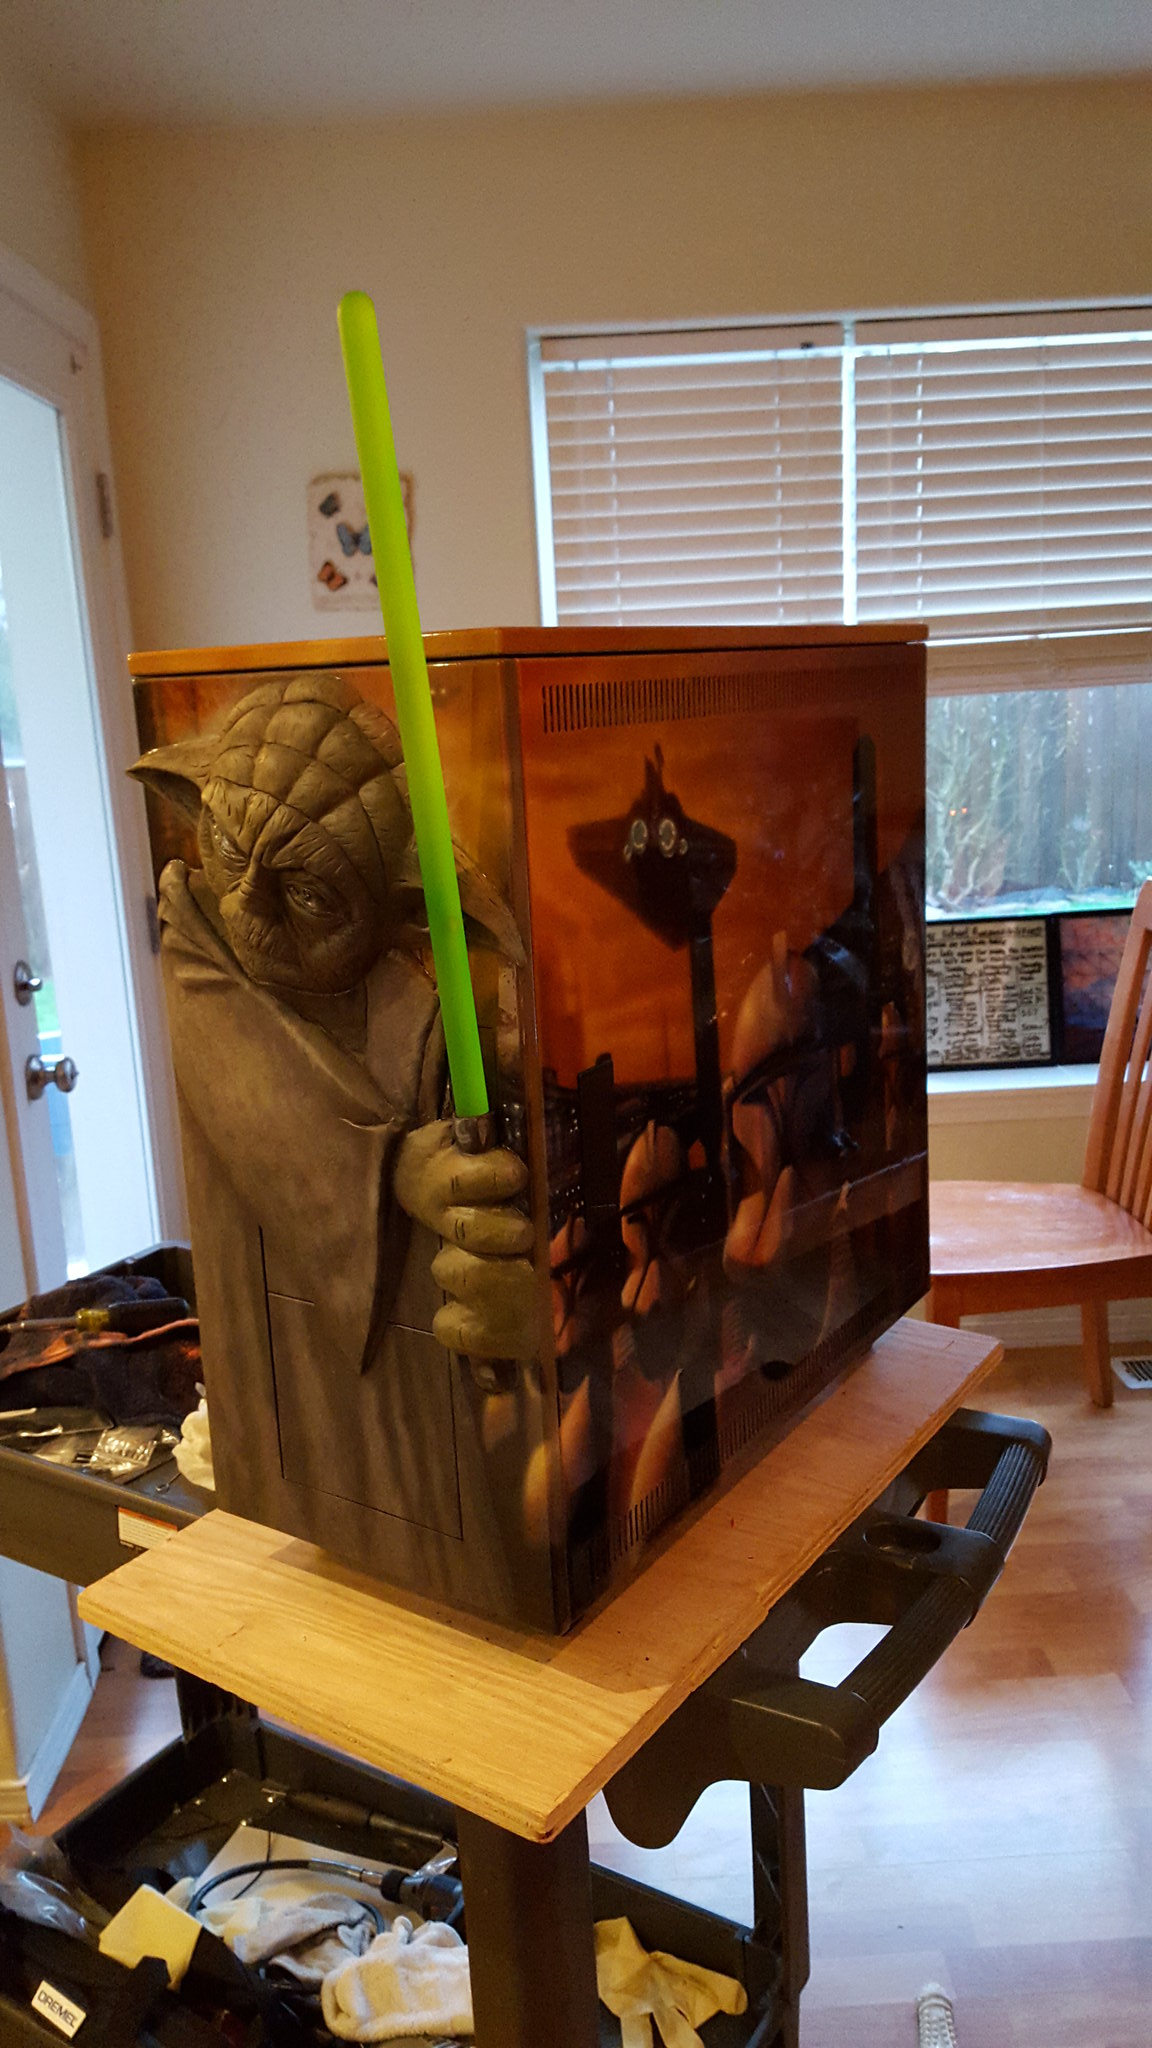
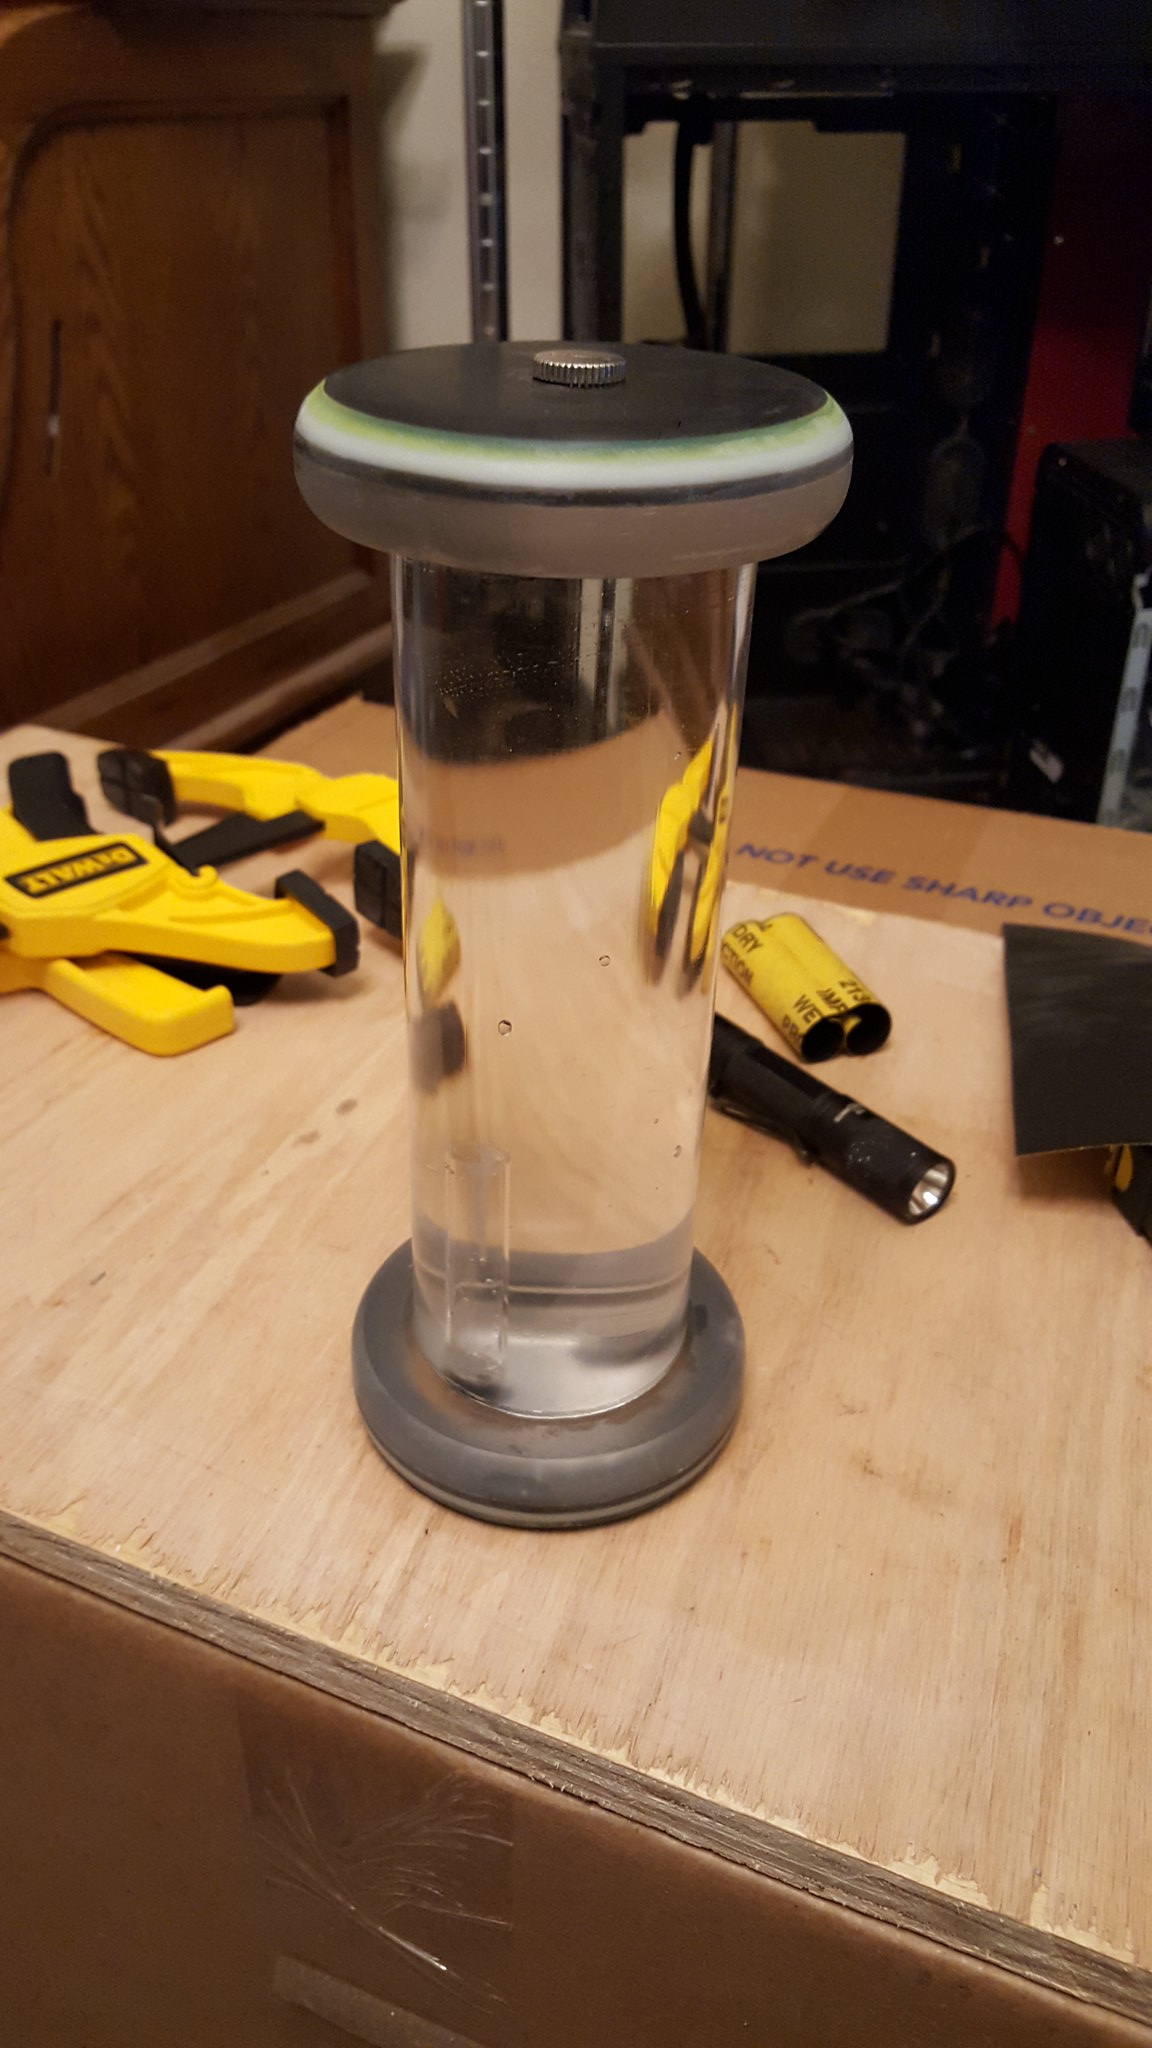
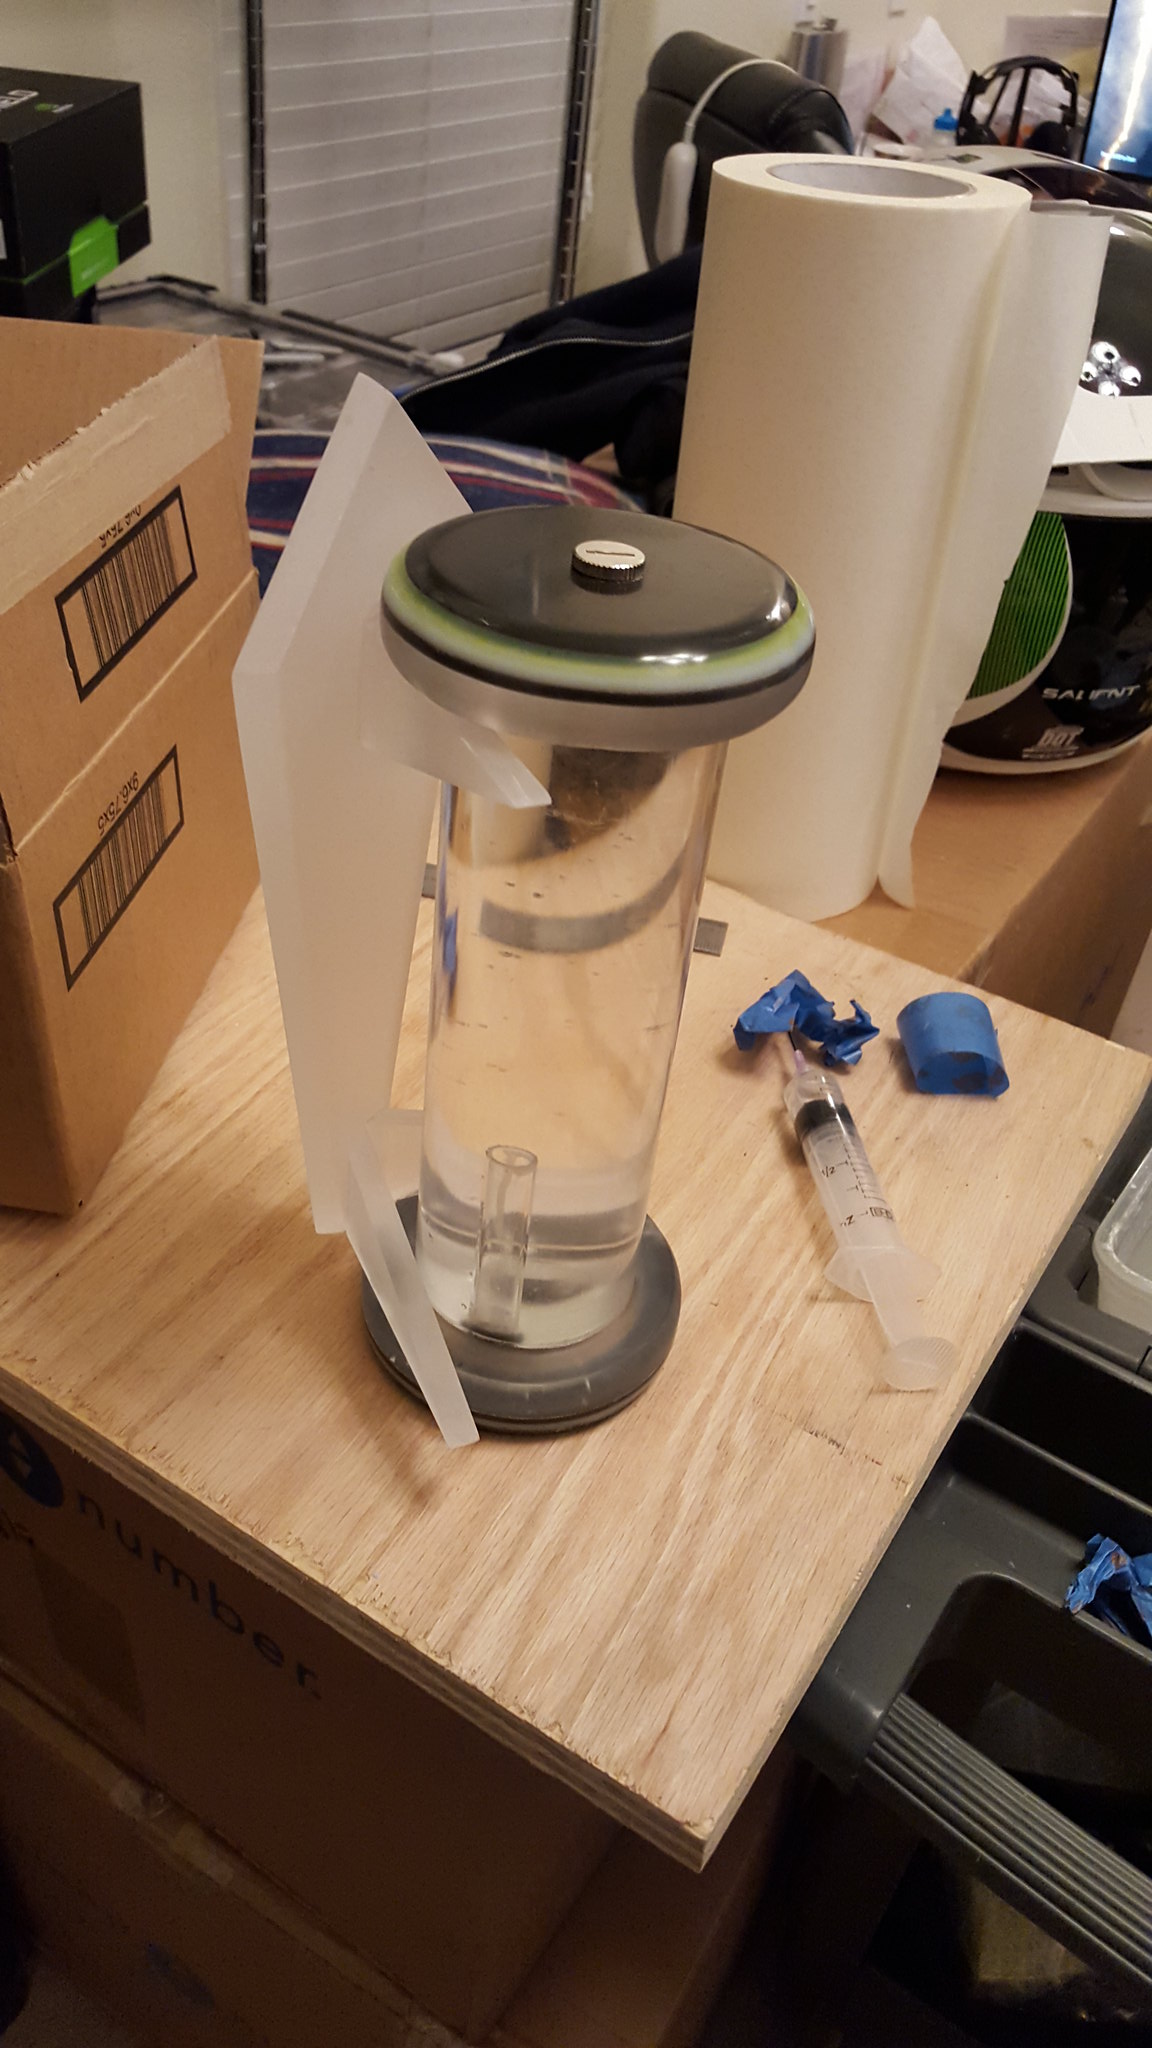
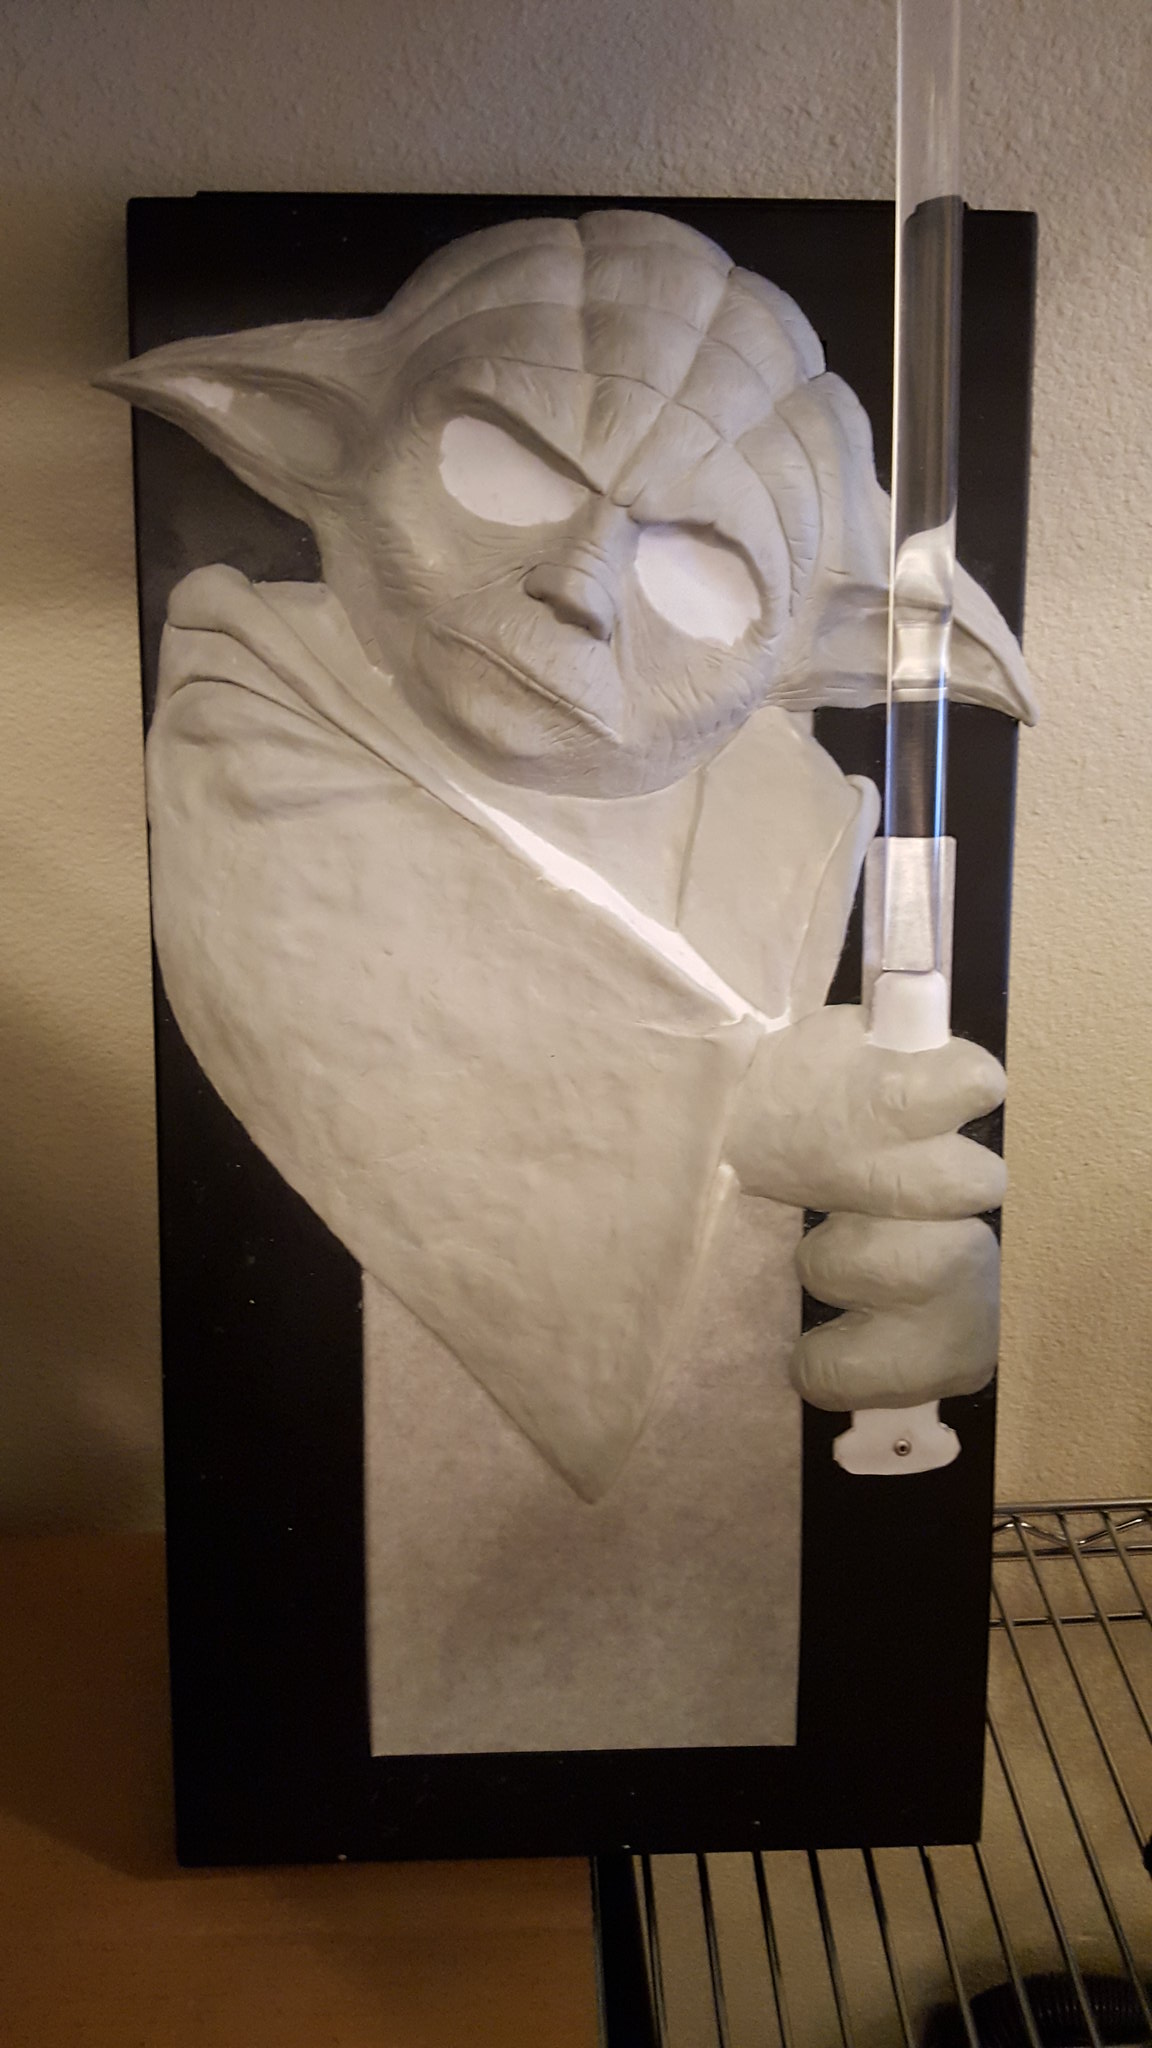
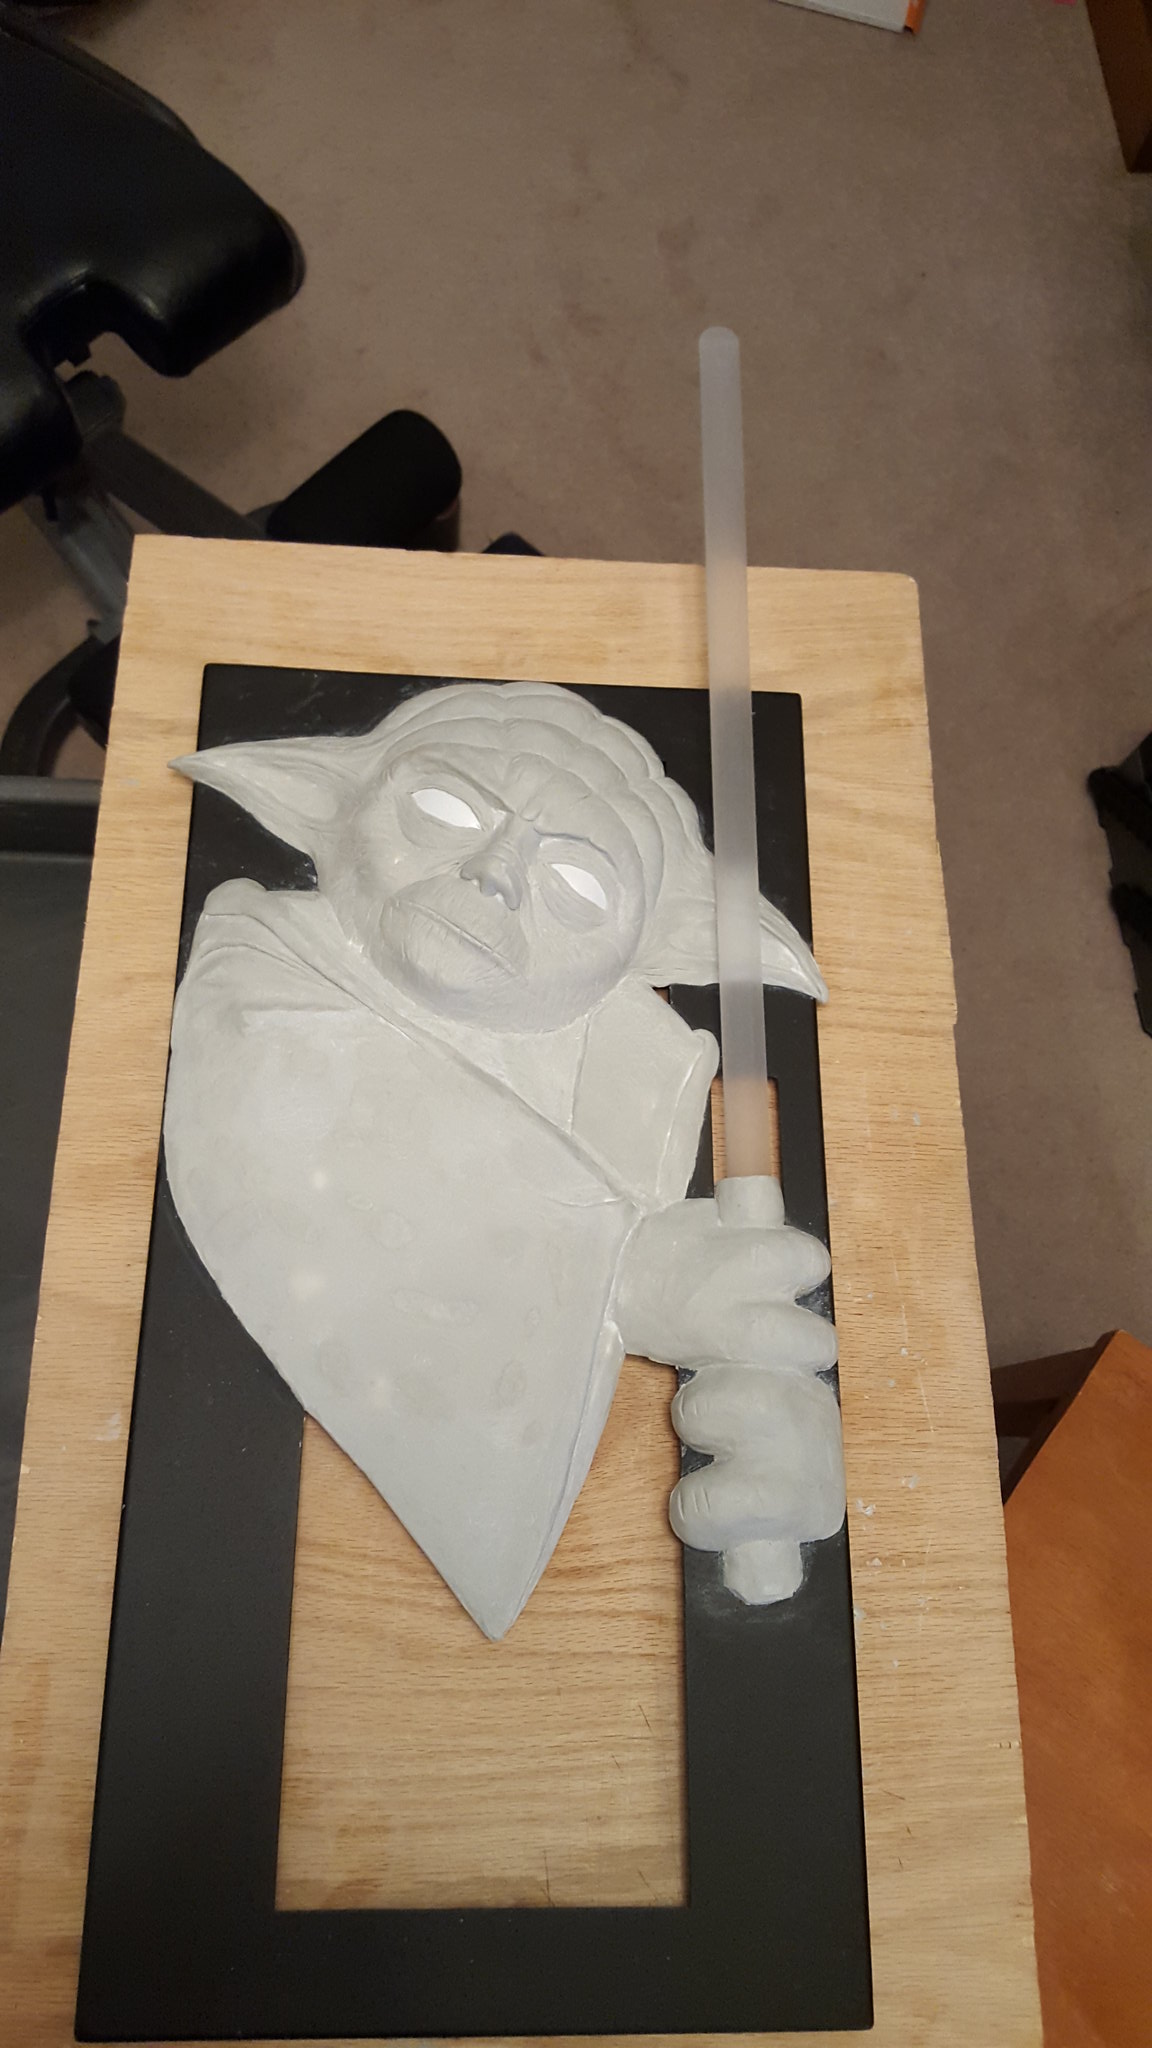
Use a half round piece of clear acrylic I sanded it down to give a frosted look and rounded the tip.
I also made it removable for shipping.
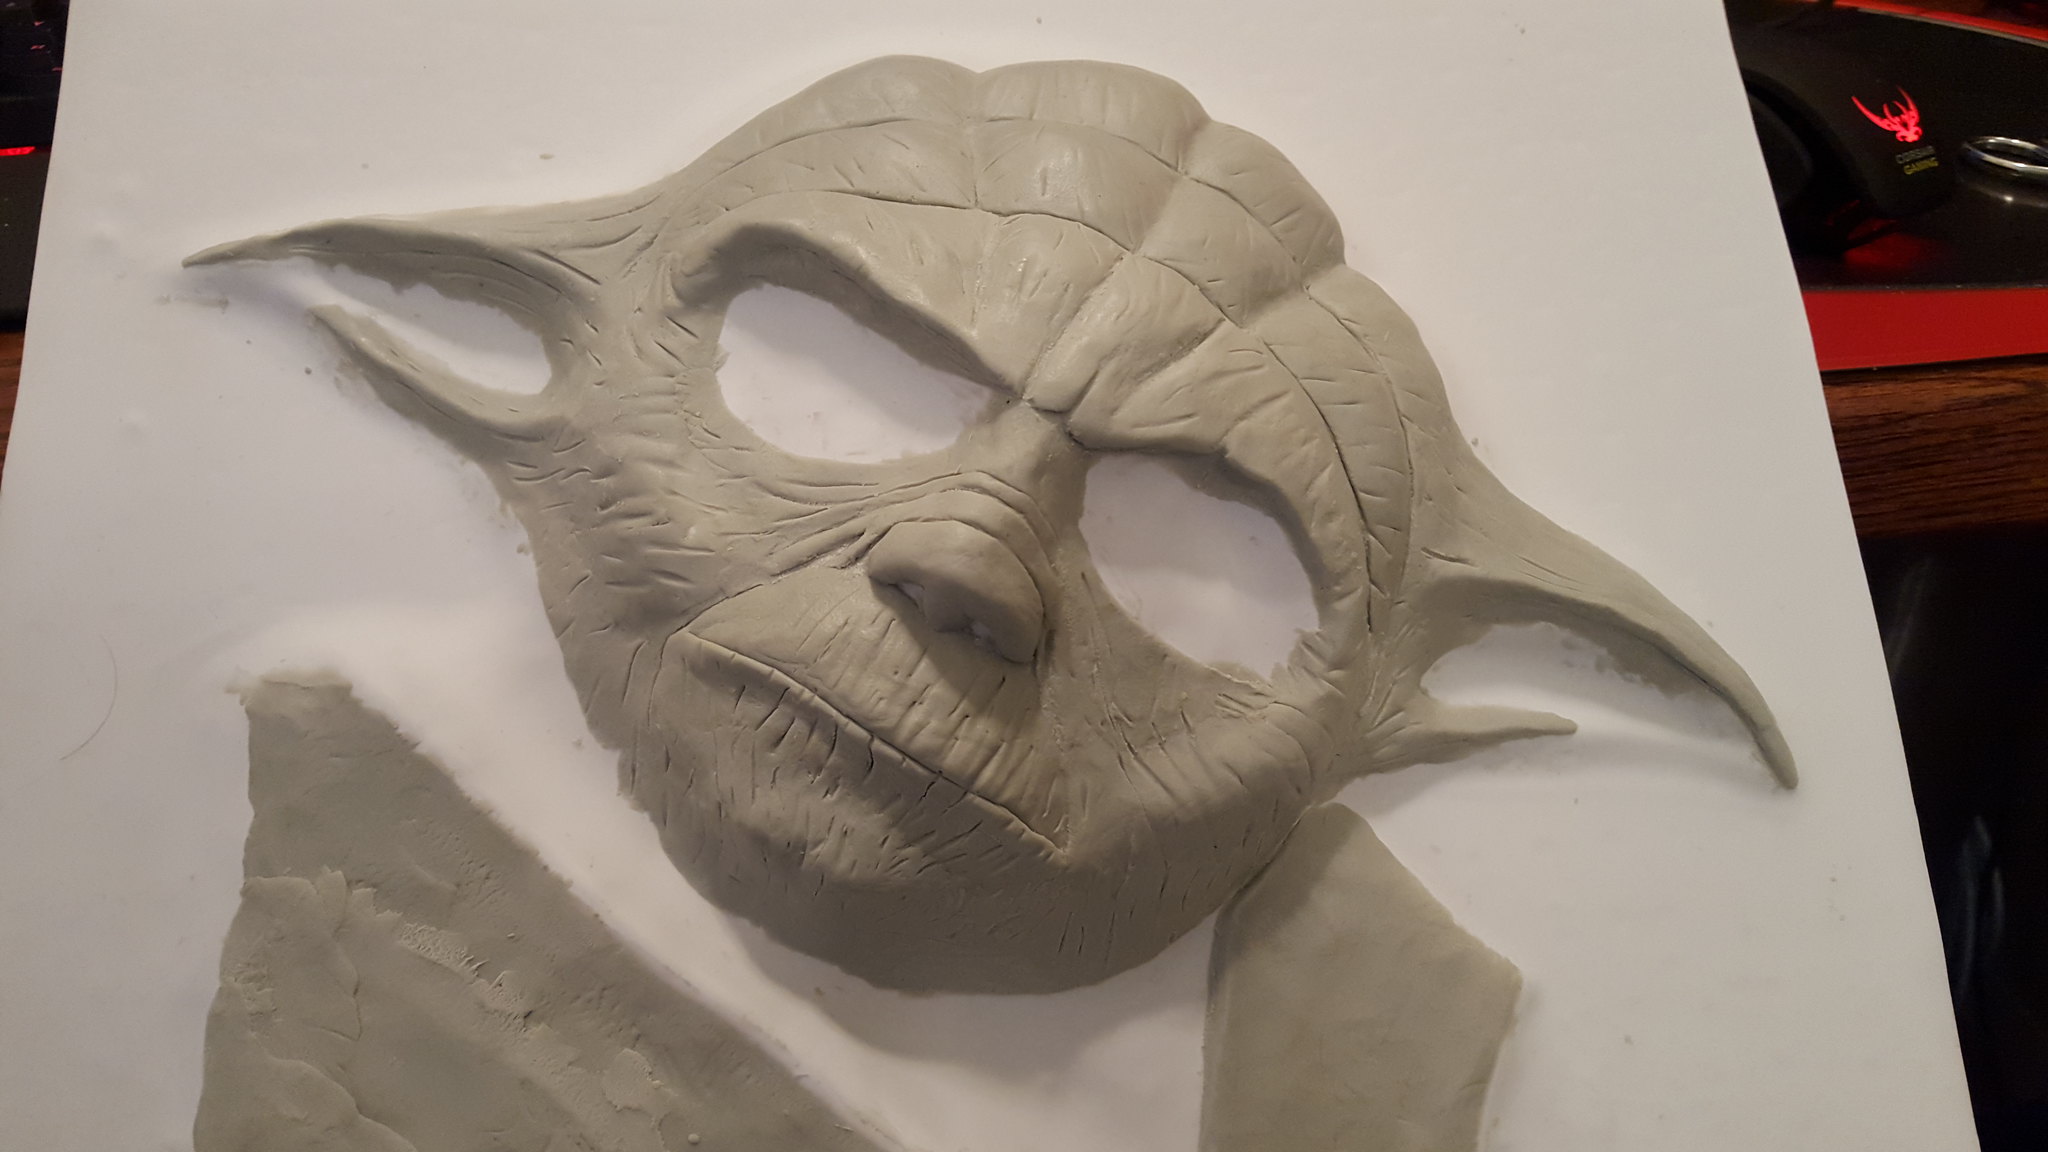
I am going to use some left over plastic from the vacuume form to make the eyes.
Using some oven gloves, I round out the plastic and cut it out to the shape of the eyes with some scissors.

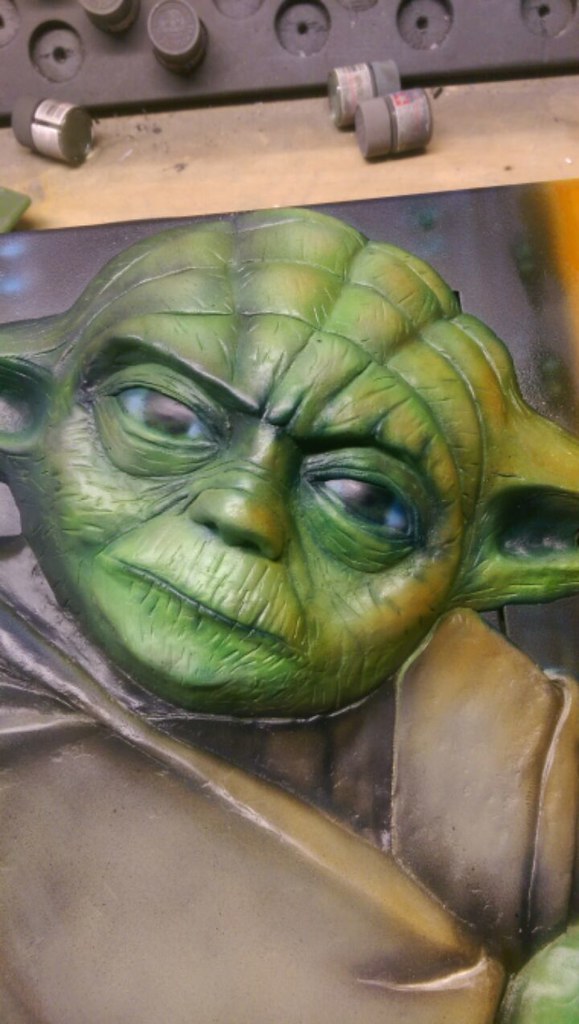
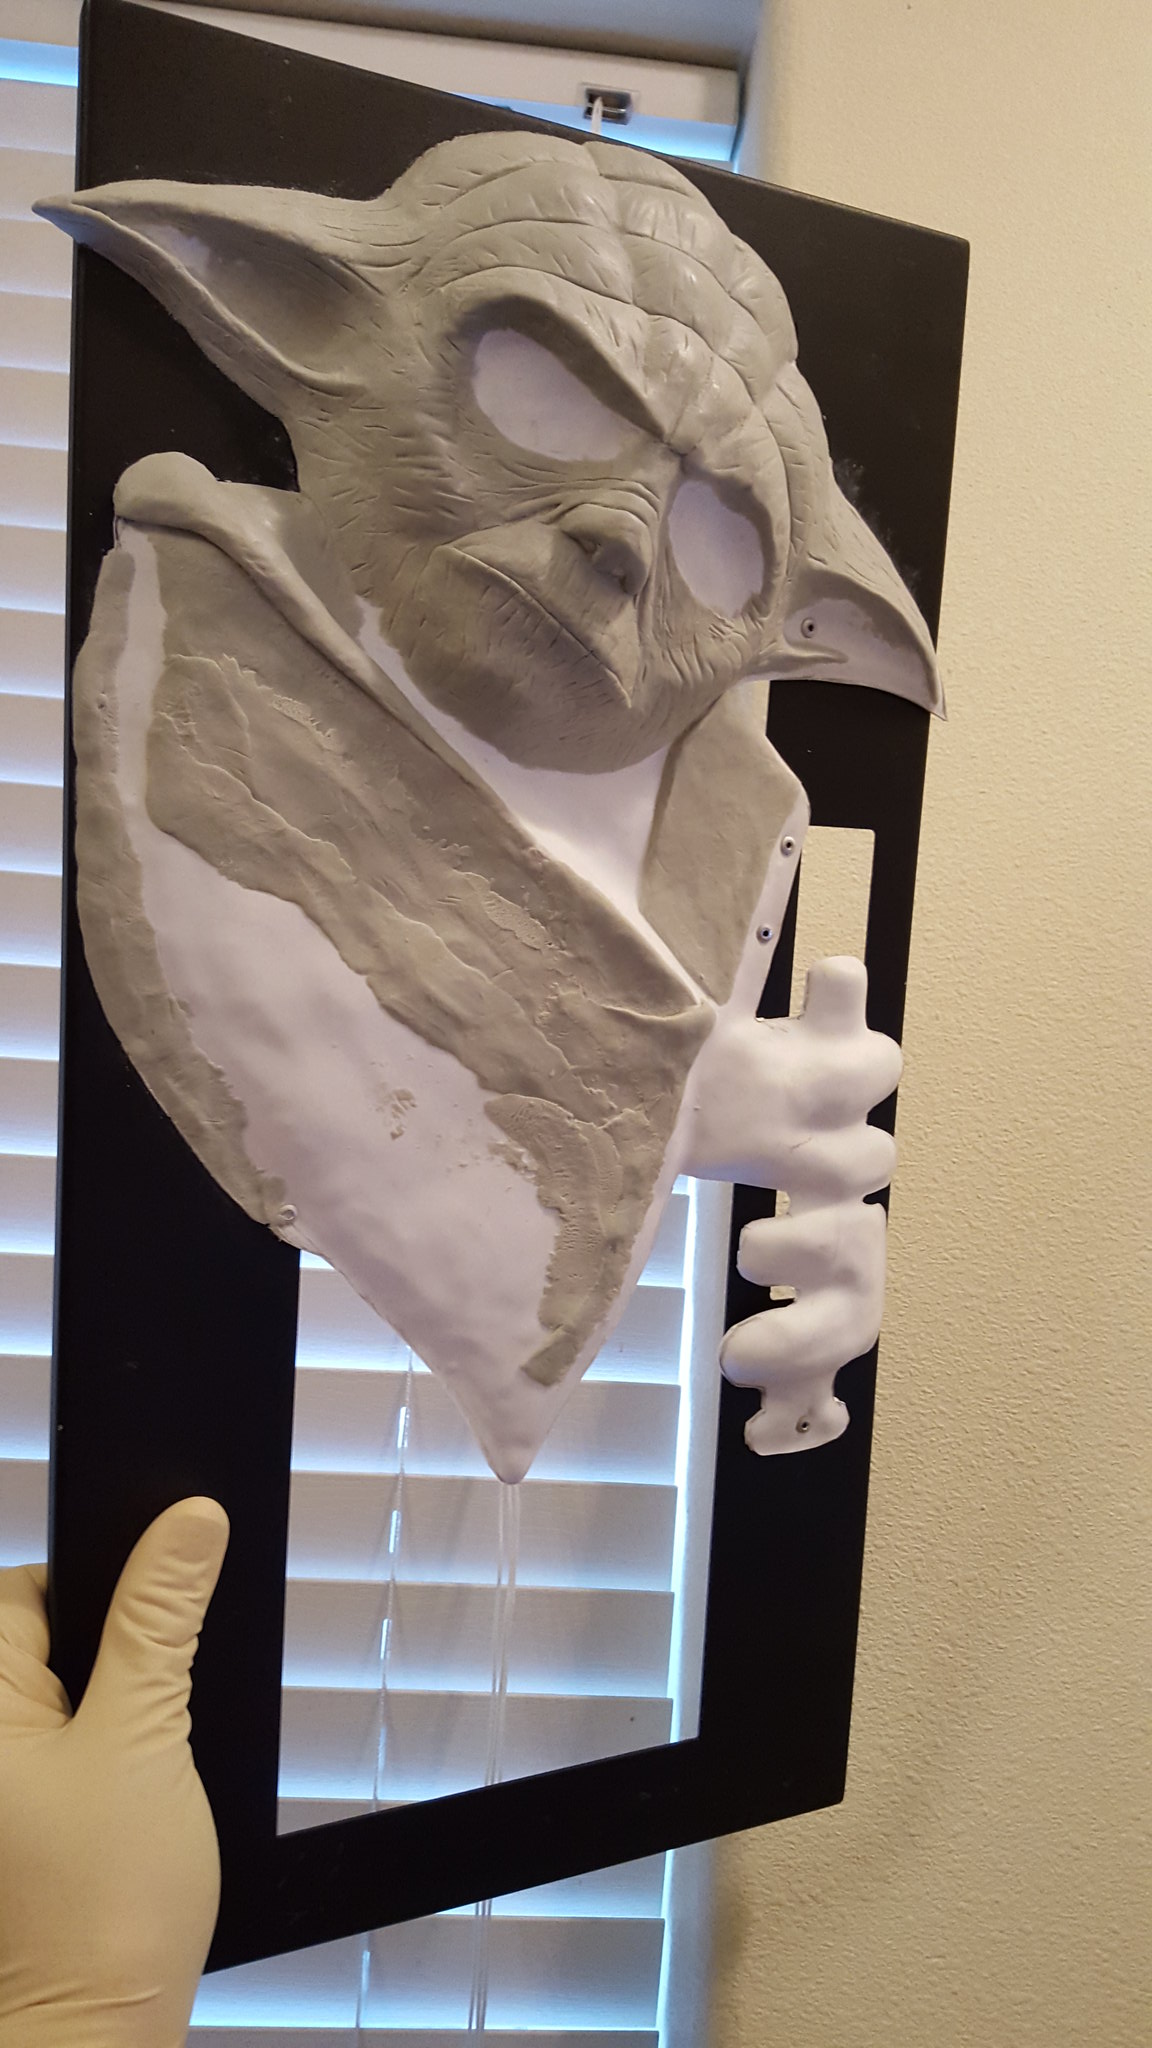
Now I can sculpt it into the rest of the face and work on blending it in.
I also Drilled a hole in the ear so I would have a place to screw into the lightsaber.
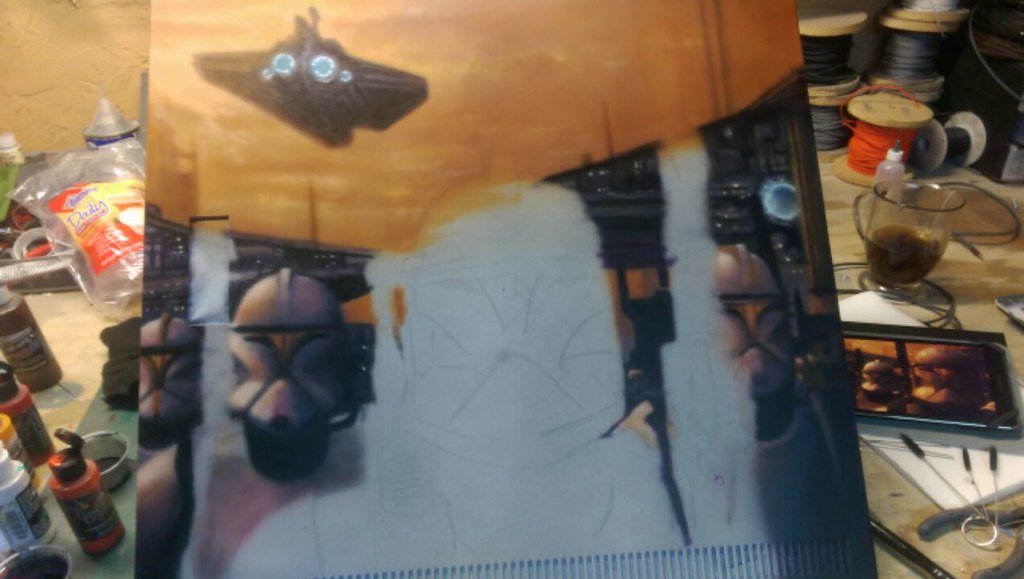
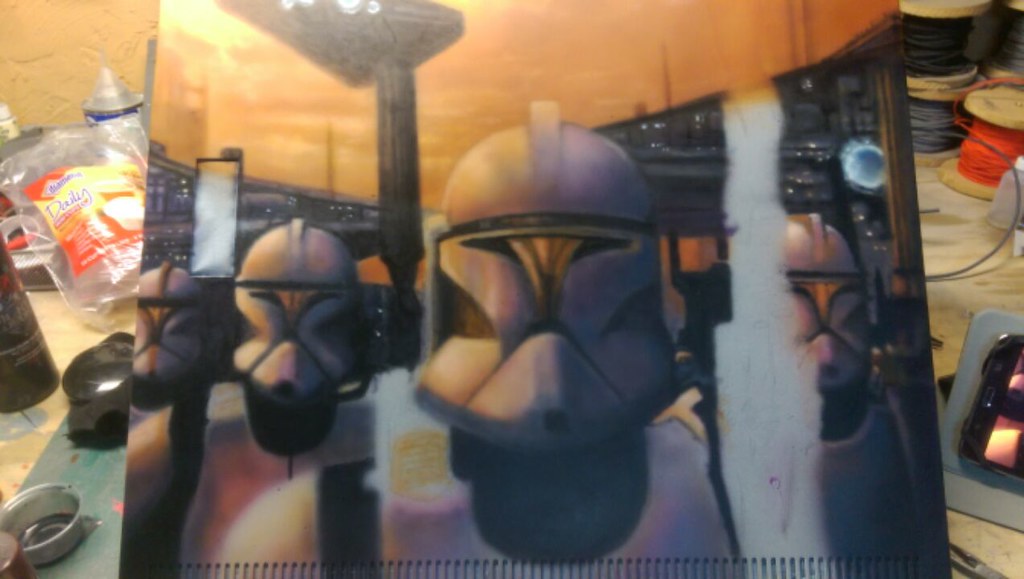
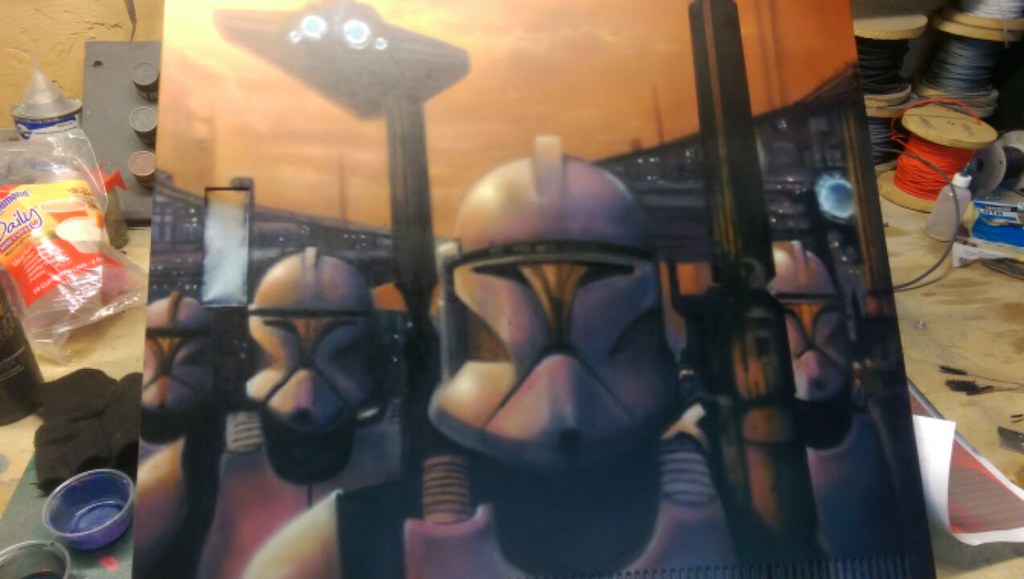
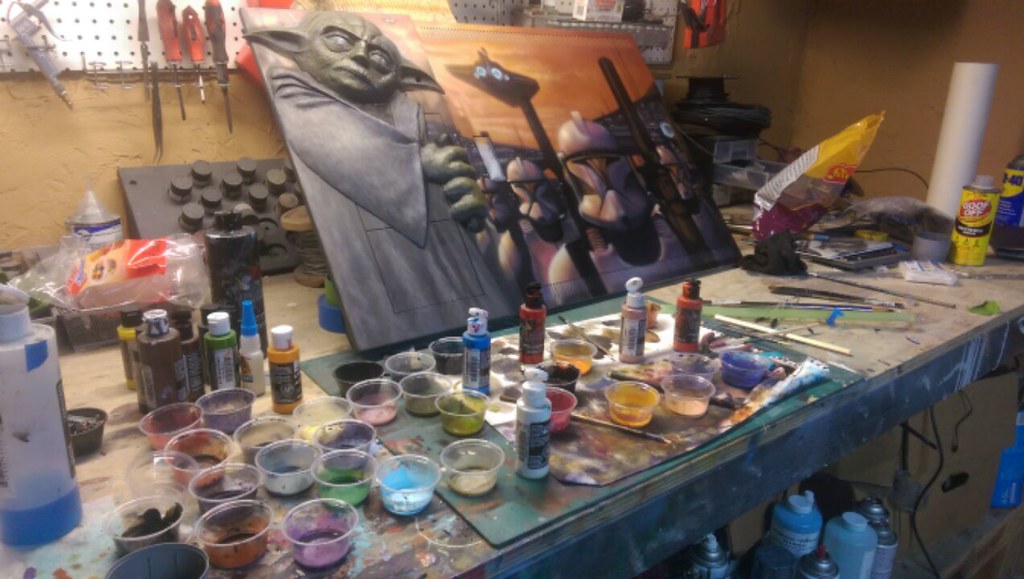
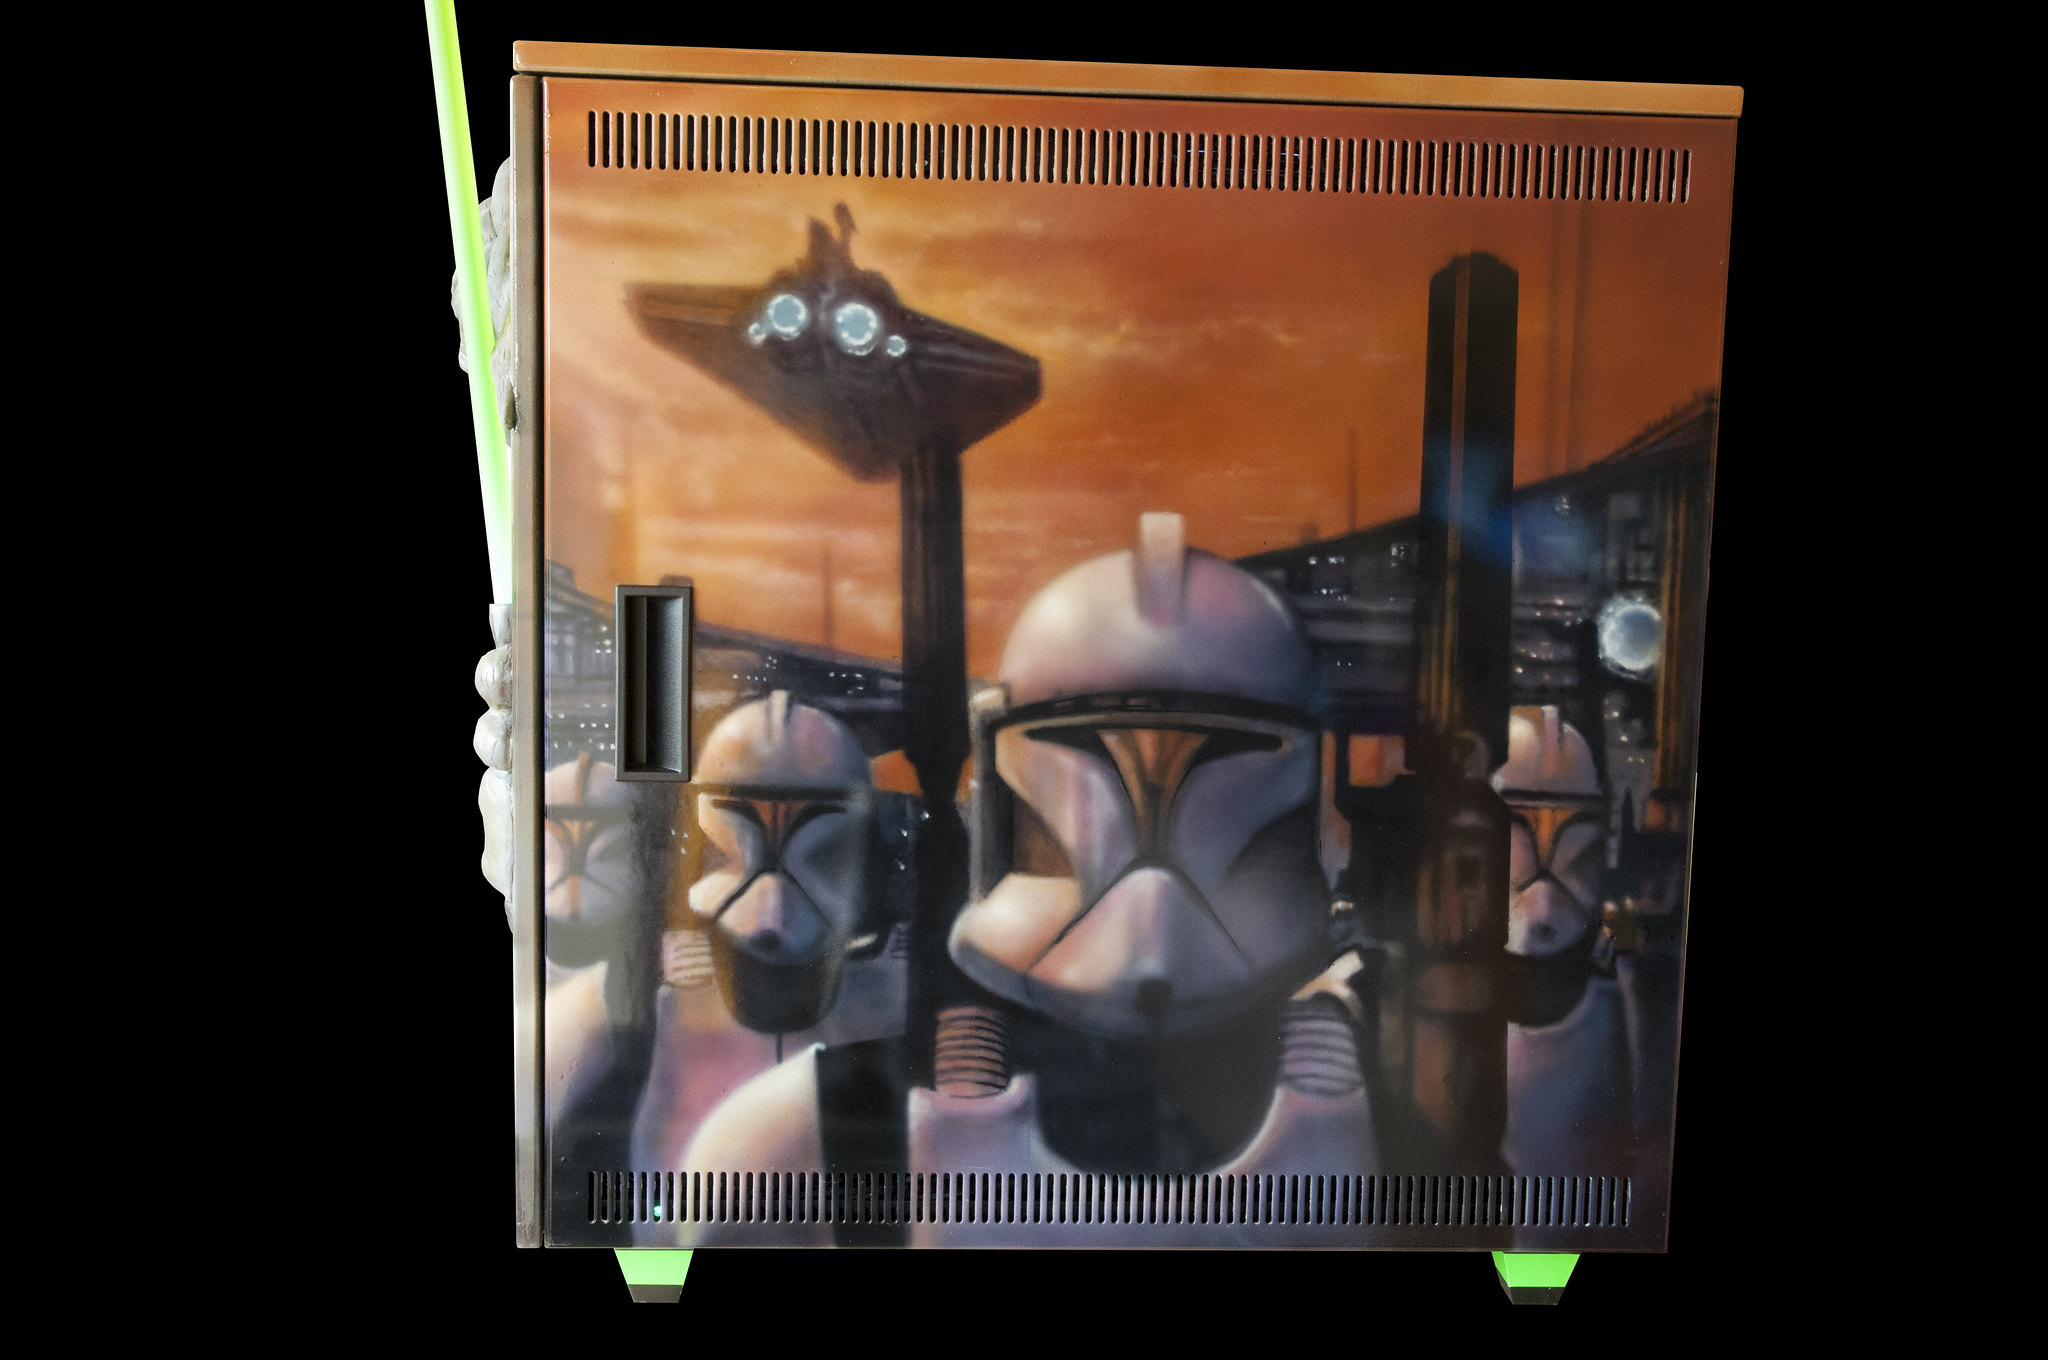
I needed to get the sculpting work done first so I could have my buddy Ron Christianson start working on the paint.
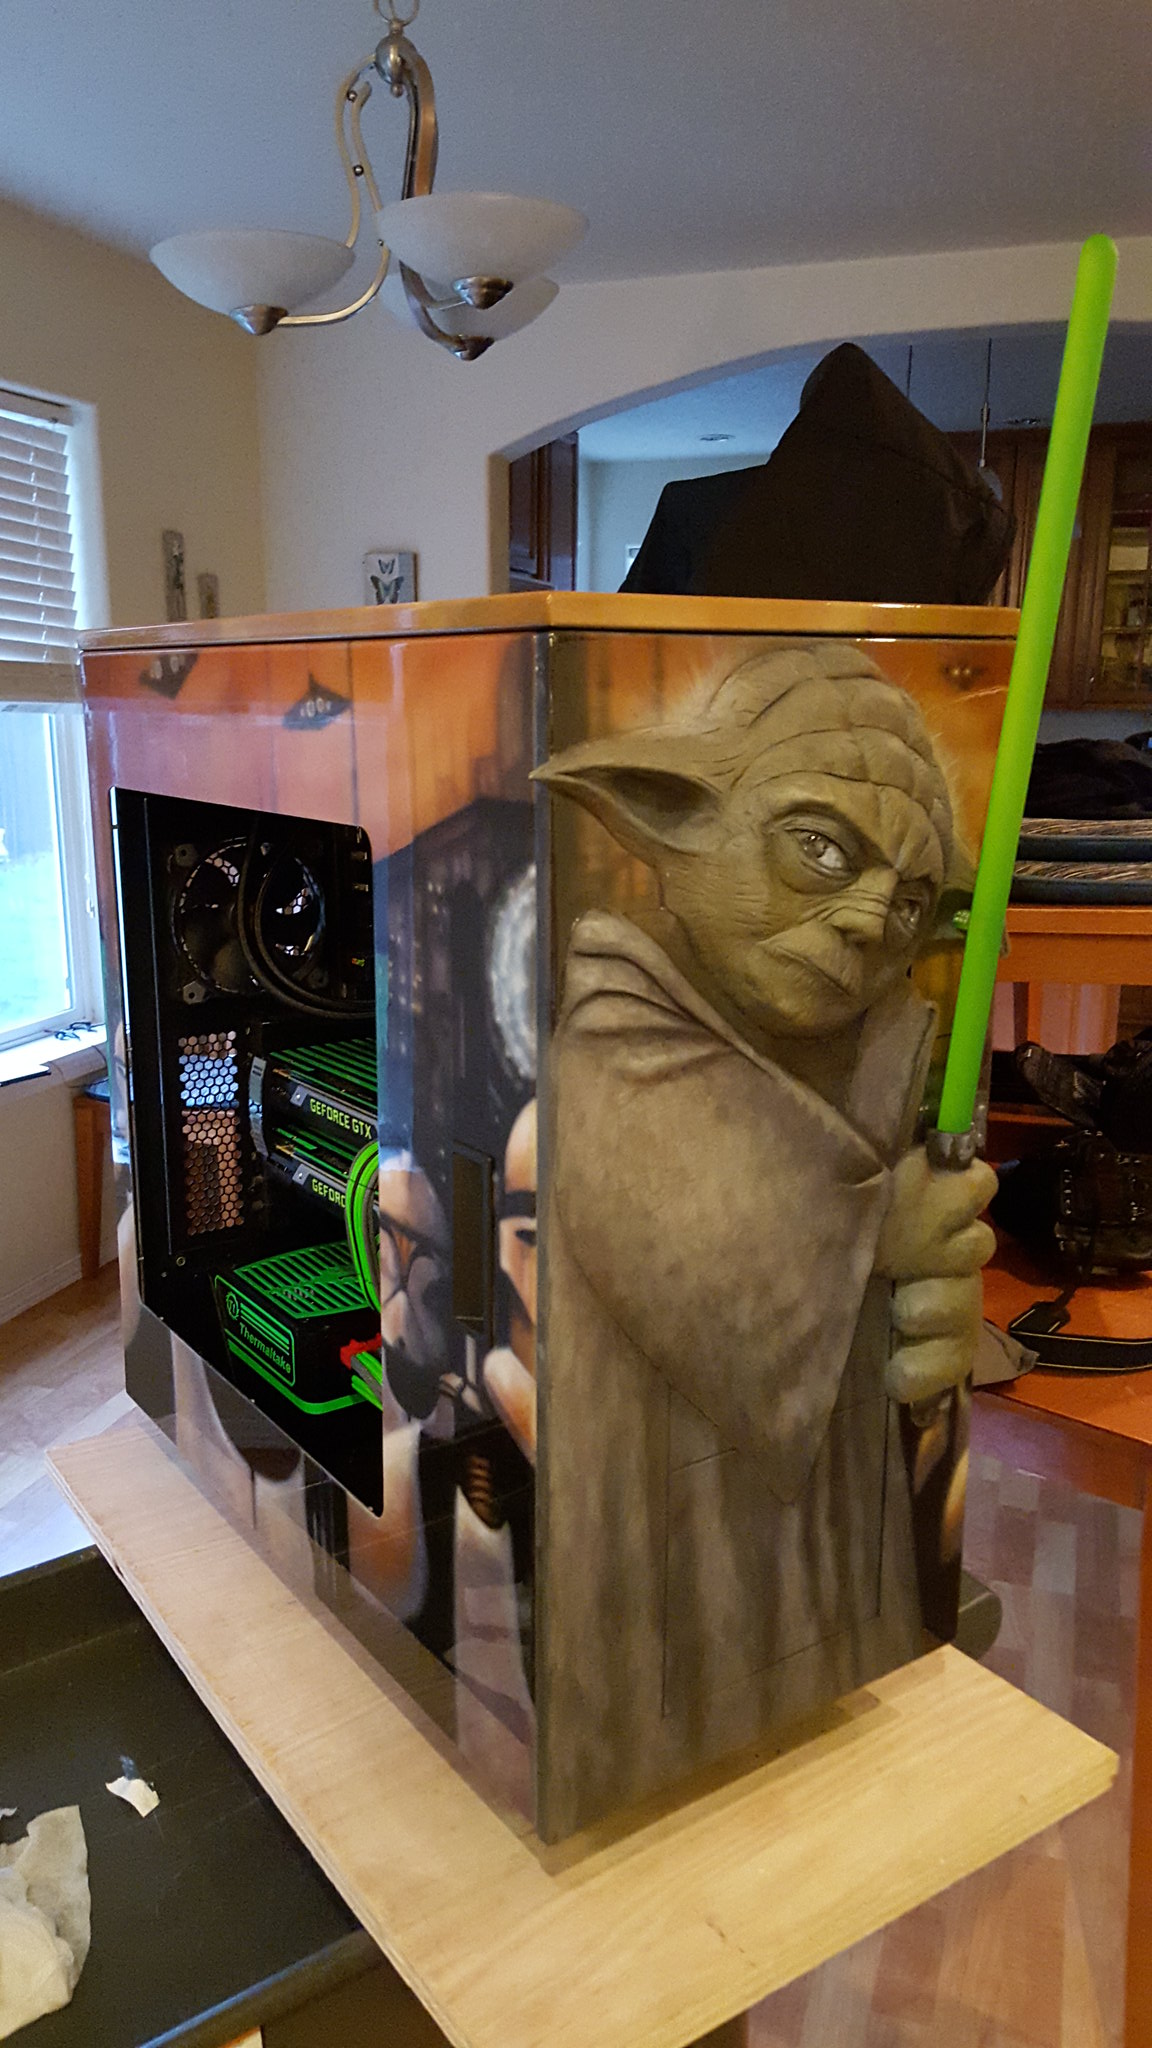
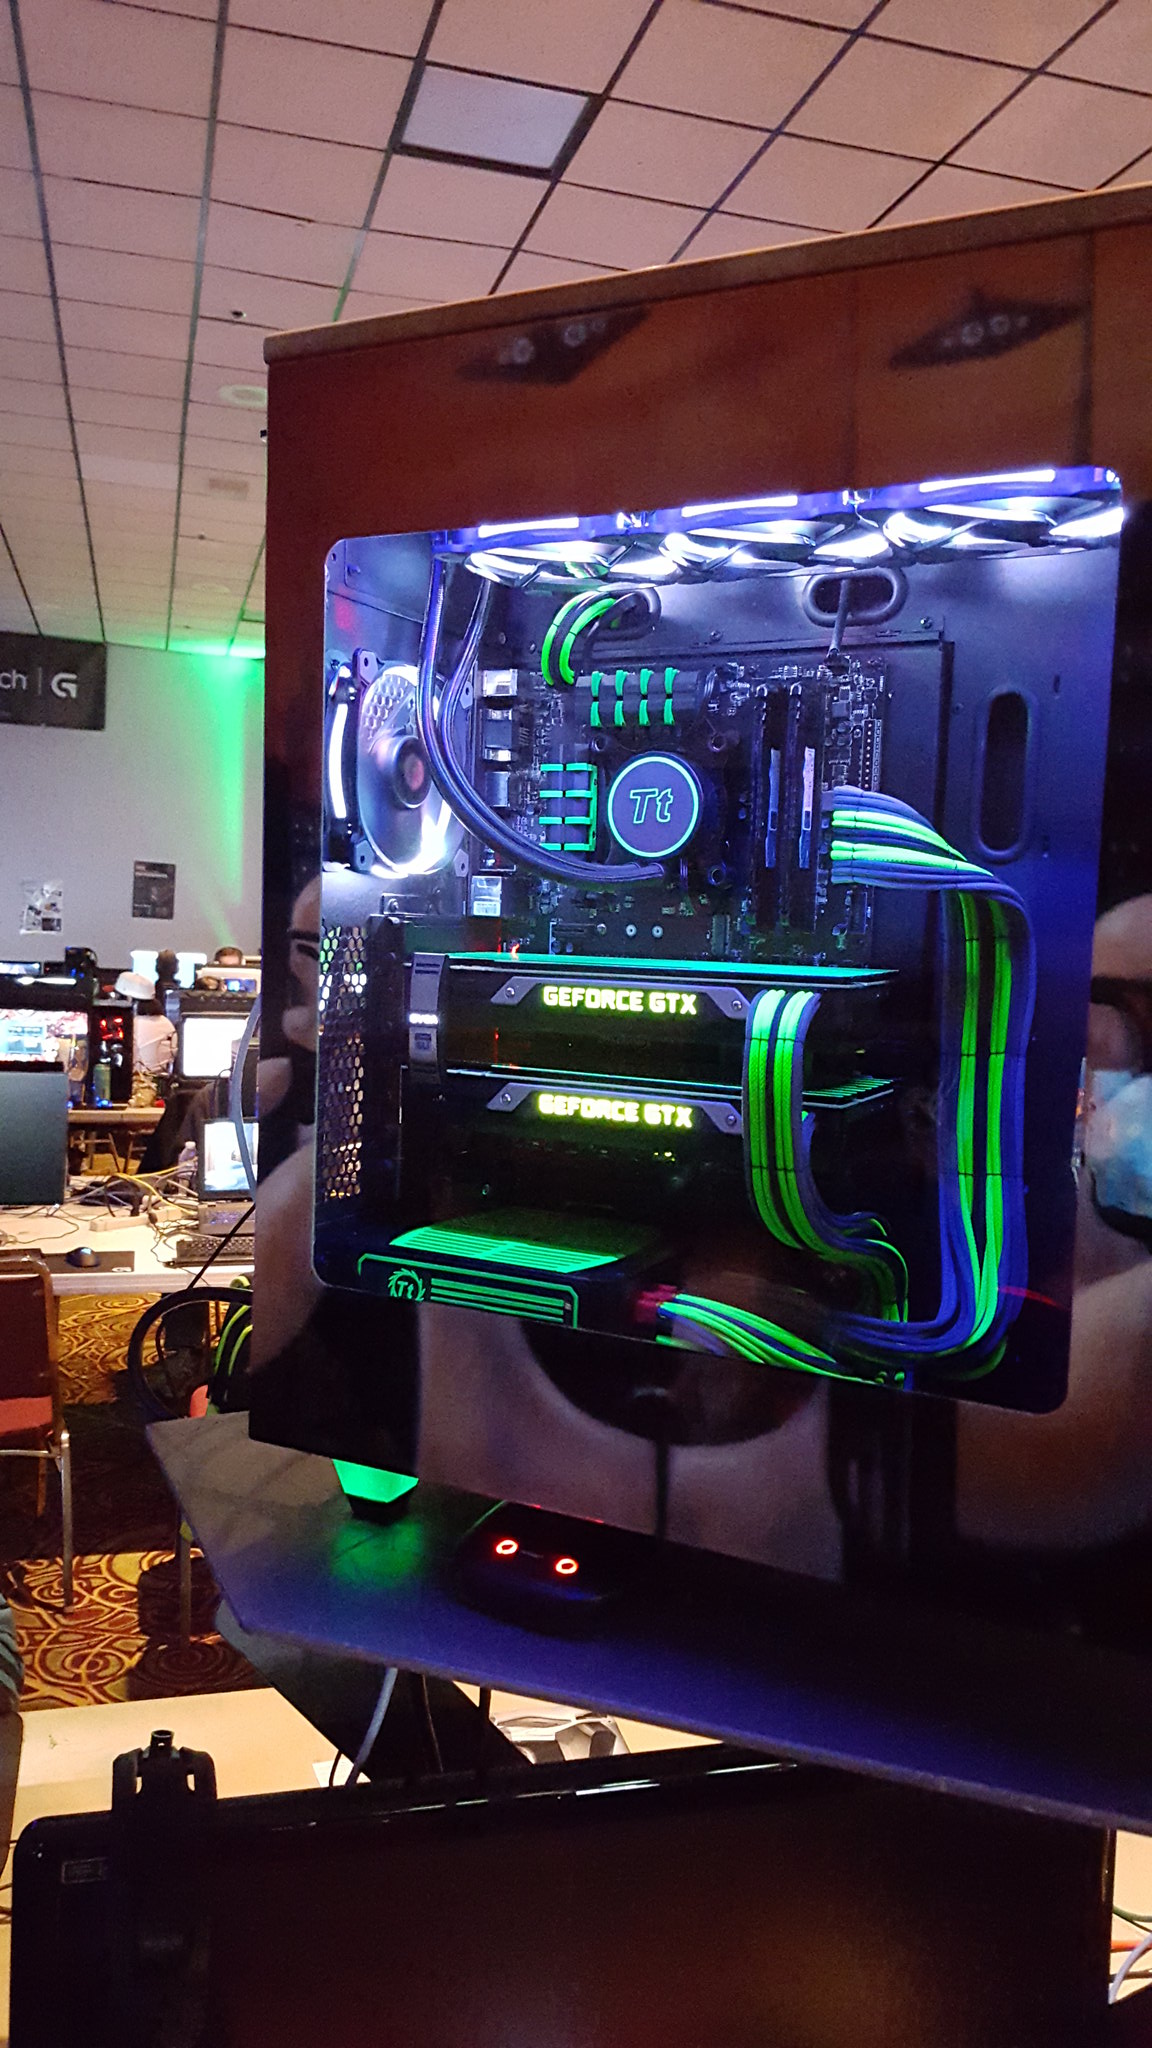
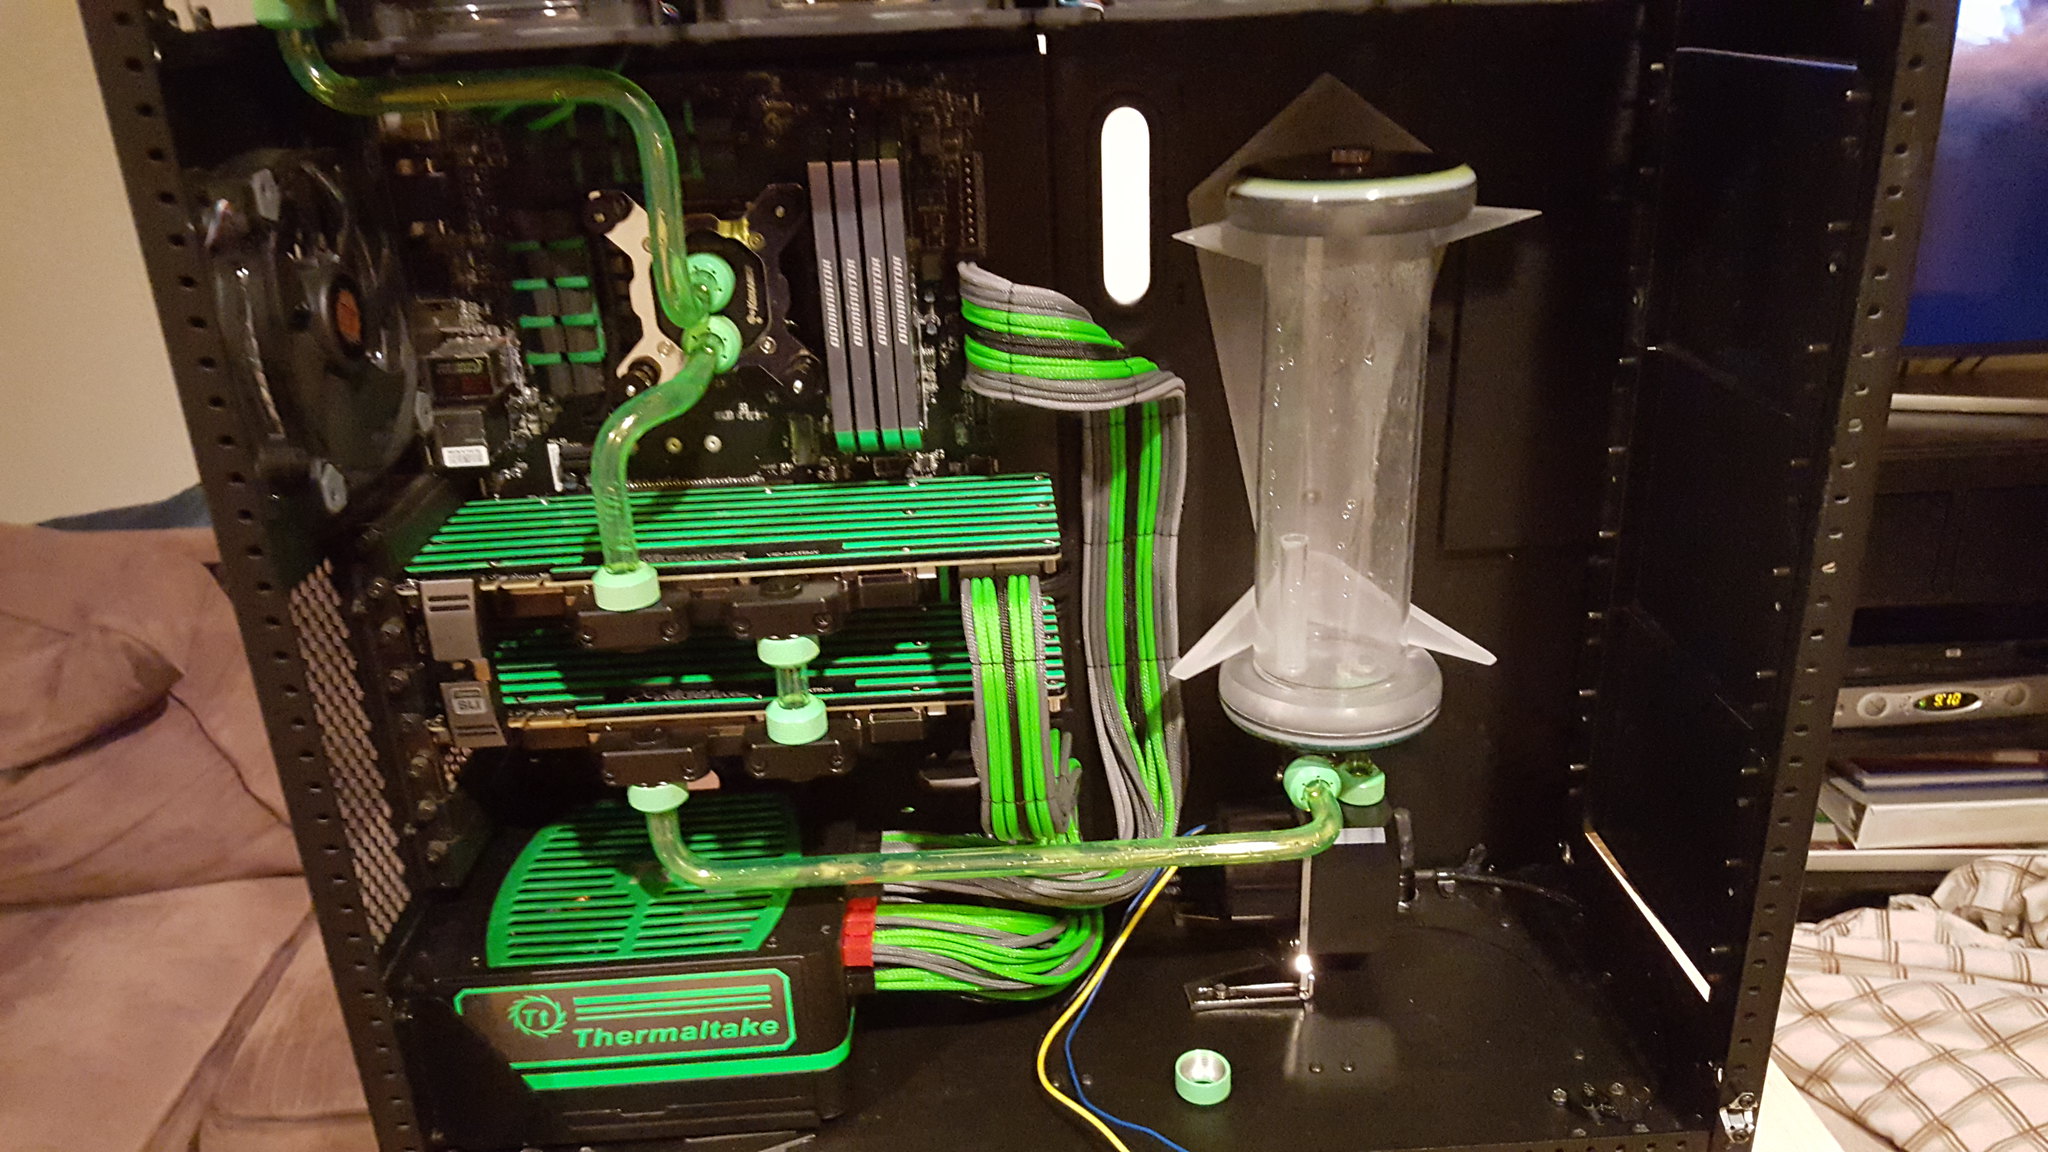
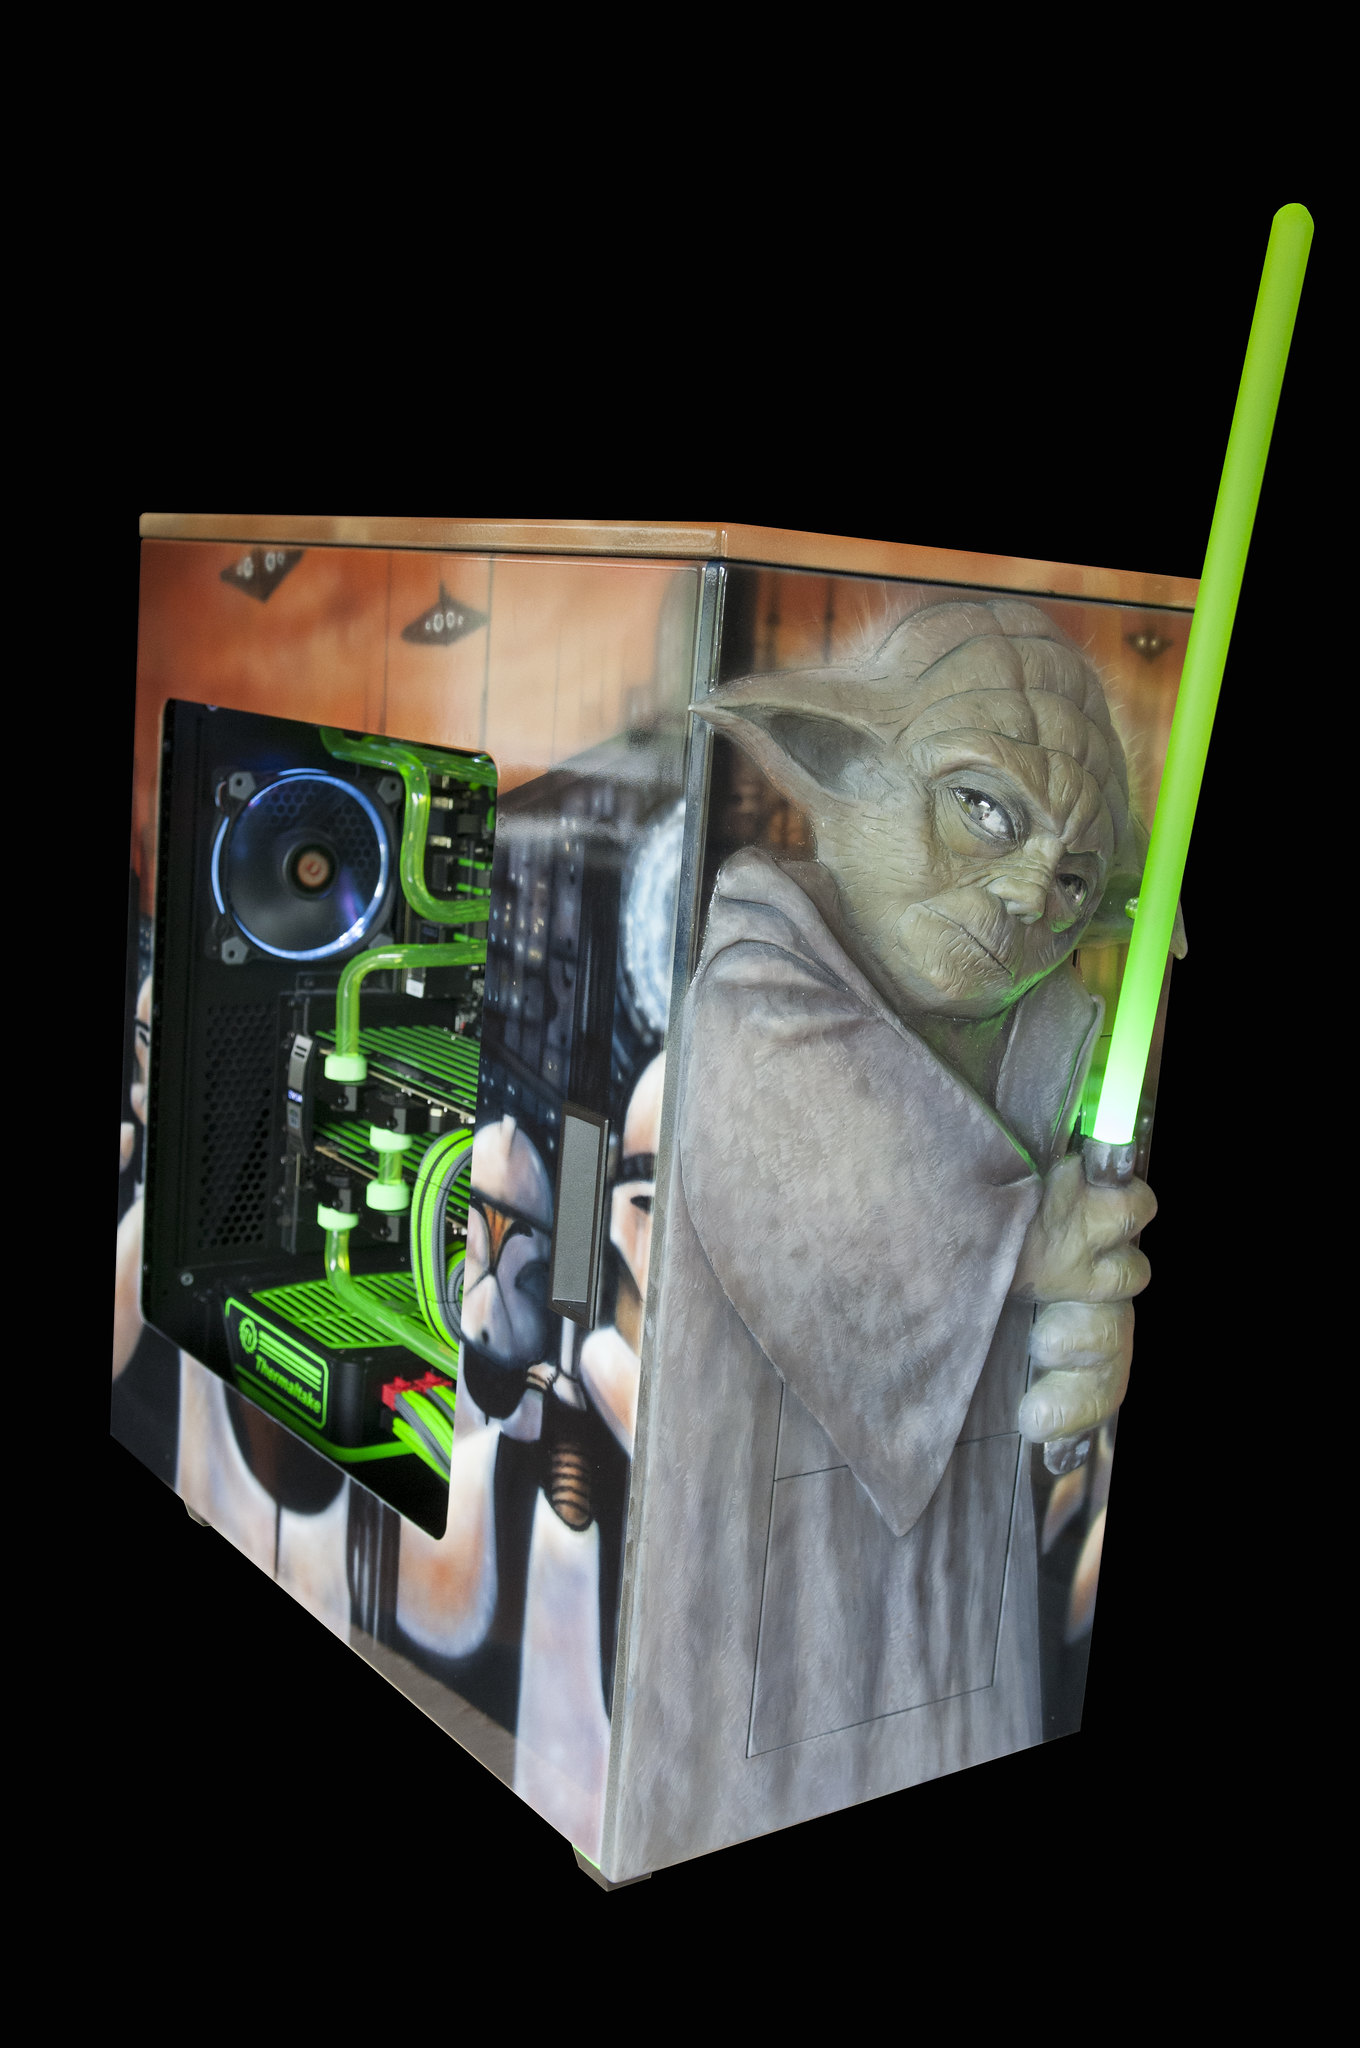
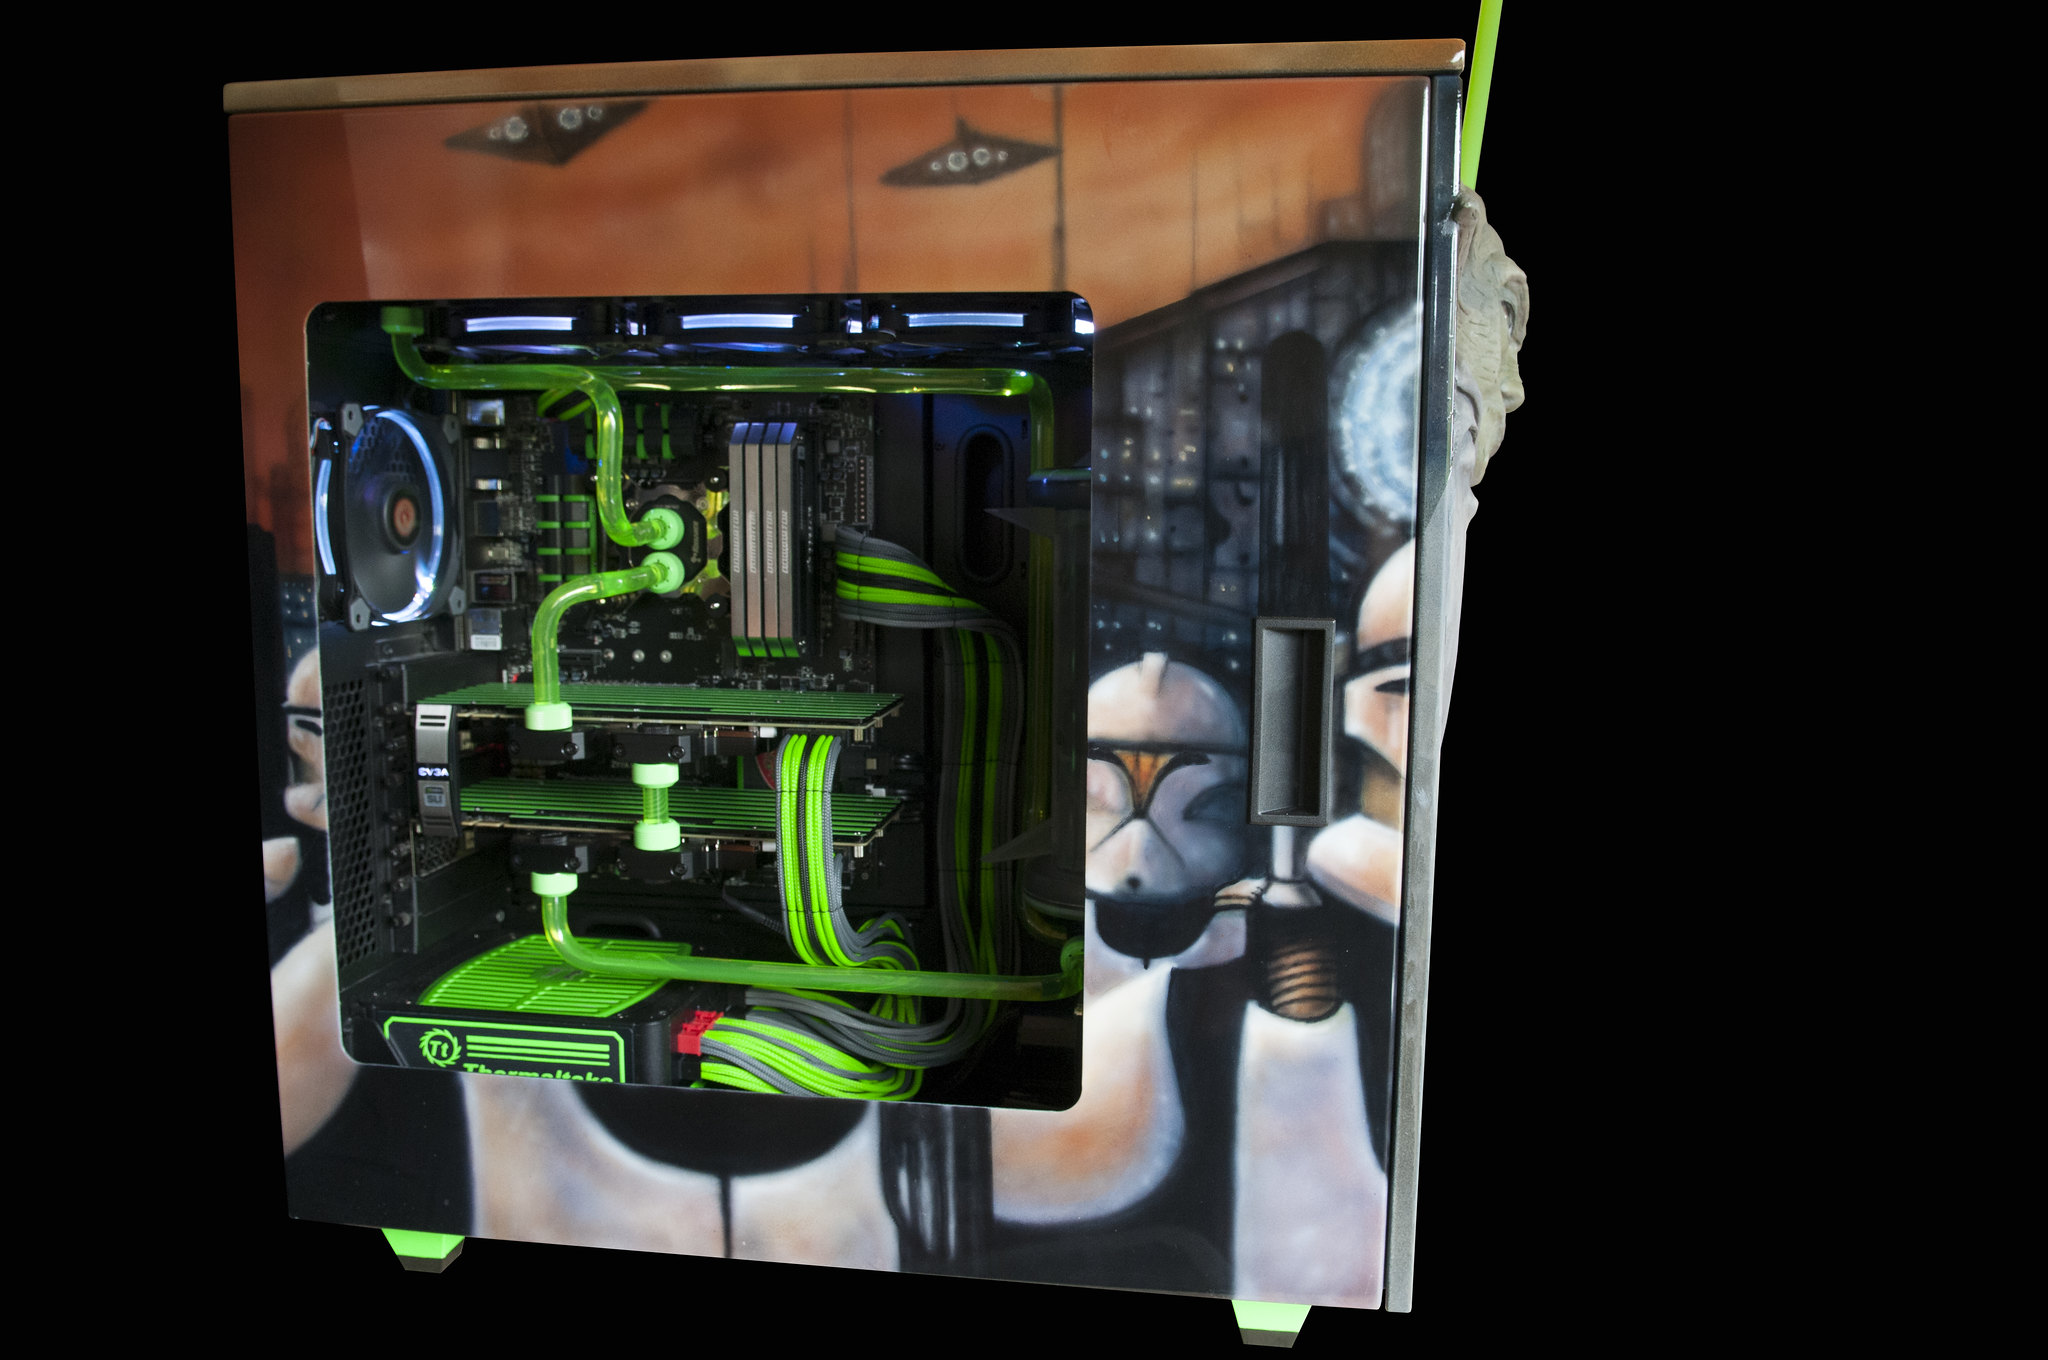
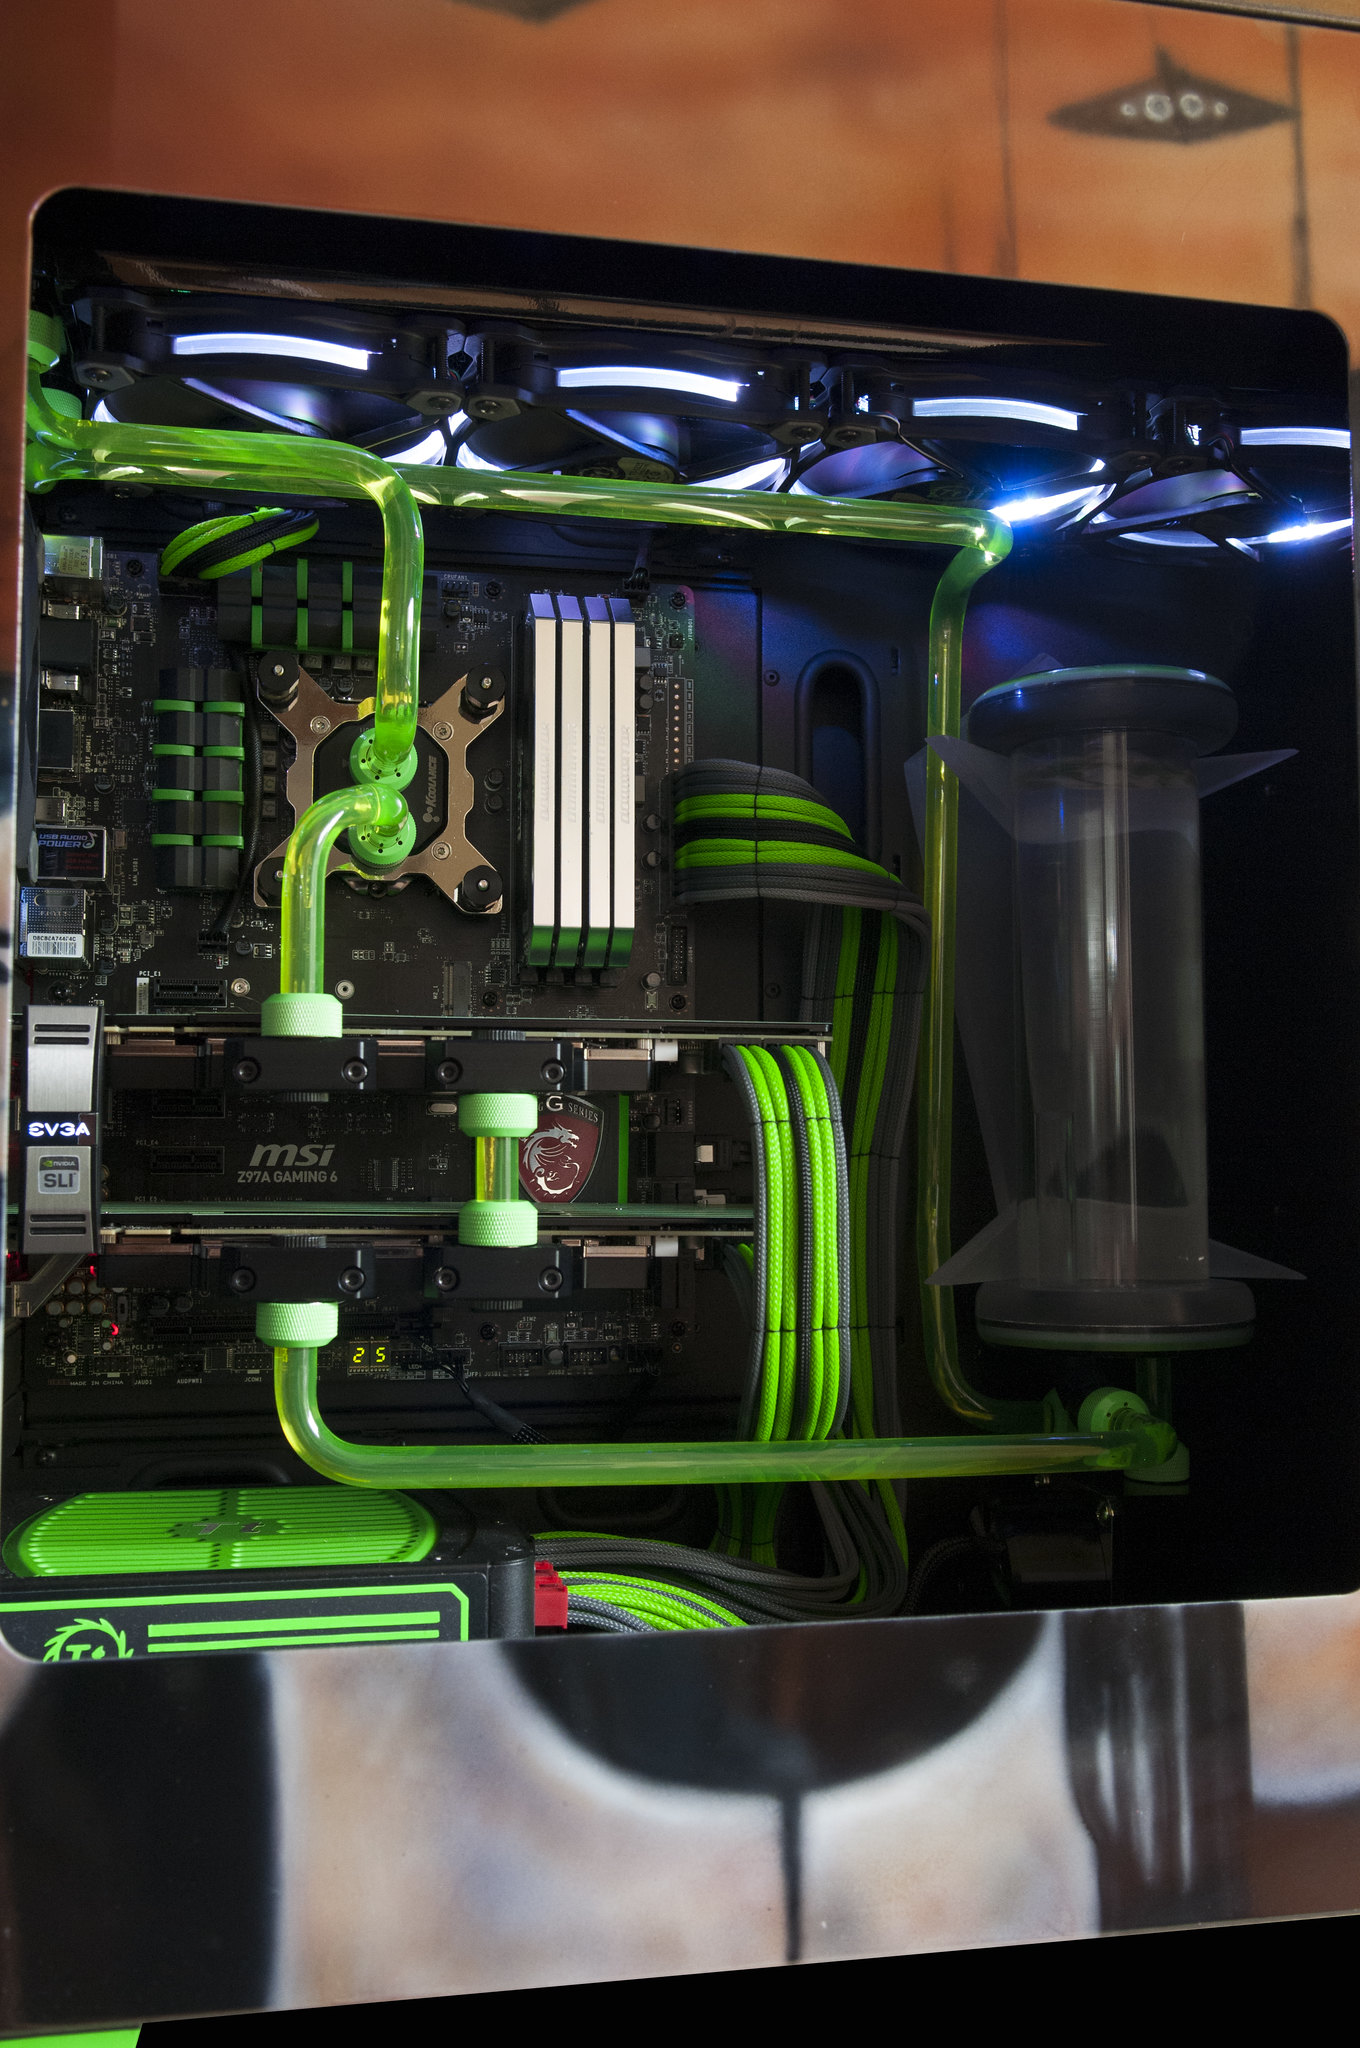
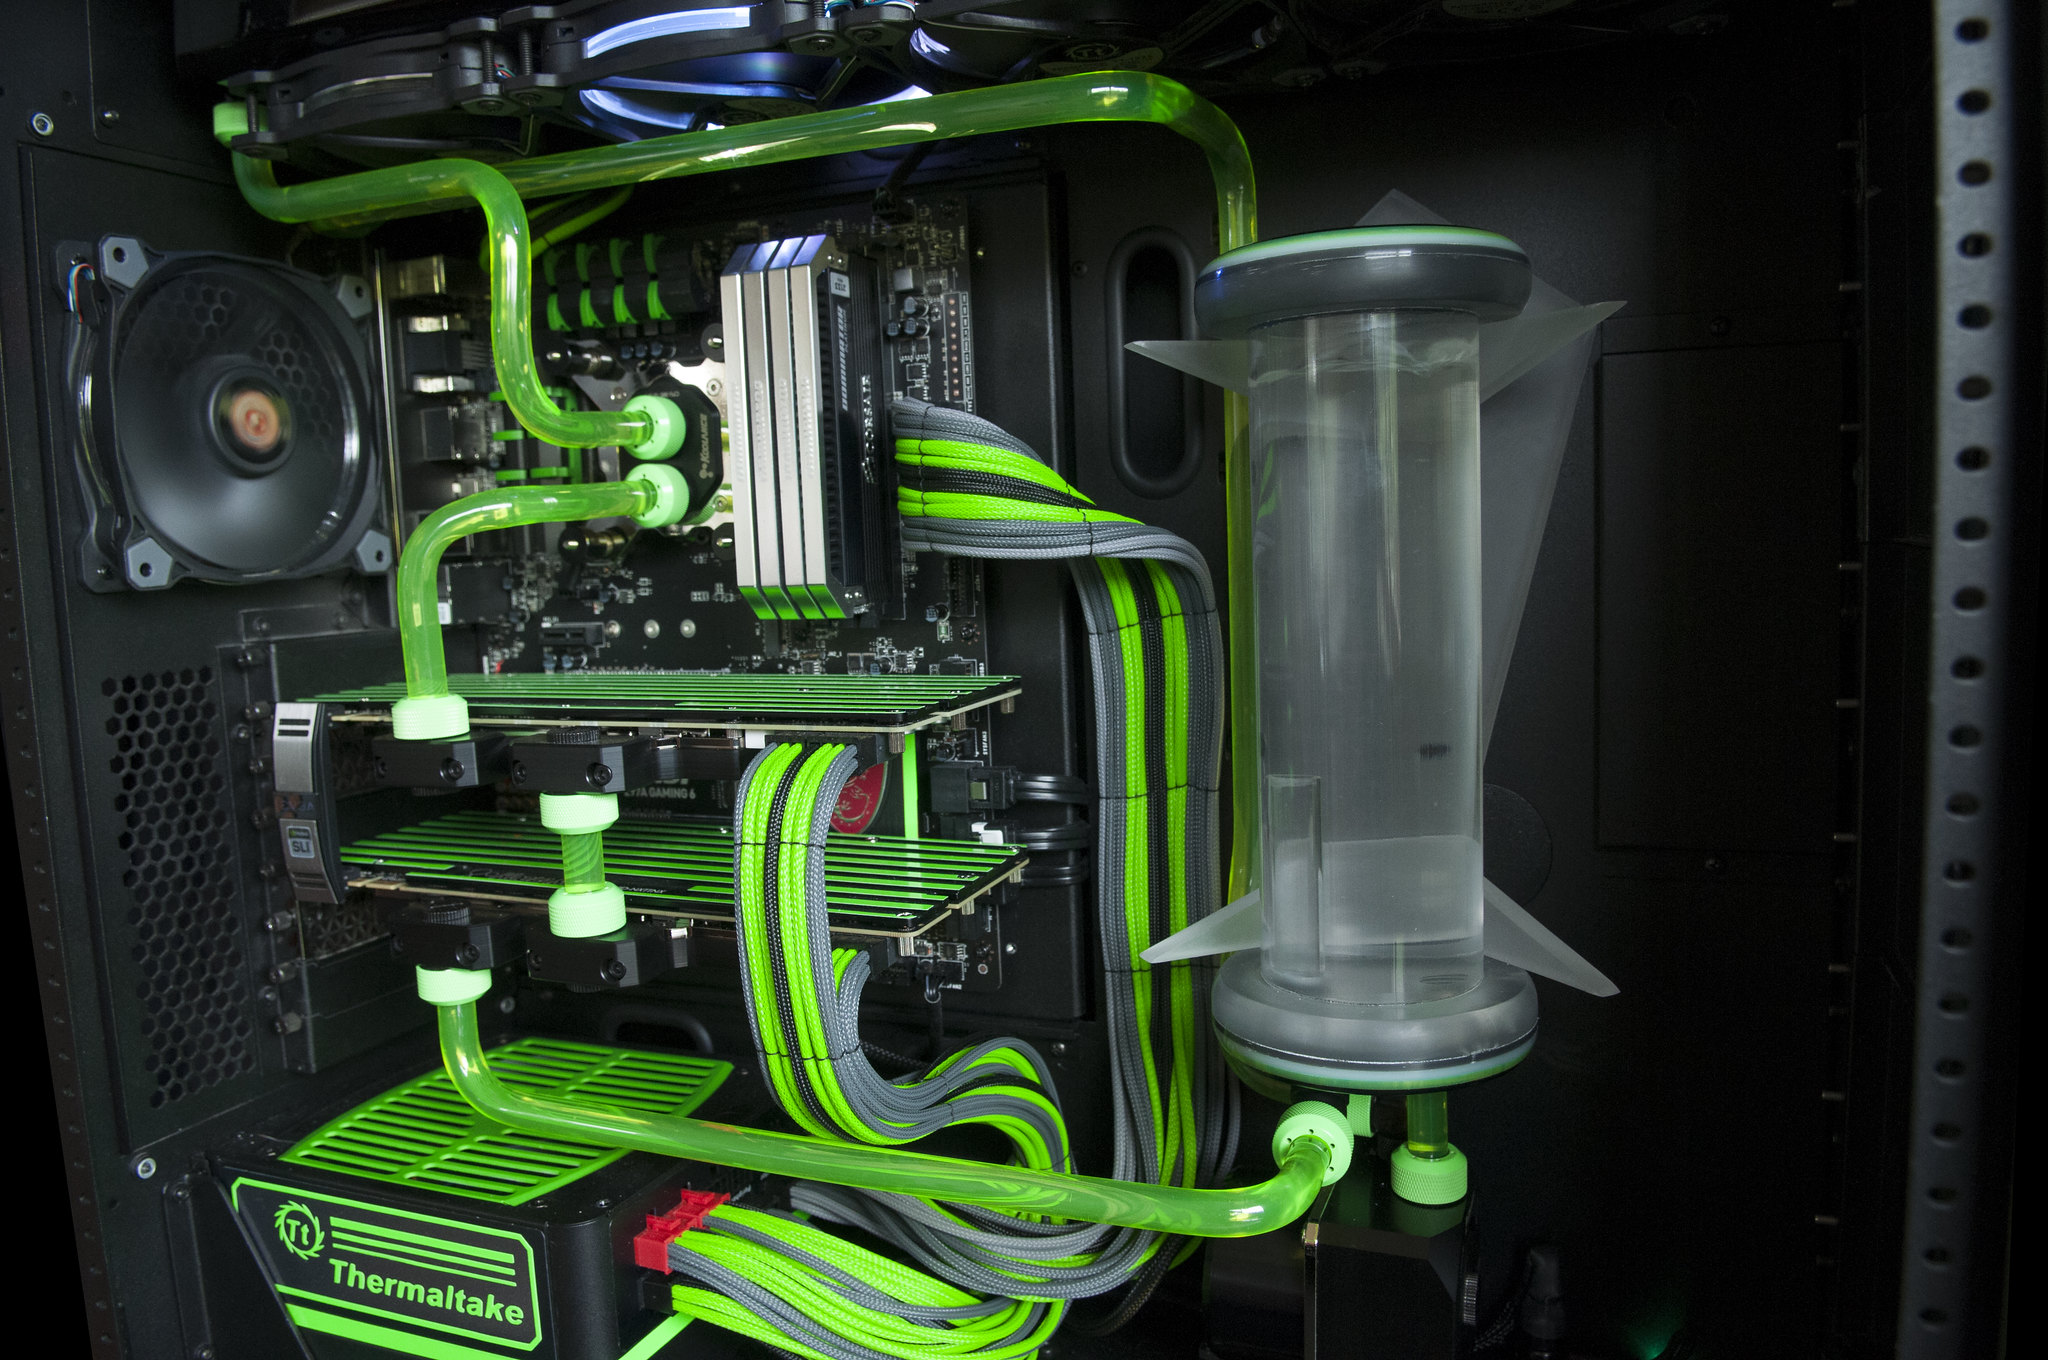
Now it was time to start working on the inside of the case.
Here is a list of things that I finished up on the inside.
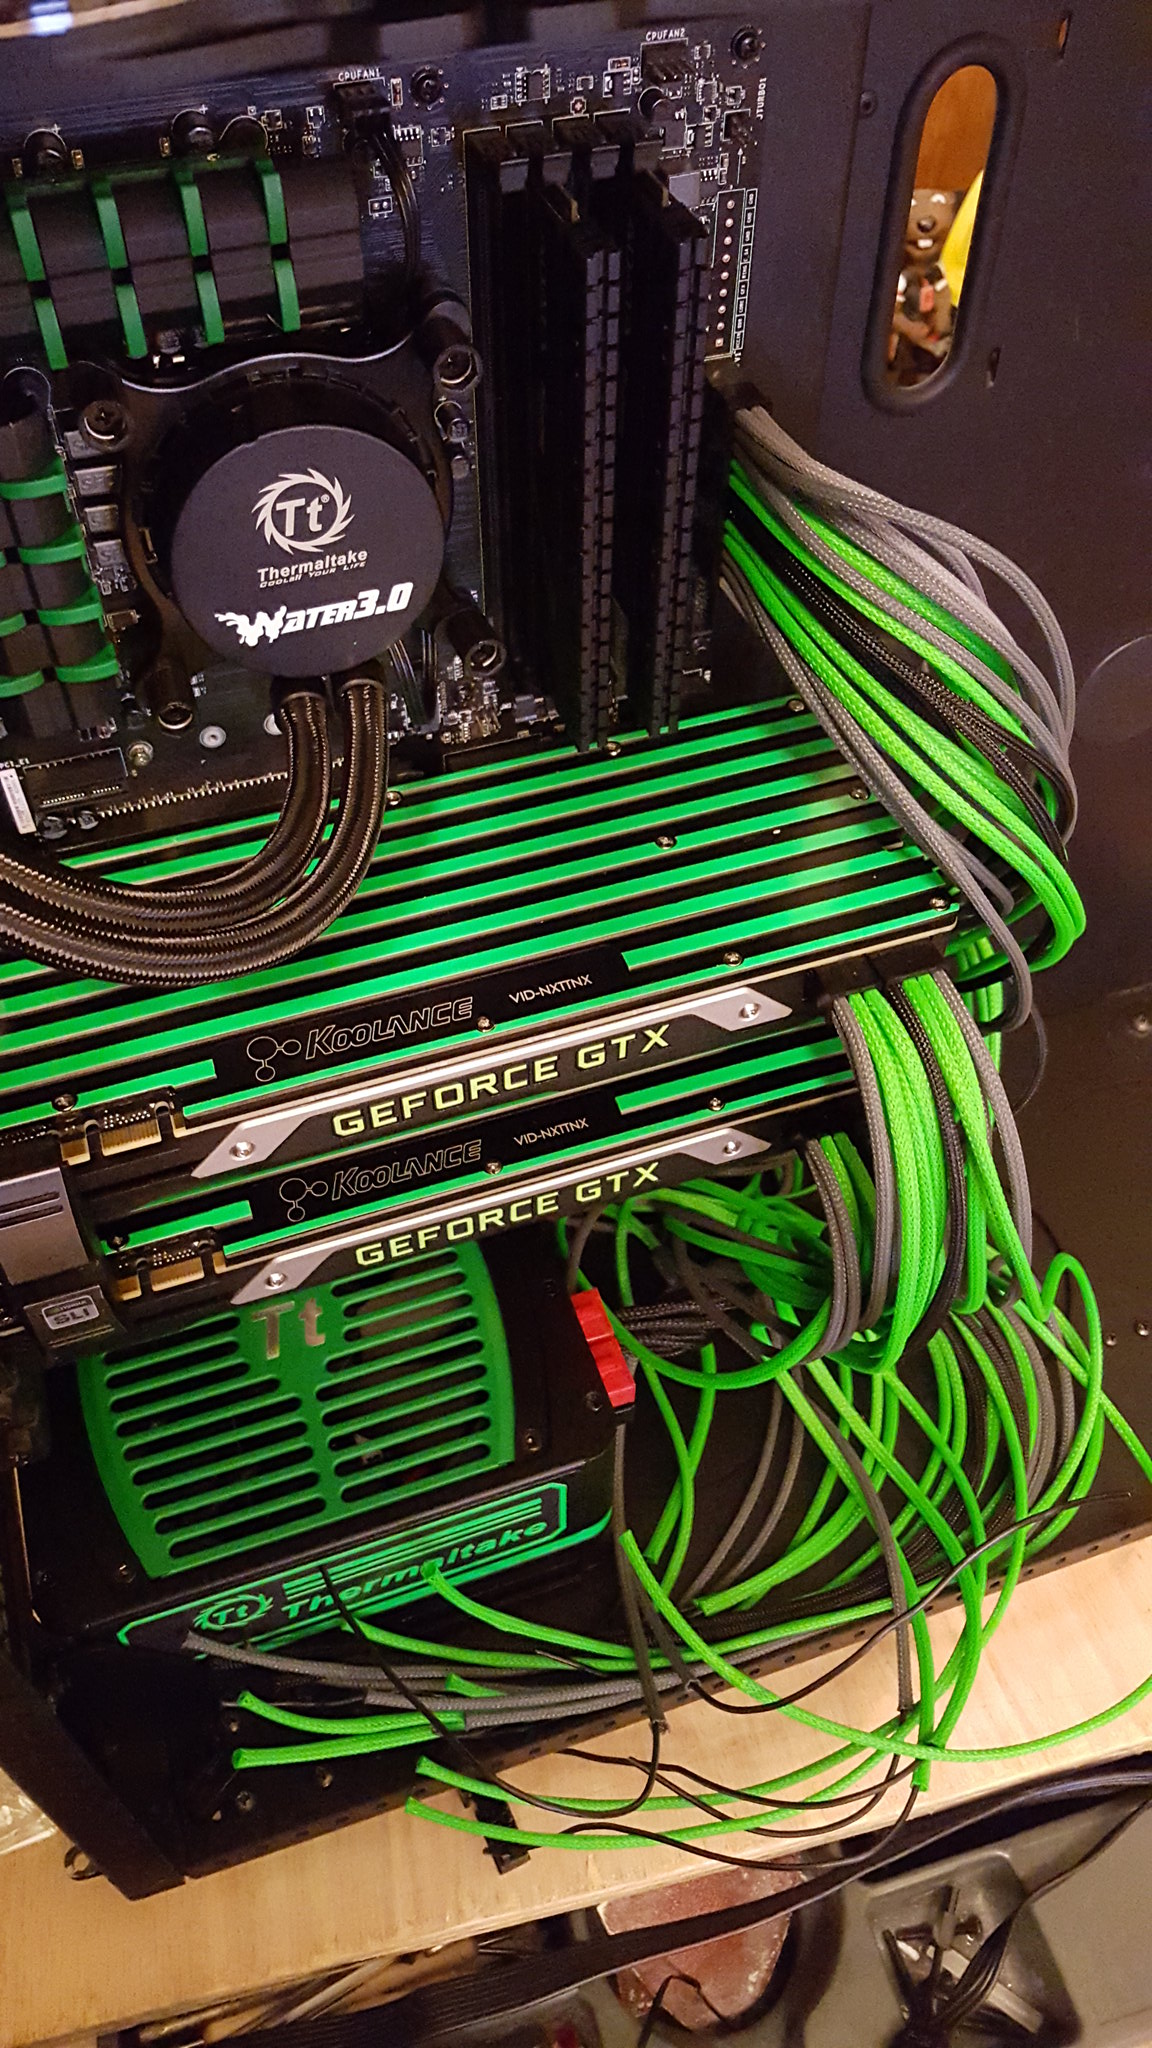
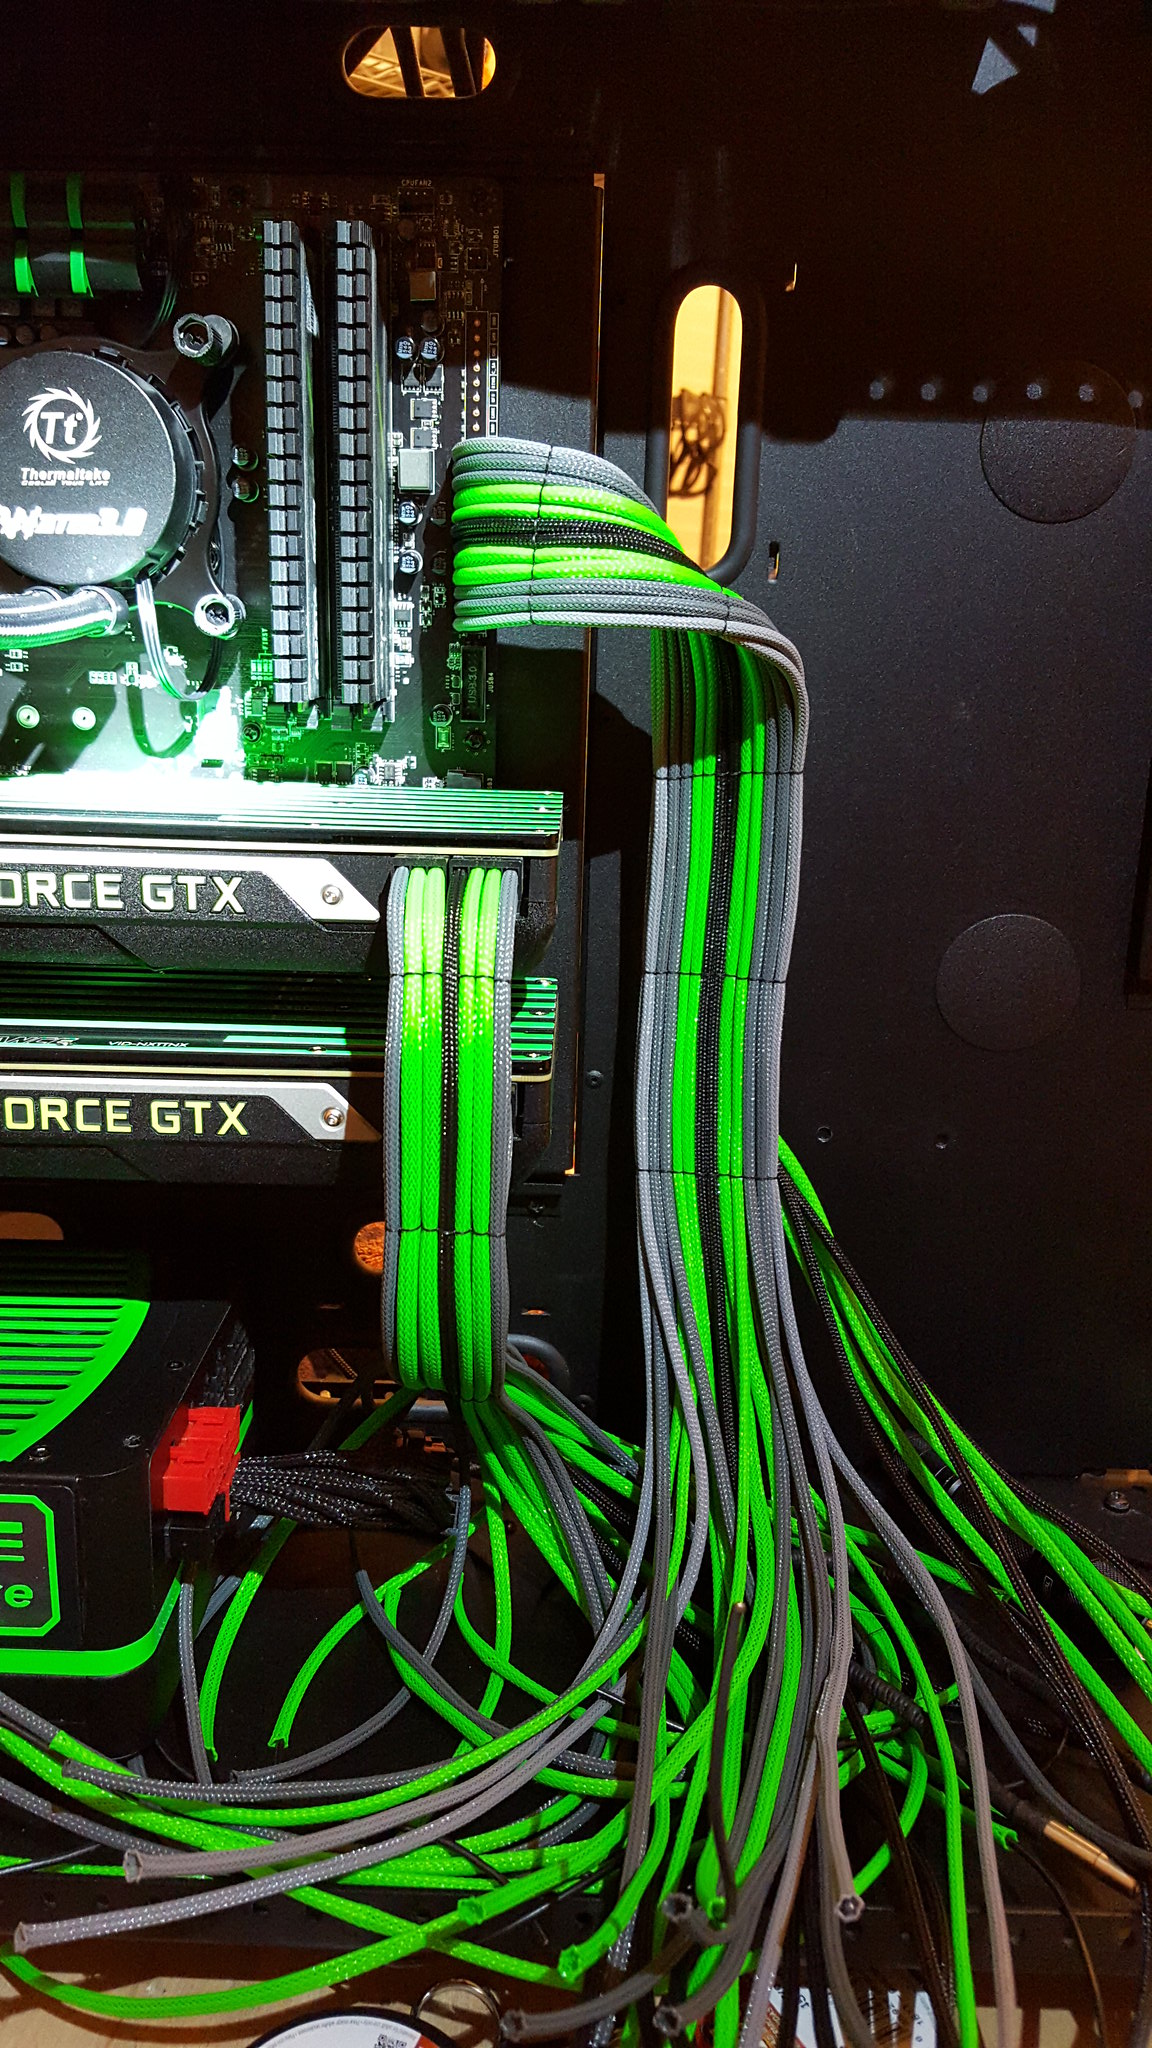
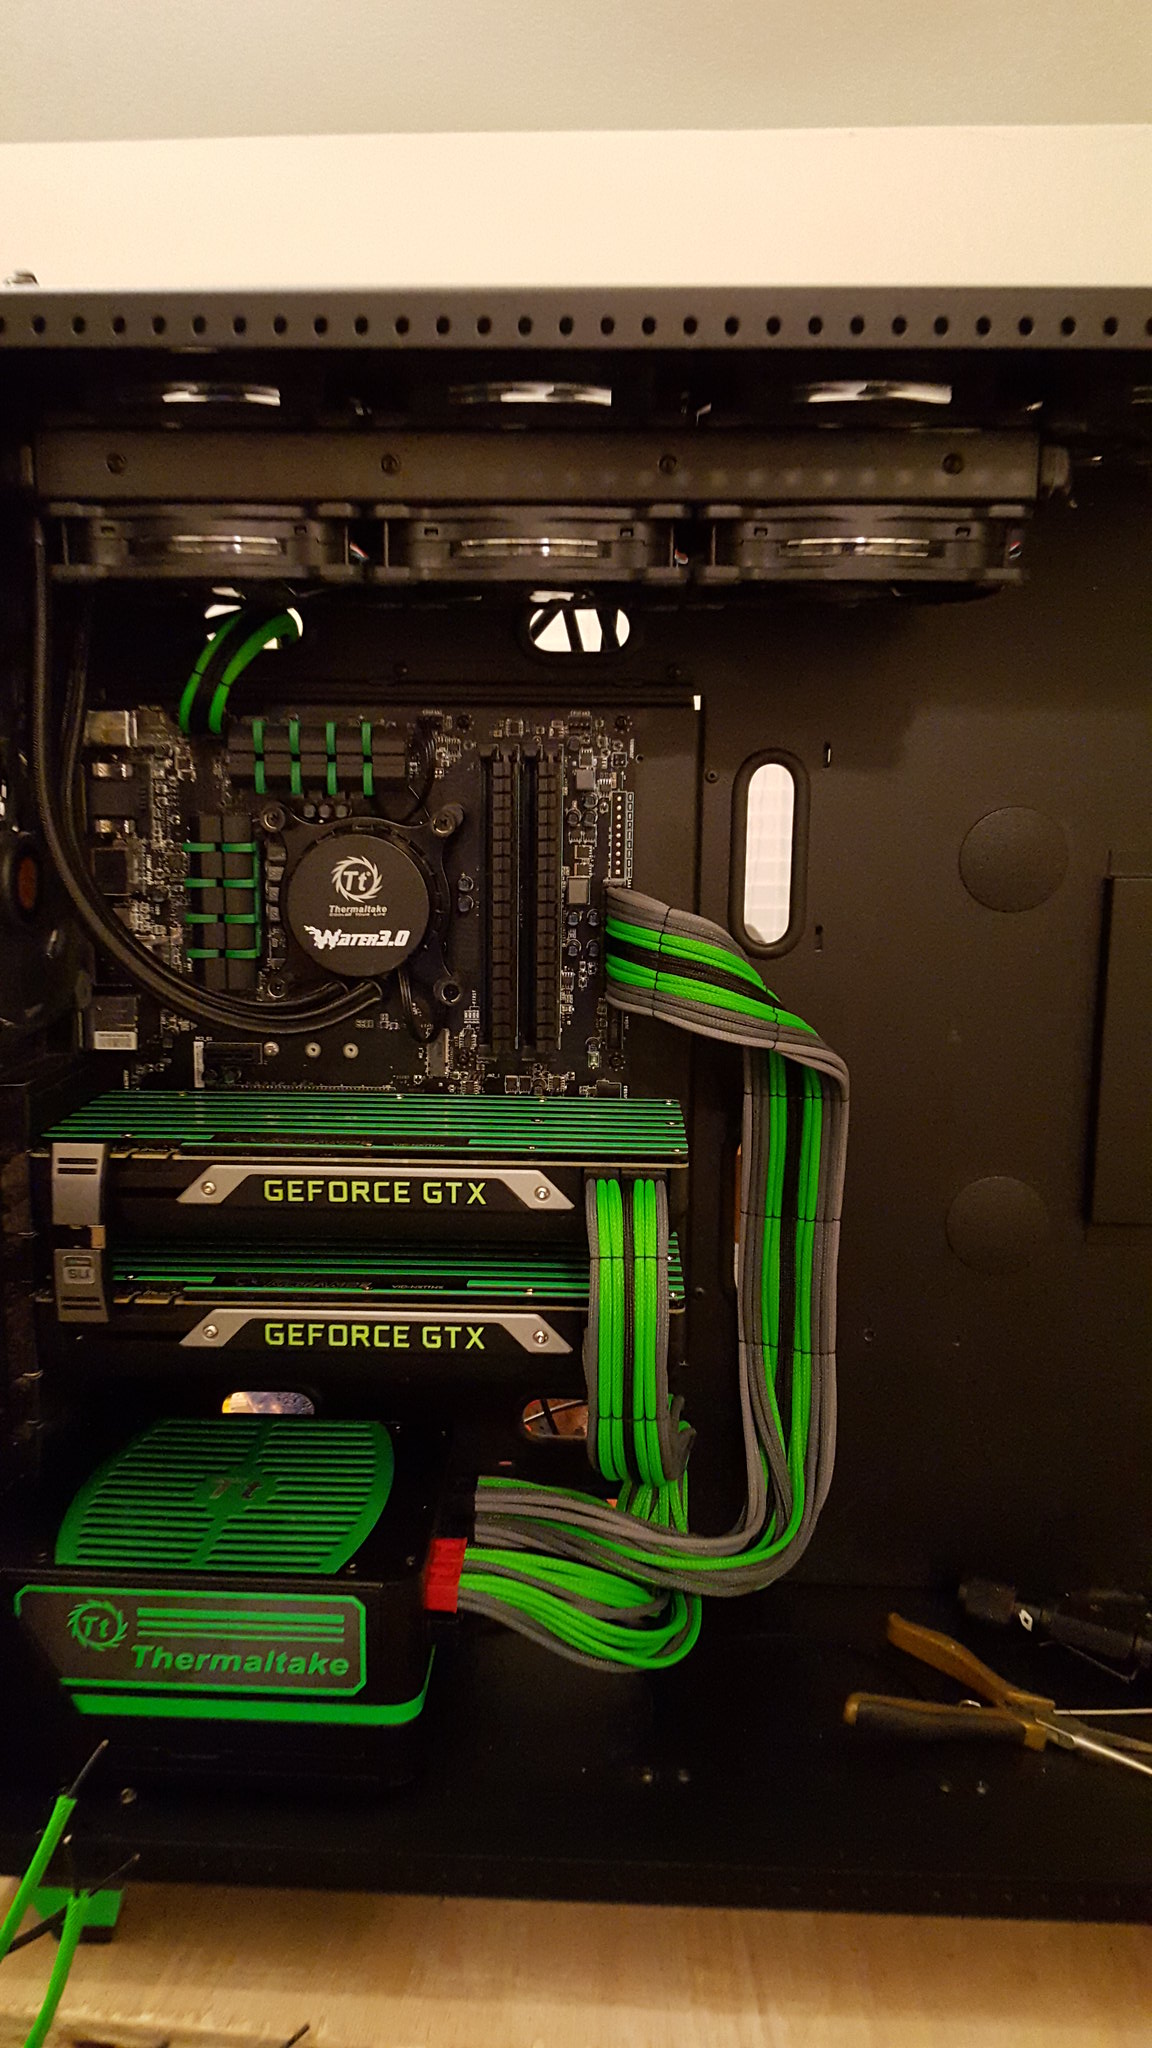
Painted the heat sinks on the motherboard.
Added some vinyl stripes to the Koolance backplates.
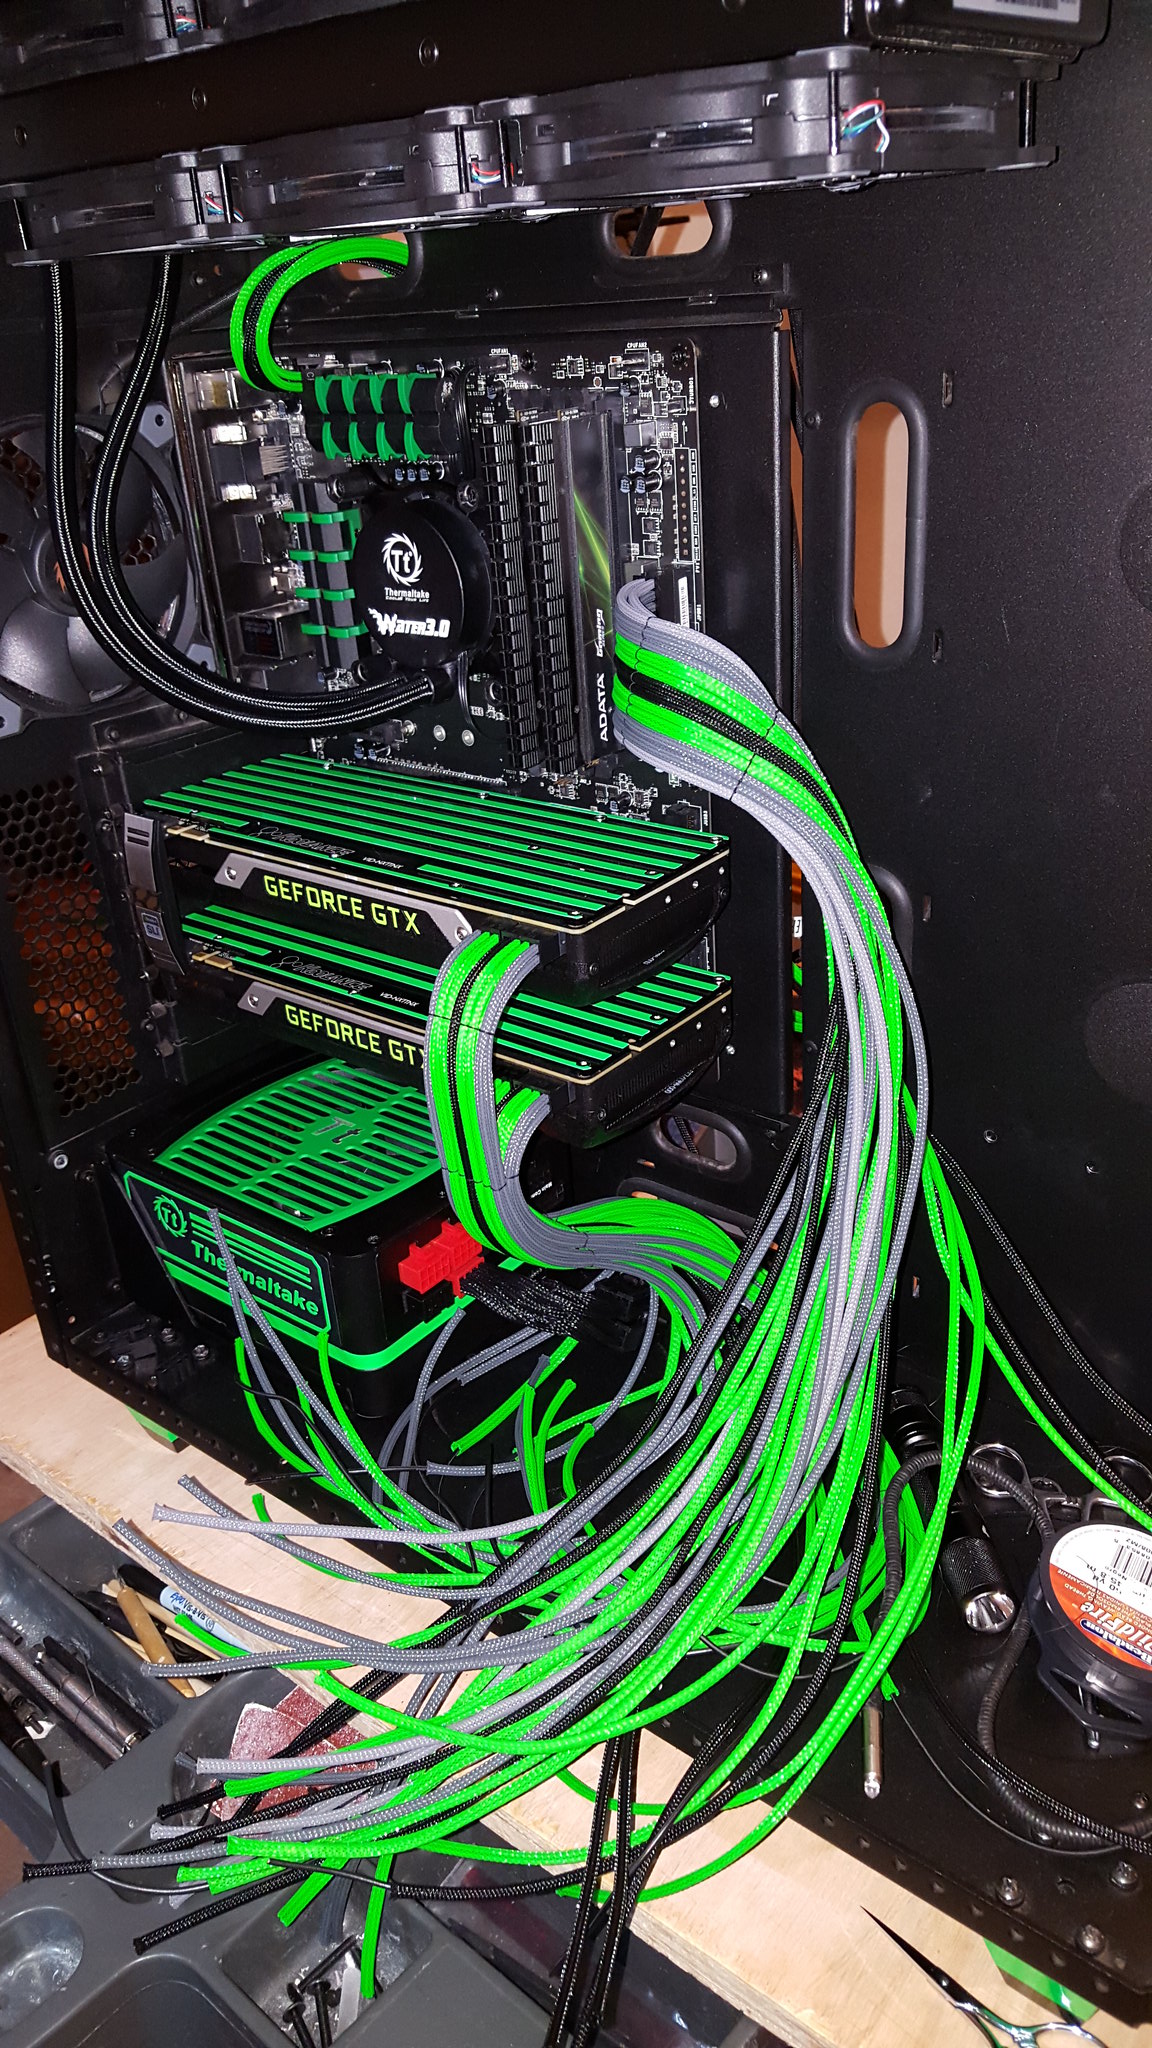
Re-badged the Thermaltake PSU and painted the grill.
Re-badged the Thermaltake AIO cooler (Temporarily for lan, as I didnt have time to build the custom reservoir).
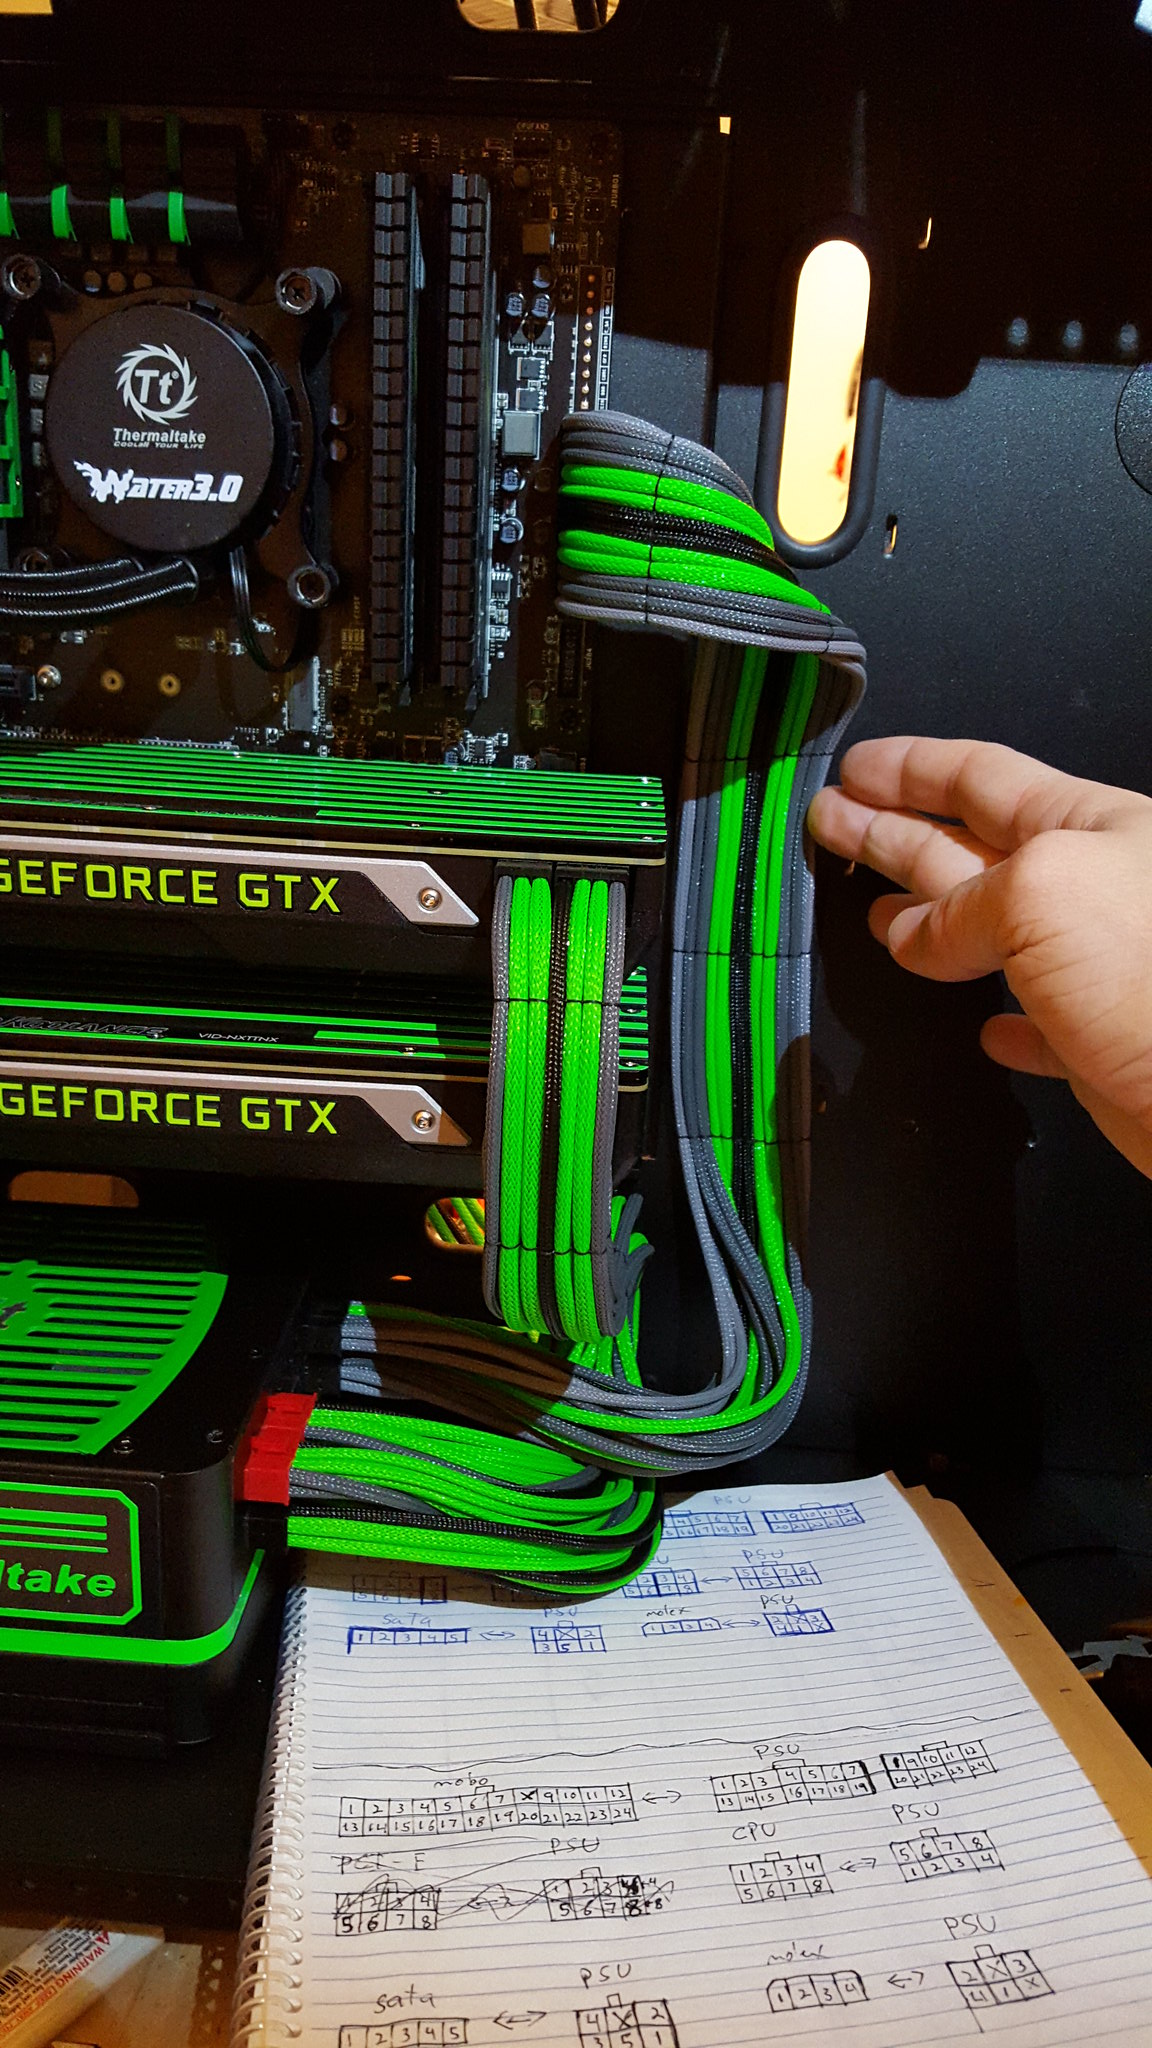
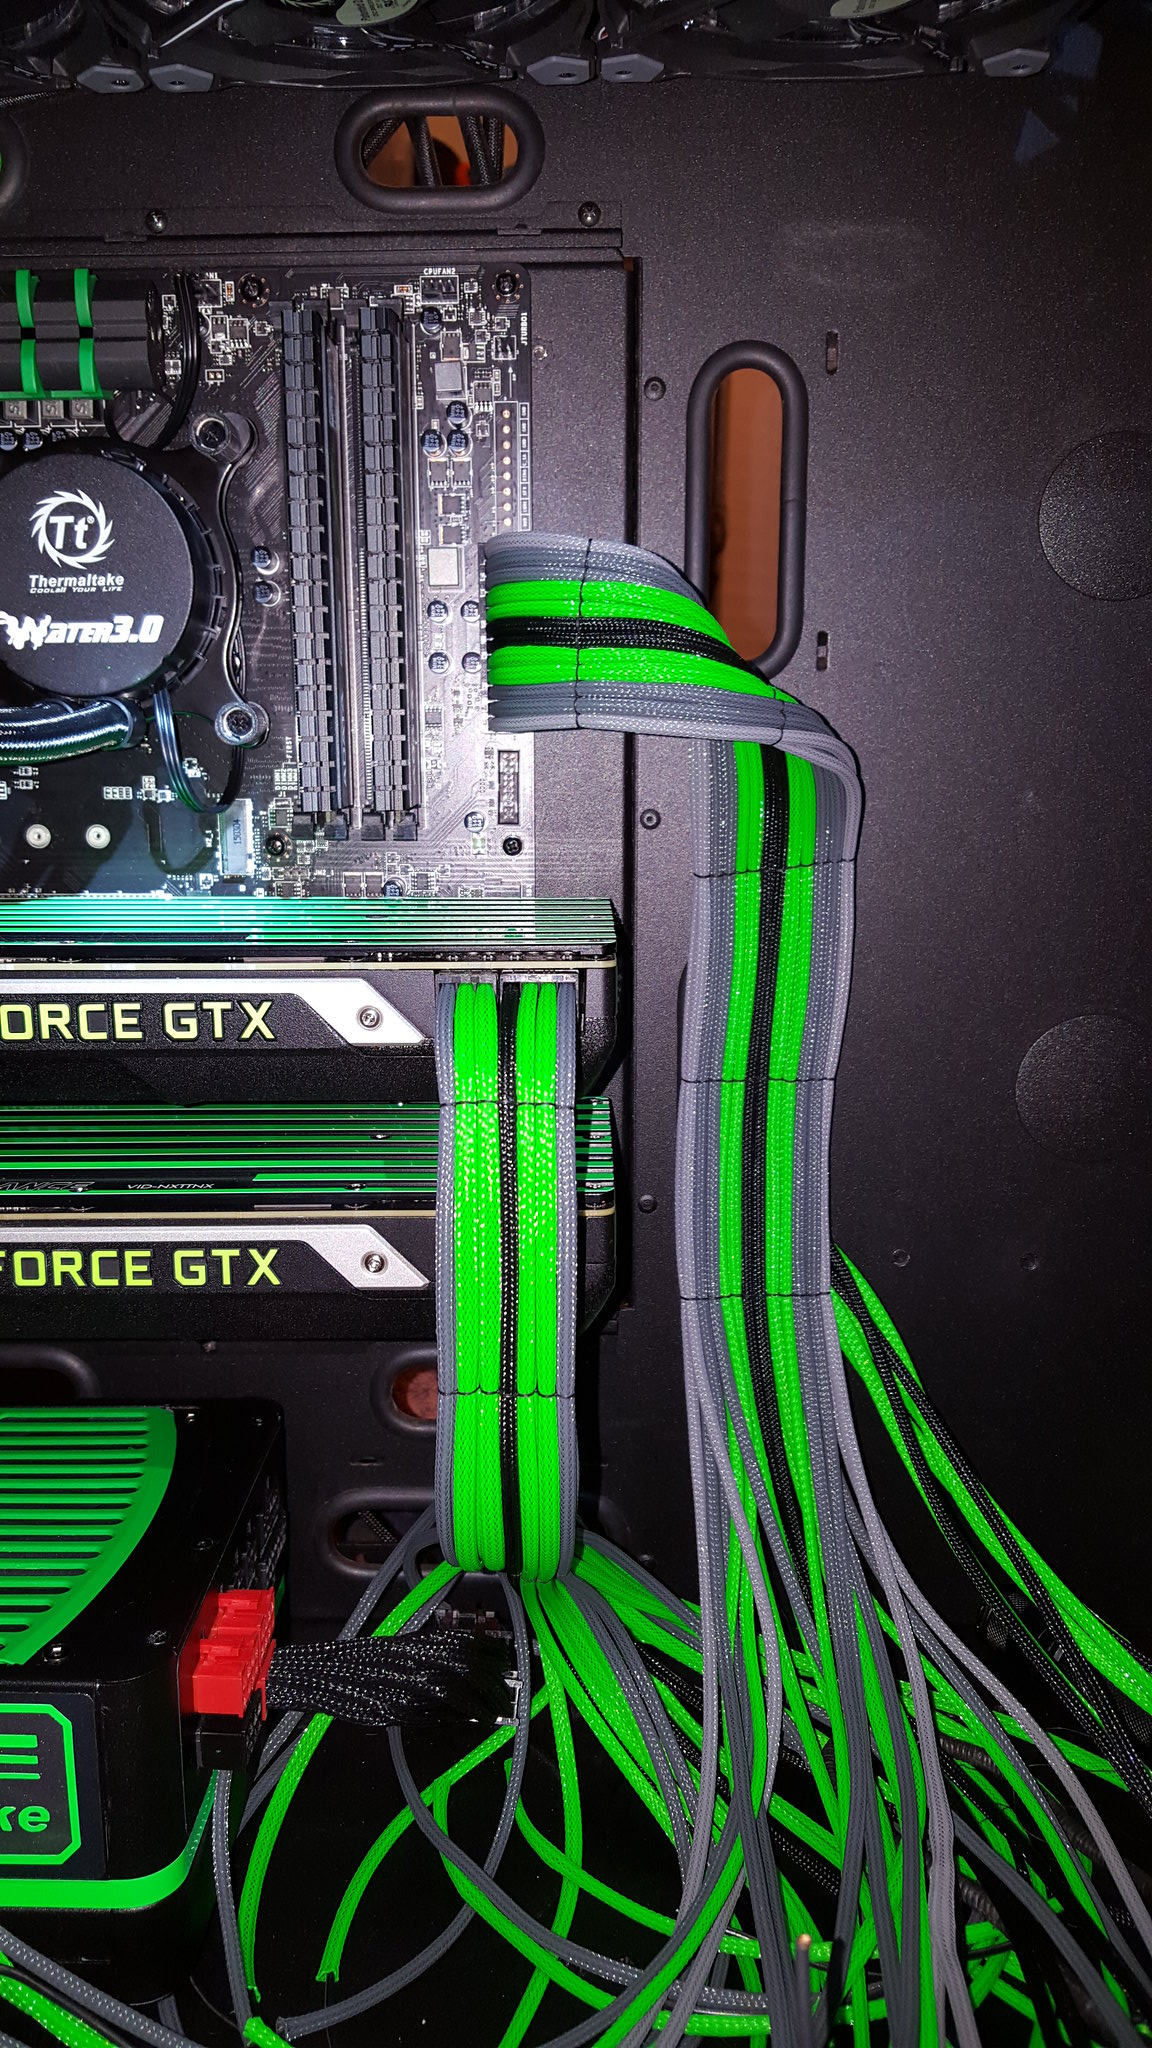
Custom sleeved and laced all the cables.
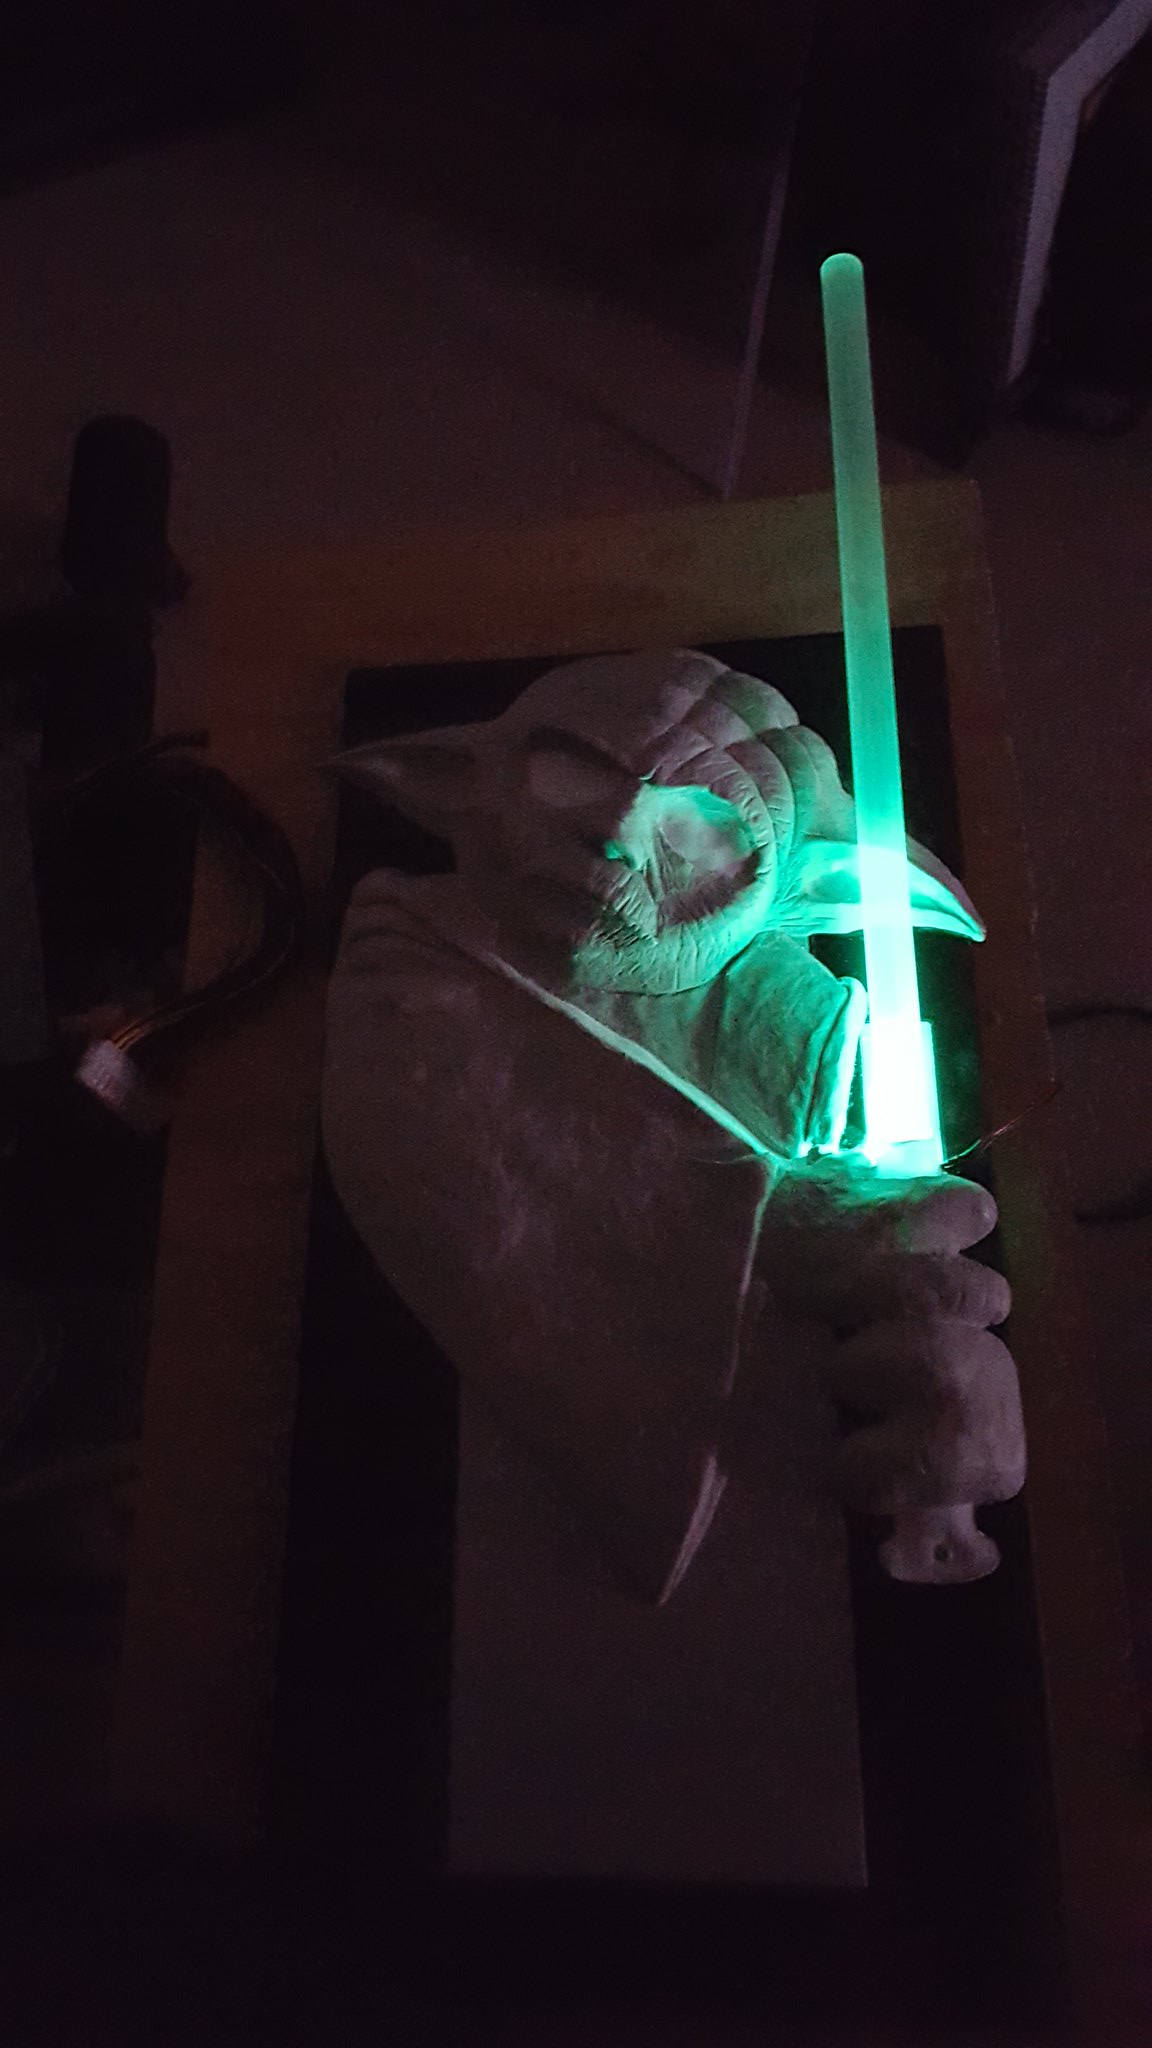
On the outside I built custom case feet and built lighting for the lightsaber.


Nvidia
Caselabs
Koolance
Thermaltake
Primochill
Mainframe Customs
Tap Plastics
Yoda has been my most favorite character in the Star Wars series.
I was so excited to get started on this build.
There wasn't time to do a work log when I first built it, as I was doing a charity mod at the same time.
I only had 1 month to complete both builds.
In reality, I only had about 2 weeks to have this build ready for PDXLAN.
So, I am a little old school when it comes to designing a build and work out a concept.
I started by sketching out a basic drawing of my idea.
Now the really old school part.
I cover the case in masking tape, and draw on my design.
I add on a piece of transfer tape over the drawing and trace out all the main lines.
Then, I pull it up and put it on somthing that I can work with easier.
This time, it was a piece of ply wood.
I had found a piece of foam for the general shape of the face.
This will make it so I dont have to use so much material up when sculpting.
I then sculpt out the general shape that I want it to buy.
Acually slightly smaller.
Using my makeshift vacuume former, I vacuume formed the sculpture.
I do this so that it is easy to attach to the case and very light and durable.
I find that shipping these mods to event has become quiet common, so I build then so they are lighter and more durable for shipping.
Now with the vacuume for I have somthing I can start sculpting with Magic Sculpt.
I find it easier to work with by mixing small amounts and building up the sculpture with layers.
Now that I am mostly done with the sculpture, I will rivet it onto the case.
Now I can begin sculpting it so it looks like it is coming out of the case.
Use a half round piece of clear acrylic I sanded it down to give a frosted look and rounded the tip.
I also made it removable for shipping.
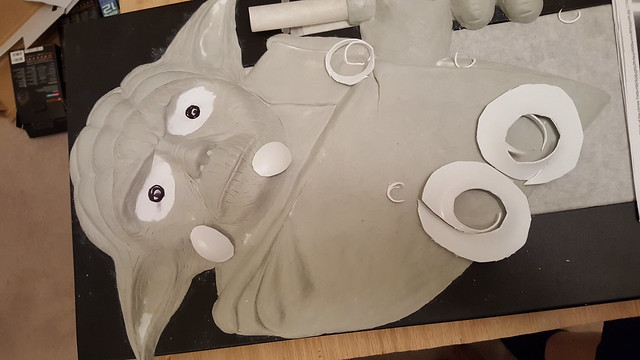
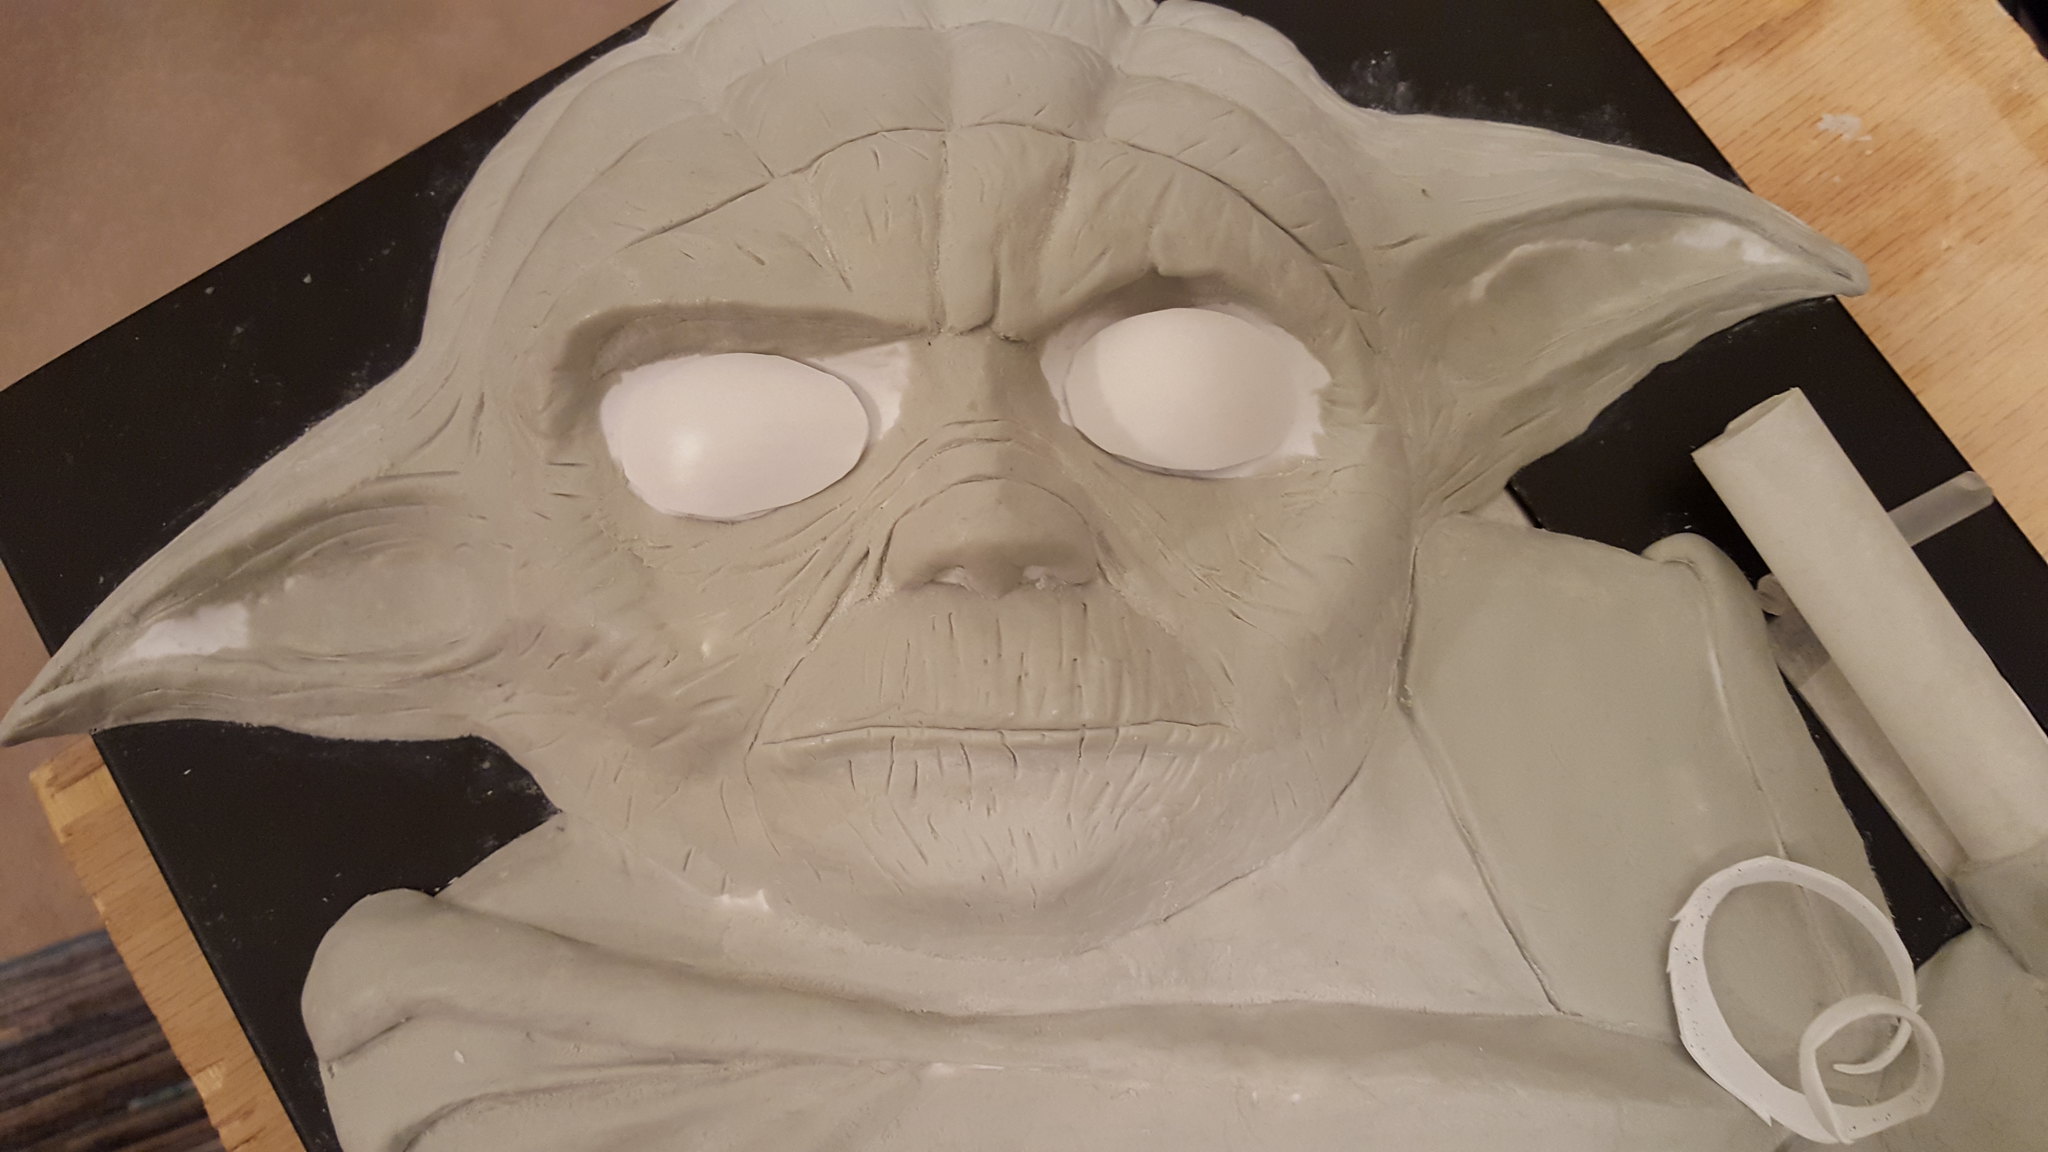
I am going to use some left over plastic from the vacuume form to make the eyes.
Using some oven gloves, I round out the plastic and cut it out to the shape of the eyes with some scissors.
Now I can sculpt it into the rest of the face and work on blending it in.
I also Drilled a hole in the ear so I would have a place to screw into the lightsaber.
I needed to get the sculpting work done first so I could have my buddy Ron Christianson start working on the paint.
Now it was time to start working on the inside of the case.
Here is a list of things that I finished up on the inside.
Painted the heat sinks on the motherboard.
Added some vinyl stripes to the Koolance backplates.
Re-badged the Thermaltake PSU and painted the grill.
Re-badged the Thermaltake AIO cooler (Temporarily for lan, as I didnt have time to build the custom reservoir).
Custom sleeved and laced all the cables.
On the outside I built custom case feet and built lighting for the lightsaber.