Xbox case for HTPC

Joined
Jun 20, 2008
Messages
2,389
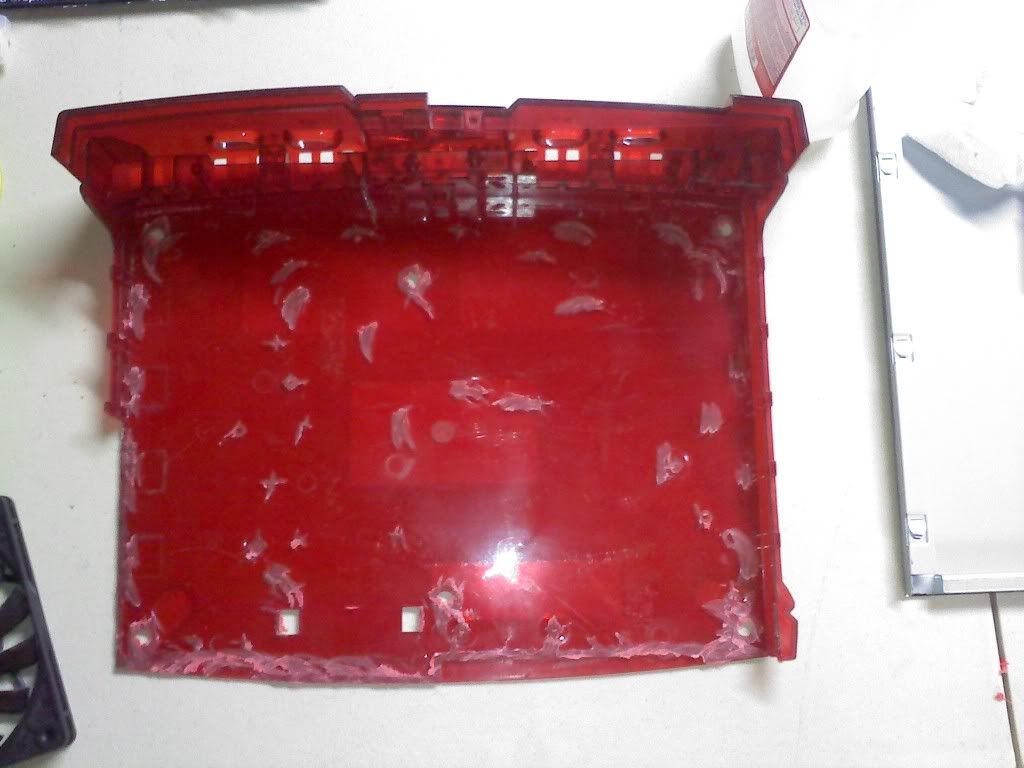
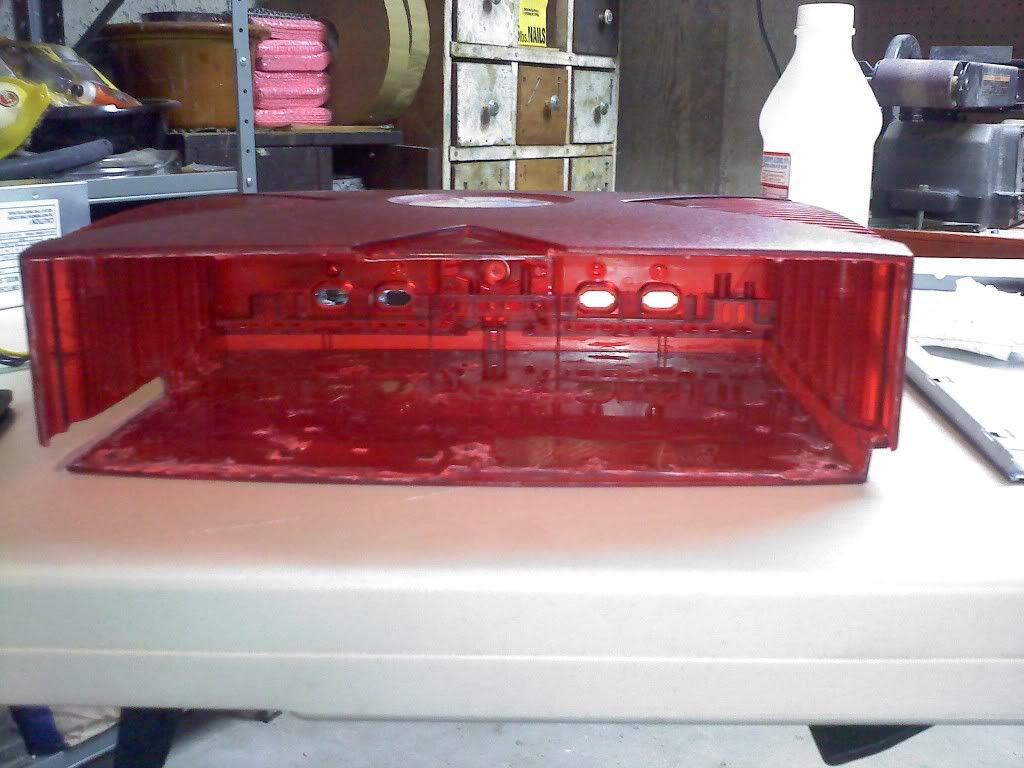
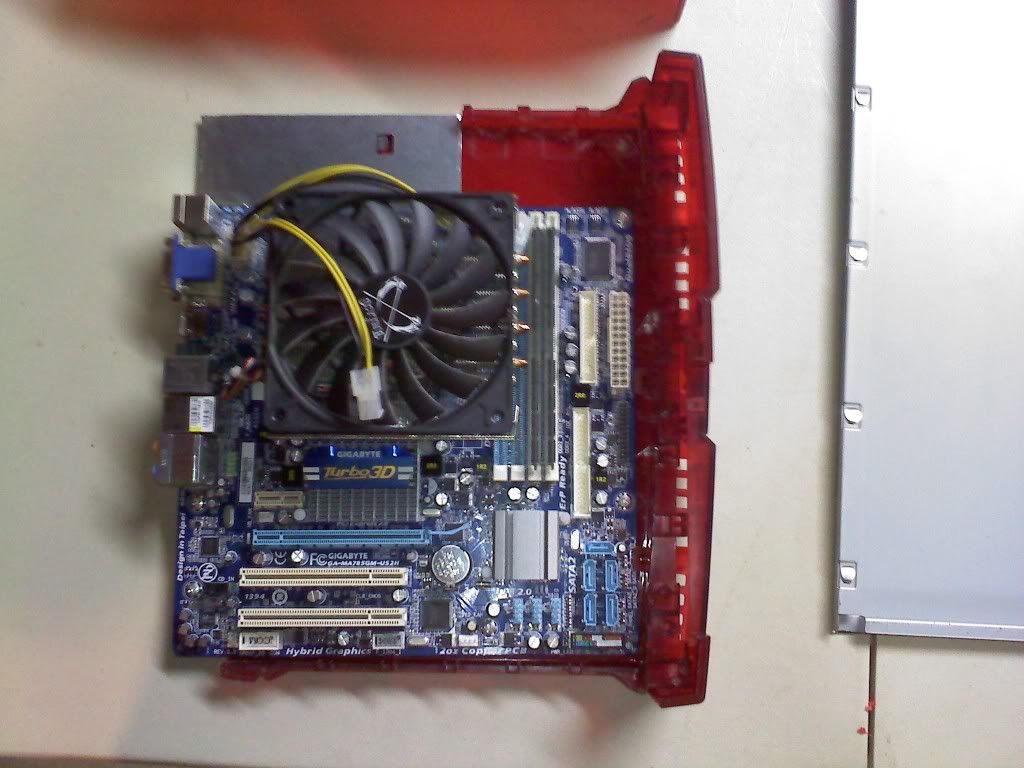
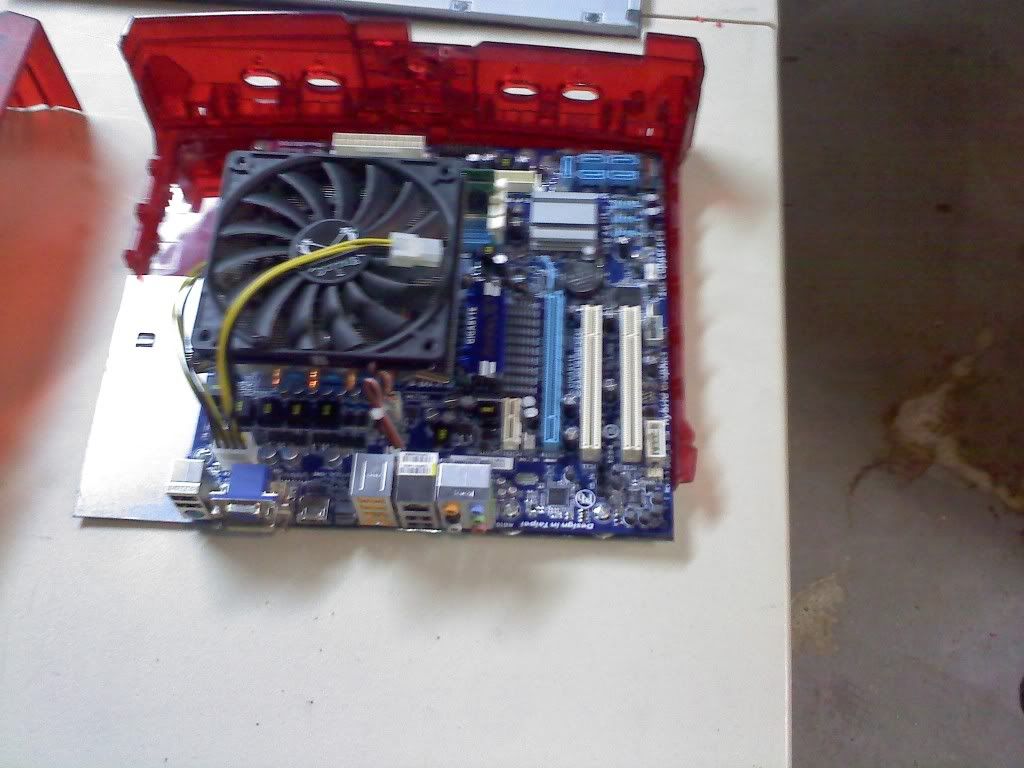
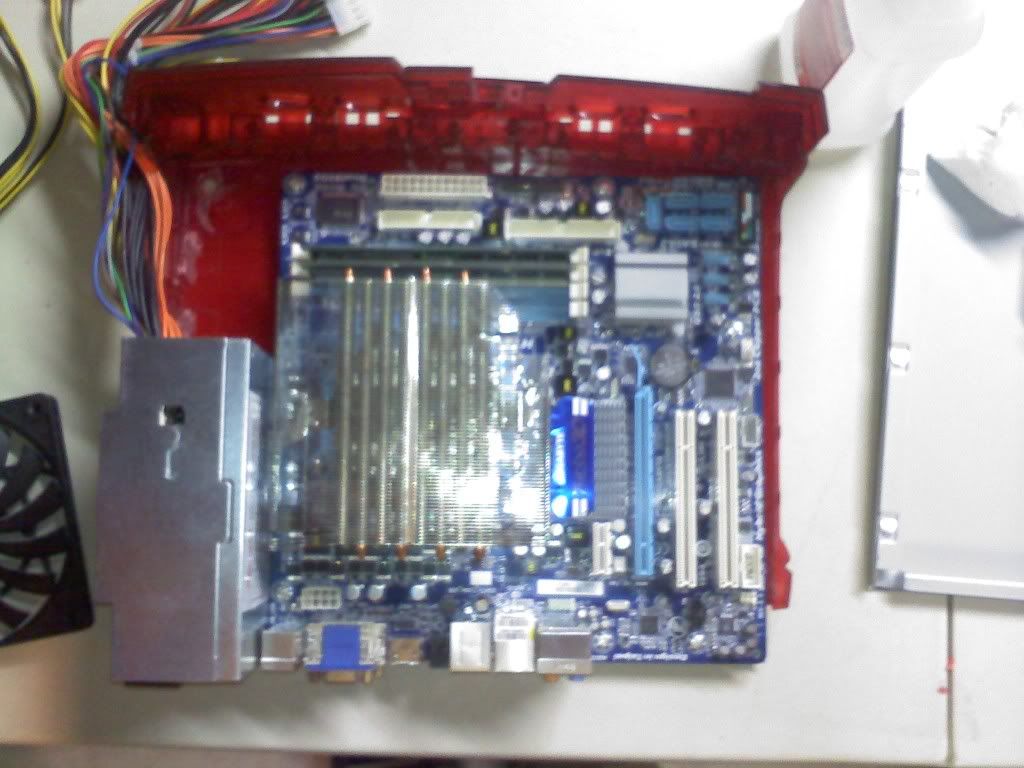
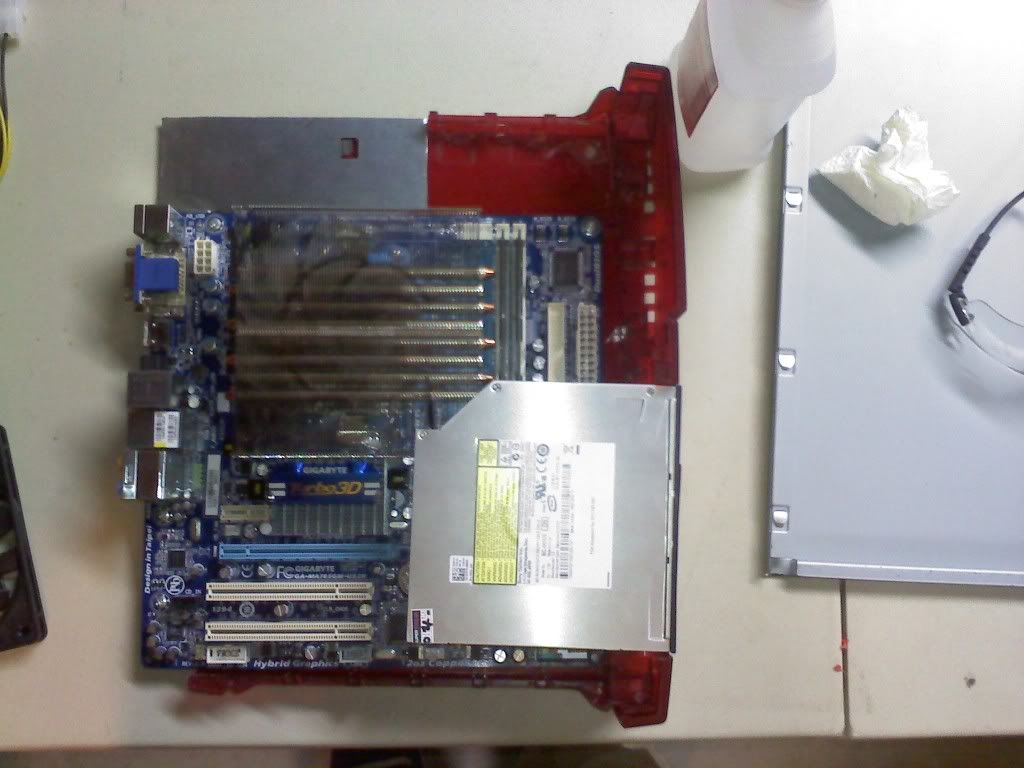
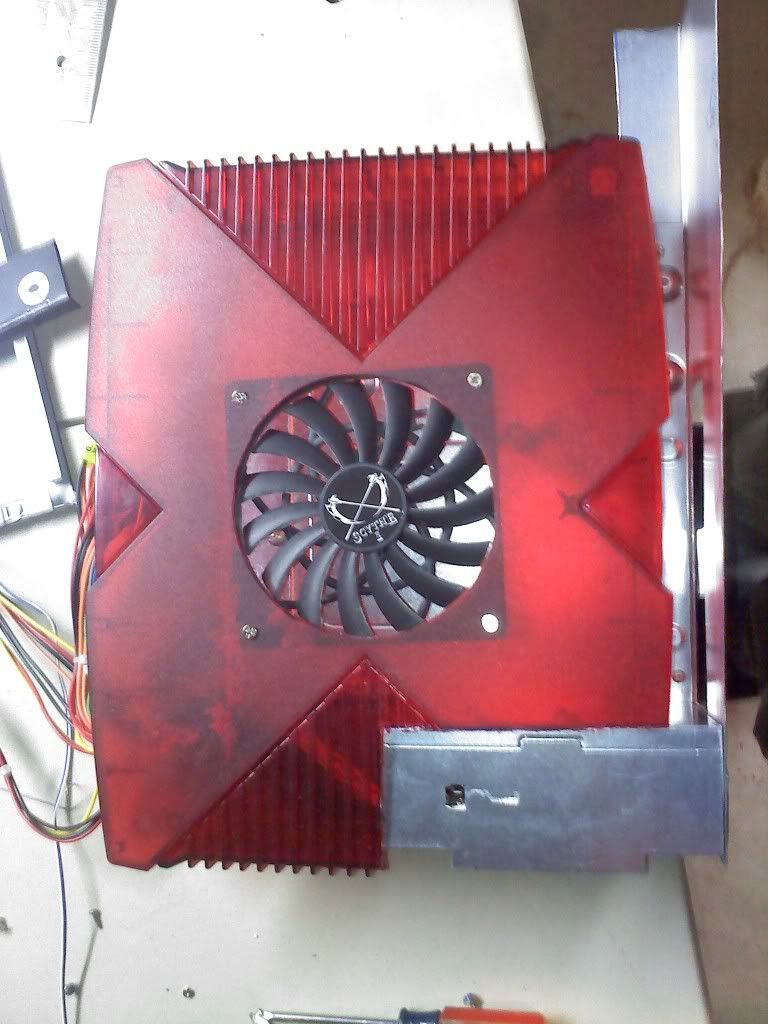
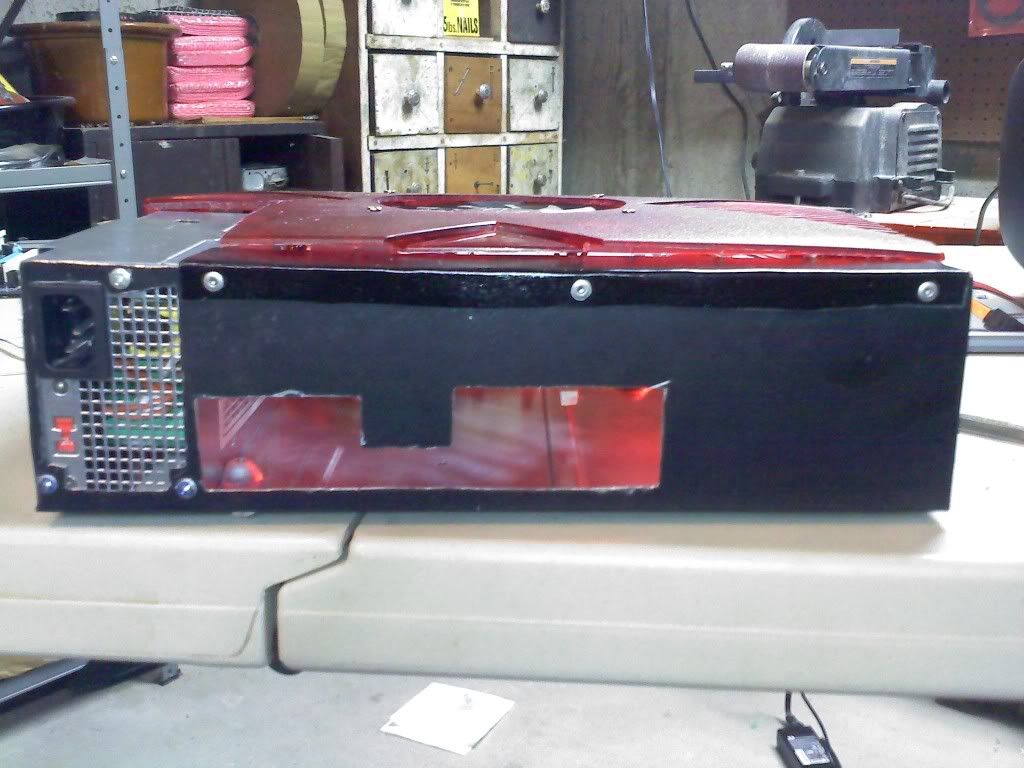
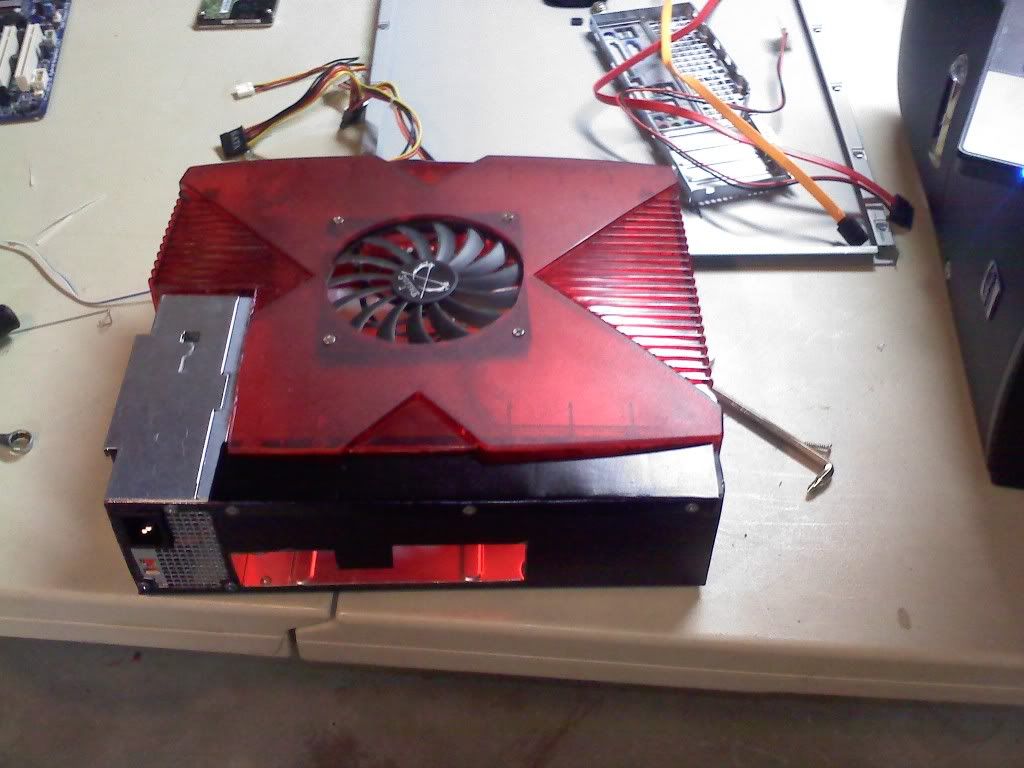
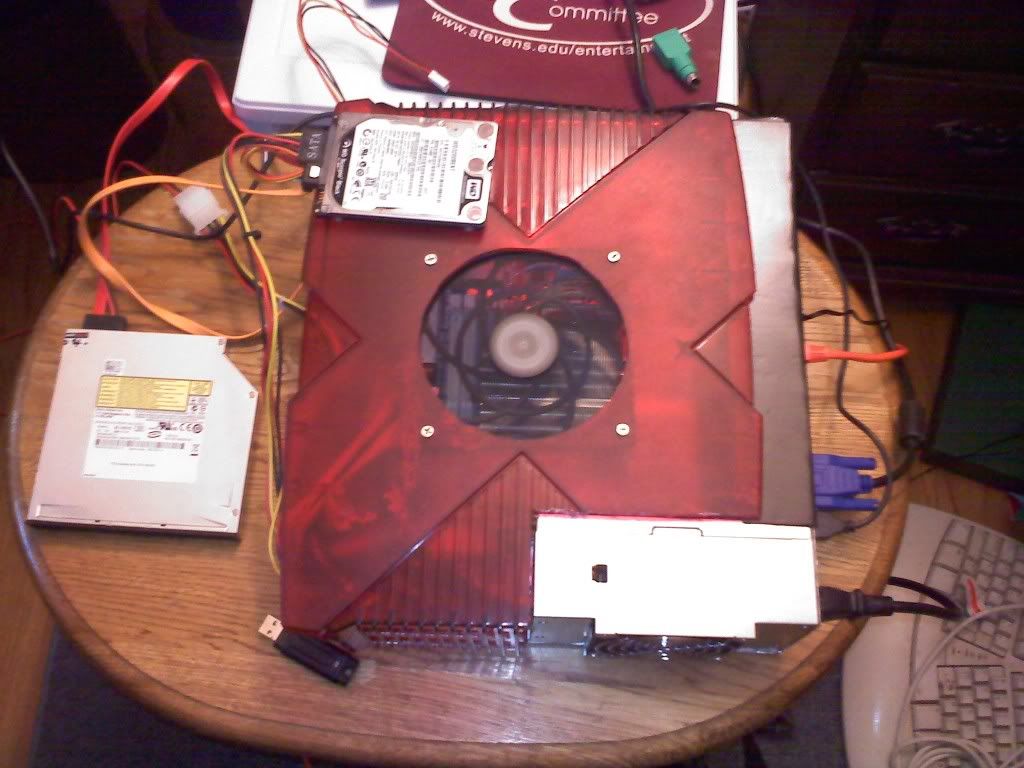
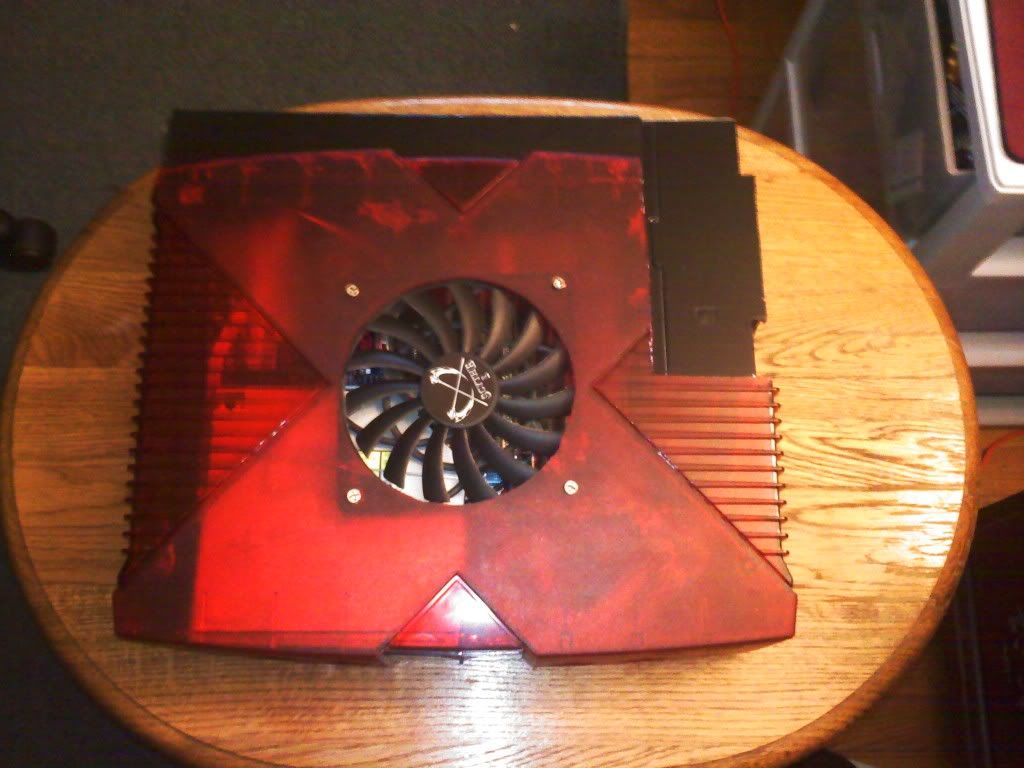
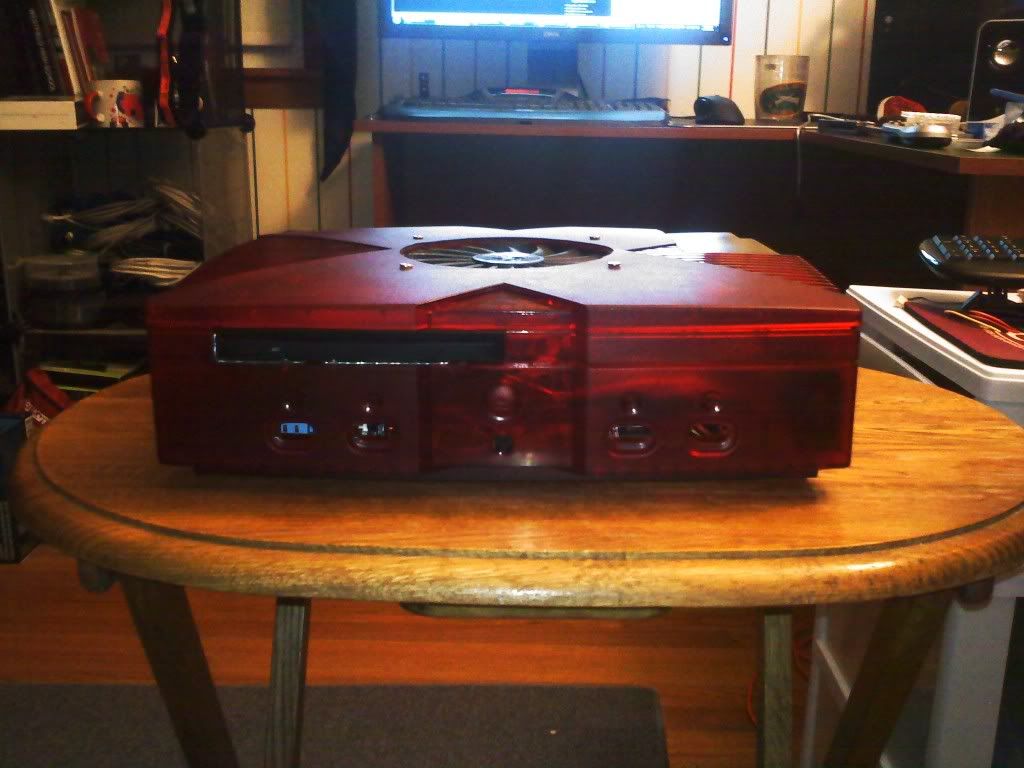
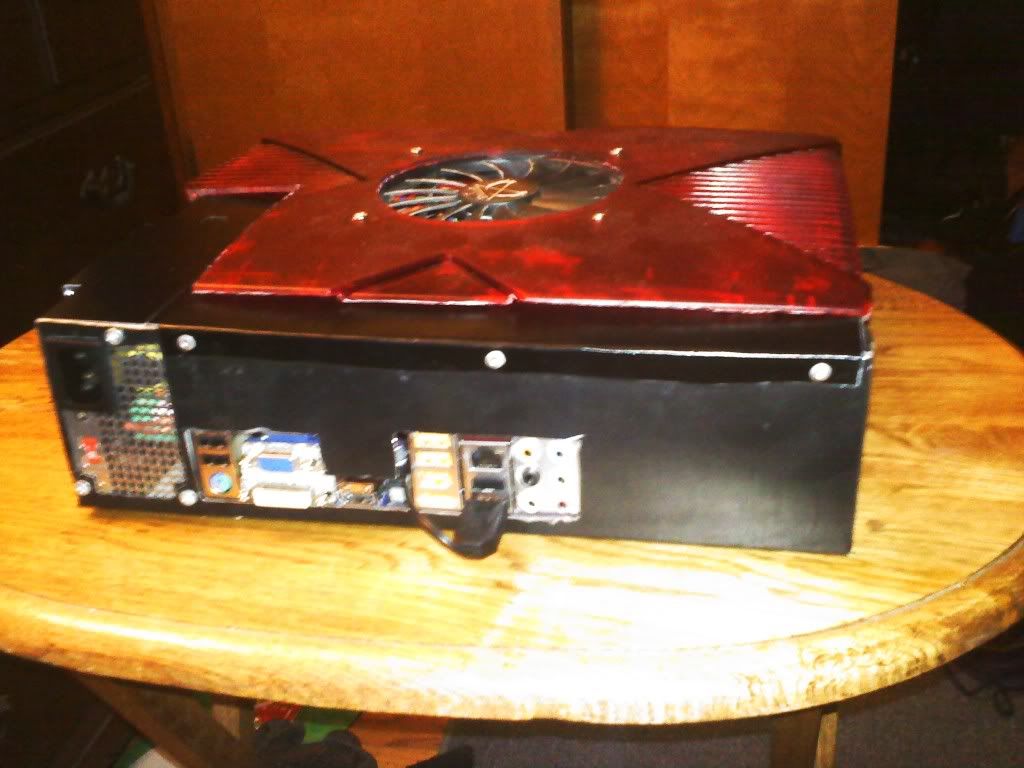
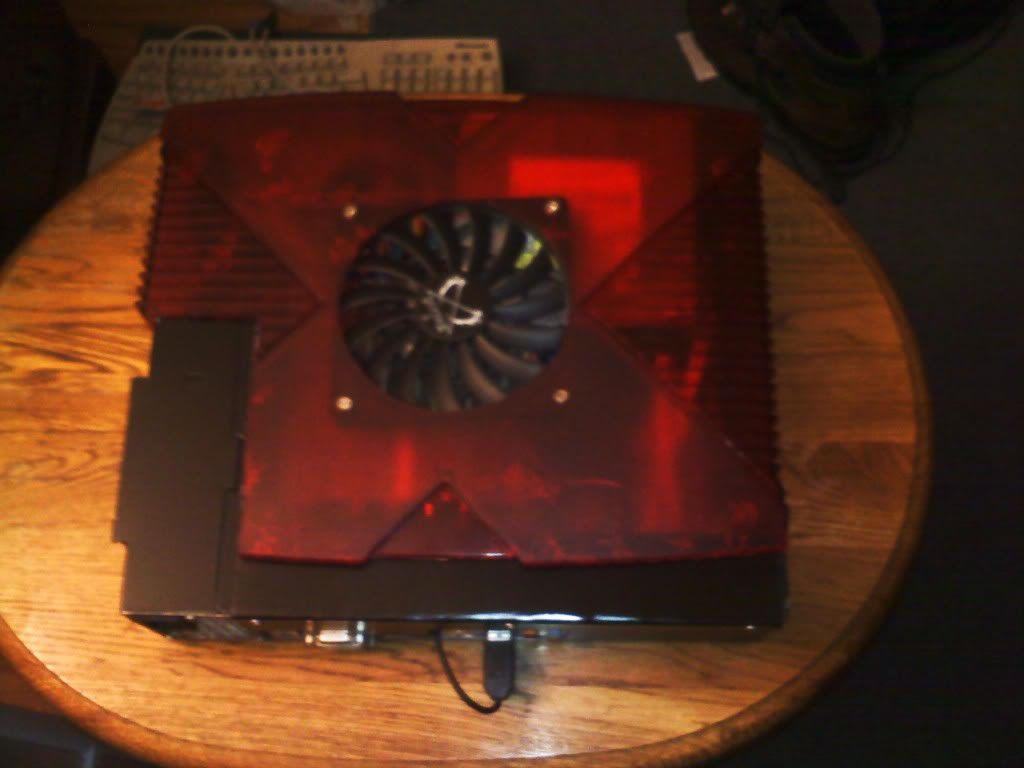
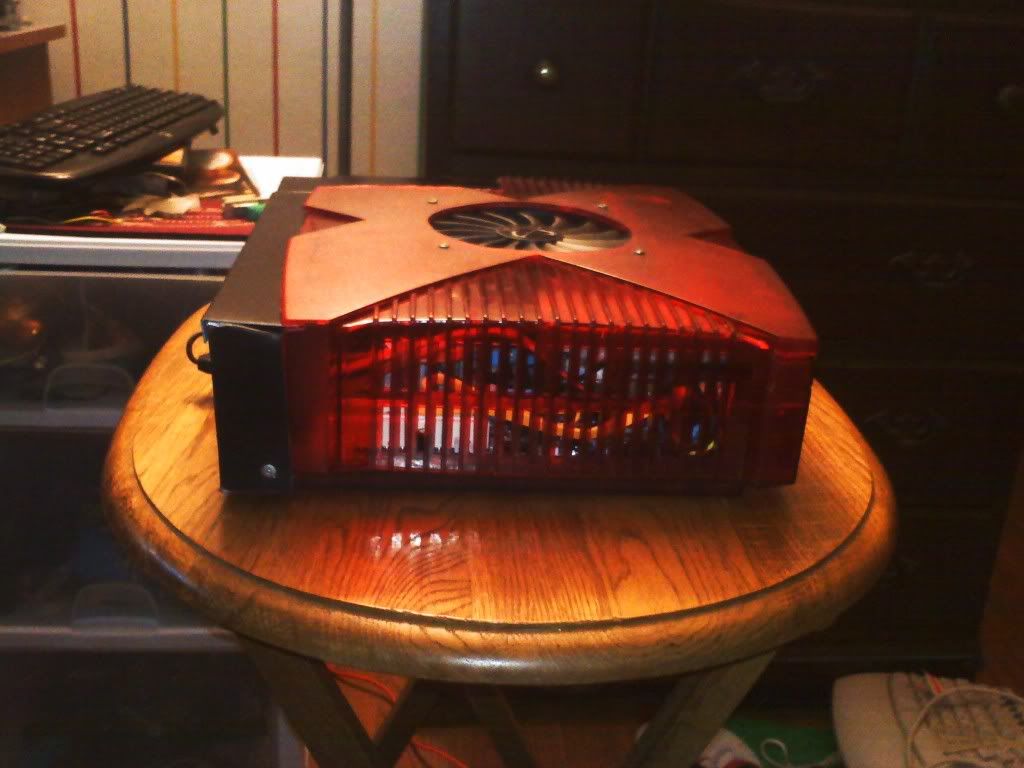
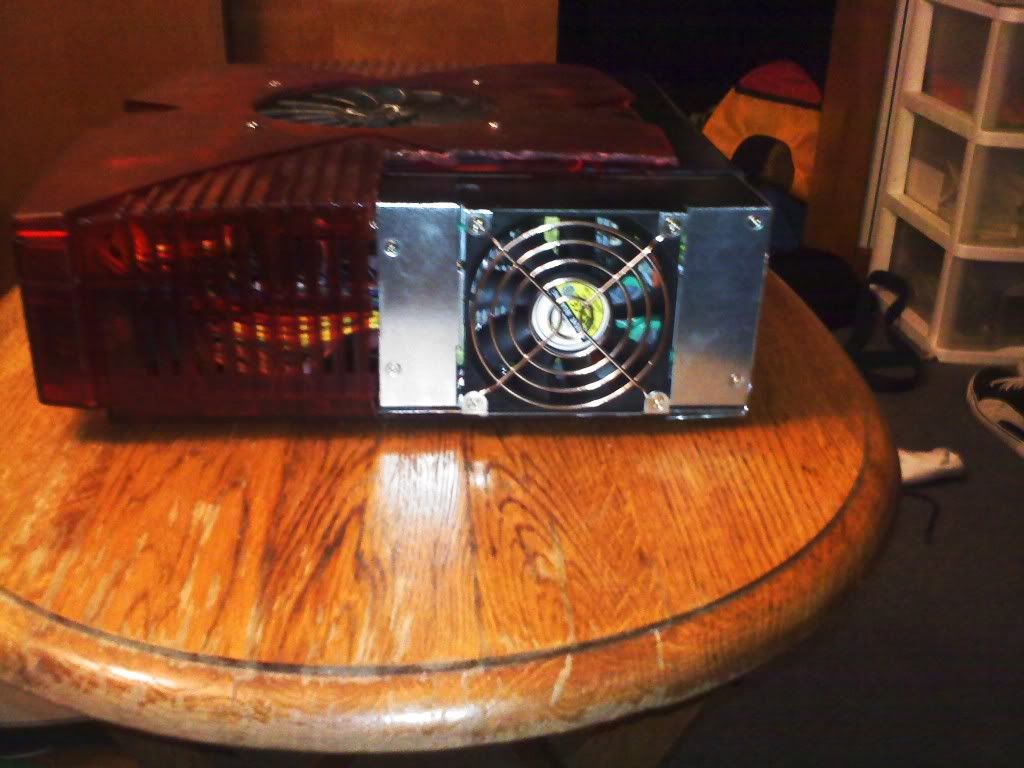
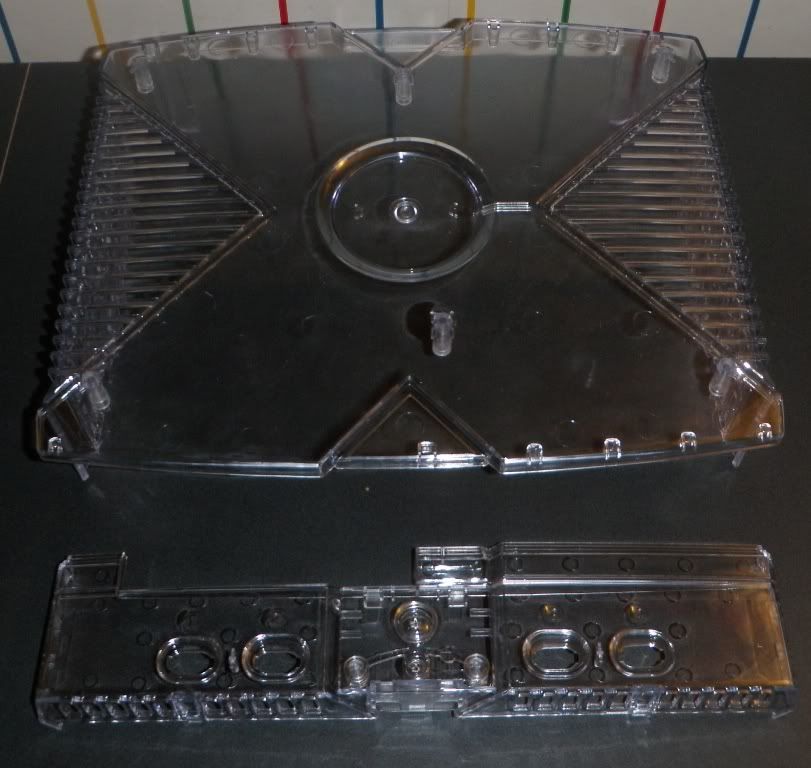
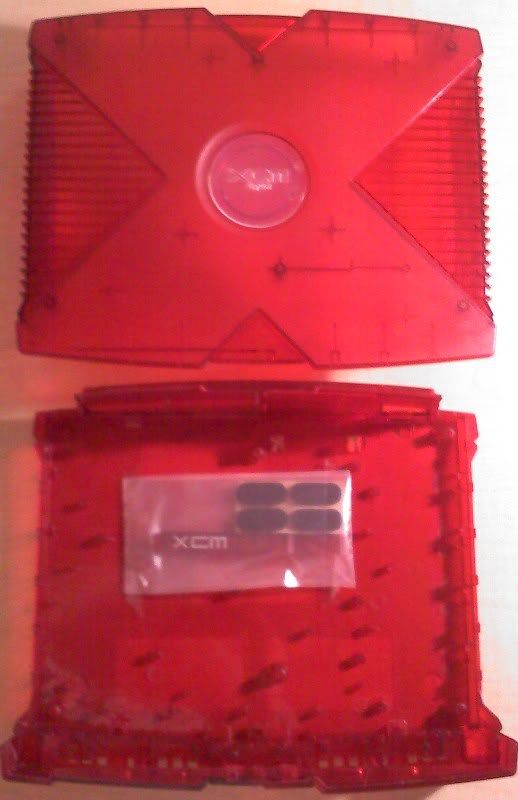
So in looking for something to do over Christmas break, mainly because I have not modded anything in a long time, I am going to put my bedroom HTPC into a Xbox replacement case that I bought on eBay ($21).

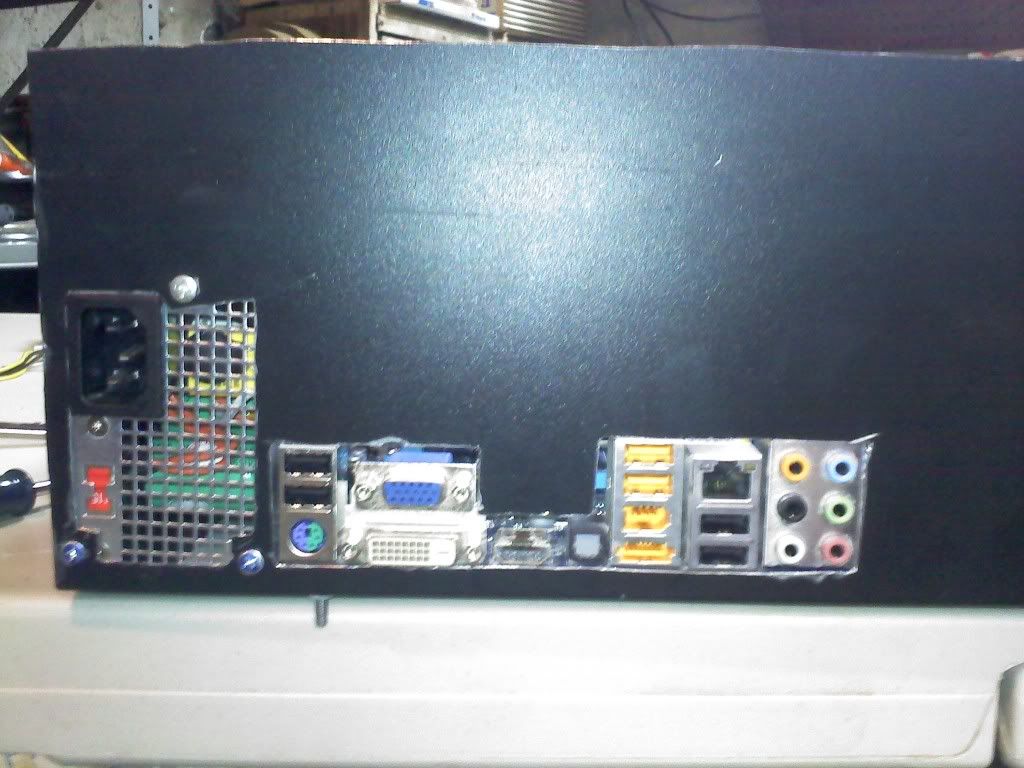
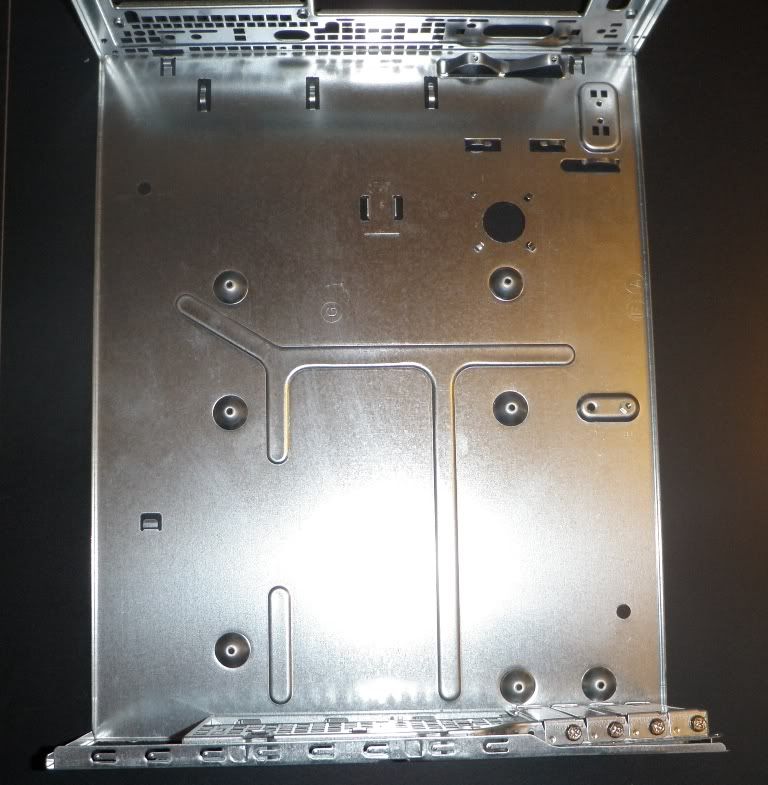
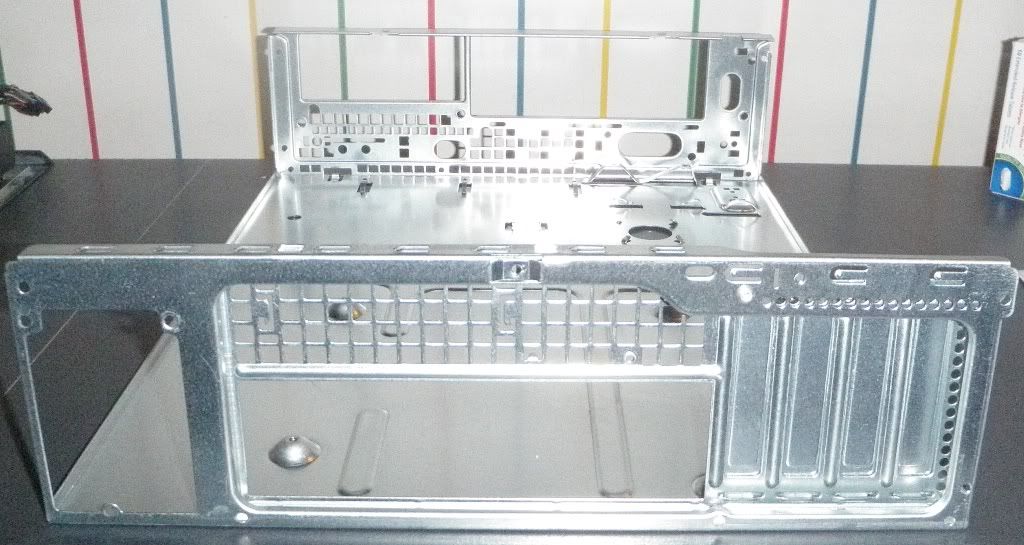
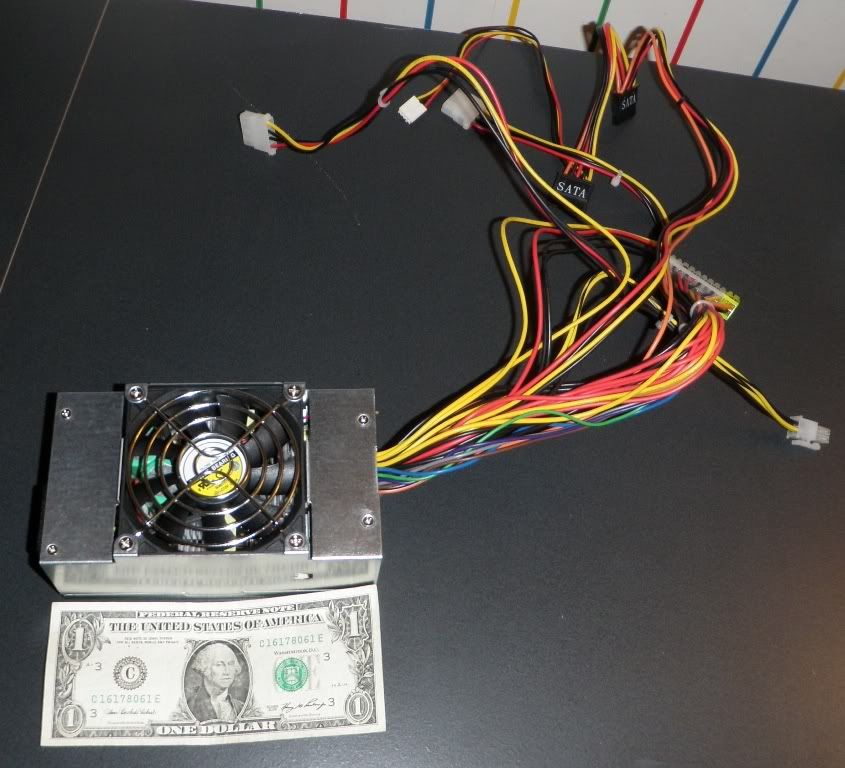
The mobo tray and PSU will be courtesy of a Slim Matx case I bought on newegg ($50).

I'll keep updating this thread with pictures along with others in the other forums that I actively participate in.

It should be interesting to see how this whole thing turns out.

-CG
 
Started to get some parts in, here they are

tray1.jpg


Reario.jpg


PSU1.jpg


ClearCase.jpg
 
Yea the specs of the pc hardware (which i have already) are Gigabyte 785g (integrated 4200HD), 5200+ AM2, 3gb ddr2 1x1gb 1x2gb, 640gb 7200rpm 3.5" hard drive. The only additions hardware wise are going to be a cable card tuner at some point and a slim slot loading blu ray player.
 
Here is the complete case which i think i will use in the final build. I will probably use the clear one as a testbed for the final build.

Crappy cell phone pic

Redcase.jpg
 
Good call on the case. The clear ones are made from really cheap plastic and are very brittle. Think CD jewel case quality. The frosted XCMs I've worked with before and are more or less the same quality of the stock cases. I'll be following this one. ;)
 
Yea it really looks that way, the clear one is at home but i completely agree, the red one seems like much better quality
 
Looks cool. Are you gonna go all the way and be able to use this with an Xbox control pad?
 
Looks cool. Are you gonna go all the way and be able to use this with an Xbox control pad?

That would be really easy to do with either the 360 dongle (way to go, fuck cords) or there are USB drivers for the old school ones.
 
I don't plan on it really. Just plan on giving this to the parents if it turns out nice enough, toss a cable card tuner in there and they have a true all in one HTPC.
 
Ok so here goes.

Wanted to start this build on the 3rd of January.

Had two major problems, basement bathroom was leaking a lot causing significant water damage and mold growth, second being shop was a complete mess.

Don't have pictures of the bathroom but that took me a solid 2 days of work to fix.

Shop took about the same maybe 3 total days some overlapping with the bathroom repair.

Here is a before and after pic of the shop.

0103111241.jpg


0106111652.jpg


23 30 gallon trash bags later....

So with that out of the way i was able to being the building of this epic case.

Took all the necessary components and laid them out on a 6' folding table.

The plan was to use this mobo tray and rear I/O panel in the build.

Go to get the dremel too and cut off the excess portion of the mobo tray.

Take the bottom of the case and realize oh crap, it's about 1.5 inches longer than the case its self.

At that point there was some strong consideration on giving up right then and there.

After some long thought i figured i would take the top of the case i was using for the tray and make a semi extension of the xbox case.

So after gutting the xbox case shell of all non necessary plastic nubs, man that stuff smells bad when cutting off, which took forever.

0107112243.jpg


0107112243a.jpg


And cutting down the mobo tray to fit inside the case i realized there was another problem.

The motherboard with the PSU next to it was too wide for the case by maybe 1-2cm. Crap compromise number two. PSU was going to sit on the outside edge of the case, at least the top of the case would cover it up (at least i thought at that time it would fit)

After two afternoons of screwing around i ended up with this.

0107111638.jpg


0107111638a.jpg


0107111638b.jpg


0107112244.jpg


After that was done i go and fashion a tray to hold the Slot Loading Blu-ray player up where the normal dvd drive would have been in the original xbox. That was fairly straight forward no real problems just took time.

CPU heatsink got in the way when mounting the blu ray drive, got incredibly lucky and it was just find which i was able to cut out. Thank God no heatpipes got in the way.

0107112242.jpg


0107112242a.jpg


So thats out of my mind for the time being.

The most time consuming portion of the build was fashioning the rear io shield/ case extender. That took insane amounts of cutting with a dremel tool and loads of time.

That alone was a 2+ day project for me. (by day i mean waking up at 11ish, eating something, showering, starting at noonish and maybe going strong till 5 and working on and off until 10, it is my winter break not going to push myself too hard hahaha)

Made one HUGE mistake in the process, i wanted it to be one single piece, i bent the top angle wayyyyyyy too high up. so in the end i had to cut it and rivet it in place. from the top there is no way to tell, back you can tell but whatever.

Here are some various pictures of that in progress to completion.

0111112027.jpg


oh and i guess in the process of doing that i cut out a 120mm fan hole in the top for the cpu fan/ case air circulation.

and realized another huge problem, the PSU was too tall, only solution i could think of, time being a major factor, cut out the top to let the psu fit in place. Not something i wanted to do, but with the time constraint and my incredibly limited skill and knowledge of the subject that's what i went with.

0112111236.jpg


Back panel finished, i have no use for the pci, pci express and whatnot slots so didnt spend the time cutting it out.

0112112106a.jpg


0112112106.jpg


So with that in mind i assembled all but the front panel to do a dry run test to make sure everything still worked and i didn't create any shorts.

IT LIVES

0112112216.jpg


Considered not painting the top of the PSU, Ironman77 talked me into it basically. Very glad he did.

Painting the PSU and final assembly took another afternoon. Here is the finished product.

0113112130.jpg


0113112130a.jpg


0113112129a.jpg


0113112129.jpg


0113112129b.jpg


0113112130b.jpg


So final thoughts on this mod.

It was my first, hopefully not last, mod where i took something that was not necessarily intended to be a computer case and turned it into what i think a fairly good and unique looking HTPC case.

Am i happy with my work?

Yes, with this being my first mod of the type, having about one week to work on it, and the tools at hand i am rather happy.

Did it turn out the way i had initially invisoned it to?

Not at all, but that being said i am happy with how it looks, only thing i wish i could have prevented was having to cut out the top of the case for the PSU.

Hardware is

Sony Slot Loading Blu-Ray Player

WD Black 320gb 2.5" SATA Hard Drive (forgot to mention that is mounted below the blu ray player)

Gigabyte AM2/AM2+/AM3 785g Micro ATX mobo

CPU (was free) AMD Athlon x2 5200+

PSU (came with the case i cut apart) off brand 300w

RAM (2 gigs harvested from my mini itx HTPC and 2x1gb set i got for free split amongst the two) 1x2GB +1x1GB DDR2 800

OS Windows 7 Pro x86

Remote is an old one from my happuage TV tuner. I managed to hide an IR 6 Receiver in the case and it works through the red plastic so no need for cutting more.

That is all for now, it's up and running no issues with heat at all, temp variance between watching h.x264 movies and not is 3-5°c.

Total time spent on this project would be in the neighborhood of 20ish hours of actually working, probably spent a good 5 or 6 hours working out problems in my head.
 
good idea, but...... it doesnt look good.

use a Pico PSU and a different material for the backplane.

your cuts into the plastic were made with a dremel or saw with too high RPM and it melted the plastic rather than clean cuts.


you could hook up some USB ports where the controller ports are....., but really with that translucent plastic it is going to be hard to make it look finished.

great idea, and if you are happy with it great, but i would want it to look more finished.
 
Back
Top