Well, after being on [H]ardforum for a while now, it's time for my first worklog... I will be building a new system and adding a watercooling loop along with several mods. Enjoy!
I'll start by keeping an updated list of what I've used in this project:
As for the video card, I am waiting on the new ATi 4870 cards if they turn out to be as good as they sound. I'll also add the GPU to the loop once a block is available. Or i may end up with a 88GT... we'll see
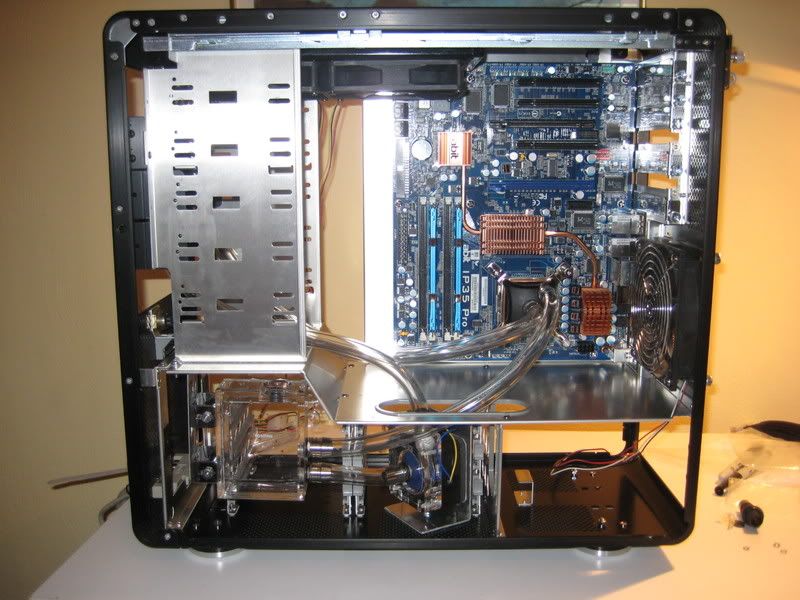
Now for what you came for, the pictures!
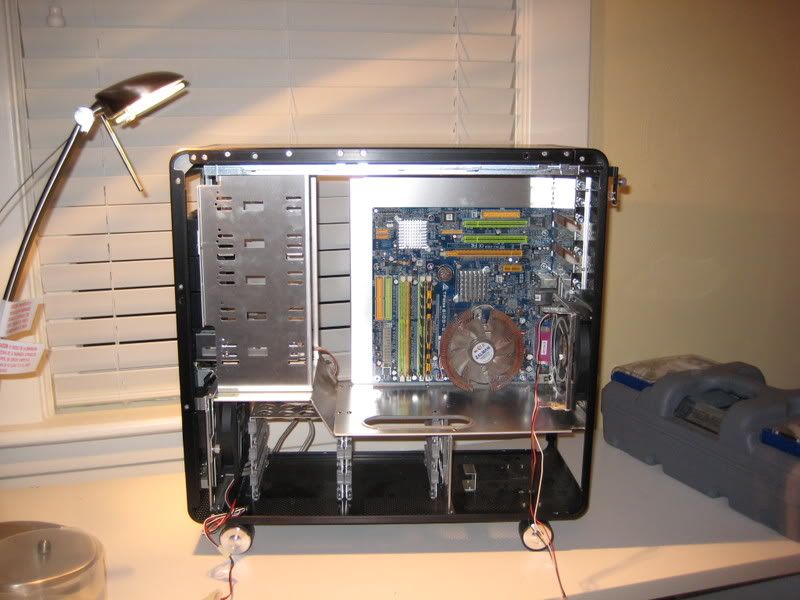
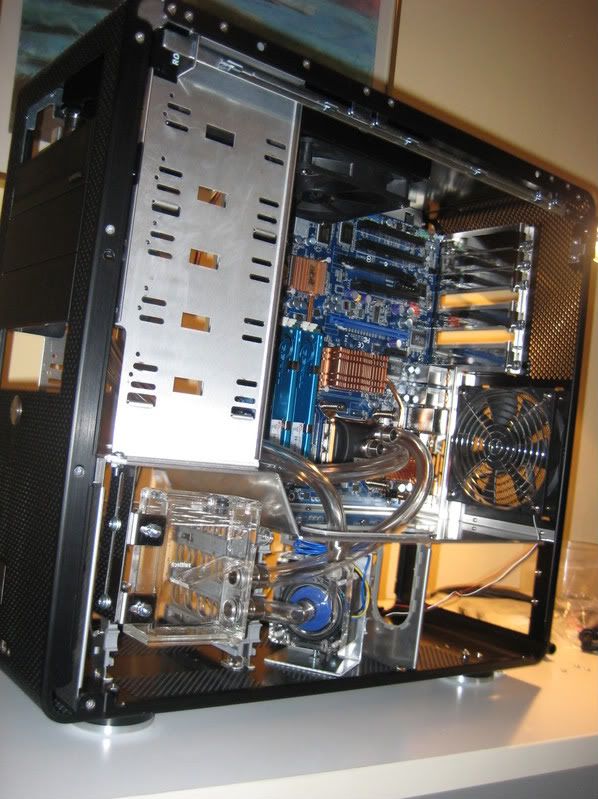
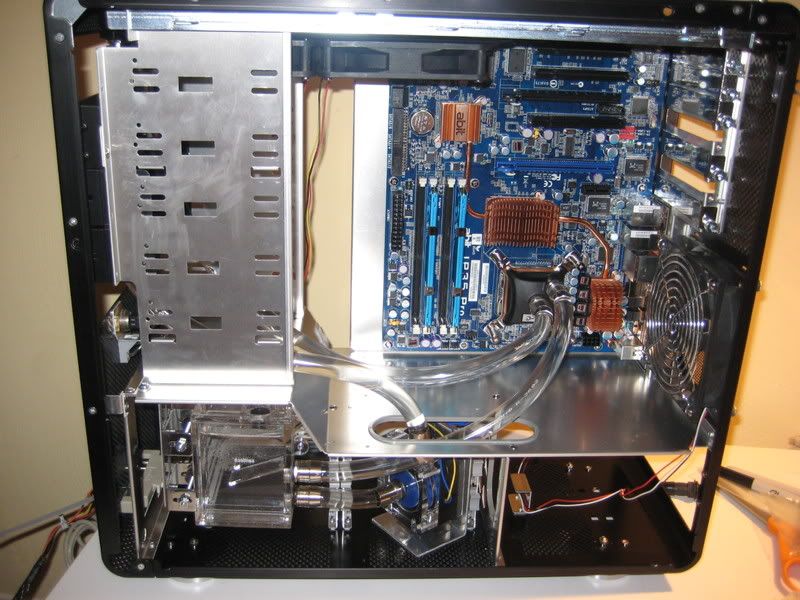
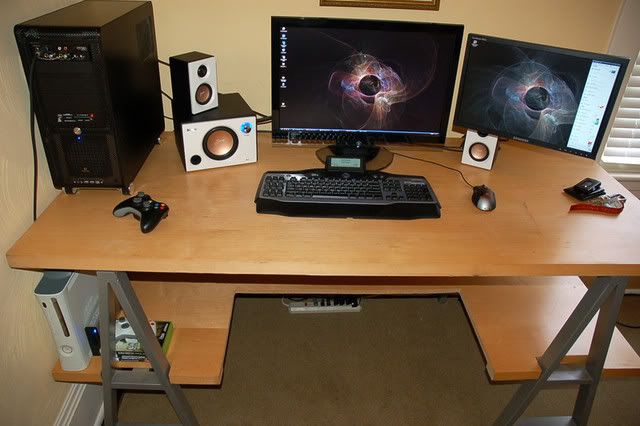
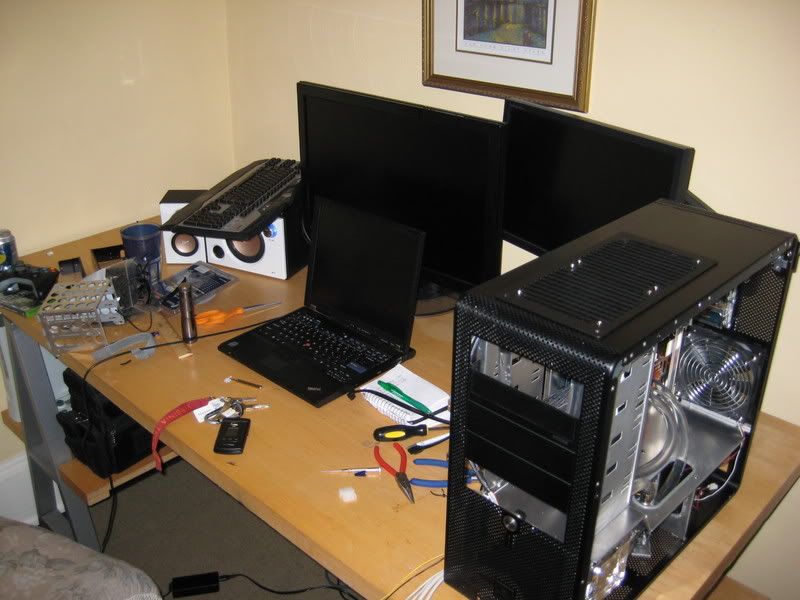
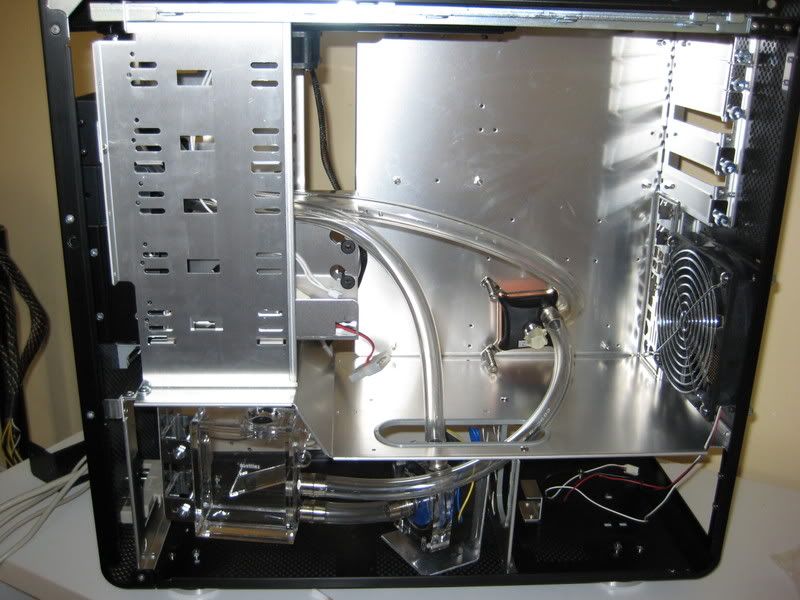
Opteron 148 system half dissembled
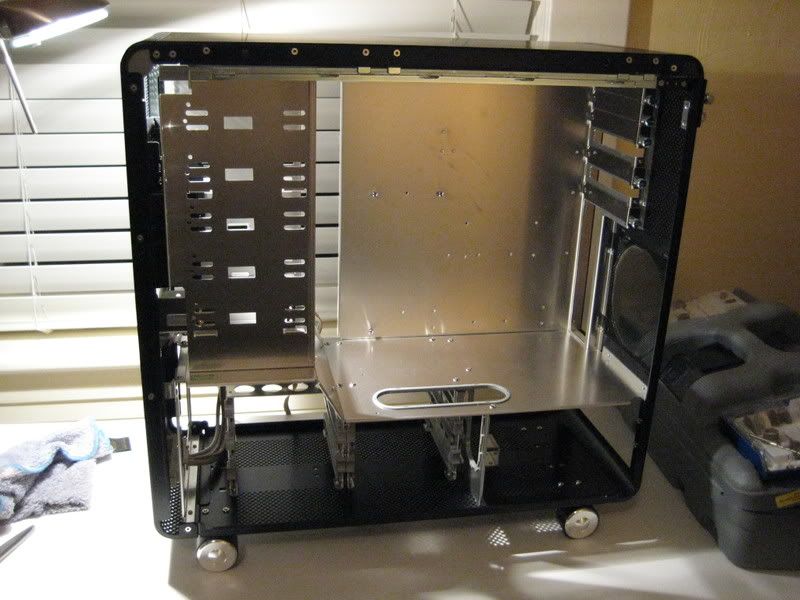
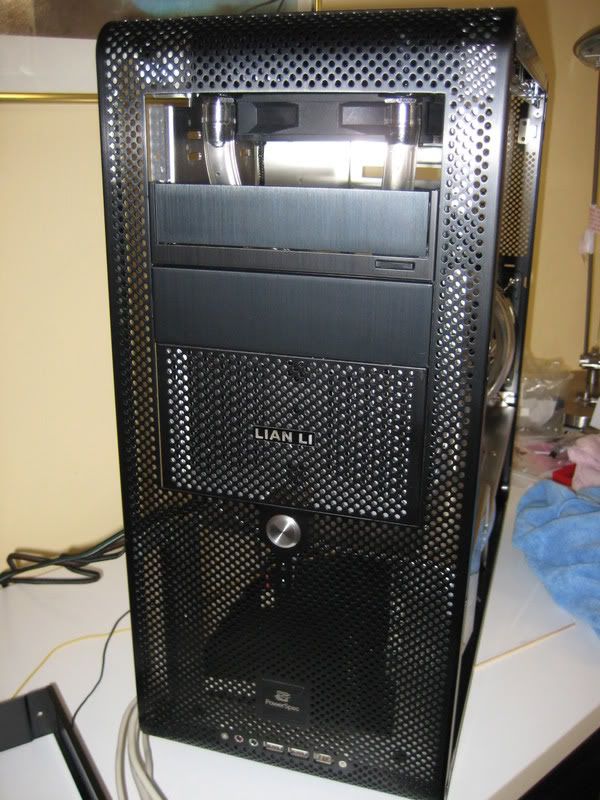
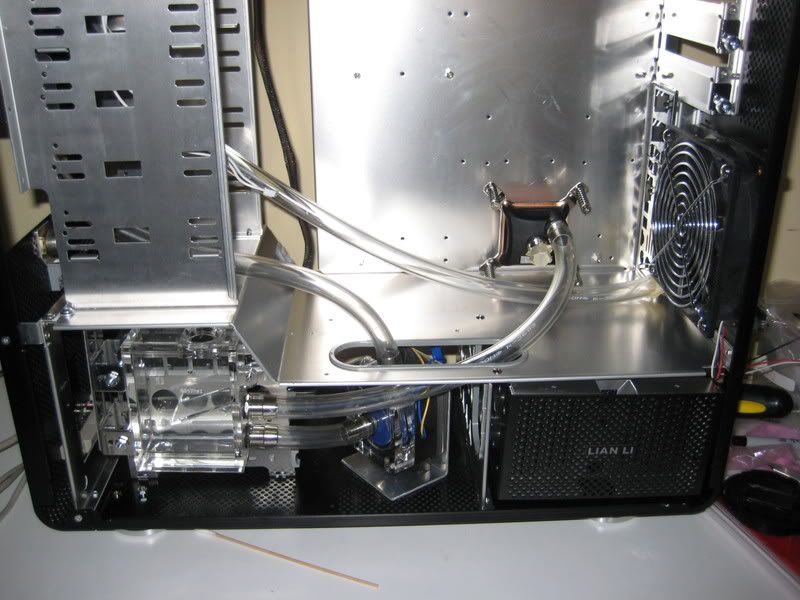
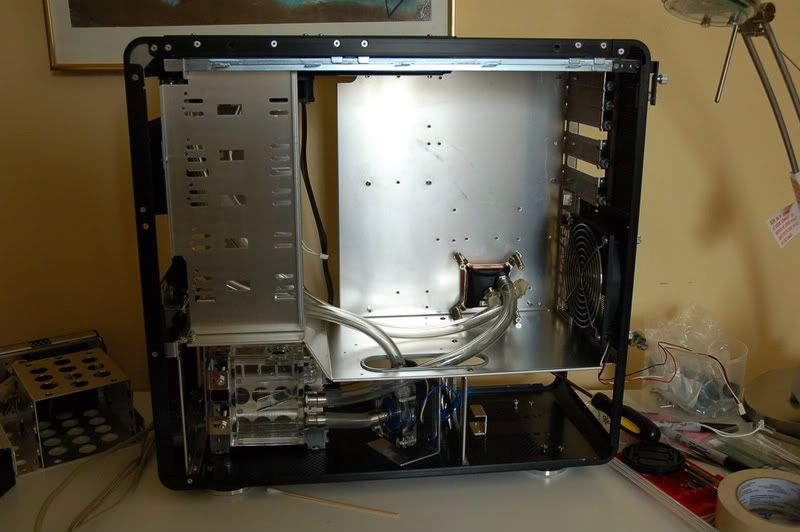
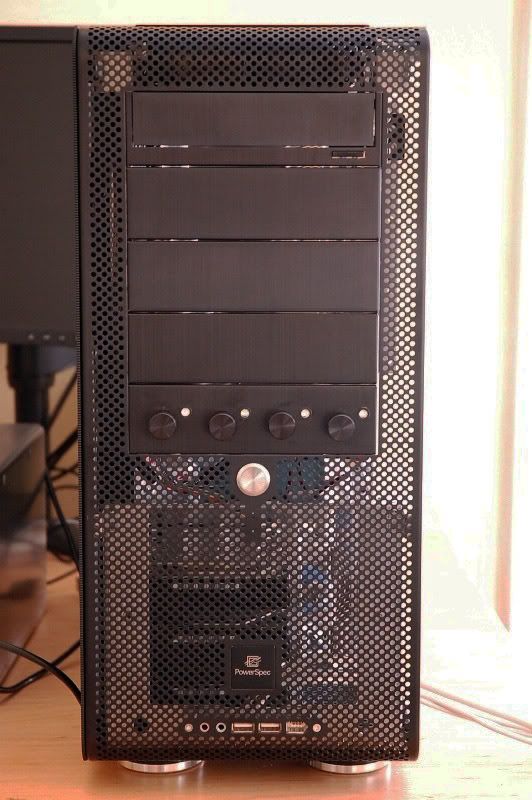
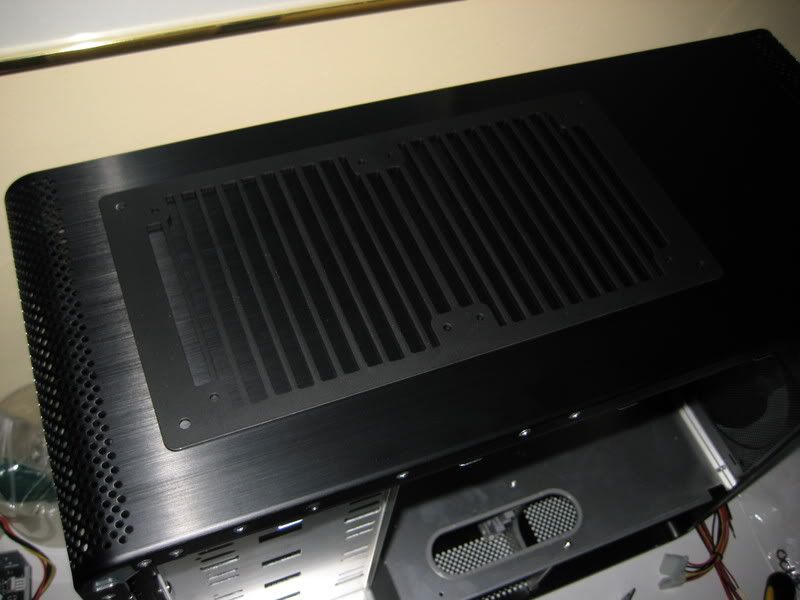
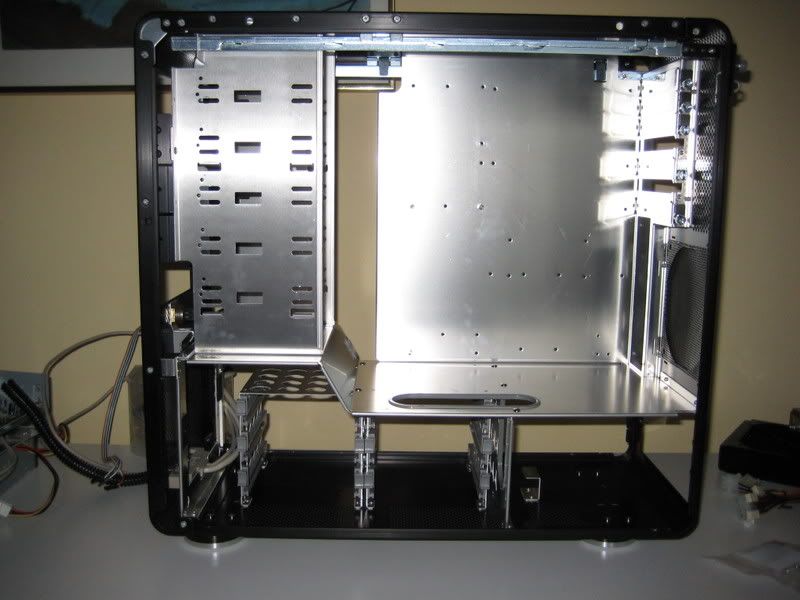
The case is actually a rebranded Lian Li that i got from Microcenter for $120 a few months back.
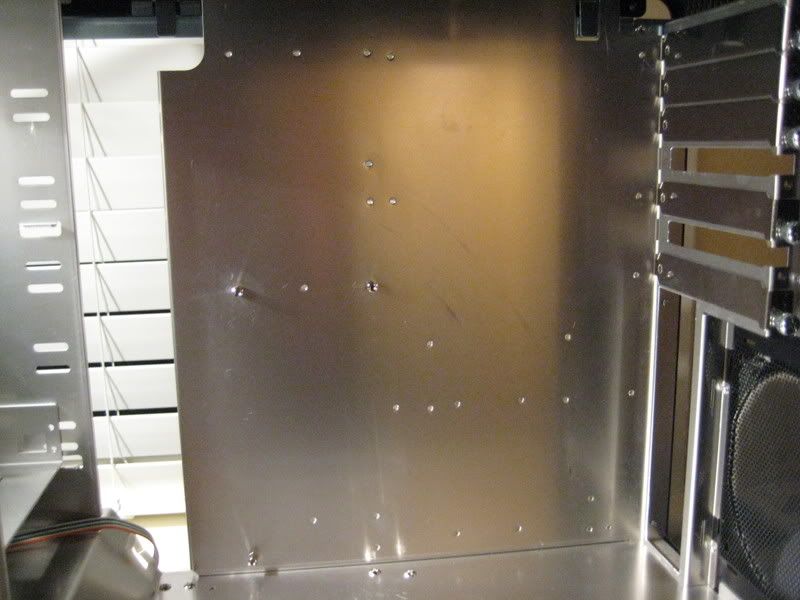
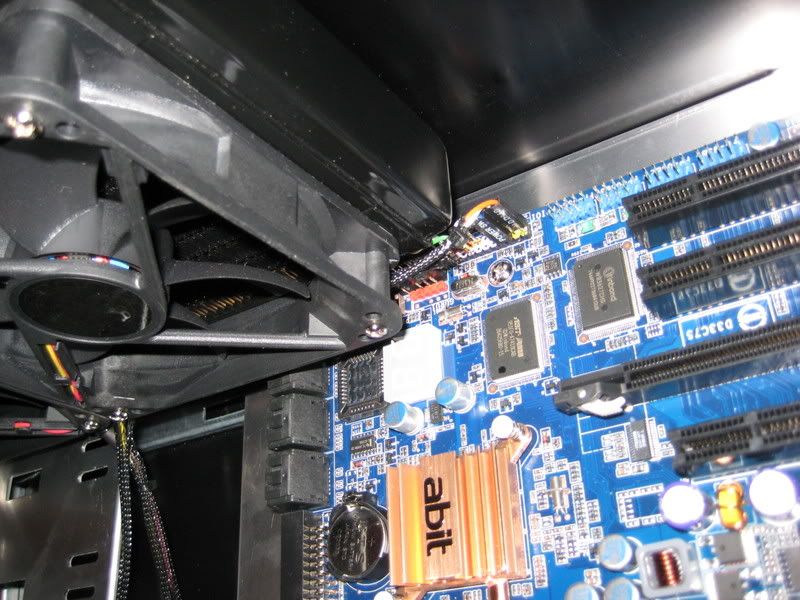
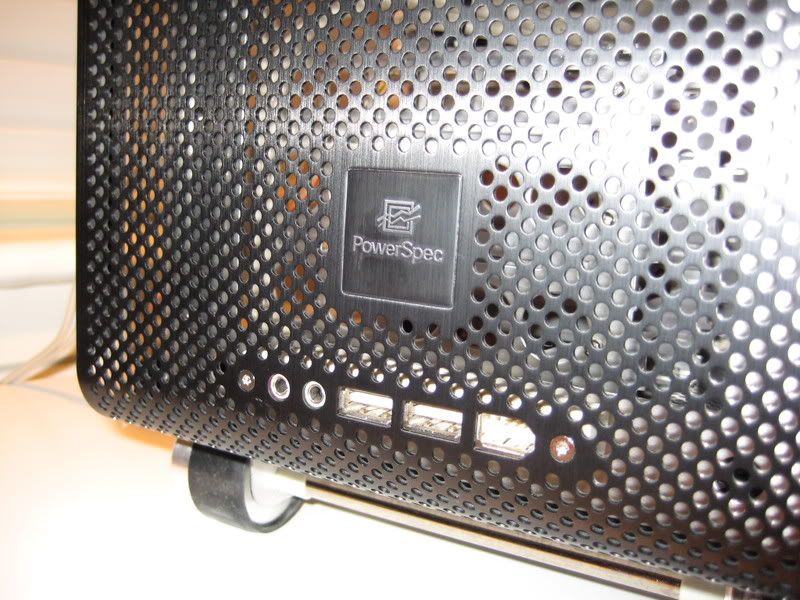
I assume that PowerSpec got to rebrand these because of Lian Li factory defects... here you can see some marks on the mobo tray. no biggie.
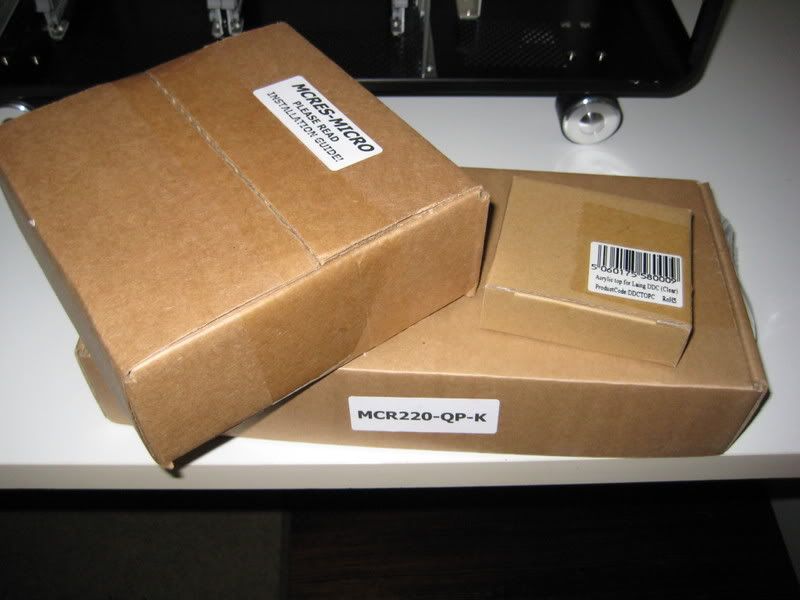
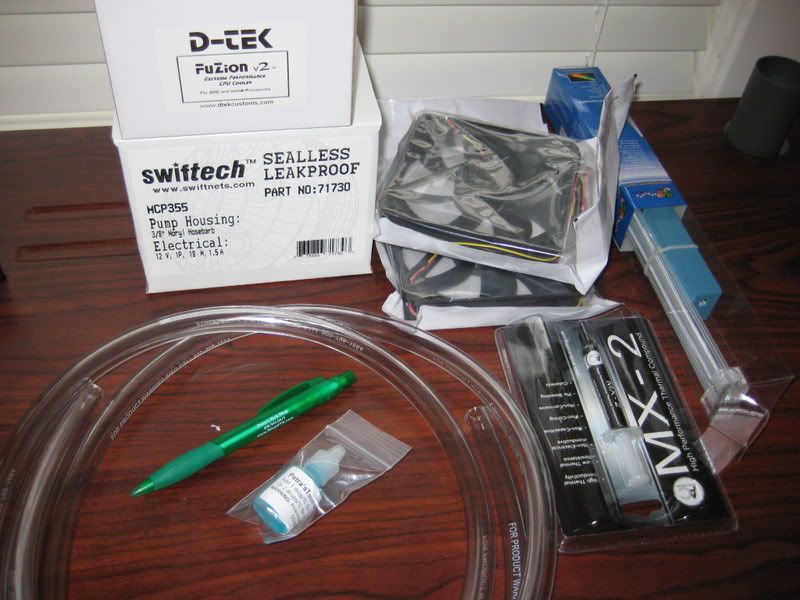
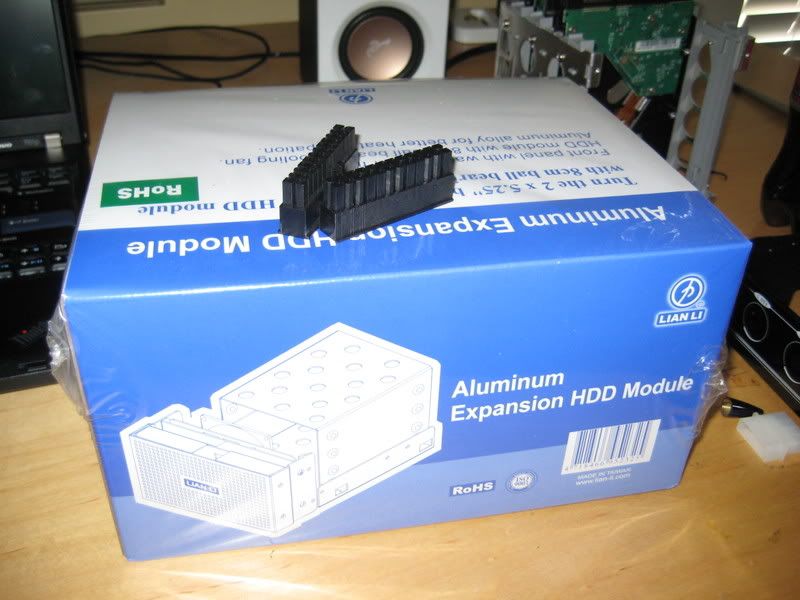
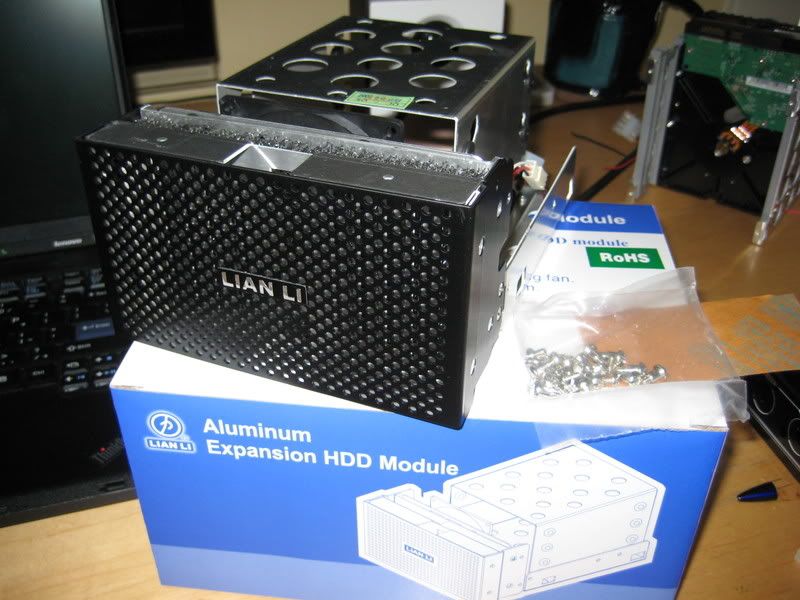
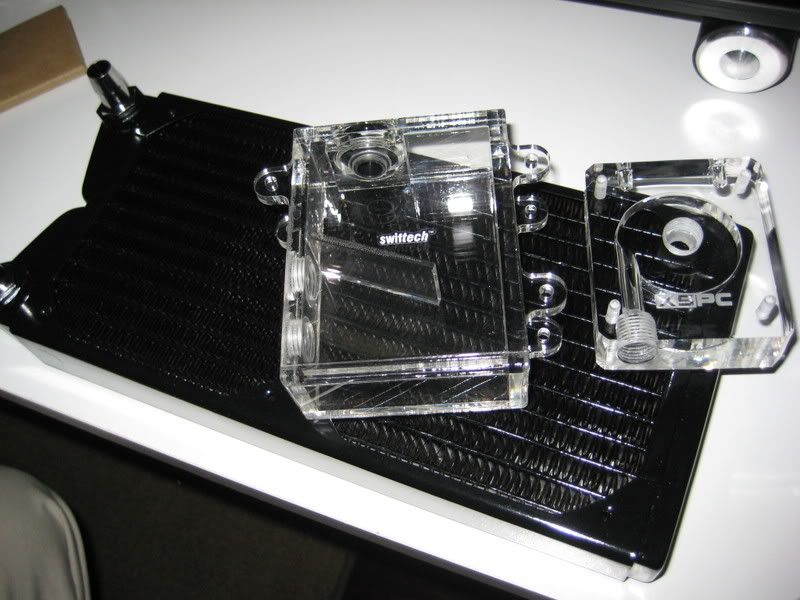
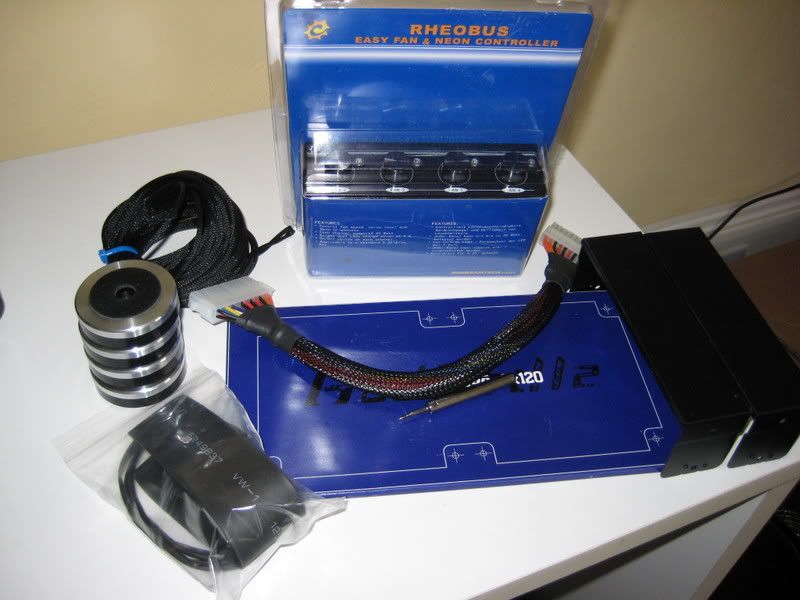
First shipment of parts! Thanks Jab-Tech

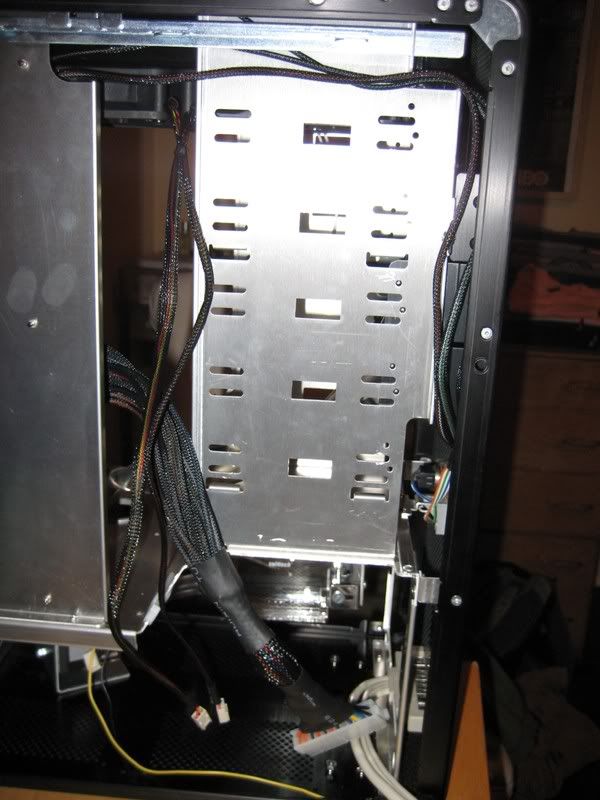
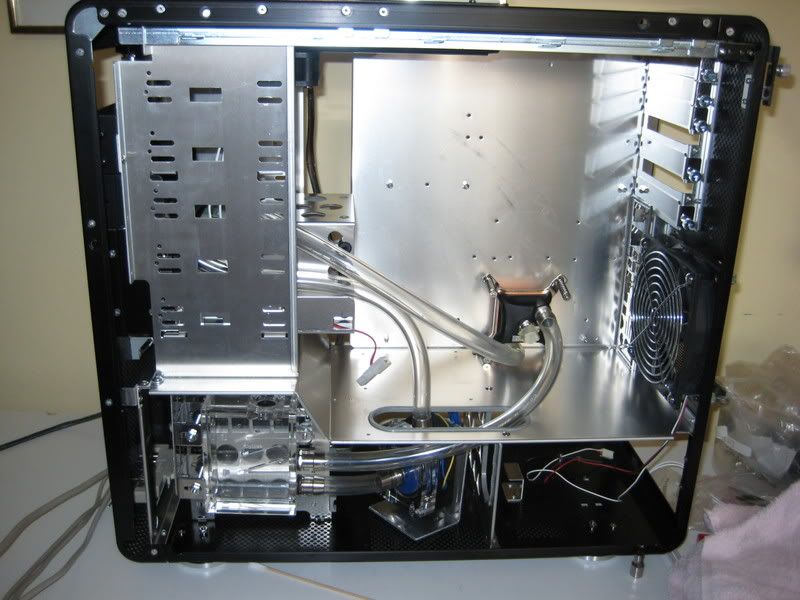
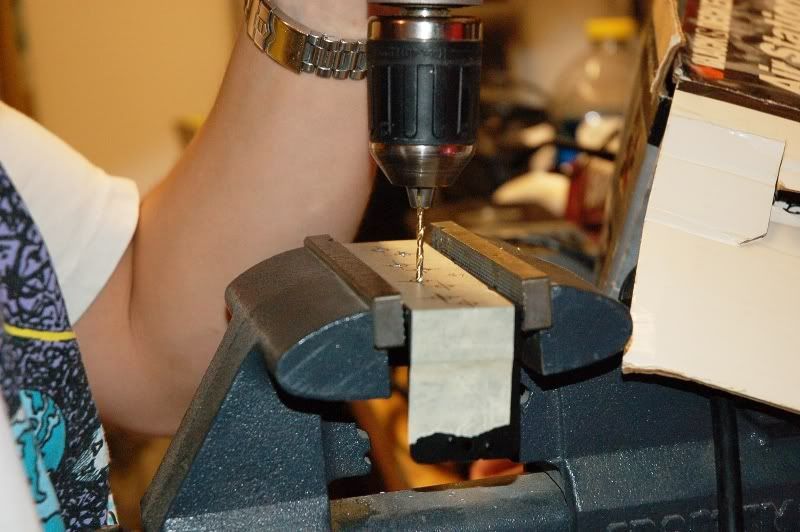
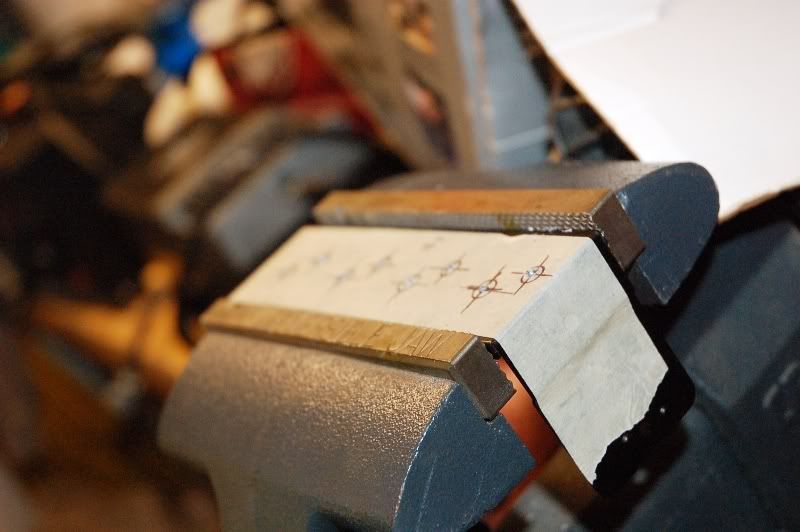
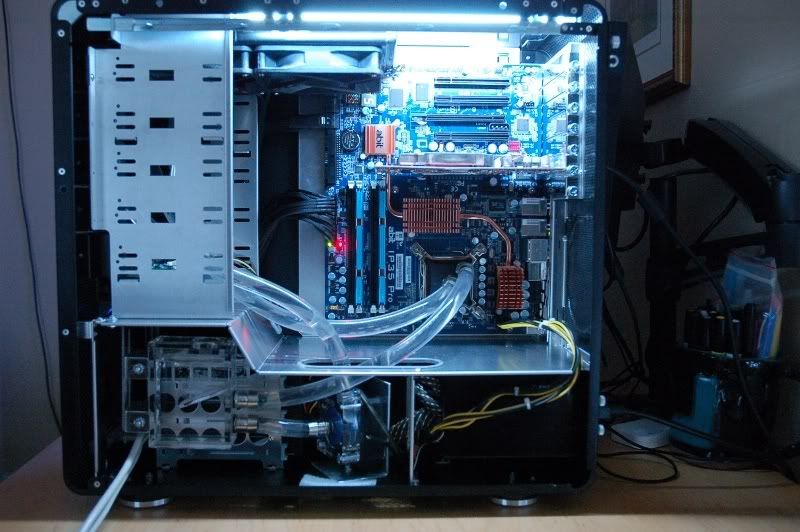
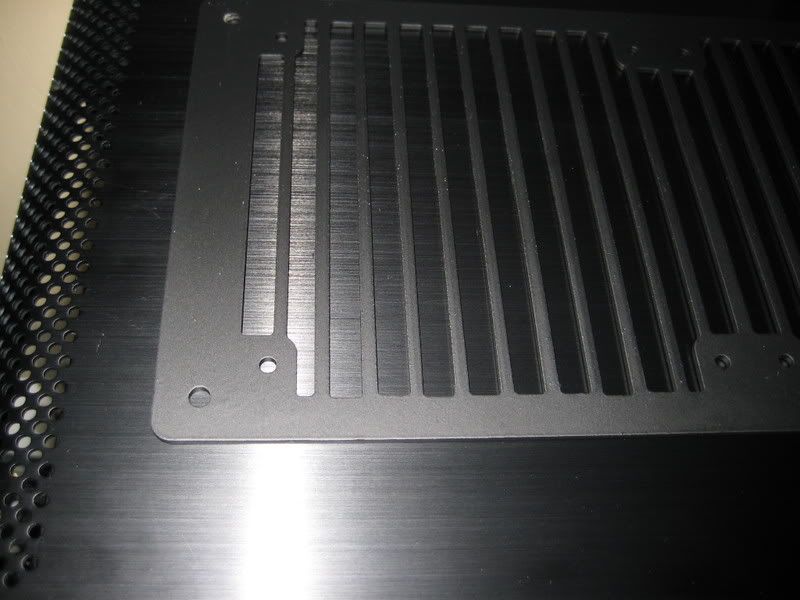
While waiting on everything else to come, i started cutting the case. Here's where the first cuts will be made. This cut will open up a lot of area for cables to be routed/hidden
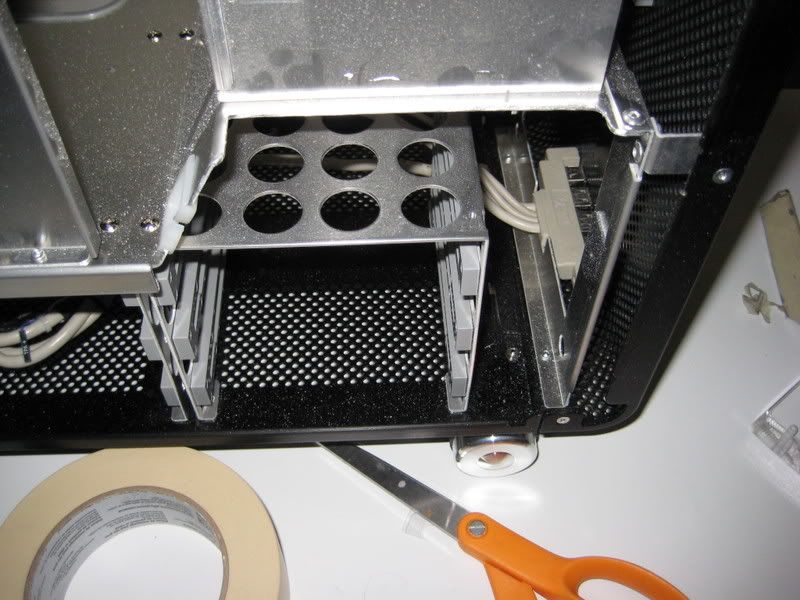
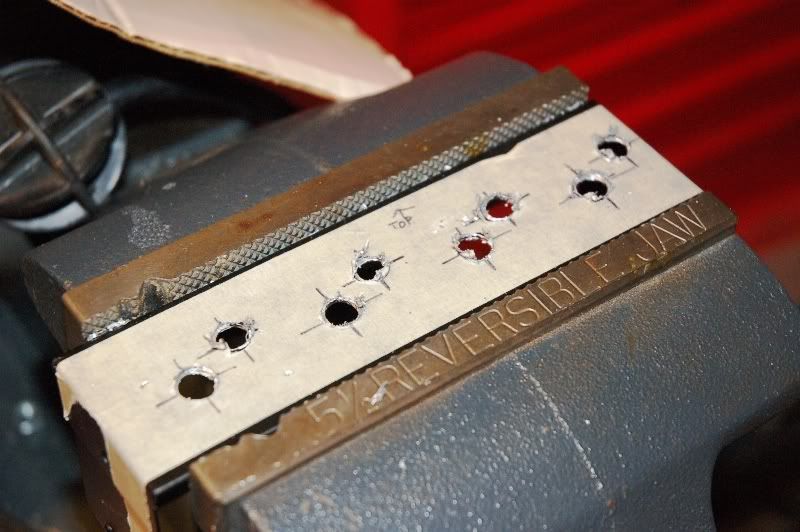
After initial cut, but not finished... You can see the minor scratches on the rack that i made while filing :\
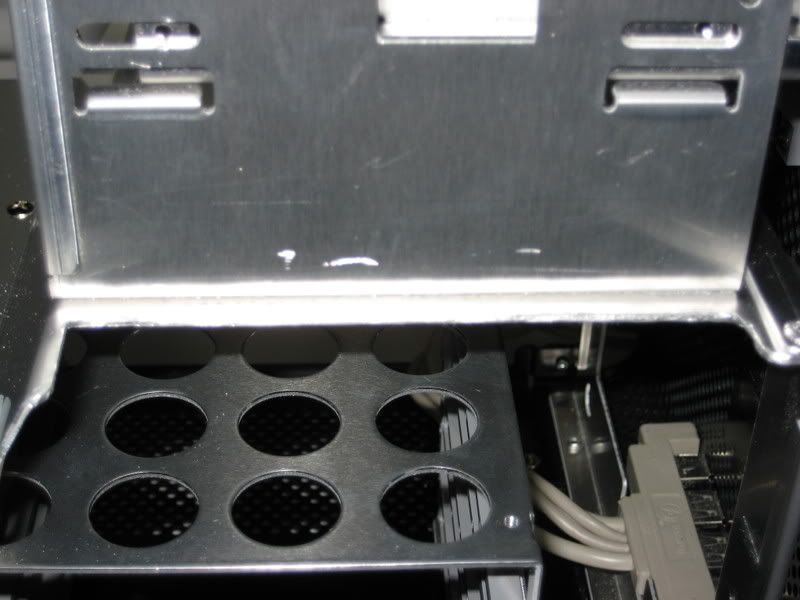
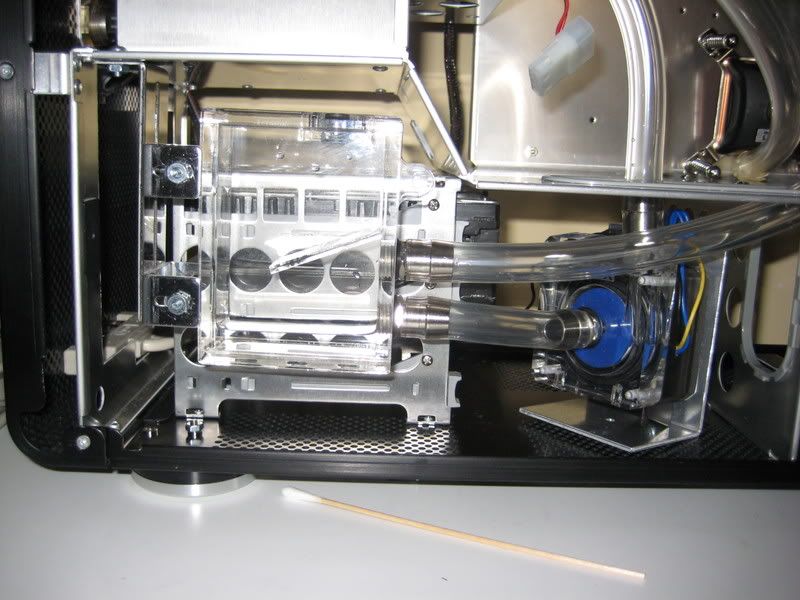
Not too bad, could use more filing... damn scratches
Well, thats it for now. Next updates when the rest of the parts arrive!
Stay tuned, lots more to come!
I'll start by keeping an updated list of what I've used in this project:
Code:
[u]W/C Loop[/u]
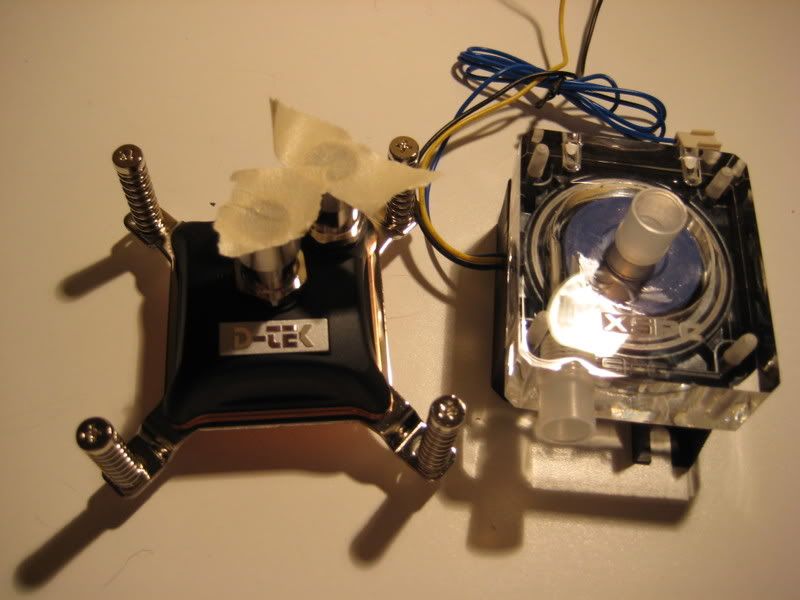
D-tek FuZioN v2
Swiftech MCR220-QP & Yate Loon SMs
Swiftech MCP355 w/ XSPC Laing DDC top
Swiftech Micro Res
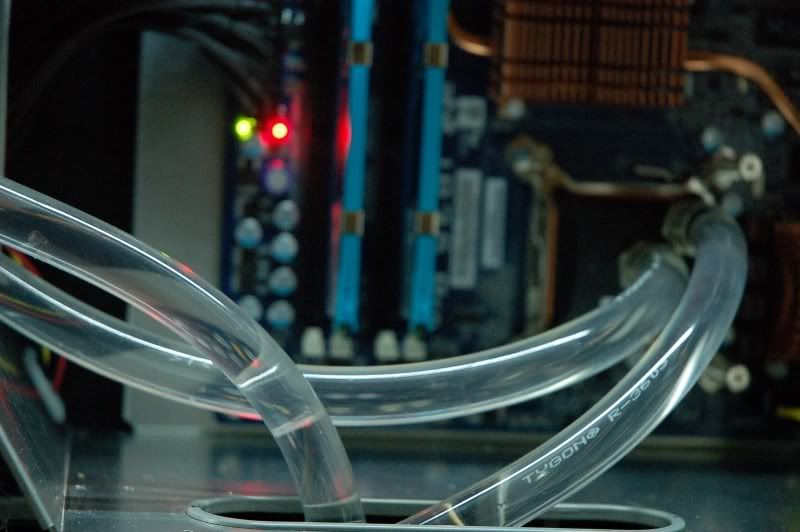
Masterkleer 3/8" ID
PT Nuke
[u]Hardware[/u]
Intel Core2Duo E8400 Wolfdale
Abit IP35 Pro
4GB G.SKILL DDR2 PC8500
Lian Li V1000B (rebrand)
[u]Misc[/u]
Arctic Cooling MX-2
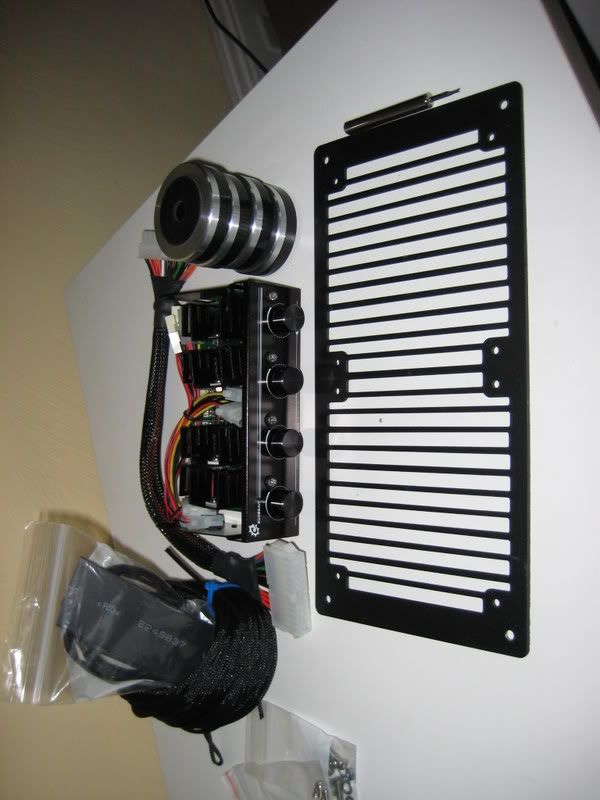
AC Ryan 240mm "Stripes" Radgrill
Silverstone TJ09 Case Feet
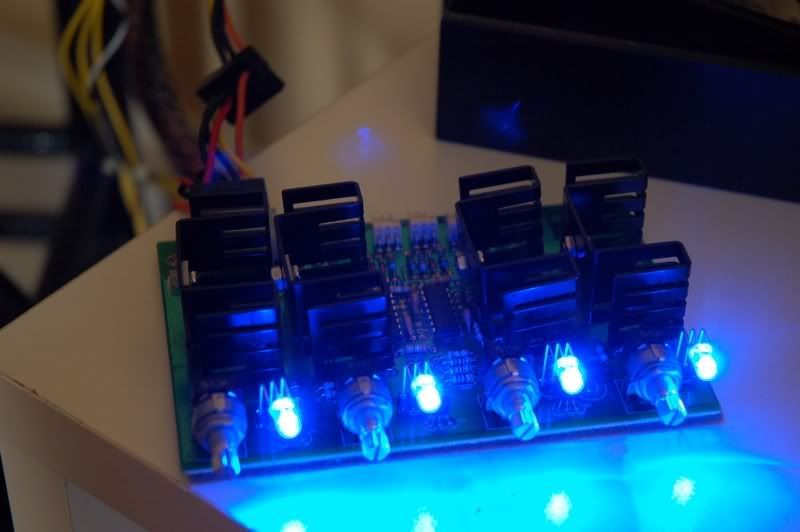
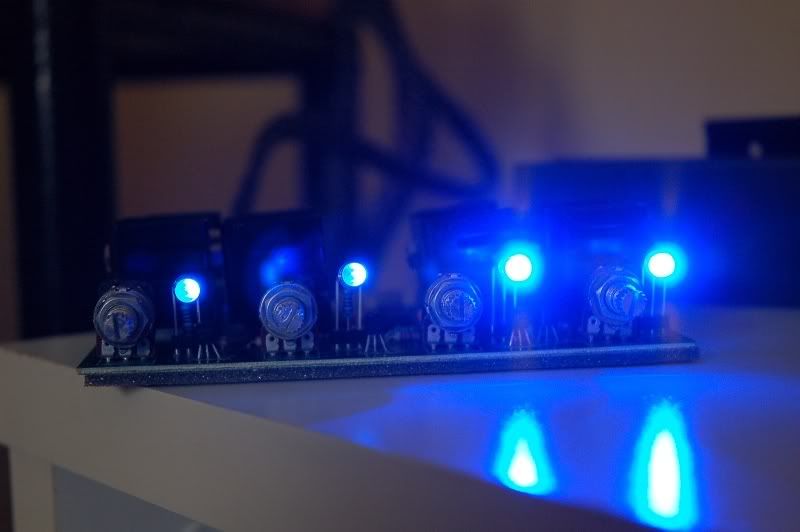
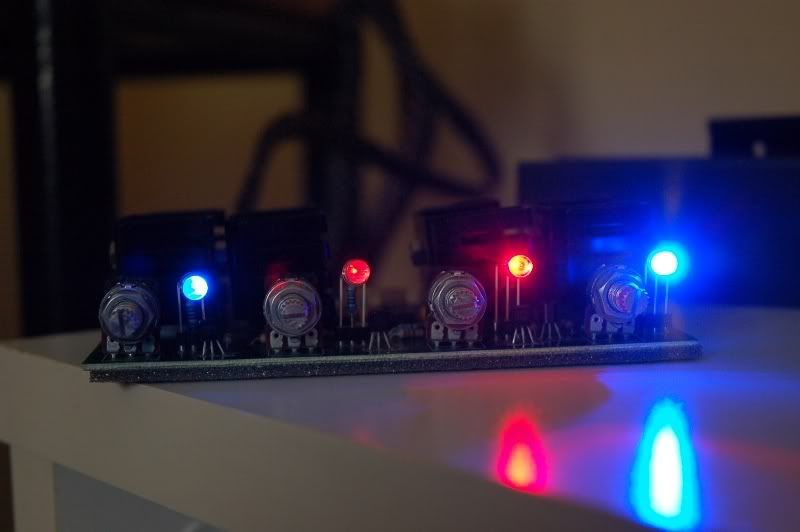
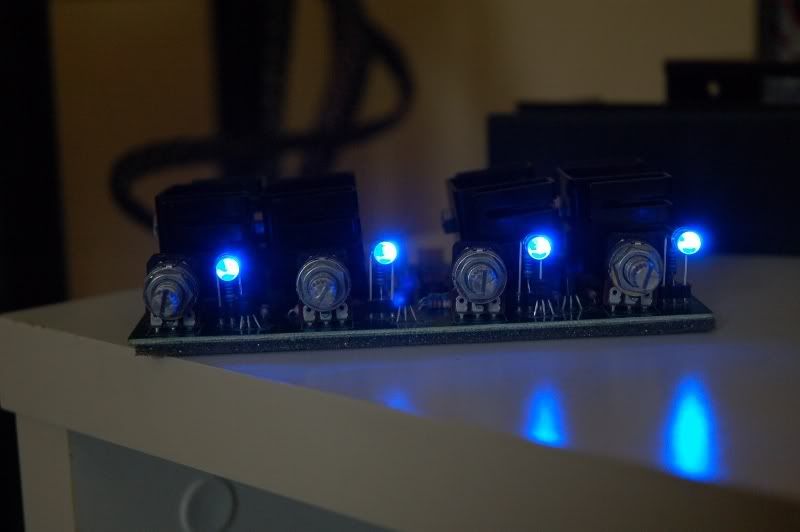
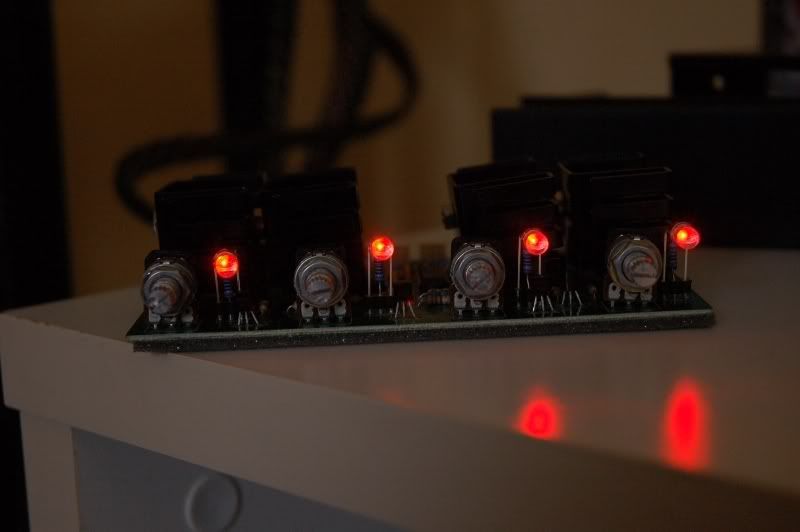
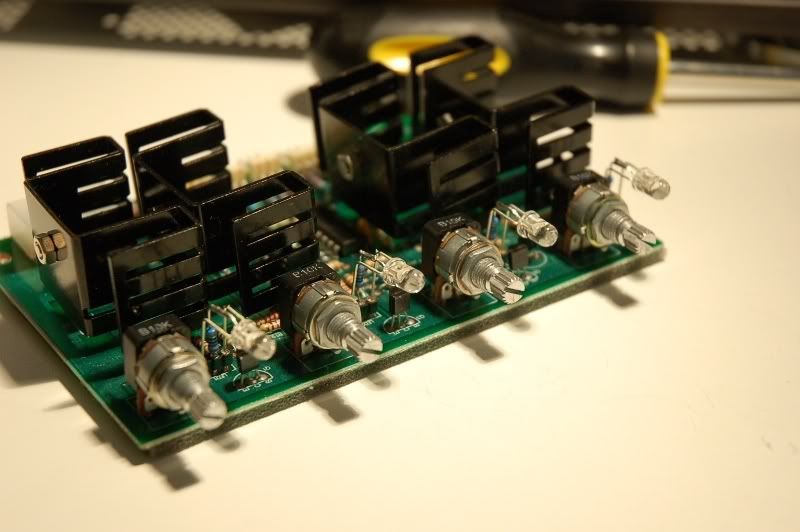
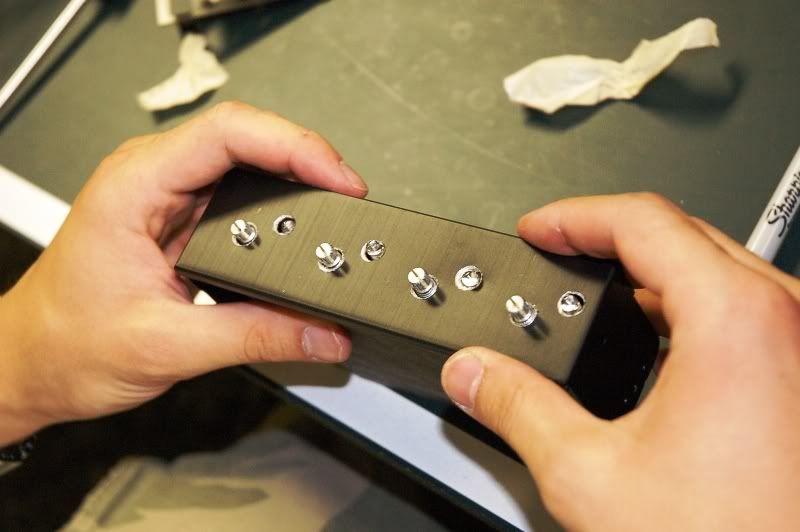
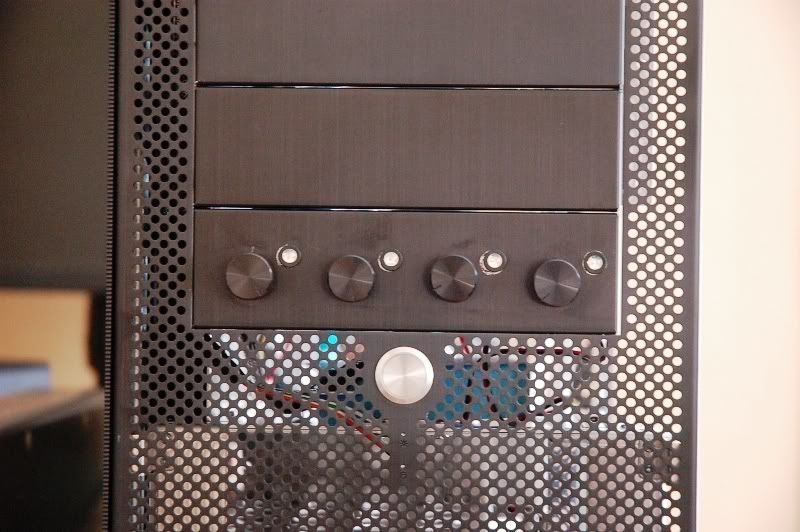
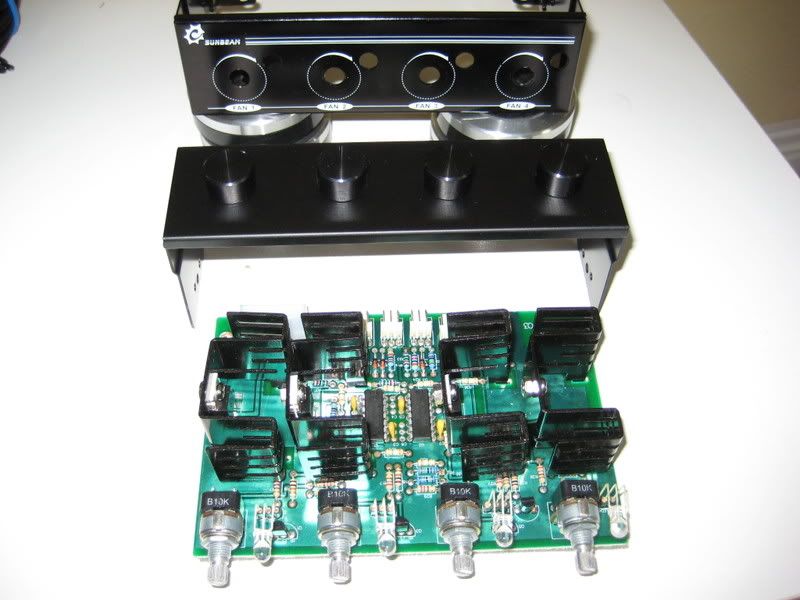
Sunbeam Rheobus on Lian Li Faceplate
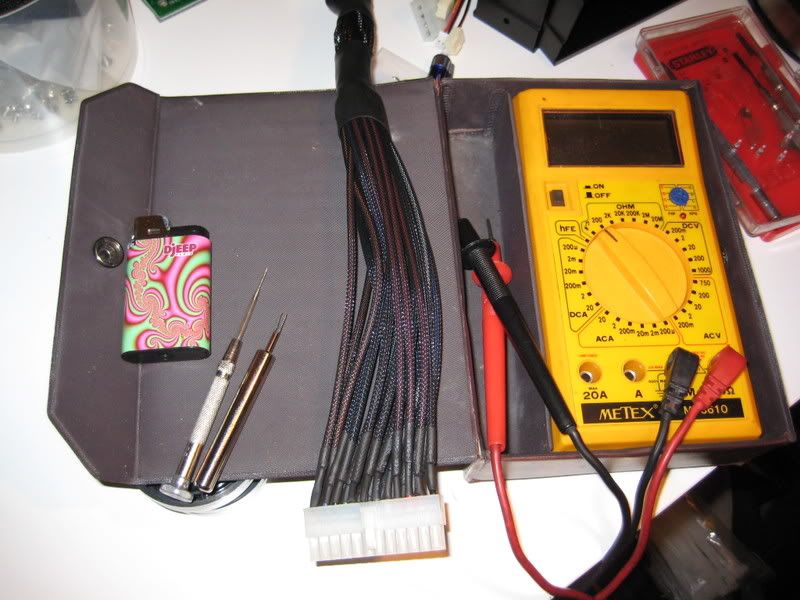
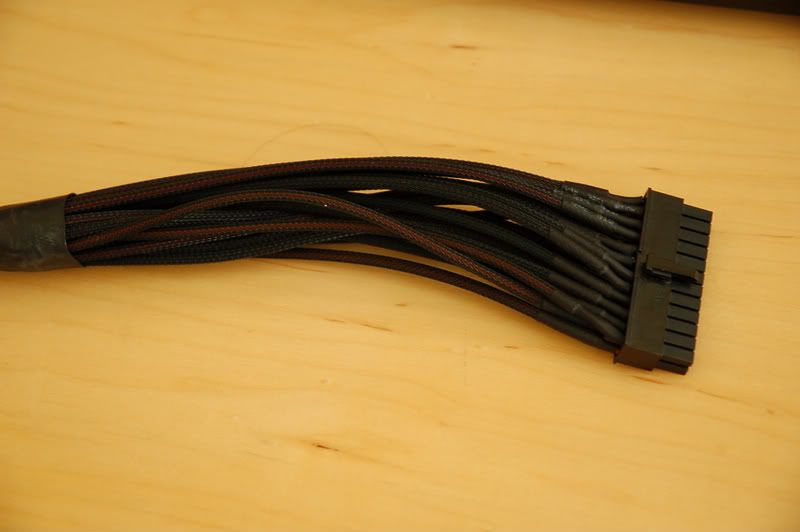
Sleeved ATX 24pin 12" extensionNow for what you came for, the pictures!
Opteron 148 system half dissembled
The case is actually a rebranded Lian Li that i got from Microcenter for $120 a few months back.
I assume that PowerSpec got to rebrand these because of Lian Li factory defects... here you can see some marks on the mobo tray. no biggie.
First shipment of parts! Thanks Jab-Tech
While waiting on everything else to come, i started cutting the case. Here's where the first cuts will be made. This cut will open up a lot of area for cables to be routed/hidden
After initial cut, but not finished... You can see the minor scratches on the rack that i made while filing :\
Not too bad, could use more filing... damn scratches
Well, thats it for now. Next updates when the rest of the parts arrive!
Stay tuned, lots more to come!


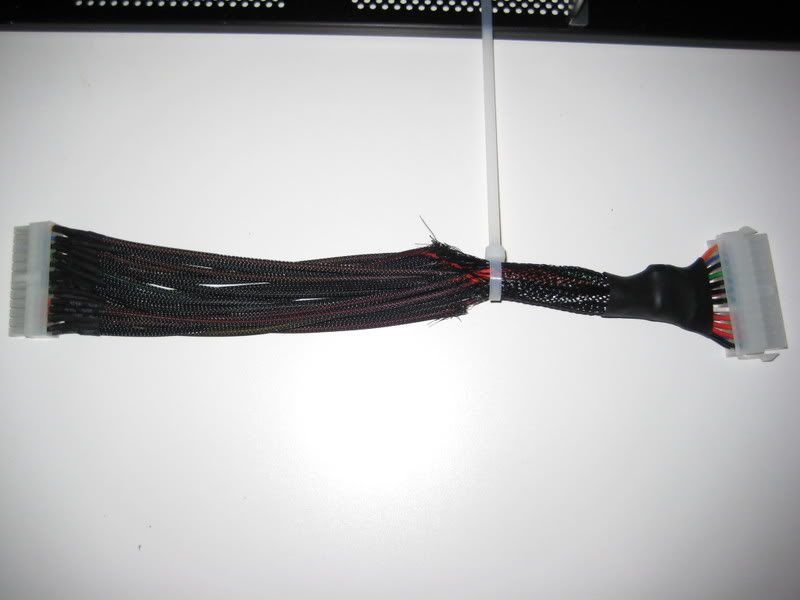
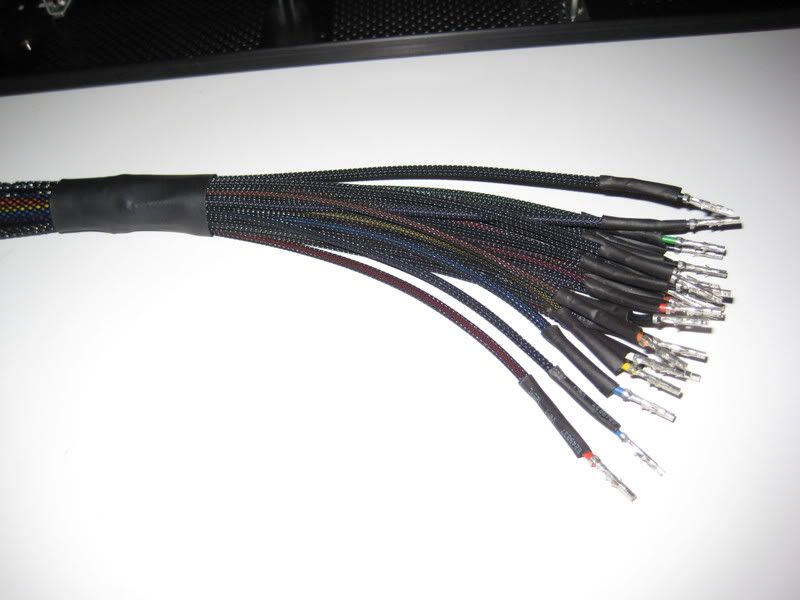
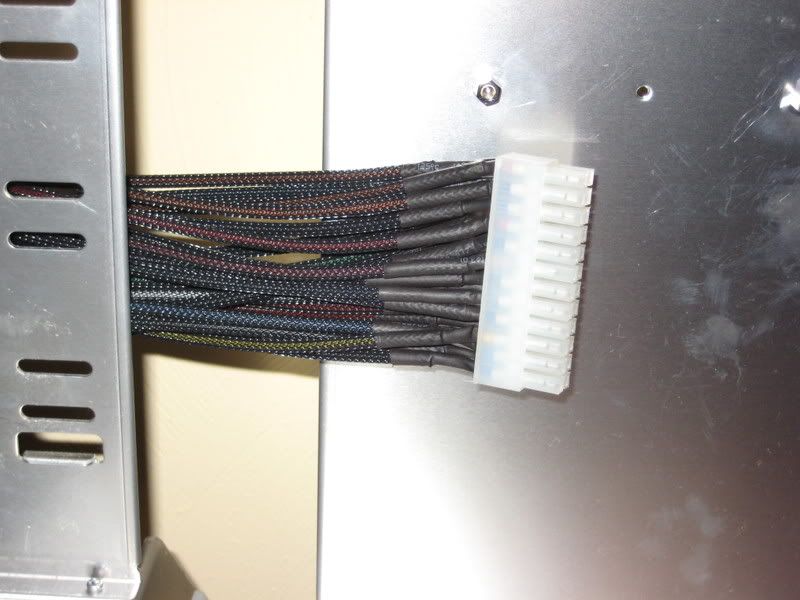
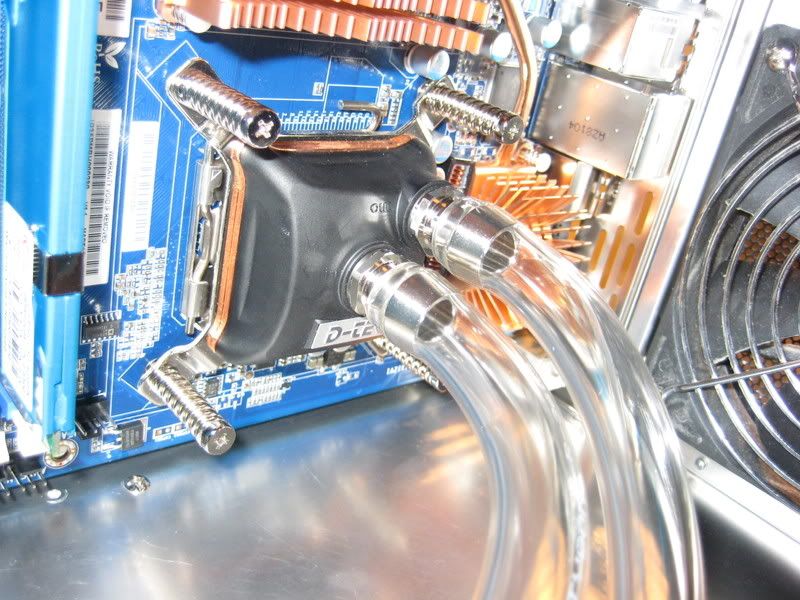
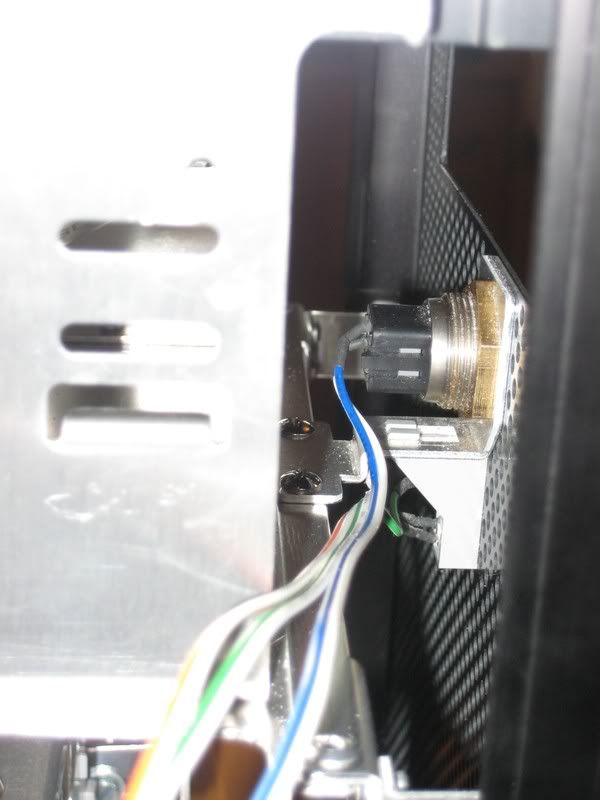
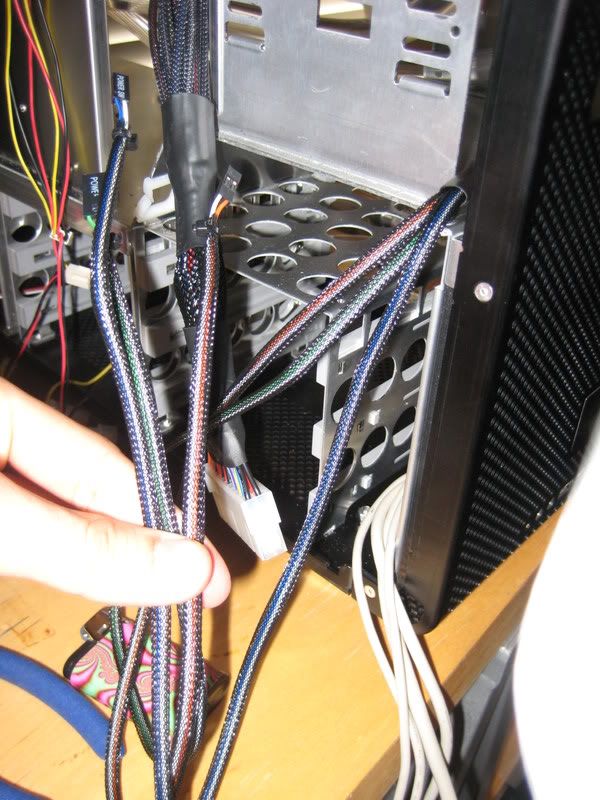
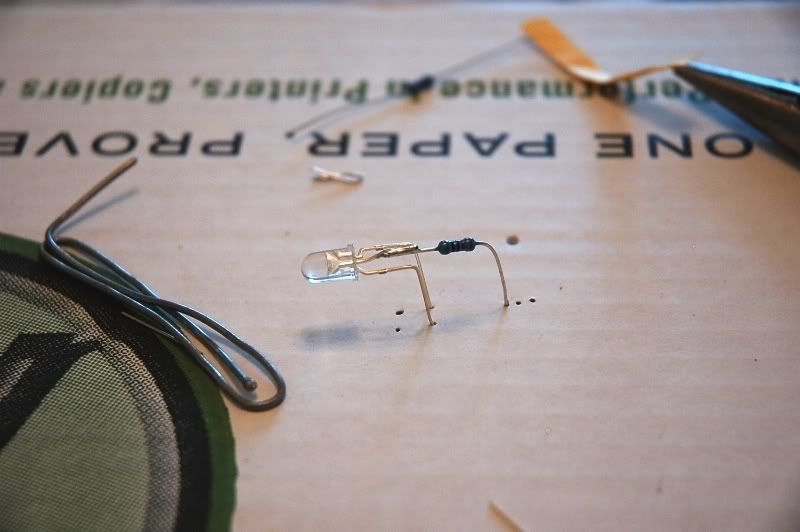
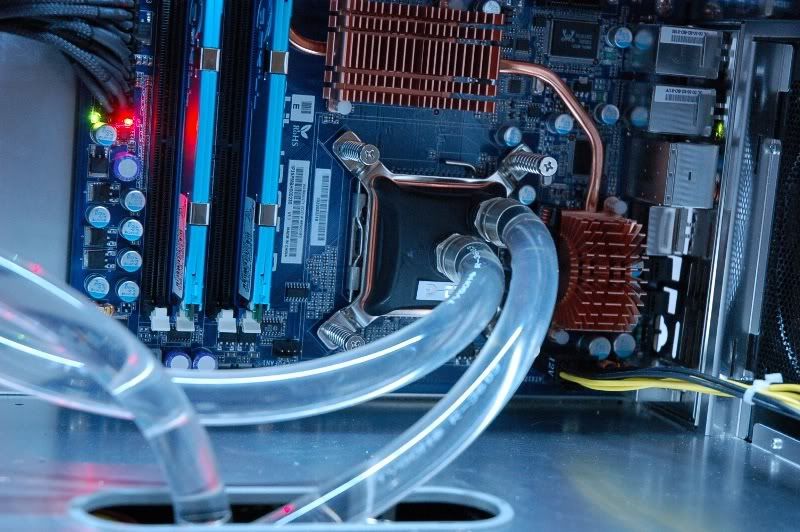
 I really need a black connector