[Worklog] Soberheid

Smasher

n00b
Joined
Jun 3, 2011
Messages
34
Well the idea of this project starts from finding a discarded case
on the street. Soberheid the name, saying that in order to
project will be a sober and elegant case. Leave the pictures of how it started
everything. After them speak for themselves.

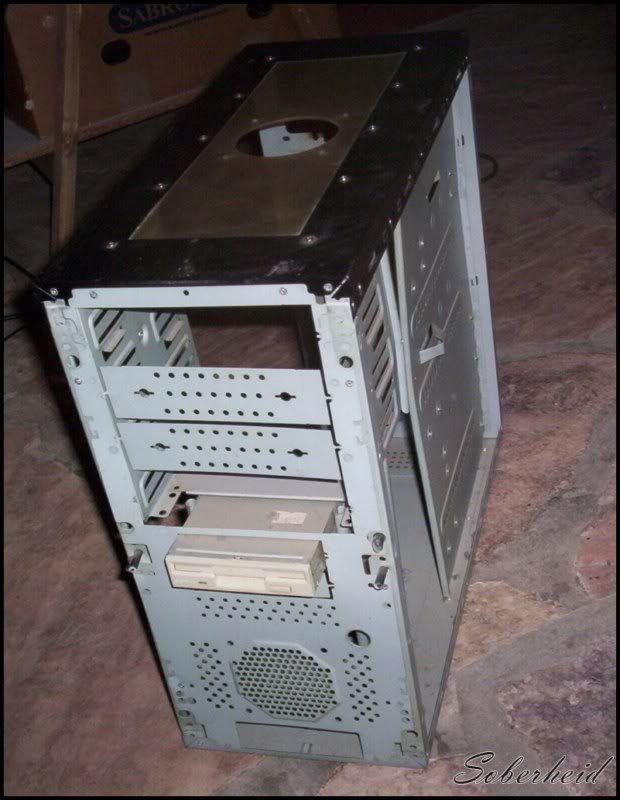
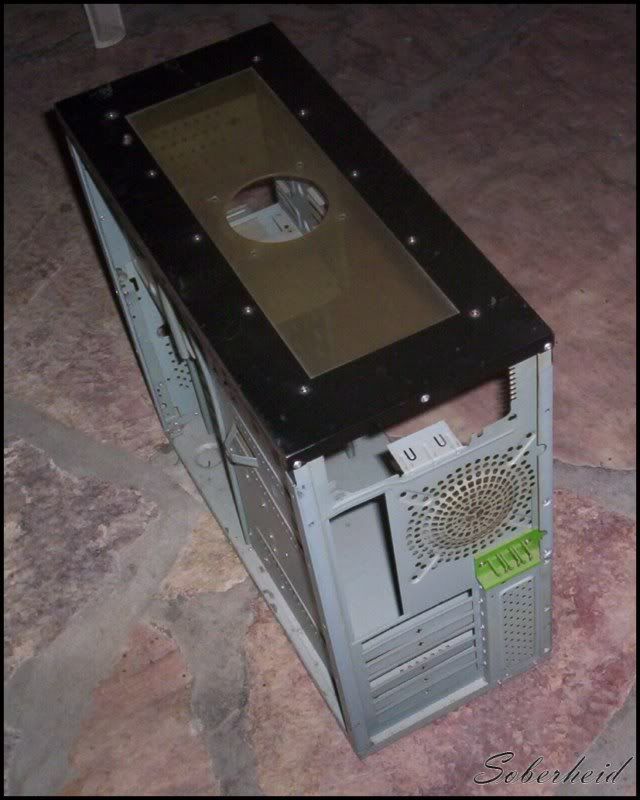
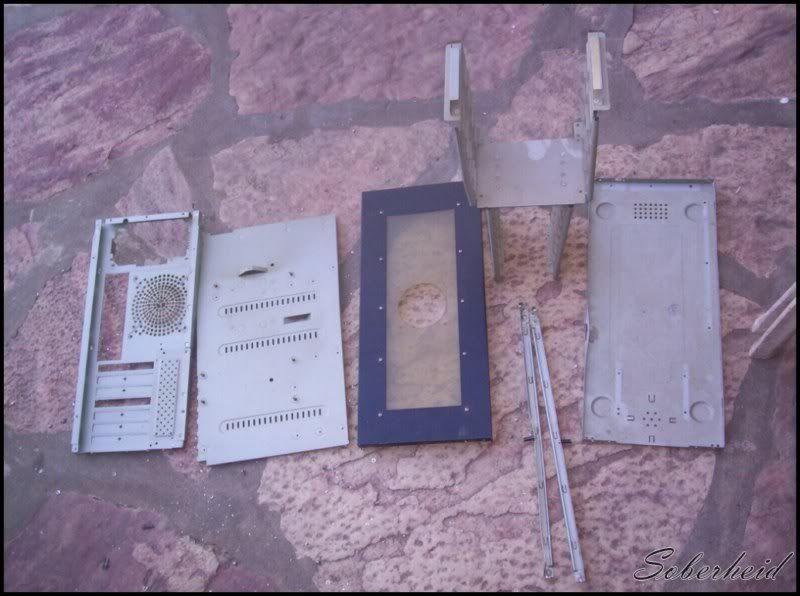
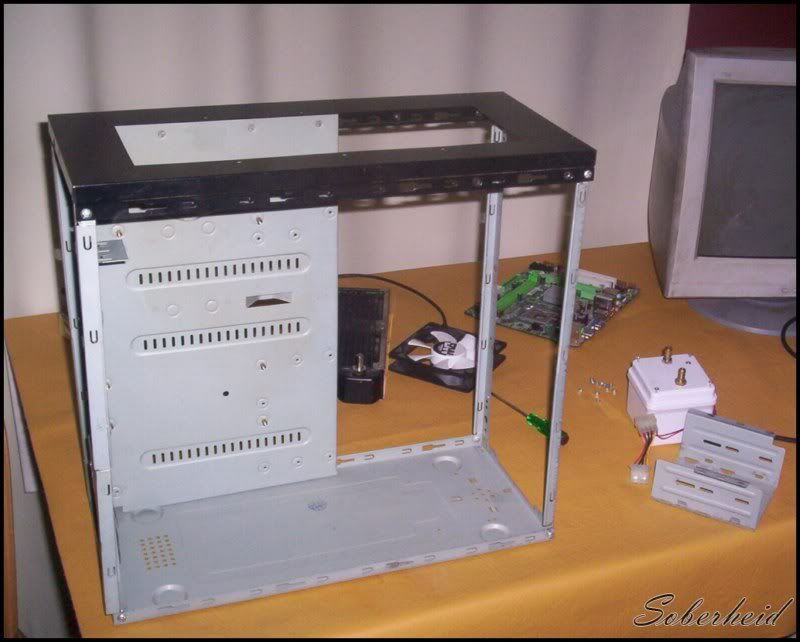
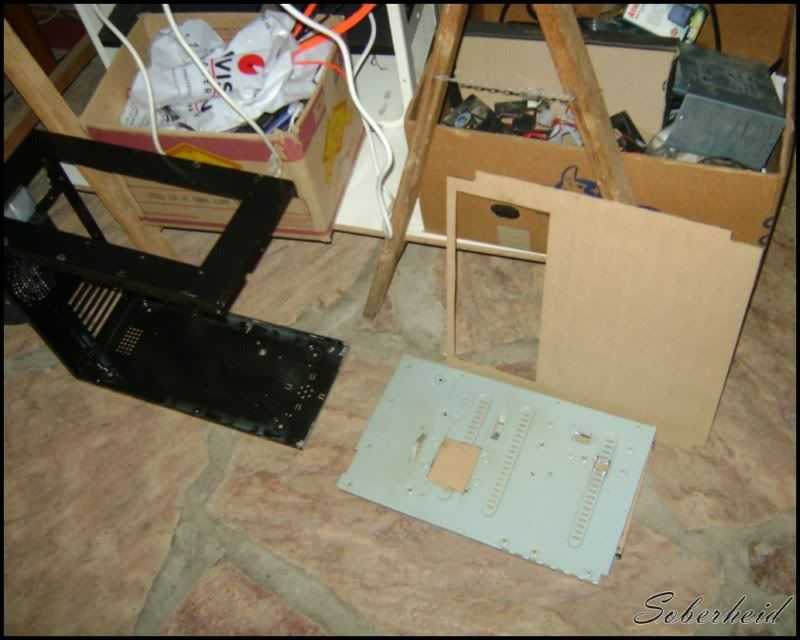
So I found it in the trash …
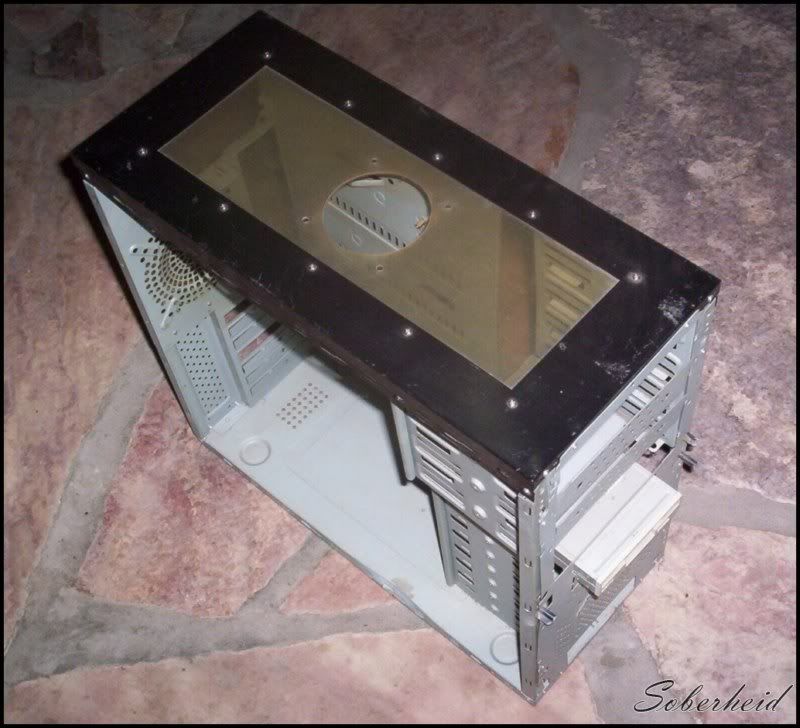
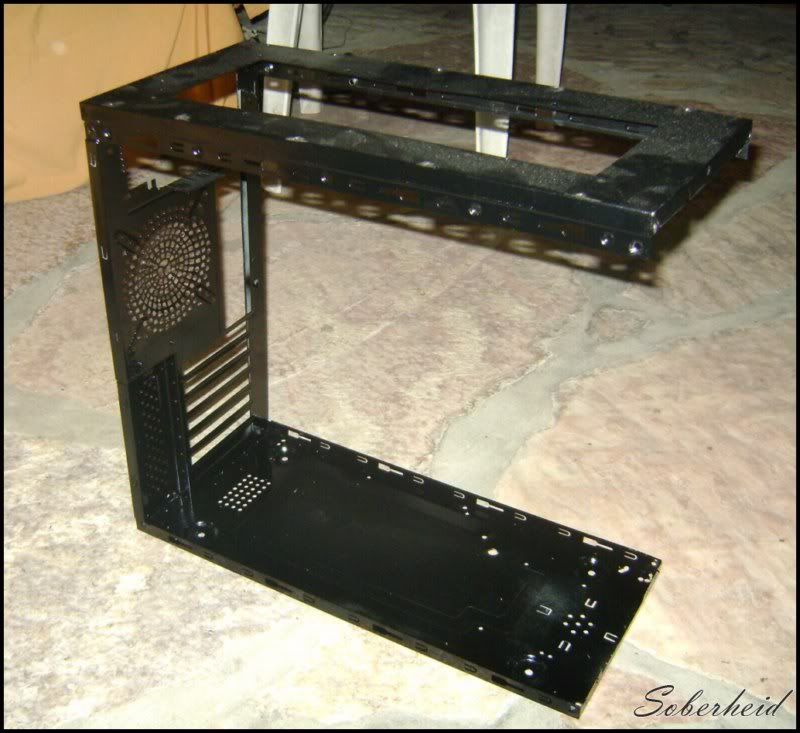
100_83571024x768800x600.jpg

100_83581024x768800x600.jpg

100_83591024x768800x600.jpg

100_83601024x768800x600.jpg

Start smashing
100_83741024x768800x600.jpg

100_83761024x768800x600.jpg

100_83771024x768800x600.jpg

100_83781024x768800x600.jpg

100_83791024x768800x600.jpg

100_83801024x768800x600.jpg

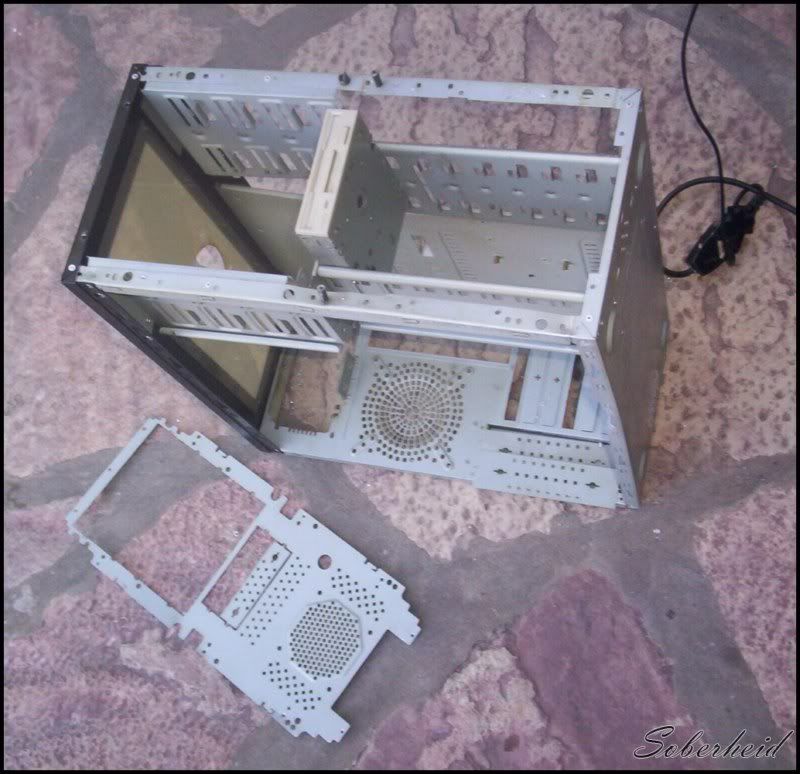
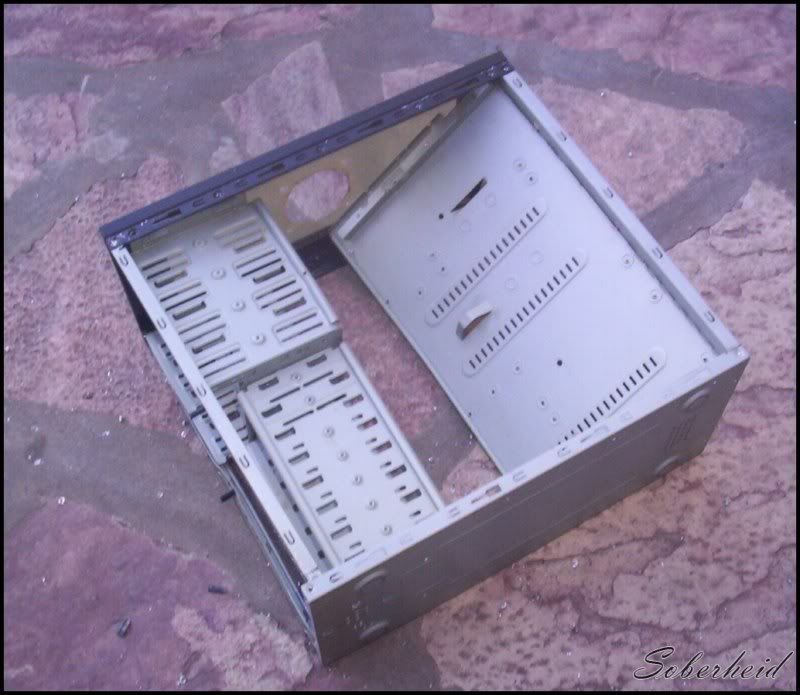
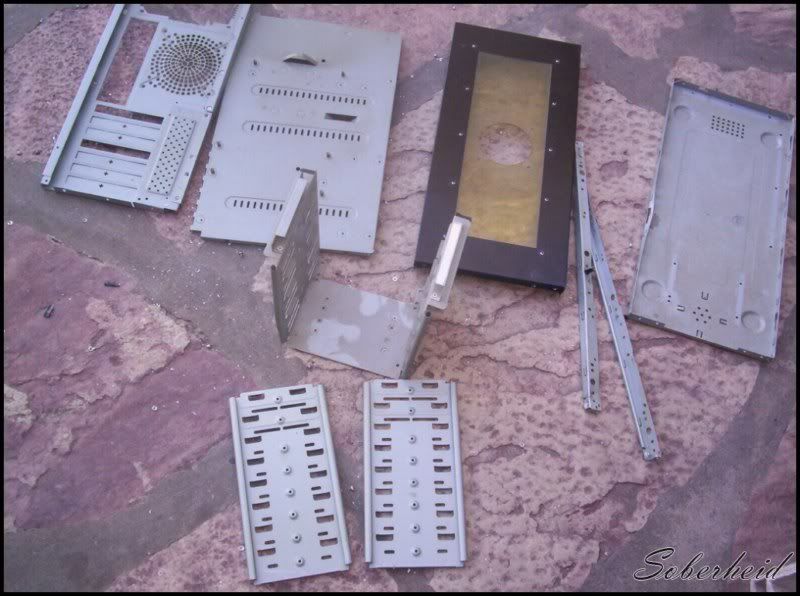
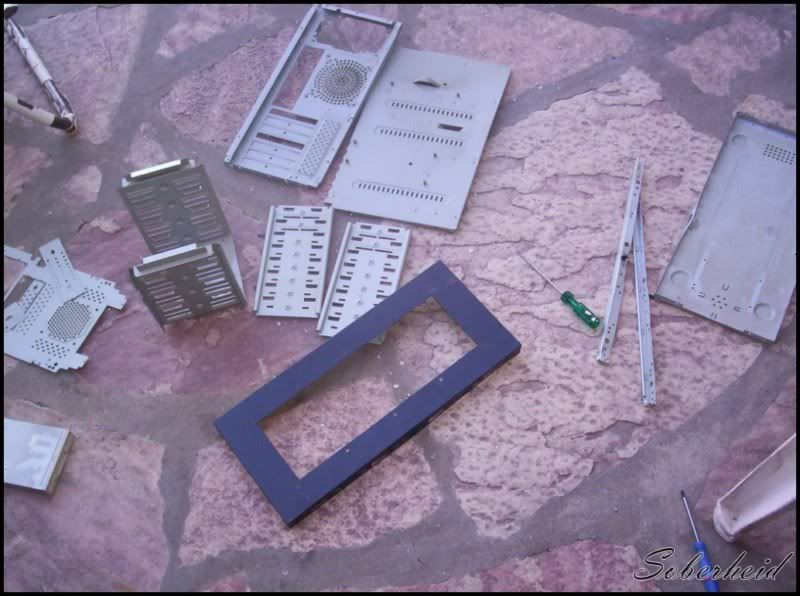
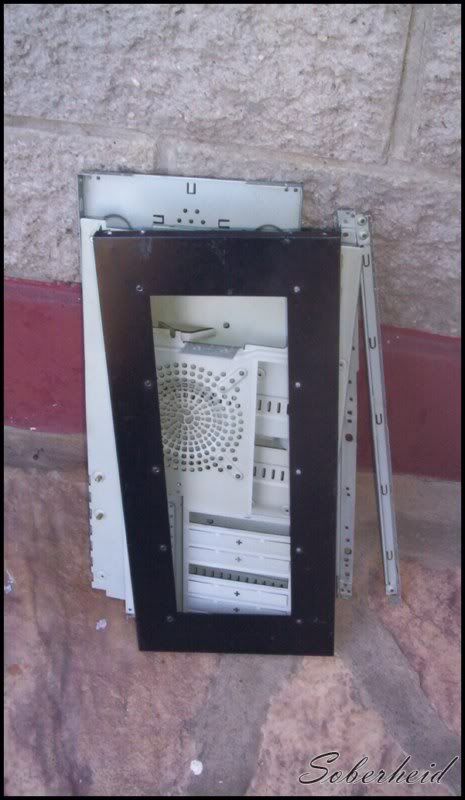
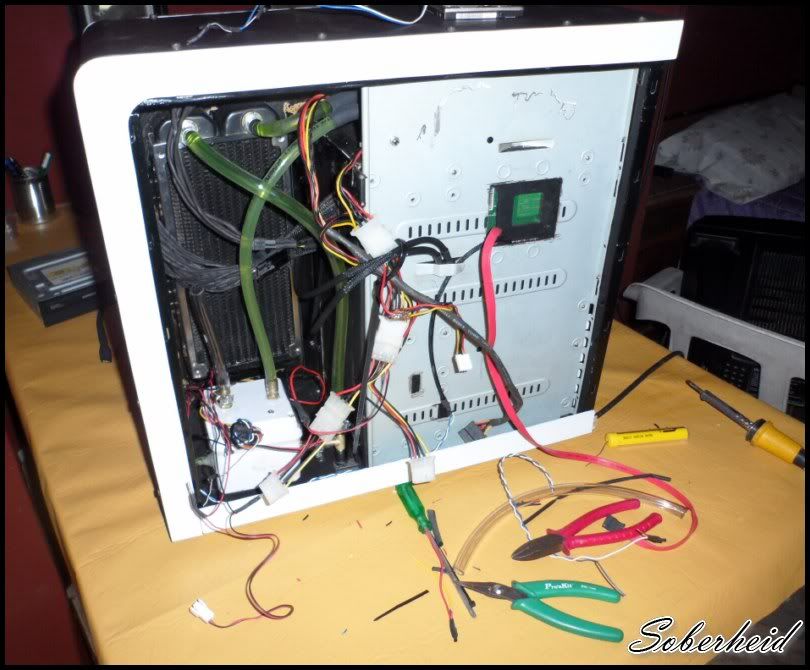
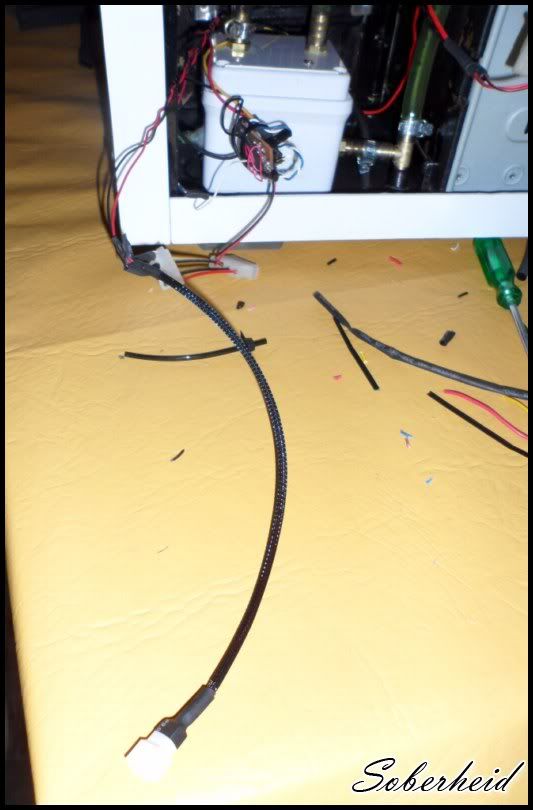
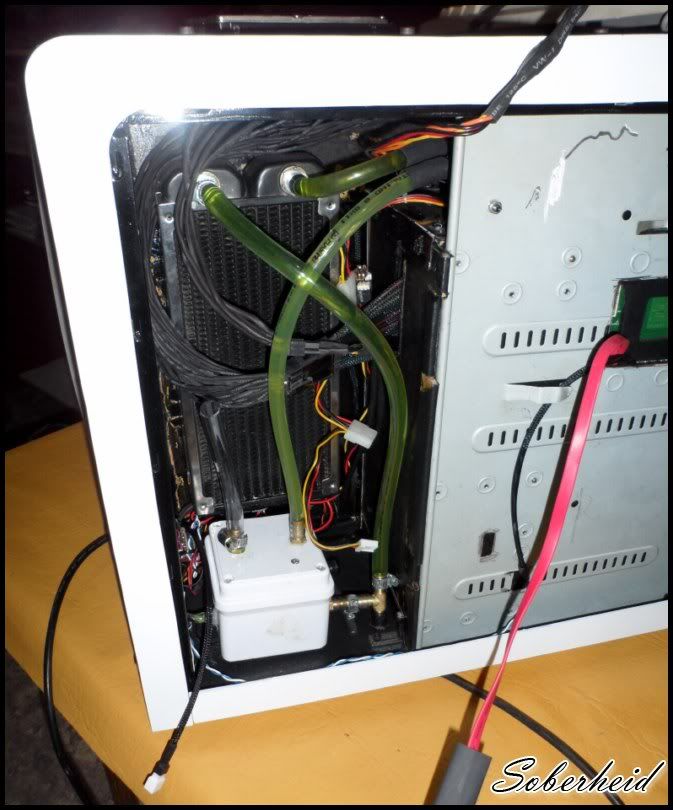
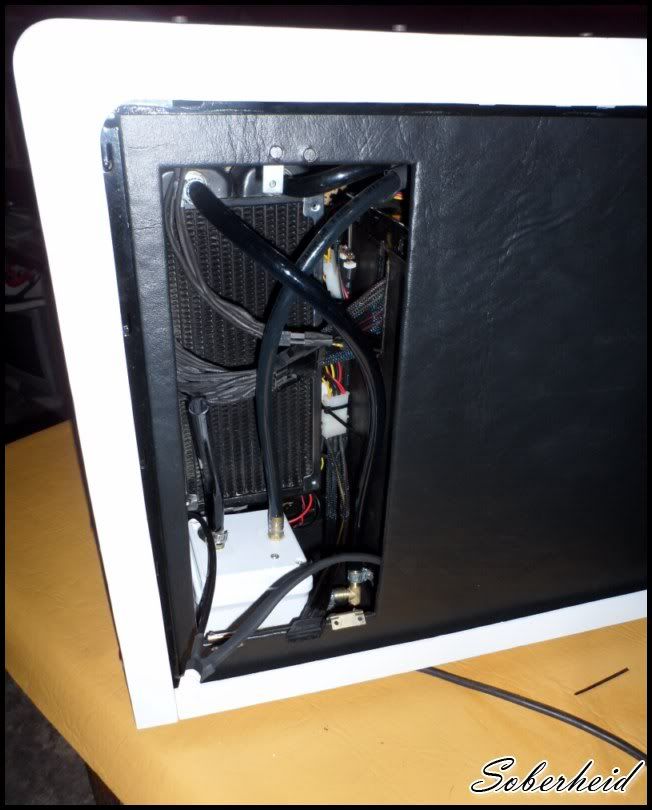
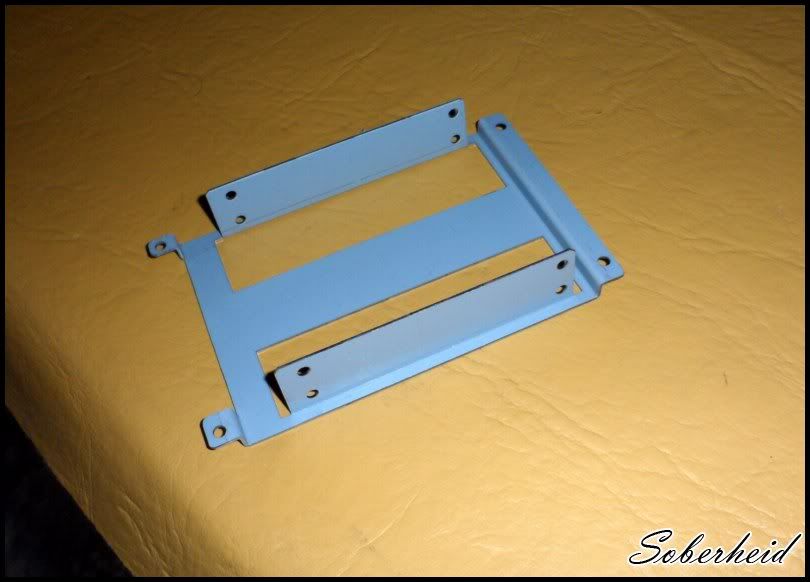
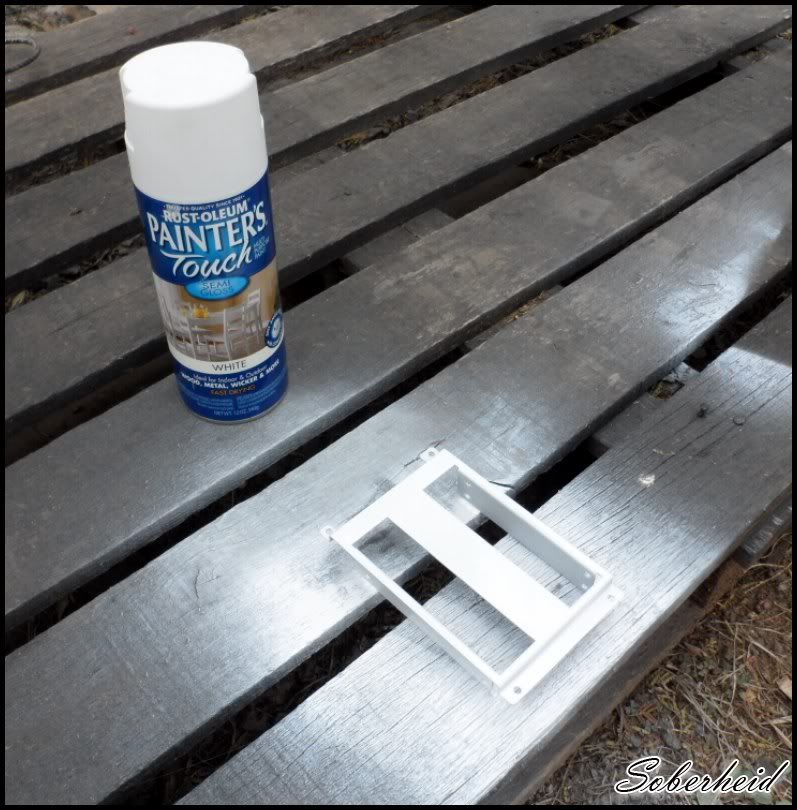
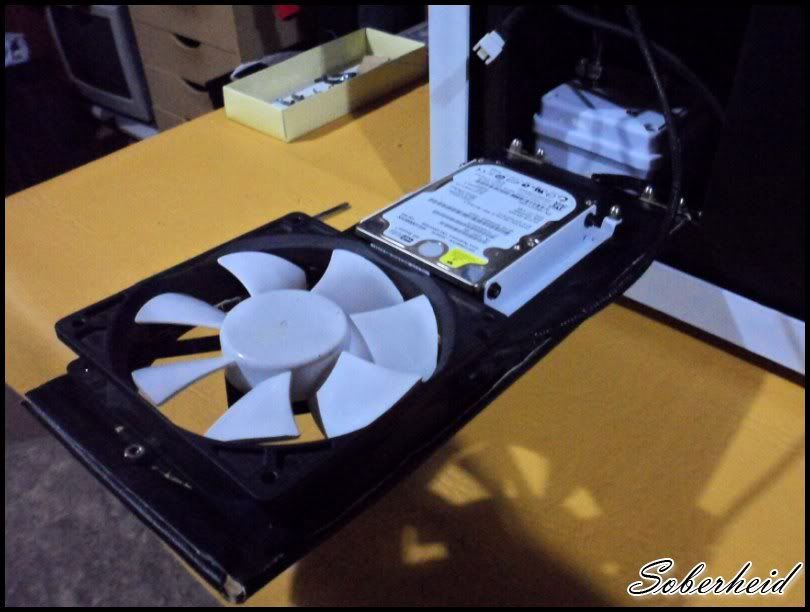
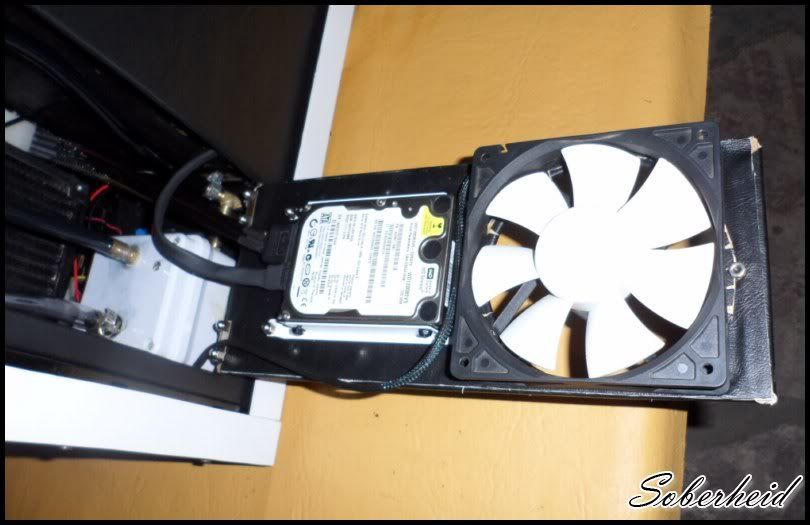
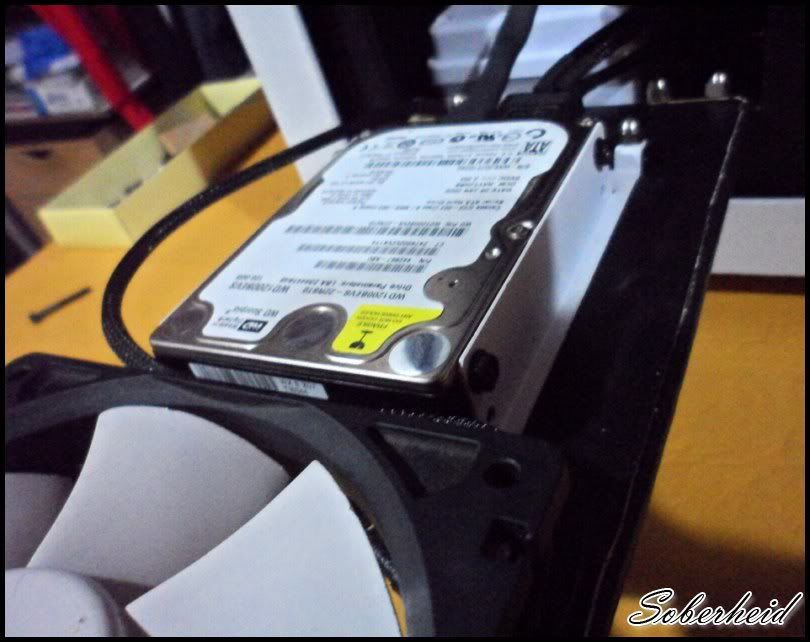
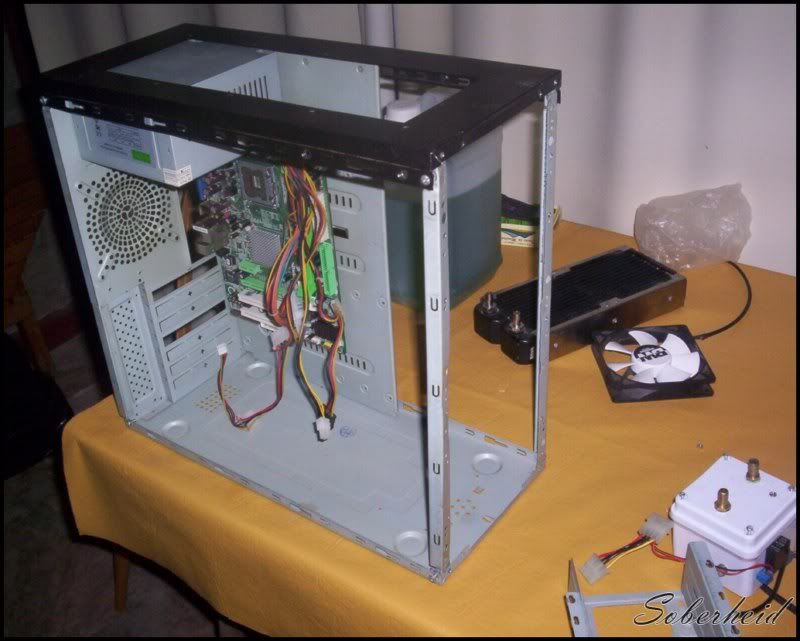
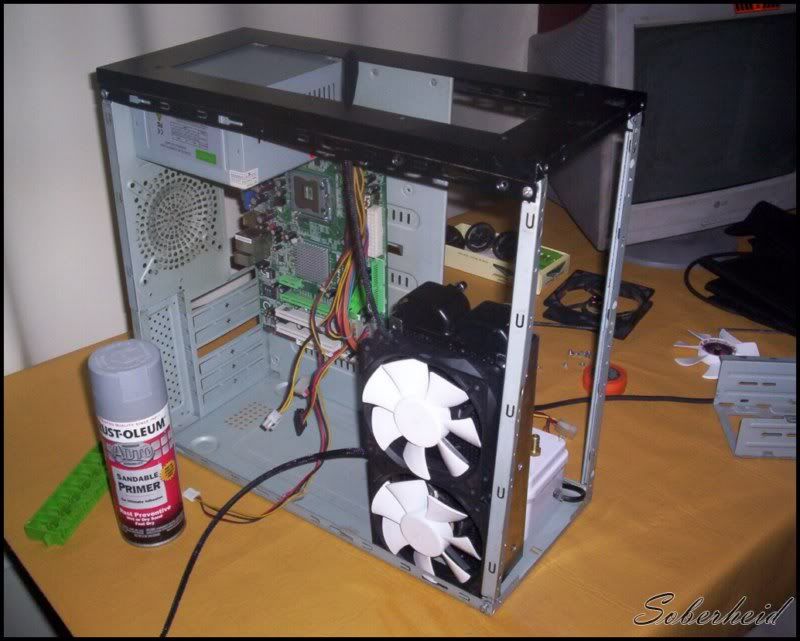
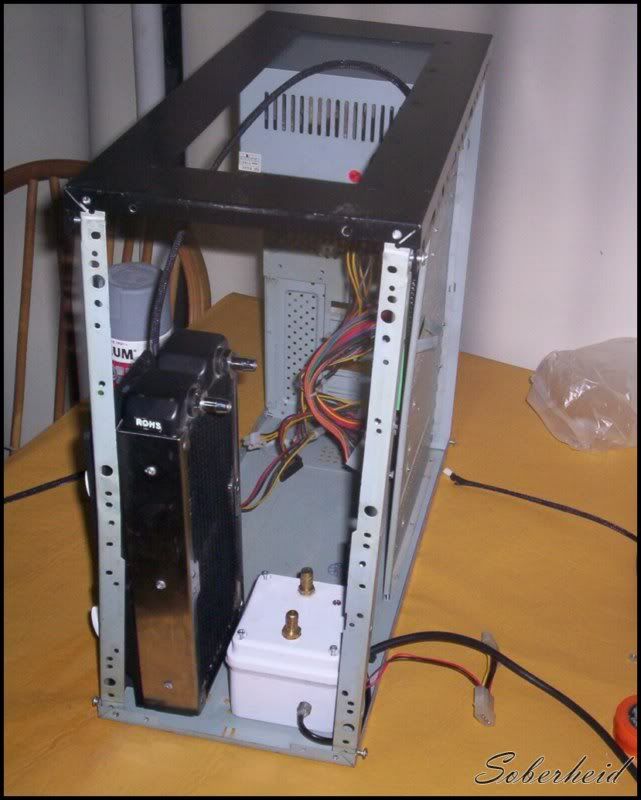
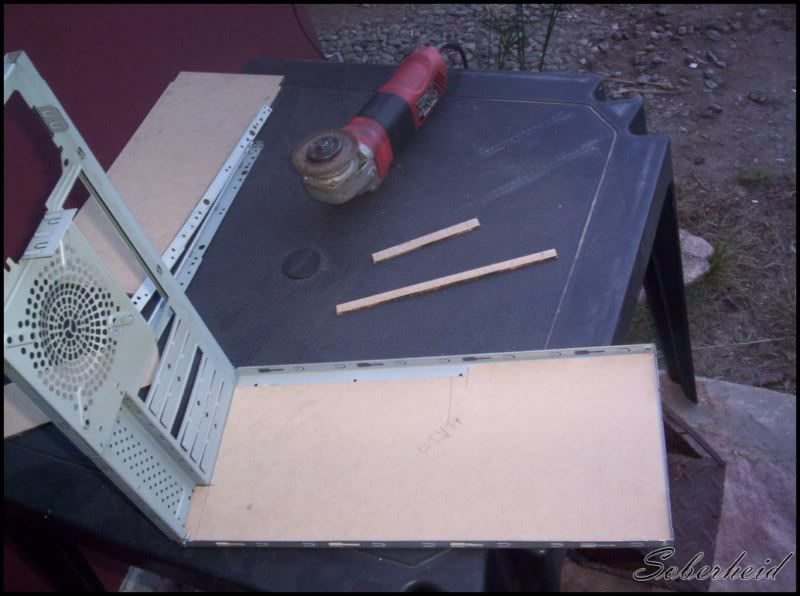
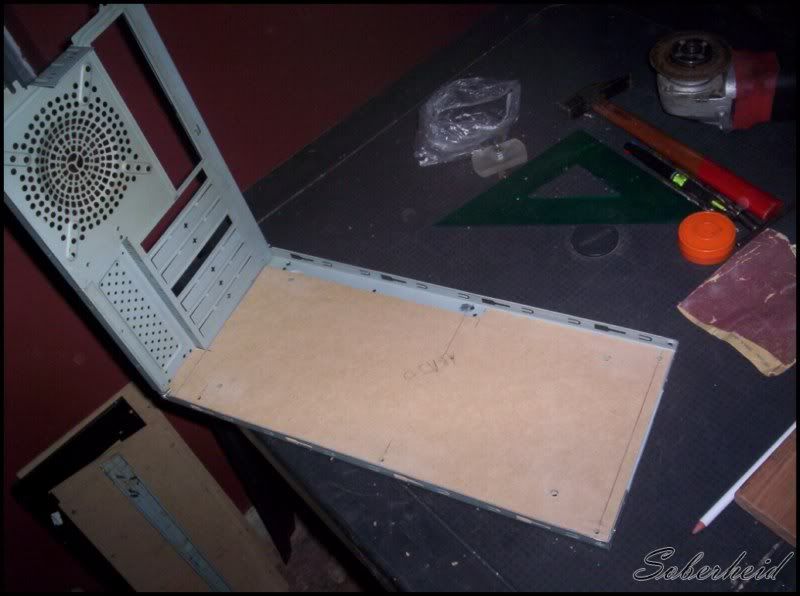
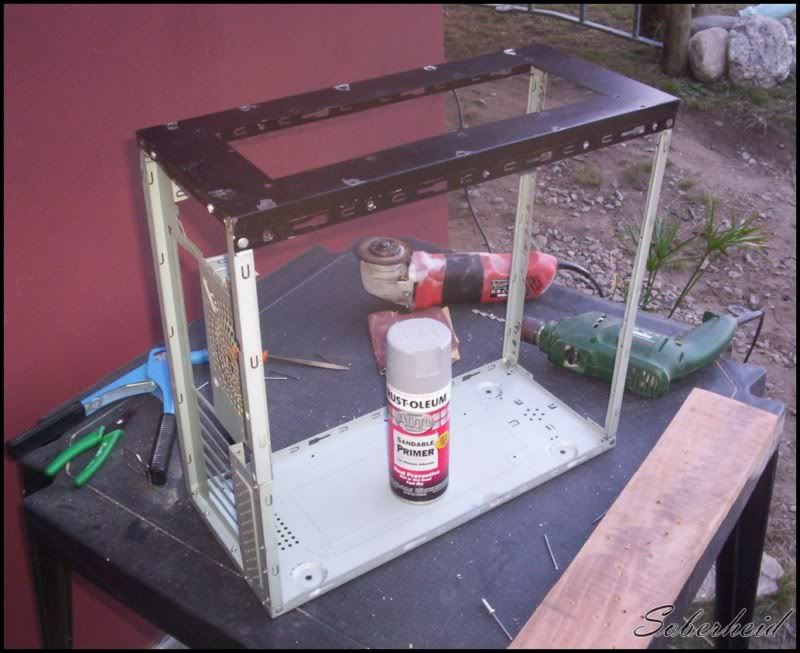
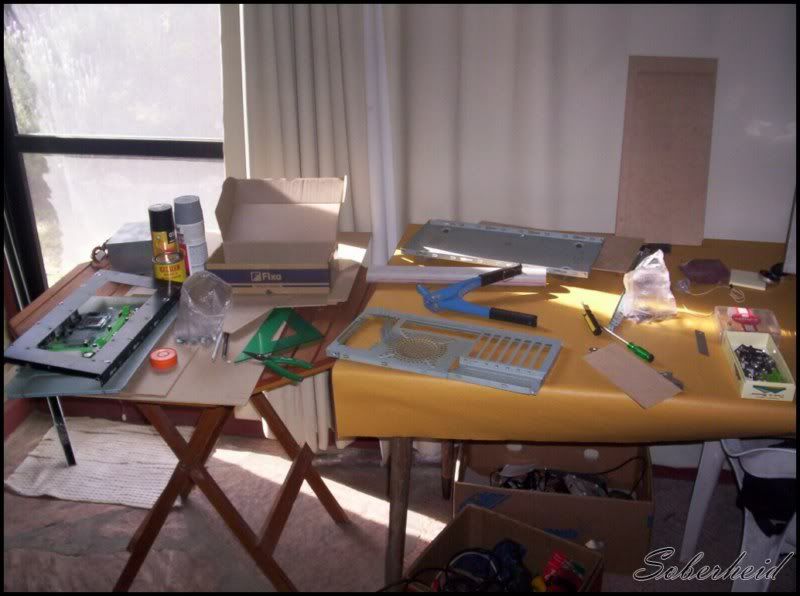
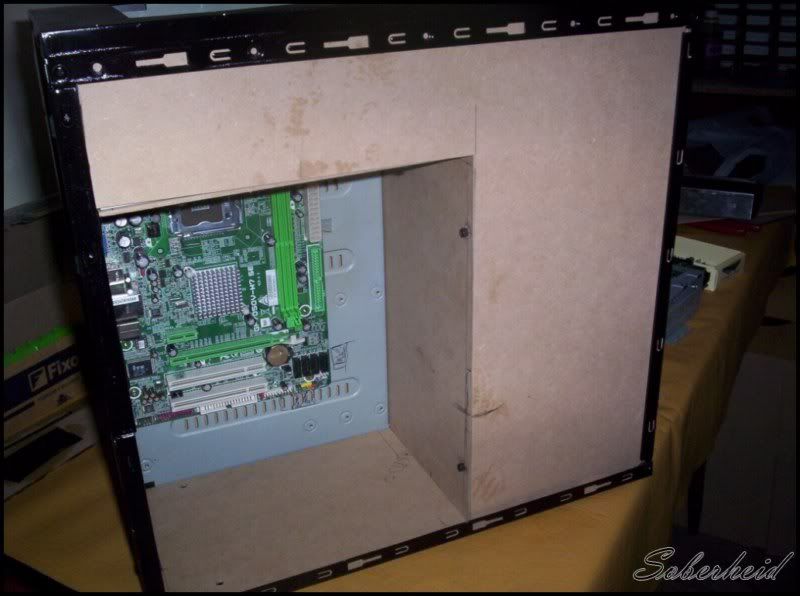
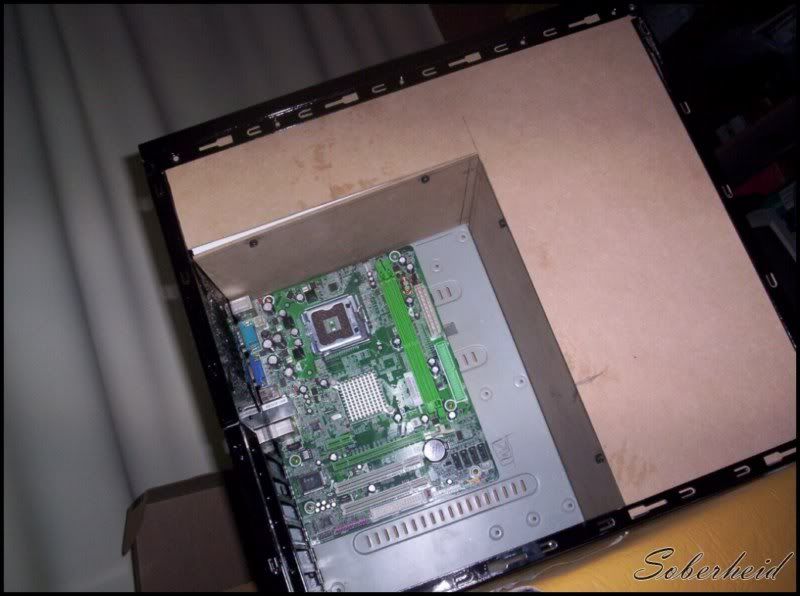
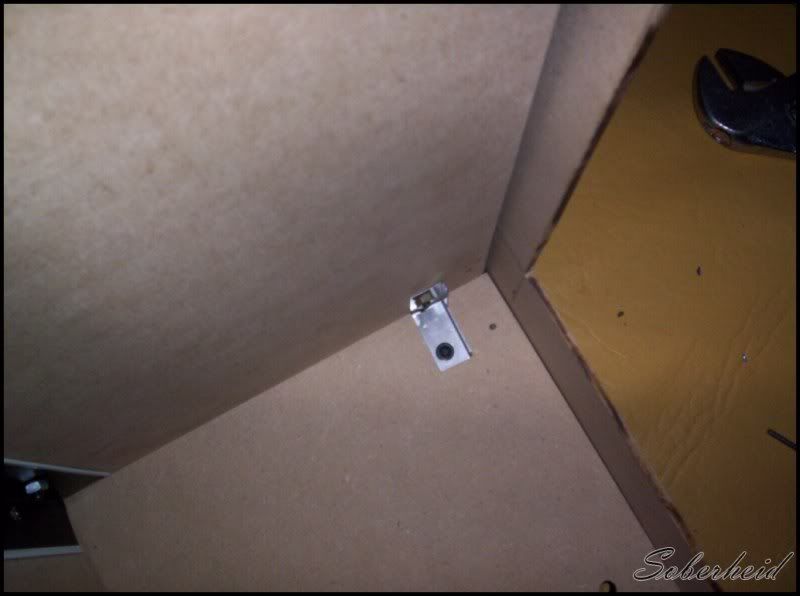
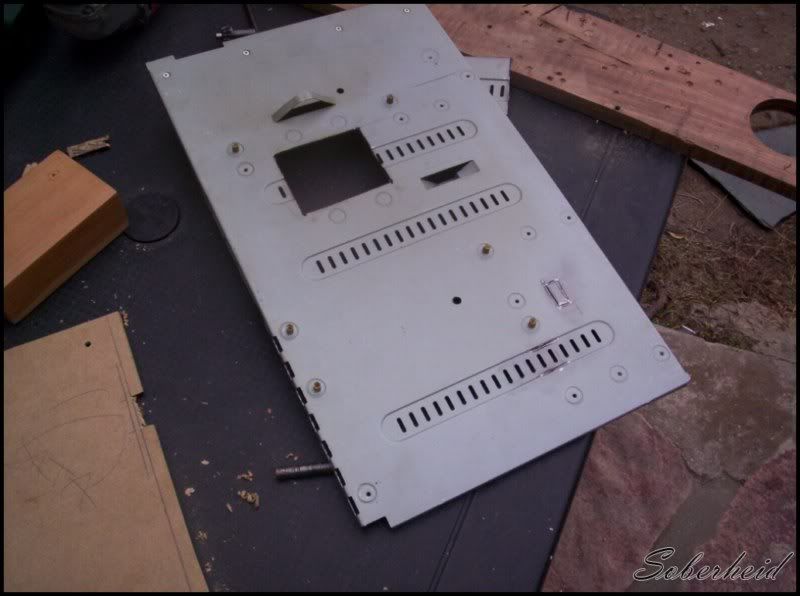
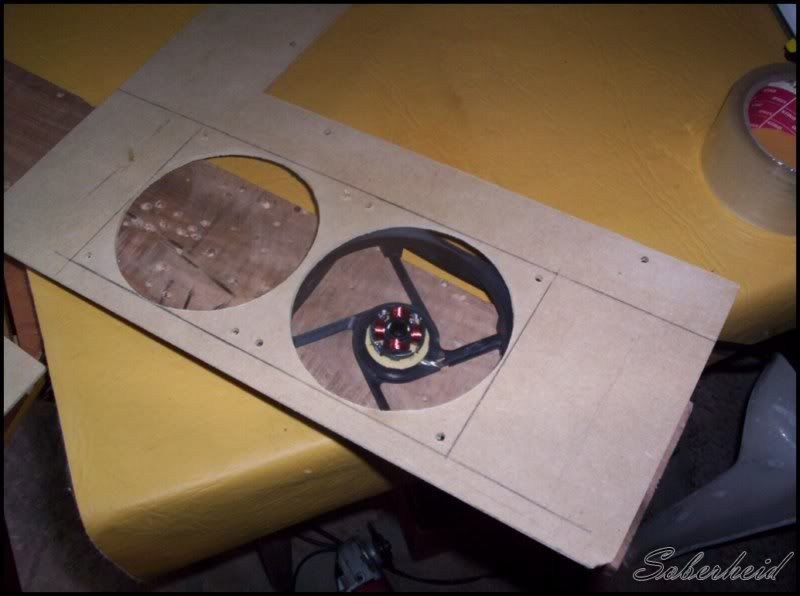
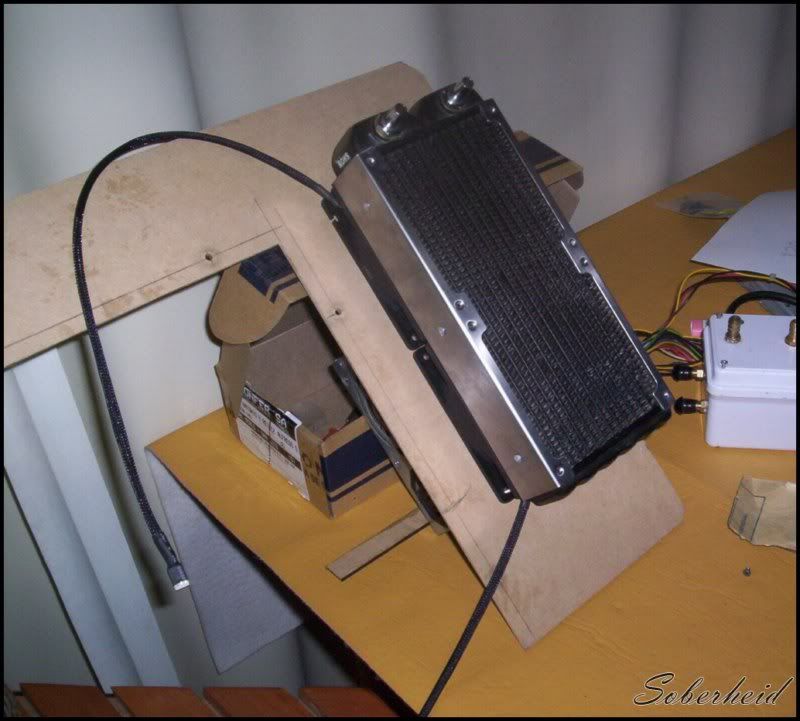
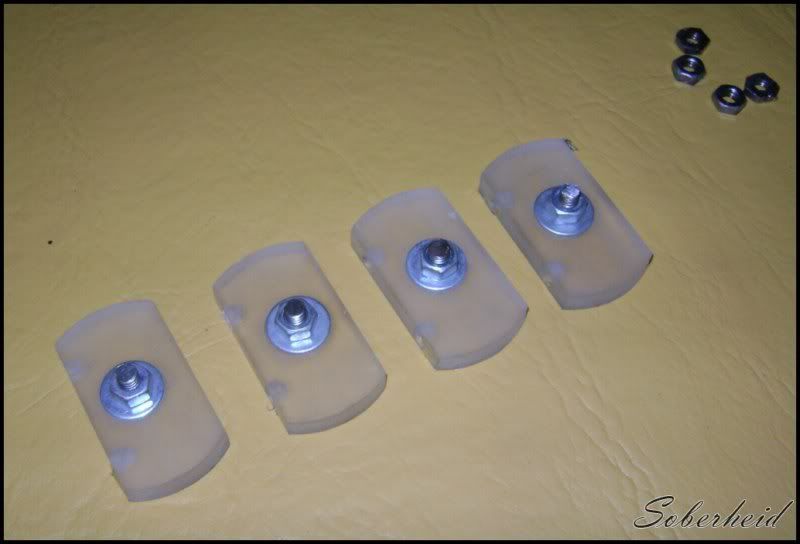
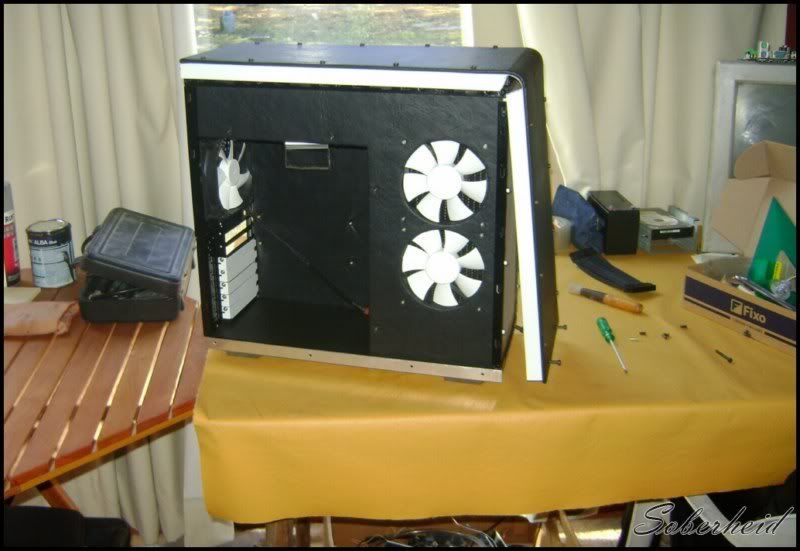
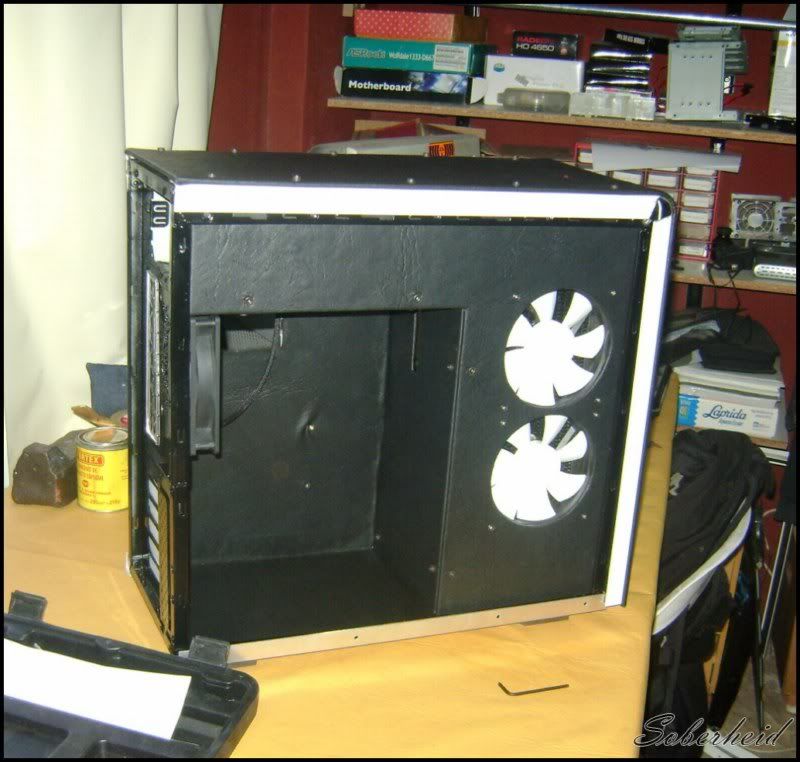
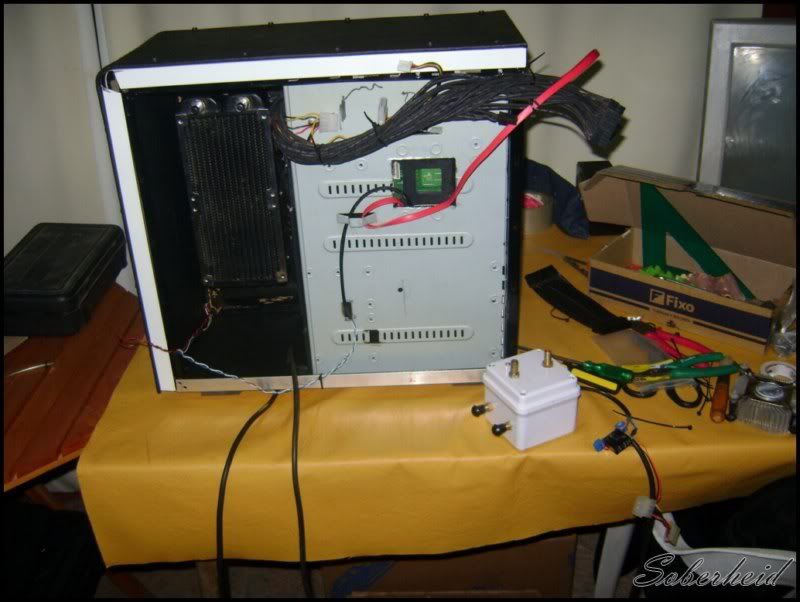
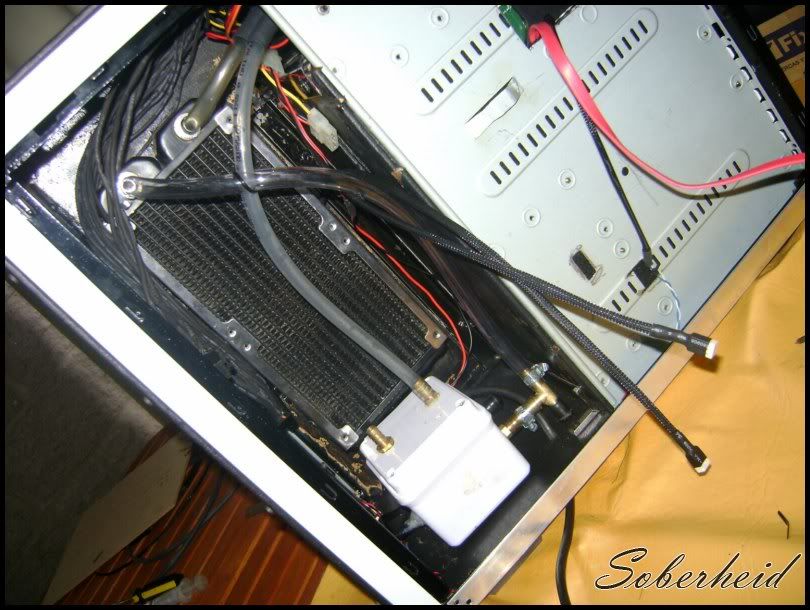
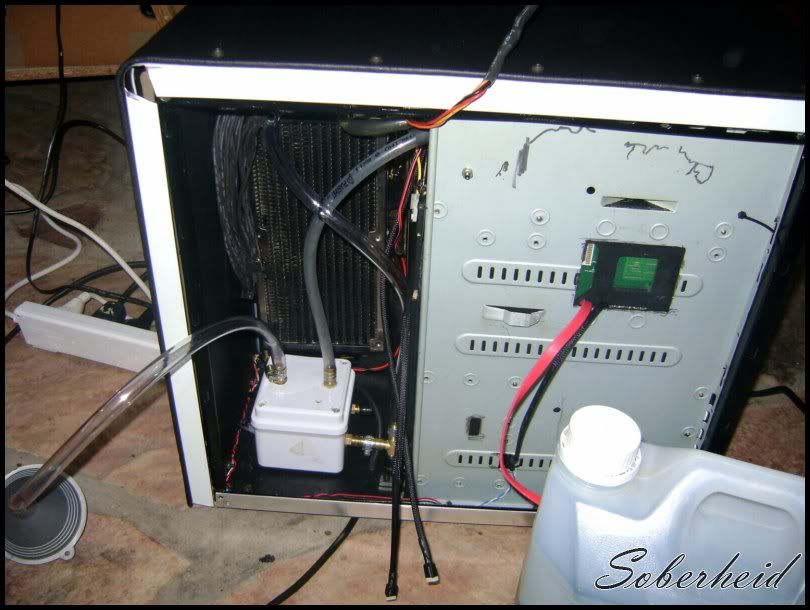
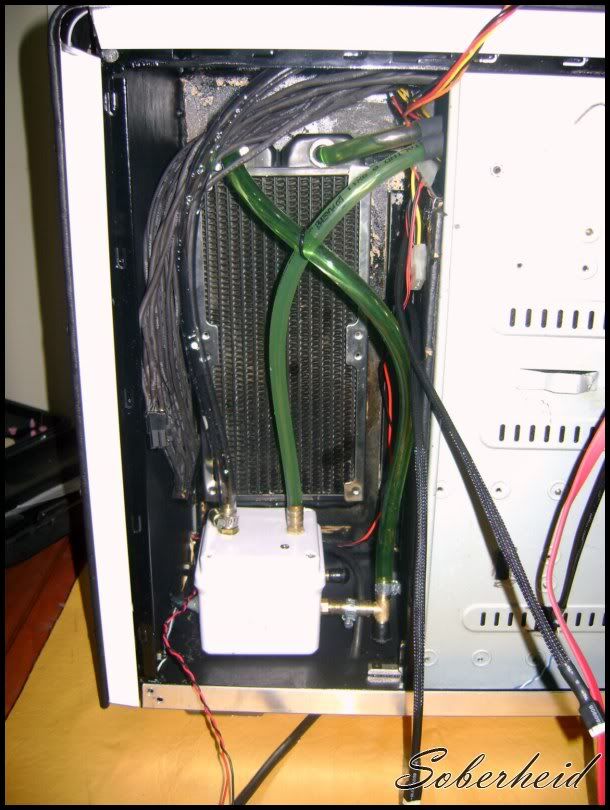
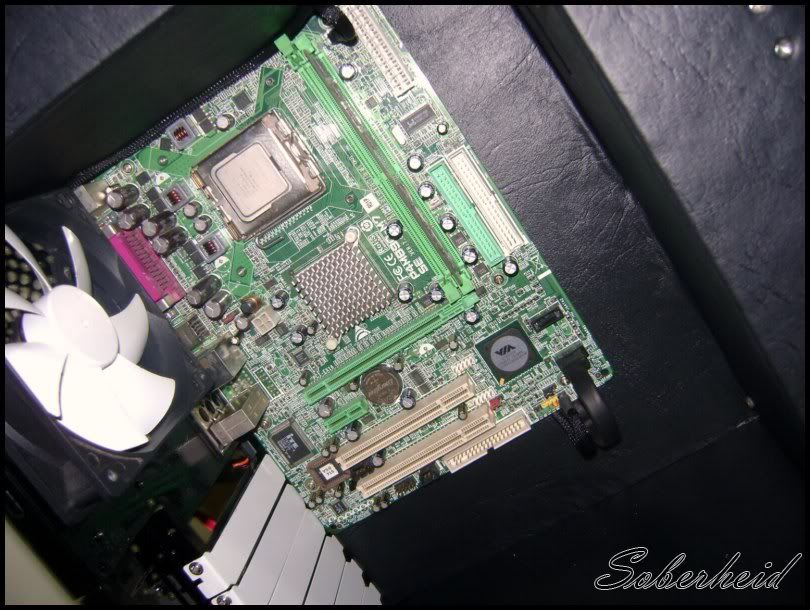
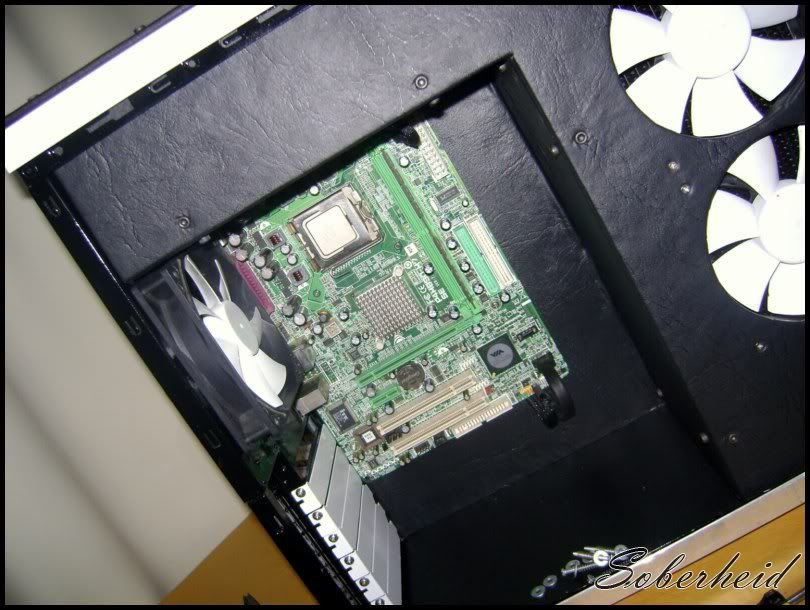
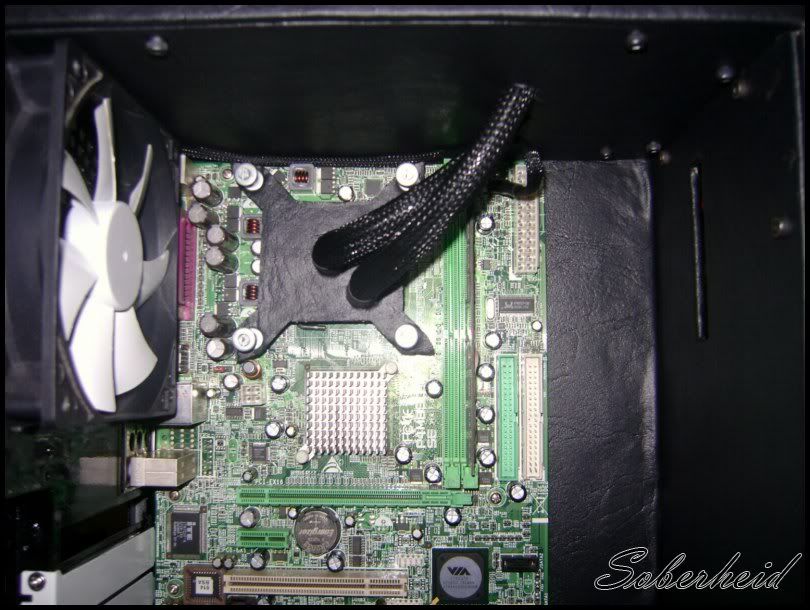
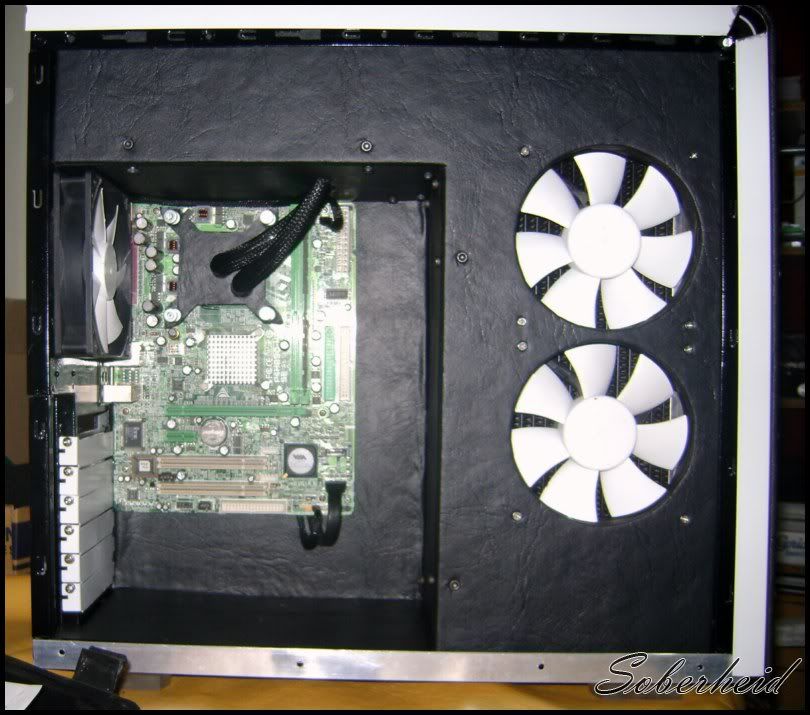
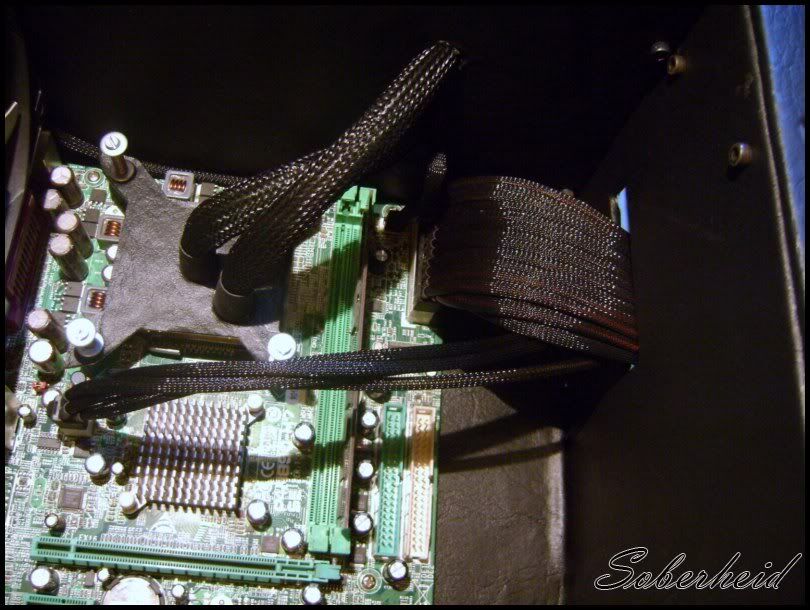
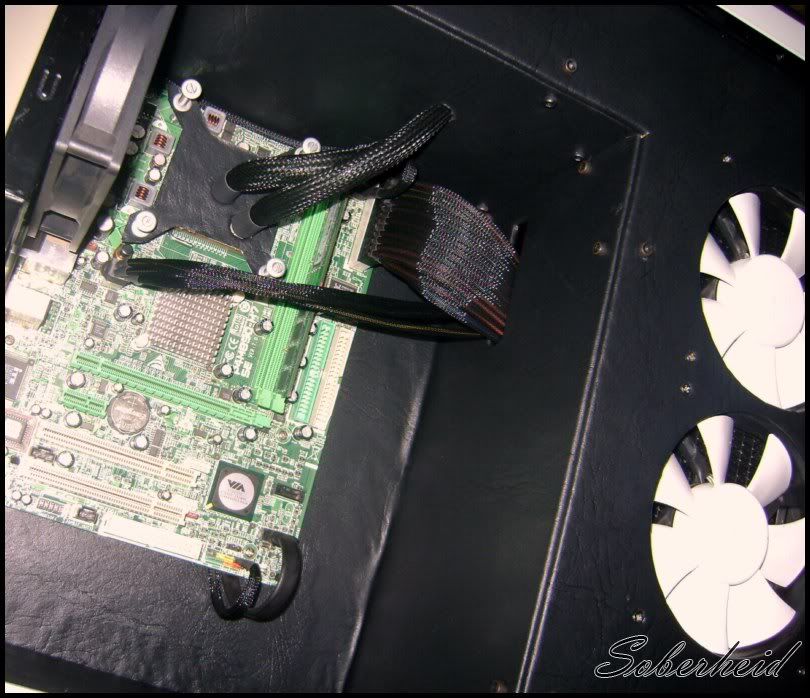
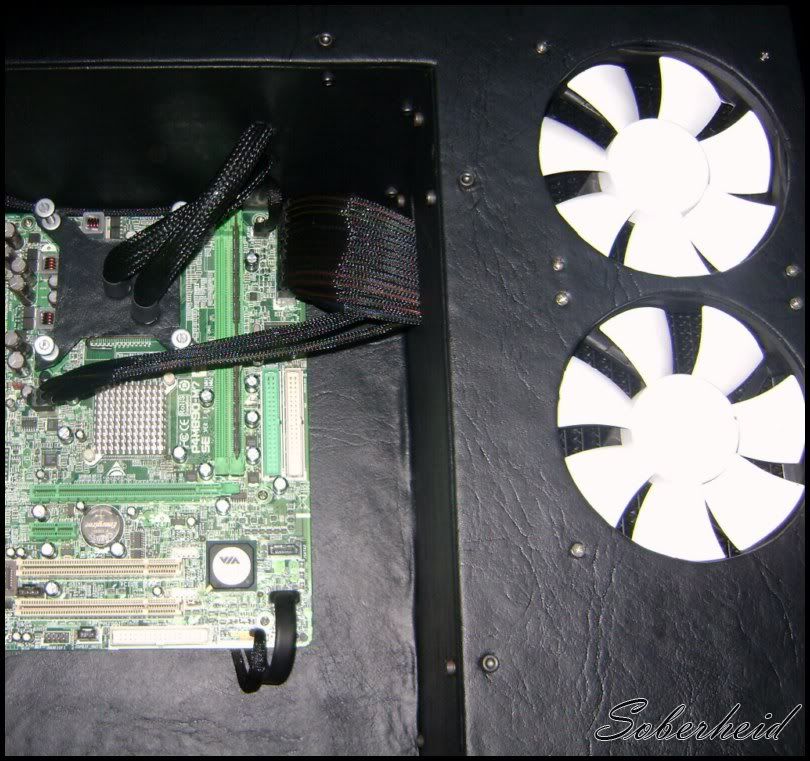
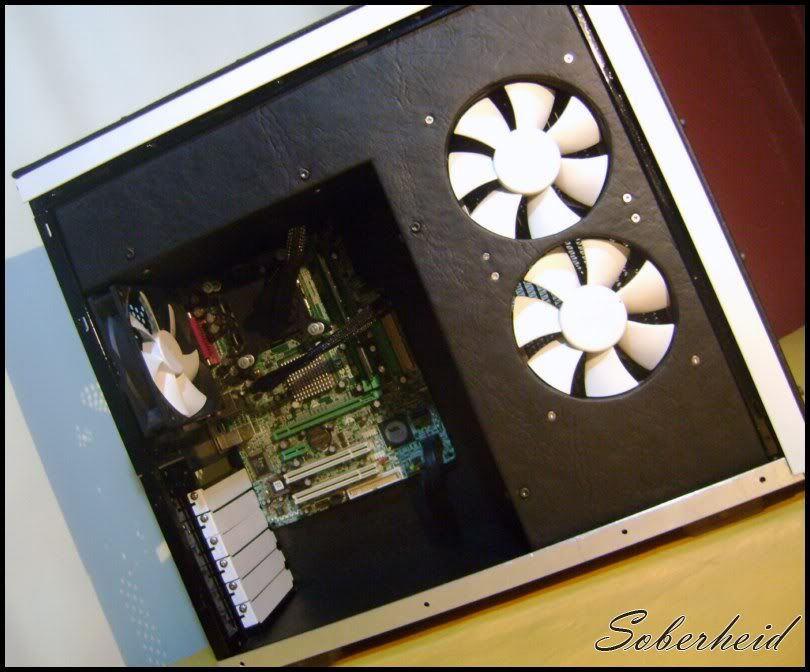
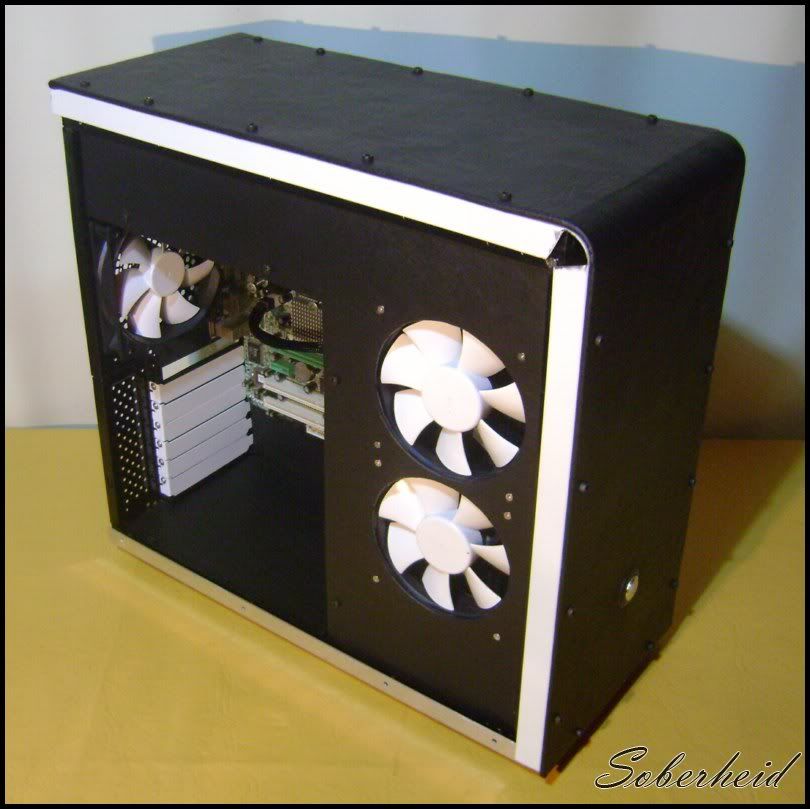
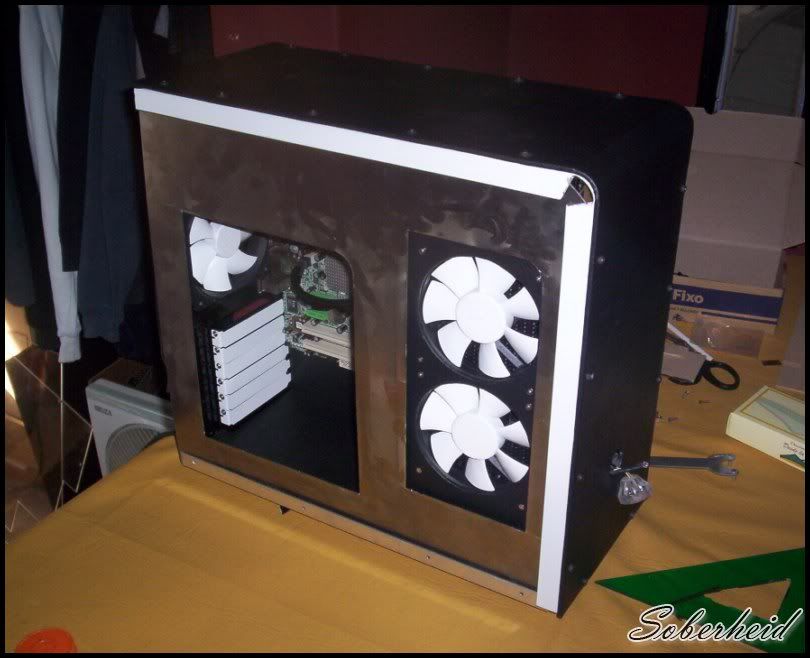
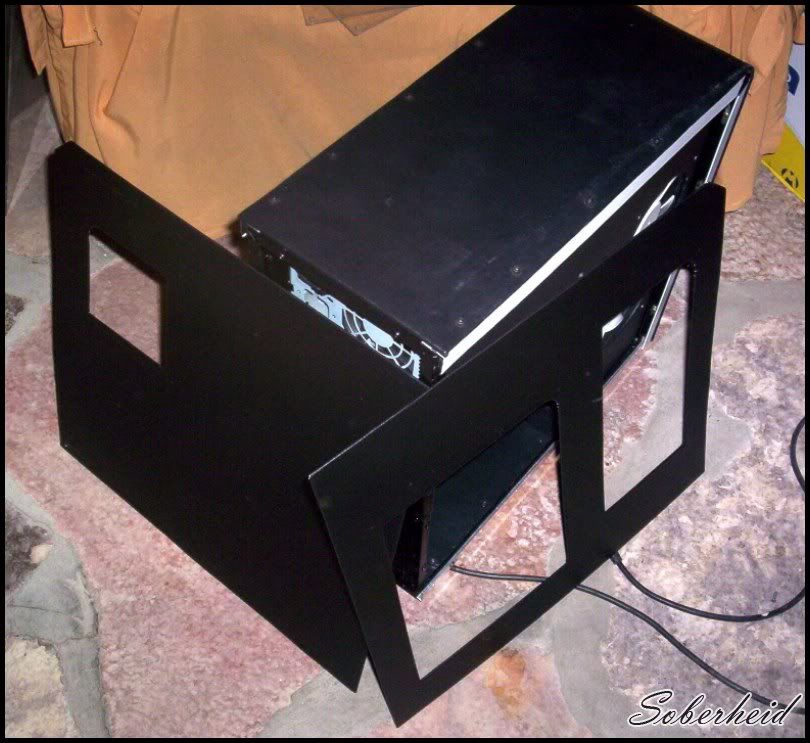
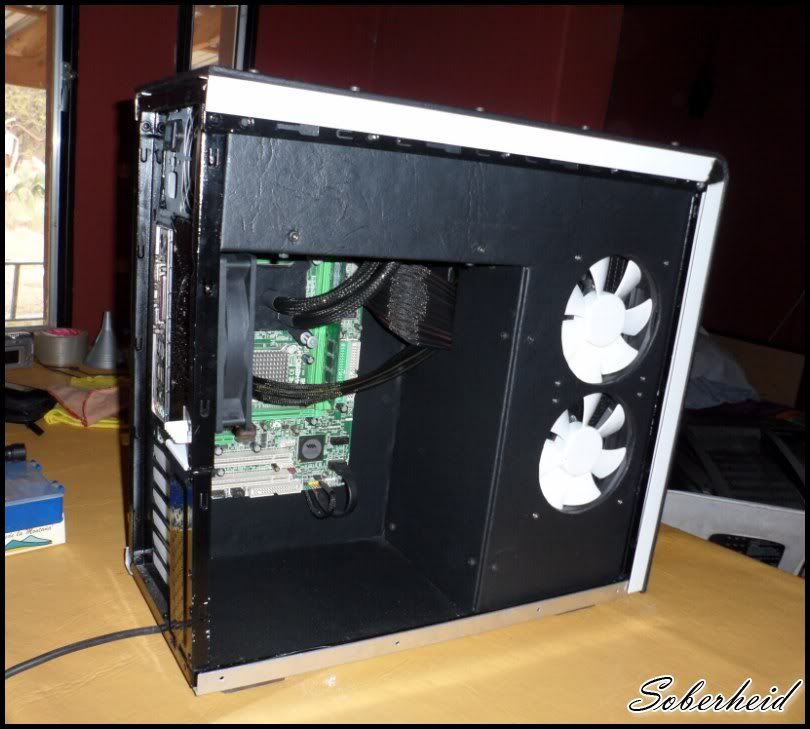
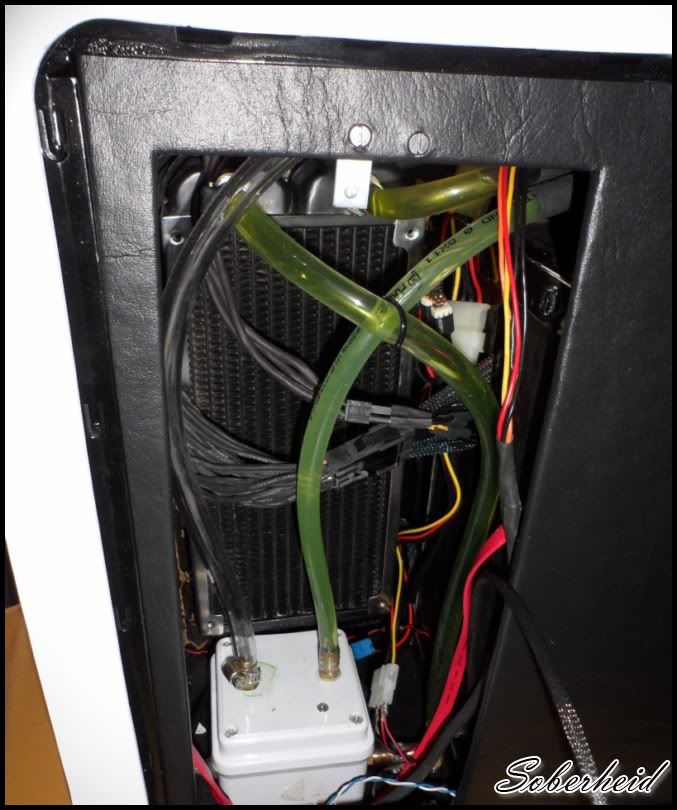
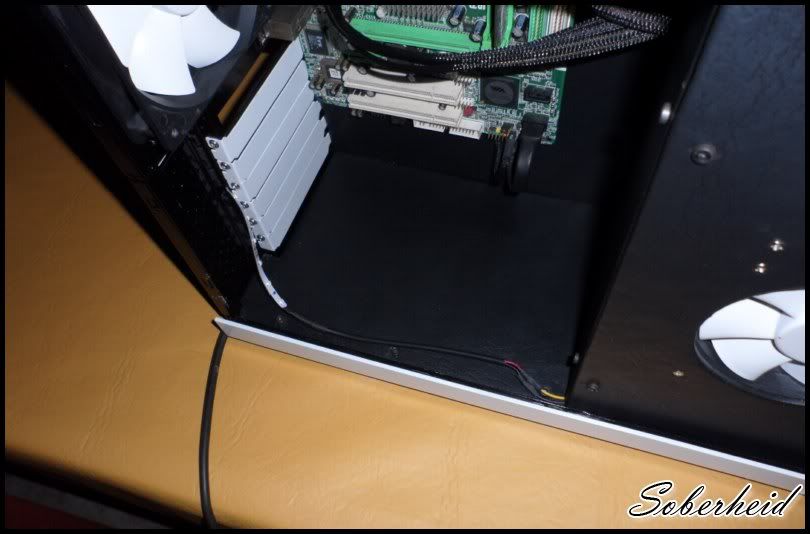
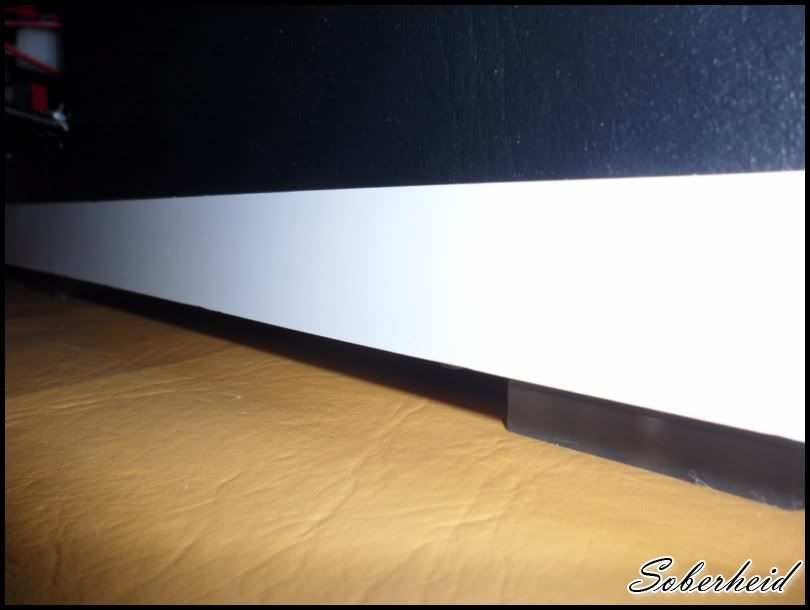
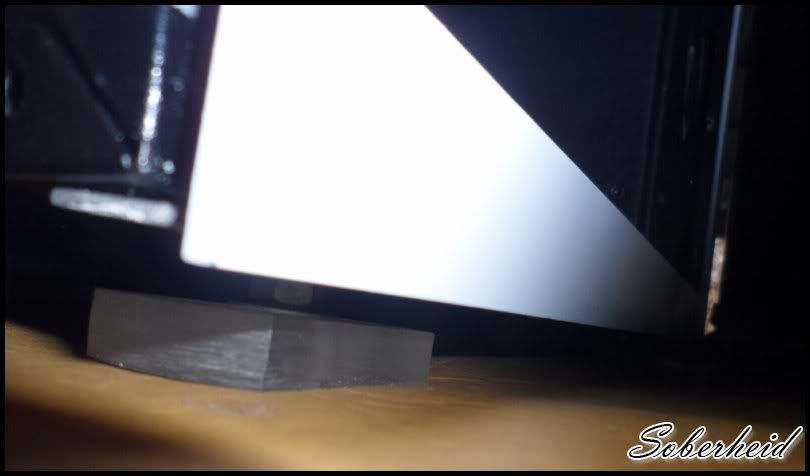
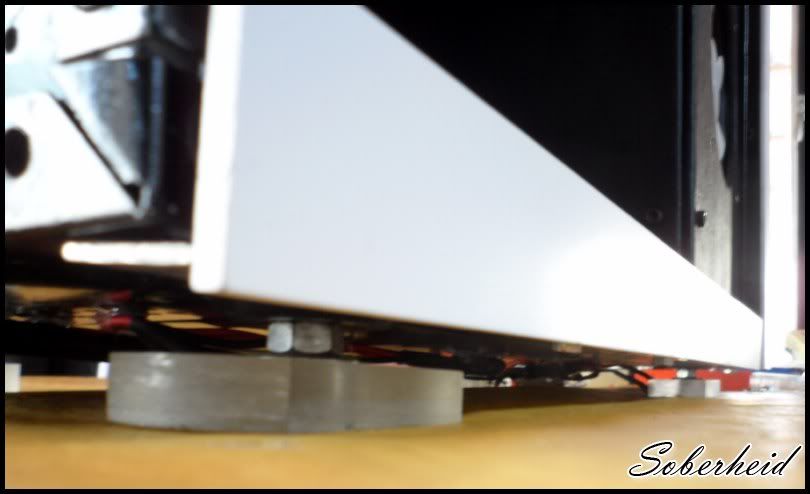
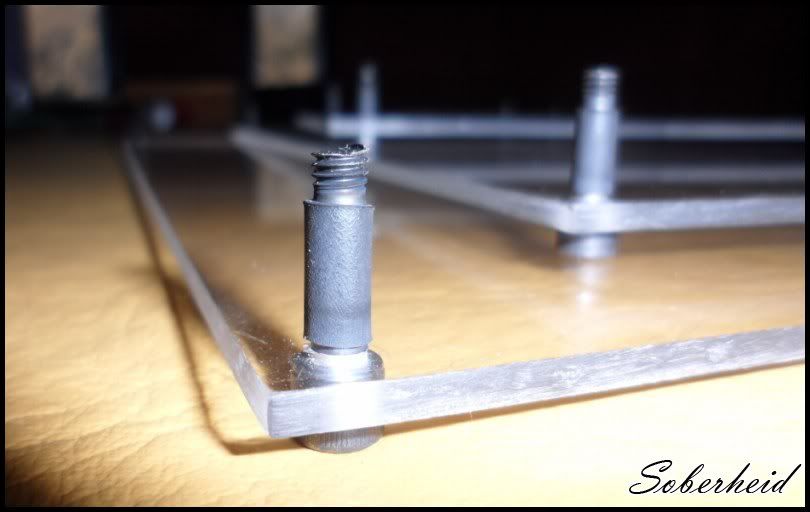
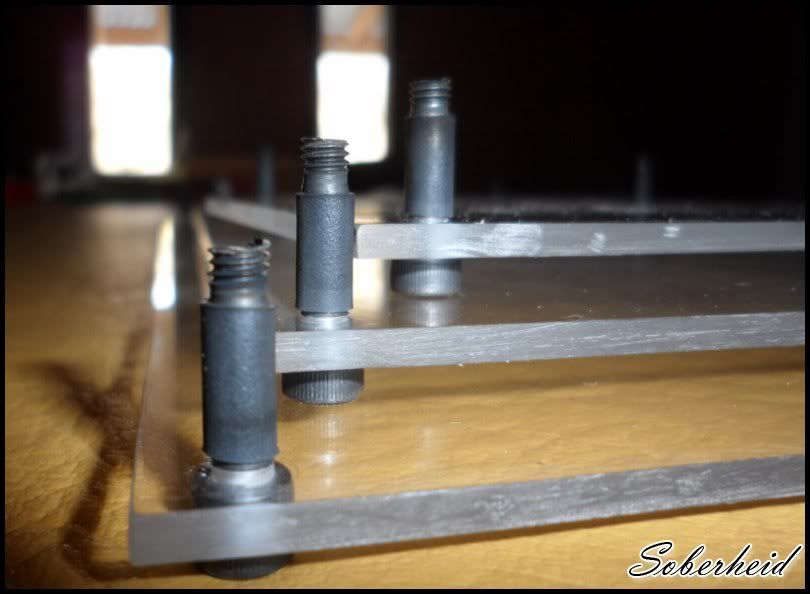
So the components are located.
100_84041024x768800x600.jpg

100_84061024x768800x600.jpg

100_84071024x768800x600.jpg

100_84081024x768800x600.jpg

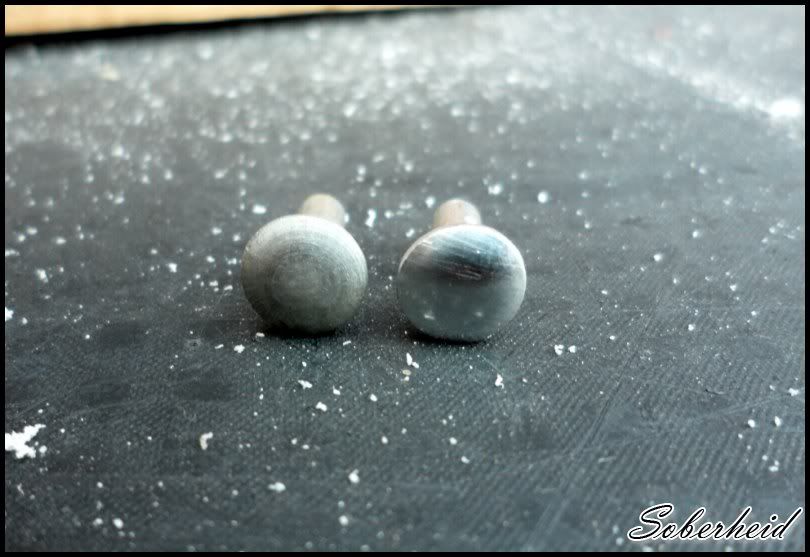
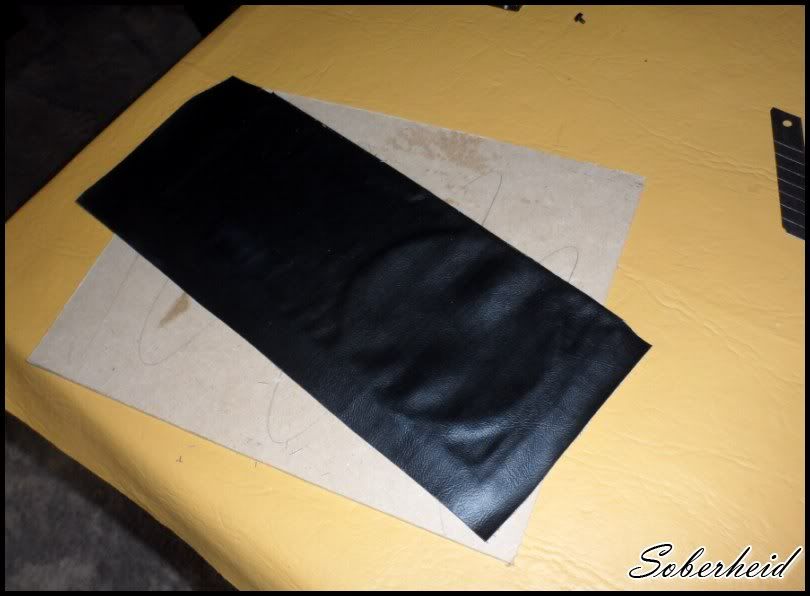
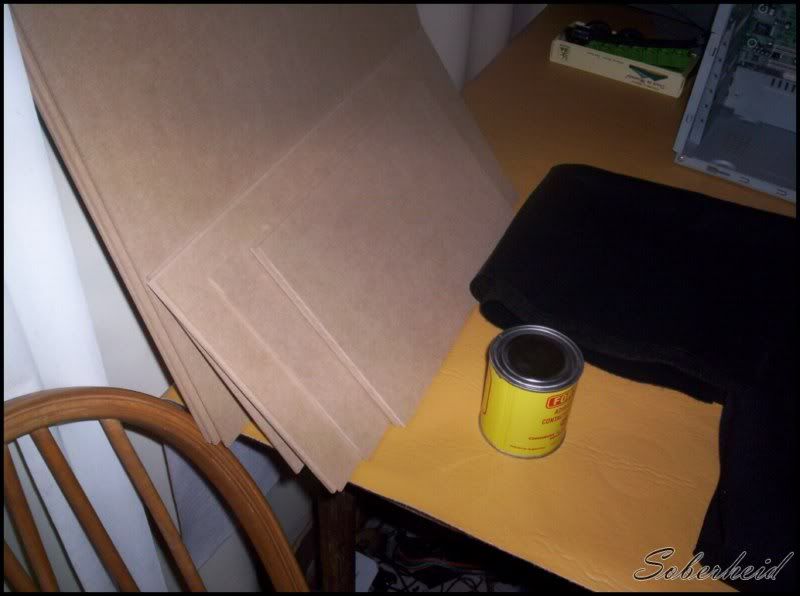
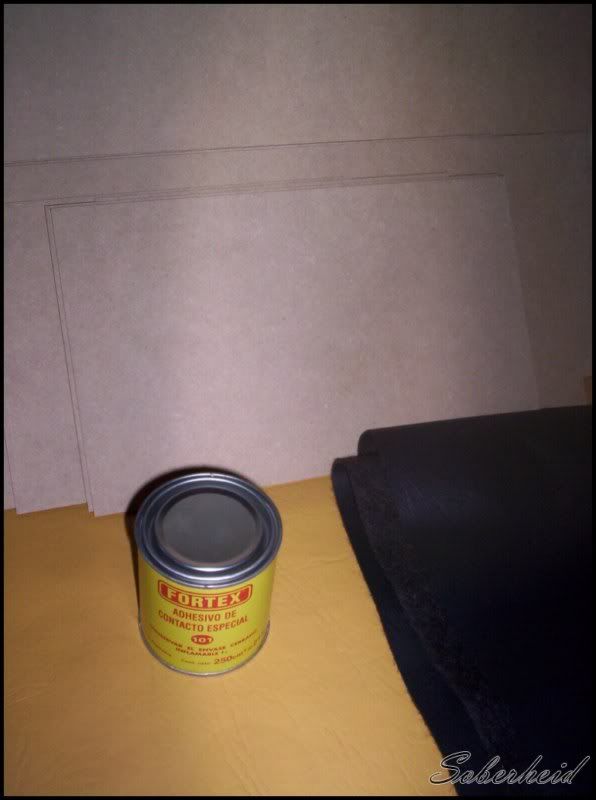
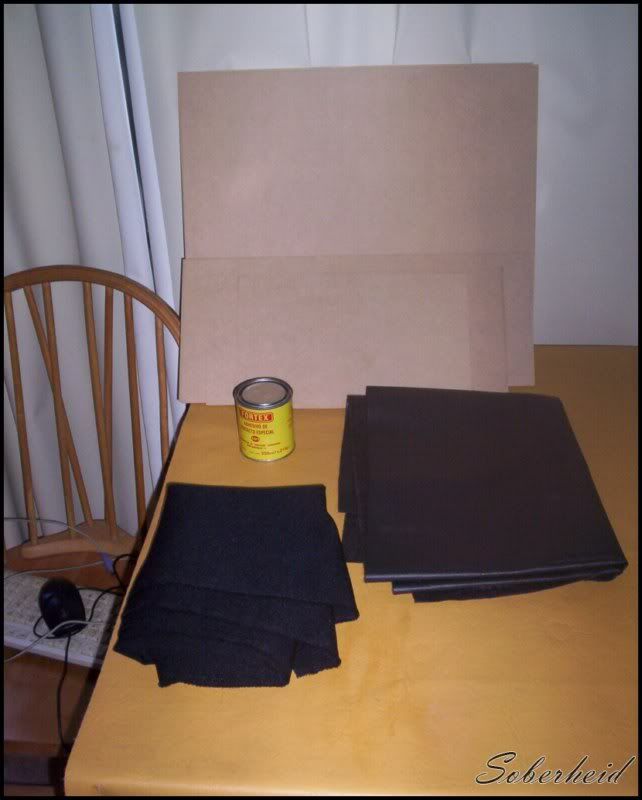
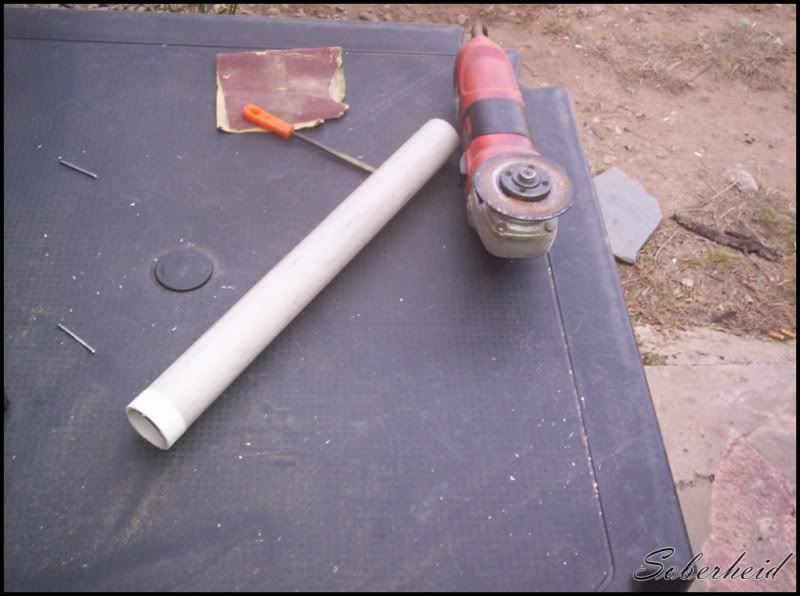
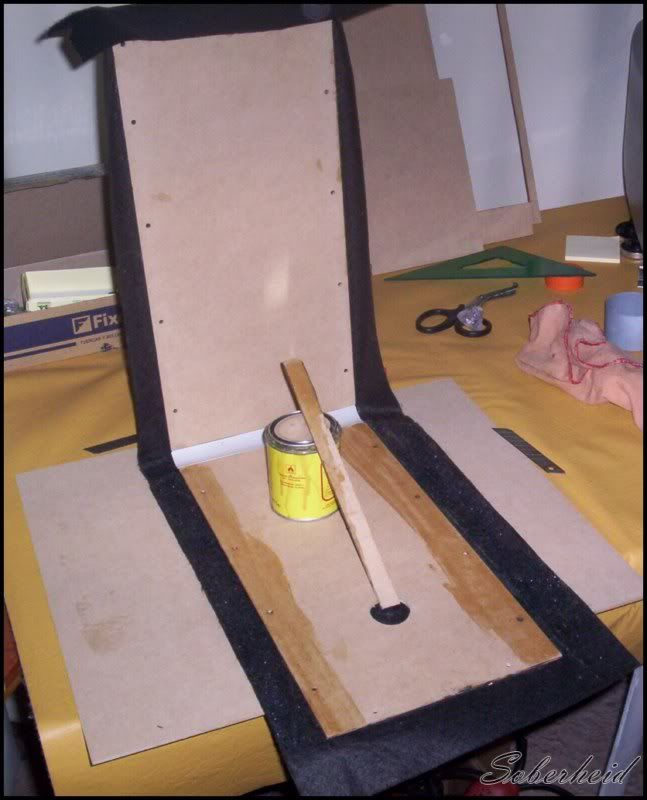
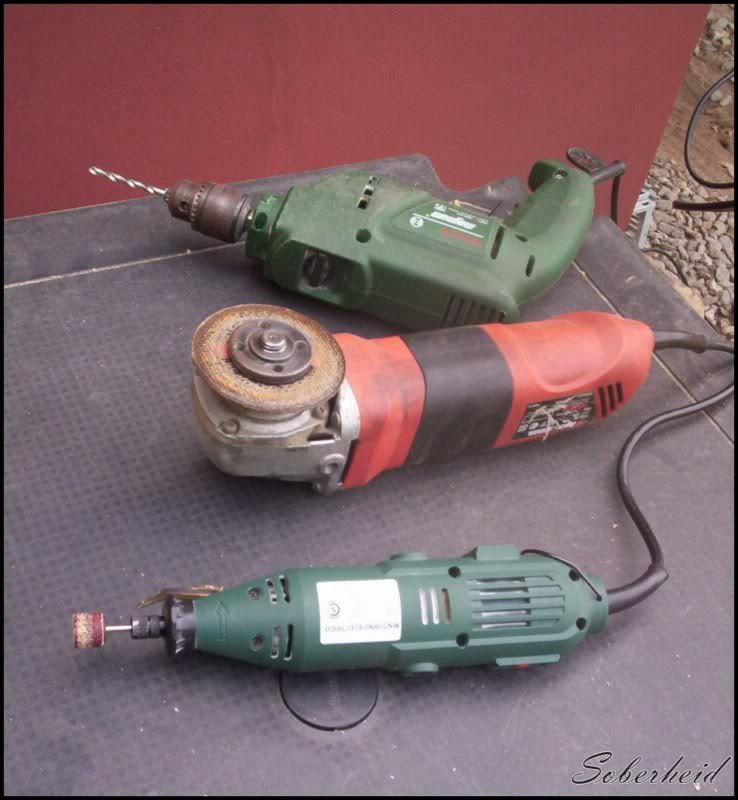
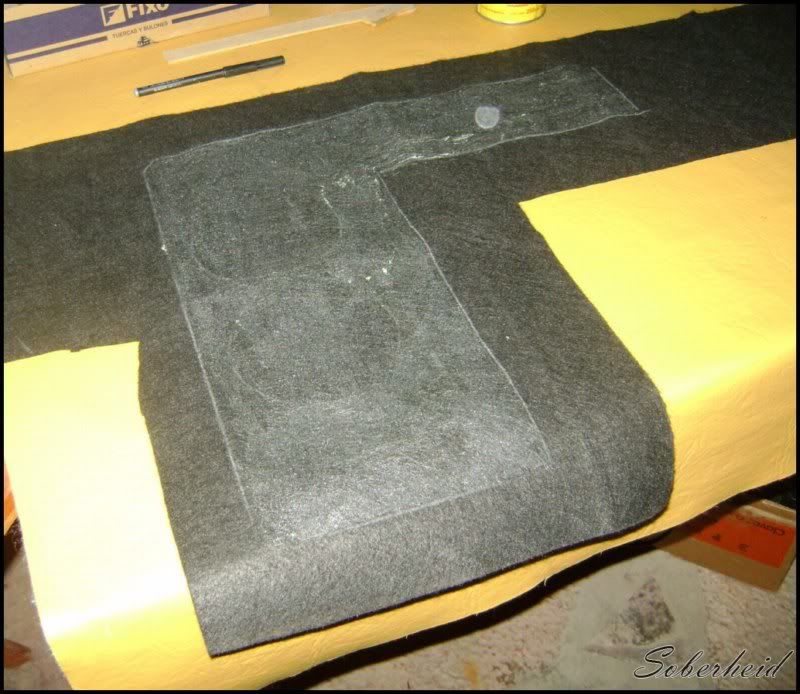
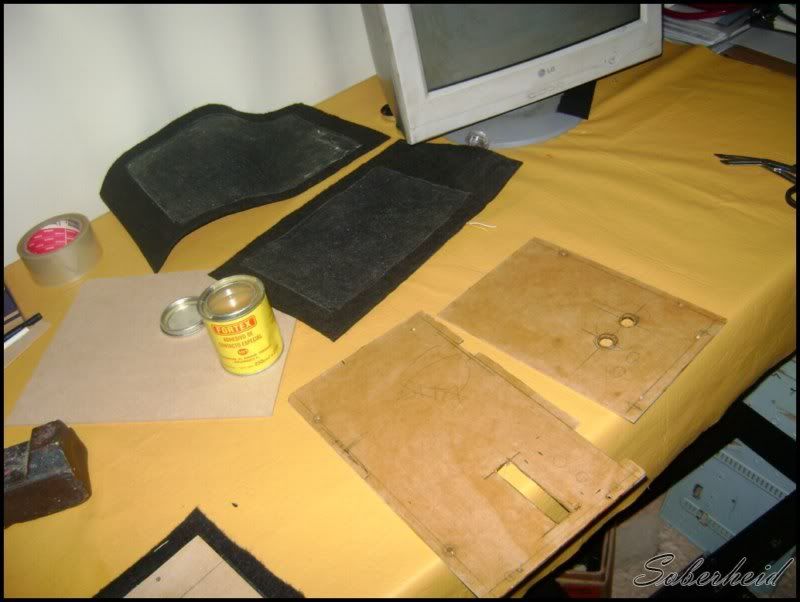
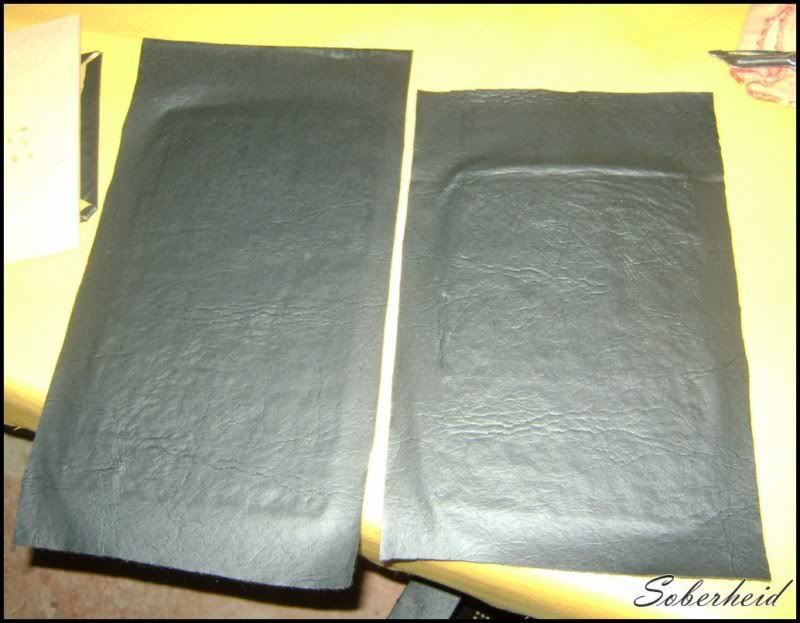
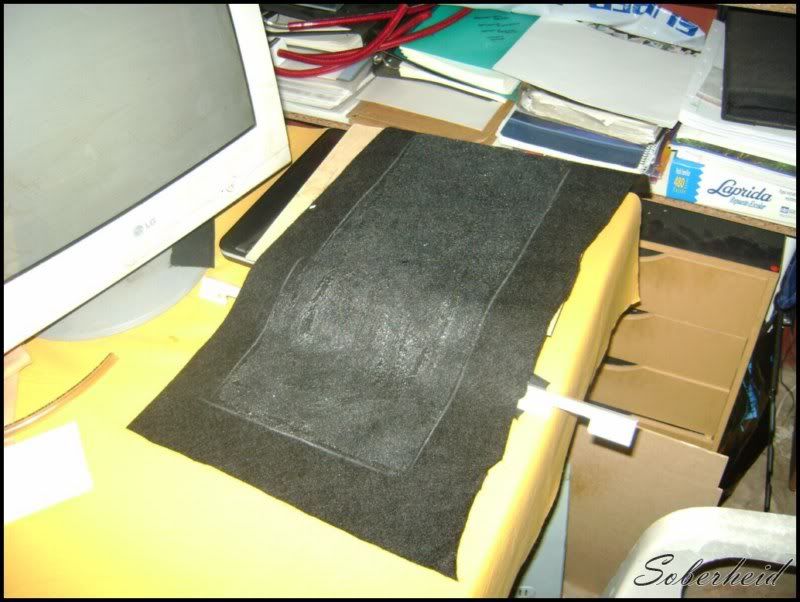
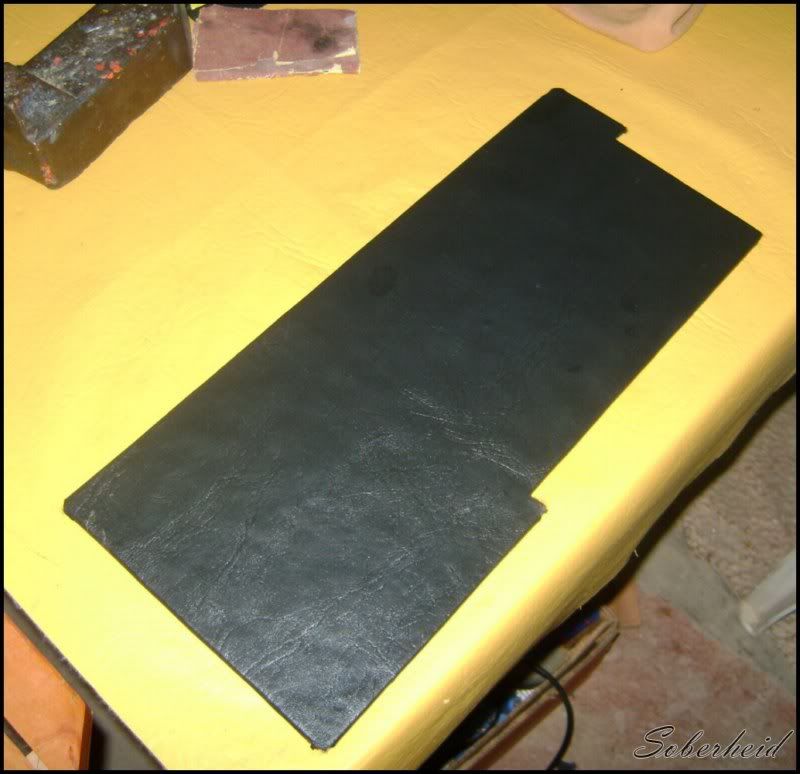
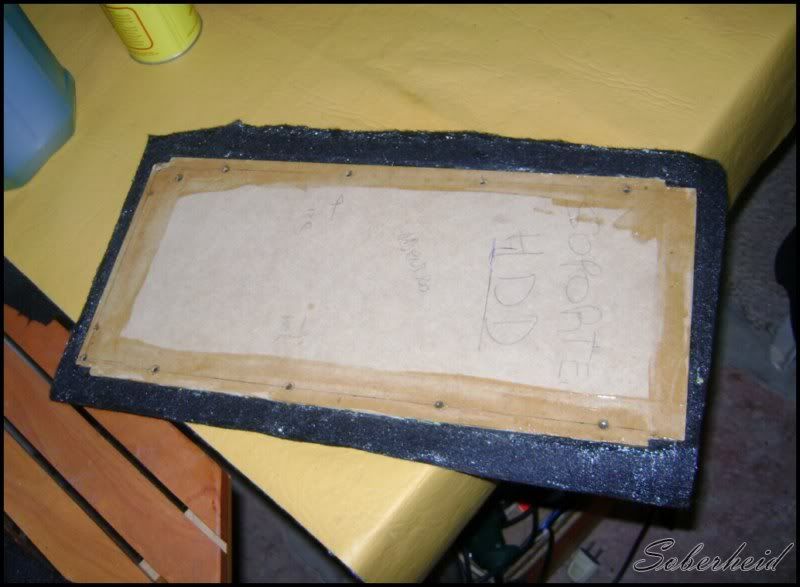
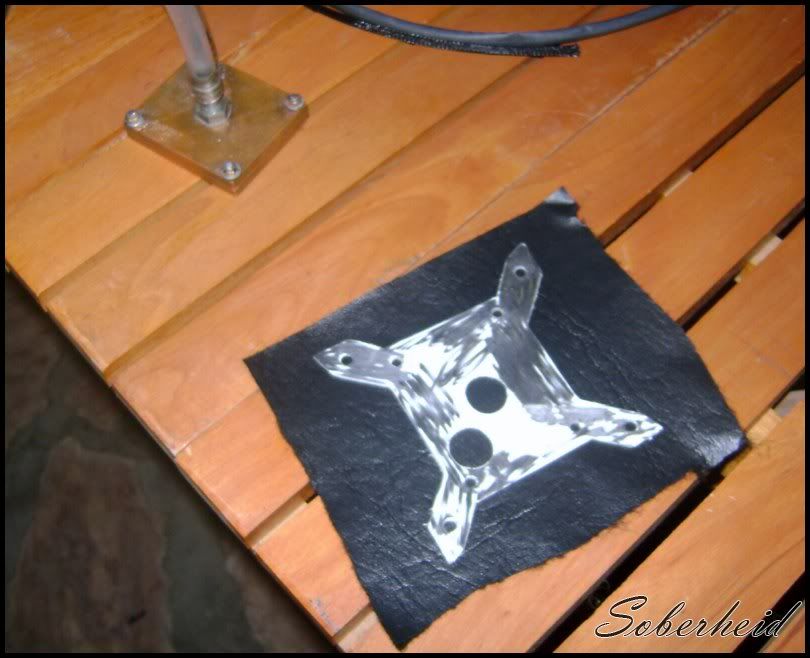
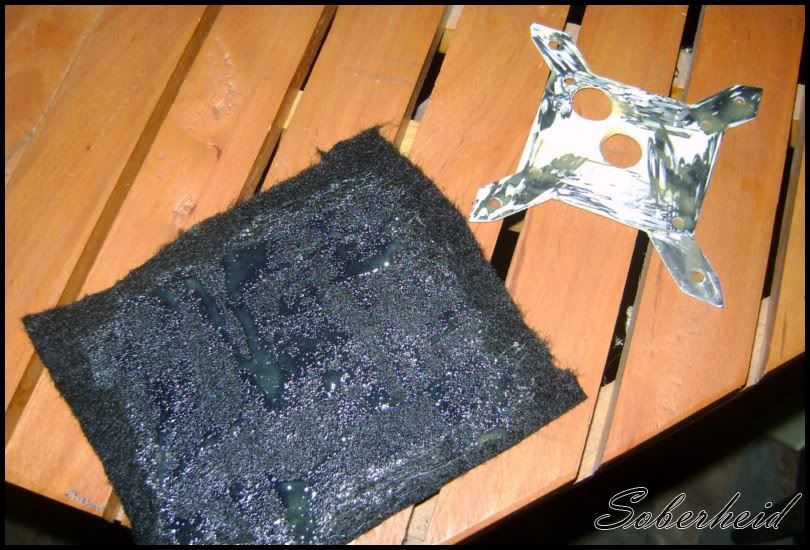
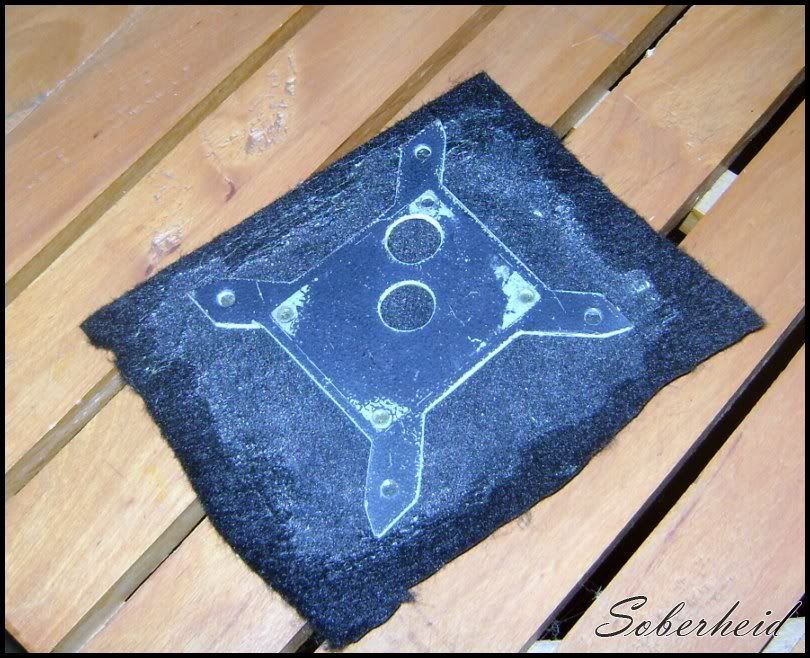
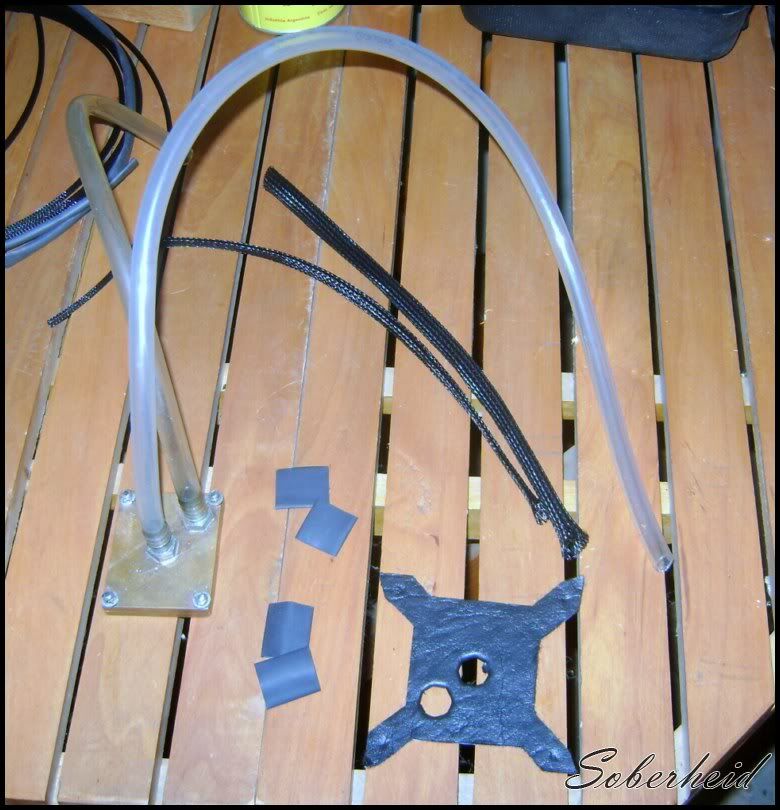
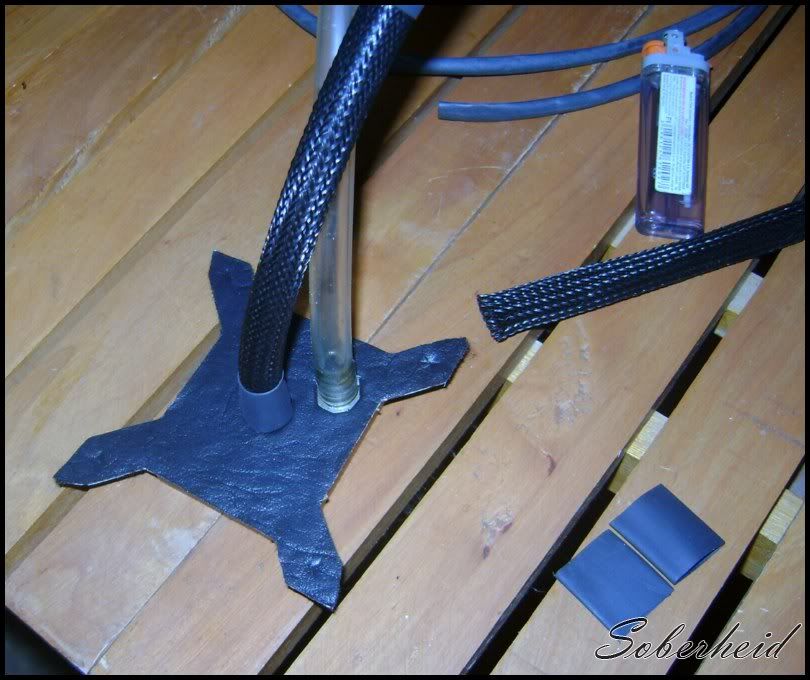
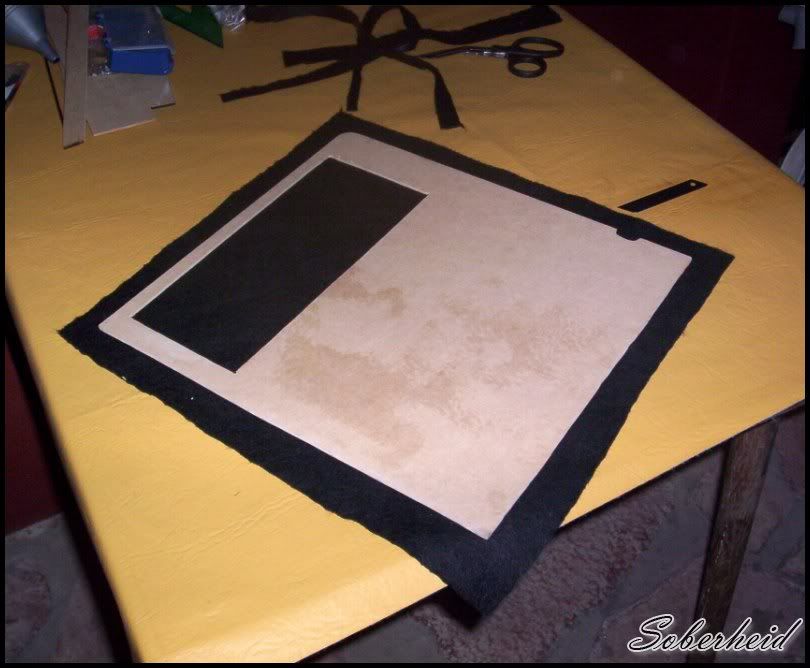
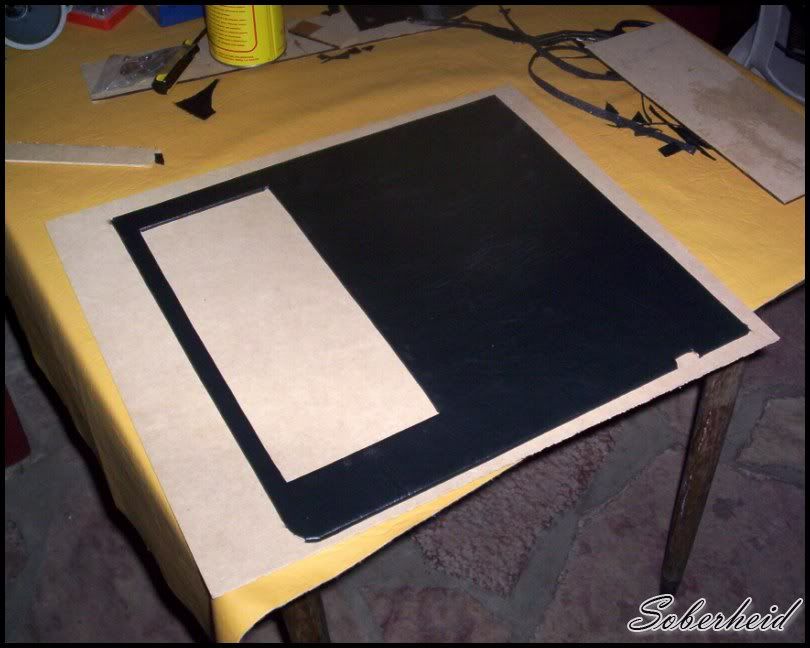
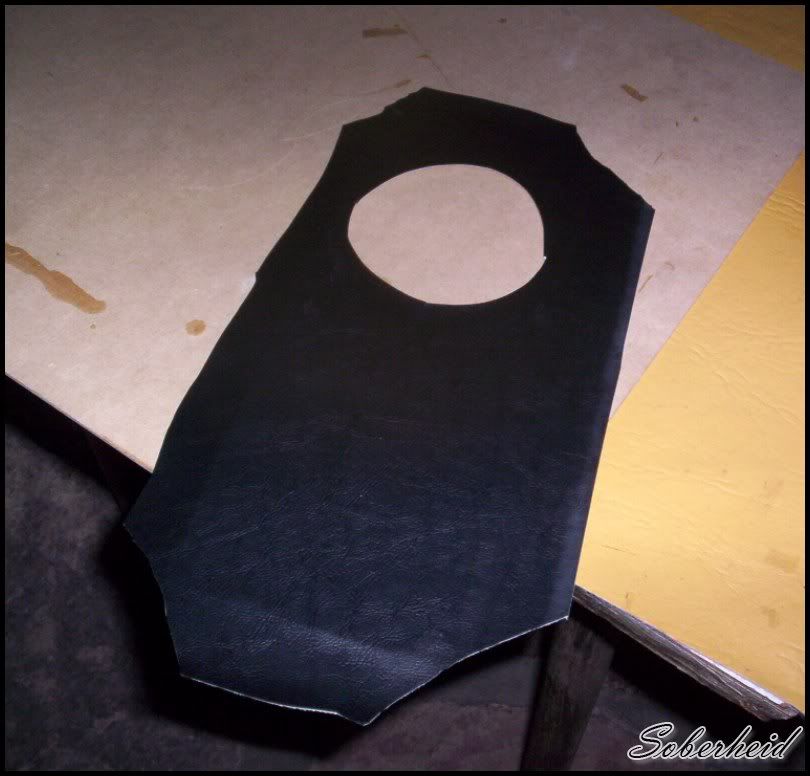
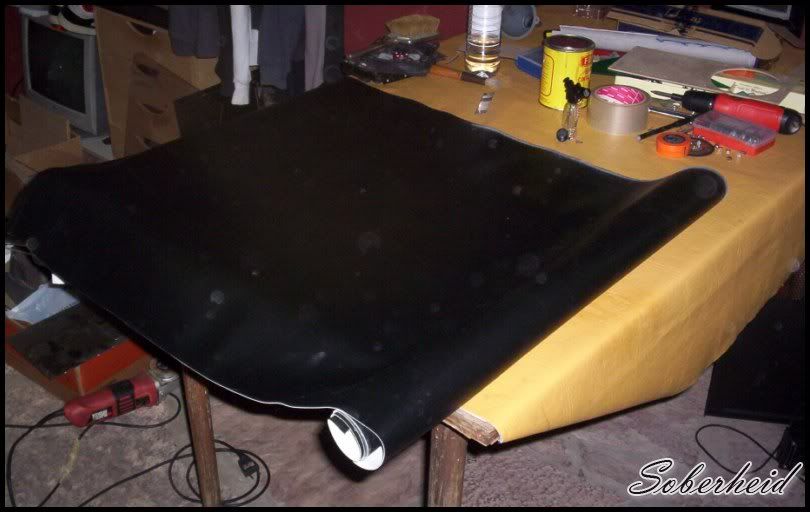
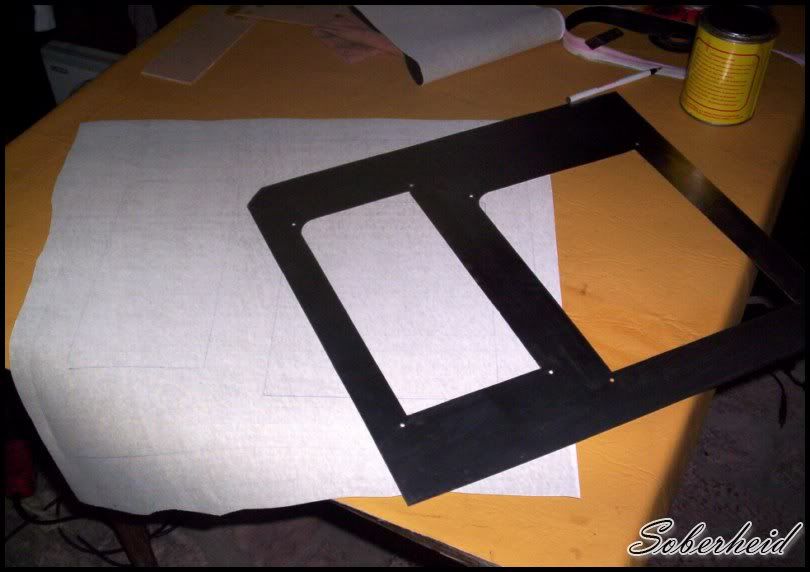
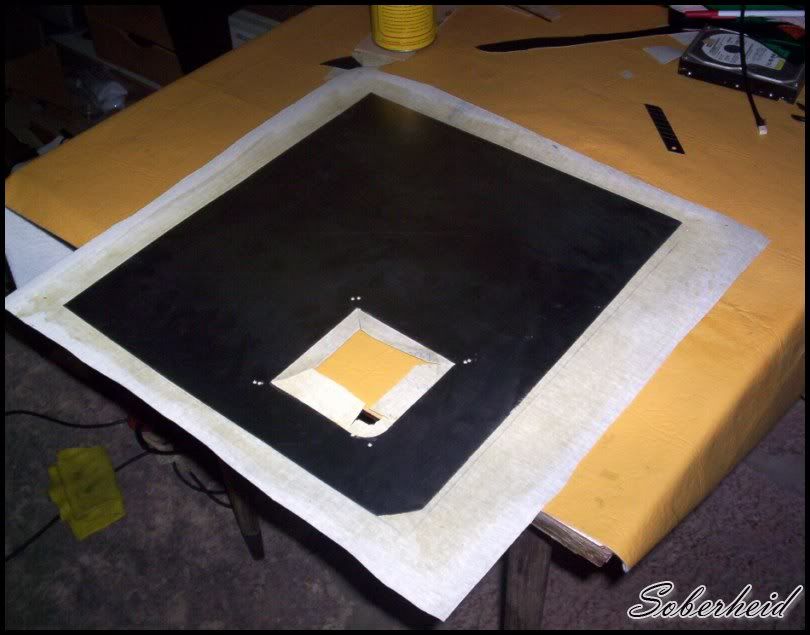
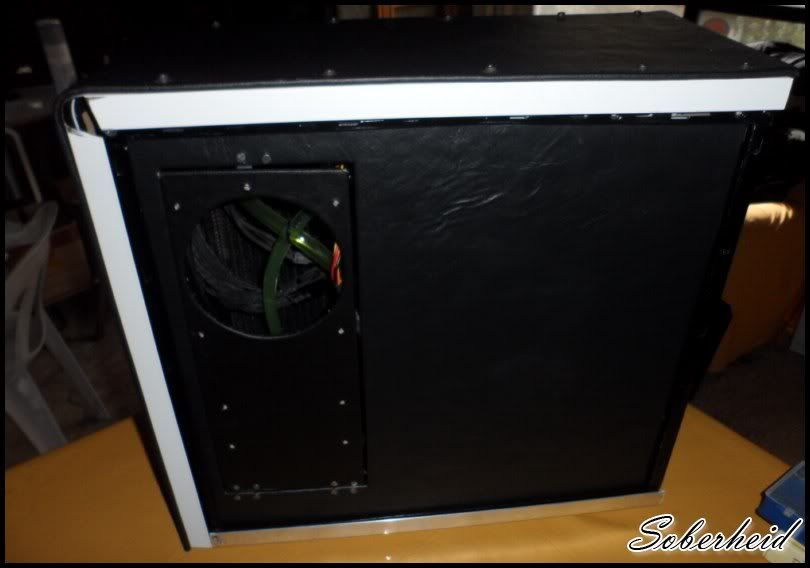
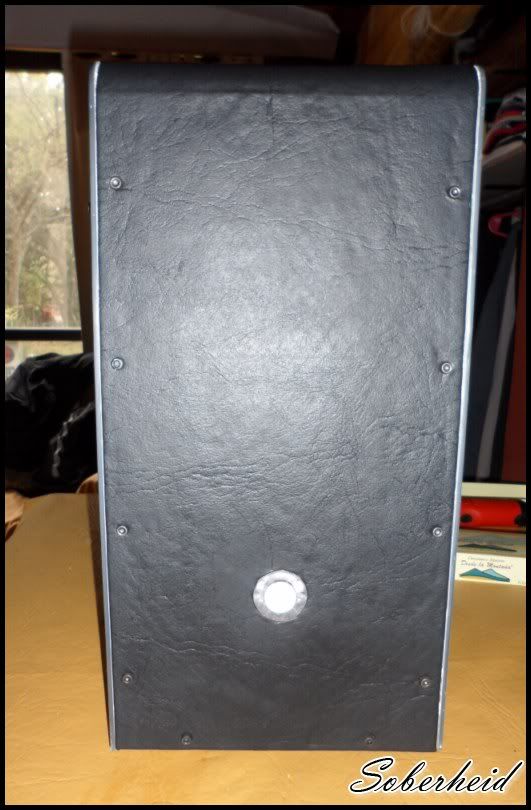
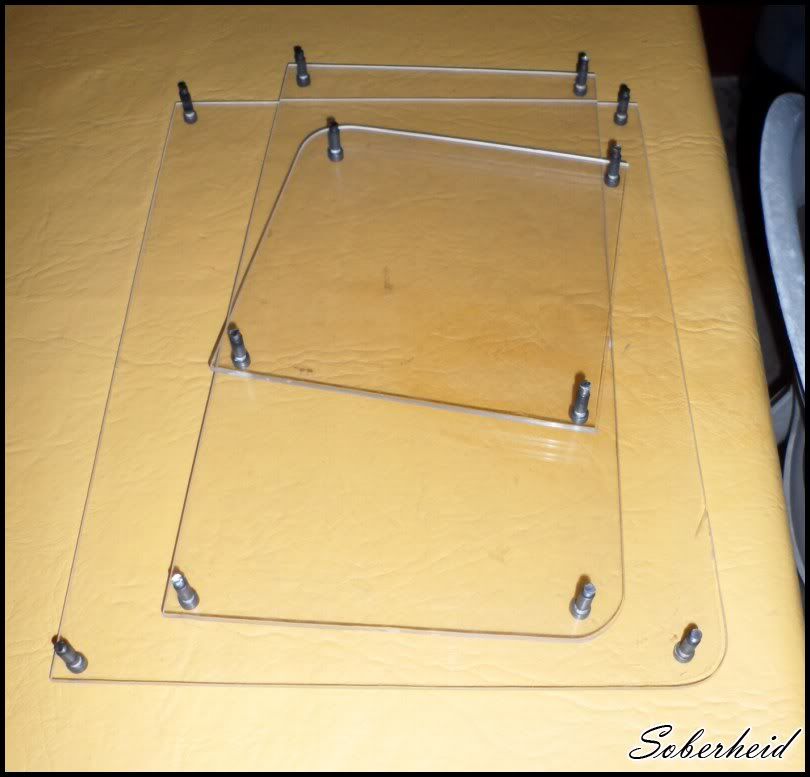
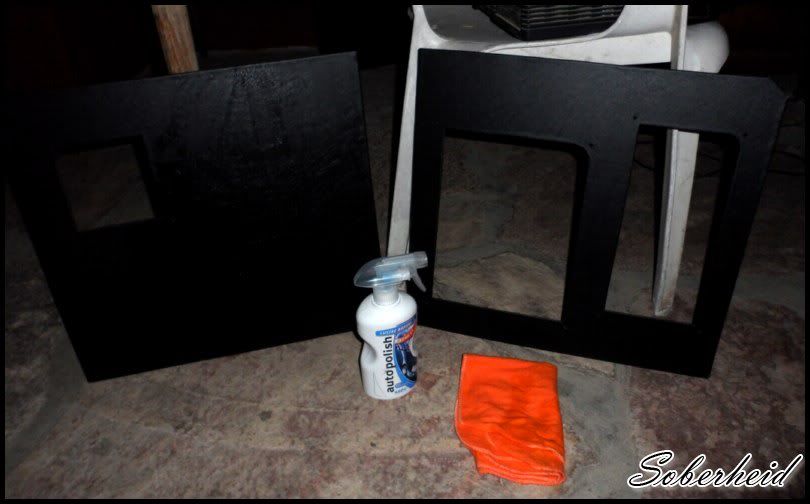
The materials for the housing and termination, wood, imitation leather and glue.
100_84111024x768800x600.jpg

100_84101024x768800x600.jpg

100_84091024x768800x600.jpg

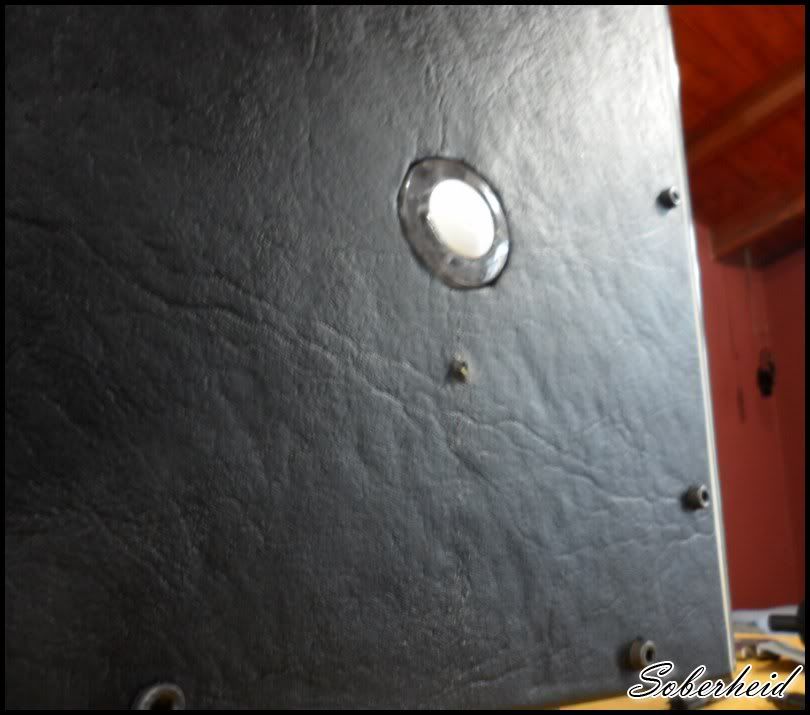
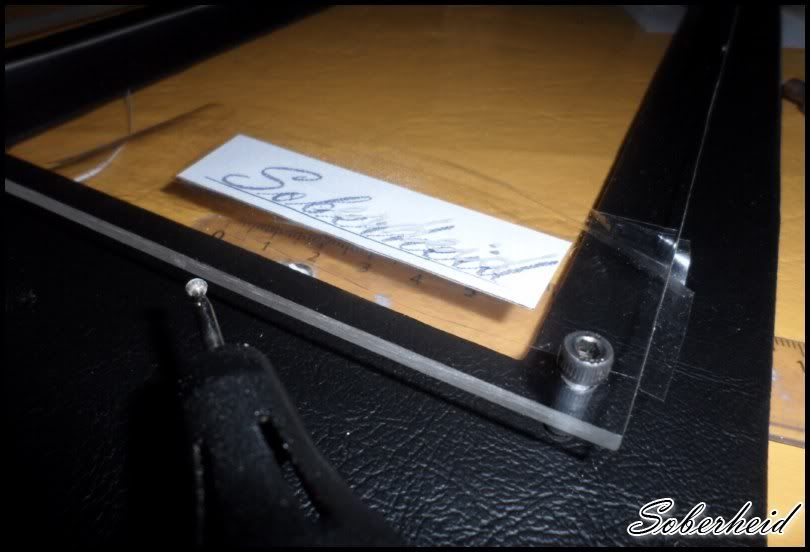
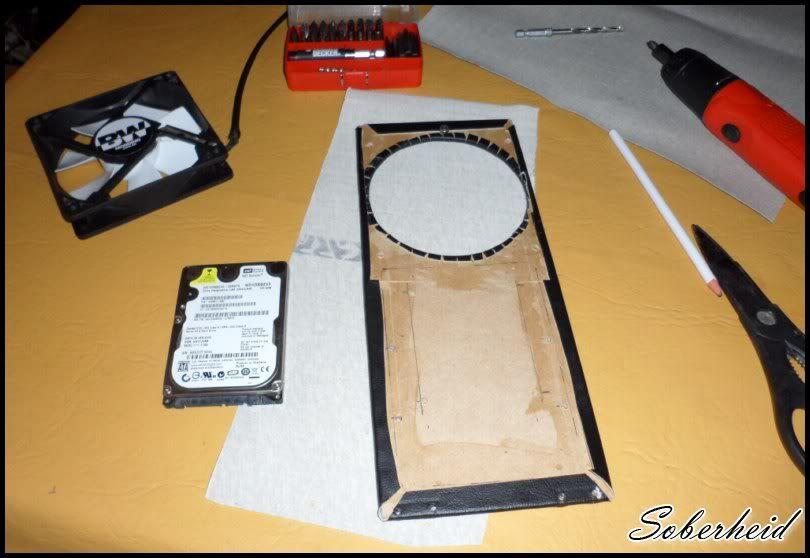
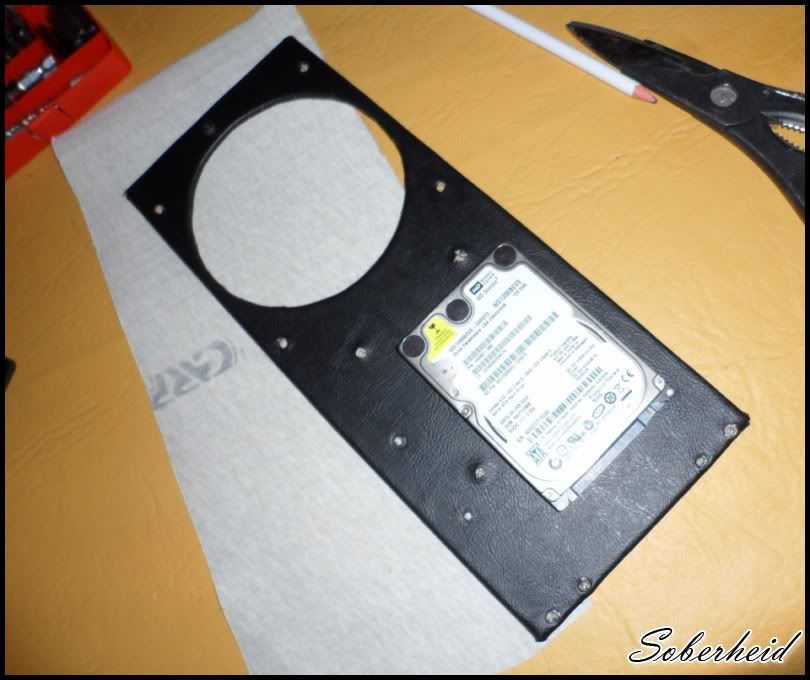
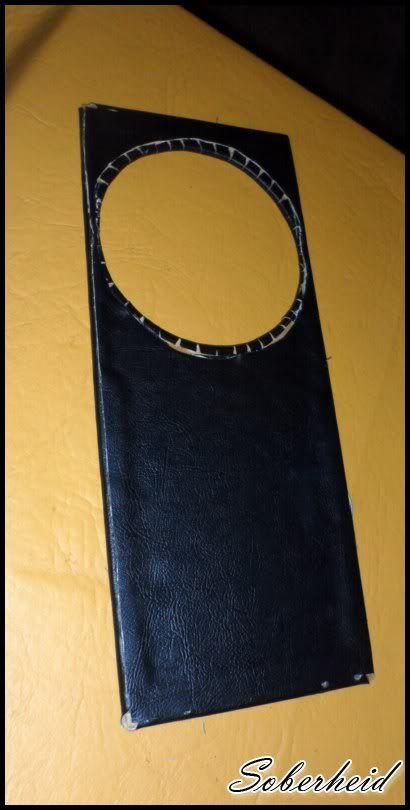
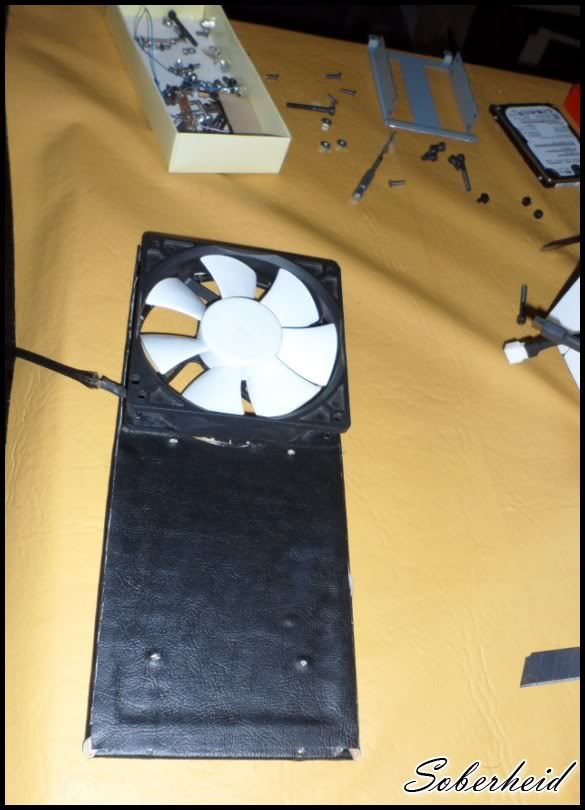
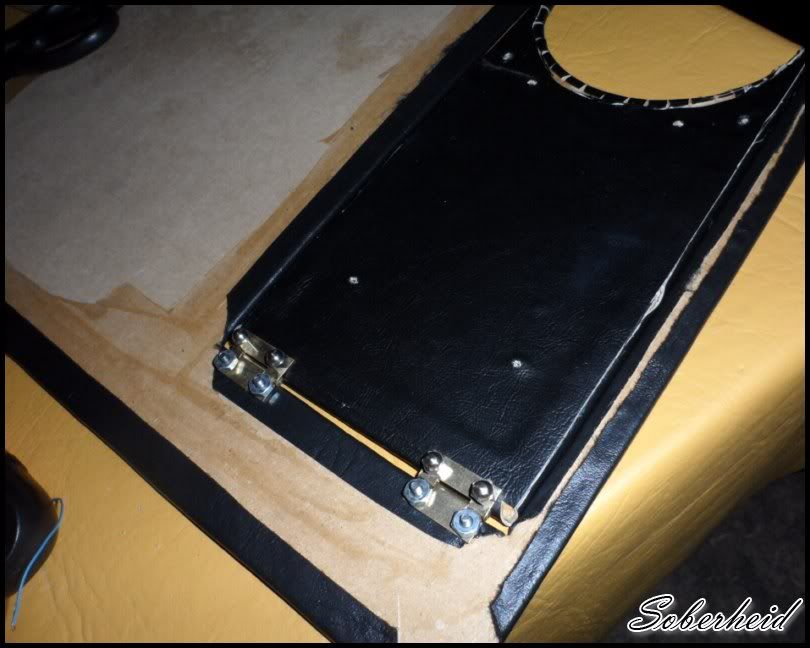
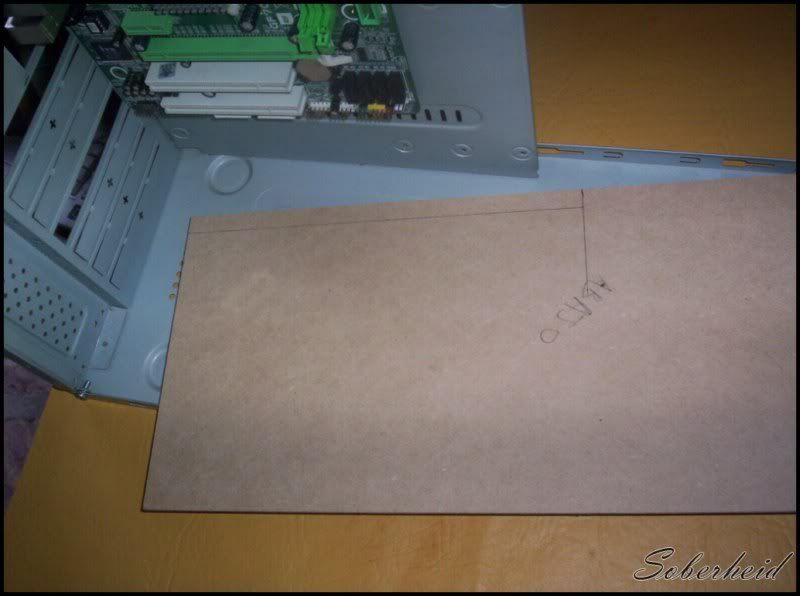
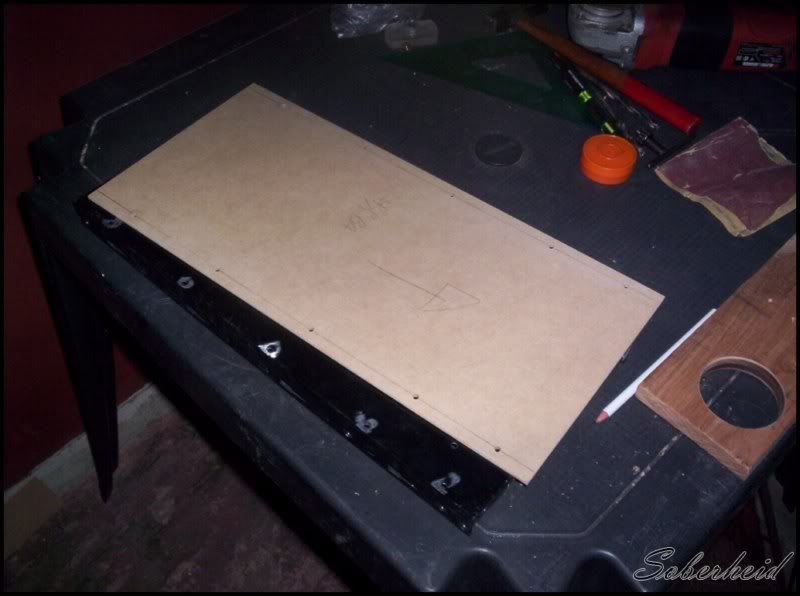
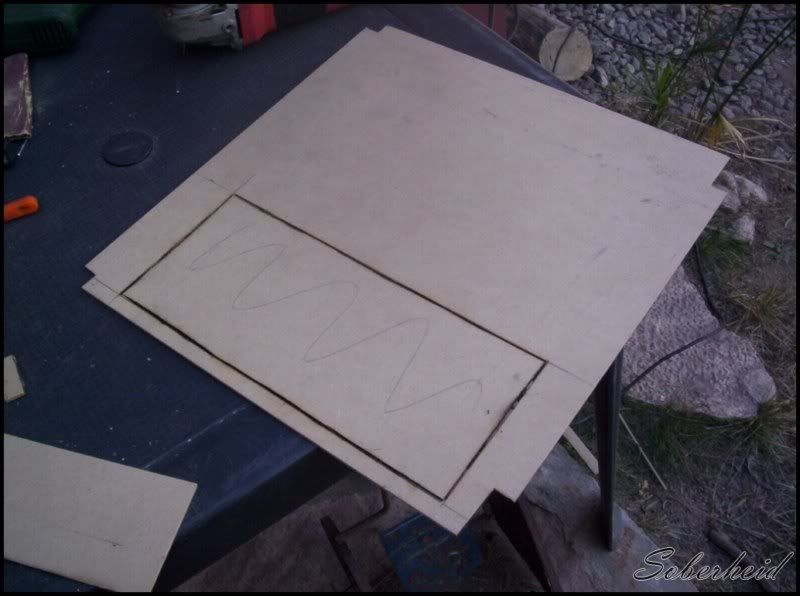
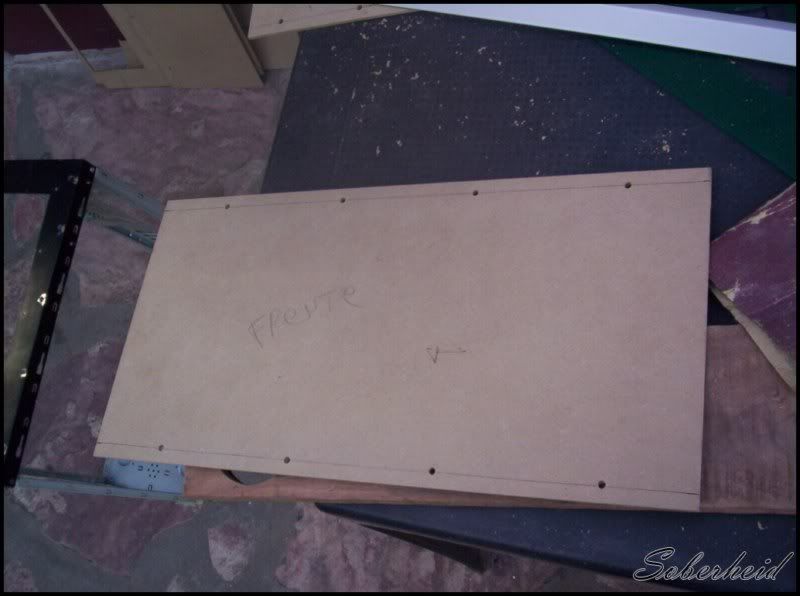
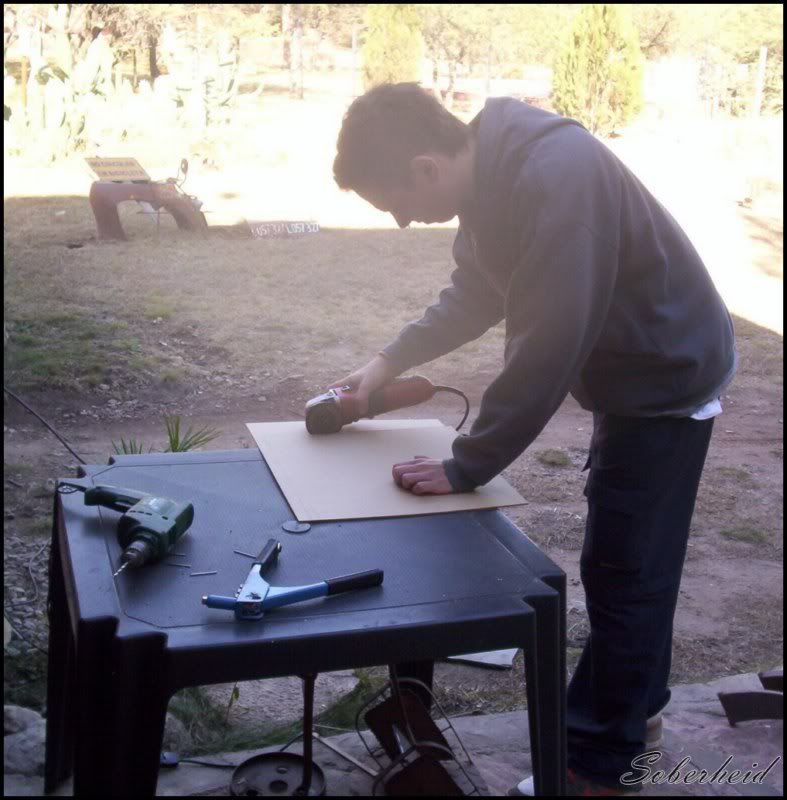
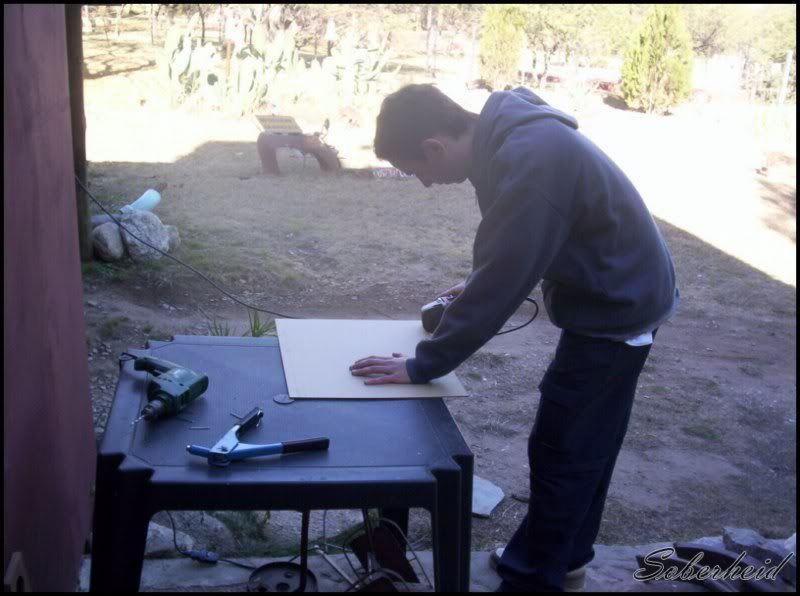
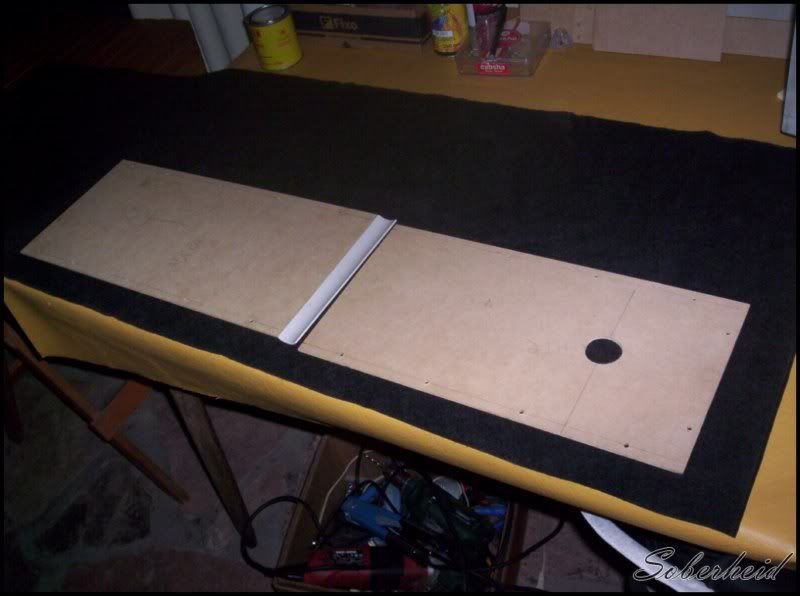
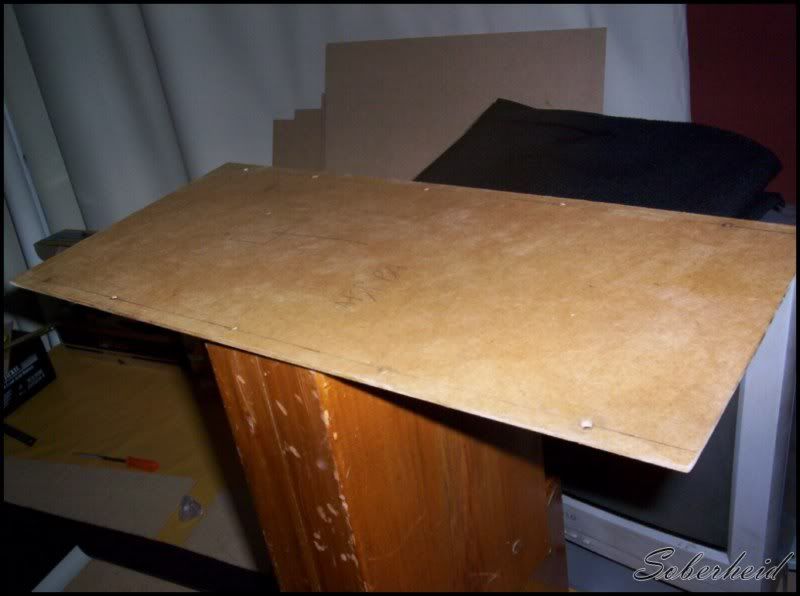
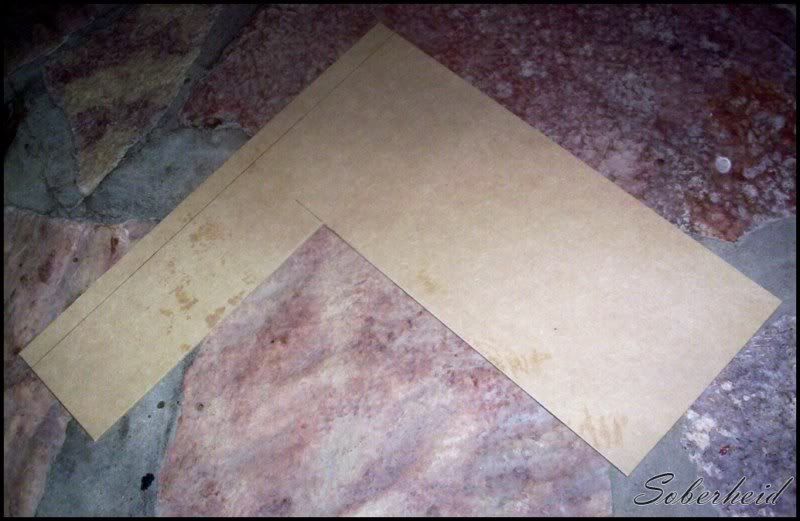
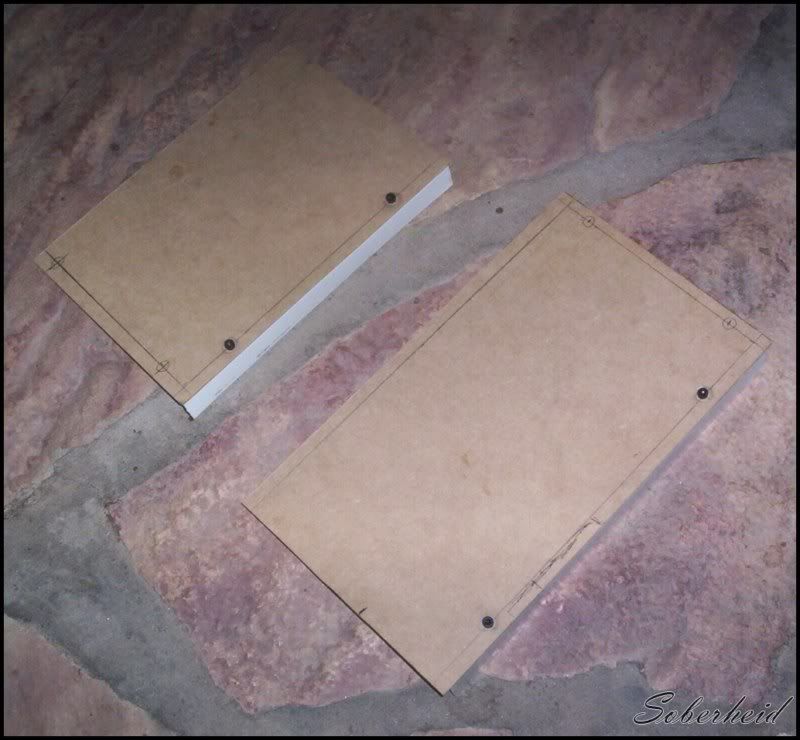
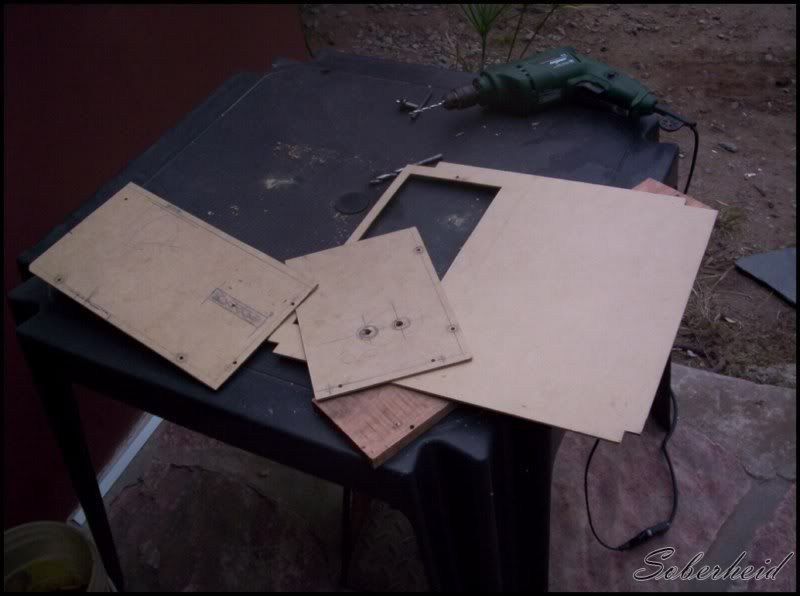
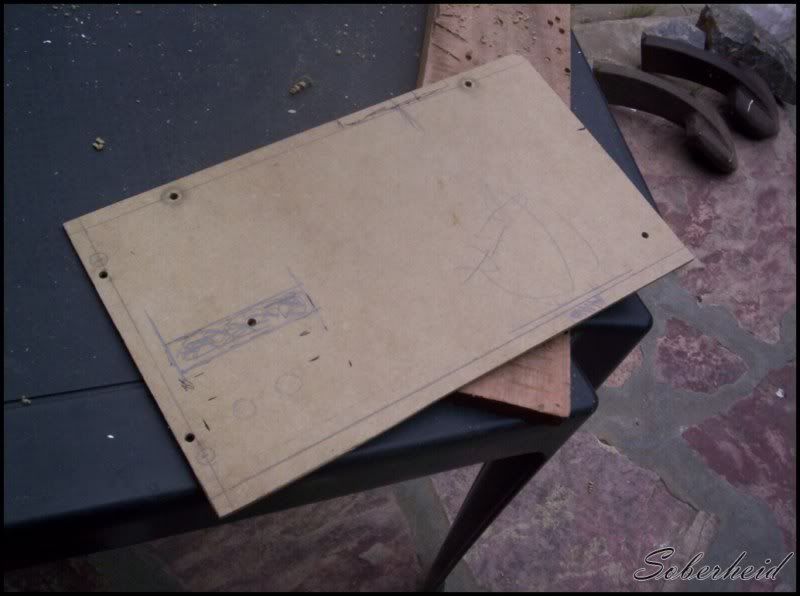
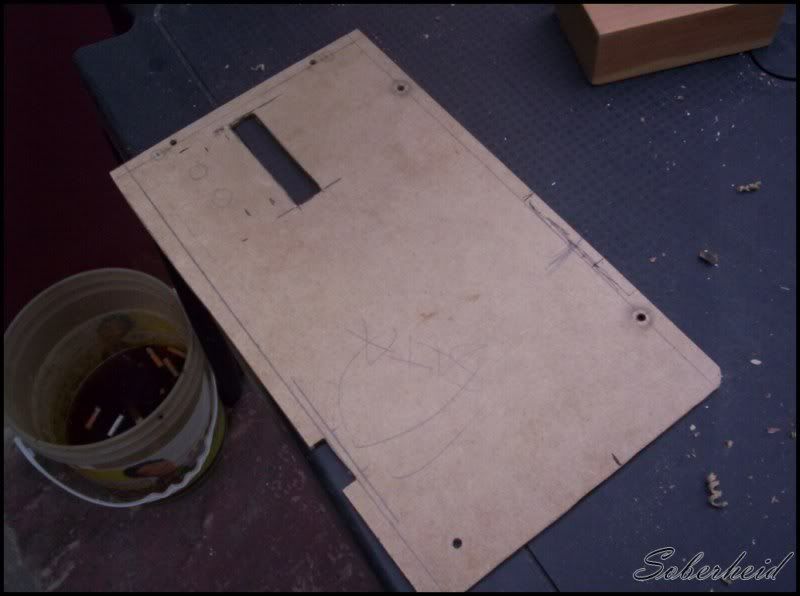
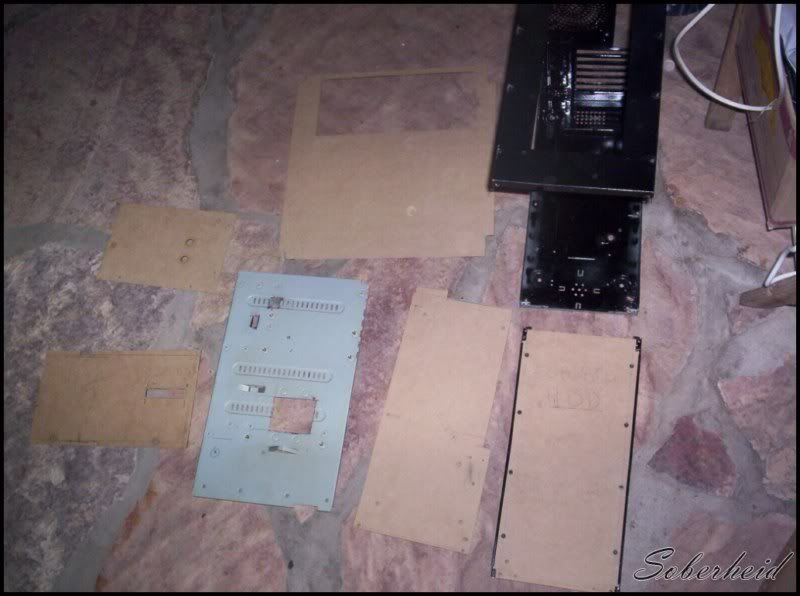
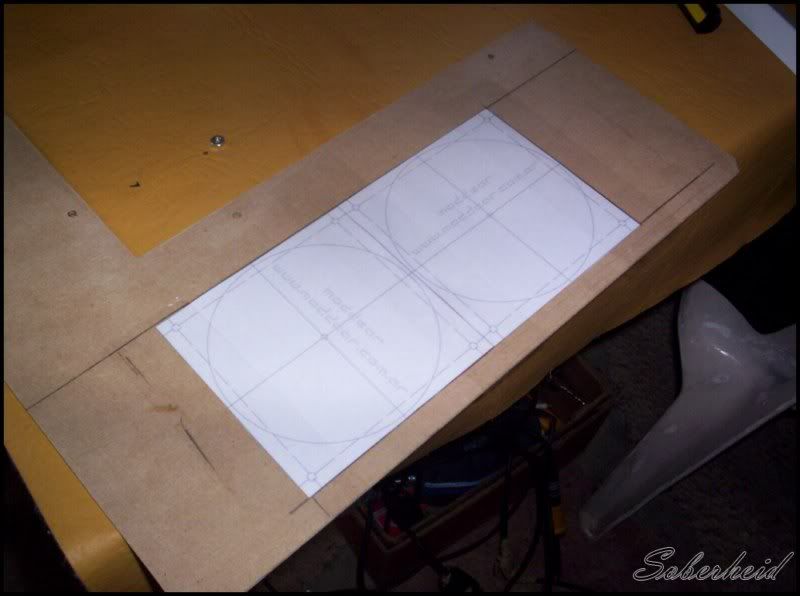
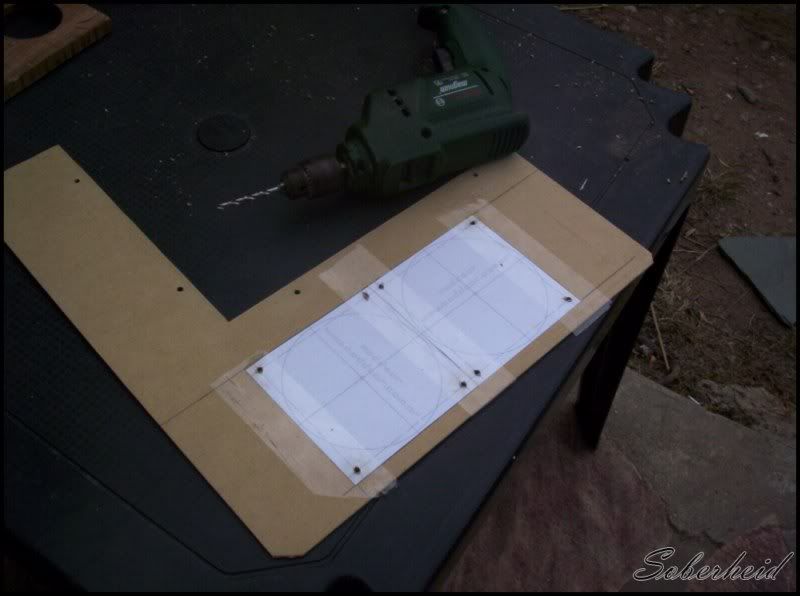
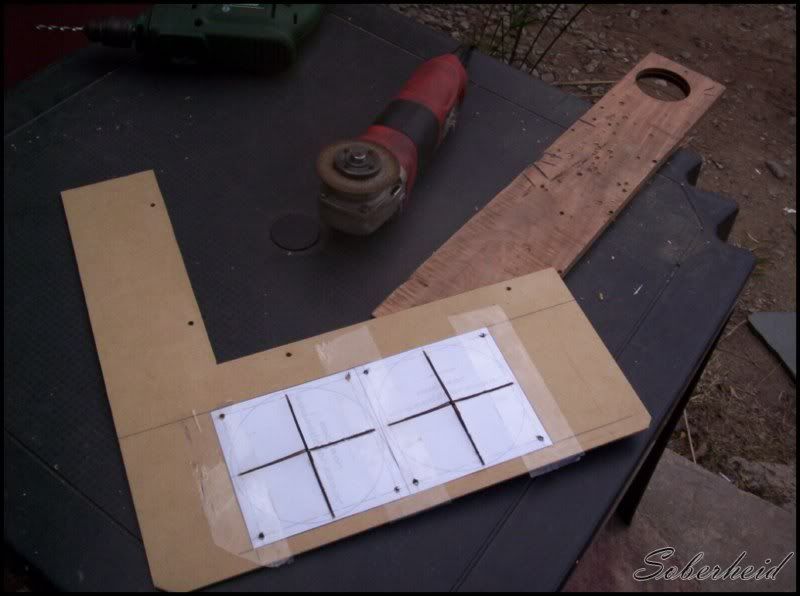
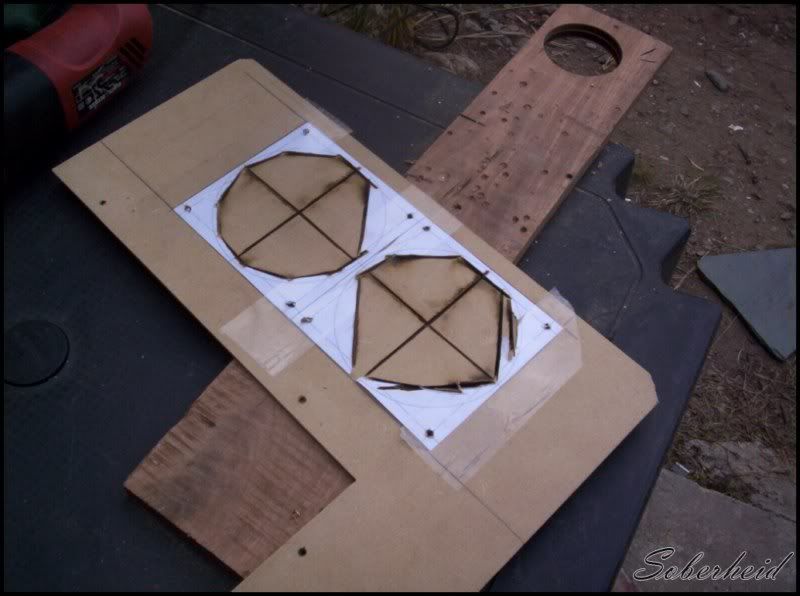
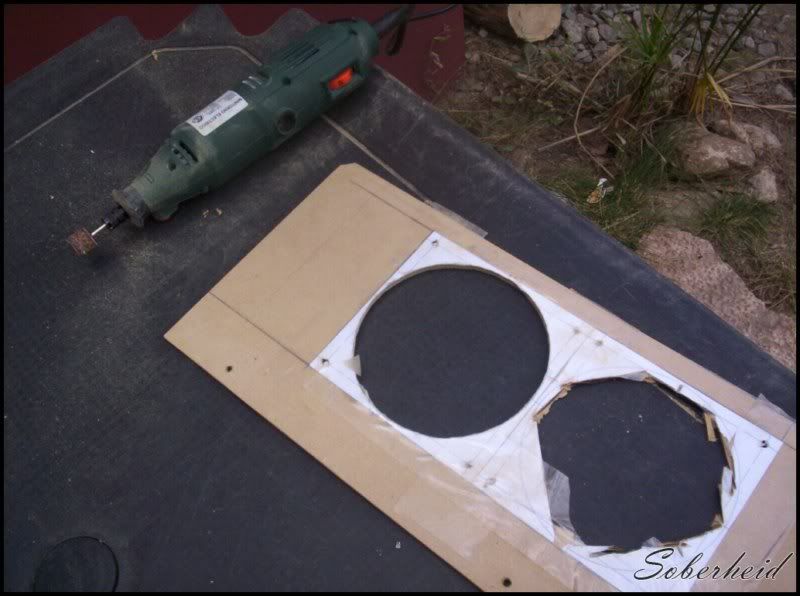
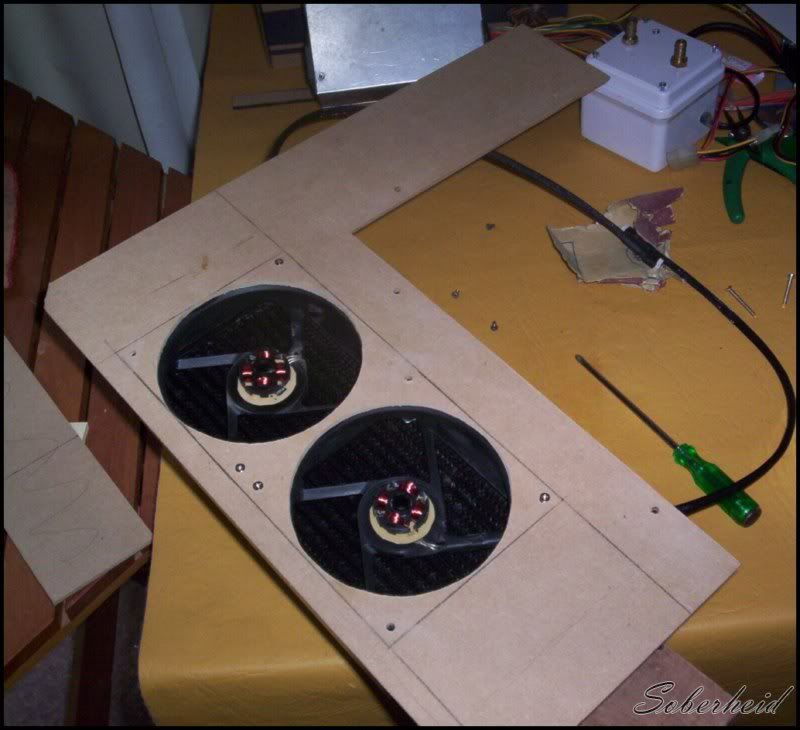
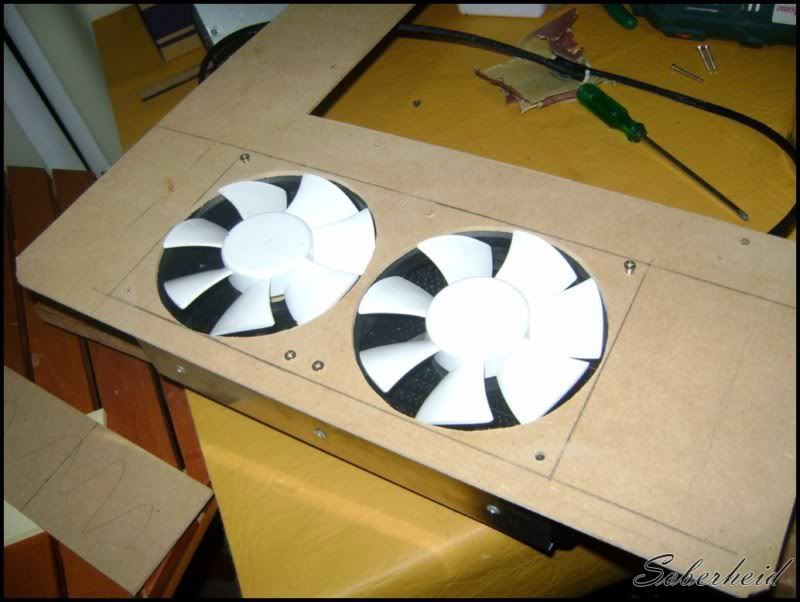
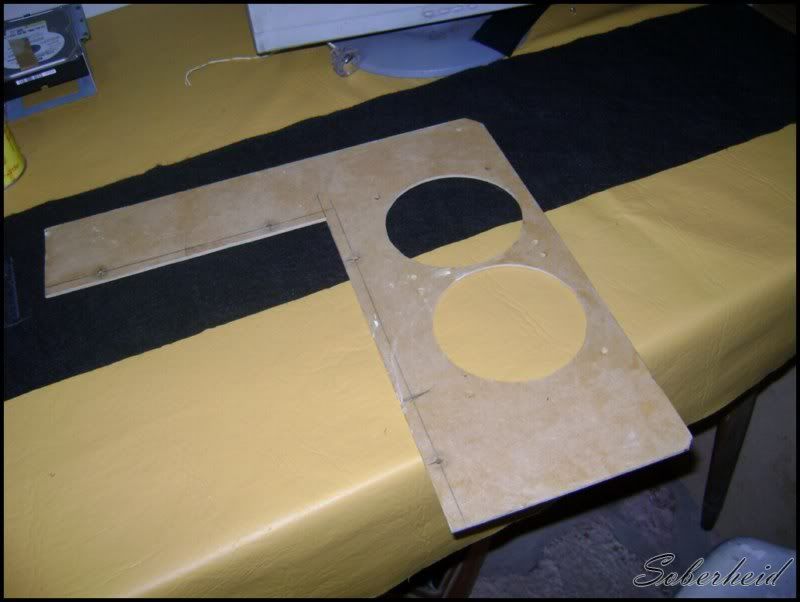
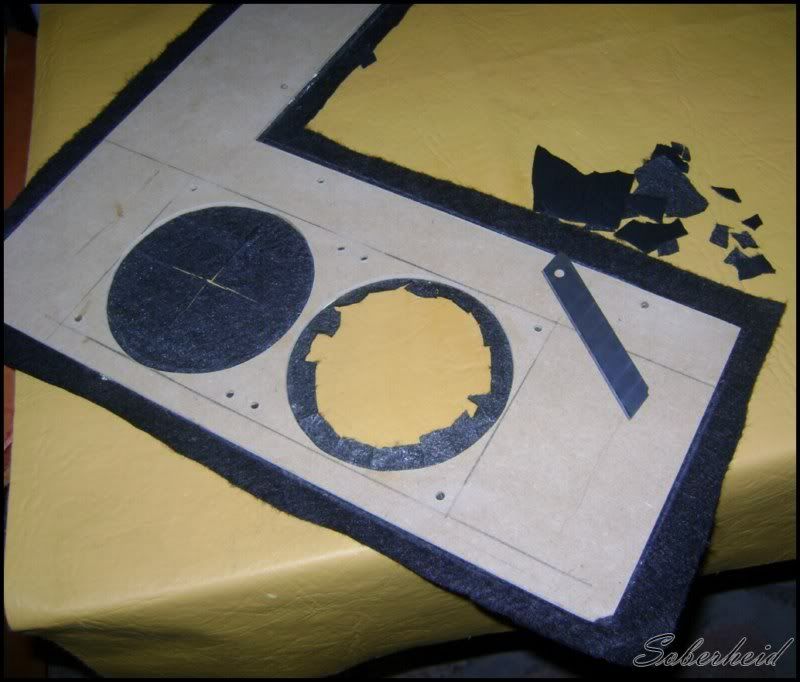
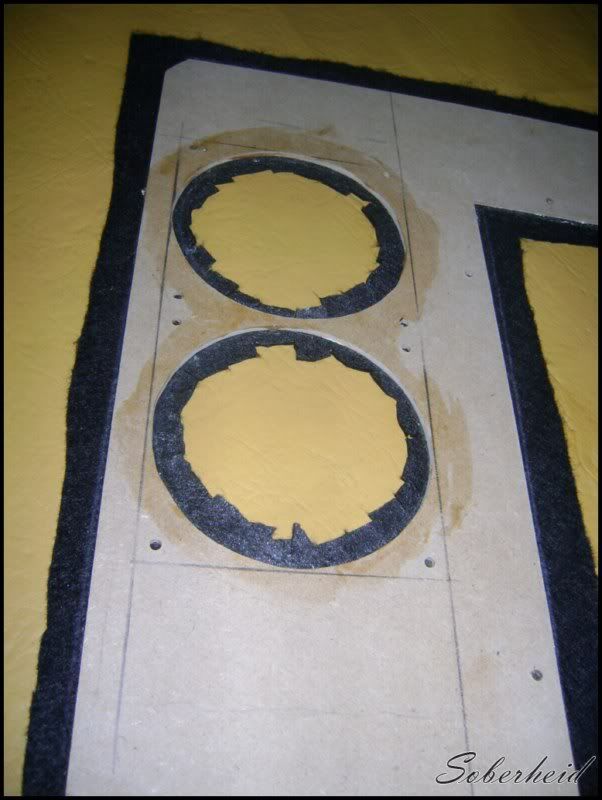
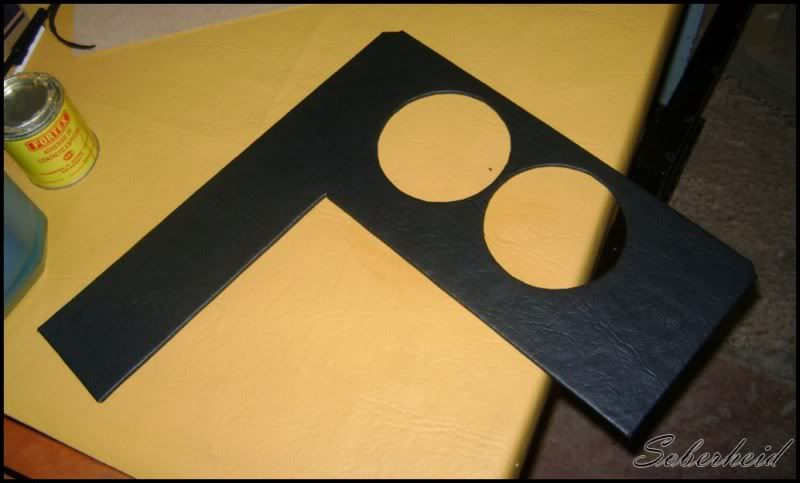
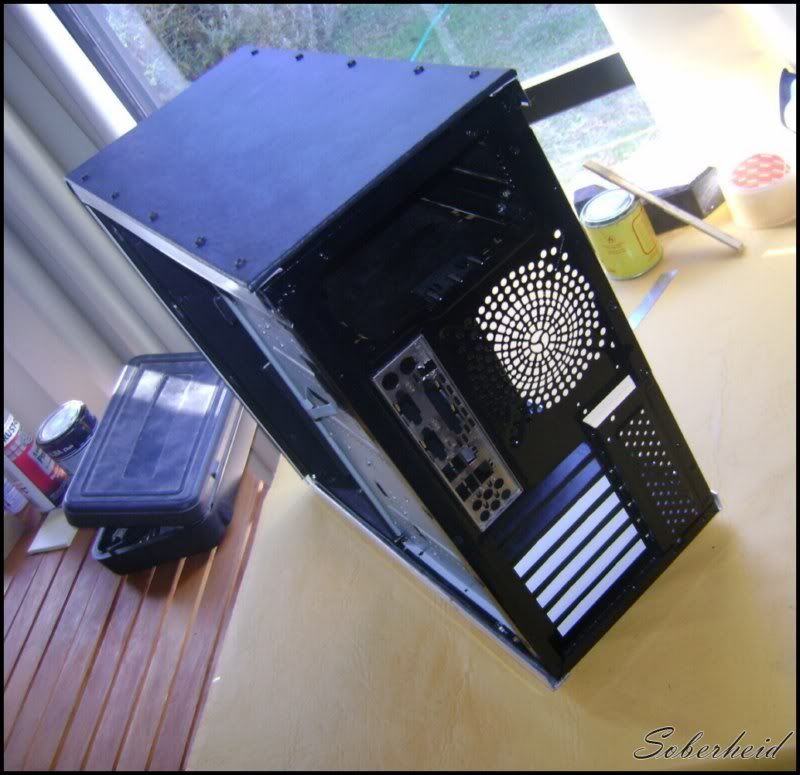
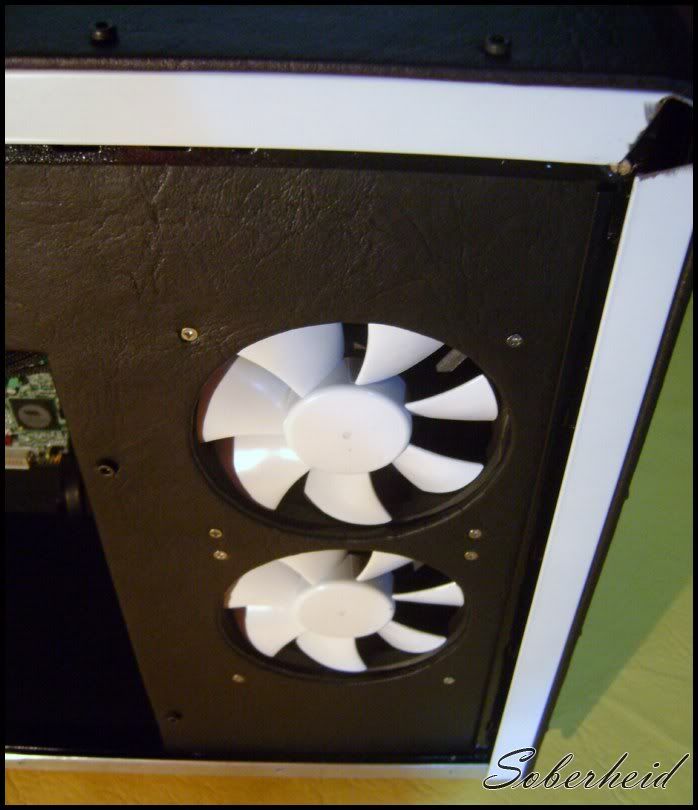
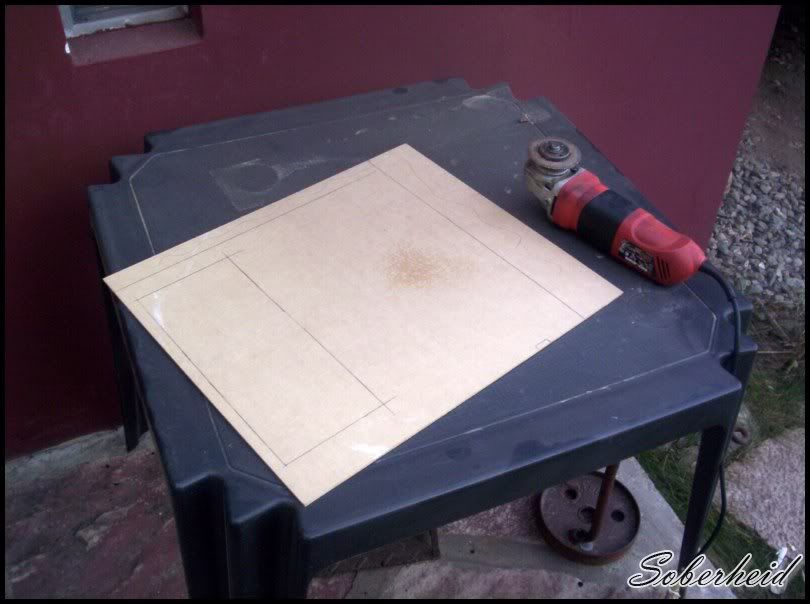
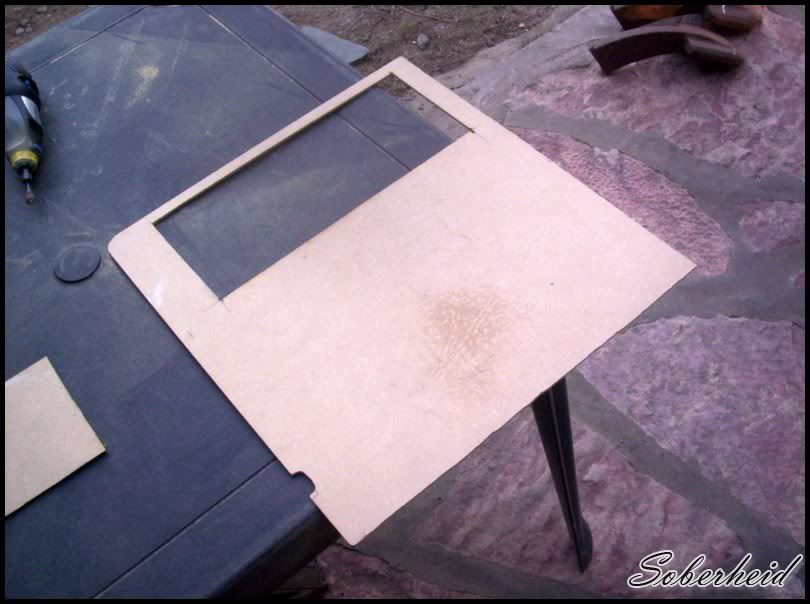
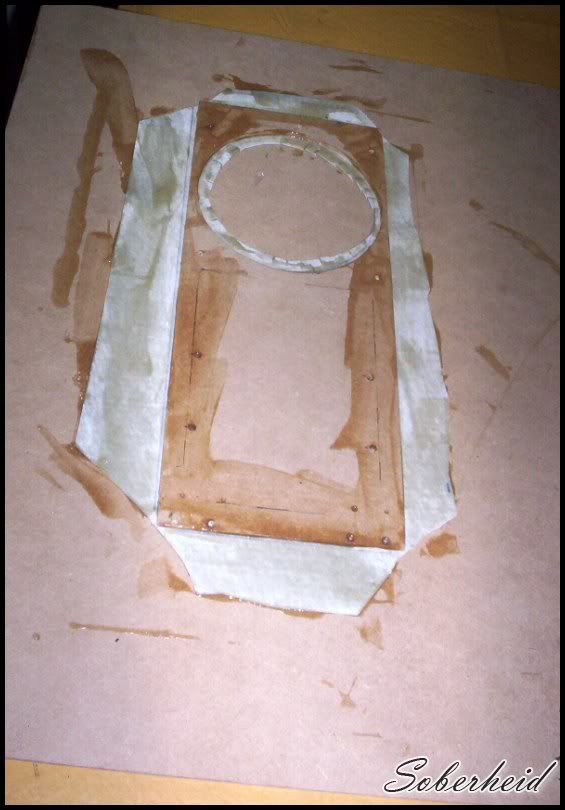
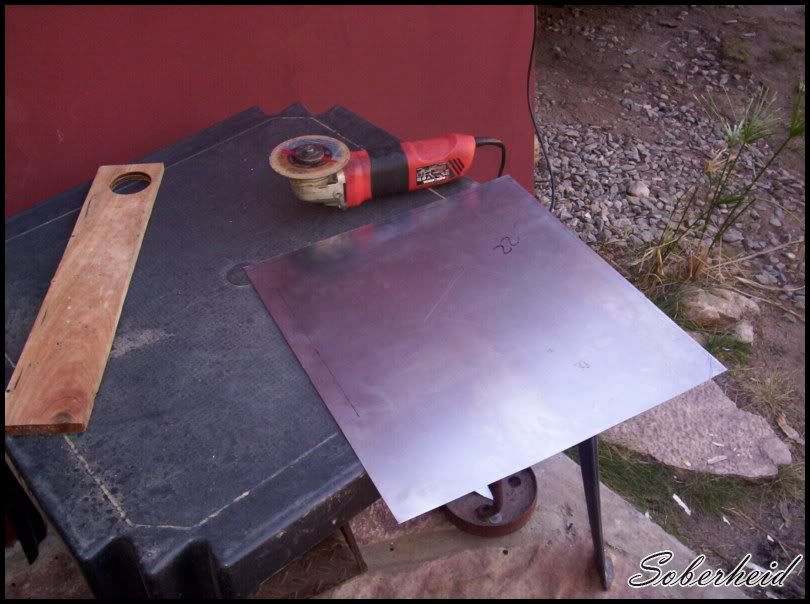
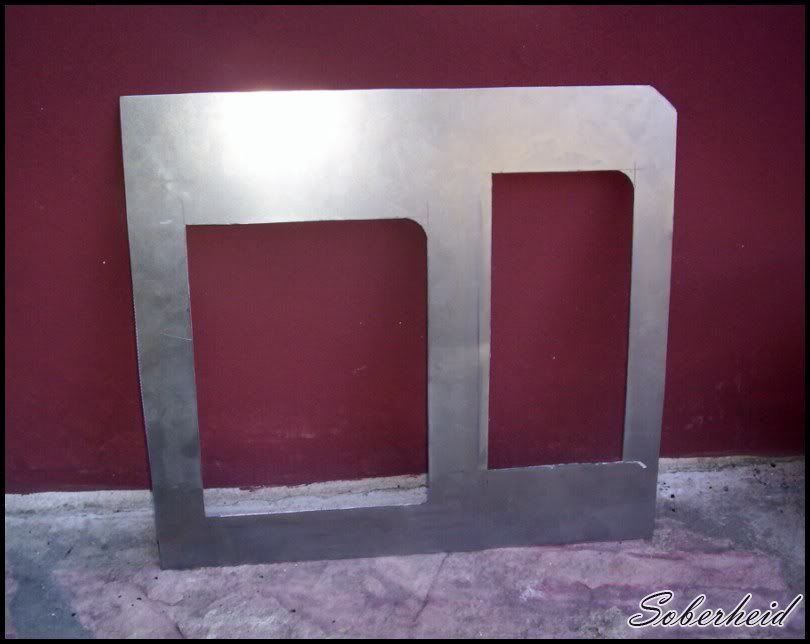
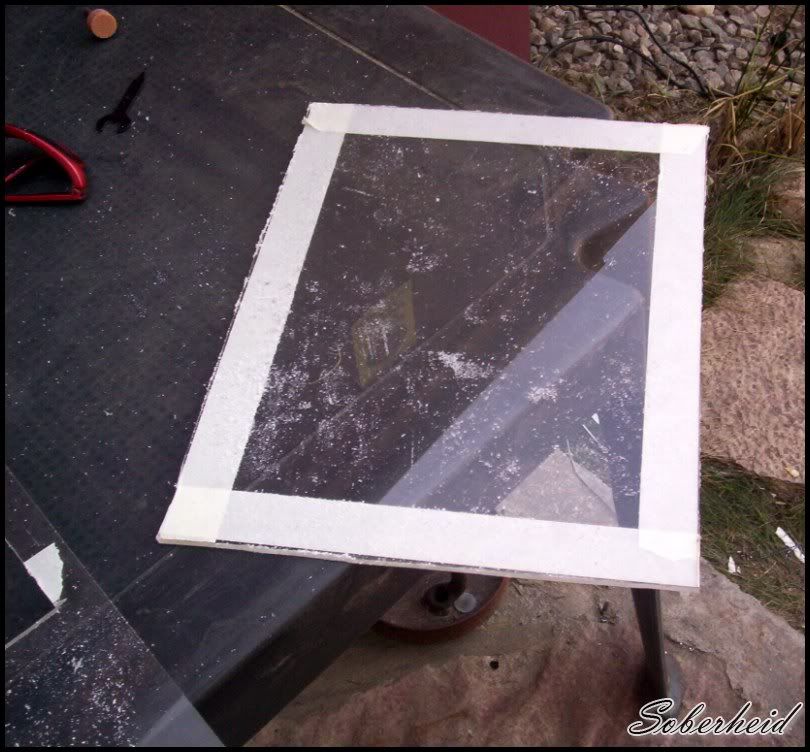
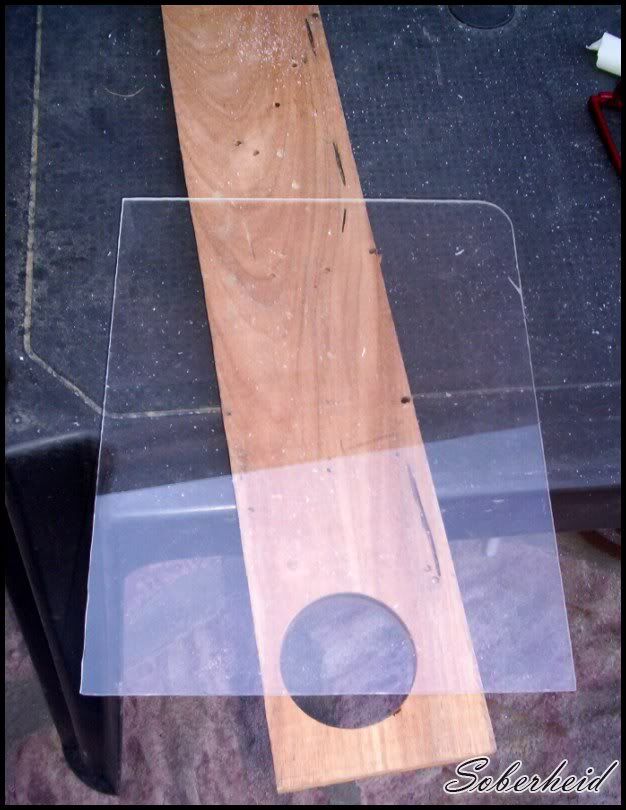
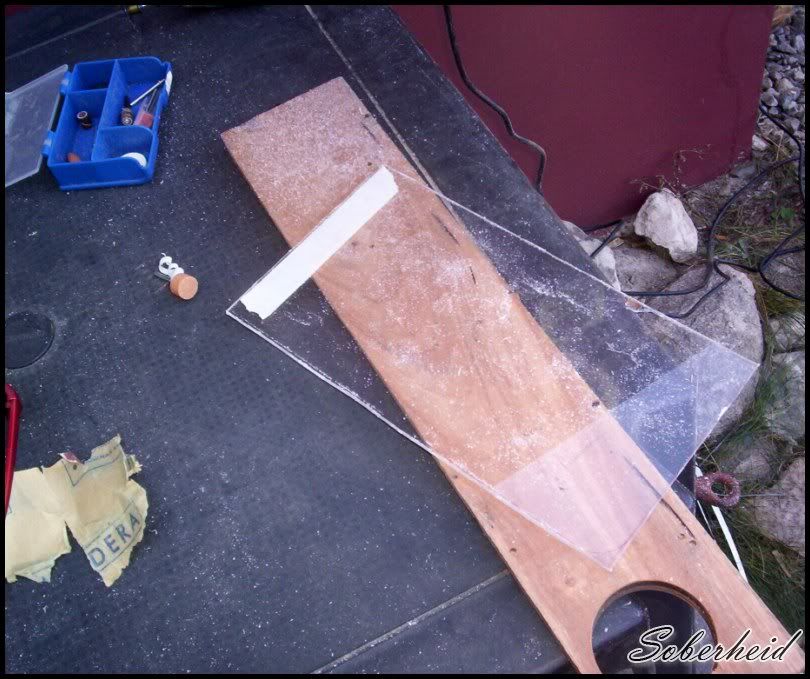
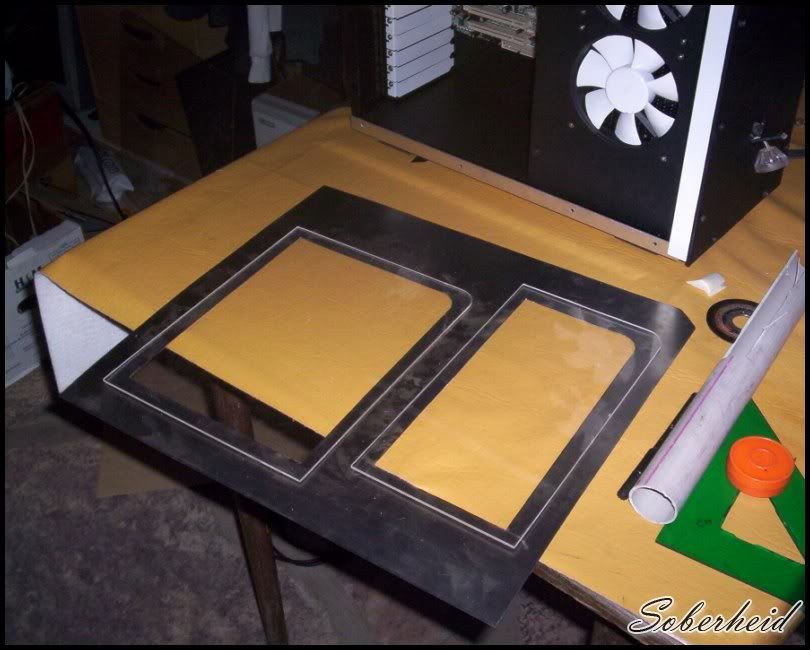
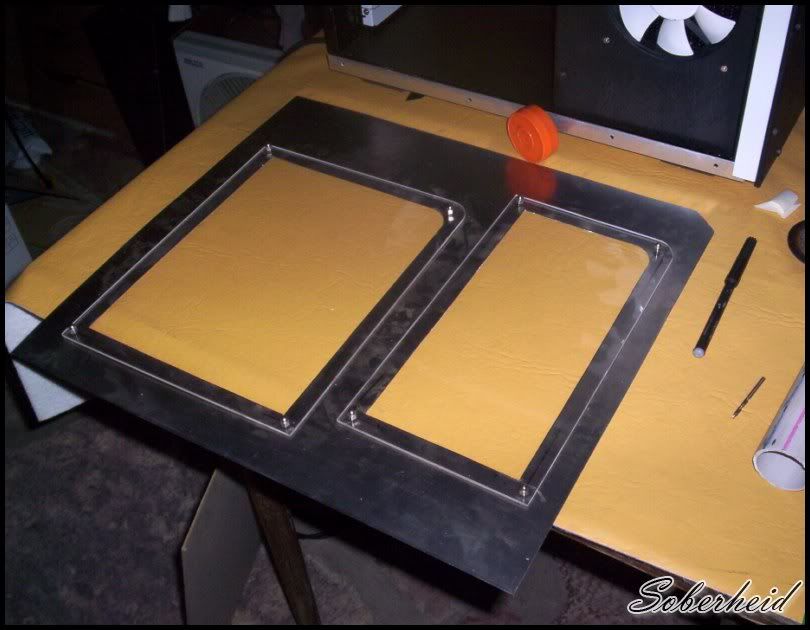
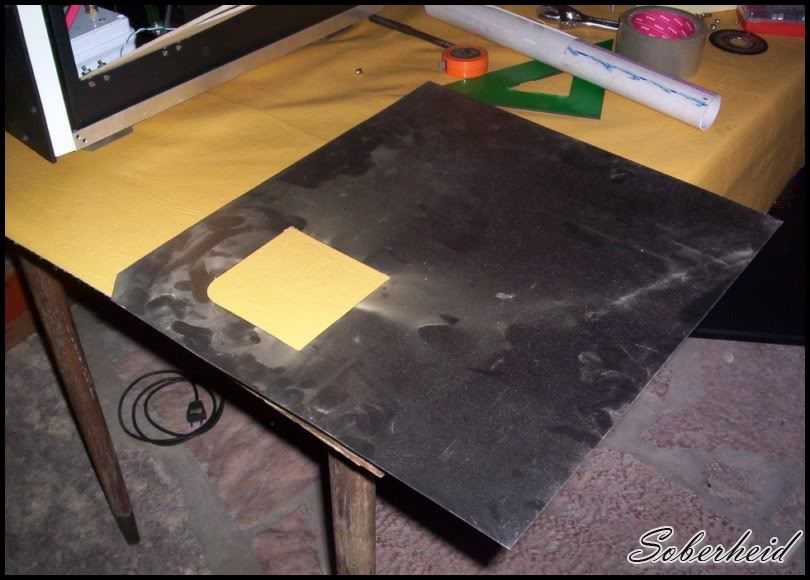
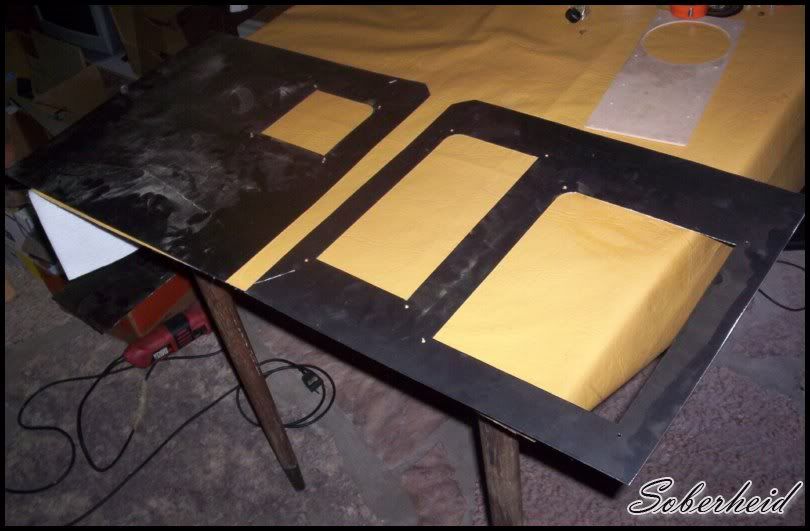
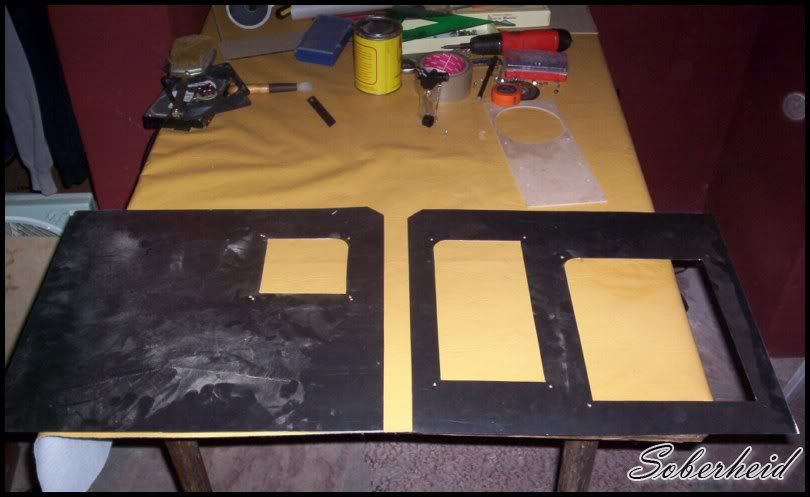
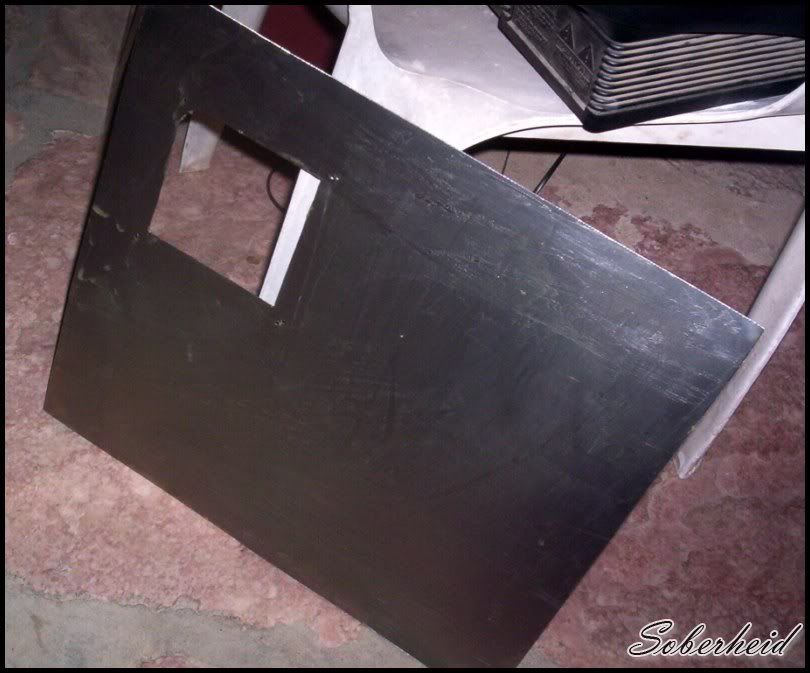
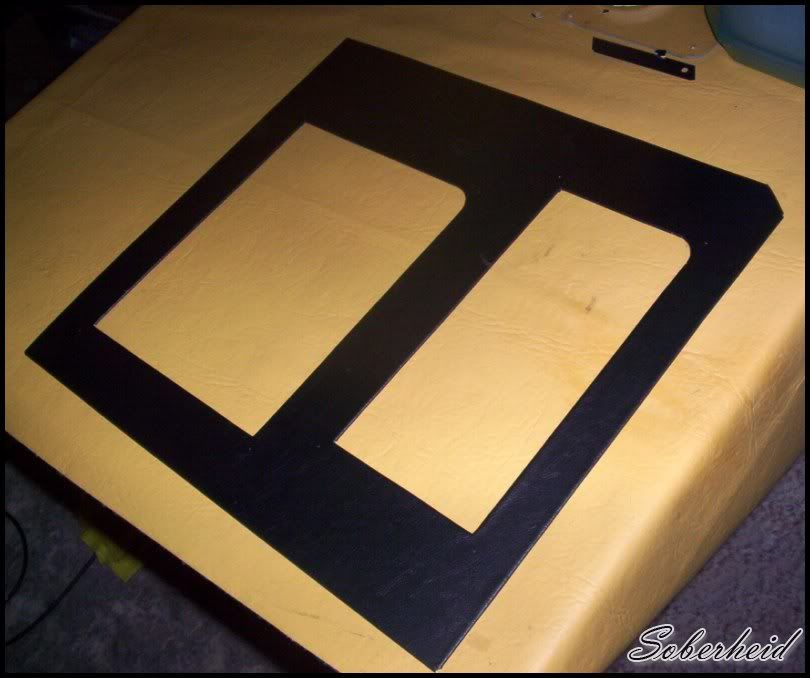
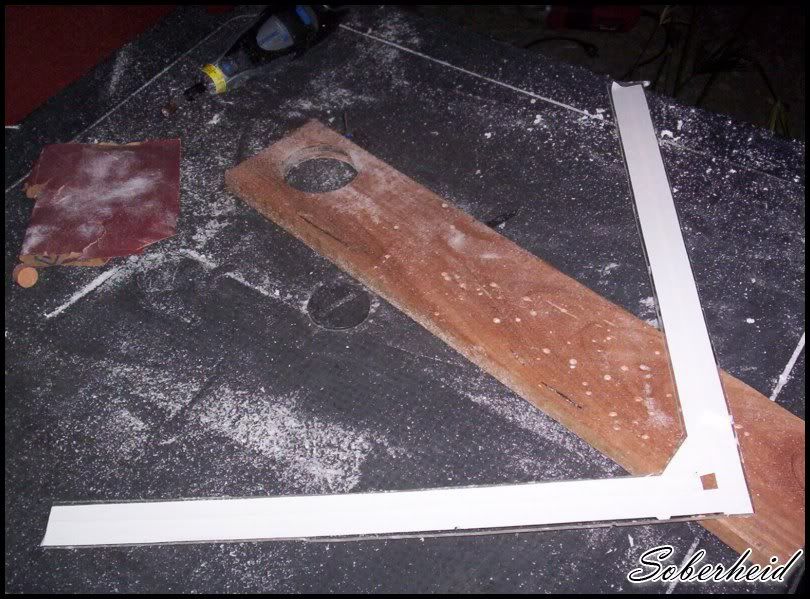
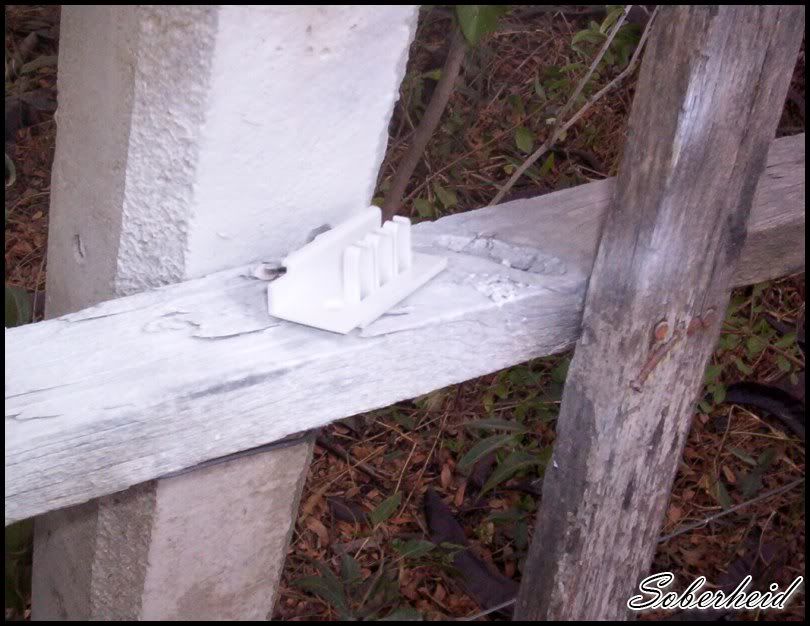
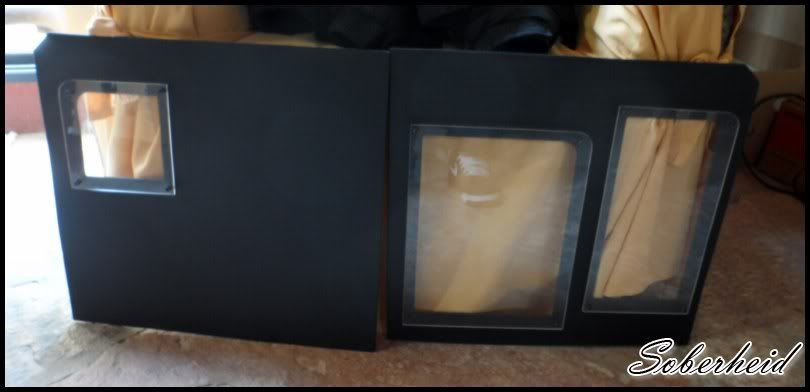
Cutting all woods, holes as well.
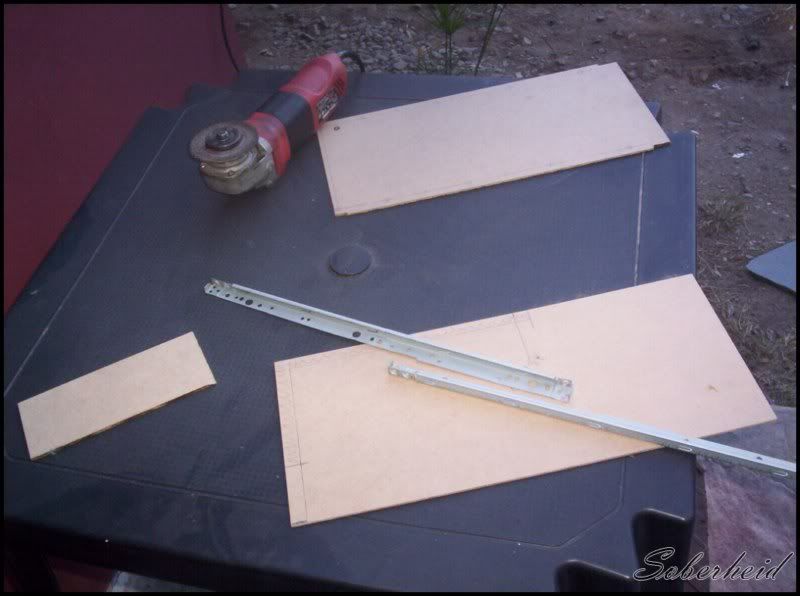
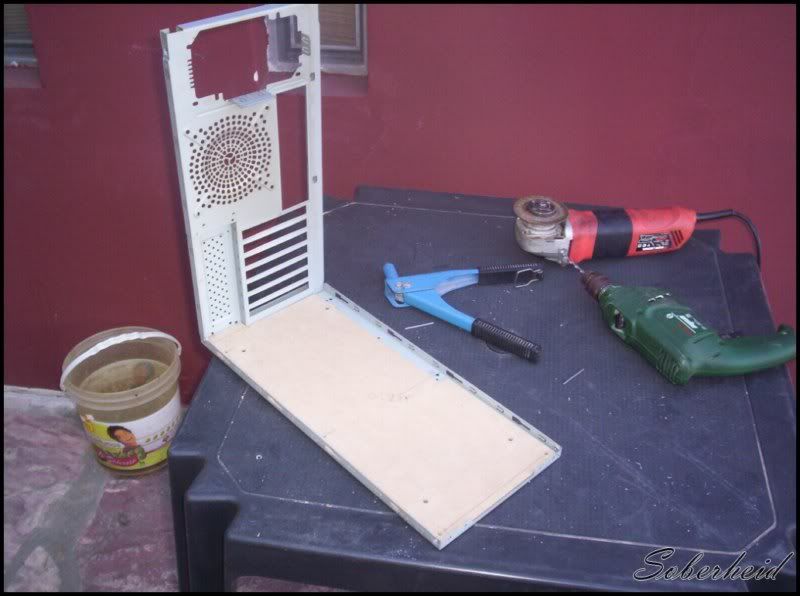
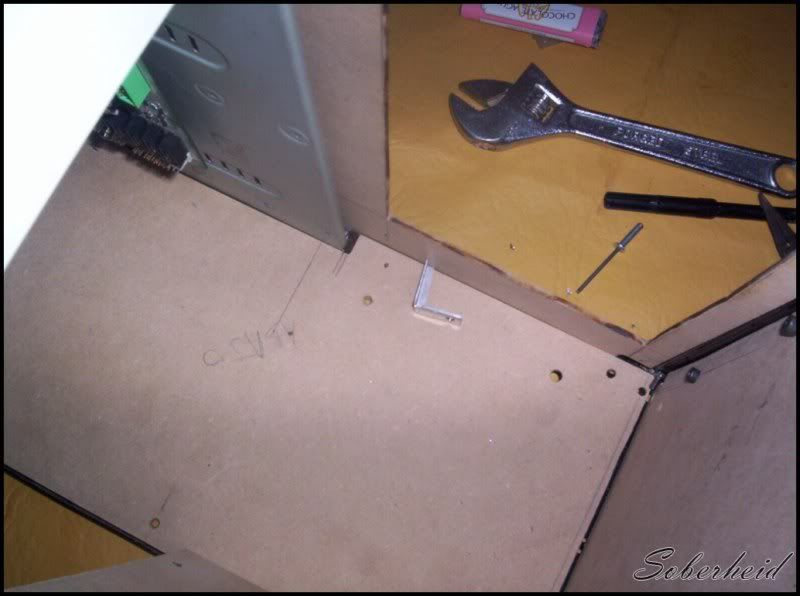
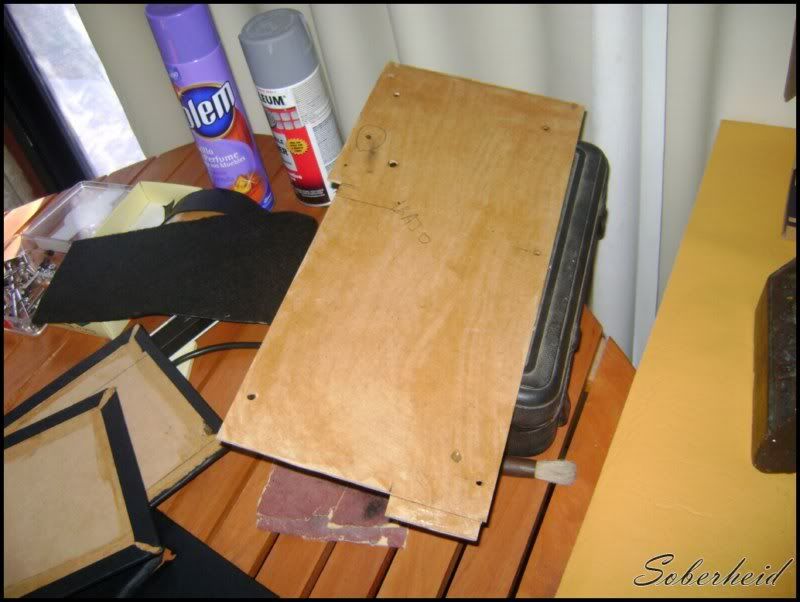
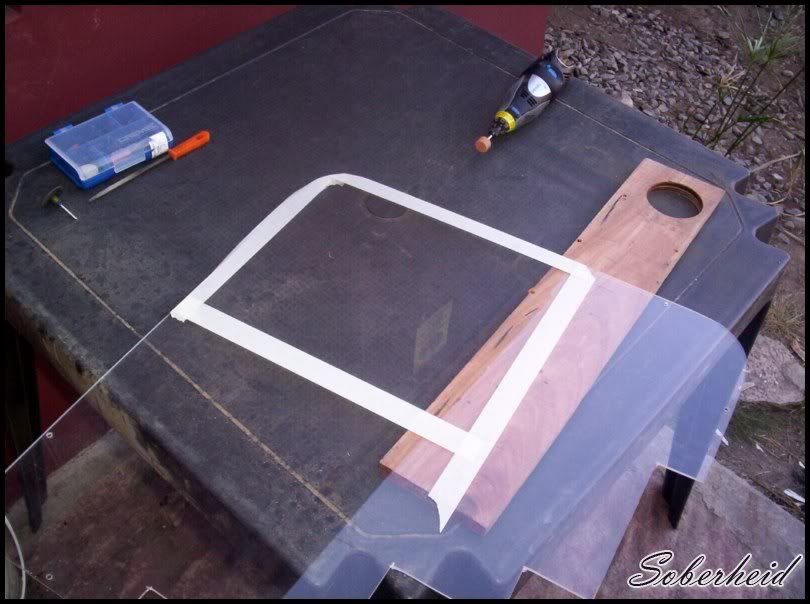
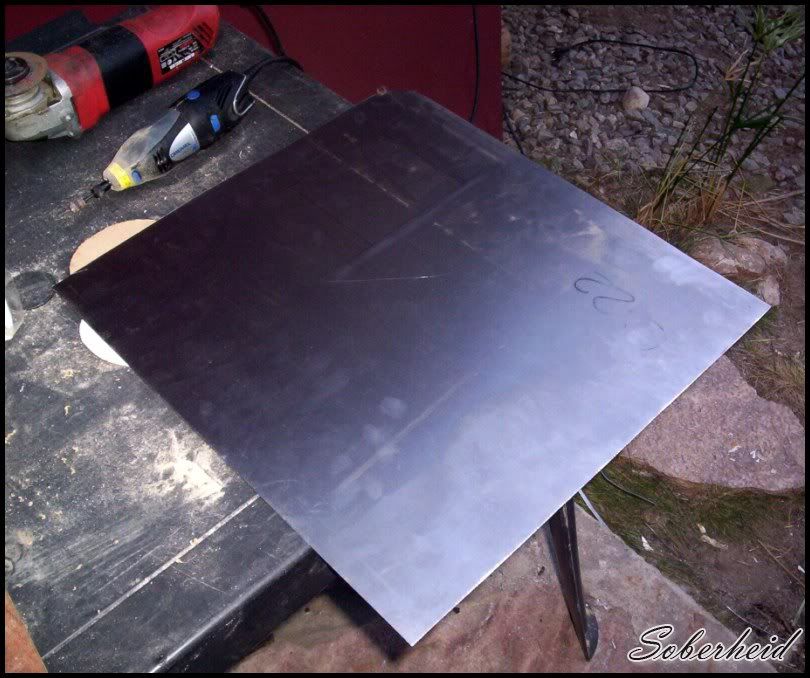
100_84121024x768800x600.jpg

100_84131024x768800x600.jpg

100_84141024x768800x600.jpg

100_84161024x768800x600.jpg

100_84171024x768800x600.jpg

100_84181024x768800x600.jpg

100_84191024x768800x600.jpg

100_84201024x768800x600.jpg

100_84231024x768800x600.jpg

100_84291024x768800x600.jpg

100_84301024x768800x600.jpg

100_84311024x768800x600.jpg

100_84321024x768800x600.jpg

100_84331024x768800x600.jpg

The work table ahah
100_84211024x768800x600.jpg

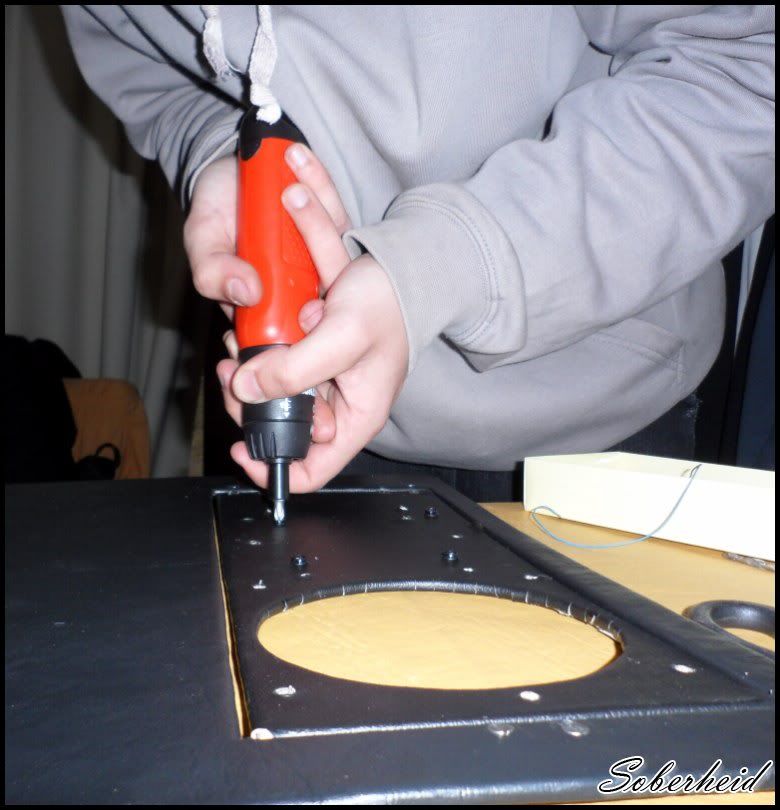
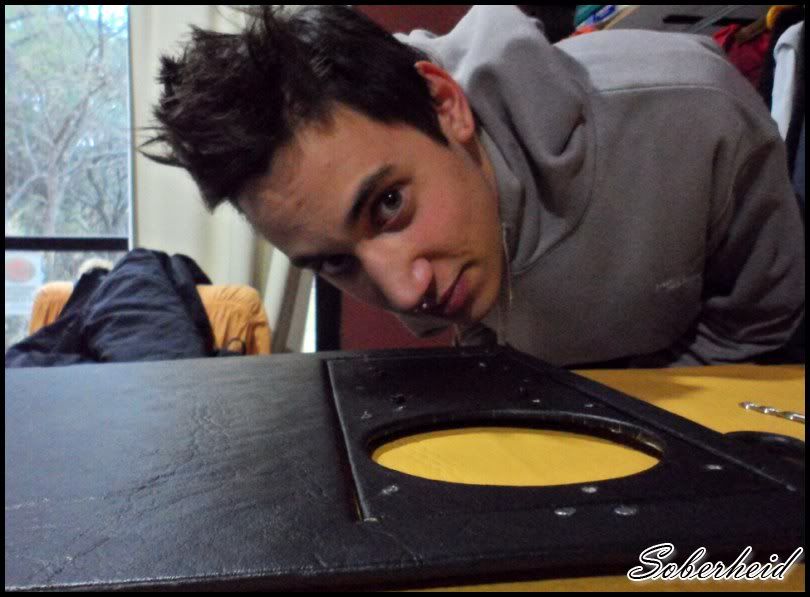
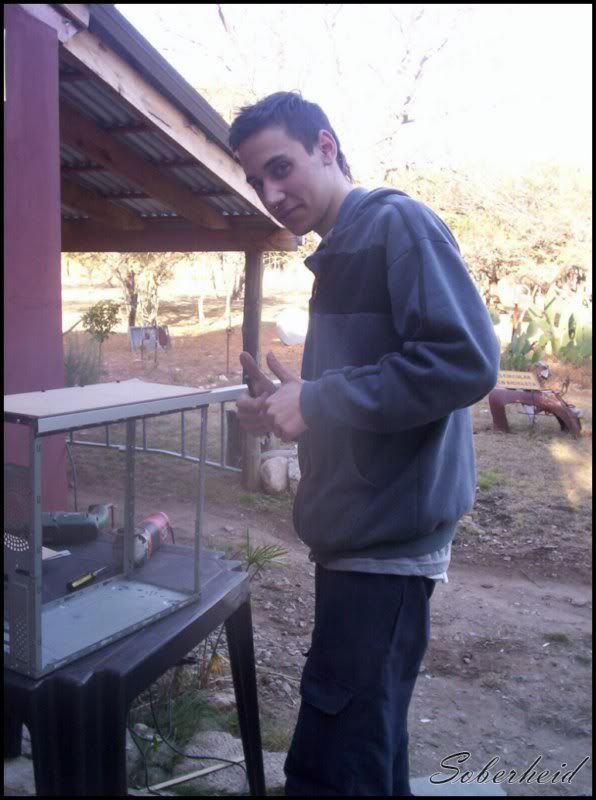
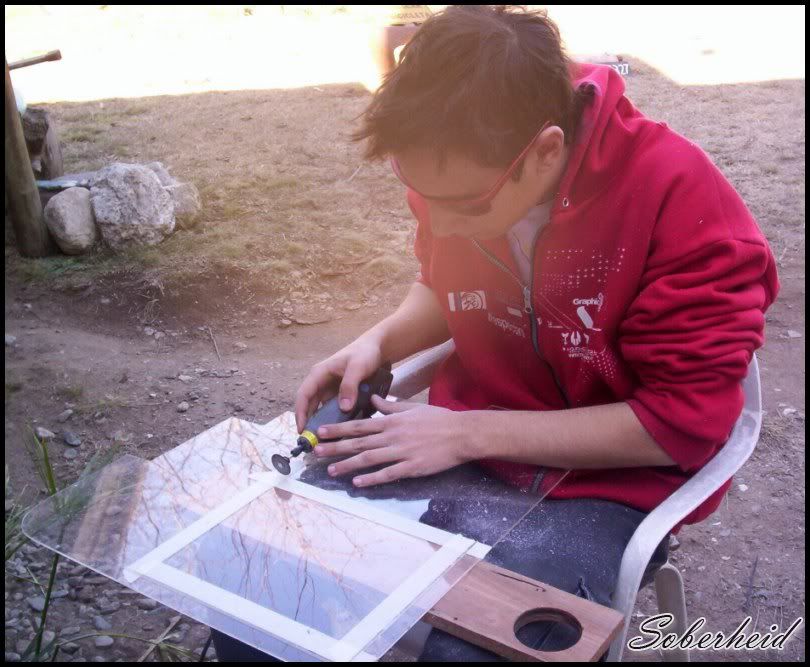
The superstar modder (¿?)
100_84271024x768800x600.jpg

100_84241024x768800x600.jpg

100_84351024x768800x600.jpg

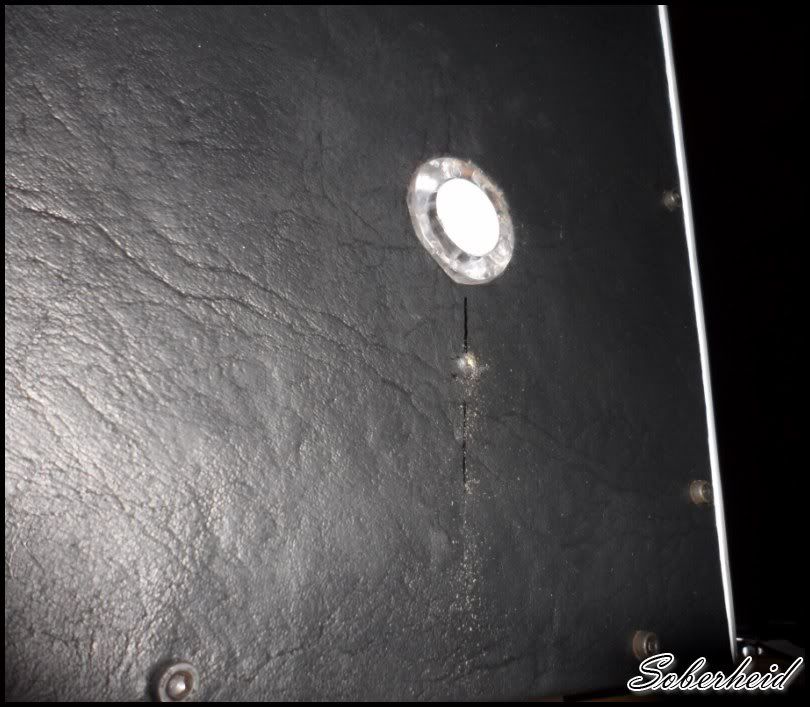
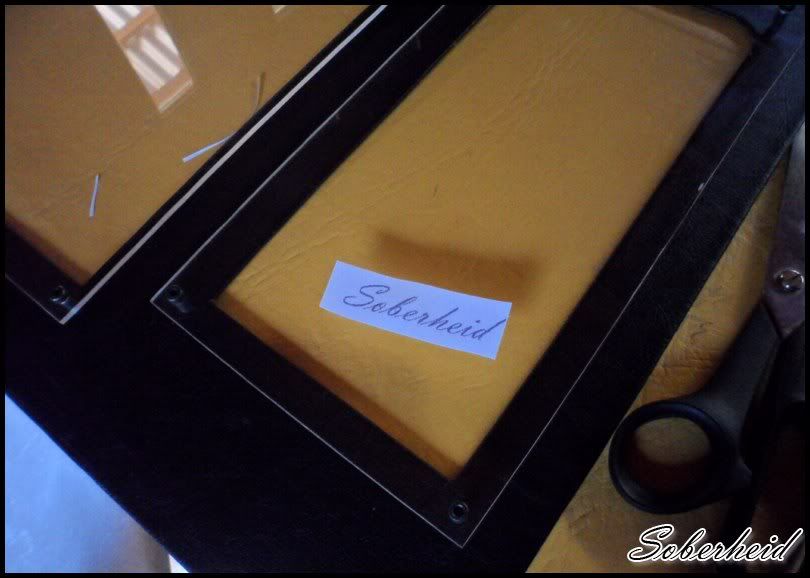
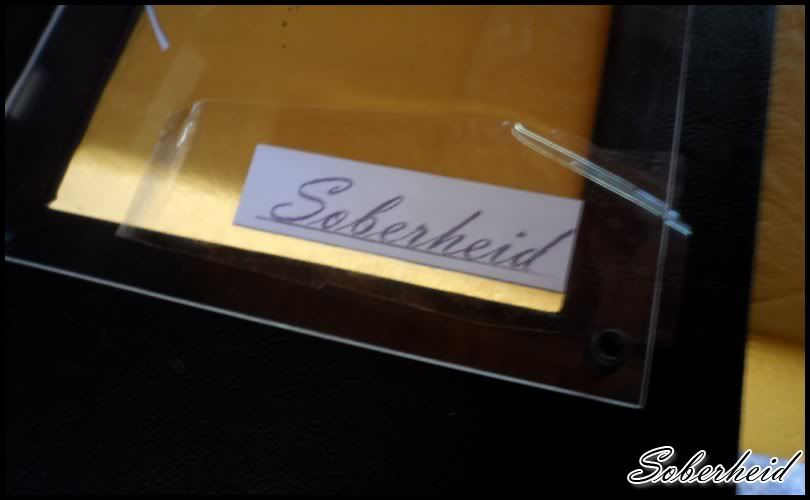
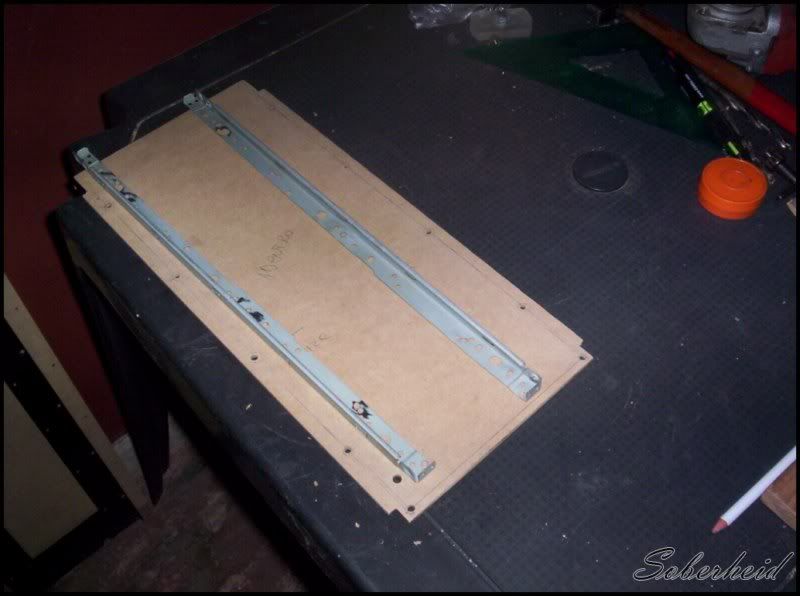
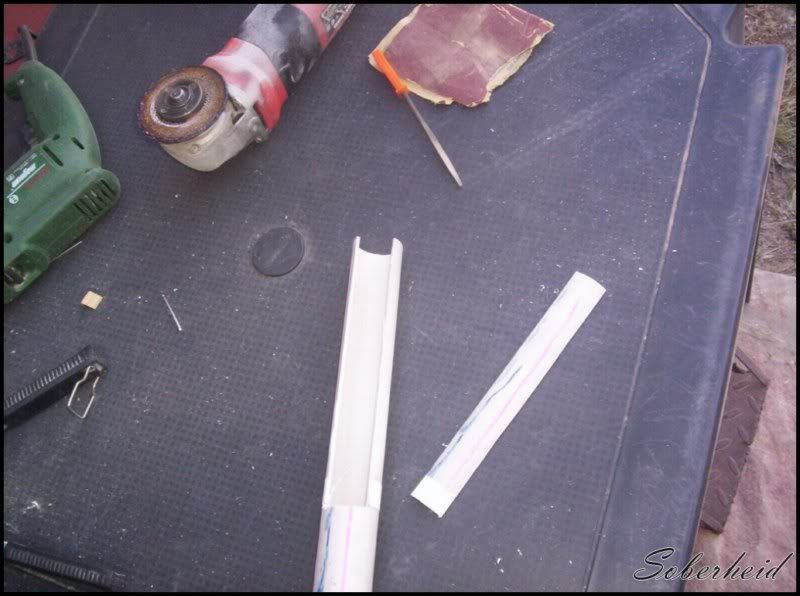
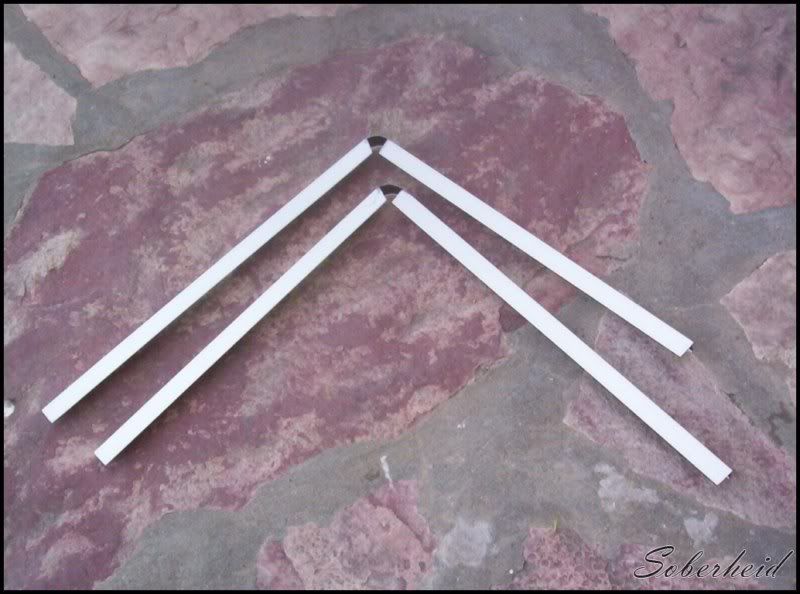
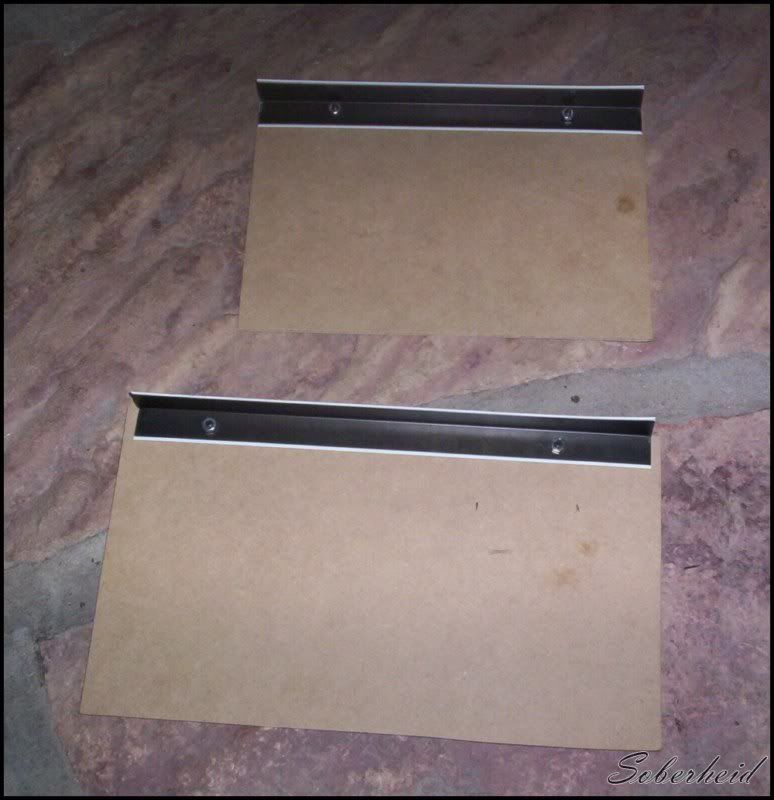
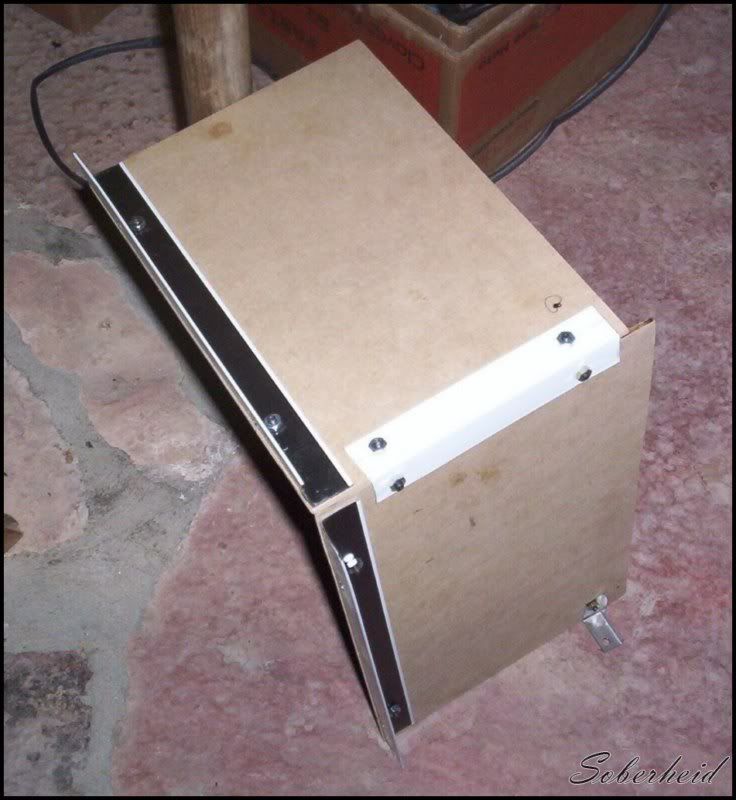
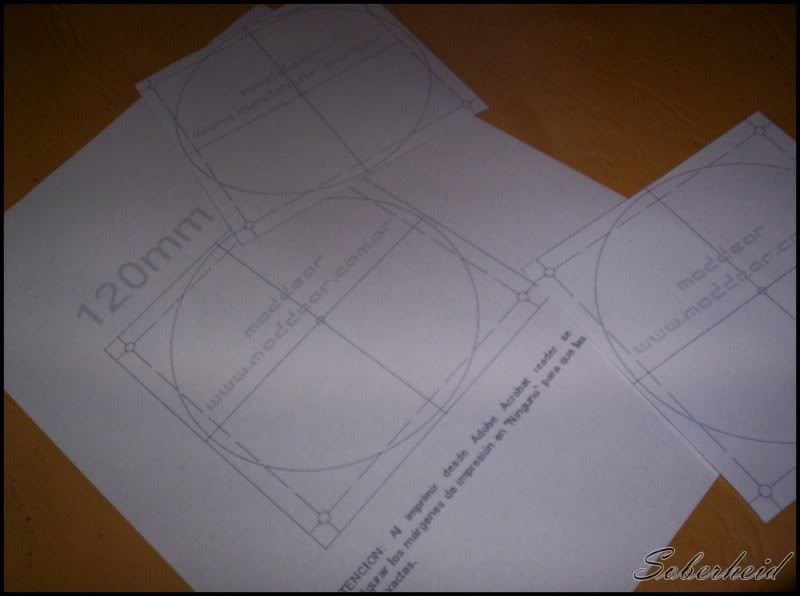
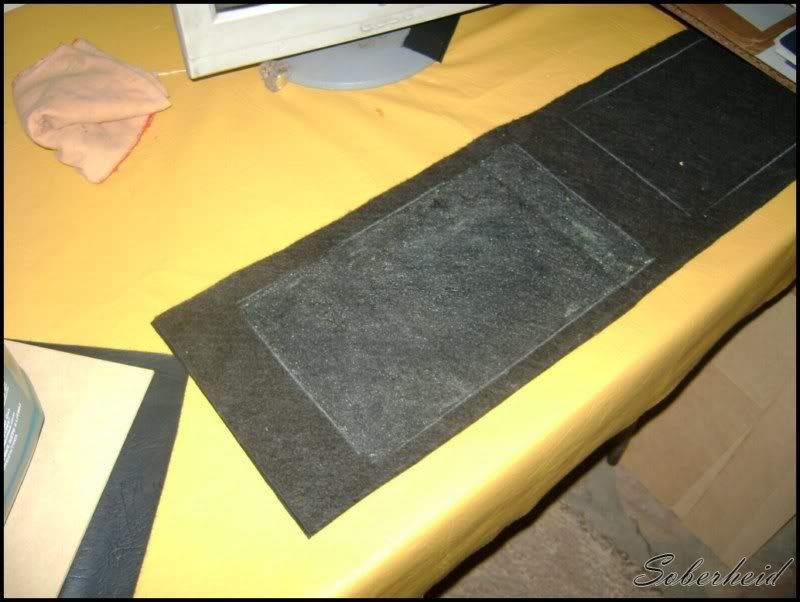
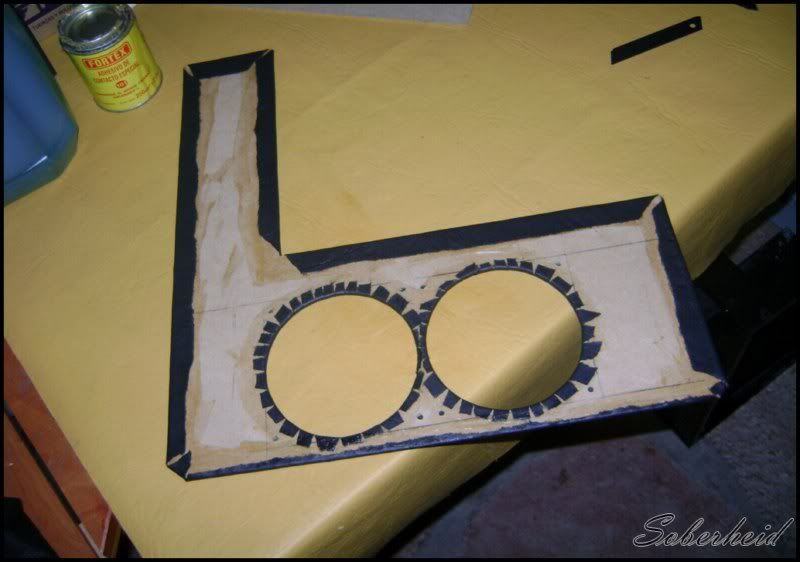
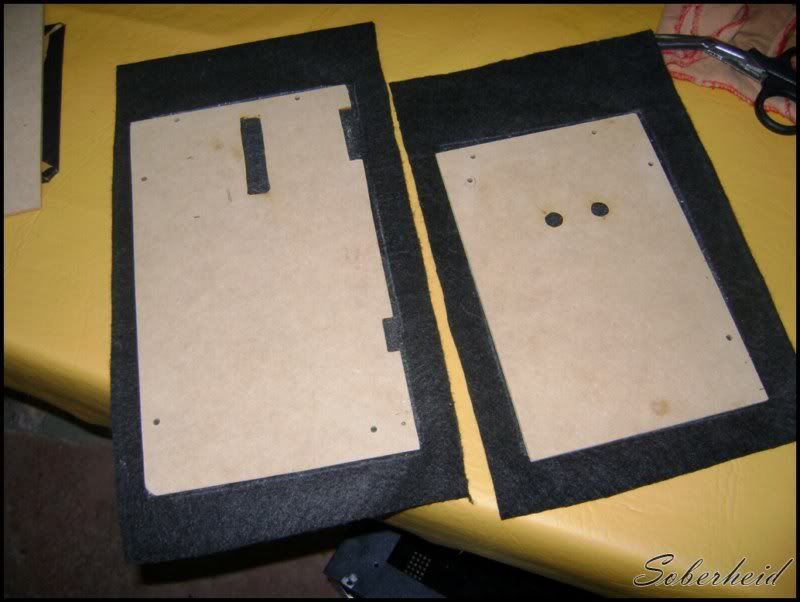
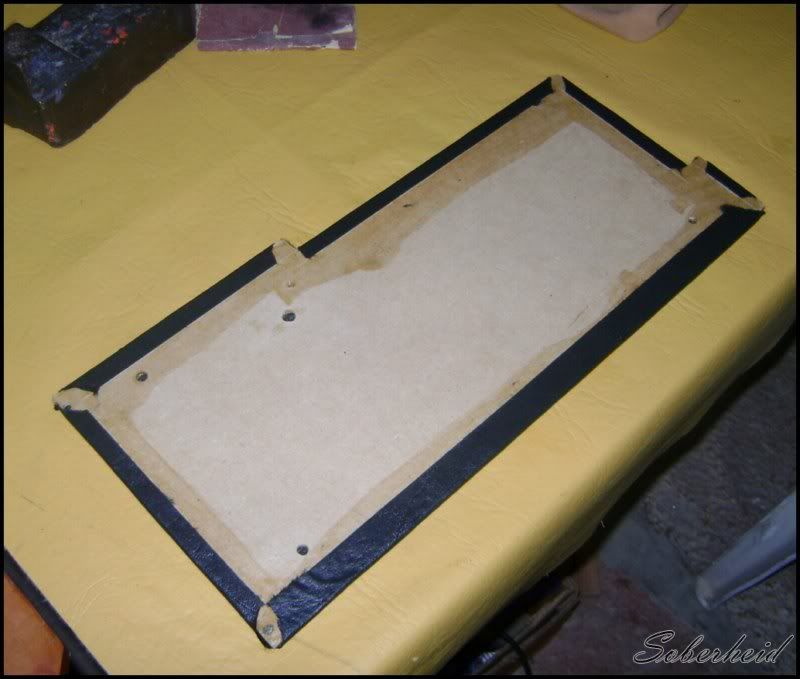
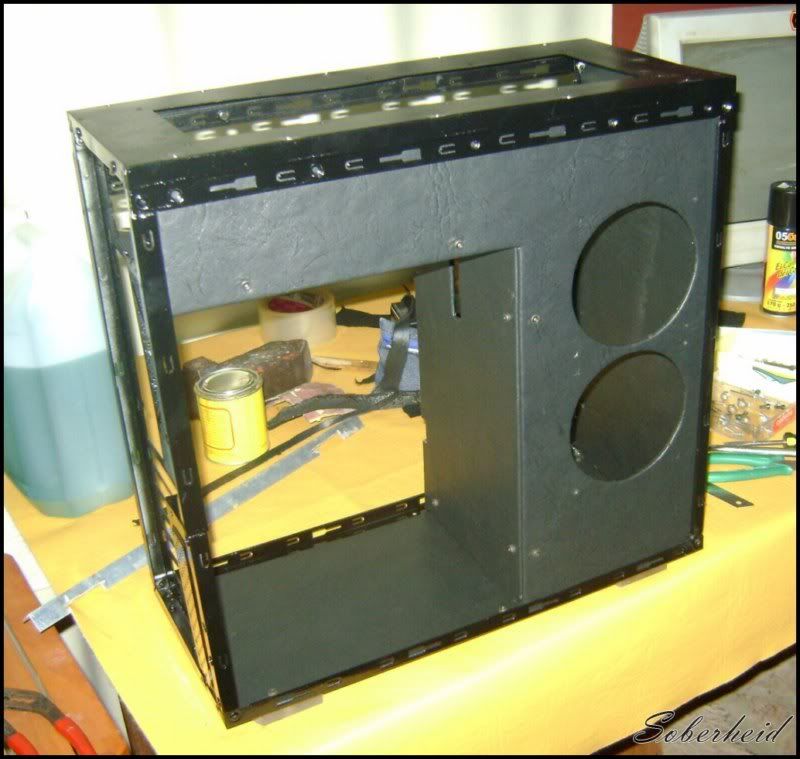
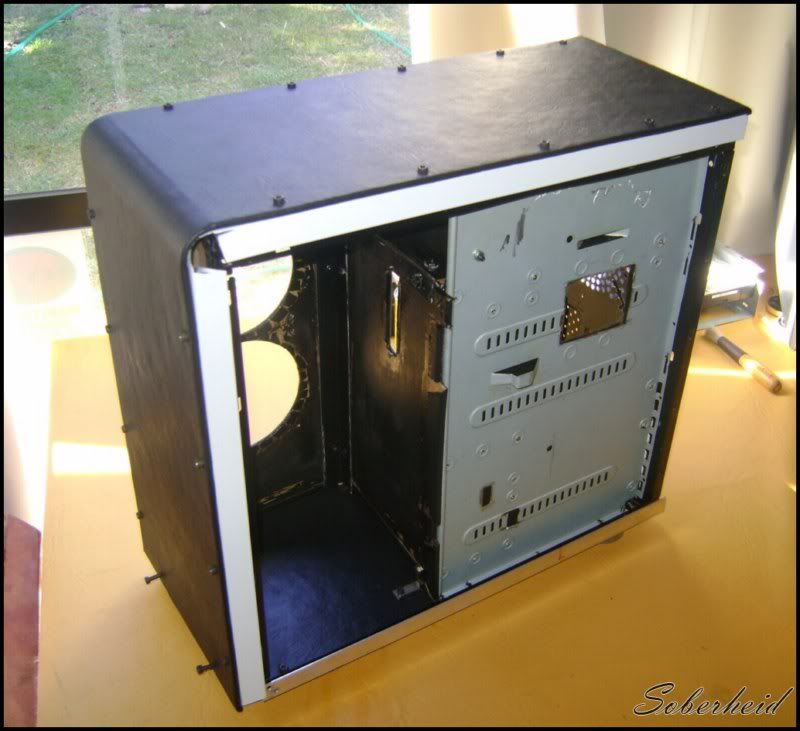
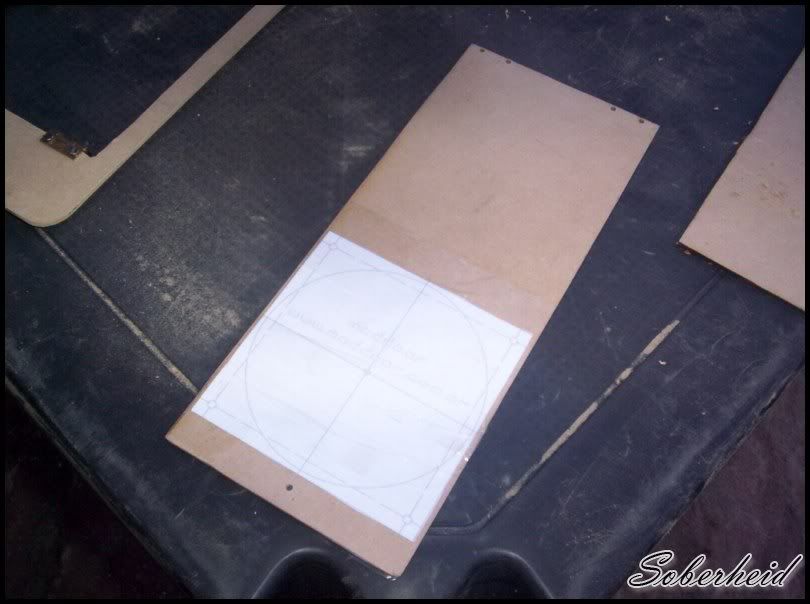
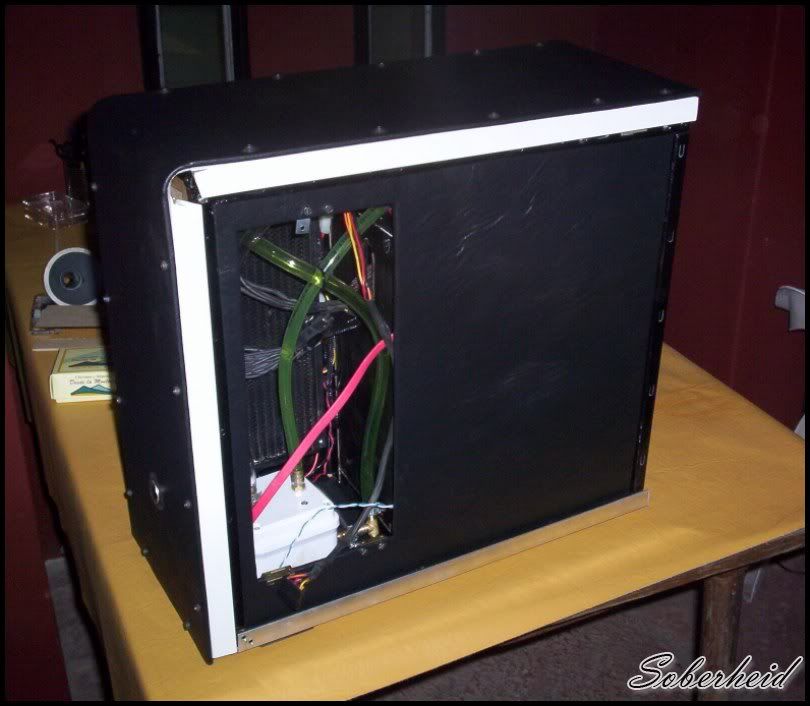
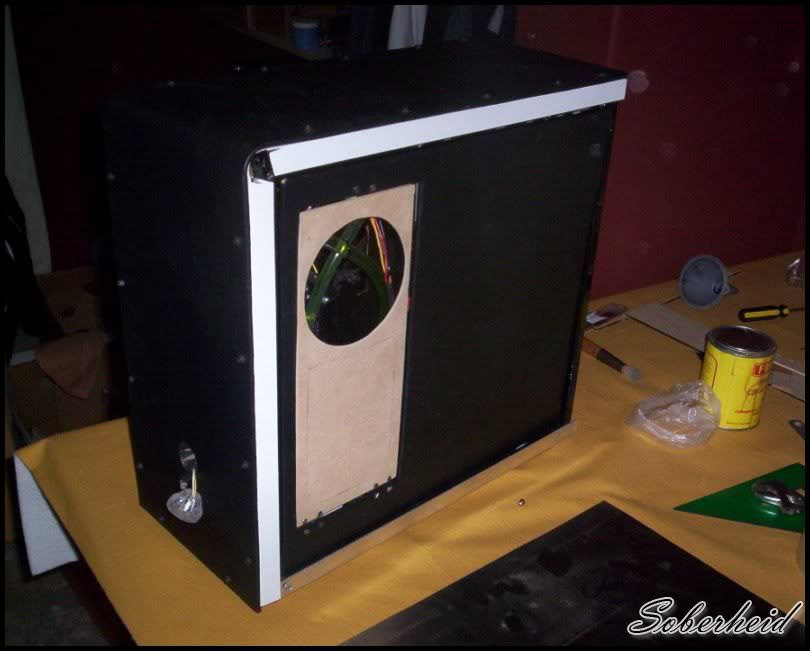
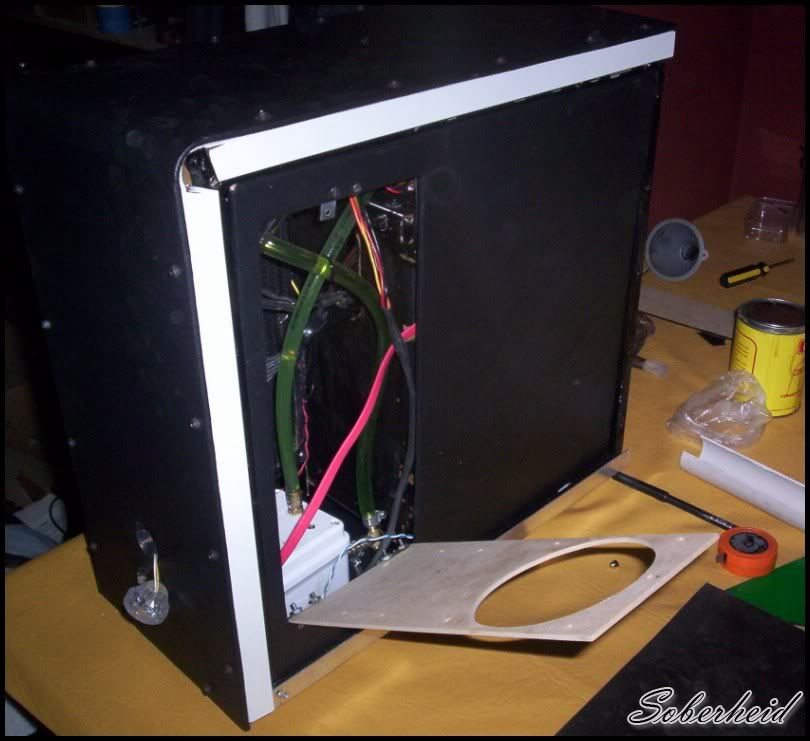
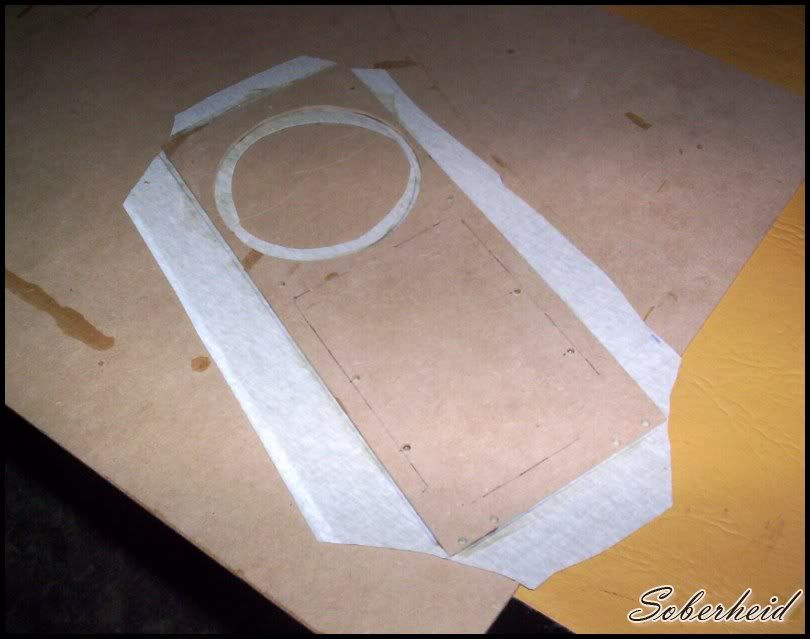
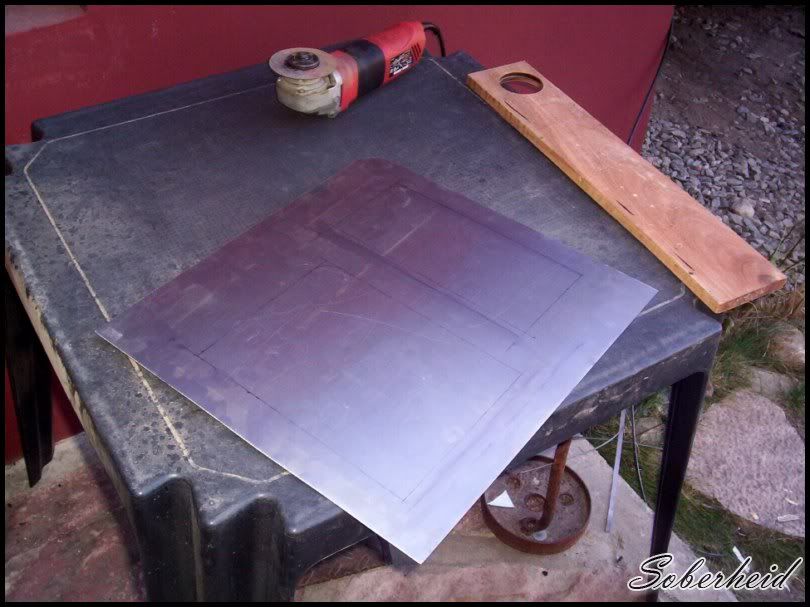
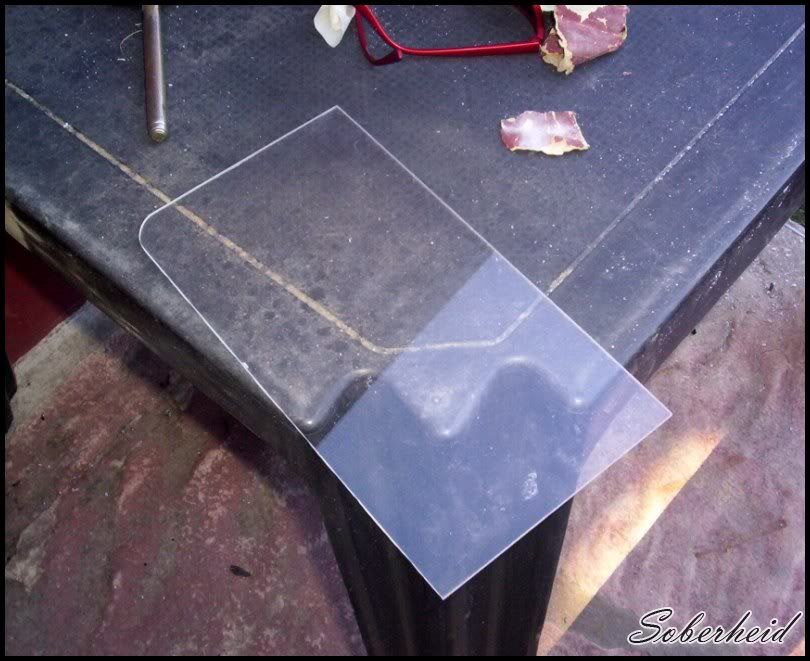
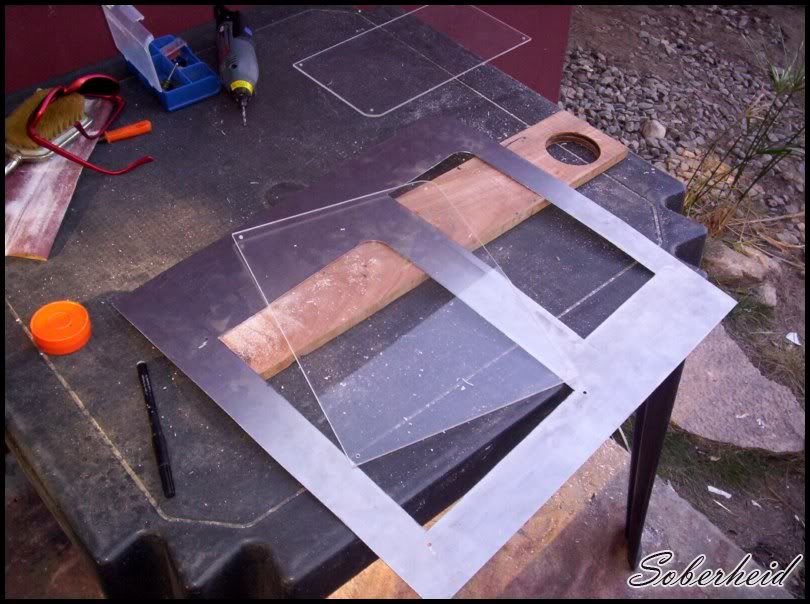
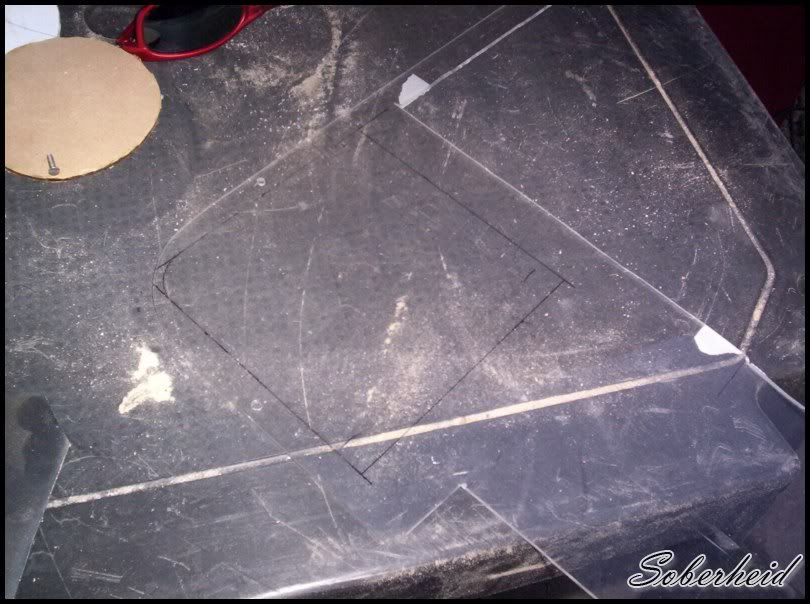
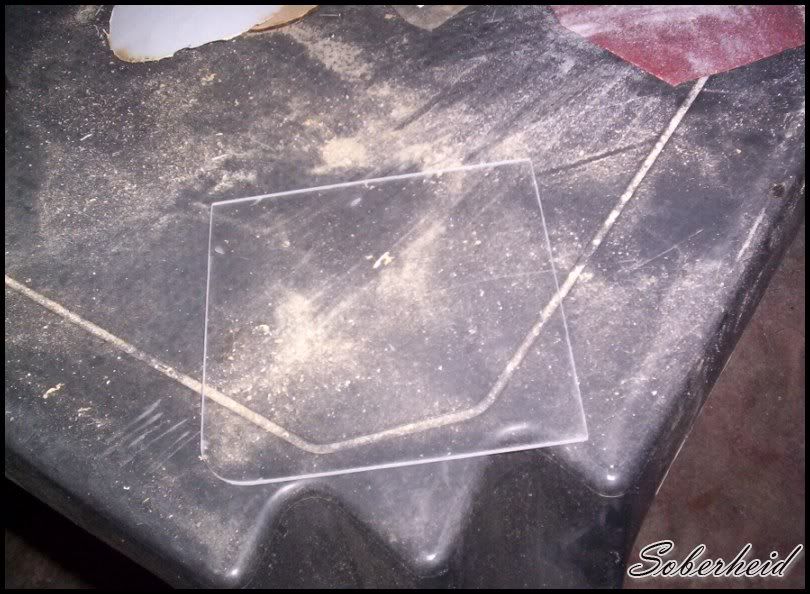
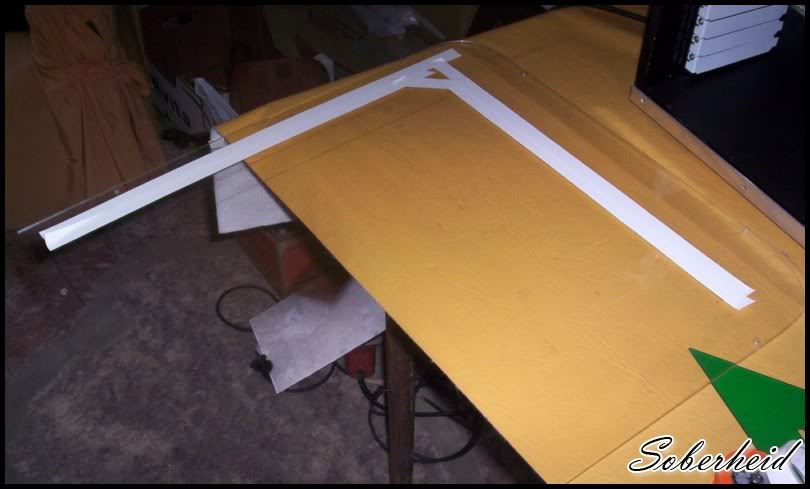
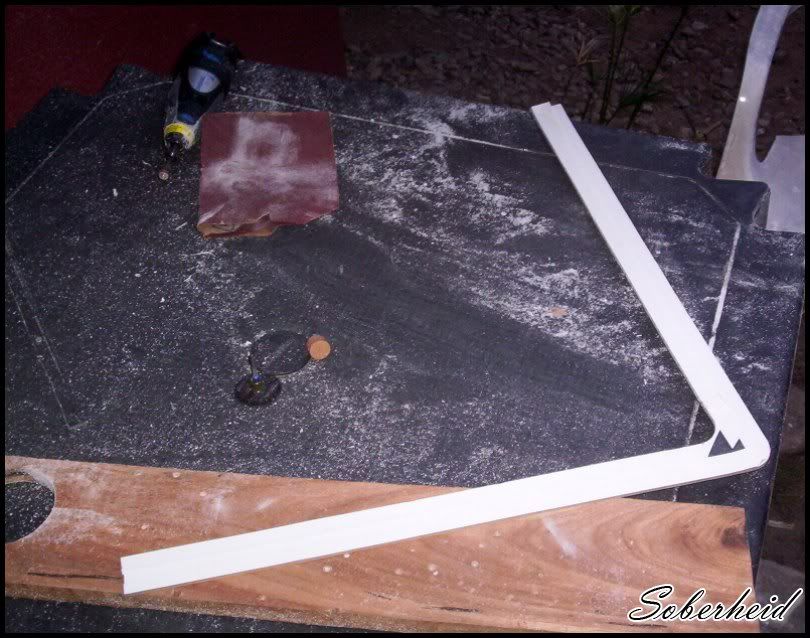
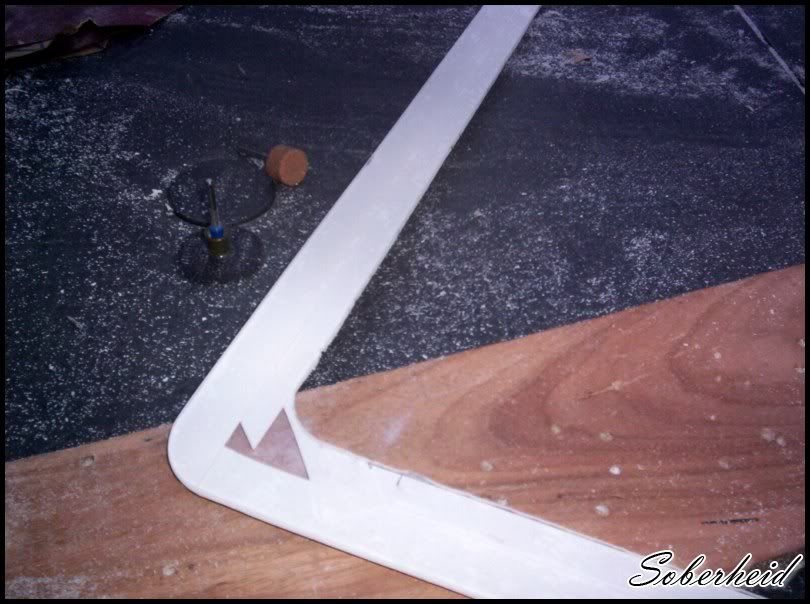
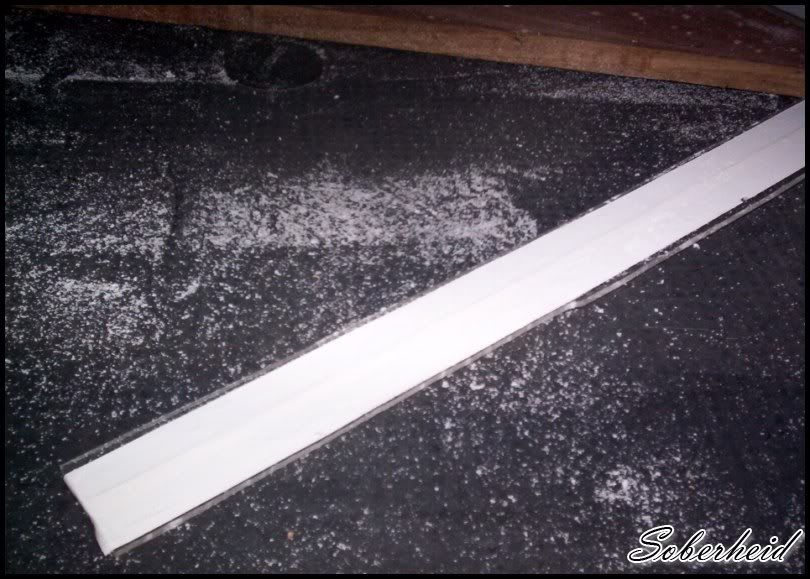
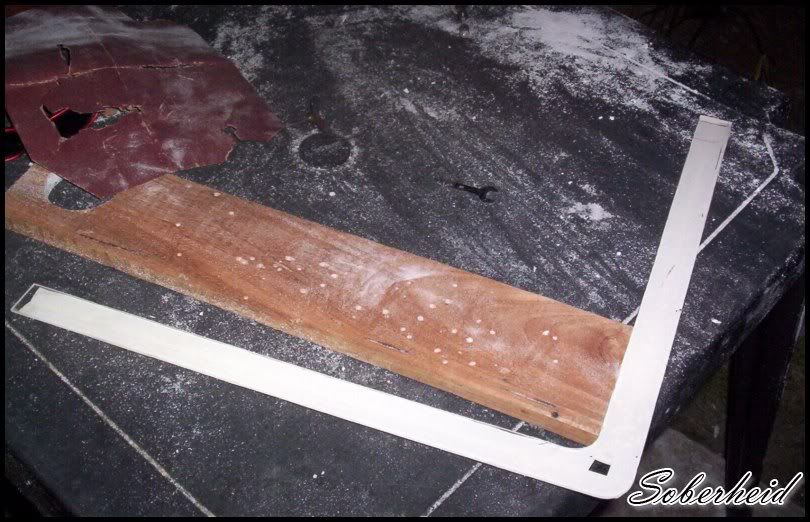
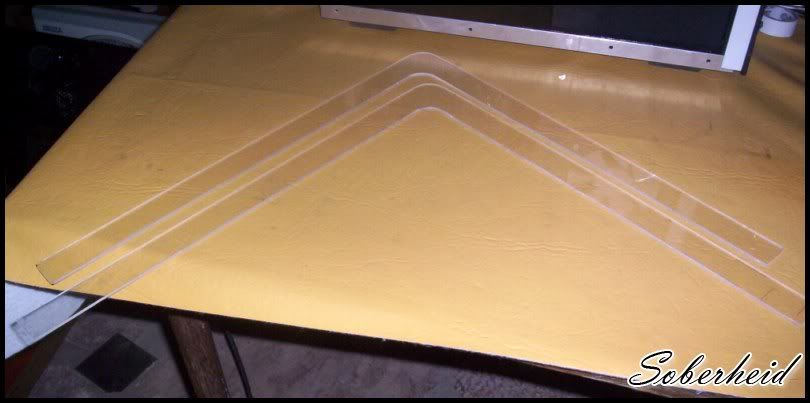
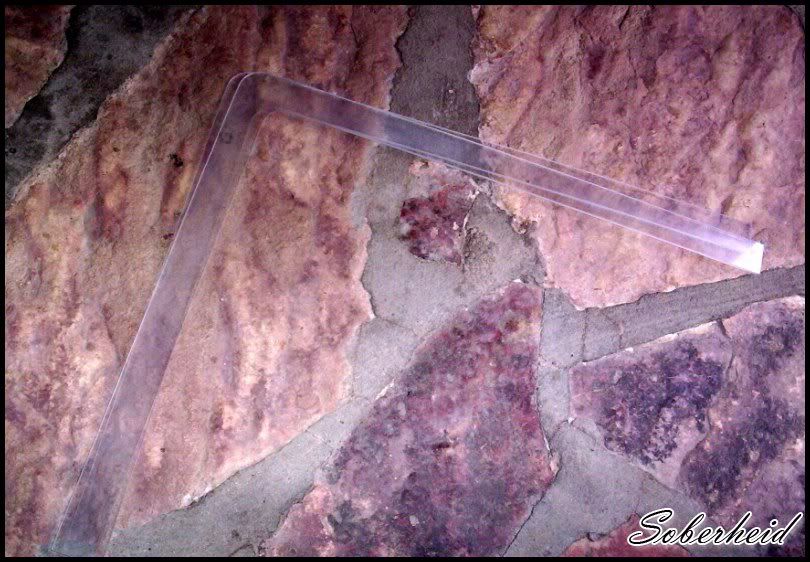
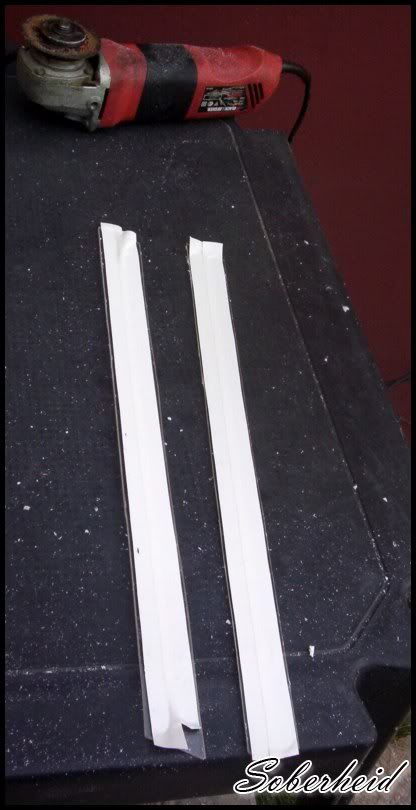
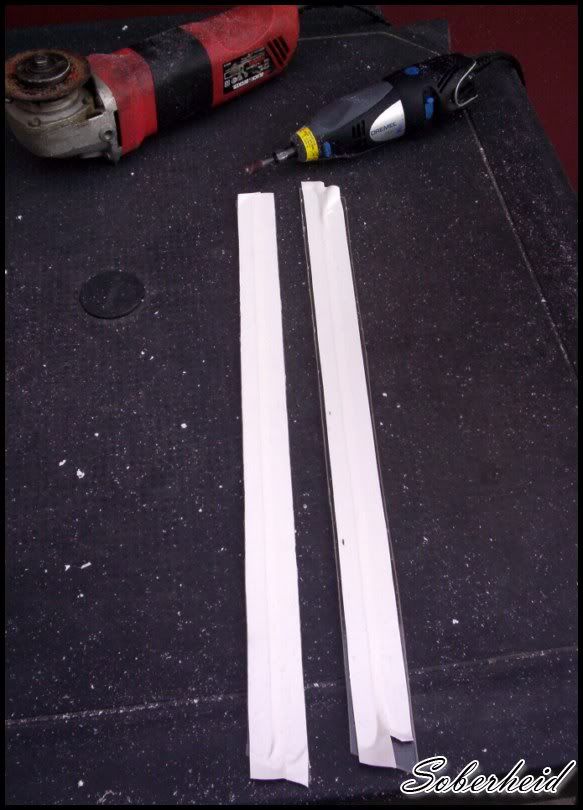
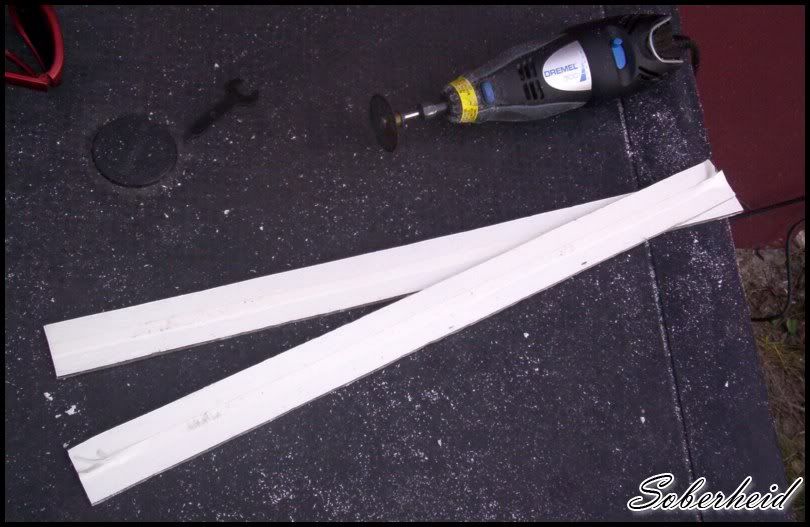
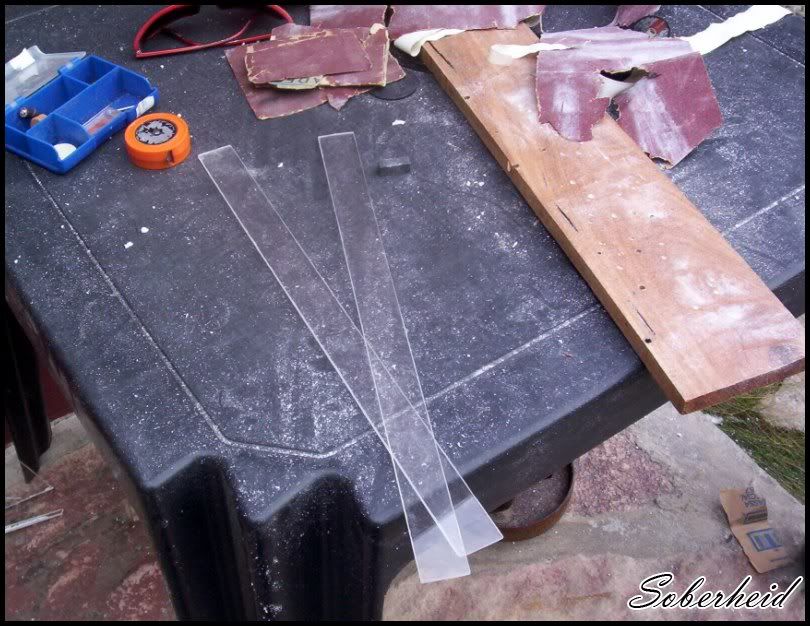
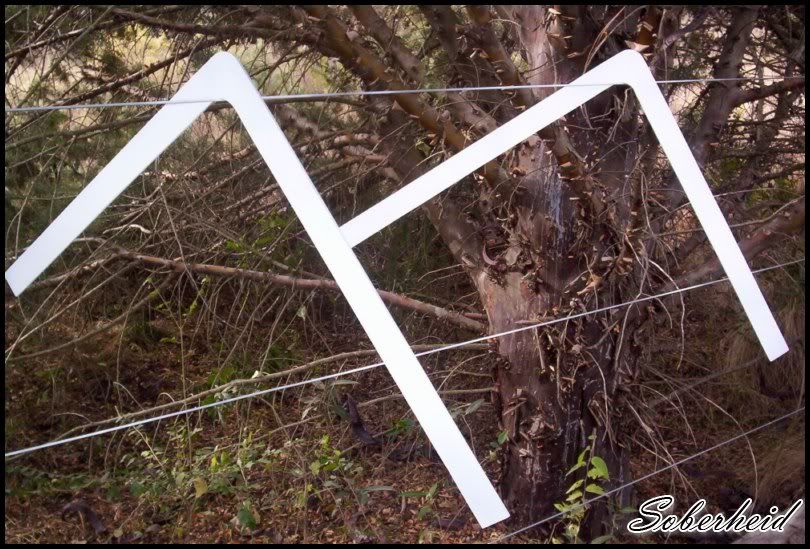
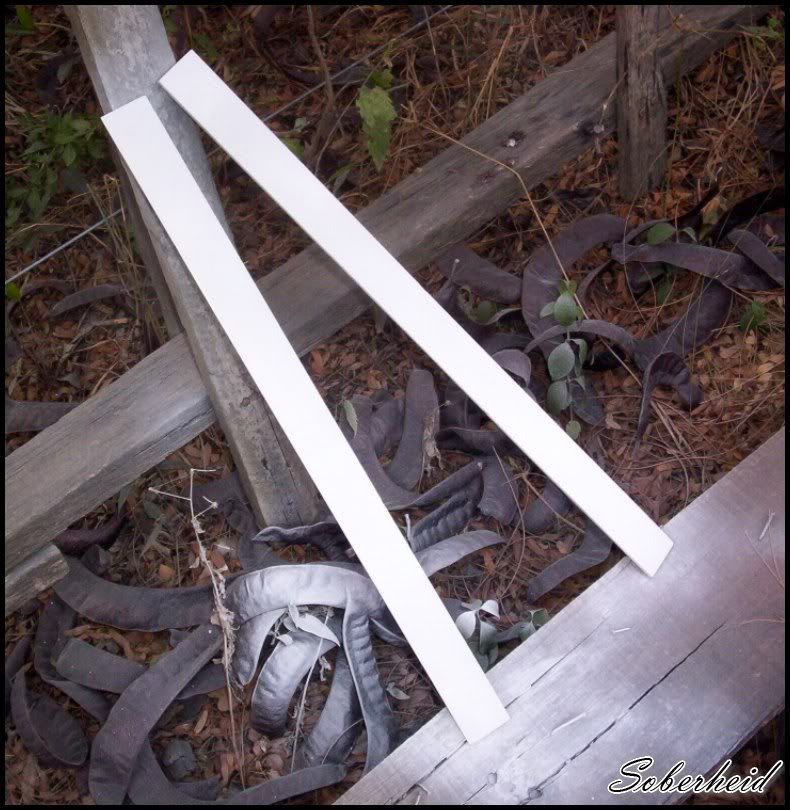
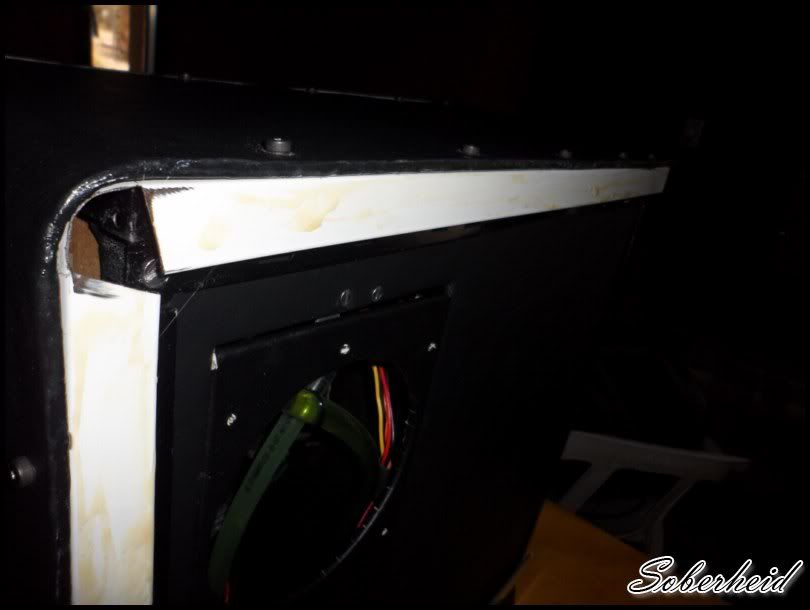
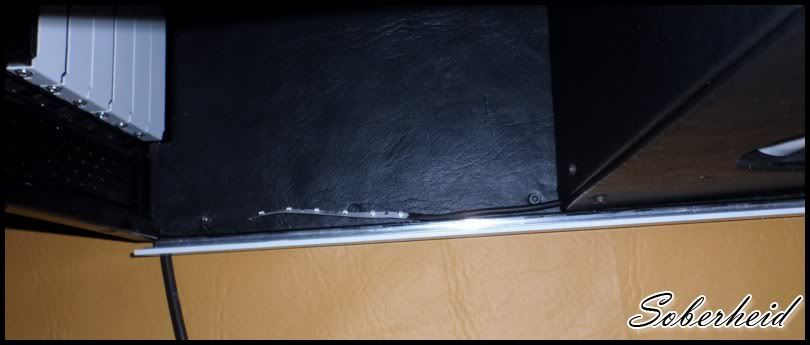
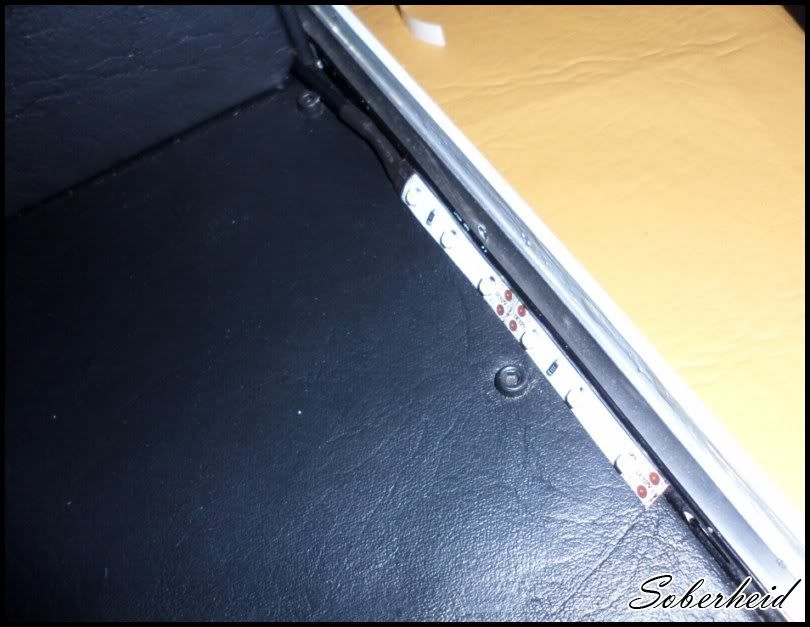
Guidelines for the sides
100_84361024x768800x600.jpg

100_84371024x768800x600.jpg

100_84381024x768800x600.jpg

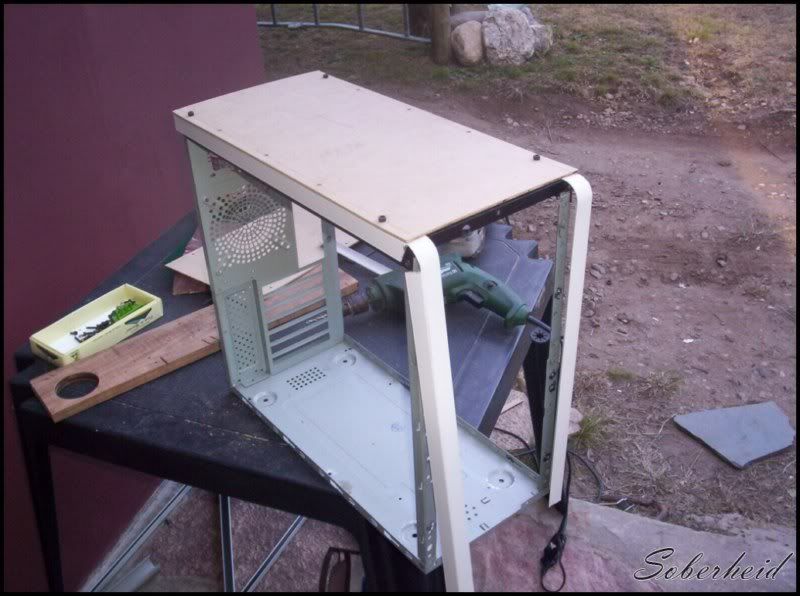
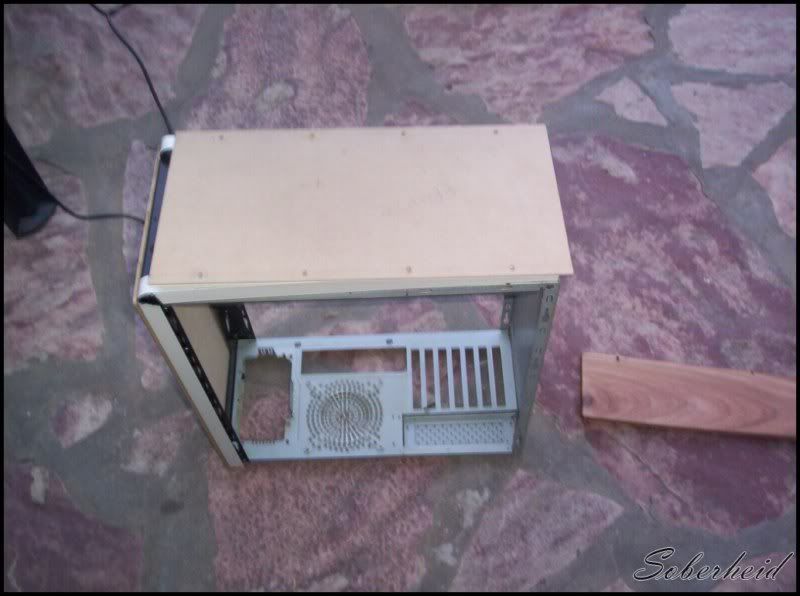
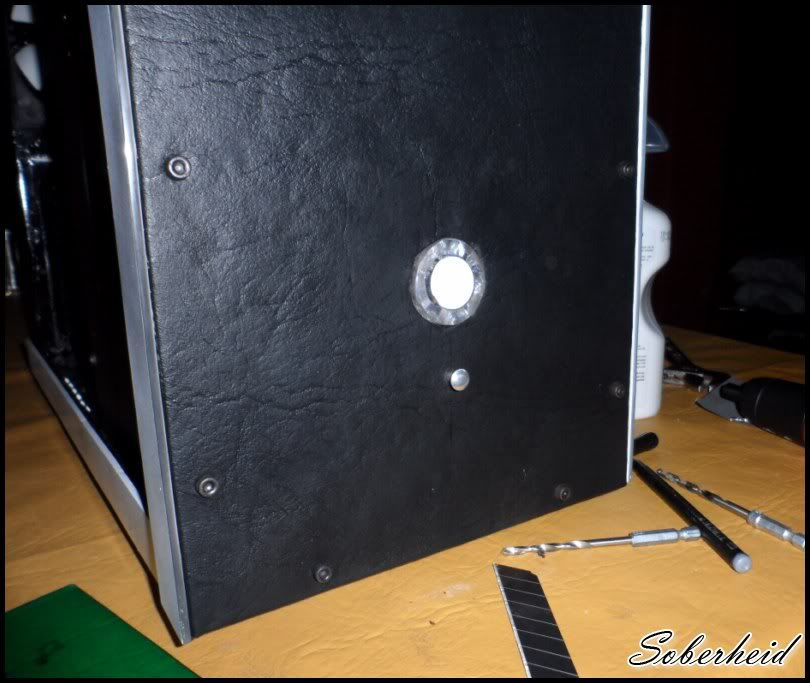
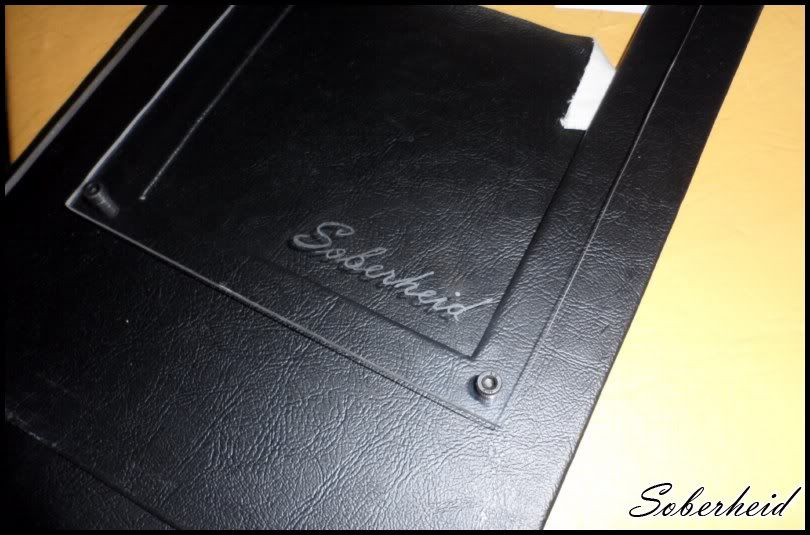
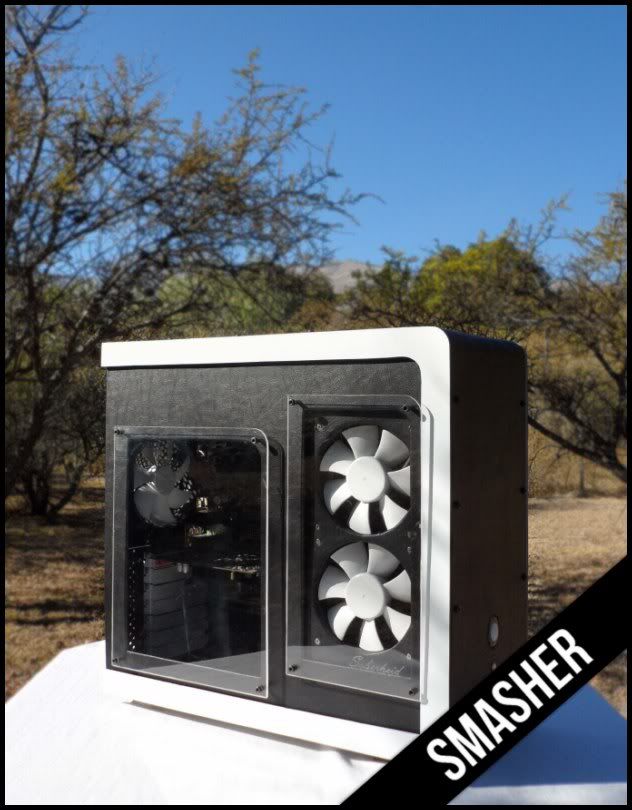
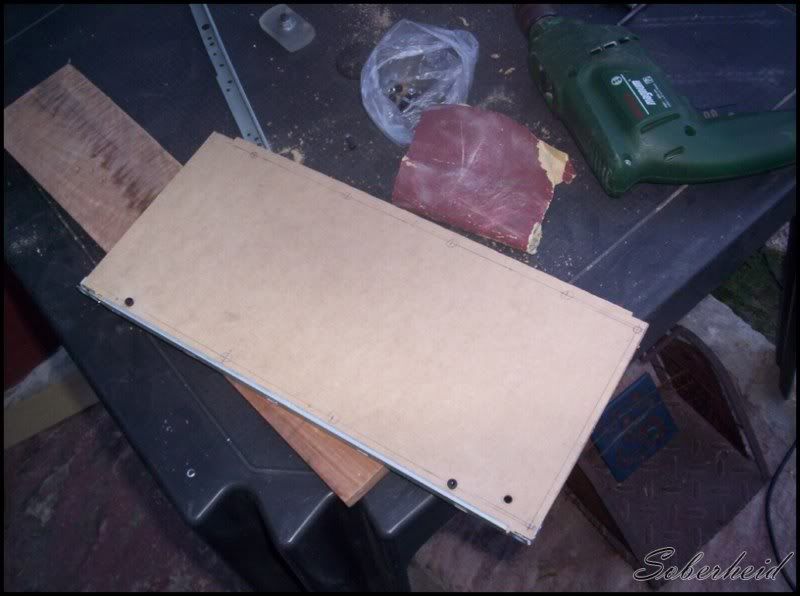
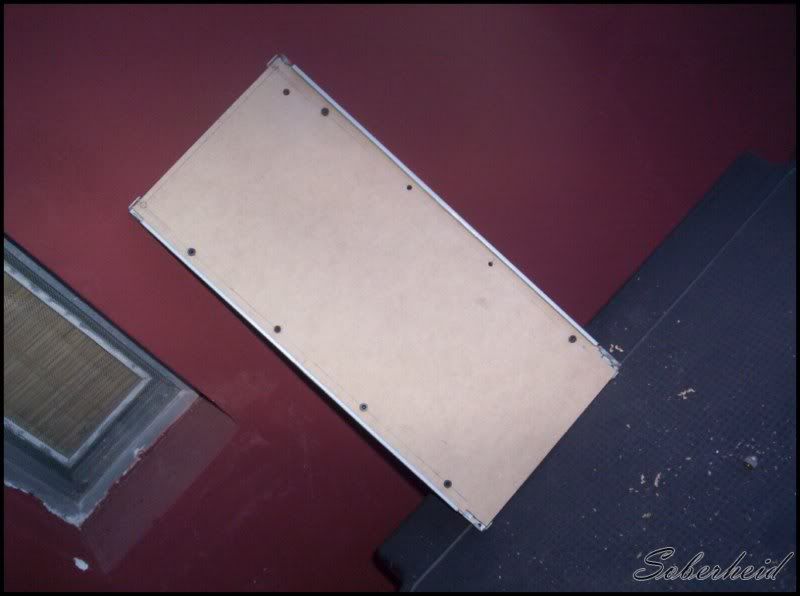
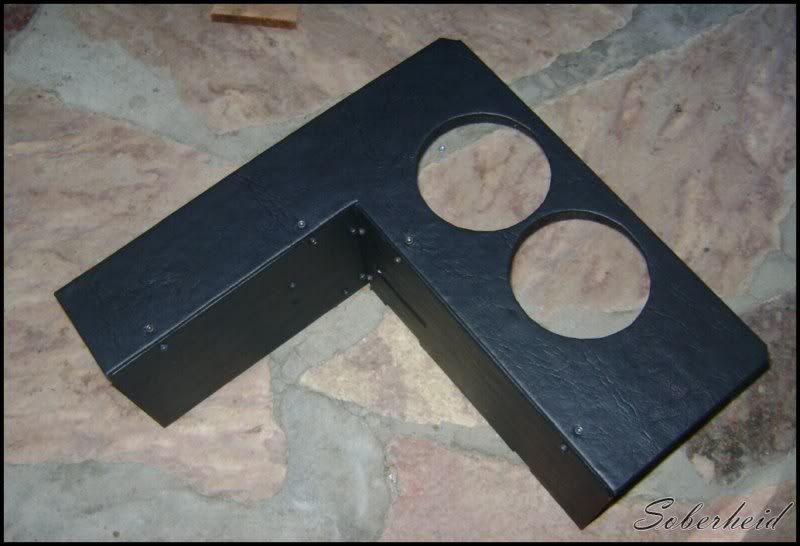
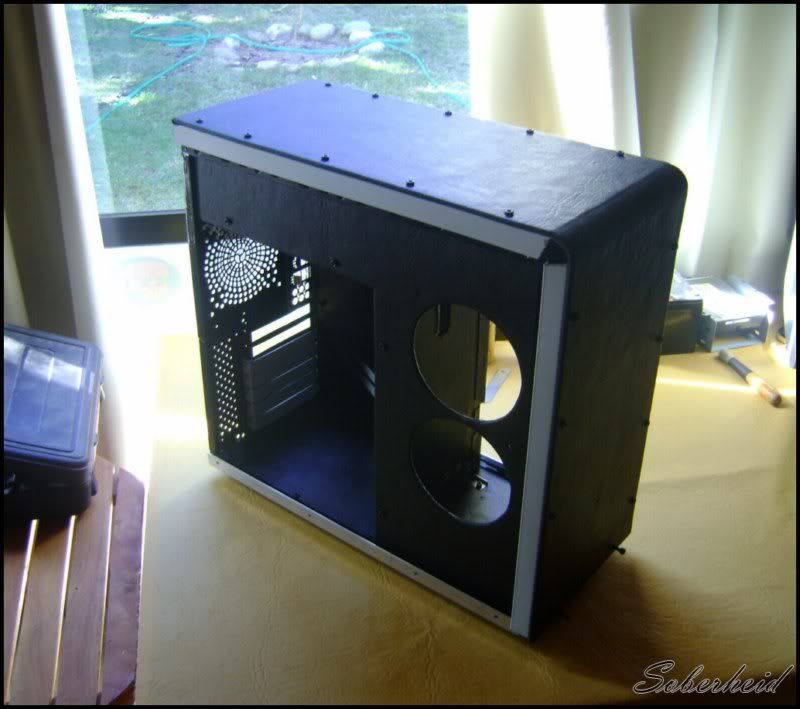
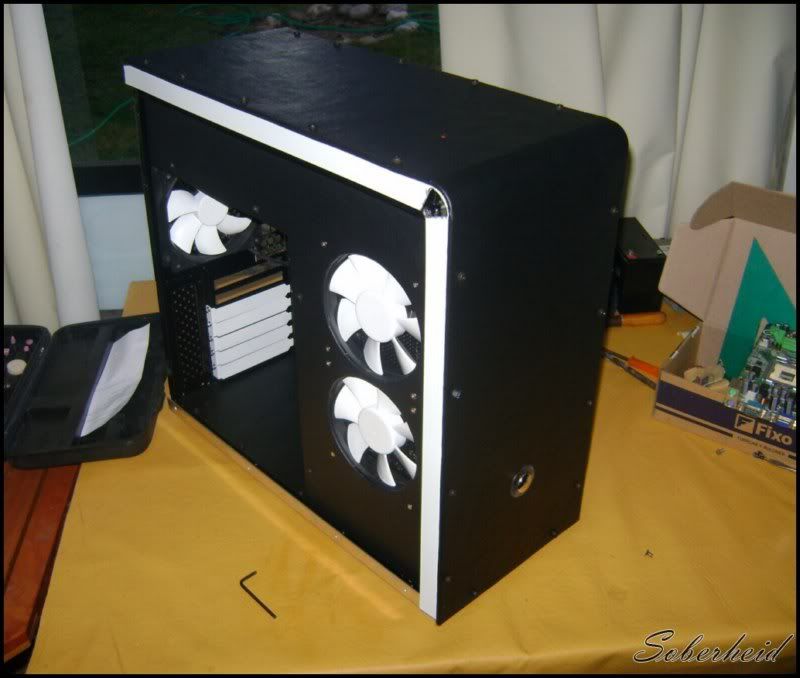
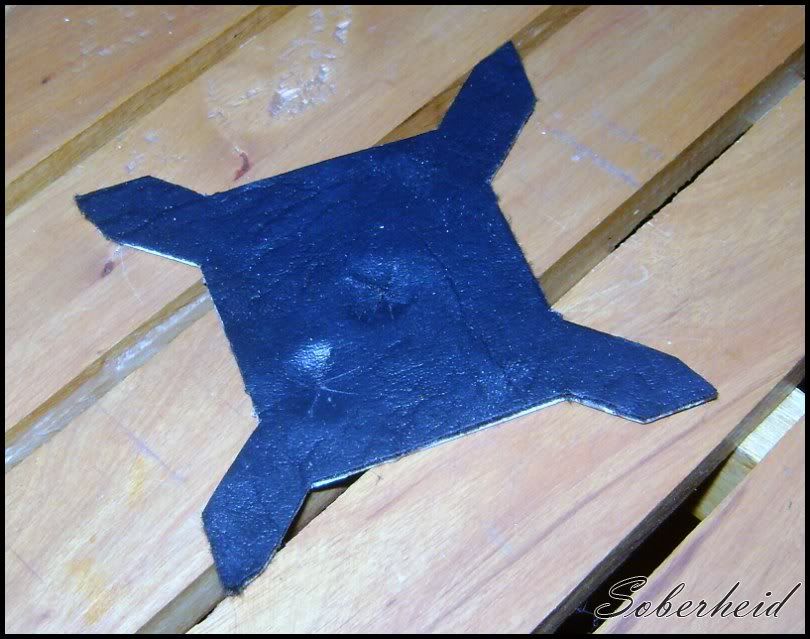
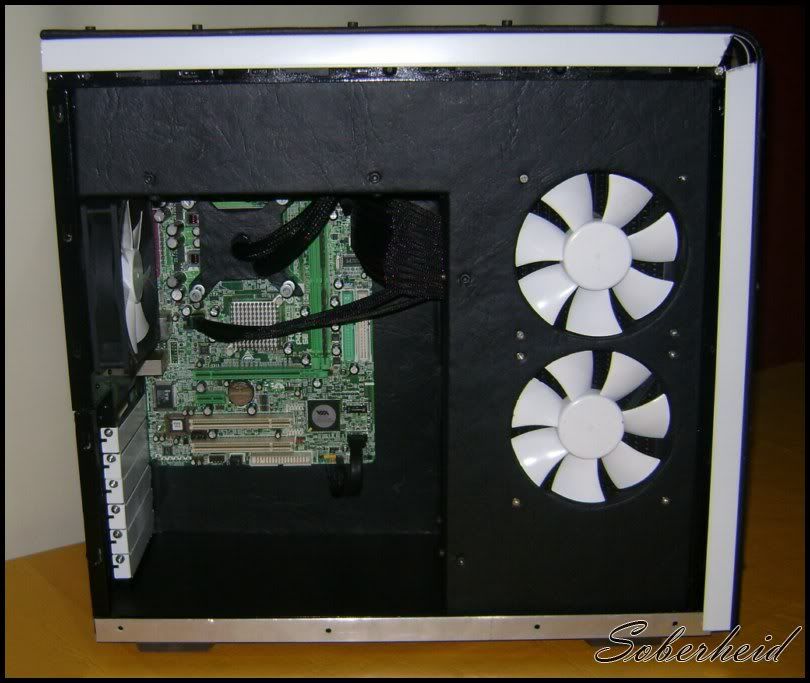
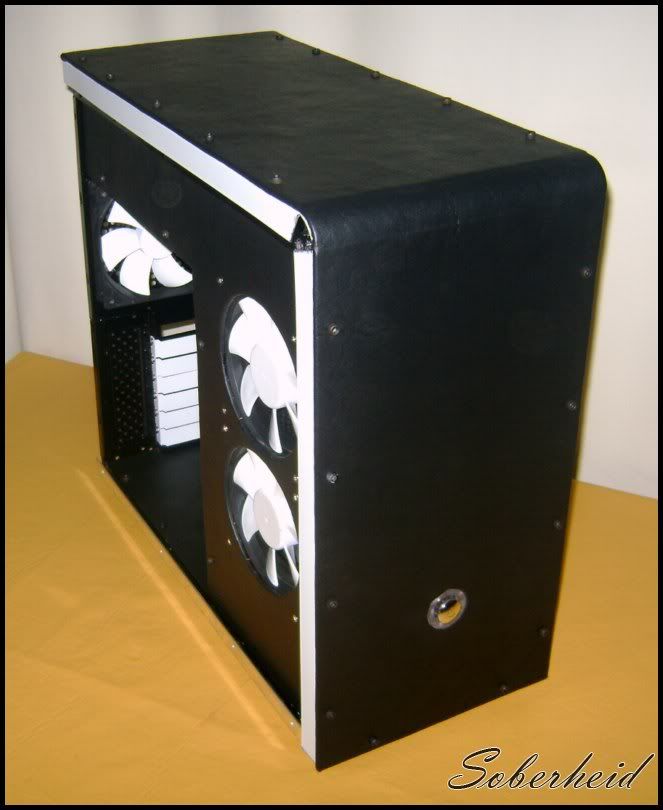
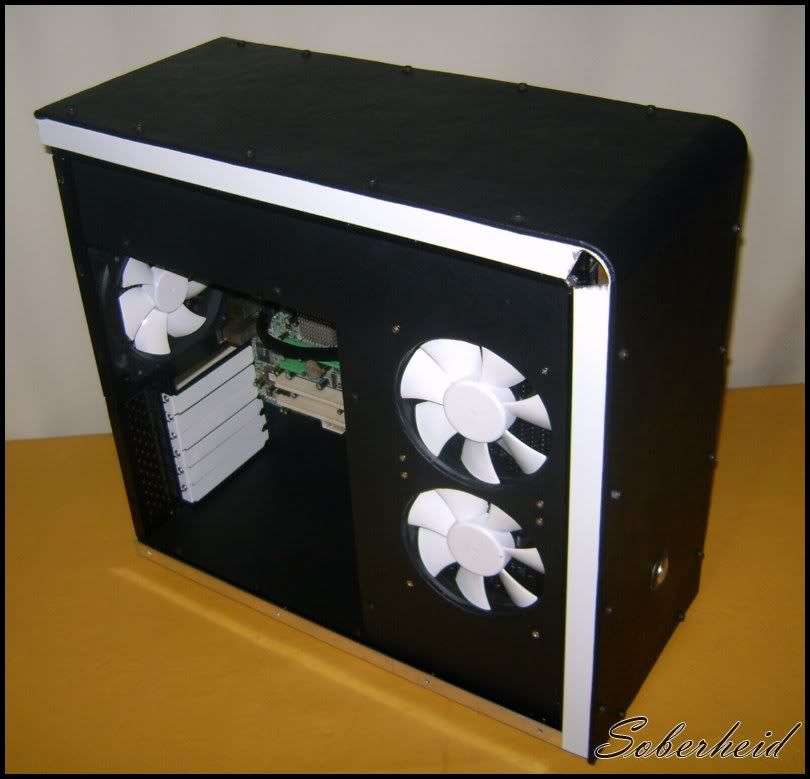
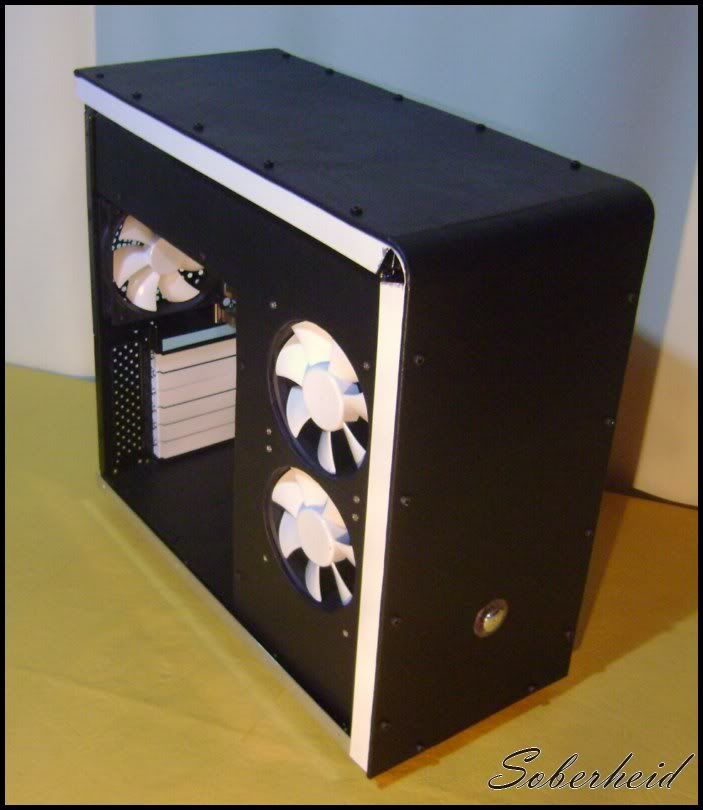
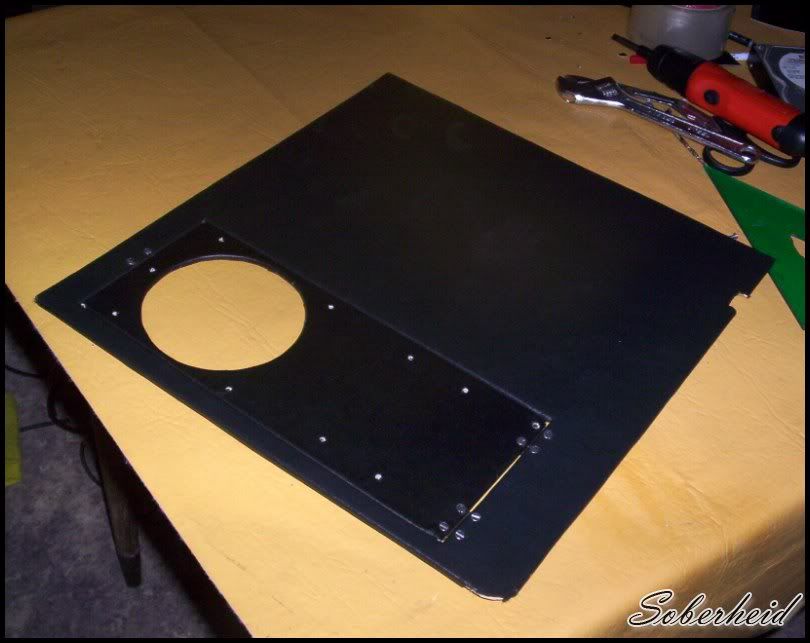
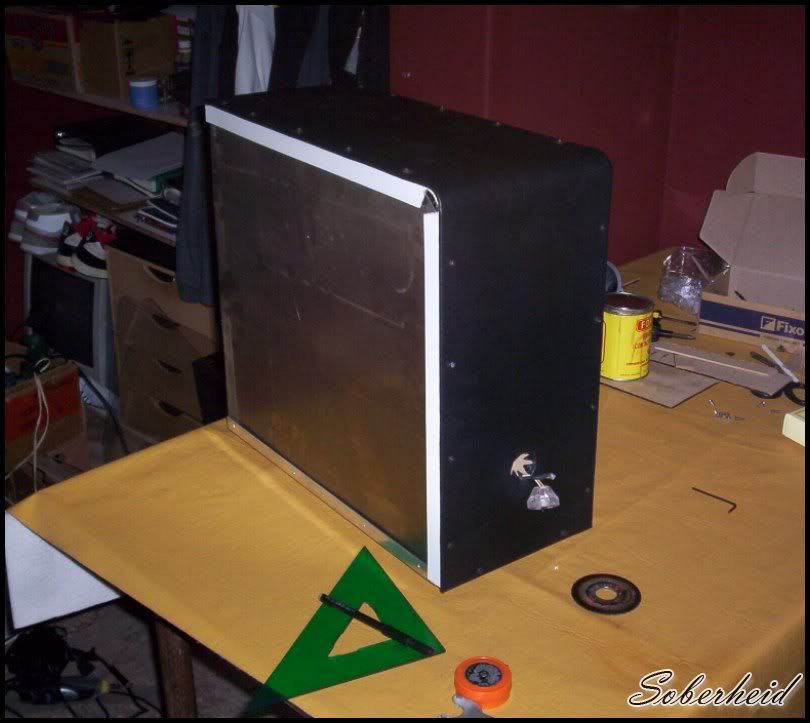
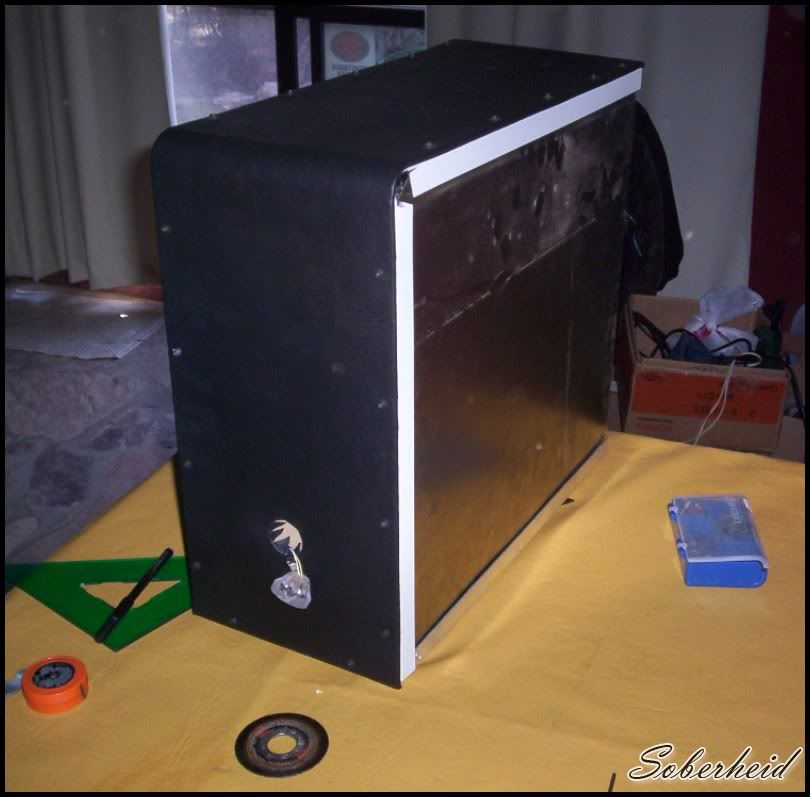
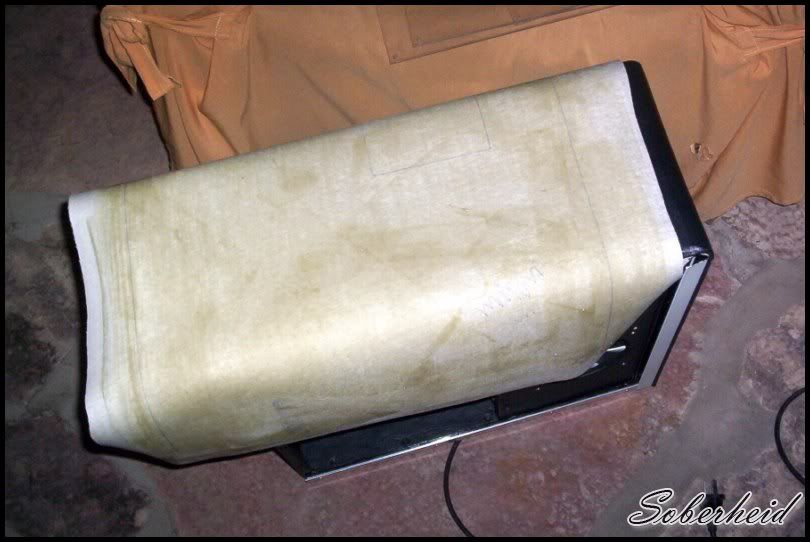
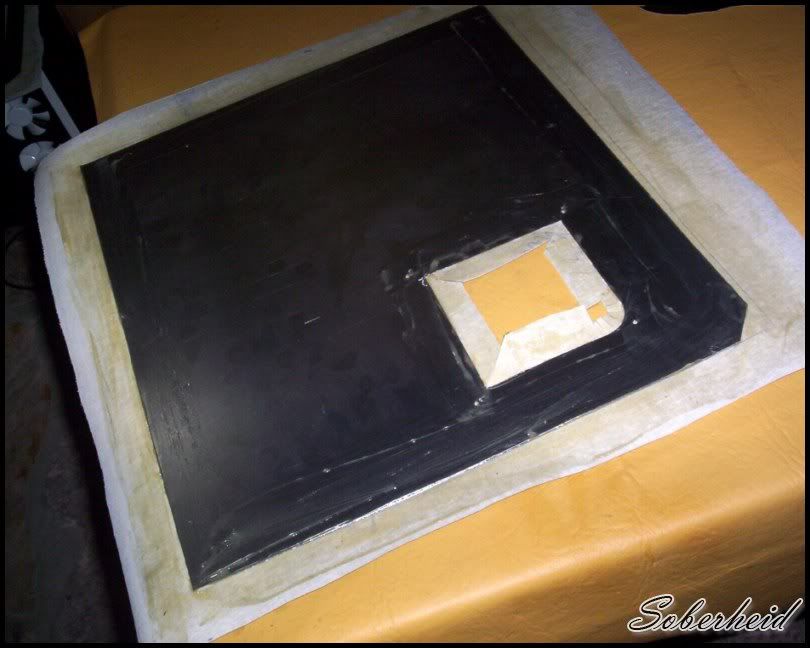
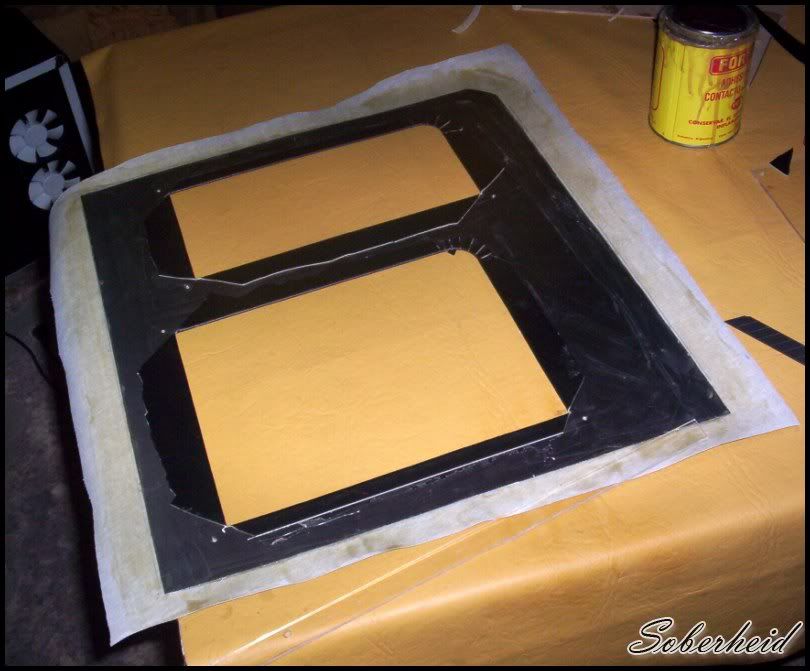
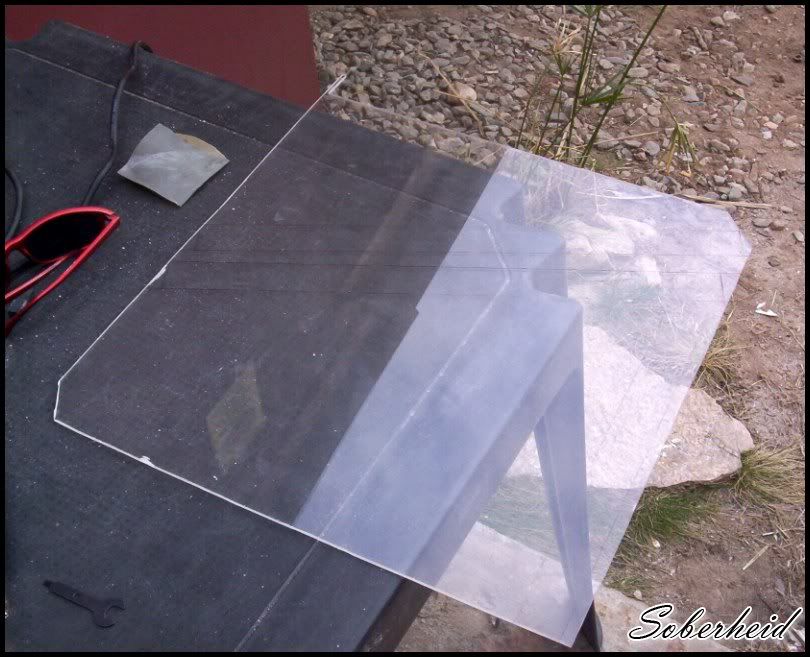
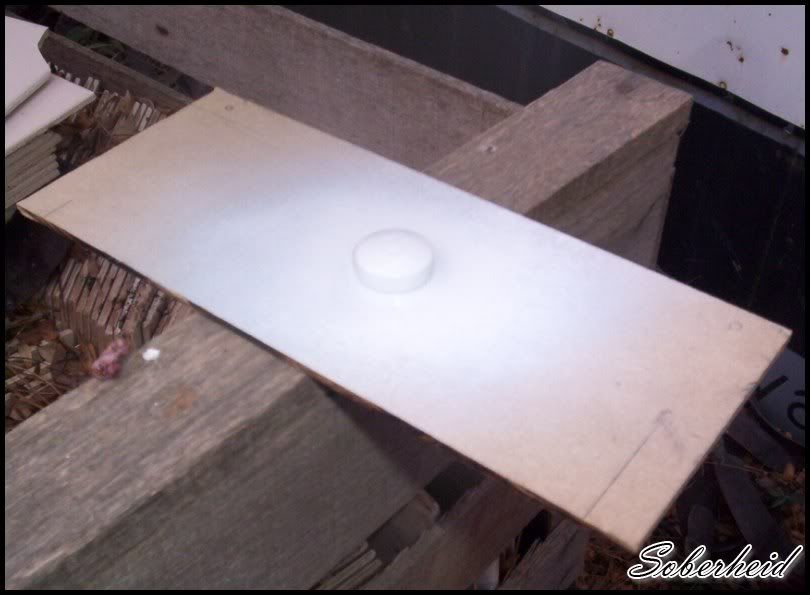
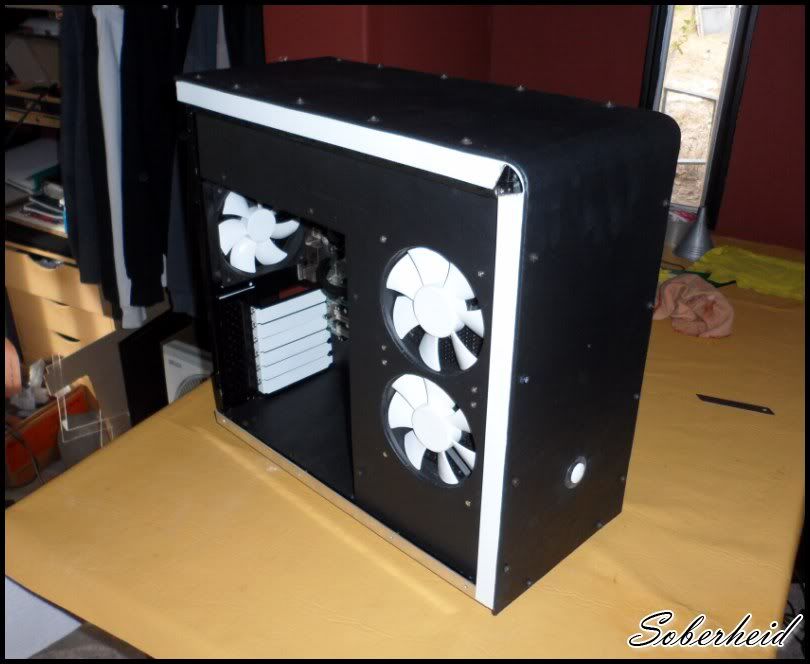
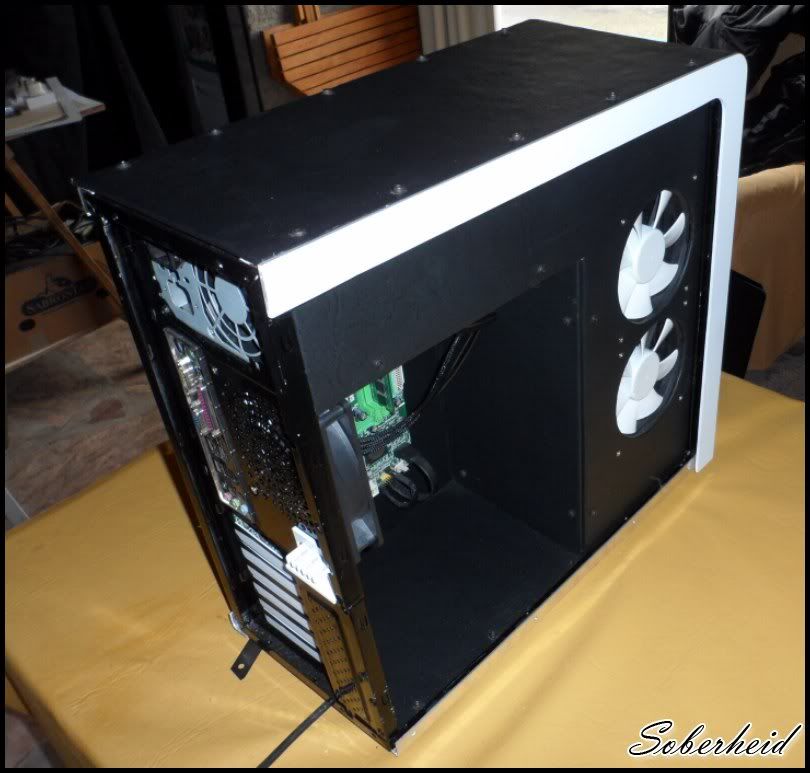
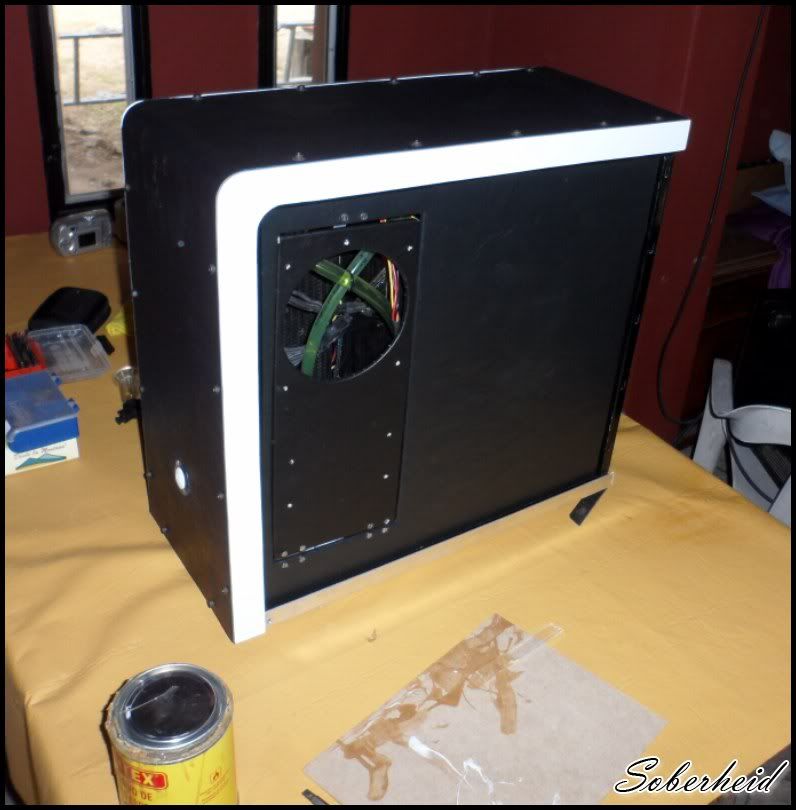
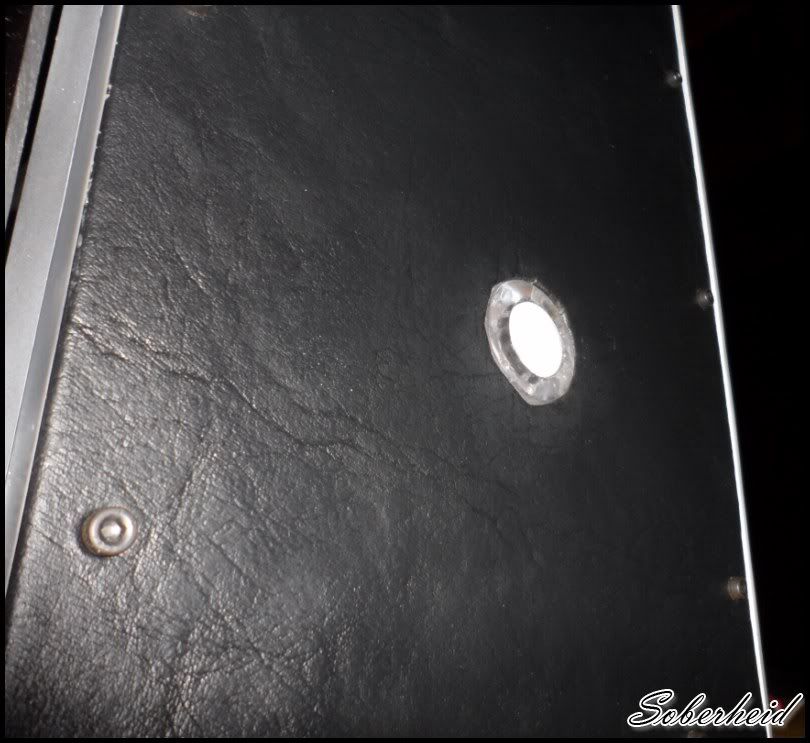
And closing the top, all one piece.
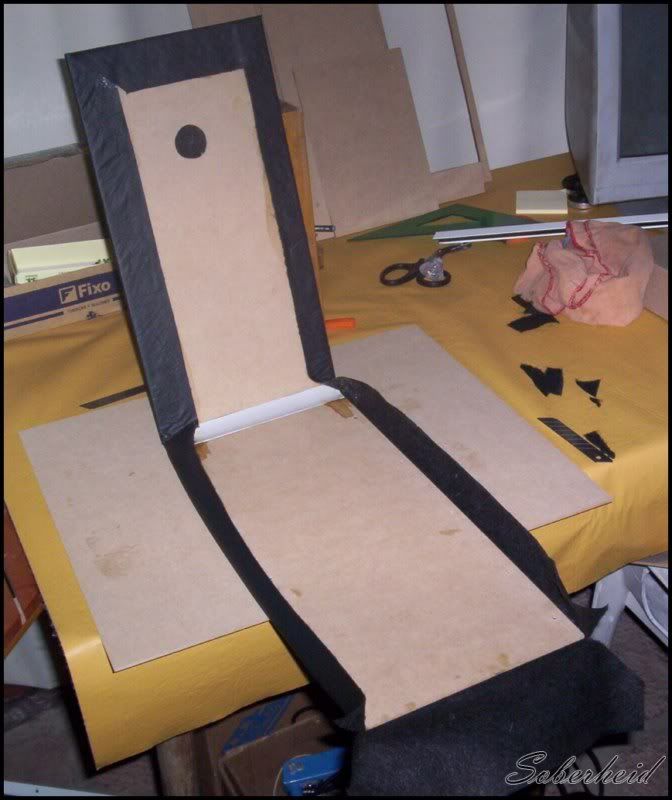
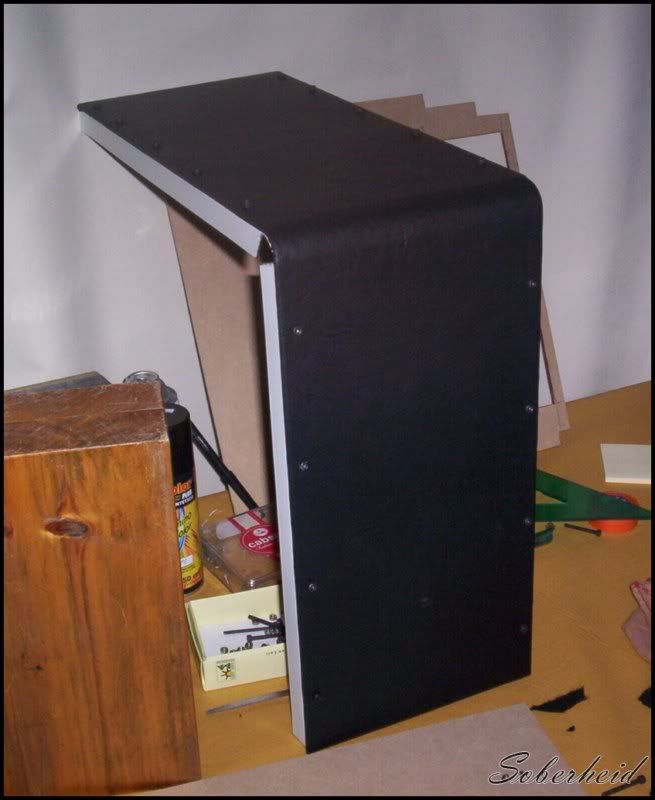
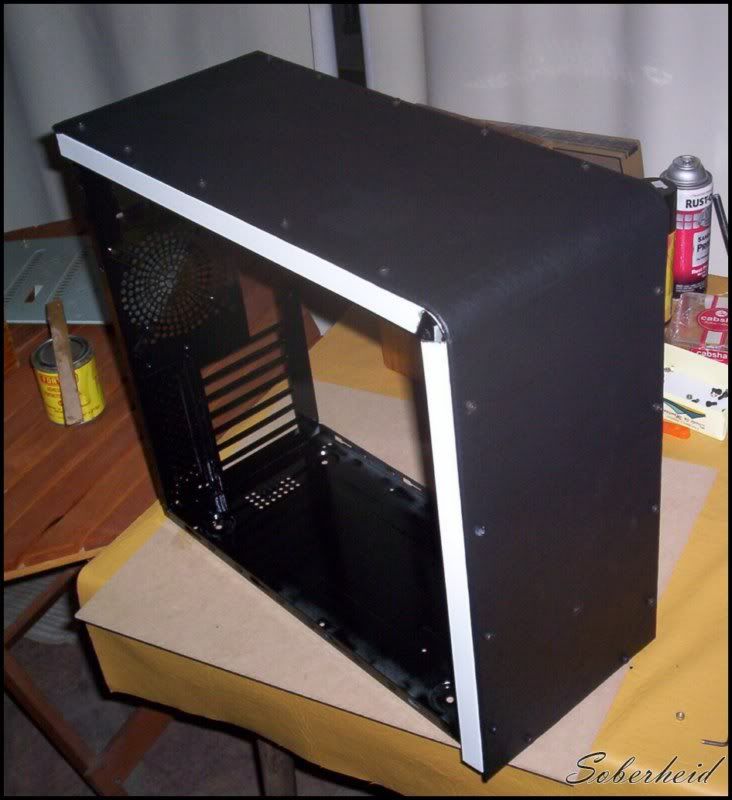
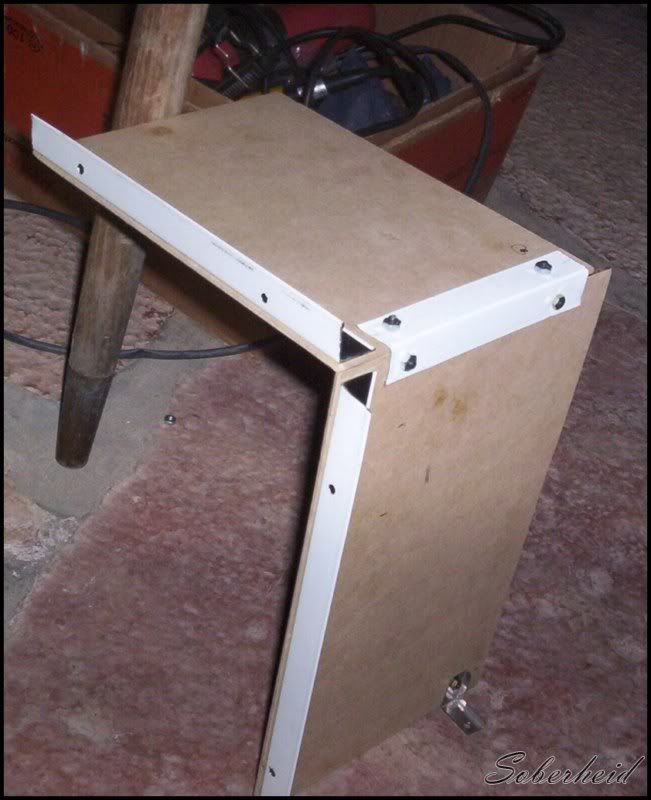
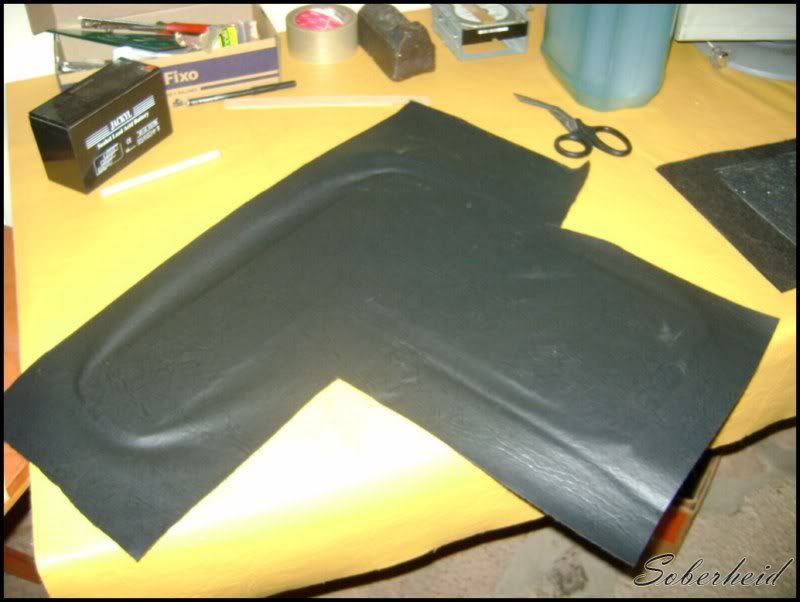
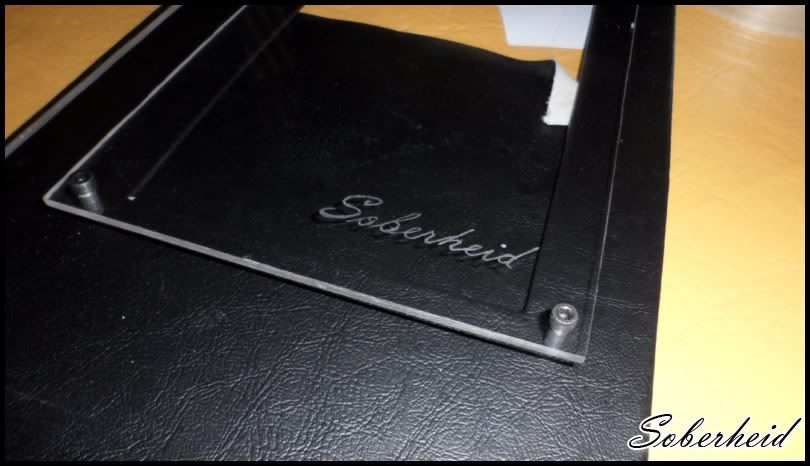
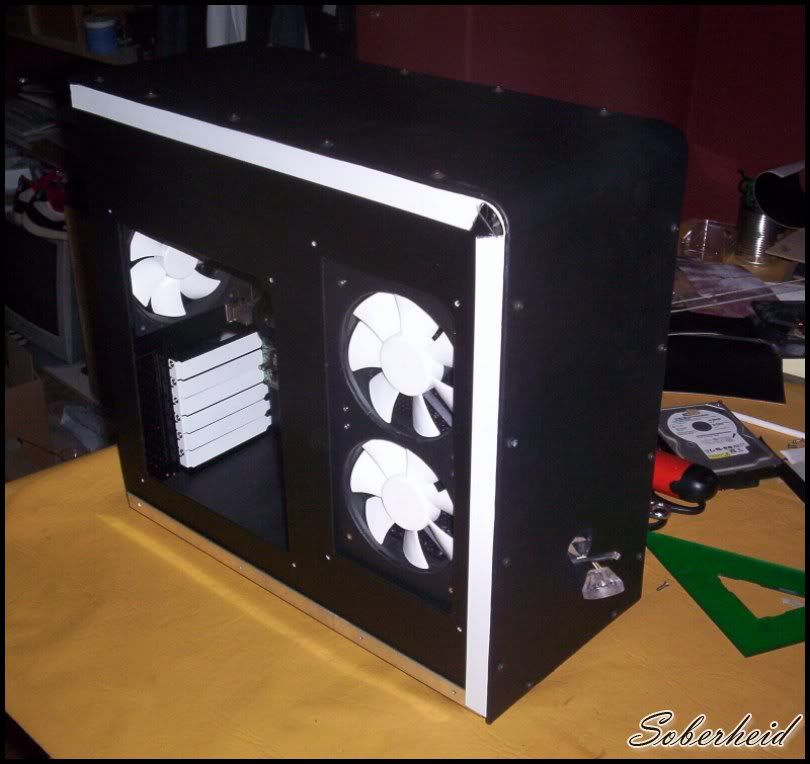
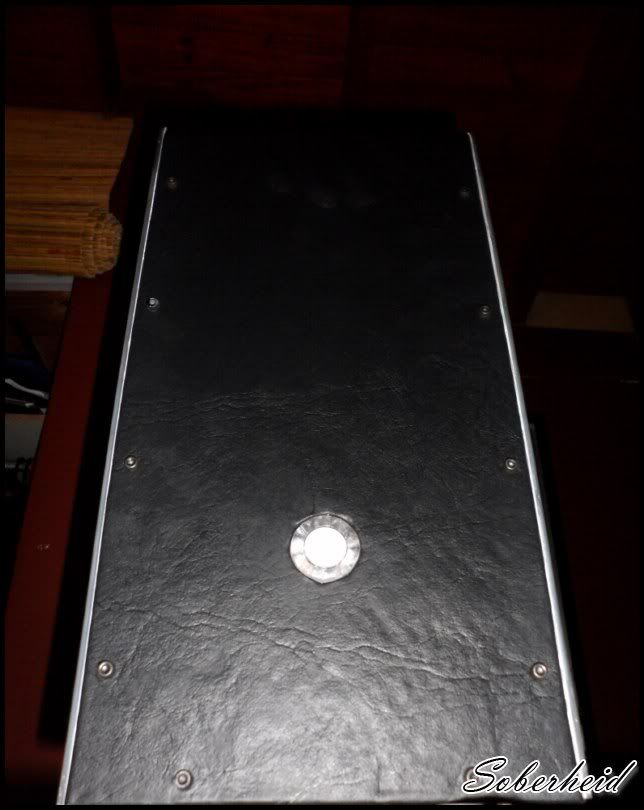
100_84401024x768800x600.jpg

100_84411024x768800x600.jpg

100_84421024x768800x600.jpg

100_84431024x768800x600.jpg

100_84441024x768800x600.jpg

100_84451024x768800x600.jpg

100_84461024x768800x600.jpg

100_84511024x768800x600.jpg

100_84521024x768800x600.jpg

100_84531024x768800x600.jpg

100_84541024x768800x600.jpg

100_84551024x768800x600.jpg

100_84561024x768800x600.jpg

100_84571024x768800x600.jpg

100_84581024x768800x600.jpg

100_84591024x768800x600.jpg

100_84601024x768800x600.jpg

100_84611024x768800x600.jpg

100_84621024x768800x600.jpg

100_84631024x768800x600.jpg

100_84641024x768800x600.jpg

100_84661024x768800x600.jpg

100_84671024x768800x600.jpg

100_84681024x768800x600.jpg

100_84691024x768800x600.jpg

100_84701024x768800x600.jpg

100_84711024x768800x600.jpg

100_84721024x768800x600.jpg

100_84731024x768800x600.jpg

100_84741024x768800x600.jpg

100_84751024x768800x600.jpg

100_84761024x768800x600.jpg

100_84771024x768800x600.jpg

DSC083731024x768800x600.jpg

DSC083771024x768800x600.jpg

DSC083781024x768800x600.jpg

DSC083791024x768800x600.jpg

DSC083801024x768800x600.jpg

DSC083811024x768800x600.jpg

DSC083821024x768800x600.jpg

DSC083831024x768800x600.jpg

DSC083841024x768800x600.jpg

DSC083851024x768800x600.jpg

DSC083861024x768800x600.jpg

Perfect
DSC083871024x768800x600.jpg

DSC083881024x768800x600.jpg

DSC083891024x768800x600.jpg

DSC083951024x768800x600.jpg

DSC083961024x768800x600.jpg

DSC083971024x768800x600.jpg

DSC083991024x768800x600.jpg

DSC084001024x768800x600.jpg

DSC084011024x768800x600.jpg

DSC084021024x768800x600.jpg

DSC084031024x768800x600.jpg

DSC084041024x768800x600.jpg

DSC084051024x768800x600.jpg

DSC084061024x768800x600.jpg

DSC084071024x768800x600.jpg

DSC084081024x768800x600.jpg

DSC084091024x768800x600.jpg

DSC084101024x768800x600.jpg

DSC084151024x768800x600.jpg

DSC084151024x768800x600.jpg

DSC084161024x768800x600.jpg

DSC084171024x768800x600.jpg

DSC084181024x768800x600.jpg

Well, as you go, I'll be leaving more photos. Greetings!
 
This is turning out far better than i thought it was honestly, Your skills are good!
 
I bring more progress here:
The liquid cooling block is a block that did a while back, a
block home that pays pretty well.
DSC08422800x600.jpg

DSC08423800x600.jpg

DSC08424800x600.jpg

DSC08425800x600.jpg

DSC08426800x600.jpg

DSC08427800x600.jpg

DSC08429800x600.jpg

DSC08431800x600.jpg

DSC08432800x600.jpg

DSC08434800x600.jpg

DSC08445800x600.jpg

DSC08446800x600.jpg

DSC08447800x600.jpg

DSC08437800x600.jpg

DSC08440800x600.jpg

DSC08443800x600.jpg

DSC08444800x600.jpg

And some photos "pre-final"
DSC08462800x600.jpg

DSC08460800x600.jpg

DSC08456800x600.jpg

DSC08455800x600.jpg

DSC08454800x600.jpg

DSC08453800x600.jpg

DSC08451800x600.jpg

DSC08463800x600.jpg

DSC08461800x600.jpg

DSC08457800x600.jpg

Caution: The project is not complete. These are some photos of the preview.
It is not over!
As I will travel warning. I will not be for a few weeks and I'm not posting gains. Greetingsto everyone and when the project ended again!
 
Wow great build, You really made something out of nothing. Your whole system is very DIY even liquid cooling. Did you make that cpu block?
 
Im also kinda interested how your gona do your DVD drive and harddrive solutions, kinda shot urself in foot with radiator mounting like that. But im sure you have it all planned out im just curious and want to see it finished.
 
Alright guys, after a while of being away from modding, we started again to finish the project.
This is gonna be a the right side for covering the mothertray.


100_8656800x600.jpg

100_8657800x600.jpg

100_8658800x600.jpg

100_8659800x600.jpg

100_8660800x600.jpg

100_8661800x600.jpg

100_8678800x600.jpg

100_8680800x600.jpg

100_8691800x600.jpg

100_8692800x600.jpg

100_8693800x600.jpg

100_8700800x600.jpg

And the sideway's with acrylic
100_8662800x600.jpg

100_8663800x600.jpg

100_8664800x600.jpg

100_8665800x600.jpg

100_8666800x600.jpg

100_8667800x600.jpg

100_8668800x600.jpg

100_8669800x600.jpg

100_8670800x600.jpg

100_8671800x600.jpg

100_8672800x600.jpg

100_8673800x600.jpg

100_8674800x600.jpg

100_8675800x600.jpg

100_8676800x600.jpg

100_8679800x600.jpg

100_8681800x600.jpg

100_8682800x600.jpg

100_8683800x600.jpg

100_8684800x600.jpg

100_8685800x600.jpg

100_8686800x600.jpg

100_8687800x600.jpg

100_8688800x600.jpg

100_8689800x600.jpg

100_8690800x600.jpg

100_8695800x600.jpg

100_8696800x600.jpg

100_8697800x600.jpg

100_8698800x600.jpg

100_8699800x600.jpg

100_8701800x600.jpg

The worklog continues down!
 
Making of the sideway's acrylics

100_8702800x600.jpg

100_8703800x600.jpg

100_8704800x600.jpg

100_8705800x600.jpg

100_8706800x600.jpg

100_8707800x600.jpg

100_8708800x600.jpg

100_8709800x600.jpg

100_8710800x600.jpg

100_8711800x600.jpg

100_8712800x600.jpg

100_8713800x600.jpg

100_8714800x600.jpg

And then… Paint it White!
100_8715800x600.jpg

100_8718800x600.jpg

100_8719800x600.jpg

100_8720800x600.jpg

100_8721800x600.jpg

The screws will hold the acrylic side
100_8723800x600.jpg

100_8724800x600.jpg

100_8725800x600.jpg
 
Painted power button
SAM_1446800x600.jpg

acrylic bonding
SAM_1447800x600.jpg

SAM_1448800x600.jpg

SAM_1449800x600.jpg

SAM_1450800x600.jpg

SAM_1451800x600.jpg

SAM_1452800x600.jpg

SAM_1459800x600.jpg

SAM_1524800x600.jpg

Lights!
SAM_1525800x600.jpg

SAM_1526800x600.jpg

SAM_1527800x600.jpg

Power off button.
SAM_1528800x600.jpg

SAM_1529800x600.jpg

Acrylic legs with leds
SAM_1530800x600.jpg

SAM_1531800x600.jpg

SAM_1533800x600.jpg

Alright, the Windows!
SAM_1535800x600.jpg

SAM_1536800x600.jpg

SAM_1537800x600.jpg

SAM_1539800x600.jpg

SAM_1542800x600.jpg

And little surprise that at last I'm going to say;)
SAM_1543800x600.jpg

SAM_1544800x600.jpg

SAM_1549800x600.jpg

SAM_1545800x600.jpg

SAM_1546800x600.jpg

SAM_1547800x600.jpg

Recording the name…
SAM_1558800x600.jpg

SAM_1561800x600.jpg

SAM_1563800x600.jpg

SAM_1564800x600.jpg

SAM_1565800x600.jpg

SAM_1567800x600.jpg

The project is now complete. When I have edited the final photos update the worklog.Along with the photos I will upload screen temperatures for asking!
Greetings and see you in the final pictures!
 
Ha, this is cool! I've never seen a 'leather' wrapped PC! Very unique! Great craftsmanship.
 
Well guys i edit before the final pics, an organization of the inside ~
SAM_1680800x600.jpg

SAM_1681800x600.jpg

SAM_1682800x600.jpg

SAM_1683800x600.jpg

SAM_1684800x600.jpg

SAM_1686800x600.jpg

SAM_1687800x600.jpg

SAM_1689800x600.jpg

SAM_1690800x600.jpg

SAM_1692800x600.jpg

SAM_1693800x600.jpg

SAM_1694800x600.jpg

SAM_1695800x600.jpg

SAM_1696800x600.jpg

SAM_1699800x600.jpg

SAM_1701800x600.jpg

SAM_1707800x600.jpg

SAM_1709800x600.jpg

SAM_1712800x600.jpg

SAM_1714800x600.jpg

Now yes i salute you and i be posting the final pics in the next days ;)
 
Soberheid becomes from Dutch, and it means sobriety. Is a case that was found on the streets (trash), broken, with the covers and veneers crooked and missing pieces, including the laterals. Already with the idea of sobriety, it was thought for being black and white, searching wich materials may be used (for avoid the ordinary plastic and veneer)arises the idea of making the structure practicly from the beginning, covered with black leatherette.
Like this, was made this cabinet that now it comes to be a piece with elegance and sobriety, counting with a united top and frontal sides and entirely smooth, with details like screws “allen head”. (holding the base wood and the guides of the lateral covers to the top veneer and original frontal)
This cabinet is divided in two parts, in the first part is situated the mother tray; with precision and exceptional perfection in the organization of the cables. In the second part, the frontal one, are situated in an “invisible” way the radiator of the liquid refrigeration, next to the bomb, the power supply and the hard disk.
There always are few questions like: “But if the air enters by the radiator, it doesn’t have enough space to come out”, “ Does the leatherette and the wood get heated?” The answer for this, it’s that the heated air that comes out from the other side of the radiator, is expelled by a fan of 12cm. The leatherette and the wood doesn’t get heated, the microprocessor’s temperatures are almost the same than an ordinary computer with a cooler stock.
“But there isn’t enough space for the air to come in to the fans” The lateral acrylics are separated by a distance of 10mm by screws and heat-shrink tubing of the lateral veneer, letting space between the lateral and the lower too, it’s got enough space for it to come in(left side) and to come out (right side).
For giving it a special touch of elegance, there were placed a few white led lights inside the cabinet and in the support. The switching on of this lights is something particular, it’s about a metal “button” placed in the front. This button belongs to a touch power circuit, just with a finger touch to this button, you can switch on or off the lights. Excepting the white light of the power button that it’s always on to know if the system is working or not.

“From the trash, to elegancy and sobriety”

Next, the expected final pictures:

Soberheid.jpg


& the Modder Superstar=)


Temperatures:

Mostly, what matters is not just the hardware; what really worth it is the work that is made with our time and patience to get what we want.

Hope you like it… You can take a look and follow my other works in:

Facebook
BWModding
 
Back
Top