![[H]ard|Forum](/styles/hardforum/xenforo/logo_dark.png)
Mike_Check
n00b
- Joined
- Oct 31, 2006
- Messages
- 32
Centurion 5: Redux
Hey guys! Long time lurker, first(ish) time poster!
I'll get right into it shall I?
-----------------------------------------------------------
Hopefully you'll notice this worklog is a 'Redux', that is I am re-modding a previously modded case.
Originally I modded the case because I wanted a more quiet computer as it sat about half a meter away from my bed and after quick (and by 'quick' I of course mean 'lengthy and in-depth') perusal of Silentpcreview.com and of course the [H] I found out what needed to be done so off I set on my first modding adventure!
The components were whatever I had lying around as I wanted to spend $0 on the pc side of things.
Case: Coolermaster Centurion 5
Motherboard: Old, MSI AMD 939 (Neo.... something)
CPU: AMD 3200+ socket 939
RAM: 1gb of mismatched sticks
HDD: Random Seagate (I think) 250gb drive
GPU: 6600GT 256mb
PSU: God only knows!
NOW!
Onto the worklog!
I’ll just show you what it WAS like before I properly got my modding hand onto it. I had dabbled in ‘mods’ previously but they turned out preeeeetty ghetto as you can see. Bearing in mind this was it waaay back ago when I had limited tools (a drill) and little experience (I was like... 16):
Dodgily mounting a 120mm fan in an 80mm fan spot.
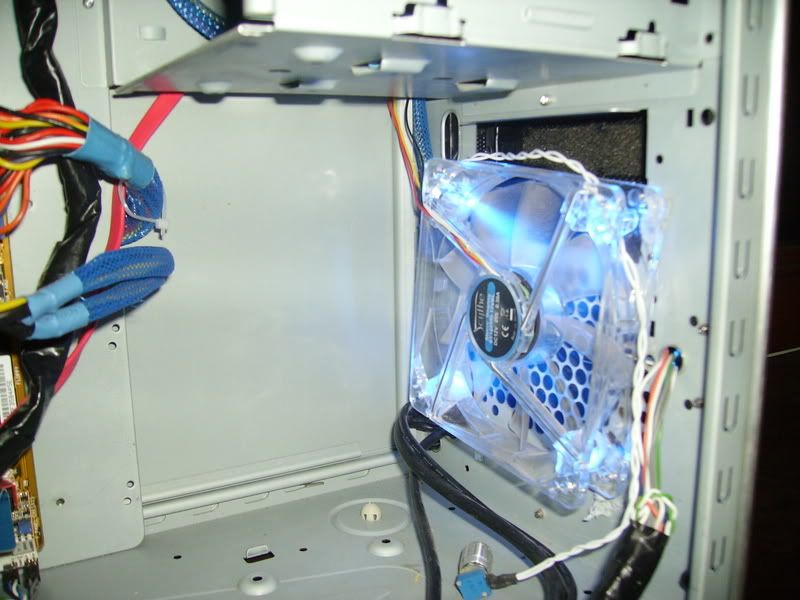
(Yes, that's blu-tack)
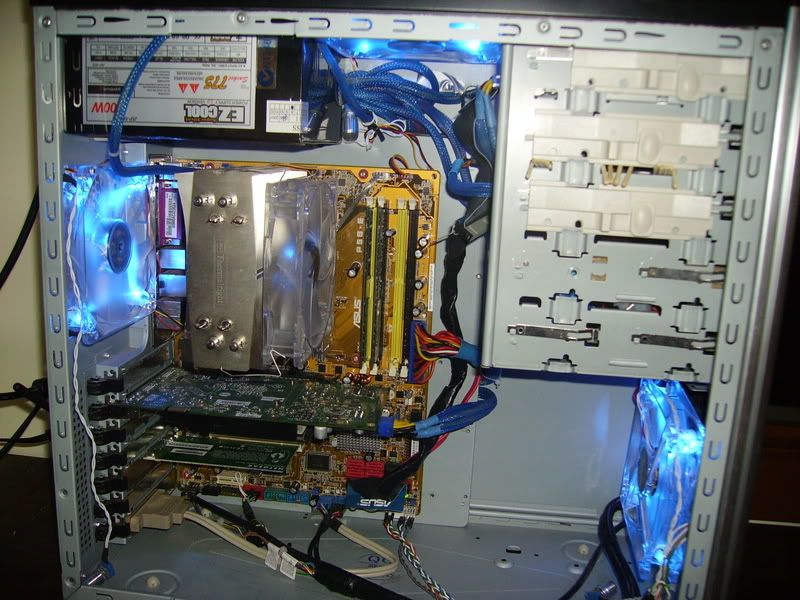
The whole system. Notice the cutout at the top for PSU wire routing. Also a 120mm blowhole was added.
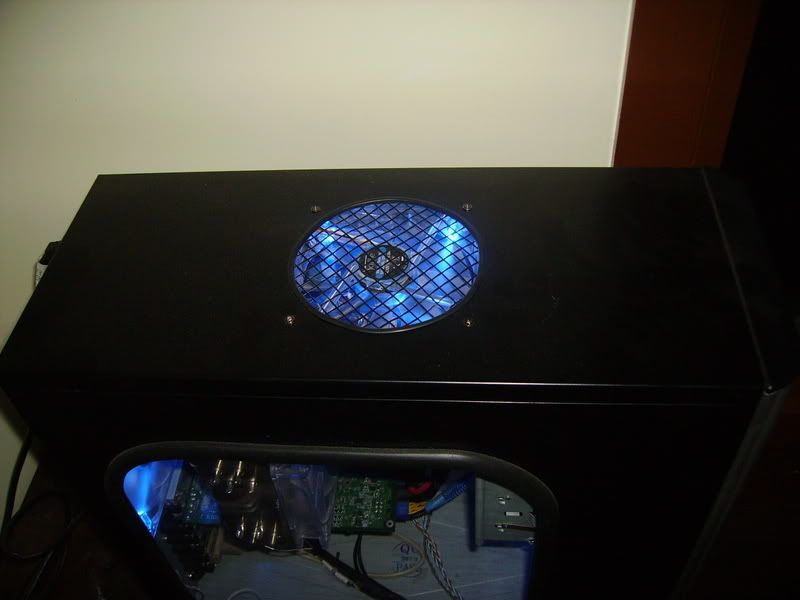
Blowhole up close. I was actually pretty proud of how that turned out.
-----------------------------------------------------------
Now; onto the Redux...
This Chirstmas season I got a lovely, shiny and cordless Dremel from my parents so off to work I went cleaning up my previous endevours:
The back grill was cleaned to a proper fit.

I cut out an actual hole for the new 120mm intake and created actual mounts (bye bye Blu-tack!)

I also cleaned up and added a few more cable routing hole now I have more control over what and where I can cut.
PCI-X Connector:

HDD and/or Power, reset and front USB connectors:

Now onto the painting side of things!
Painting mostly:

Mmmmm yummy, yummy sanding.

More sanding love (this was during the sanding process; obviously the whole top was done to a bare metal)
*In best Pimp my Ride voice* Now it's time for paint!


I don't think it came out too bad considering I had never actually painted anything before...
Masking off for the RACING STRIPES!! (Did I tell you about racing stripes? I'm sure I told you about the racing stripes...)

More masking

After a coulple coats

Aaaaand one more

Annoyingly a little bit of spray got under the tape near the blowhole so I'll have to wait for the stripes to dry and do some hand-work. While I'm being pedantic I'll probably make the edges of the stripes a little smoother.

all taped up!

You can see it's still quite shiny (still drying although it took like 3 seconds on a day like today)
Blaaaaaack

After drying

Side view

Back view
Righto well here's the finished product. I switched out the fans for some blue ones for two reasons:
a) They're much, much less noisy and
b) They give up lots more light.
Here are some shots.


Well I hope you guys liked it. It was my first proper modding experience and over the next few days I’ll upload my other escapades but please comment/critique this!
Thanks for your time!
M.
Hey guys! Long time lurker, first(ish) time poster!
I'll get right into it shall I?
-----------------------------------------------------------
Hopefully you'll notice this worklog is a 'Redux', that is I am re-modding a previously modded case.
Originally I modded the case because I wanted a more quiet computer as it sat about half a meter away from my bed and after quick (and by 'quick' I of course mean 'lengthy and in-depth') perusal of Silentpcreview.com and of course the [H] I found out what needed to be done so off I set on my first modding adventure!
The components were whatever I had lying around as I wanted to spend $0 on the pc side of things.
Case: Coolermaster Centurion 5
Motherboard: Old, MSI AMD 939 (Neo.... something)
CPU: AMD 3200+ socket 939
RAM: 1gb of mismatched sticks
HDD: Random Seagate (I think) 250gb drive
GPU: 6600GT 256mb
PSU: God only knows!
NOW!
Onto the worklog!
I’ll just show you what it WAS like before I properly got my modding hand onto it. I had dabbled in ‘mods’ previously but they turned out preeeeetty ghetto as you can see. Bearing in mind this was it waaay back ago when I had limited tools (a drill) and little experience (I was like... 16):
Dodgily mounting a 120mm fan in an 80mm fan spot.
(Yes, that's blu-tack)
The whole system. Notice the cutout at the top for PSU wire routing. Also a 120mm blowhole was added.
Blowhole up close. I was actually pretty proud of how that turned out.
-----------------------------------------------------------
Now; onto the Redux...
This Chirstmas season I got a lovely, shiny and cordless Dremel from my parents so off to work I went cleaning up my previous endevours:
The back grill was cleaned to a proper fit.
I cut out an actual hole for the new 120mm intake and created actual mounts (bye bye Blu-tack!)
I also cleaned up and added a few more cable routing hole now I have more control over what and where I can cut.
PCI-X Connector:
HDD and/or Power, reset and front USB connectors:
Now onto the painting side of things!
Painting mostly:
Mmmmm yummy, yummy sanding.
More sanding love (this was during the sanding process; obviously the whole top was done to a bare metal)
*In best Pimp my Ride voice* Now it's time for paint!
I don't think it came out too bad considering I had never actually painted anything before...
Masking off for the RACING STRIPES!! (Did I tell you about racing stripes? I'm sure I told you about the racing stripes...)
More masking
After a coulple coats
Aaaaand one more
Annoyingly a little bit of spray got under the tape near the blowhole so I'll have to wait for the stripes to dry and do some hand-work. While I'm being pedantic I'll probably make the edges of the stripes a little smoother.
all taped up!
You can see it's still quite shiny (still drying although it took like 3 seconds on a day like today)
Blaaaaaack
After drying
Side view
Back view
Righto well here's the finished product. I switched out the fans for some blue ones for two reasons:
a) They're much, much less noisy and
b) They give up lots more light.
Here are some shots.
Well I hope you guys liked it. It was my first proper modding experience and over the next few days I’ll upload my other escapades but please comment/critique this!
Thanks for your time!
M.

